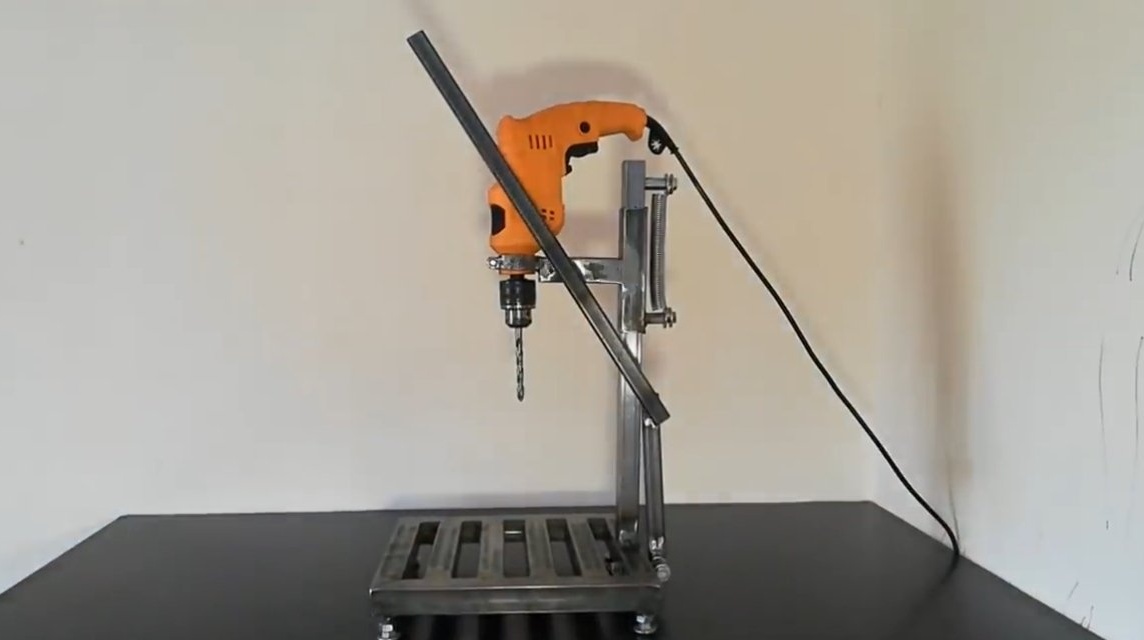

I welcome all fans to craft, I propose to consider instructions for making a simple and reliable stand for a drill from available materials do it yourself. Having such homemade, you get a ready-made drilling machine, it is enough to install a drill on the machine with such power as you need. The author used square shaped pipes as the main material. If the project interests you, I propose to study it in more detail!
Materials and tools used by the author:
Material List:
- square shaped pipes;
- door spring;
- bolts and nuts;
- a piece of a round pipe for the manufacture of a clamp for a drill;
- paint at will.
Tool List:
- miter saw (the author cuts everything on the rack for the grinder);
- welding machine;
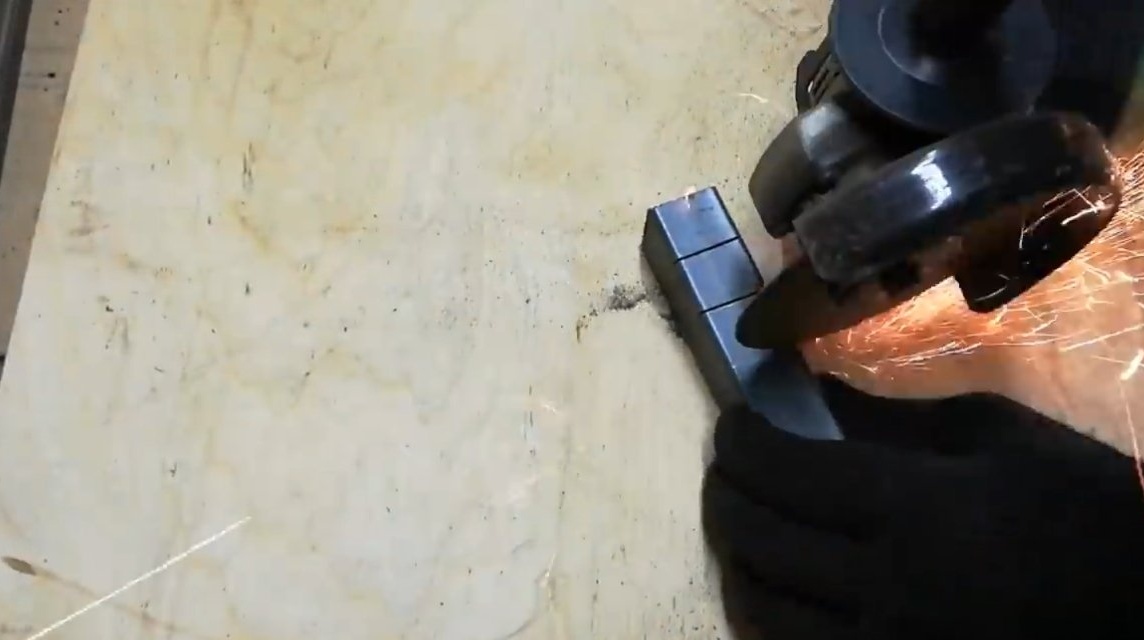
- grinder;
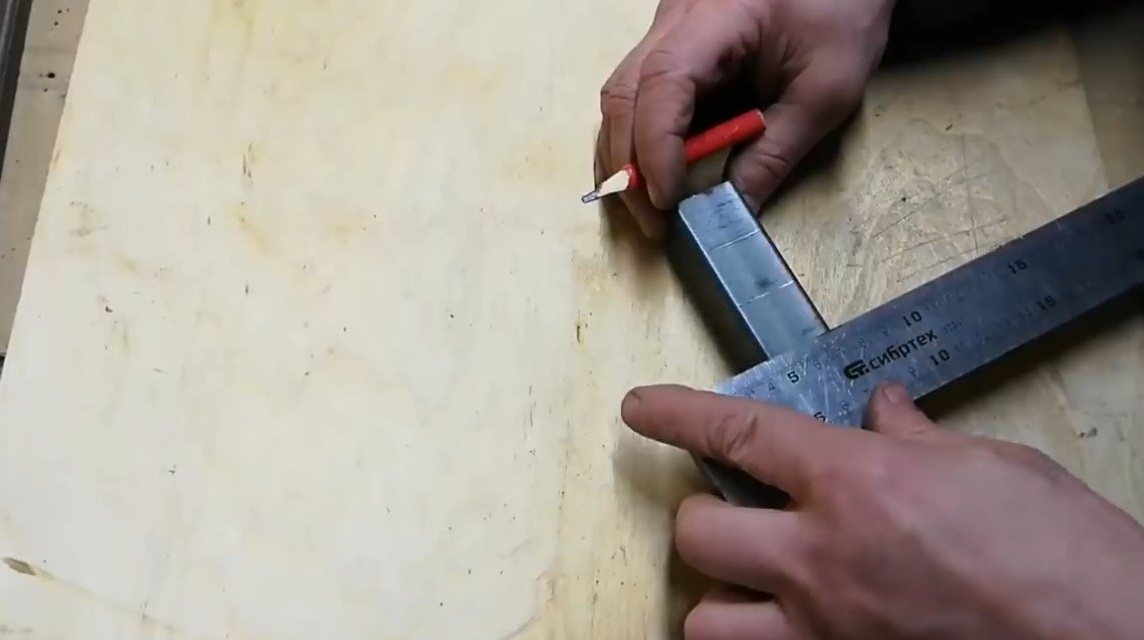
- tape measure, marker;
- drill.
Homemade manufacturing process:
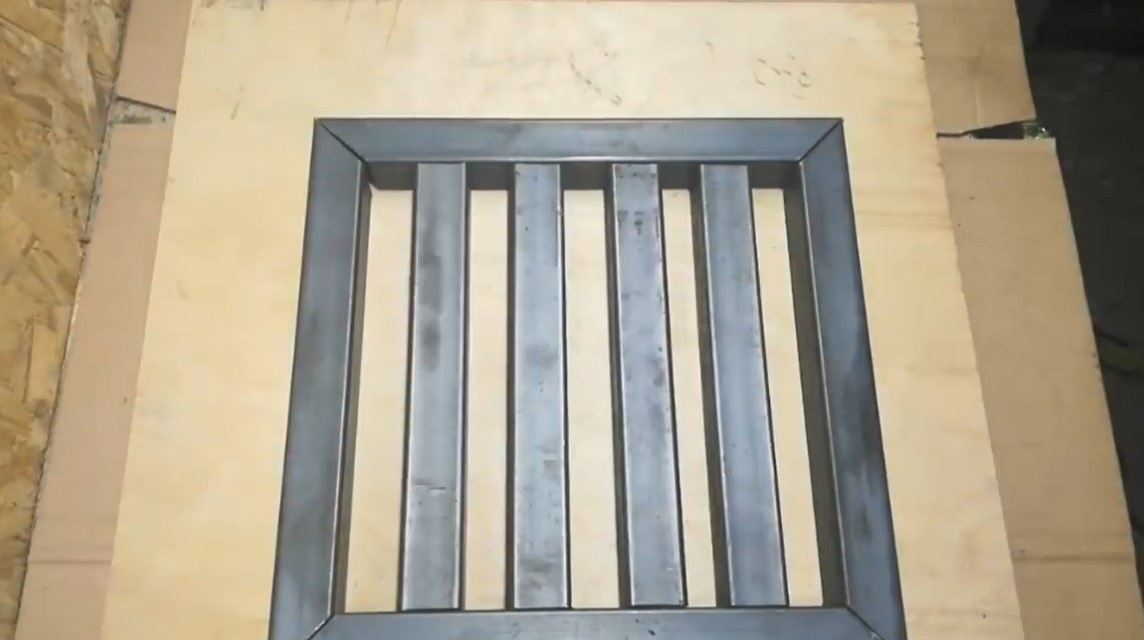
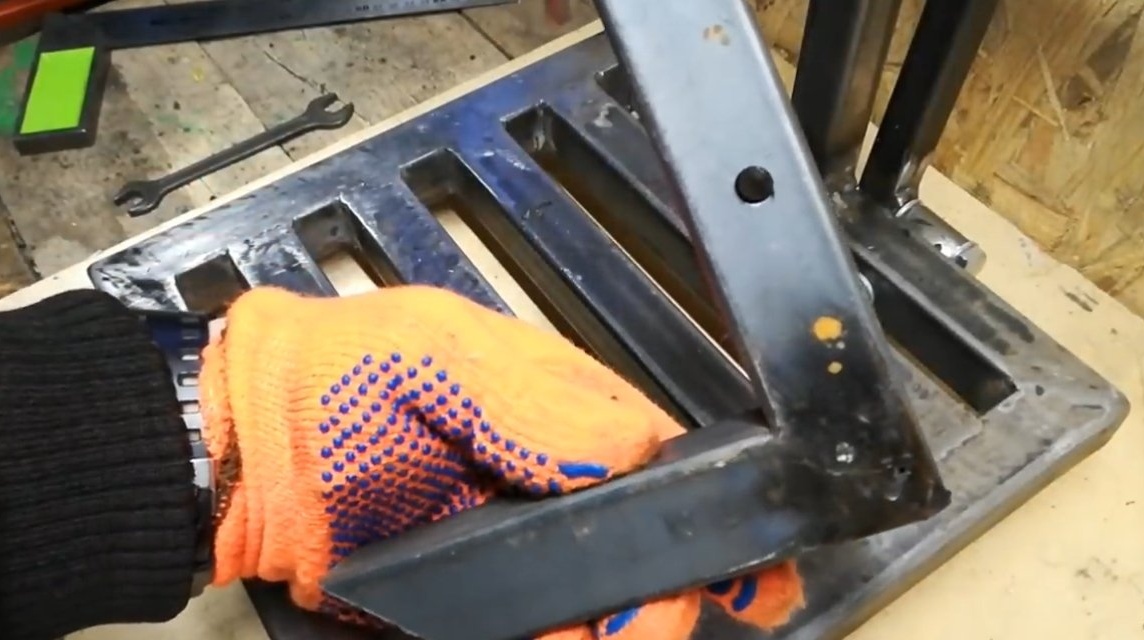
Step one. The foundation
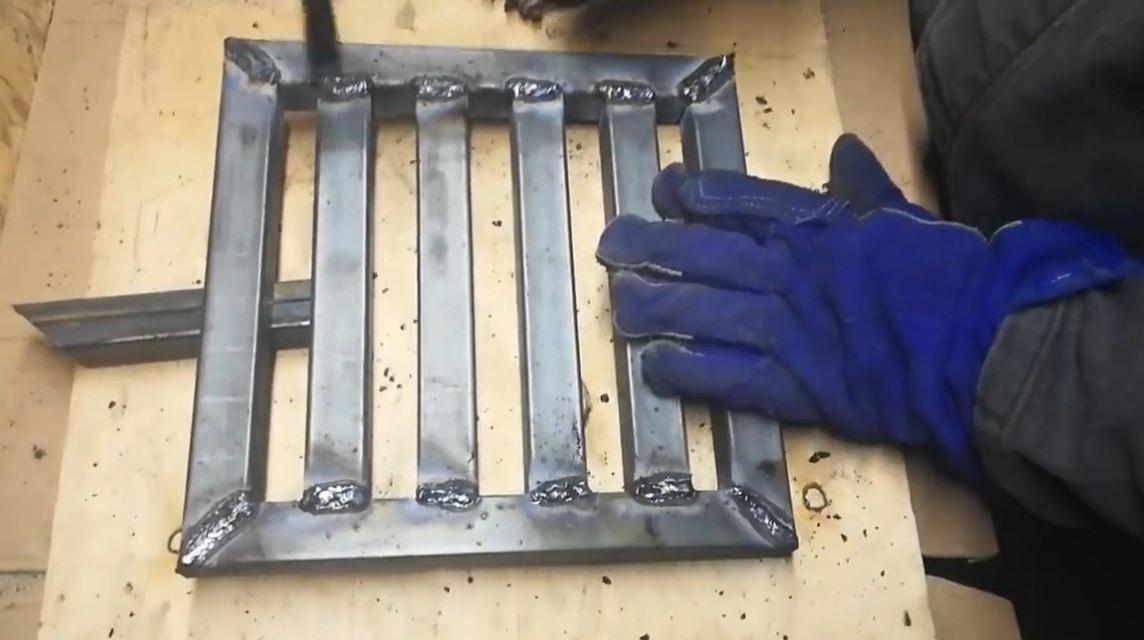
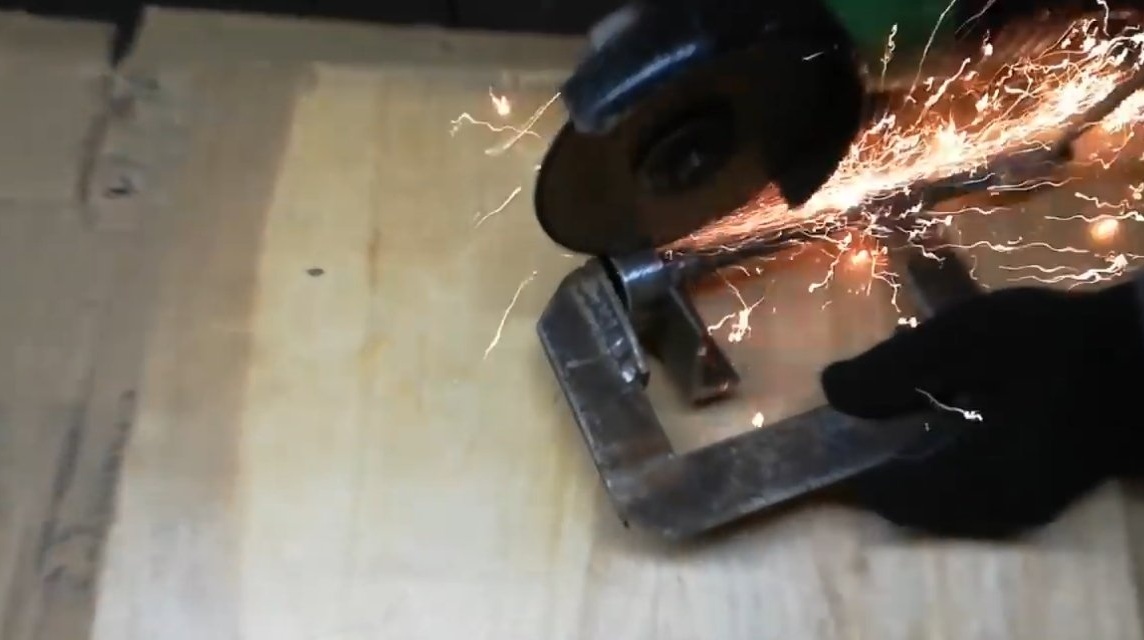
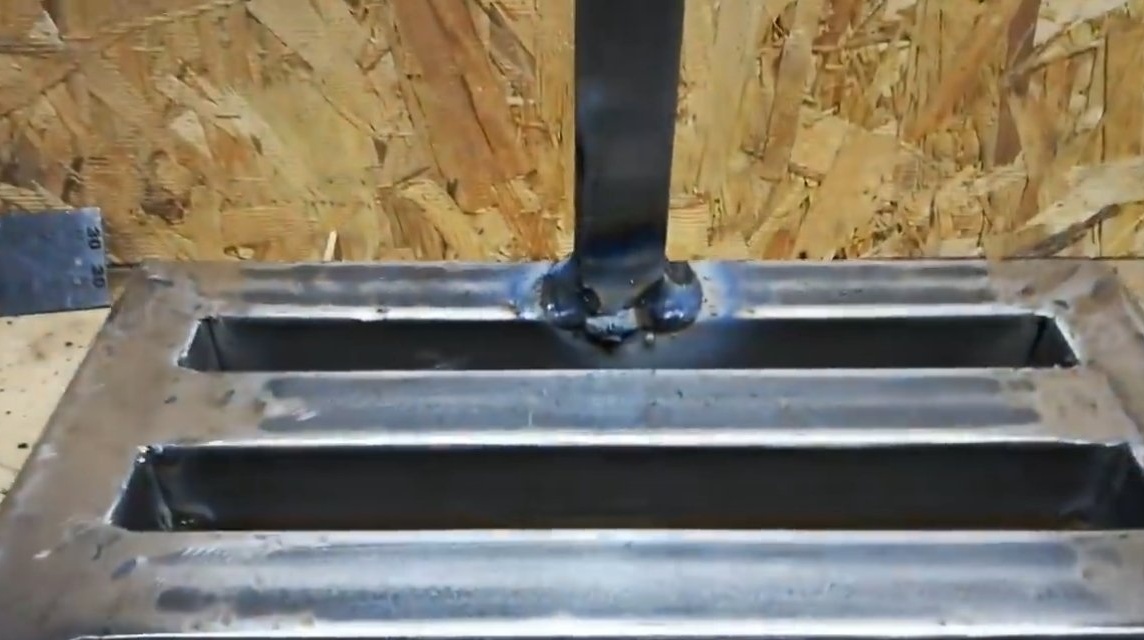
First of all, we will make a strong and reliable support for the machine. As a material, the author used profile pipes, we cut them with a miter saw, this is quick and accurate. If there is no miter saw, you can first make a stand for your grinder. Having cut the pipes, we weld a square, we clean the welds well, the product looks beautiful and of high quality.


Step Two Legs
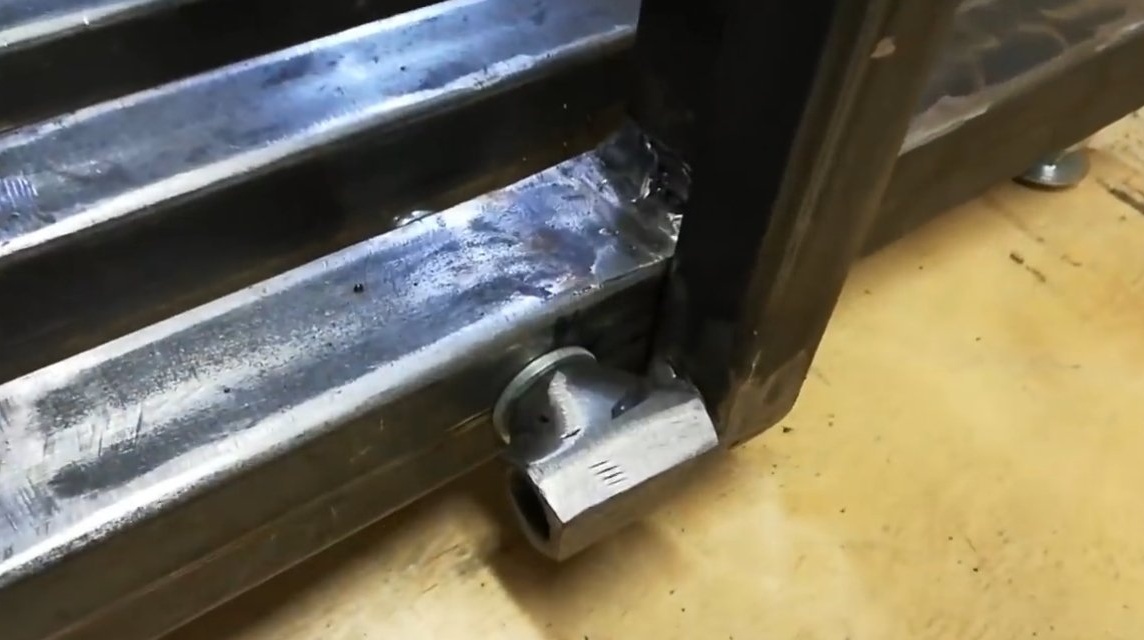
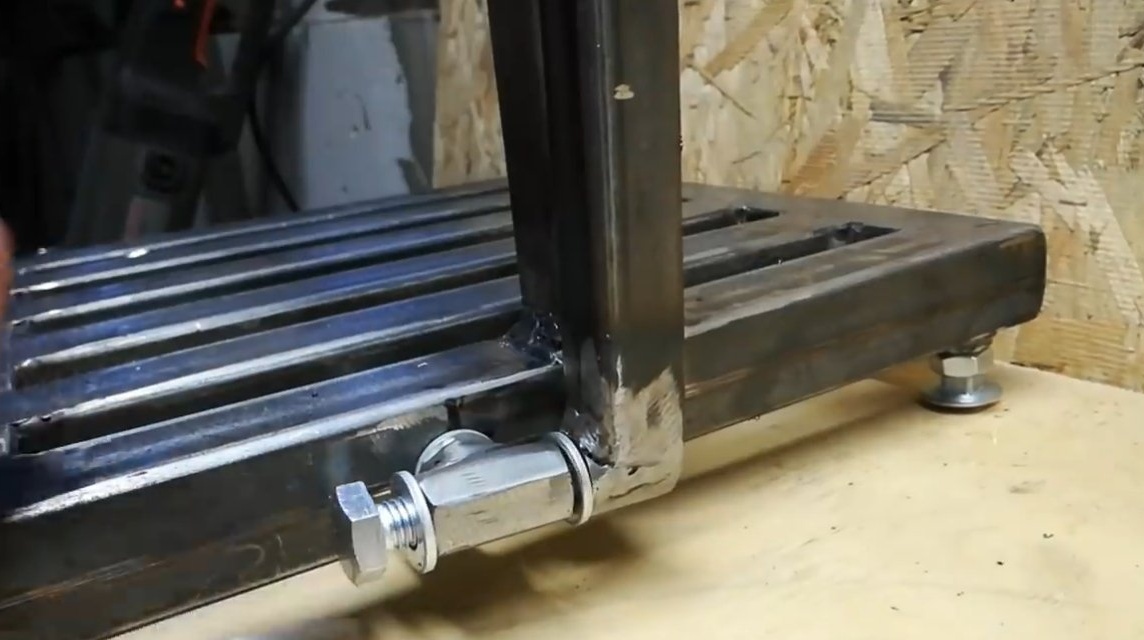
Let's make the legs for the base, according to the author’s idea, they are adjustable. Thanks to the adjustment, you can adjust the machine so that it does not stagger on a crooked table. As legs, bolts fit, nuts are welded to the base, and under the bolts at the base we drill holes where they will go.


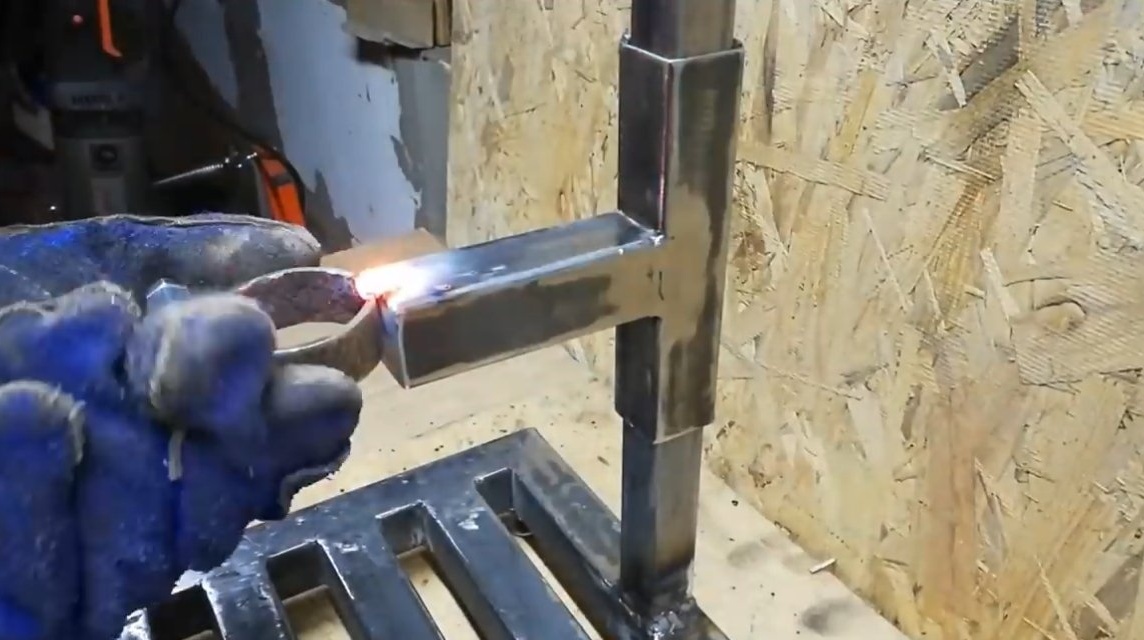
Step Three Stand and carriage
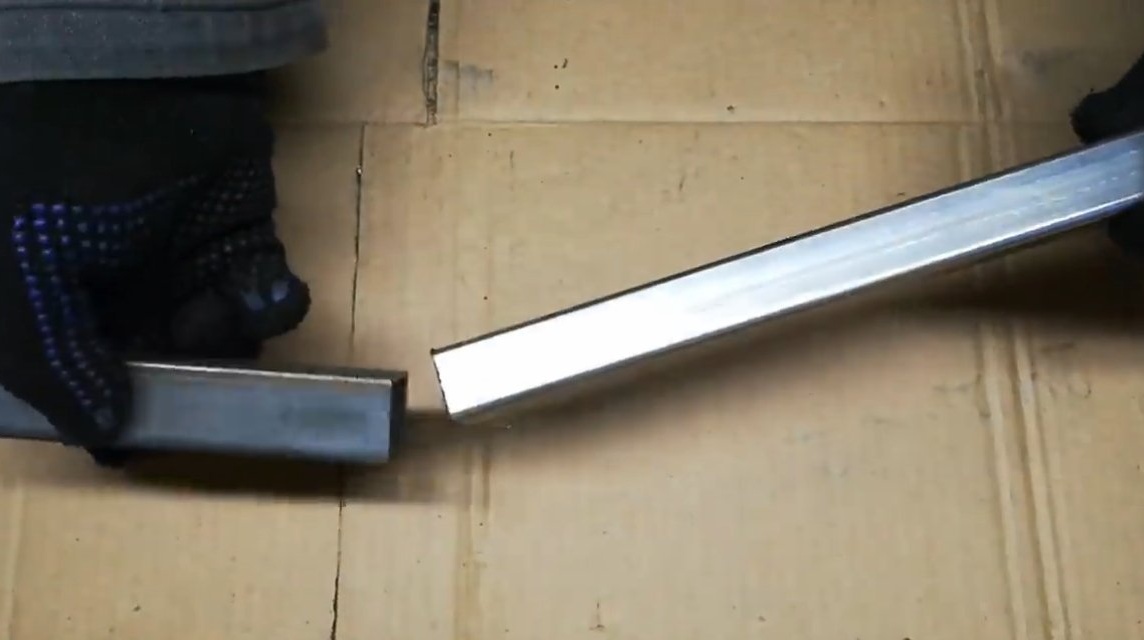
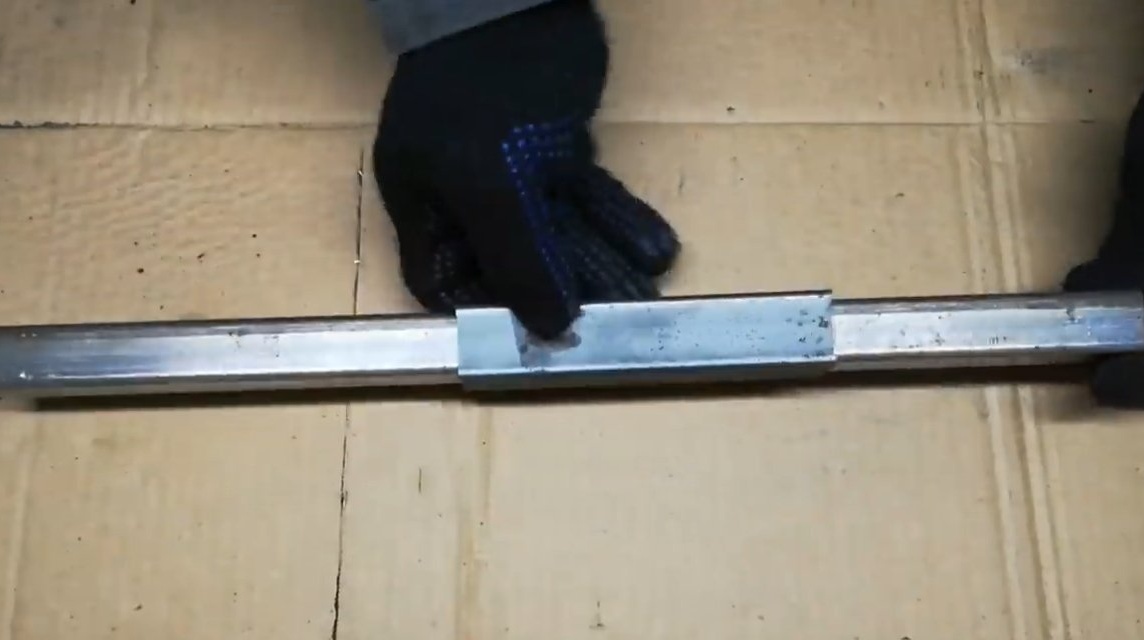
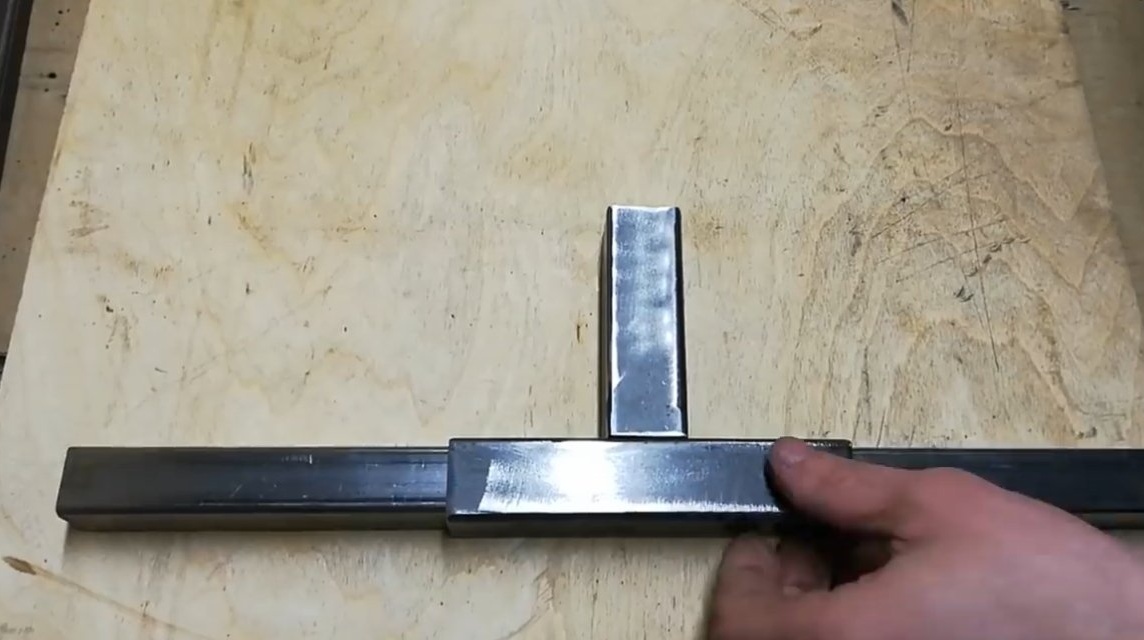
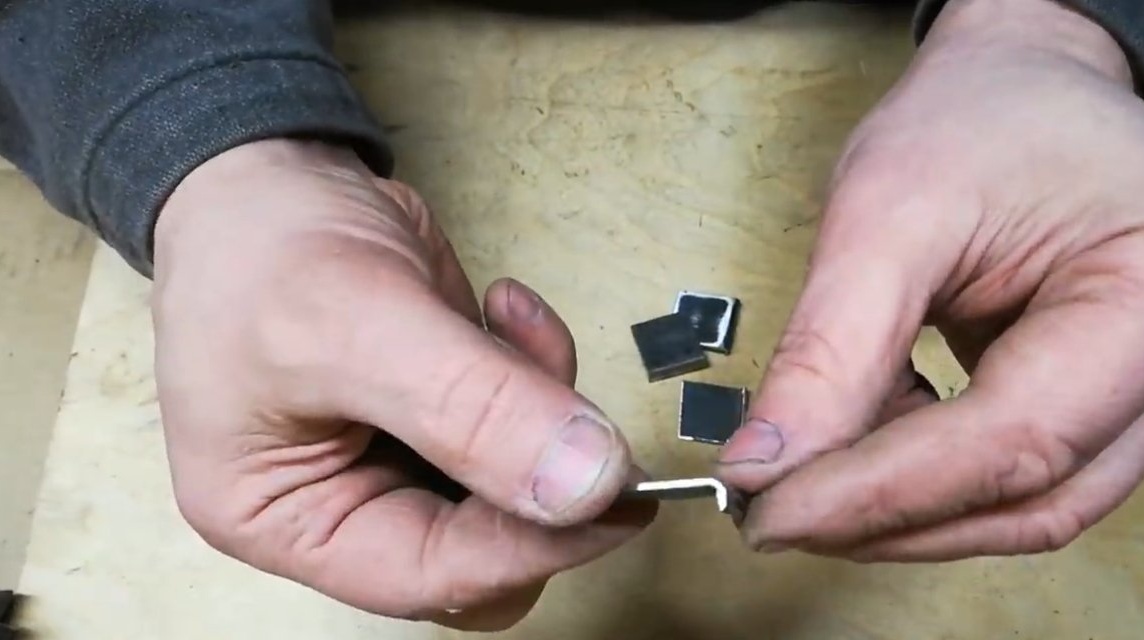
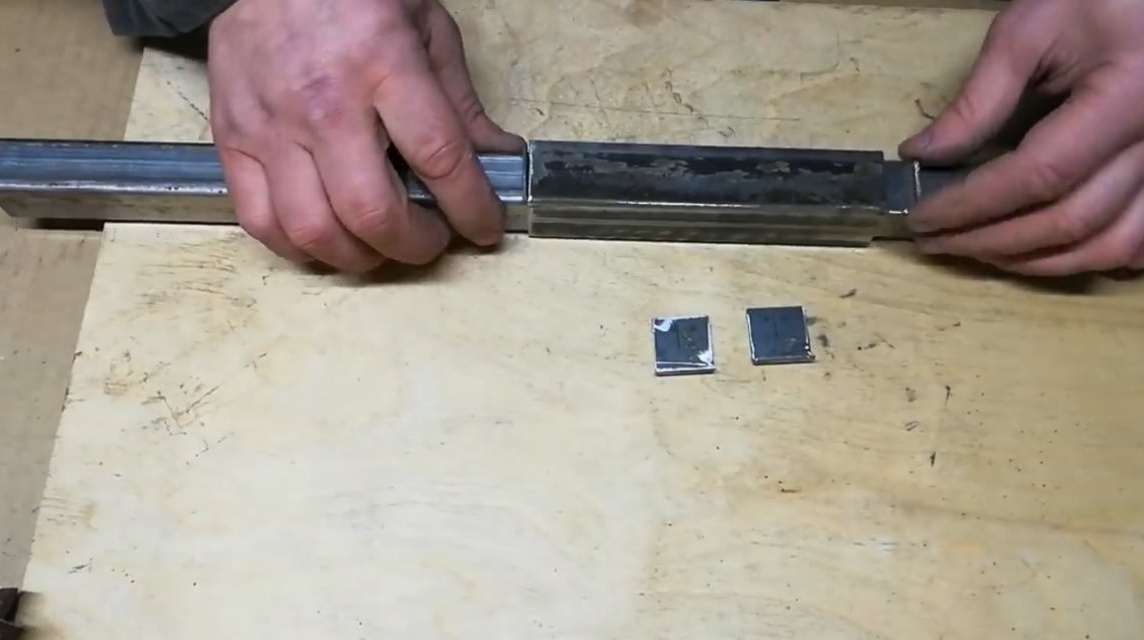
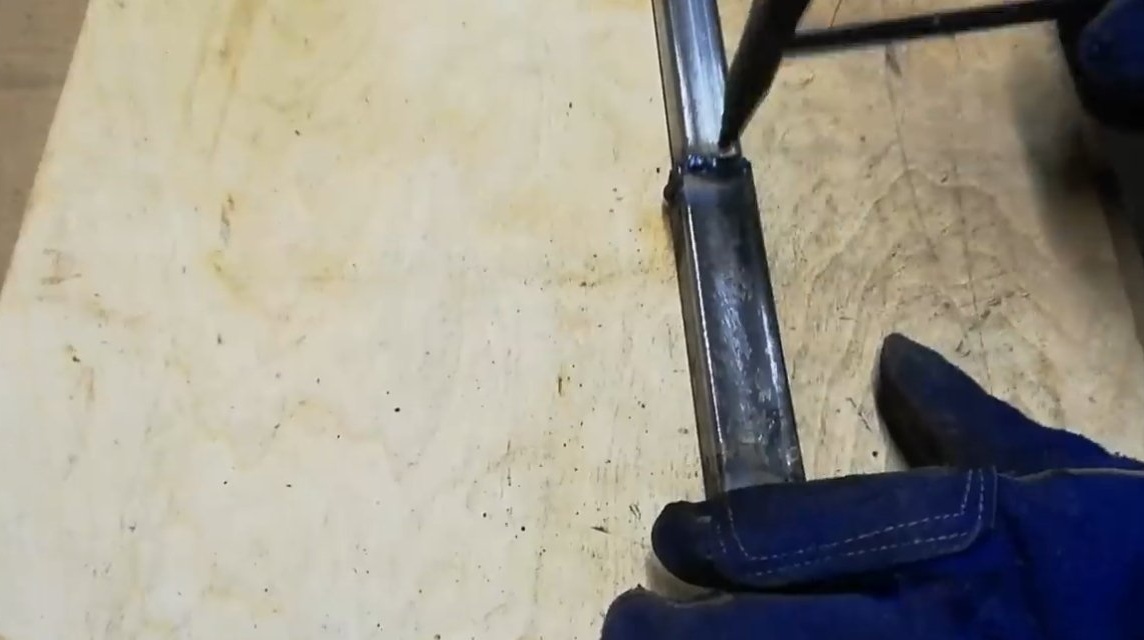
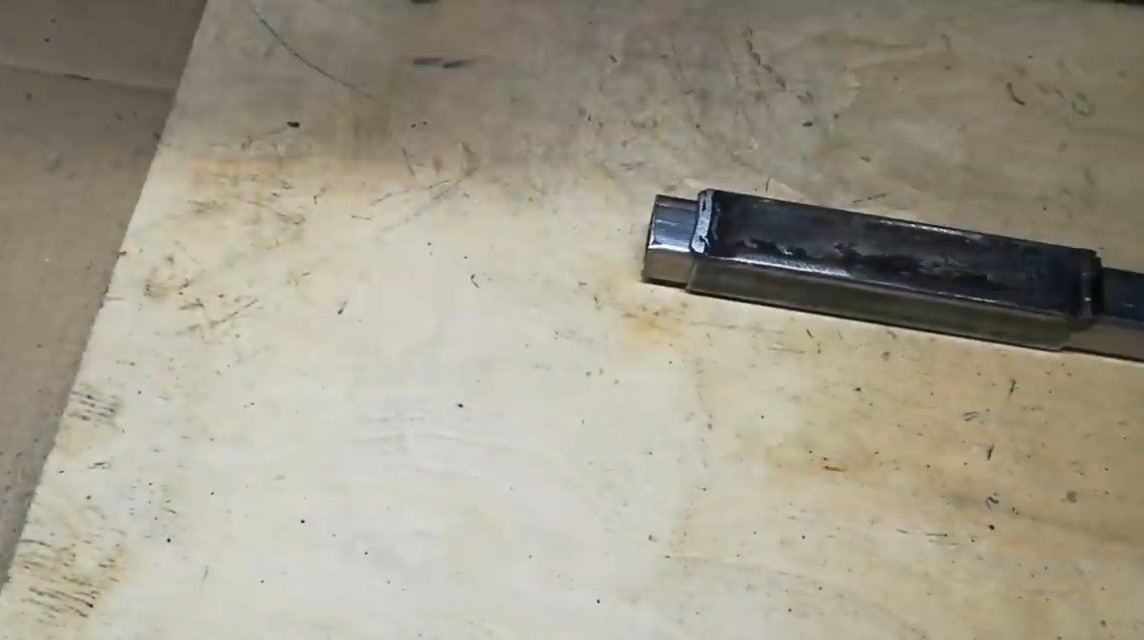
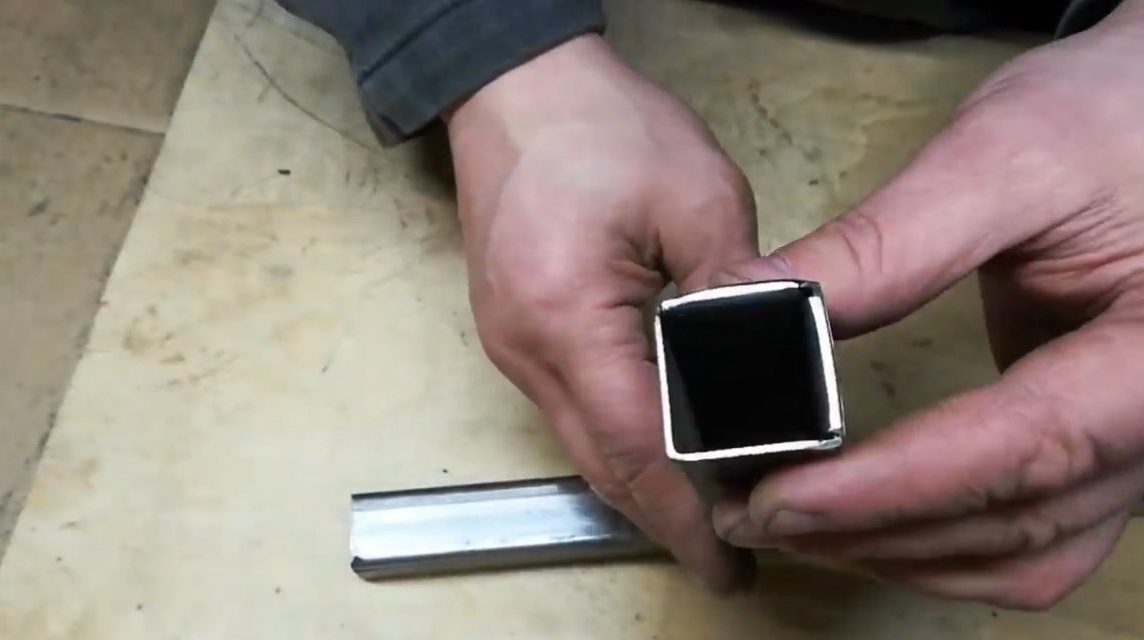
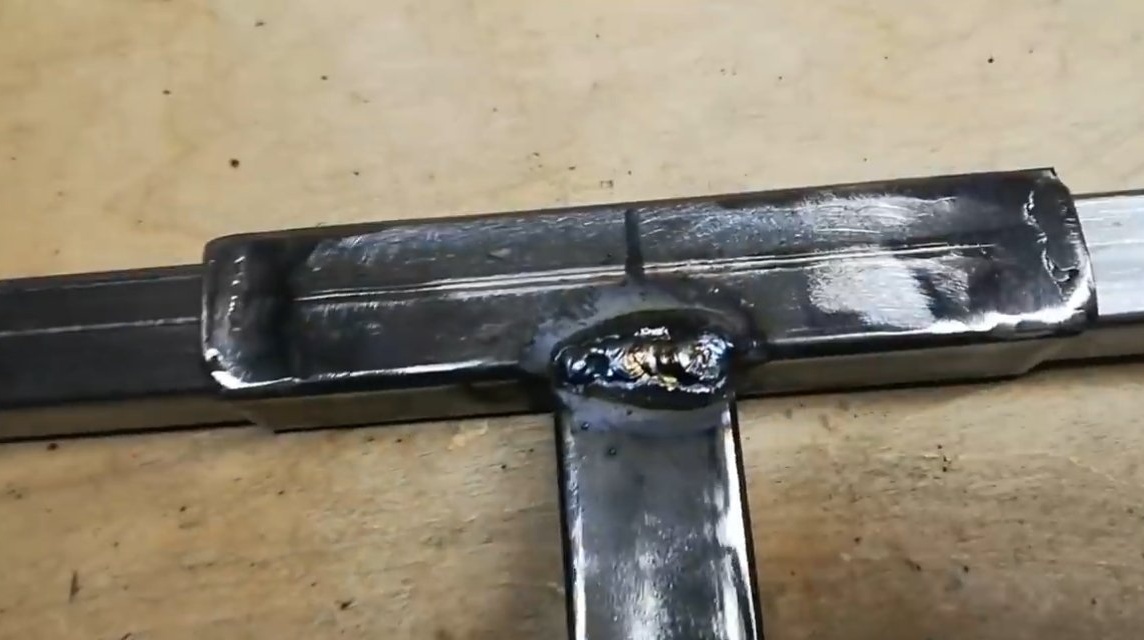
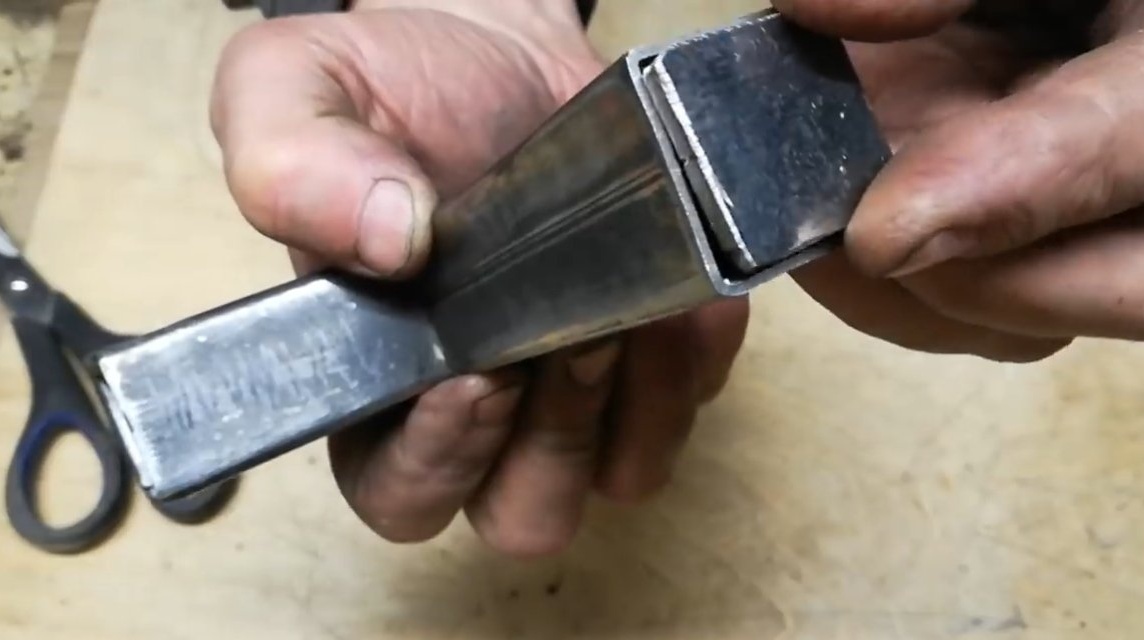
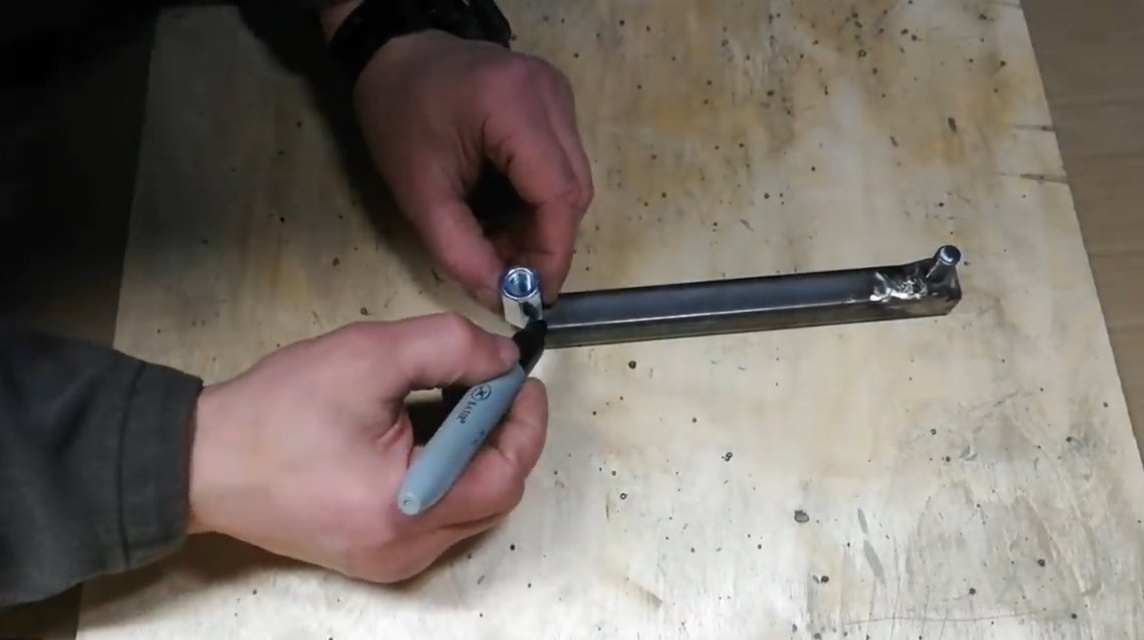
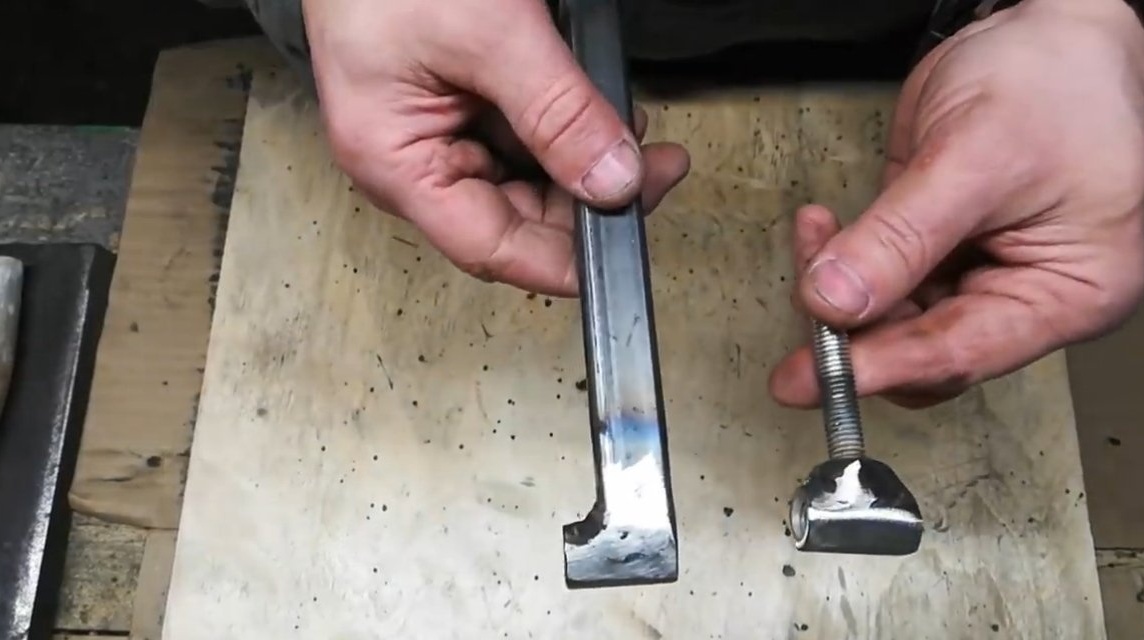
As a rack, the author used a piece of square pipe, and as a carriage, a piece of pipe of a larger diameter is also used. To minimize the backlash of the carriage, the author minimized the gaps by inserting steel plates into the carriage and welding them to the carriage. A suitable carriage can be made from a corner. At the end, we weld another piece of pipe perpendicularly to the carriage, on it there will already be a clamp for installing the drill.
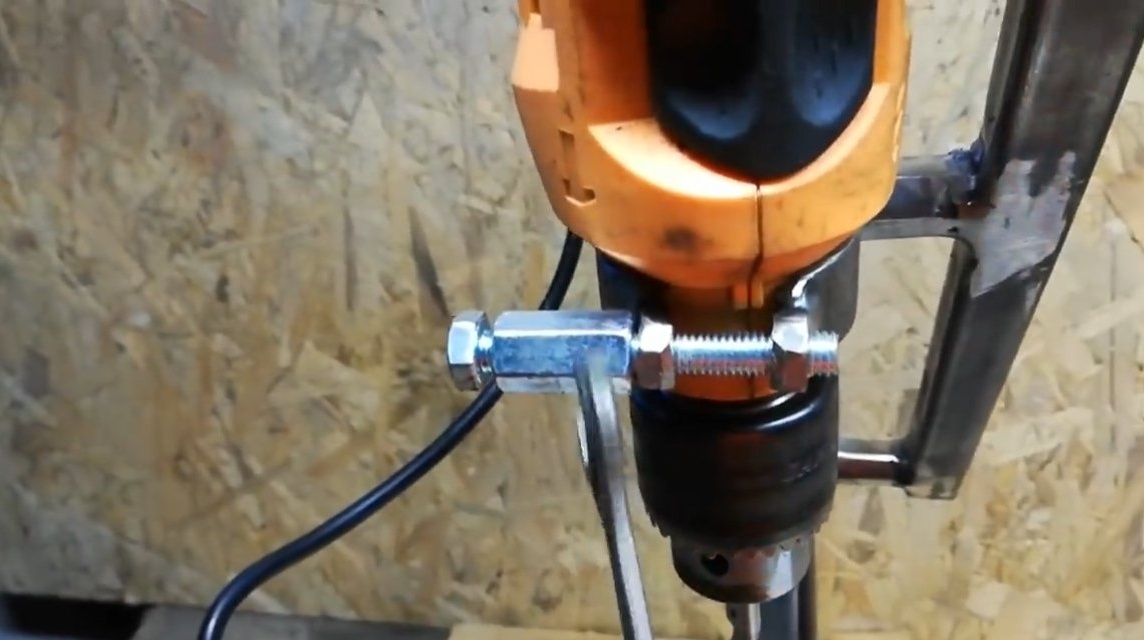
Step Four Clamp making
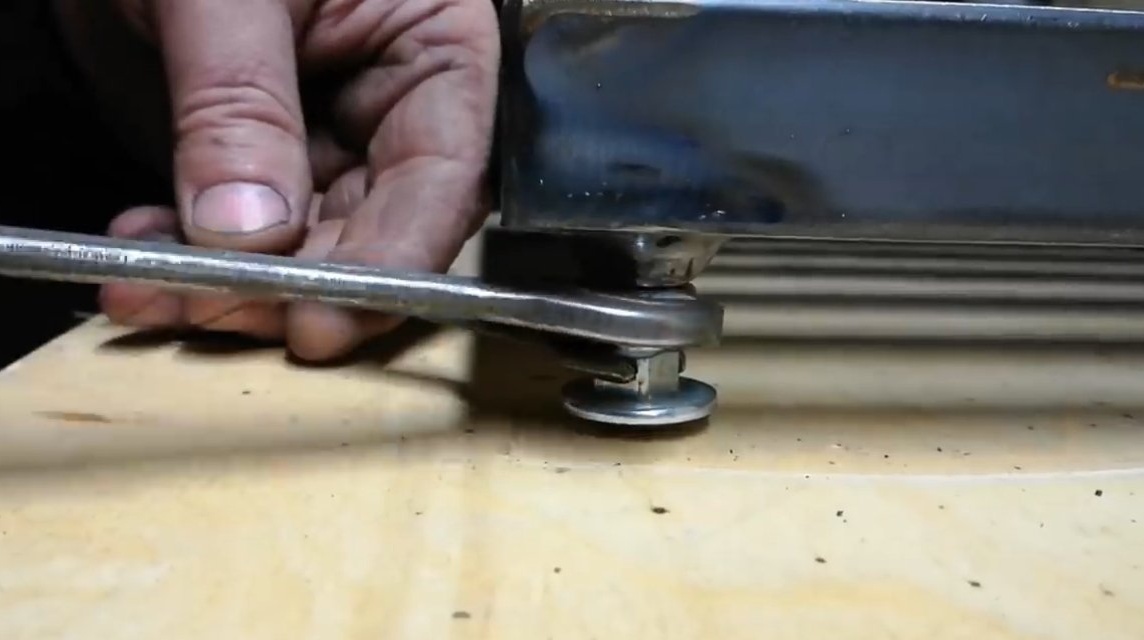
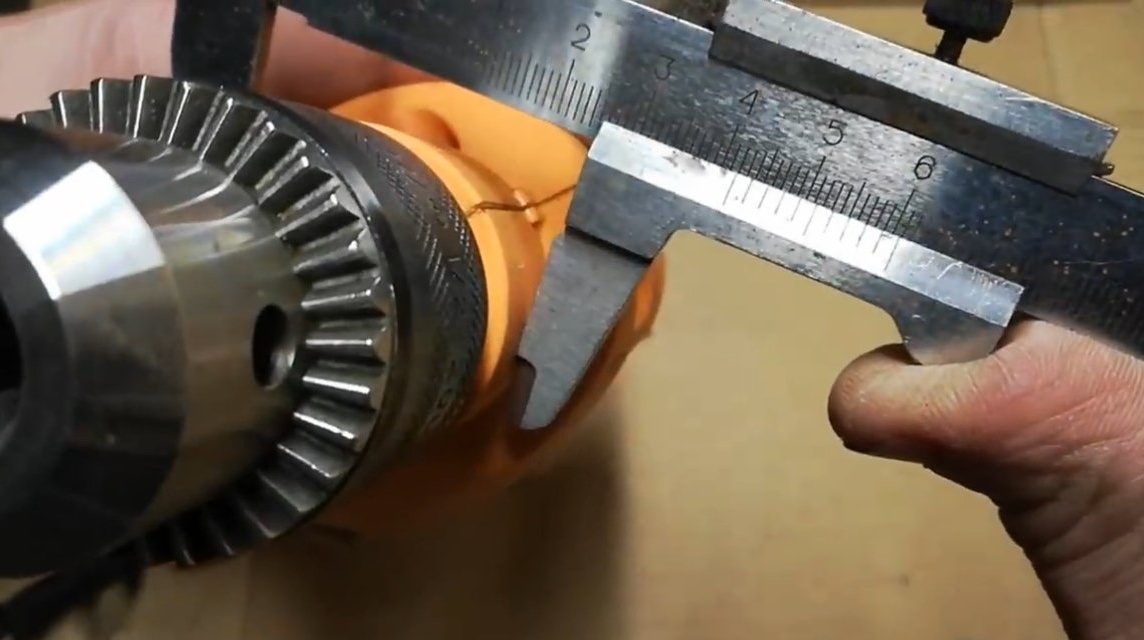
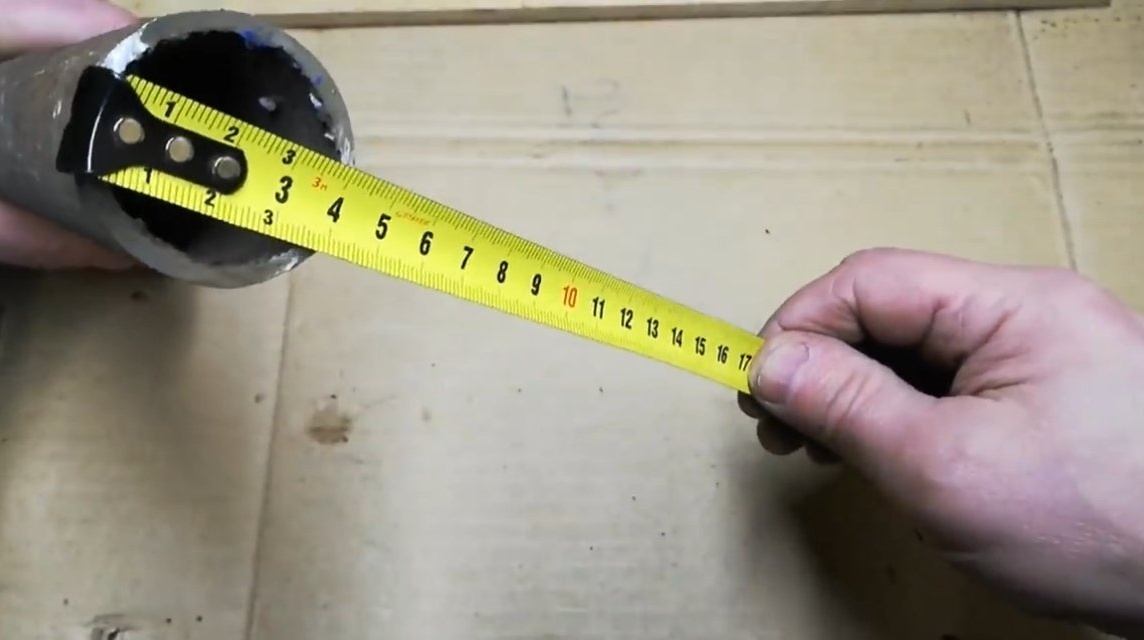
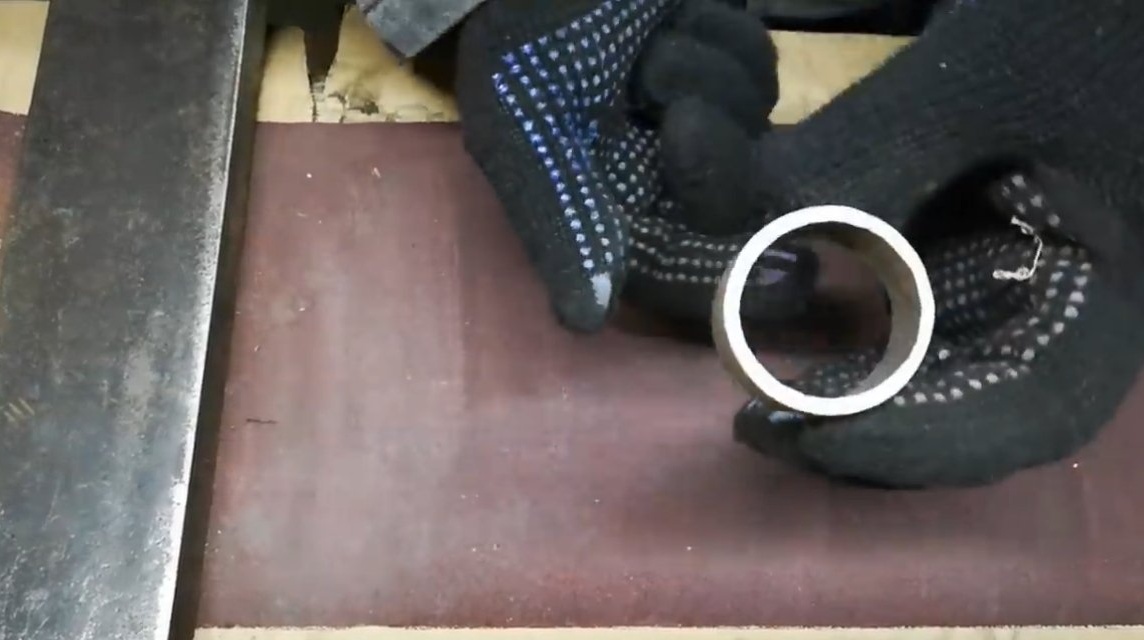
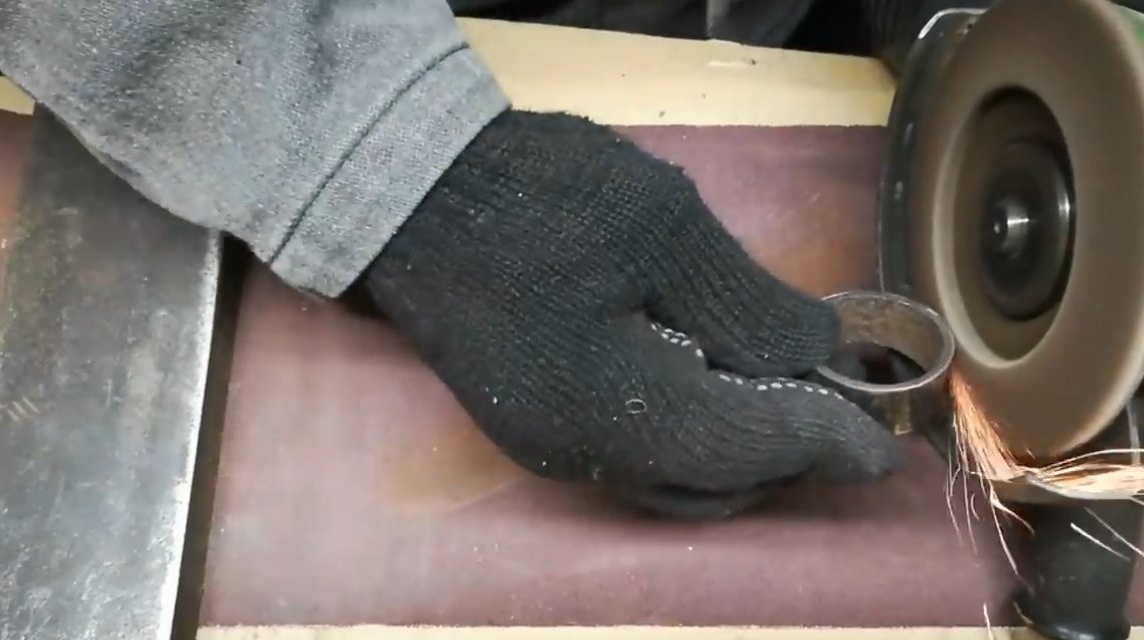
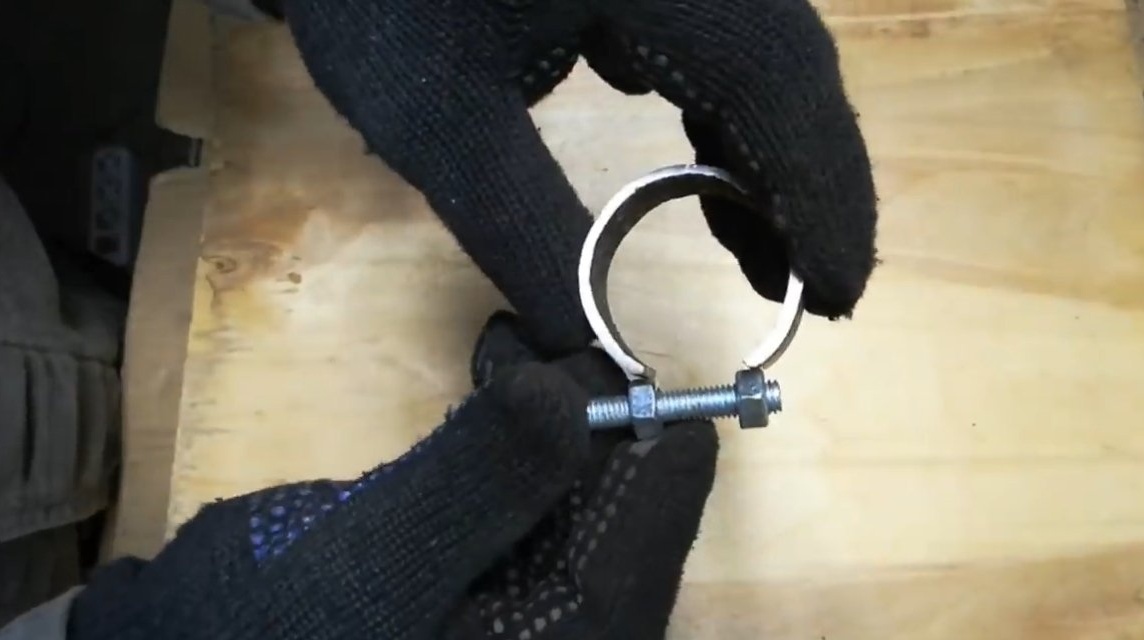
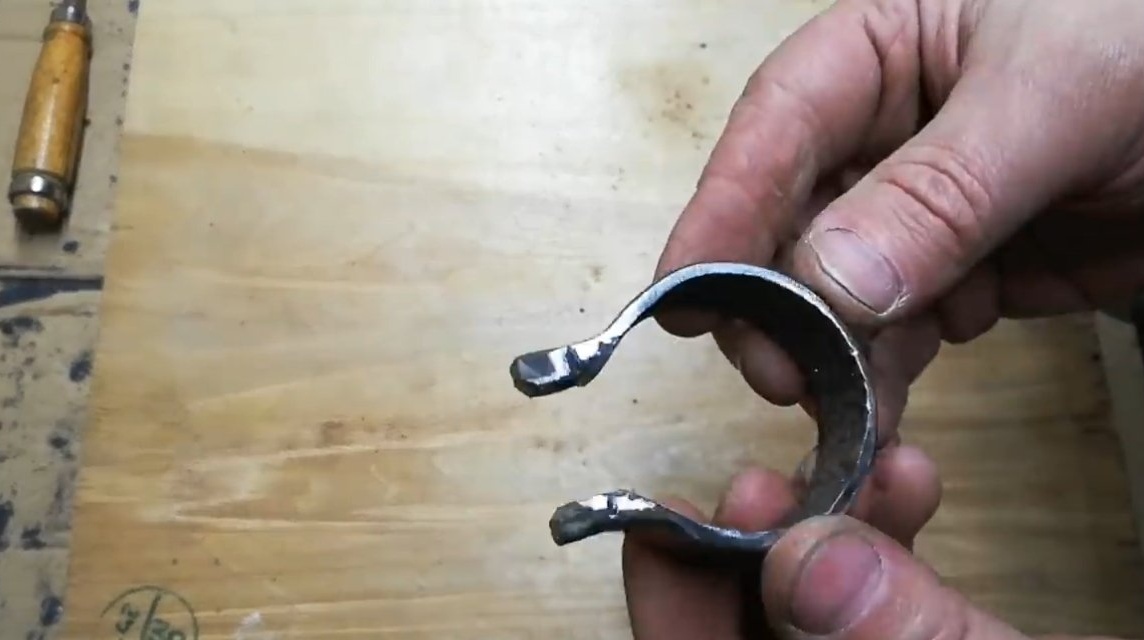
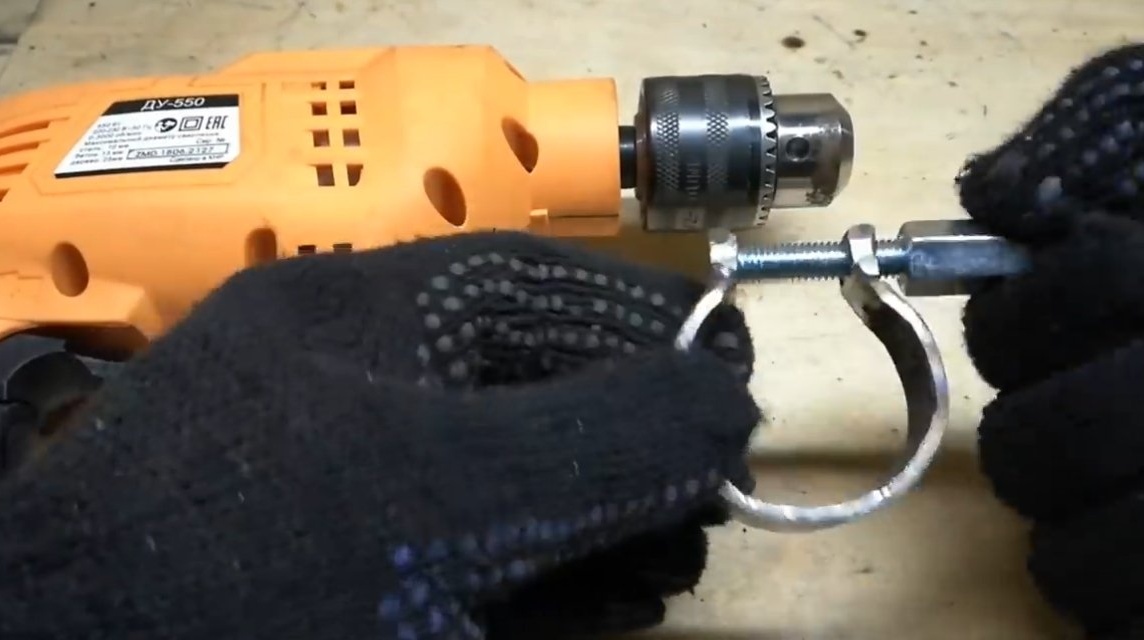
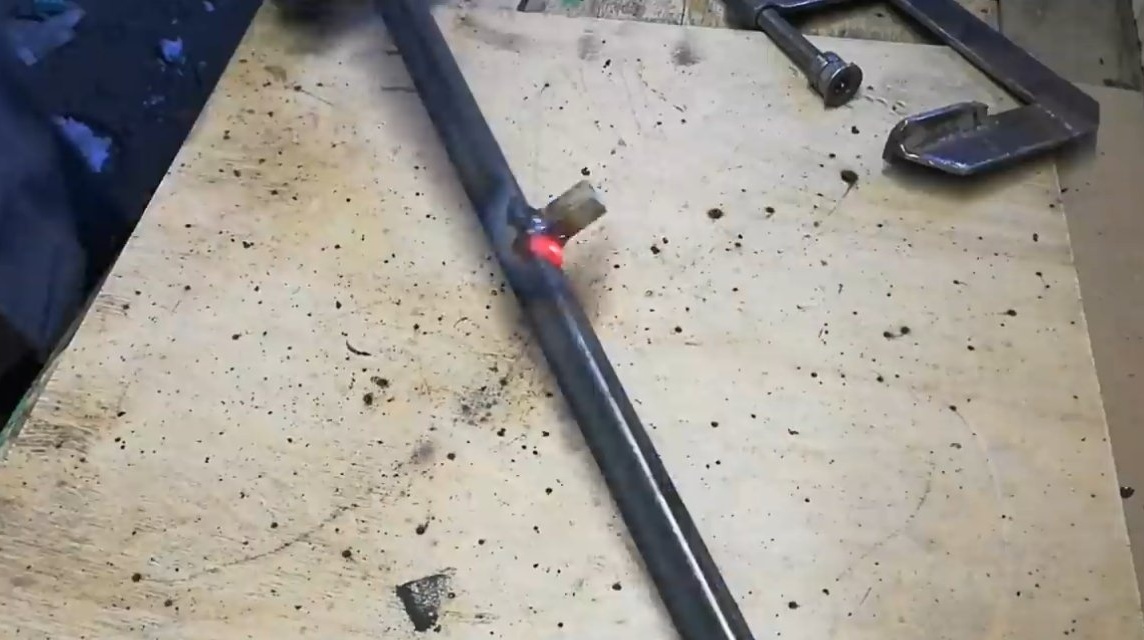
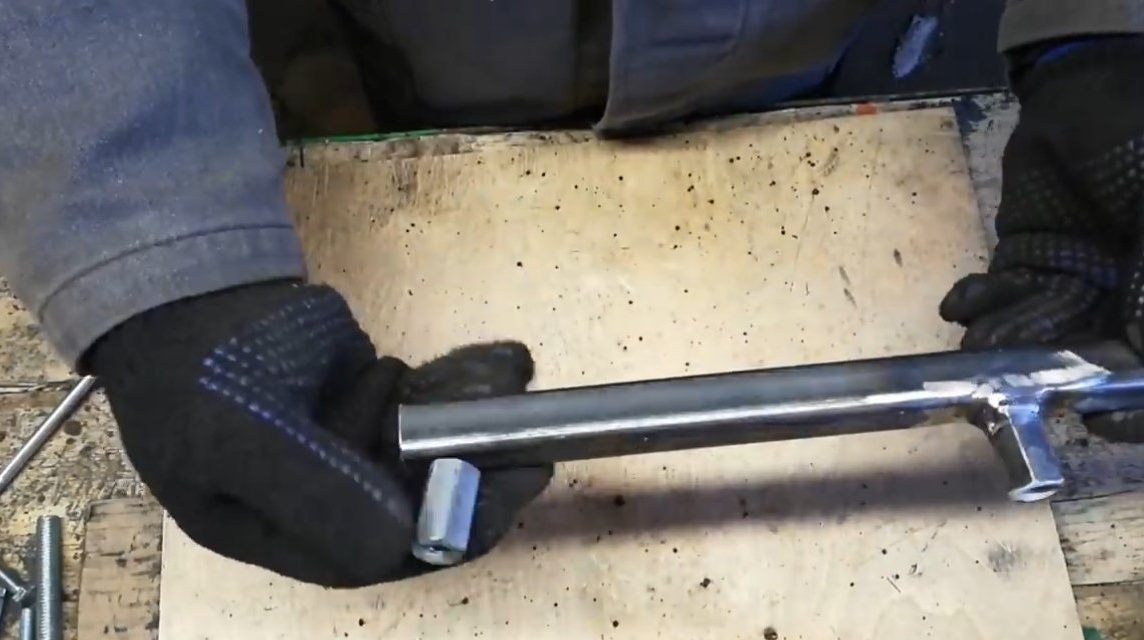
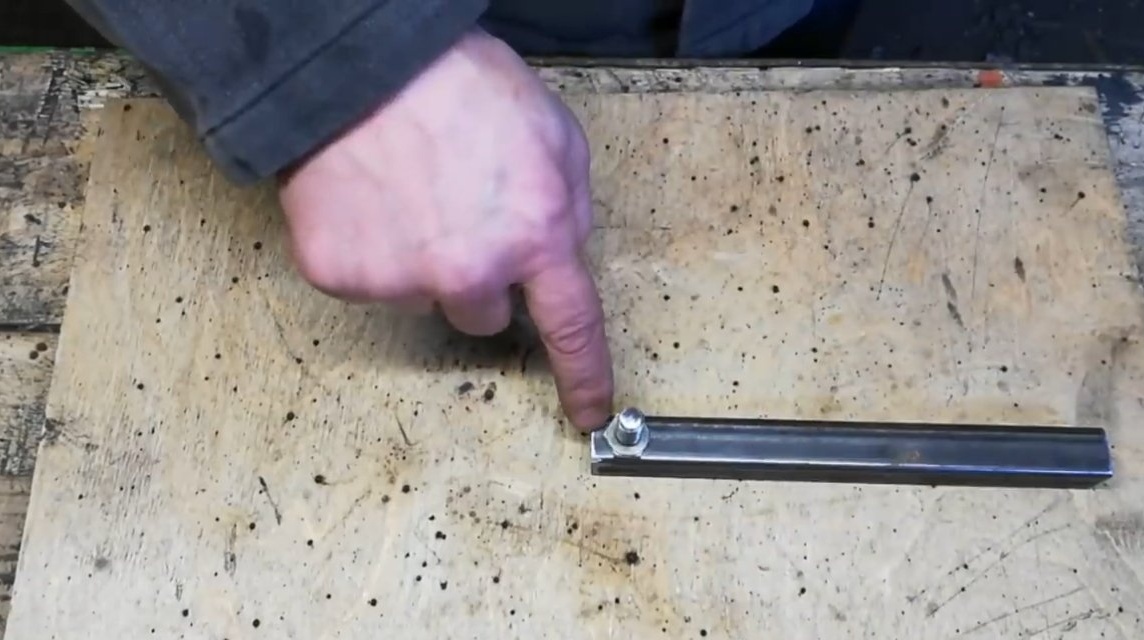
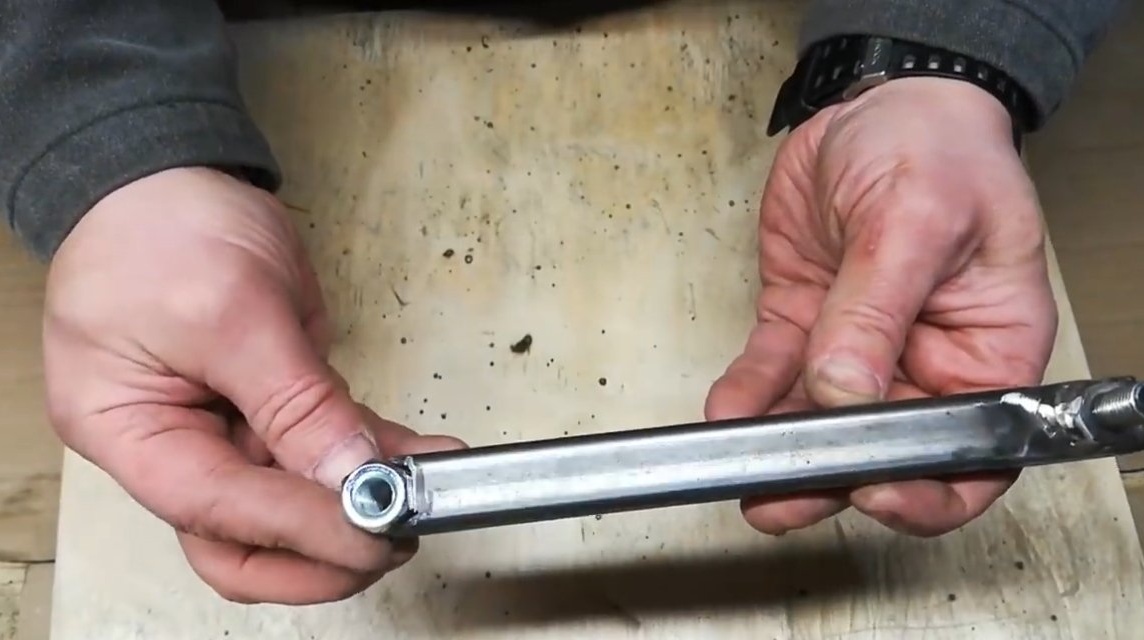
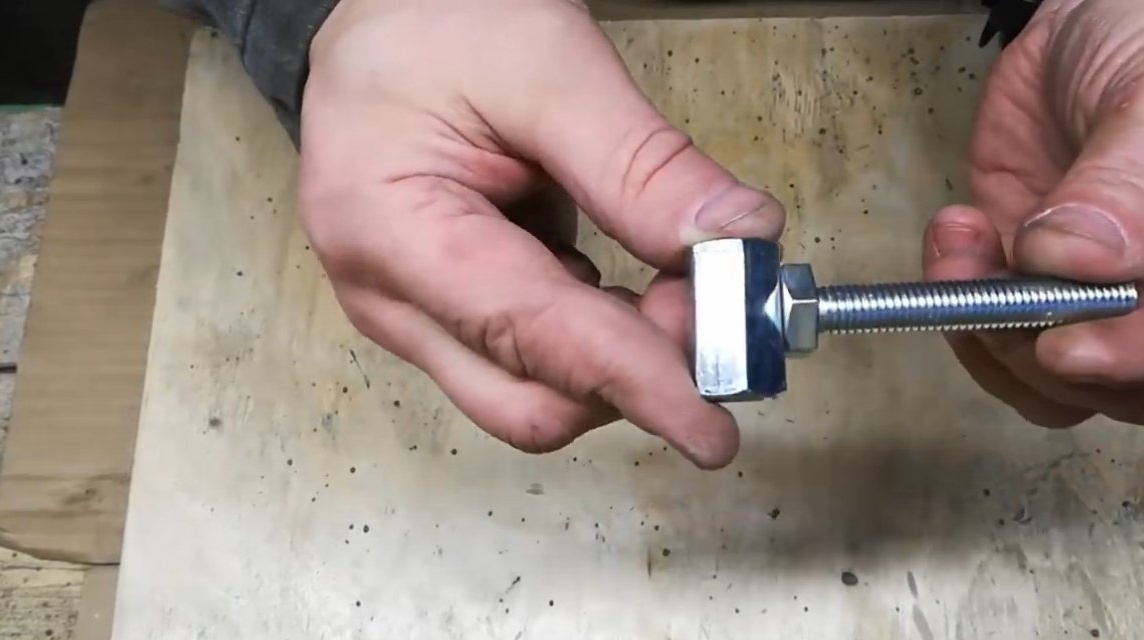
We make a clamp for a drill, which will quickly and reliably install, as well as remove the drill. The clamp will clamp the drill in the part where its front handle is attached. We make a clamp from a piece of round pipe of suitable diameter, tighten the clamp due to the bolt and nuts that are welded to the ends of the clamp. Of course, for a simple loosening of the clamp, it would be nice to weld a handle to the end of the bolt, so as not to use wrenches.
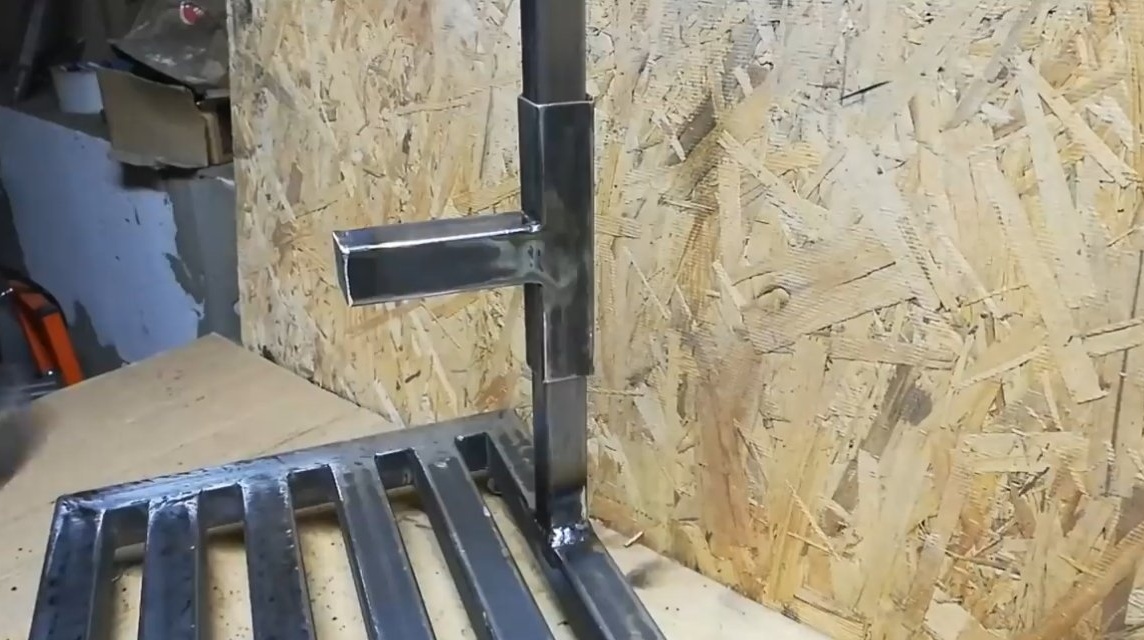

As soon as all these details are ready, the stand can be welded to the base, this must be done exactly at right angles. Similarly, we weld a clamp to the carriage, the drill should be to the base clearly at right angles.
Step Five Lever arm
We make a lever with which we will lower the carriage with a drill, as a basis we use a piece of a profile pipe. The lever is hinged to the carriage, the author successfully used nuts and bolts as a hinge, and this kind of “threaded hinge” turned out.
The end of the lever is pivotally attached to another lever, which acts as a stop. This most persistent lever is pivotally attached already to the frame. As a result, everything works approximately like a crankshaft and connecting rod in a car engine.


Step Six Spring and test
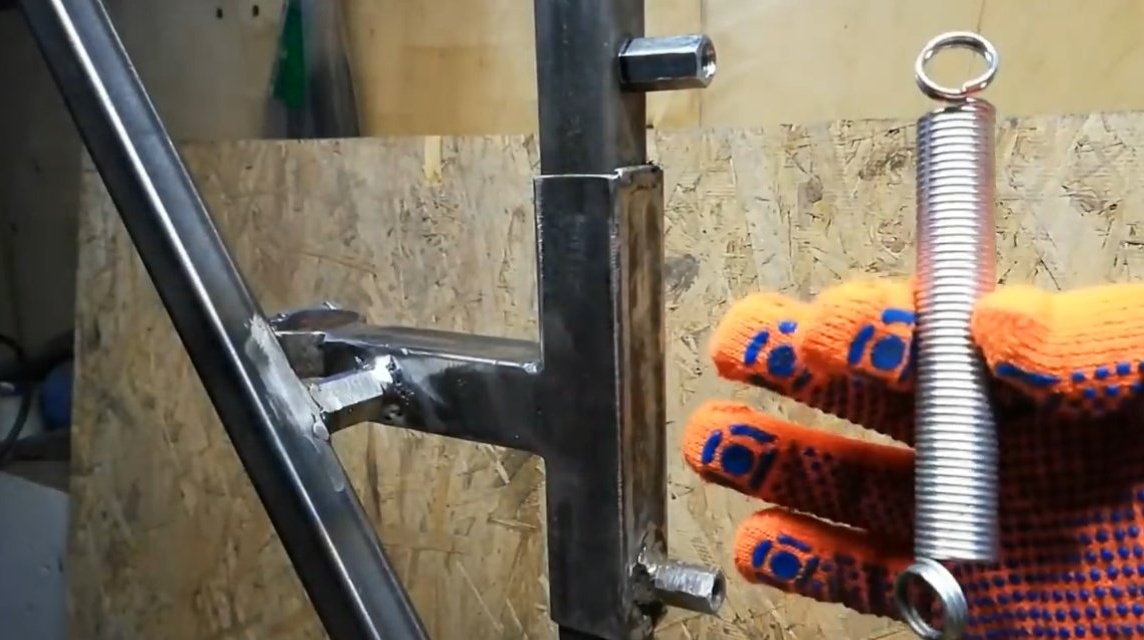
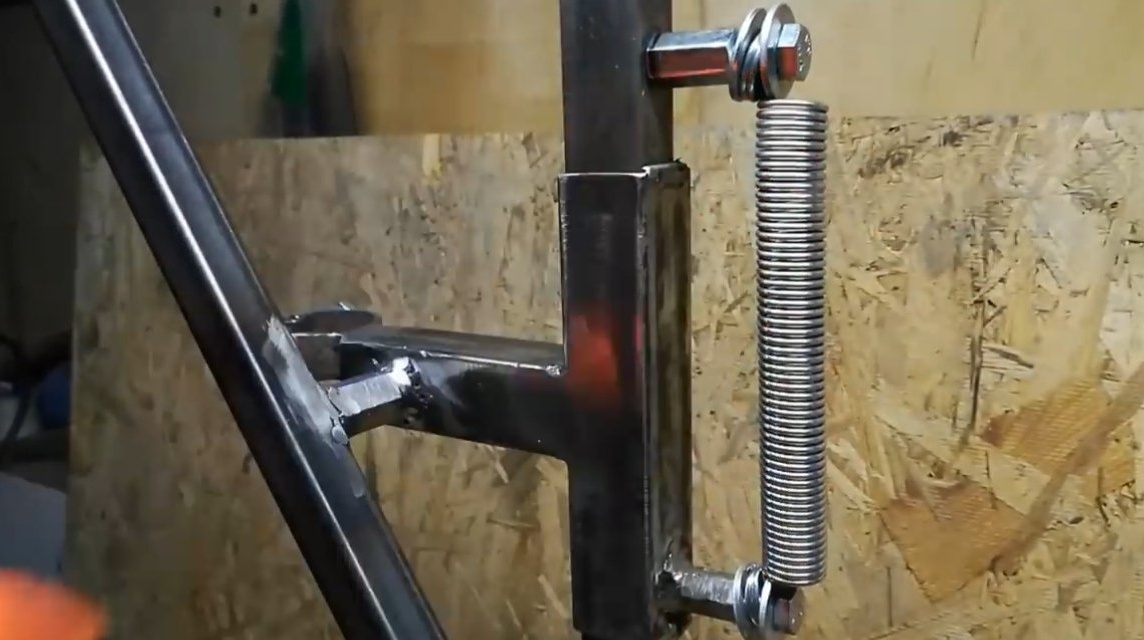
We weld the fasteners for the spring in the form of bolts, one bolt is welded to the carriage, and the other to the top of the rack. We install the spring, fasten it with nuts. The author adapted the spring for doors, which can be bought at a hardware store, we shorten the spring to the desired length.
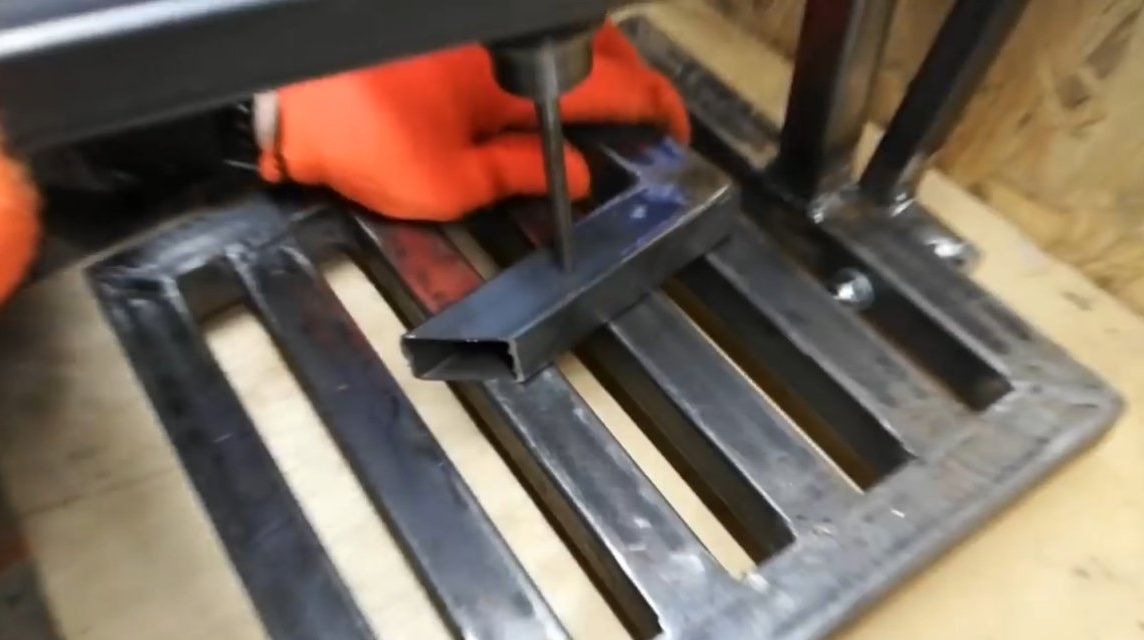
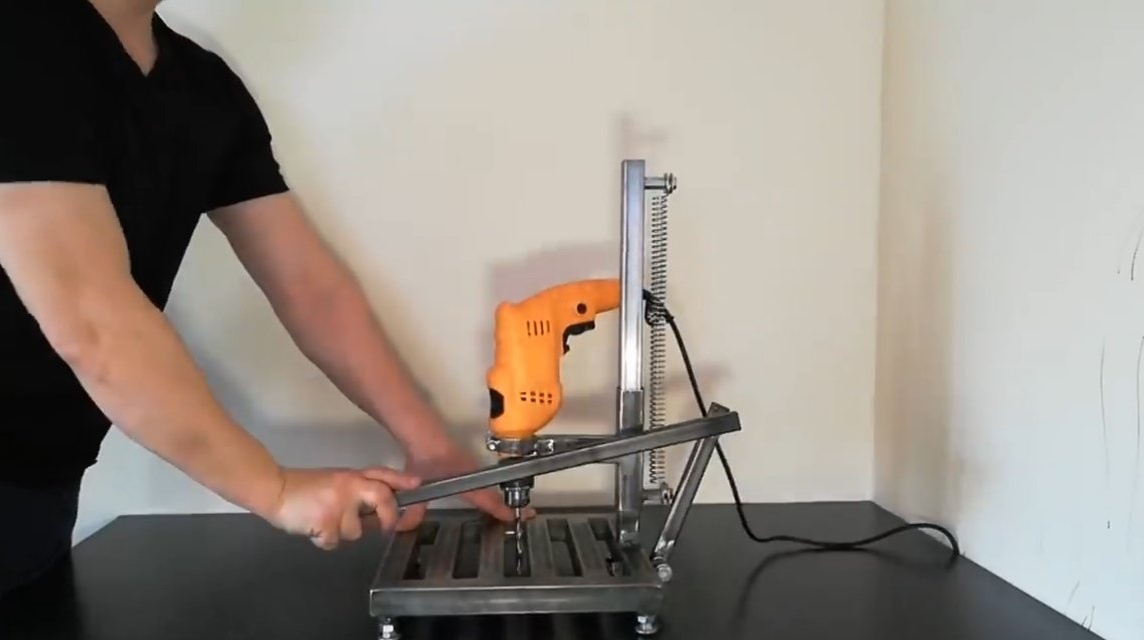
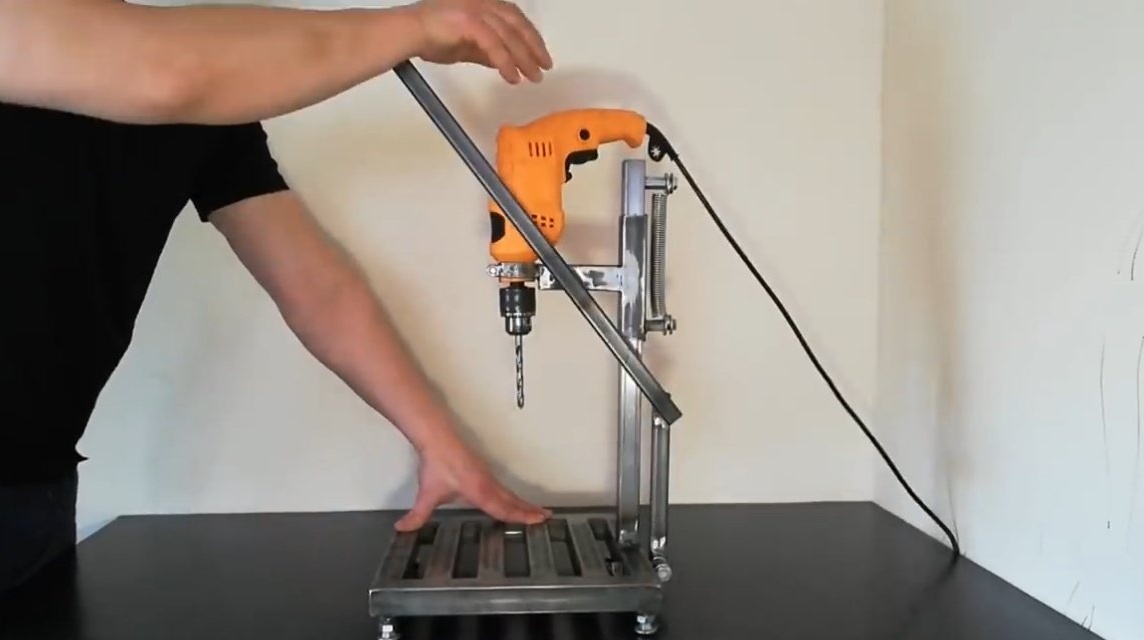
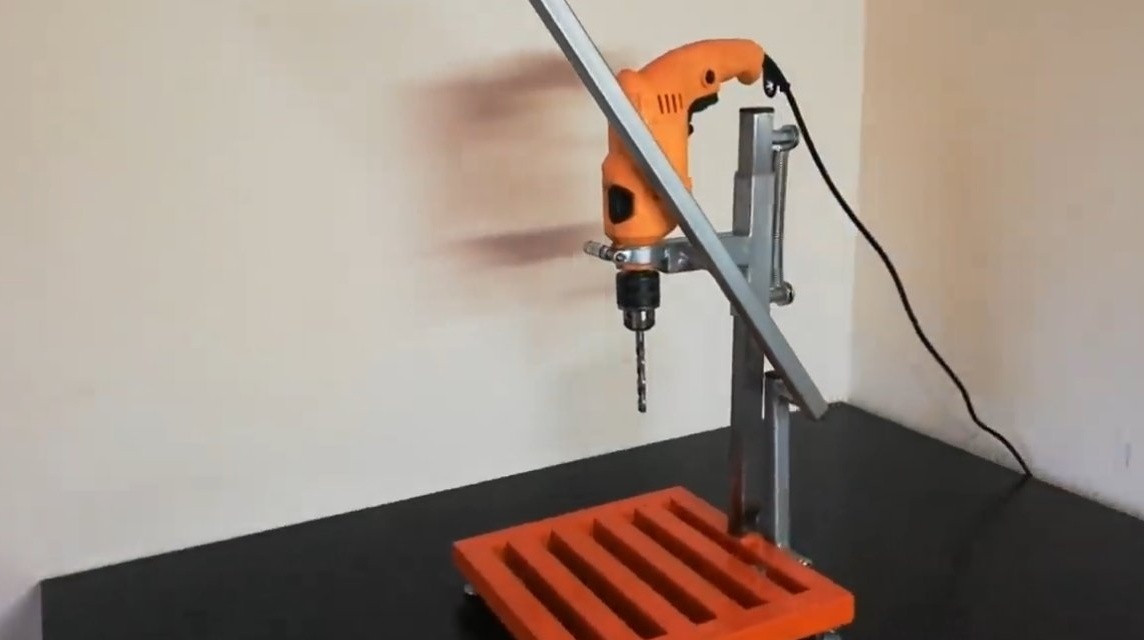
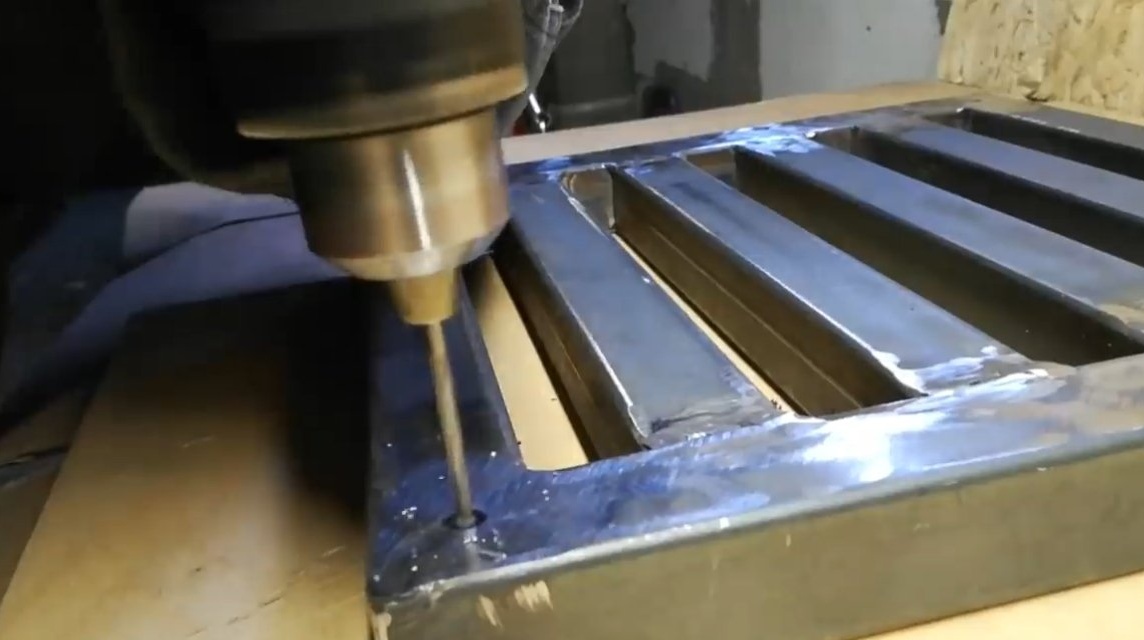
We put the drill in a rack and you can experience it, the author drills a hole in the profile pipe with a flick of the wrist, drills the machine evenly. Everything works fine, we paint the homemade product so that the machine does not rust. Of course, the rack does not need to be painted, it must be lubricated, so the machine will work longer, easier, and the metal will not rust.
The project is completed on this, I hope you liked the homemade work, and you found useful thoughts. Good luck and creative inspiration, if you decide to repeat this. Do not forget to share your ideas and homemade things with us!