
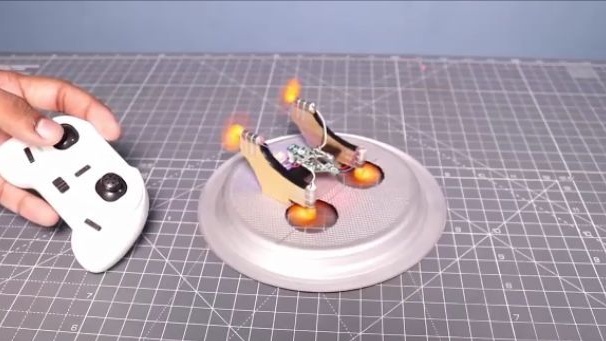
Good day to all dear friends! In today's article I would like to consider a very interesting idea homemade. This article will be described in detail and shown how to make a radio-controlled air cushion. This toy will be very like, both for children and adults. This air cushion can move very quickly on various surfaces, since it has virtually no grip, and as a result, it will turn out to be very maneuverable. This homemade product will be assembled on the basis of easily available Chinese components, which can be purchased in popular Chinese online stores. Homemade includes the study of the simplest device as a quadrocopter, and the air cushion itself. Having collected this homemade product, you will slightly pump your knowledge in a radio-controlled modeling. Well, let's not pull with a long introduction, we drove.
For this homemade product we need:
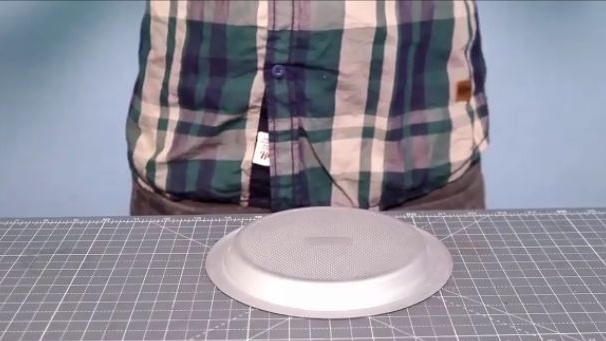
- Plastic disposable plate.
- A small sheet of corrugated cardboard.
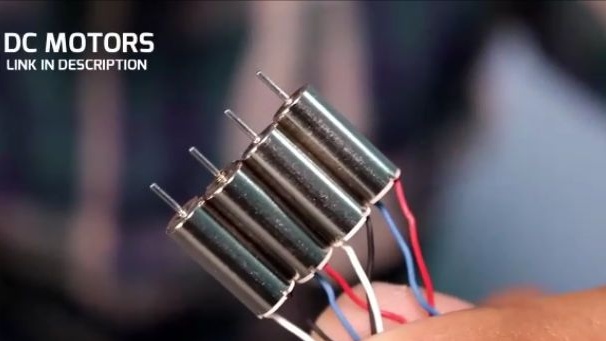
- Collector motors for micro quadrocopters 4 pcs.
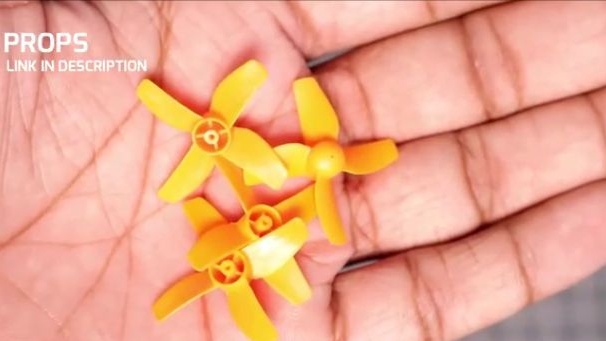
- Propellers for micro quadrocopter 4 pcs.
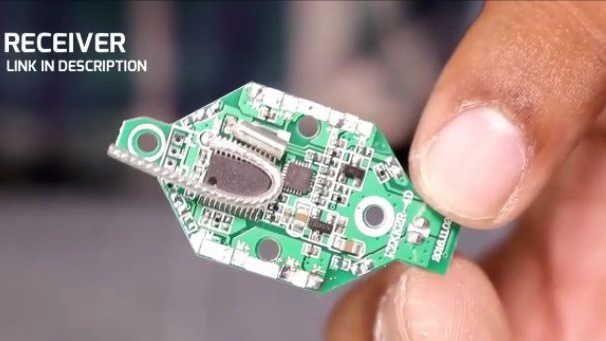
- The main control board, which includes a receiver, an abortion regulator, nutrition and a quadrocopter brain.
- Battery 7.4 V.
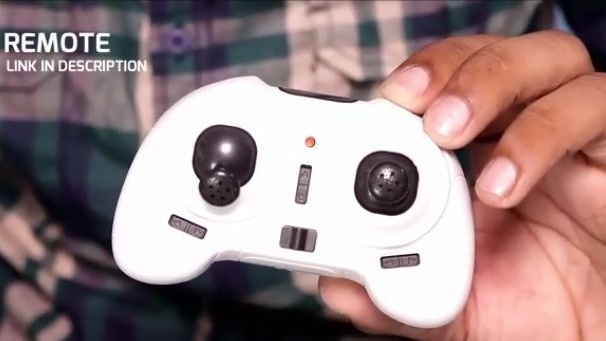
- Radio equipment for the control board.
Of the tools we will also need:
- Hot melt adhesive.
- Stationery knife.
- Compass.
- Ruler.
- Reinforced tape.
- Super glue.
- Soldering iron.
- Solder.
- Scissors.
- A simple pencil.
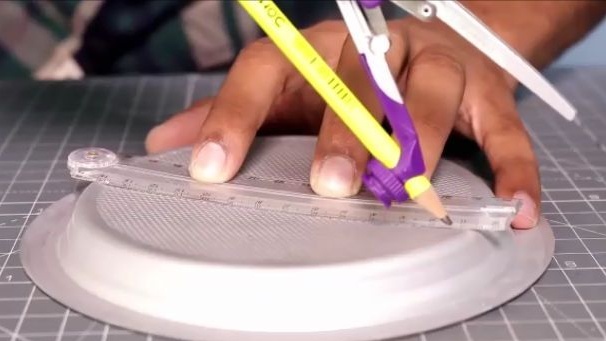
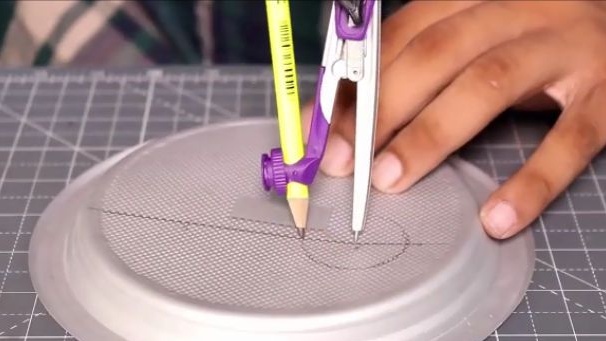
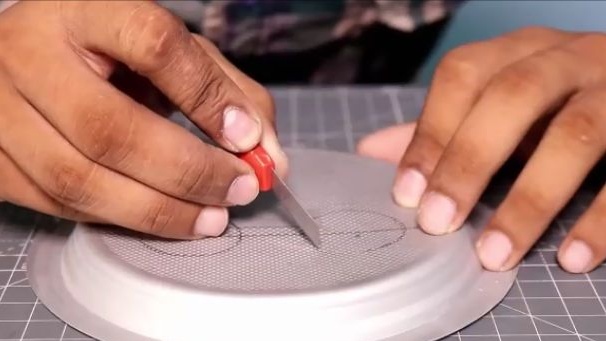
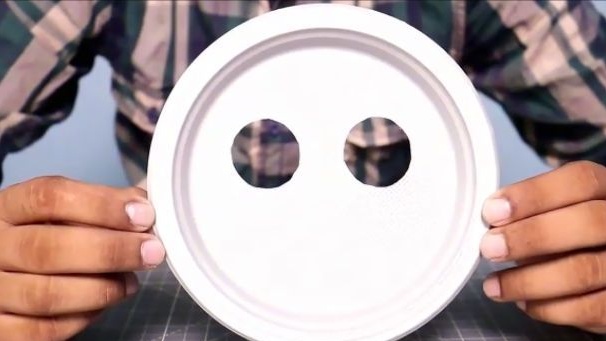
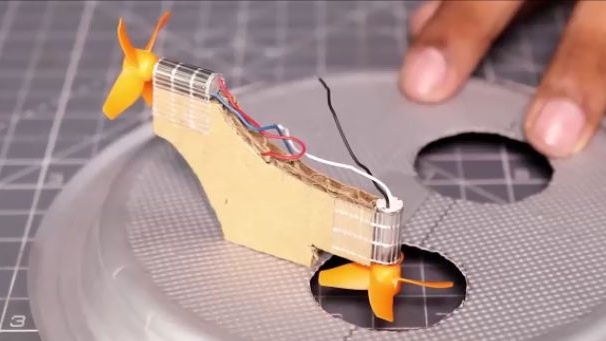
First, take a disposable plastic plate and make round through holes in it. To do this, take a ruler and a simple pencil and step back a couple of centimeters from the center, draw a line with a pencil as shown in the photo below. Next, we note two compasses in a circle at the location indicated in the photo. The diameter of the hole should be equal to the diameter of the propellers. Then, the marked holes are very carefully cut out with the help of an ordinary small clerical knife.

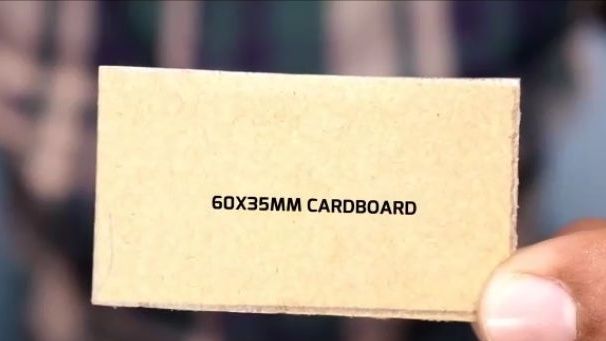
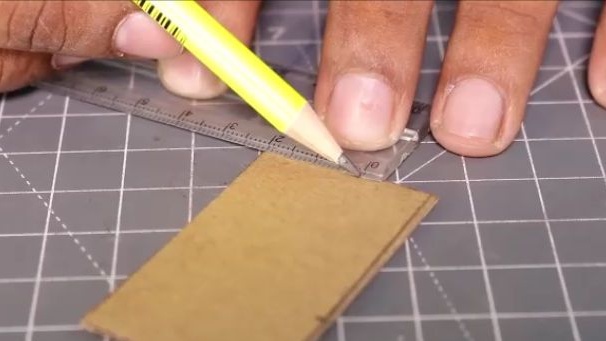
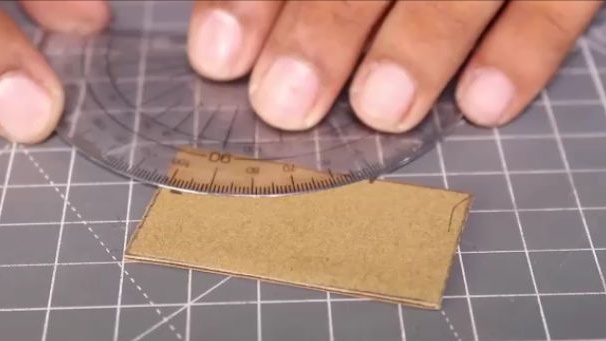
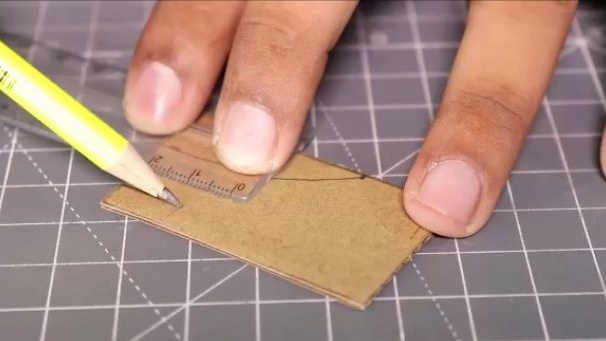
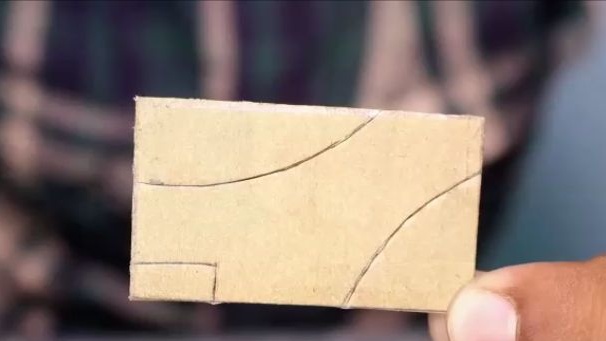
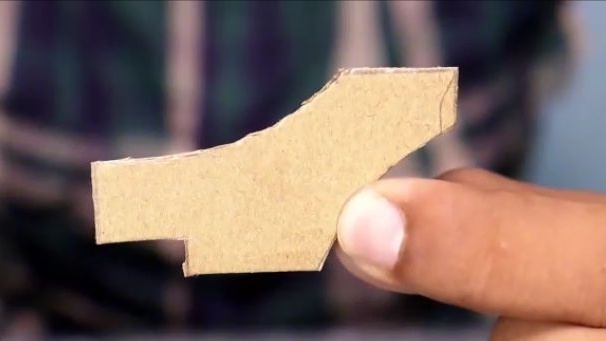
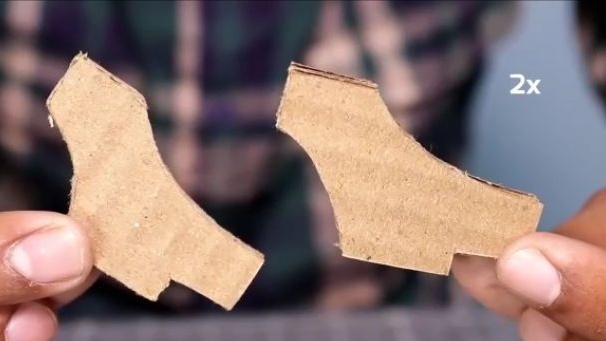
Next, we will make some racks for electric motors. To do this, a rectangle should be cut from a sheet of corrugated cardboard, the dimensions of which should be equal to 60 and 35 mm. Then the following should be done. We measure from the edge of the short side 20 mm and put a mark, and then also put a mark 20 mm from the edge of the long side opposite (see photo). We take the protractor and lean the two marked points against it, and draw a straight line. On the opposite side of the curve, draw a line in the corner, a small rectangle, the sides of which should be equal to 10 and 5 mm. And in the corner to the right, we also retreat 20 mm from the same angle and also draw a straight line using the round side of the protractor. Then, simply we simply cut off the excess by using a clerical knife along the contour. As a result, we should get it as shown in the photo below. We should make 2 such pieces.
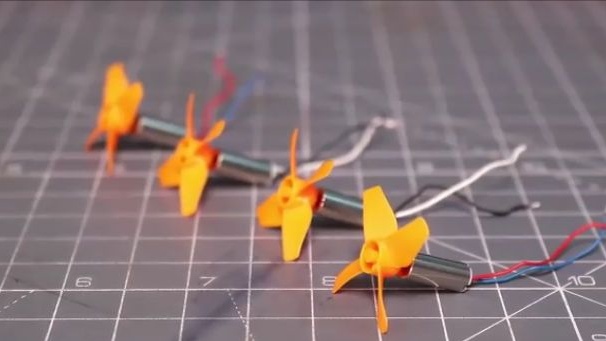
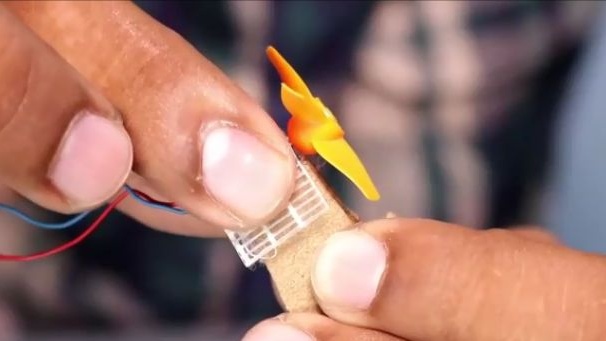
The next step is to take the collector motors and propellers to them. We put propellers on the motor shafts as shown in the photo below. Then these electric motors should be fixed on cardboard blanks, which was done earlier, for this we cut out small strips of reinforced adhesive tape and glue the electric motors to the places indicated in the photo. As a result, we should get two of the same blanks as in the photo.
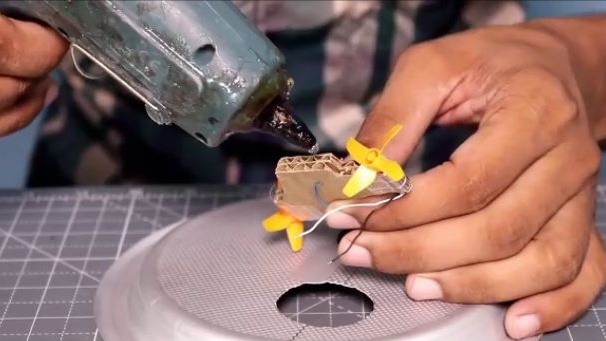
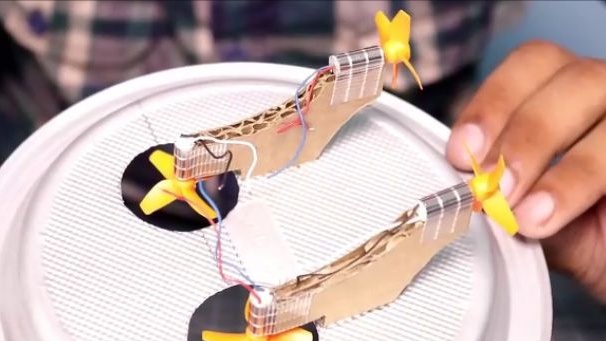
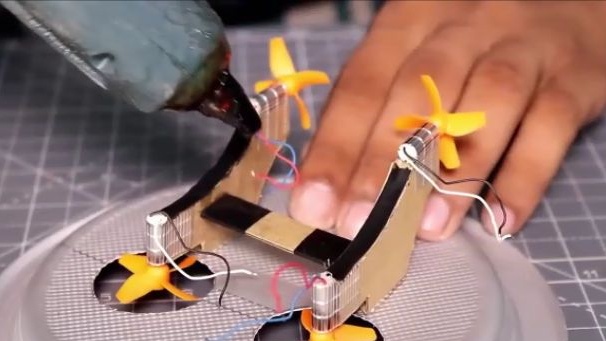
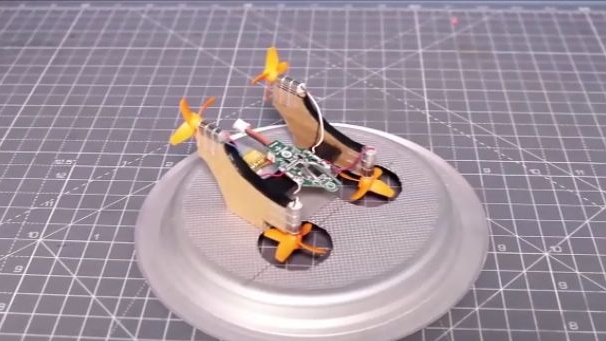
Then you should connect the workpiece with electric motors with a plastic disposable plate. To do this, take hot-melt glue and apply it to a cardboard blank (hot-melt glue should not be very hot, otherwise it will simply melt the thin plastic of the disposable plate) and glue them so that the electric motor, looking down, stands exactly opposite the hole made.
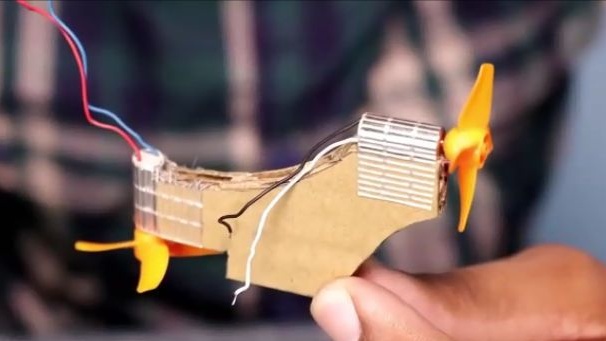
Then, in order for the motor racks to reliably and more firmly hold on the plate, the spacer should be glued. To do this, cut a rectangle with a width of not more than 20 mm from a sheet of corrugated cardboard, and the length should be equal to the distance between the racks. Then we install the just-cut strut and fix it with super glue, just dropping a couple of drops at the junction of the cardboard blanks.

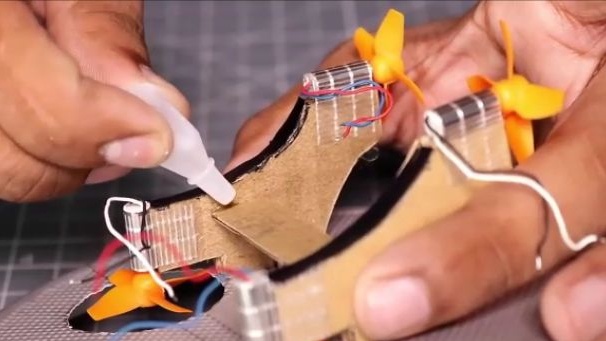
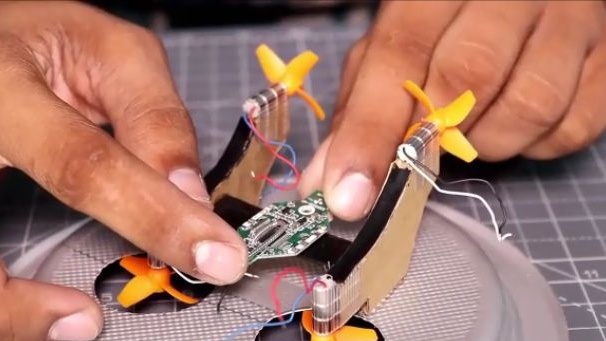
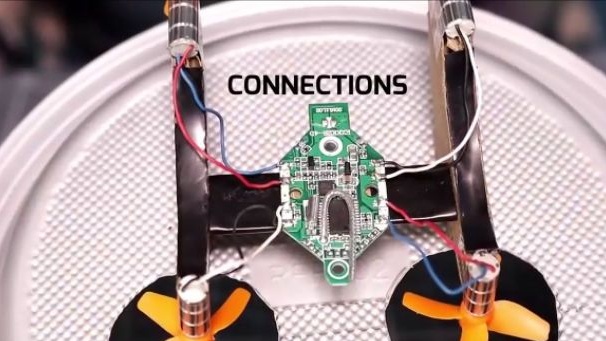
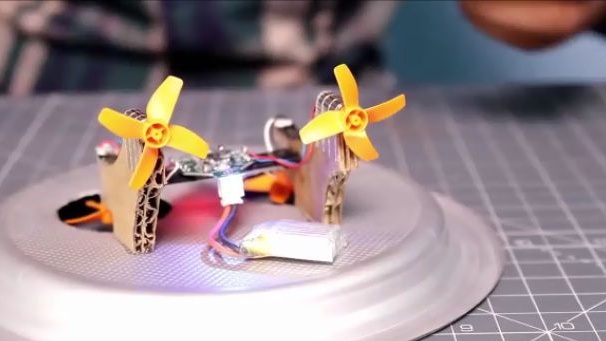
Then the author decided to add black electrical tape for aesthetics in the design (this is not necessary). Next, take the main quadcopter control board, more precisely, the air cushion controls. And we glue the board you took to the structure using hot-melt adhesive, we glue the board to the newly installed spacer. It is important to note that the control board should be glued exactly in the center of the structure with the antenna facing up, and the power connector back.
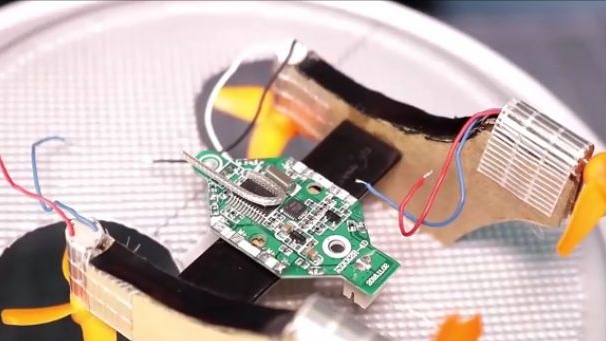
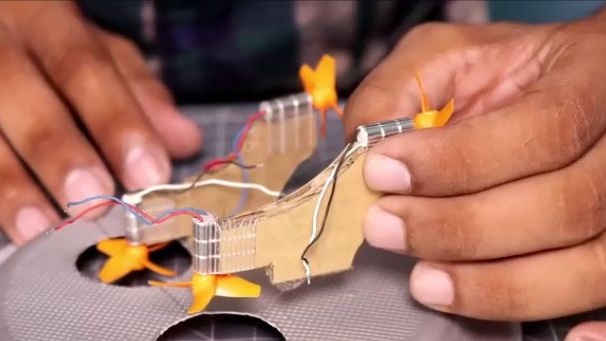
Then we solder all the wires going from the electric motors to the control board in the same way as shown in the photo below. Please note that electric motors are sold mainly in a kit and they are not all the same in it, two with red-blue wires and two with black-and-white wires. Electric motors should be mounted crosswise to the control board. And glue the battery to the plastic plate itself.
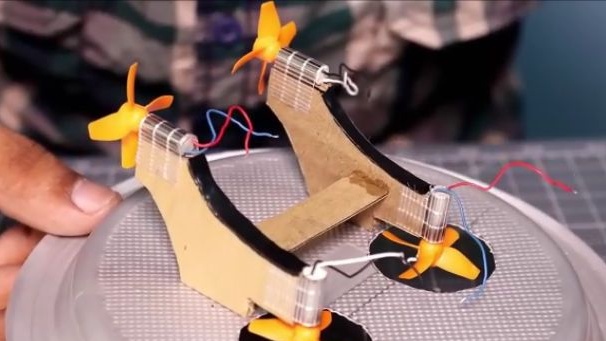
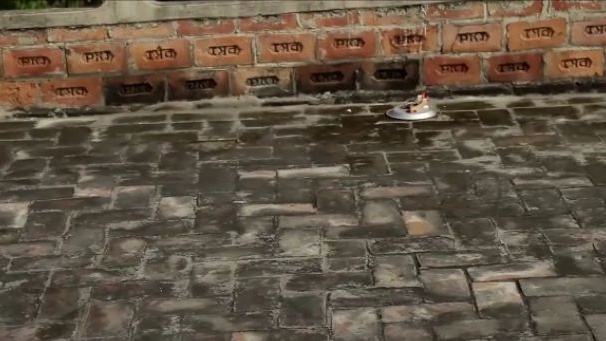
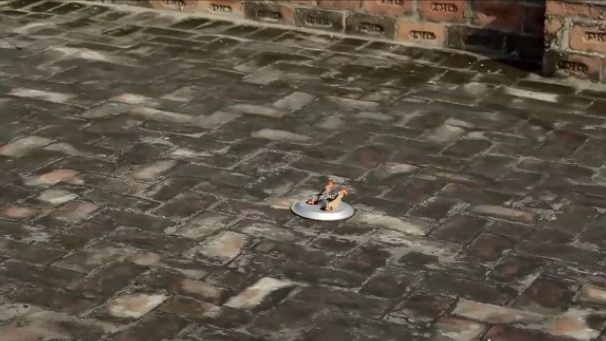
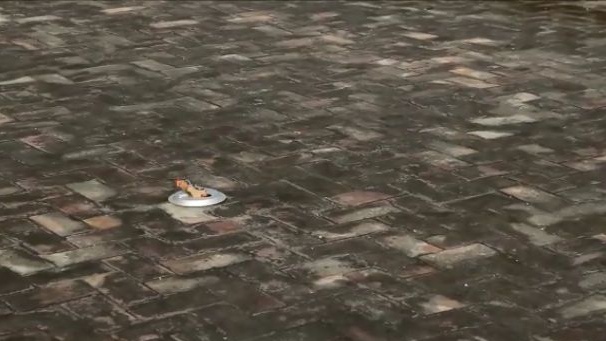
All is ready! It remains only to charge and connect the battery to the power connector on the board. For the correct operation of the air cushion for radio control, the following should be done. First, we insert the batteries into the radio equipment and turn it on, only then we connect the battery to the board. Then, with the left stick of gas, we move up and down, after which the equipment and the control board are connected to each other. Next, for calibration, you should find a flat and flat surface, for example, floors in a house or apartment. Silently add gas with the left stick and the airbag should move straight forward. If you have it rolls slightly to the right or left or turns due to a horizontally mounted electric motor. Then we calibrate the electric motors with the keys under the sticks, by typing. That is, first we click on one arrow, and if it gets worse, then we click on the opposite arrow and continue until the pillow moves as smoothly as possible when you press the gas. You should steer with the right stick, just moving it left or right.Well, in the end we got a relatively simple toy that can certainly interest many.
Here is a video from the author with a detailed assembly and testing of this homemade product:
Well, thank you all for your attention and good luck in future projects, friends!