
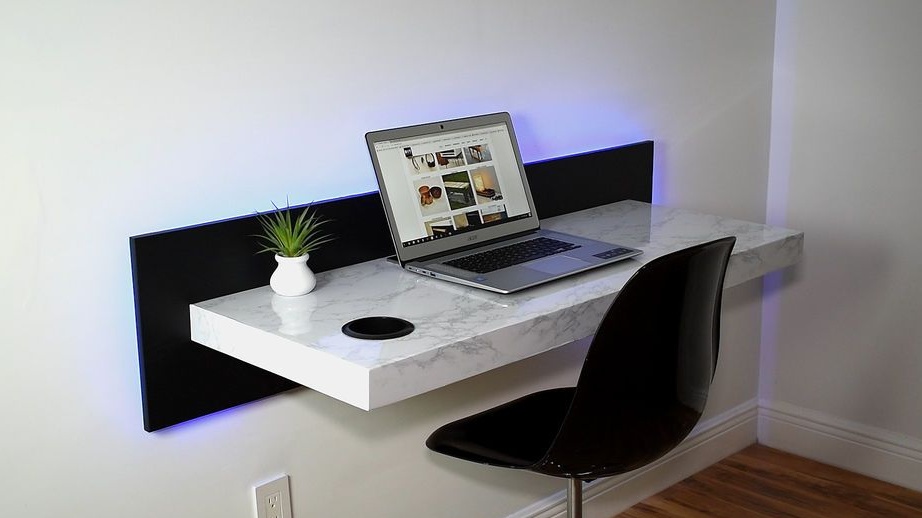

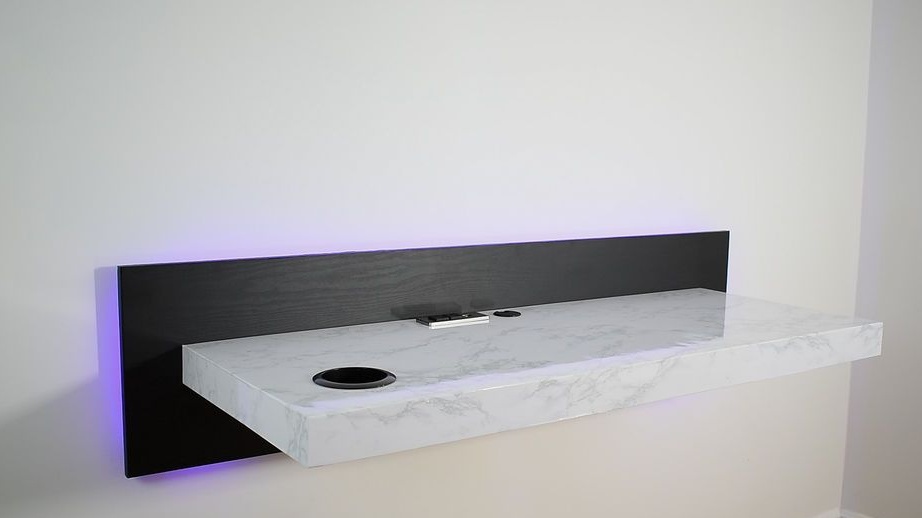
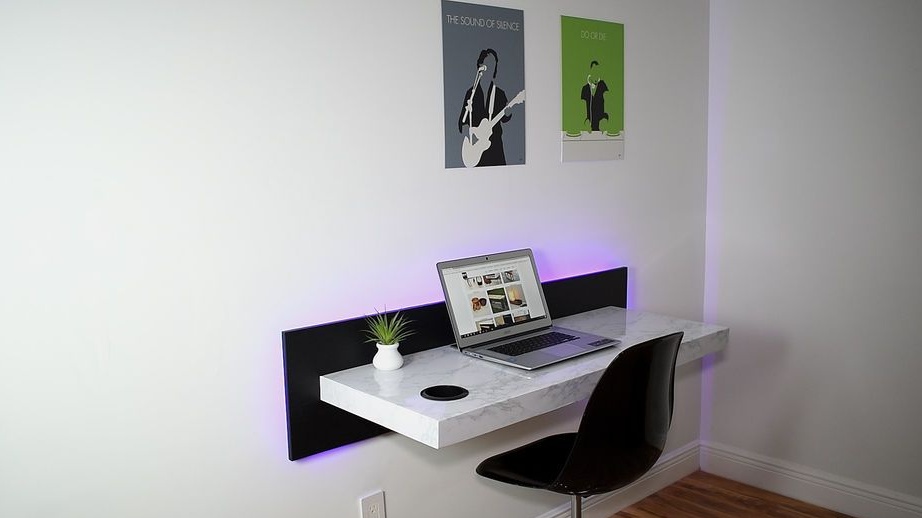
This table is for those who want to save space. The hanging table has several built-in elements: LED strip around the perimeter of the rear panel; holder for drinks; a socket with two USB ports and two network connectors; wireless charger. The bottom cover is removable, which allows you to get to the electrical part if necessary. The hanging table is attached to the wall using the "French suspension" and at any time it can be dismantled and installed in a new place. To make the pendant table, the master-master needed the following
Tools and materials:
-Plywood;
-Board;
-Black self-adhesive paper;
- Marble self-adhesive paper;
-Putty knife;
-Socket;
-Cap plug channel;
-LED Strip Light;
- Joiner's glue;
-Fasteners;
-Circular Saw;
- Clamps;
-Hair dryer;
-Drill;
-Guide;
-Roulette;
-Scissors;
-Knife;
-Paint;
-Brush;
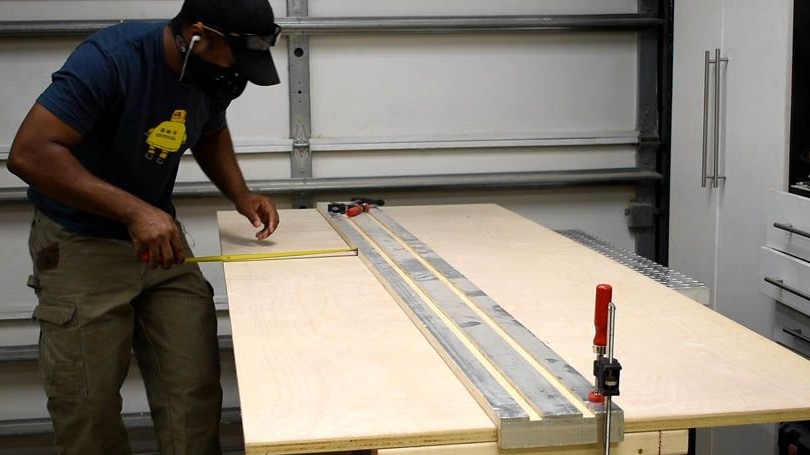
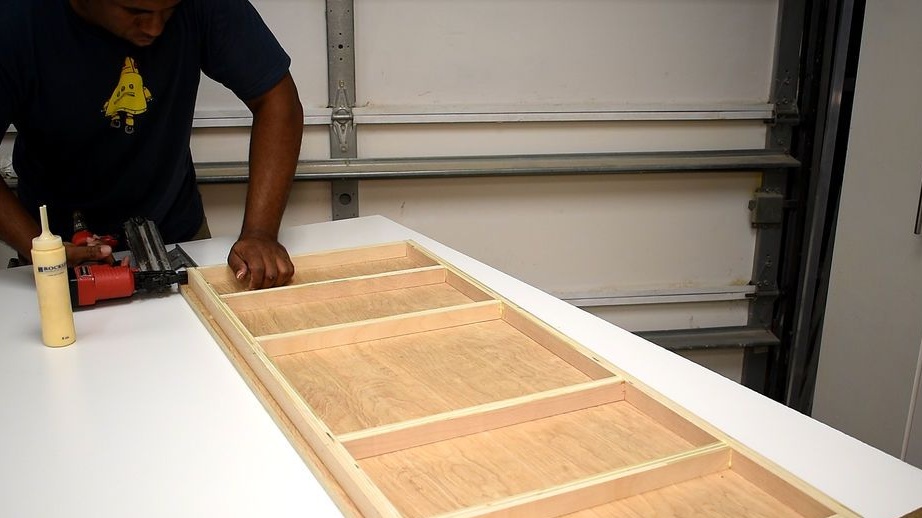
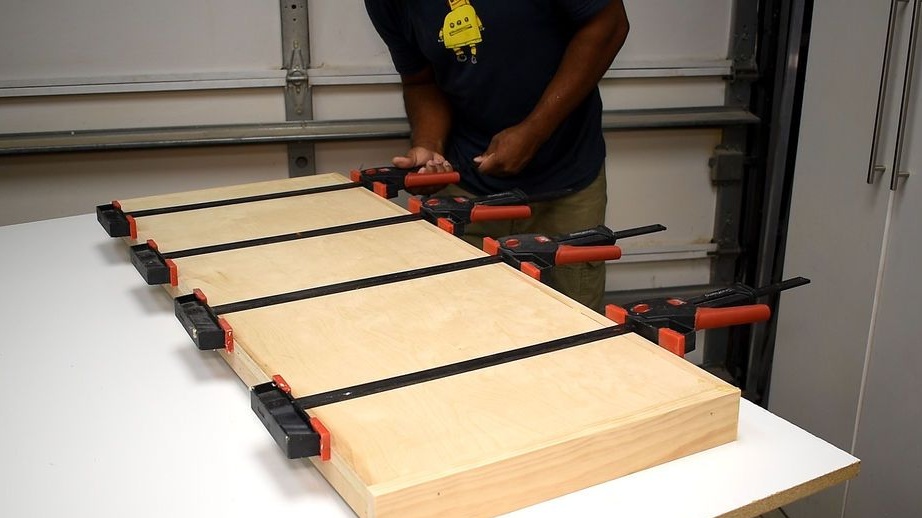
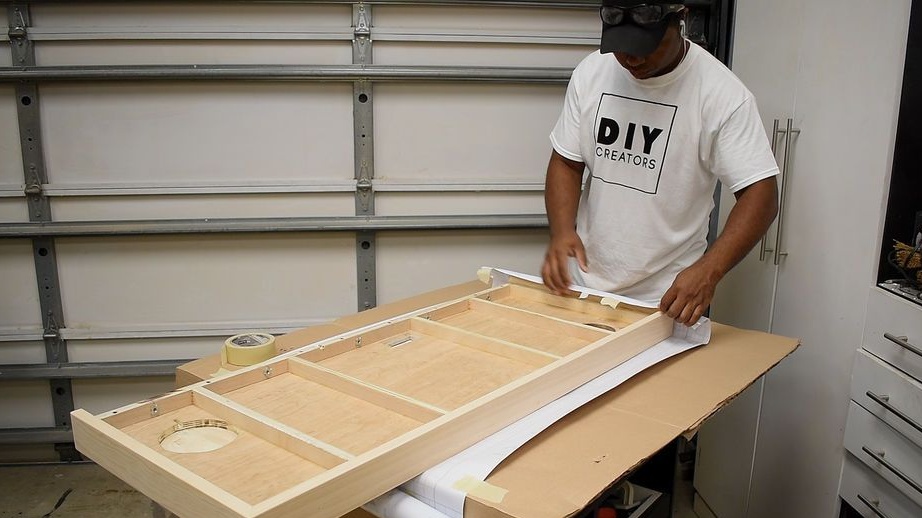
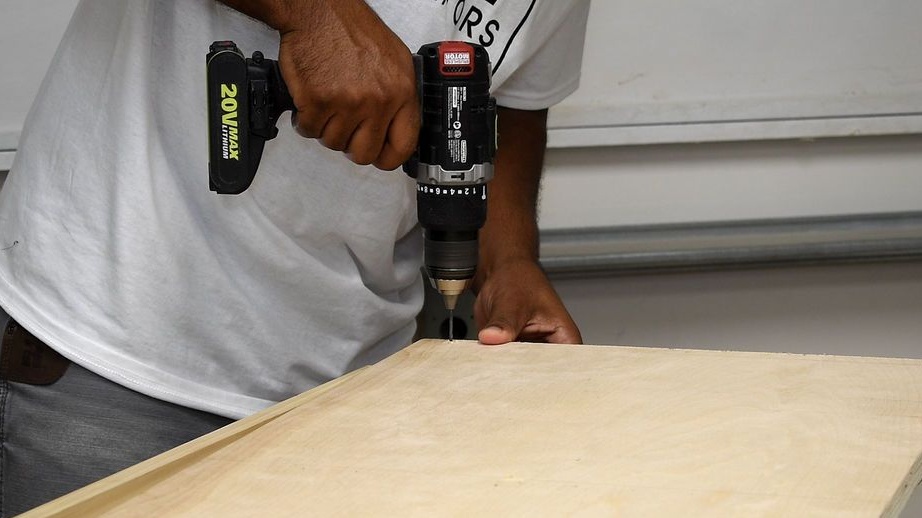
Step One: Countertop
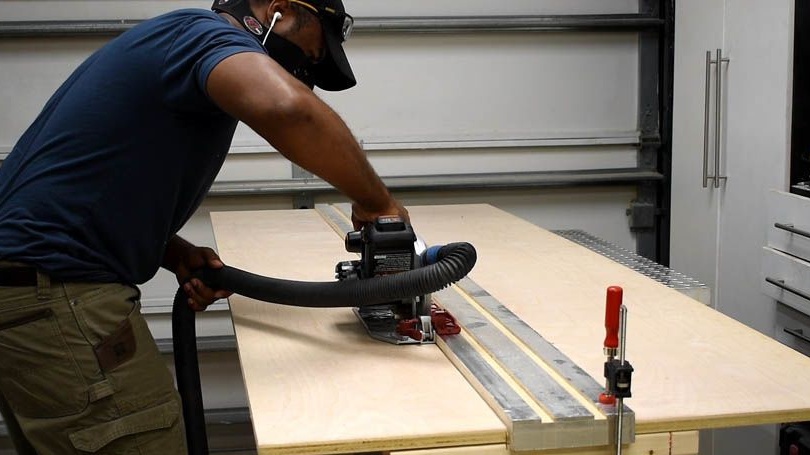
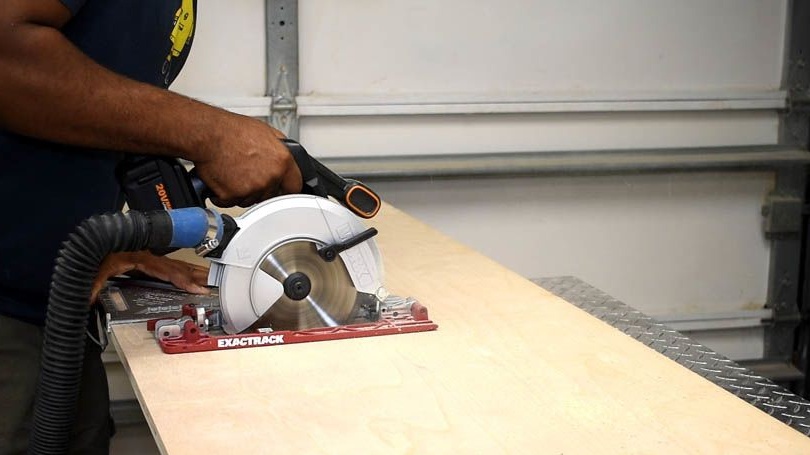
A circular saw cuts plywood to size.

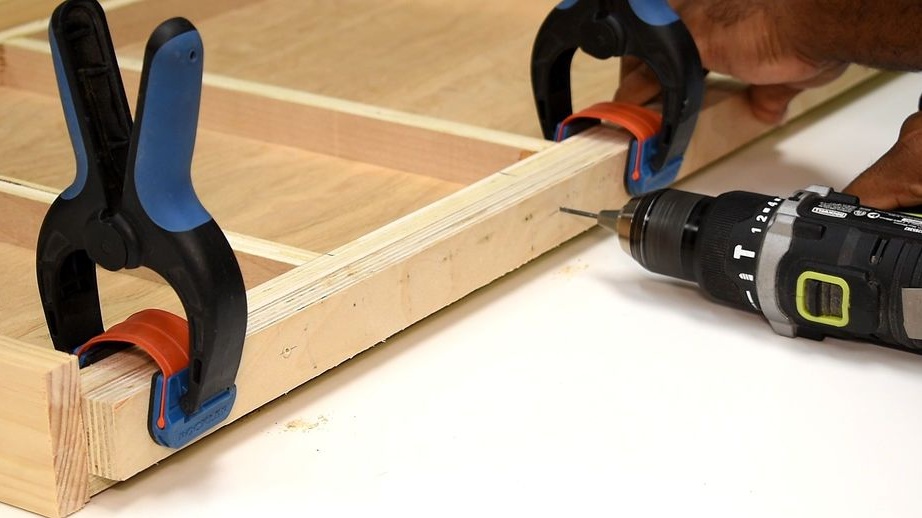
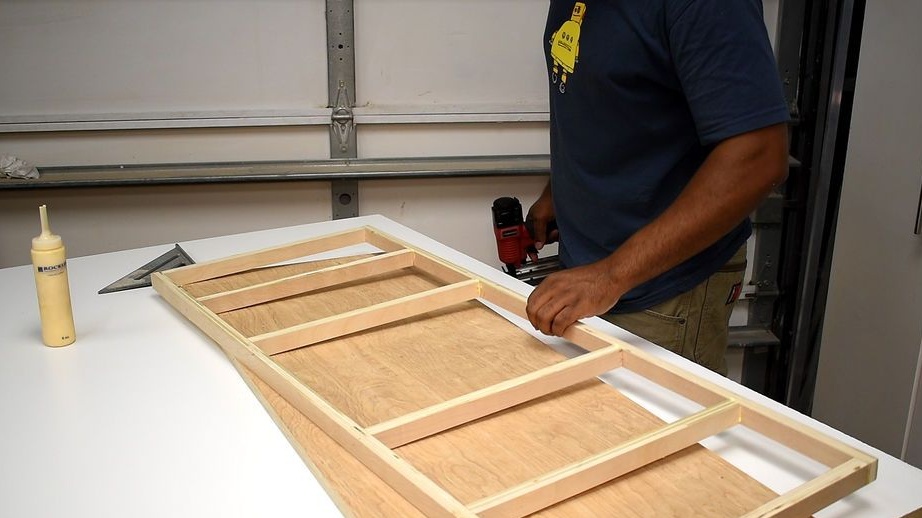
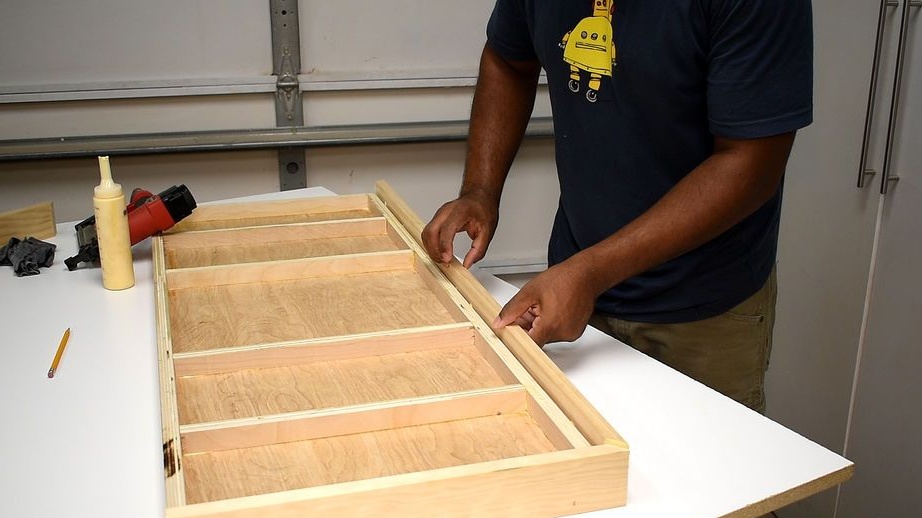
Makes a frame. Connects the frame and countertop. Fixes with glue and screws.

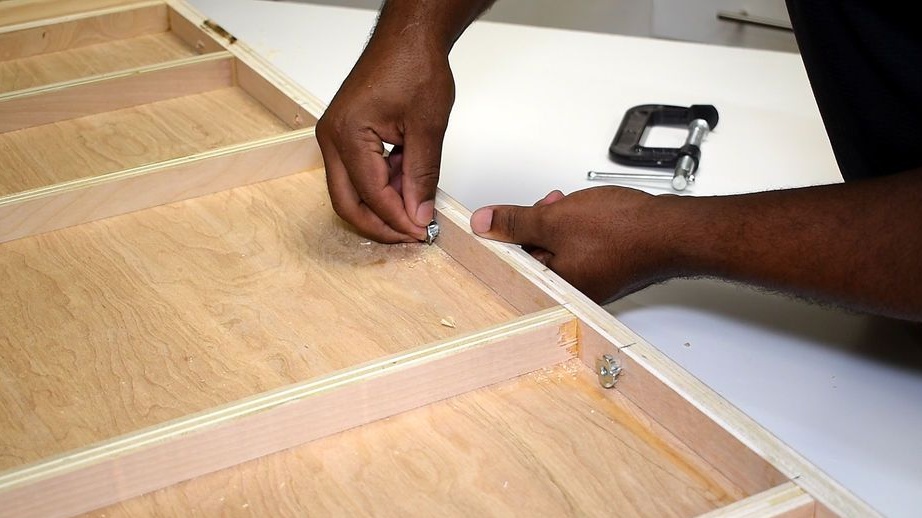
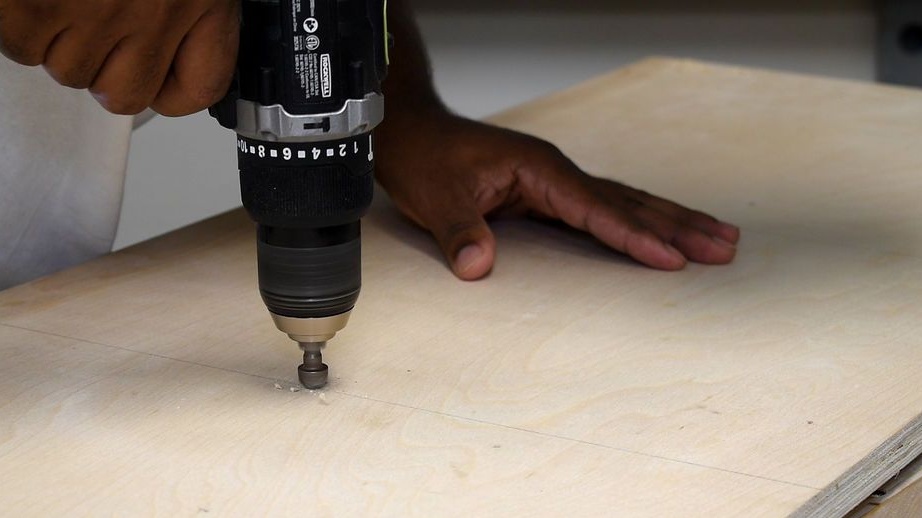
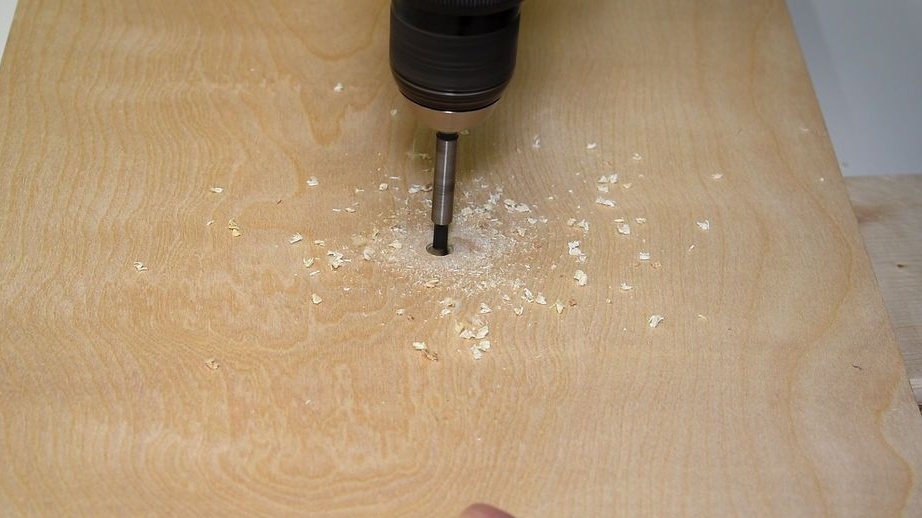
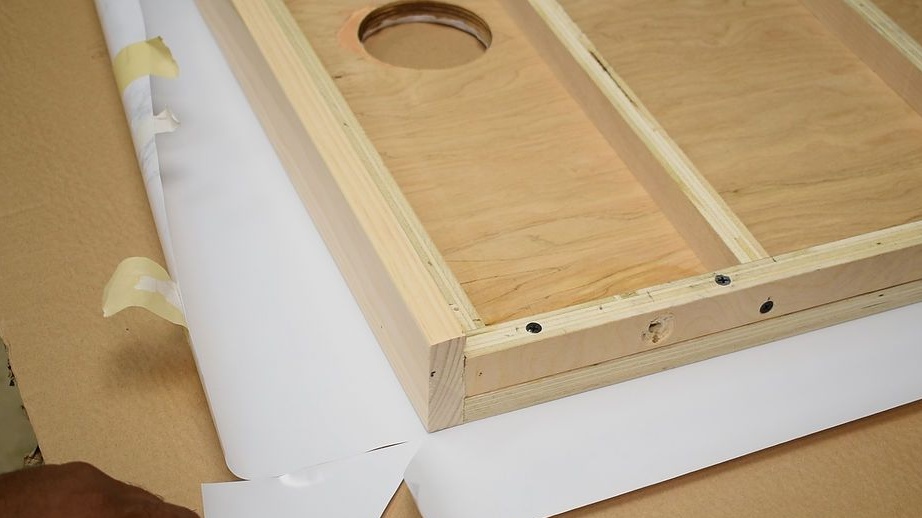
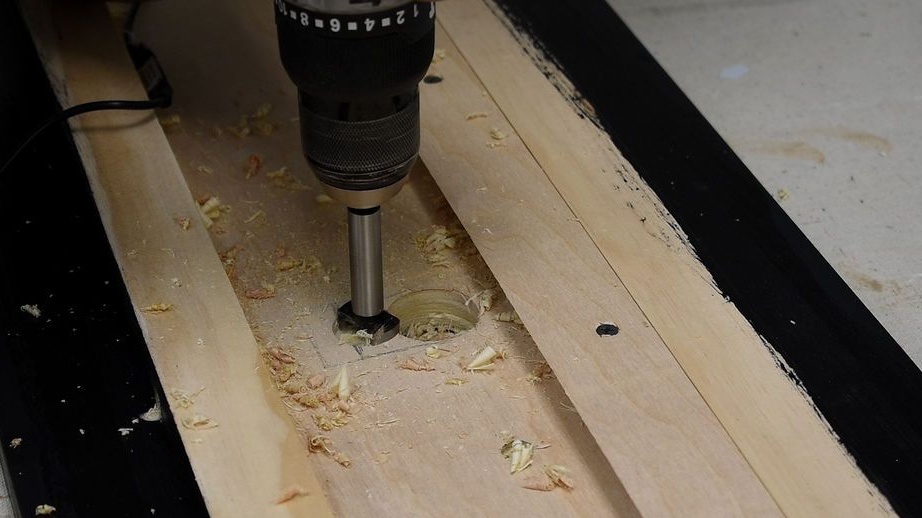
Step Two: Back Panel
From plywood cuts the back panel. Fixes a frame on it. In the center of the panel makes a hole.

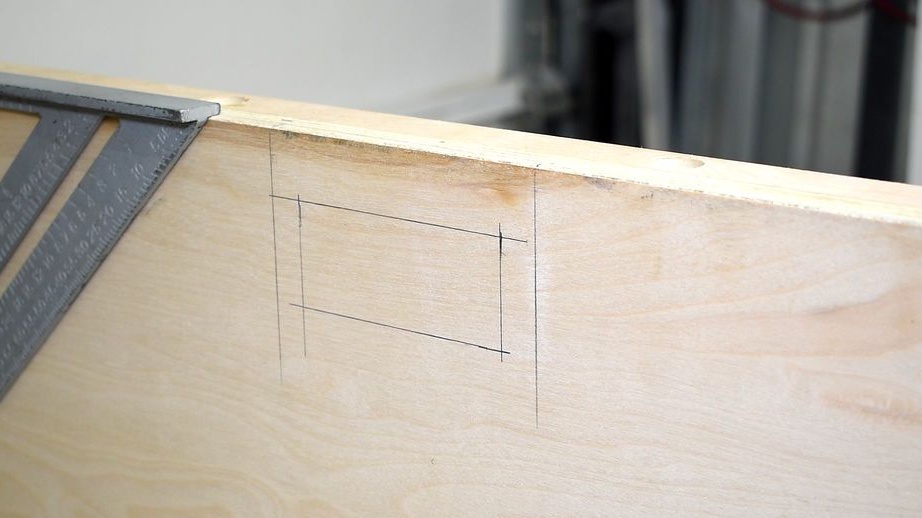
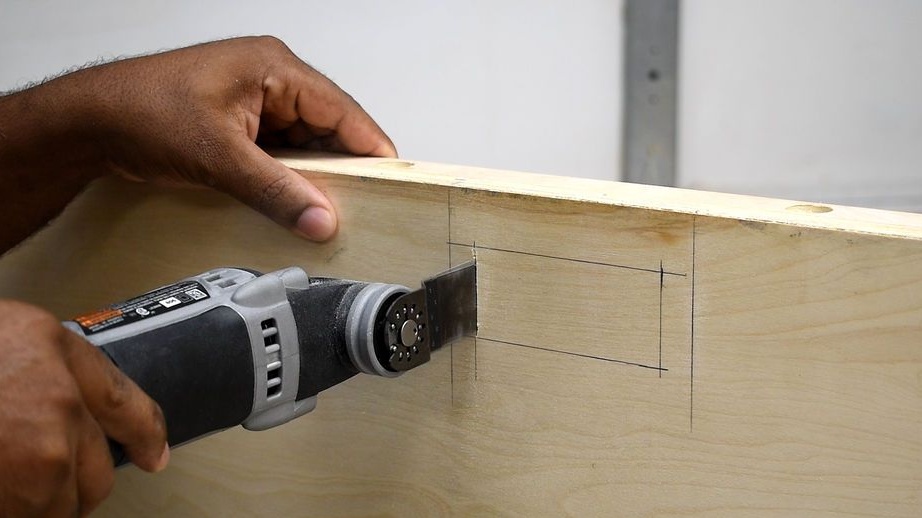
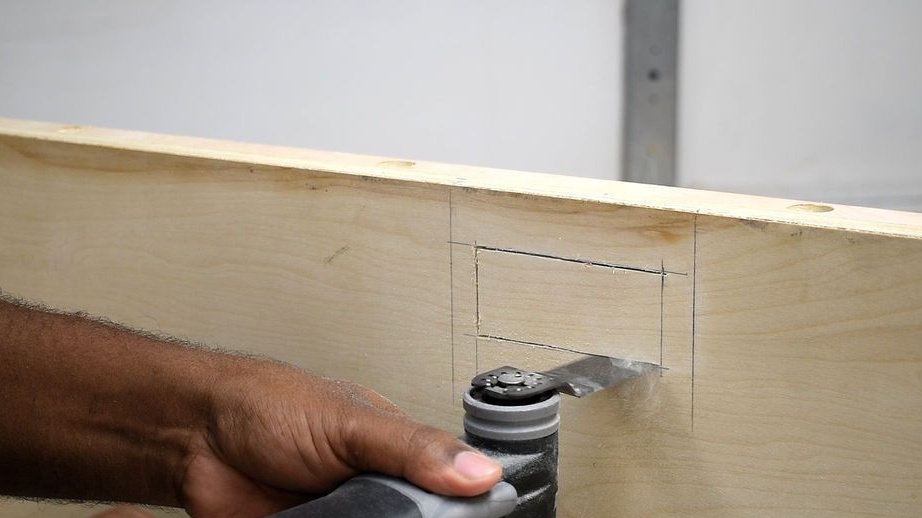
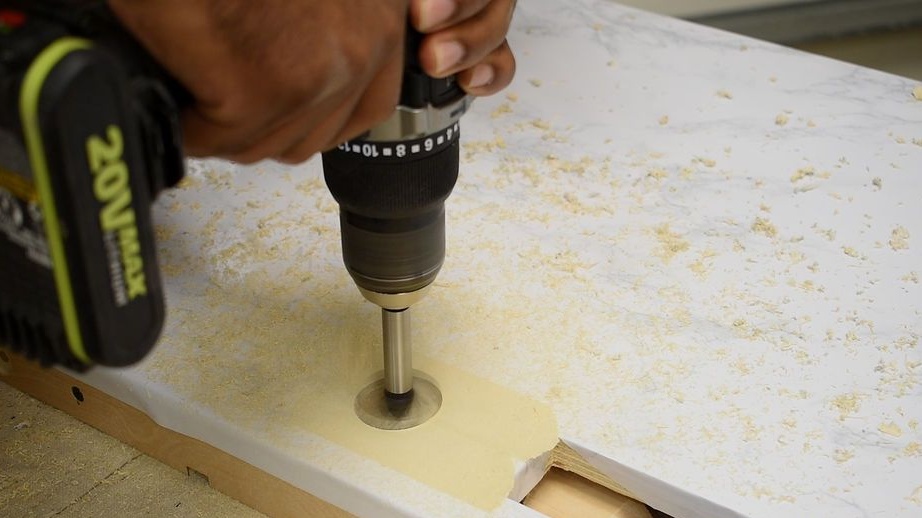
Step Three: Outlet
In the countertop cuts out a window for installing an outlet.
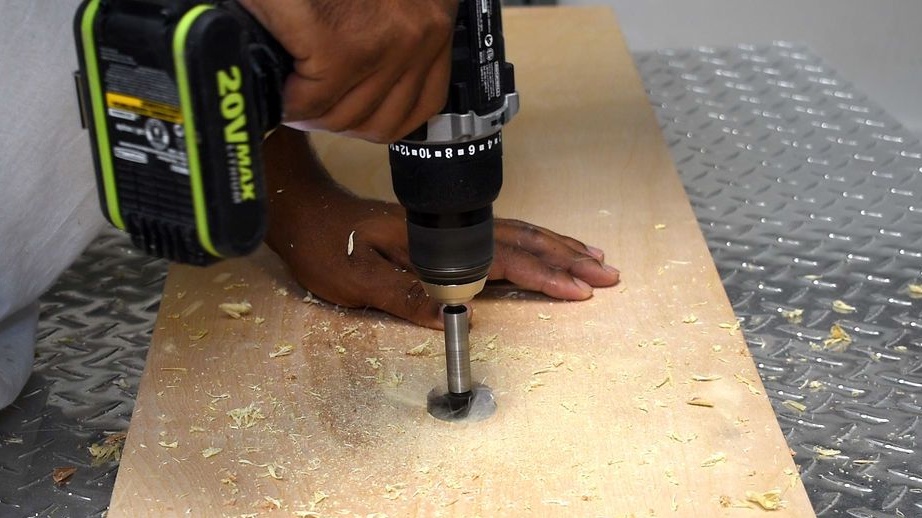
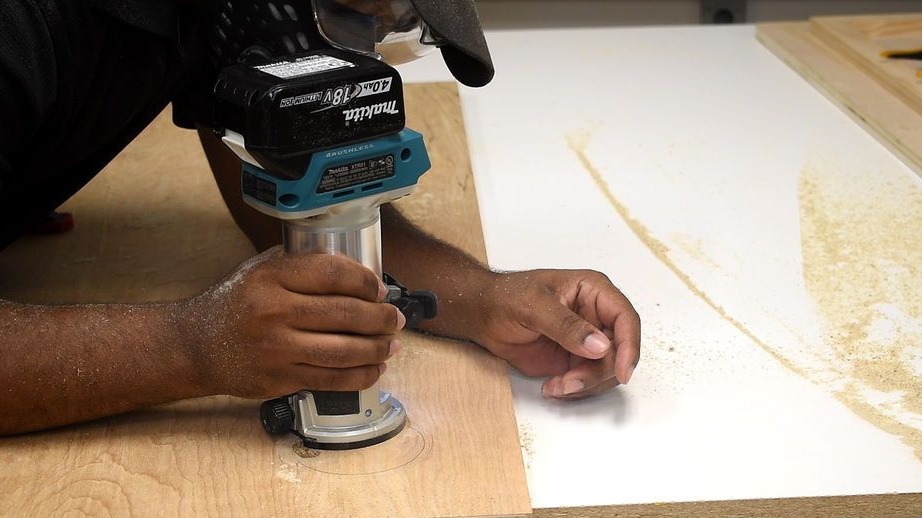
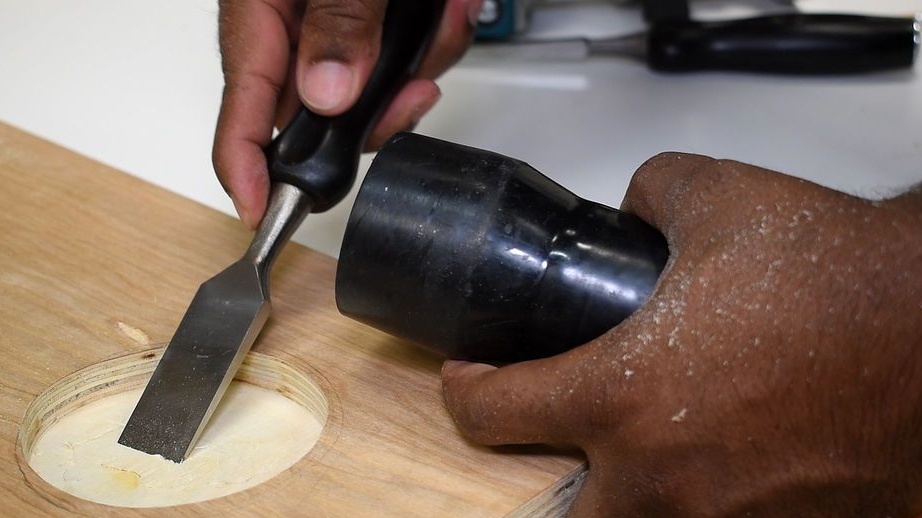
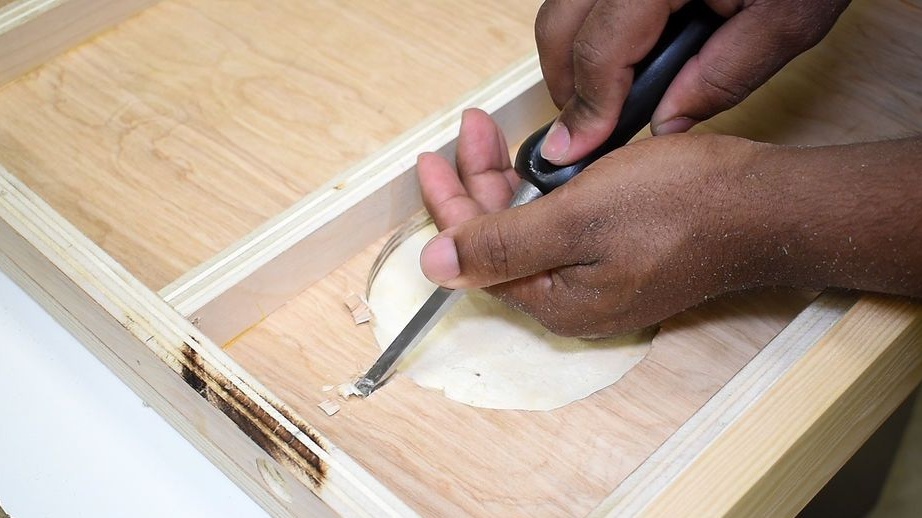
Step Four: Niche for a Glass
Carves a niche for a glass. A glass installed in a niche rests against the bottom of the bottom, so the master also removes the top layer of material in it.

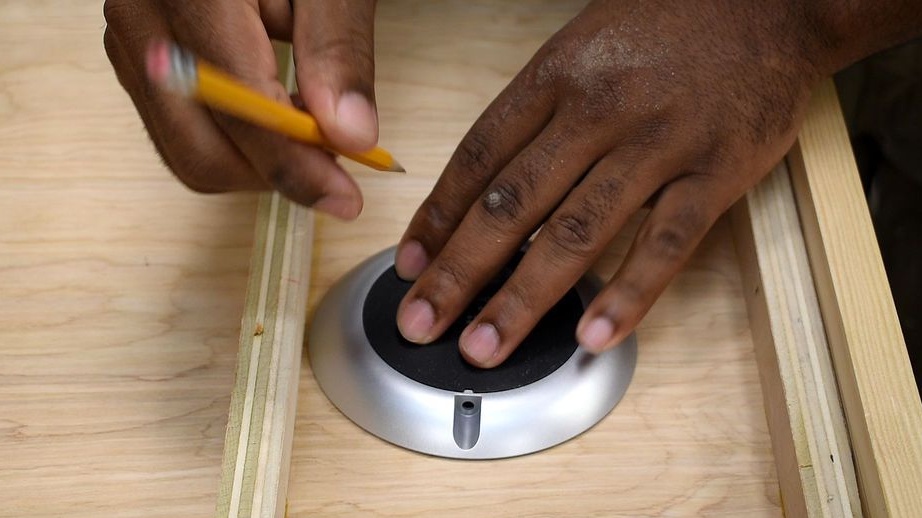
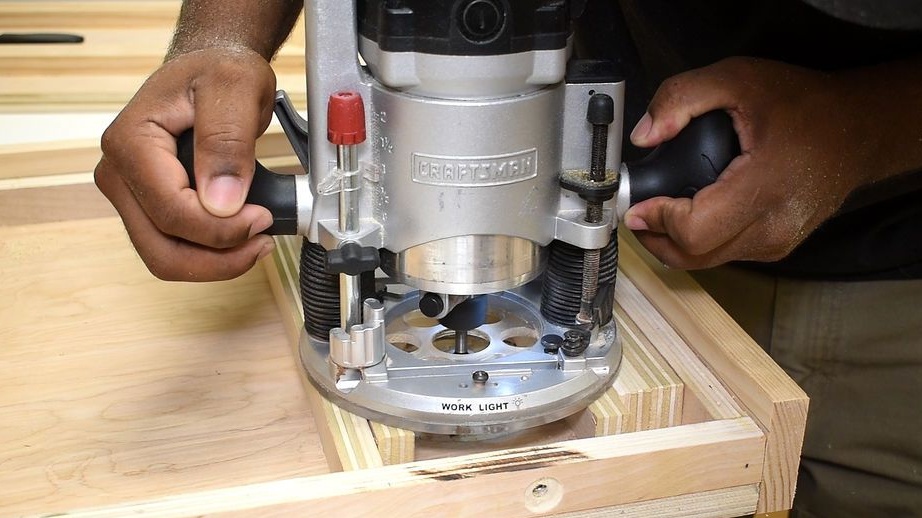
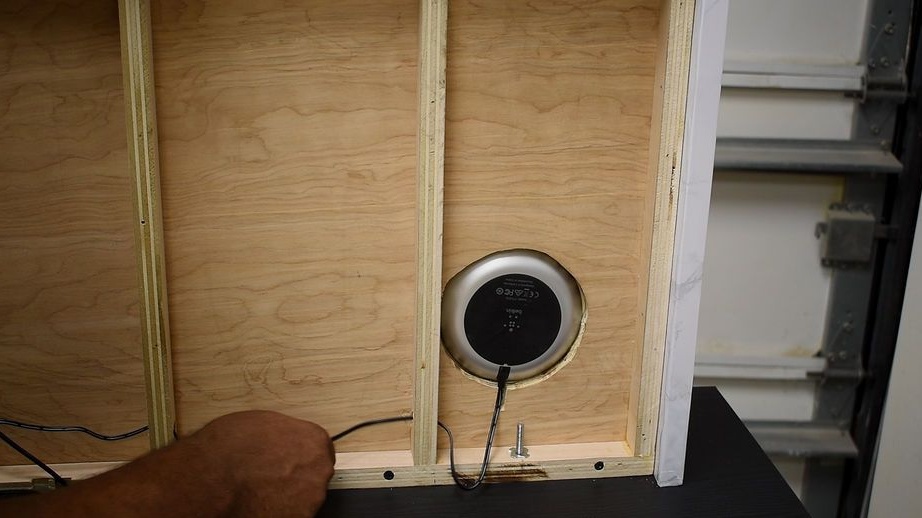
Step Five: Wireless Charger
On the left side of the countertop, a wireless charger will be located below. For its effective work, the Master from below made a niche. At this point, the thickness of the material is about 6 mm.
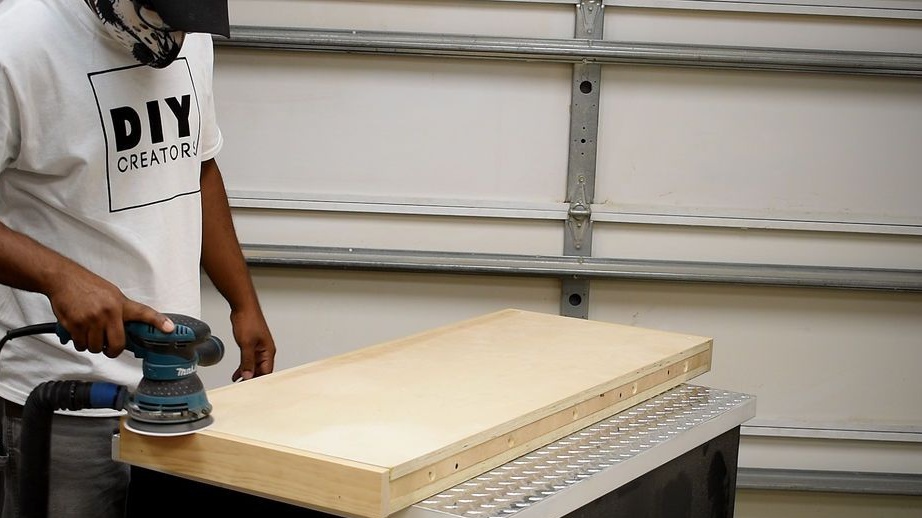
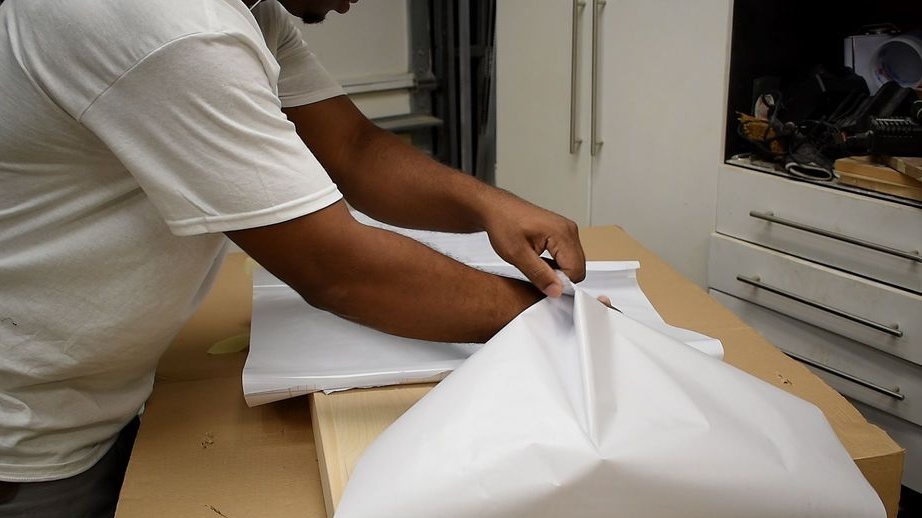
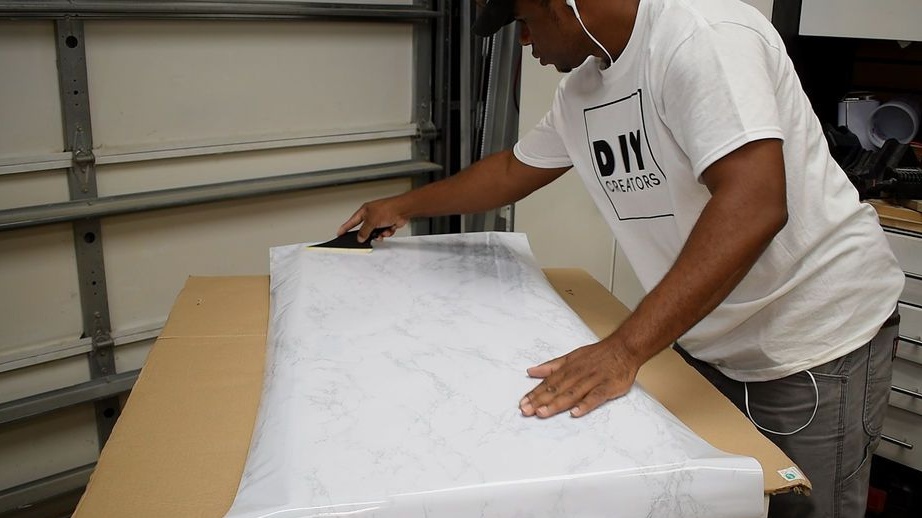
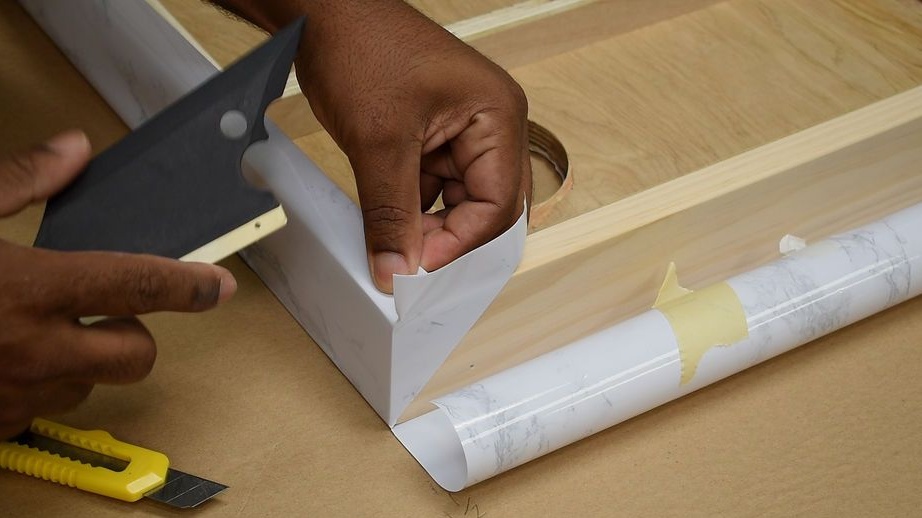
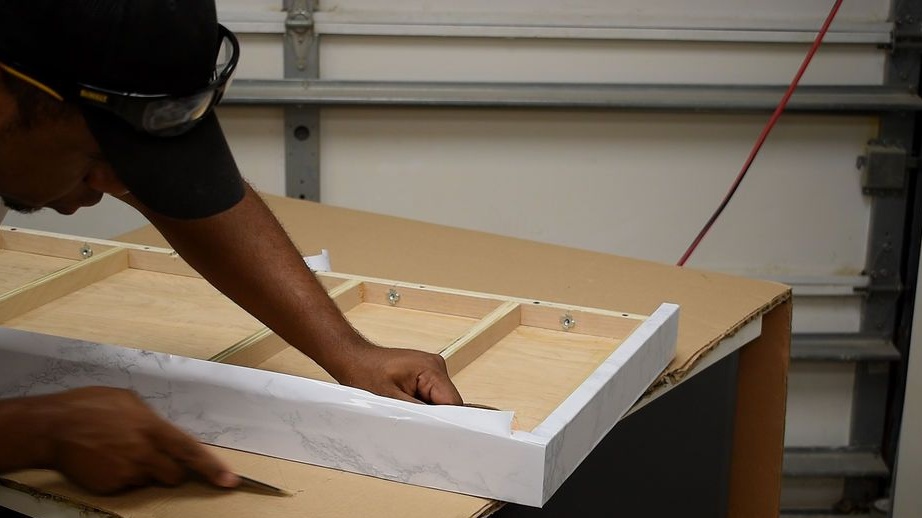
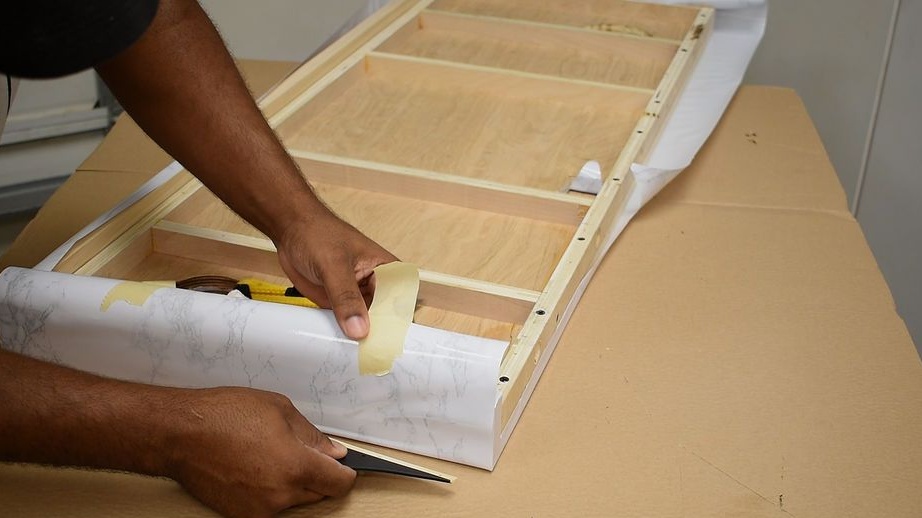
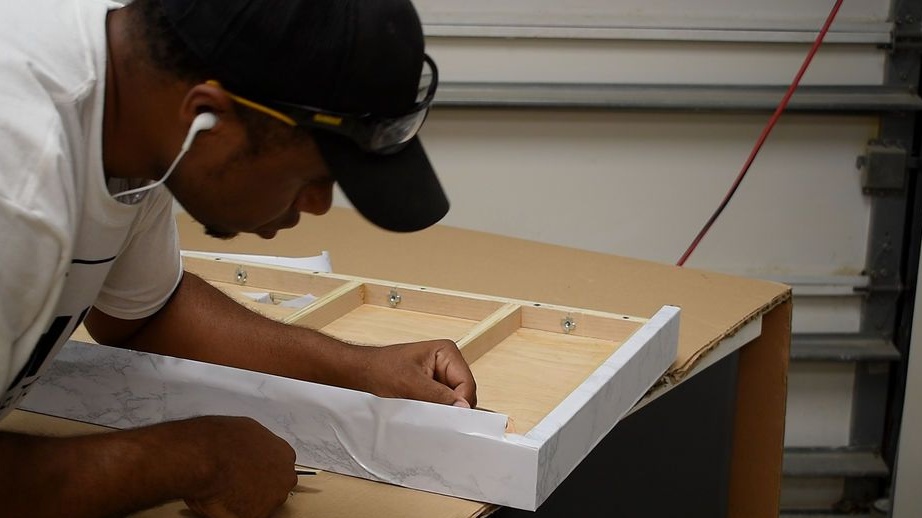
Step Six: Pasting
Grinds the surface of parts.
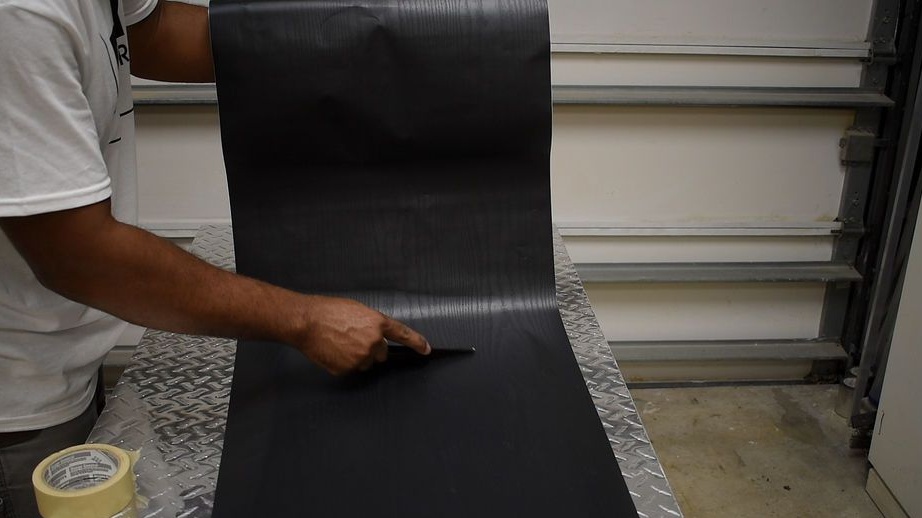
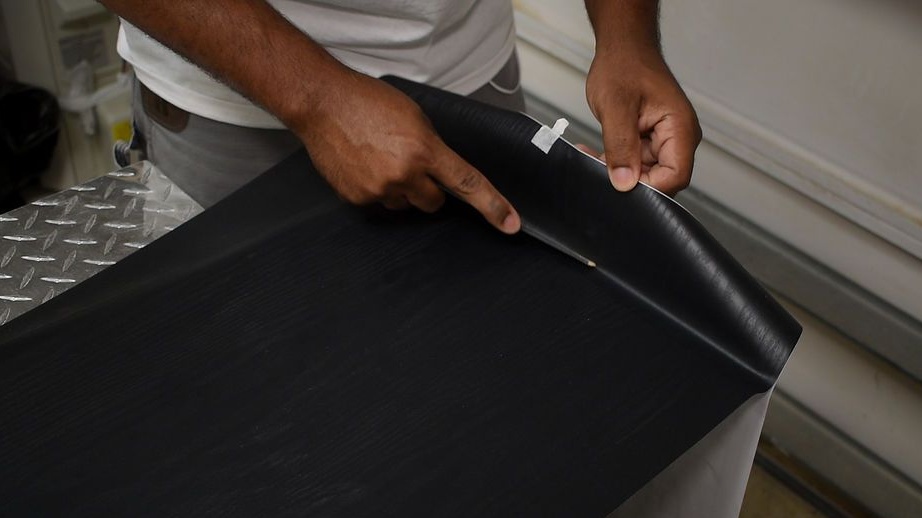
Tape the back panel with black self-adhesive film.
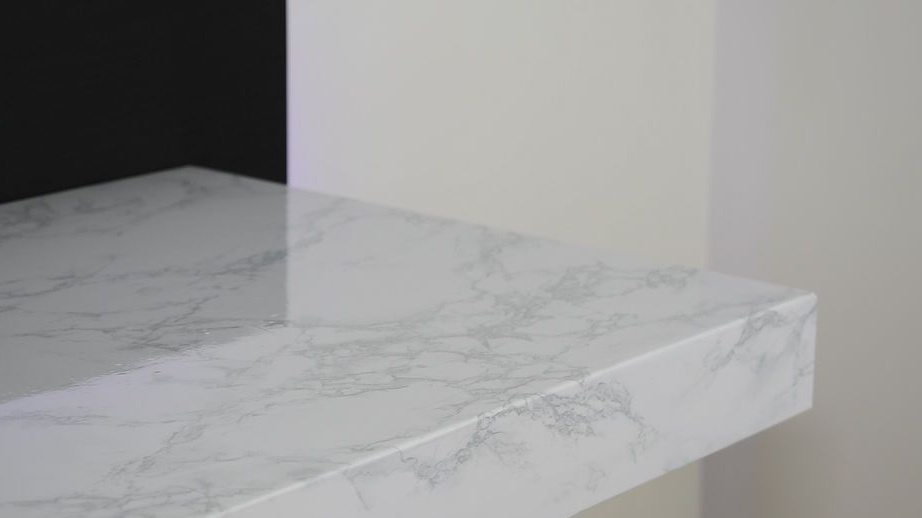
The tabletop is pasted over with marble film.
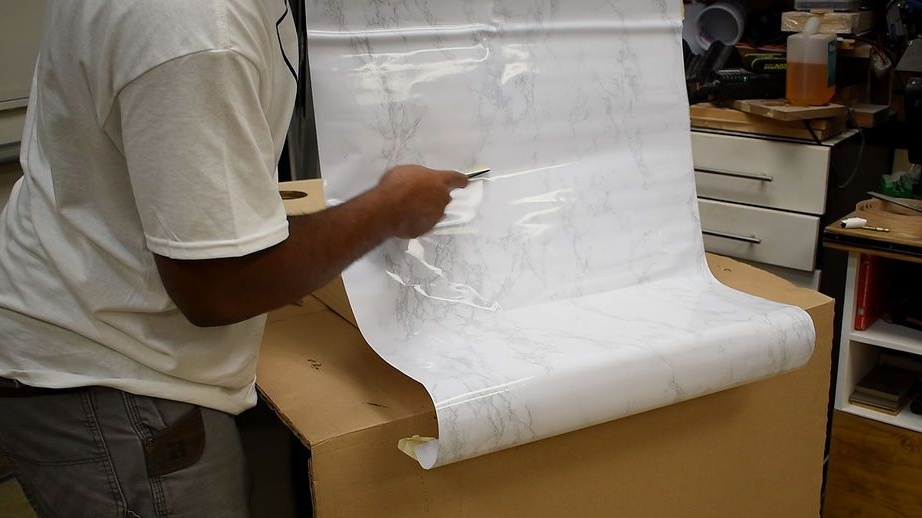
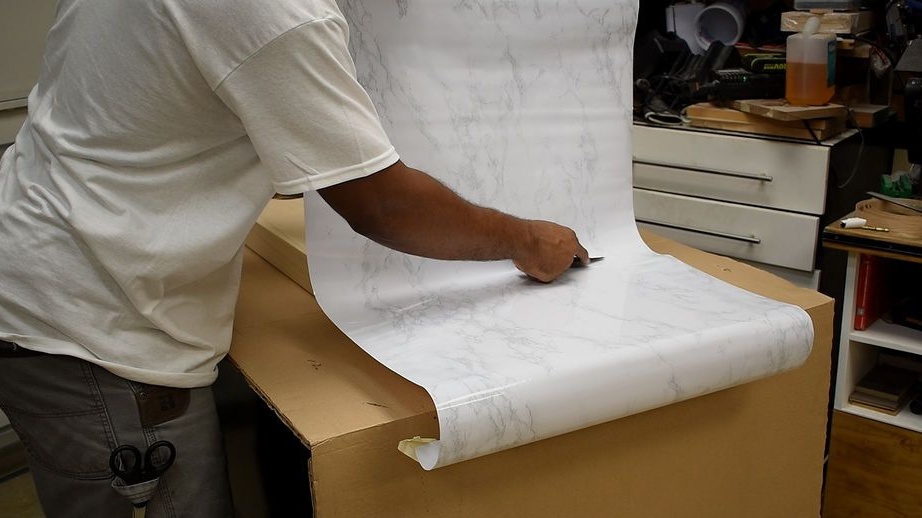
Cuts holes.
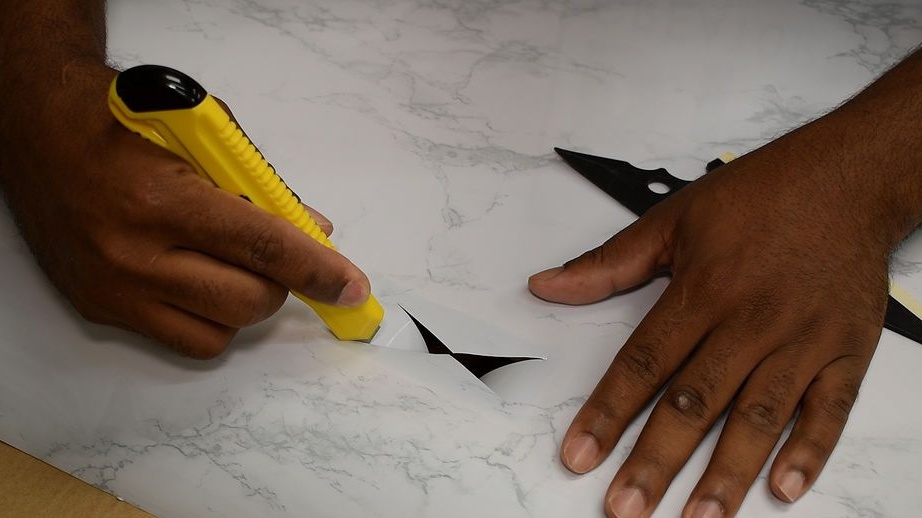
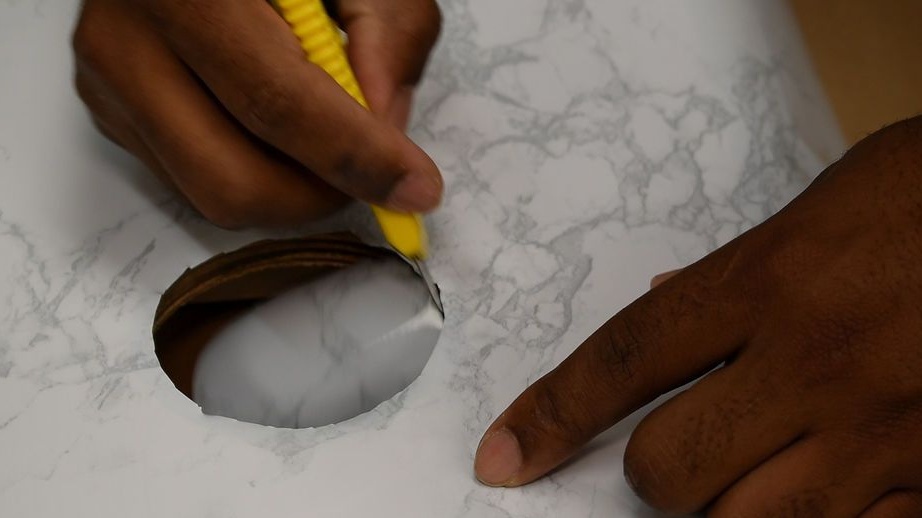
Continues to paste over.
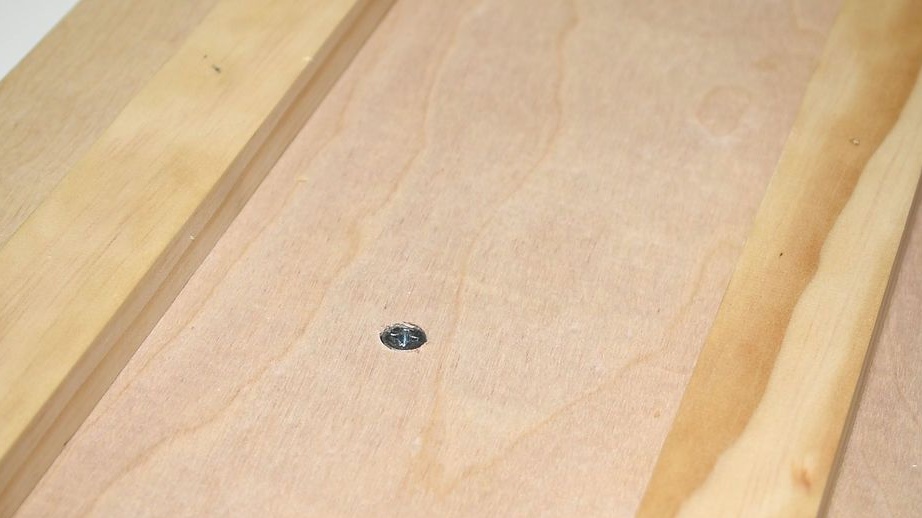
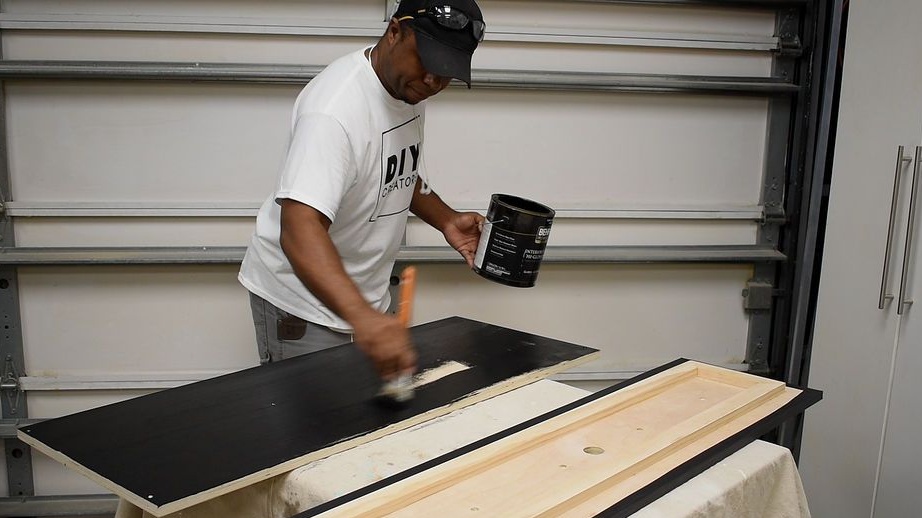
Seventh step: coloring
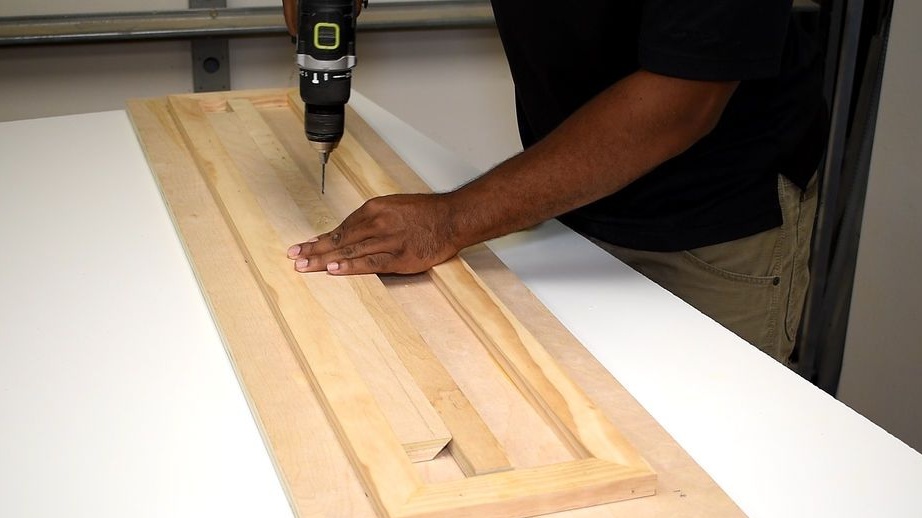
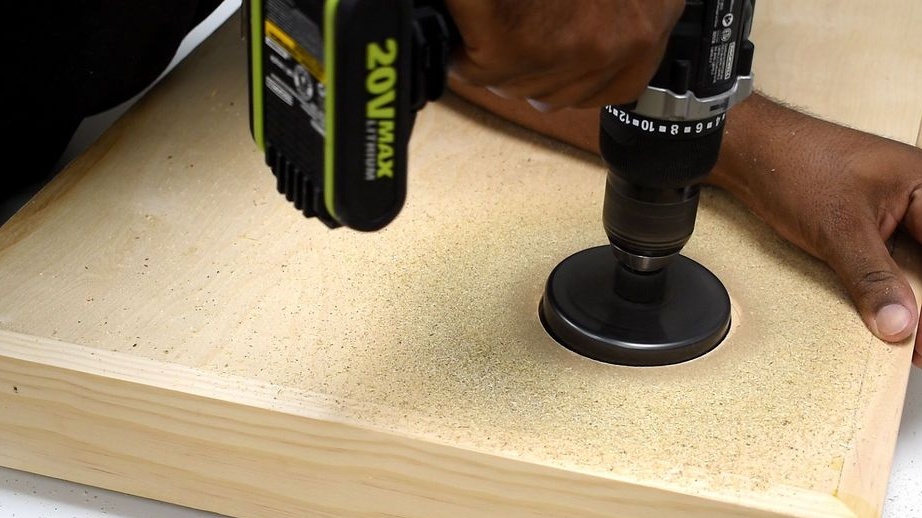
The bottom cover drills twelve holes. Inserts screws into the holes and paints the surface of the table (in this way the screw heads will also be painted).
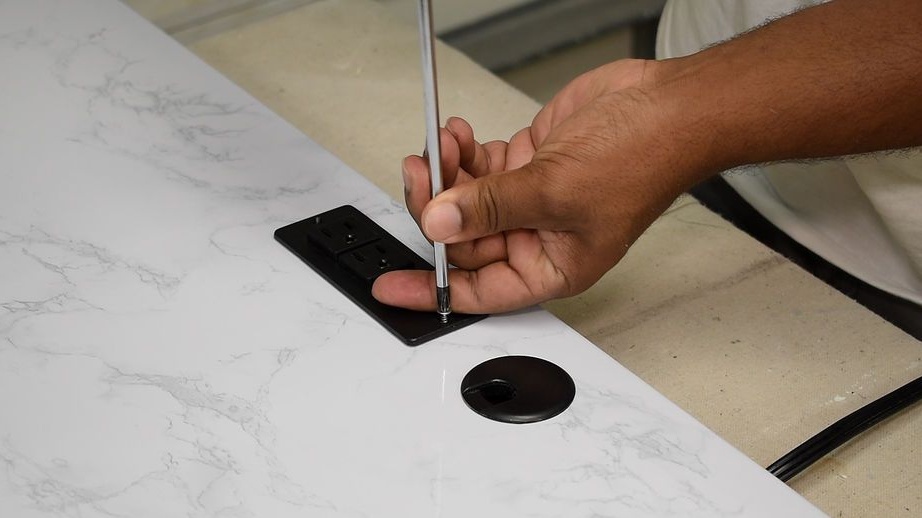
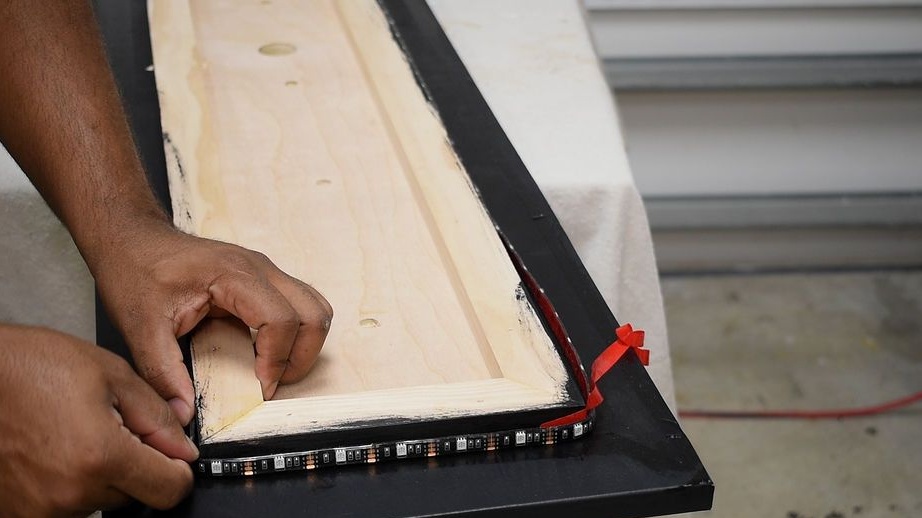
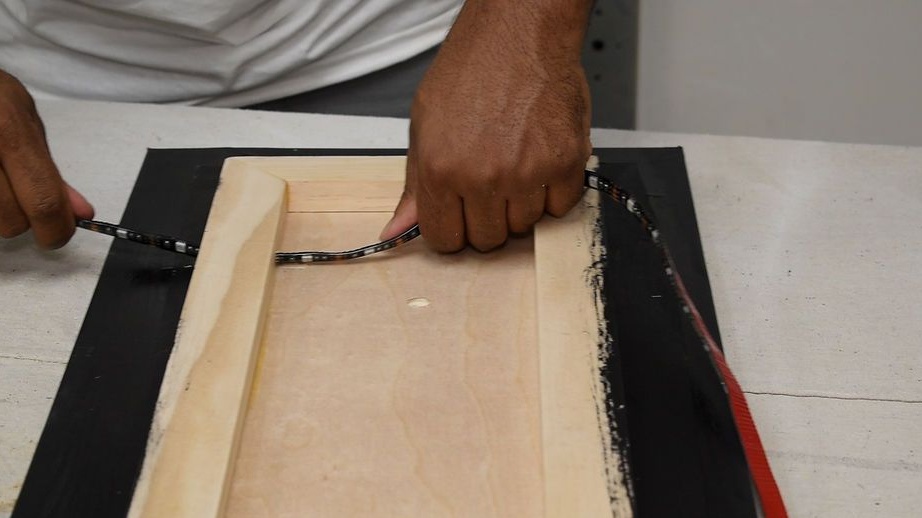
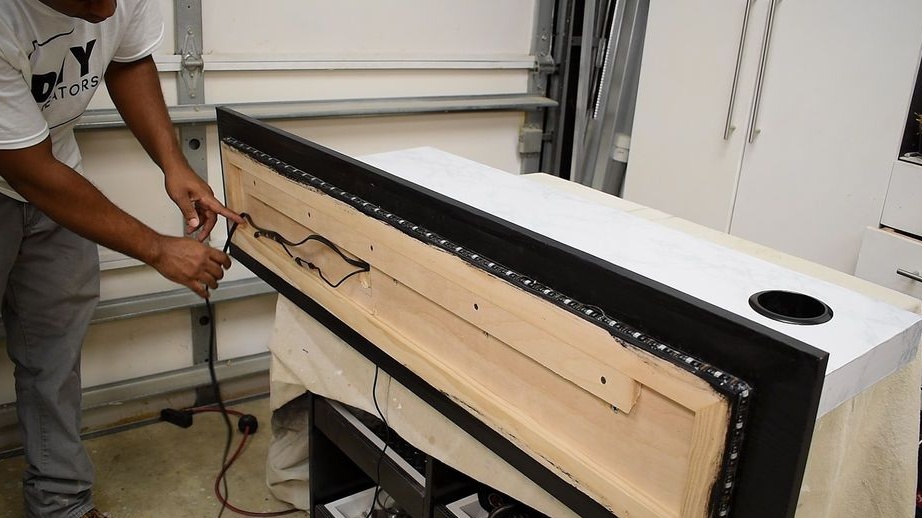
Step Eight: LED Strip
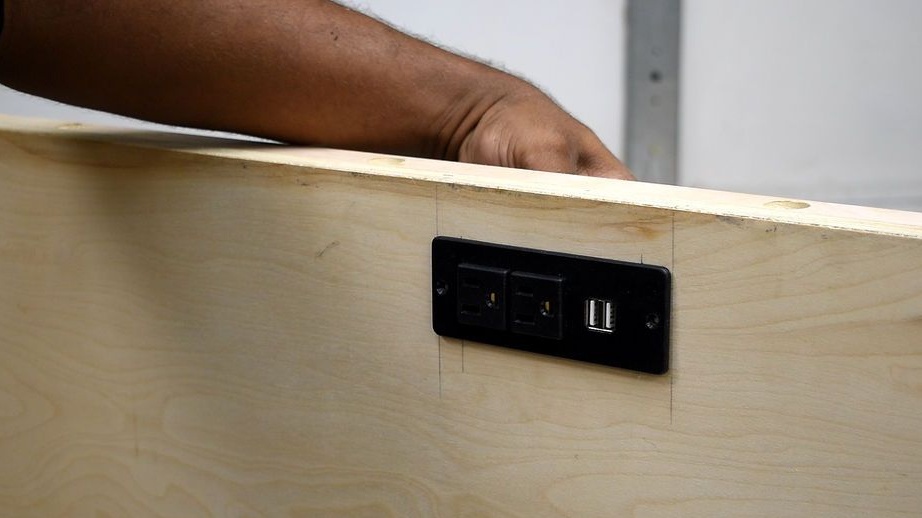
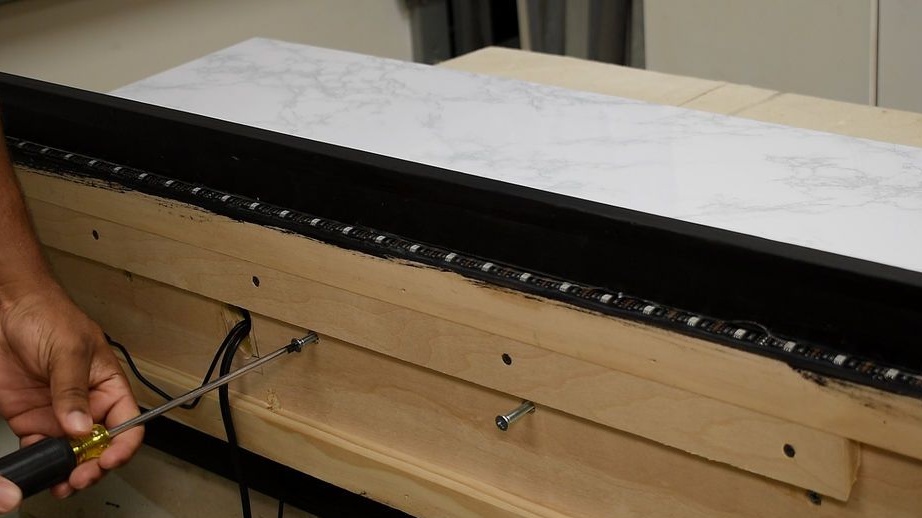
Cut a hole for the cable channel plug. Screws the cap.Screws the socket. Glue the LED strip to the back panel frame. The LED strip will be powered from the USB connector.
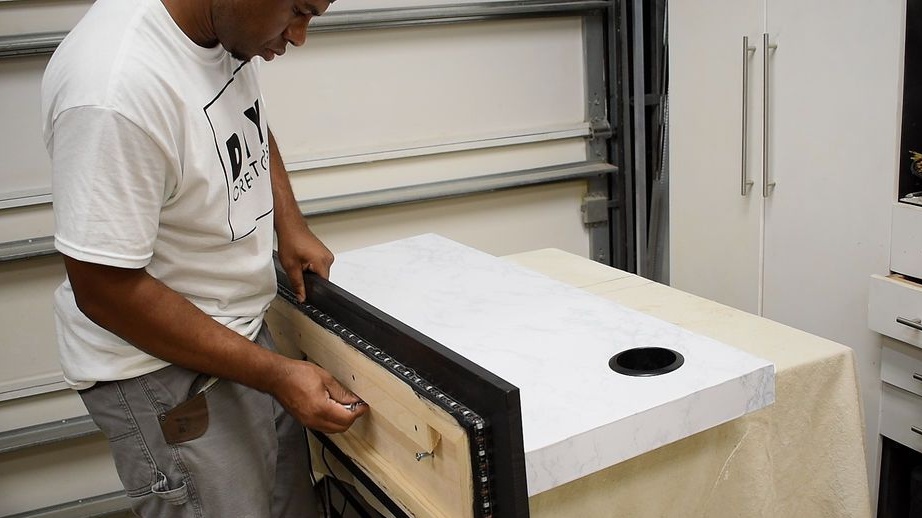
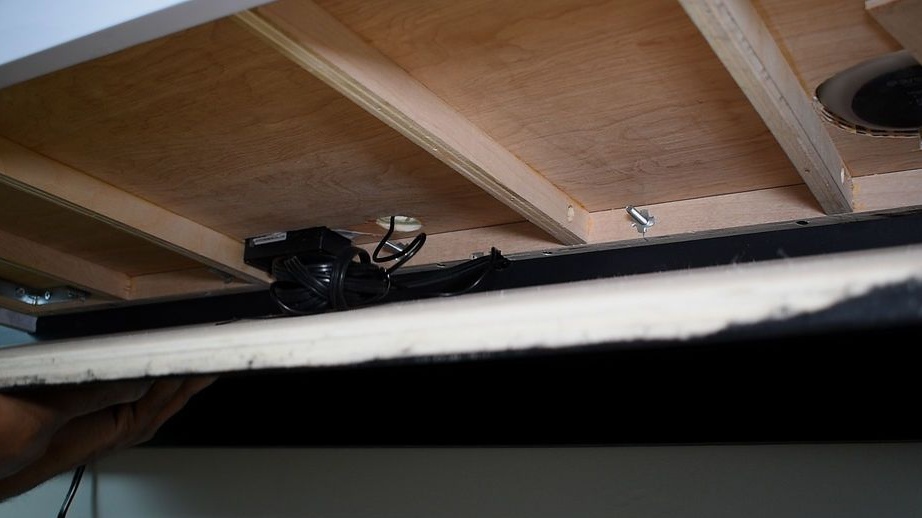
Step Nine: Assembling the Table
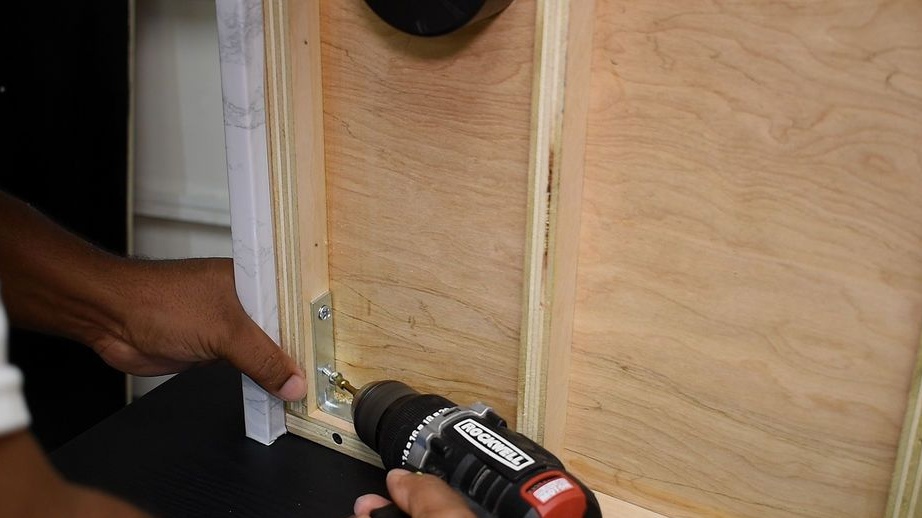
Secures to the rear panel a "French gimbal" (slanting rail).

Makes a niche for wires.
Stretches the wires and fastens the back panel to the countertop.
Secures the wireless charger.
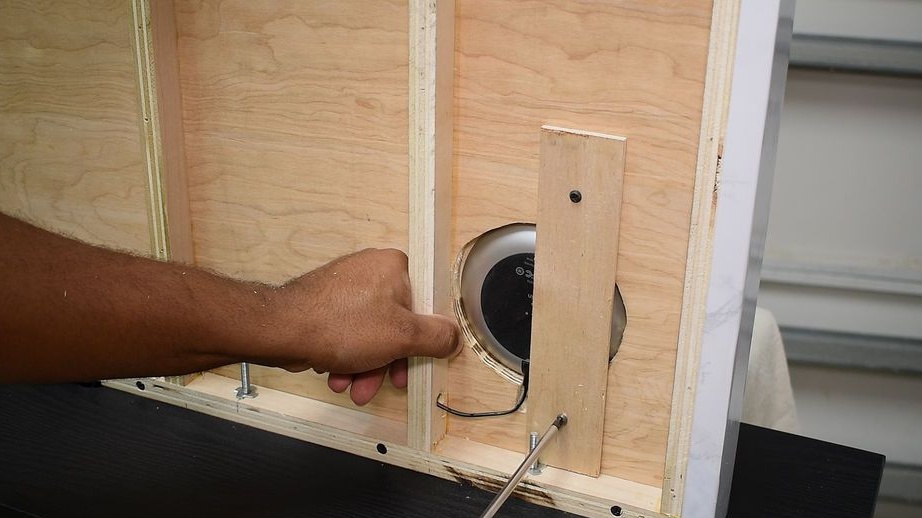
Strengthens the frame with corners.
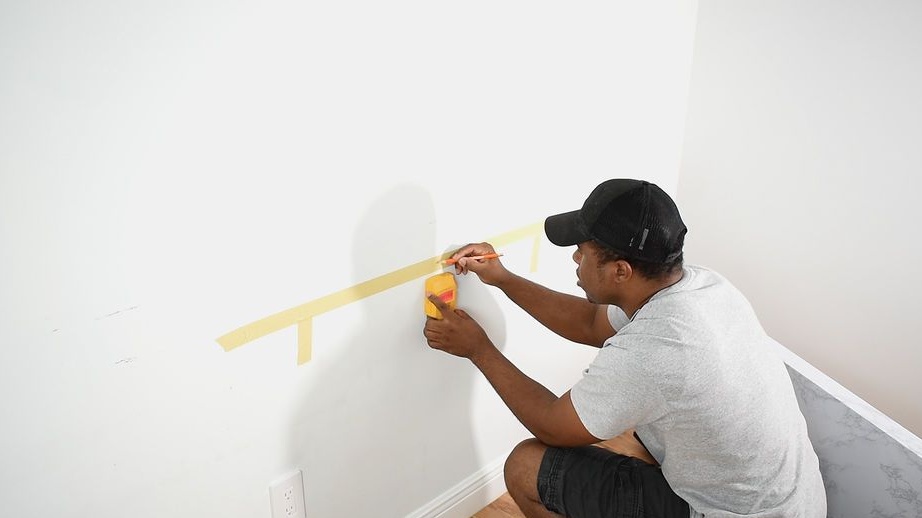
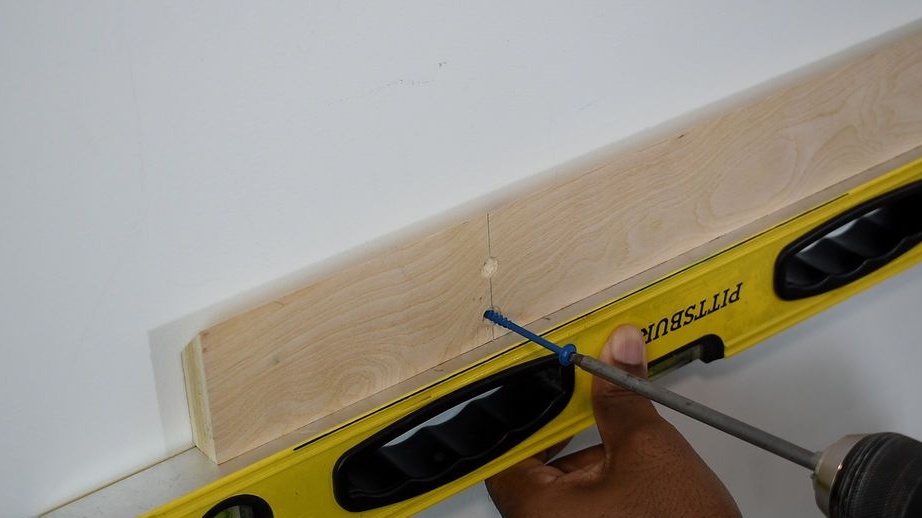
Step Ten: Setting up the table
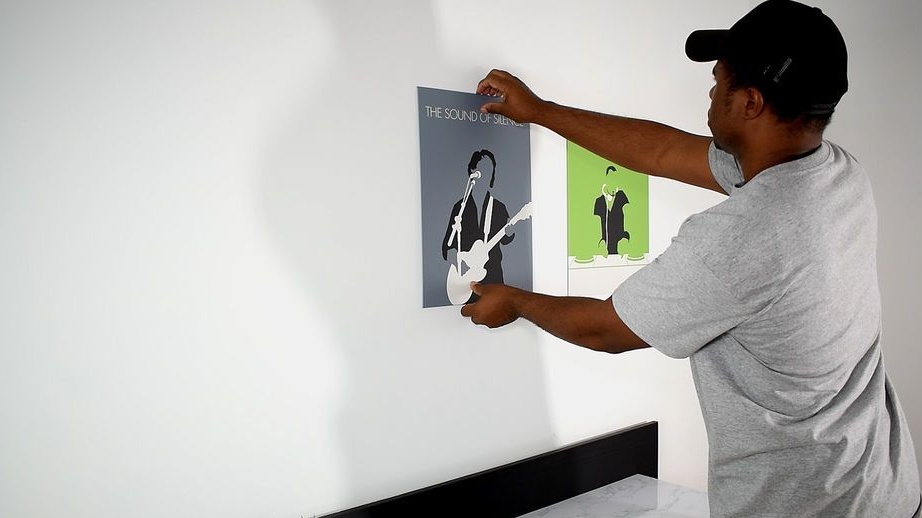
He makes markings on the wall and fixes the "French suspension".
Hangs the countertop.
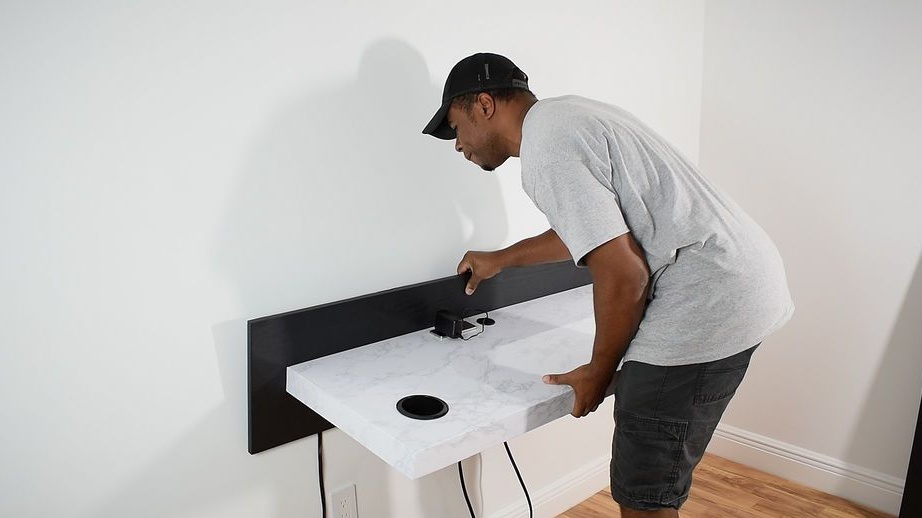
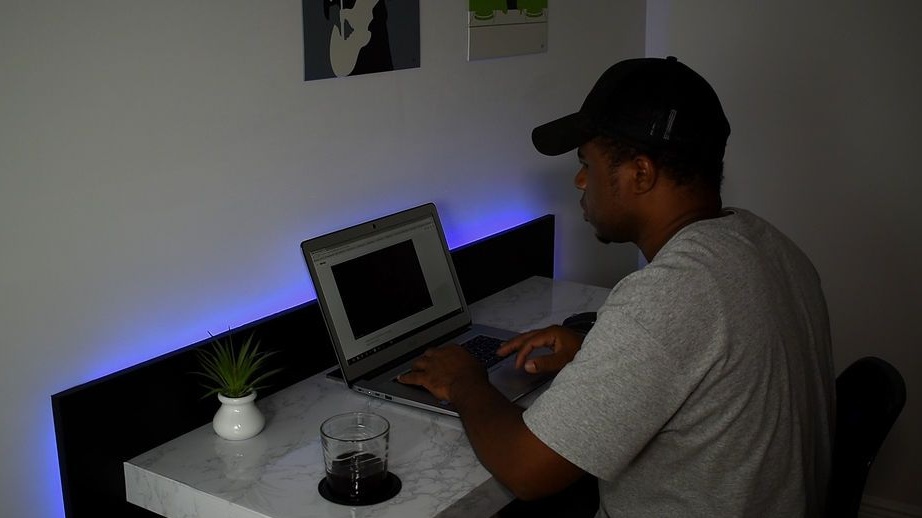
Plugs in the outlet and closes the bottom cover.
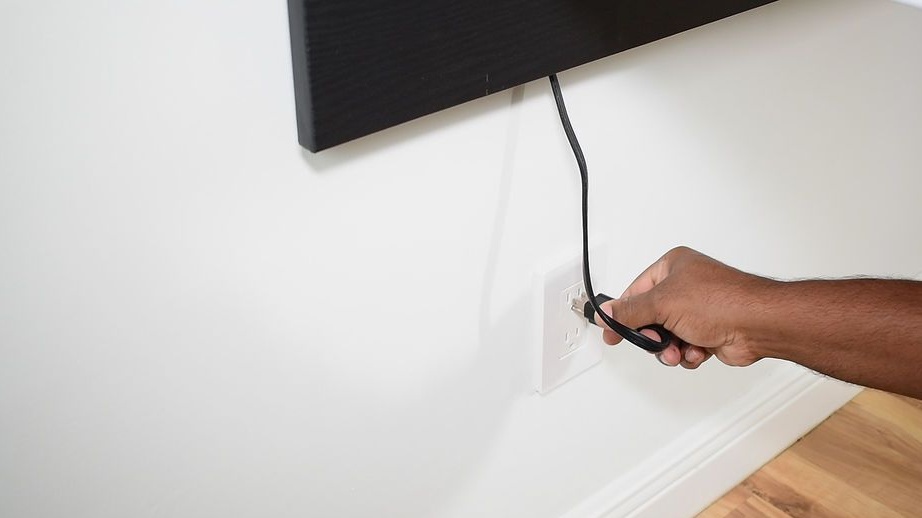
All is ready.

The whole process of manufacturing a hanging table can be seen in the video.