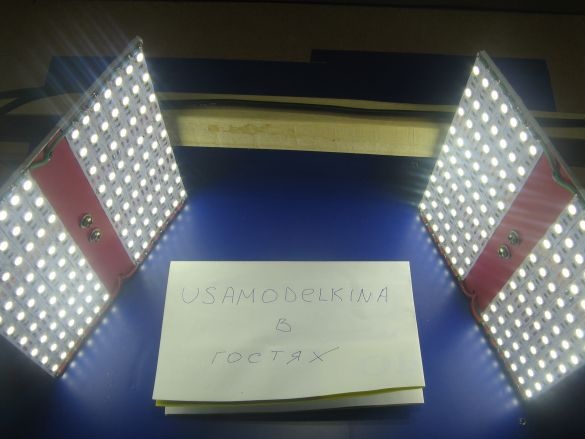
When shooting a video, you need good lighting. Putting things in order in the workshop, I ditched my old backlight. Inventing how to highlight the workplace, he came up with one option. The option included parts of LED lamps, the cases of which crumbled. Since the lamps are powered by hazardous mains voltage, the option immediately disappeared. There were five meters of LED strip. The tape consisted of 5050 LEDs. The LED strip is powered by 12 volts, an excellent option.
For homemade we will need:
- LED Strip Light;
- two plates 150 * 150mm;
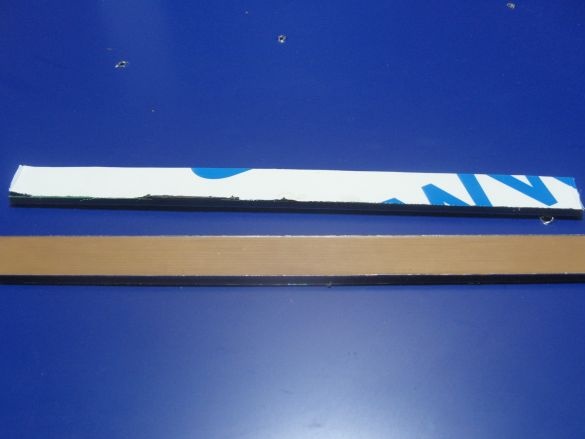
- two strips of plastic;
- board or bar;
- small corners;
- PC power supply;
- instruments.
About the components.
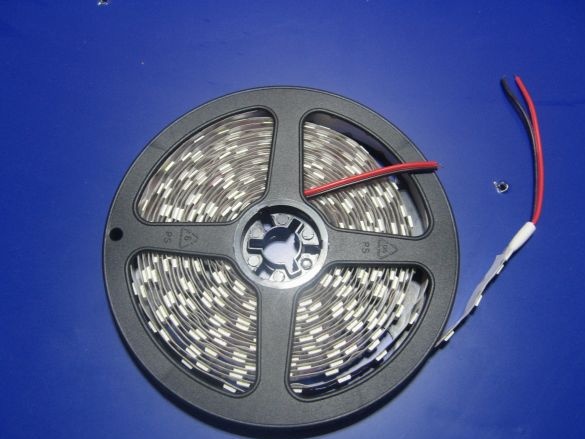
LED strip from China. Five meters, on SMD5050 LEDs.
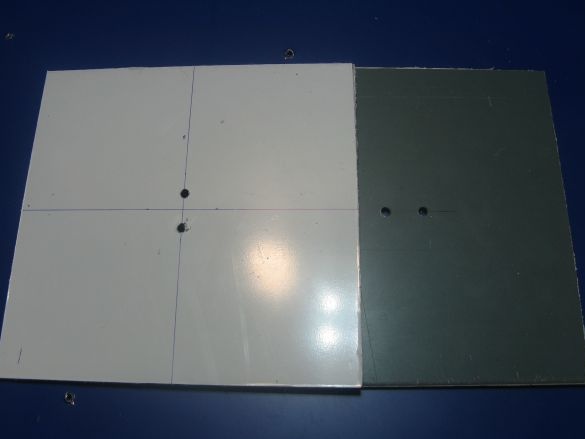
I will use plates from composite plastic. Color is not important. You can take aluminum plates. The size of 150 * 150 mm was chosen not by chance, but more on that later.
Racks will also be made of composite plastic, as well as reflectors can be made of aluminum.
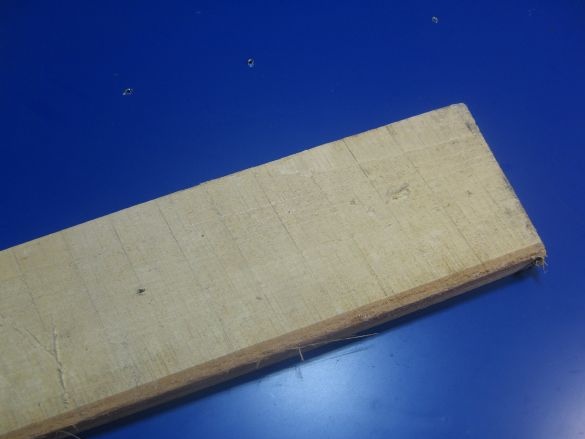
I need a polished board, I will use a board from the pallet.
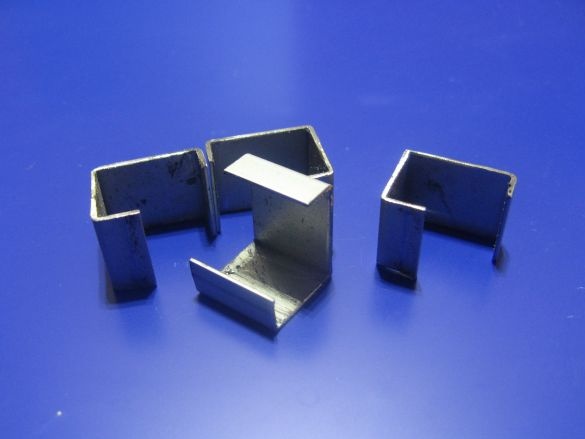
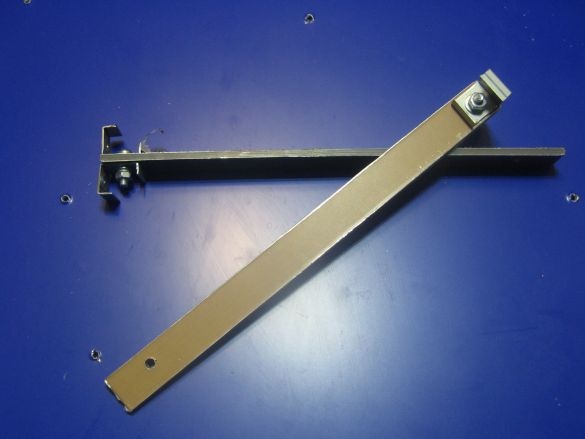
I wanted to take the corners ready, but the right amount was not there. I had to get out, made corners from a long corner from the old printer.
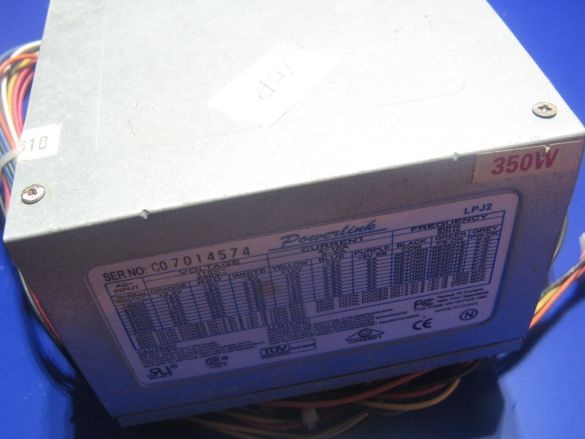
I will feed from a computer power supply. Later, maybe I’ll make a separate 12 volt power supply.
Assembly.
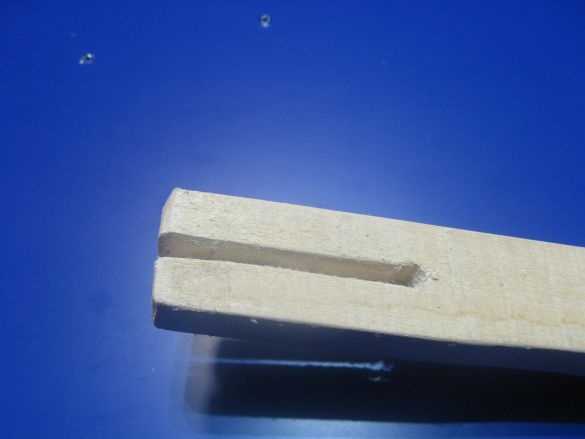
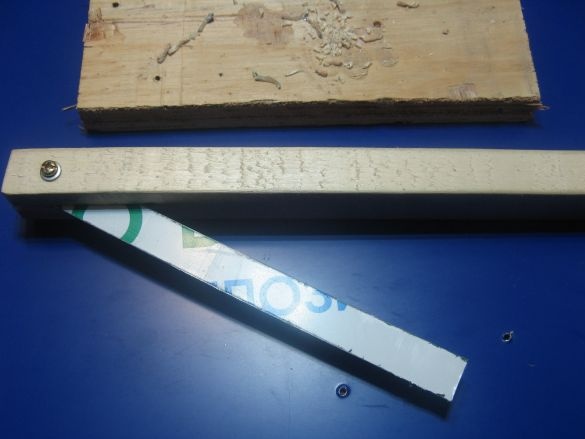
From the board from the pallet you need to cut the rail. Reflectors with LED strips will be attached to the rail. In the rail you need to make a cut. At the end I drank a hole, it turned out something like a collet.
On the plate, I mark and drill holes.
Stoics are attached to the rail. Need to mark. We pass through the slot and drill a through hole for the M4 screw. The angle at which the rack is about 45 degrees. Enough to compact reflectors with LED strips.
Corners must also be marked and drilled in them. We fasten the corners to the racks.
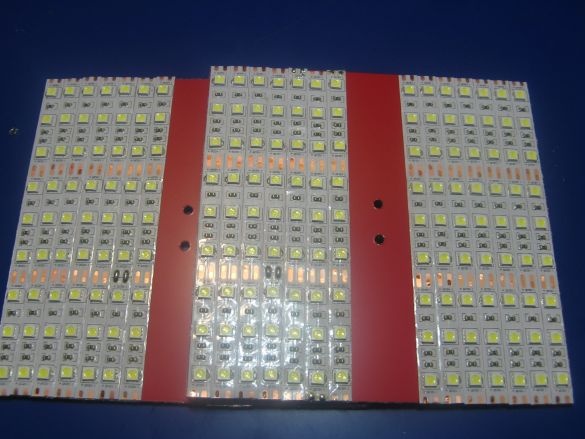
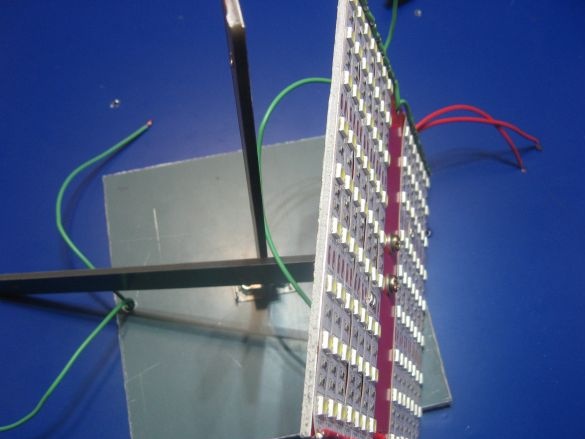
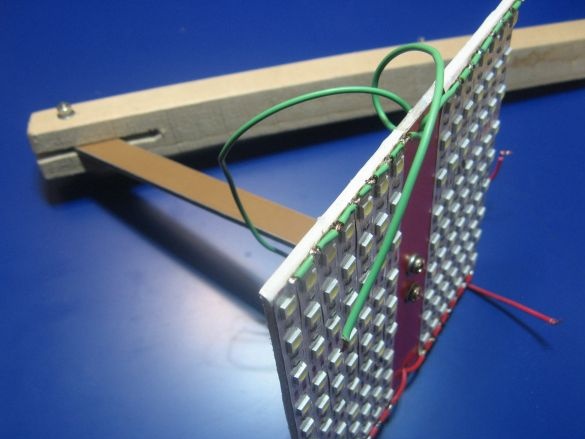
On the reflector plates, you need to stick the segments of the LED strip. Lengths of 150 mm each. On the segment, 9 LEDs are obtained.
LED segments must be connected in parallel. I solder the cons on the one hand, the green wire. Pros on the other hand, the red wire.
I twist it all together. I do not tighten the nut tightly, the racks hold and so perfectly, even under the weight of the reflectors.
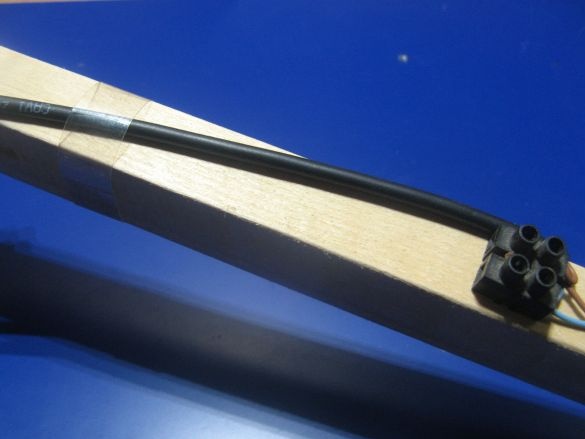
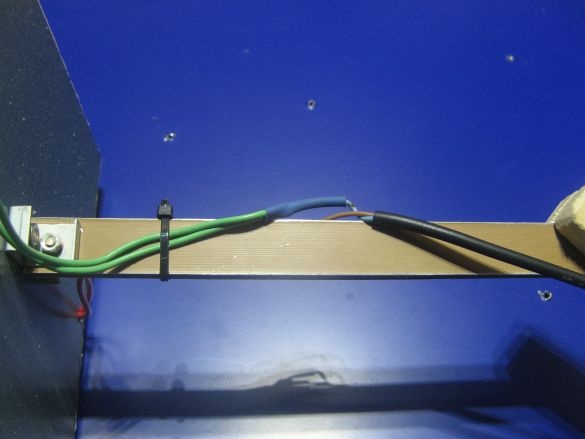
I extend the wires and connect both reflectors in parallel. It turns out that all segments of the LED strip are connected in parallel. I install the block, I need to connect the wire going to the power supply.
The sealed joints are insulated with heat shrink. I fasten the wire with a clamp.
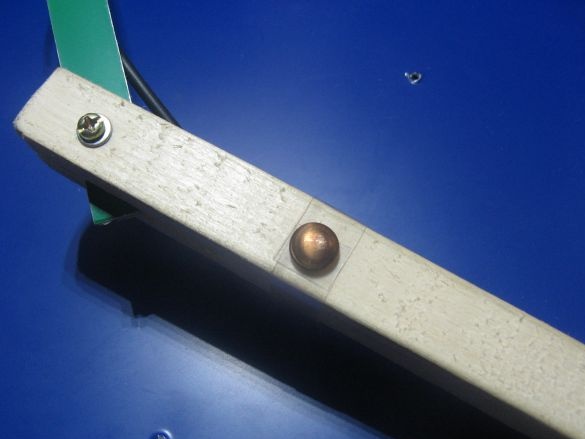
I fixed the wire on the rail using a piece of a plastic bottle and a clove with a large hat.
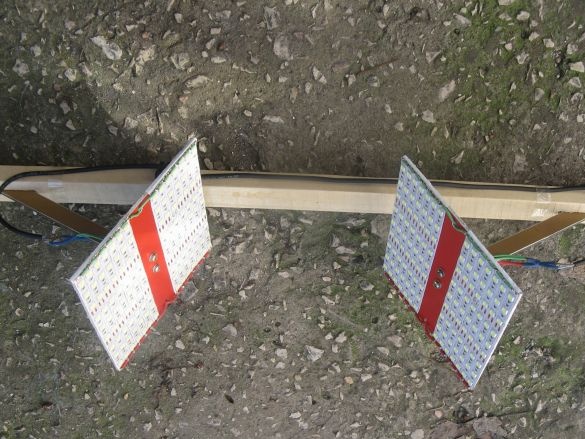
Such an adjustable backlight turned out. There is enough light for my needs. Most likely I will mount it on a wall or on a rack.
Assembly video attached:


