
Today, together with German, the author of the YouTube channel “GruzdoV”, we will make a cool thing that is not a shame to give to someone, for example, your boss or leader, or just leave it to yourself. I think you definitely haven’t seen such a thing anywhere.

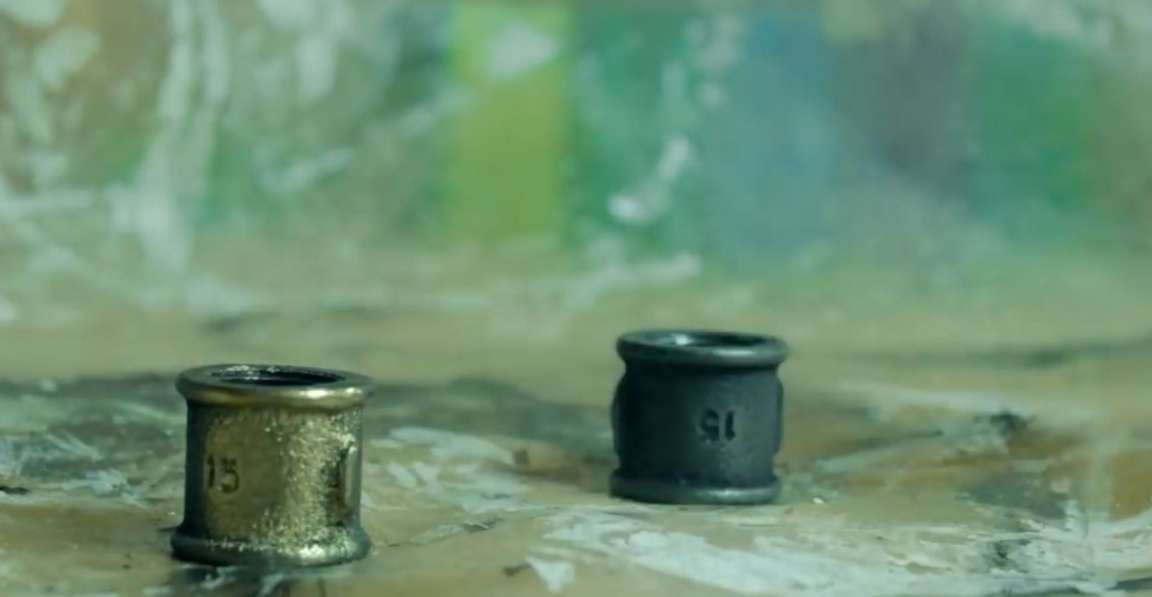
Today we will do a little of metal, and it will not even be a plumbing.
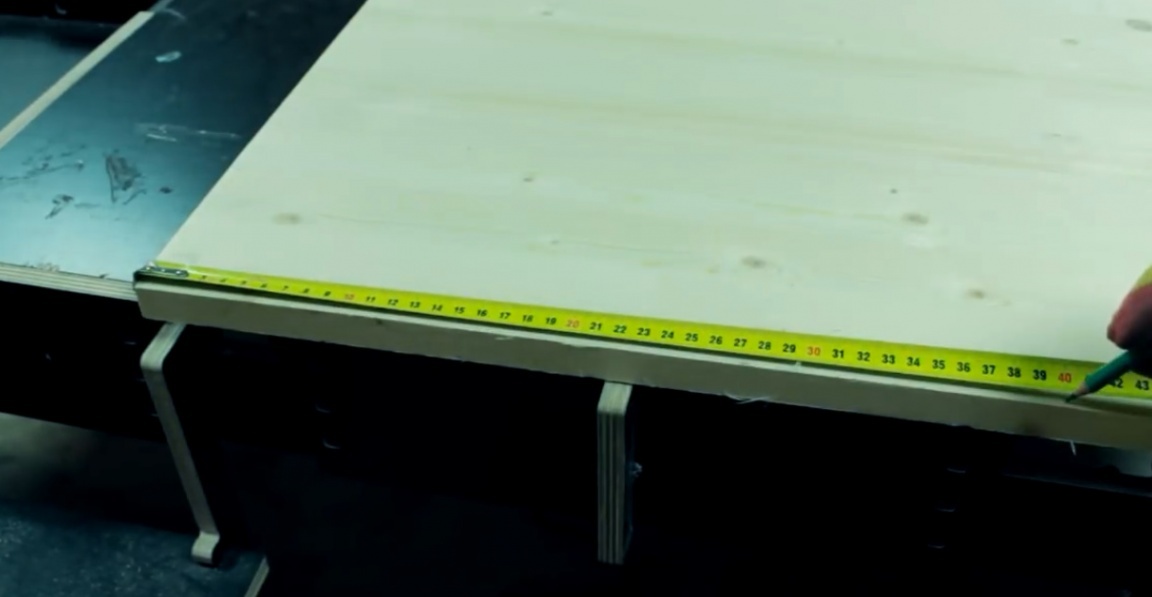
And also a piece of the countertop, which the author has left from previous projects, is useful to us.
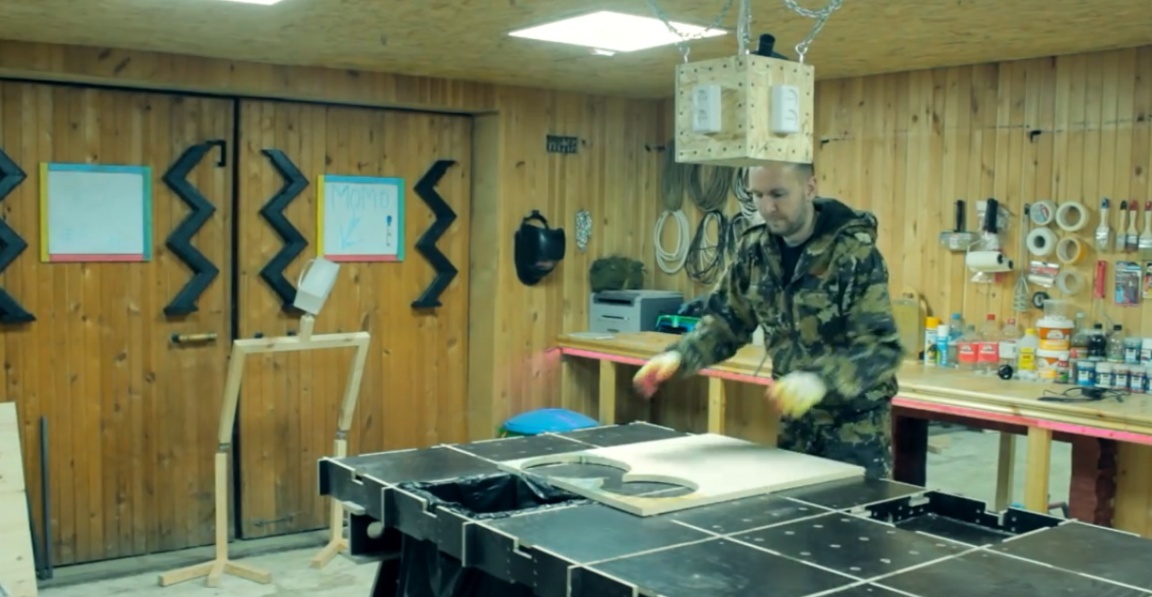
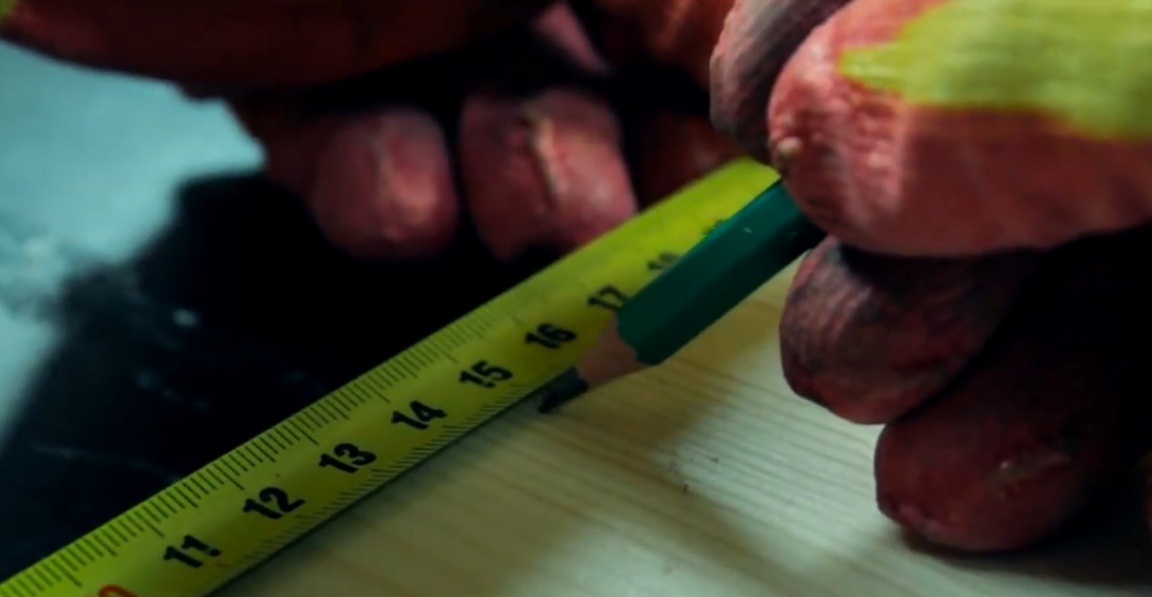
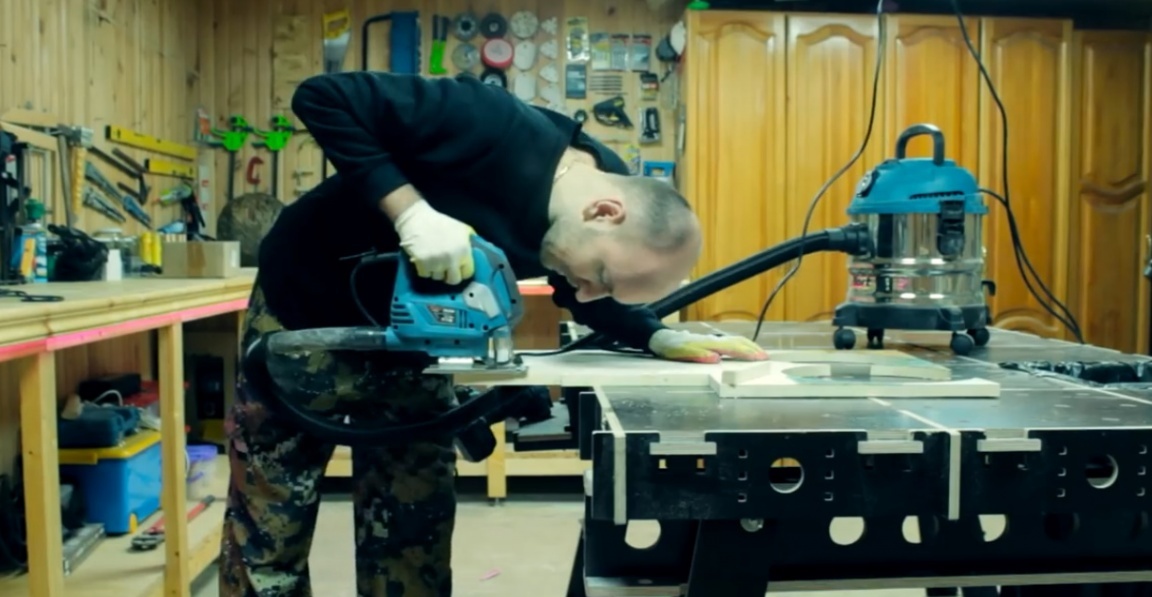
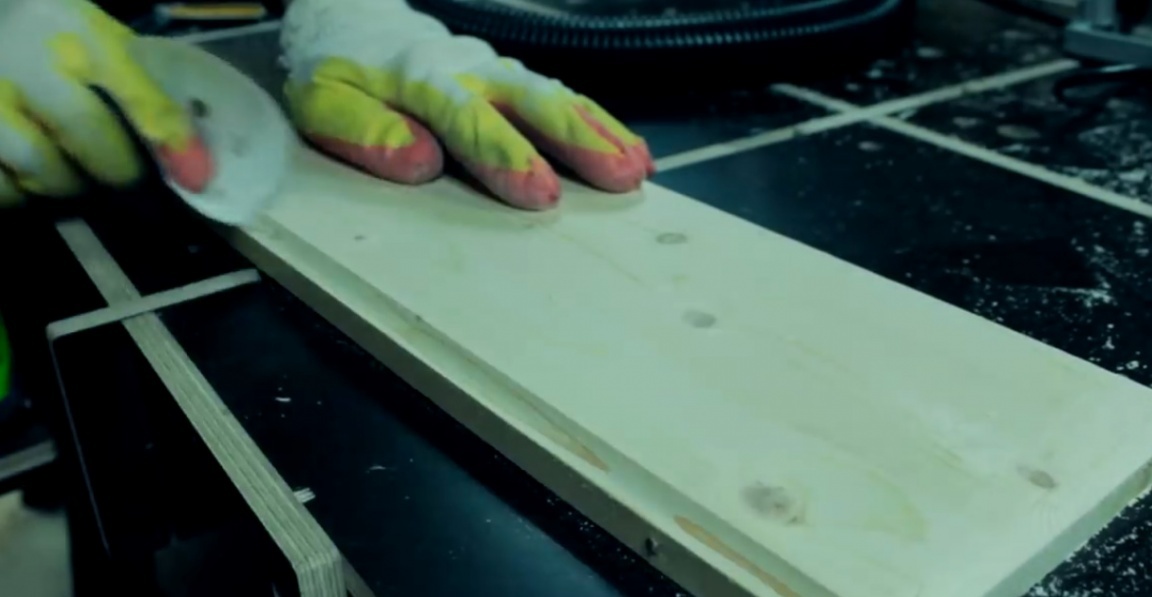
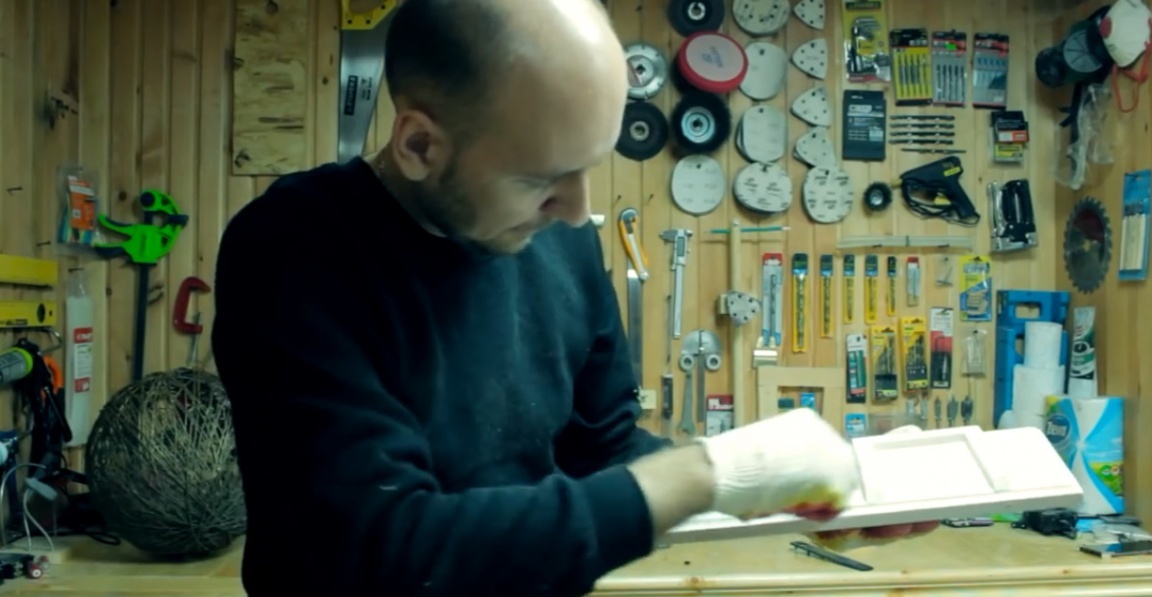
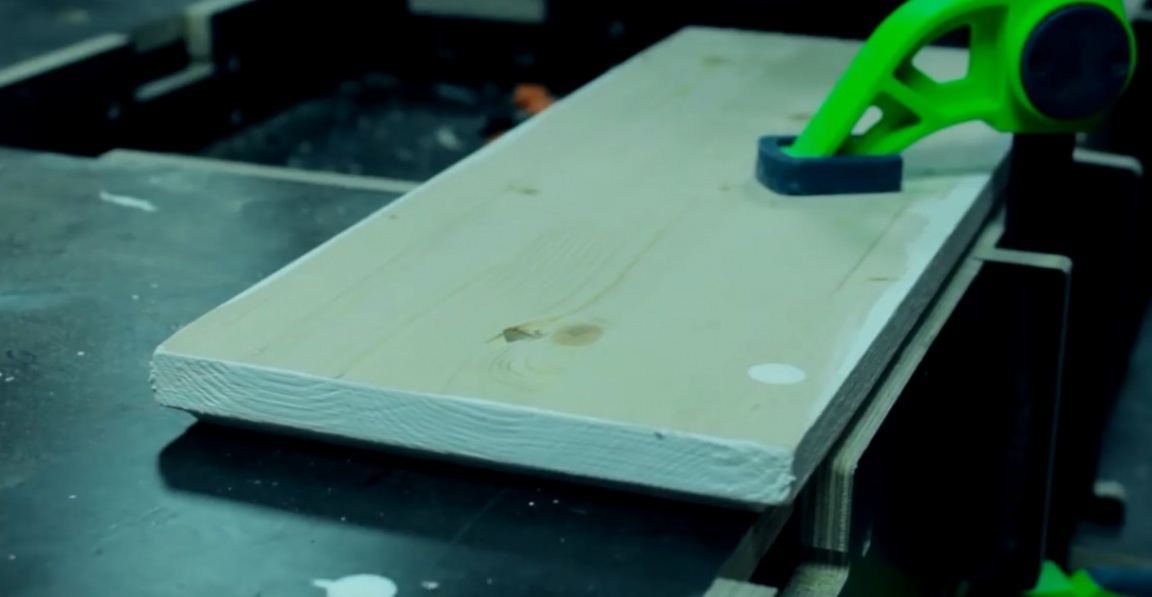
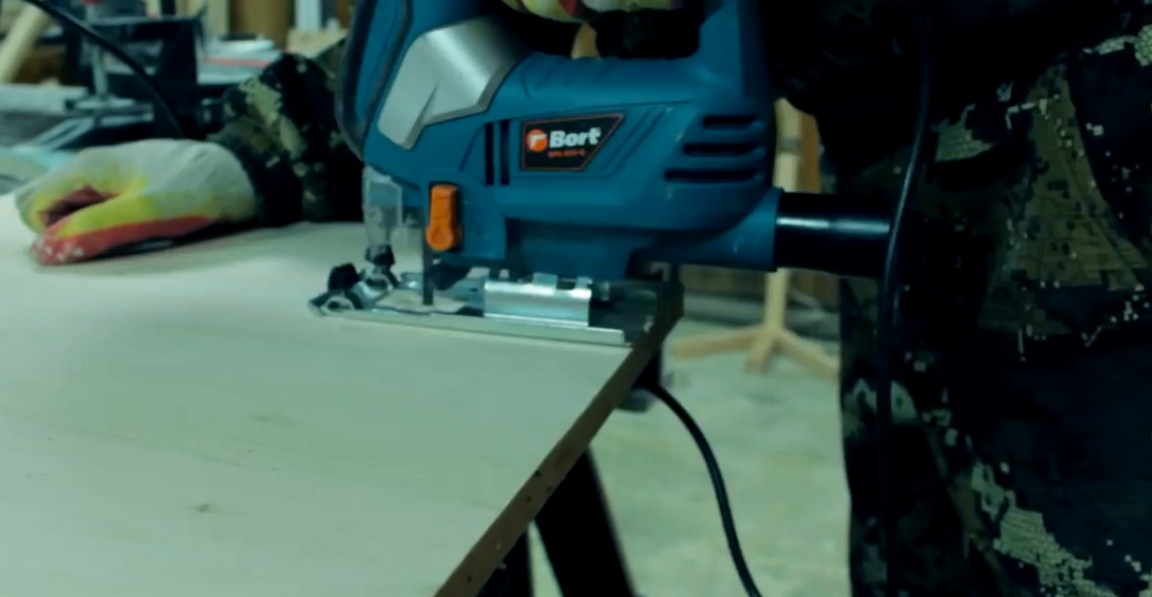
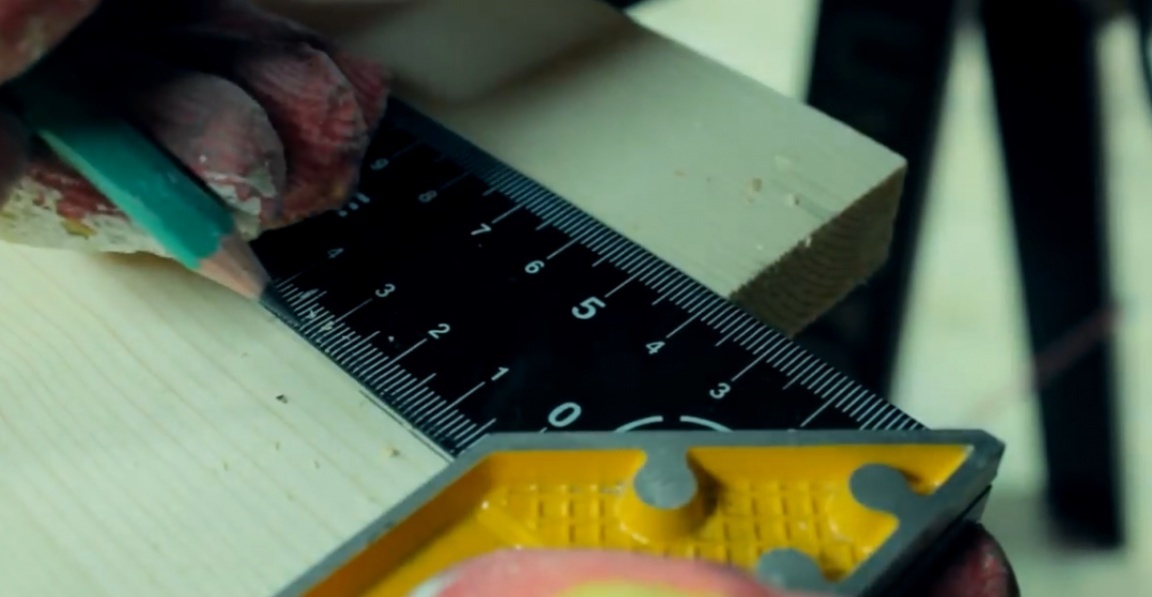
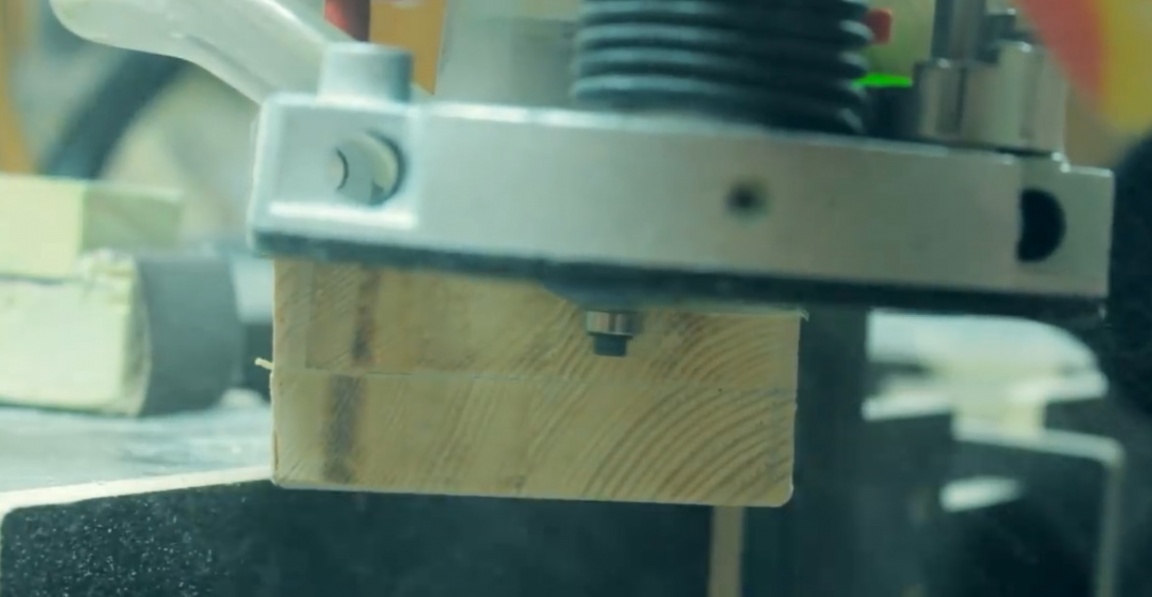
First of all, on the countertop, mark a rectangle with sides 15 by 40 cm and cut it off with a jigsaw. Then we mark out a small strip of size 2 by 17 cm and a couple more strips of size 2 by 15 cm.
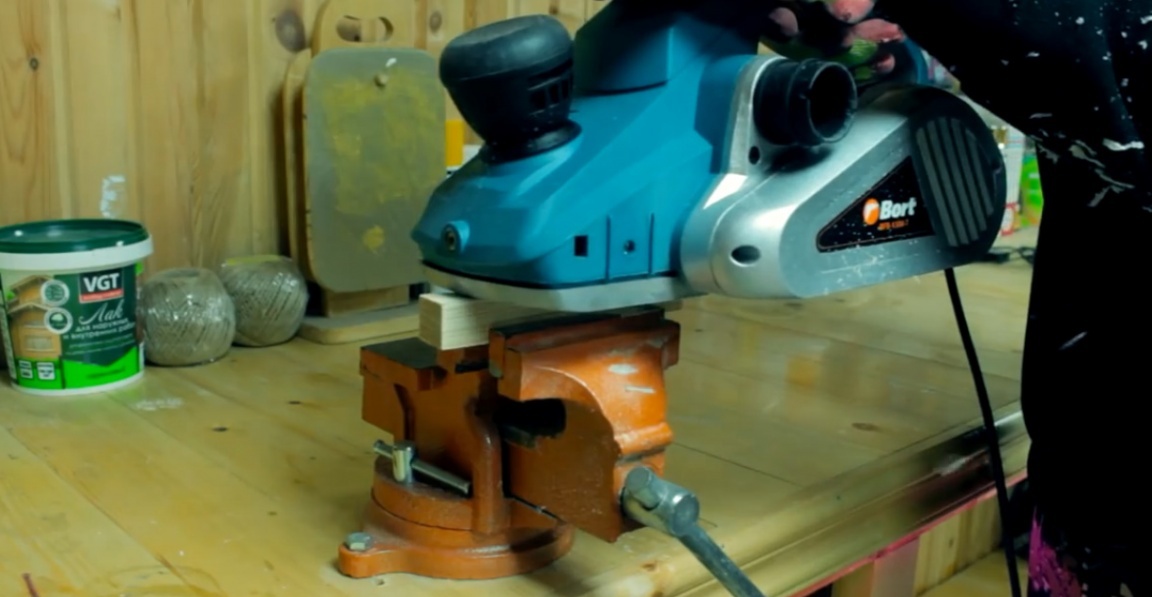
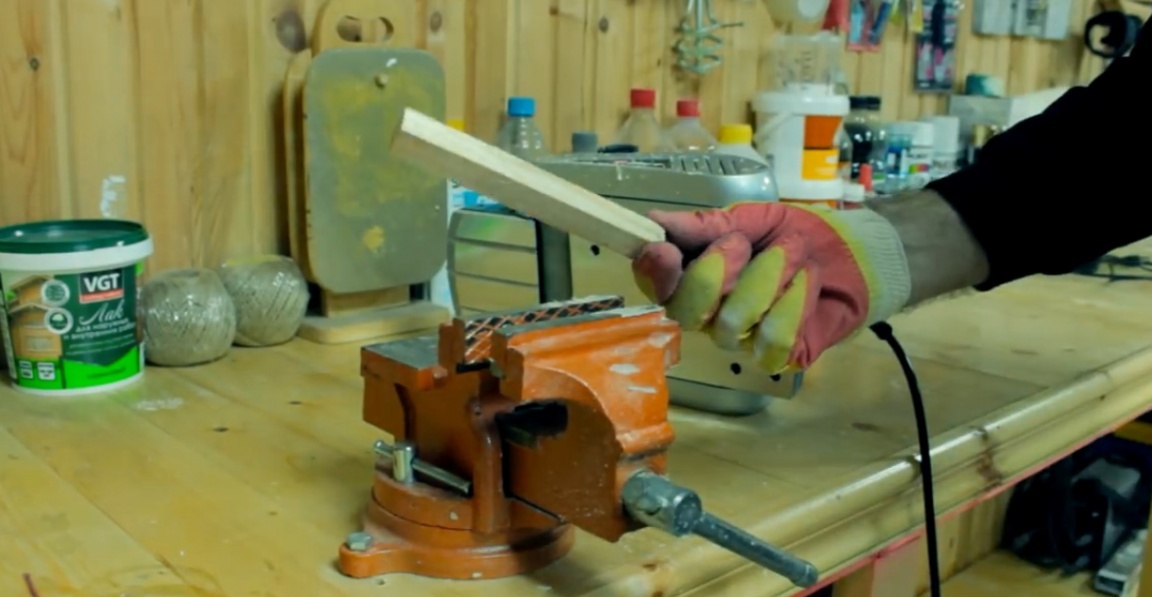
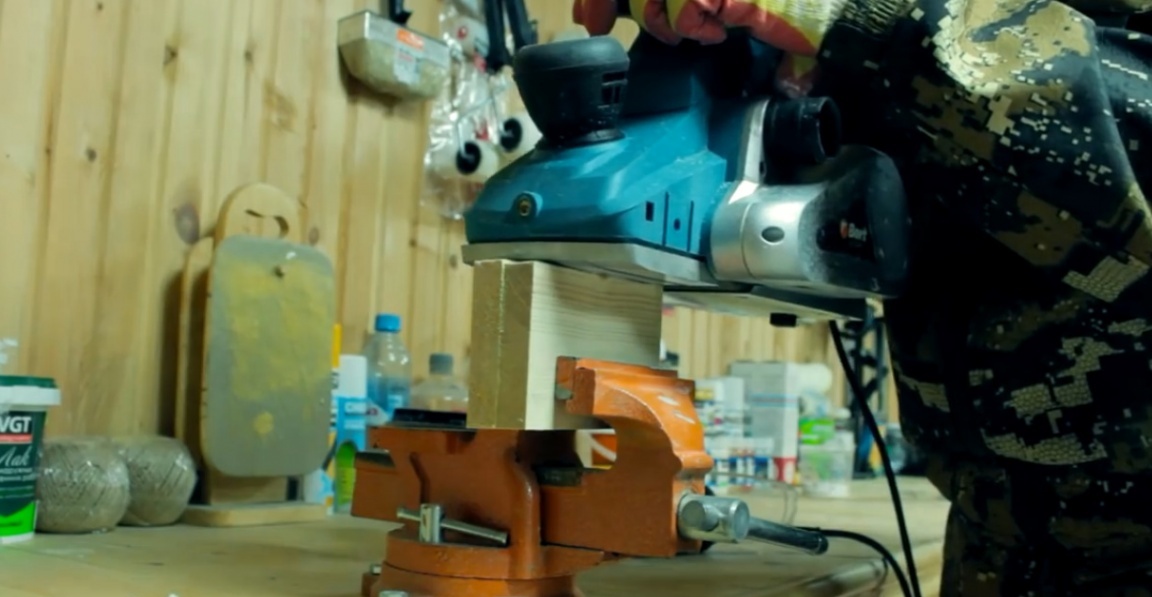
In order to remove the irregularities of the cut and fit the workpieces to one size, the author decided to go along them with a plane, after having clamped the workpieces in a vice.
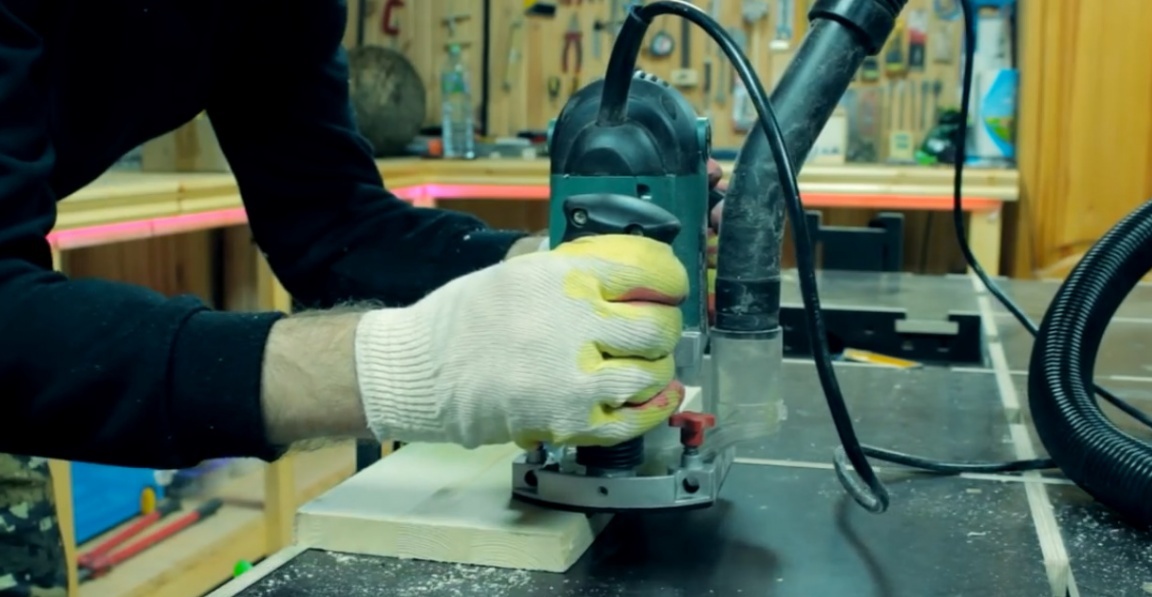
The resulting result is quite satisfactory, so it moves on. The author decided to process a piece of the countertop, which will be the basis for our homemade work, with an edge mill, and after that he went over with sandpaper to make everything look beautiful.
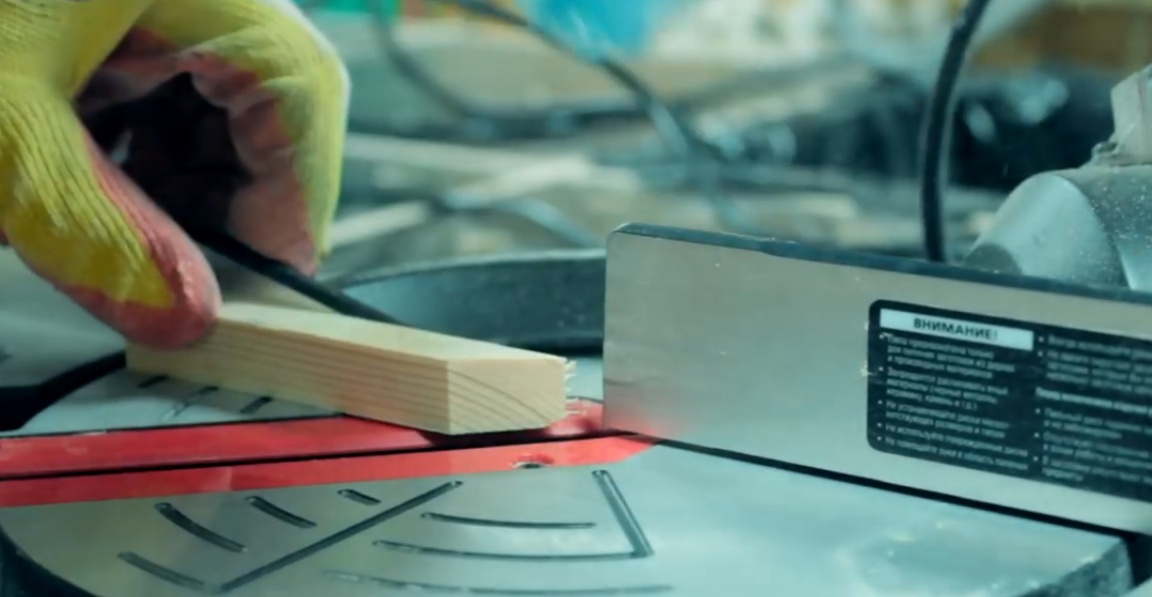
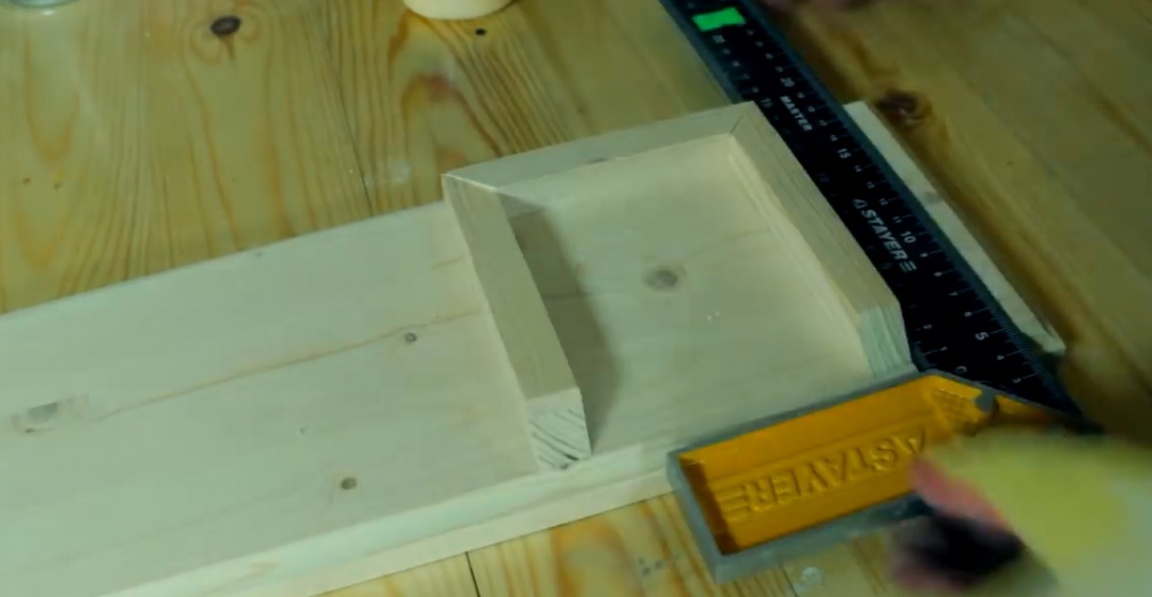
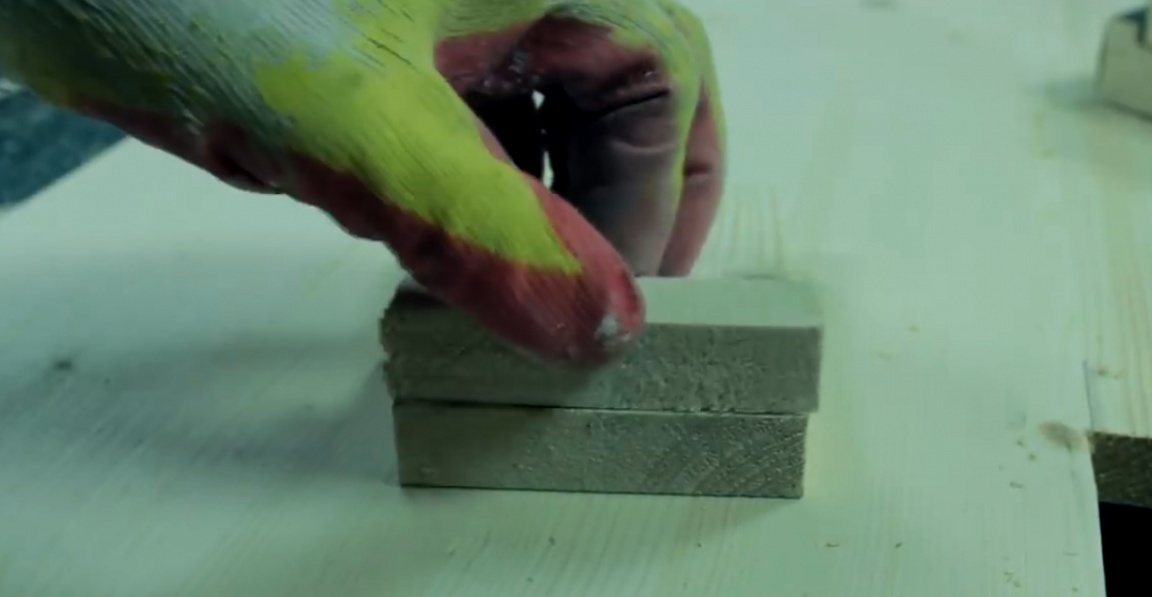
We put the segments on the base and see that they turned out a little longer than necessary, but this was specially designed to shorten them on the miter saw.
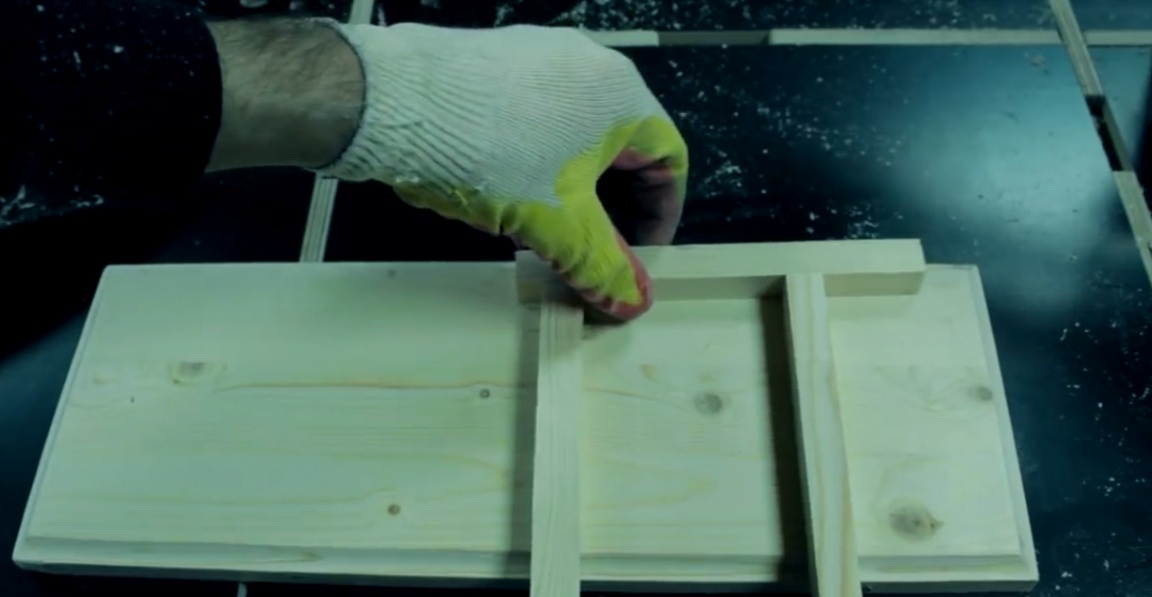

After processing the blanks on the miter saw, we smear them with glue and glue them to the base using a 90 degree angle.

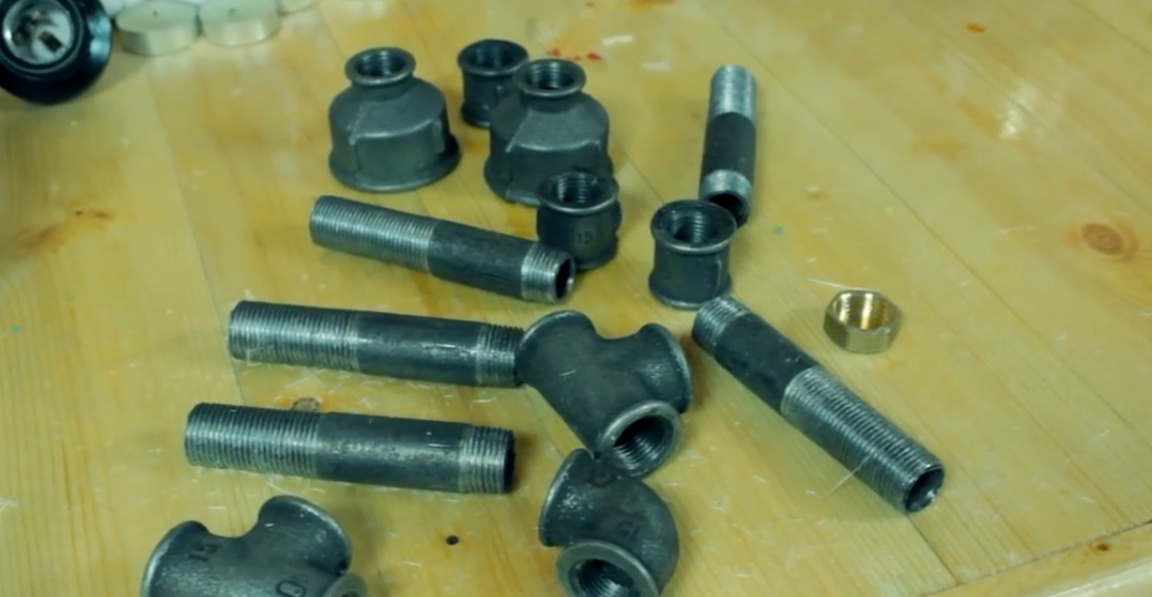
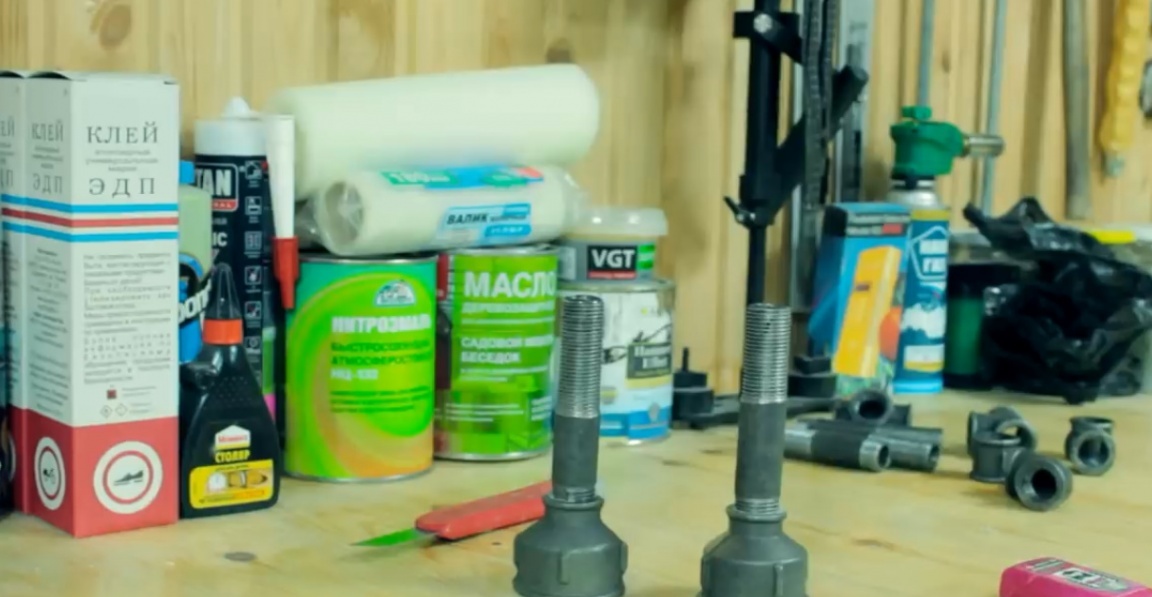
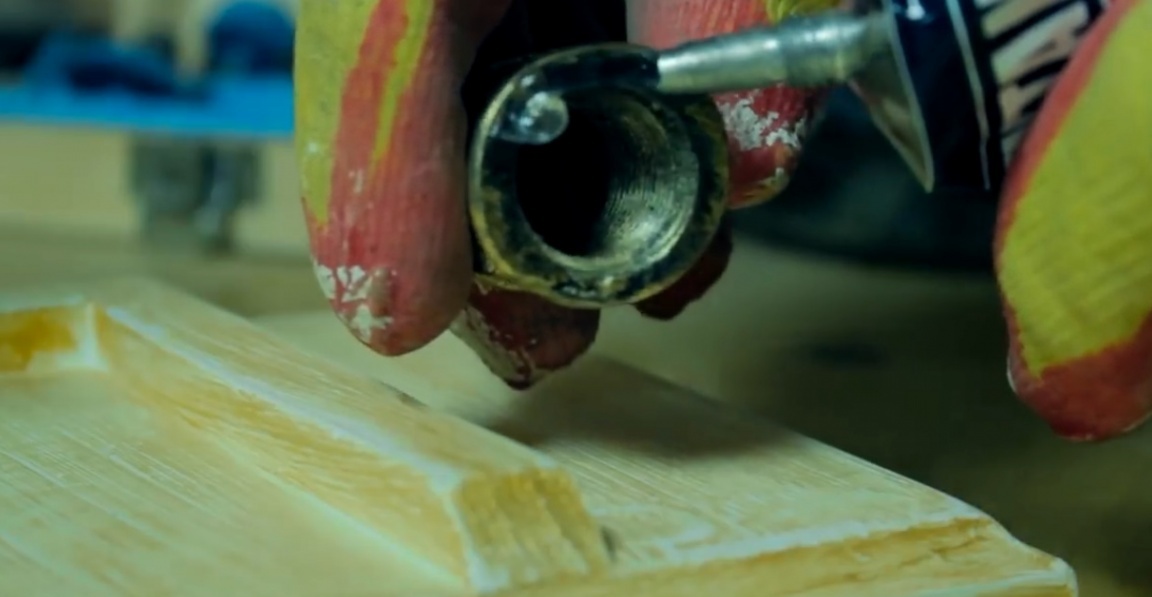
Set aside the pieces of wood for now and do the laundering of the metal parts. To do this, use an ordinary solvent and a sponge.
Parts from the store are roofing felts in oil in some, roofing felts in fuel oil, roofing felts in some kind of lubricant, well, in general, they are obviously not suitable for our purpose, since in the future they will need to be painted.
After washing the parts, we get the solvent on the skin through a rag glove and as a result a slight burning and irritation, but as the author assures, it will definitely heal until the next homemade product.
An hour later, our workpiece stuck together well enough to proceed with its further processing.

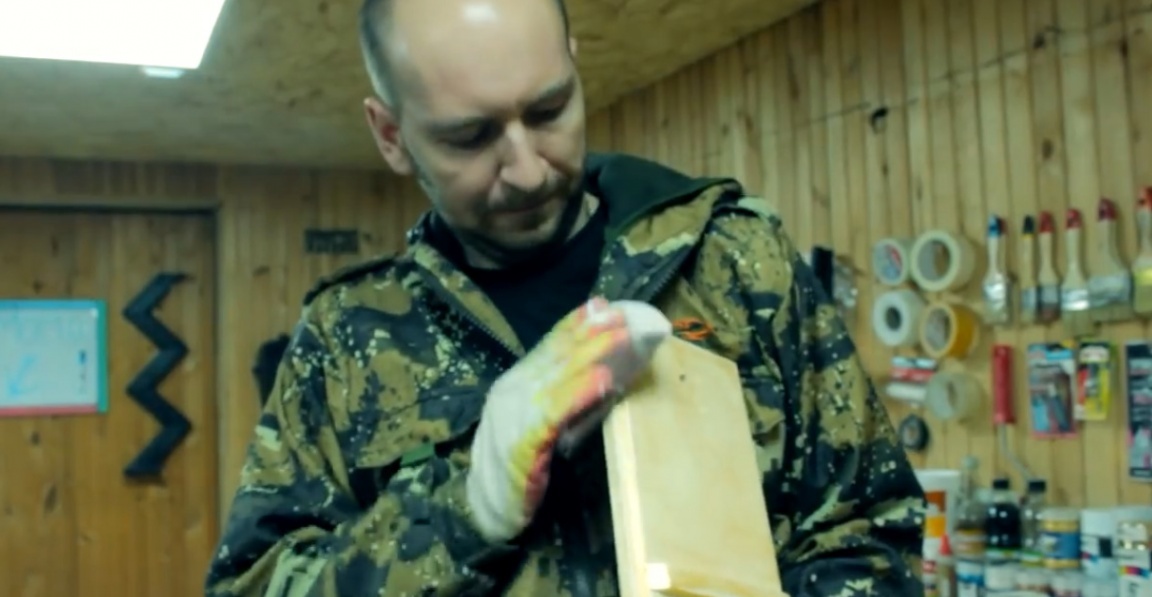
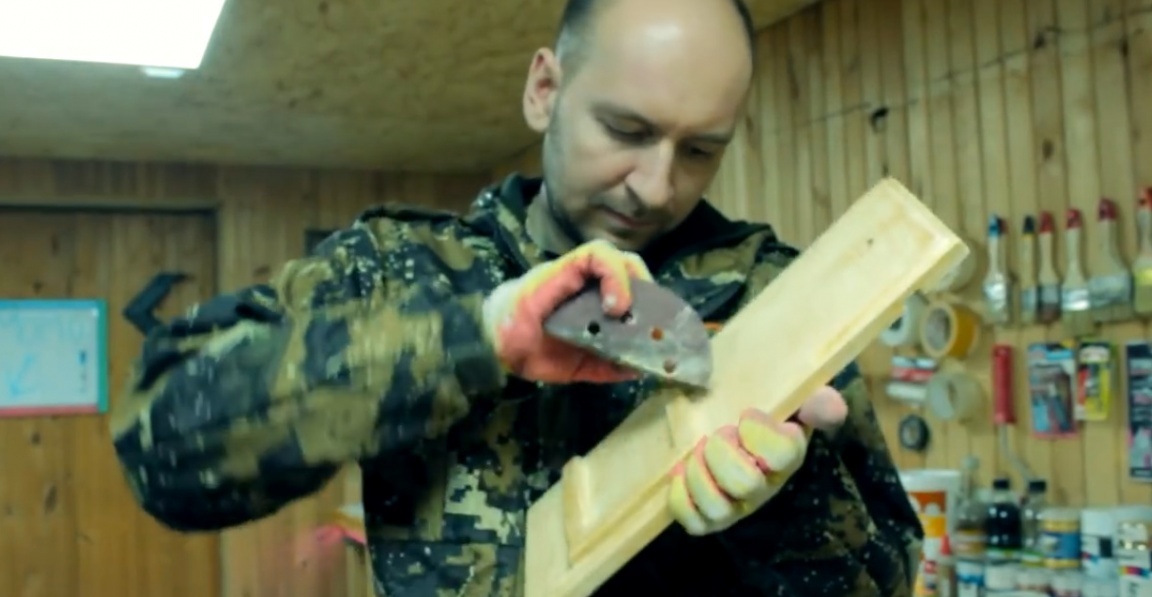
Sharp corners on the surface of the author were not very happy, so it was decided to go with an edge mill.
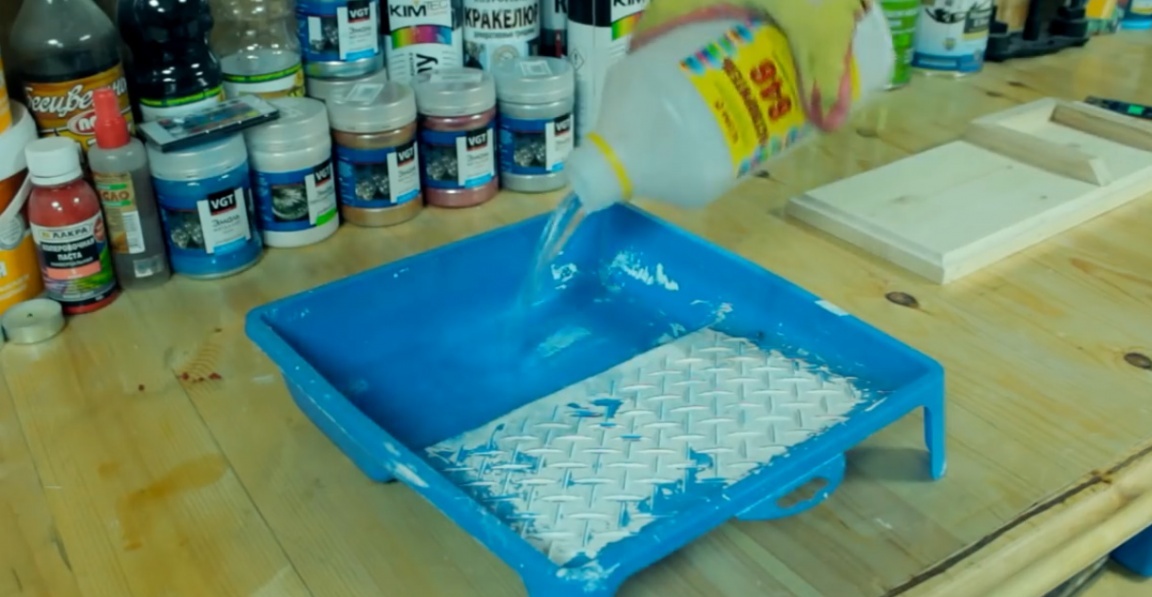
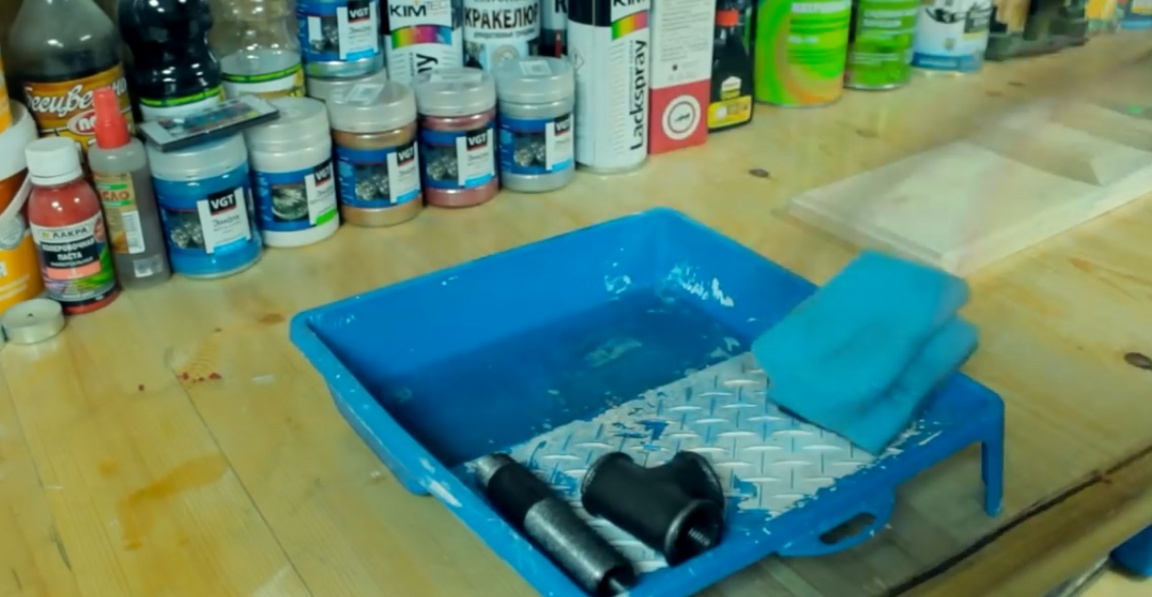
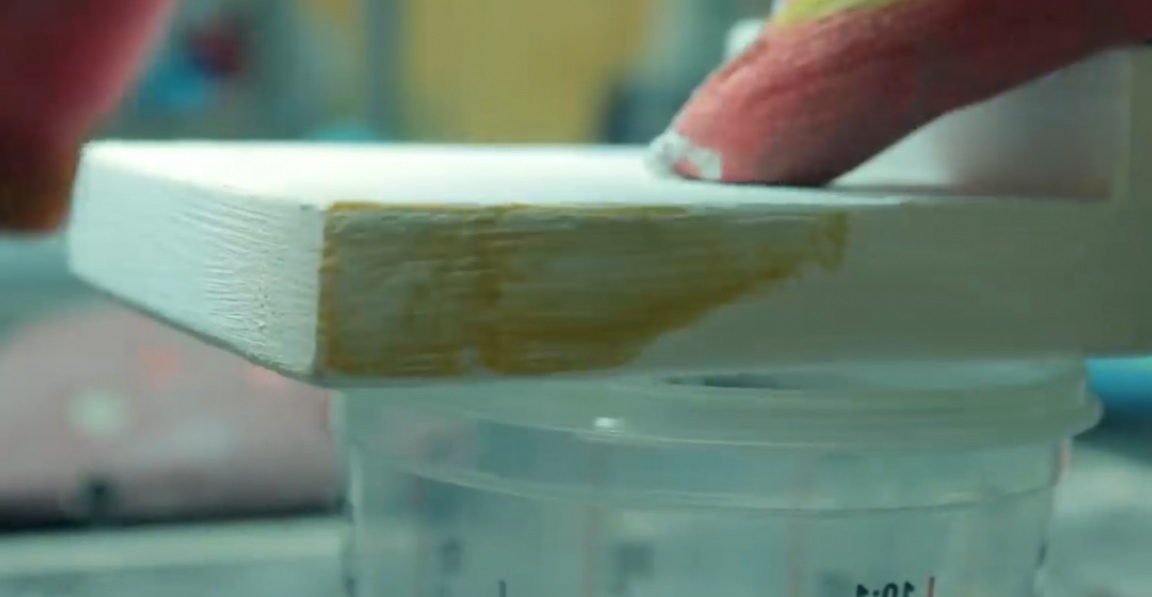
The author decided to paint the base with his favorite white latex acrylic paint. At the same time, he uses a piece of foam to get small grooves. We paint everything thoroughly and leave the product to dry.
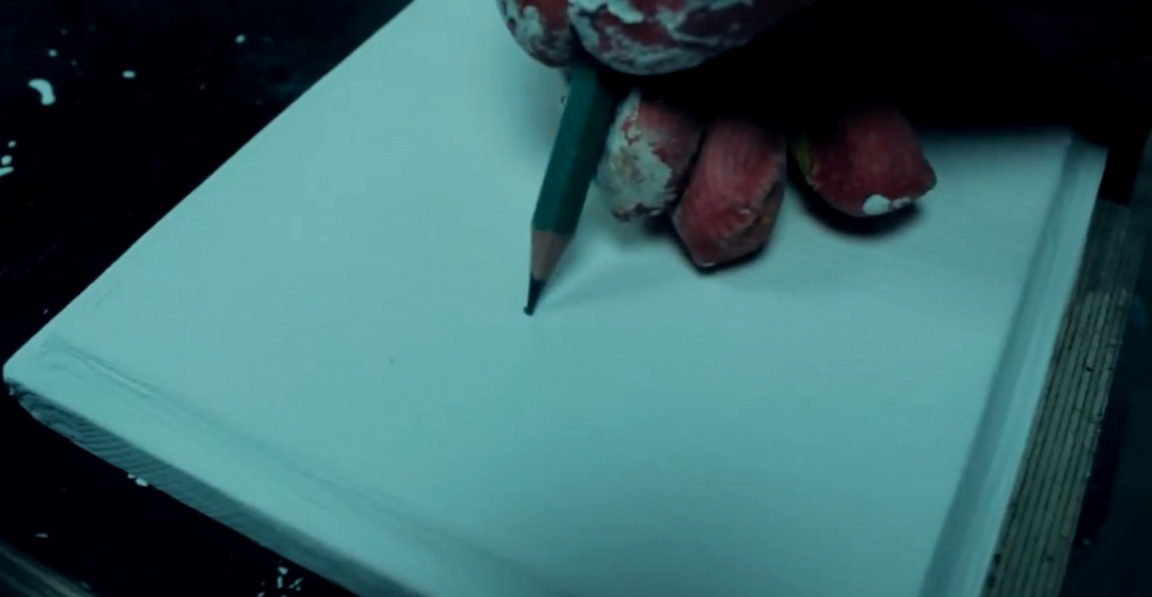
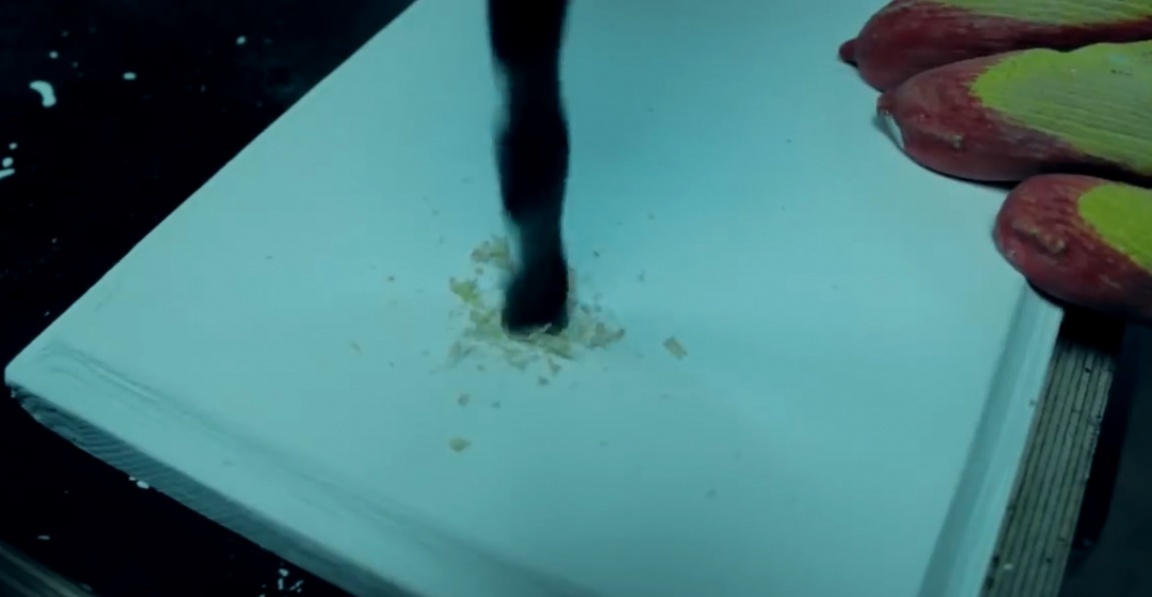
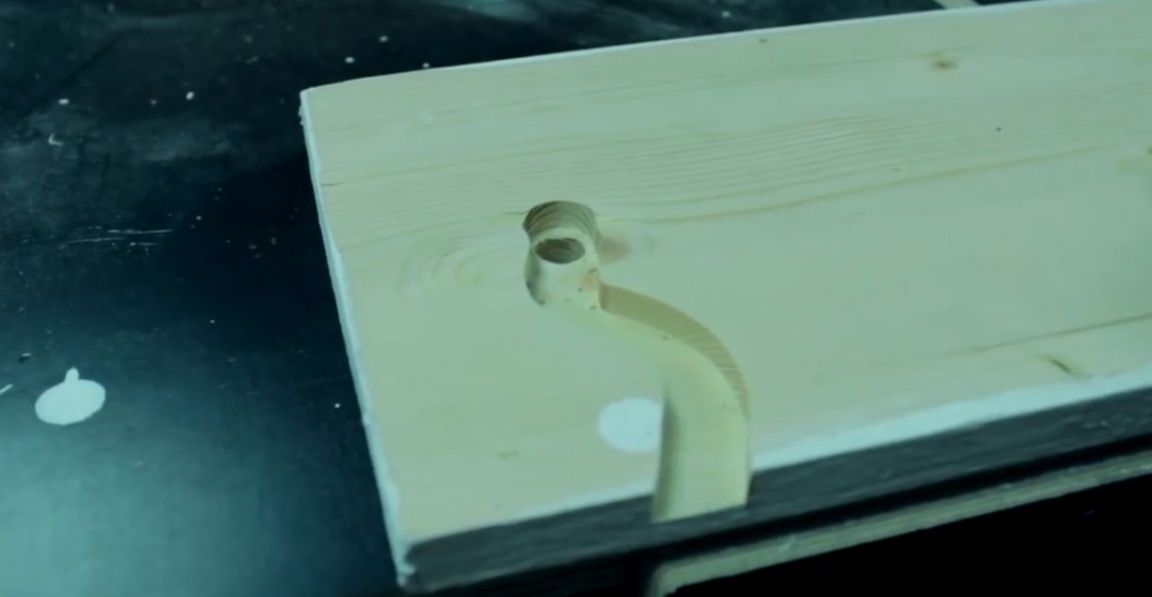
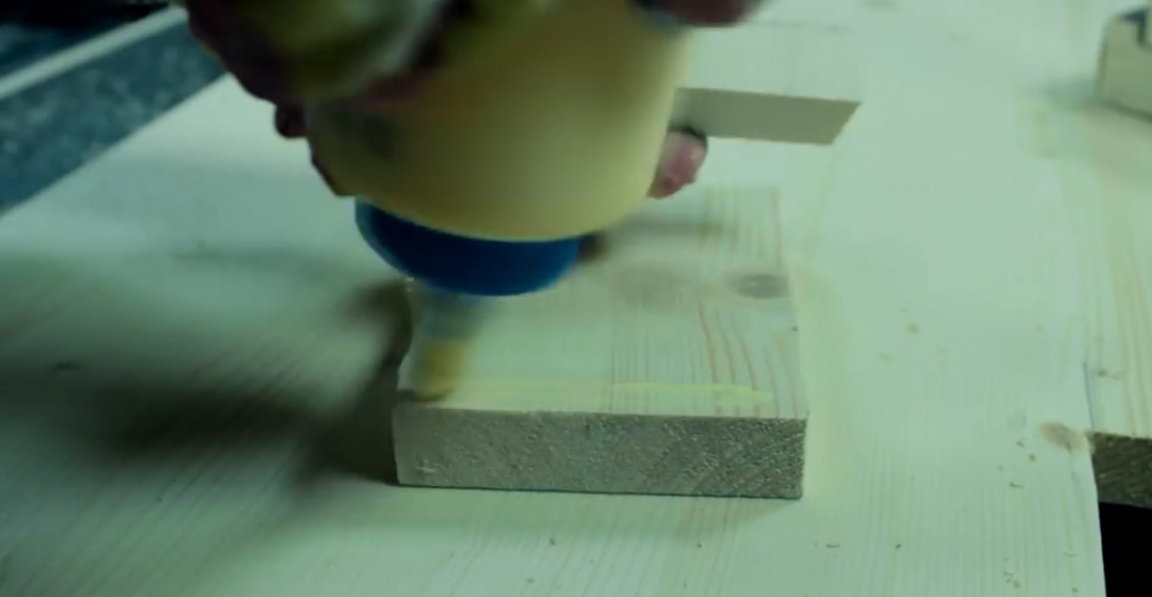
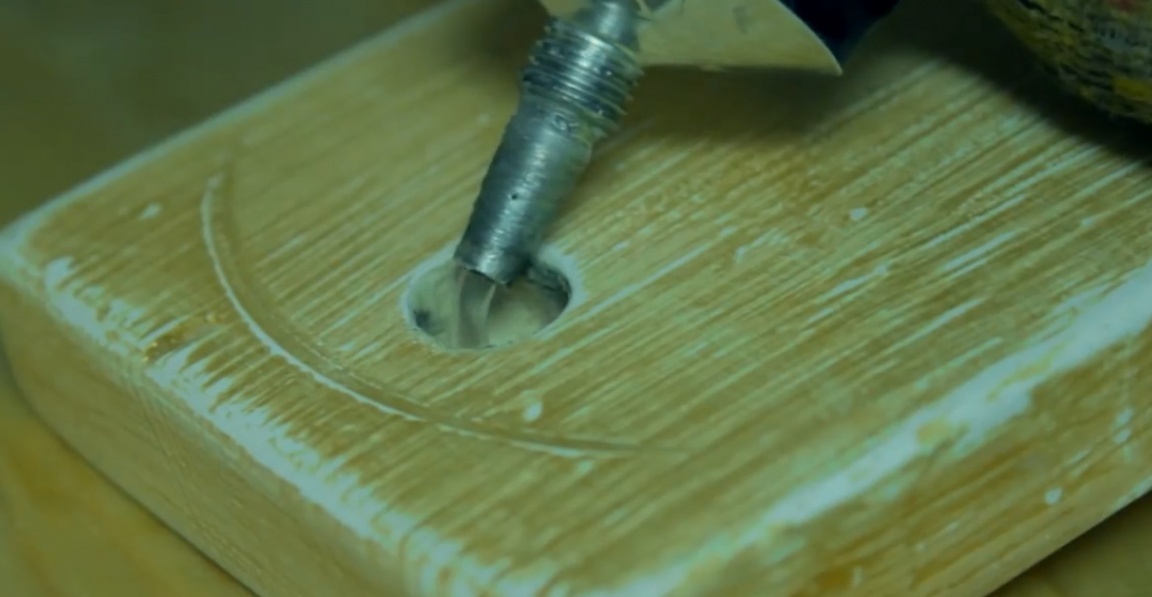
Next, you need to drill a hole with a diameter of 12 mm about 5 cm from the edge of the countertop.
Then it is necessary to turn the wooden base over and fasten it with a clamp, we will go through the milling cutter from the center of the hole to get such a wavy cut.
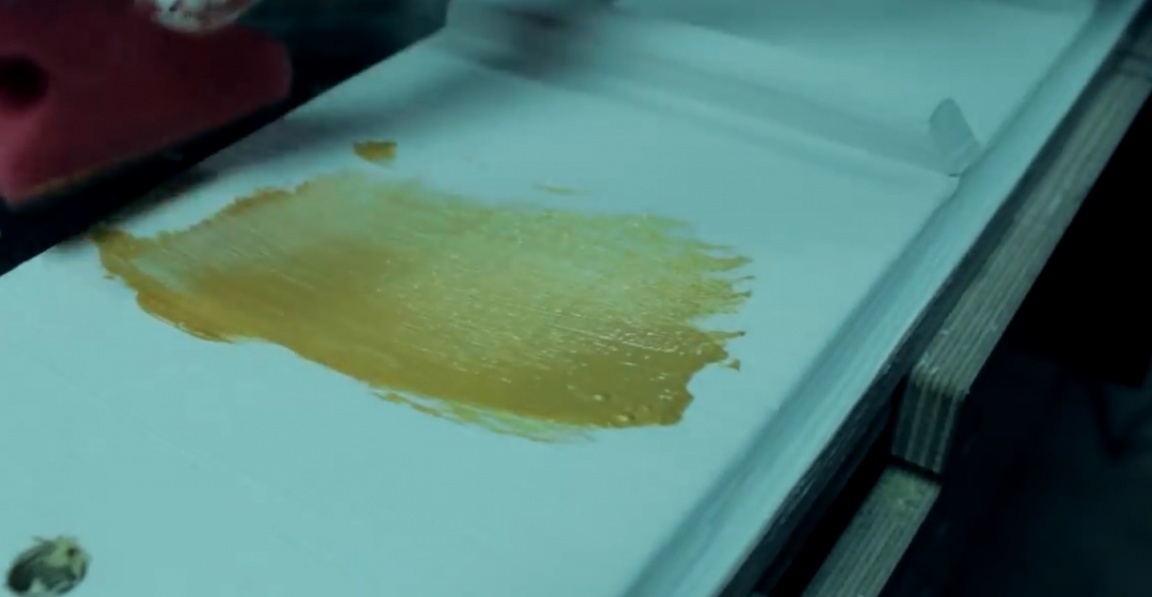
Then, with a continuous layer, we cover our base with gold pearl paint and leave to dry for about an hour or two.
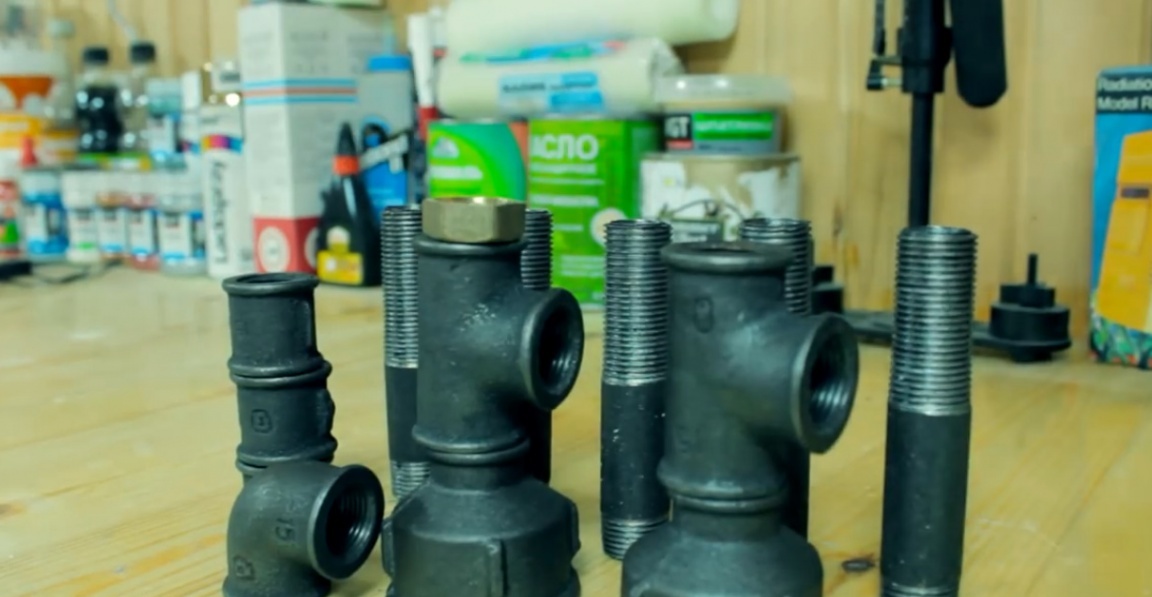
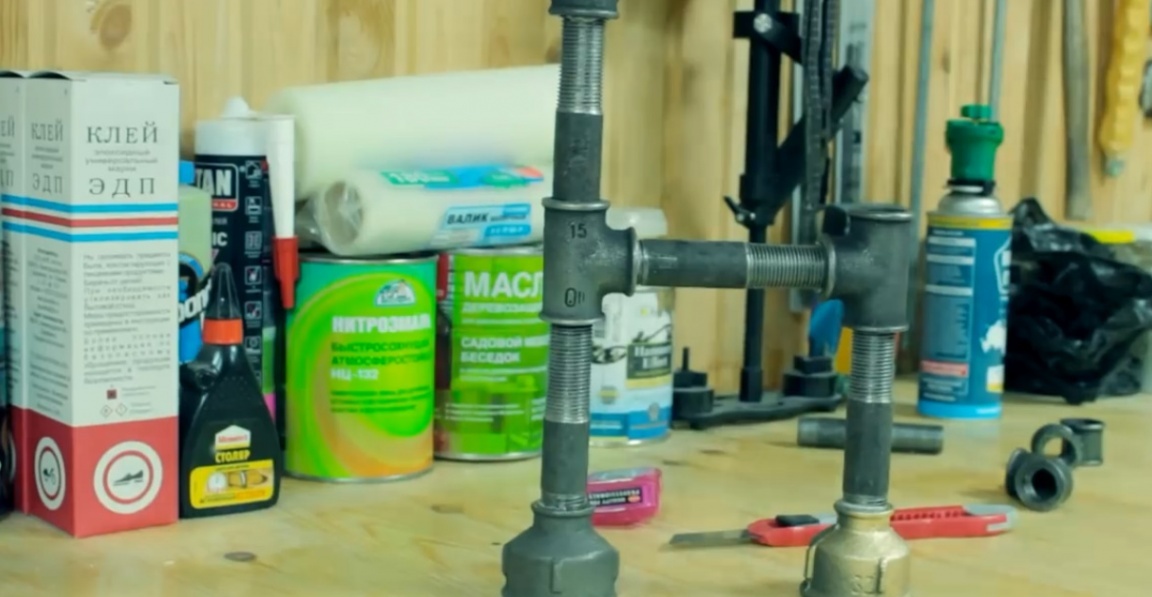
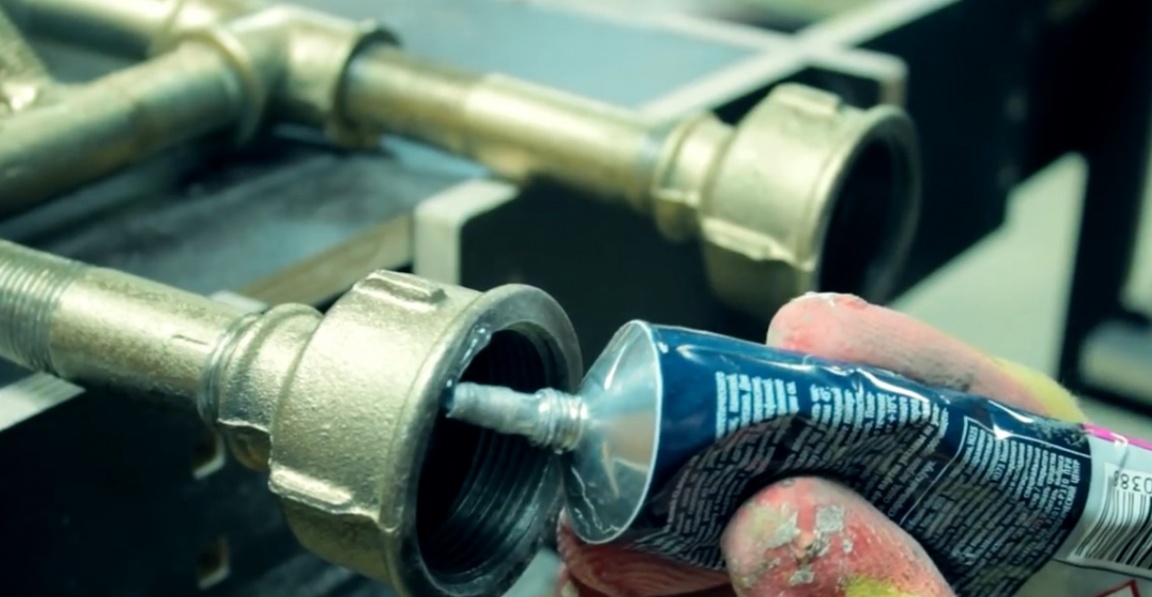
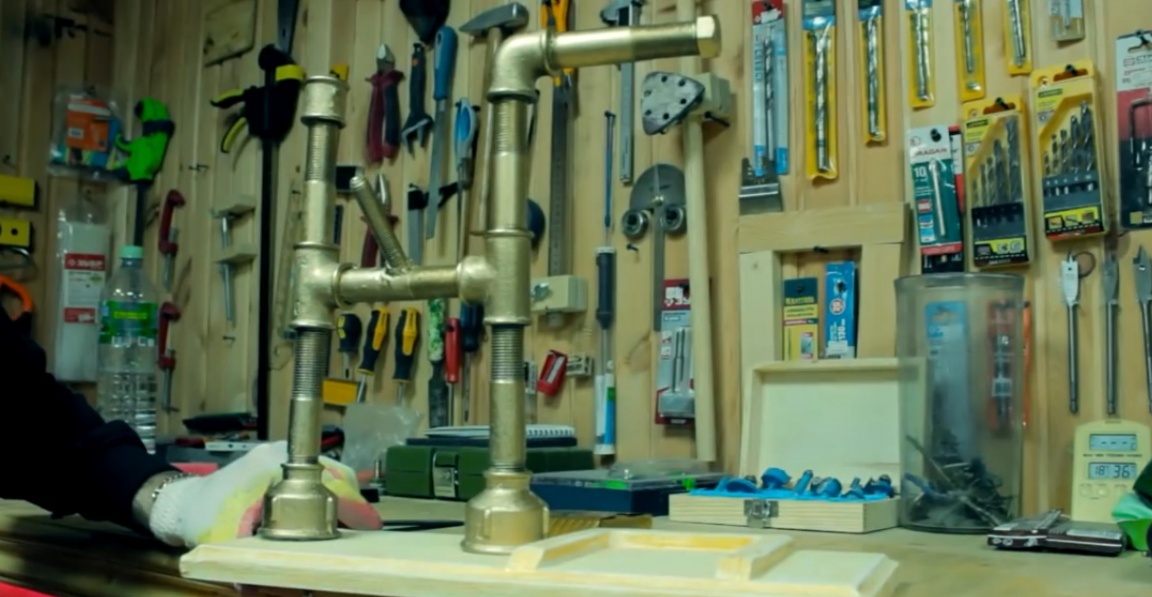
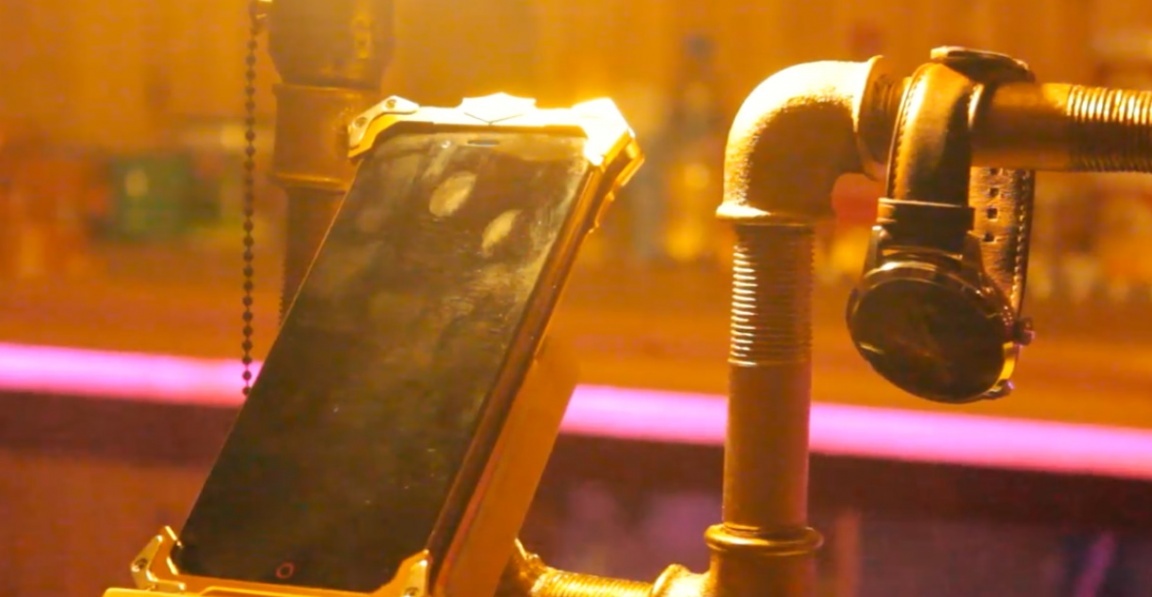
Meanwhile, we will be engaged in the assembly of all metal parts.
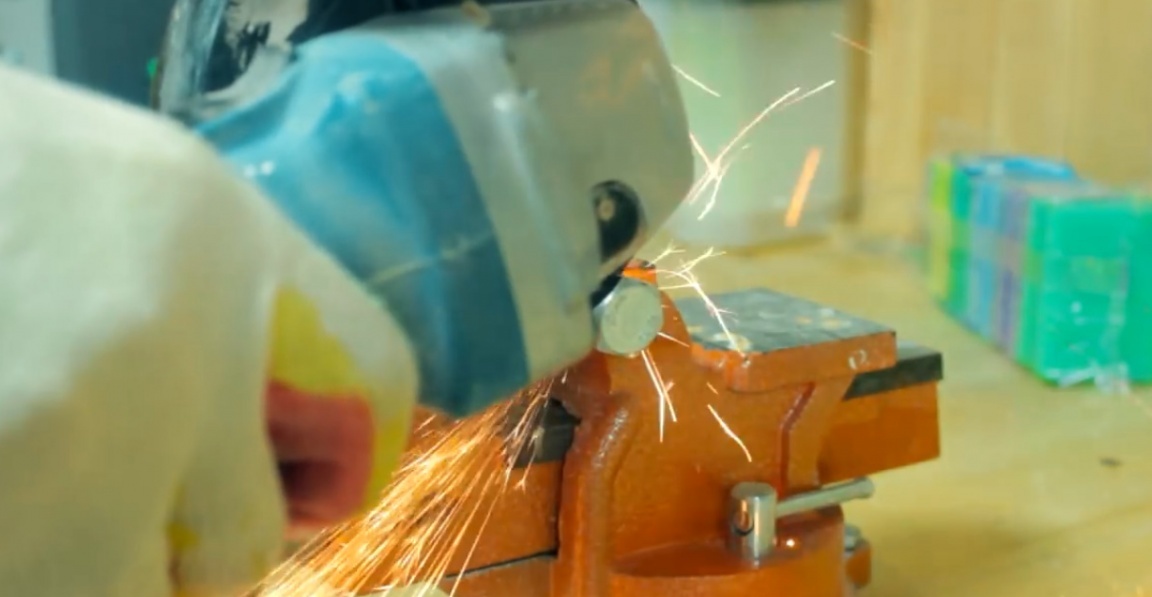
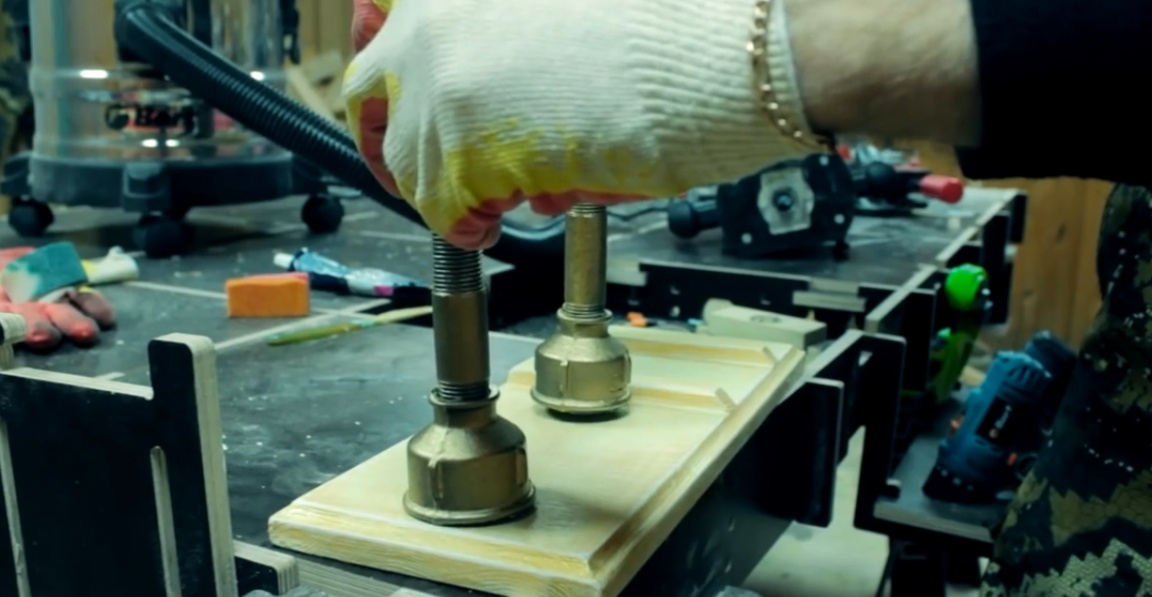
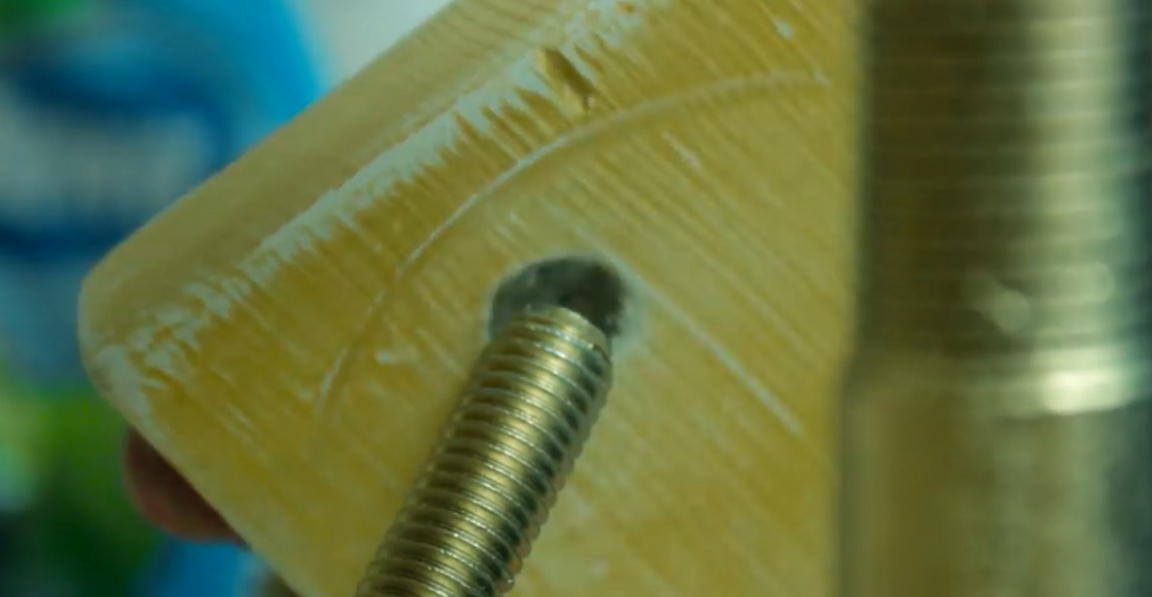
First, hold the M12 bolt in a vise and cut off his hat.

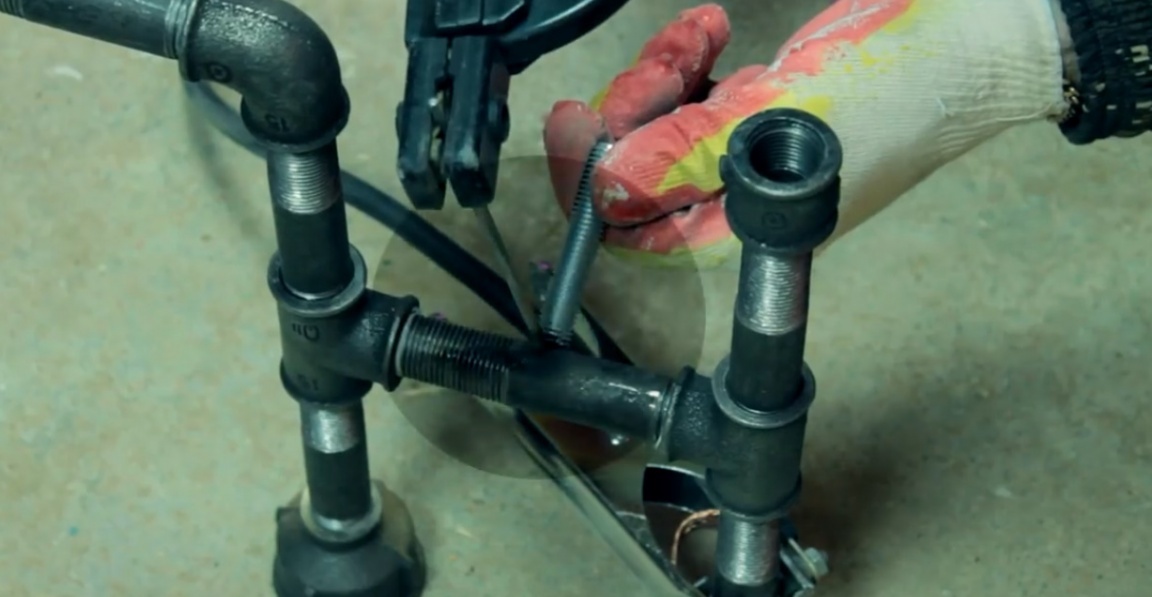
After that, we weld it to the main structure as shown below.
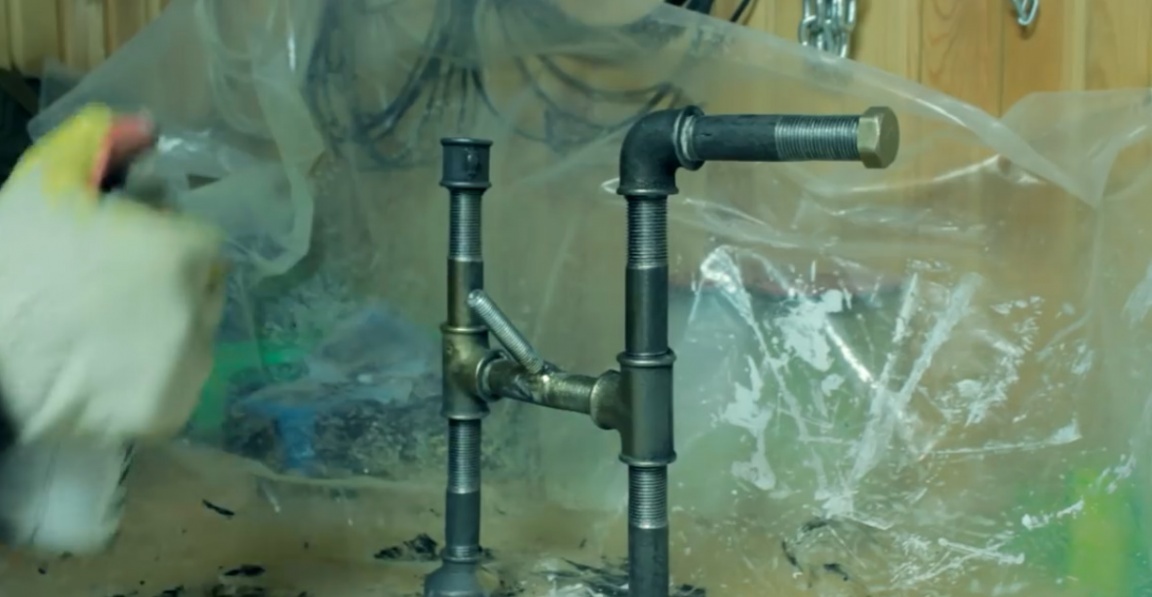
Well and be sure to paint all this in a golden chrome color, as without it.
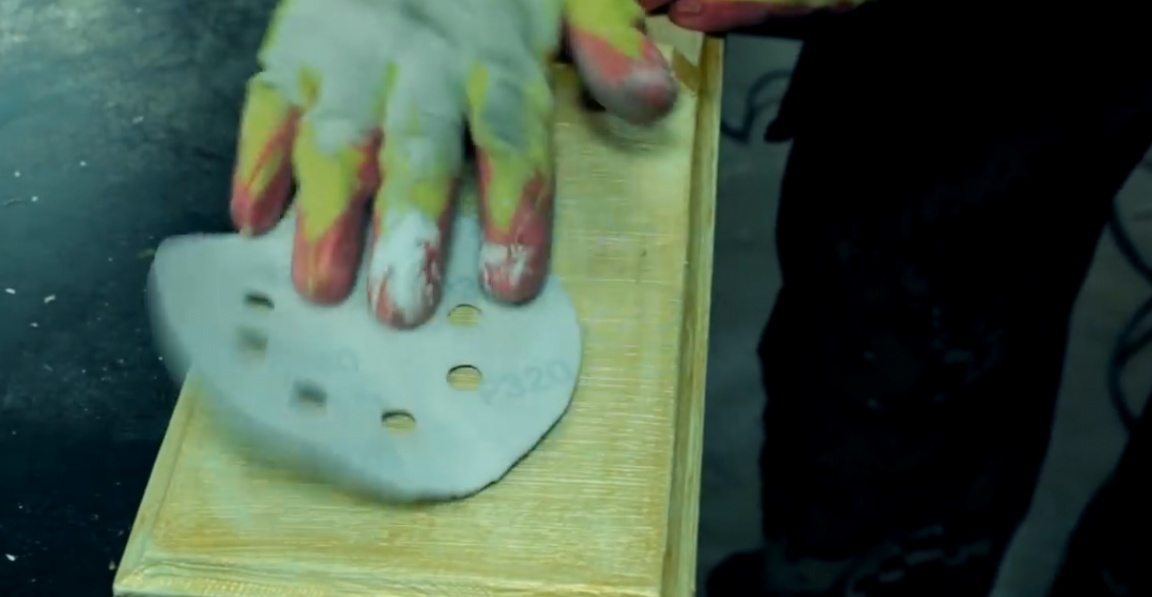
While the metal structure is drying, we proceed to the processing of the wooden structure. To do this, use sandpaper with 320th grain. Remove the top layer of pearlescent paint to get a texture. This process is not fast and painstaking enough to make everything beautiful.

The metal structure to the wooden base, the author decided to glue using transparent glue. According to him, this glue is good, versatile and even like it has never failed.
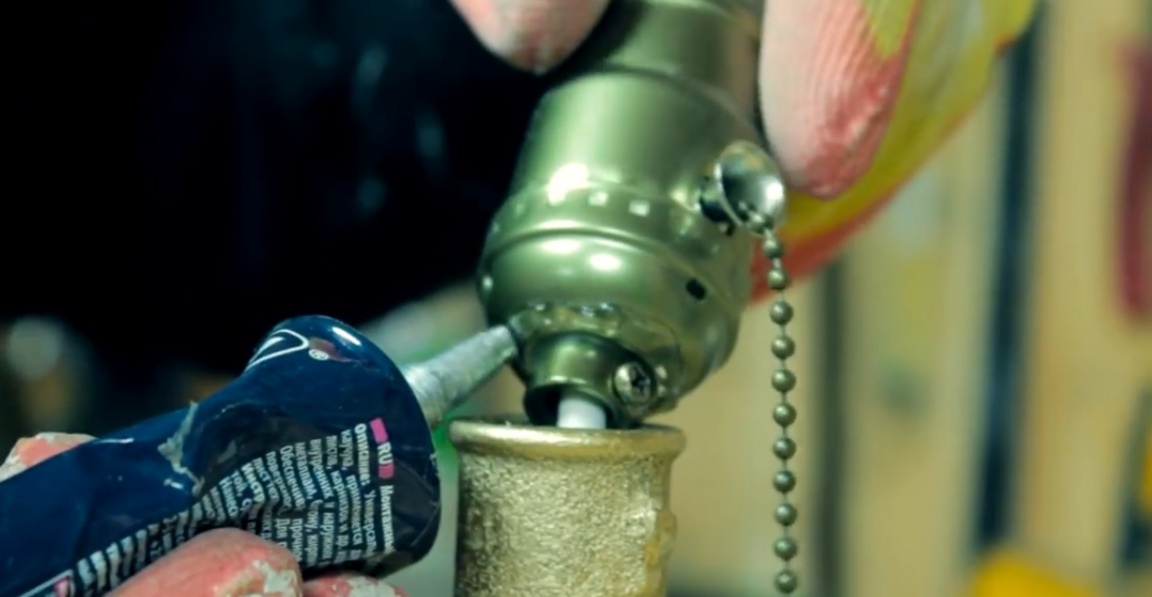
Then we put the wire through the hole made earlier, and at the other end we fix such a vintage cartridge.
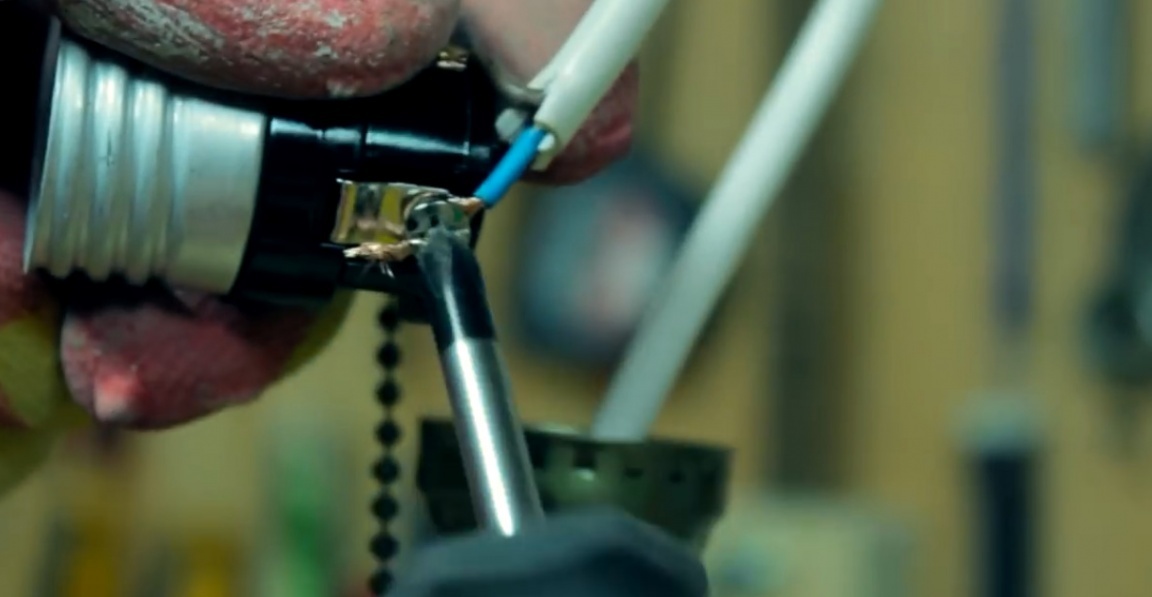
We fix the cartridge with the same transparent glue.
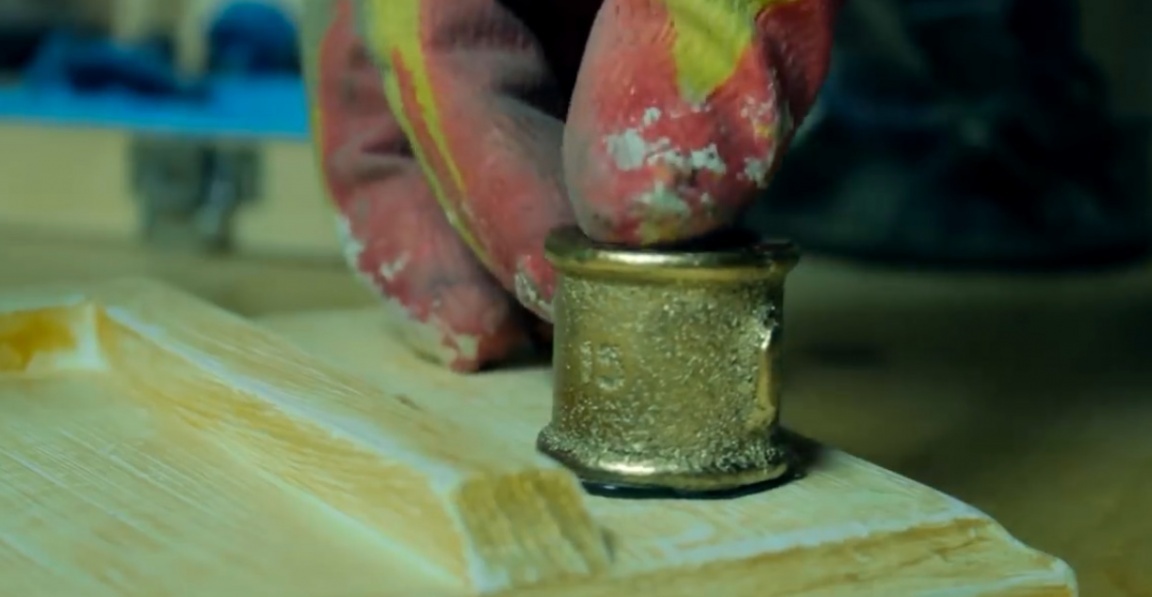
And by the way, there are still 2 couplings that also need to be painted.

We glue the couplings on the opposite side.
And while everything dries, we will make another wooden structure. To do this, mark a rectangle with sides of 12 and 9 cm and cut it with a jigsaw. Then with the help of a ruler and a simple pencil we mark out another detail with sides 2 by 9 cm, we also cut it with a jigsaw.
Next, glue the first part with the second part, clamp it in a vice and go through an electric plane.
After that, we pass one side with an edge mill and paint it in white.

Then we paint in gold color and after drying we process with sandpaper.
Then in the upper part of the workpiece we drill a hole with a drill with a diameter of 12 mm.

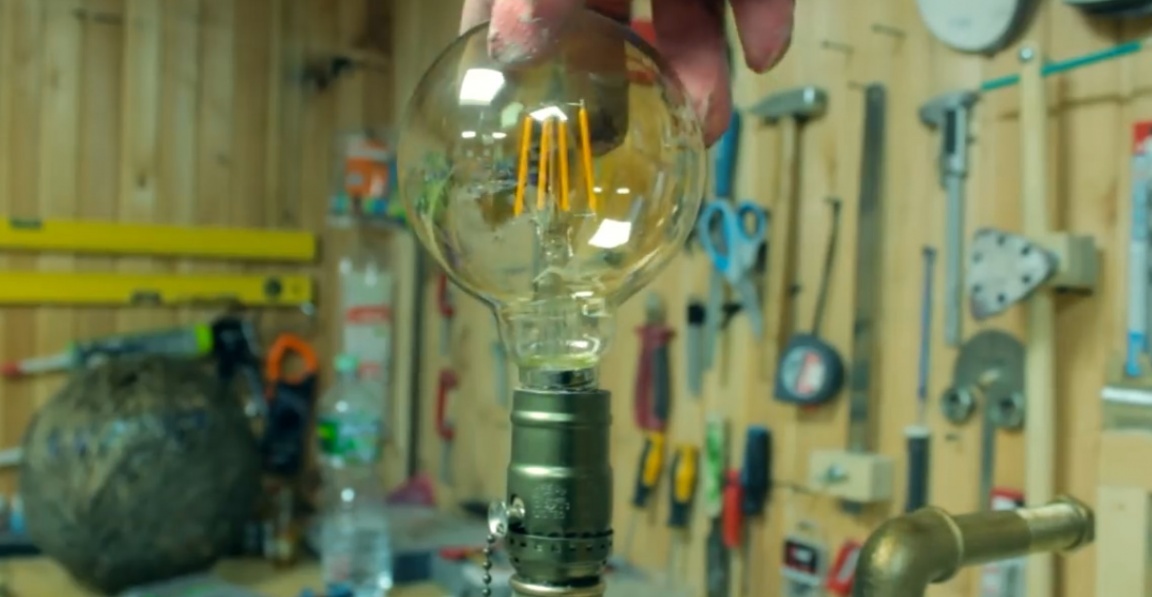
Next, fill in the holes of the transparent glue inside, and after that we put the workpiece onto the M12 bolt, and screw such a beautiful LED lamp into the vintage cartridge.
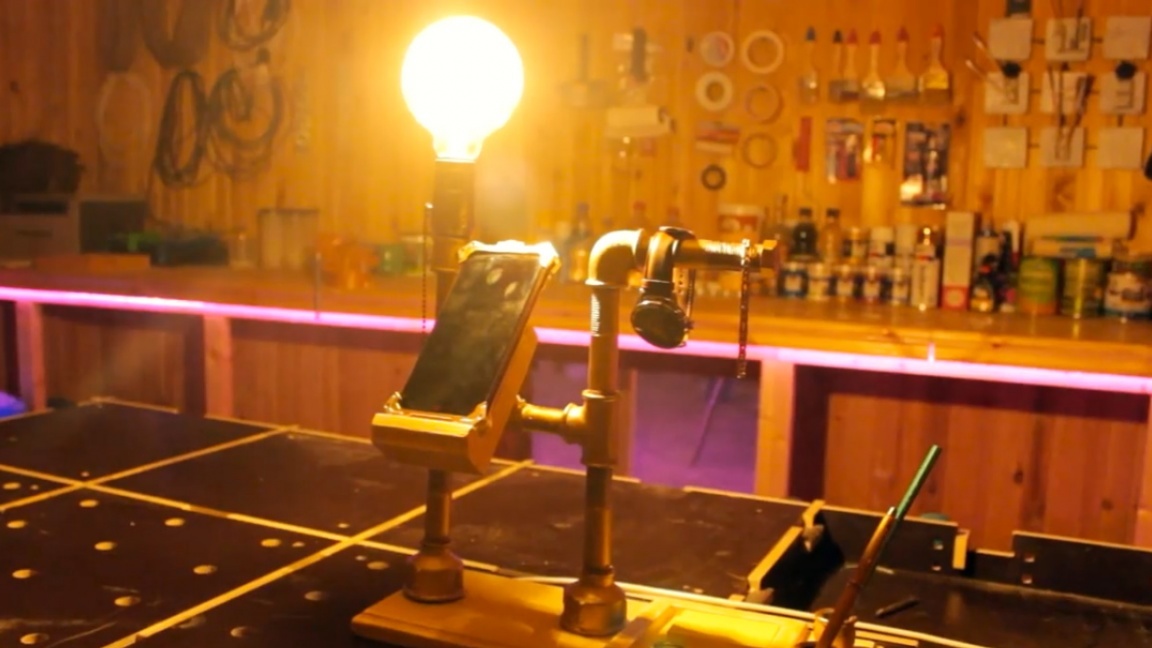
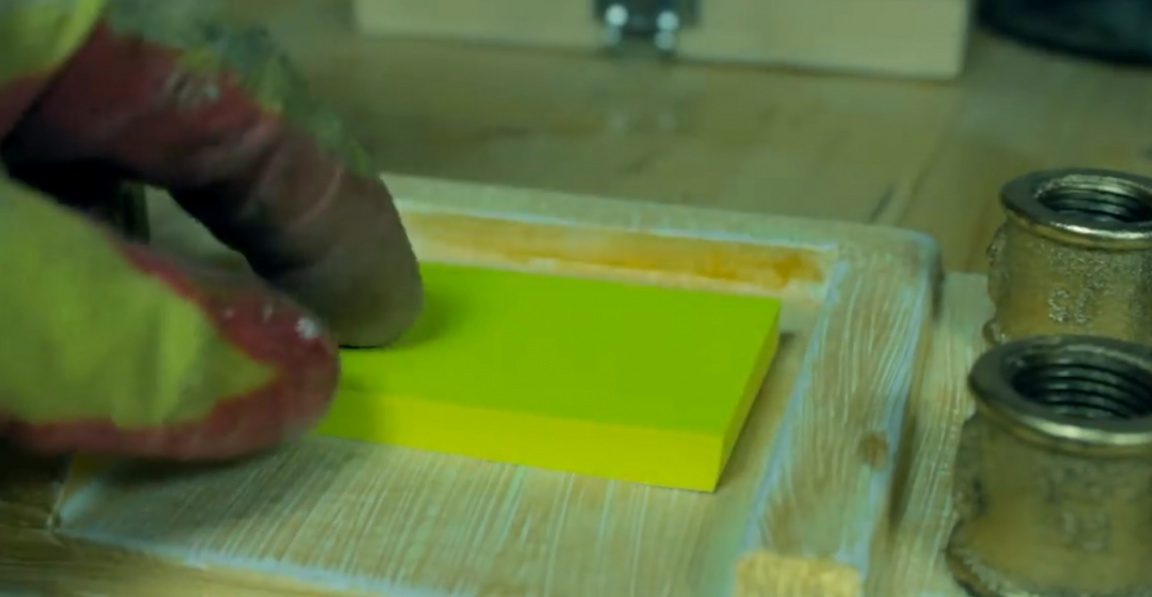
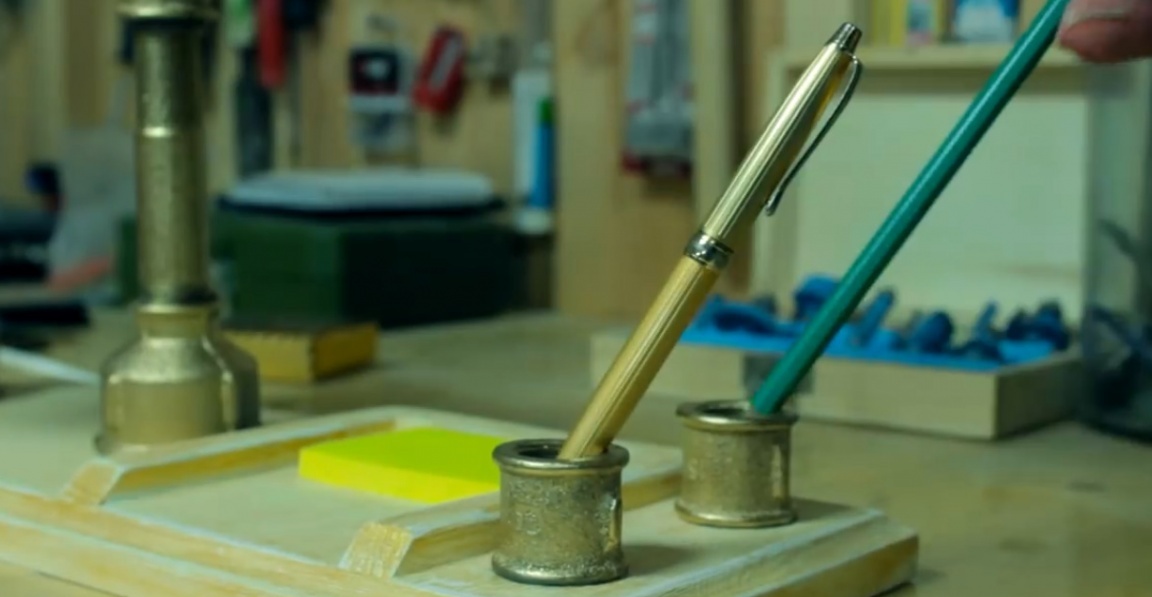
We finish our product by placing stickers, watches, pen, pencil and mobile phone on a special stand on it.
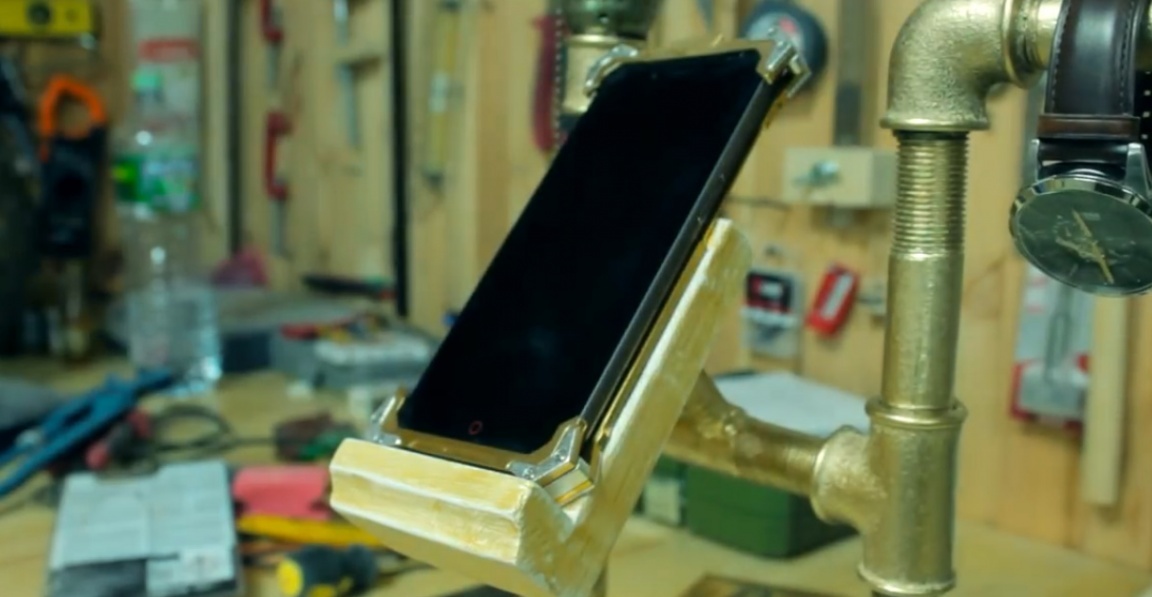
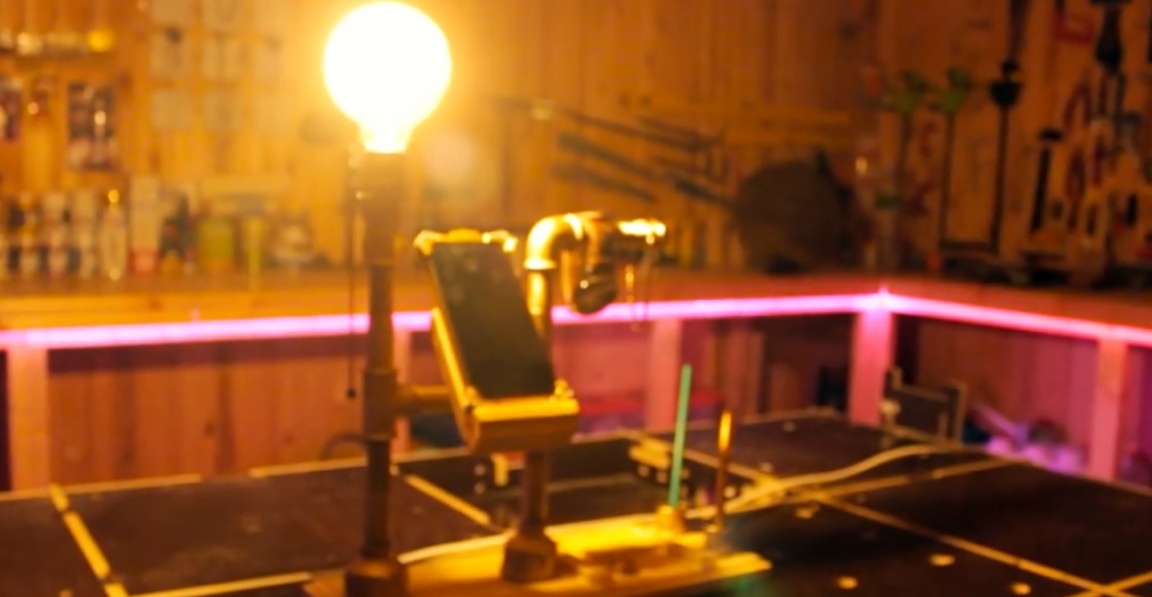
Well, today we have got such a creative stand for a leader or for a loved one. Such a stand will definitely surprise your boss, director or boss, and maybe even after that he will increase your salary (but this is inaccurate). It seems to have turned out pretty stylish. Well, a light bulb can be used as a night lamp, if you decide to put this stand at home.


Well, this is the time to end. Thank you for attention. See you soon!
Video: