
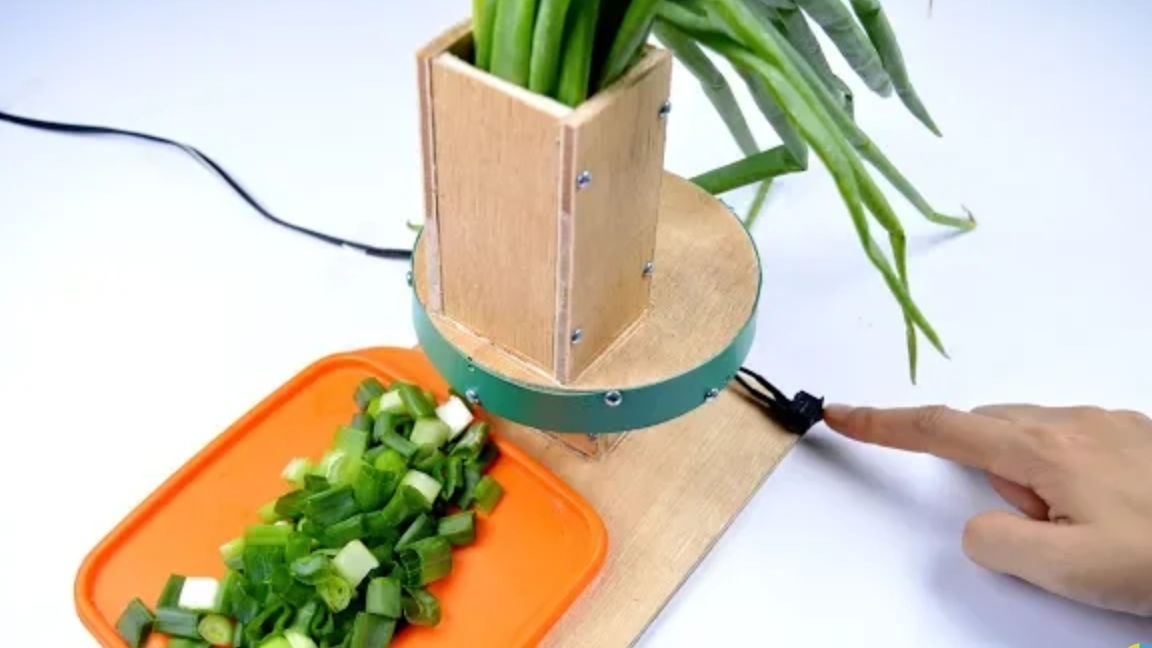
Good day to all dear friends! In today's article, I would like to show you a rather interesting idea homemade, which can be completely and completely made from improvised materials, which in turn can be found at home. Namely, today we will consider how to make a shredder for green onions or for celery, for one and the second it is perfect. This homemade product will be a great helper in the kitchen, if you often cook dishes from the above vegetables. In general, the homemade product is very interesting, so let's not pull with a long introduction, let's go!
For this homemade product we need:
- Sheet of thin plywood (1 * 1m sheet will be enough)
- Small screws
- Old DVD disc
- Standard size clerical knife blade
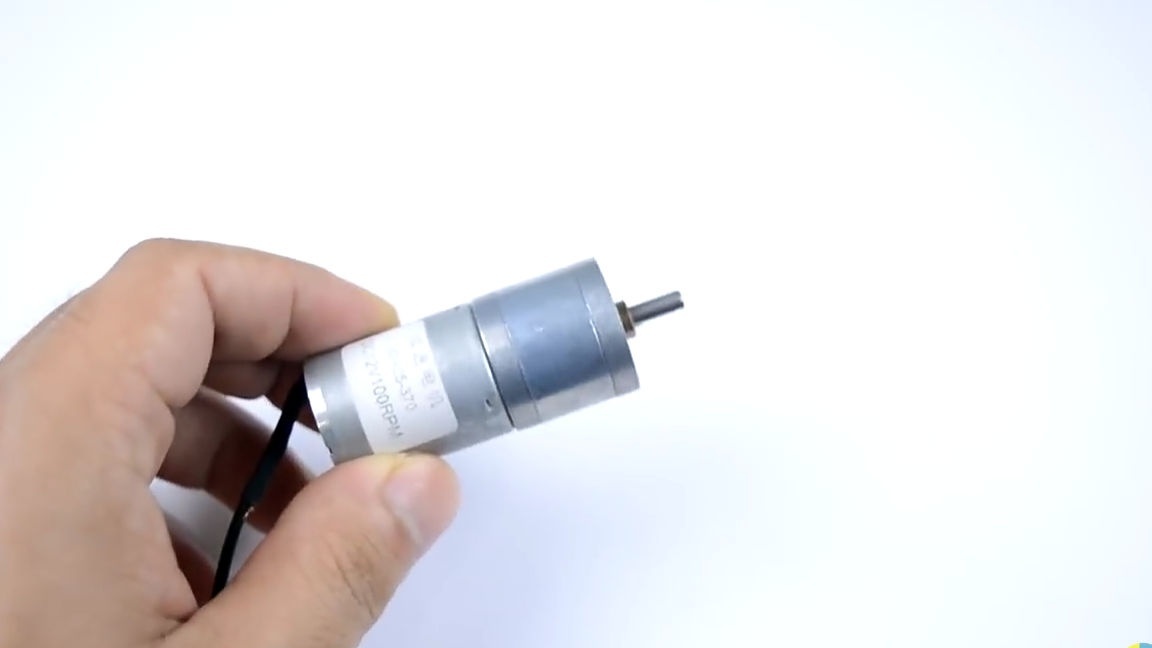
- Class 370 electric motor with gearbox
- A round wooden stick (for example, such as on a wooden hanger)
- Thin wire
- A sheet of thin ABS plastic (you can use the cover from the hard folder for documents of standard size)
- DC power supply from 6V to 12V (the supply voltage directly depends on the KV of the selected electric motor).
- The switch.
- A plate or plastic container that will act as a bunker, that is, a place where shredded vegetables will fall.
Of the tools we will also need:
- Ruler
- marker
- Compass
- Electric jigsaw (not necessary, you can do with an ordinary hand tool)
- A screwdriver or an ordinary Phillips screwdriver
- Hot glue
- Soldering iron and solder
- Sandpaper
- scissors
- Double adhesive tape
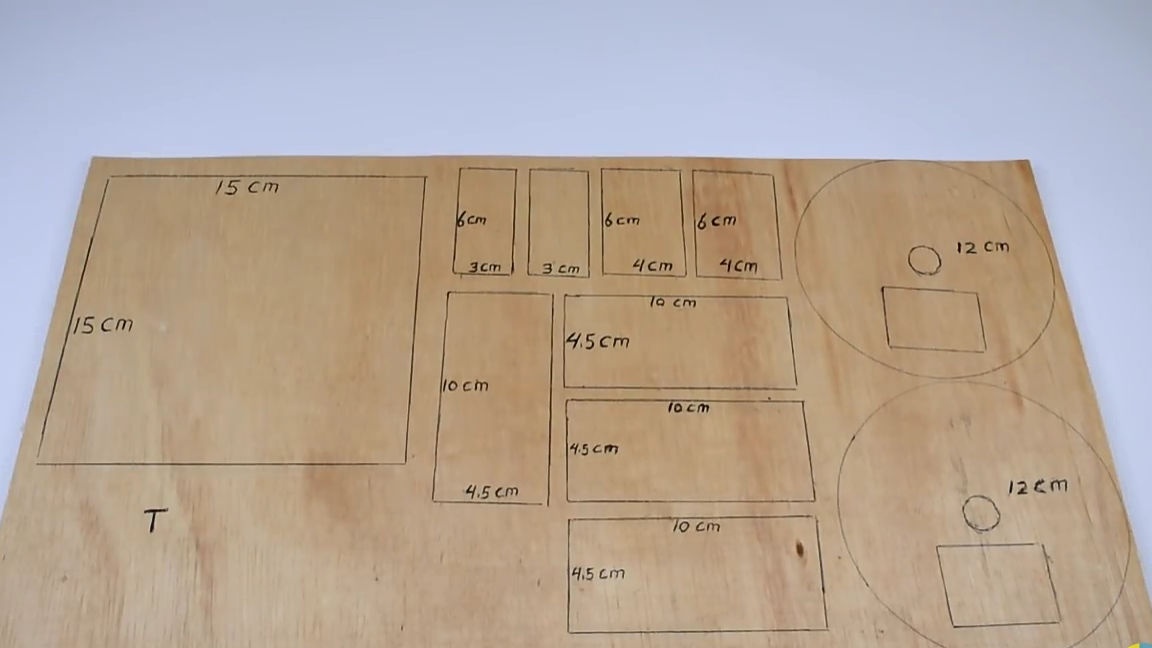
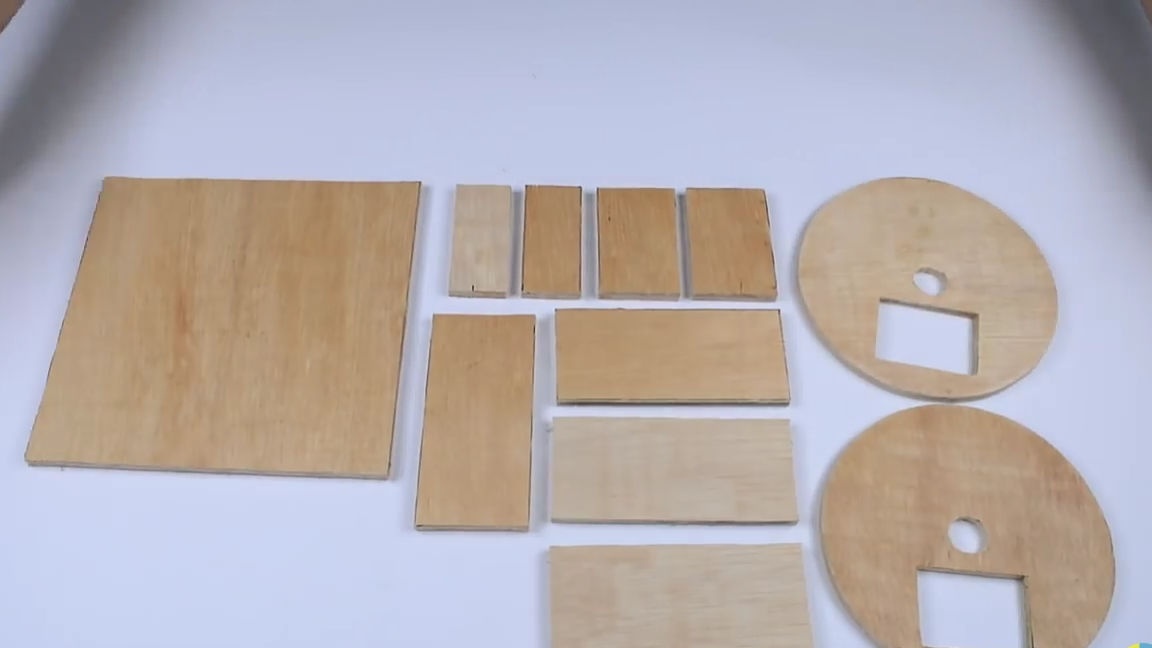
To begin with, as usual, we will prepare all the necessary elements that should be cut from a plywood sheet. To do this, we need to take the sheet of thin plywood itself, on which, in turn, with the help of a set of simple tools (ruler, marker, compasses.) We put on the sheet all the necessary elements. On the image that is given to you, below are indicated all the necessary elements, their quantity and their sizes. After the previously mentioned steps, you should cut out all the elements, for this it is best to use a jigsaw.It will be easier to do with an electric jigsaw, and in addition to the simplicity of actions, when working with it it will turn out as accurately as possible, but if you don’t have one, you can use an ordinary manual jigsaw or, for example, a hacksaw for metal.
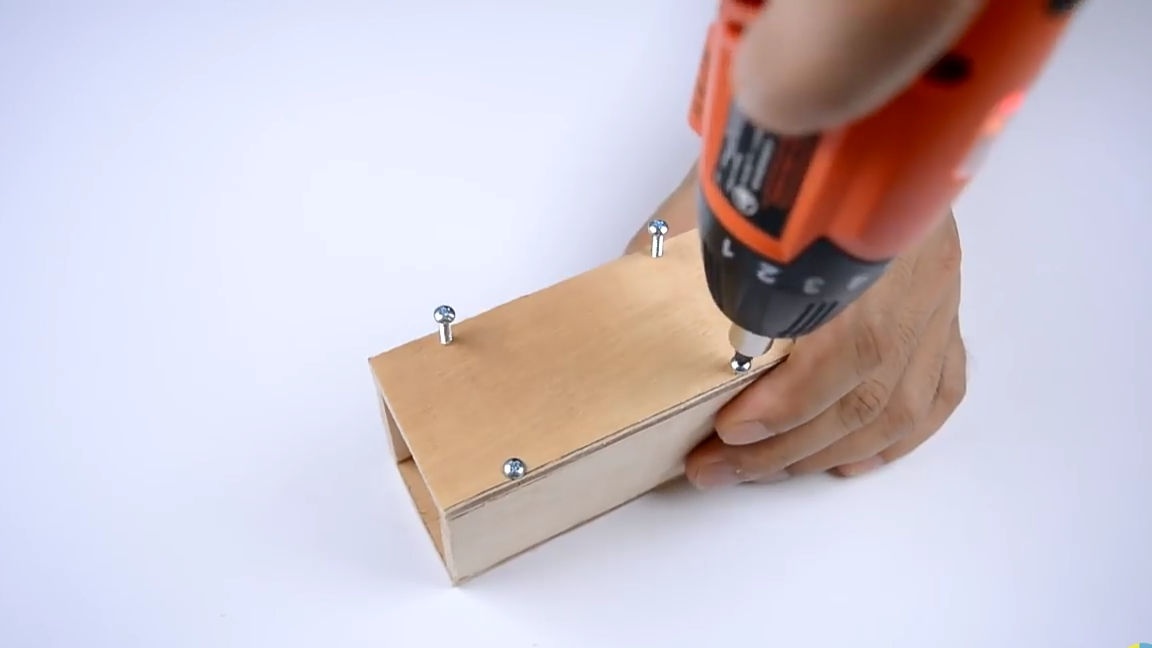
After we cut out all the necessary elements from a plywood sheet, we proceed to the assembly itself. To do this, take four identical small rectangles. And connect them together so that in the end we get a volumetric rectangle (see photo). It will be most reliable to fix the rectangles with each other with the help of small furniture screws.
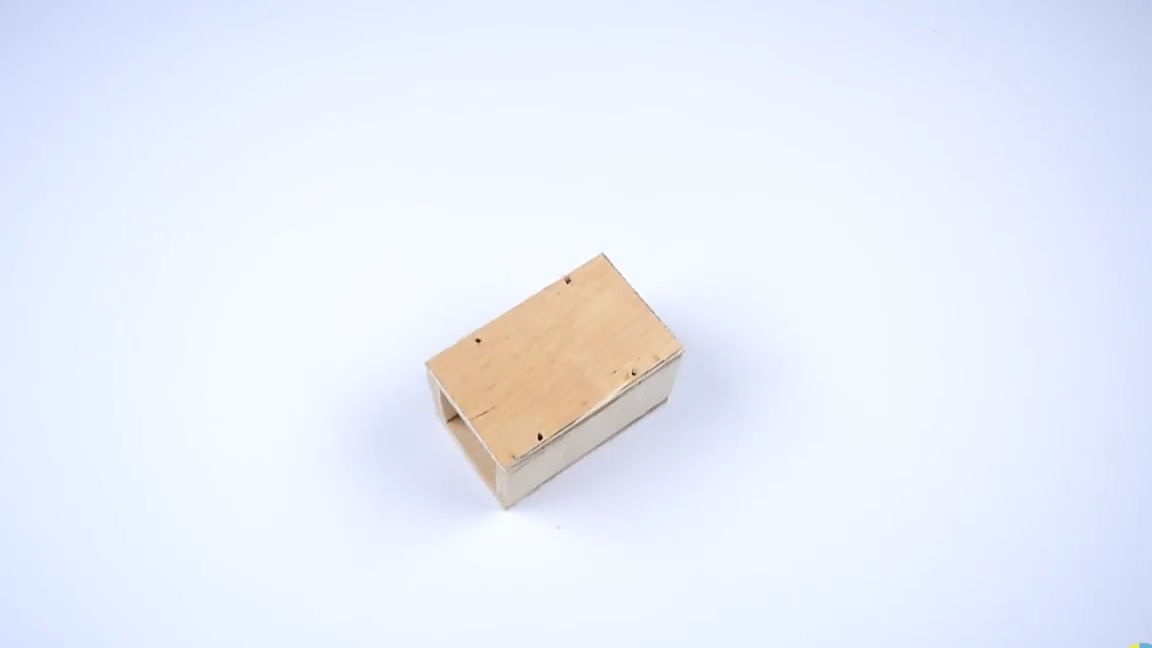
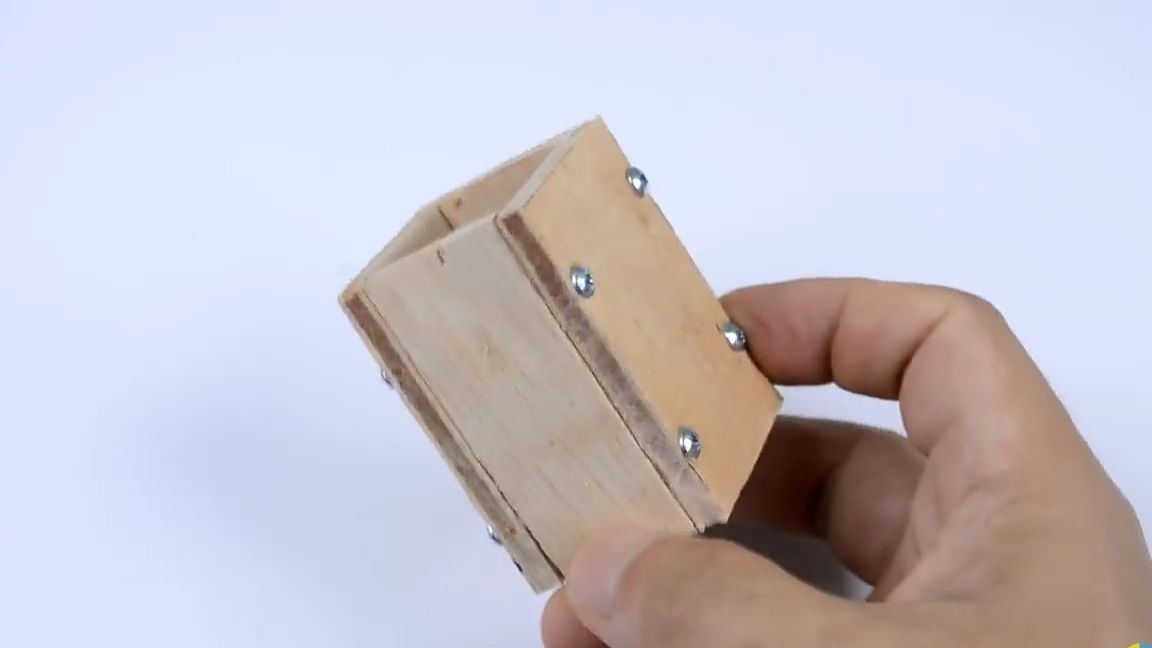
Then all the same should be done with larger rectangles than those used previously. As a result, we should get two certain square cylinders of different sizes.
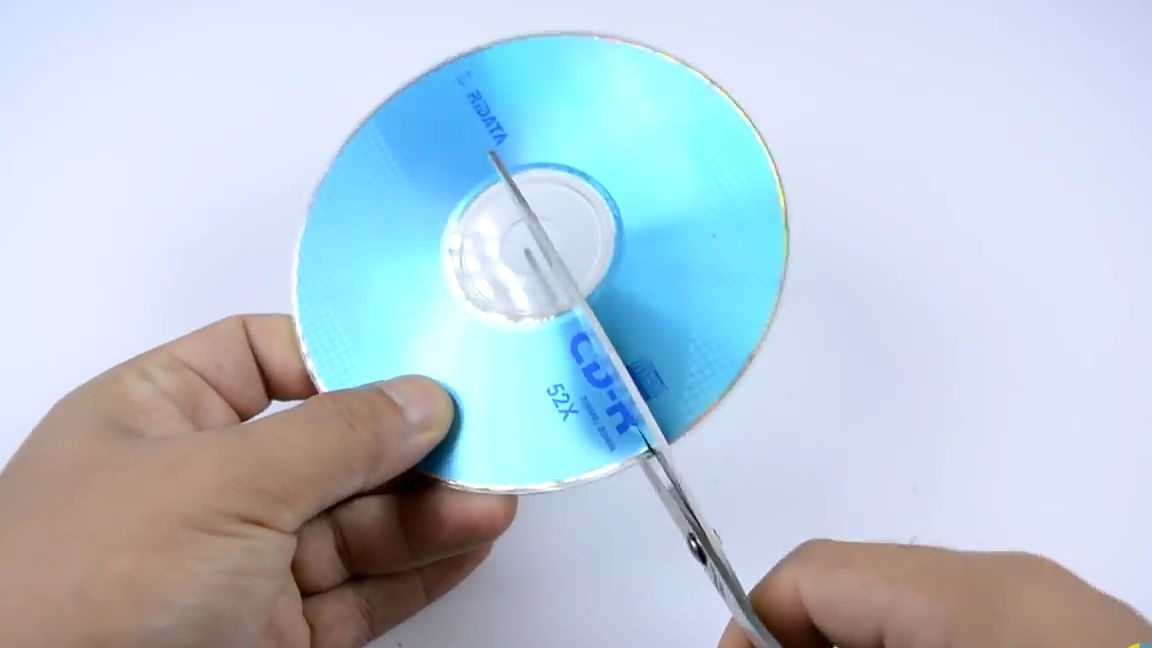
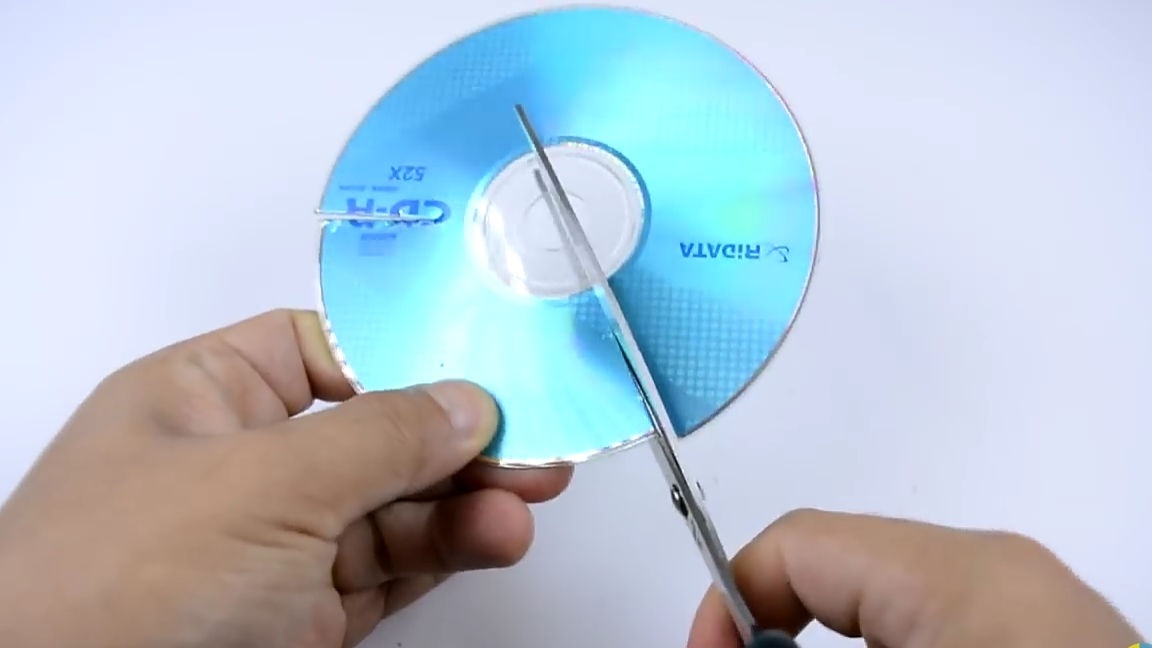
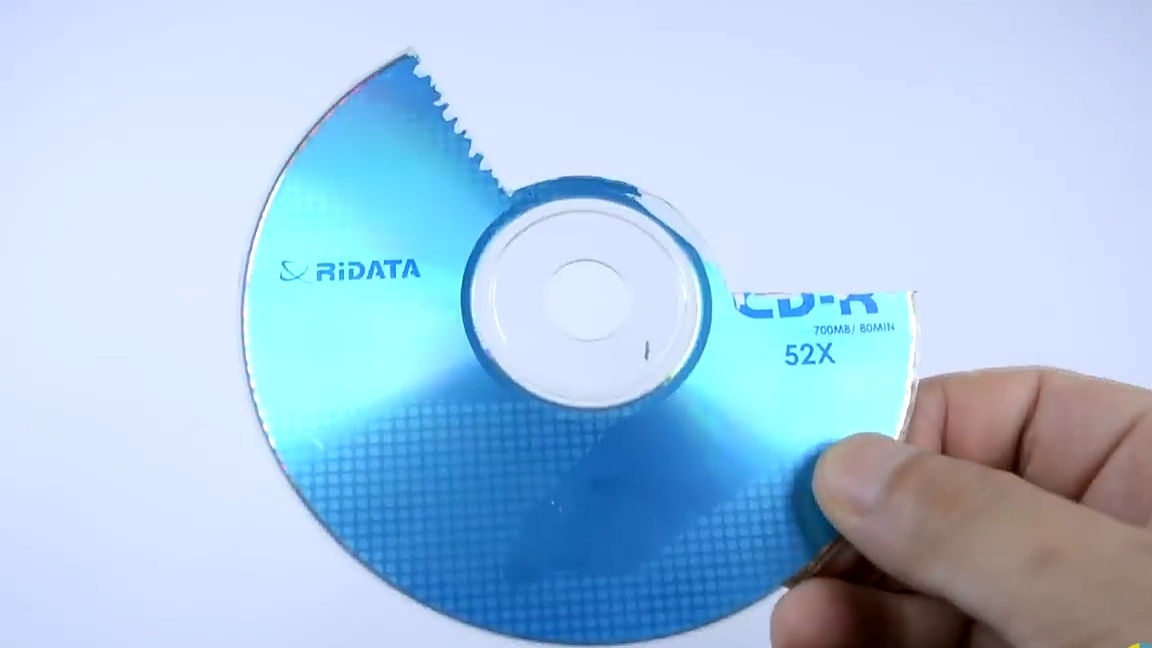
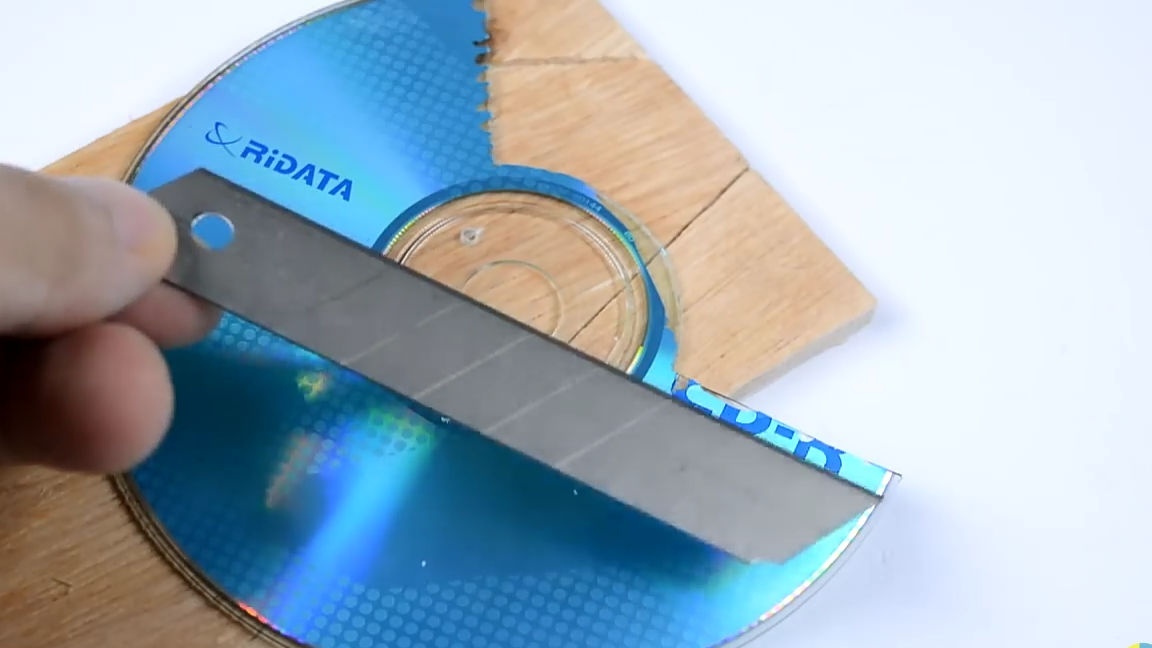
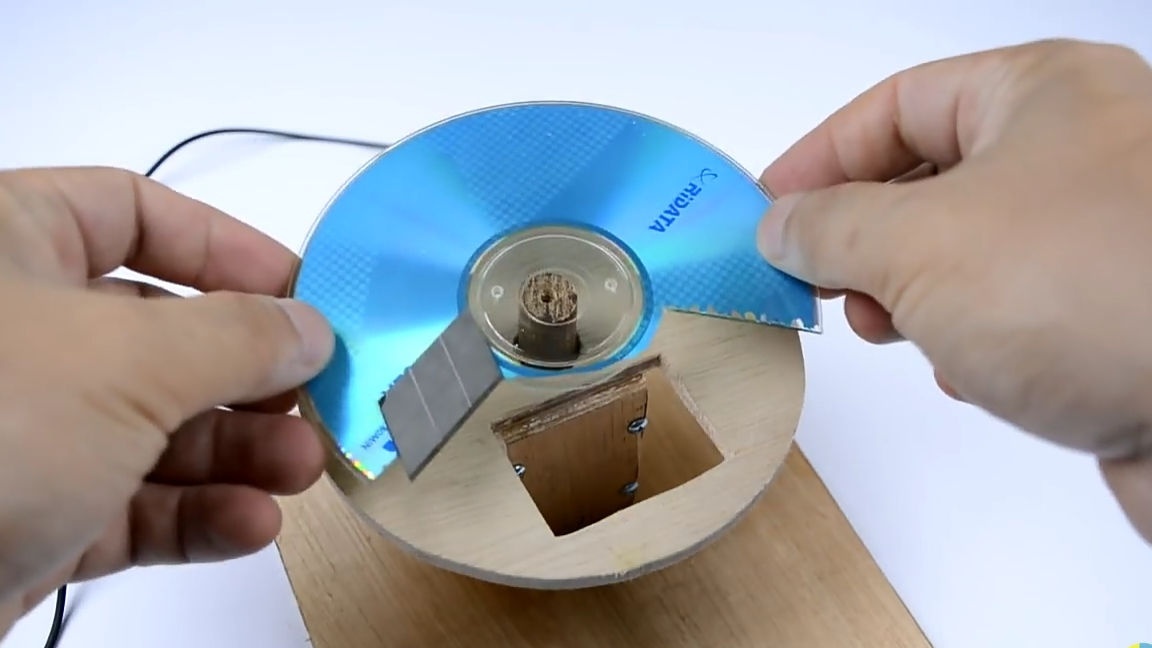
We proceed to the next step, for which in turn we will need an ordinary unnecessary DVD disc, with which we should do the following. Namely, take the DVD itself and ordinary scissors and make two cuts to the central rim. The cuts should be approximately 65 to 75 degrees apart from the center. And cut out the inside so that everything turns out exactly the same as it is shown in the photo below.
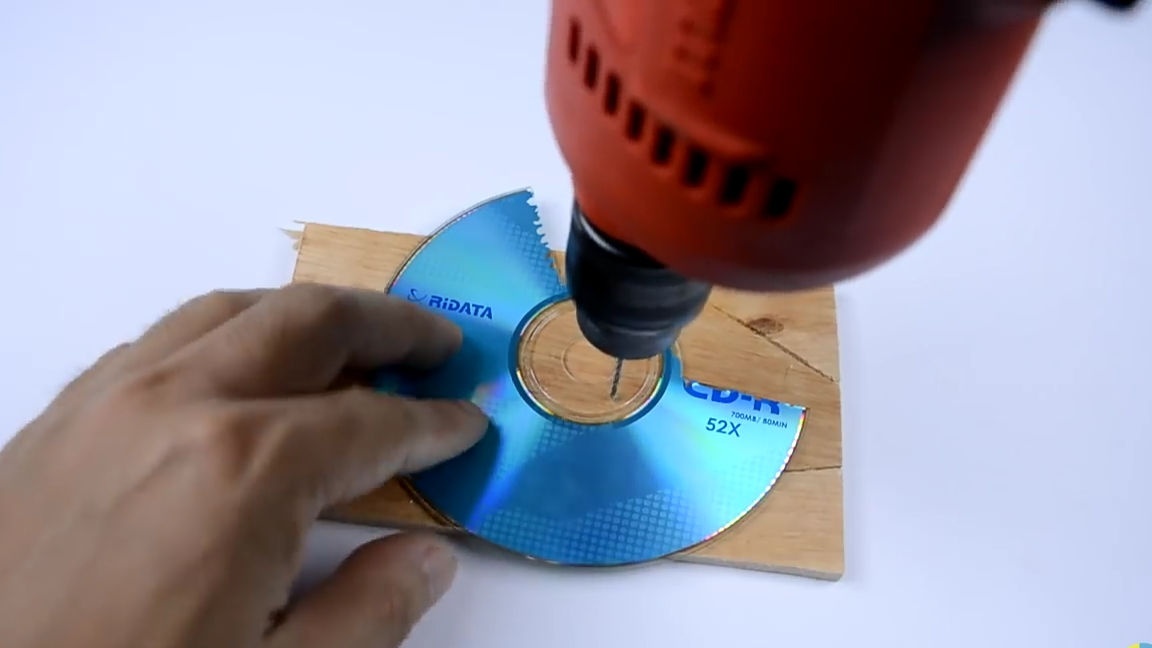
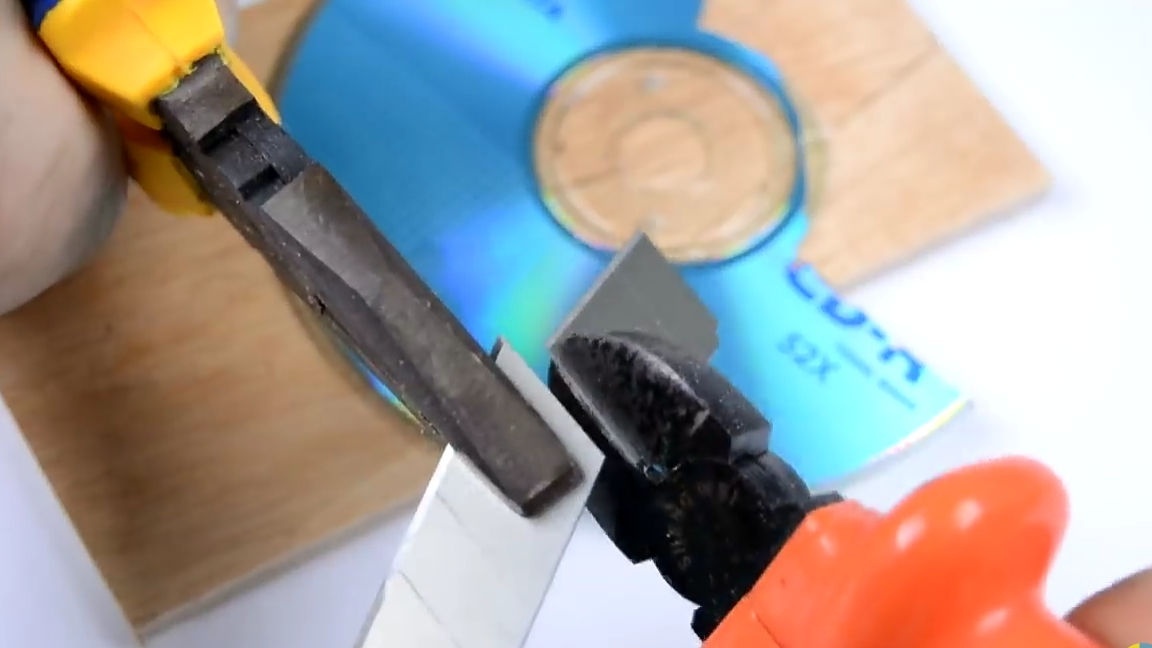
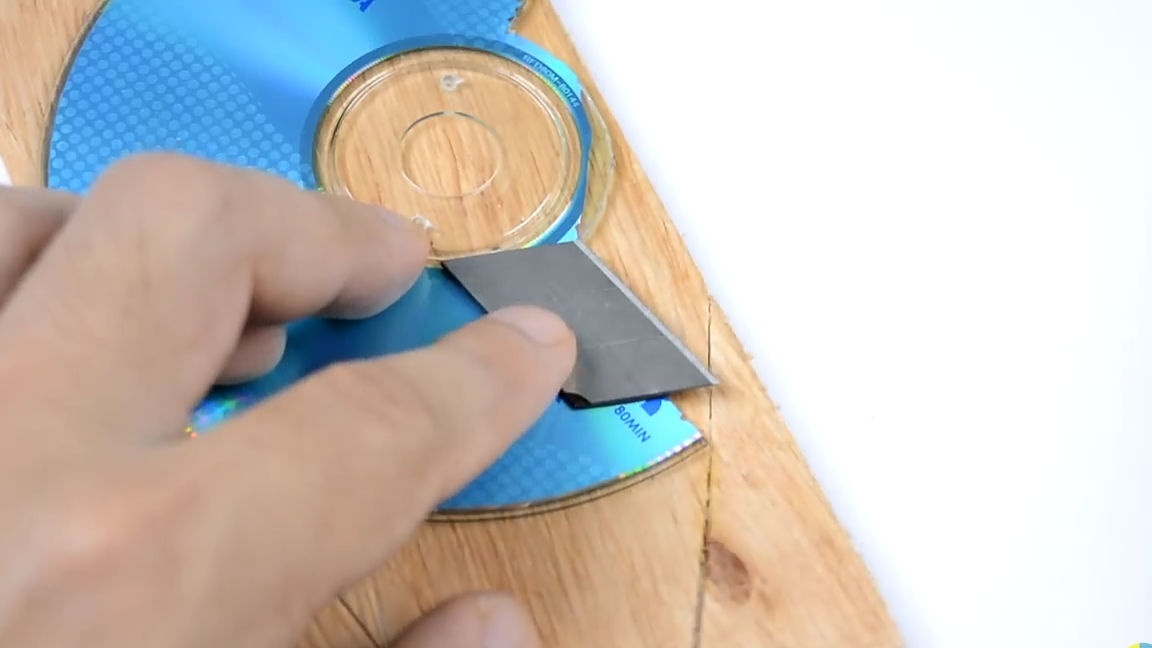
Next, two opposing through holes should be made in the inner rim of the disk. Then we should take a blade from a medium-sized clerical knife, from which three divisions should be torn. To the part of the clerical knife that we just torn off, we glue a strip of double-sided tape, before that we cleaned the surface of dirt and degreased it. Then we glue the blade to the blank from the DVD disc as it is shown in the photo below while also cleaning and degreasing the bonding surface, this is necessary so that the connection is as reliable and the cutting part does not fall off during operation.
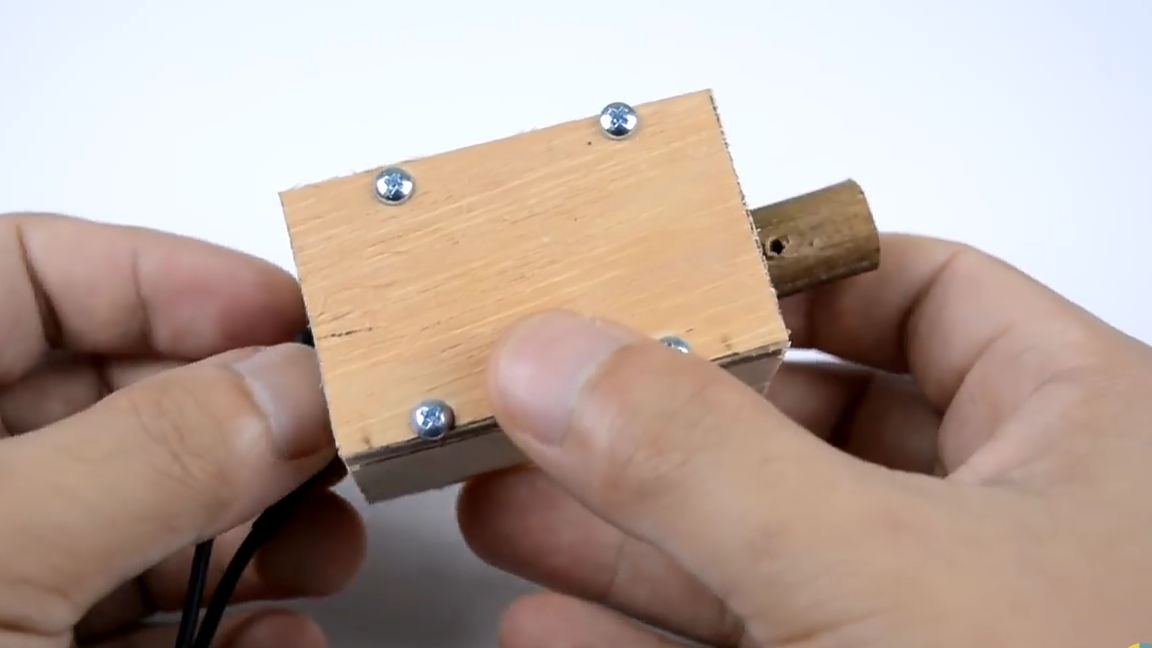
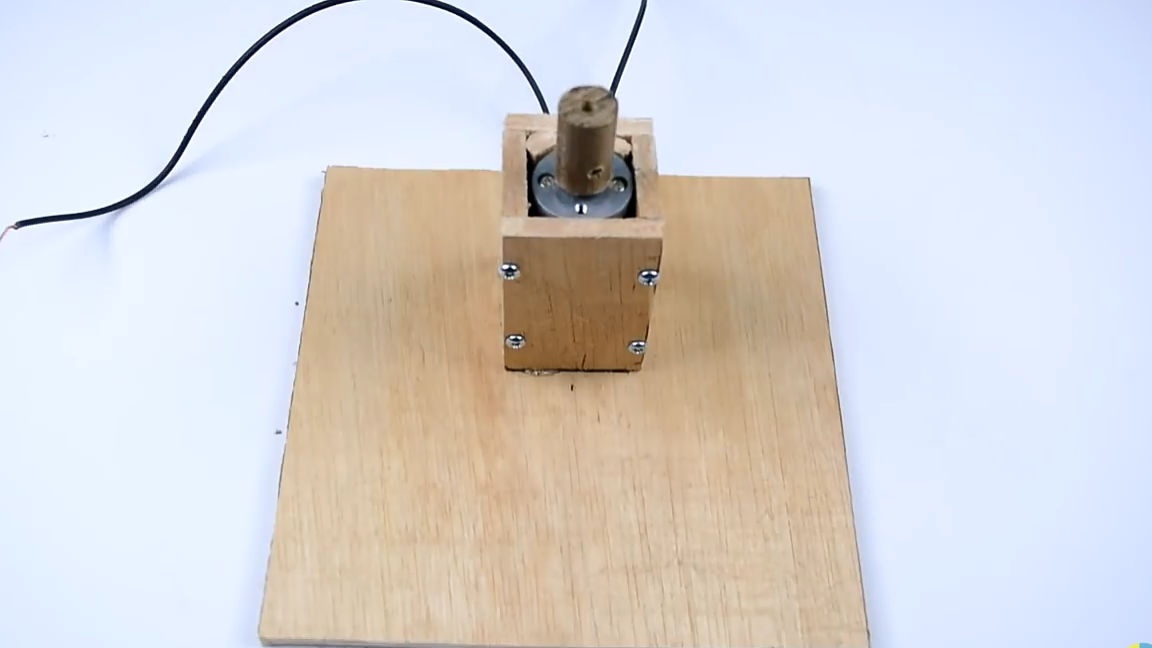
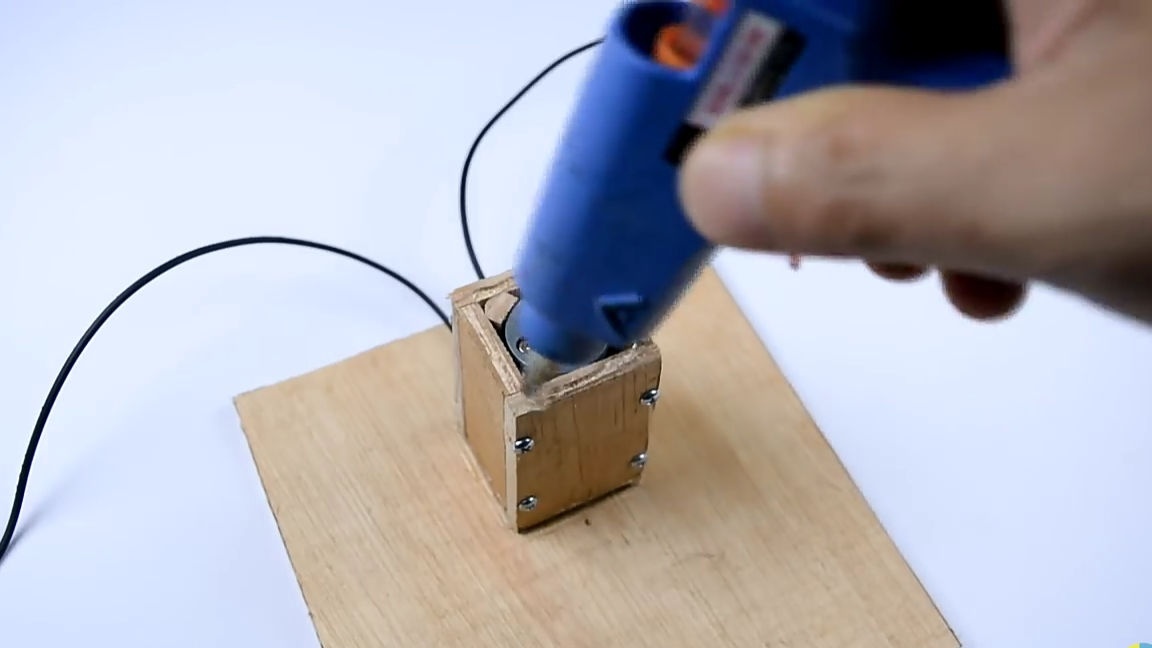
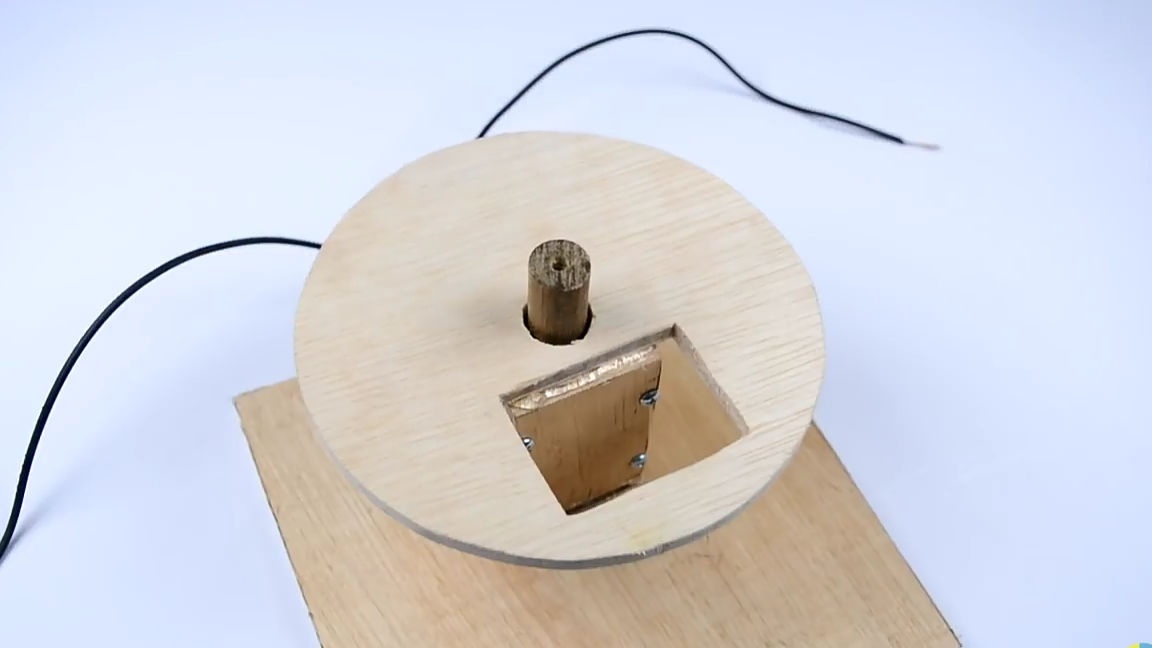
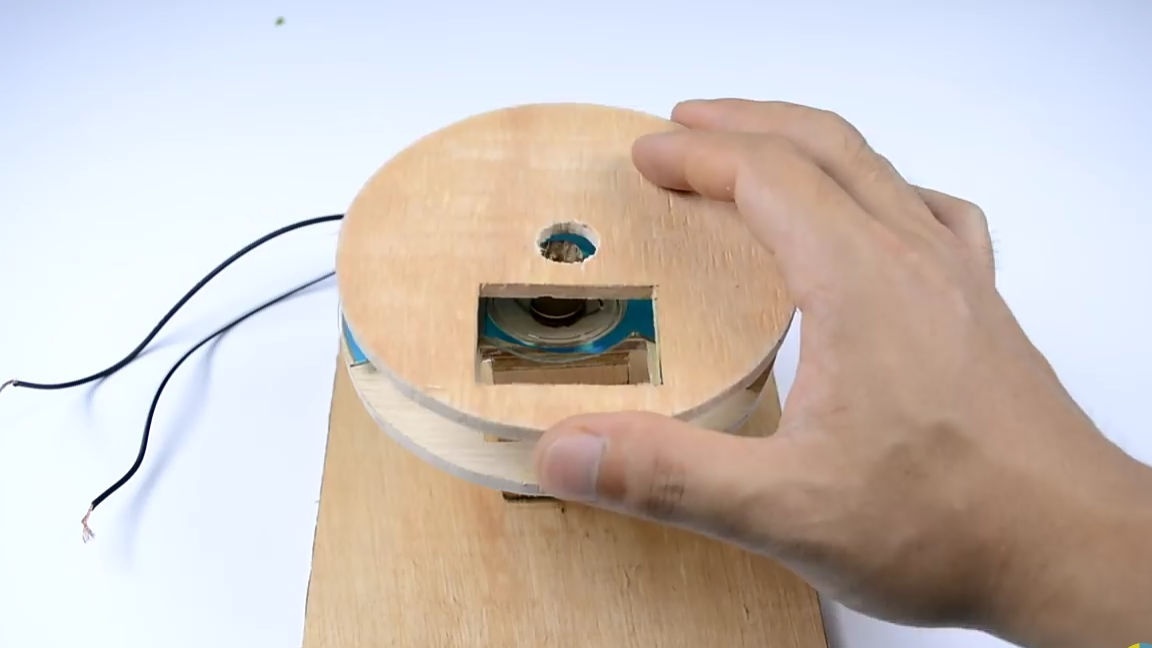
For the next step, we need an electric motor with a gearbox, on the shaft of which we should install a piece of a round wooden stick. The electric motor should be placed inside the small square cylinder. And then the engine with a wooden structure should be glued to the indicated location of the largest plywood element, as it was no longer difficult to guess, this element will serve as the base on which the whole structure will be located. We will connect the elements together with the help of a large amount of hot glue.

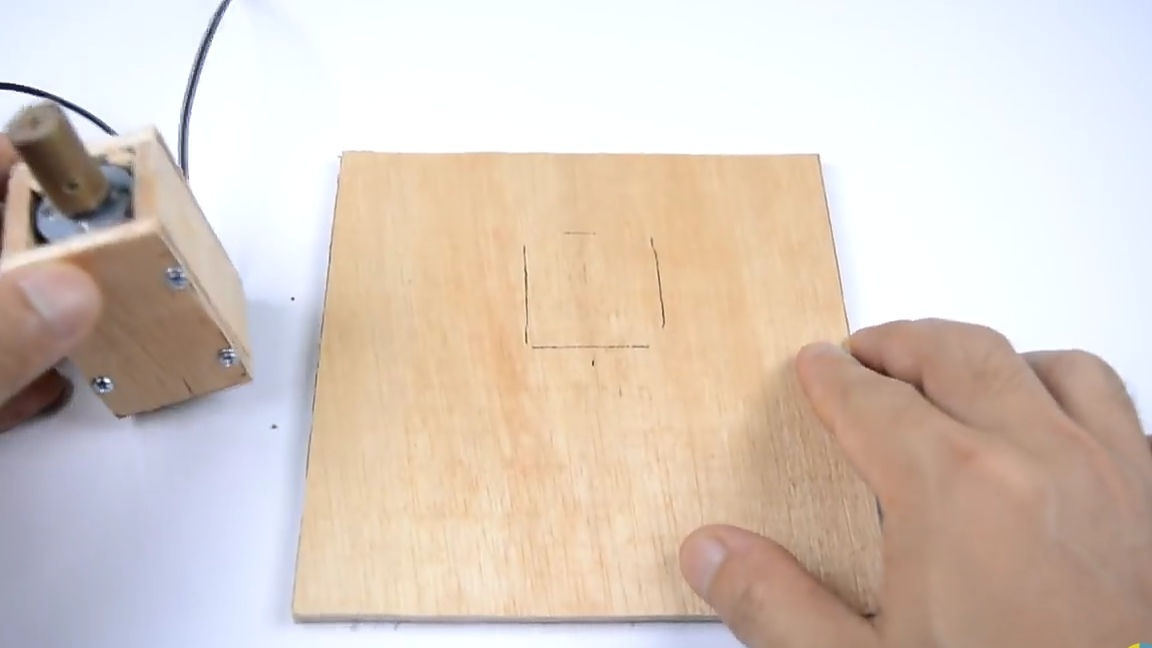

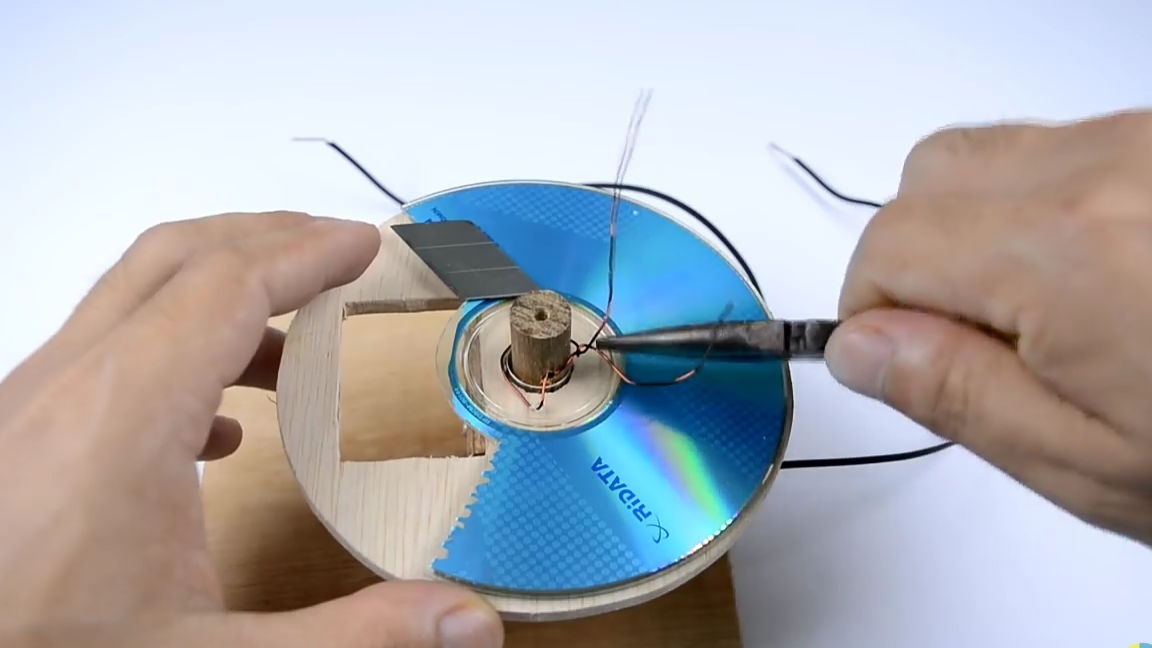
Then we apply hot melt adhesive to the wooden cylinder and glue the cut plywood circle with a square hole to it. The square hole itself should be located above the base. Next, install the blank from the DVD disc on the motor shaft and make a through hole in the wooden tip of the motor shaft. Next, make sure that the motor shaft rotates the workpiece from the DVD disc, and for this we stick a thin wire through the through holes in the disc itself and the wooden tip of the motor, as shown in the photo below. We temporarily connect the power and check the operability of the structure, if everything works as it should then continue.
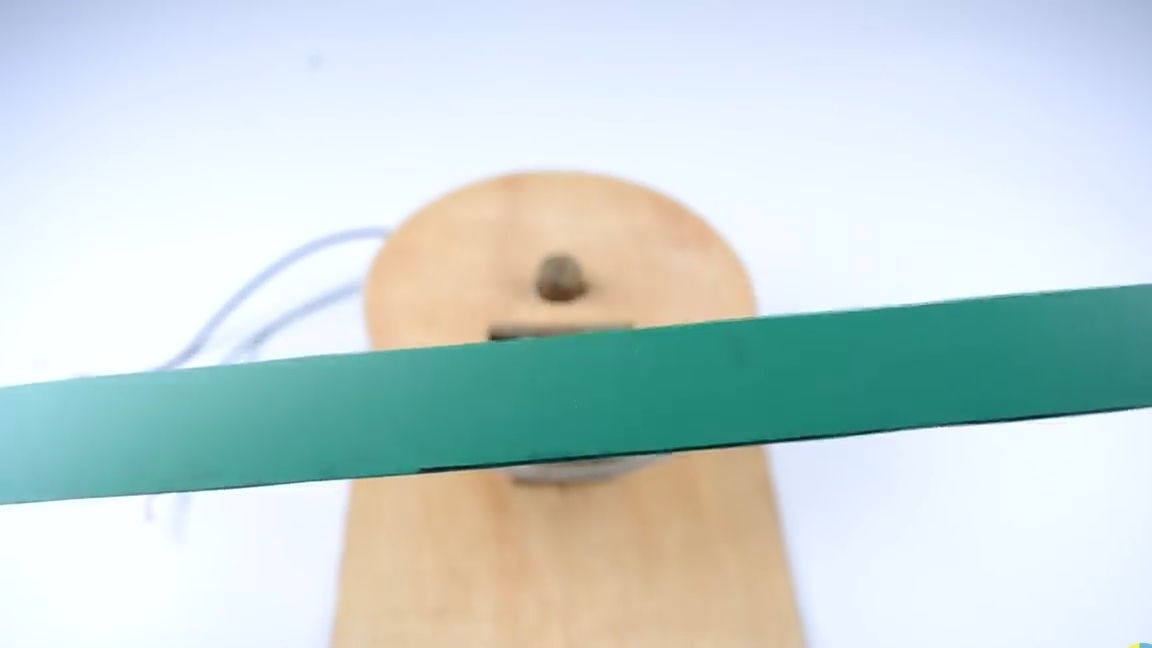
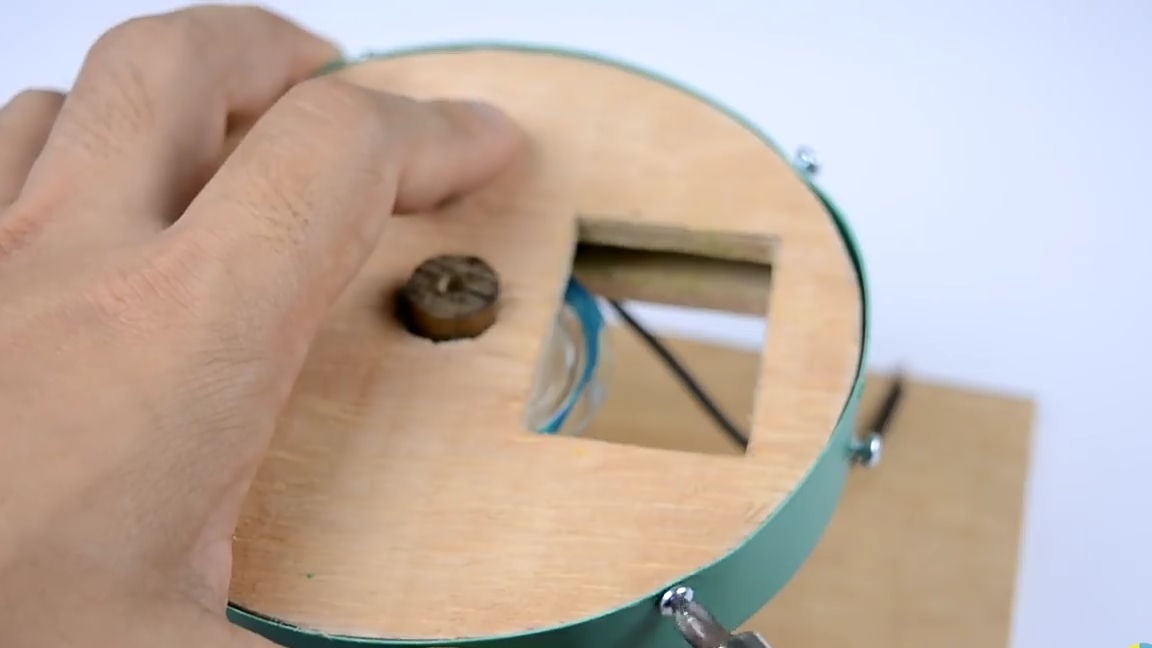
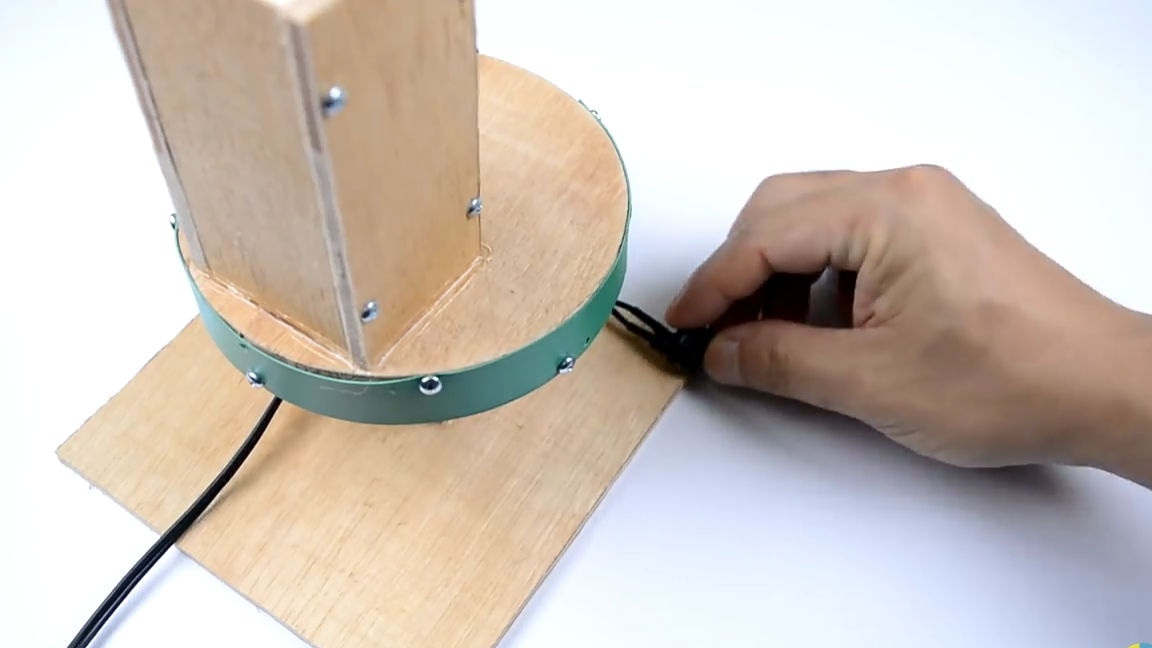
Next, apply the second plywood circle to the location indicated in the photo. Then we should make a rim so that the two plywood discs are at a distance from each other and the DVD disc can quietly rotate and do its job. To do this, take the hard cover from the document folder and cut out a strip no more than 1.5 cm wide and equal to the outer diameter of the plywood circle. We fasten the cut strip to plywood disks in the same way as indicated in the photo below. And again we check the operability of the structure by connecting the power.
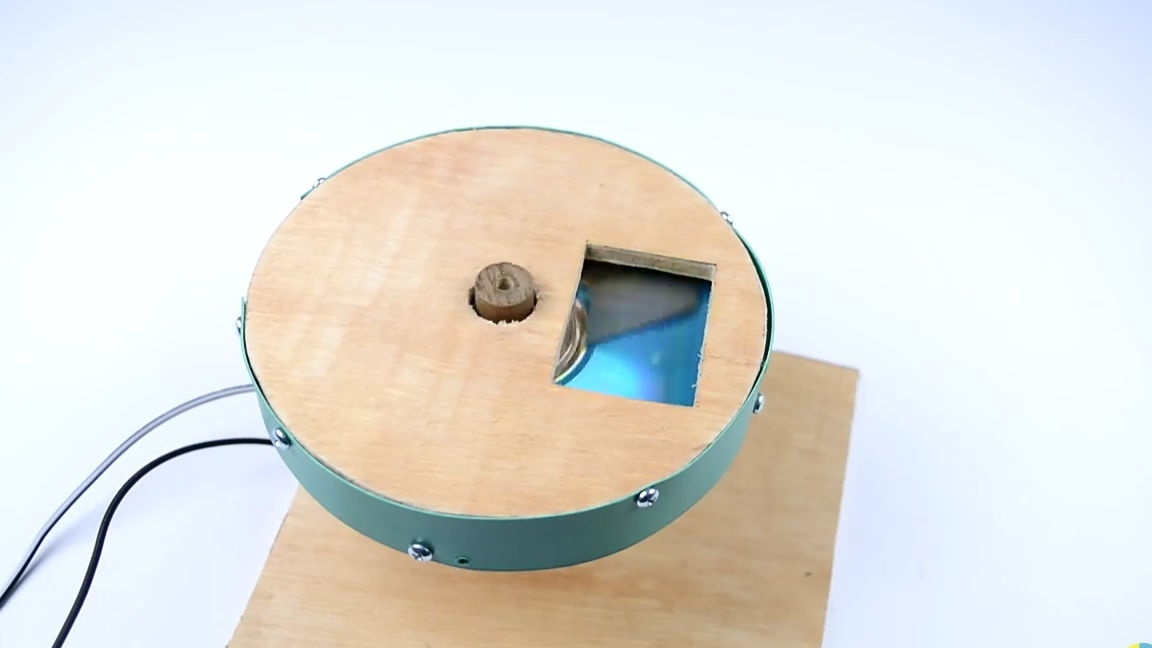
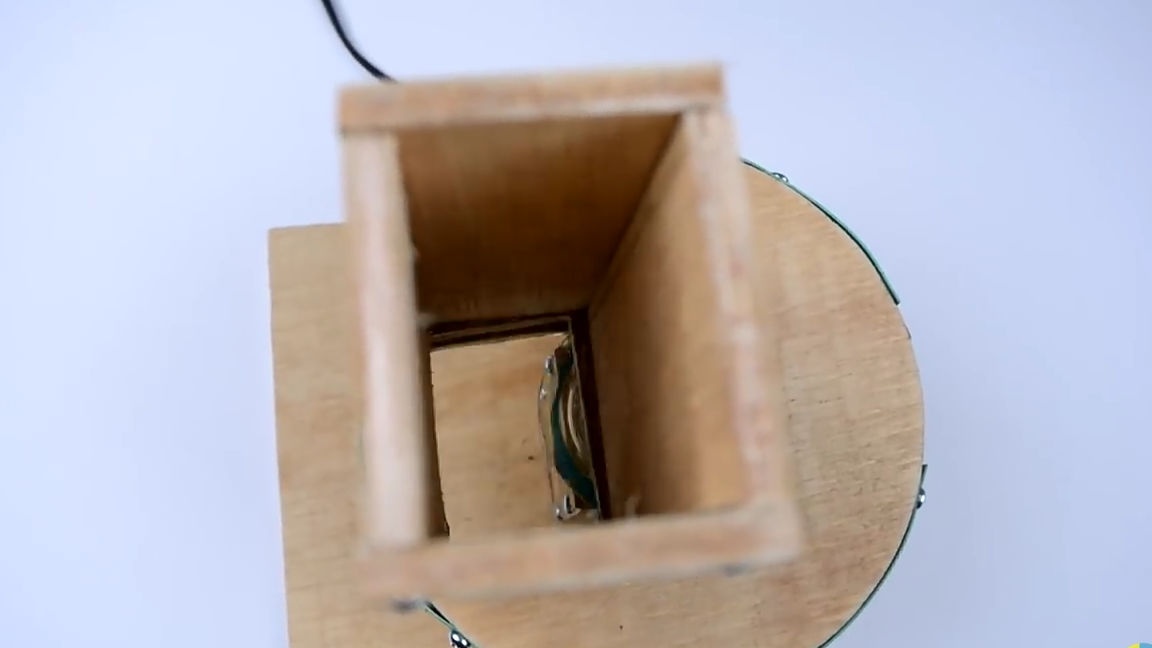
Then we apply hot melt adhesive around the square hole located on the upper plywood circle. And glue the big square cylinder.And in the end, solder and install the switch on the base, not forgetting to insulate the exposed contacts with heat shrink.


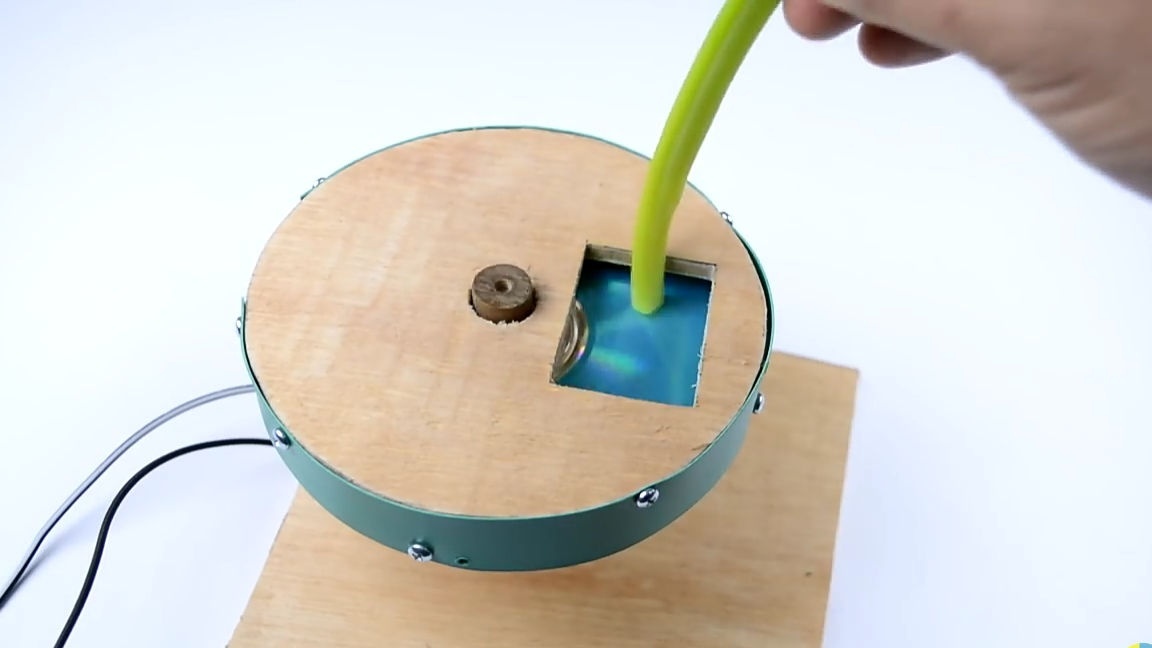
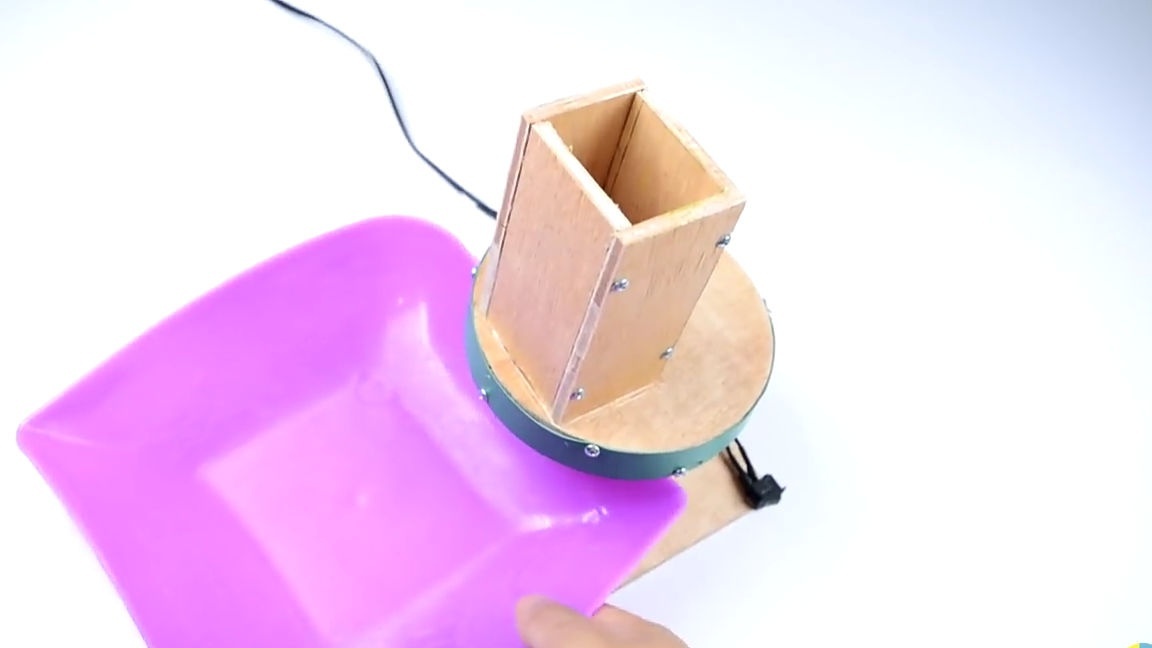
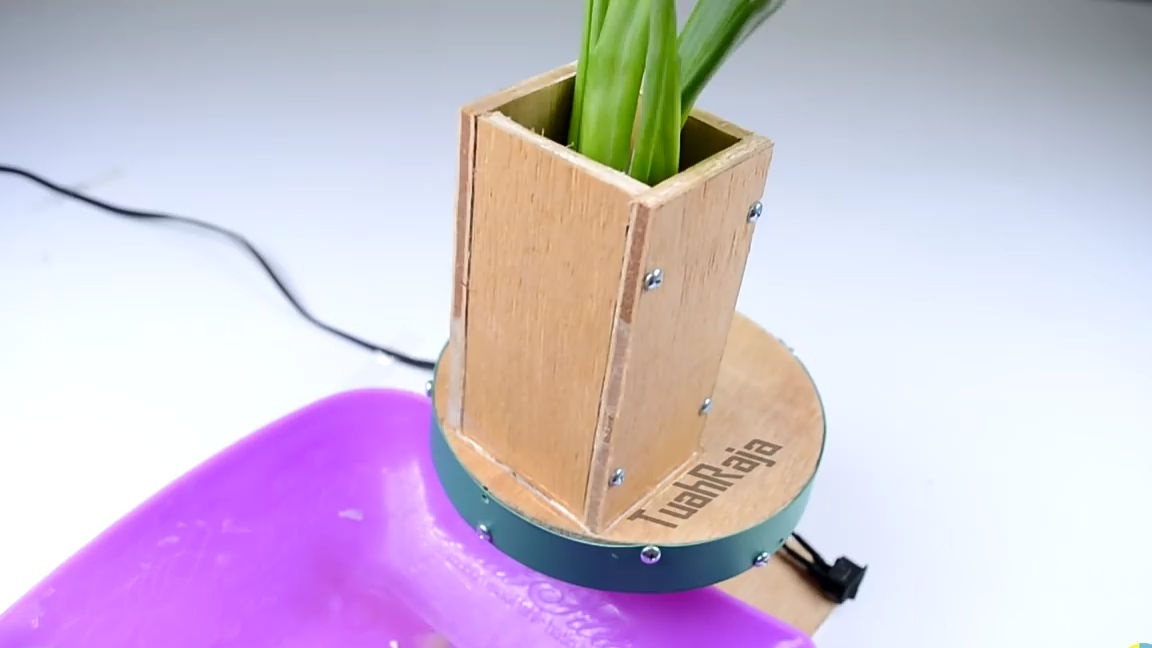
All is ready! Now we substitute a plate under the square hole. We turn on the power and start chopping the vegetables. As a result, we got a very simple homemade product with an interesting application that may be useful to you

Here is a video from the author with a detailed assembly and testing of this homemade product:
Well, thank you all for your attention and good luck in future projects, friends!