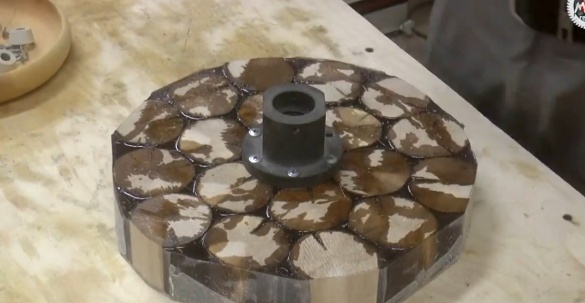
Recently, Maxim Kozlov, the author of the YouTube channel of the same name (Maxim Kozlov), came up with the idea to put into action the log blocks he had prepared a couple of years ago from the local hazel.
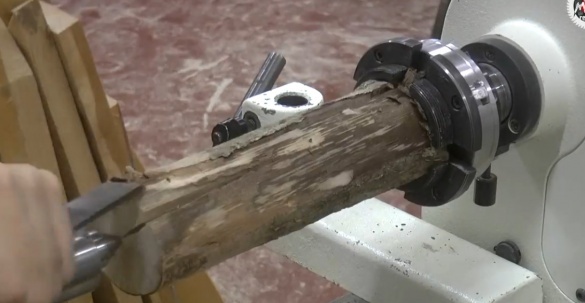
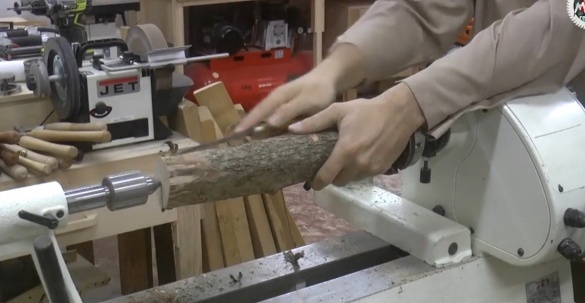
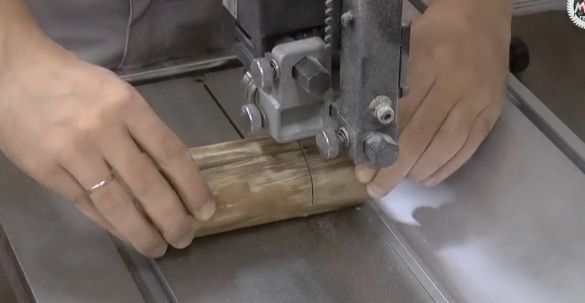
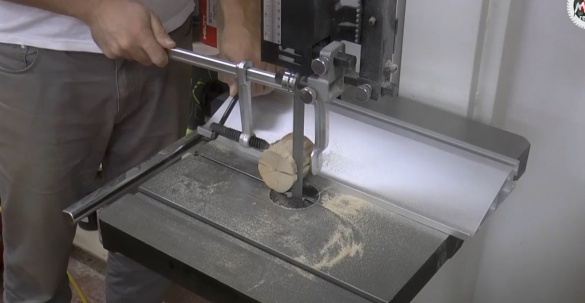
He cut them from a fallen tree a couple of years ago, but then he didn’t miss the ends without knowing it and in a day all the blanks went cracked. And they lay there for 2 years, until the era of epoxy arrived, for which cracks are not an obstacle at all. Well, as you understand, the master decided to cut the mini rounds from these blanks and fill everything with resin. Only before this whole thing had to be sanded, so as not to lose the connection of the elements of the product, because the bark does not immediately, so in the end it will still go away and the product may collapse. For this, the author had to manually clean every billet from the bark so as not to lose the useful diameter and preserve the natural curvature of the wood. Well, this texture is more suitable in this case than a clean groove.
Then the author additionally walked with a brush brush in order to remove unnecessary fibers. And after these procedures, you know that now nothing will peel off and you can safely fill in the epoxy.
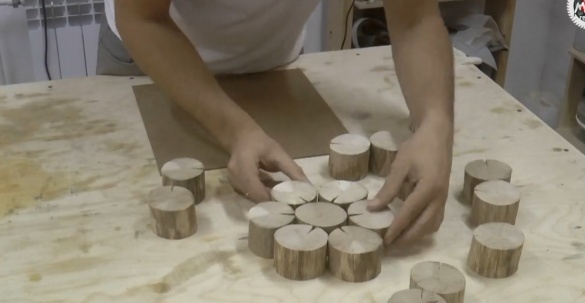
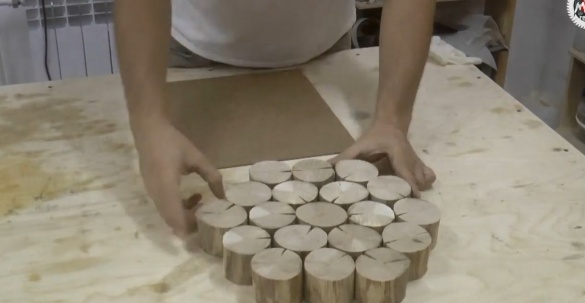
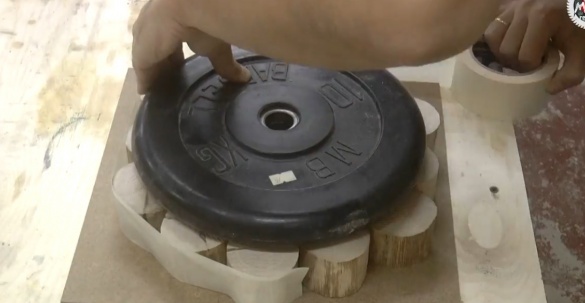
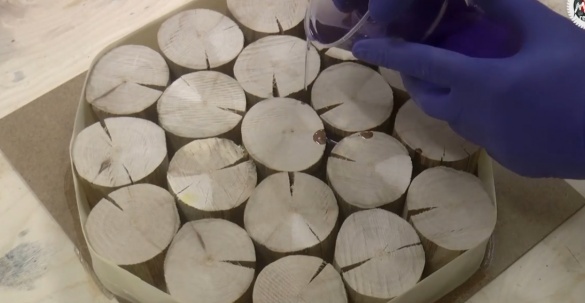
As a basis, the author decided to use a piece of thin MDF and arranged wooden elements on it, having slightly outplayed their cracks in the drawing.
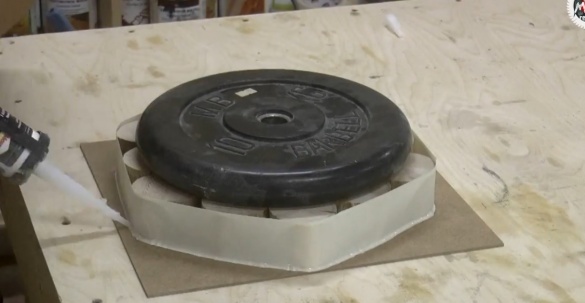
Well, sealing was traditionally done with masking tape and silicone sealant.
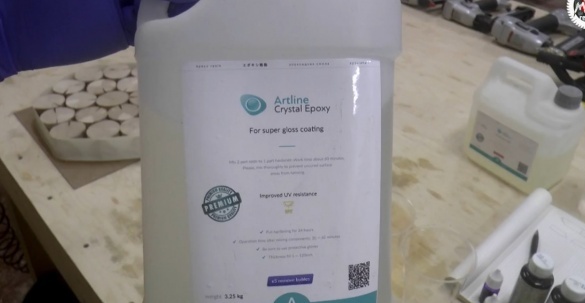
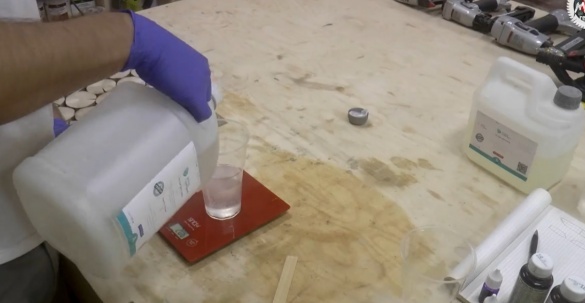
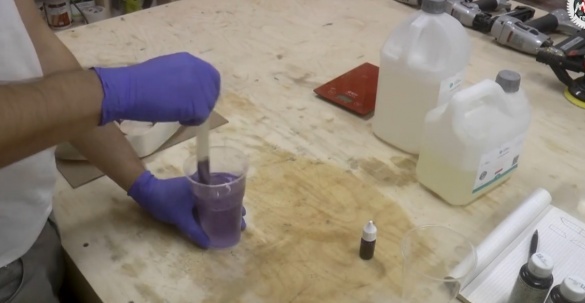
The author uses the resin Artline Crystal, which he has been using for quite some time. For such tasks it is very convenient and due to the high speed of hardening the product can be processed already in a day. But this creates a certain limitation in the thickness of the fill layer, which for large surfaces should be no more than 1 cm. On the other hand, the resin can be poured in layers with an interval of 12 hours and get almost any thickness. In the middle of the day allotted for hardening, while the reaction is still in progress, the layers are partially mixed, which makes their boundaries invisible.
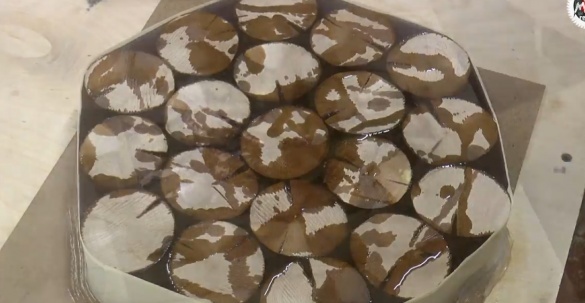
In this case, when our product is 80% wood, overheating is impossible and everything can be poured in 1 time.In fact, this is the only main nuance that is always worth remembering.
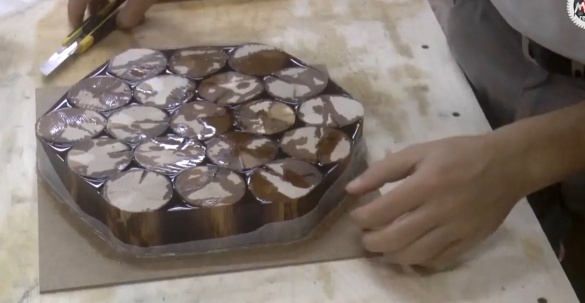
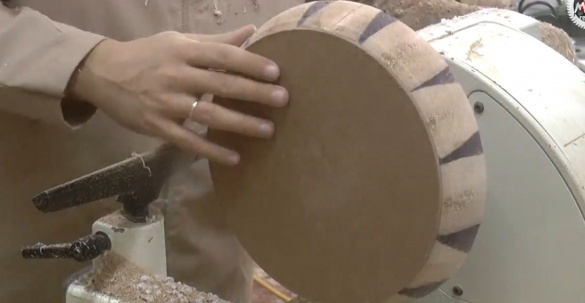
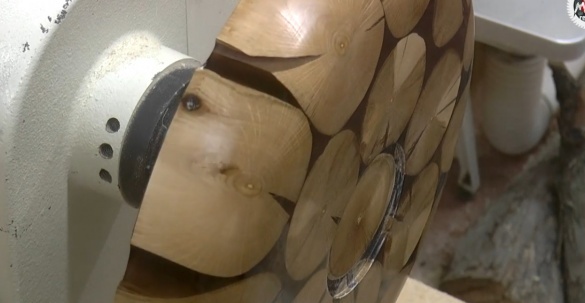
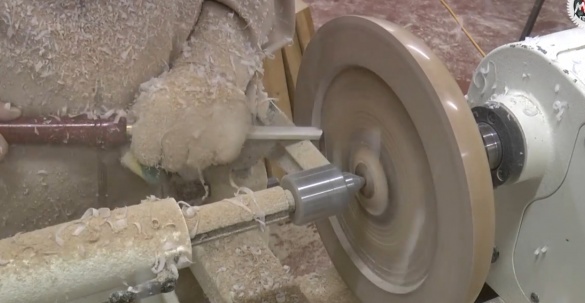
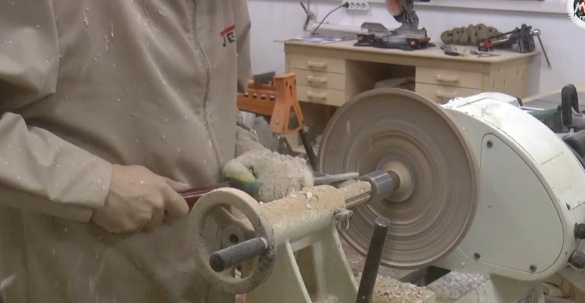
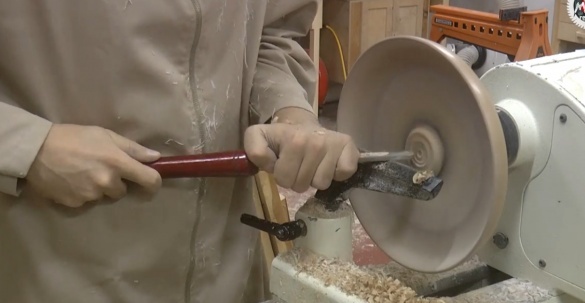
After everything has hardened, we cut off the excess and install the product on the lathe through the faceplate.
This is perhaps the most reliable mount, which allows you to do without the tailstock. And almost immediately, as soon as the author removed the MDF layer, the result pleased him.
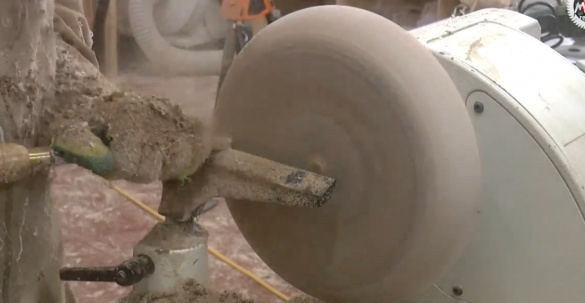
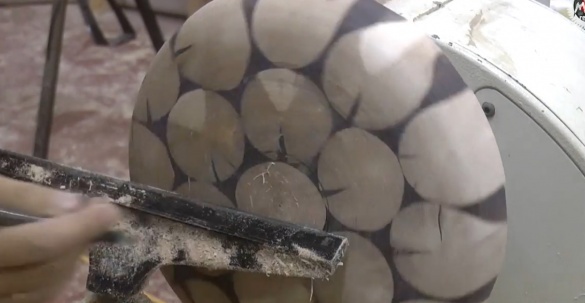
The only thing is that you sharpen the ends of a rather loose hazel very carefully so as not to tear out the fibers. In general, a tree that is new to itself can always be tested with various aggressive turning methods, thereby understanding how it behaves. And it’s better to do this at the very beginning, when we remove the “meat”, so to speak. Well, the resin during peeling pretty much breaks off, the benefit is shallow, a maximum of a couple of millimeters, but this must also be taken into account.
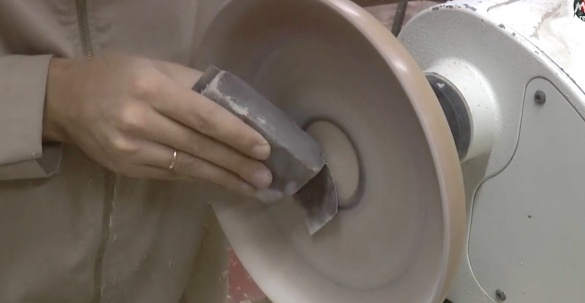
Again, having a bark on a tree could break a large piece of resin with it. I don’t want to go back to the sore subject of cheap sandpaper again, but here, as they say, “nosebleed”, you need to use something more or less suitable, since deep furrows on a frozen epoxy with a cheap abrasive that will constantly create them yourself, simply remove them will not work.
On the other hand, if we are not talking about turning products, but let's say about some planes, it is much easier to use the same resin at the finish line, which can be poured with a thin layer after two hundred or three hundred grain. The author reaches a maximum of 1000 units, and then uses polishing paste.
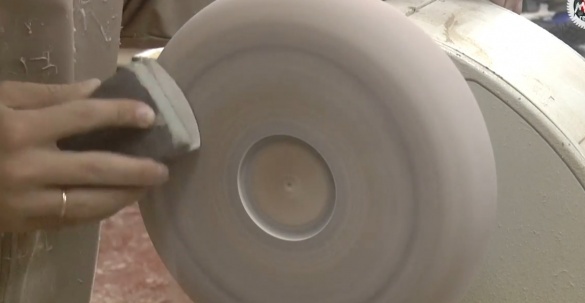
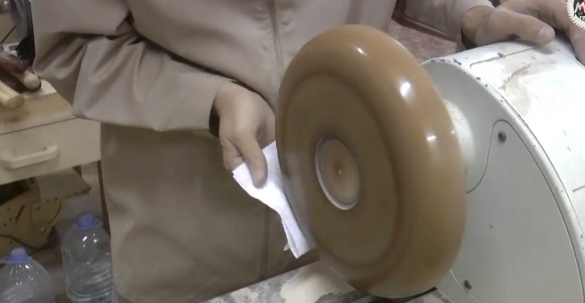
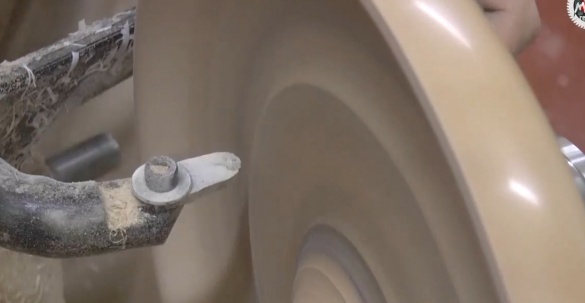
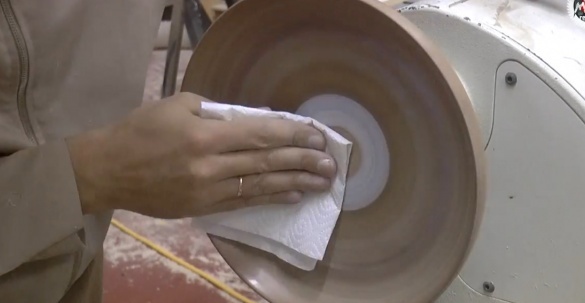
During grinding, which we traditionally take place at high speeds, in the case of epoxy, you need to make sure that the product does not overheat, especially when polishing. Otherwise, the top layer will simply become cloudy and you will have to re-grind it all over again.
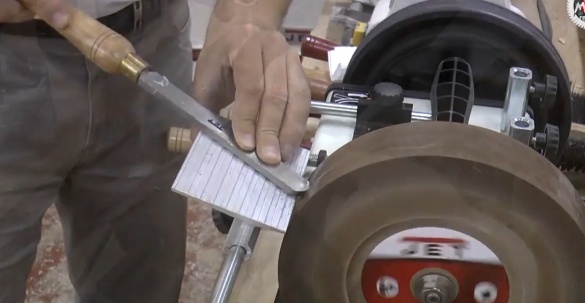
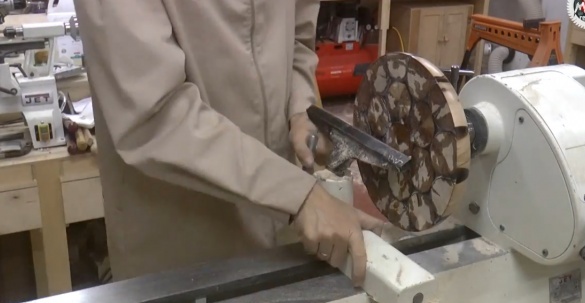
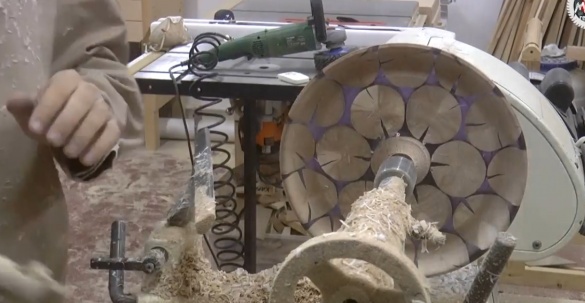
Before the inner bore, the master tucked the cutter and installed the product on the cartridge in a pre-flowing ledge, which in the case of resin, should be done a little deeper than usual so that the jaws of the cartridge do not chip its edge. Here, of course, nowhere without a tailstock. The resin is of course quite soft and when turning, I want to choose everything in a couple of passes, but you should not rush here, so as not to lose the product.
Well, in the end it remains to carefully cut the stump, and then you can proceed to grinding.
Especially during grinding, never forget about breathing protection. Resin when ingested is very harmful and hazardous to health, so this issue must be approached thoroughly. It’s also nice to have some kind of filtration system, and after work, carry out a thorough cleaning. But there are pluses, for example, it is very convenient to sharpen the resin, because the thickness of the product is constantly visible, this is especially important for controlling the rear ledge, to which the author approached a very dangerous distance a couple of times.
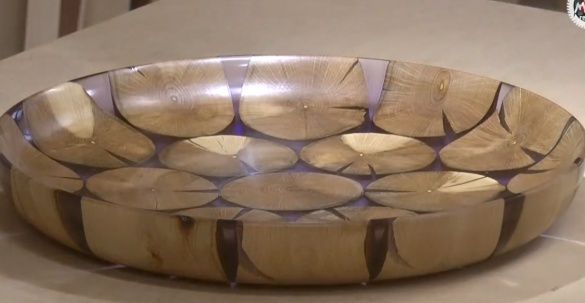
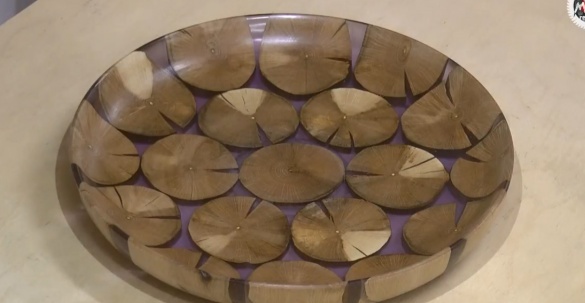
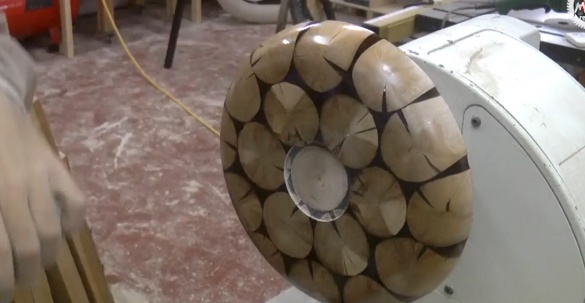
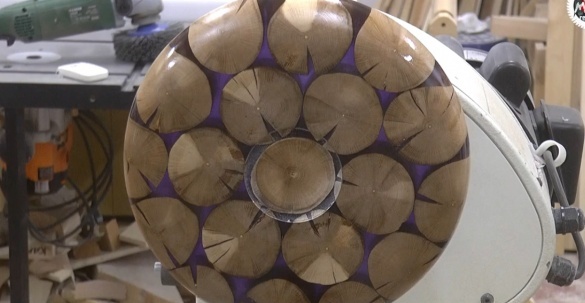
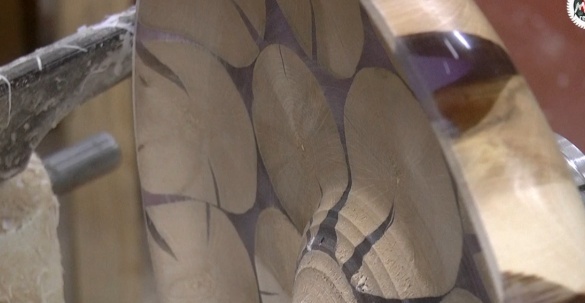
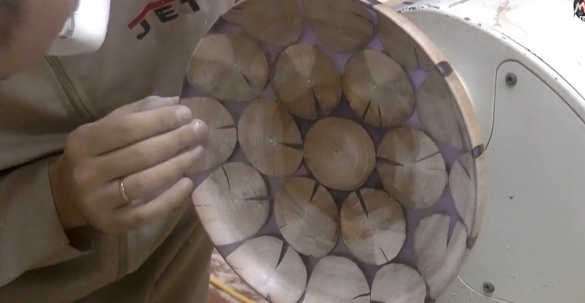
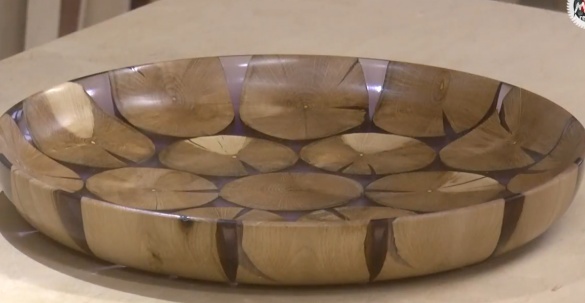
In the end, we got such a product that clearly shows that you can fill almost any material, and in the resin it will look quite right.
Well, that’s probably all. Thank you for attention. See you soon!
Video:

