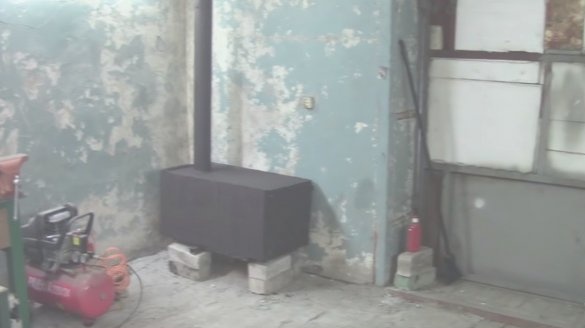
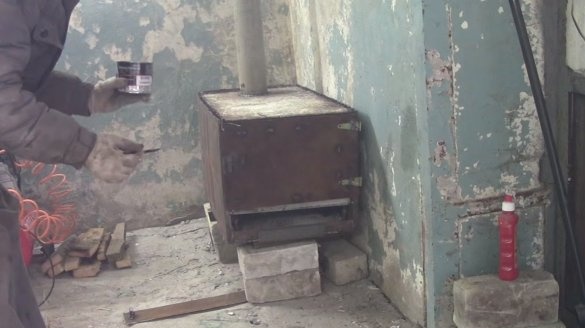
Now the first frosts hit, work in the garage or the workshop has become problematic, your hands are constantly freezing, and over time you start to freeze and he completely. The way out of this situation is a small stove, which is able to quickly heat the room and it will need a little firewood. There are a lot of designs of such furnaces, in most cases they are made of metal, as it instantly transfers heat to the room. Of course, such a furnace does not have heat capacity, but we don’t really need it, because we don’t need to spend the night in the garage. While the stove has something to burn, the room will be warm.
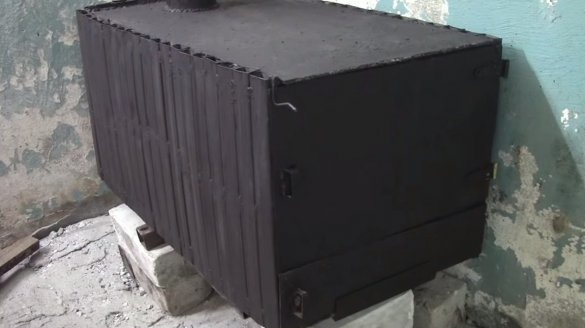
In this article we will look at the design of a simple and very efficient metal furnace. The stove is small in size, but economical. Its walls are made of square pipes through which air passes and, as a result, heats up.
Materials and tools used by the author:
Material List:
- square steel pipes;
- thick sheet steel;
- fittings (for grid-irons);
- steel pipe (for the chimney);
- two door hinges;
- steel corner;
- heat resistant paint.
Tool List:
- welding machine;
- grinder;
- roulette;
- marker;
- hammer;
- drill;
- grinder.
Furnace manufacturing process:
Step one. "Bottom and ceiling"
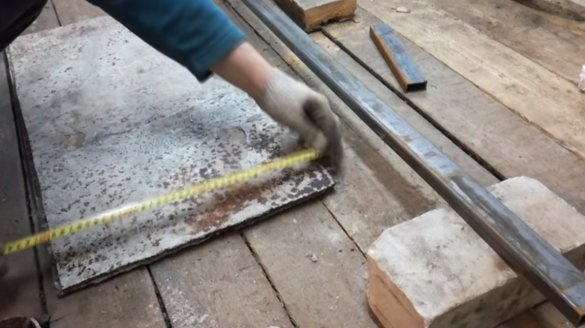
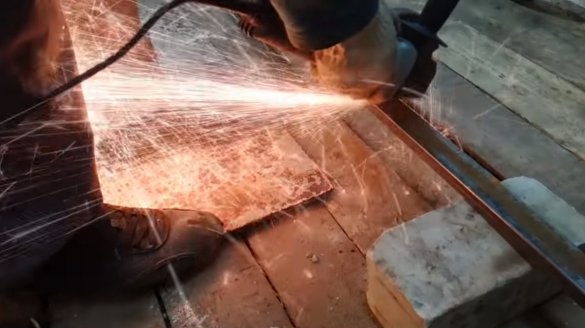
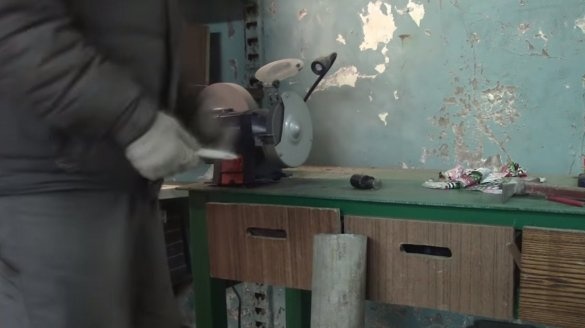
The upper and lower parts of the furnace are made of sheet steel. The metal must be of sufficient thickness so as not to burn out. This is especially true of the upper part, it will warm up to high temperatures. We cut out the grinder with two rectangles of the required size.
Step Two Manufacturing side walls
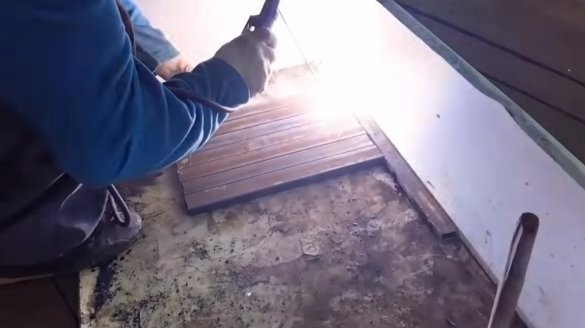
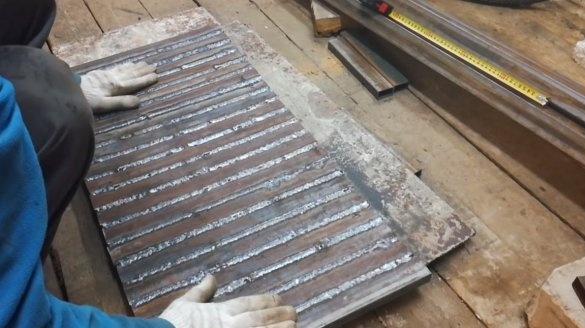
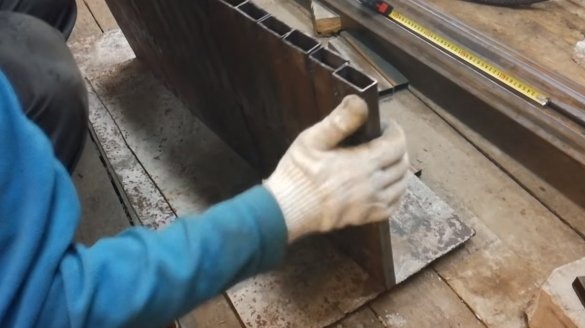
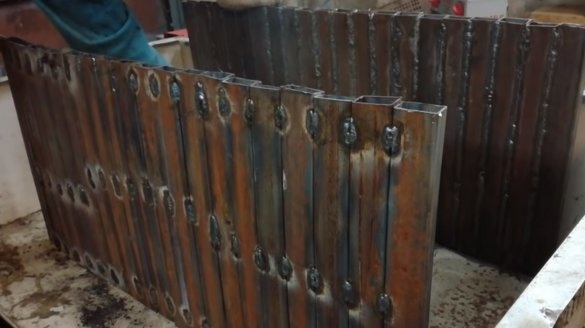
Next, we will make the side walls, their design is quite interesting. The walls are made of pipes, due to which air actively circulates in the walls of the furnace and warms up. Of course, if you use ordinary sheet steel for this, the furnace will not be much worse warming.
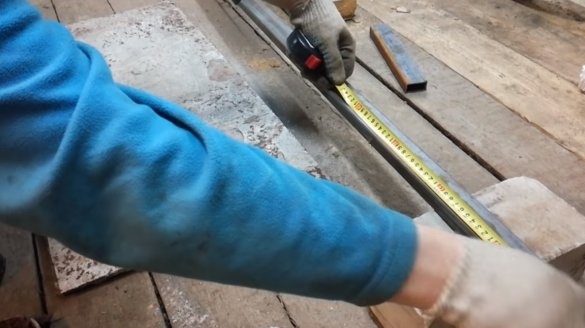
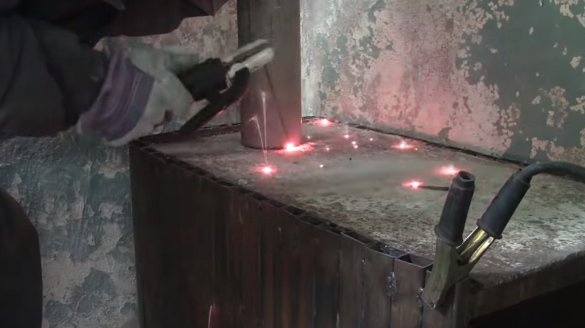
We cut the required number of pipes of the same length, and then well weld them together. It is important to understand that if the weld does not go along the entire length of the joint, the pipes should fit together without a gap, otherwise smoke and carbon monoxide will go into the room, which is dangerous.
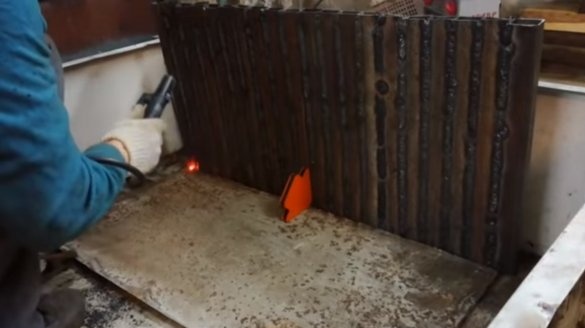
Step Three Weld the oven
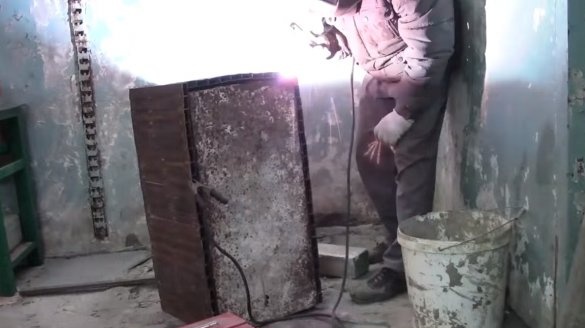
We now have all the parts for assembling the furnace. Just weld the parts at a right angle, it is useful to use a magnetic square for welding.
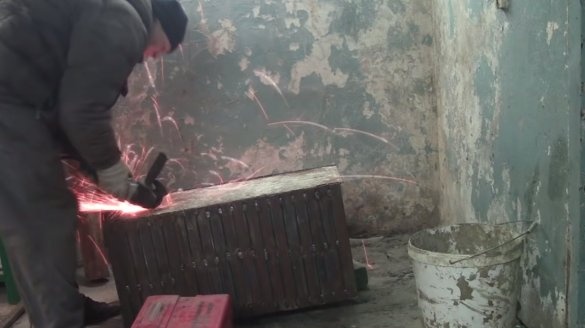
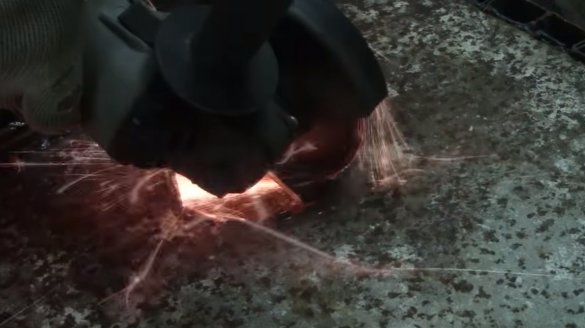
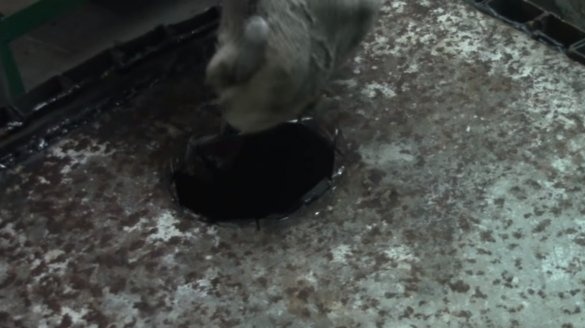
When everything is ready, in the upper part we cut a hole for the chimney, the author makes it a grinder. You need to cut into pieces, knock them out with a hammer.
Step Four Doors
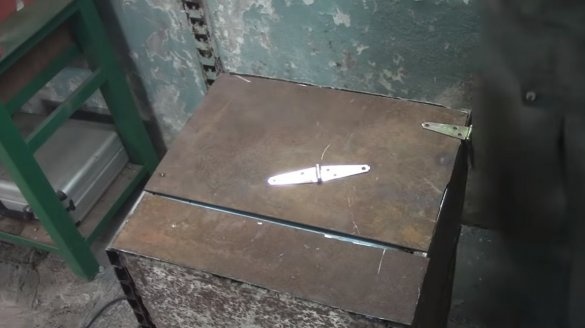
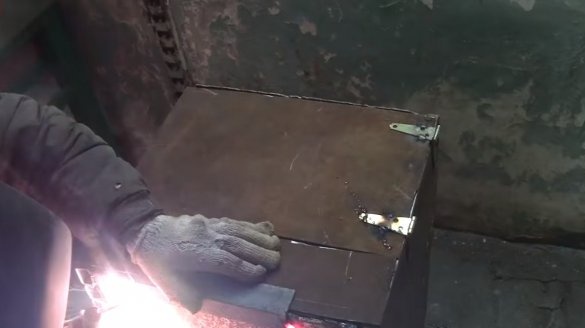
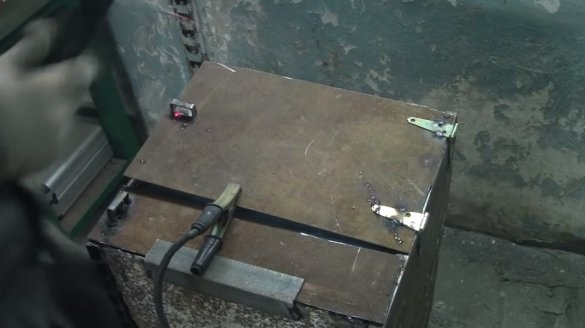
We install the doors, for this we will also need sheet steel. In total, we need two doors, one for the combustion chamber, and the other for the blower. We hang the furnace door on two door hinges, the author simply welds them.
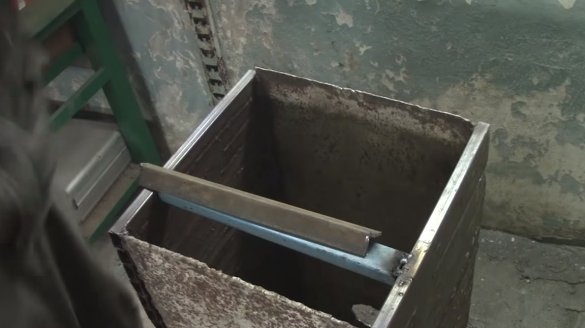
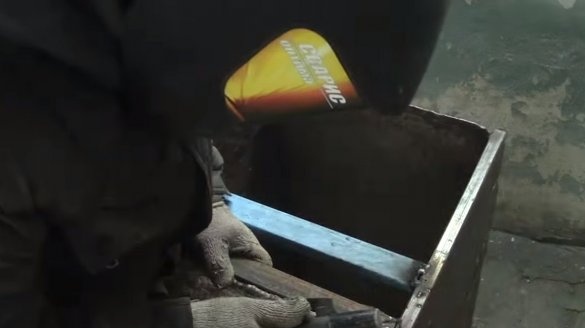
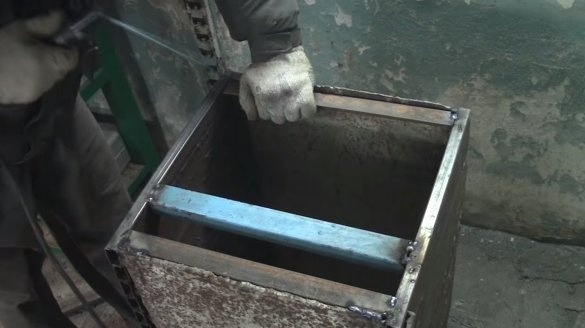
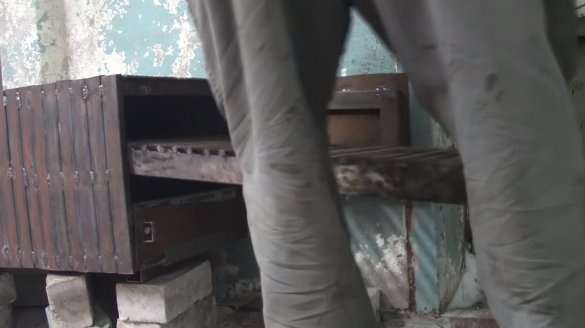
Between the cameras we weld a divider from a square pipe. We also need to weld the grate stops inside the oven. As for the bottom door, we have a valve that rests on a corner welded to the furnace.
Step Five Chimney
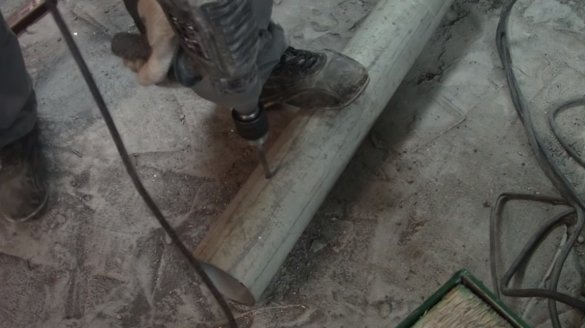
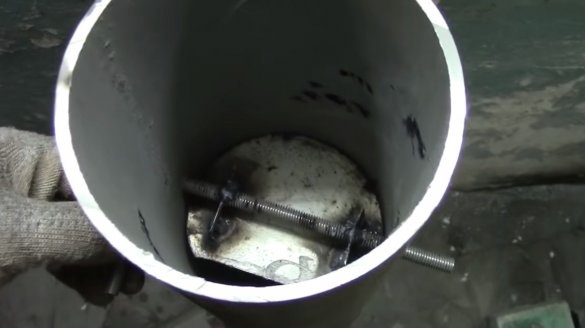
We make a chimney, in a metal pipe you need to make a valve. We drill holes in the pipe for the bolt, and then we weld a flap cut out of sheet metal to the bolt. We make the damper so that it cannot be closed completely, this is necessary for safety. The chimney should be made as long as possible, you can stretch it through the entire garage then the stove will work as efficiently as possible. You can also show imagination and make a coil out of a pipe.
Step Six Grate
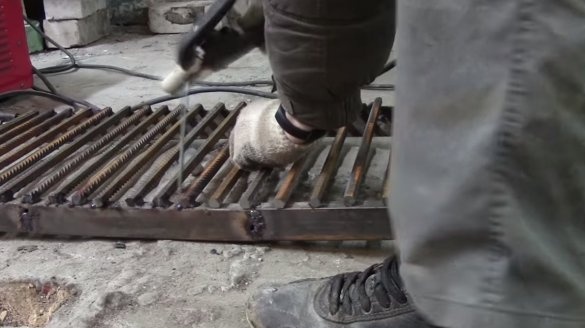
We make grate, we need a square pipe and fittings. We cut the fittings and weld to two pipes.
Seventh step. Finishing touches
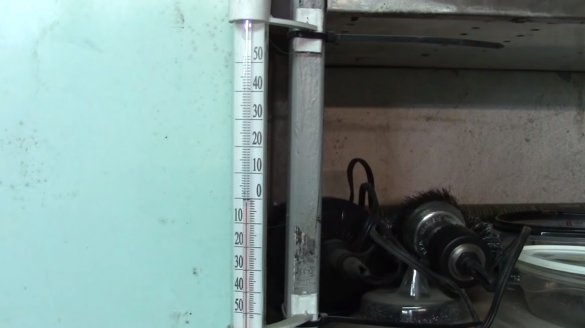
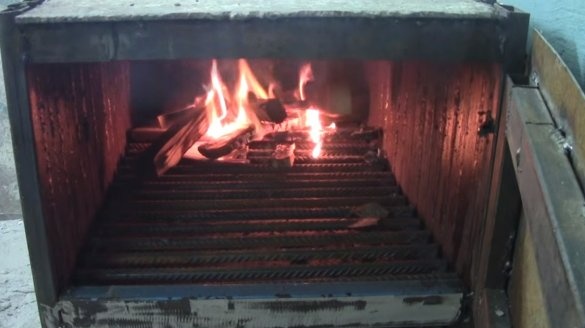
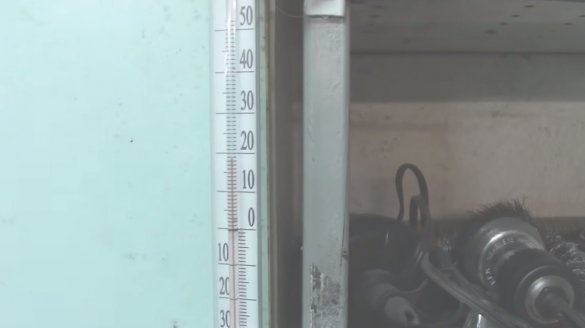
That's all, the stove is almost ready. At the end, weld the chimney well. Try your homemade in fact, we impose firewood and set fire to it. The author’s temperature in the garage easily raises from -1 to almost +20 degrees.
To make the oven look beautiful and serve for a long time, you need to paint it. To do this, you need a special heat-resistant paint.
That's all, the project is over, I hope you liked it. Good luck and creative inspiration if you decide to repeat the project. Do not forget to share your homemade products with us!

