
In this article, John, the author of YouTube channel "John Heisz - I Build It" will tell you how to make an unusual sliding shelf for the cabinet, which is convenient to store containers with various paints and varnishes. In this case, all containers can be considered without spending time on pulling them out.
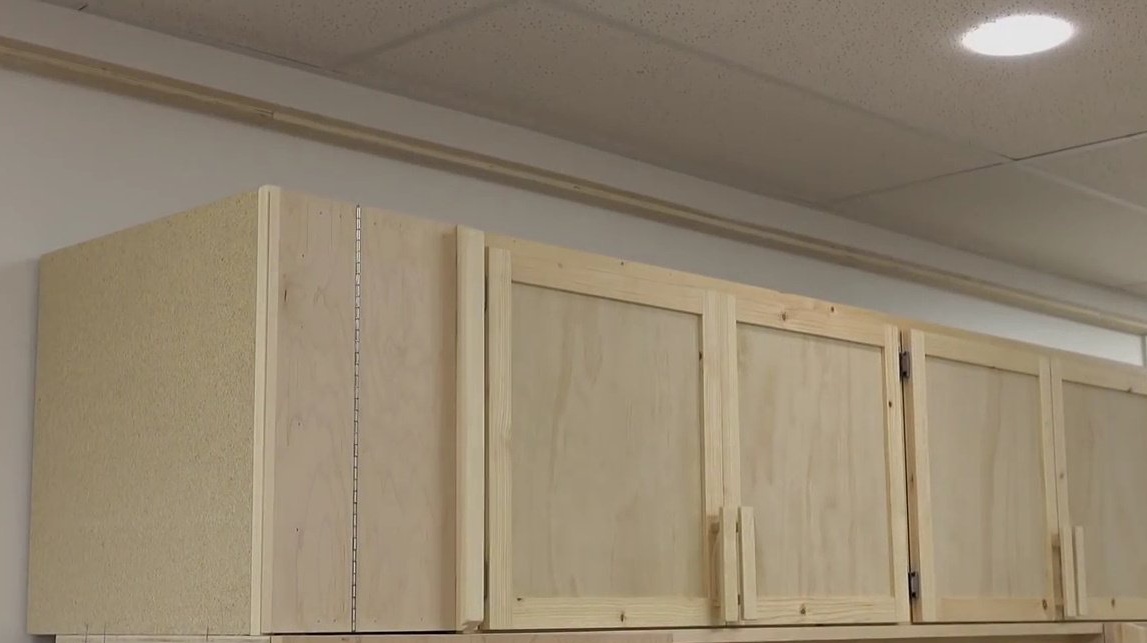
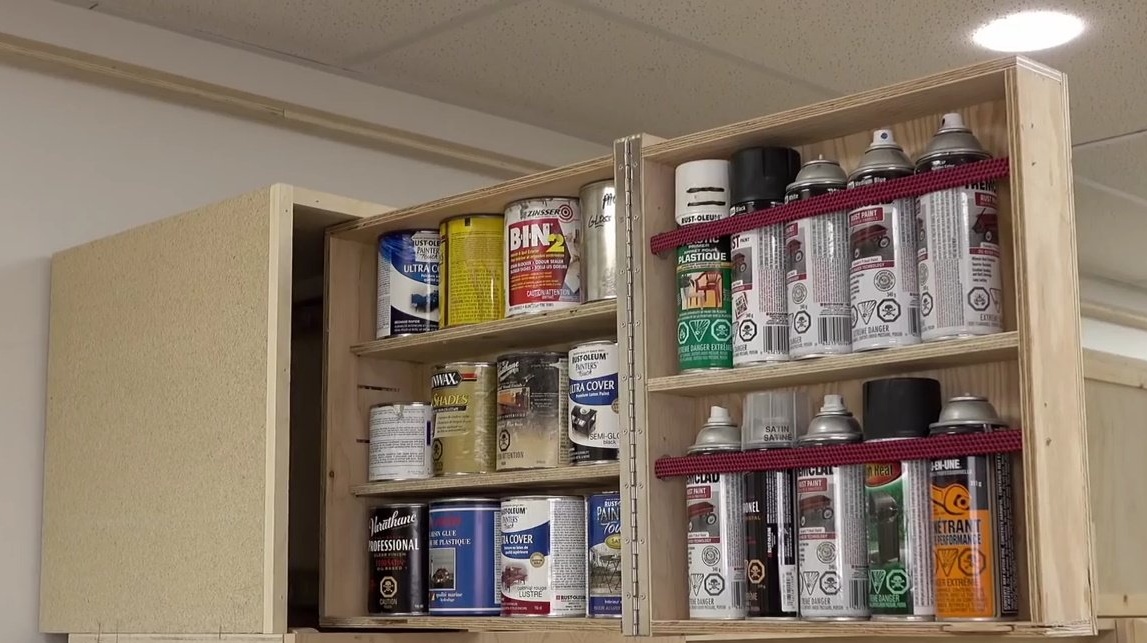
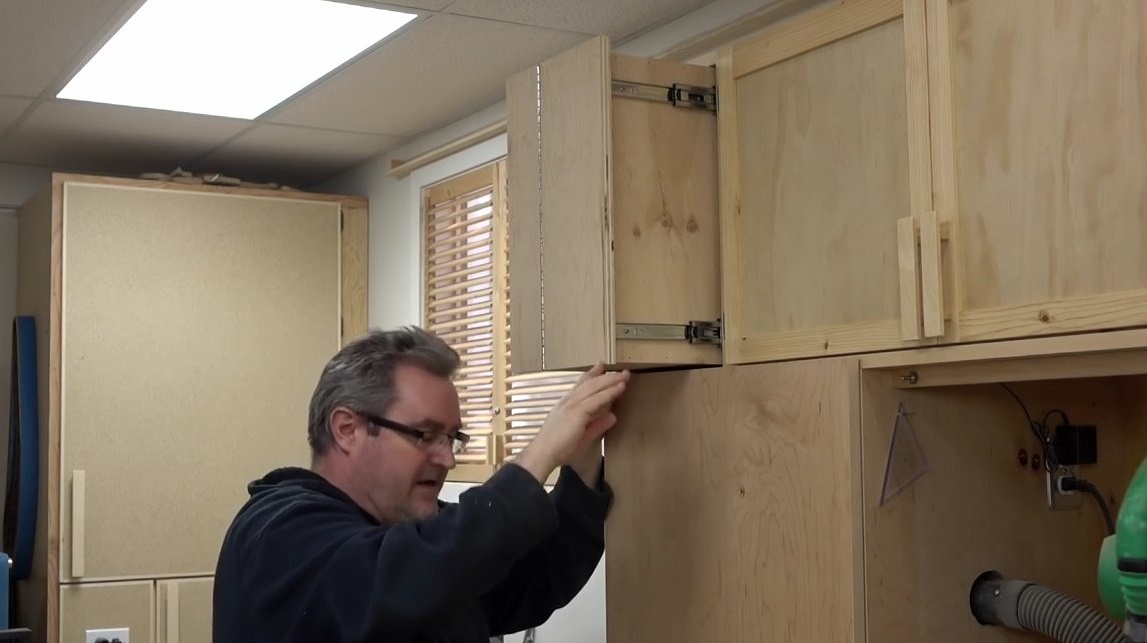
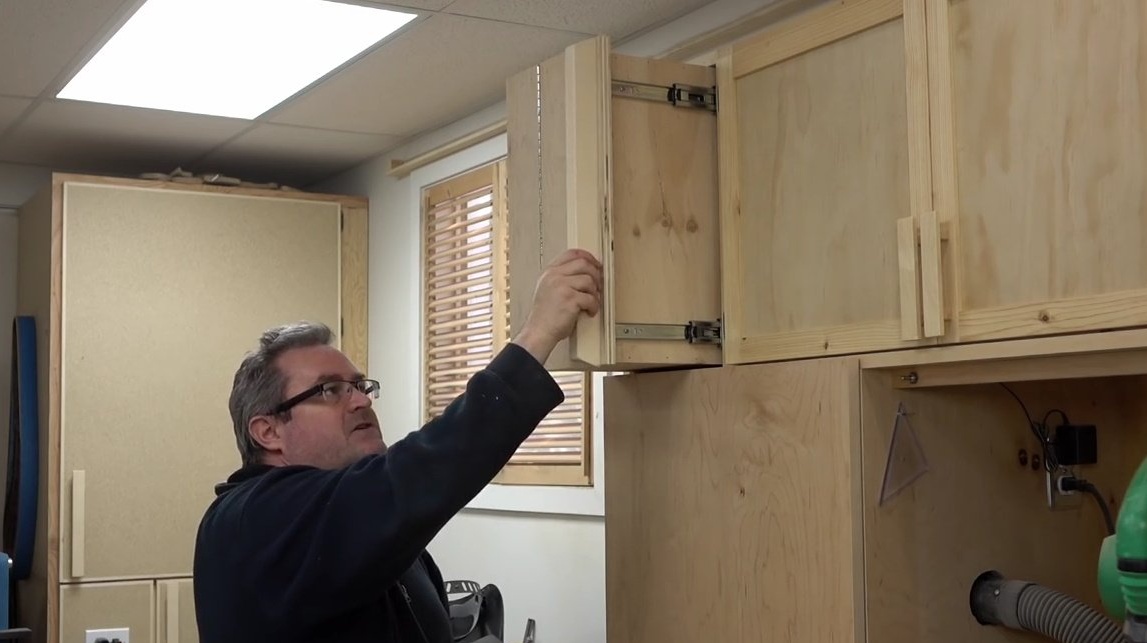
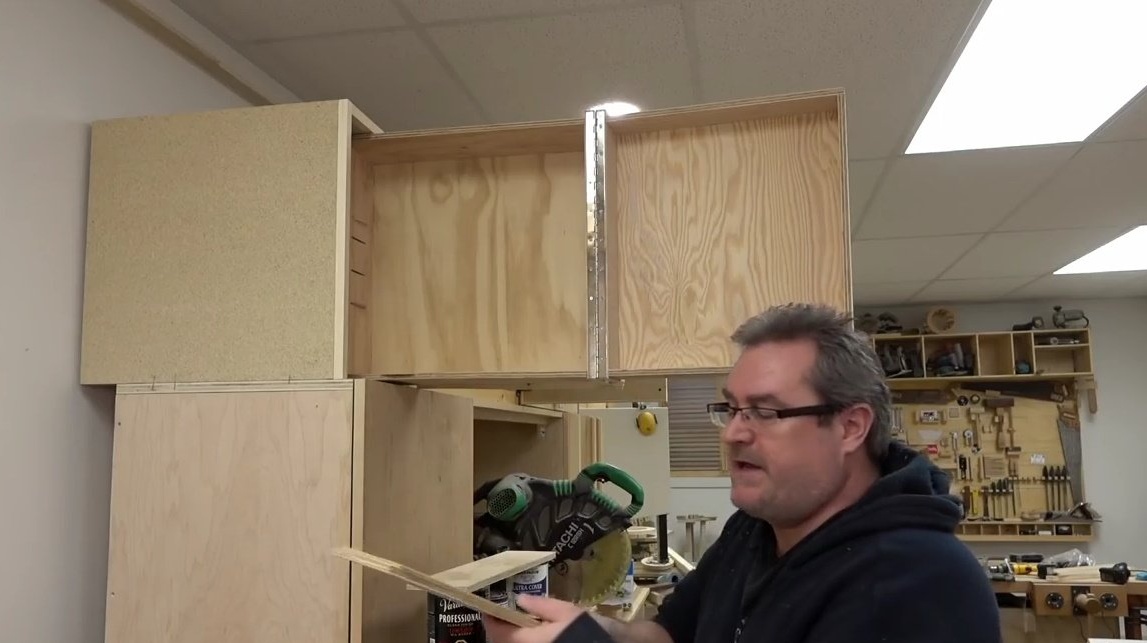
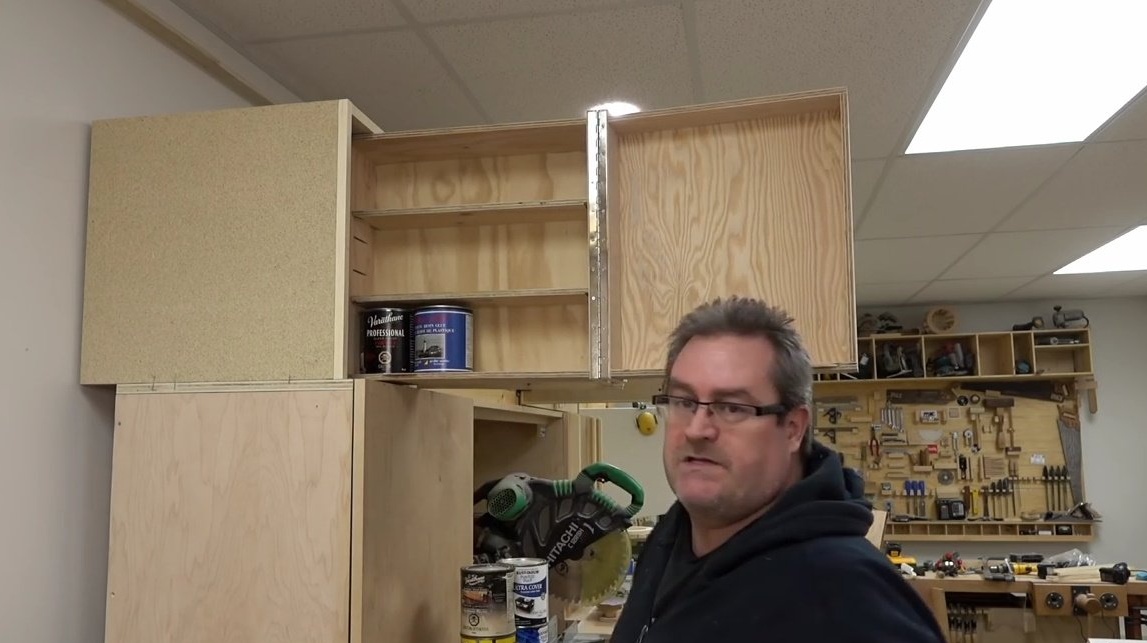
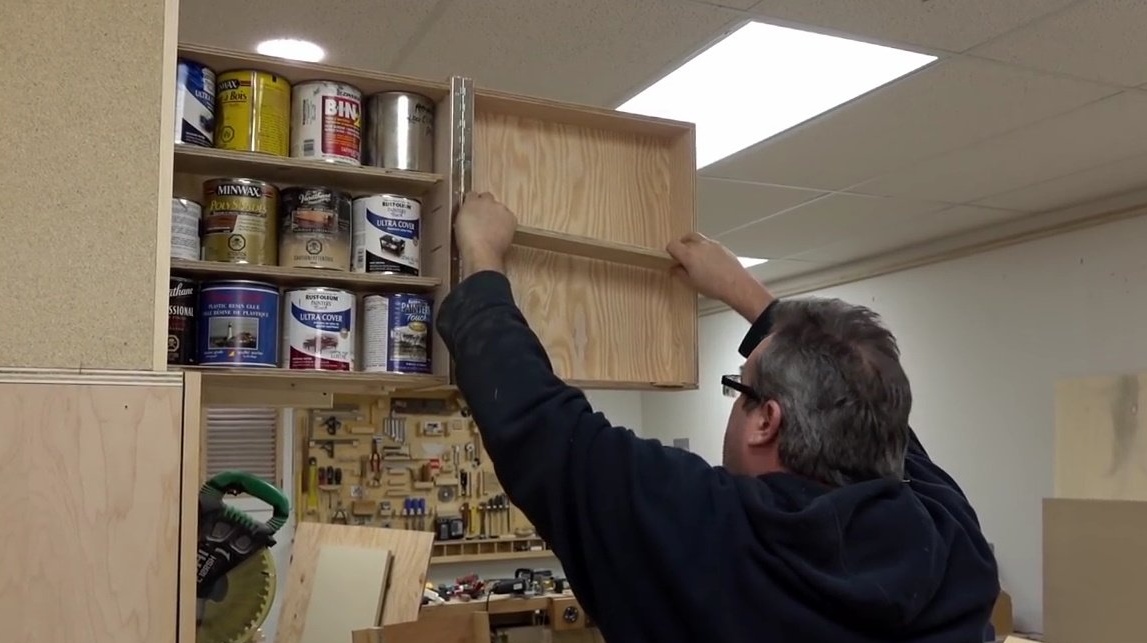
This article will delight lovers of ergonomic solutions. The innovative design and execution of such a work cabinet will be especially useful for those creative people who are experiencing an acute shortage of space in their workshop. The general view of the shelf, and the way to open it looks like this.
Materials
- sheet plywood
- Wooden blocks
- Flat dowels
- Glue "liquid nails"
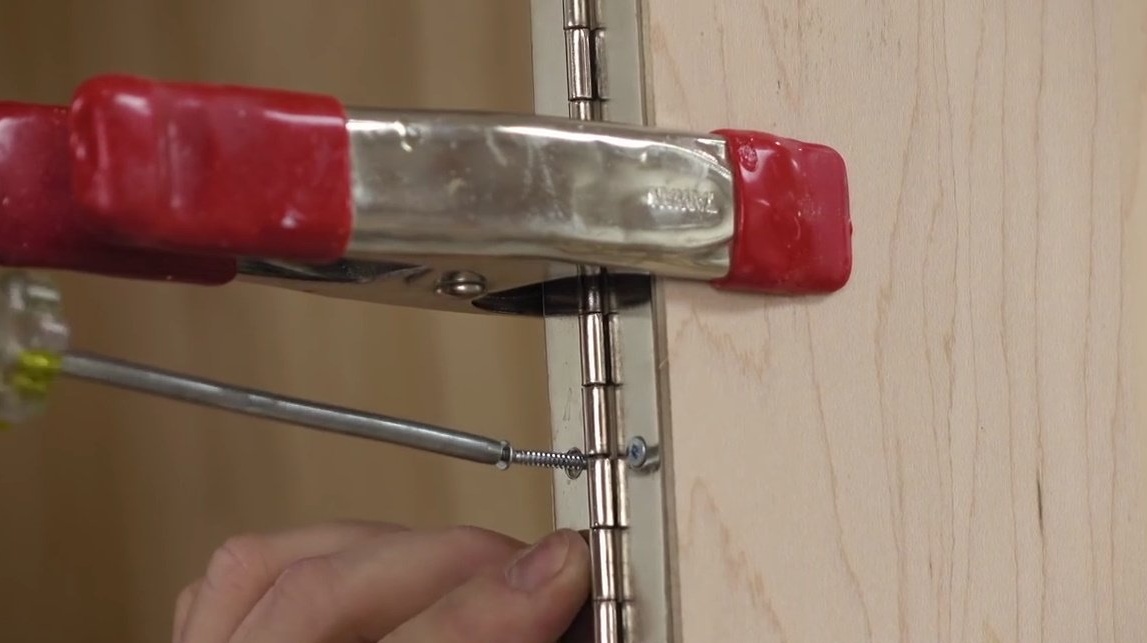
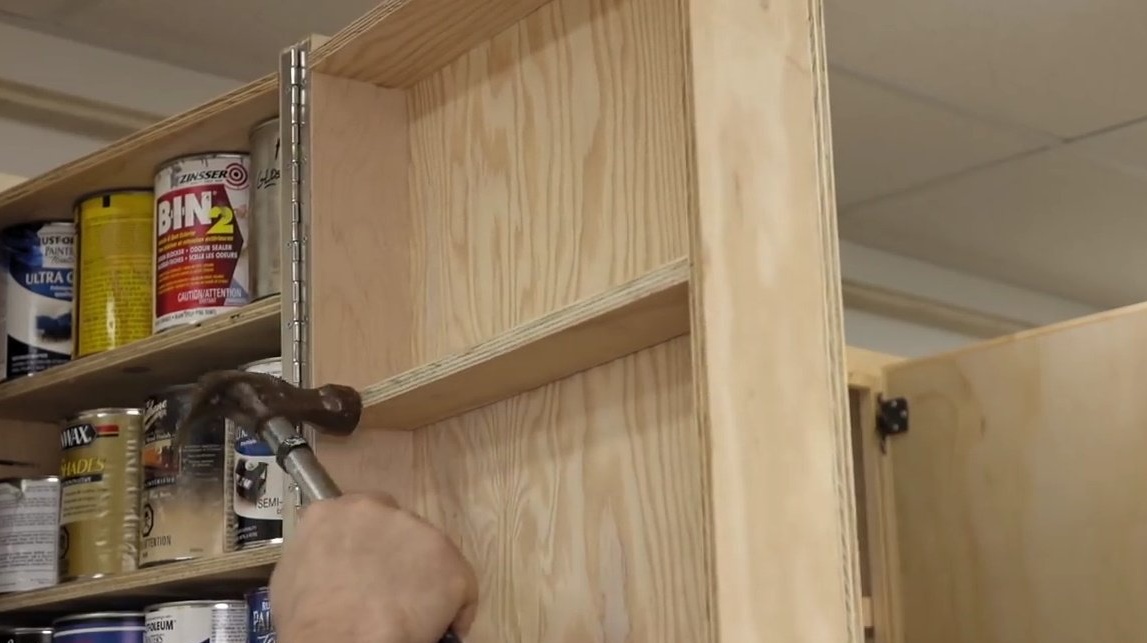
- Piano loop
- Pictures on request guides
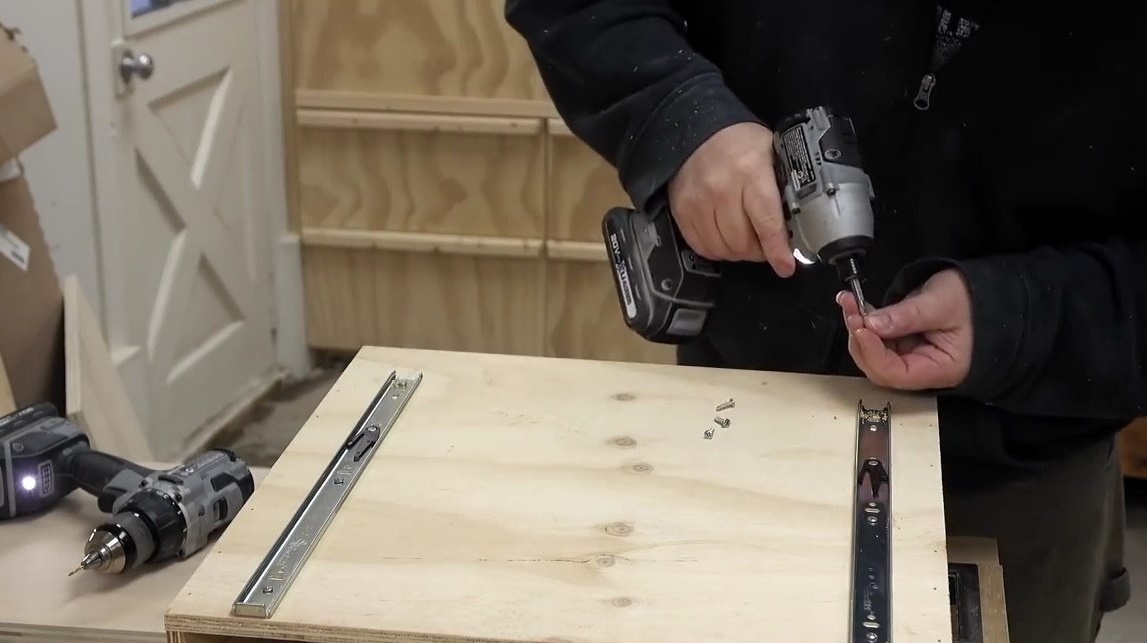
- Telescopic rails for drawers
- Double-sided tape
- Wood screws.
Instruments, used by the author.
- A circular saw
- Screwdriver, drill
- Crosshead screwdriver
- Pneumatic nail gun (nuler)
- Face mill for dowels.
Manufacturing process.
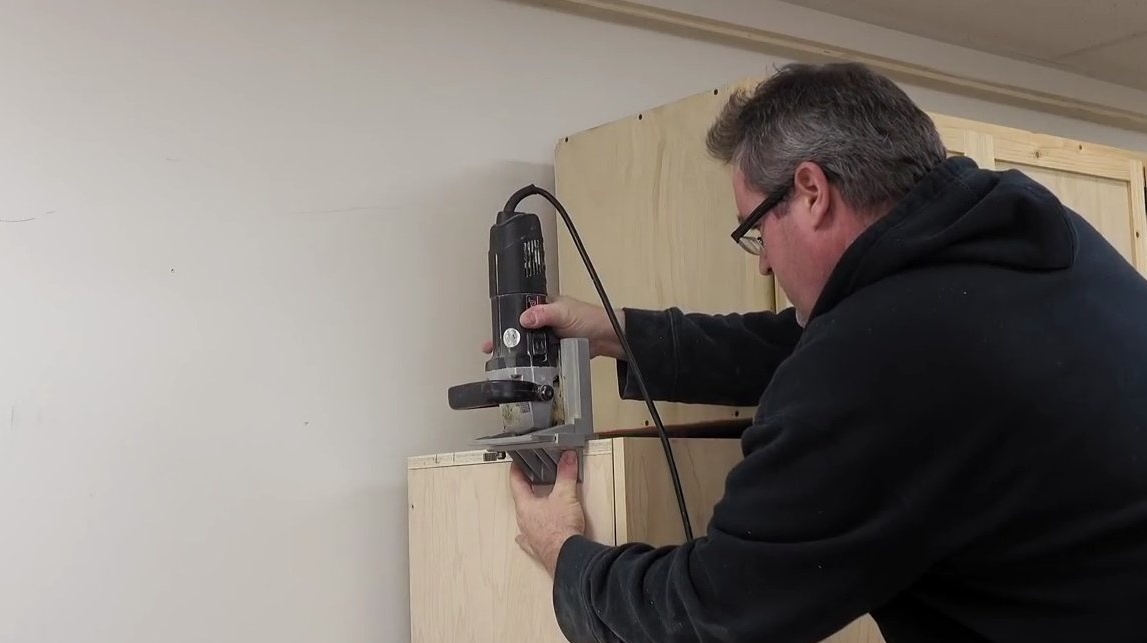
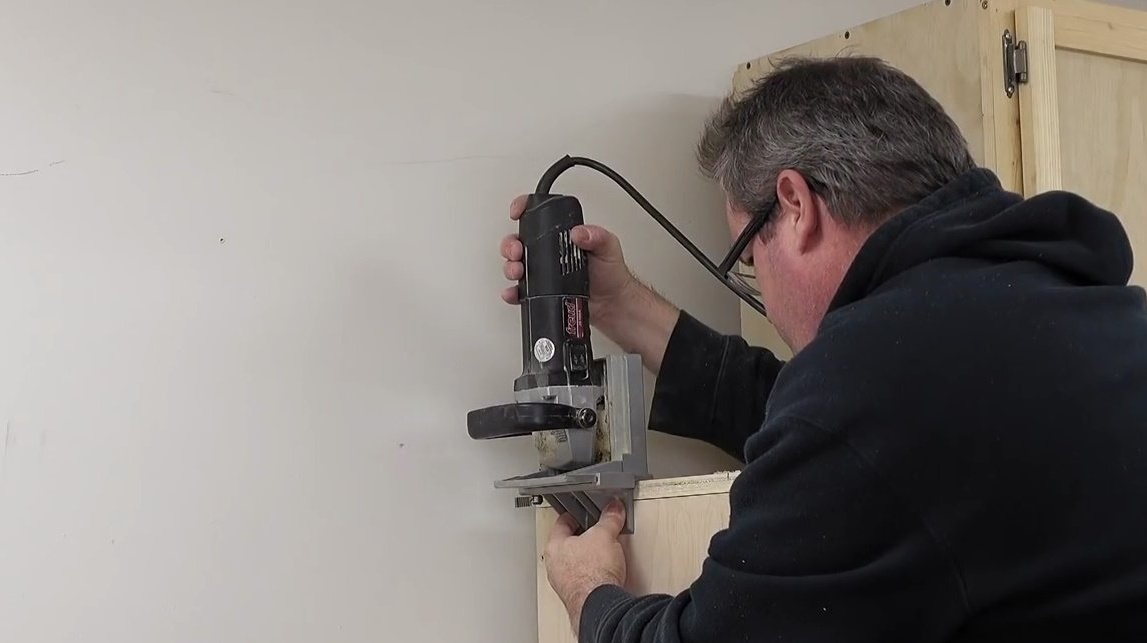
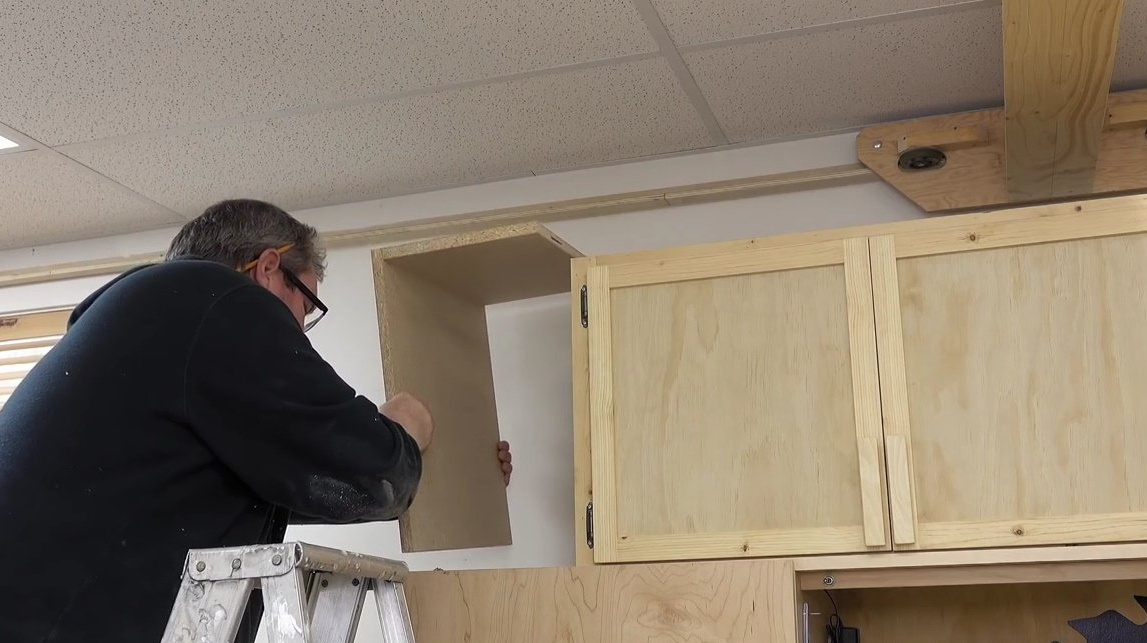
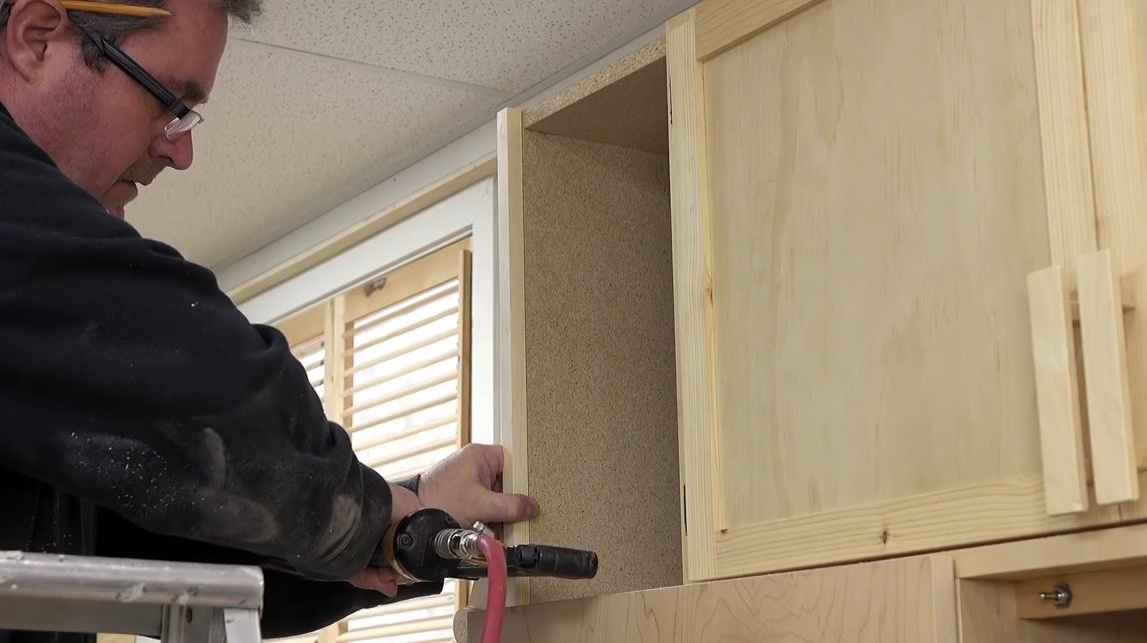
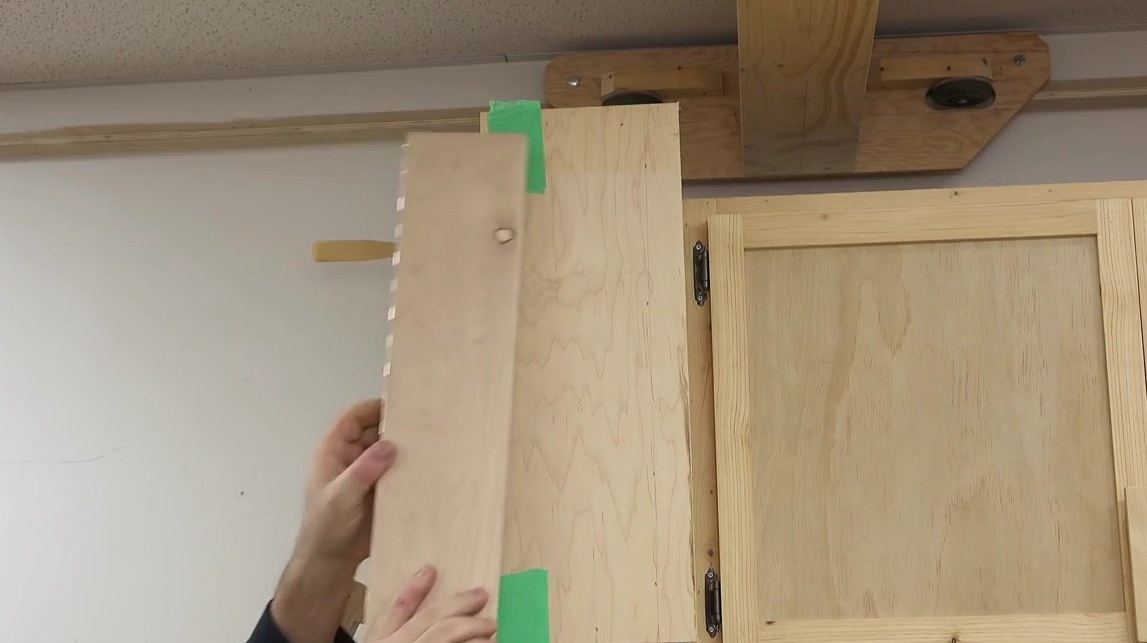
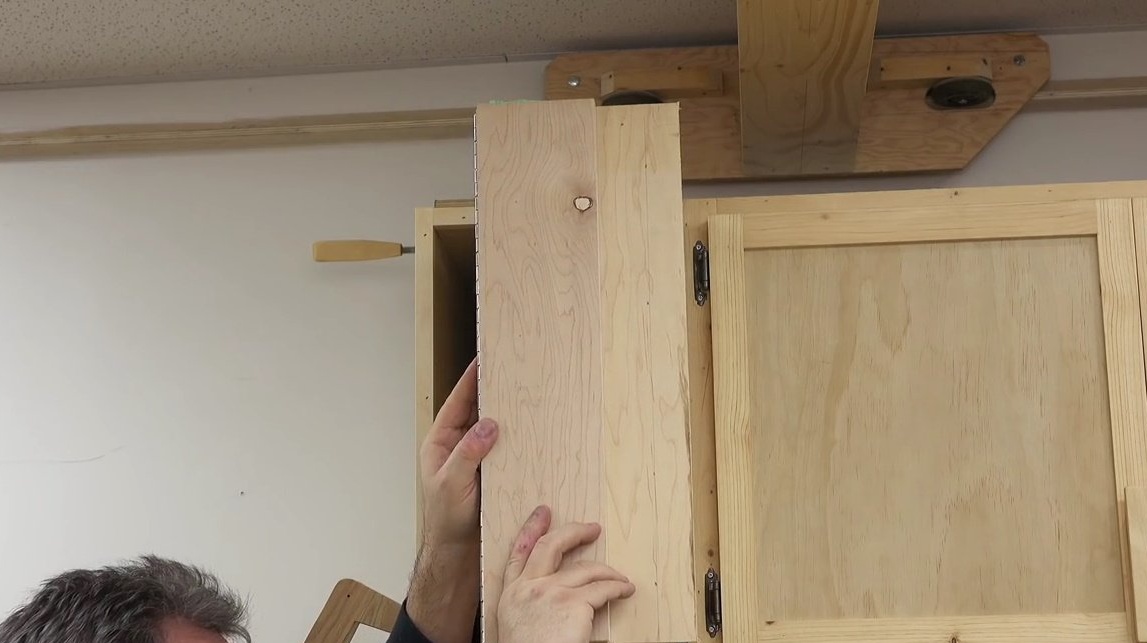
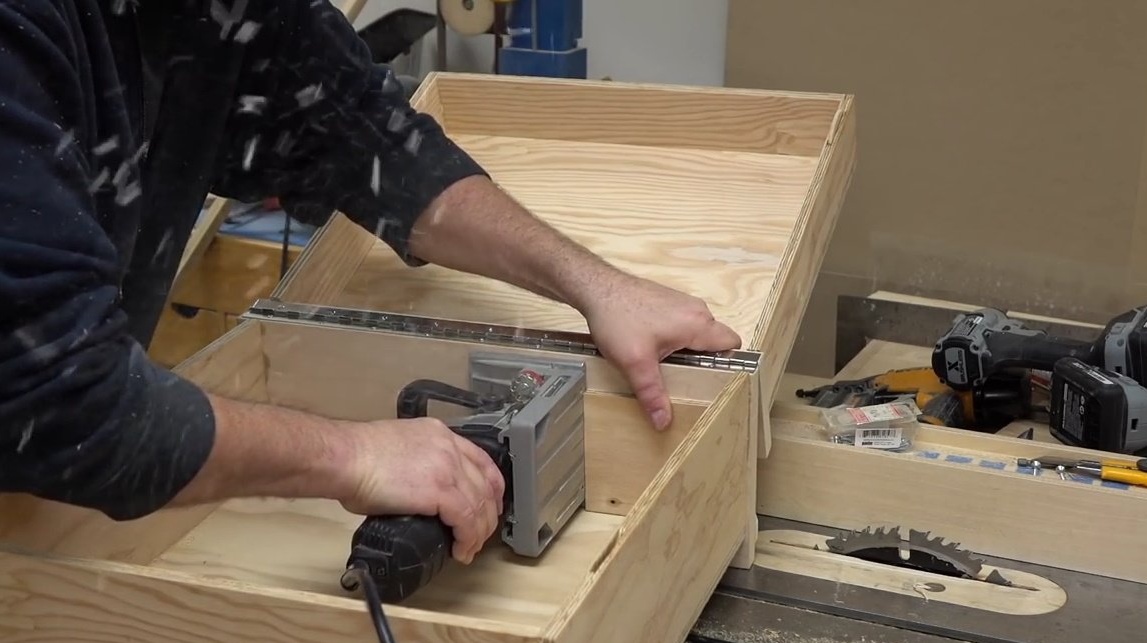
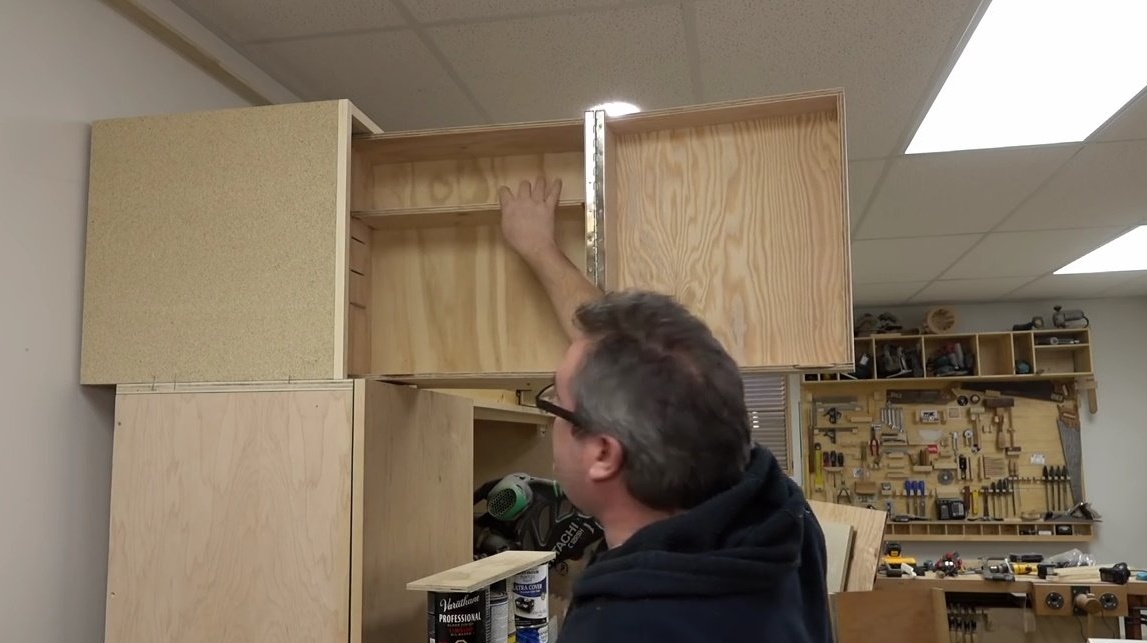
To begin with, John makes an end milling cutter in the wooden elements of the future cabinet, and on the upper surface of the pencil case on which it will be installed later. Thanks to these grooves, the cabinet and the body of the superstructure are connected using flat dowels.

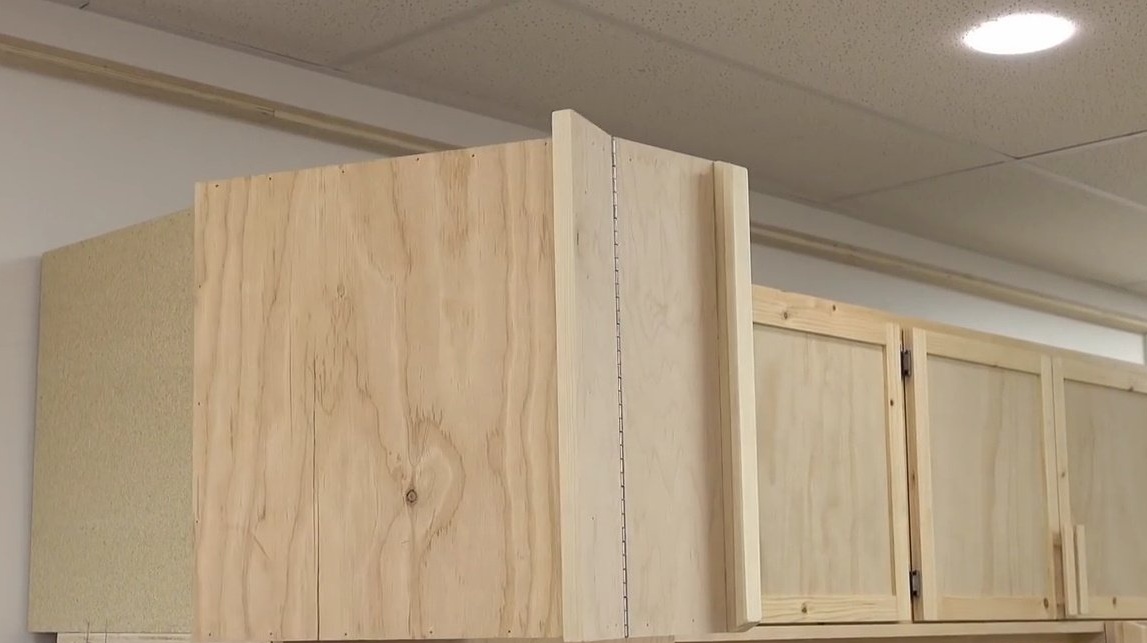
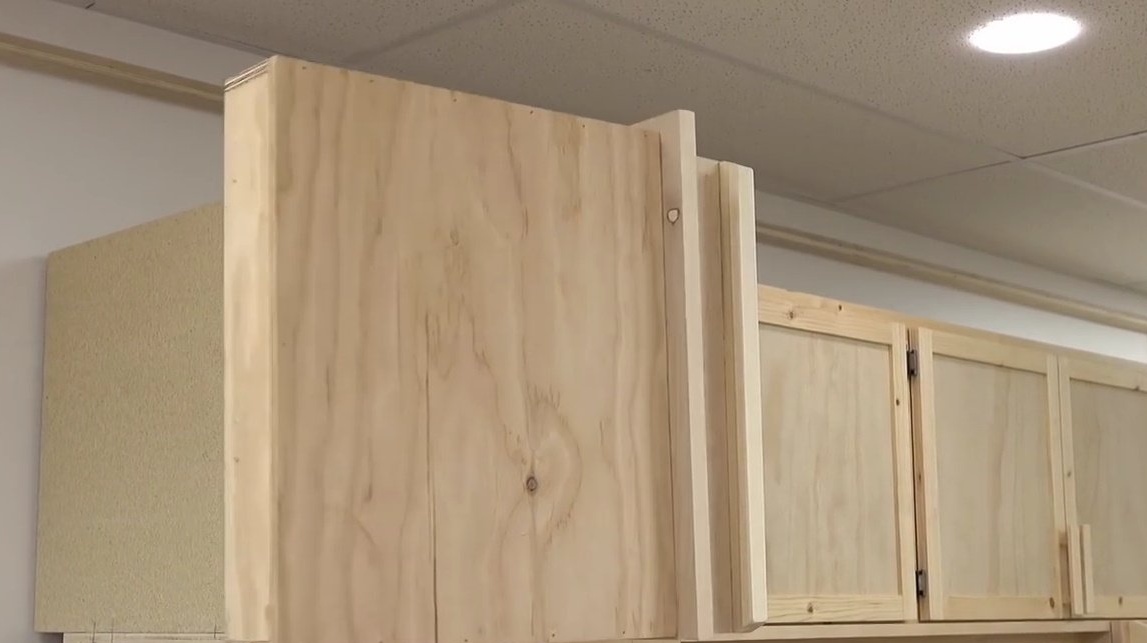
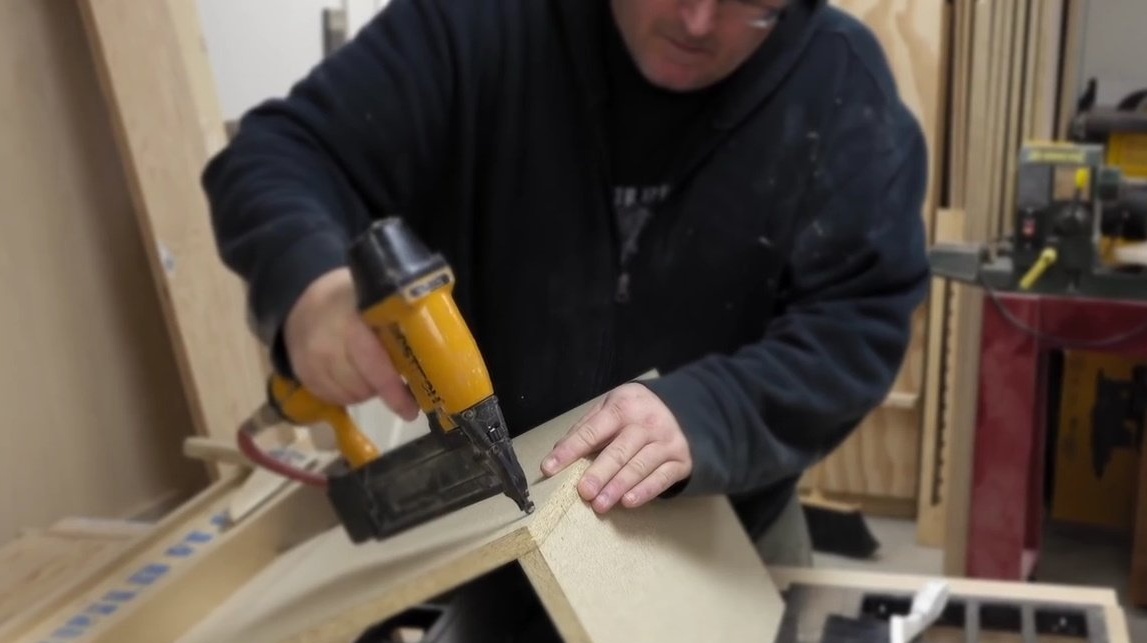
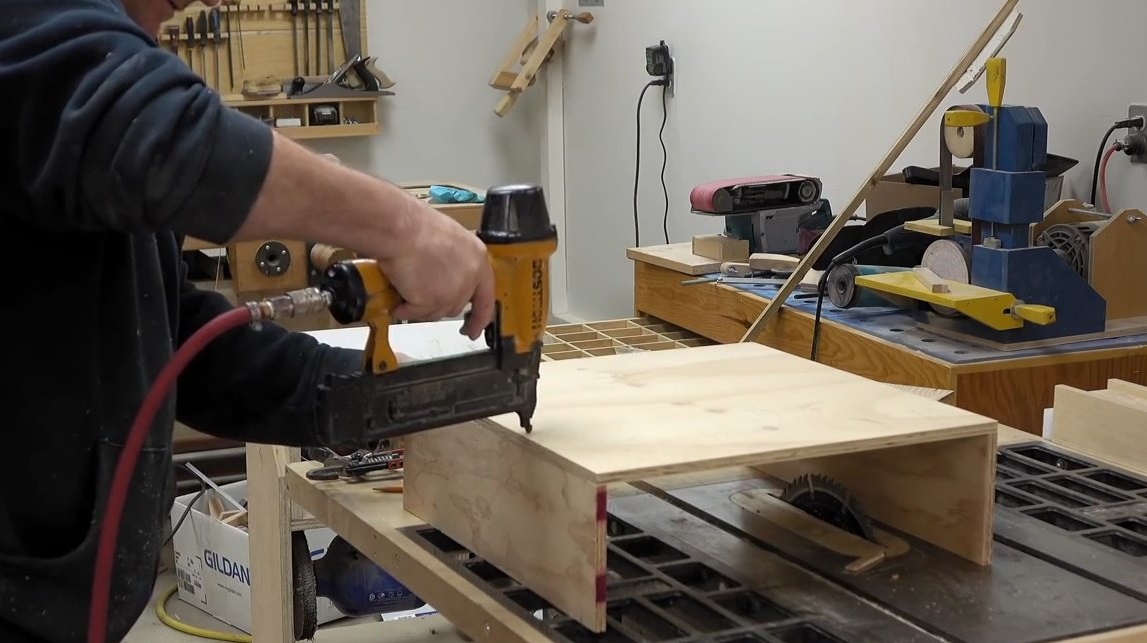
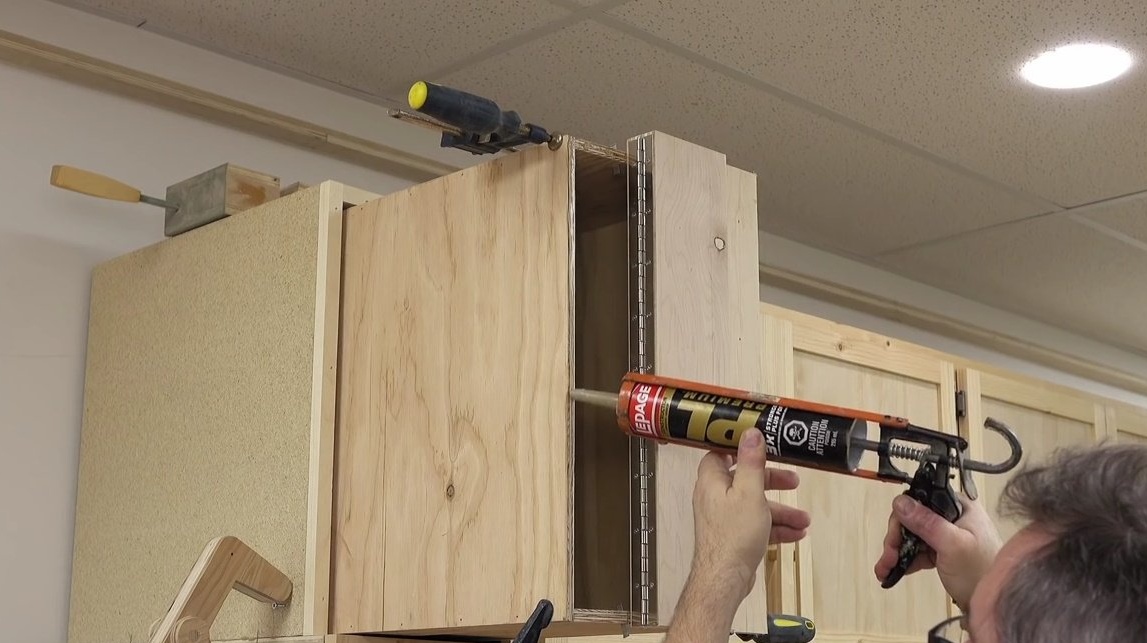
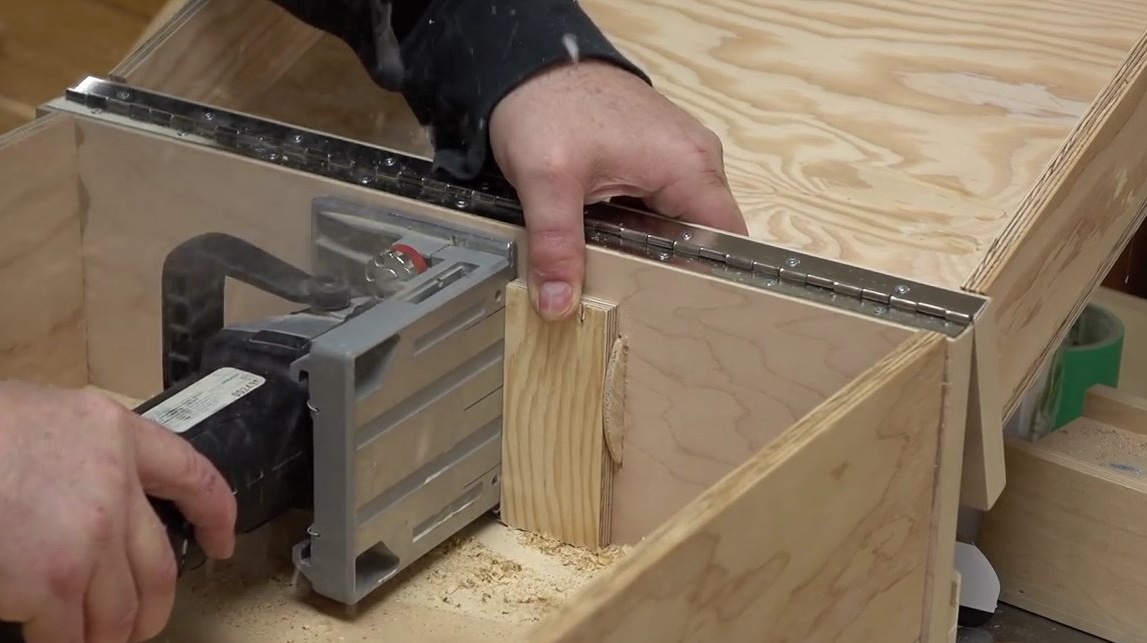
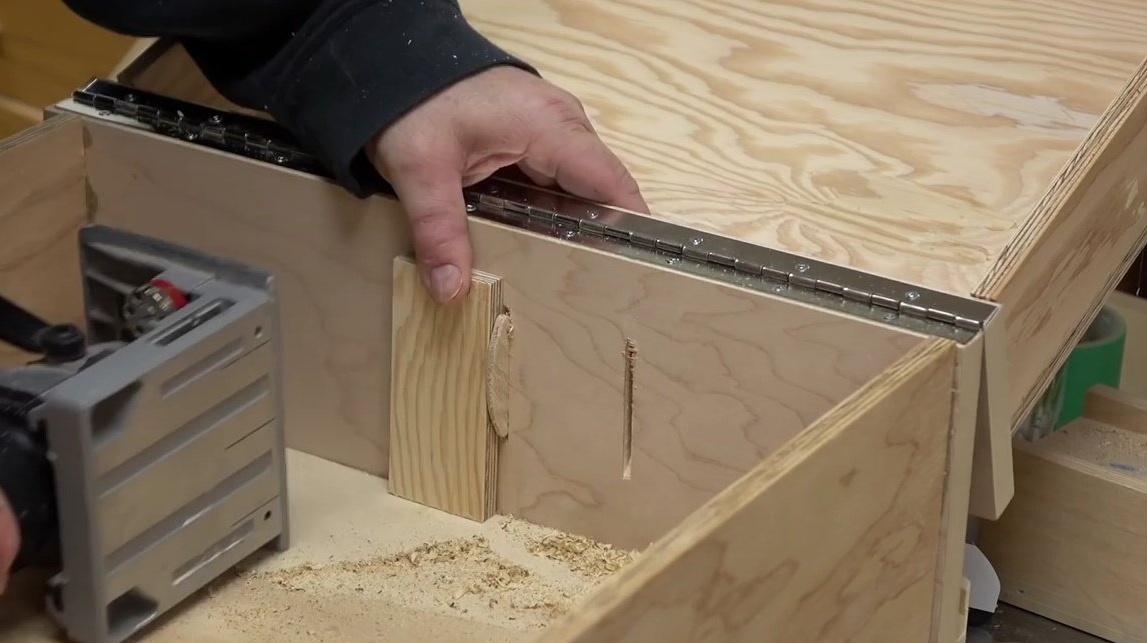
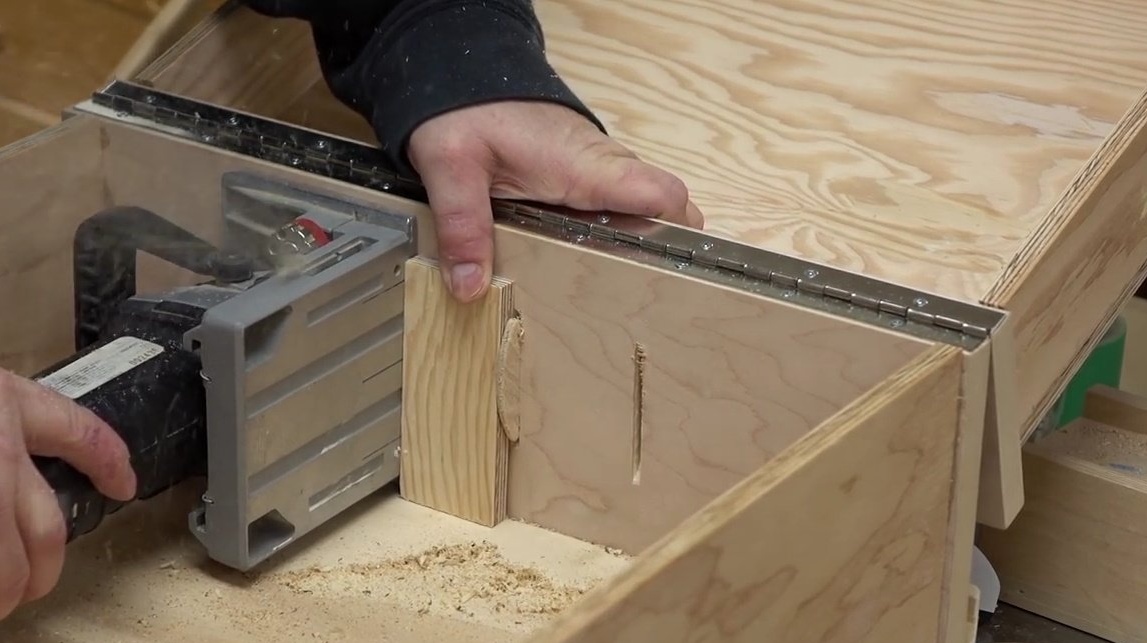
Then it assembles the outer part of the enclosure for the cabinet. Two blanks are connected by a neiler. And sets on top of the cabinet, it turns out something like a mezzanine.
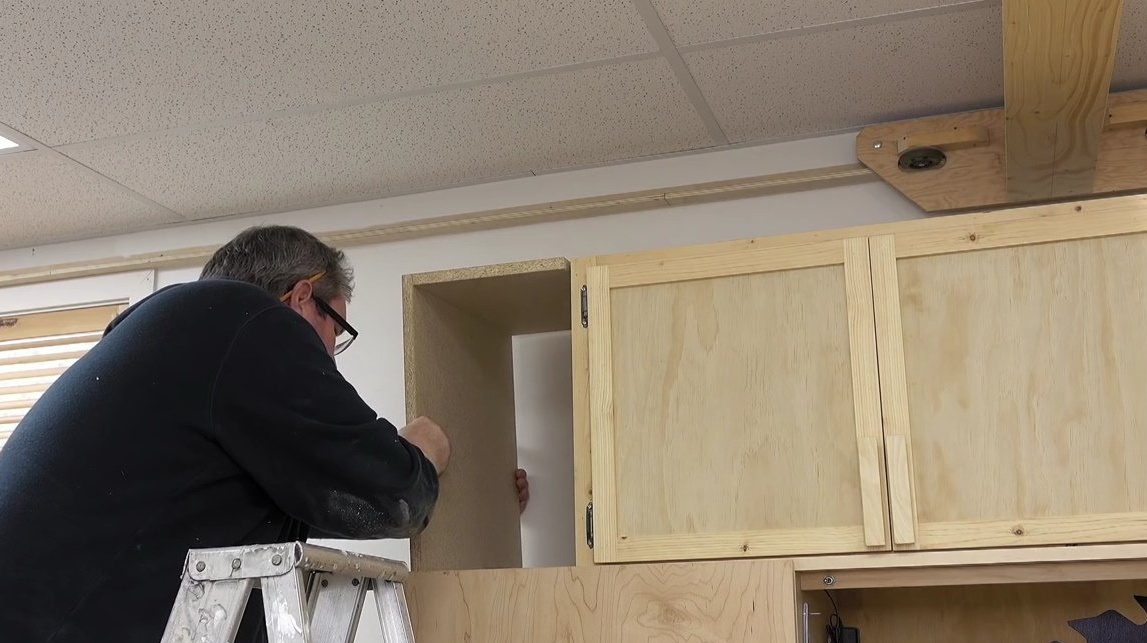
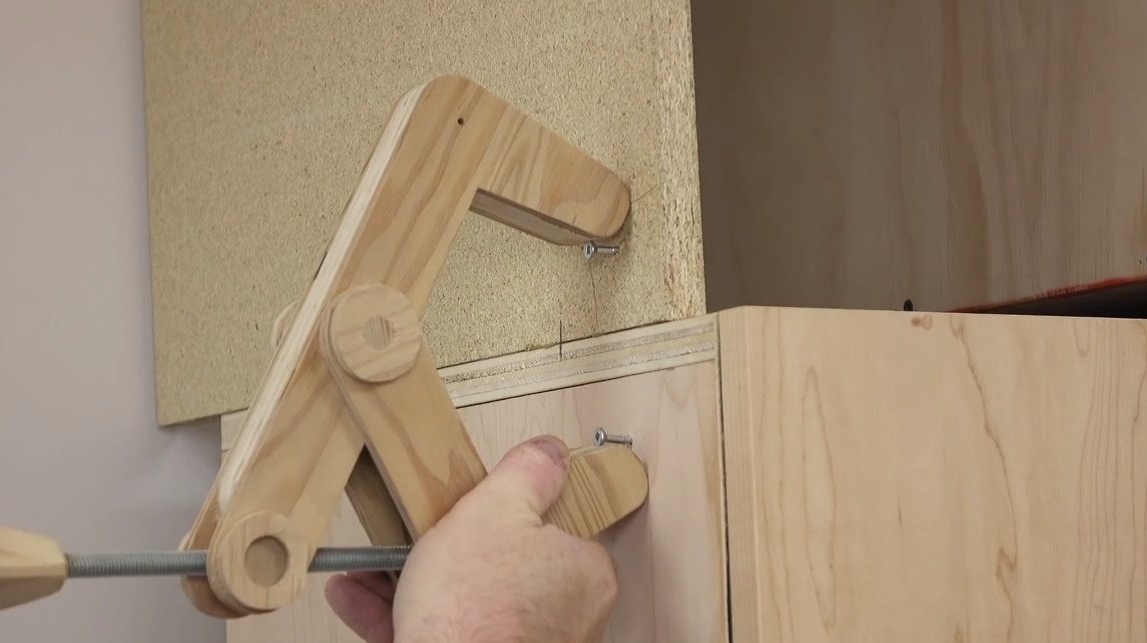
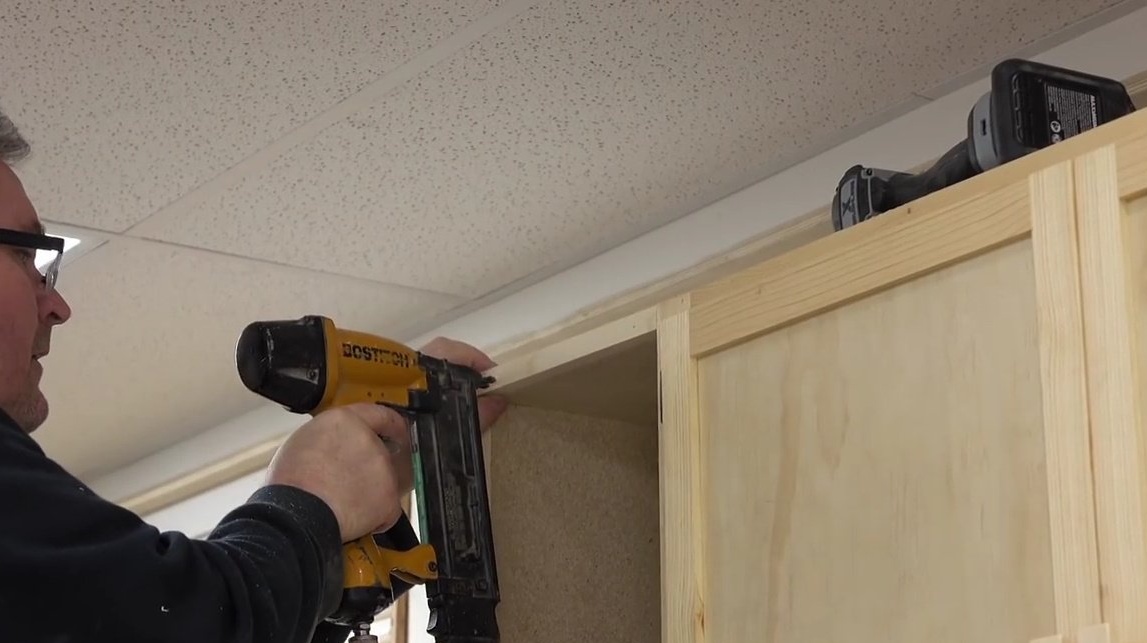
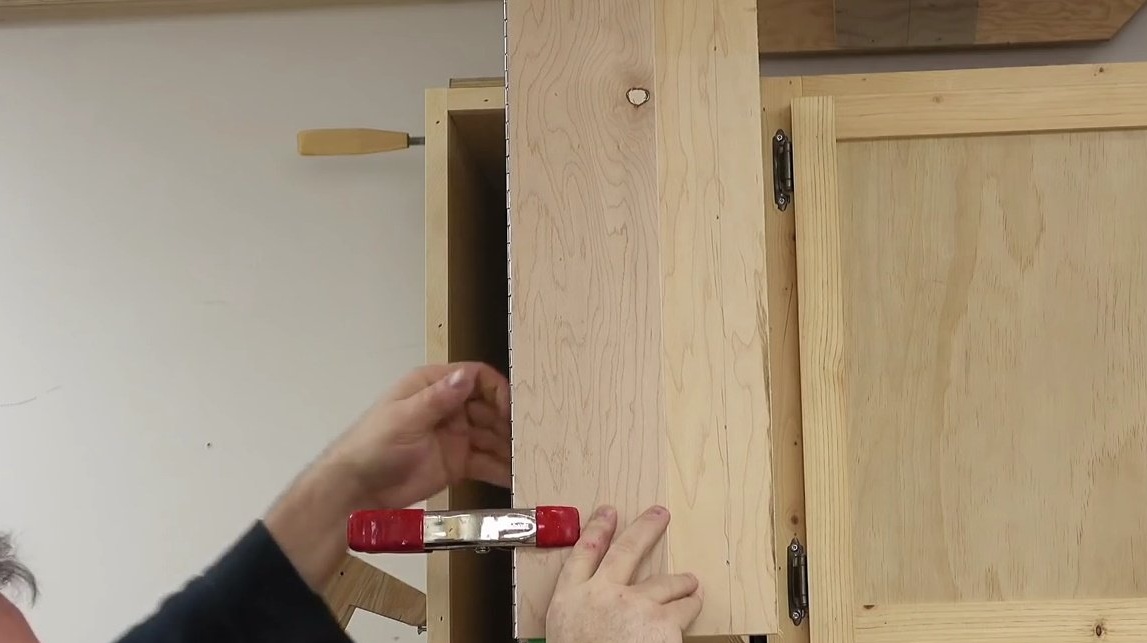
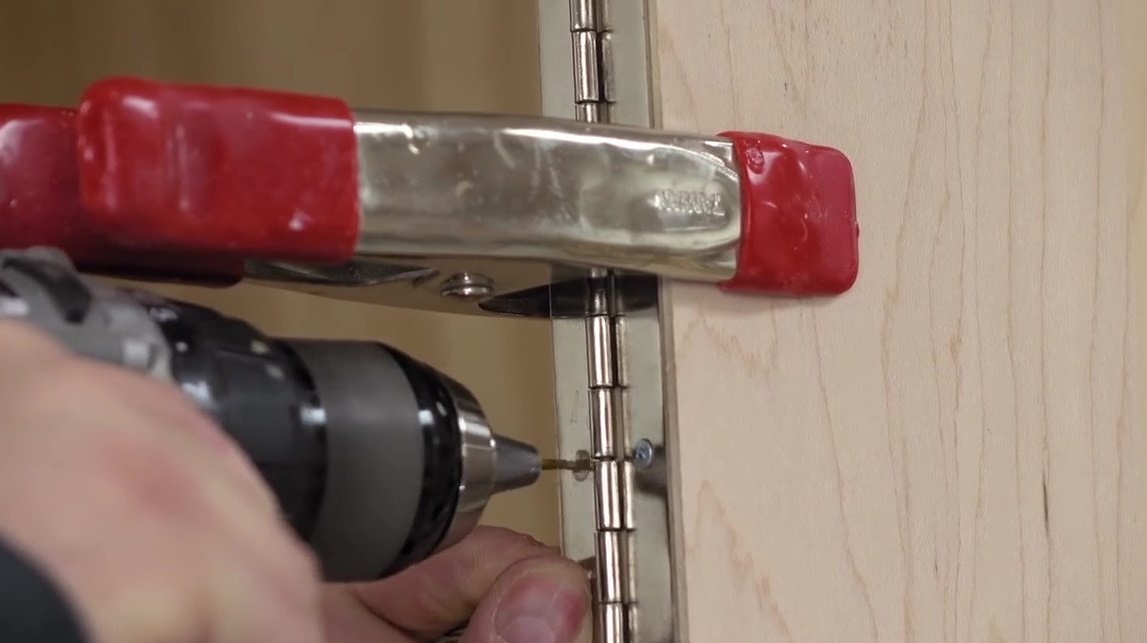
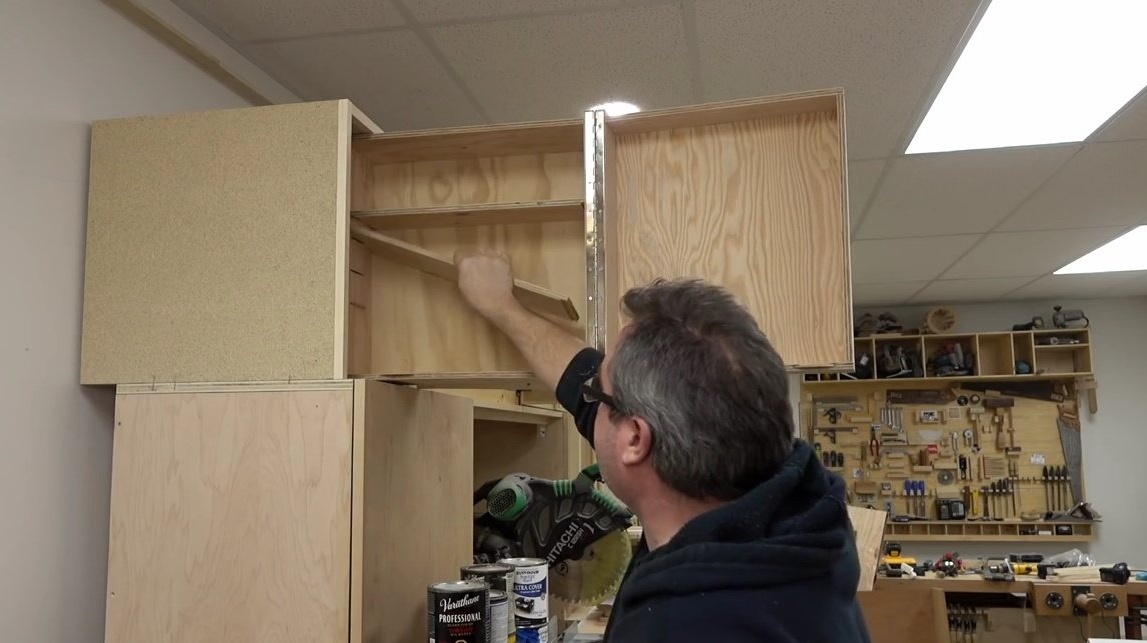
Clamping in this place with a clamp is a rather intricate matter. But the author has for such a case a special clamp screwed on. Then he drives several screws at the ends to connect the superstructure to the main part of the cabinet.
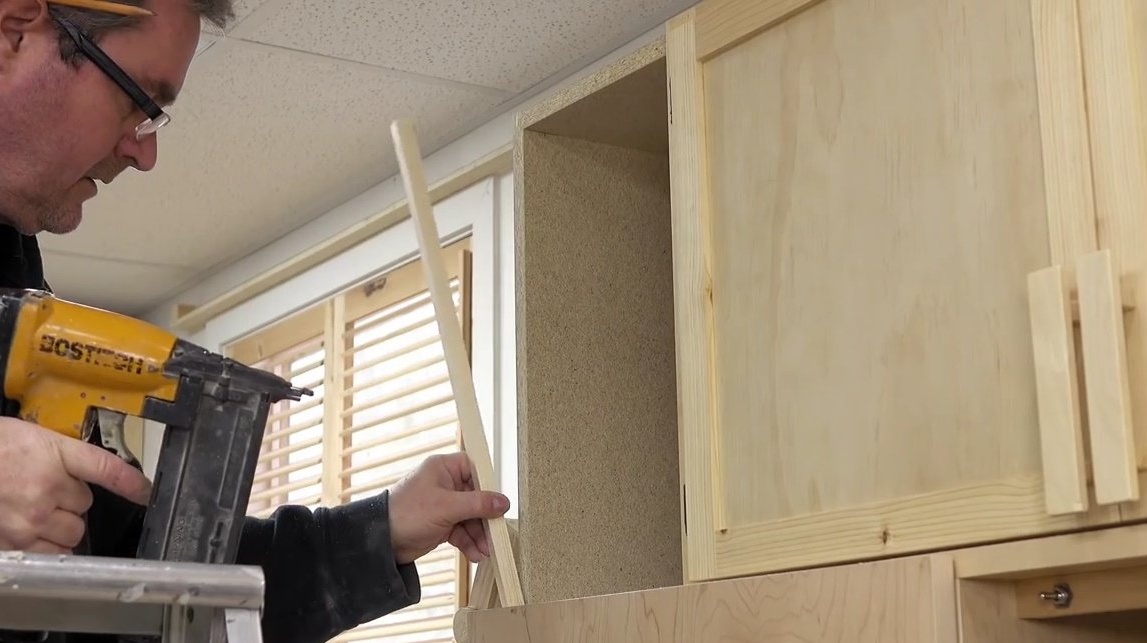
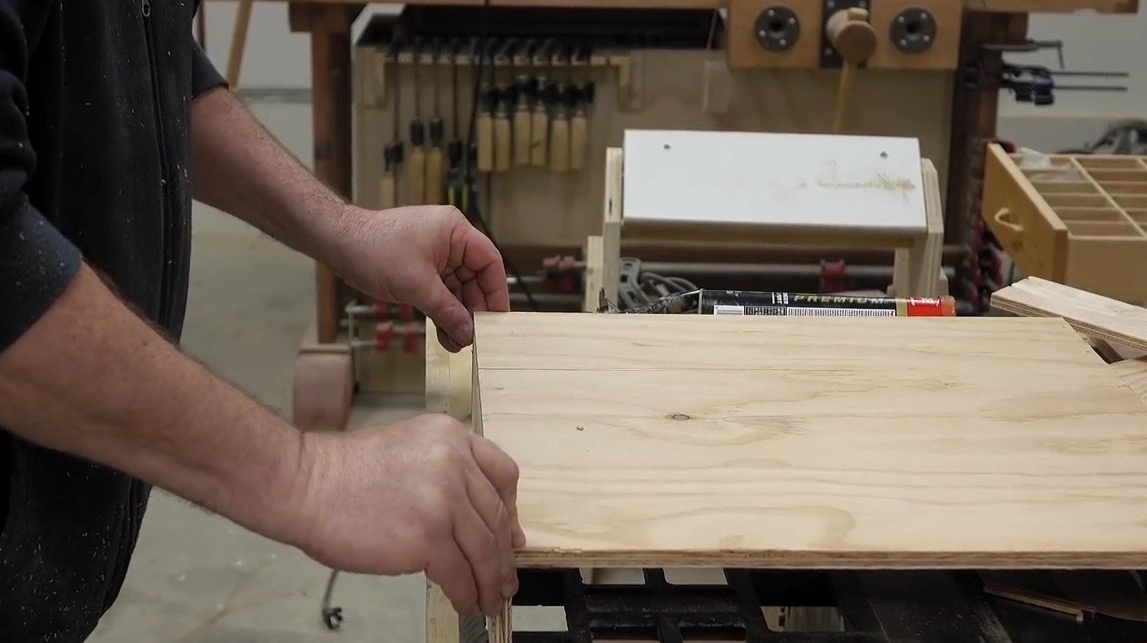
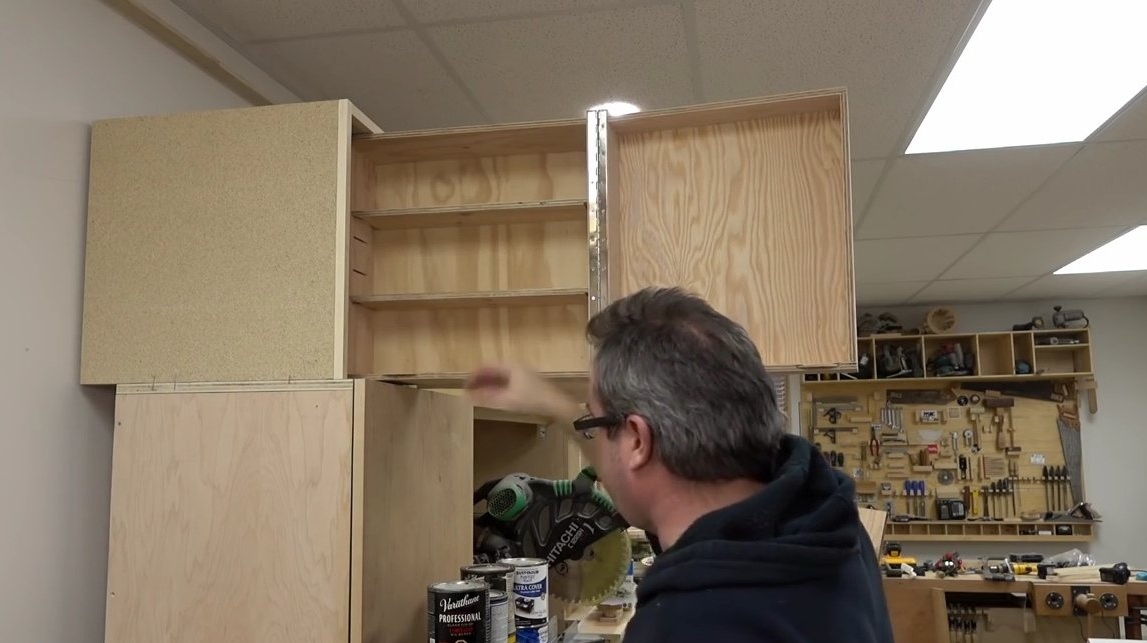
Chipboard is an excellent material for products of this type, but the edge, as a rule, wears out quickly, and it does not look very attractive.
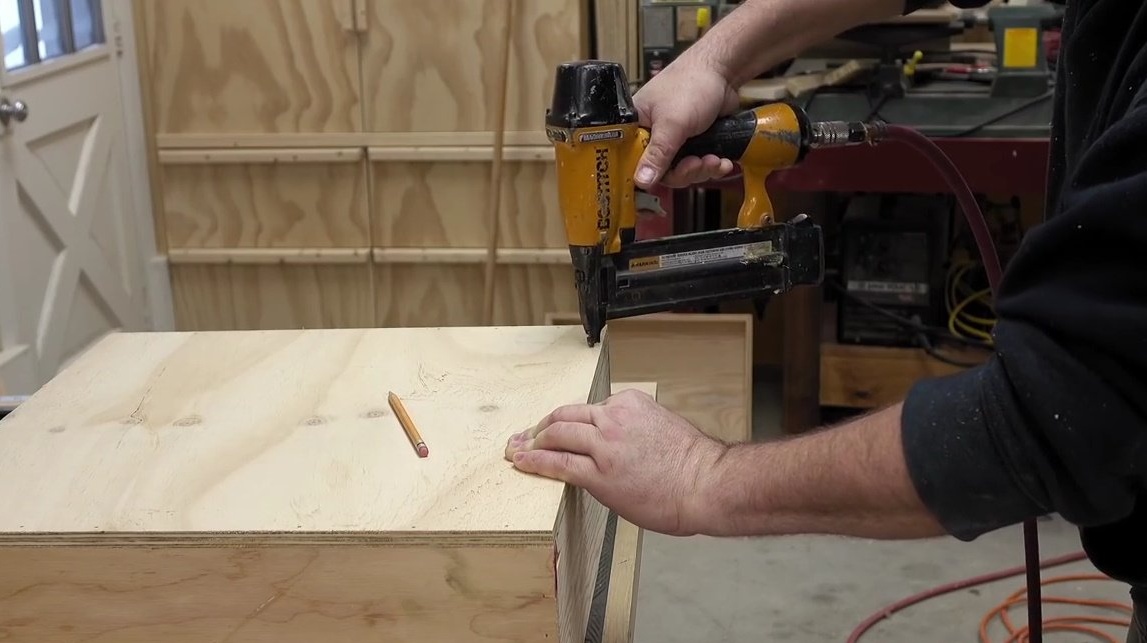
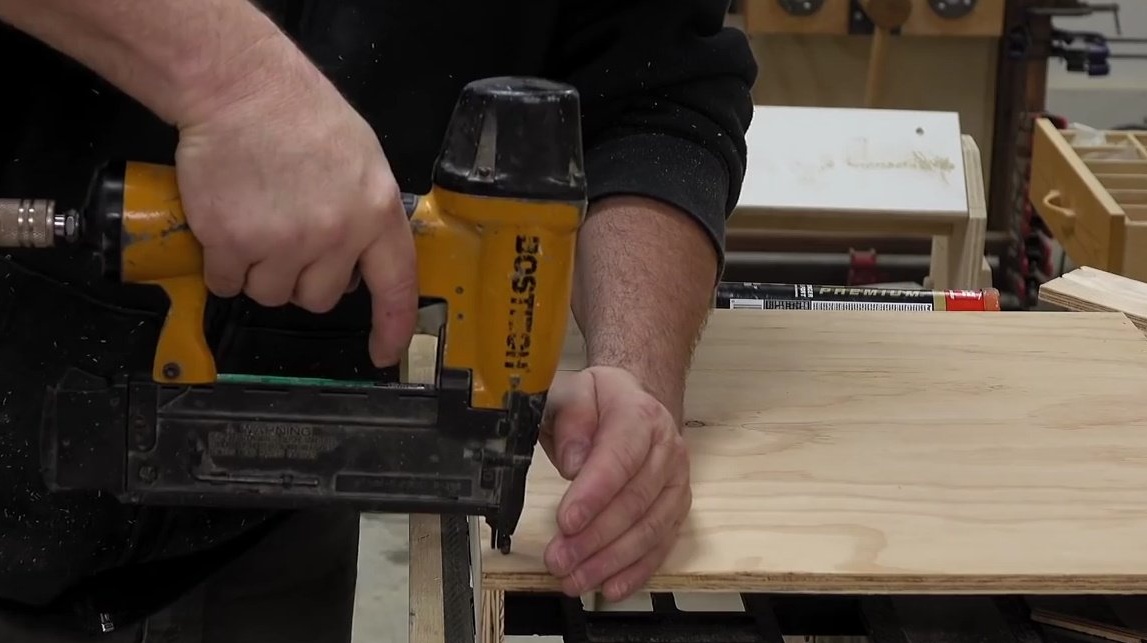
So, the master decides to put wooden platbands on problem areas. They protrude somewhat beyond the panels. Also fixes them with a neiler.
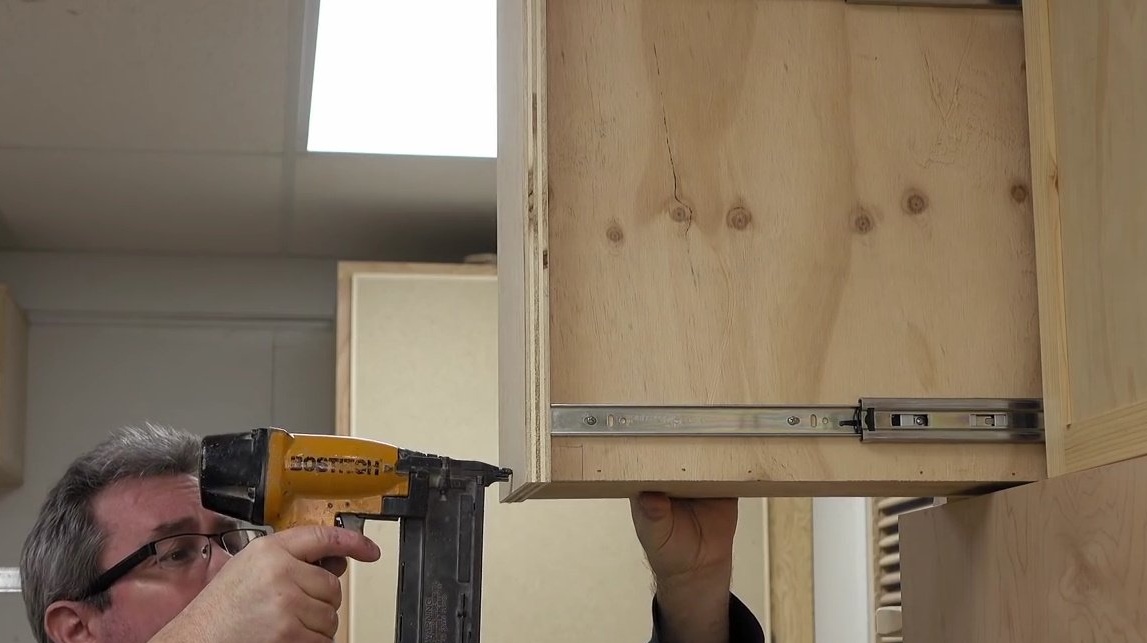
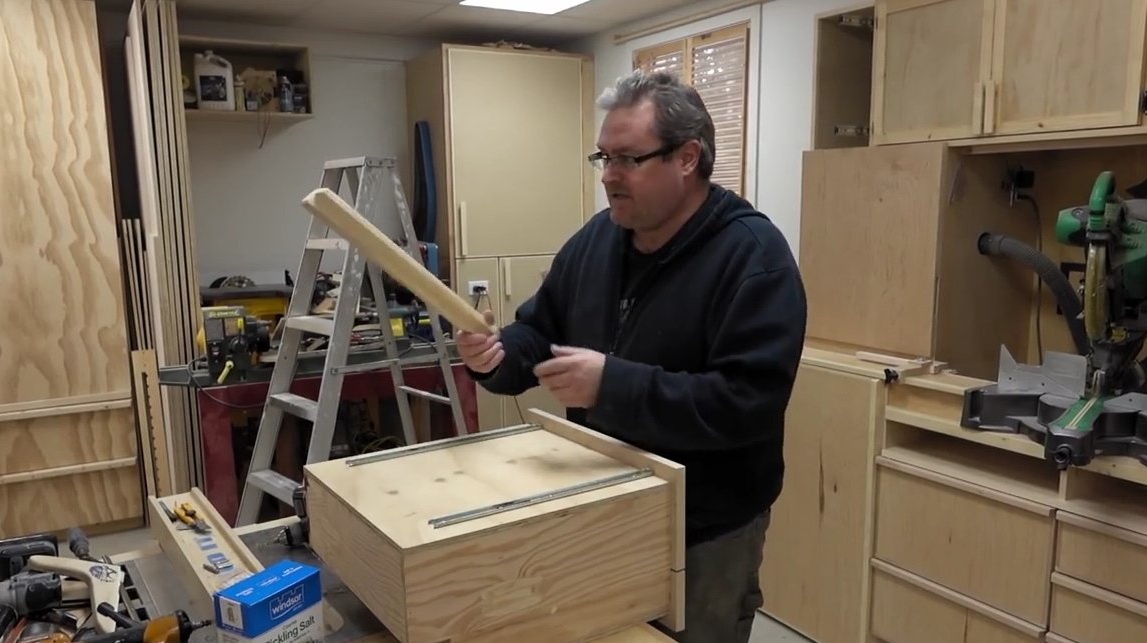
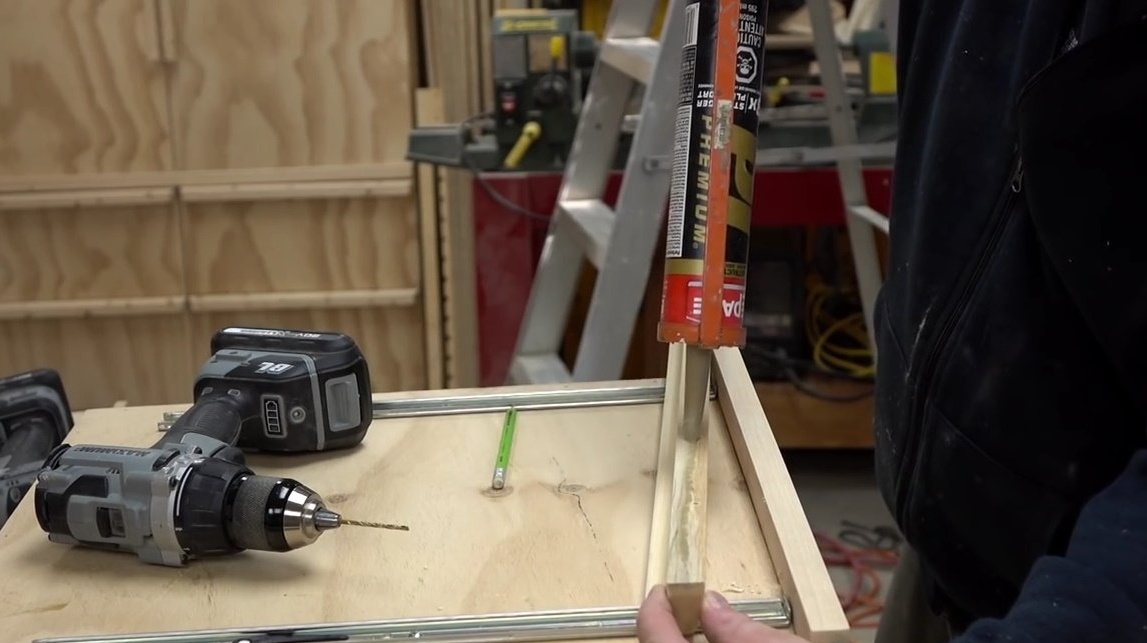
The author has to add fake dies to the side panel for the pull-out section, and sits everything on glue and nails. They will be mounted telescopic rails for the drawer. The box itself will be vertical, not horizontal. And one part of the drawer will be deeper than the other.
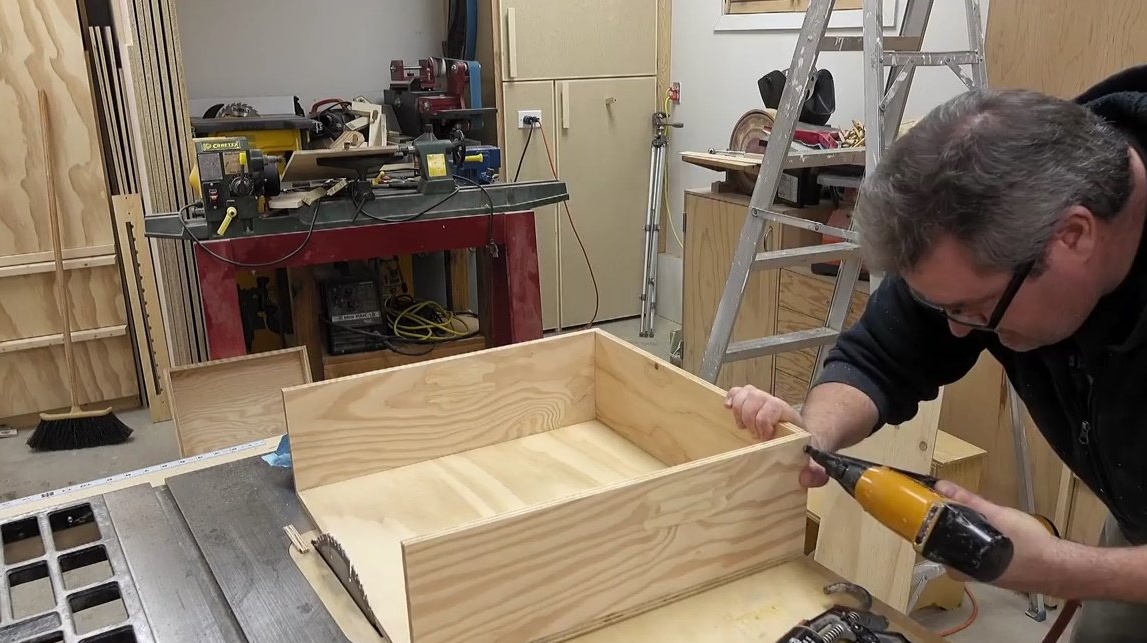
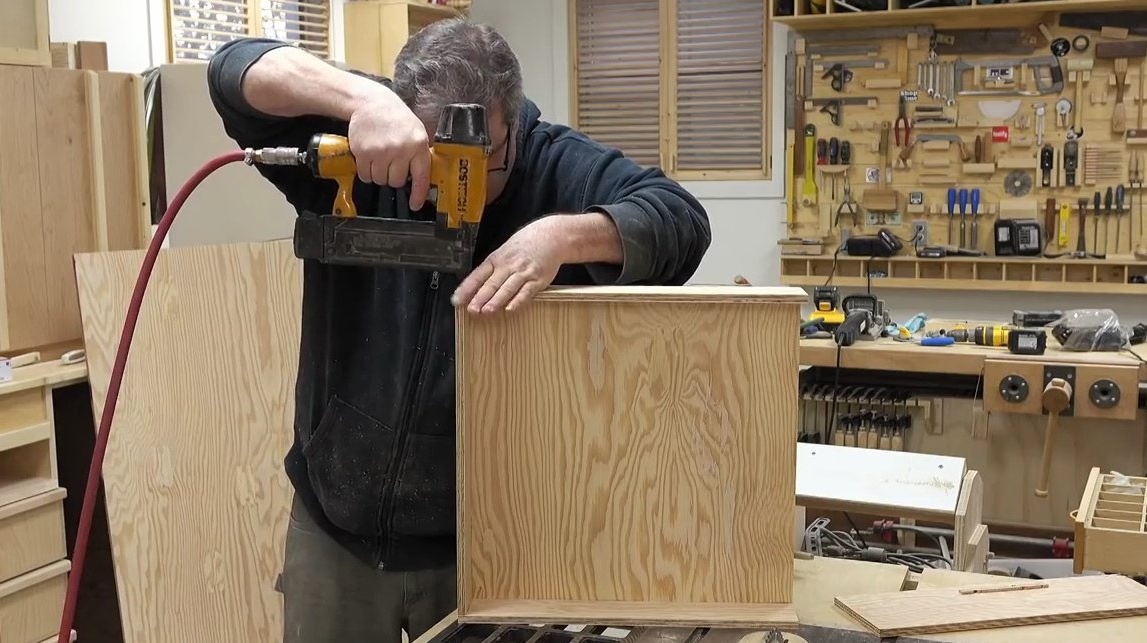
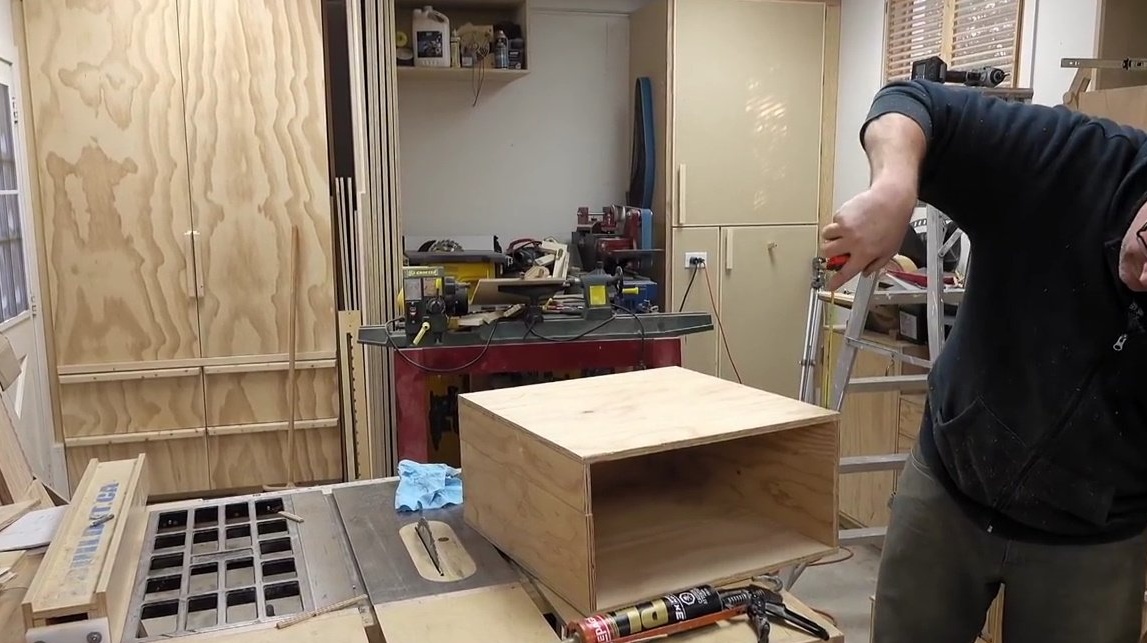
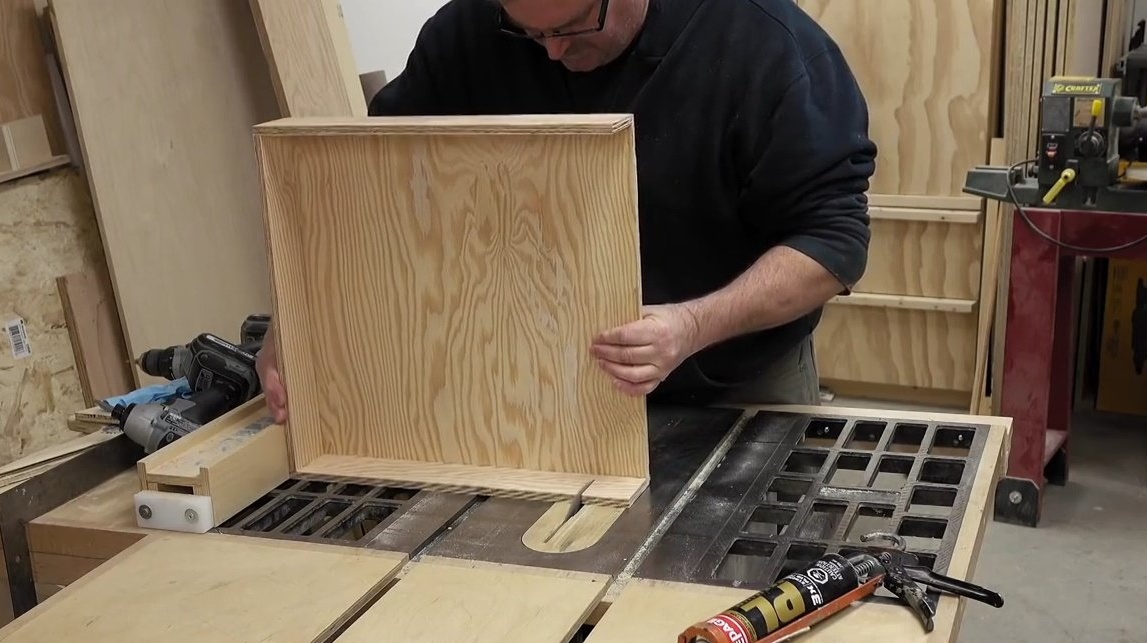
This is exactly the part that will be pulled out.Assembles a body of plywood.
The opening part will be half the depth of the previous one.
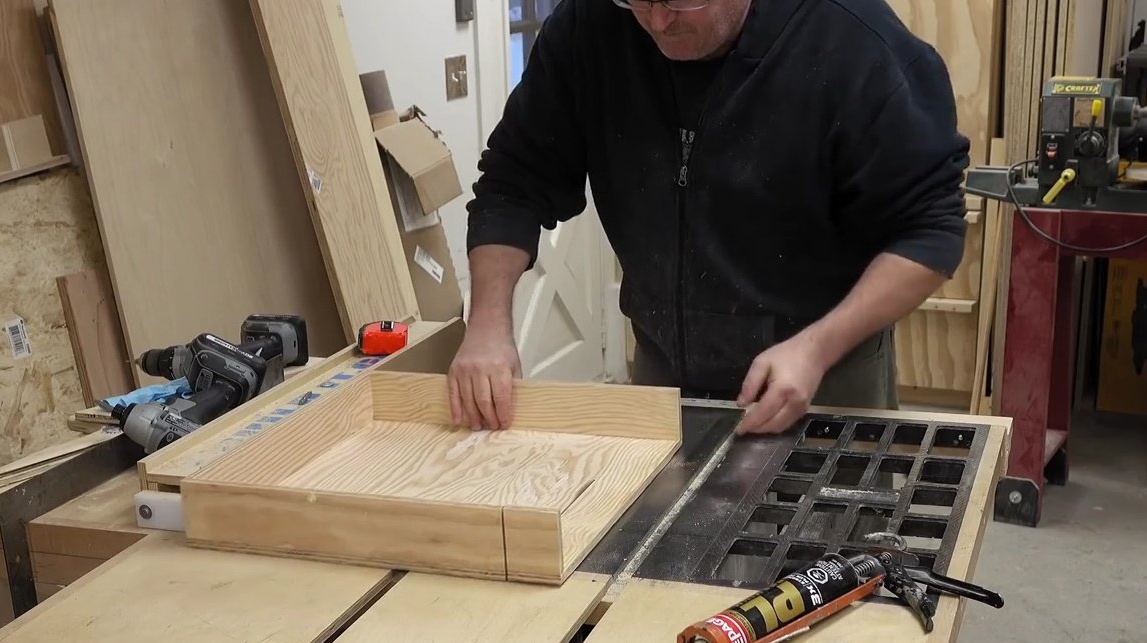
He sets the narrower part in the same way. John takes 1/2 inch thick plywood for these drawer elements. Then he glues and fastens all the joints with a stapler.
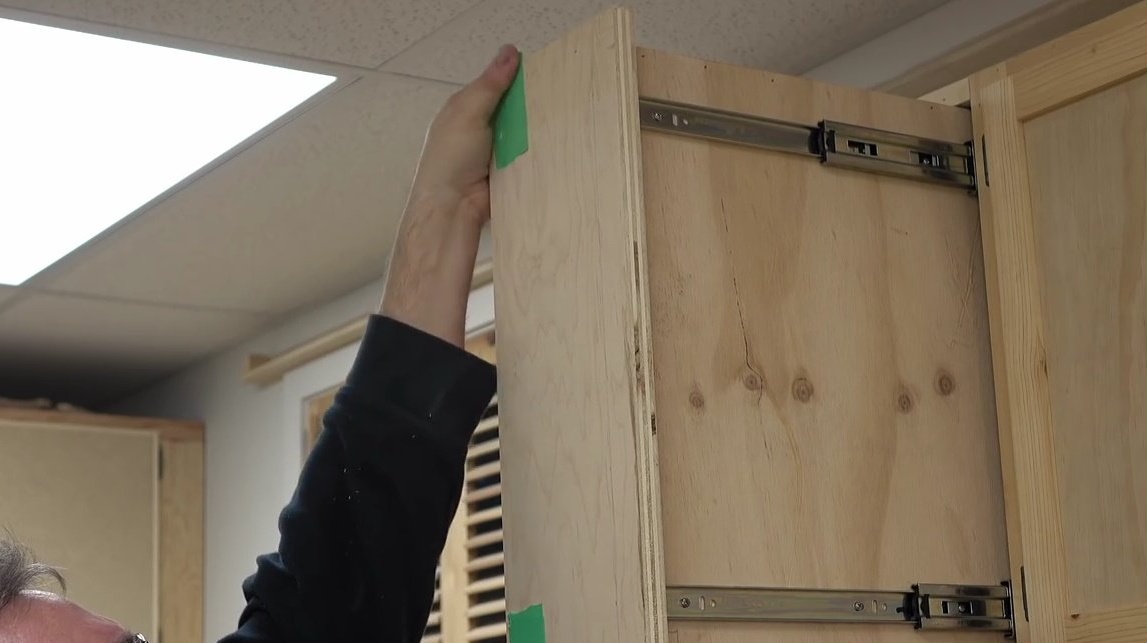
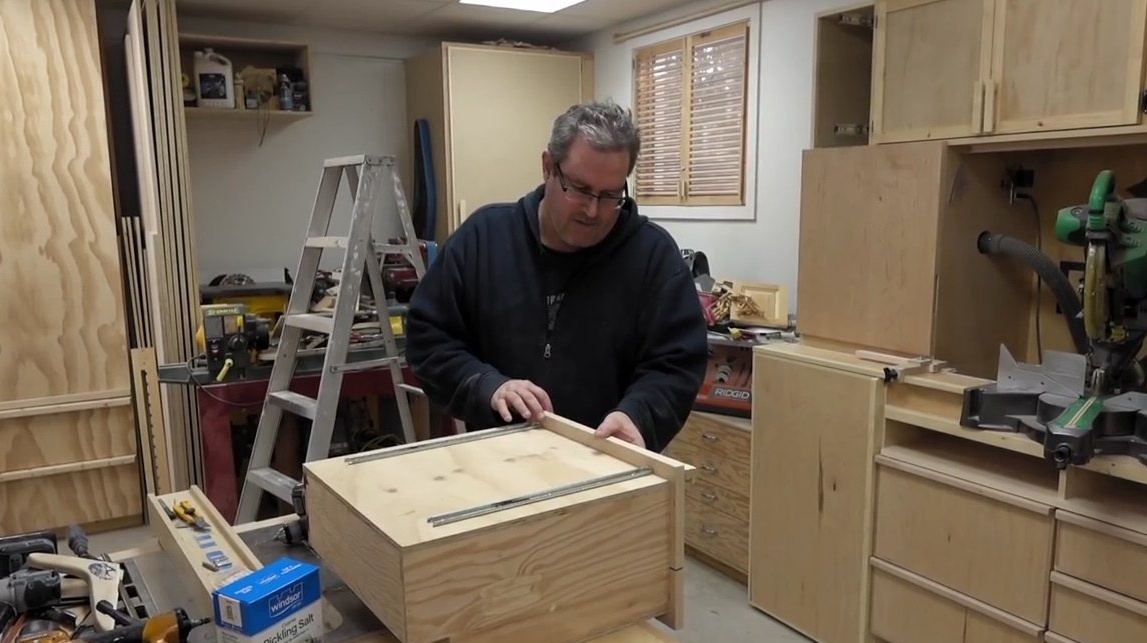
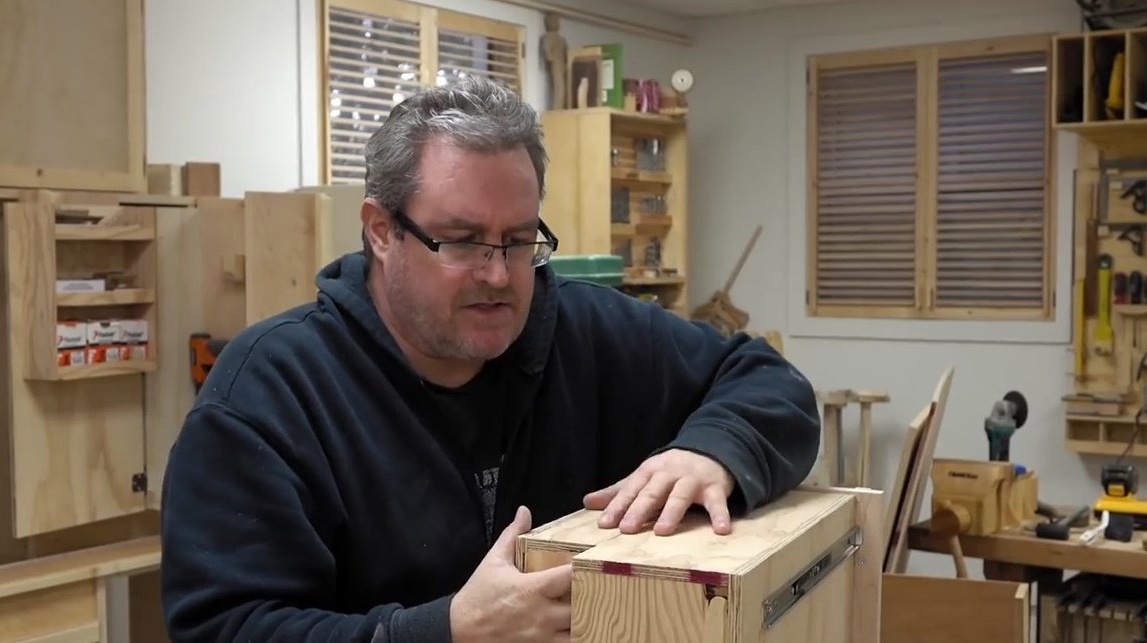
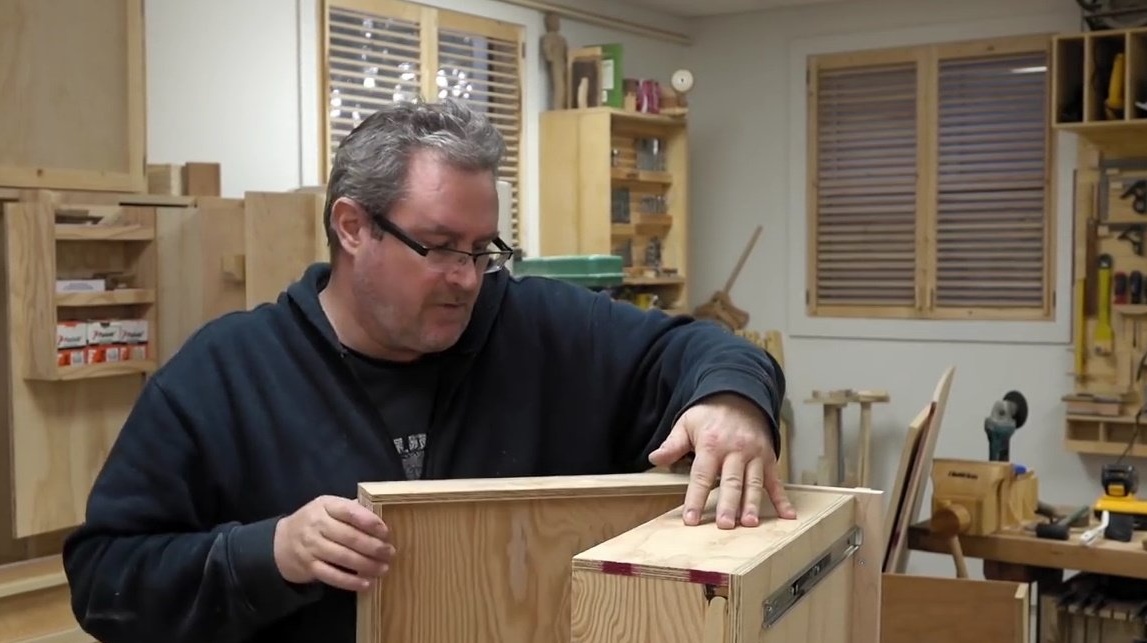
When both drawers are assembled, he puts them one on top of the other to make sure that they are of the same depth, and, accordingly, fit well into the case.
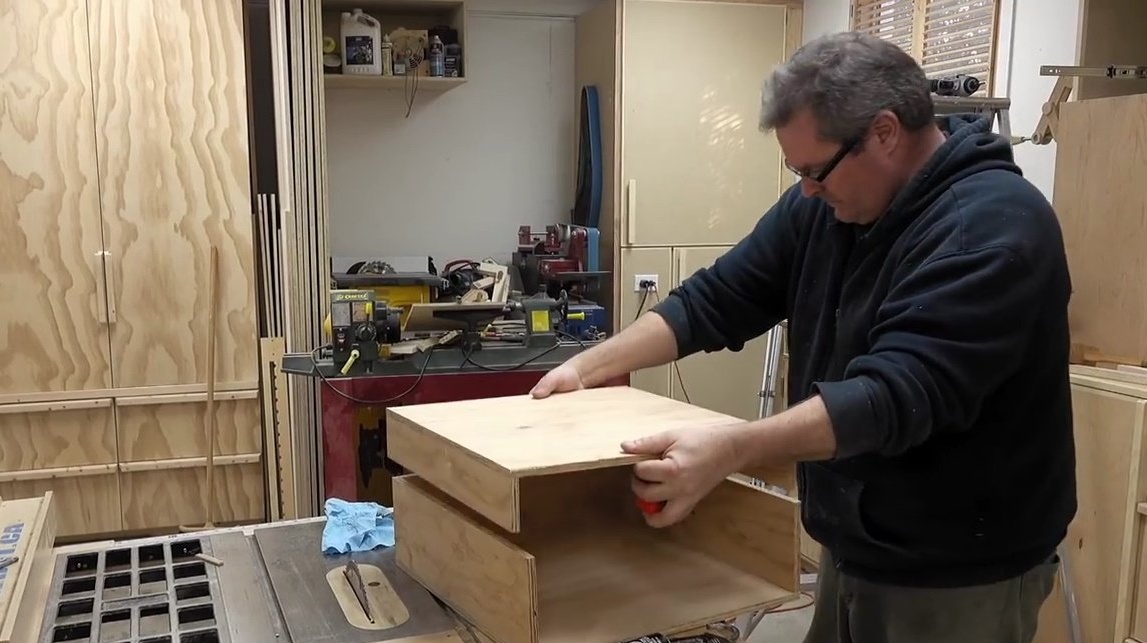
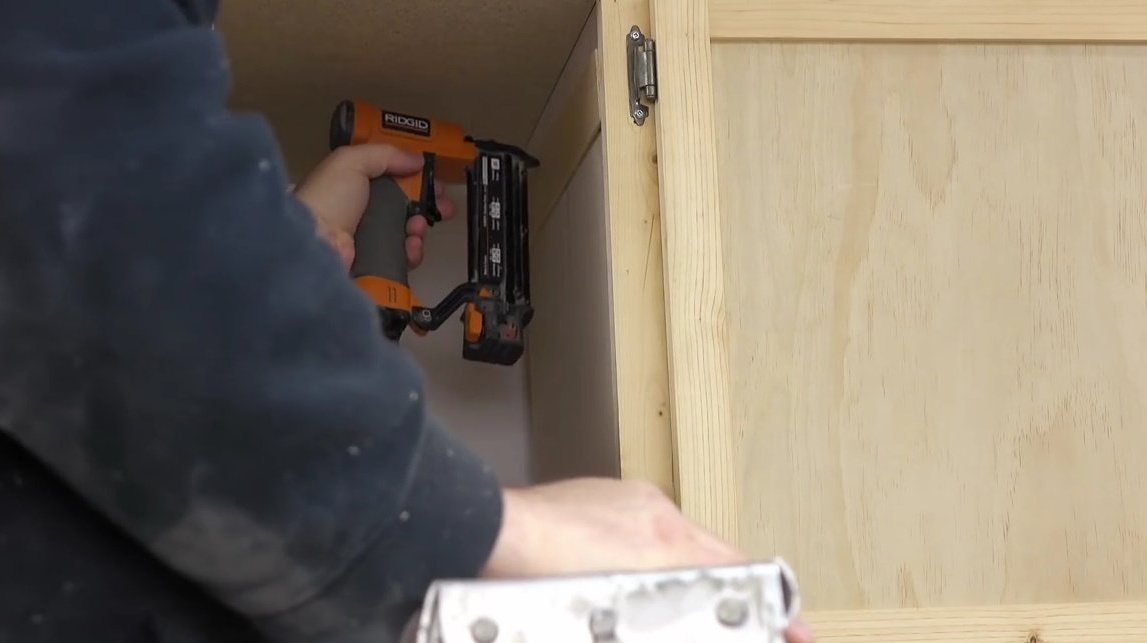
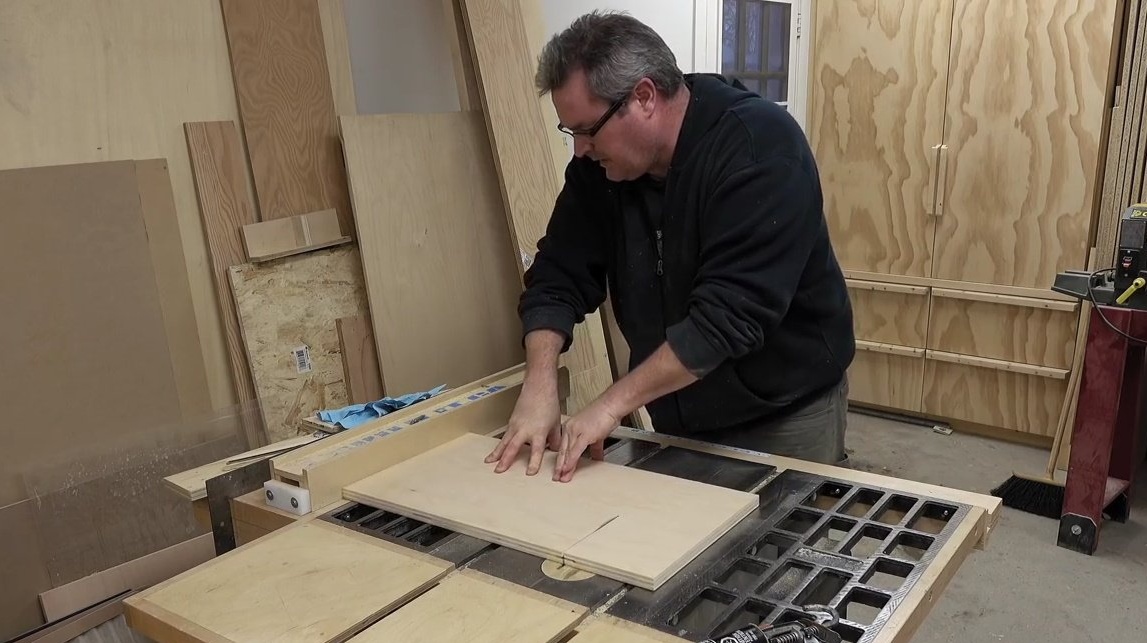
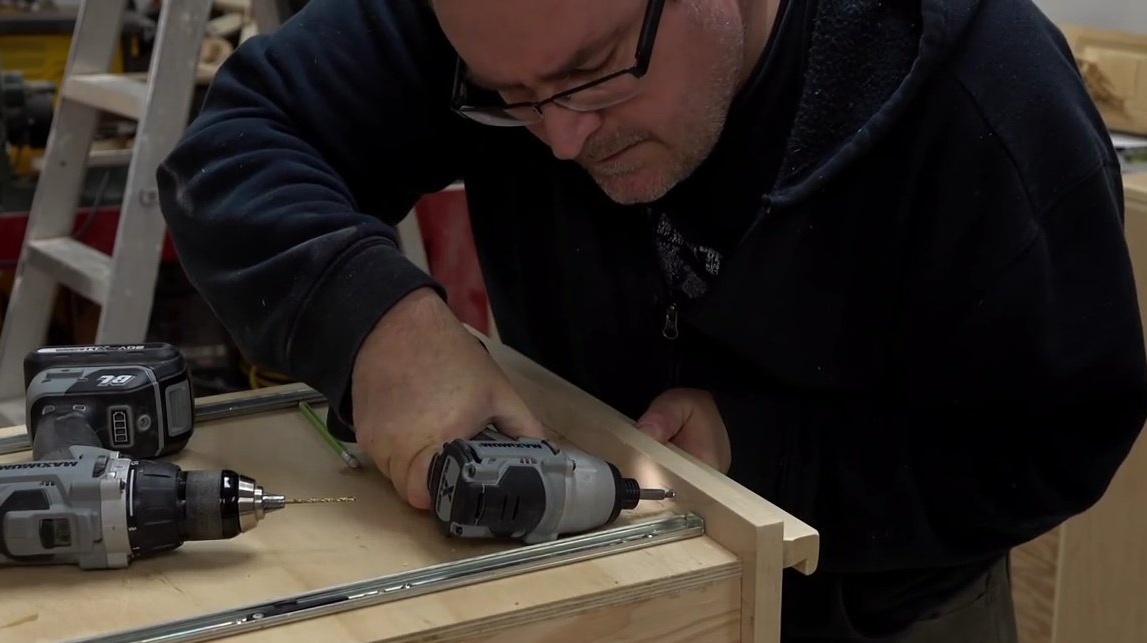
After which he proceeds to install a box with deeper shelves. He puts a quarter of an inch of plywood under it to draw a line between the drawer and the cabinet itself. Then the author tries on a box in height and fastens guide rails to it.
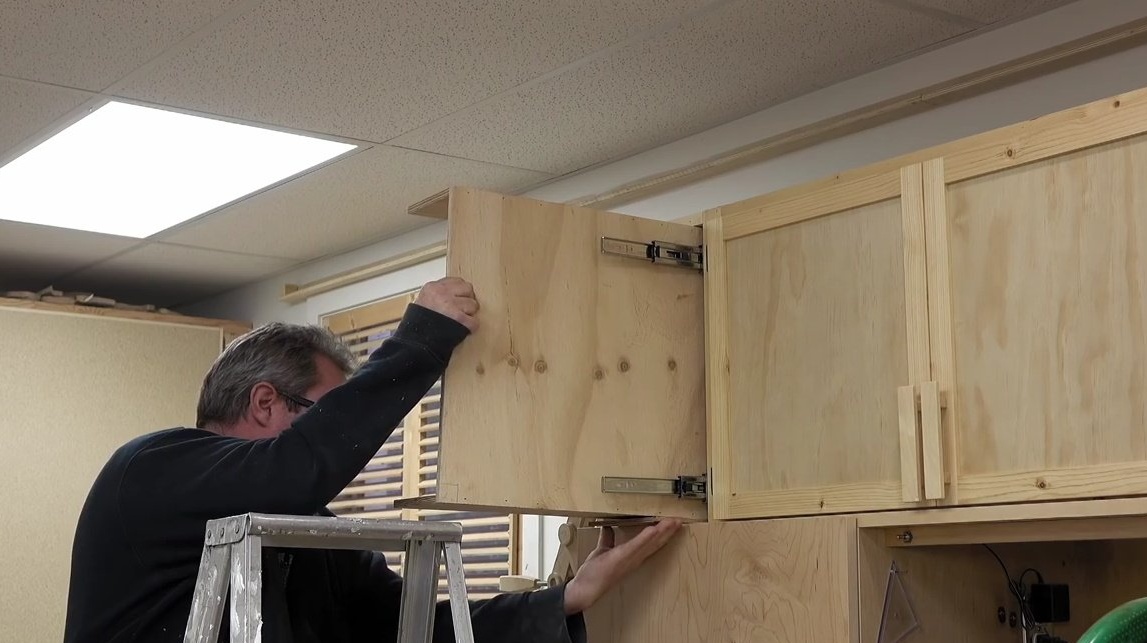
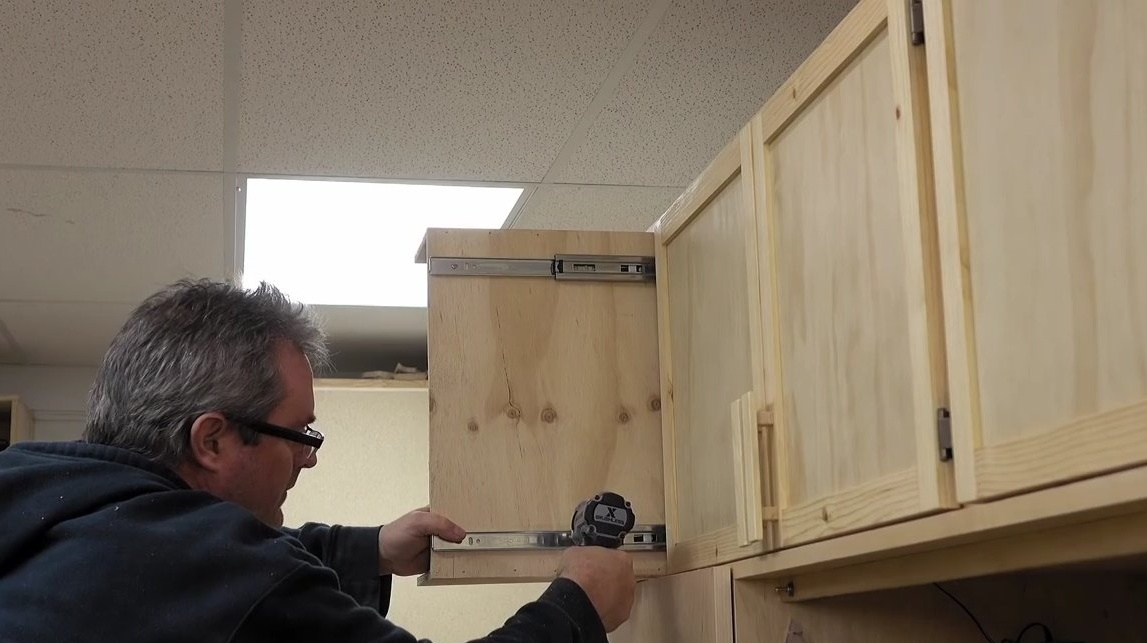
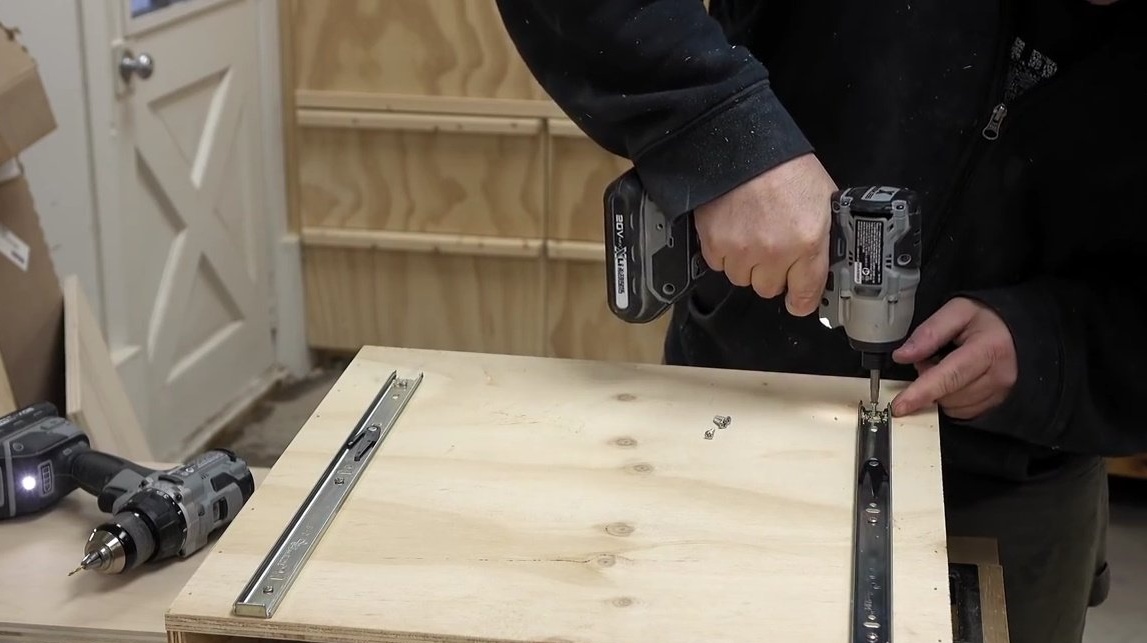
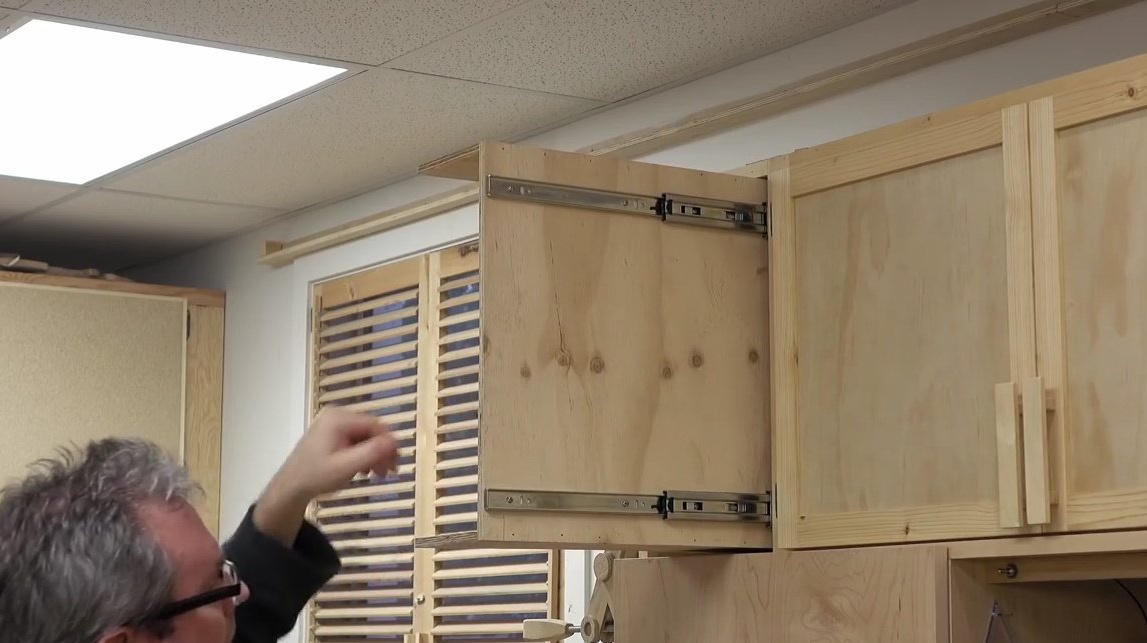
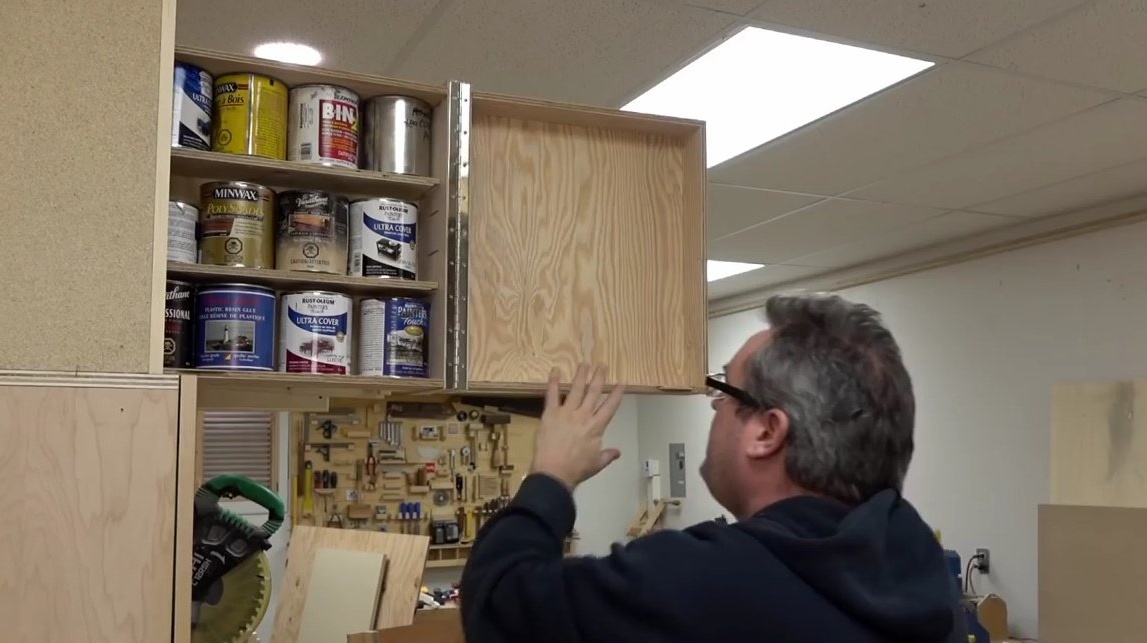
The box is bolted to the guides and wonderful, smoothly extends and retracts.
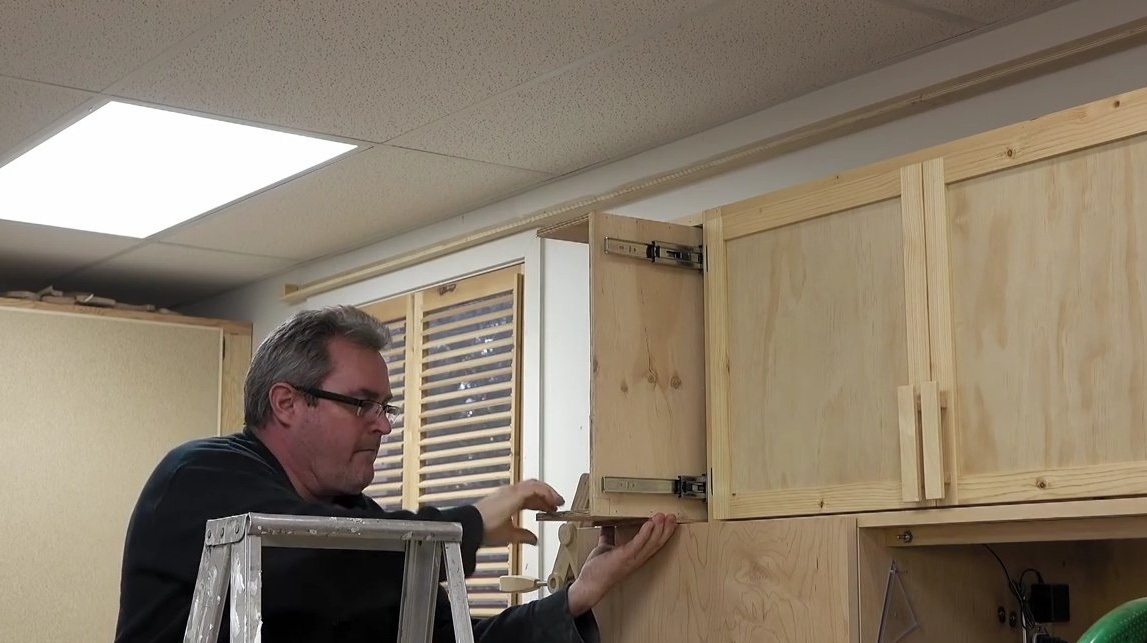
At this moment, the author realizes the mistake he made during the design of the cabinet: at this stage, it turned out that the box with deeper shelves does not open to the full length, but remains inside the cabinet.

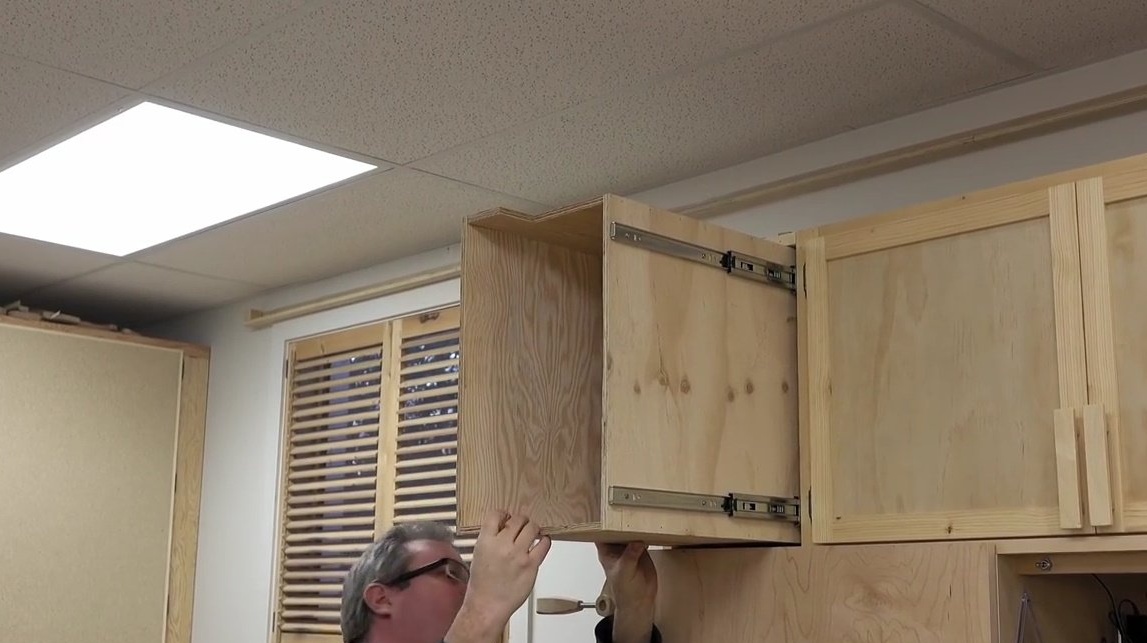
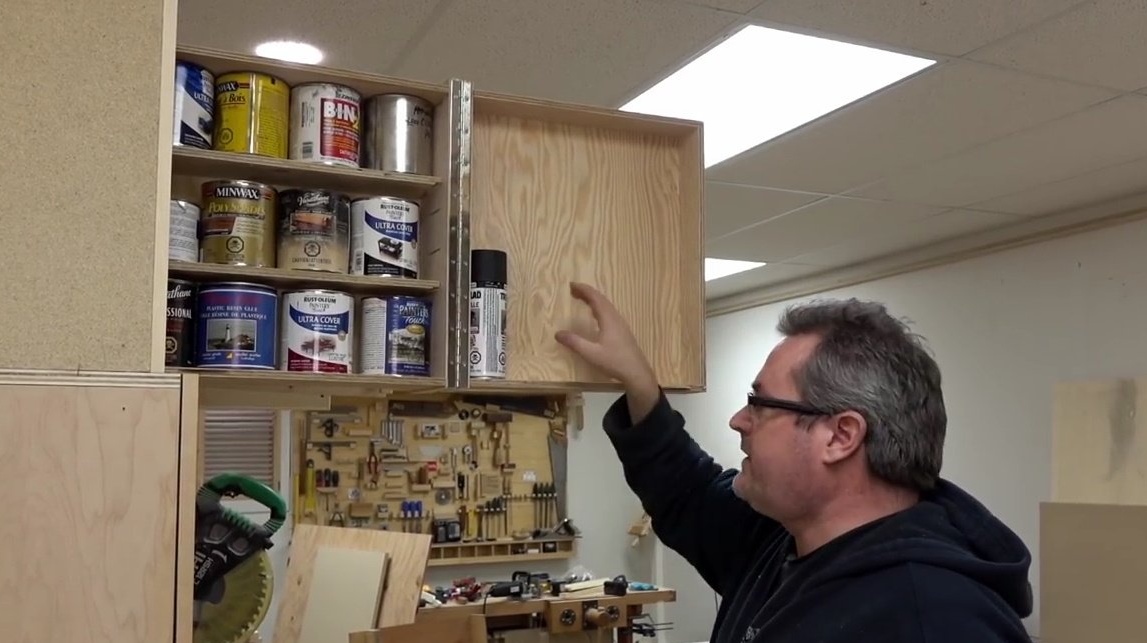
To use the interior of the cabinet to the maximum and return the functionality to the drop-down box, it had to be trimmed somewhat with a circular saw. Fortunately, there were no staples in the area where the saw blade passed! So there were no casualties.

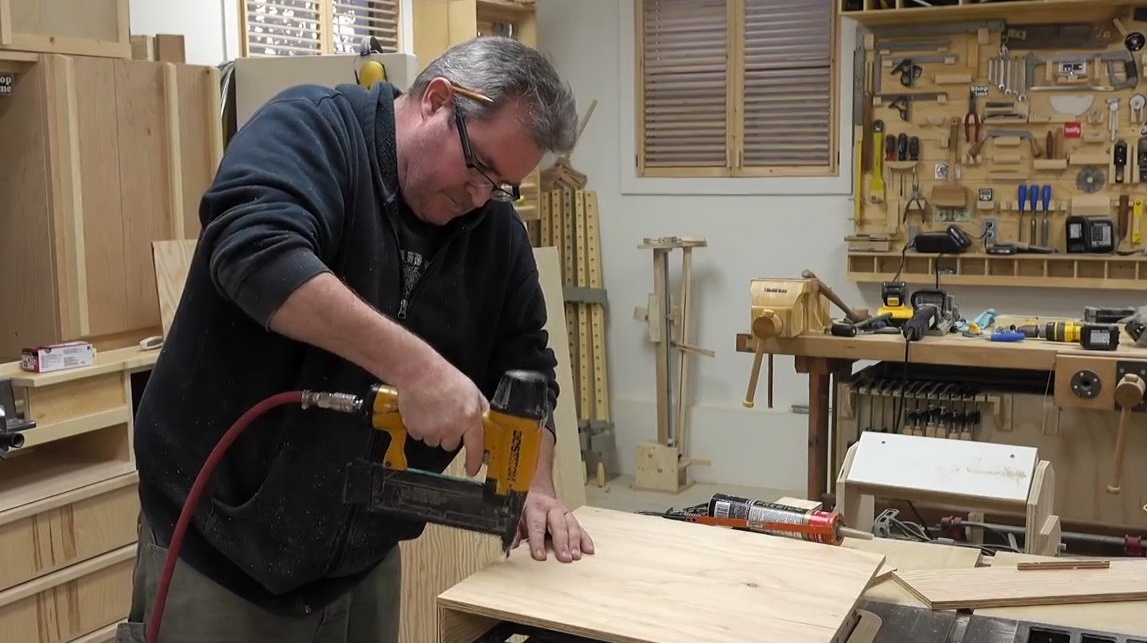
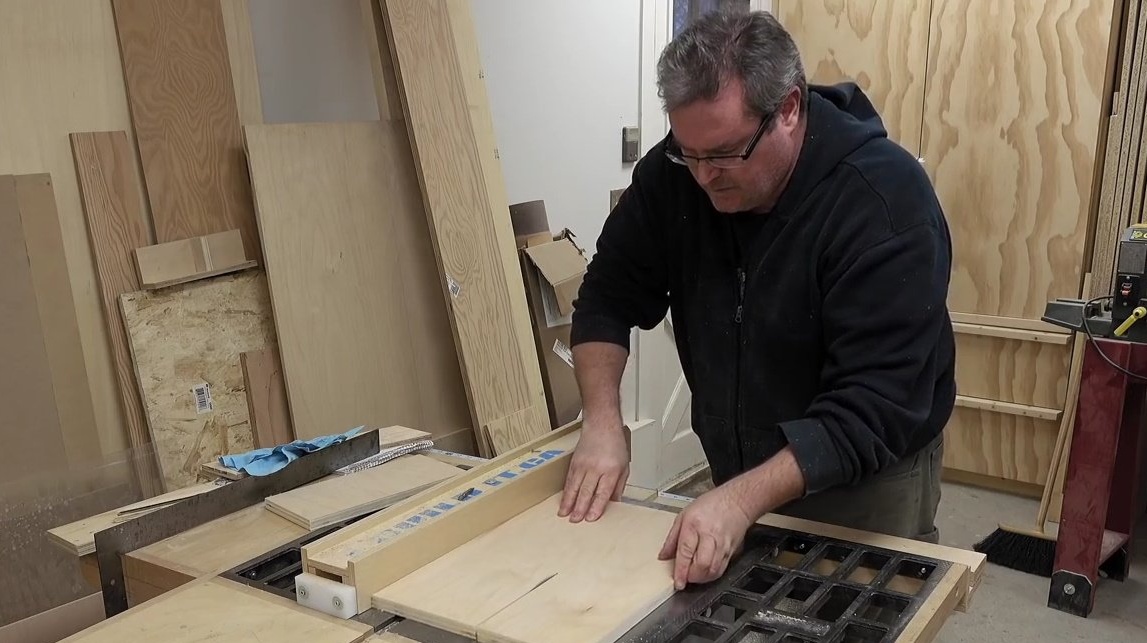
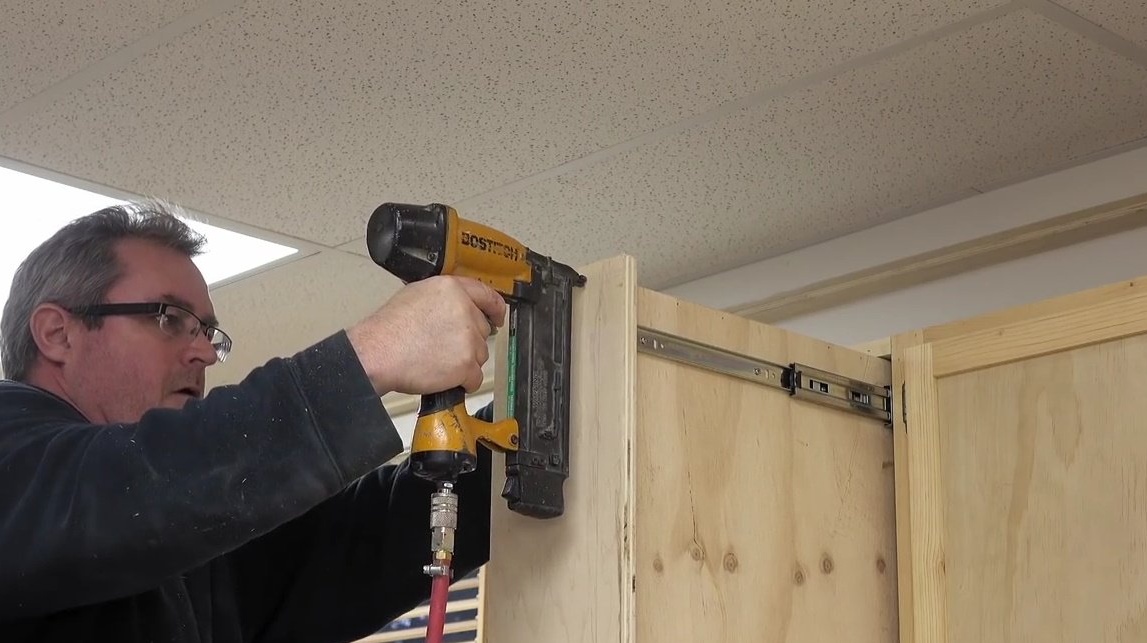
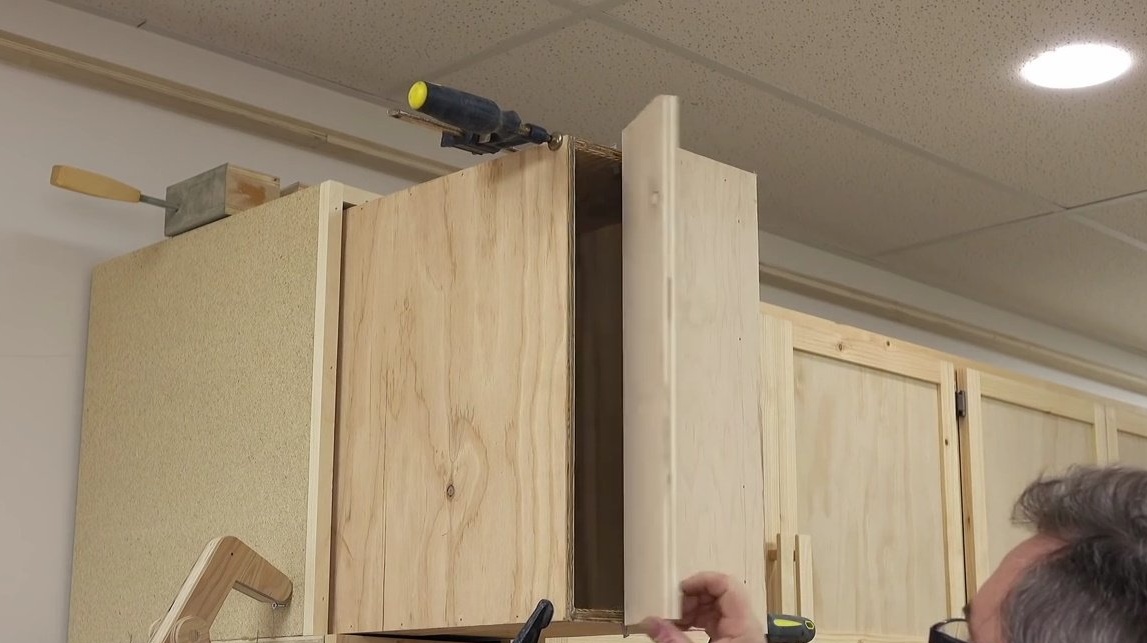
For the front of the cabinet, John is going to use the same type of plywood he used for the rest of the cabinet, which is 3/4 inch thick plywood. He cuts it to the right size.
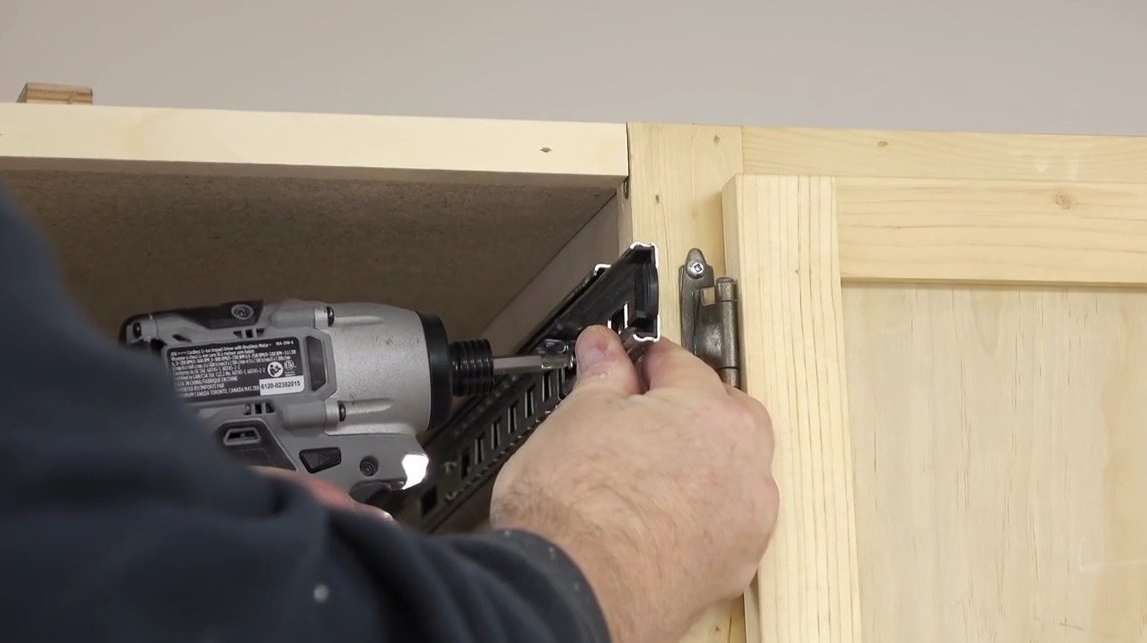
In fact, these will be two panels. He places the first panel on glue and fastens with brackets to the end of the box, which is already inside. He will hang the second door panel on a piano loop. Secures it to the end of the drawer.
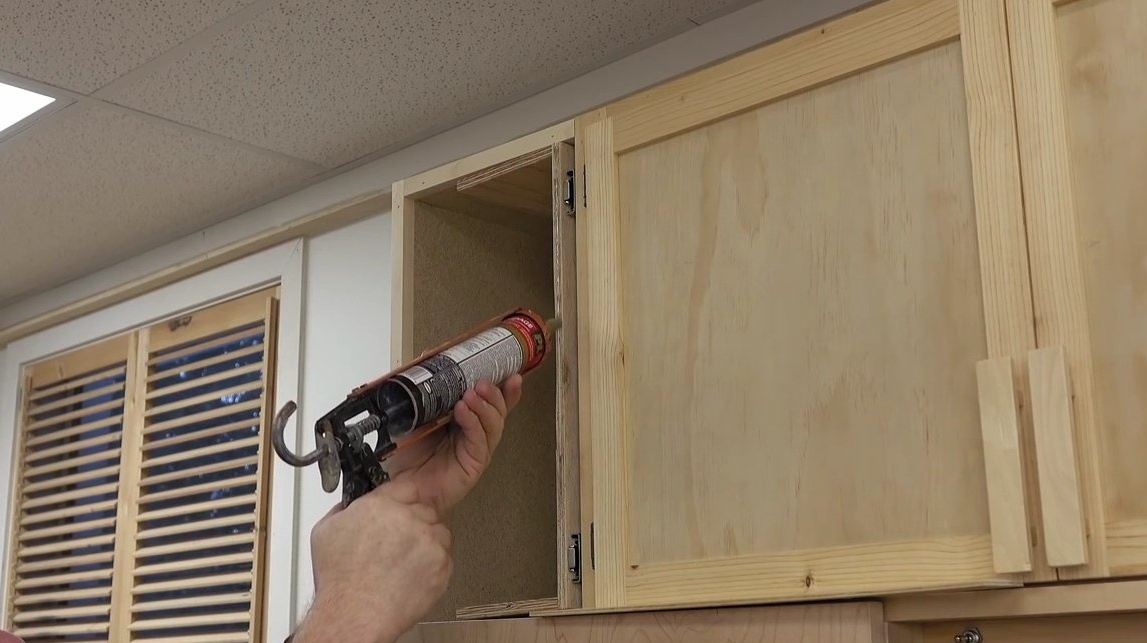
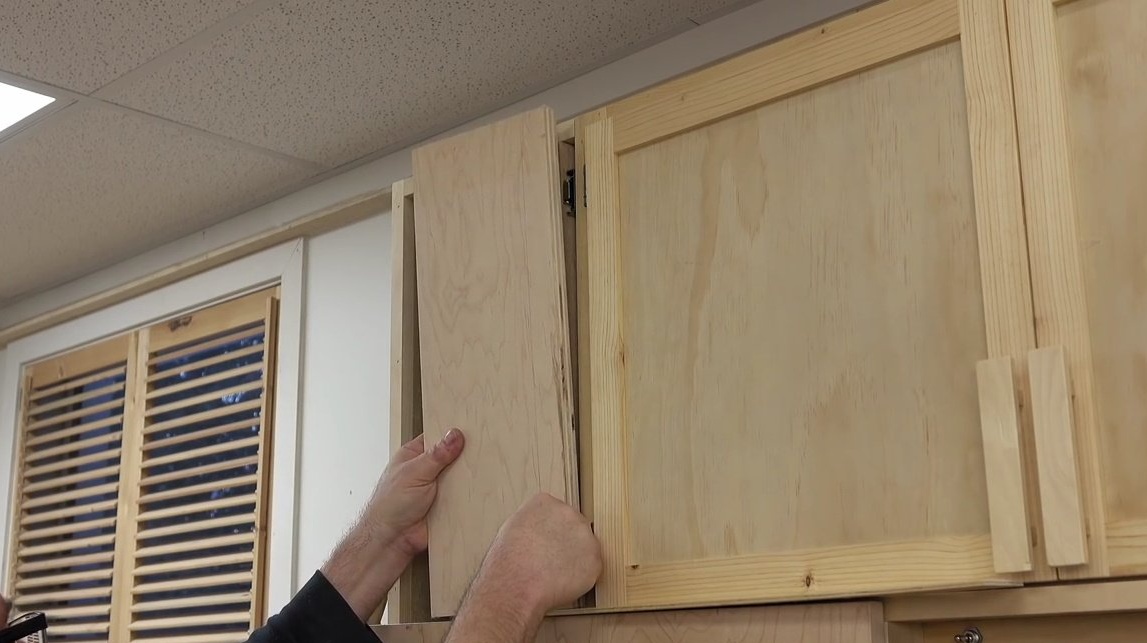
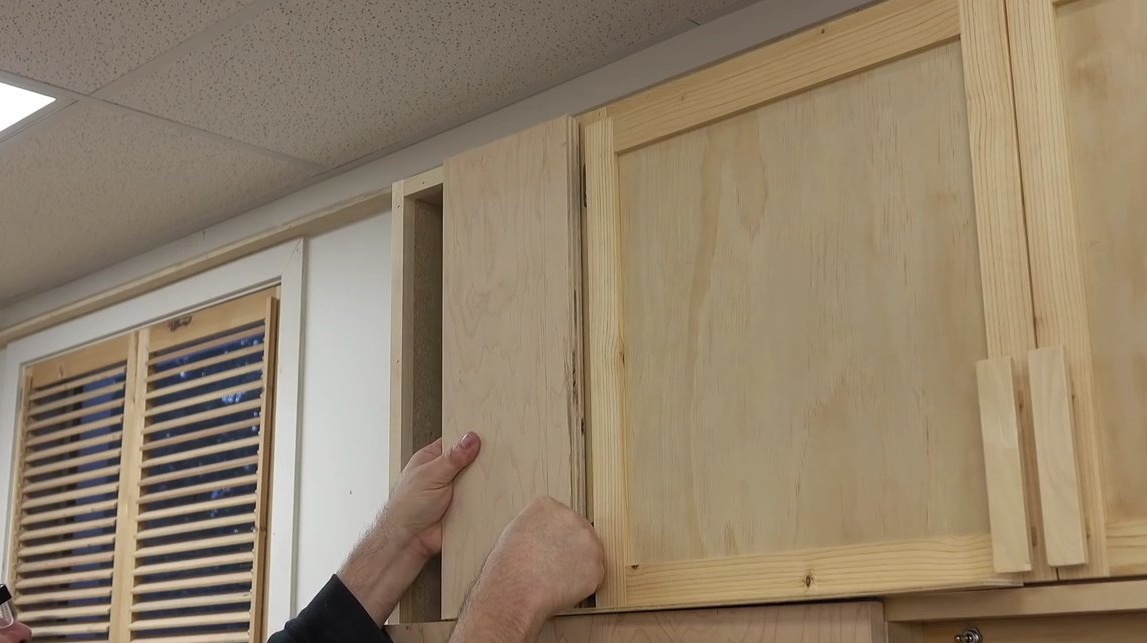
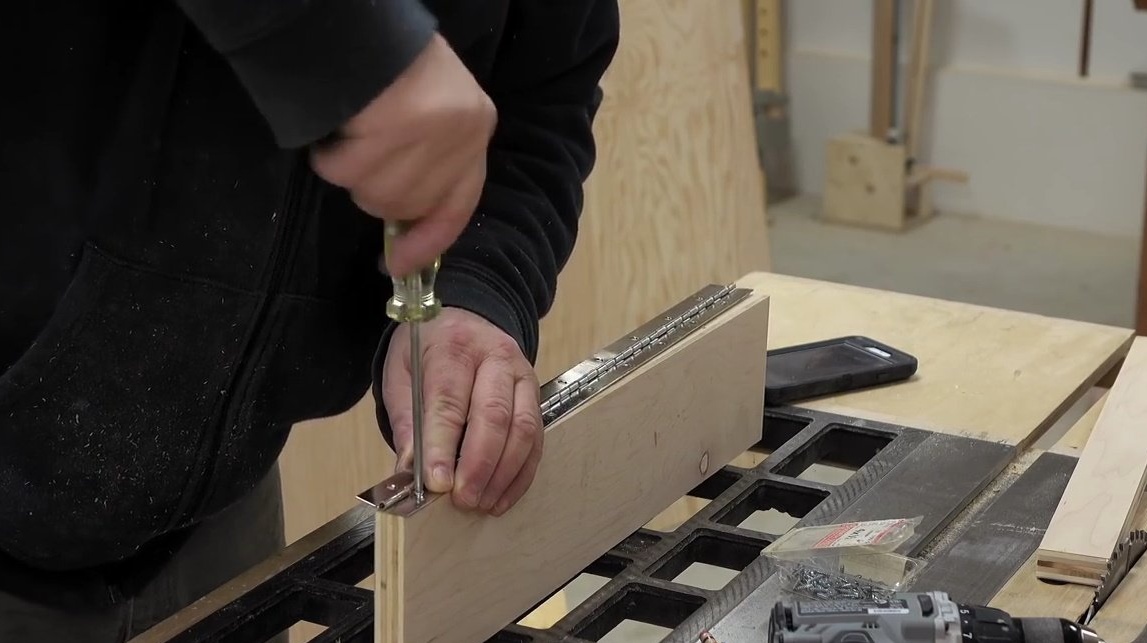
Before fastening it to the first door, he has to glue several strips of double-sided tape on it to leave a small gap there, so if this thing is opened, it will not rest and beat against the next door.

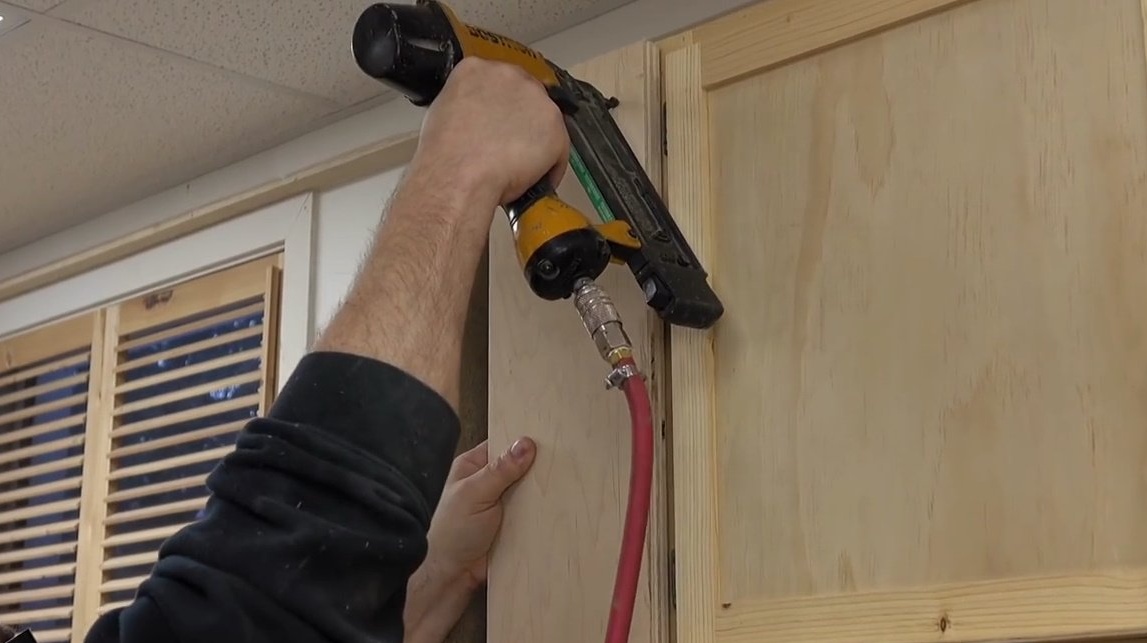
Now that all the screws are tightened, the master applies a little glue to the side of the box and secures the second panel with brackets. It is advisable to allow the glue to dry for at least 10-12 hours.

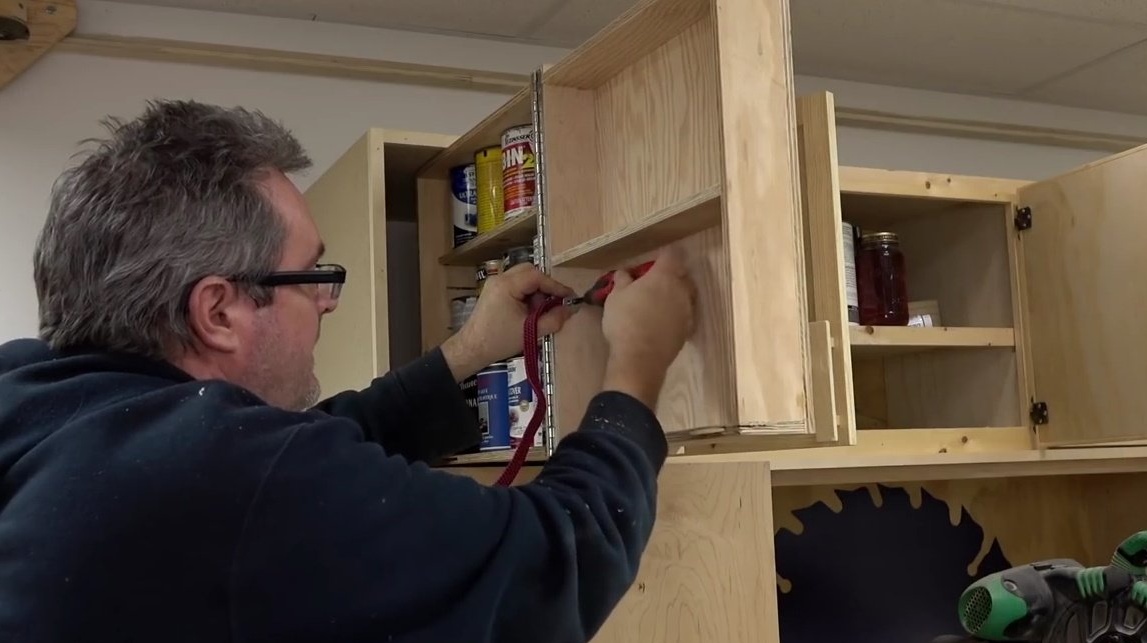
Next, the author takes out the internal filling of the cabinet in order to make the necessary improvements. He is about to equip the front of the drawer with the convenient handle he had prepared in advance. In addition, he intends to cut through several grooves for shelves inside a deep drawer.
After John pulled out the drawers, the first thing he did, he laid an edge on a rough plywood welt to smooth it. This article does not provide a detailed account of how the master edged the sides.
So, John attaches the handle quite close to the edge of the door, glues it and screws with screws from the inside.

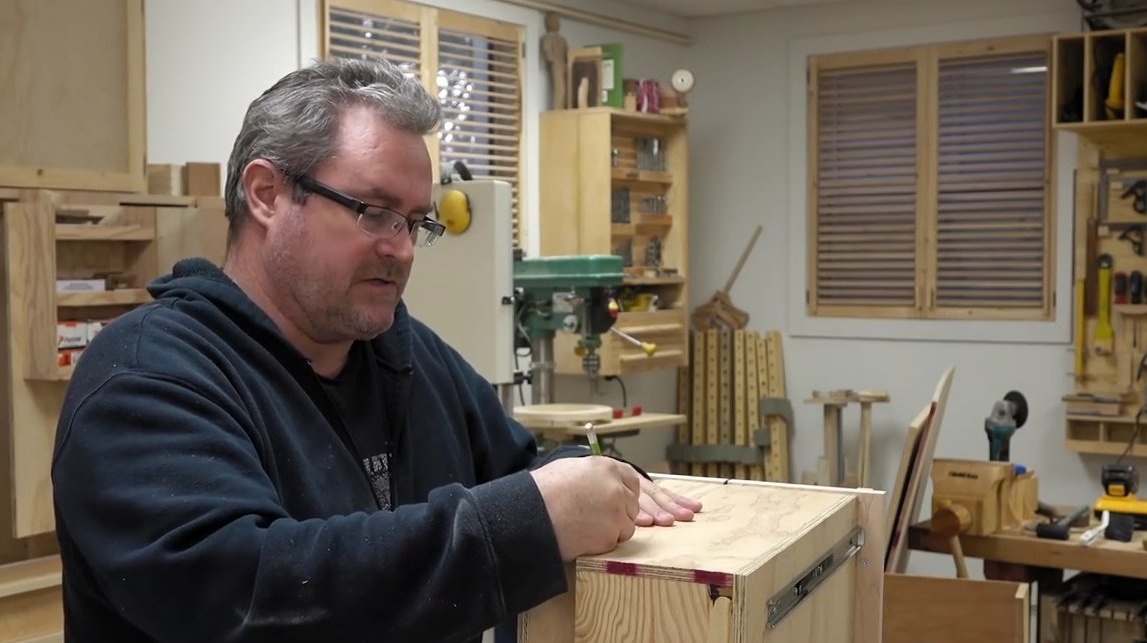
The next step may not be necessary, but, according to the author, it is a good idea to somehow fasten two drawers together so that the second, smaller one, does not sag relative to the first when closing, but is on the same line with it.
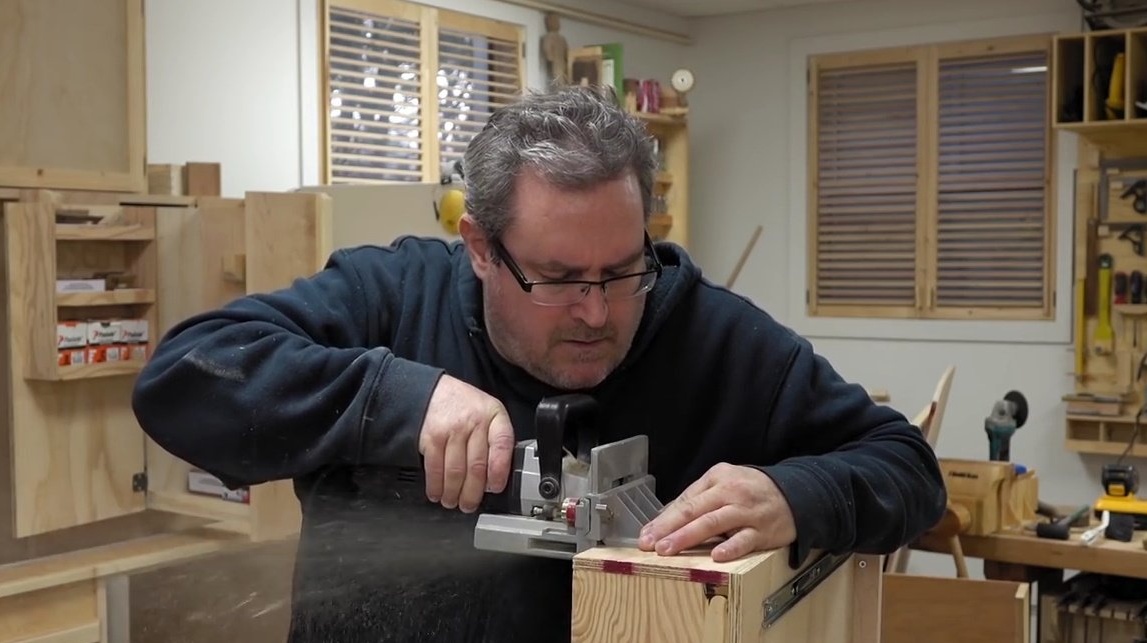
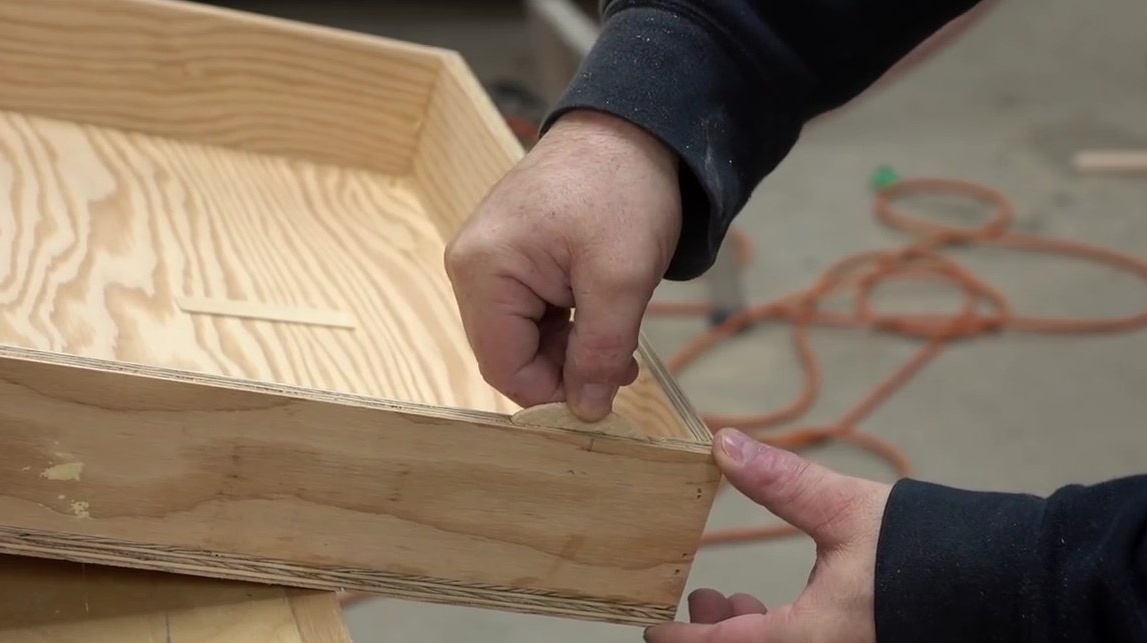
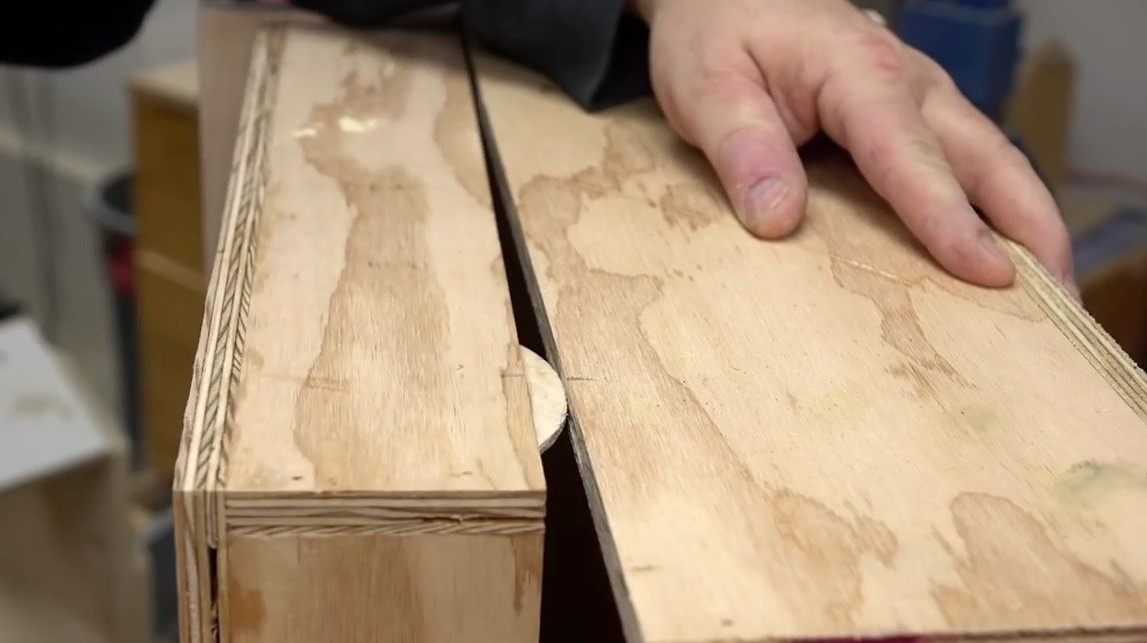
To do this, John marks with a marker the place at the level of which the end of the second box falls. Then he resorts to the help of his faithful lamellar milling cutter. The author cuts grooves on both sides, in one of which glues a dowel. Another way of fixing could be used, but since the shelves are very small, this method is ideal.


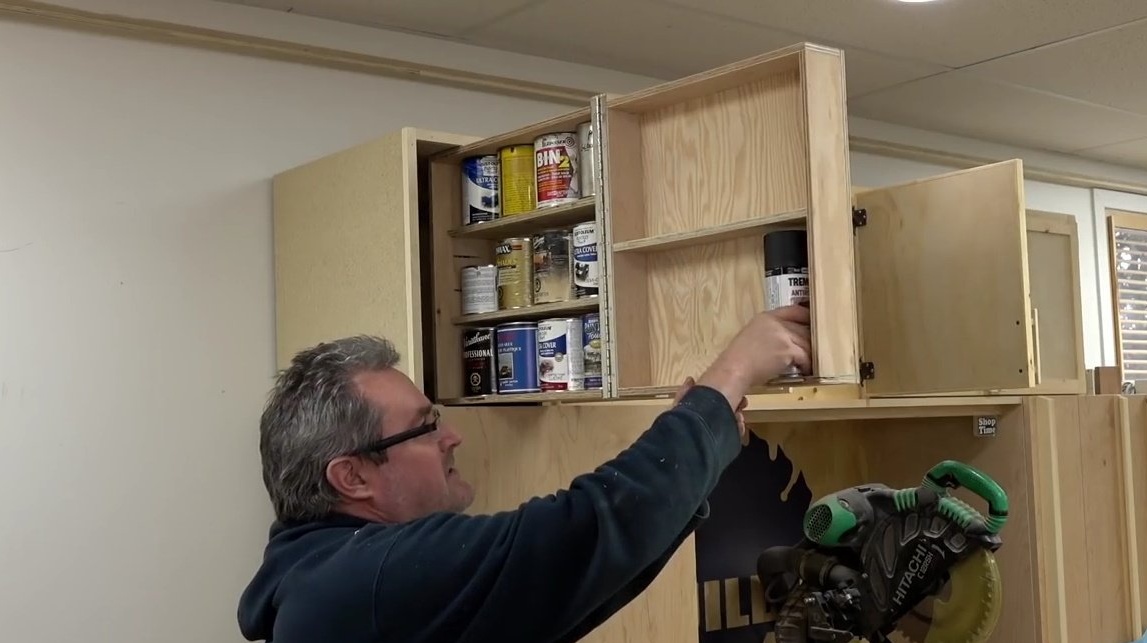
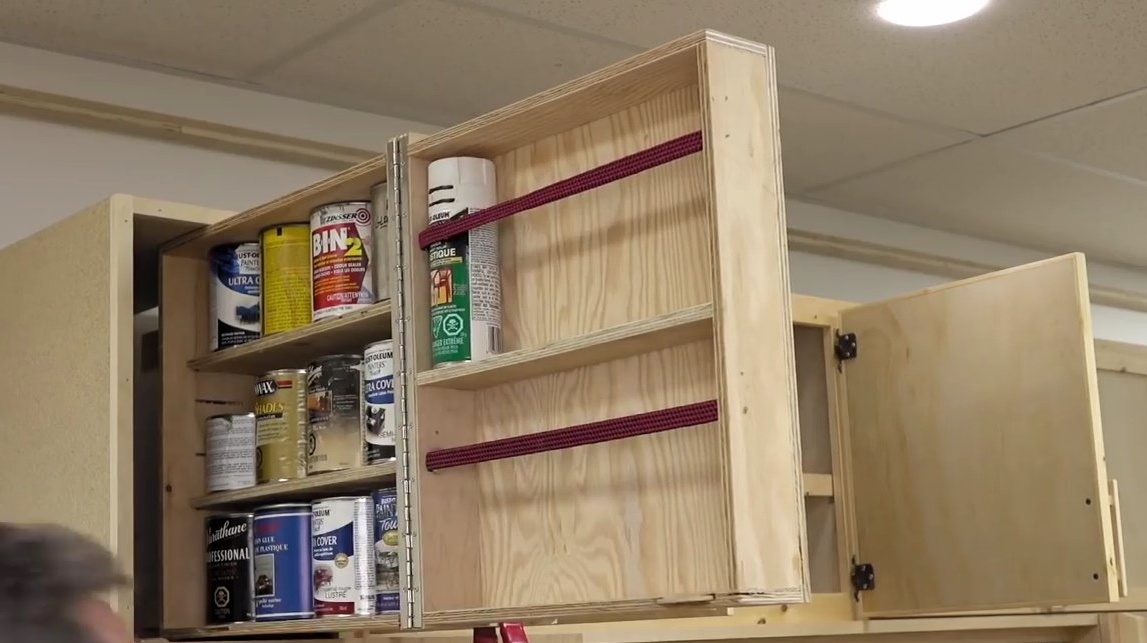
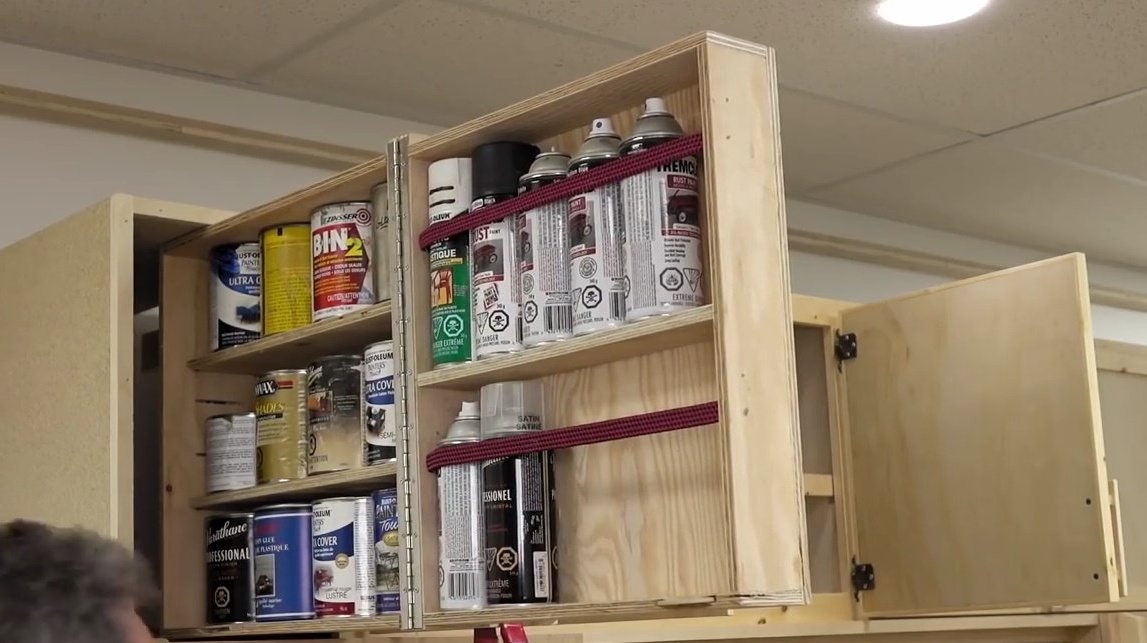
Then, using a five-inch plywood board as a limiter, the craftsman cuts additional grooves for internal shelves with a milling cutter. And he does several of them so that heights can be varied, depending on the materials filling these shelves.
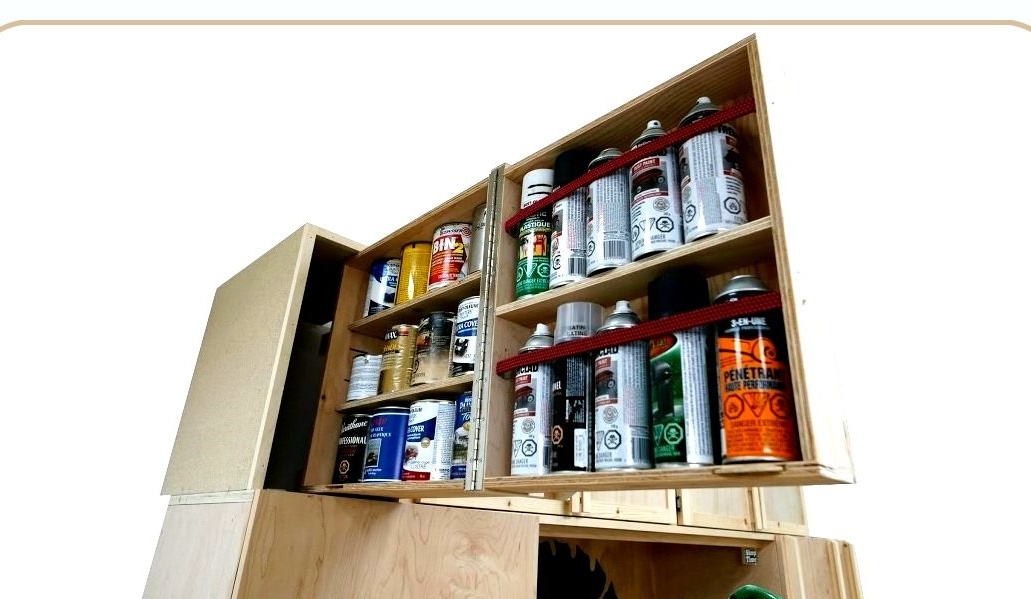
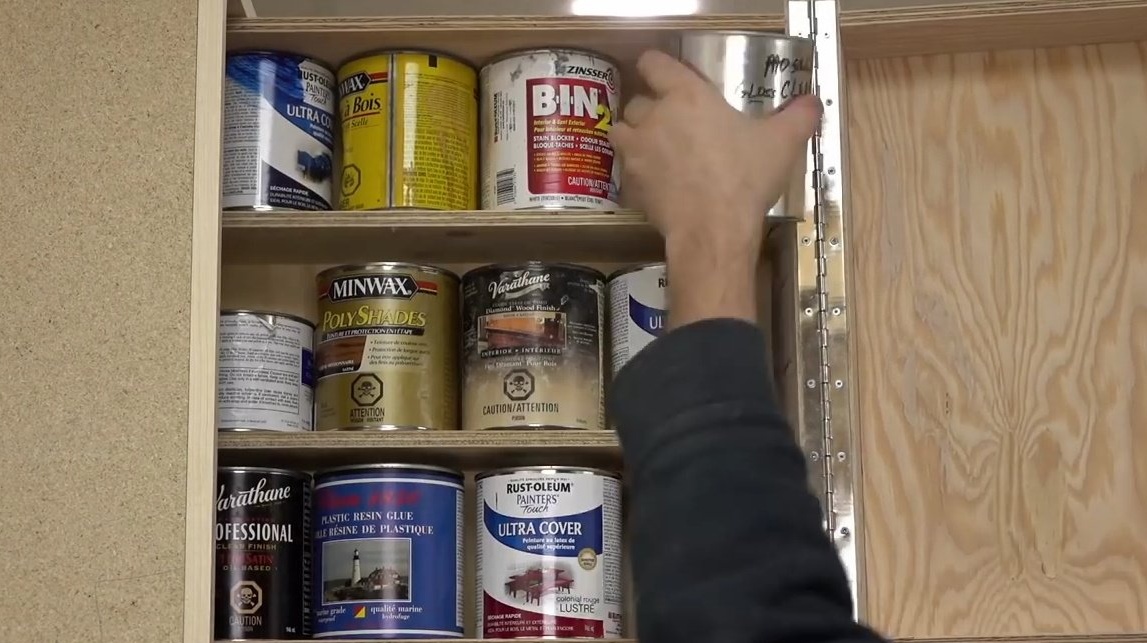
This time it will be paint cans, and aerosol spray cans will drop into the drop-down box.
In this half of the box, the author also sets up one shelf, having previously marked out its position and applied glue to its edges.Great fit.
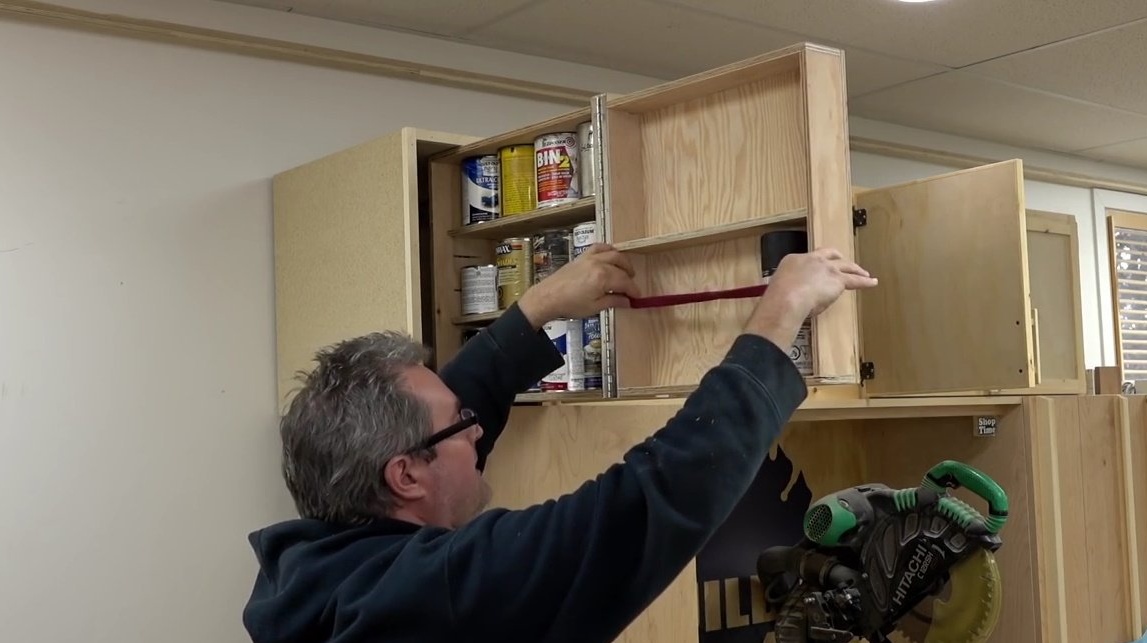
When the glue finally hardens, it will be possible to put cartridges there. And so that they do not fall out, the master attaches an elastic tape around the edges of the box.
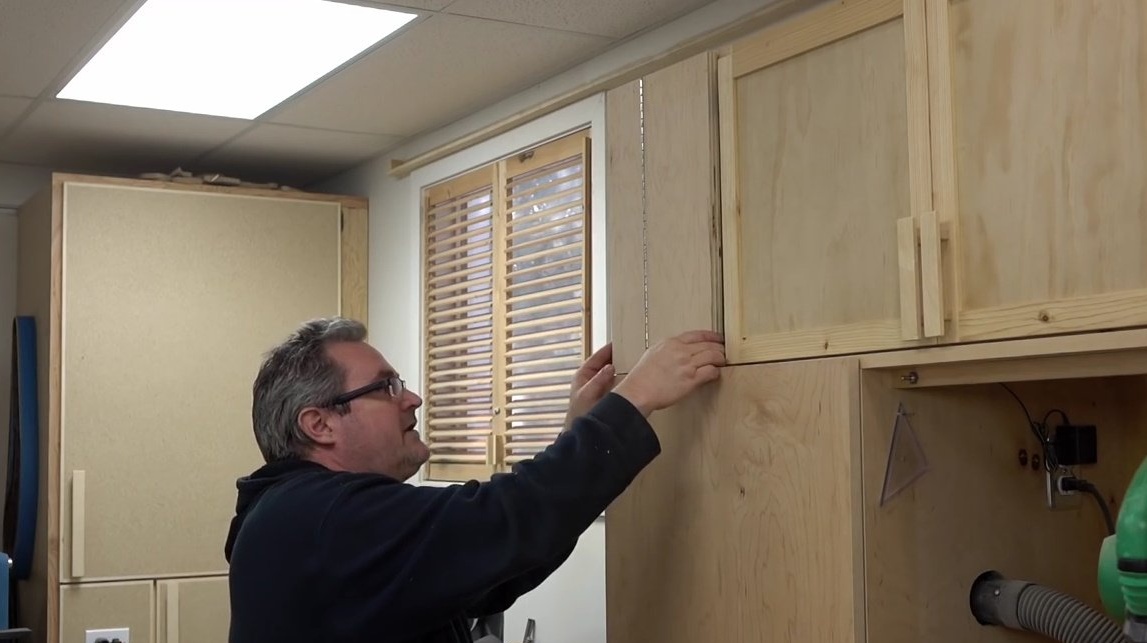
Here is the finished project! John is very pleased and enjoyed the creation of such a convenient thing.
Thanks to John for an interesting technical solution to improve the space in the workshop!
Good luck to everyone and good mood!