Greetings to fans to craft, in this article we will look at how to make simple and inexpensive gates for the garage with central locking. Of course, such a gate will not save you from real robbers, as they can be cut, broken, and so on. Therefore, you can only make such a thing in a guarded garage cooperative, where video surveillance is conducted, here you certainly will not want to break your gates.
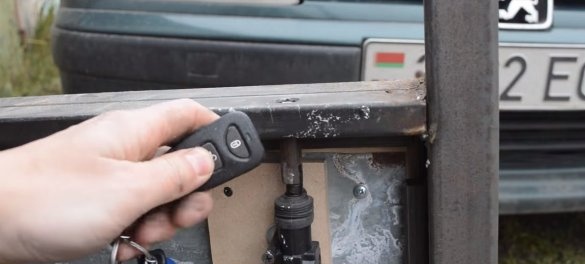
The garage door opens contactlessly; there are no locks and key holes on the outside. This whole thing works on the basis of the central lock of the car, you just need to press the key fob button to open the gate. If the project interests you, consider in more detail how such gates are made!
Materials and tools used by the author:
Material List:
- central locking (can be ordered cheaply from China);
- plywood;
- corrugated board or similar material;
- profile pipes (rectangular);
- Sheet steel;
- hinges for gates;
- round timber;
- self-tapping screws;
- paint for metal;
- channel or other material (for the gate box);
- paint for metal.
Tool List:
- welding machine;
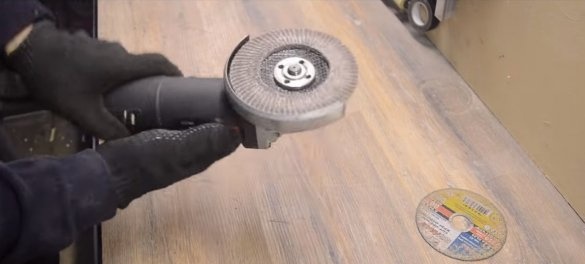
- Bulgarian (detachable and petal nozzles);
- drill;
- screwdriver;
- a circular saw.
Manufacturing process homemade:
Step one. Gate frame
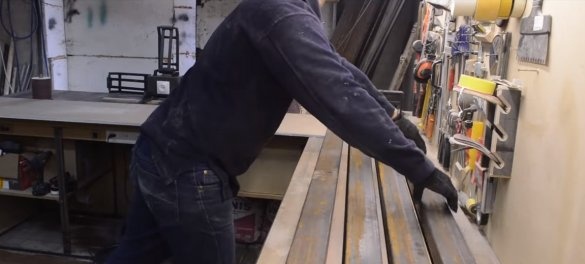
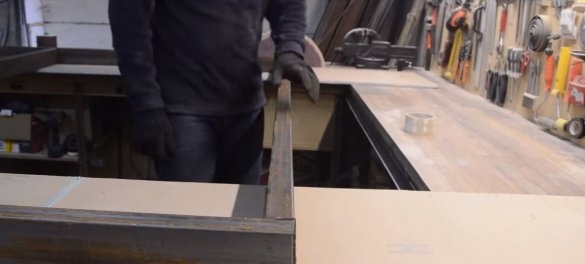
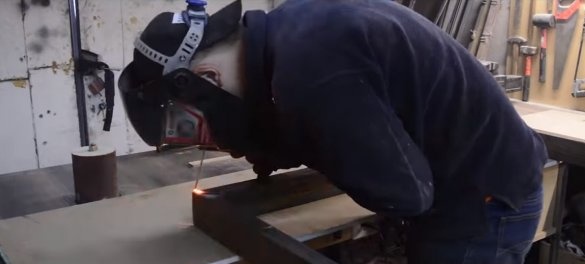
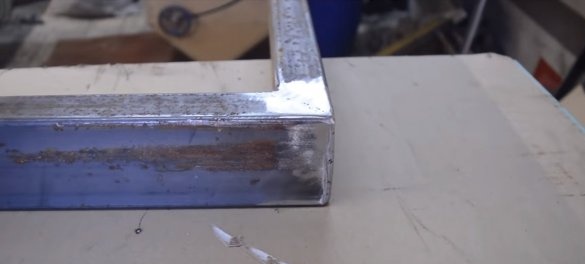
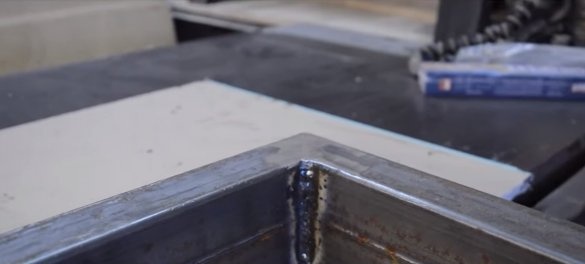
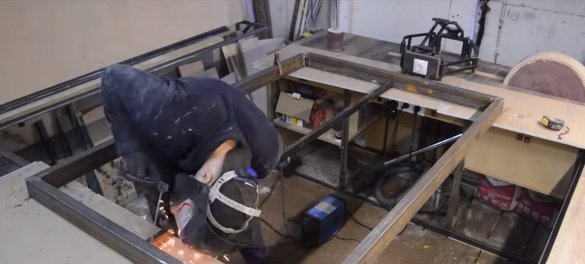
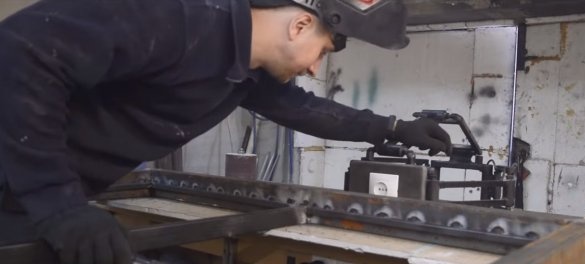
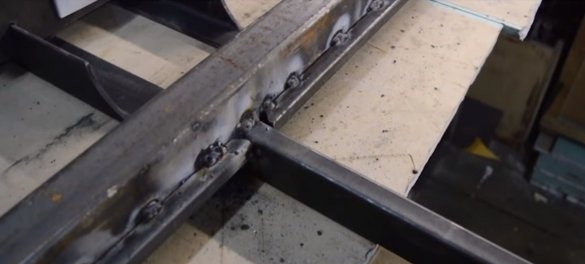
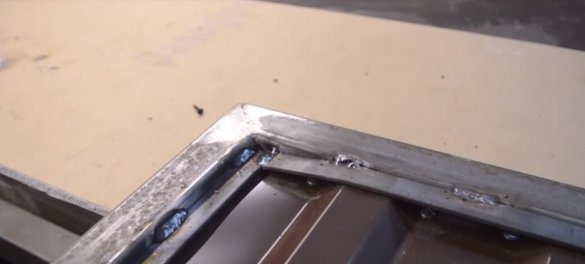
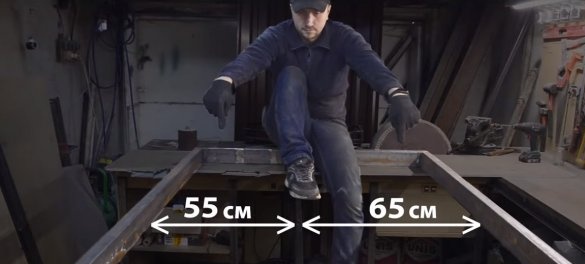
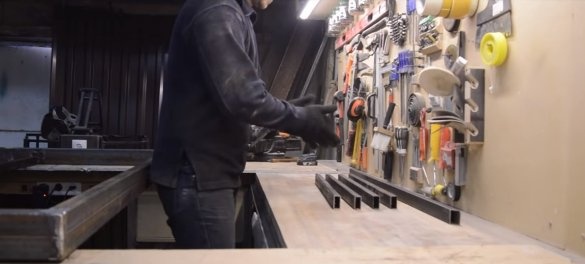
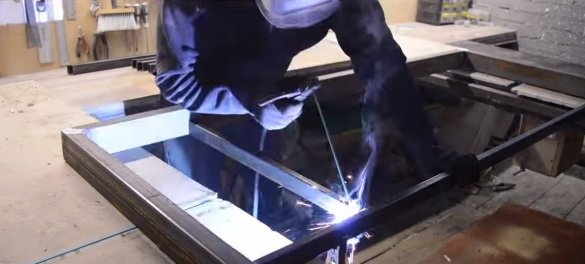
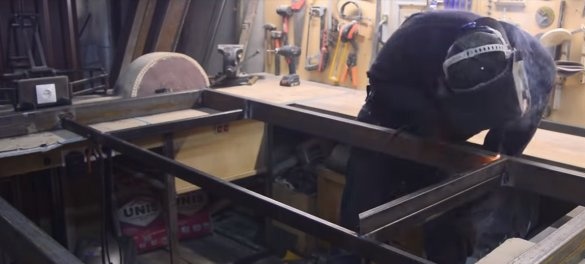
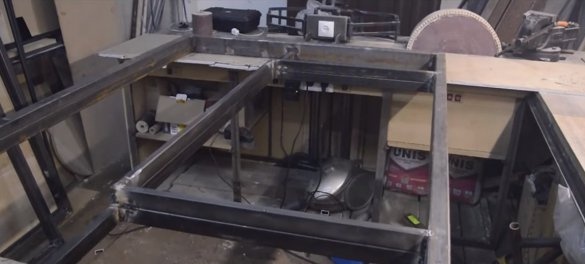
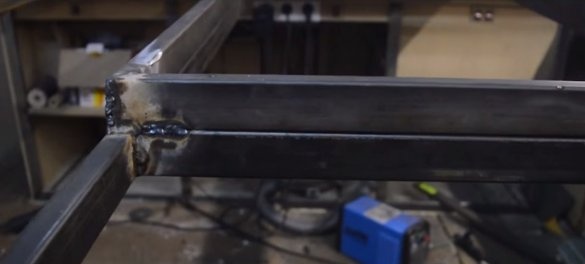
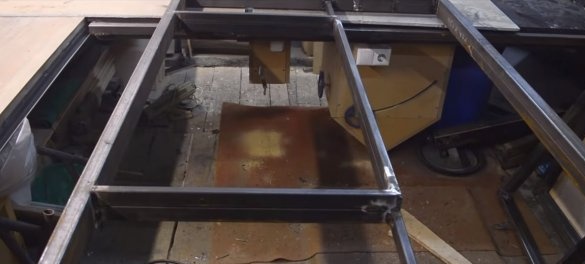
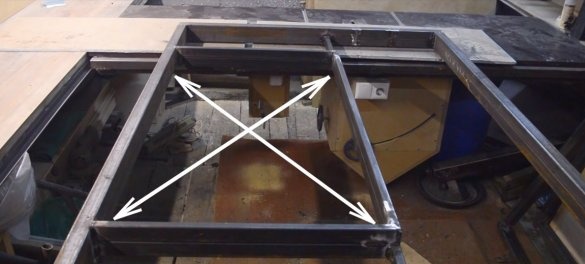
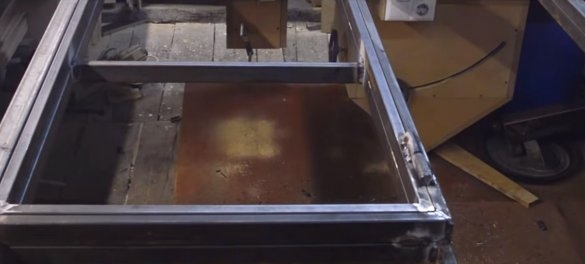
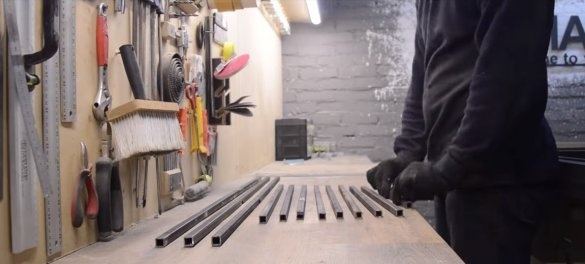
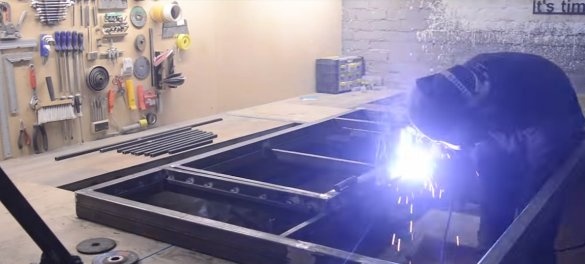
We need to weld two frames for the gate, for this purpose the author uses a rectangular profile pipe. We cut the material at the right angle and then weld well. The frame is a rectangle, in the center of which another pipe is welded to increase the rigidity of the structure.
Step Two Sheathing
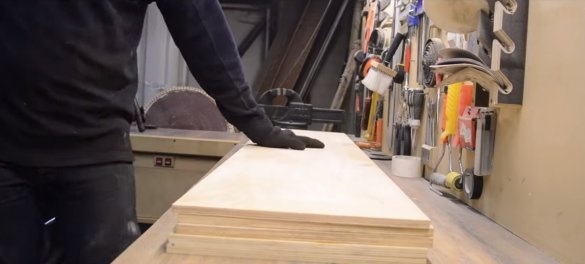
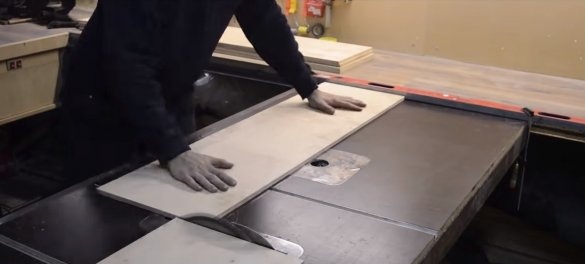
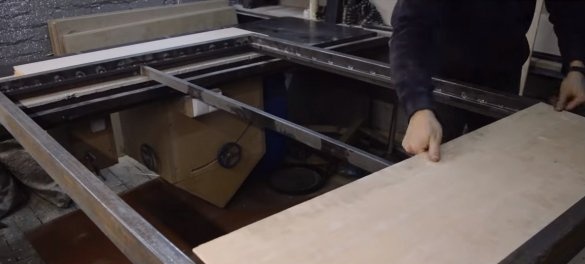
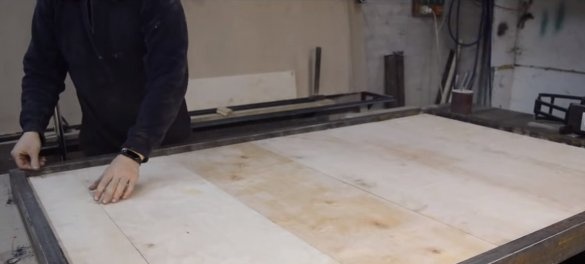
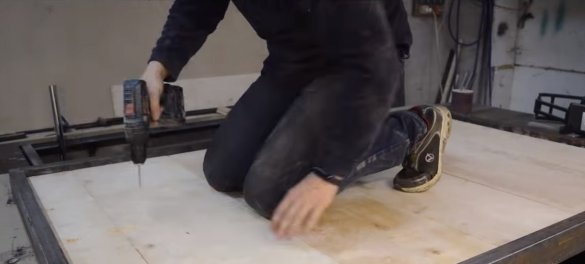
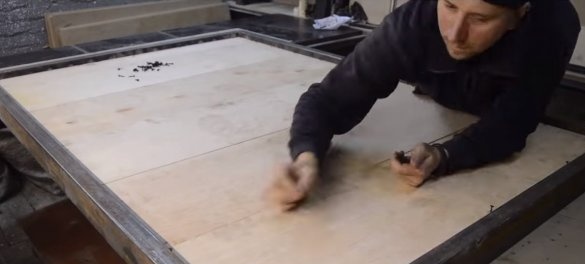
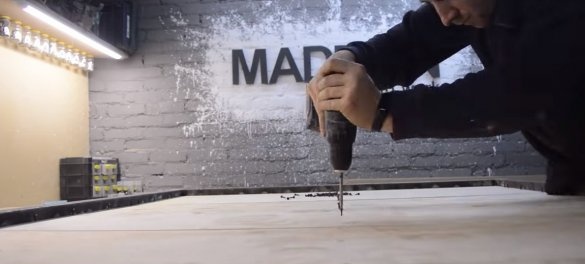
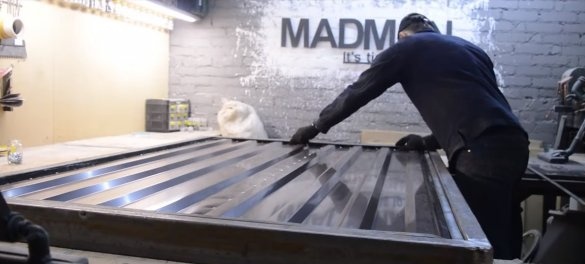
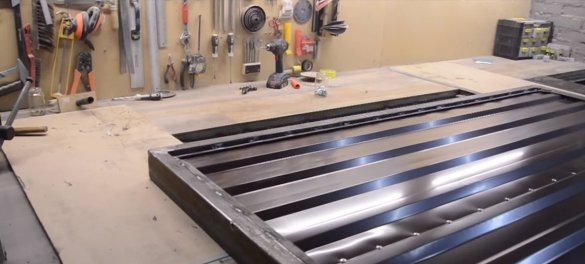
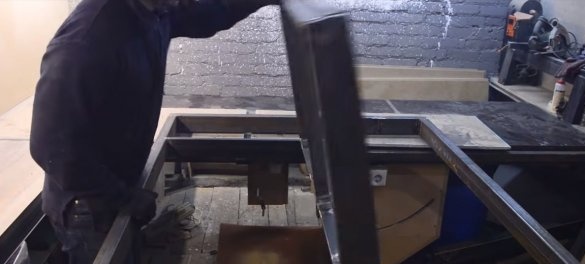
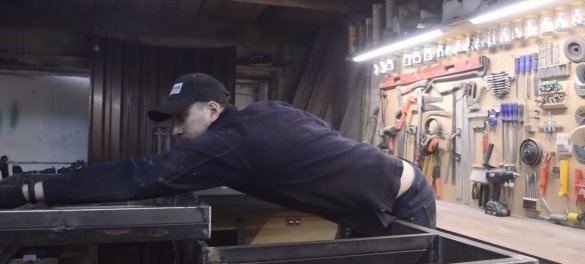
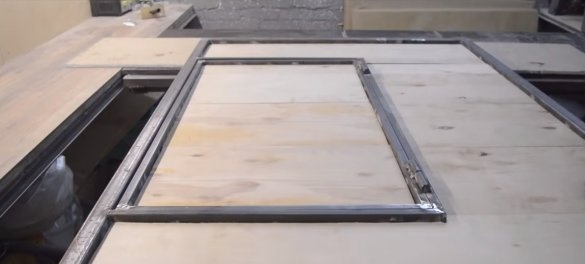
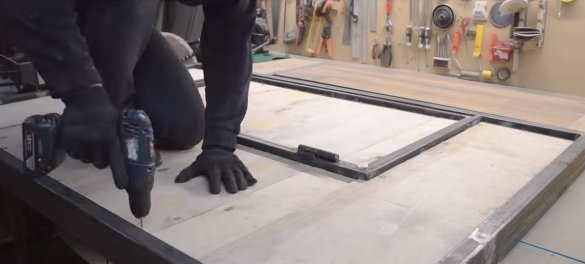
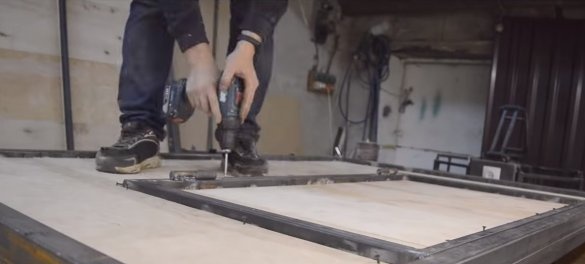
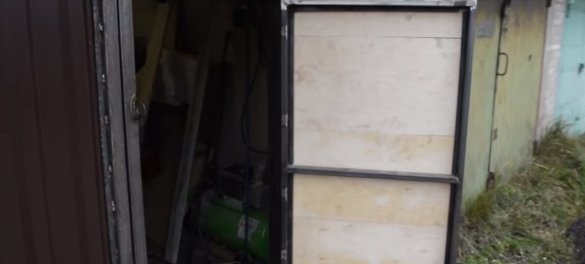
Now we go around one of the gate leaves, for this the frame is not boiled inside by thick square pipes, we will fasten the material to this contour. The author uses plywood as sheathing, it is better to choose a material thicker and stronger, since this part will protect you from crime from the street. We cut plywood into pieces of the right size and drill holes for screws. We fasten the plywood with screws to the metal.
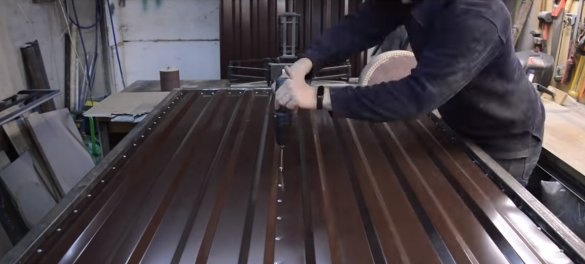
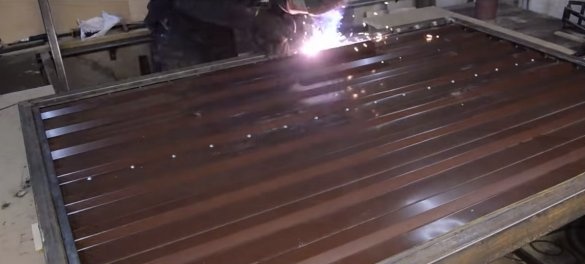
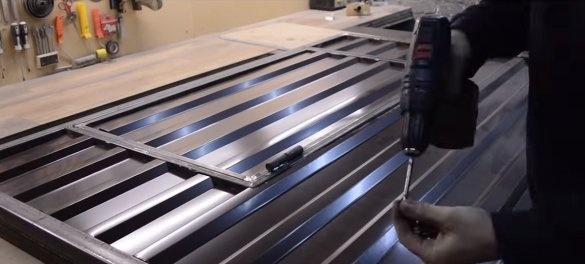
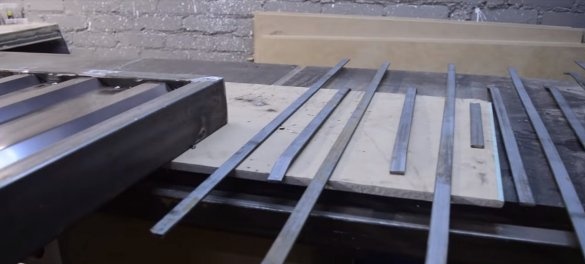
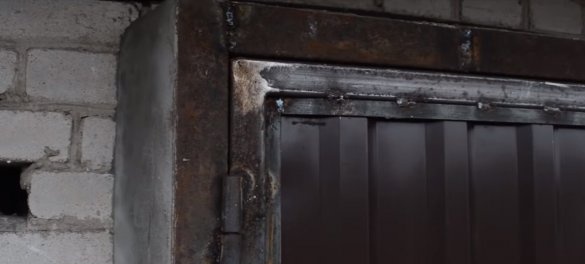
Next, we need corrugated board, with it we will circumvent the outer layer of the gate, fasten it to the plywood with self-tapping screws around the perimeter. Now it will not be so easy to break the corrugated board with plywood, at least it will not work silently.And so that corrugated board is not corrupted by screwdrivers, we weld the sash along the contour with metal strips, thereby hiding the screws. These same strips of metal will not allow you to pull out the sheets of corrugated board.
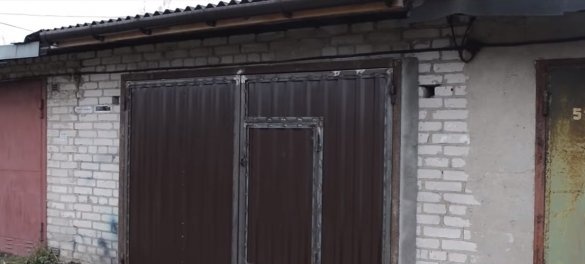
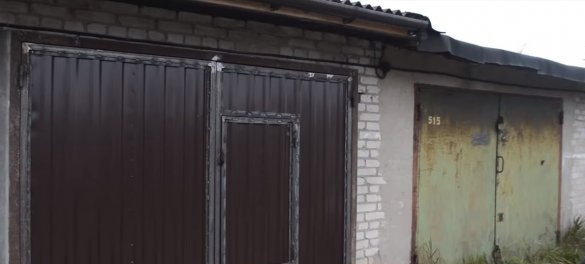
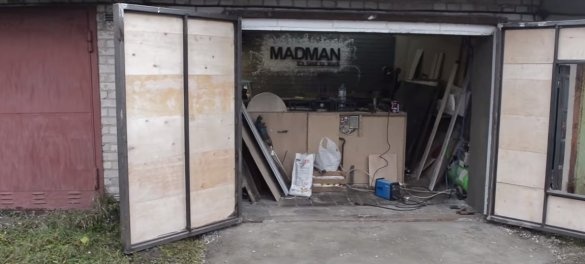
The result is a pretty strong and beautiful gate made of available materials.
Step Three Gate
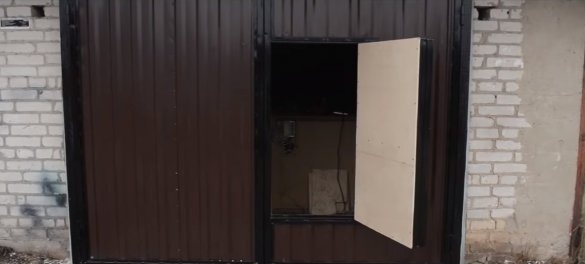
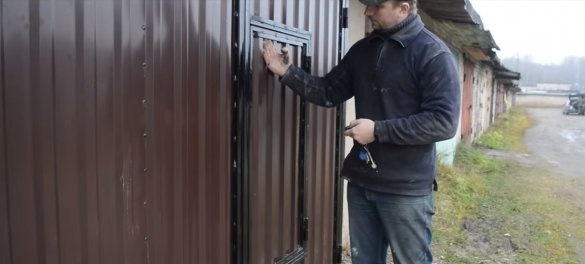
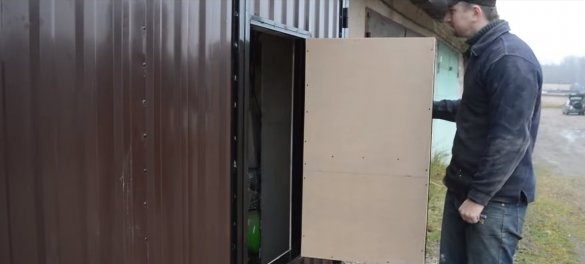
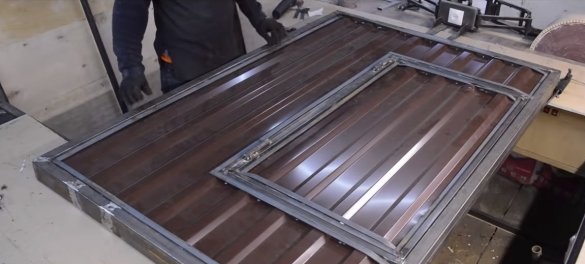
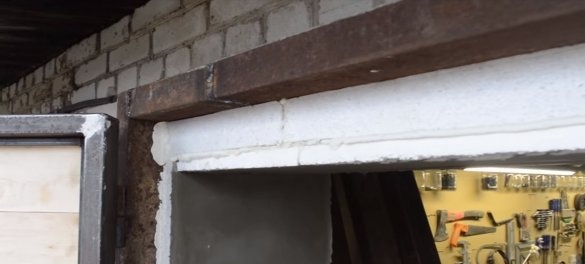
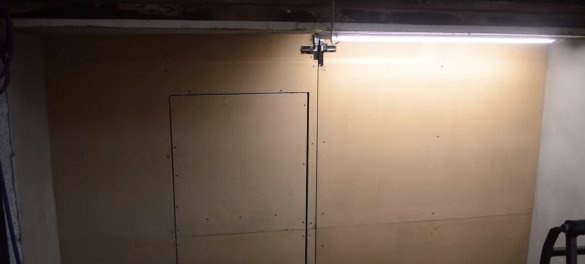
On the second leaf, we need to weld the frame for the gate and, as a result, make a gate. We determine the size of the gate and its location, this is important. We weld the wicket box from profile rectangular pipes and similarly weld the wicket. We hang the gate on the hinges for the gate. Make sure that the gap between the gate and the frame is not too large or small.
That's all, after that we trim the gate and sash with plywood with corrugated board, as we did in the step above. After that, the gate can be installed on the garage. To win a place, the author took the gate outside the garage; for this, a box from the channel was welded for the gate. As a result, now you can put a compressor or another useful machine near the gate in the garage. After painting, the gates look excellent and quite reliable.
Step Four Central locking
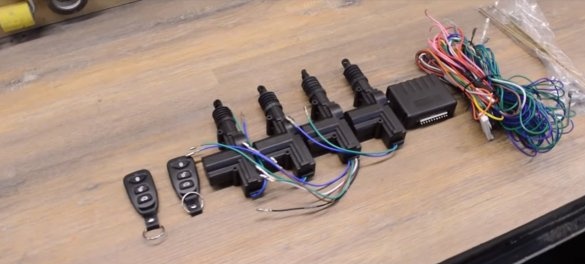
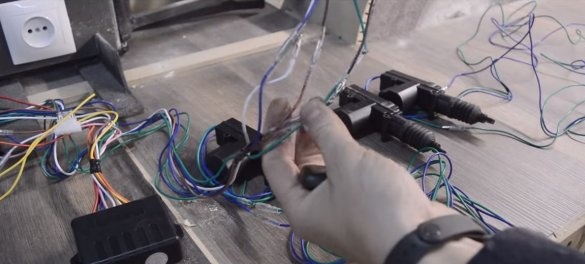
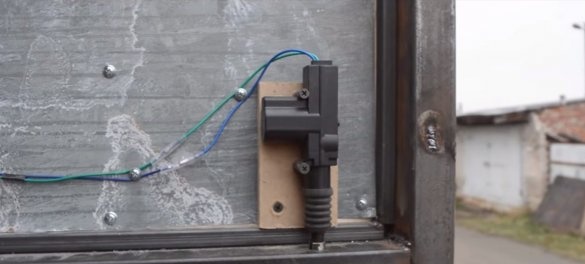
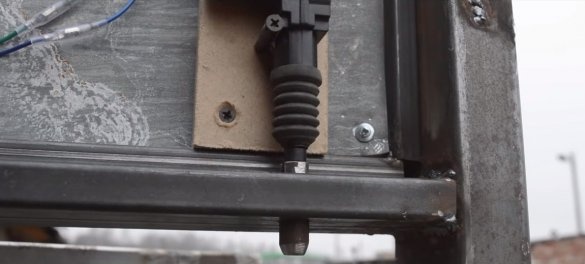
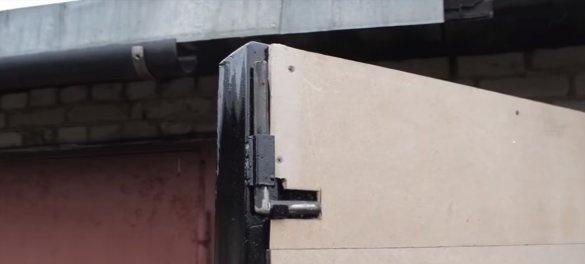
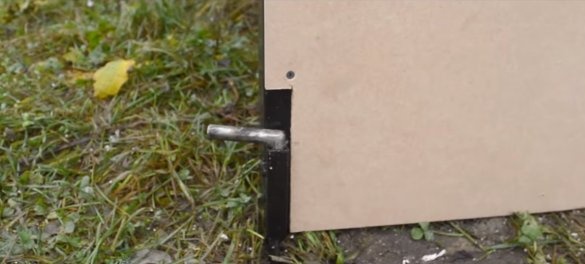
We pass to the final stage - the installation of a central lock, it can be ordered inexpensively from China. The kit should include a control unit, key fobs and directly electromagnetic locks. We need only one lock, we will install it on the gate. The author lengthened the stock; a piece of pipe or round timber can be welded to it. When the gate is closed, the stem enters between the sash frame and the gate, and when the button is pressed, the stem rises and the door is open.
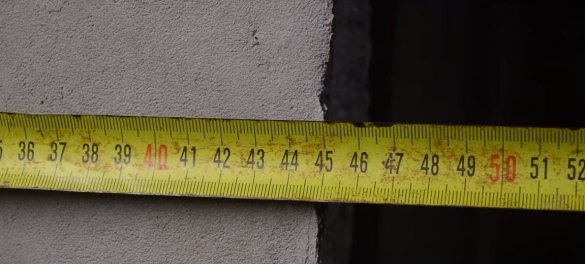
In order to prevent attackers from raising the rod with a knife, it is recommended to weld a protective plate from the street opposite it, or you can just make a very small gap. It is better to connect the central lock to the battery and make sure that it is charged, otherwise it will be impossible to get into the garage during a power outage. What to do if the lock jams or fails electronicsremains a mystery.
As for the flaps, they are manually closed from the inside. That's all, the project is over, I hope you liked it. Good luck and creative inspiration, if you decide to repeat it. Do not forget to share your ideas and homemade products with us.

