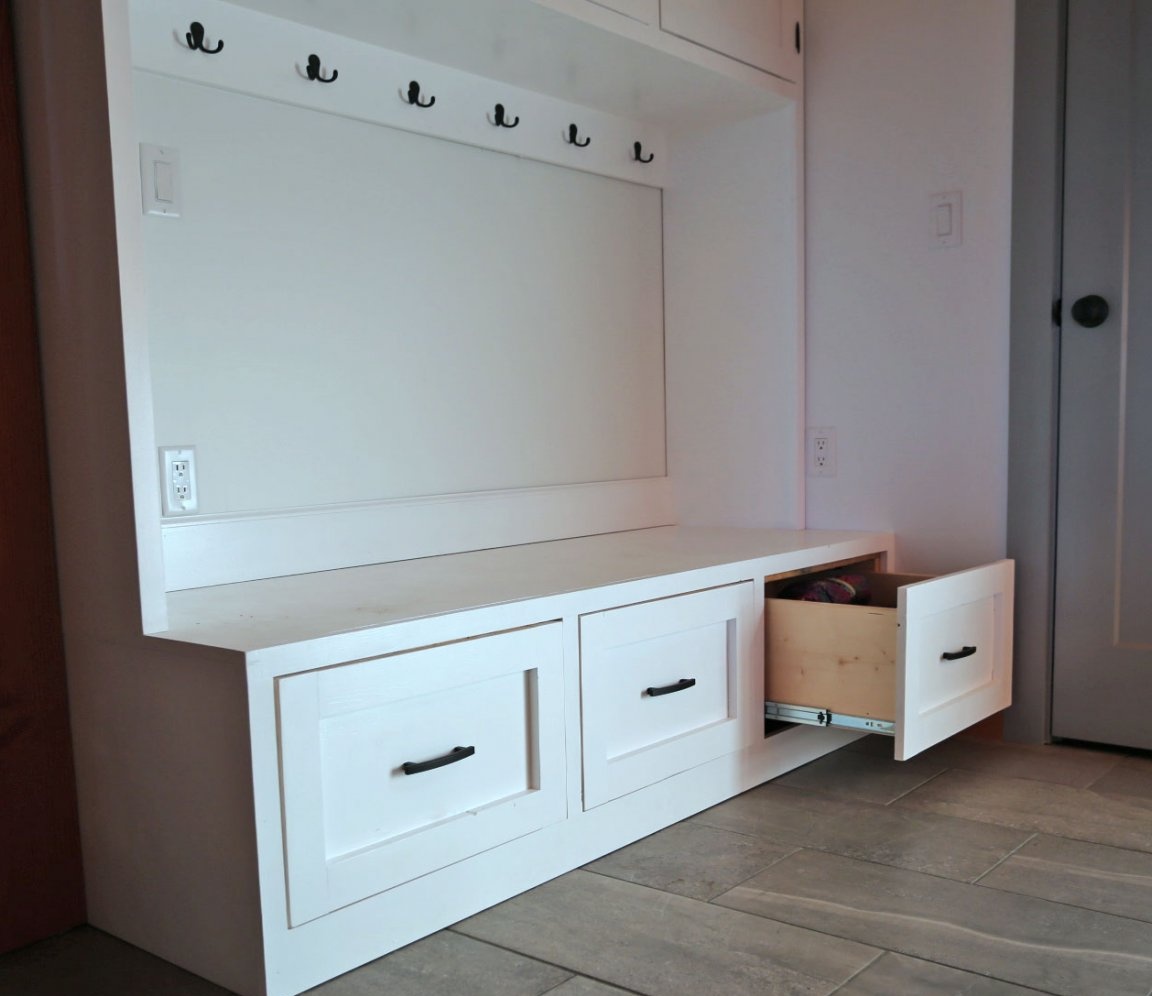
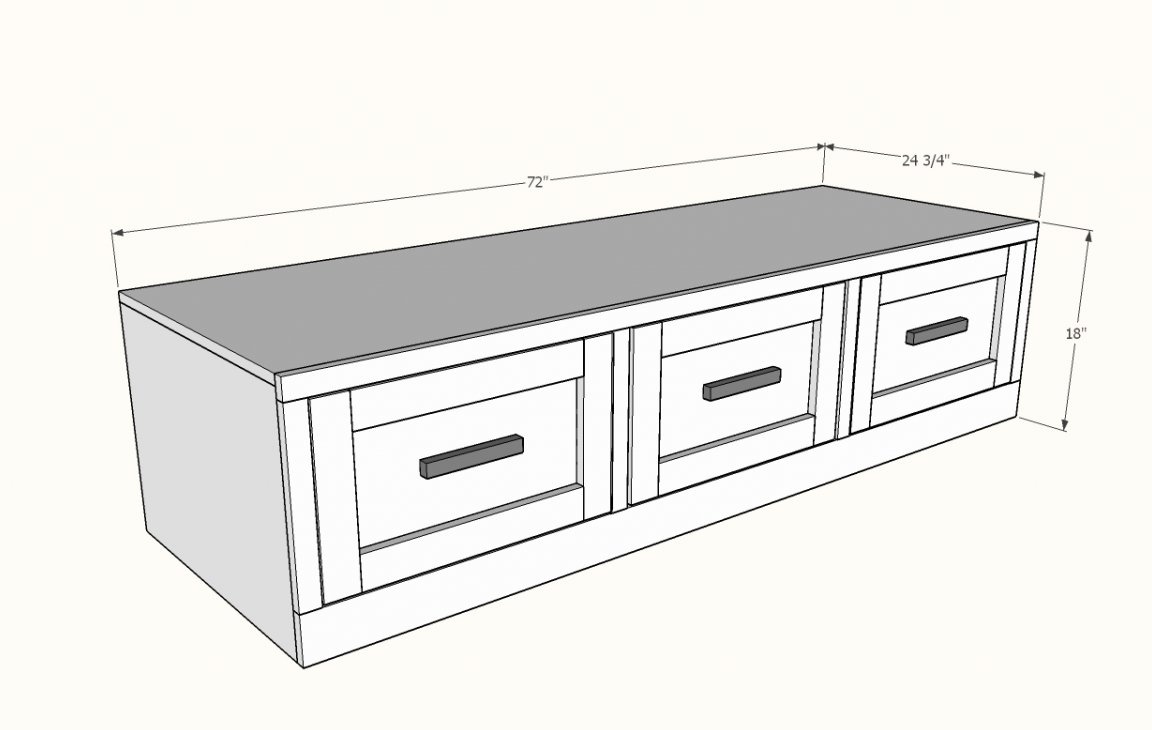
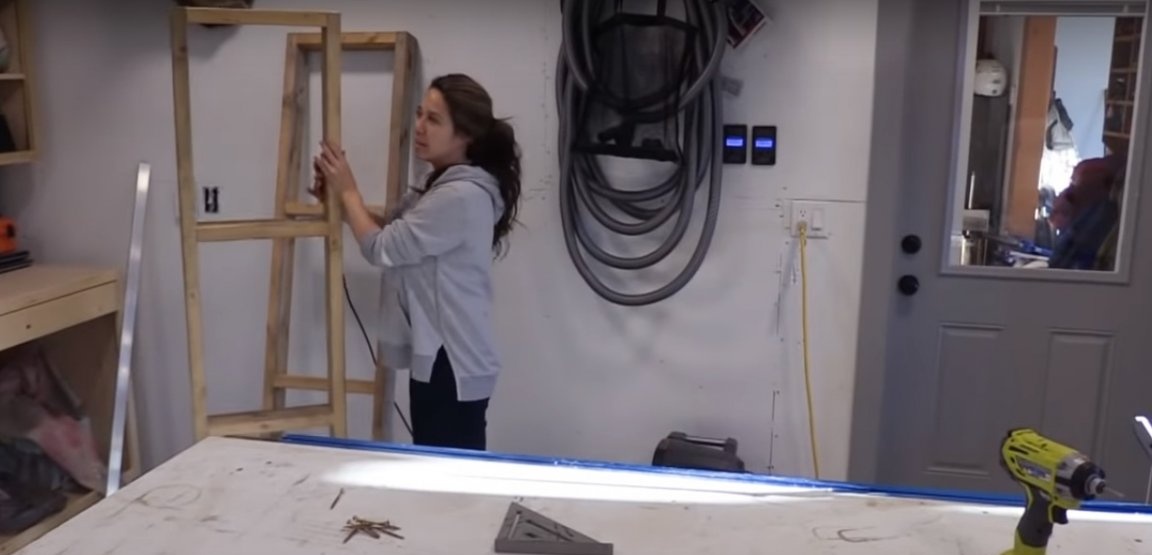
This simple stand is versatile and can be used both for an entrance hall and as an addition to a bed for storing things or, for example, a kitchen couch. It is easy to manufacture and the only tricky part you need is a drawer drawer system. In this walkthrough, you will see that installing drawers is an easy and entertaining process.
The cabinet is equipped with three drawers and noiseless fittings. The curved facades of the drawers are as simple in design as the curbstone itself. Painting also does not take much time and effort, because the whole thing is the right choice of protective and decorative coatings. Read more about all this.
In order to make a simple cabinet with drawers you will need:
Materials:
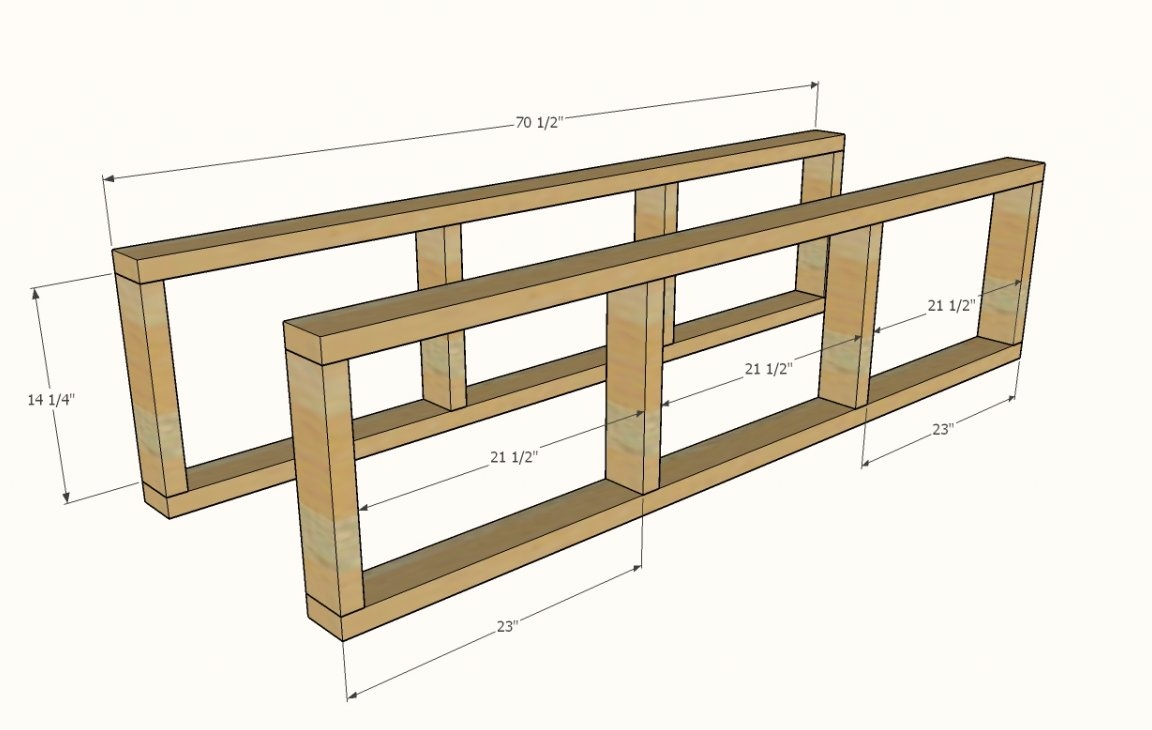
- 2 longitudinal and 8 transverse bars for the manufacture of the frame;
- two sheets of plywood for the side parts of the cabinet;
- a large sheet of plywood or glued furniture board for the base of the cabinet;
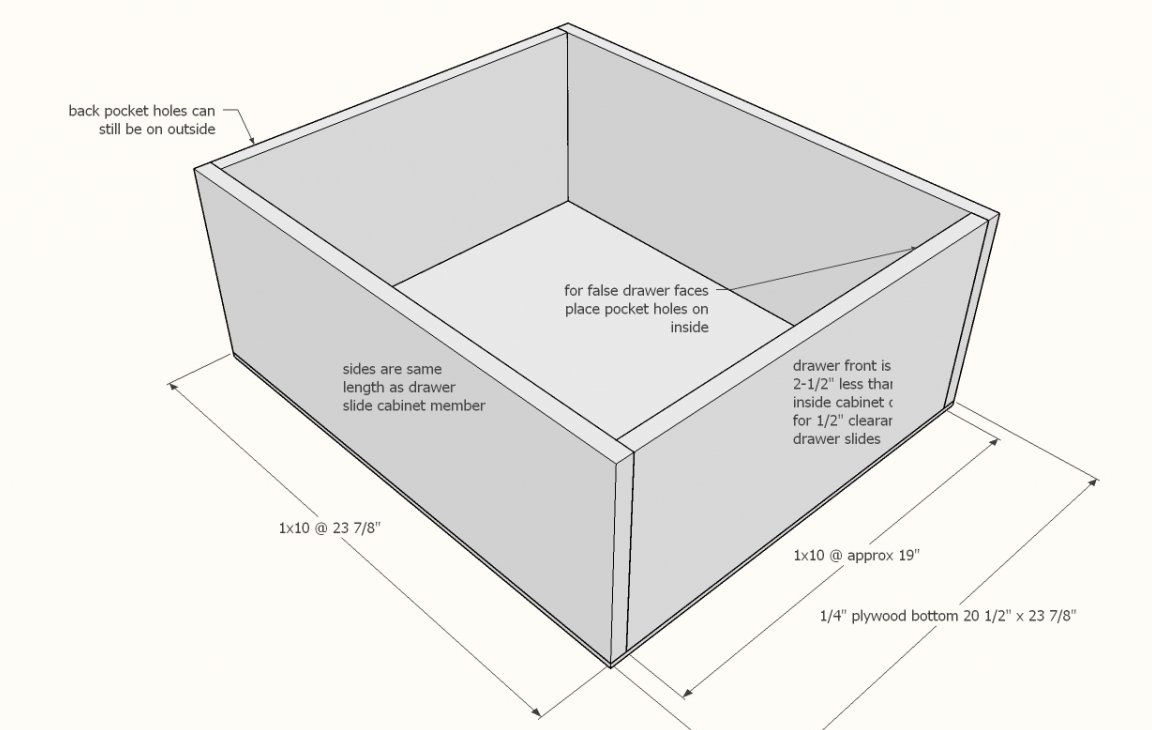
- 5 parts of plywood for the manufacture of each box;
- wooden slats for the manufacture of the facade of the cabinet, as well as the furniture facades of the drawers;
- 3 drawer systems for drawers;
- furniture screws or wood screws;
- nails for plywood;
- furniture paint;
- furniture varnish and glue for working with wood at will.
Instruments:
- manual circular or jigsaw;
- electric drill;
- a screwdriver with a set of bits;
- grinder;
- Miter saw;
- construction tape measure;
- a hammer or pneumatic nail gun;
- pencil and square;
- paint roller for painting, brushes.
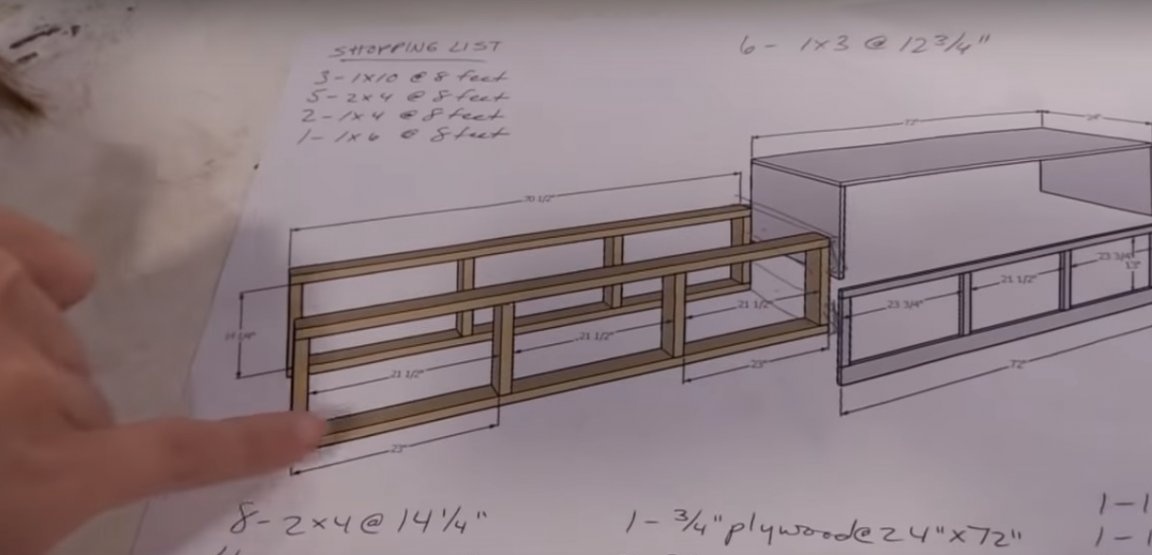
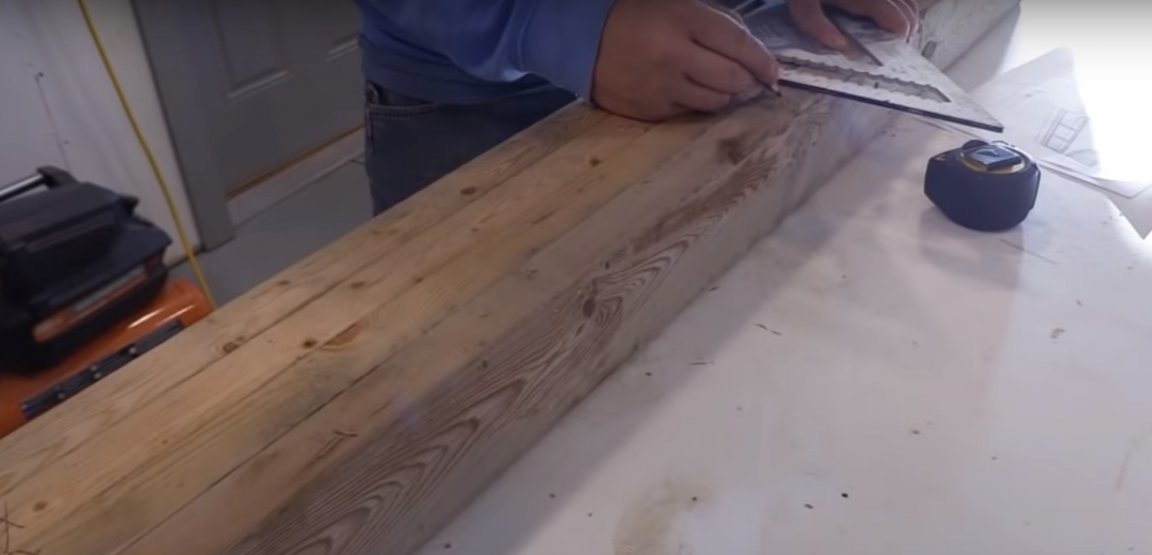
Step one: determine the size and prepare the drawing
The sizes of such structures are individual and depend, first of all, on its purpose. Decide on the dimensions in your case and, using the drawings provided, prepare your own drawing with the detailed dimensions of the parts.


Step Two: Material Selection Tips
The frame of the cabinet is made of bars and can support the weight of three adults. You can use second-hand lumber, having previously planed and polished wood.
For the manufacture of facades made of wood, any trim strips of the same section are suitable.
The casing of the cabinet is made of plywood. For the main part of the seat, use plywood of suitable thickness if you plan a large load on the cabinet.Plywood should have a pleasant smell of freshly sawn wood, which indicates the high quality of the adhesive components used in the manufacturing process.
Pick up a paint of a shade interesting you. It should have the high abrasion resistance that furniture paints usually have. If you plan to carry out paint work in a living room, choose water-based paints. They are practically free from unpleasant odors and are the least toxic.
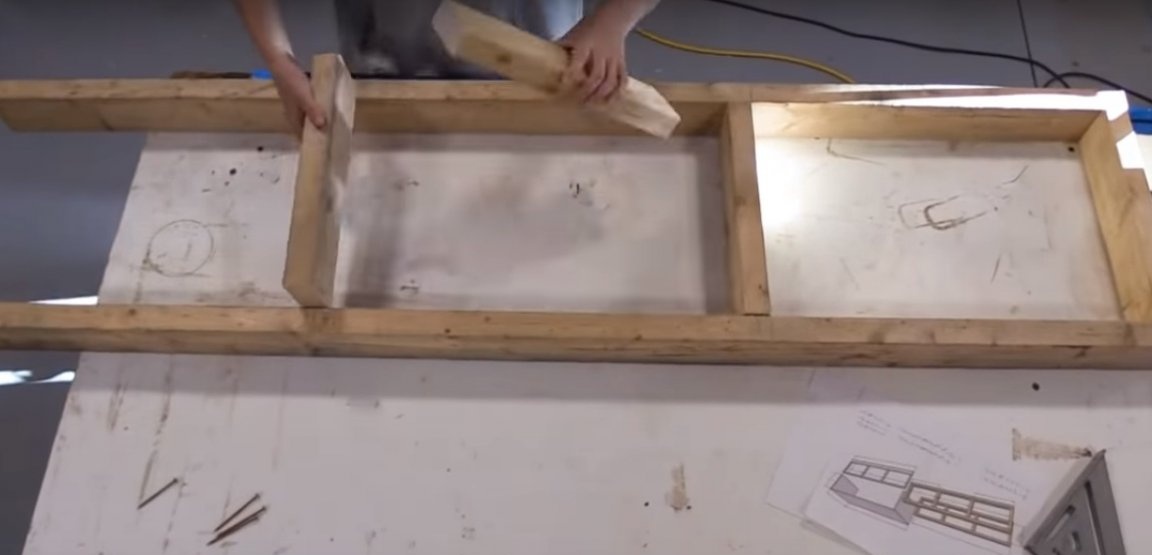
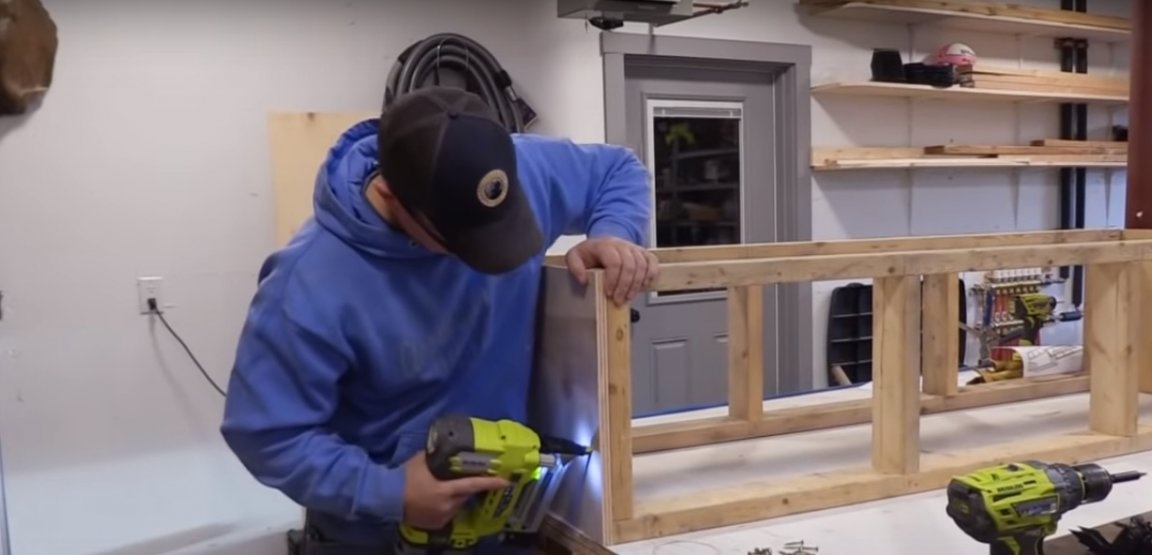
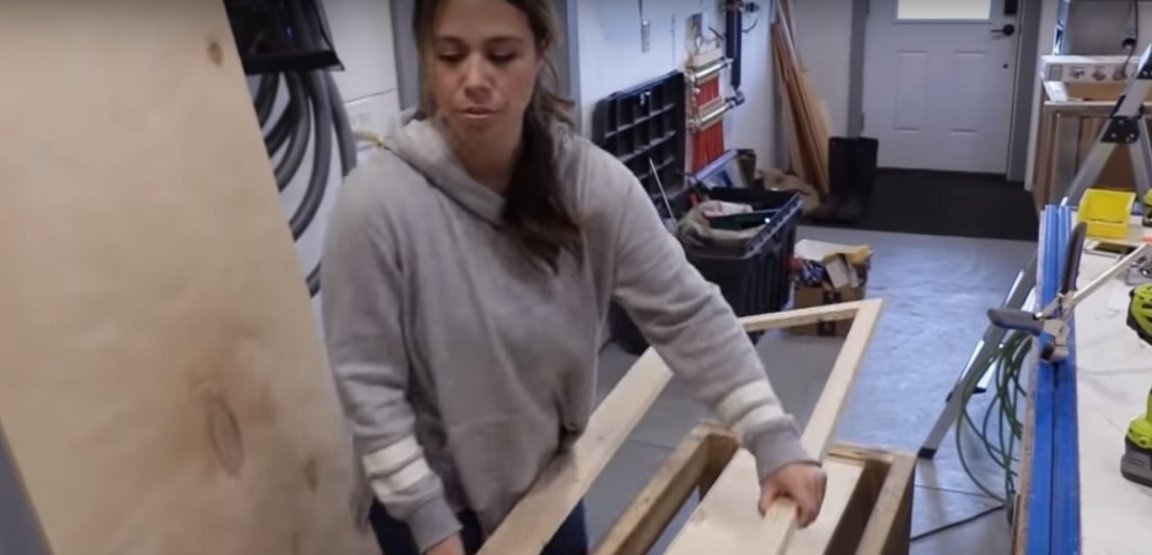
Step Three: Assembling the Cabinet Frame
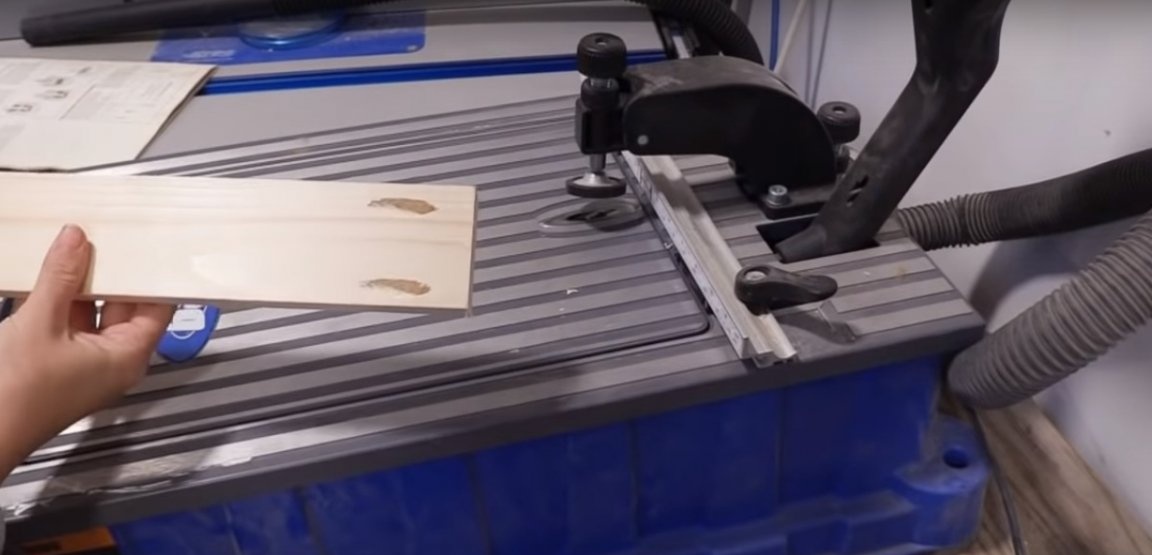
Mark the bar and saw it into separate parts. To make the cut as even as possible, use a miter saw. This will greatly facilitate all further work and the assembly process.
Join the parts on a flat surface and check all dimensions. Mark the attachment points and drill holes for the screws. Assemble the frame using a screwdriver and clamps for easy fixation. Use also a square. It will provide a right angle when assembling the frame.
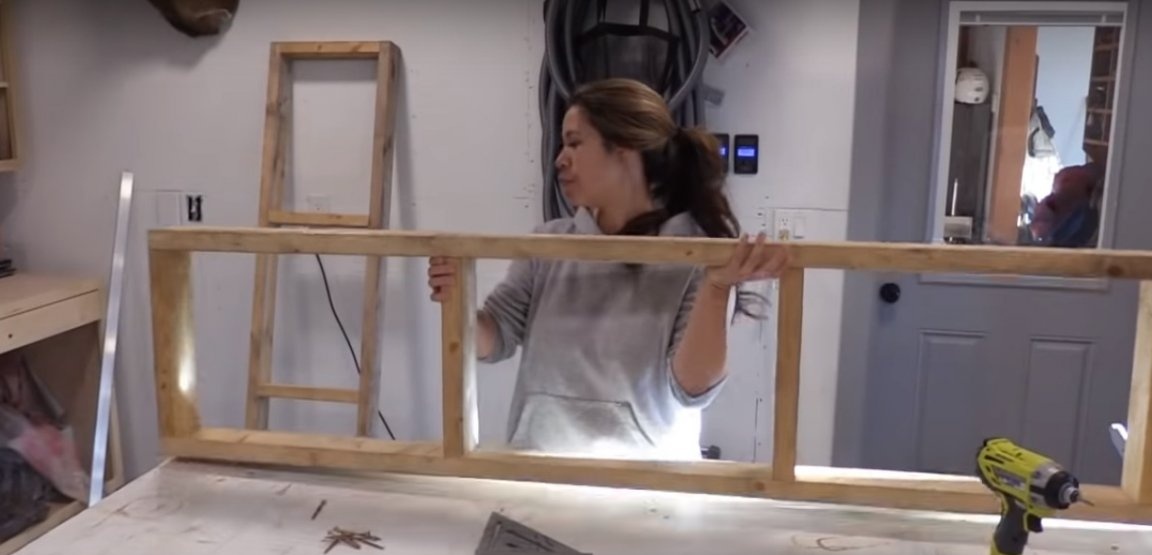
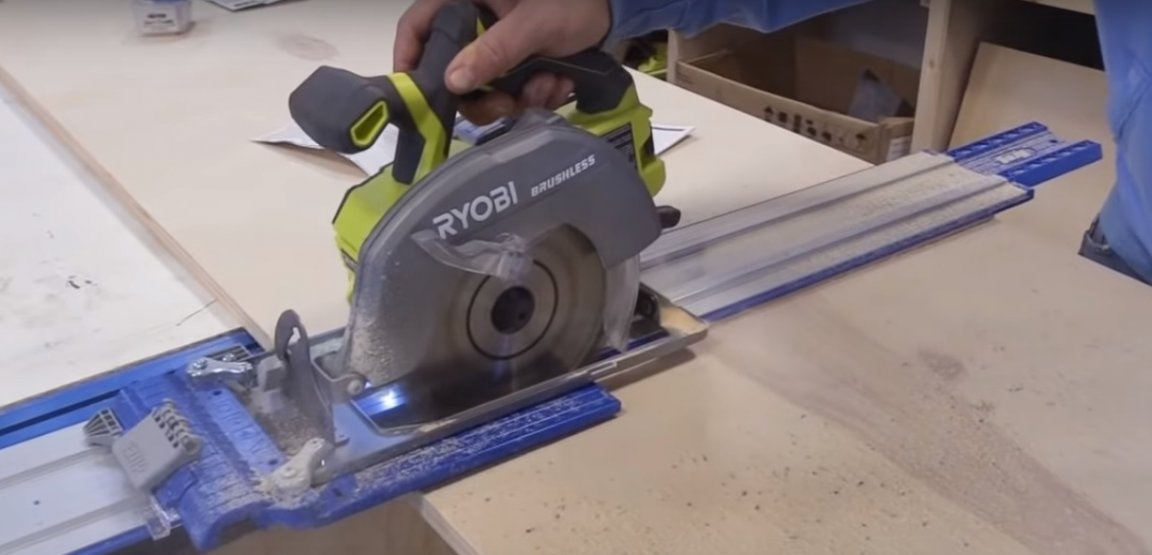
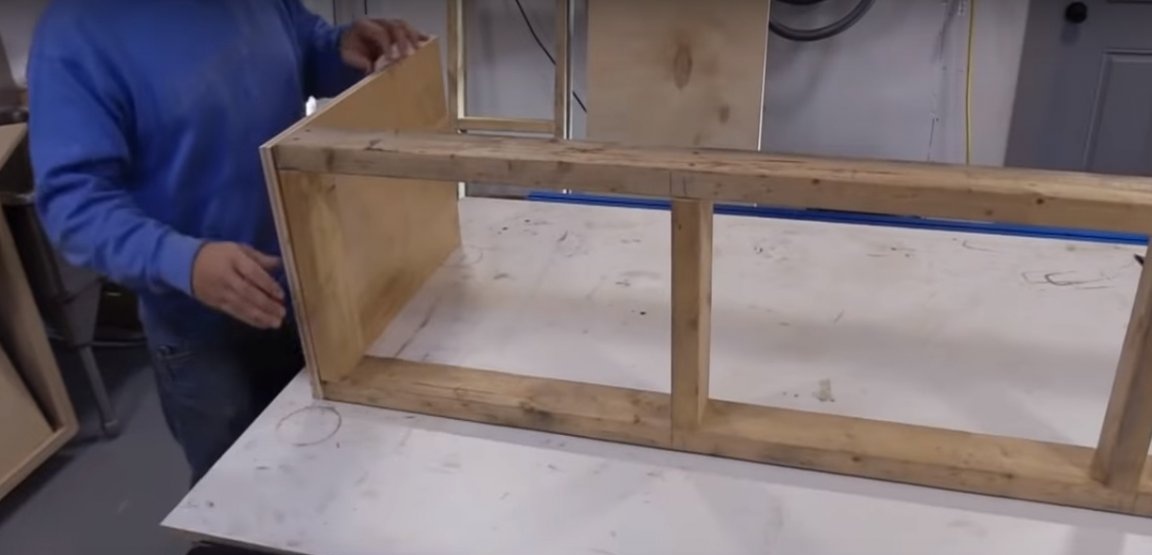
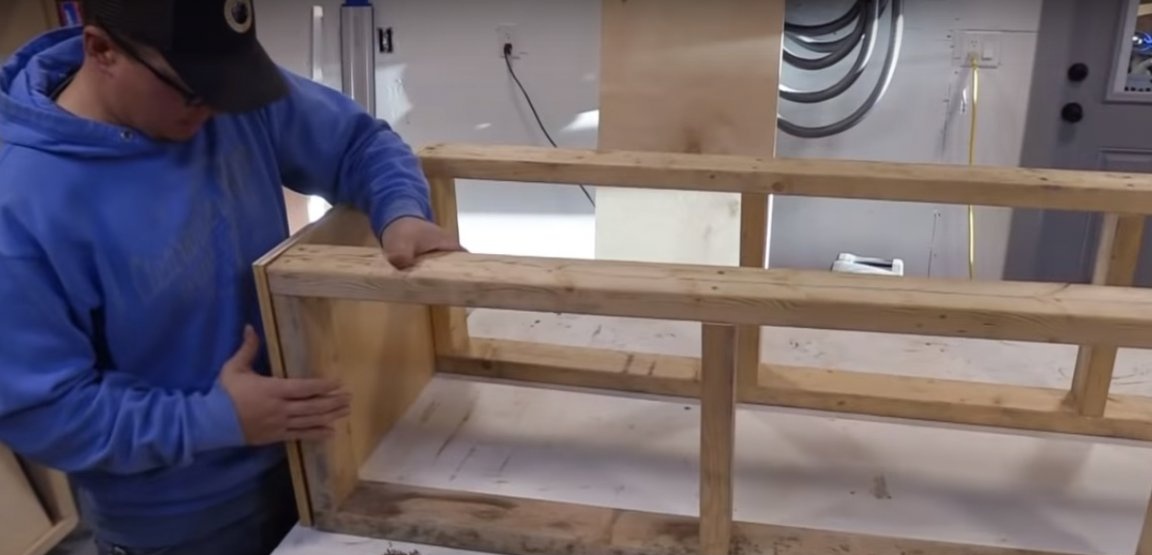
Assemble the two parts of the frame in this way. Then they will be fastened together with plywood shields. Saw plywood using a hand-held circular saw or jigsaw. The author uses a guide to ensure an even cut.
Secure the side parts of the cabinet with screws. The frame is ready!


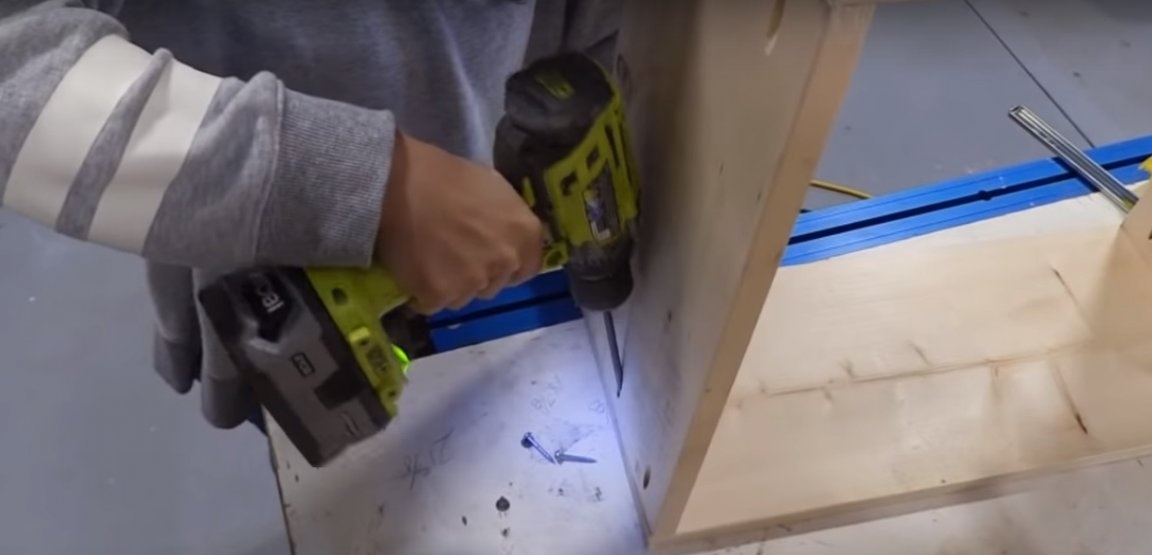
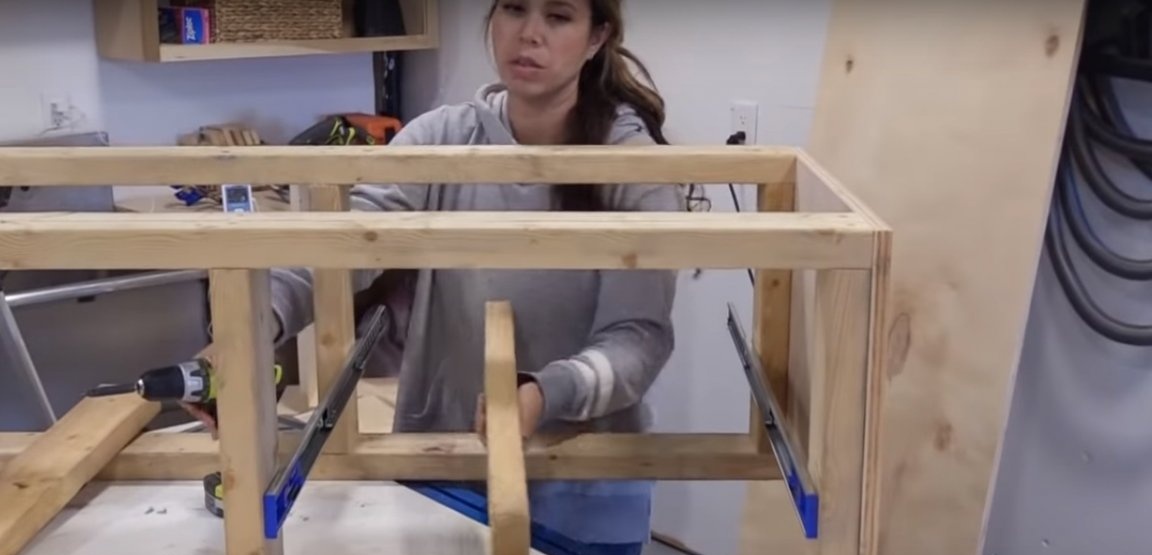
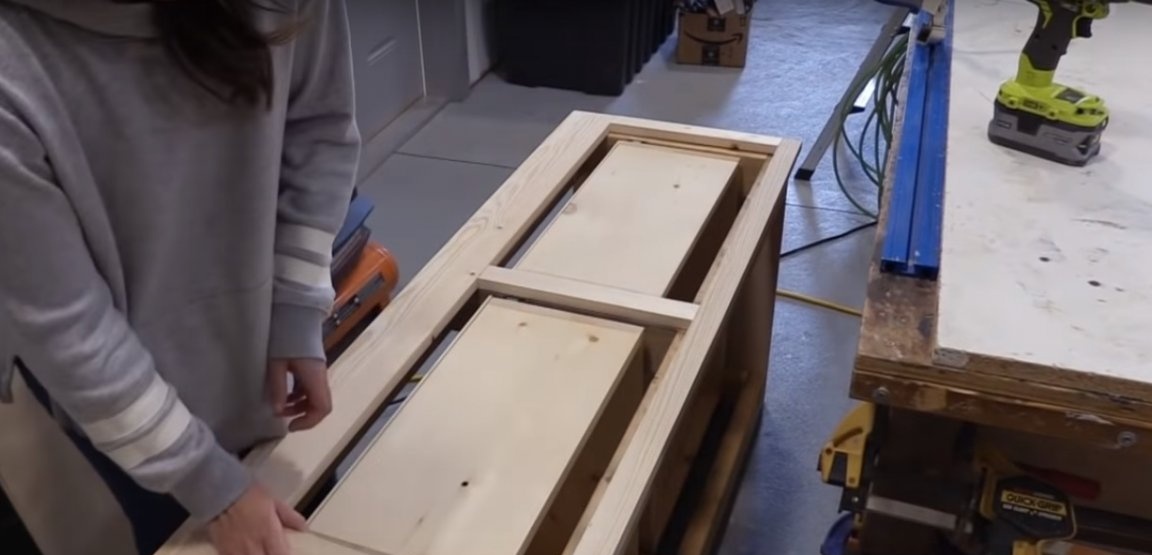
Step Four: Build Crates
Lay out plywood or suitable width boards for making drawers. Saw the material according to the drawings, making sure that the cut is as even as possible. Collect the boxes using self-tapping screws and nails for extra fixation.
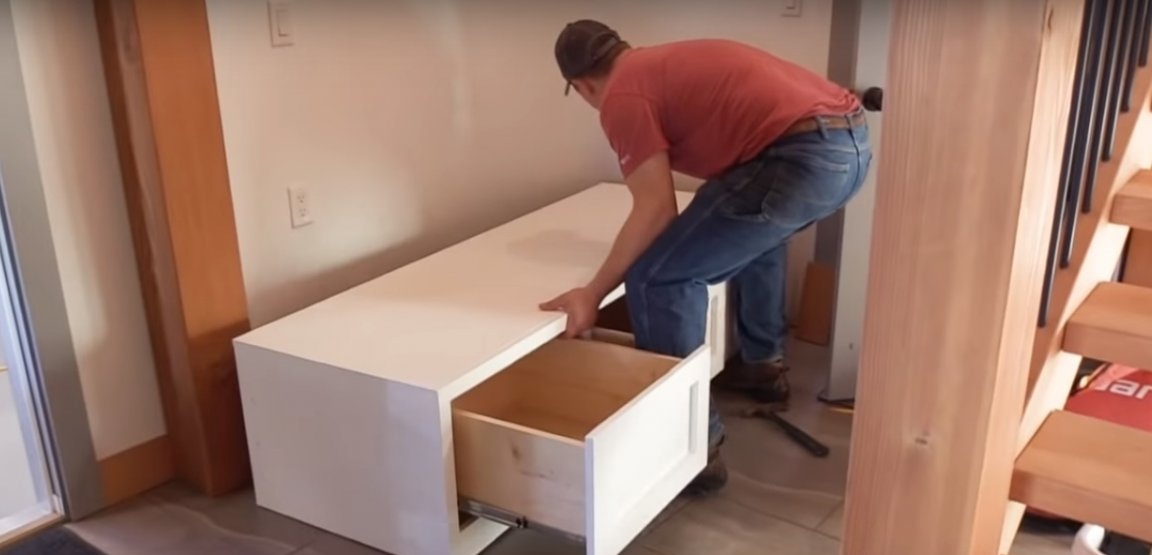
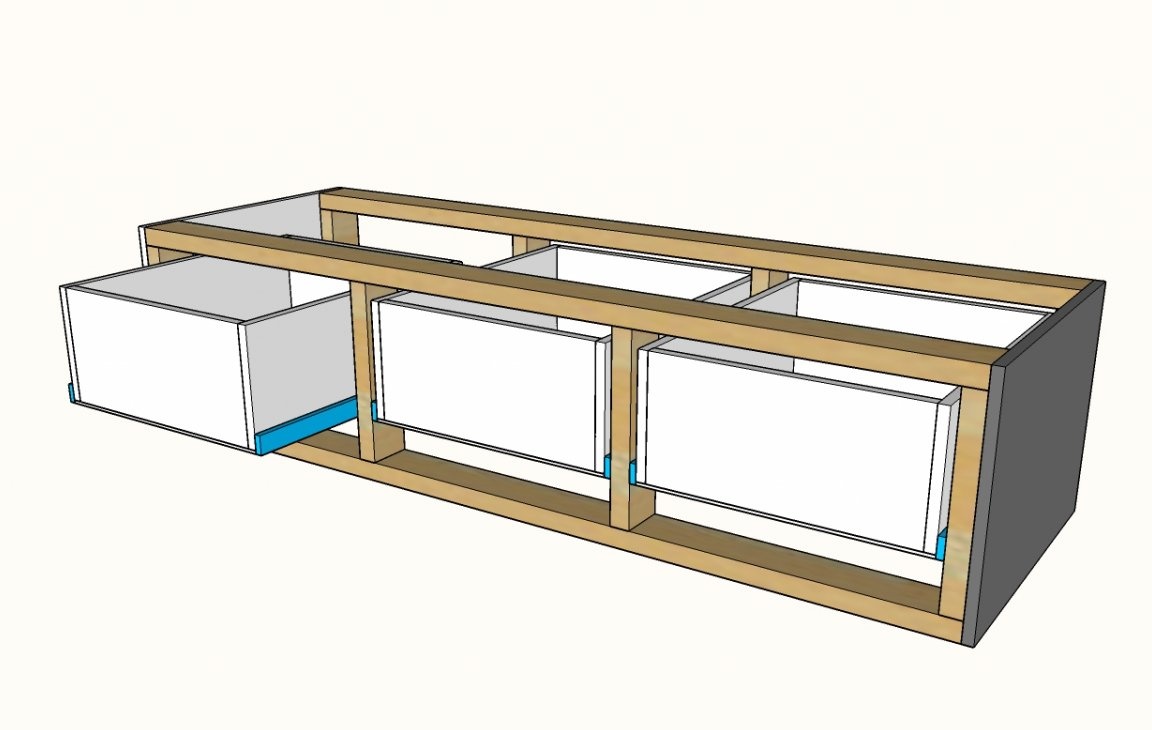
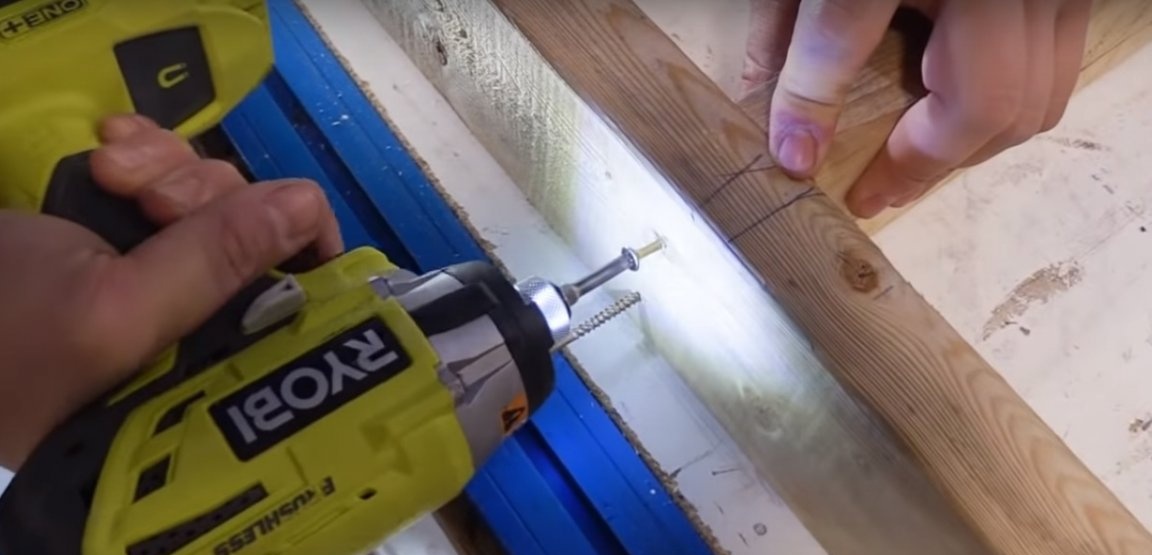
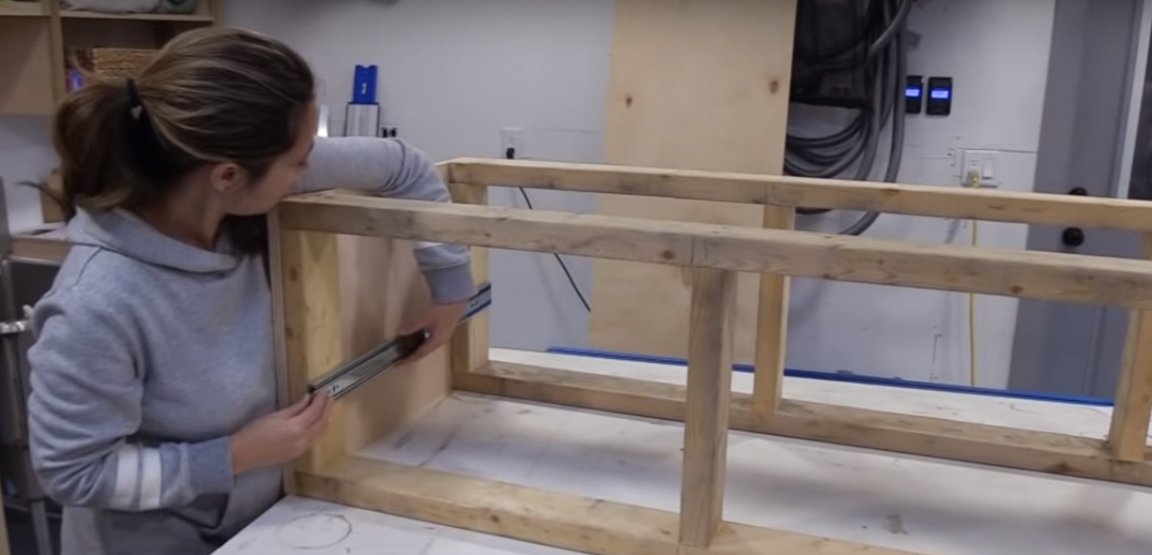
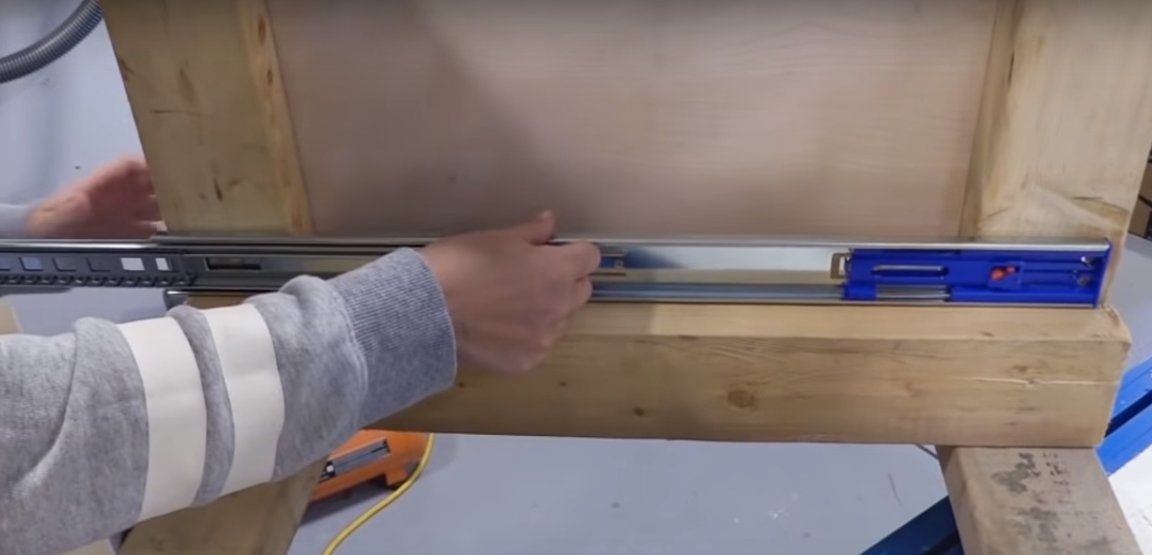
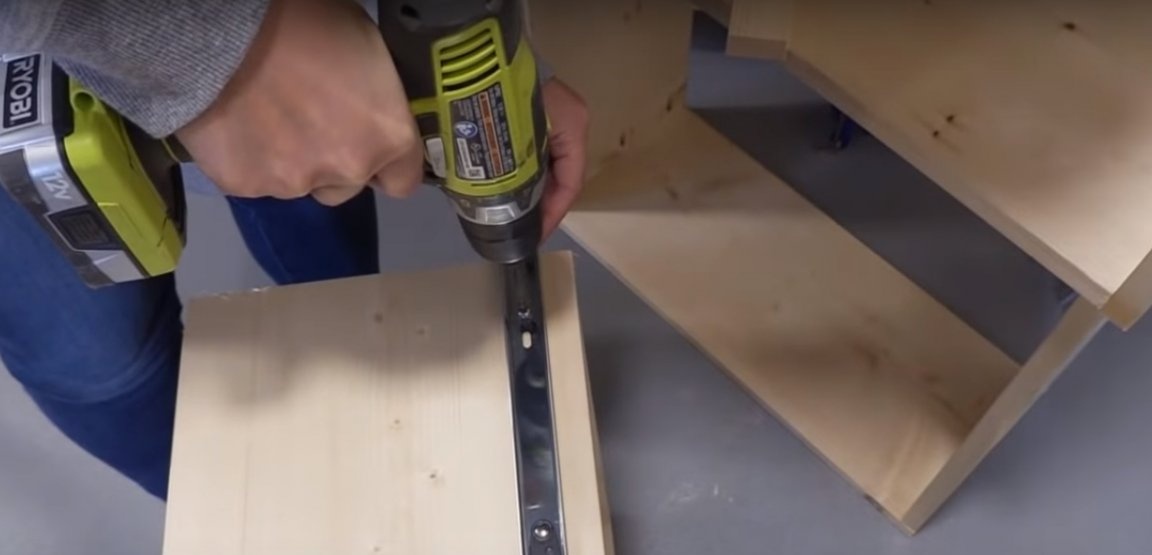
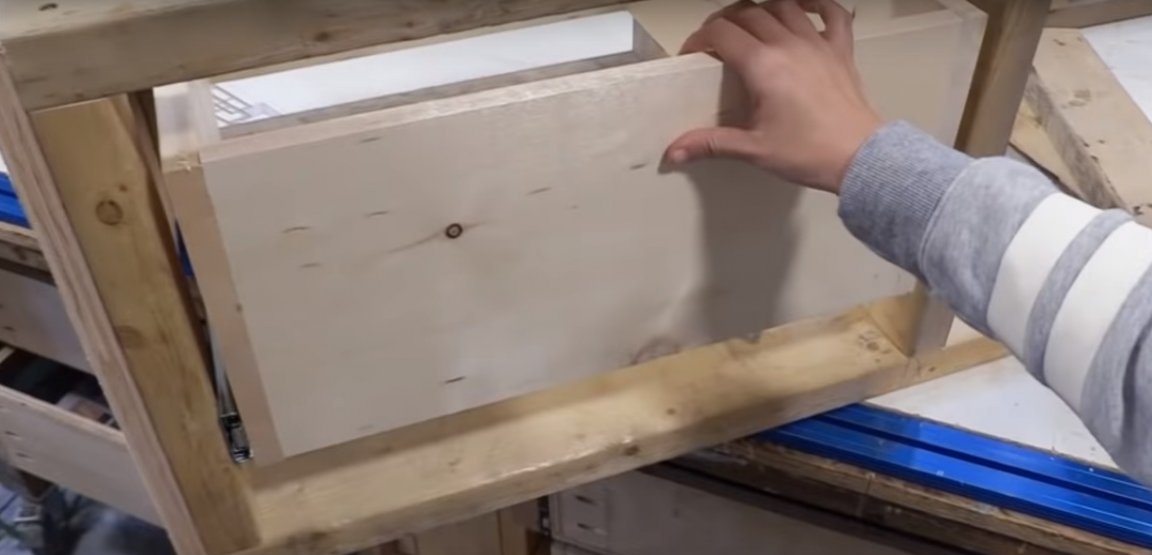
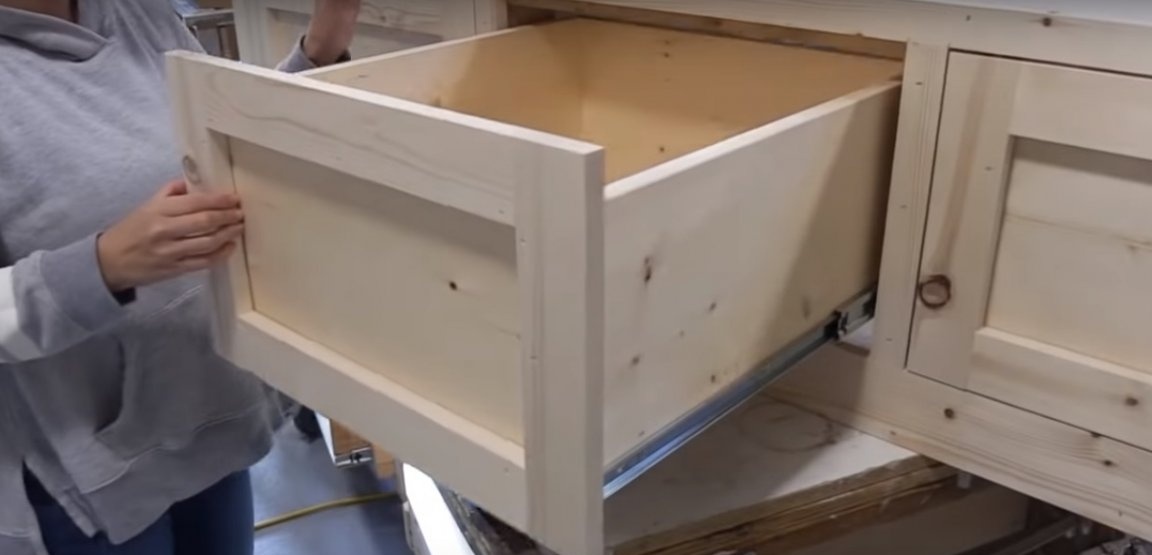
Step Five: Installing Drawer Drawer Systems
The elementary construction of the cabinet allows you to install the system for drawers simply and quickly. To begin, determine the place of fixation of accessories on the drawers and cabinet. Mark the attachment points with a pencil so as not to mess up anything. You can mark with lines in order to control the angle of fixation of the guides.
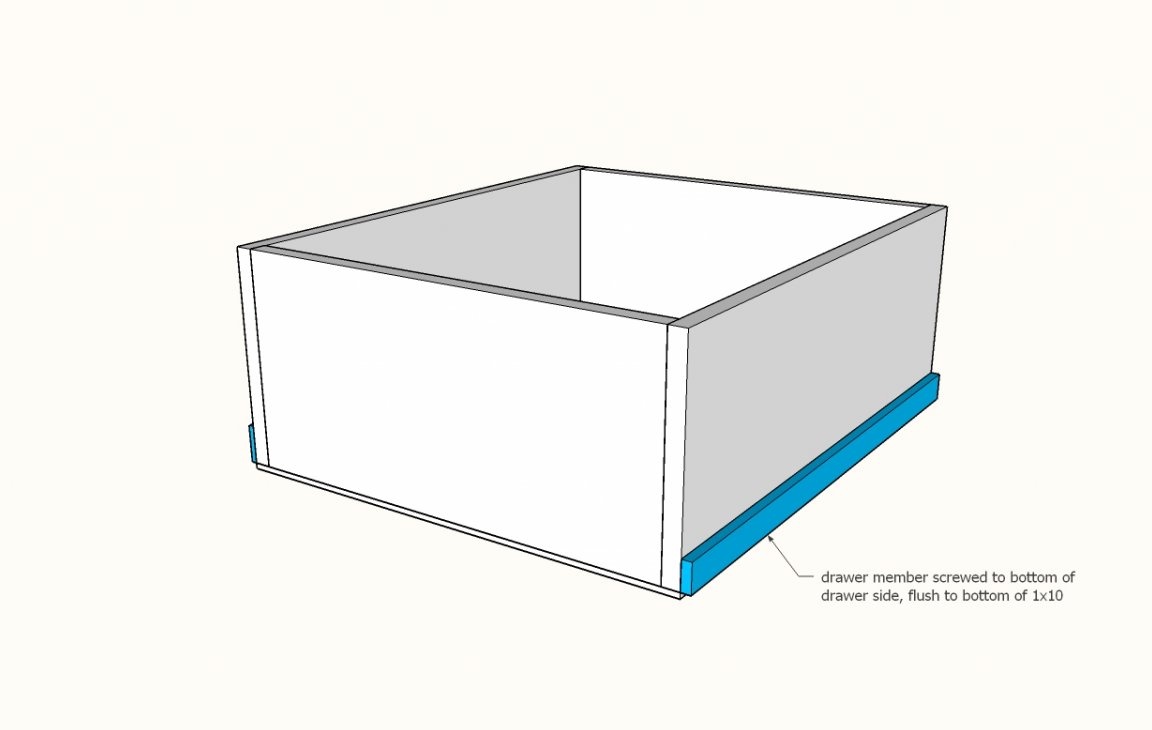
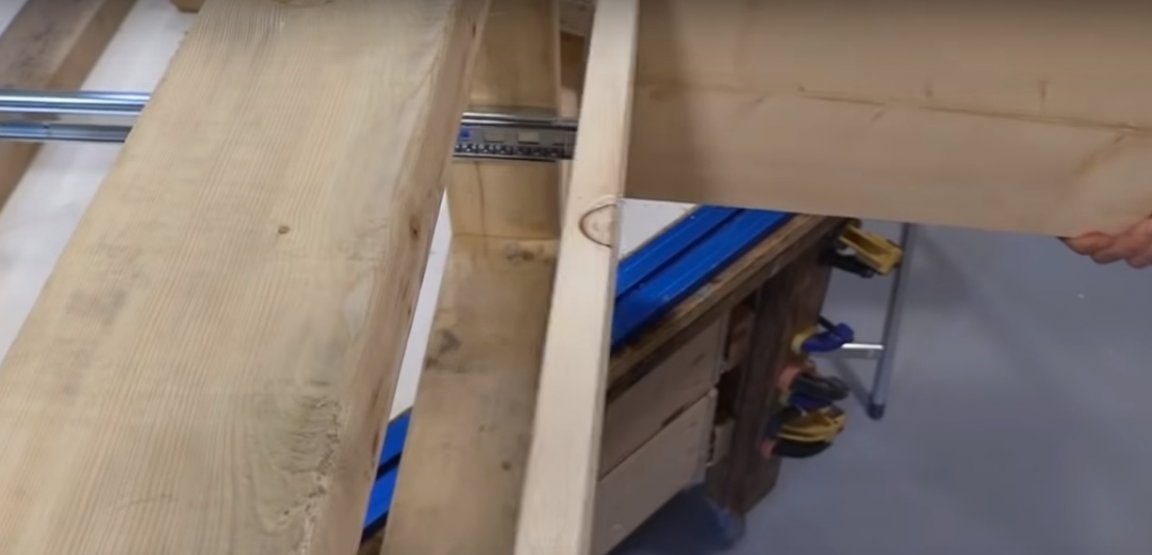
Using ordinary screws, secure the hardware on the walls of the cabinet and on the sides of the drawers. To comply with the same indentation from below, the author selected a support rail that is suitable for height.
Put each drawer in its cell and make sure it closes and opens with ease.

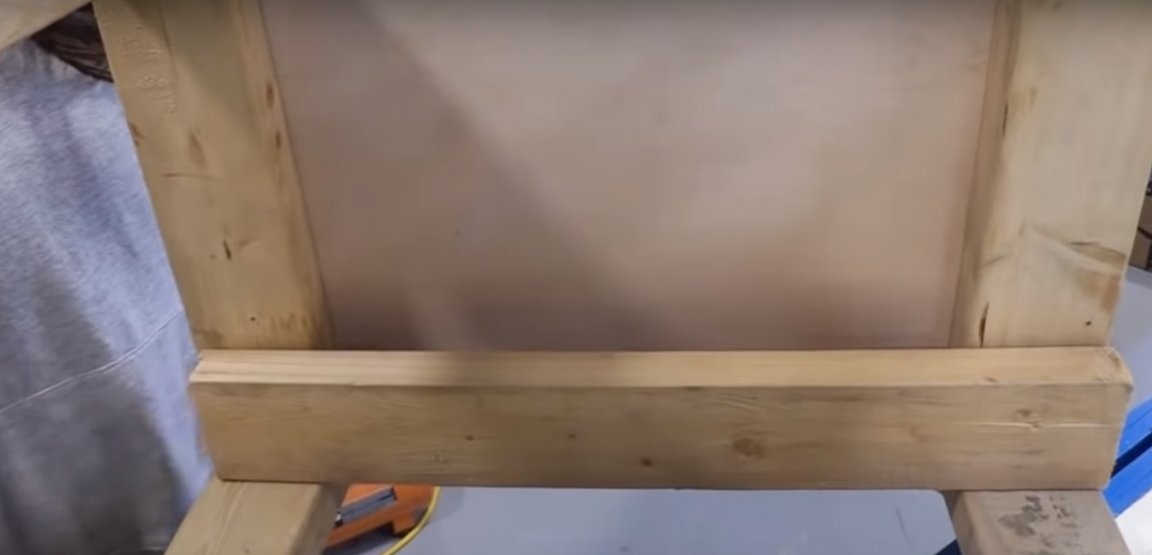


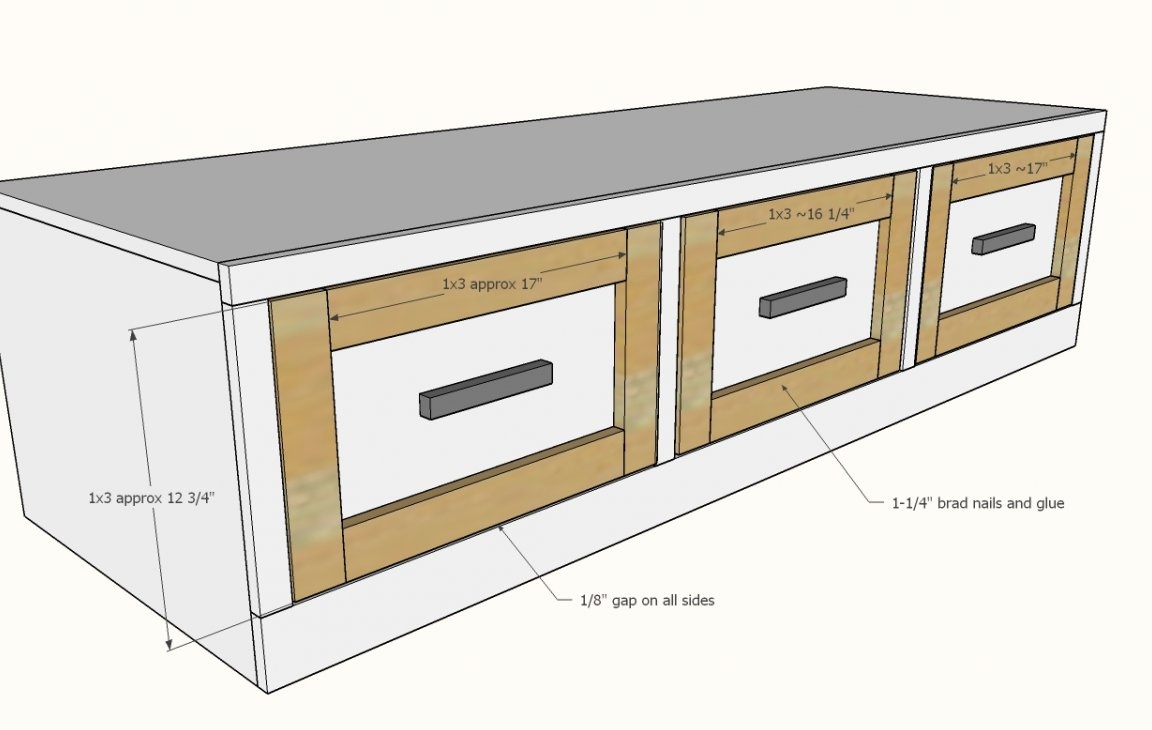
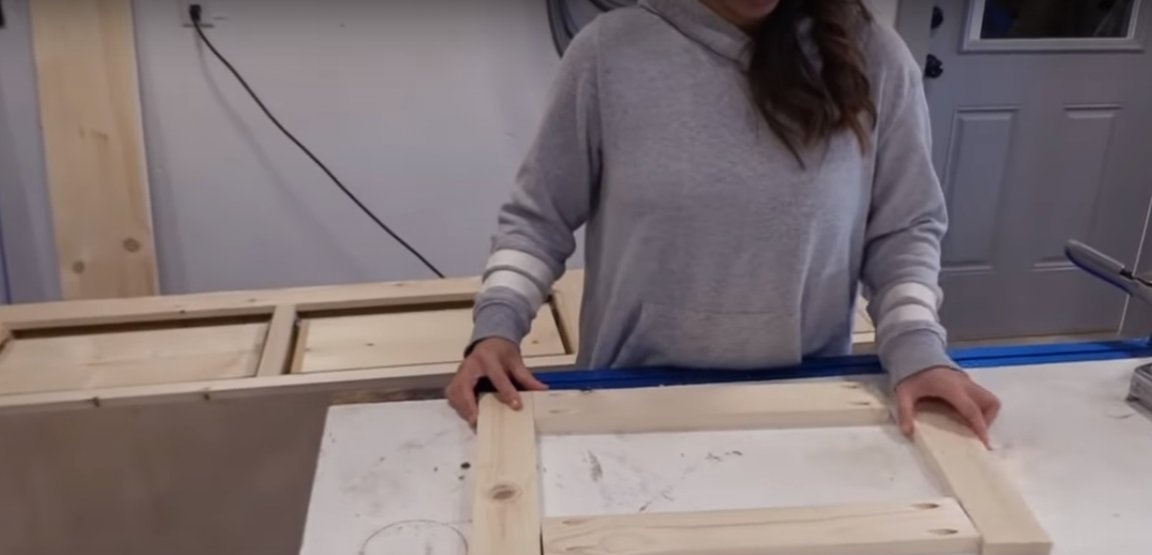
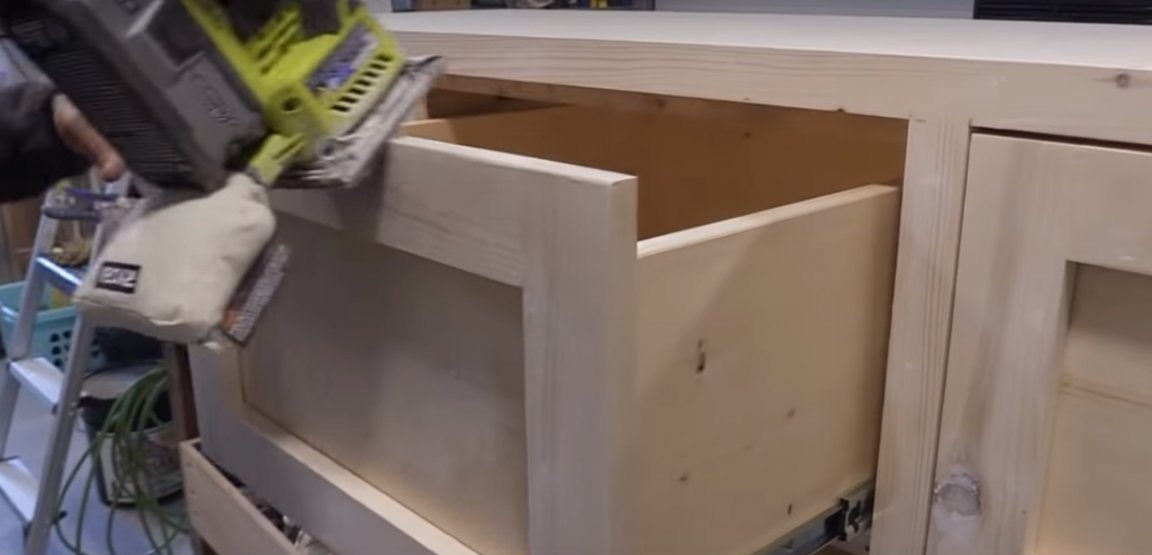
Step Six: Assembling the Facade of the Cabinet and Drawers
The facade of the cabinet was conceived by the author of natural wood. It is needed in order to hide the joints of parts and make the front of the cabinet more attractive.
Saw the rails into pieces of the required length and make diagonal holes to connect the parts together. Assemble the facade on the screws. In order to facilitate the assembly process, the author uses clamps, reliably fixing the structure in place. This will allow you to carry out all the work alone.
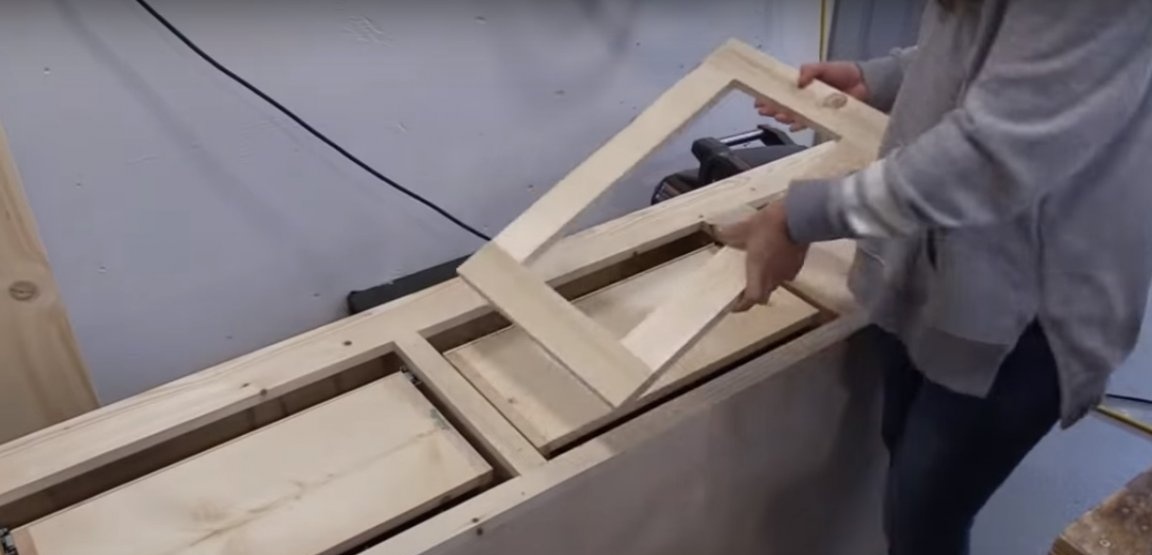
Gather the perimeter of the facade and try on it. Mark directly on the spot where the transverse rails will be mounted. Fix them with self-tapping screws.
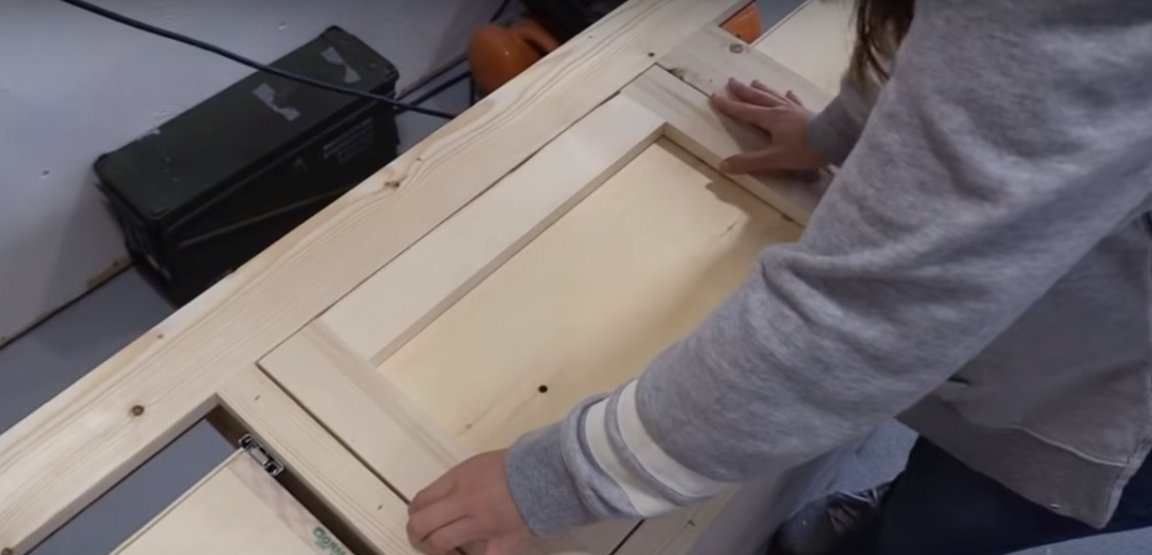
According to the same principle, make the facades of the boxes as shown in the photo. Try them on the general design and make sure that you leave a gap between the two facades of a couple of millimeters.


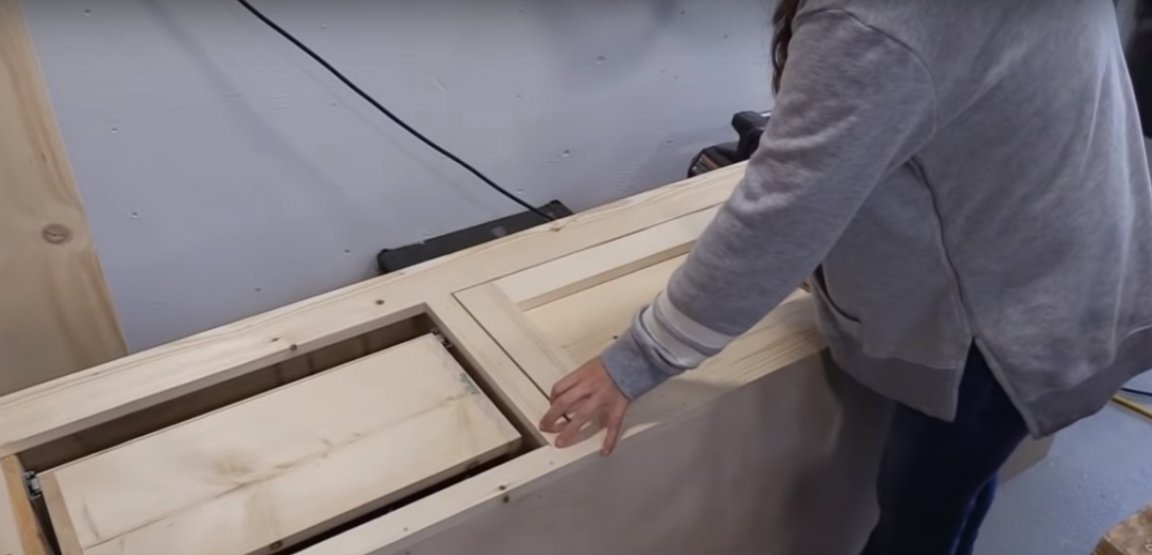
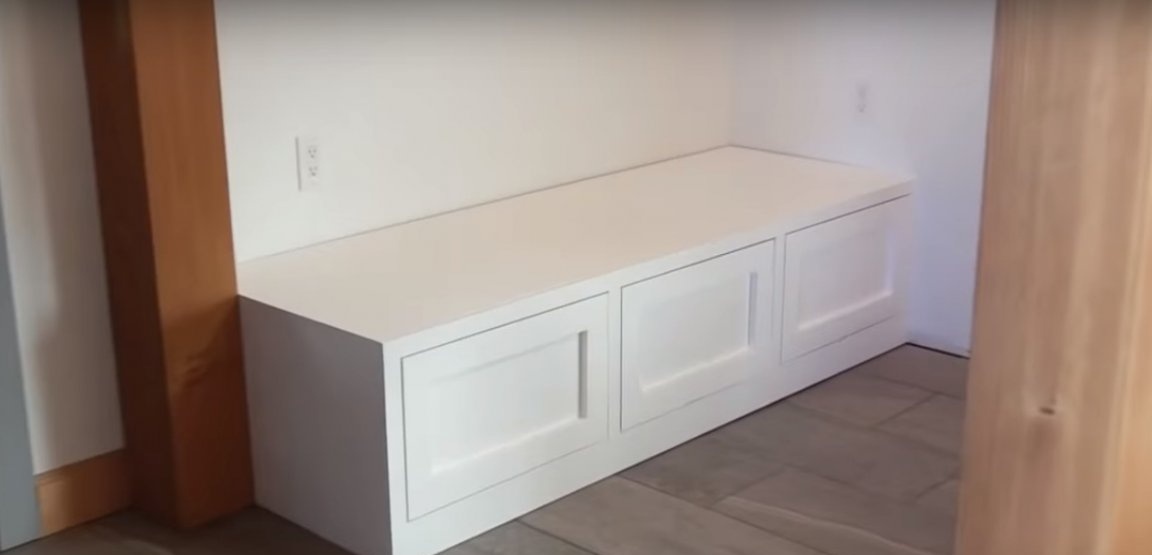
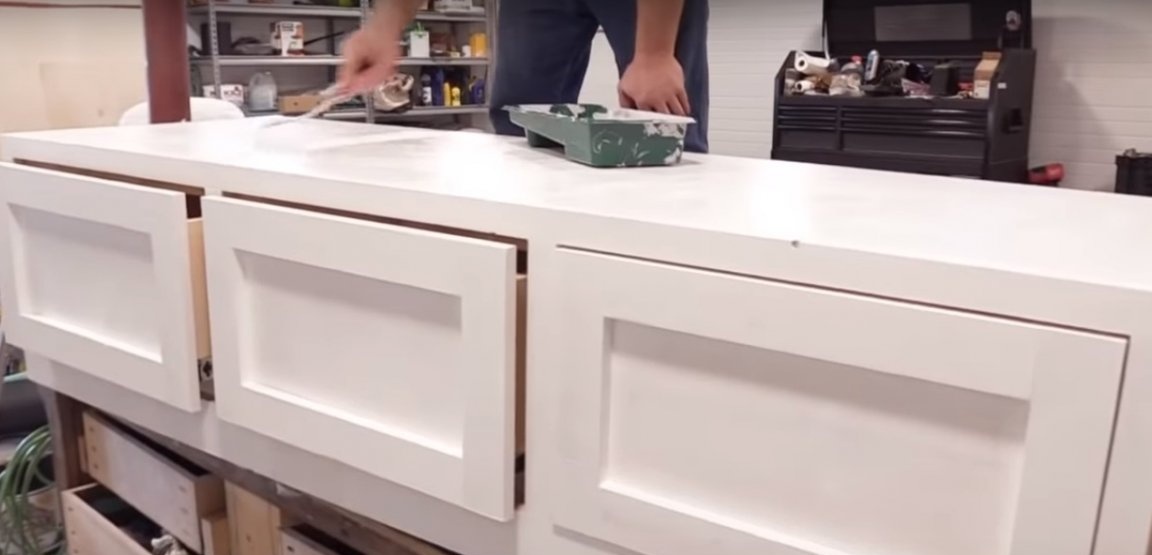
Seventh step: pedestal assembly and painting
The facades are ready, it remains to fix them and you can go to the next step. Use nails for fastening. They are less noticeable and quite sufficient for fixing decorative elements, which are facades.
Walk the grinder over the details of the cabinet, preparing the surface for painting. It should be smooth and clean. With a paint roller, apply the first coat of paint and let it dry completely. Apply paint again and leave to dry completely. Some of the modern high-quality furniture paints do not require fixing with varnish. Usually this is established empirically.
However, for reliability, one or two layers of resistant furniture varnish can be applied. Try to choose paint and varnish from one manufacturer.So you can be sure that they are fully compatible.


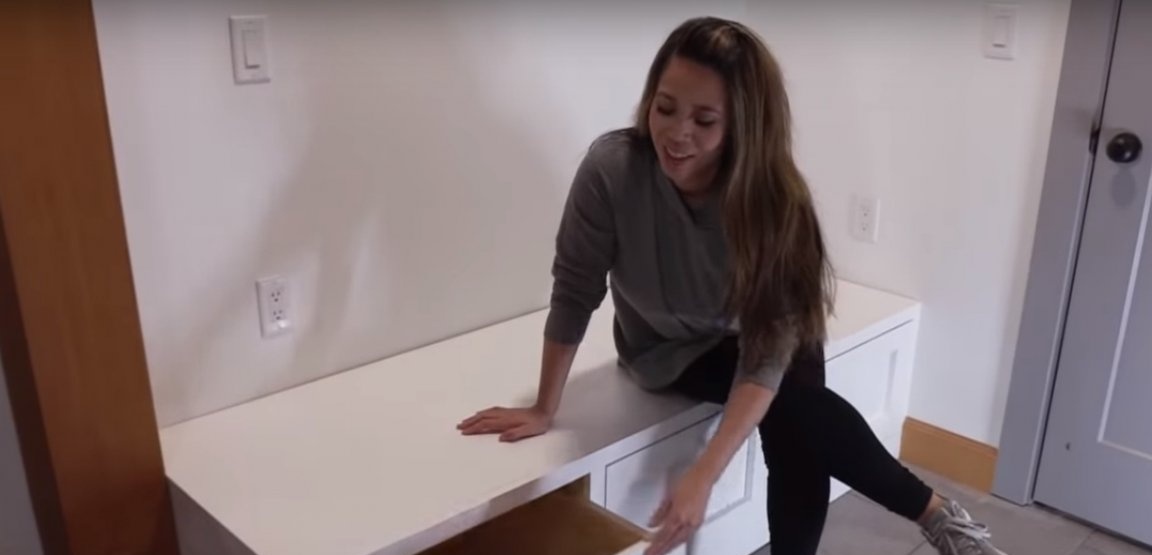
The stand is ready! It remains only to install it in place. Subsequently, the author modernized it and turned it into a hanger for the hallway.