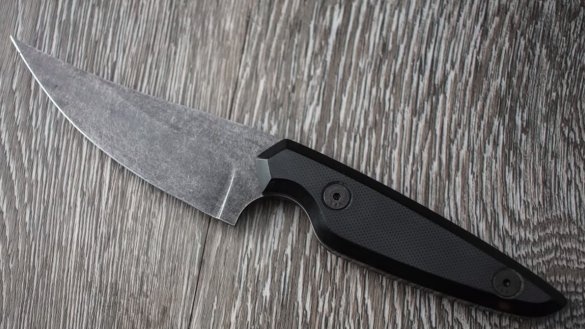
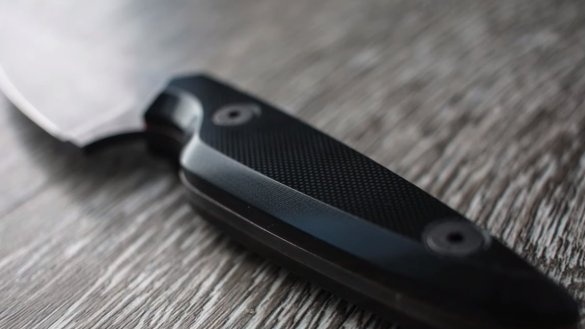
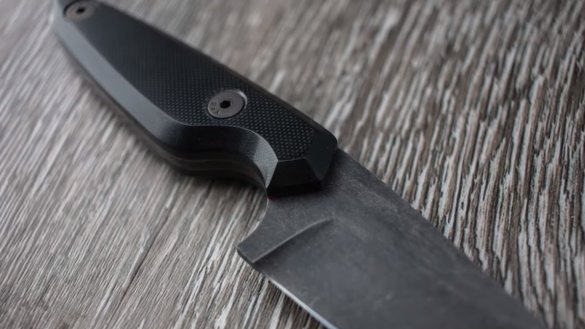
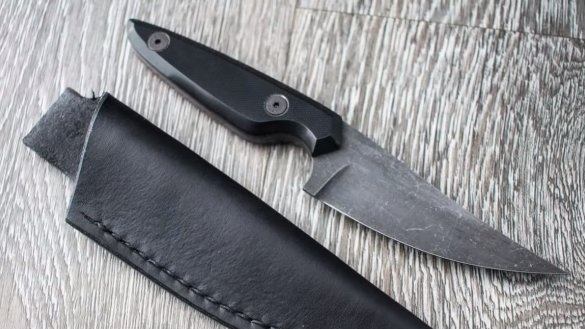
I welcome fans to work with steel, today we will consider how to make a knife called "Crooked Finger", which literally translates as "Crooked finger". The knife looks interesting, and in everyday life homemade should be pretty comfortable. The blade is made of the O-1 steel, widespread and inexpensive in the west. Such steel rusts, but has high hardness. So that the metal does not rust, it can be protected with an oxide film by etching and so on. The knife handle is made of G10, this material looks good and is not afraid of water. If you are interested in the project, I propose to study it in more detail!
Materials and tools used by the author:
Material List:
- steel O-1;
- ;
- decorative screws.
Tool List:
- belt sander;
- drilling machine;
- oven and hardening oil;
- liquid nitrogen (optional);
- tape cutting machine;
- paper, pencil, knife for woodcarving;
- drill;
- ;
- mini-tumbling machine;
- reagent for steel pickling;
- grinding stones.
The process of making a knife:
Step one. Cut profile
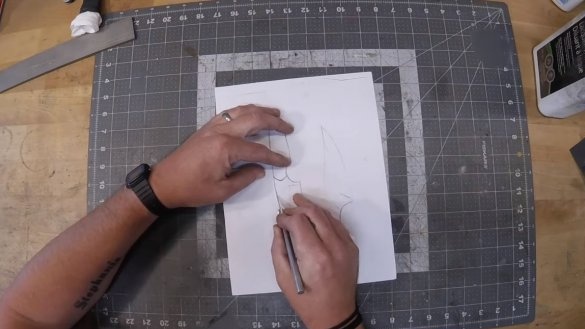
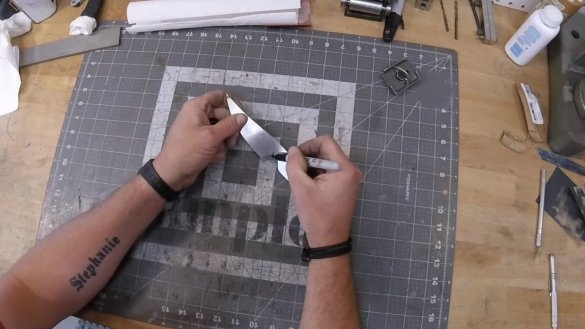
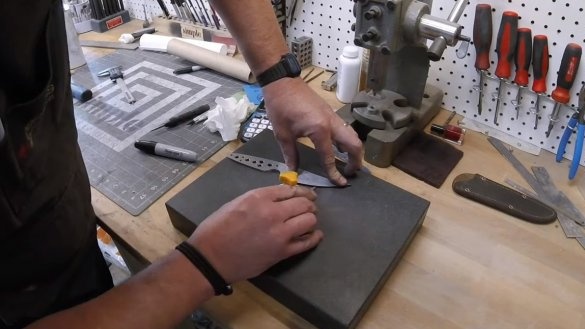
The author cut the knife profile from plain A4 paper, and a wood carving knife was used for cutting.
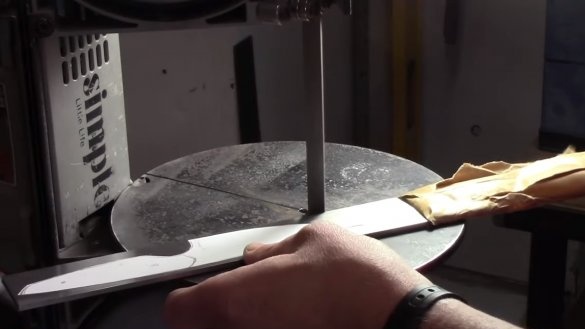
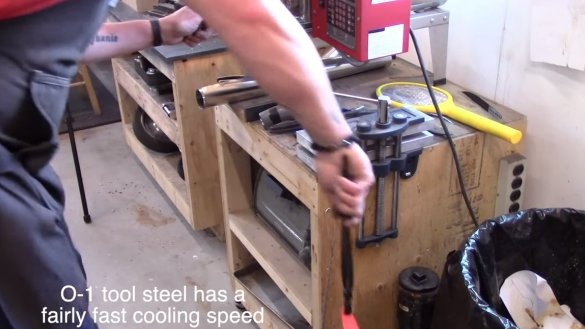
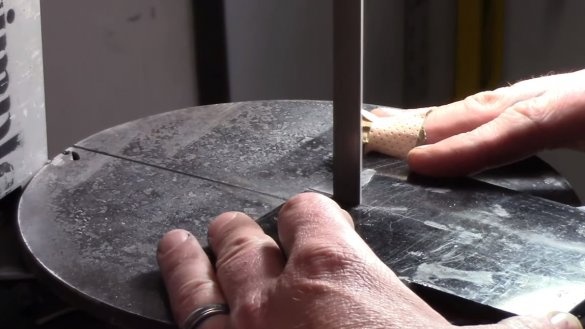
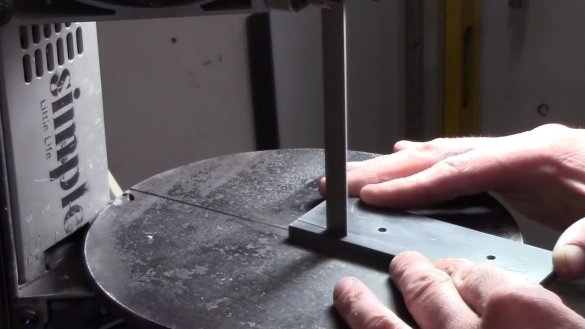
We glue the template to steel and proceed to cutting, the author performed the work quickly and without dust using a tape cutting machine. You can handle the grinder or even a hacksaw for metal, steel is not yet hardened and is well processed.
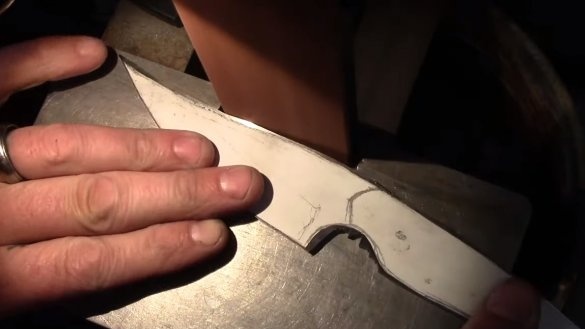
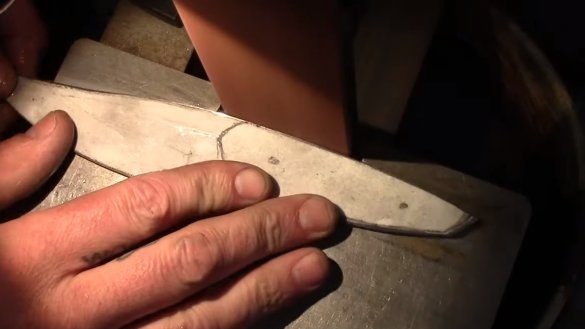
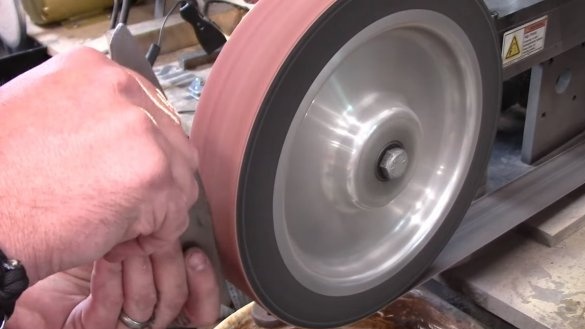
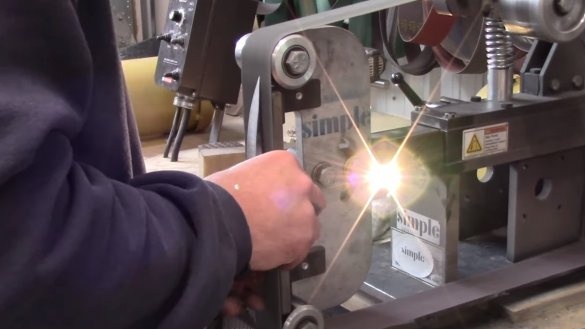
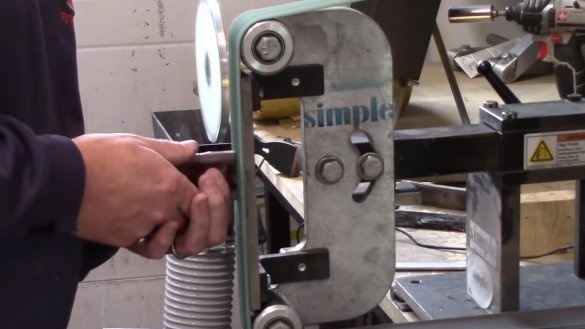
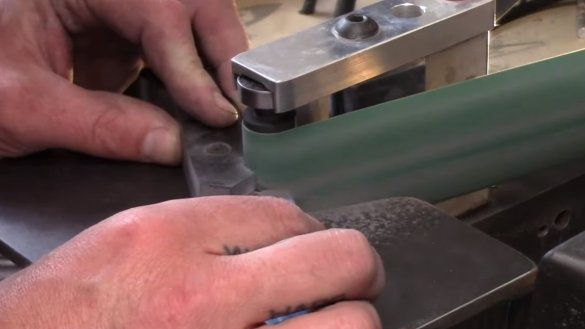
After cutting, we finally refine the contour of the knife by grinding, here the author has already used a belt grinder. If there is no such machine, no problem, you can finish the circuit with files.
Step Two Handle
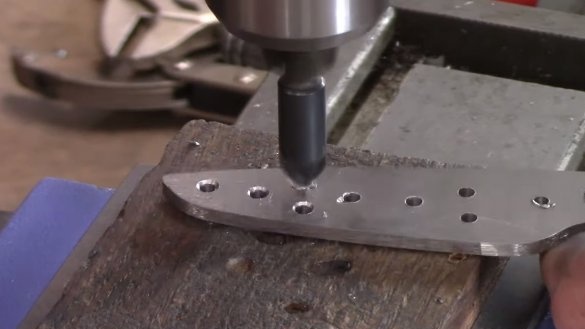
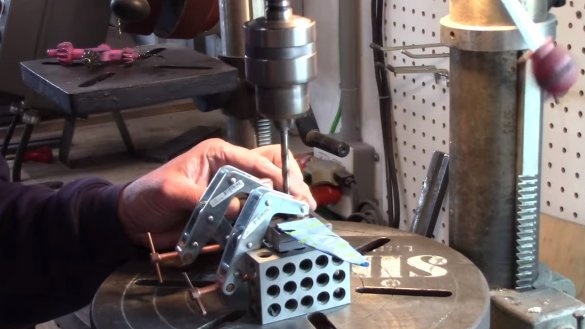
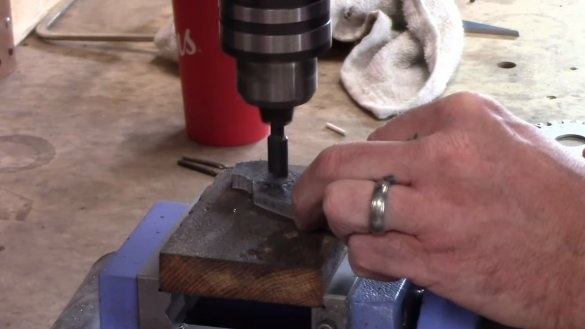
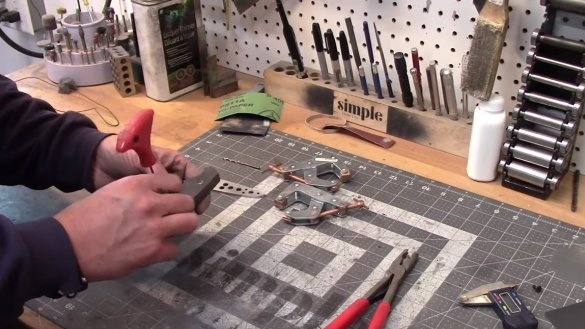
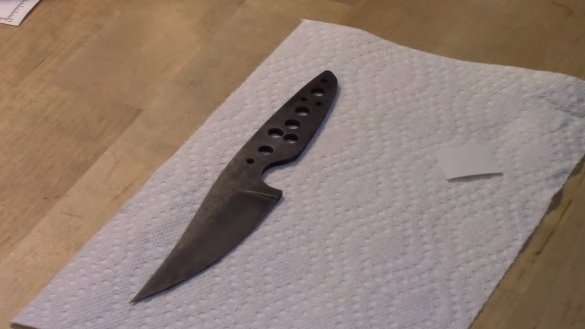
The knife handle should be lightened as much as possible, then the knife will be convenient to use, and also it will not be heavy. In the handle area, we drill rows of holes on a drilling machine. You will also need a countersink to modify the holes.
Step Three Slopes
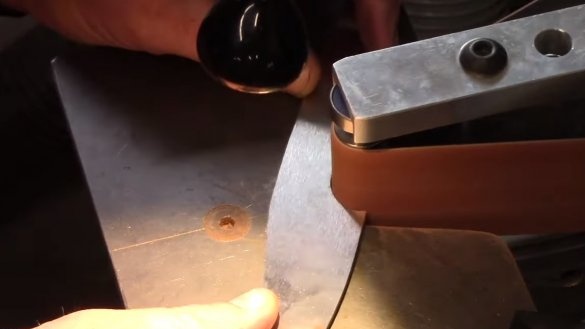
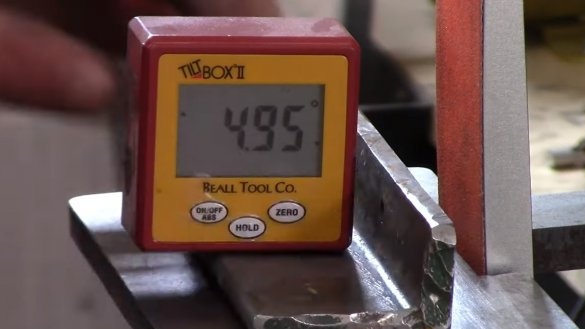
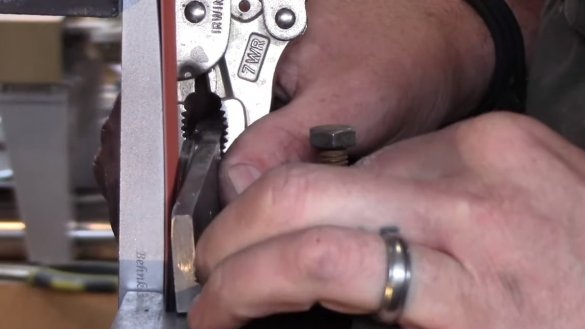
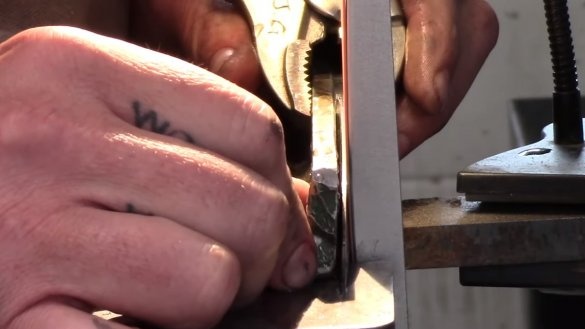
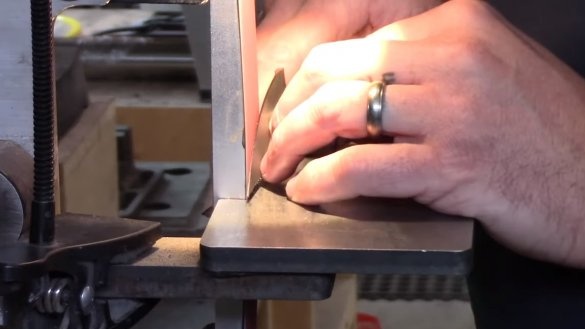
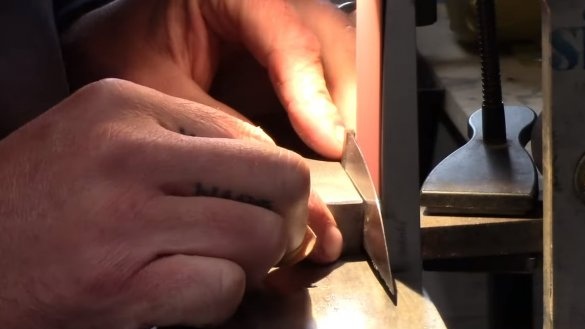
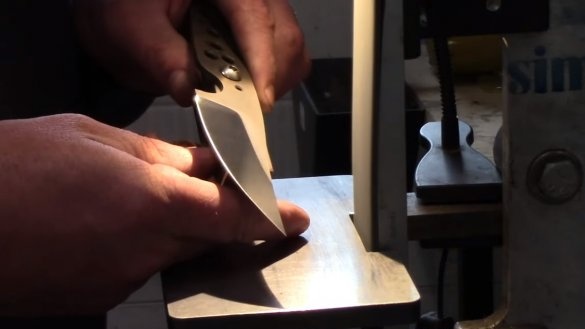
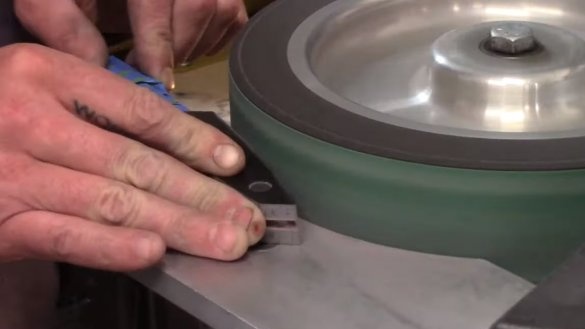
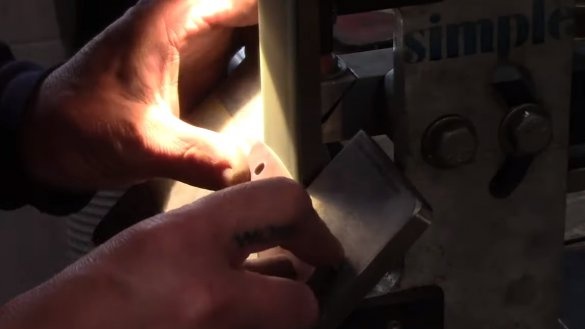
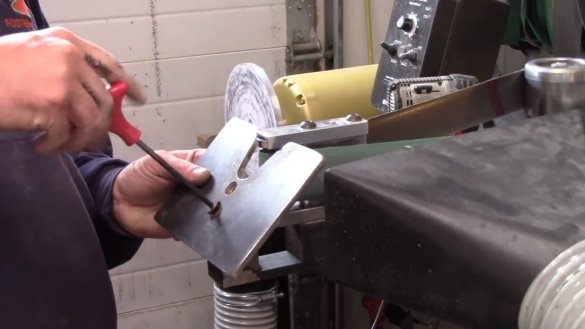
We make descents on the blade, to begin with, mark the blade and get to work, the author uses a belt grinder.To fix the blade at the right angle, the author uses a piece of the corner with a bolt, which allows you to set the desired angle. You can see the angle using the digital level, even a mobile phone is suitable.
Step Four Heat treatment
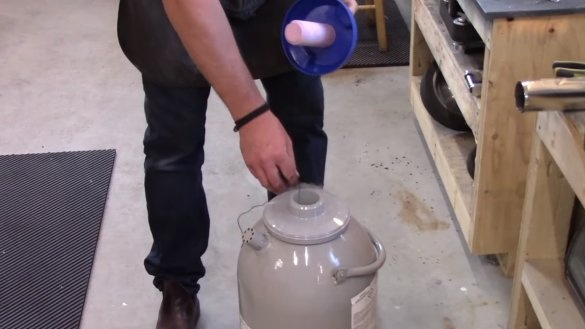
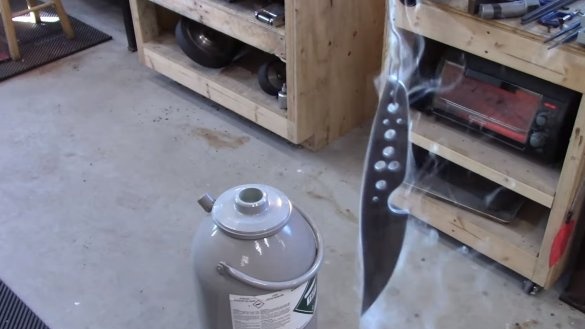
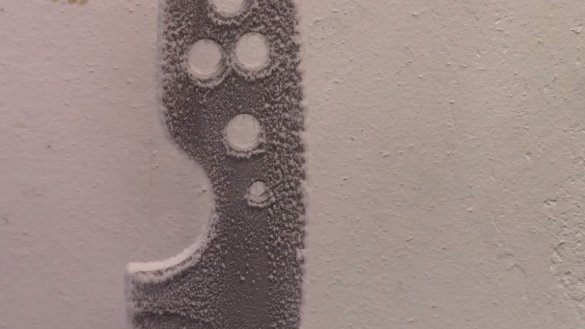
We temper the blade to maximum hardness, heat steel to a non-magnetic state and immerse in oil. After the oil, the author cooled the blade also in liquid nitrogen, but usually just enough oil is enough.
Now steel has maximum hardness, note that now the blade is very fragile and must not be dropped.
Now the steel needs to be released, use the oven. Before the holidays, it would be nice to polish the blade to a shine so that the color of the oxide film is visible. The author made the vacation in two stages, each stage takes 2 hours at a temperature of 204 ° C.
Step Five Final grinding
After hardening, you can finally grind the knife, and also make primary sharpening. The author carries out the work on a belt sander.
Step Six Lining
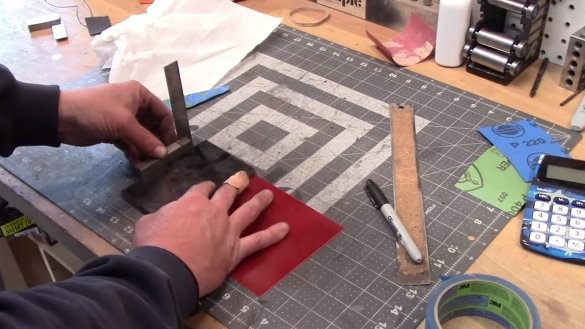
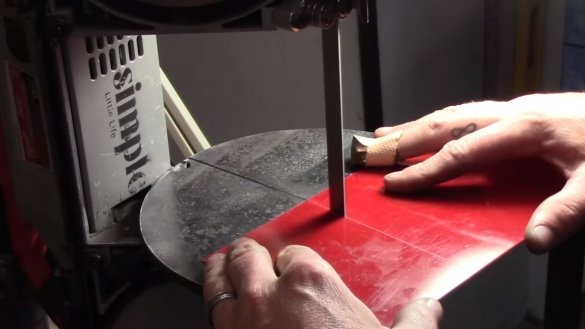
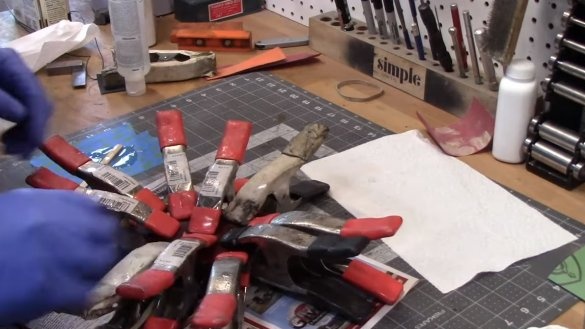
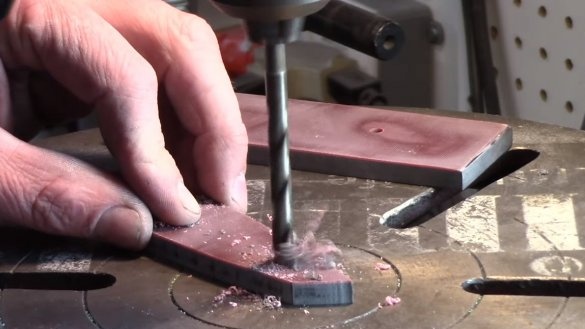
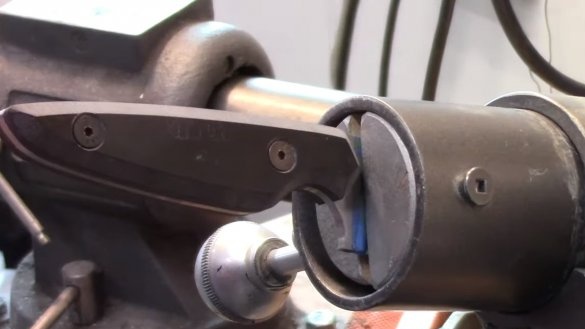
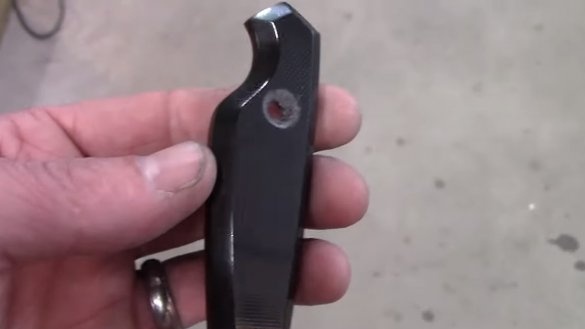
We will manufacture the pads for the handle, then the author decided to use two pieces of G10, the red sheet is used as an insert, for beauty. Sheets can be glued with epoxy glue. Cut the pads in the shape of a handle, grind, form the desired profile and drill holes. The author will fix the pads with decorative screws, it is reliable and beautiful.
At the end of the lining, you need to thoroughly polish it on a polishing machine.
Seventh step. Final touches and assembly
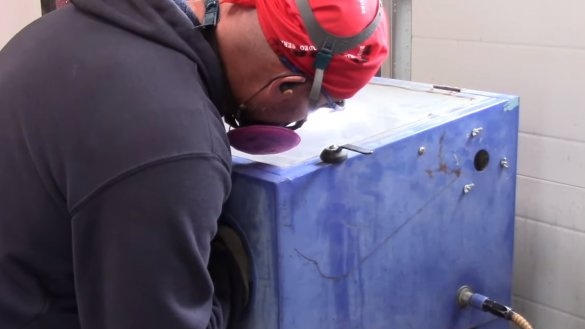
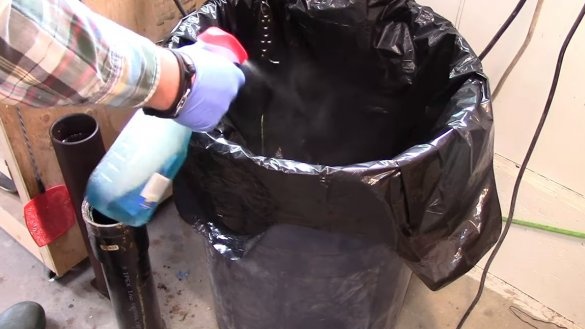
In the end, we need to protect steel from rust, we need to create an oxide film on steel. We immerse the blade in ferric chloride, the steel will begin to defend itself, and will be covered with a black oxide film. We neutralize the reagent with soda and wash the blade well.
In the end, for easy grinding, the author threw the blade into his home-made tumbling machine.
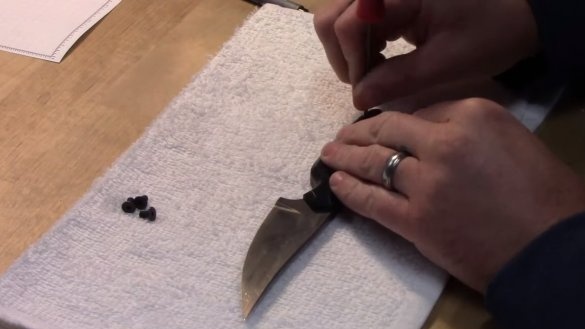
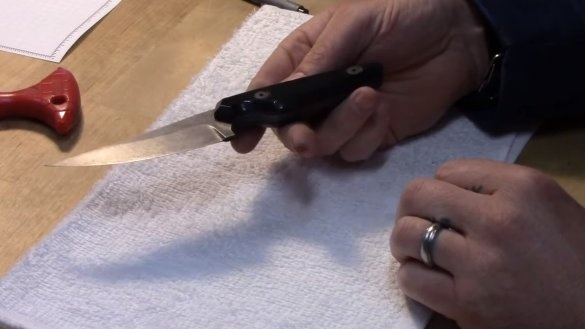
That's all, then the knife can be assembled, we fasten the lining with decorative screws and the knife can be sharpened. Usually, knives are sharpened using Japanese water stones, the final sharpening can be done using a polishing machine. Hardened steel can be sharpened to a razor condition, the author’s knife easily cuts paper.
The homemade product looks great, and in fact the knife is good, do not forget to make a reliable sheath for the knife. This is the end of the project, I hope you liked the homemade work, and you found useful thoughts for yourself. Good luck and creative inspiration, if you decide to repeat this. Do not forget to share your ideas and homemade things with us!

