

Hello to all lovers homemade. Probably many had such a situation when the nut stuck and it was not possible to unscrew it in the usual way with a wrench. In this case, you have to resort to non-standard solutions, for example, sawing a nut with an angle grinder, unscrewing with a chisel and hammer, but all this is ineffective and inconvenient, and can also damage not only the nut, but also the bolt (stud) on which it is wound. In this article I will tell you how to make a steering wheel nut. do it yourself, which will help in solving this problem. Parts for homemade products will be made entirely of automotive parts Therefore, if you are the owner auto, then there will definitely not be problems in the search for details.

Before reading the article, I suggest watching a video with a detailed process of assembling this nut from the steering tip and, of course, testing it for cracking a nut.
In order to make a steering wheel nut, you will need:
* Angle grinder, cutting disc
* Welding machine
* Welding mask, gaiters
* Safety glasses, gloves, earphones
* Old steering tip from a car
* Bolt with a diameter suitable for the thread of the tip
* Tap
* Bench vise
* Kerner
* Hammer
* Ball from bearing
* Grinder
* Electric drill
* Drills for metal
Step one.
First you need to remove the excess parts from the steering tip, namely the ball finger. We install the tip in a bench vise and, using an angle grinder with a cutting disc, saw off a part to release the ball pin and hammer it out with a hammer. When working with the angle grinder, be careful when wearing gloves, goggles, and headphones.

Step Two
Then saw off the round part from the steering tip using angle grinder.
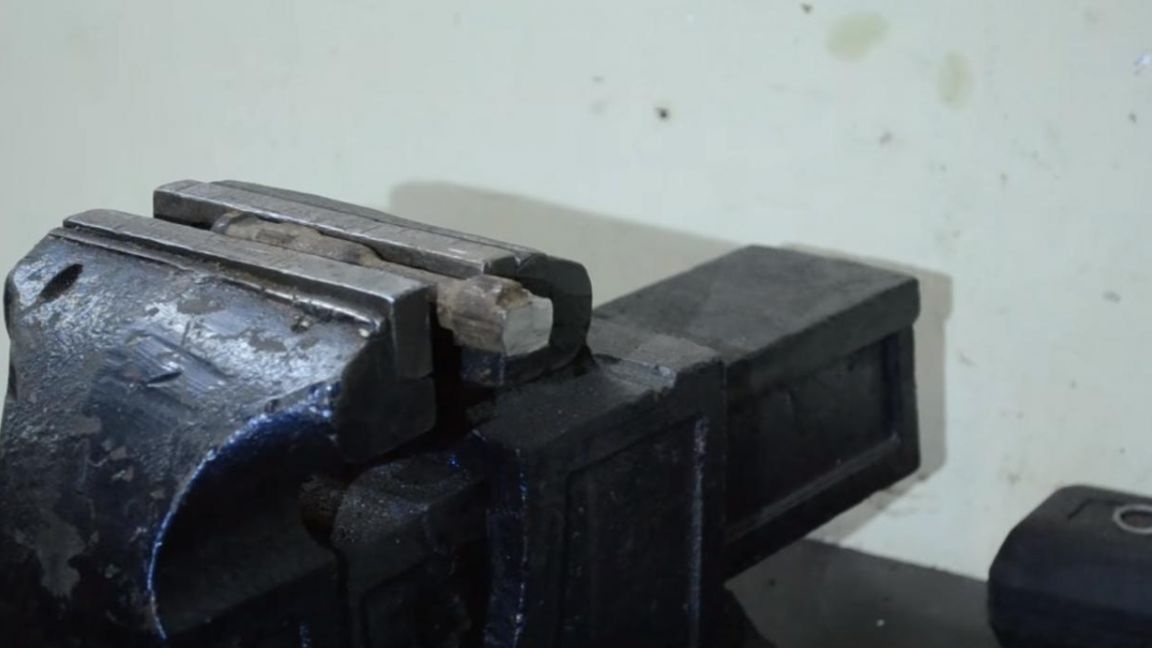
We fix it in a vise and level the plane with a file for a more accurate installation of the threaded part.
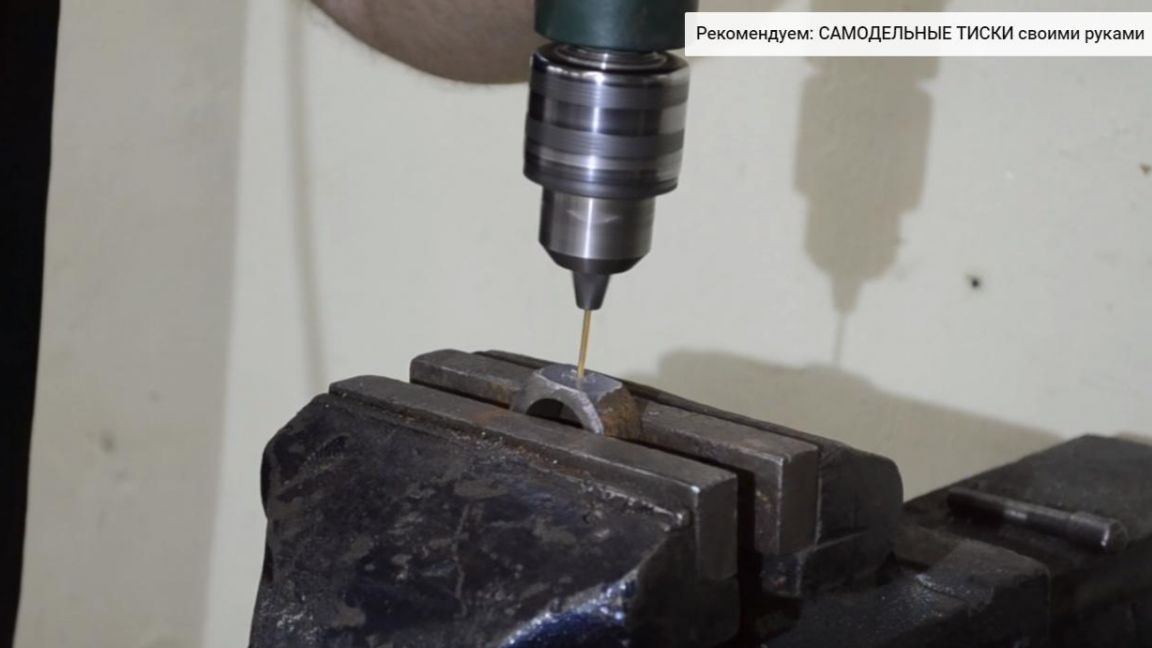
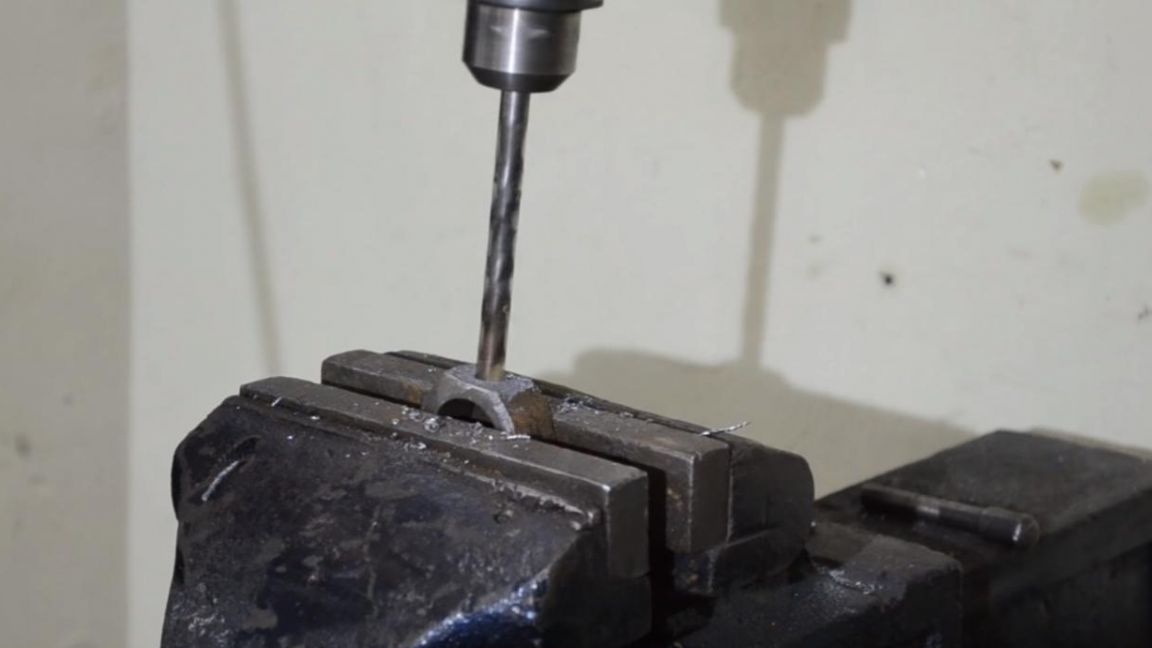
Next, set the center punch on the given plane exactly in the middle and do the punching.
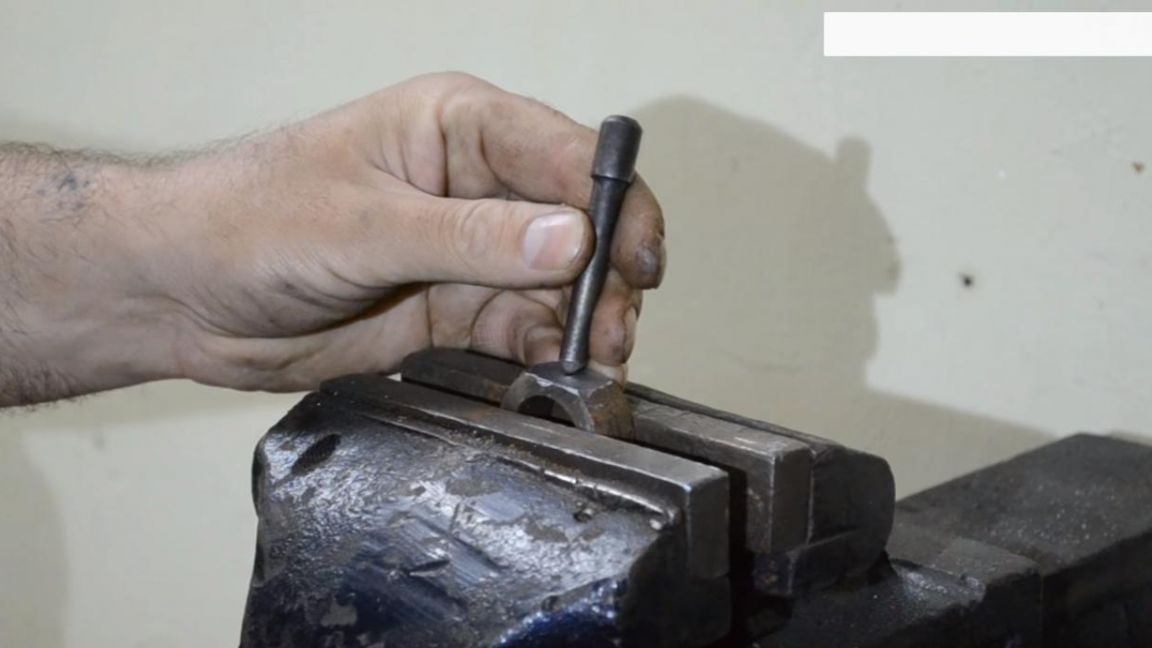
After that, we make a hole in the recess with the help of an electric drill, first we take a small and then a large drill with such a diameter that the tap shank freely passes into the finished hole. In the process of drilling, we add technical oil to the cutting edge of the drill, so it will last longer and is less likely to stick into parts.
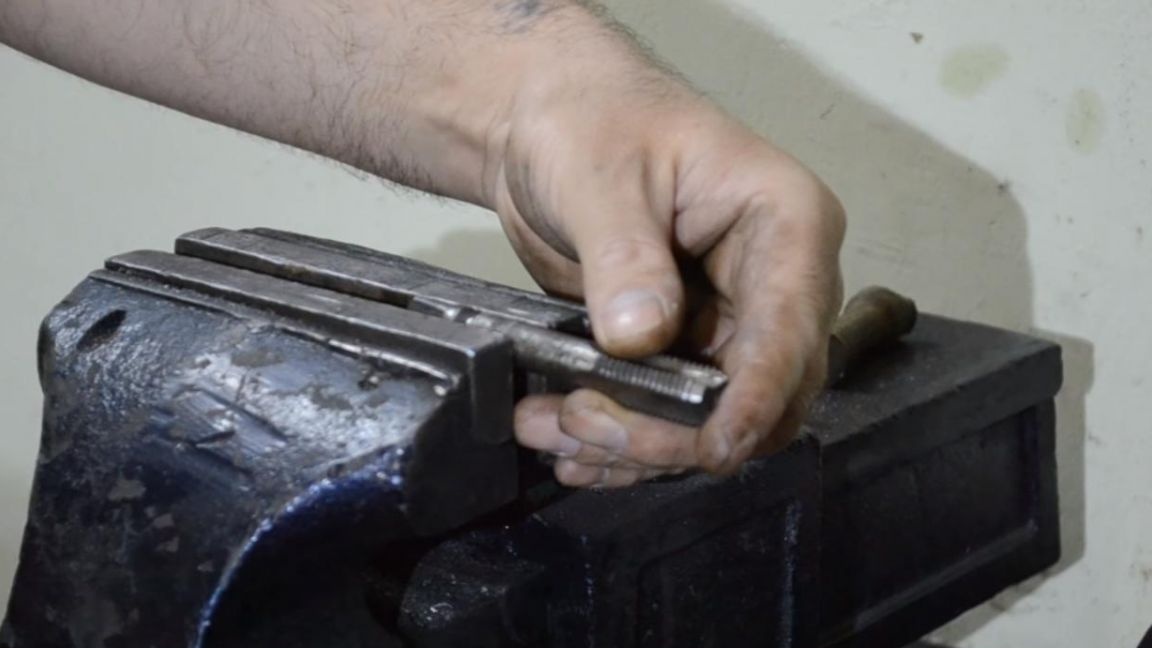
Step Three
Now you need to saw off the threaded part from the steering tip using an angle grinder. We grind this part around the edges in order to weld it to the ring without any problems. It should be a kind of thick-walled sleeve with internal thread.
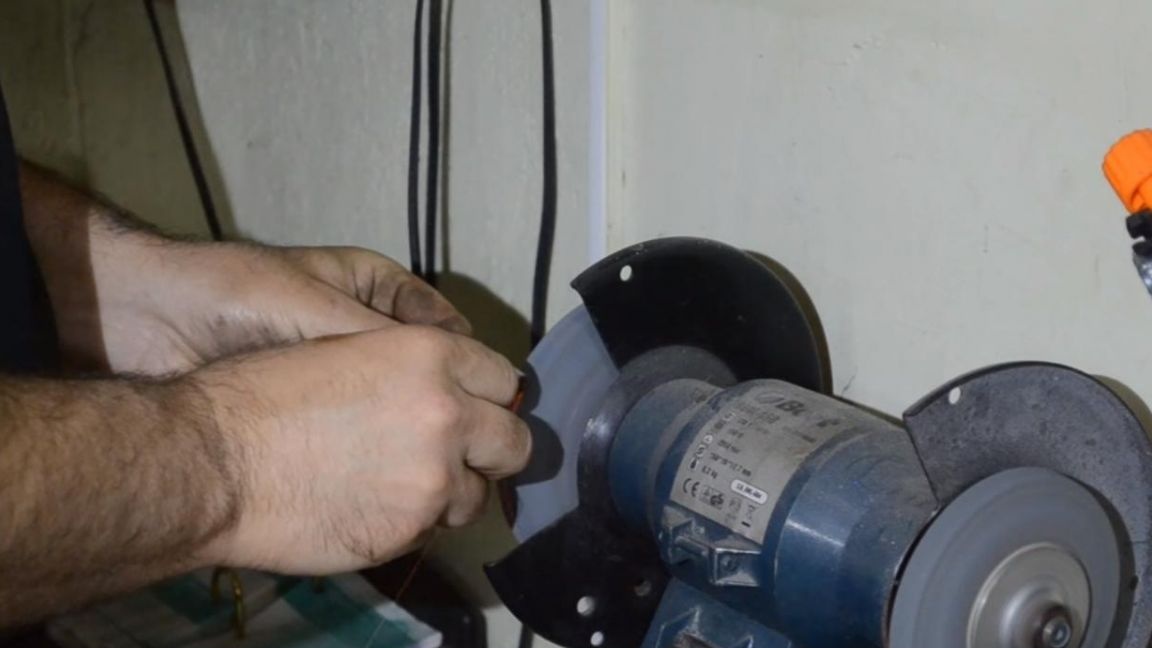
Step Four
In the wrench, the stitching part is the main element. In this case, it will be made of a tap, it can also be made of a drill of suitable diameter or other parts with sufficiently strong steel.
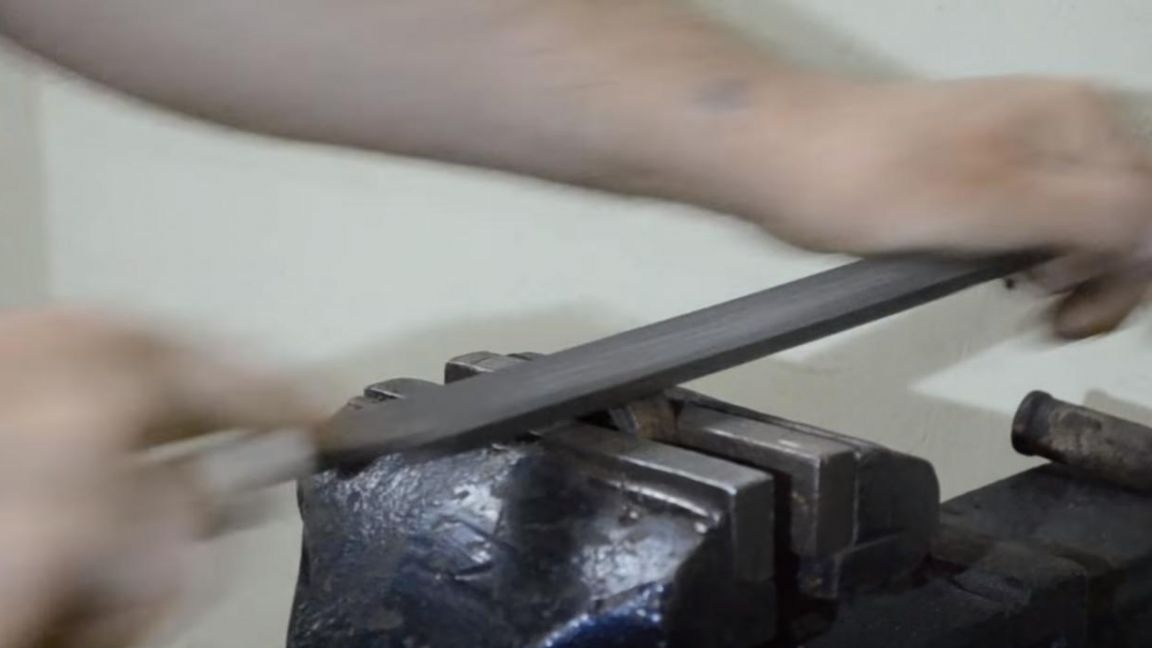
We hold the tap in a vice and with an angle grinder we begin to make a point. We finalize the tip, as well as sharpen it, on a grinder with a stone. When working on the grinder, wear safety glasses and gloves, as safety is paramount.
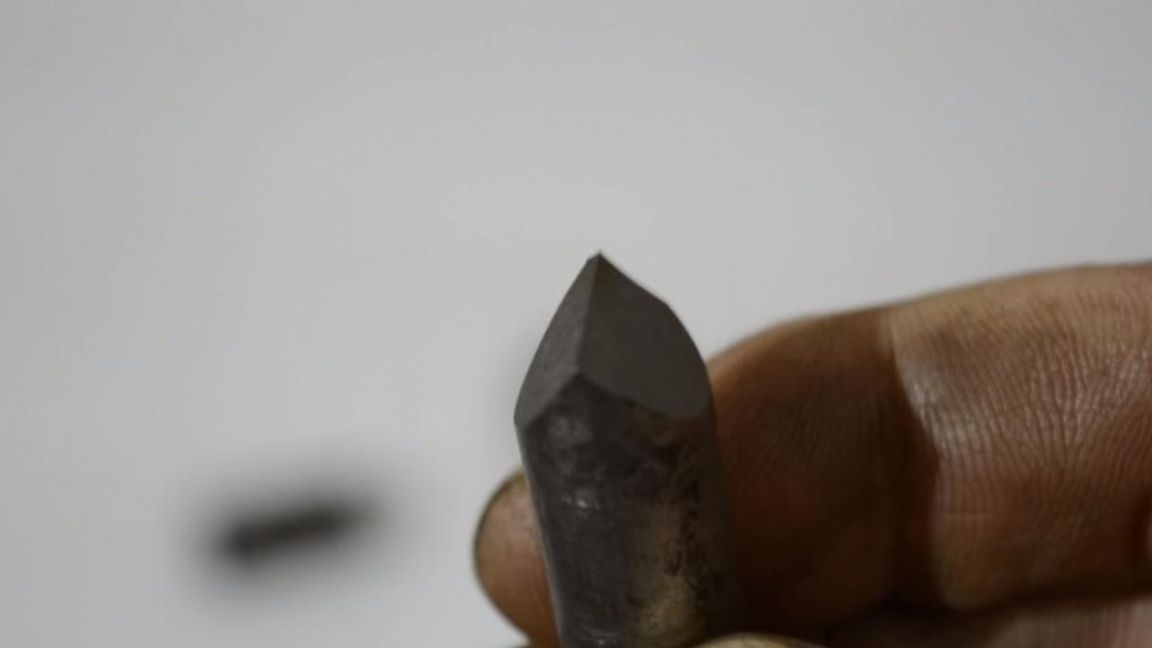
The result was such a stitching part from a tap.
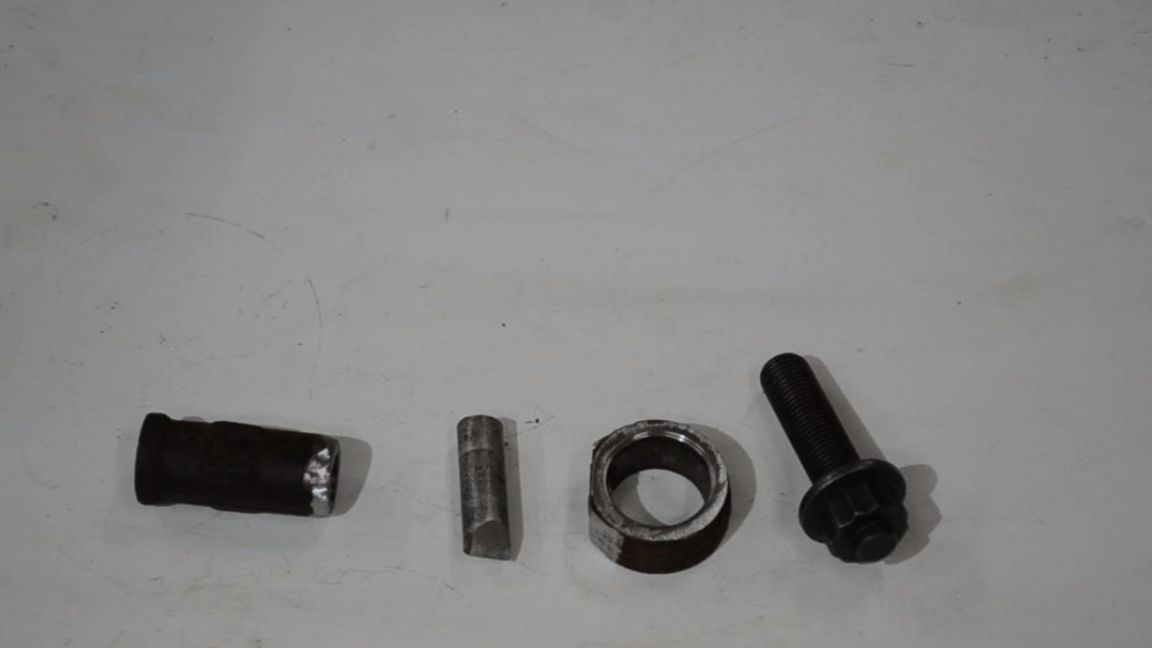
Step Five
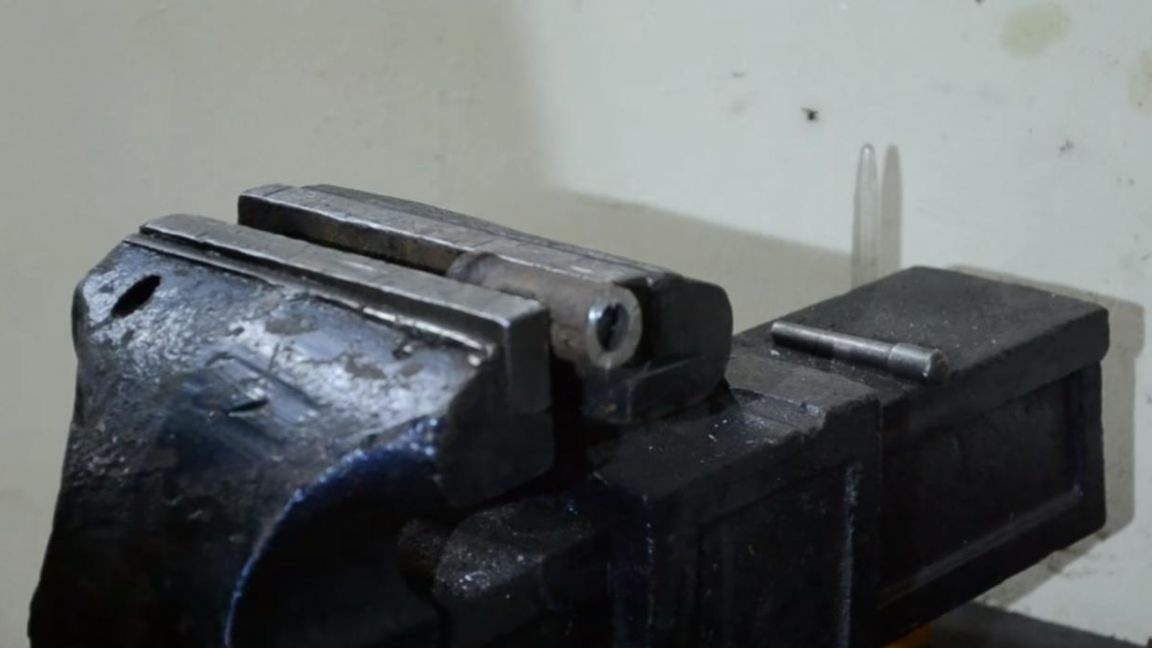
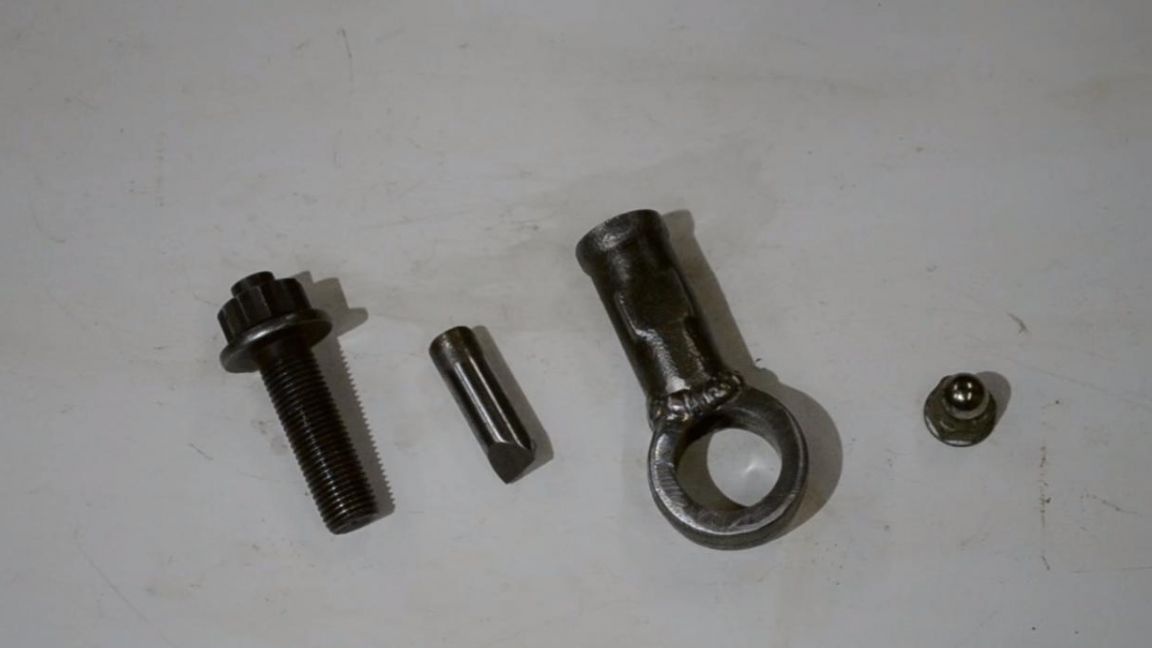
That's all the workpieces from which you need to assemble the tool.
But before that, you need to weld some details. Using a welding machine, we weld the threaded part to the ring from the tip, aligning the holes in the ring and the threaded part. When working with the welding machine, use personal protective equipment, wear a welding mask and gaiters, so as not to catch "bunnies" and not to burn yourself. With light hammer taps we remove the slag from the weld.
Step Six
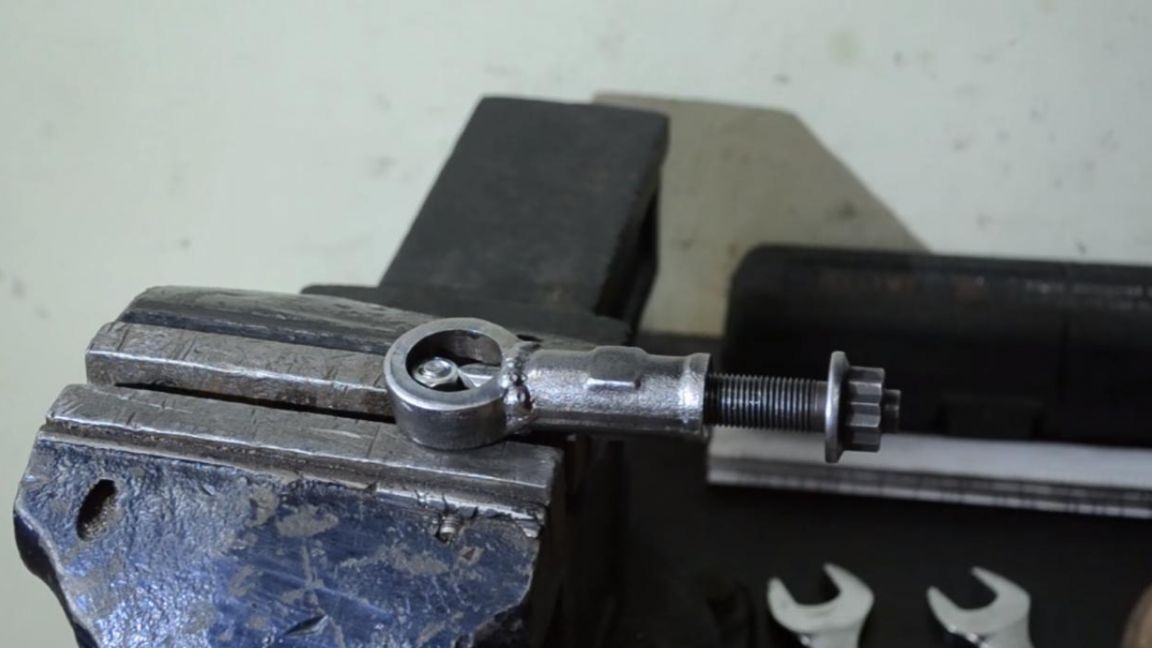
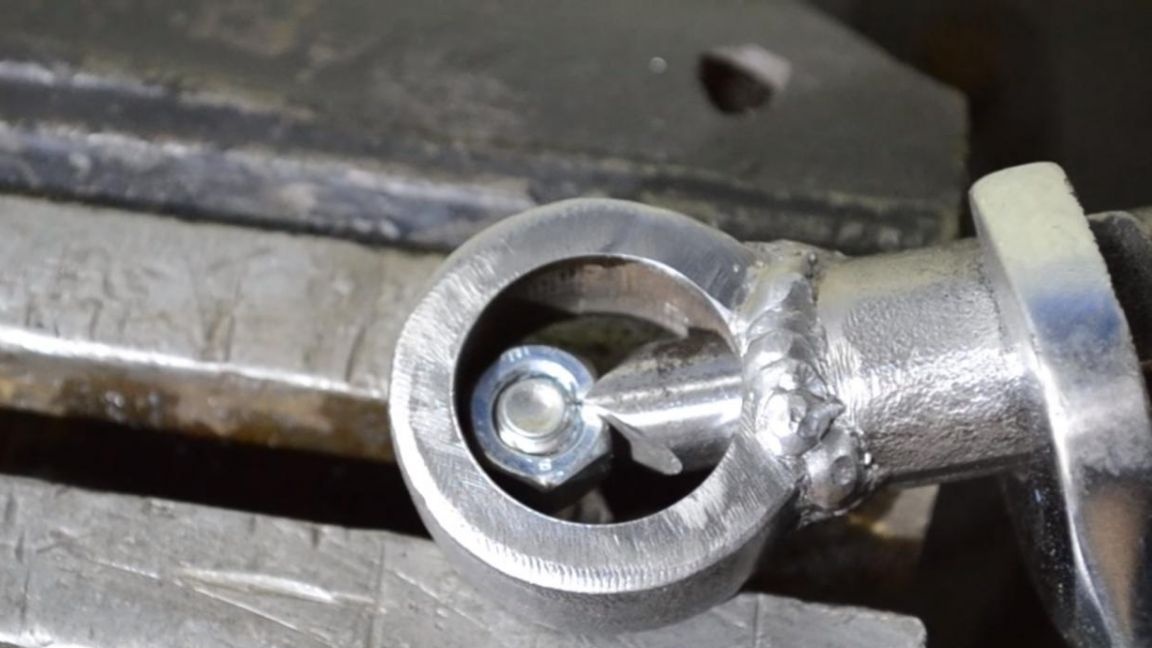
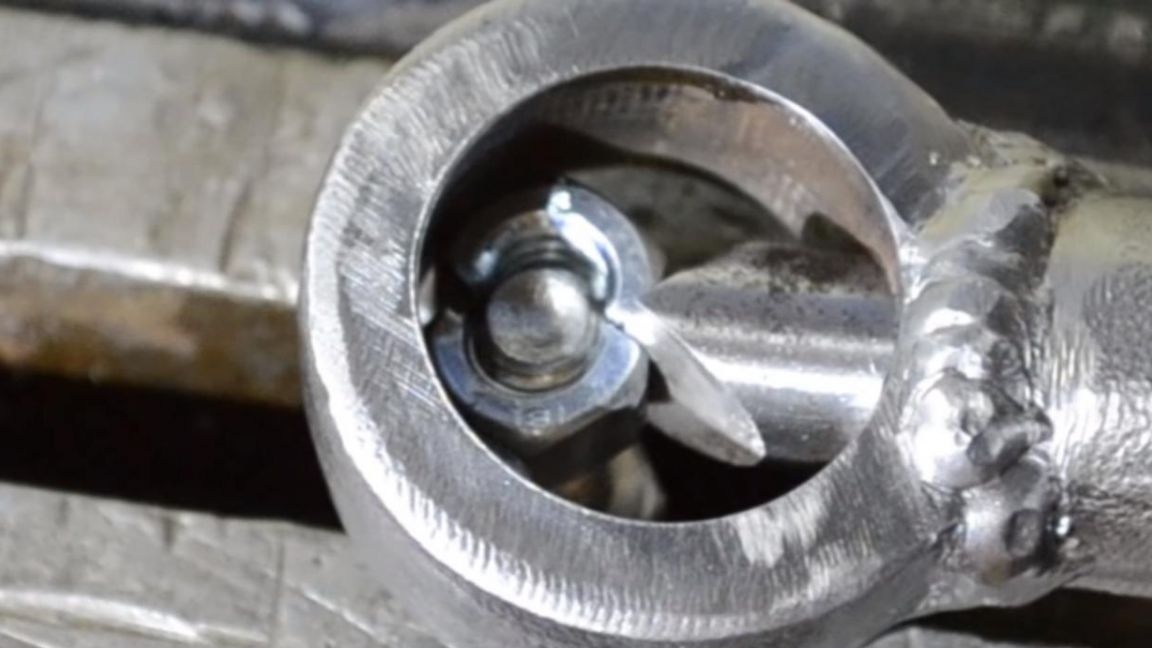
All the details of the wrench are ready, you can assemble the tool and proceed to testing. We install a thrust part in the threaded part, lubricating its surface with technical oil, then we throw the ball from the bearing for smoother sliding due to the reduction of friction and twist the bolt into the thread.
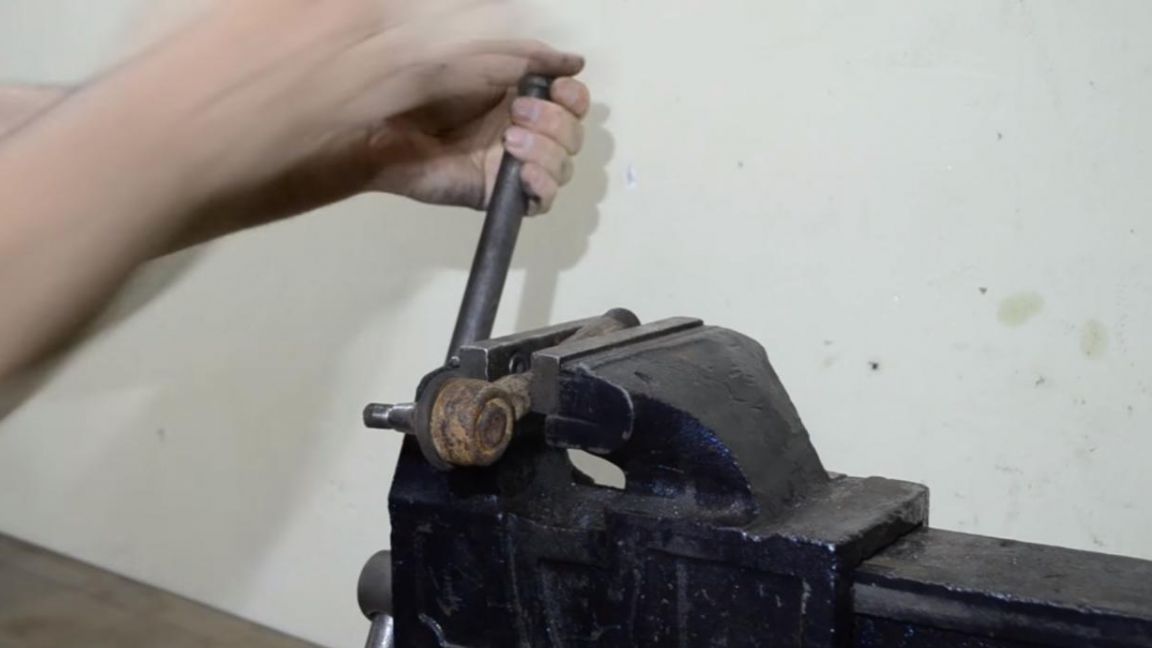
We try to split the nut by 13 mm. We fix a bolt with a nut in a vice and put a homemade tool on the nut.
Manually pull the bolt of the nut, and then with the help of open-end wrenches, we begin to screw it in, during which it presses on the piercing part, which in turn breaks the nut.
In especially difficult cases, we split the nut in two places, this will help to completely free it from the bolt or stud.
That's all for me, thank you all for your attention and creative success.