
Hello everybody.
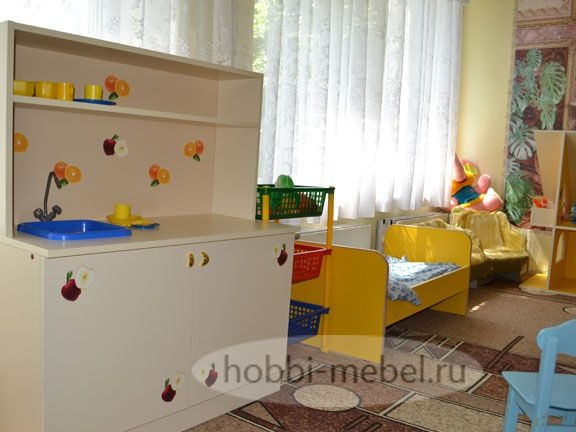
This article is dedicated to our beloved children, and their fathers. It will describe a method of manufacturing a children's play kitchen. The whole process is described in detail and will be accompanied by a full photo report.
To make a children's play kitchen, we need the following.
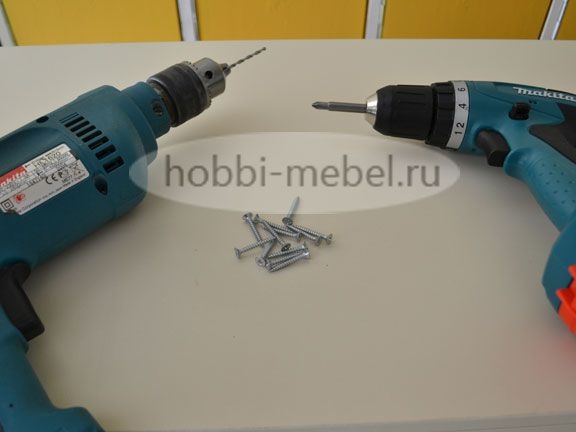
Instruments:
- drill (screwdriver);
- drills with a diameter of 5 and 8 mm or a special confirmation drill;
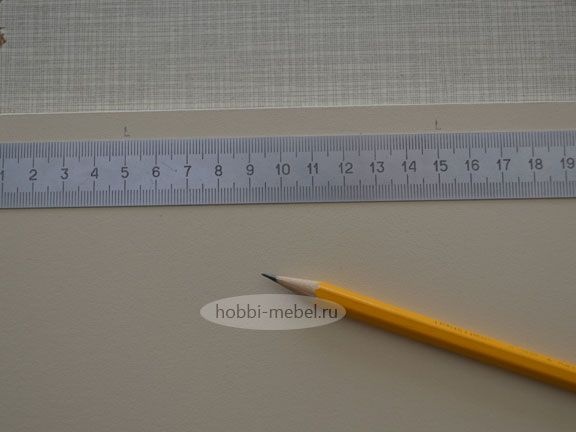
- a pencil;
- roulette;
- angular ruler;
- awl;
- hexagon or bit for a screwdriver;
- hammer;
- angular clamps;
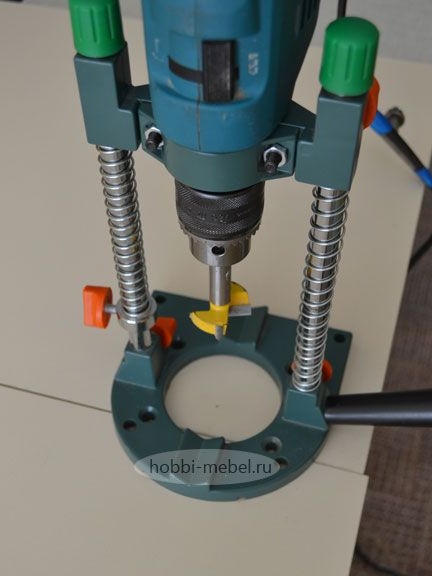
- guides for a drill;
- Forstner drill 35 mm.
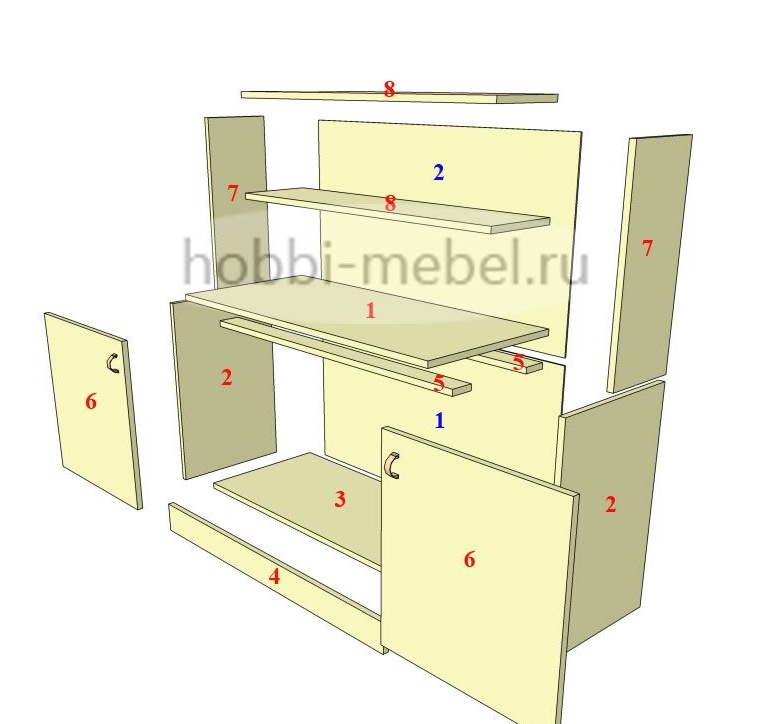
This model the kitchen was created in the PRO100 program, you can download it from this one, download the finished model
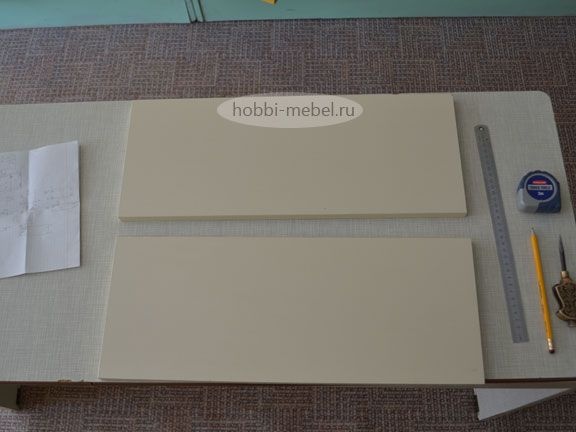
I give the size chart of the parts.
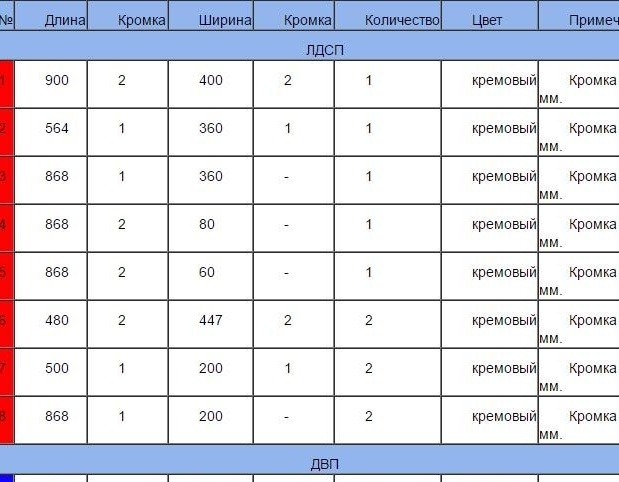
According to these sizes, we order sawing and edging.
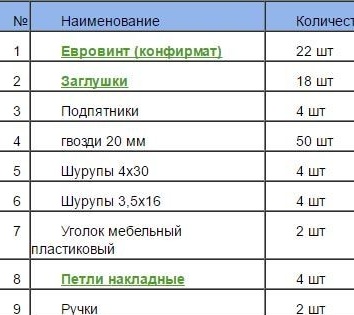
Name of accessories for assembling the table.
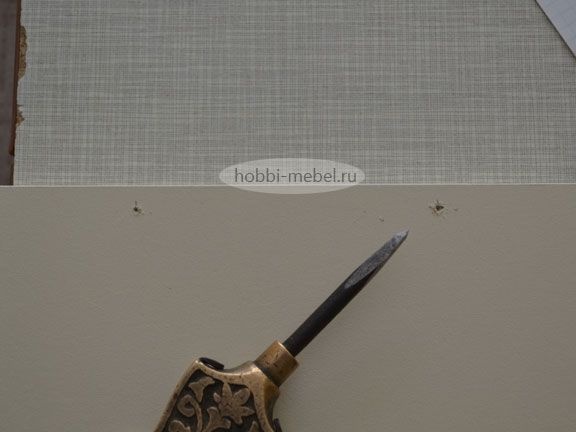
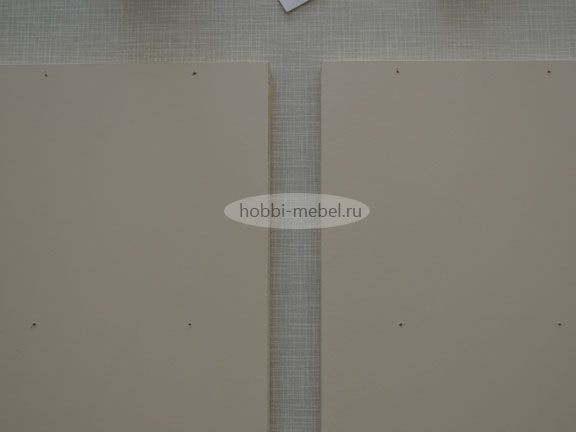
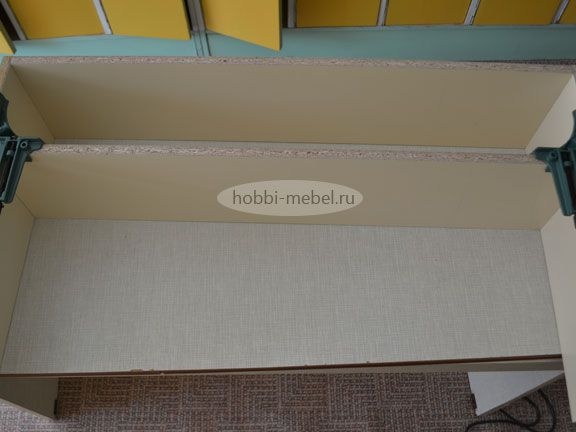
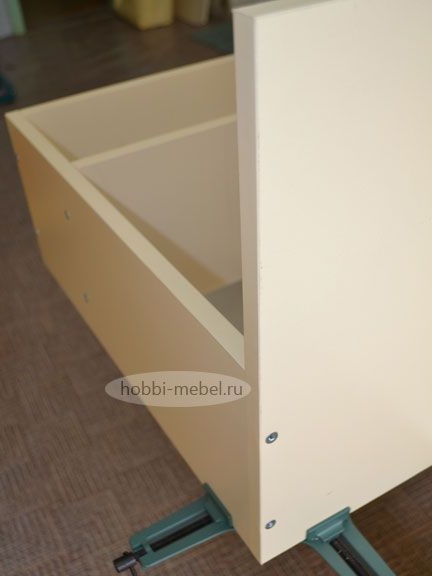
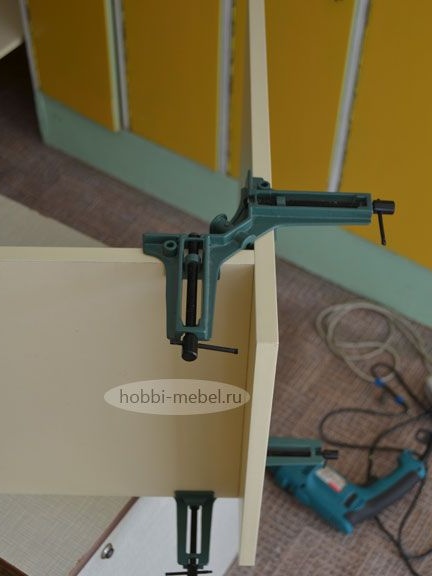
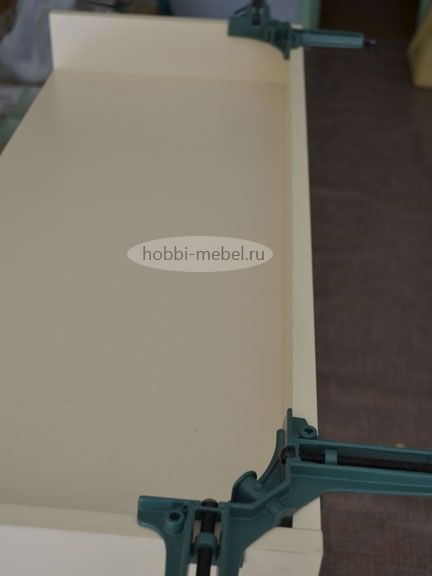
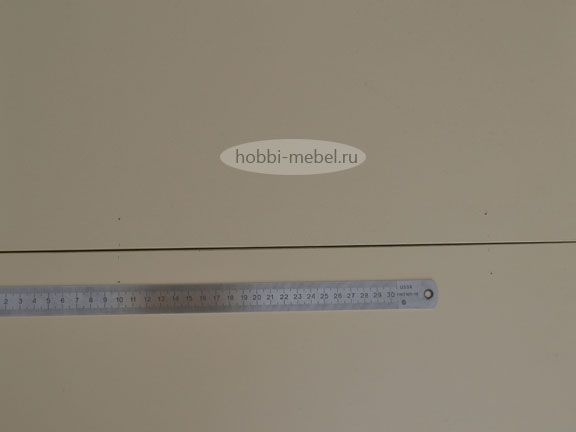
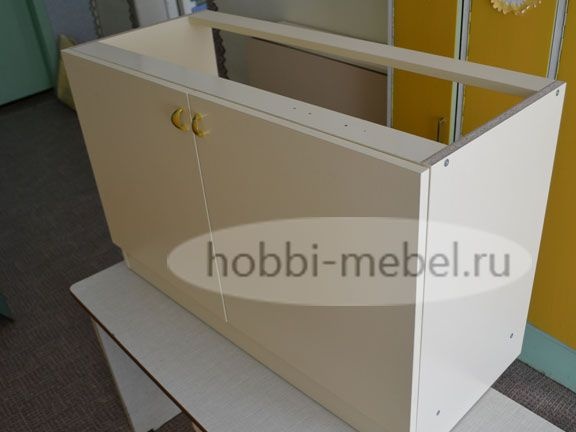
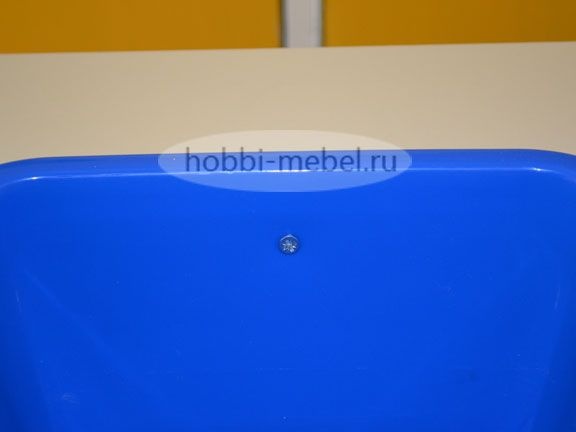
When the material is in our hands, assembly can be done. We mark up the parts indicated by number 7. The photo shows the left and right sidewalls of the upper part of the kitchen. With the help of an awl we make small holes, this will prevent the drill from jumping off from the indicated direction ..
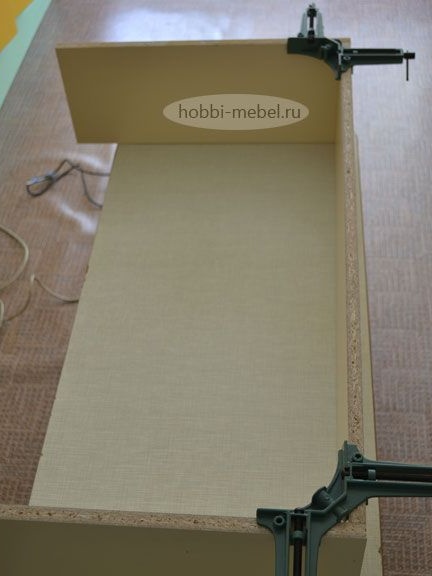
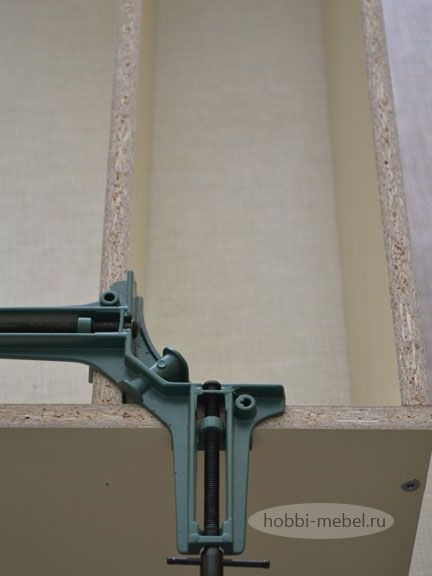
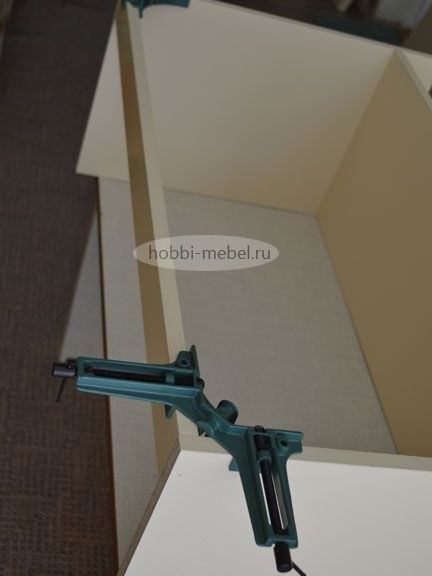
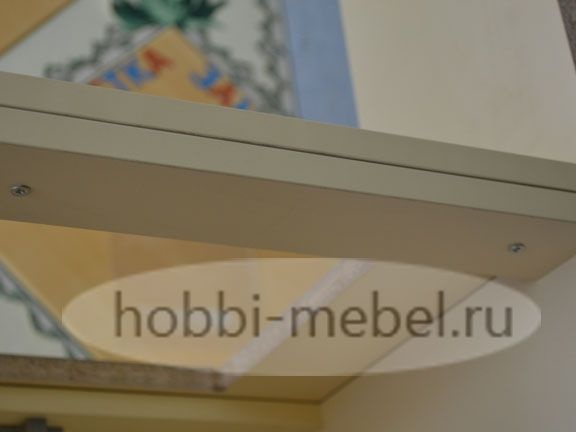
Next, take part number 8 and put it between parts number 7, fix them with angular clamps.

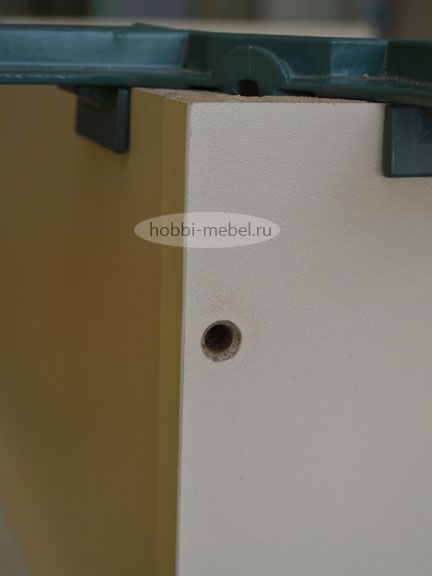
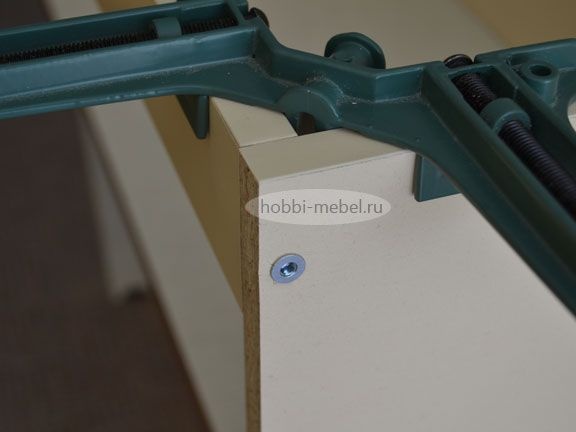
Using a drill with a special confirmation drill, we make a hole for the confirm. Then with the help of hexagons we screw them.
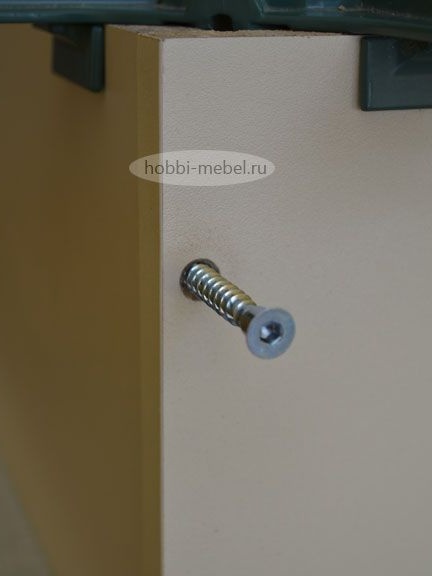
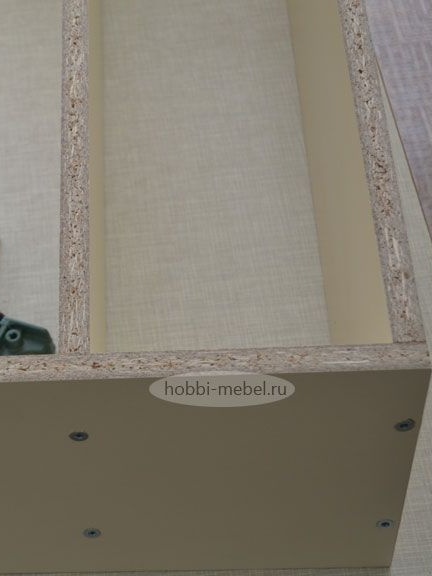
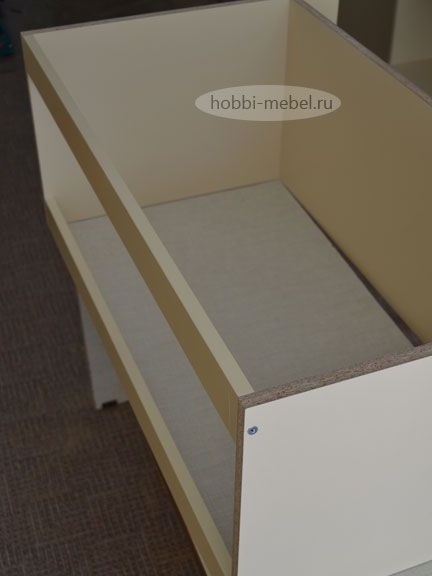
In a similar way, we fix part number 8. We make holes and screw the confirmations.
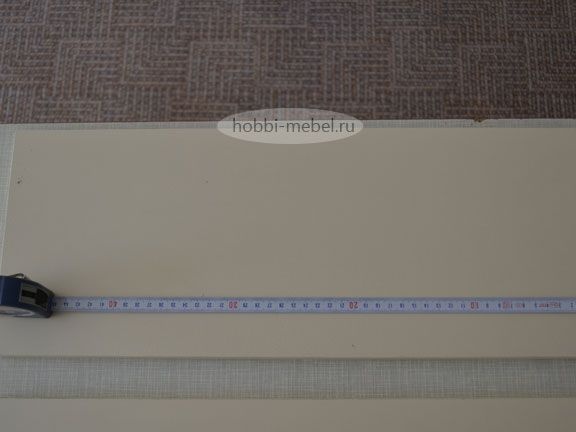
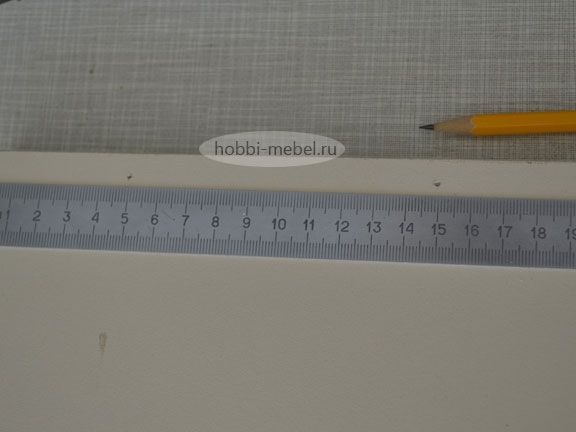
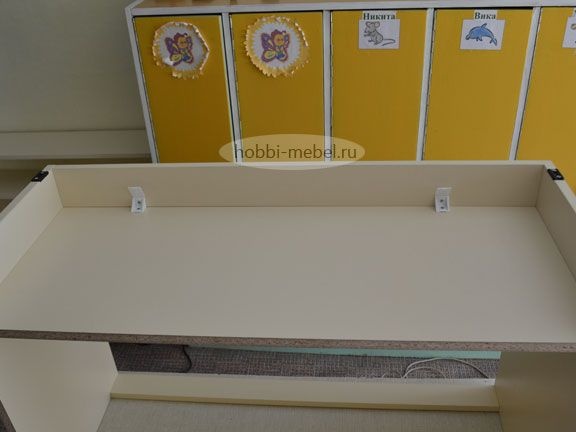
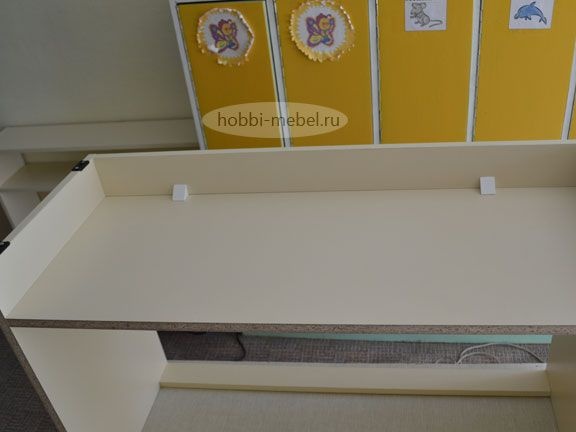
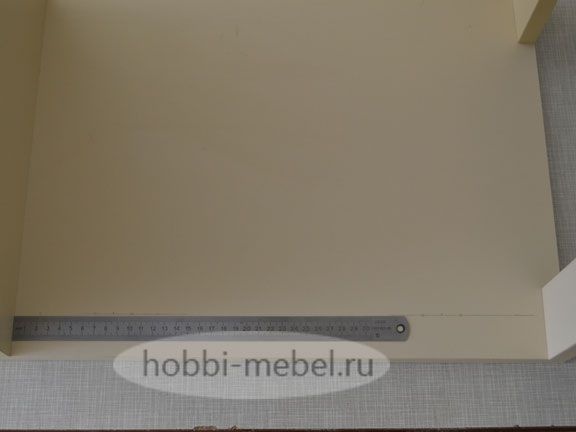
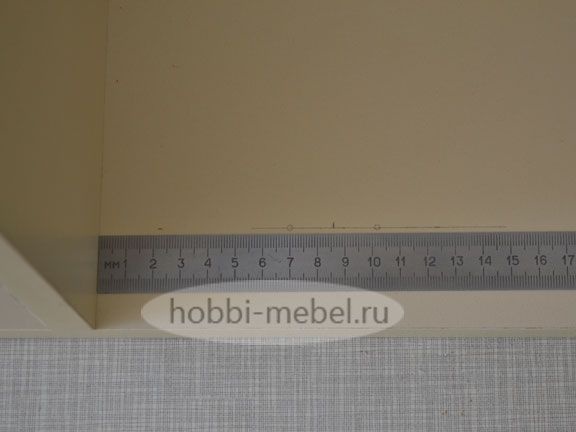
Now we make the markings on the countertop, it is indicated as part number 1. We fix it to the top of the kitchen.
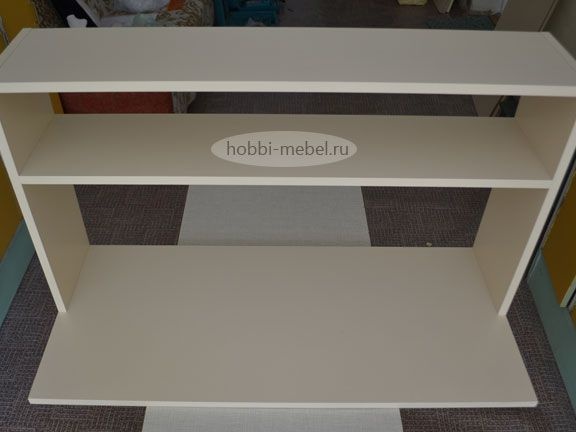
We mark up the details at number 2, collect the base of the kitchen.

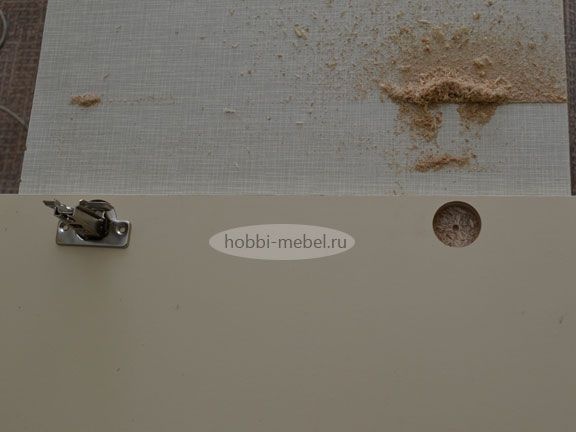
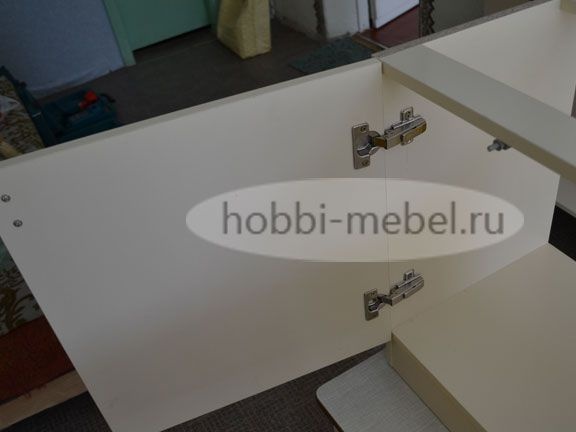
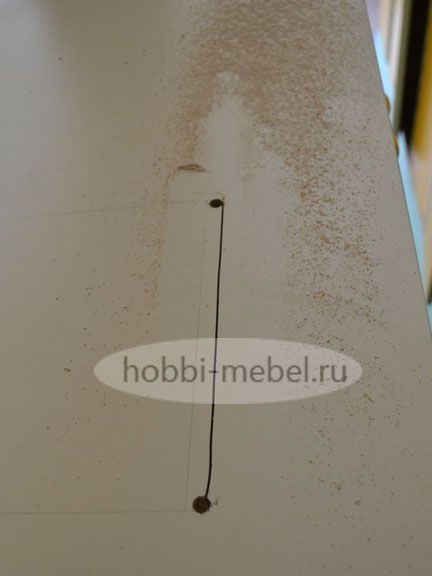
Next, we mark the places where the facades will be. Then, using a 35 mm Forstner drill, make a hole for the hinge cups. You can find out how to install them correctly by clicking on this one.
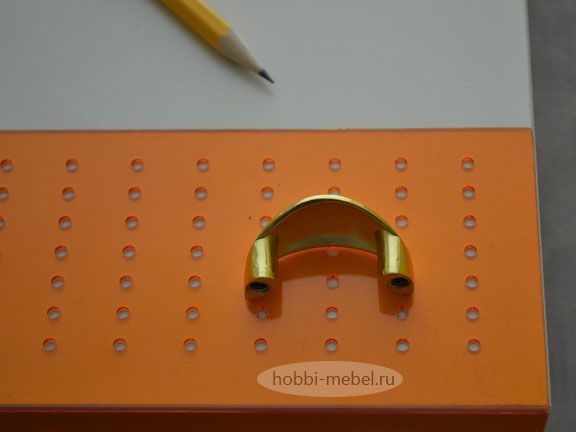
Then we take a template from Ikea, with the help of which we make markings for pens. If one is not available, you can use the usual ruler.
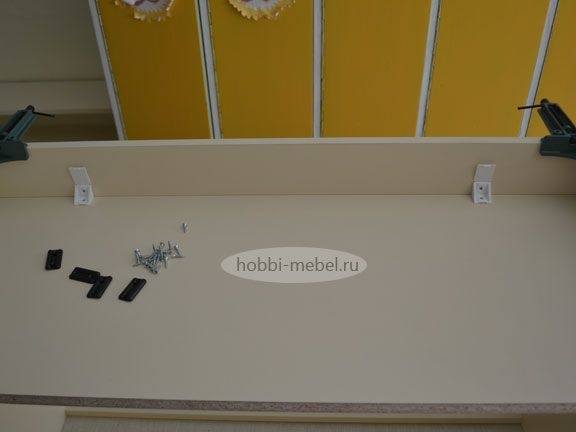
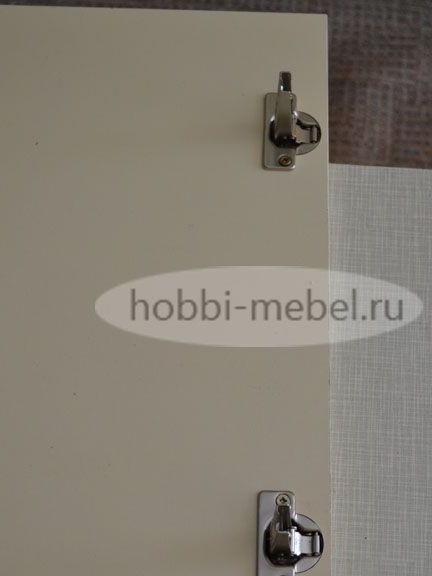
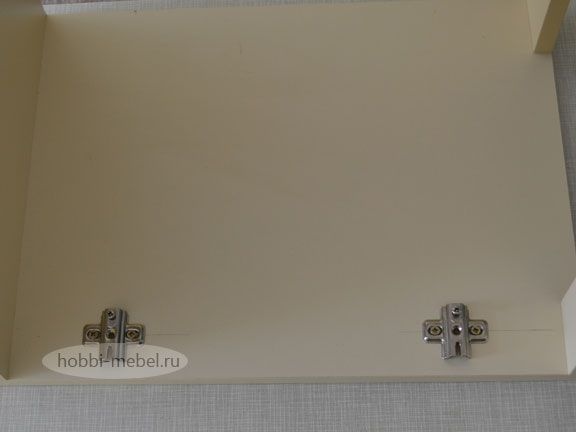
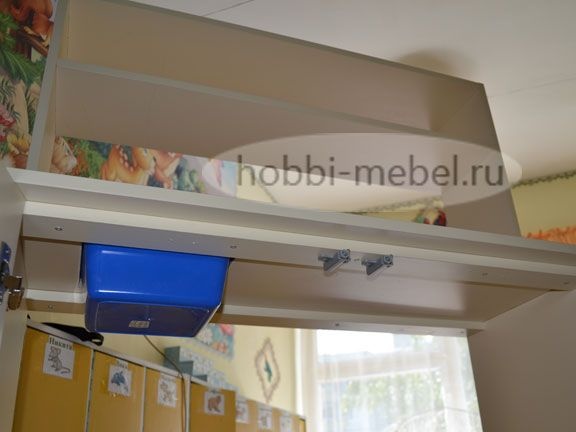
Next, we mark on the sides of the kitchen under the reciprocal levels. When everything is ready, we install them.
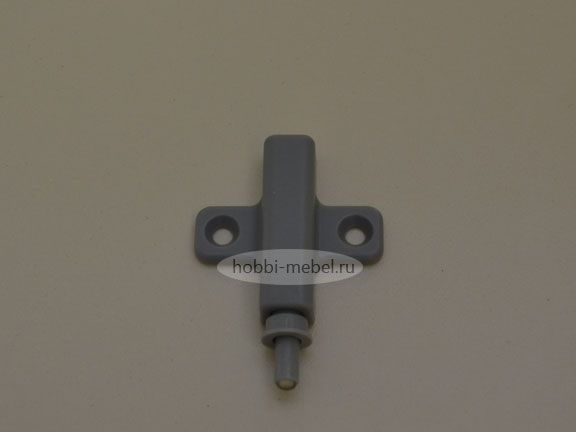
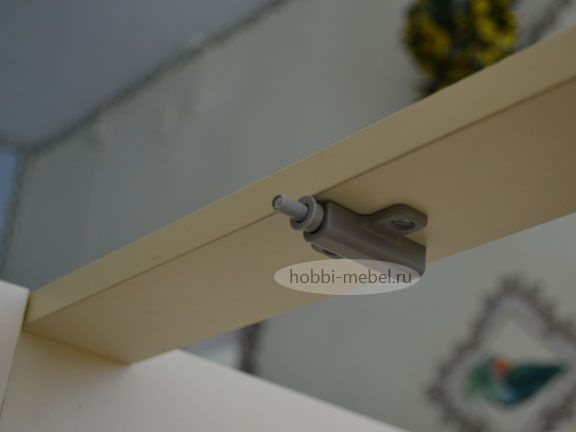
We fix facades and damper.
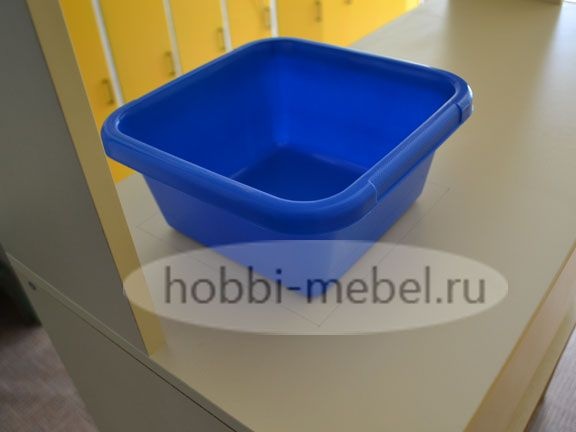
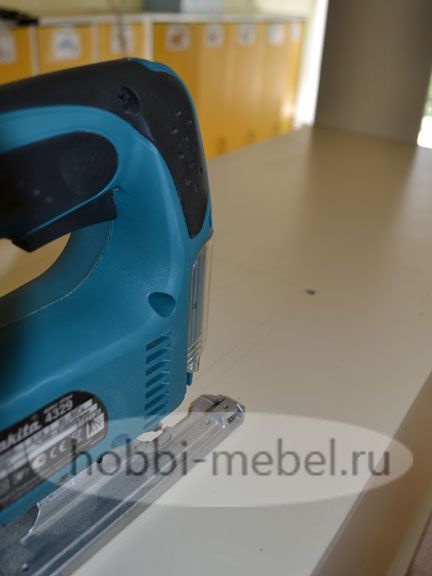
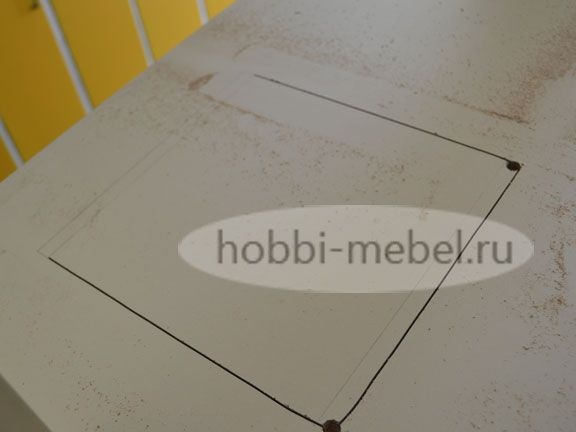
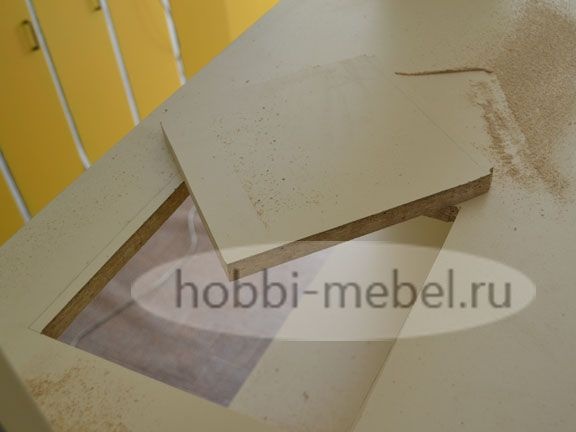
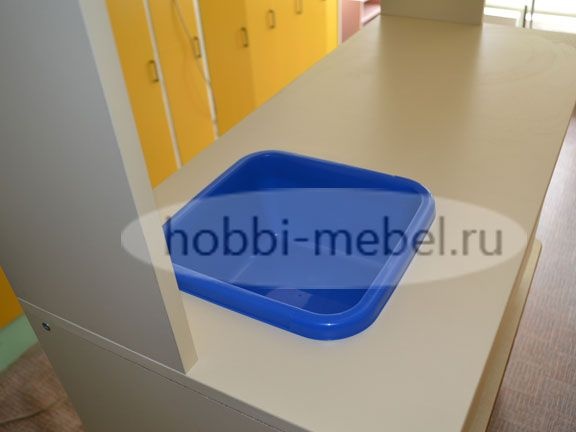
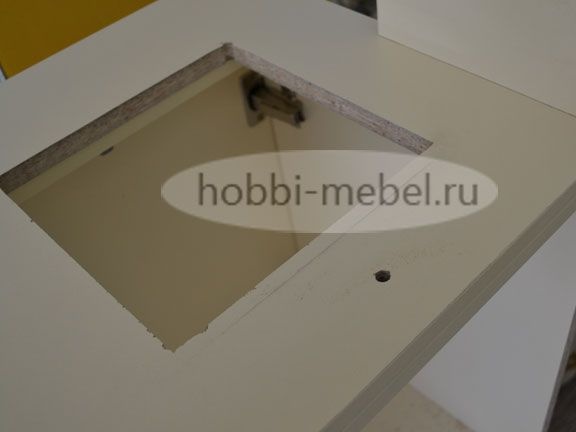
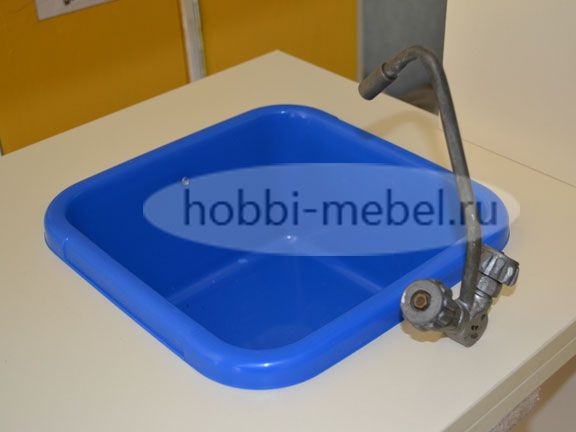
Then, using an electric jigsaw, we cut out a place for a kitchen sink. When everything is ready, we put it in its place, then we install the mixer.

Next, with the help of 4 x 30 screws, we fix the lower part of the kitchen to the countertop.
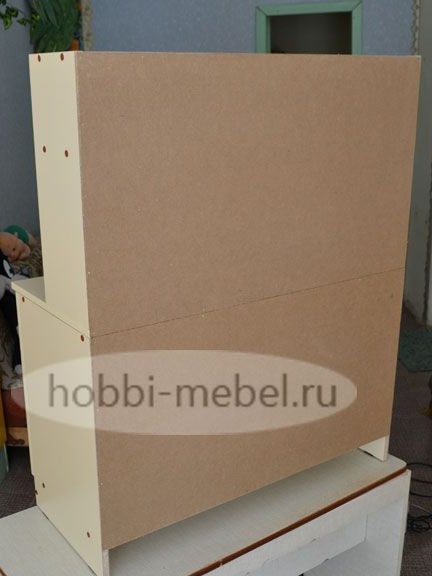
Now we take nails and a hammer, and nail a fiberboard sheet to the back wall, add decor elements.

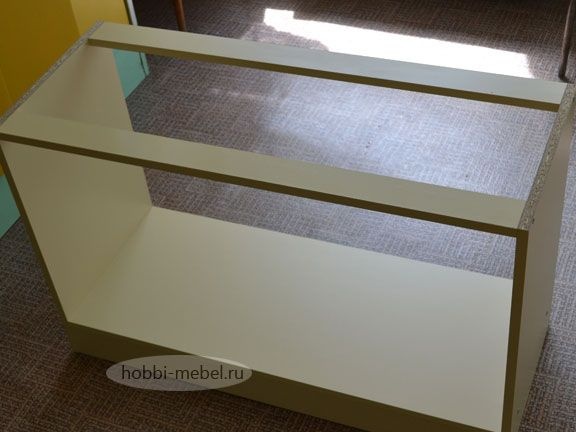
As a result of all the actions, we get such an original children's kitchen.
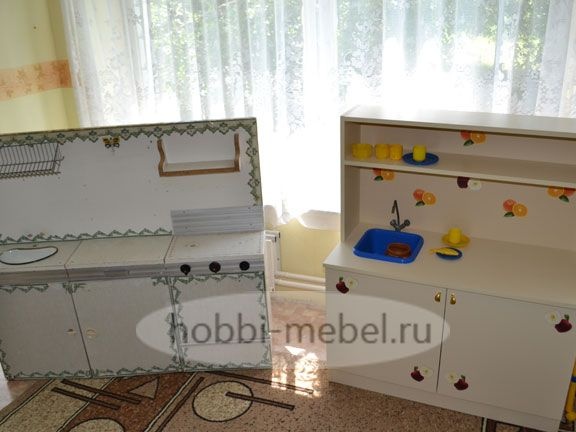
This article is over, thank you all for your attention.