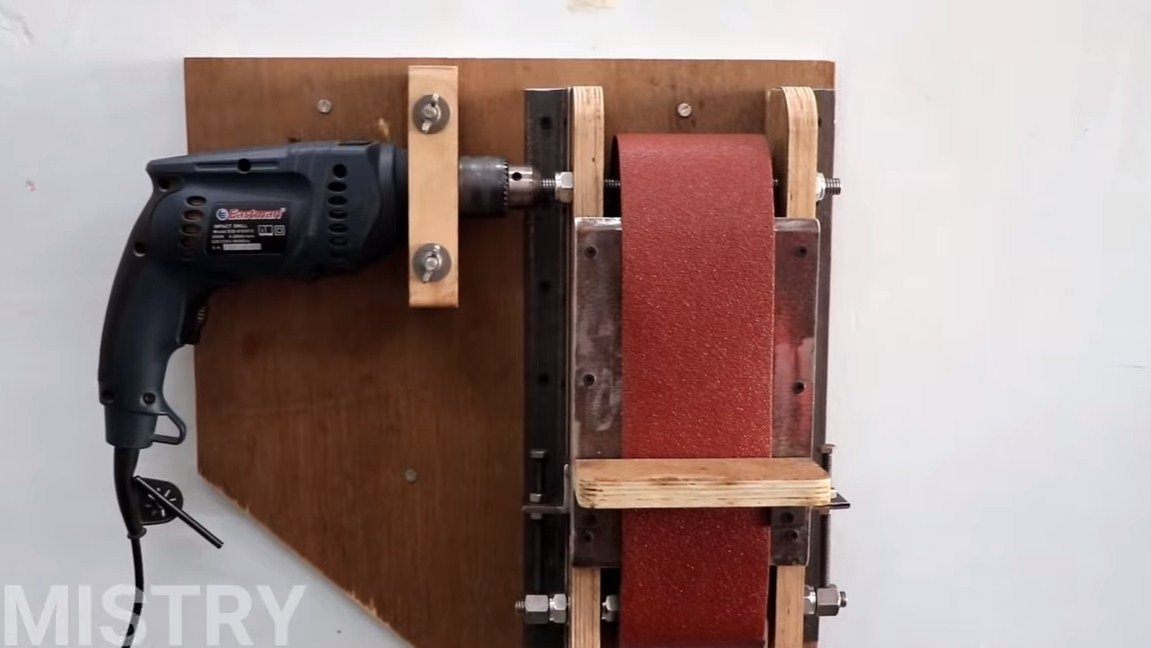
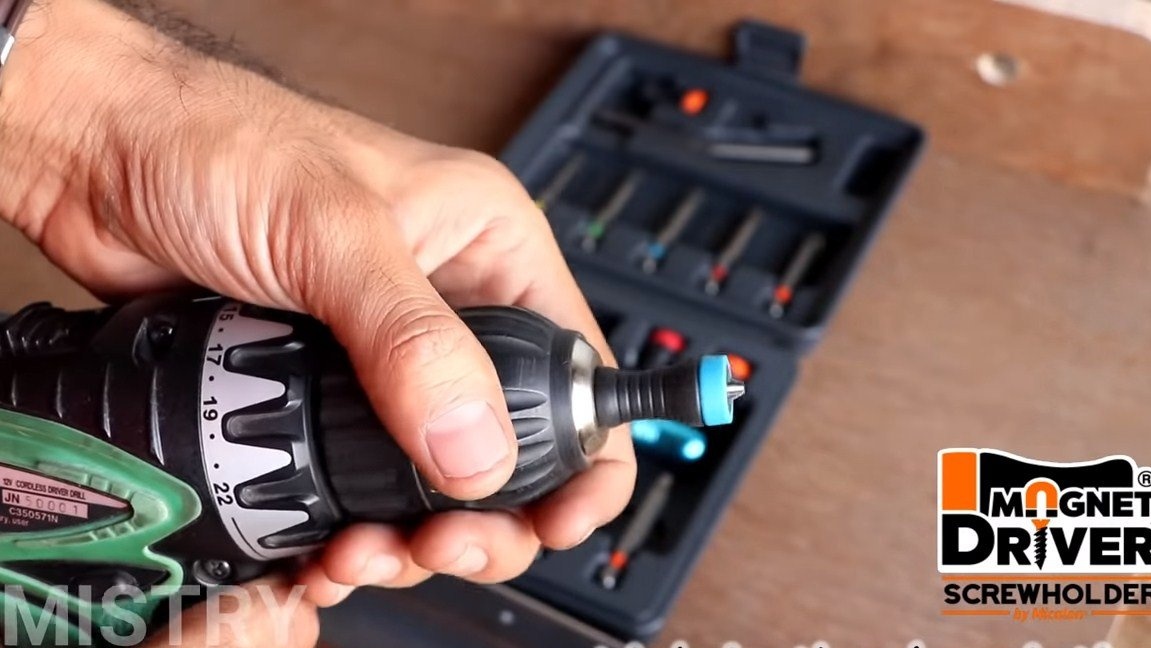
I welcome fans to craft, in this article we will analyze how to make a good belt grinding machine from a drill. The design is very simple, everything is made of wood, investment for manufacturing is minimal. The power will depend on the power of your drill. The speed of the belt can be adjusted using the speed control on the drill. In general, the machine copes well with its tasks. The only drawback is that the sanding belt is not removable here, it is glued directly on the machine. However, if you use the machine only for rough work or fine grinding, you will not need it. If you are interested in the project, I propose to consider in more detail how to make a machine!
Materials and tools used by the author:
Material List:
- drill;
- plywood;
- sandpaper;
- Super glue;
- self-tapping screws;
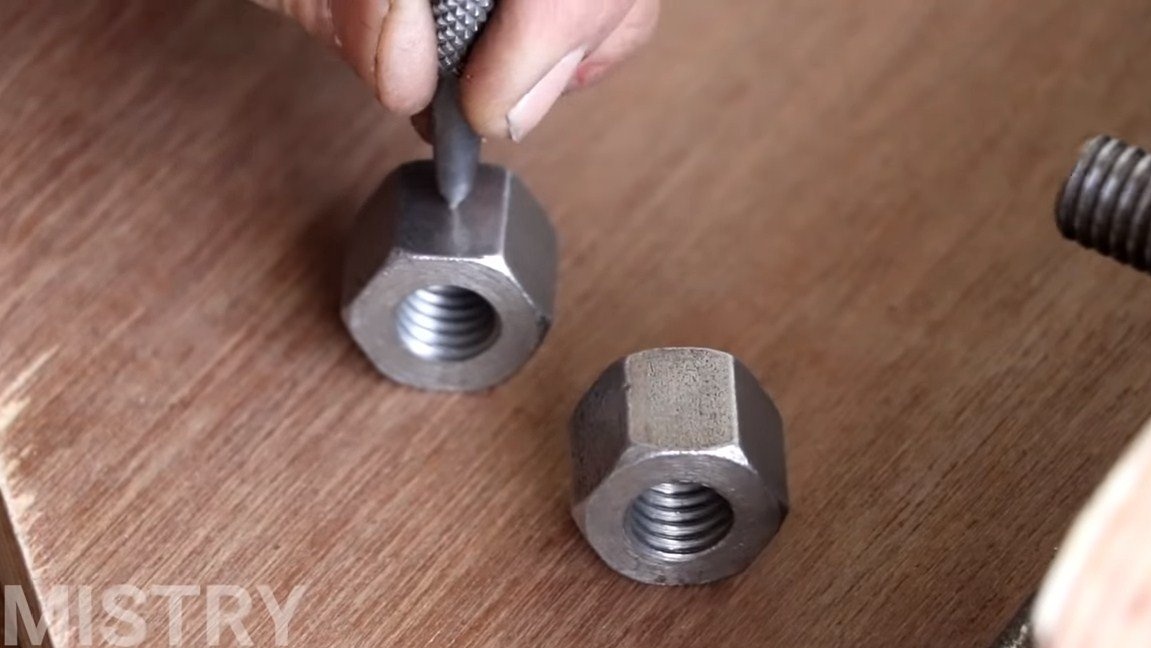
- two threaded rods and nuts;
- steel corner;
- Sheet steel;
- bolts with nuts for the tensioner;
- cogs;
- carpentry glue.
Tool List:
- marker;
- ruler;
- jigsaw;
- grinding machine (any);
- drill;
- screwdriver;
- a crown for a drill;
- bearings (4 pieces).
Manufacturing process homemade:
Step one. Frame manufacturing
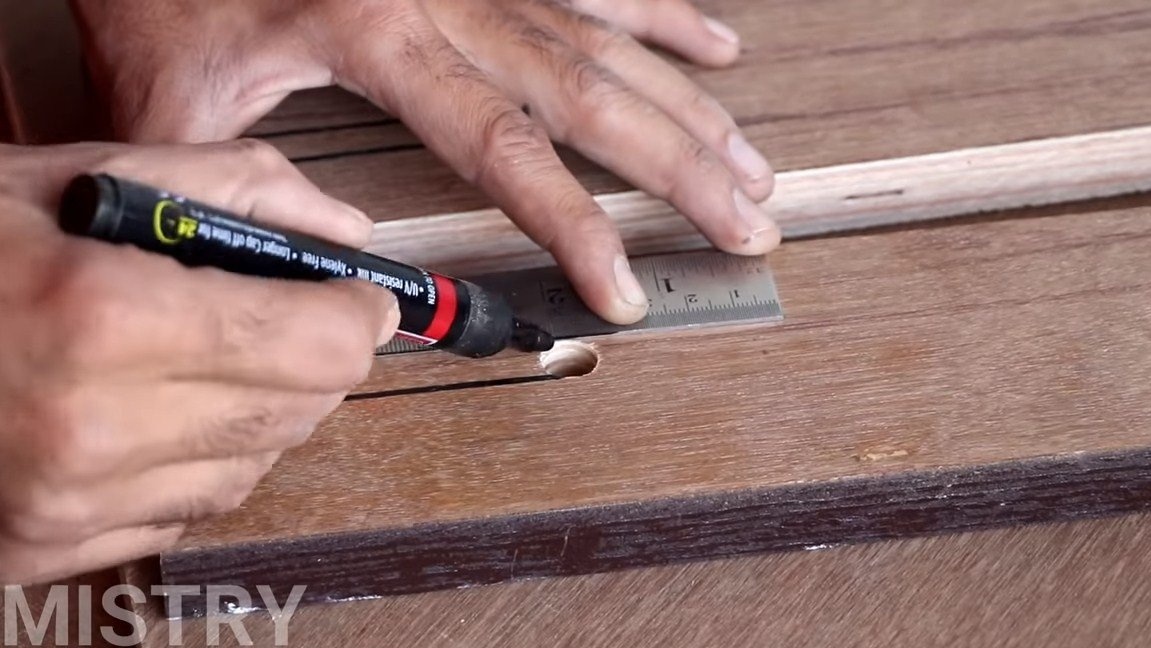
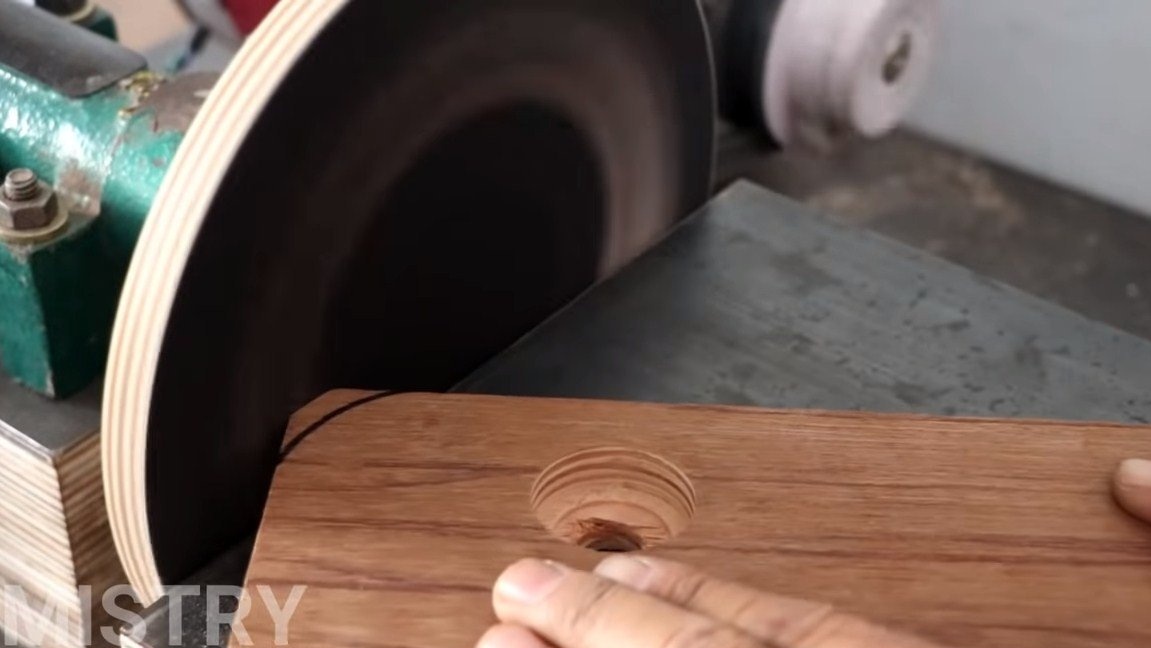
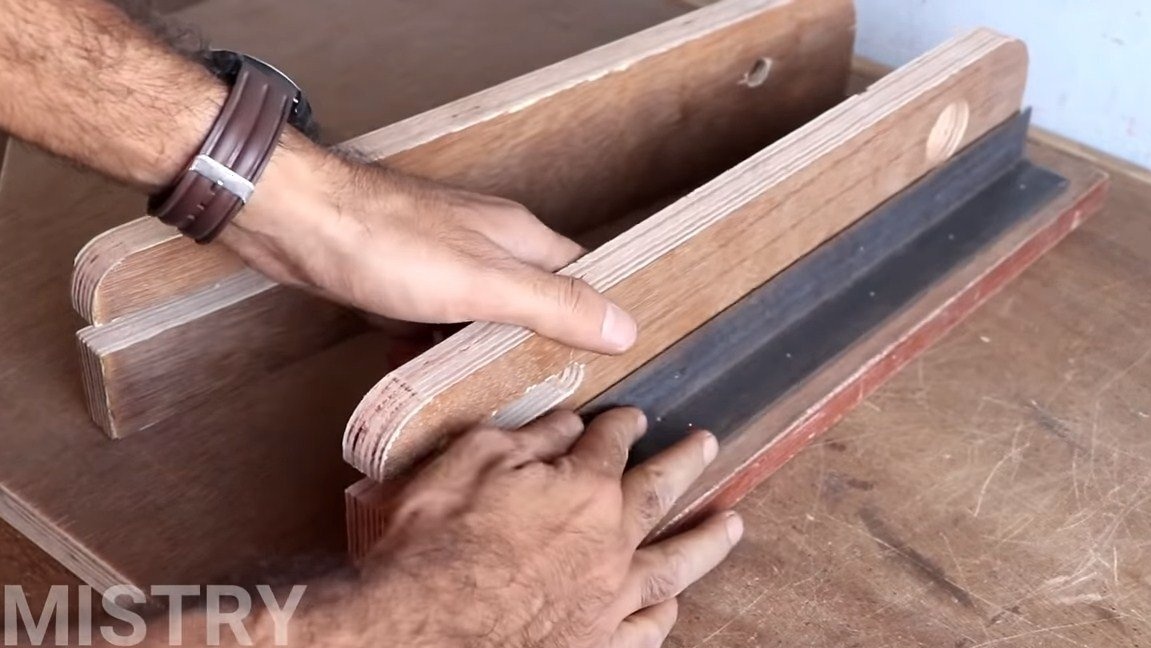
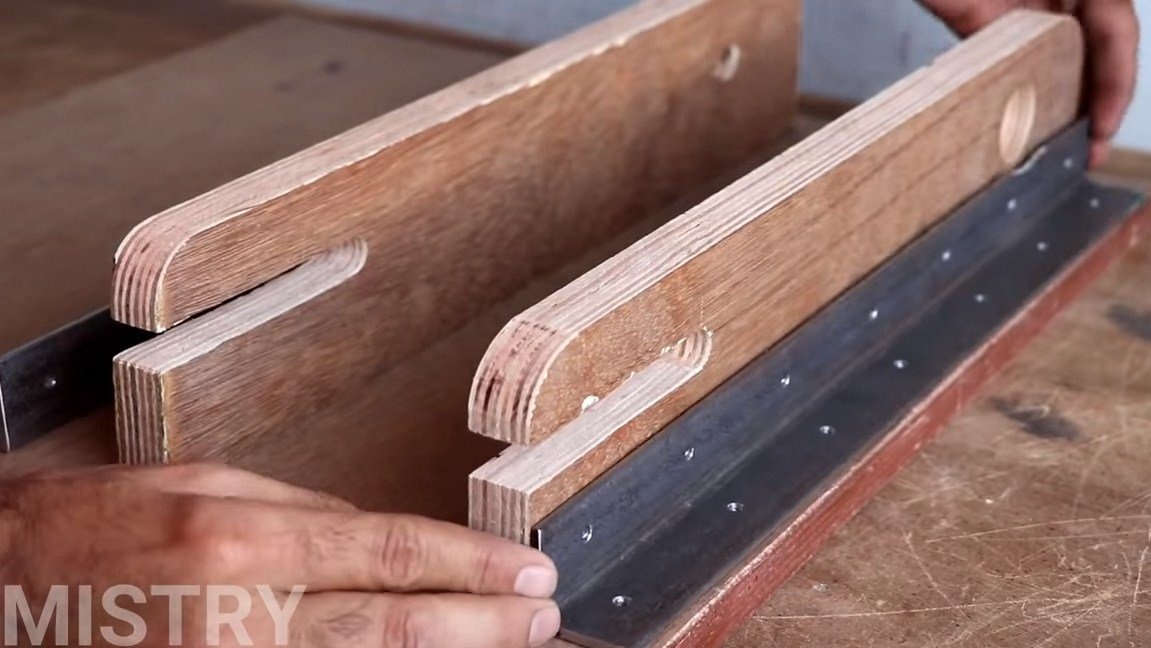
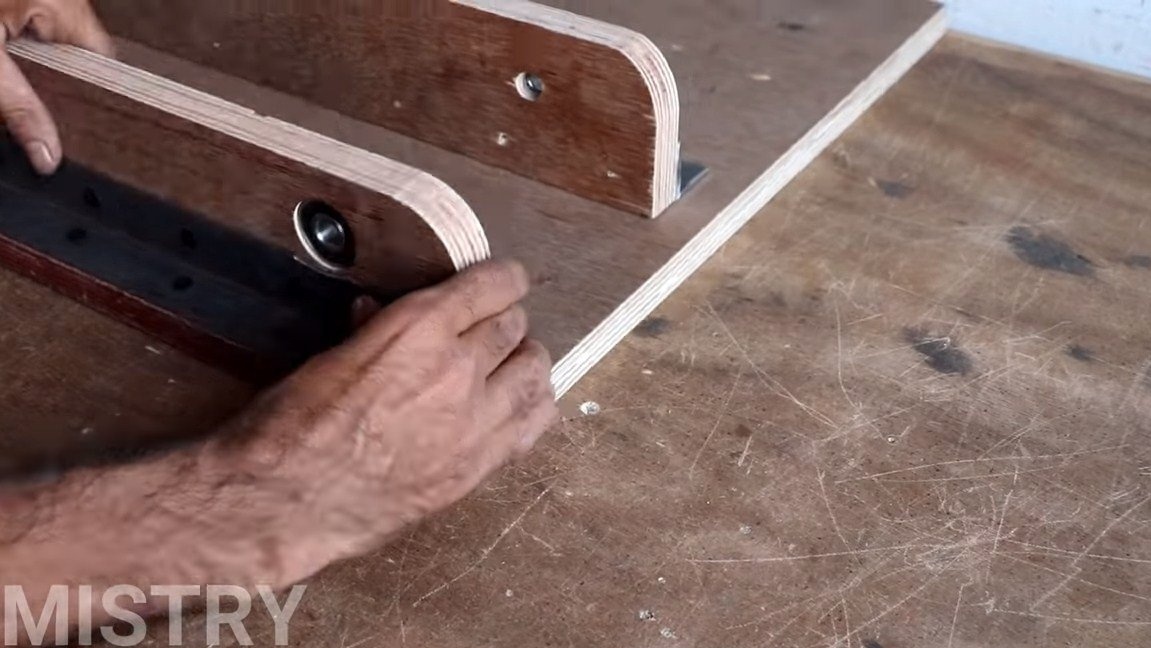
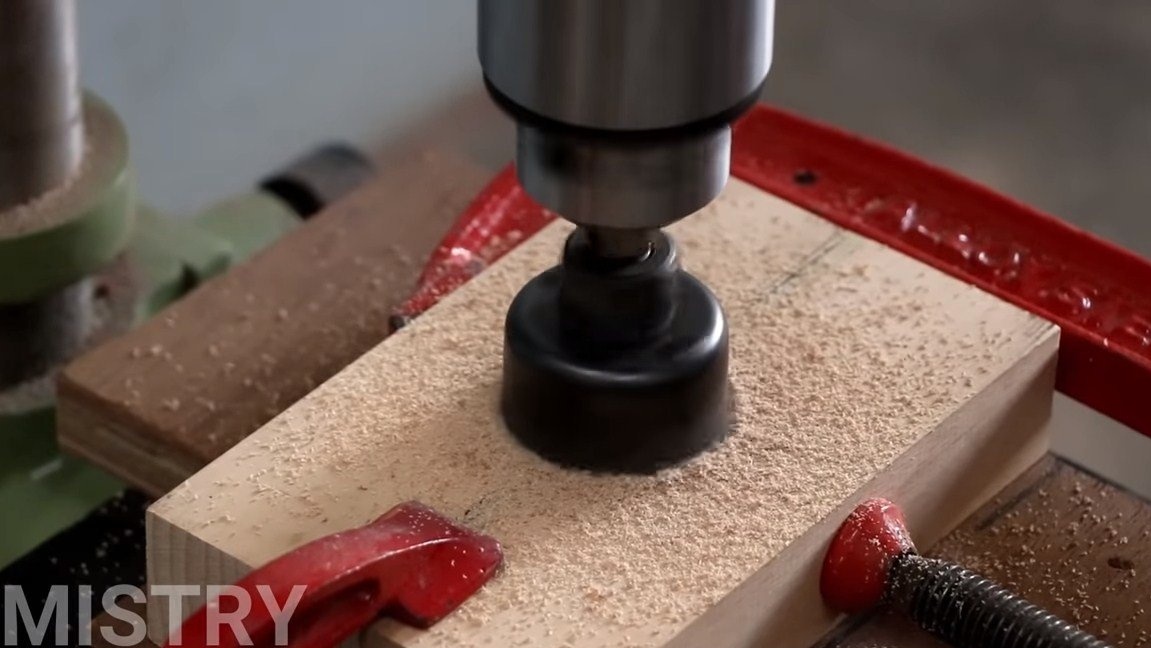
The author used plywood as a frame, you need to cut two racks, the author gives them a neat appearance using a disk grinder. On one side of the racks there are slots, they will be needed in order to adjust the position of the driven roller. And at the other end of the uprights, a hole is drilled, and grooves are drilled for mounting bearings in them.
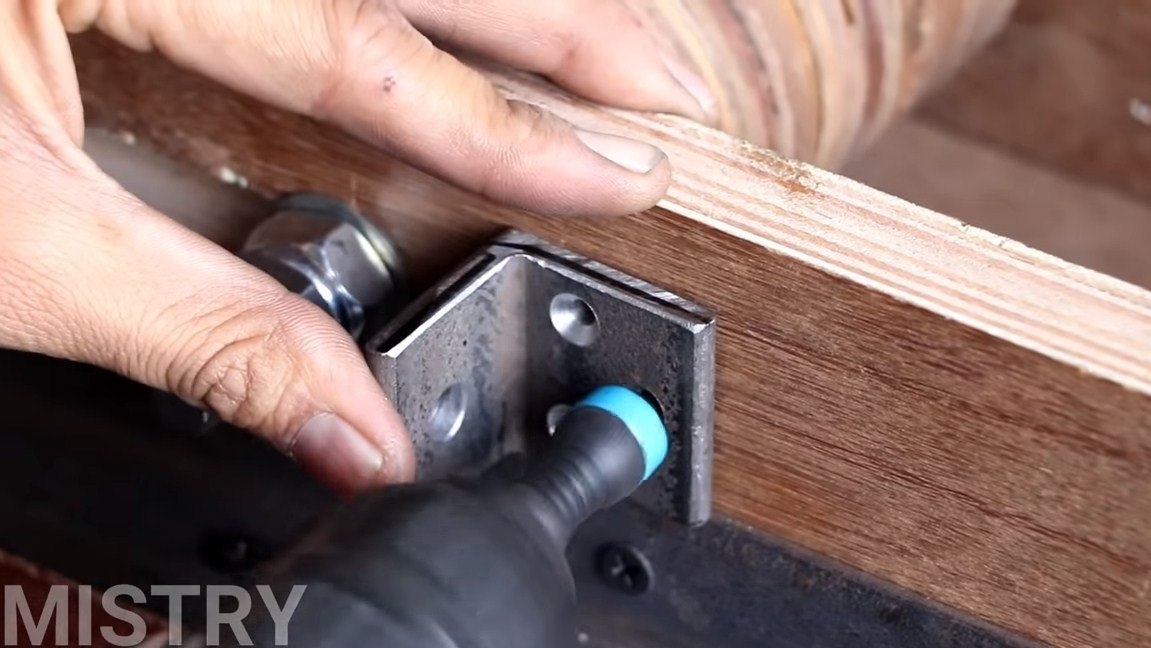
Racks need to be fastened to the base, which can be plywood or a board. We fasten the racks using steel corners and self-tapping screws.

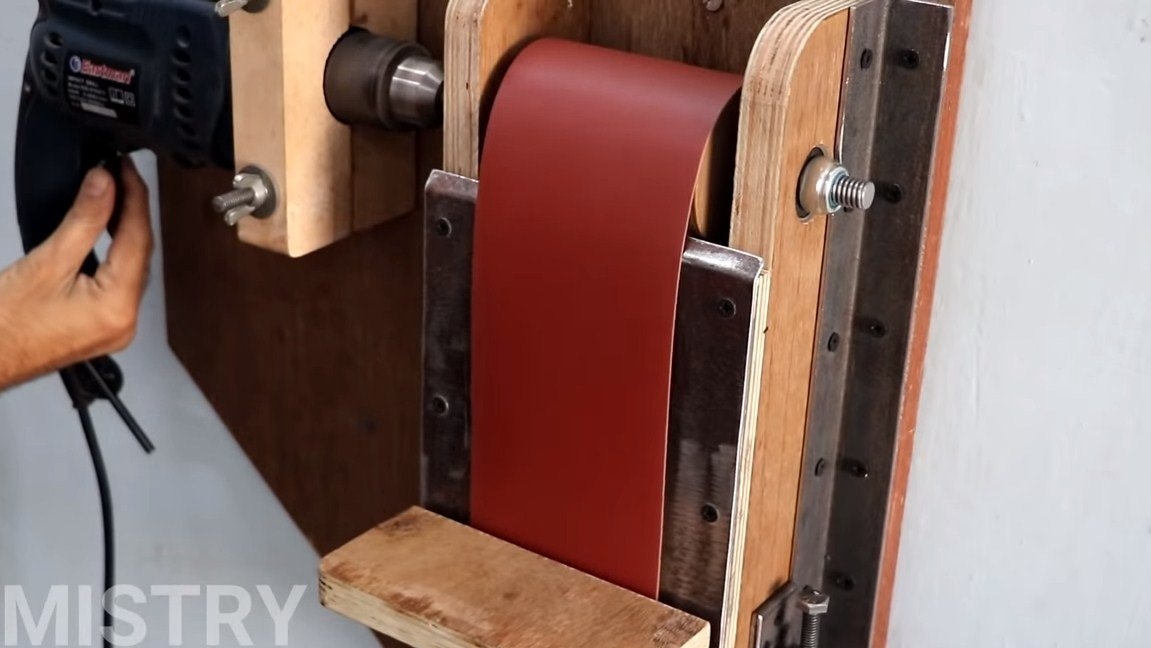
Step Two Setting the drive roller
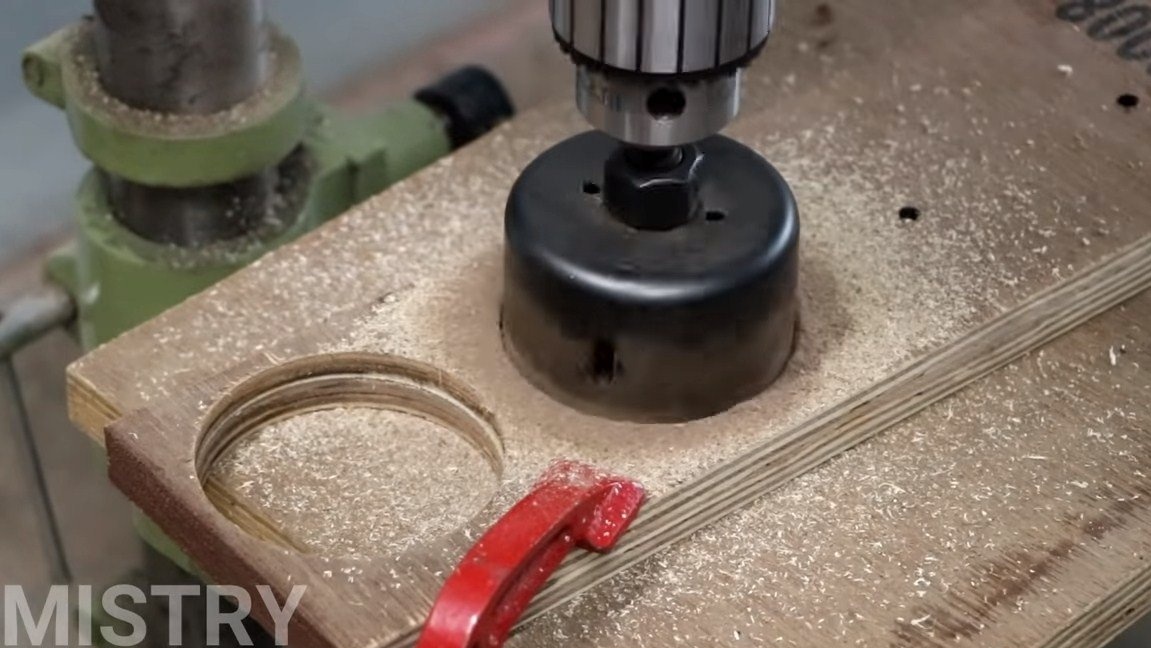
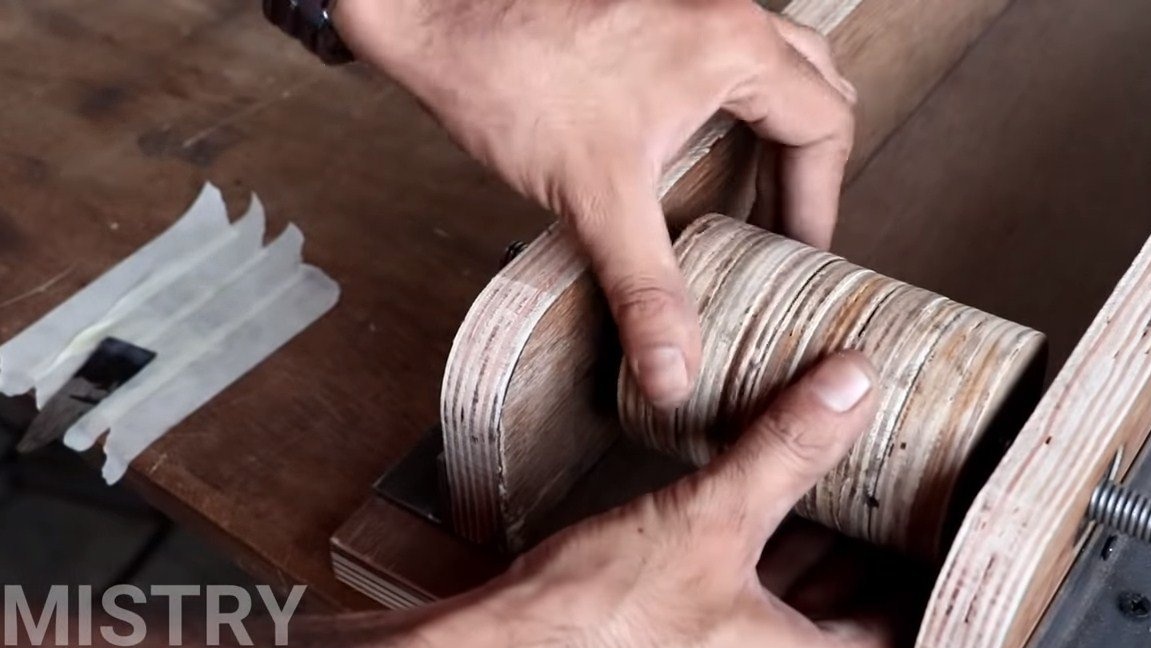
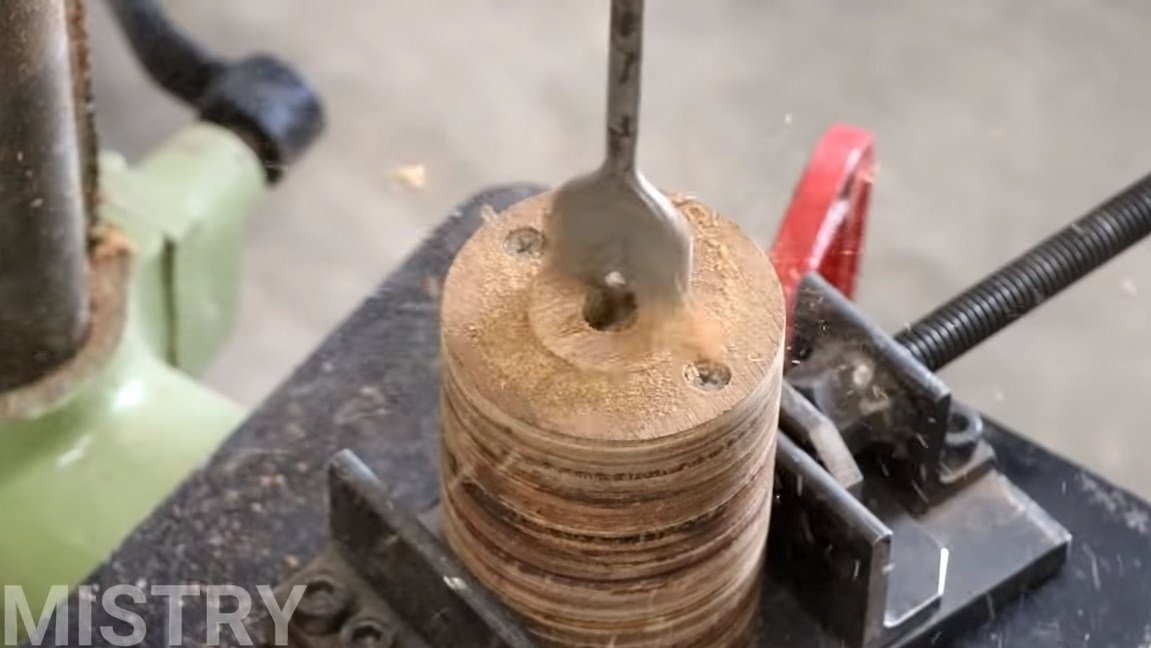
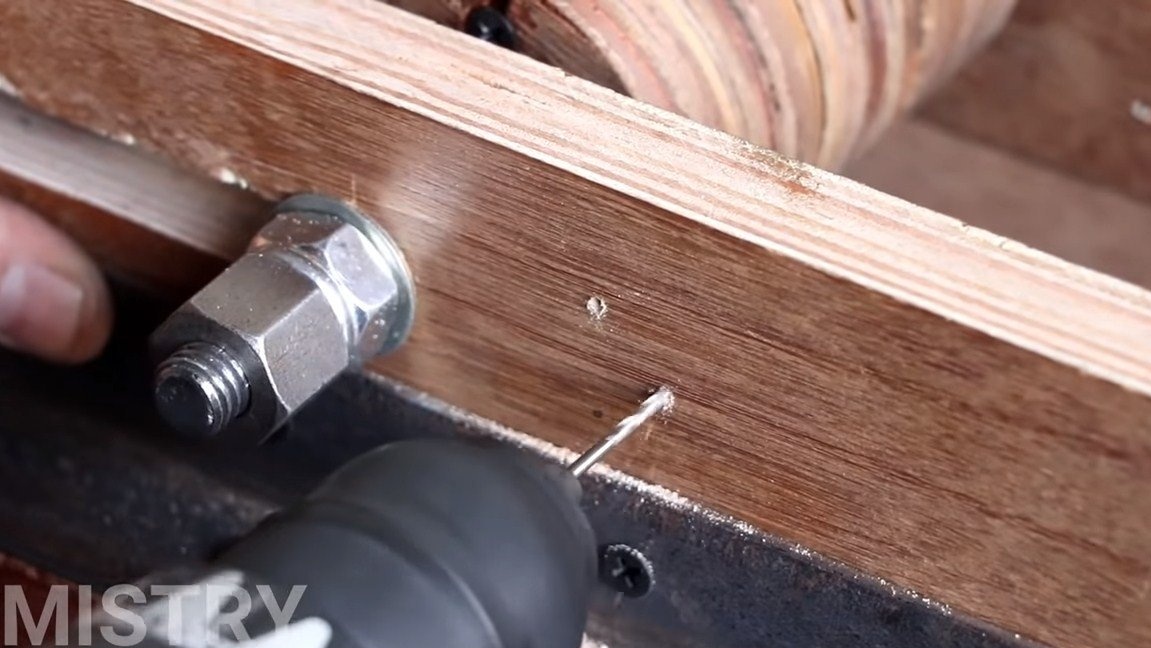
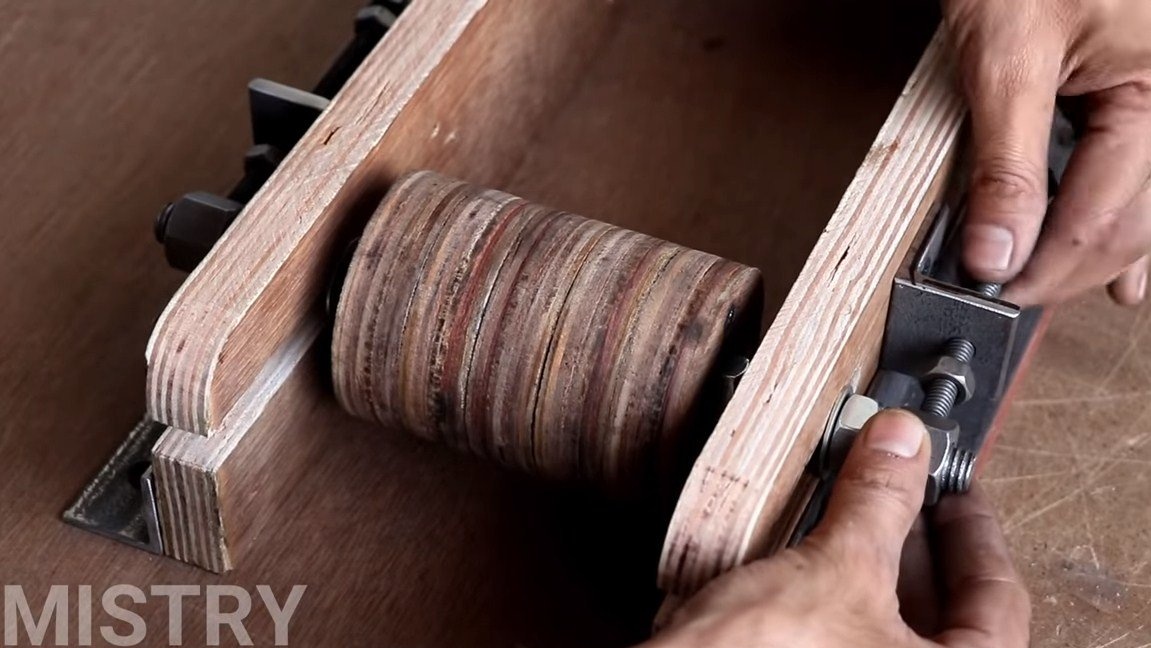
The drive roller will rotate on bearings mounted in racks. The author made the roller out of plywood, you need to drill a lot of rounds of plywood, and then glue them together. After grinding we get an excellent shaft for the grinder. The author uses a threaded rod as an axis.

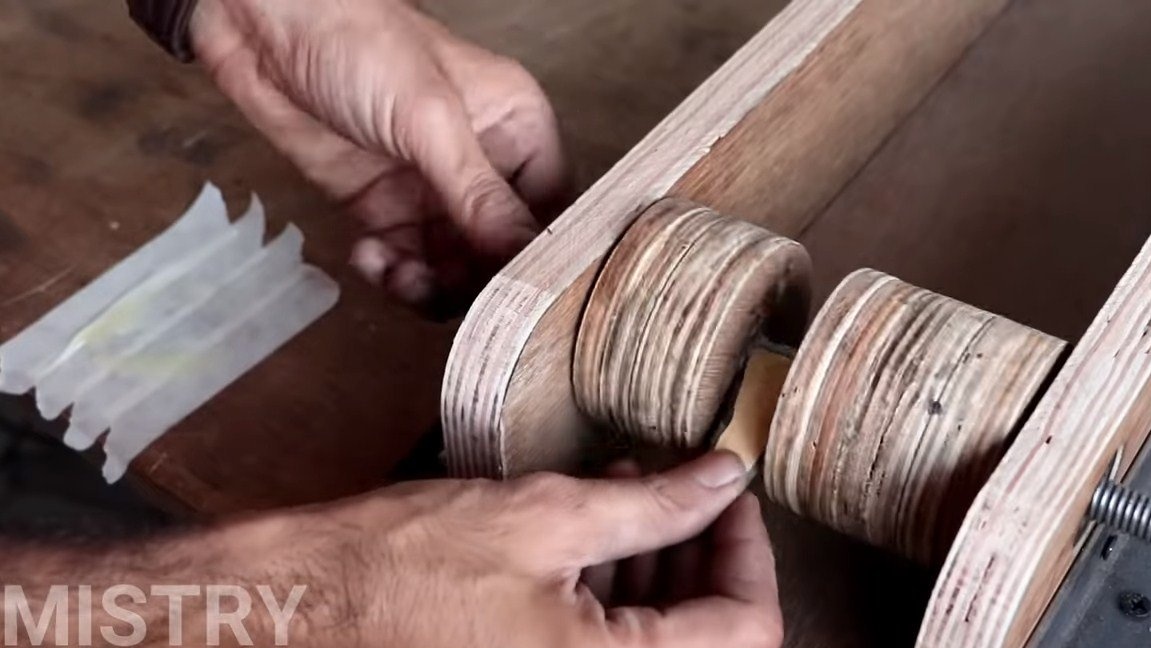
Step ThreeDriven roller
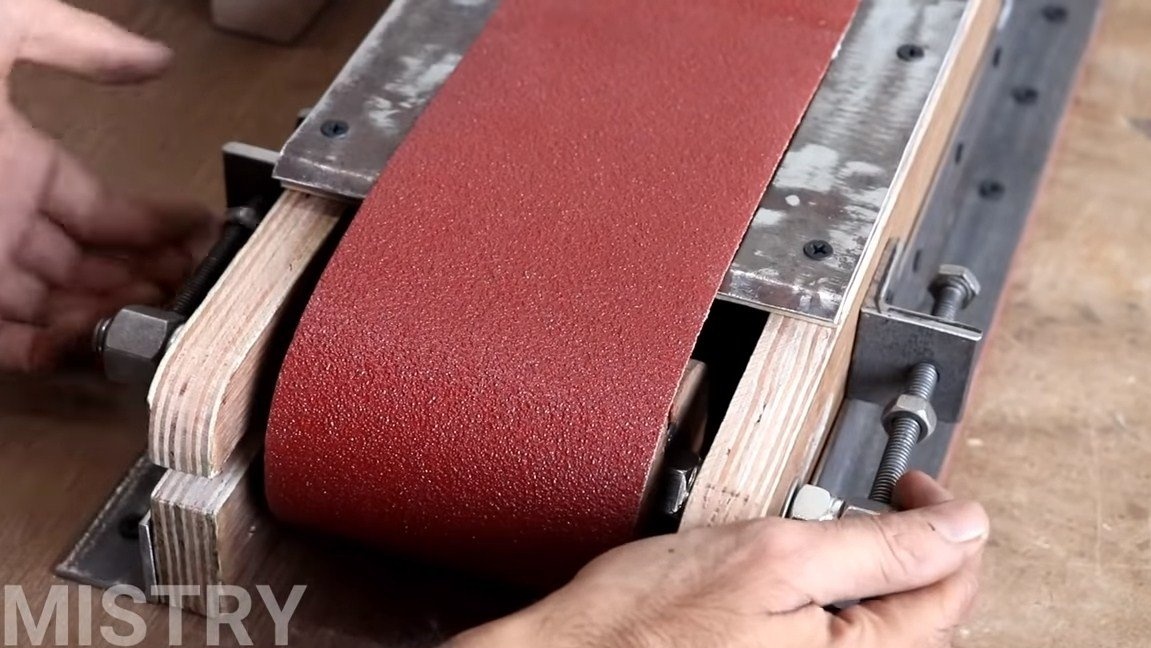
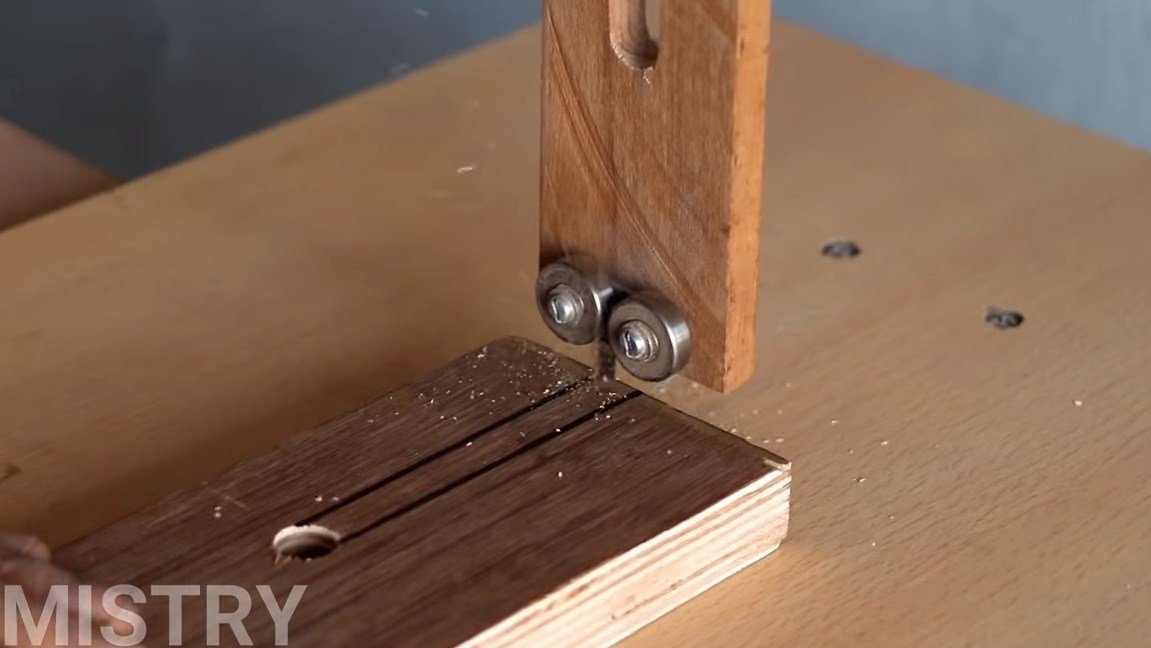
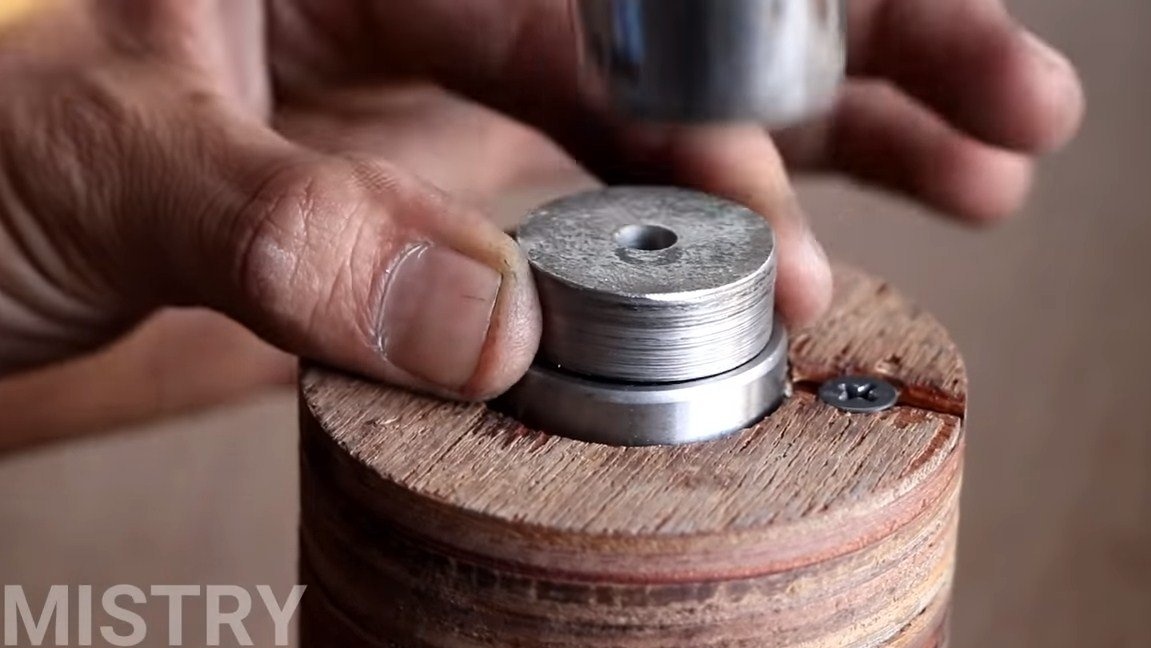
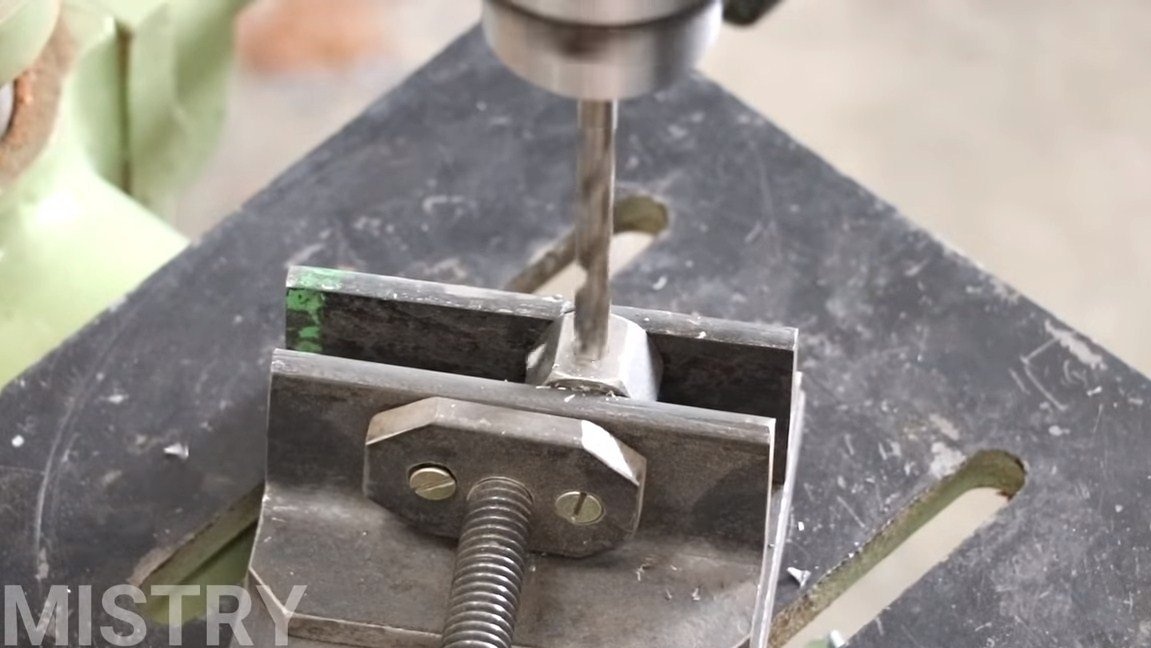
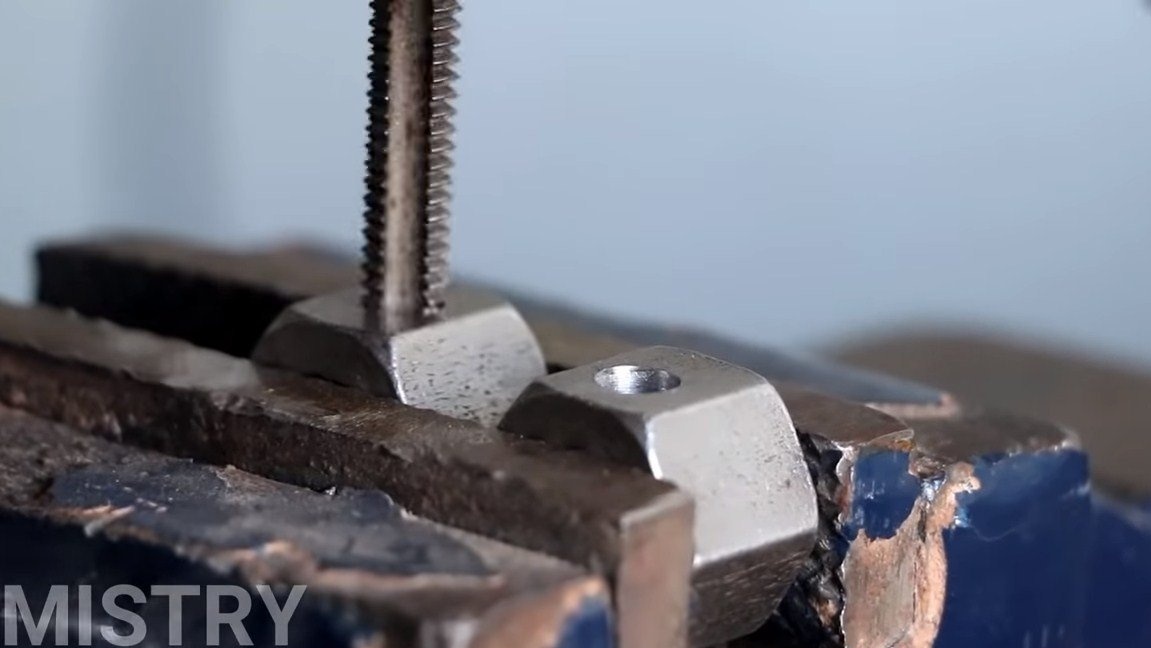
The driven roller is also made of plywood, but the bearings are installed directly in it. Thanks to this roller, we will center and pull the grinding belt. The tensioner is a threaded rod with nuts. The tensioner abuts against a corner, which is screwed with screws to the uprights.

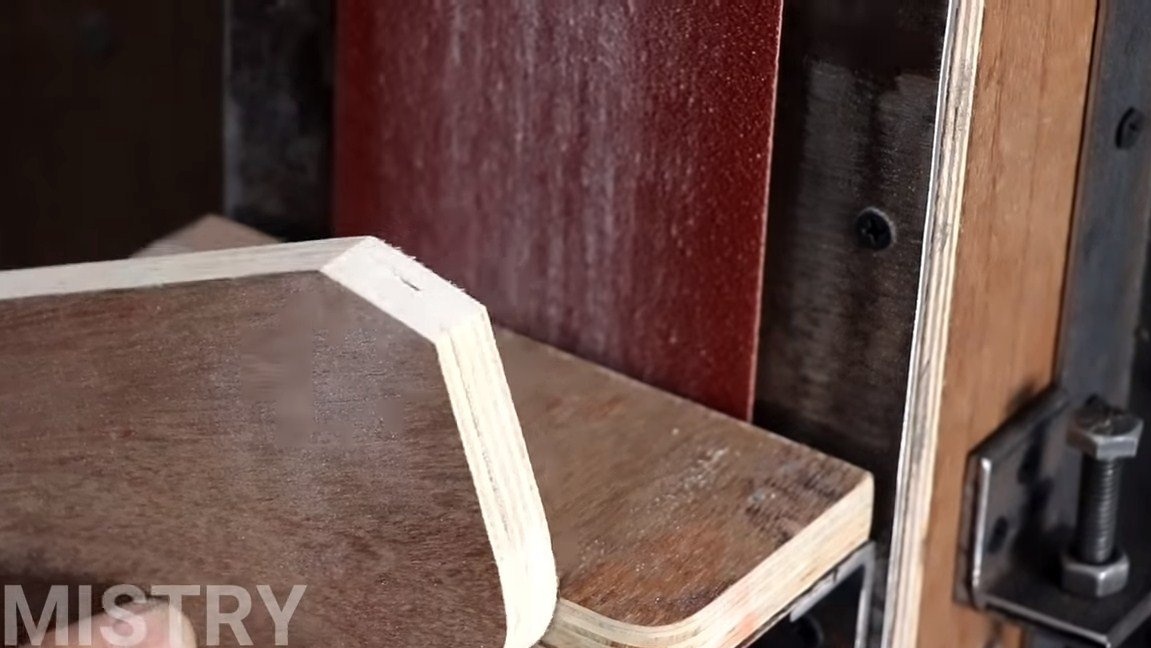
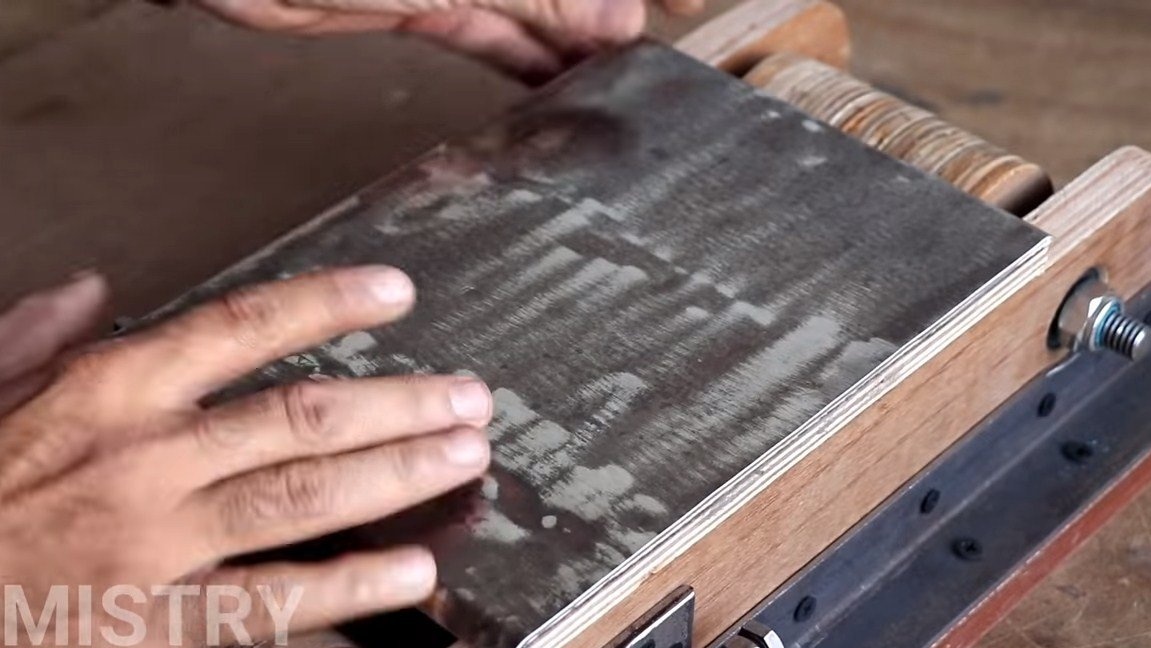
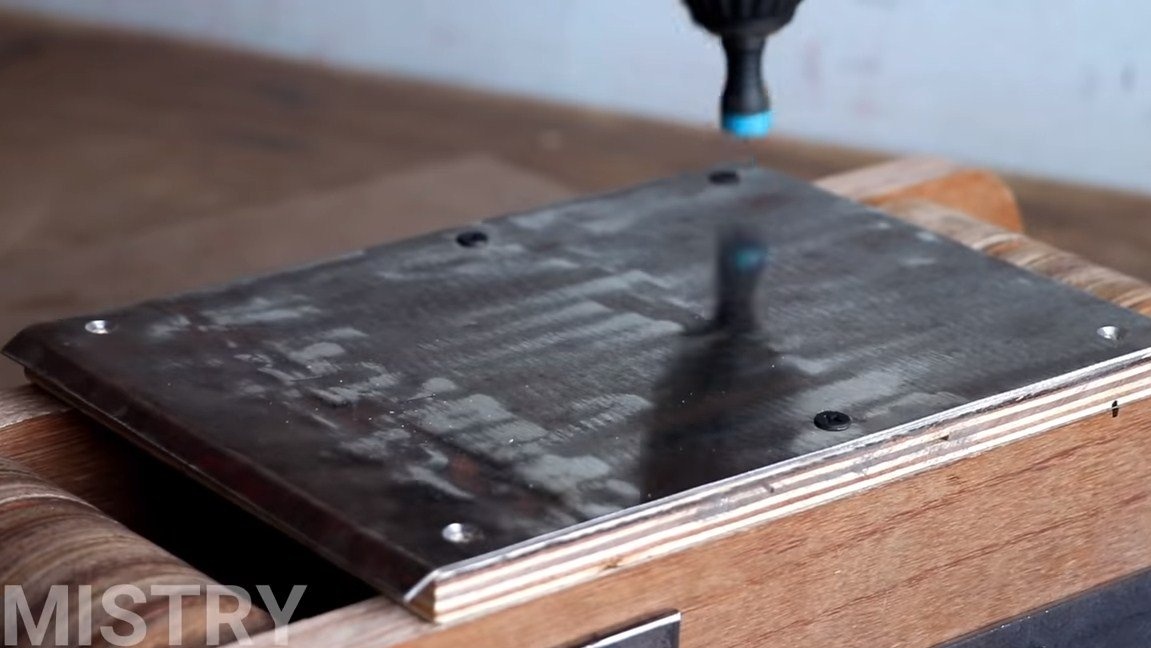
Step Four Work plane
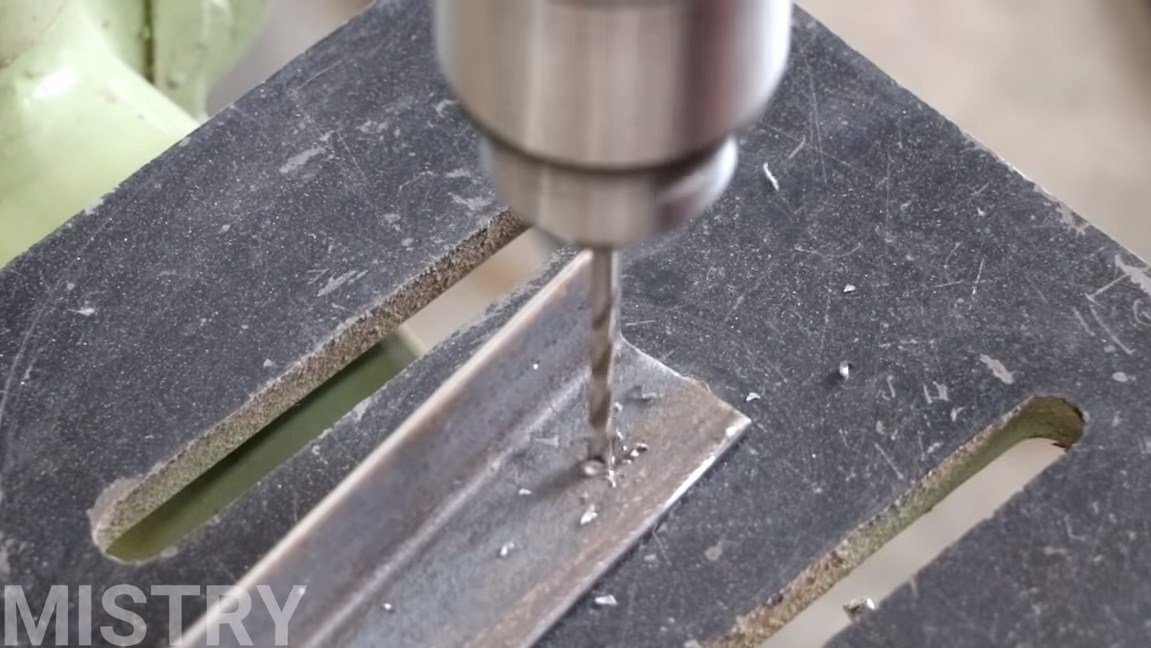
Next, we make a persistent plane on which grinding will take place. It is a piece of plywood to which a sheet of steel is bolted. We fasten this plane to the racks.
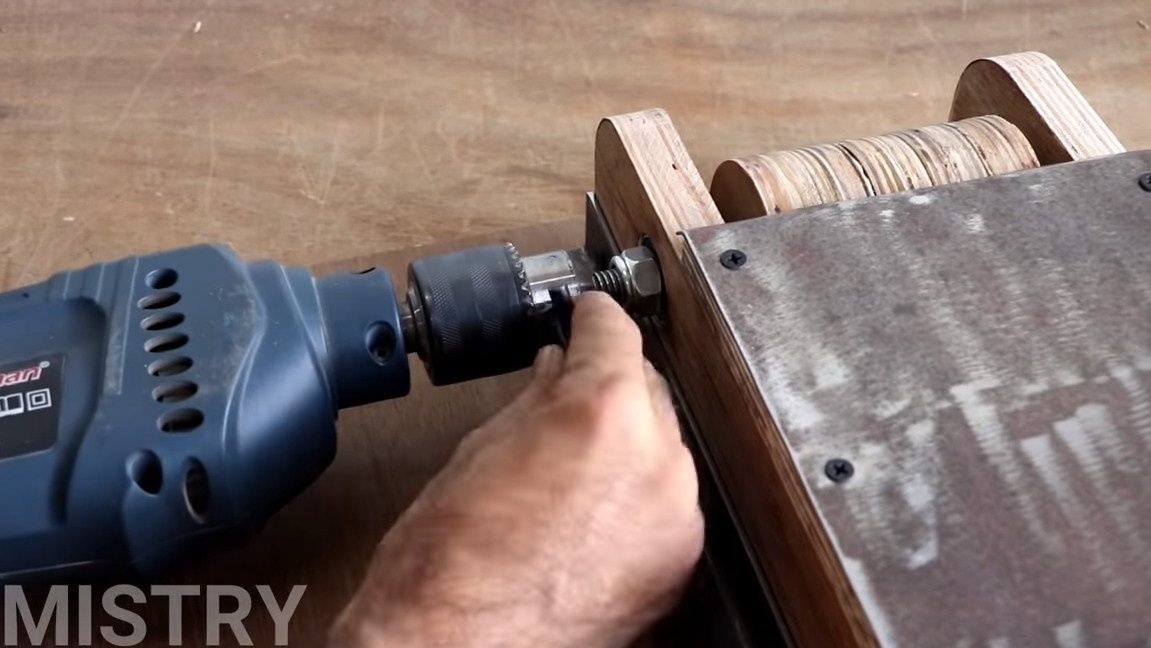
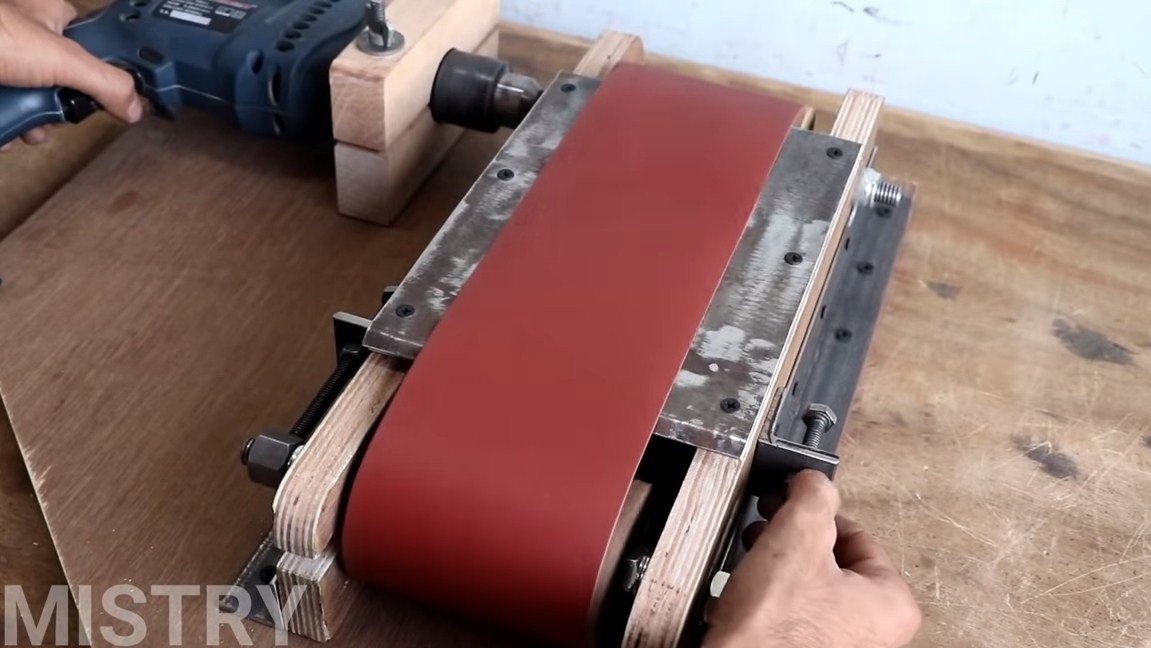
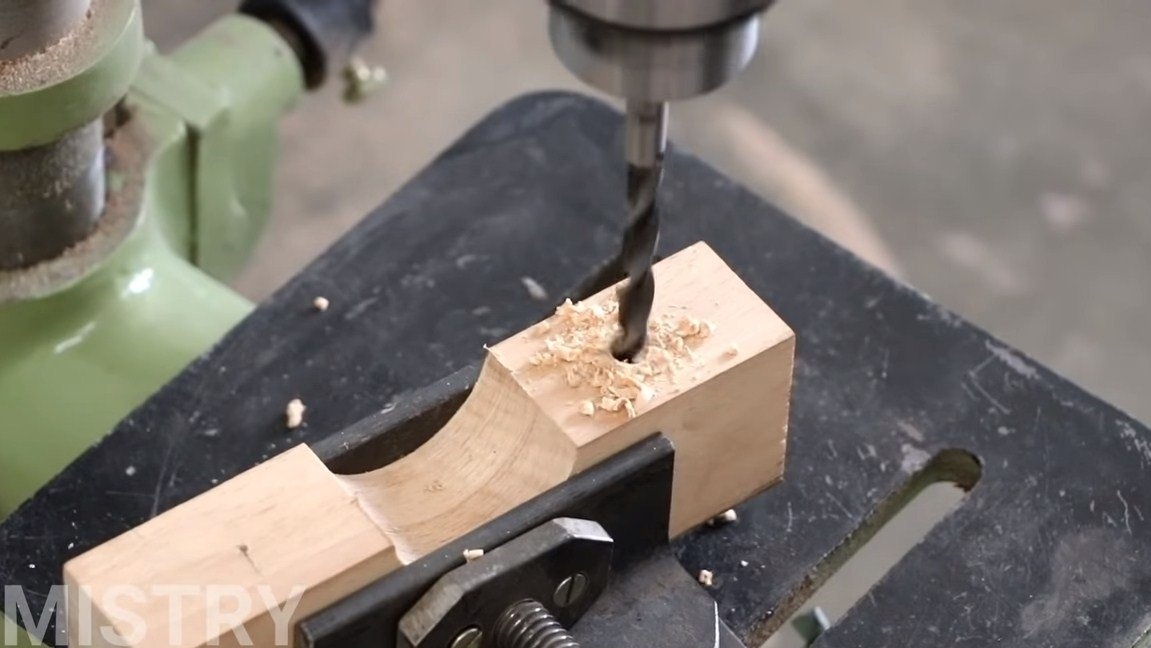
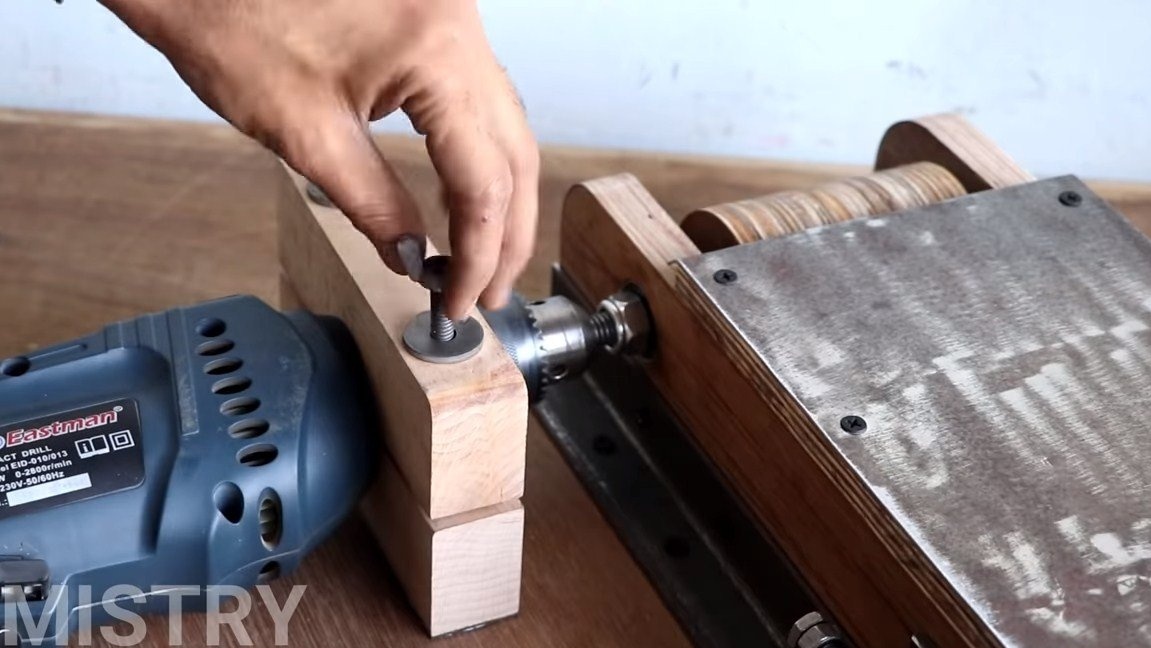
Step Five Bracket for drill
In conclusion, we need to make a bracket for the drill. Here you will need a wooden beam, in the end you should get a collar that will fix the drill in the installation area of the handle. That's all, we clamp the axis of the drive shaft into the drill chuck and the device is almost assembled.
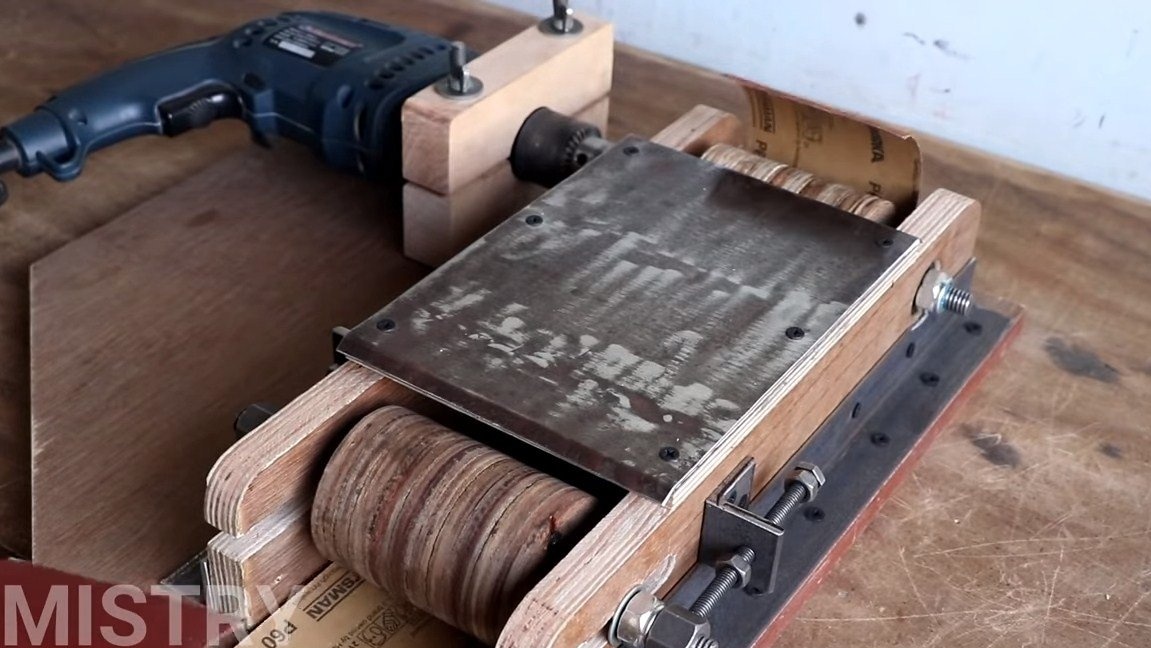
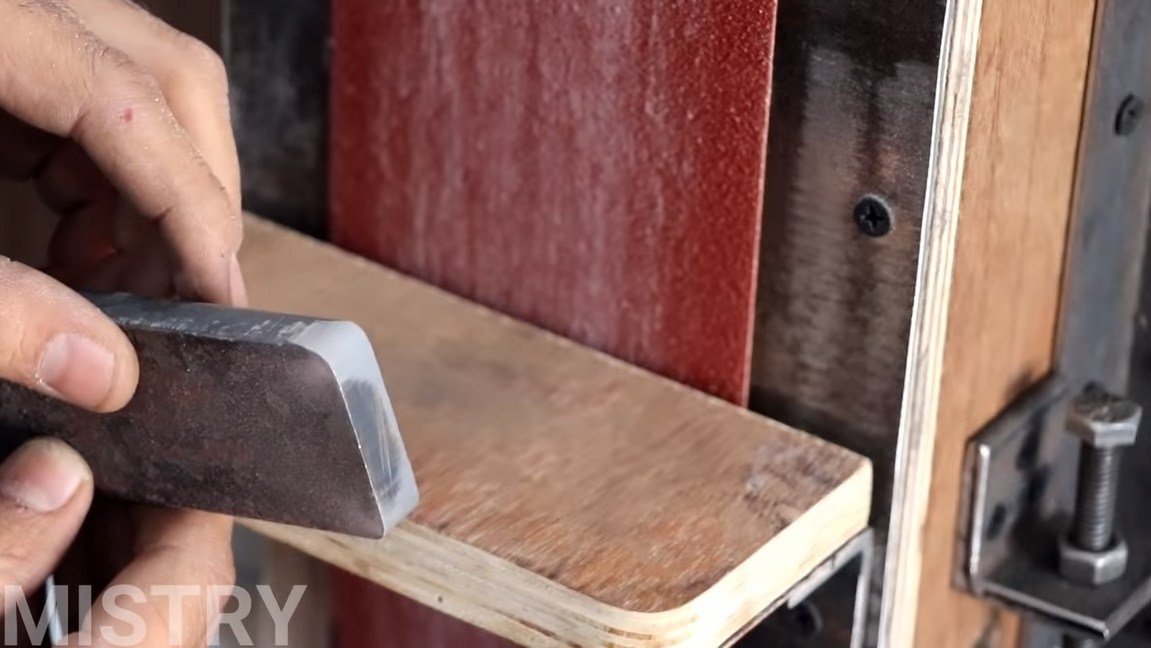
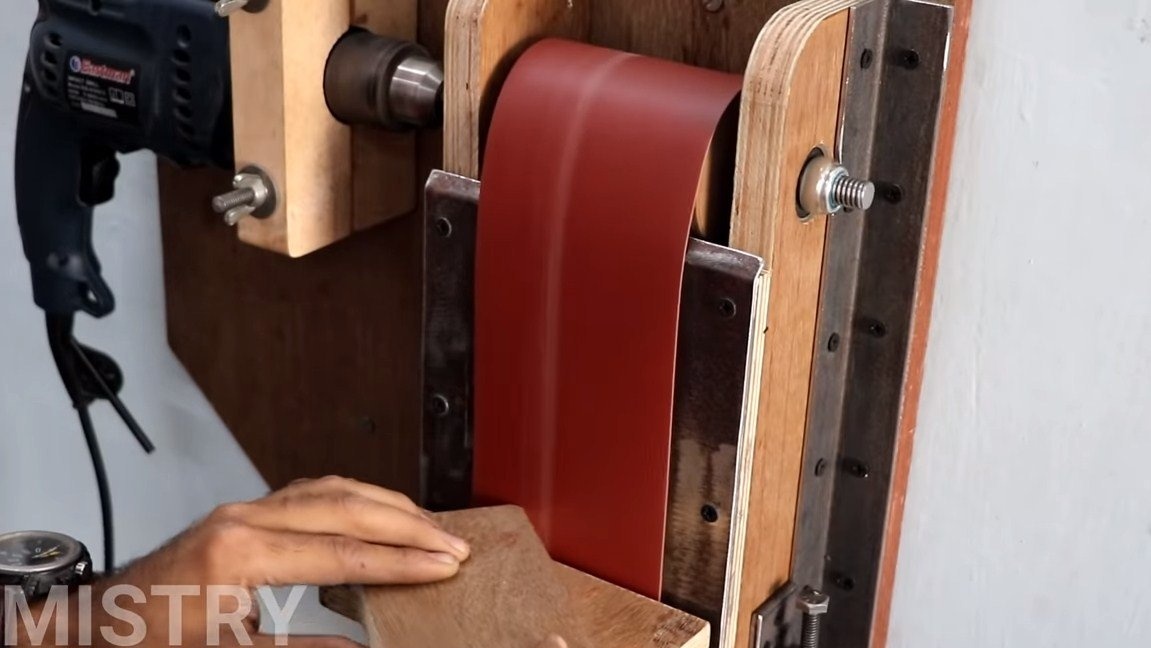
Step Six Sanding Belt and Testing
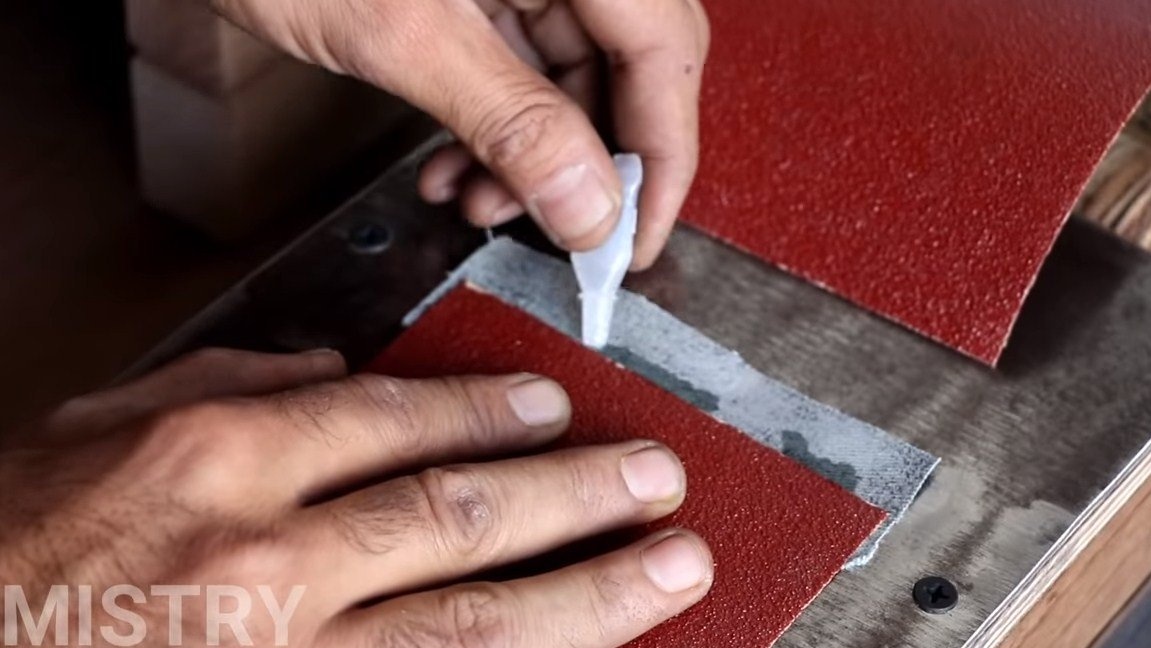
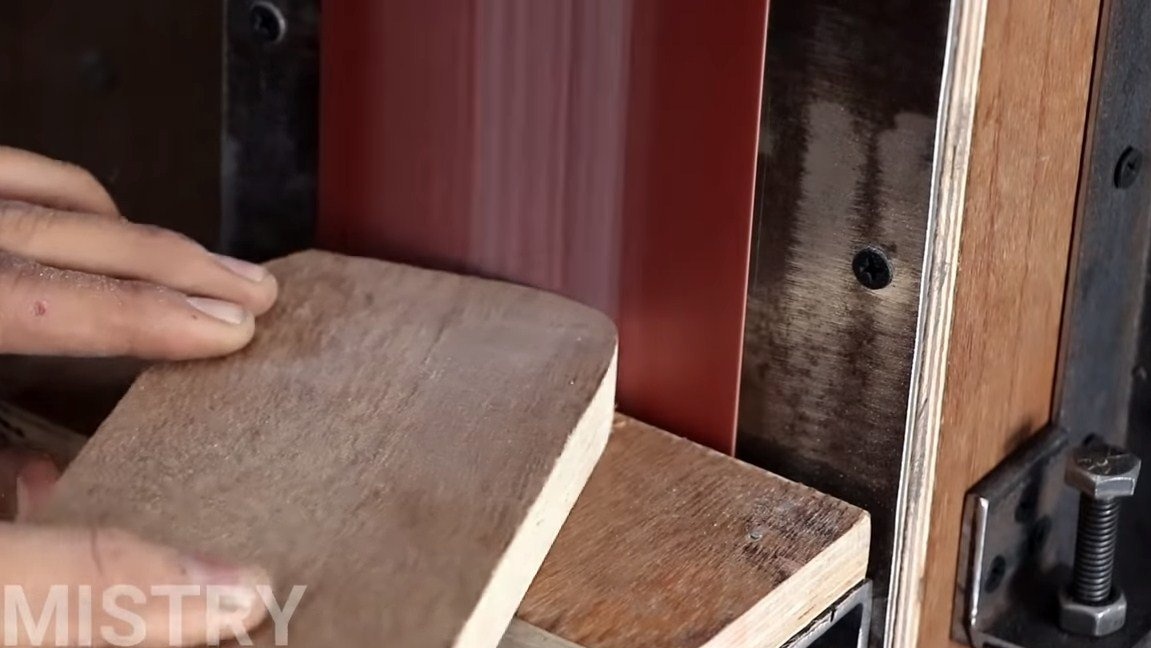
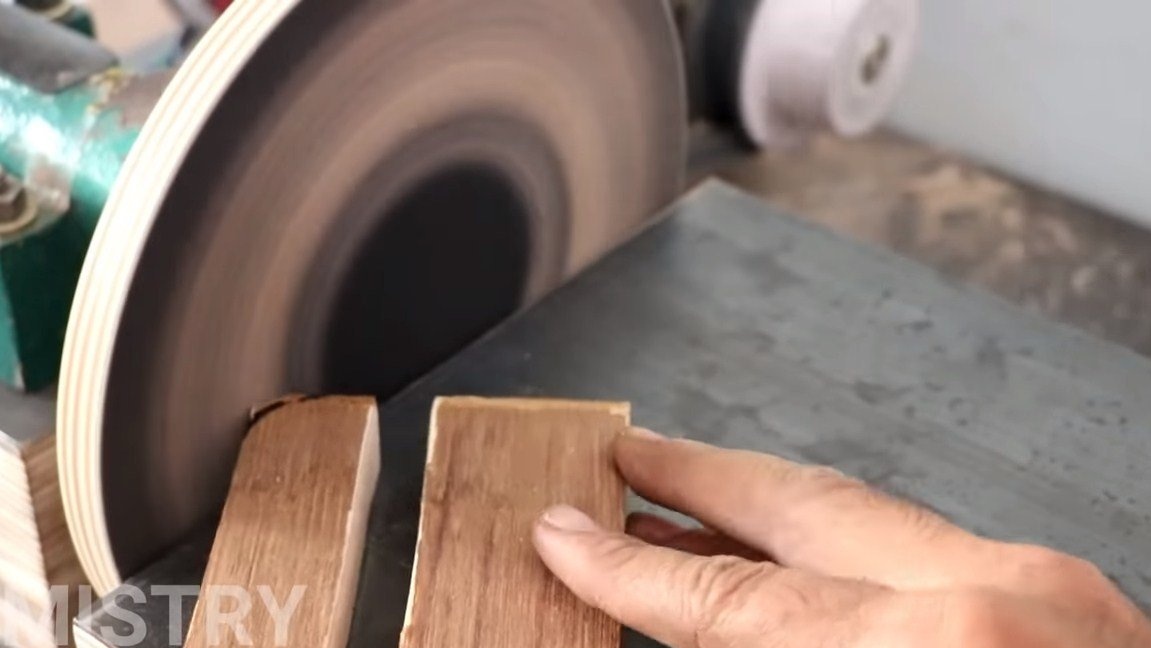
The author makes the sanding belt directly on the machine by gluing it with superglue. We pull the tape a bit and turn on the machine. If the tape floats to one side, we center it using tensioners. That's all, the machine is ready. The author can see in the video how the machine grinds. The machine easily processes wood, and even metal.
That's all, good luck and creative inspiration, if you decide to repeat it. Do not forget to share your homemade products with us!