
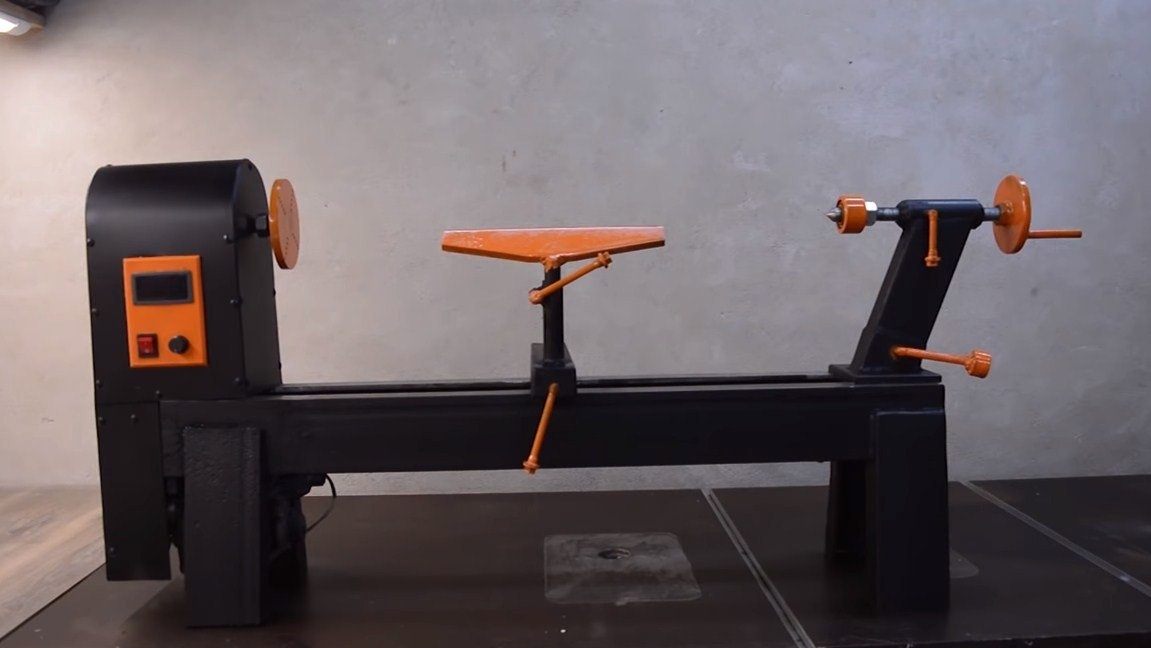

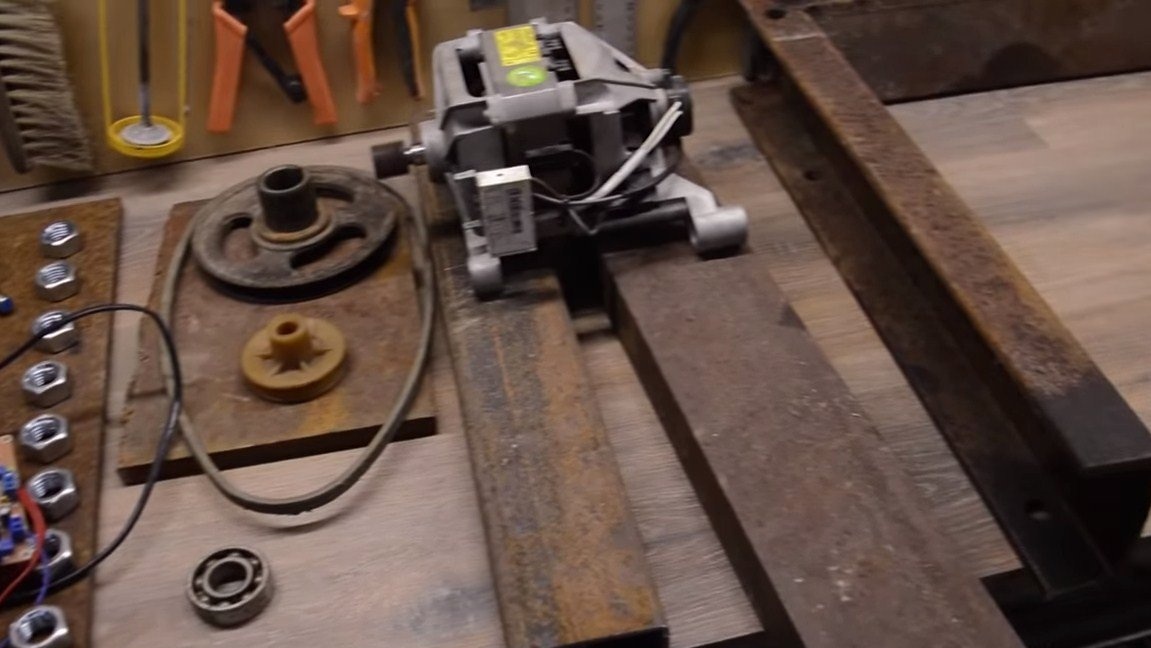
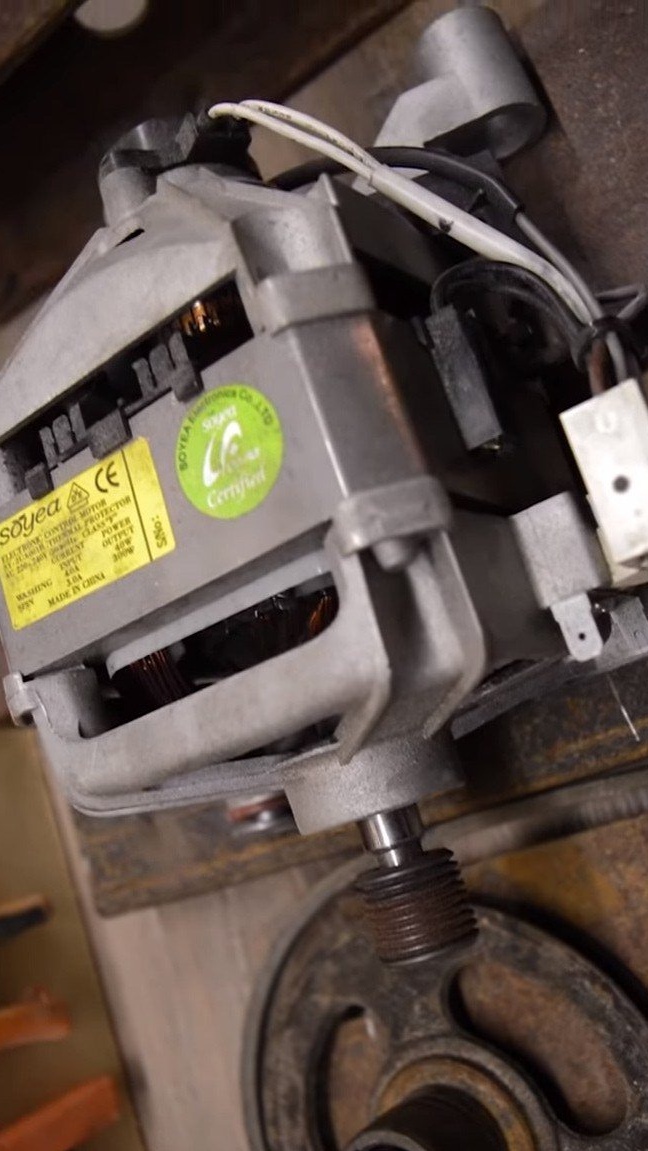
Greetings to fans to craft. In this manual, we will discuss how to make a lathe from available materials. The engine from the washing machine is used as the main power unit. Thanks to the lowering belt transmission, quite a good torque is obtained, which is enough for the machine with its head.
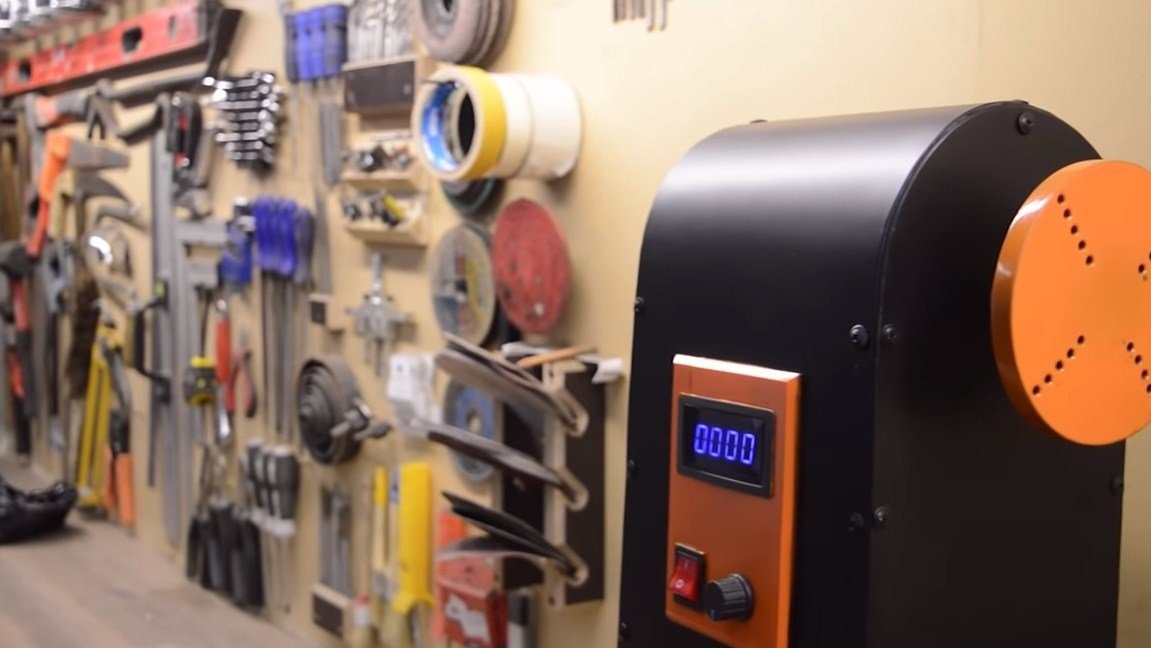
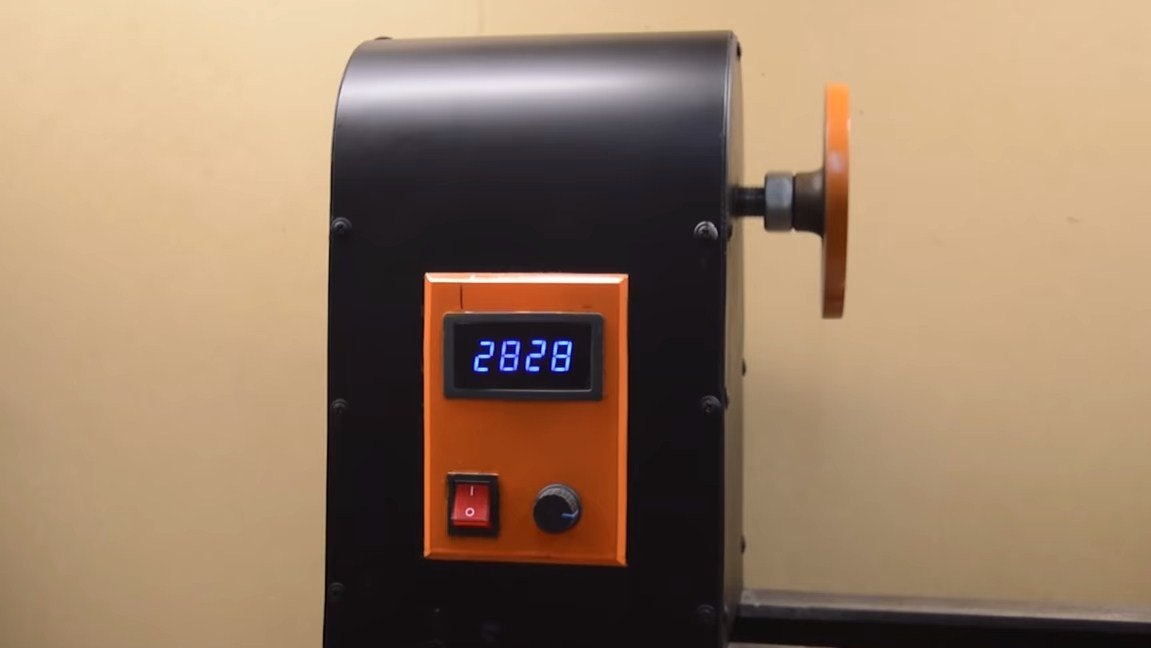
The machine is equipped with a digital tachometer, which allows you to monitor the speed of the working shaft. The revolutions are regulated by the slight rotation of the small handle on the machine. The machine bed is made of channel, headstock and other nodes from the corner, profile pipes and other available materials. If you are interested in the project, I propose to consider it in more detail!
Materials and tools used by the author:
Material List:
- the engine from the washing machine;
- belt drive (to increase torque);
- controller for controlling the speed;
- ;
- threaded rods;
- bolts, nuts, washers;
- profile pipes;
- channel for bed;
- a cartridge from a drill;
- pieces of round pipes, bearings and more.
Tool List:
- grinder;
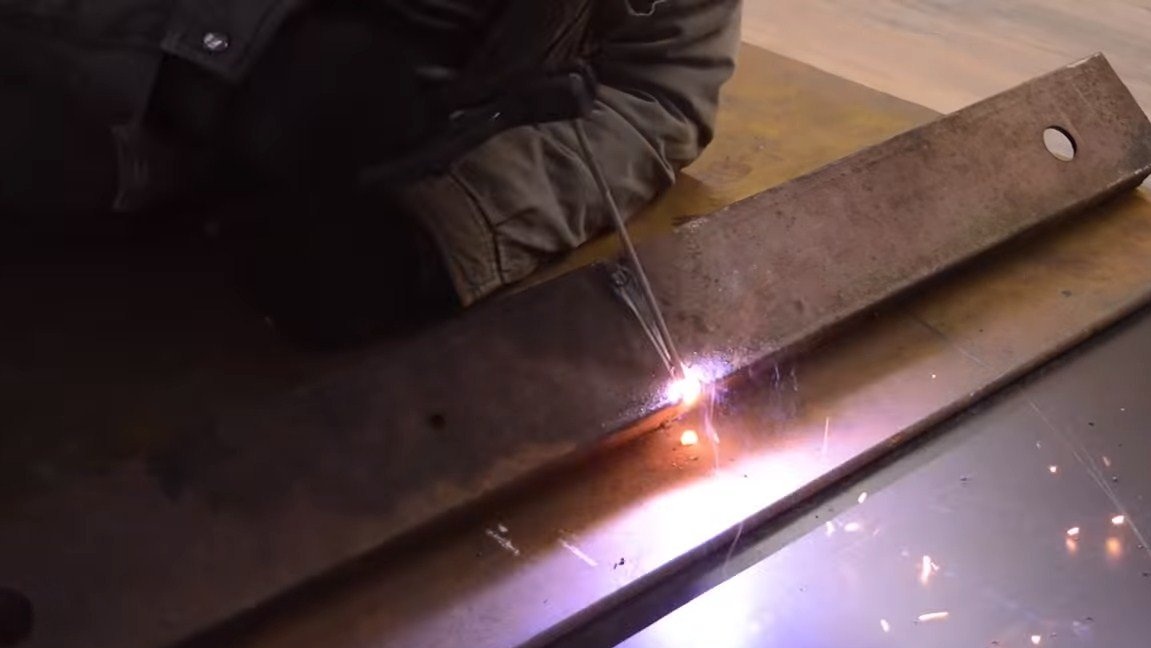
- welding machine;
- drill;
- spanners;
- clamps;
- vise;
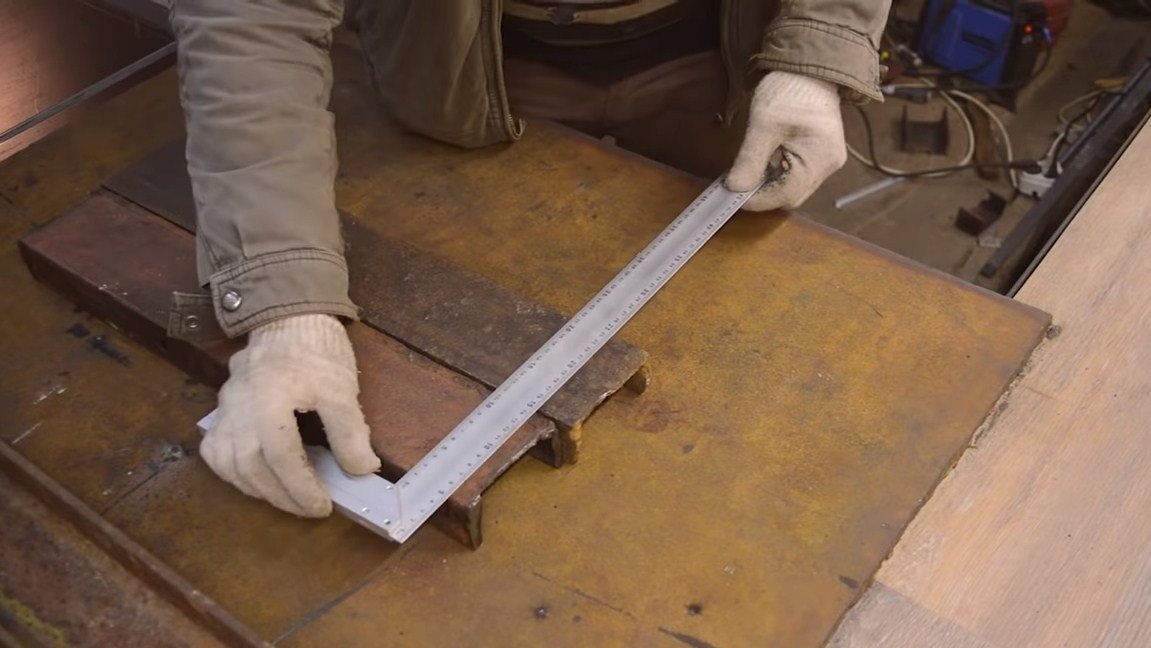
- marker and tape measure.
Lathe manufacturing process:
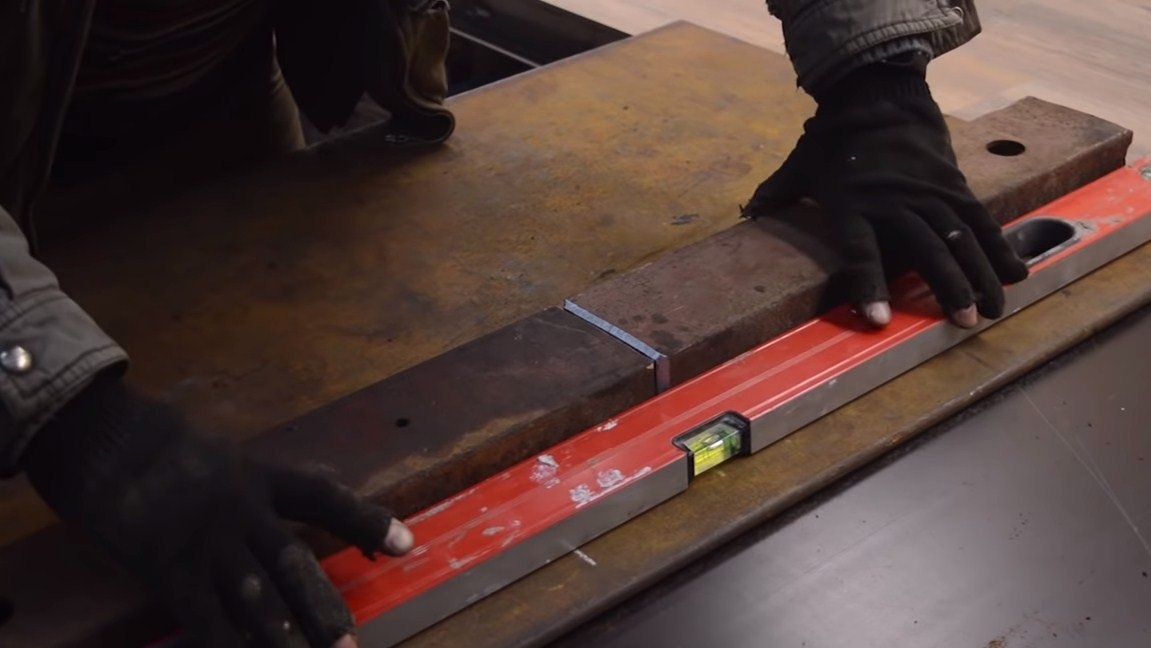
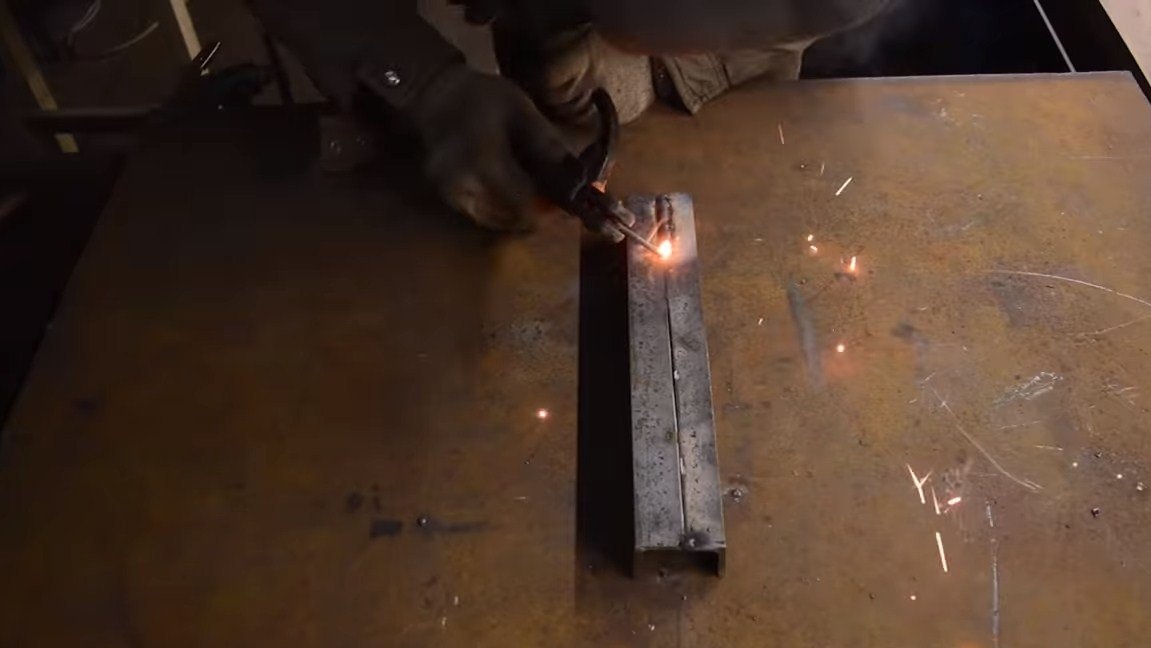
Step one. Making the bed
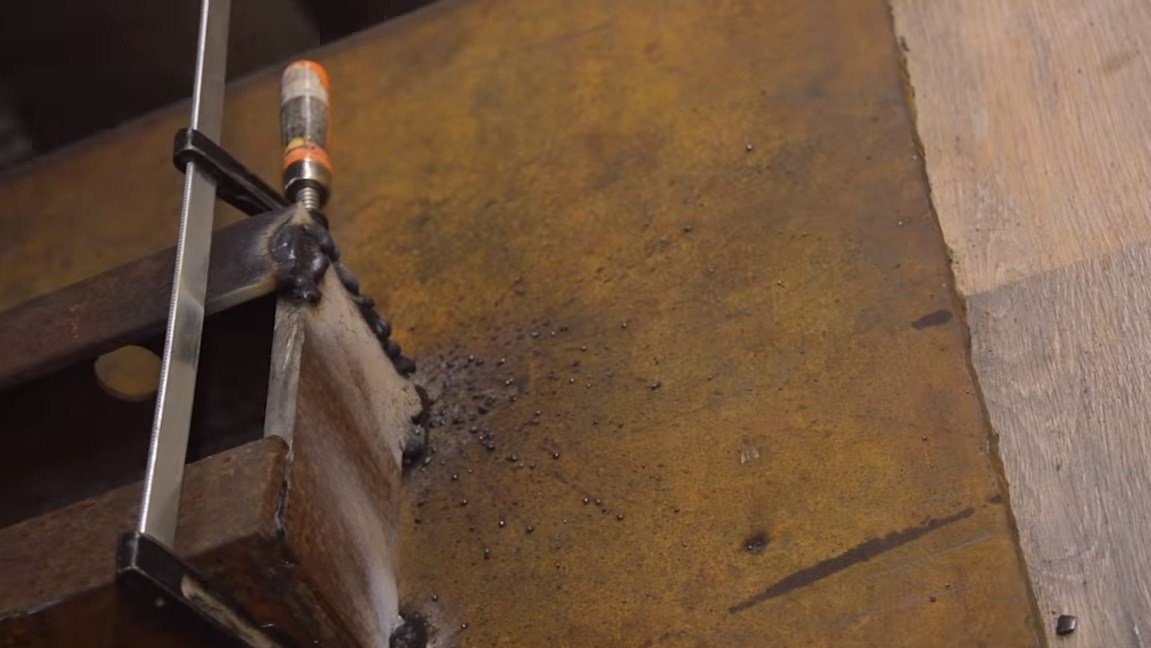
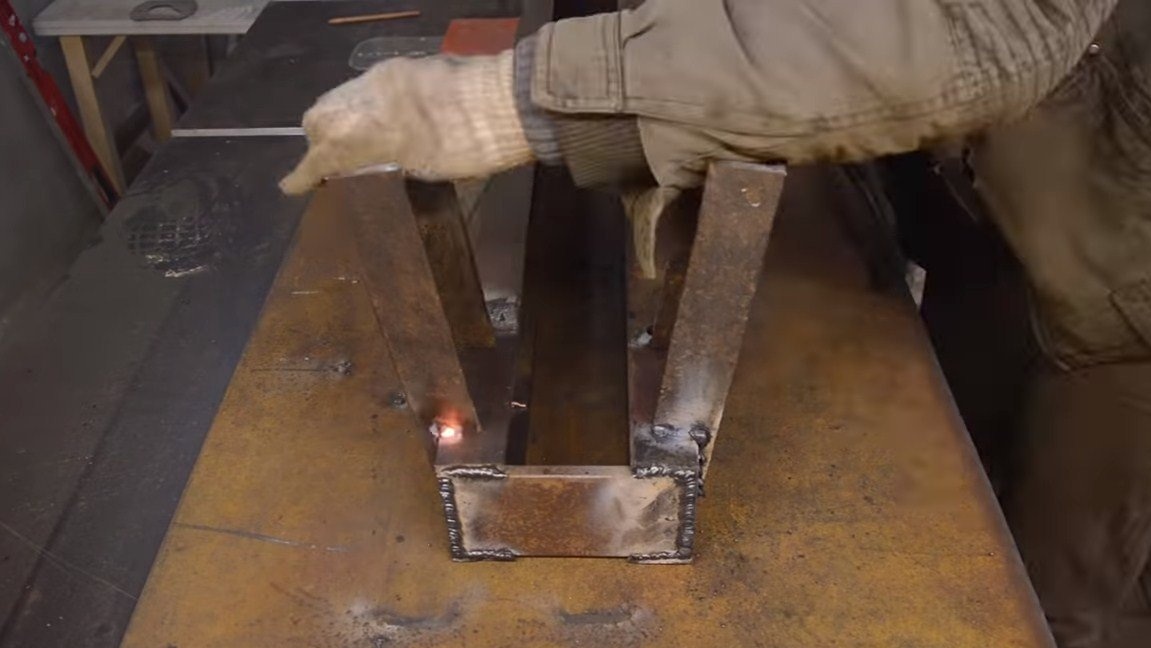
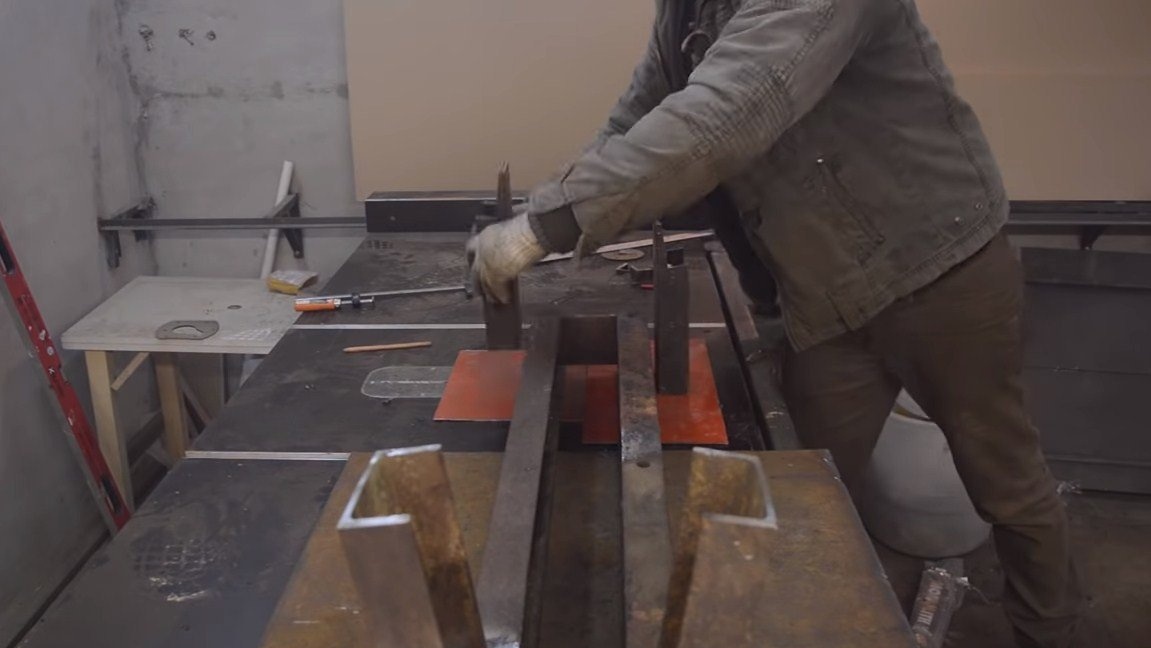
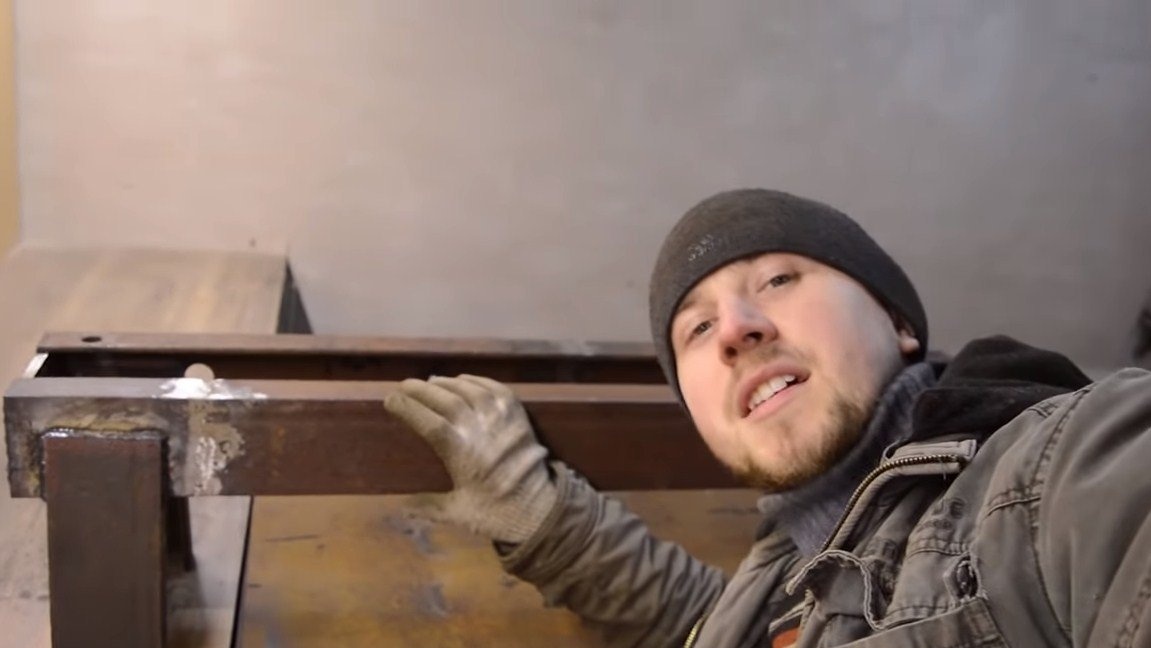
To make the bed we need a steel channel. It should be two segments of the length we need. We weld the channels at the ends with pieces of thick sheet steel. Next, we weld reliable legs to the bed, the author also has them from the channel.
Step Two Front headstock
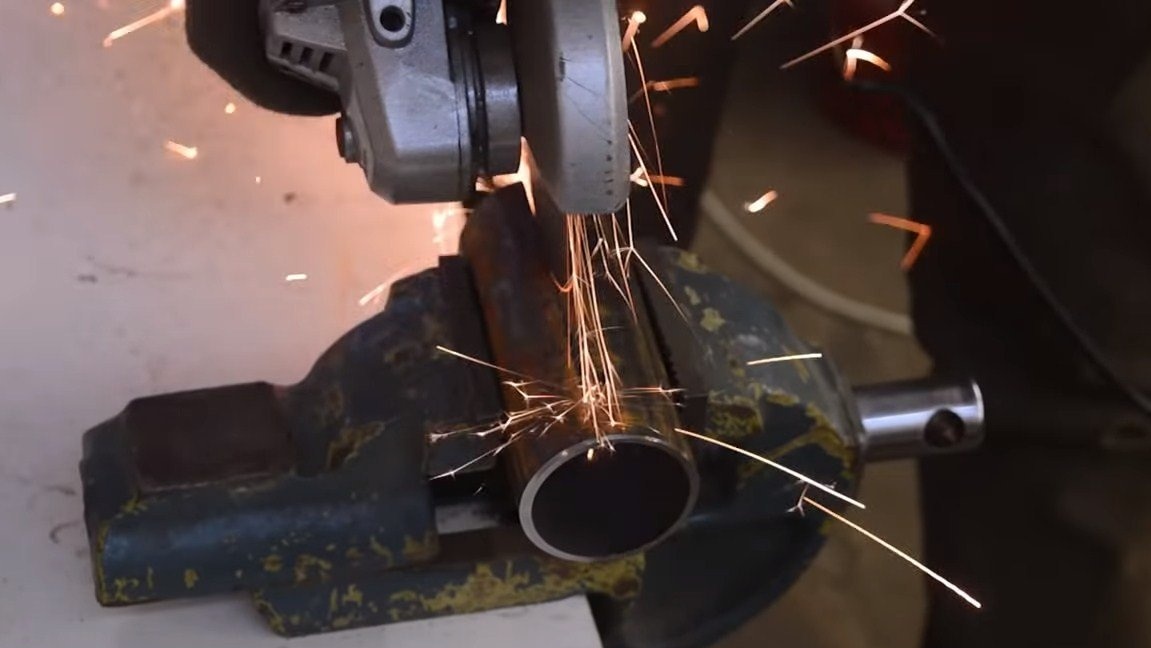
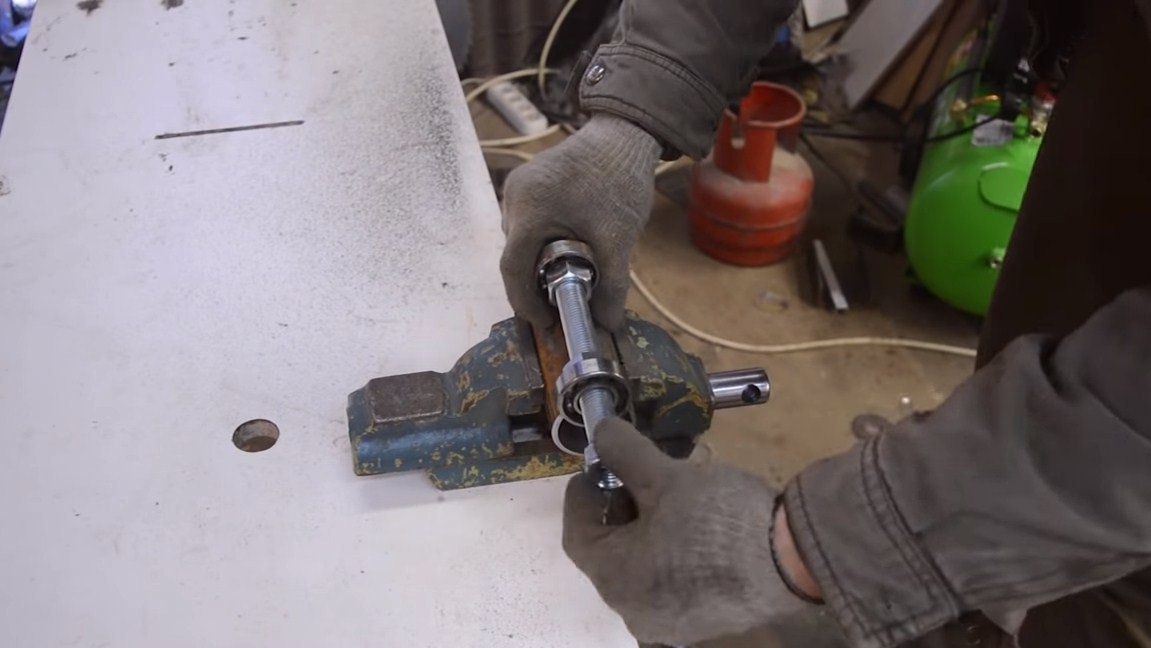
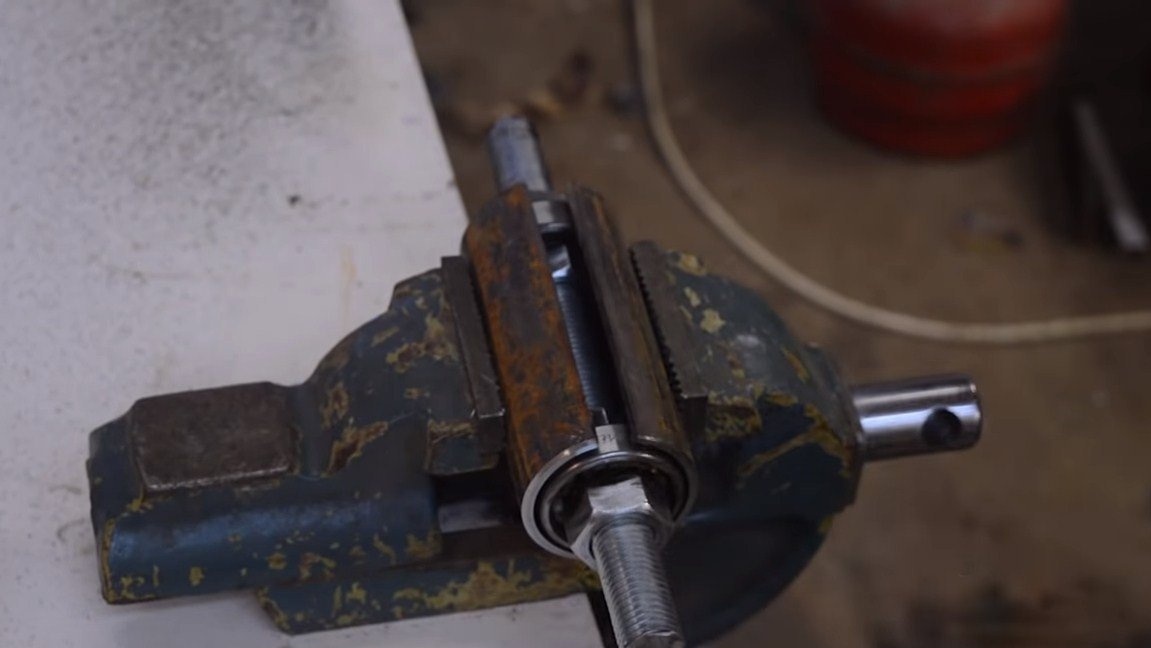
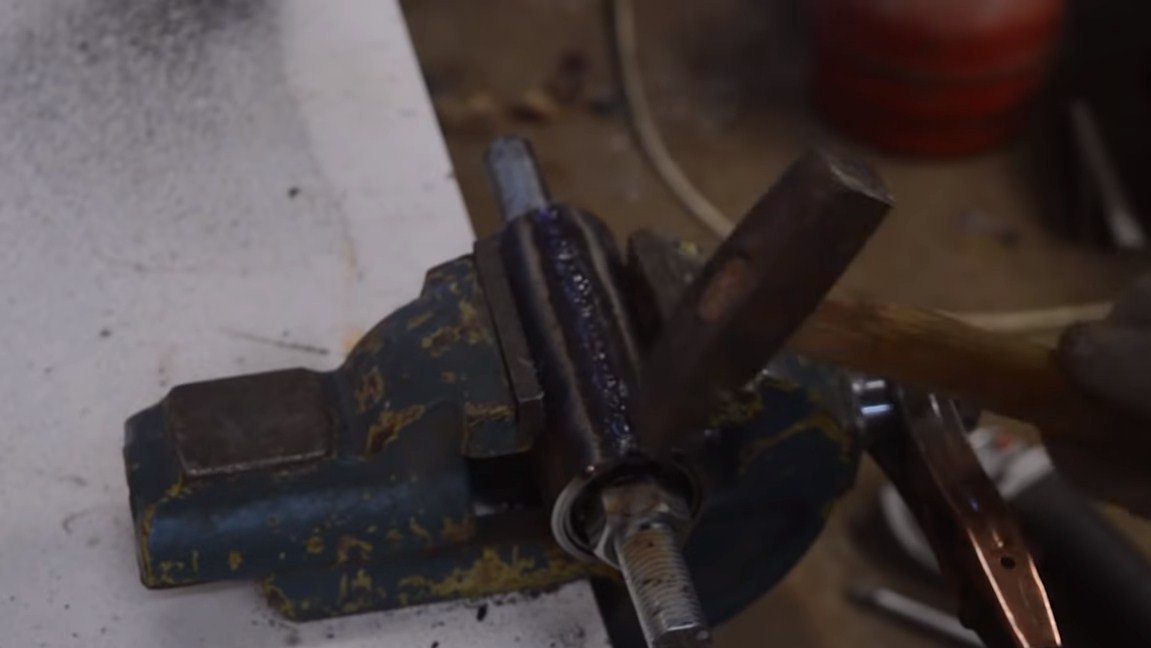
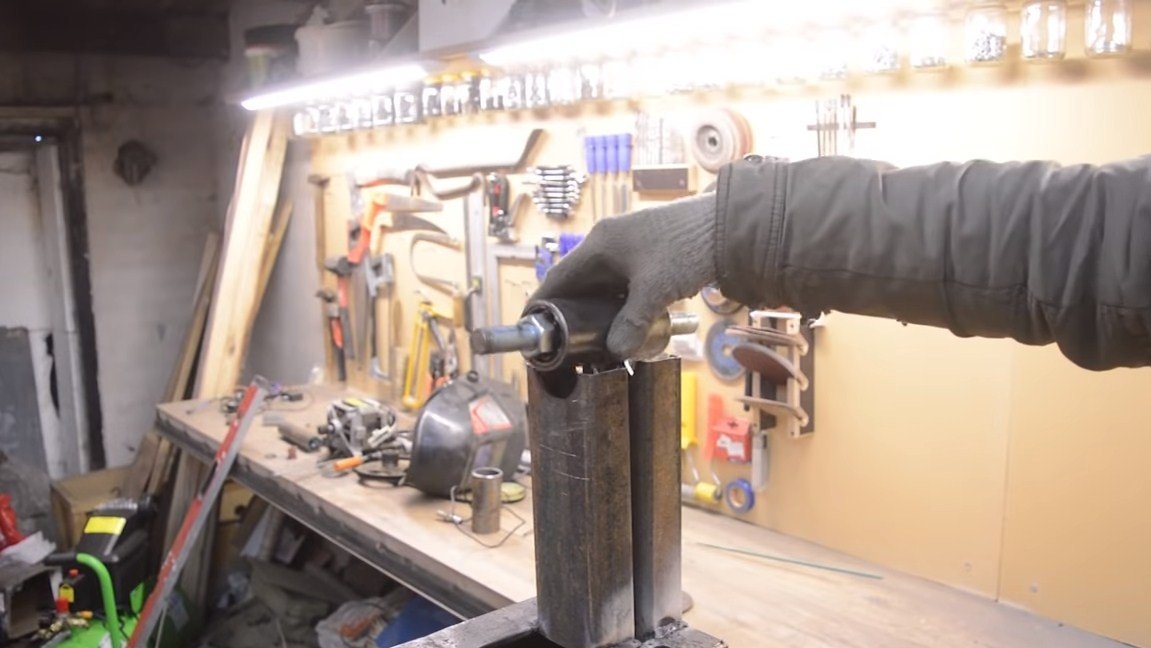
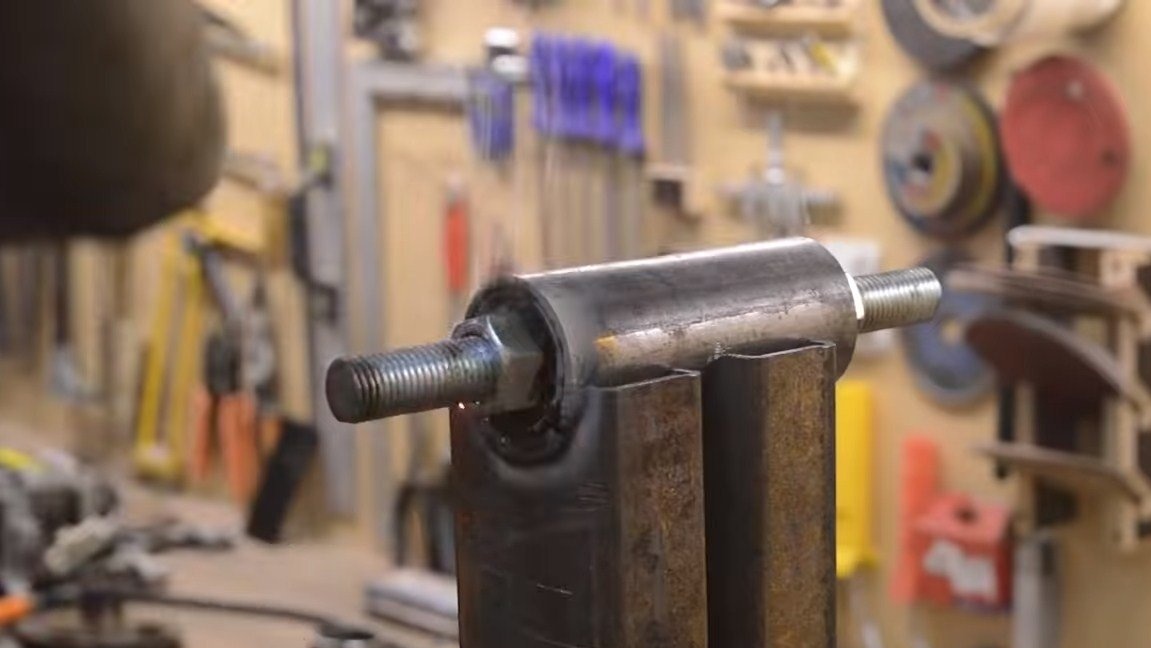
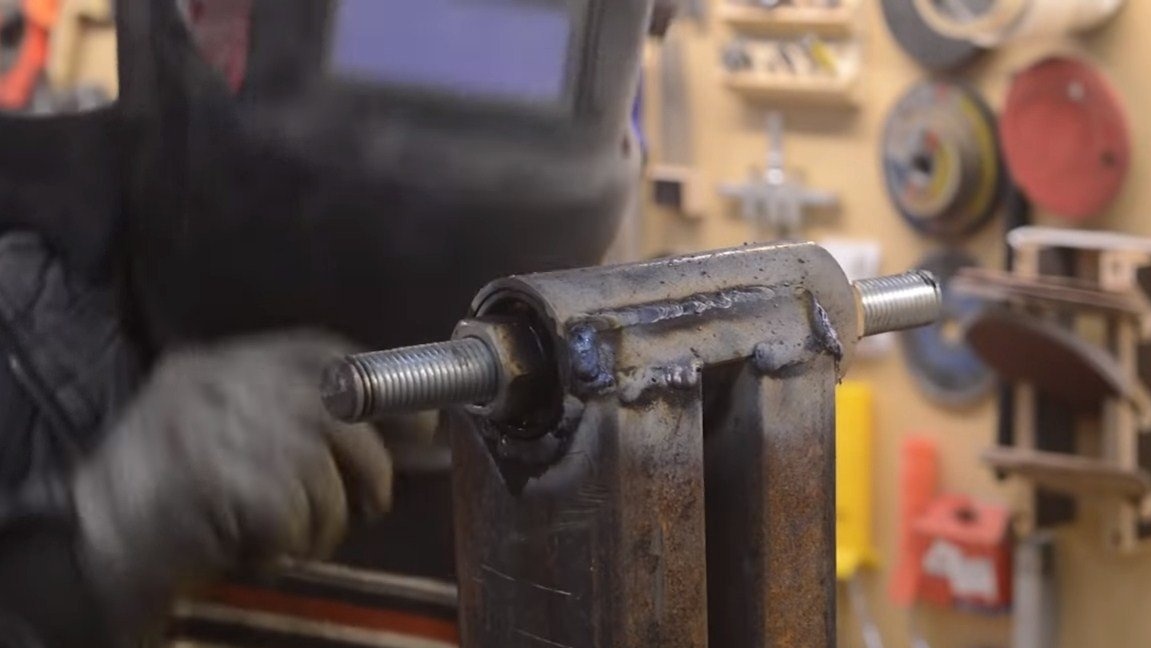
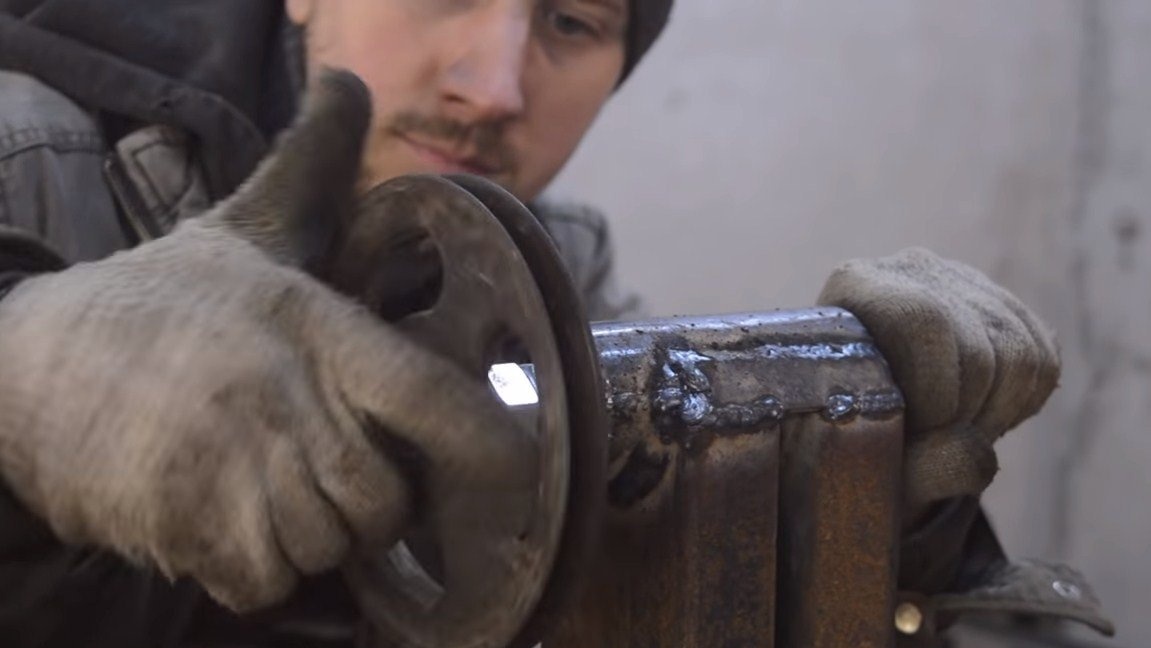
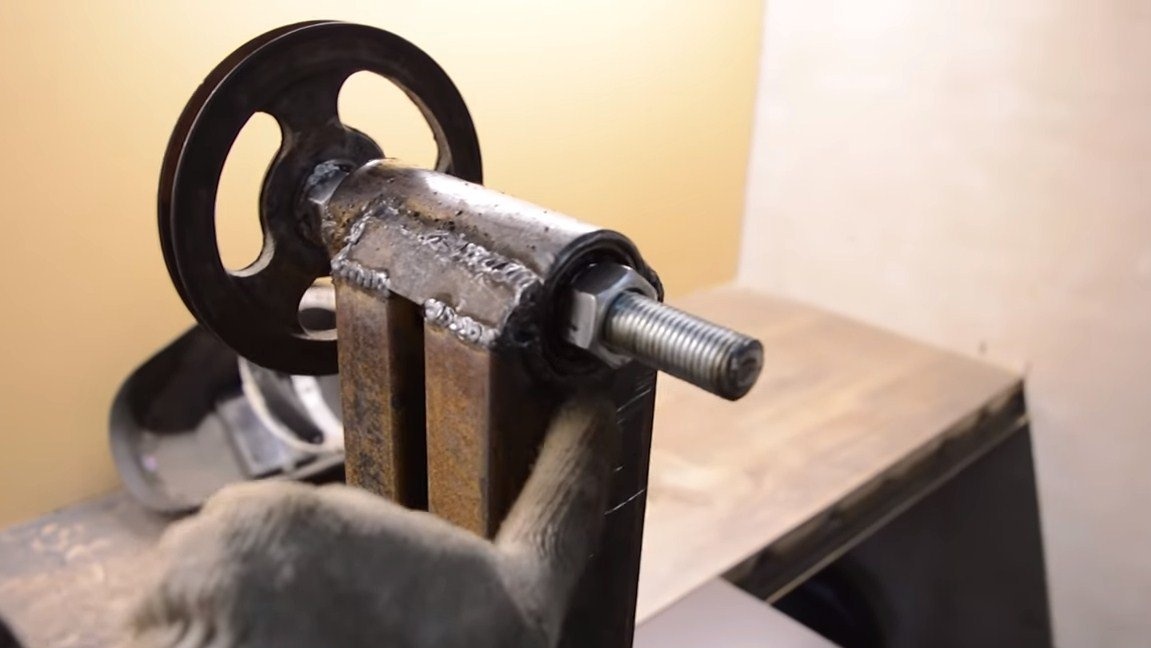
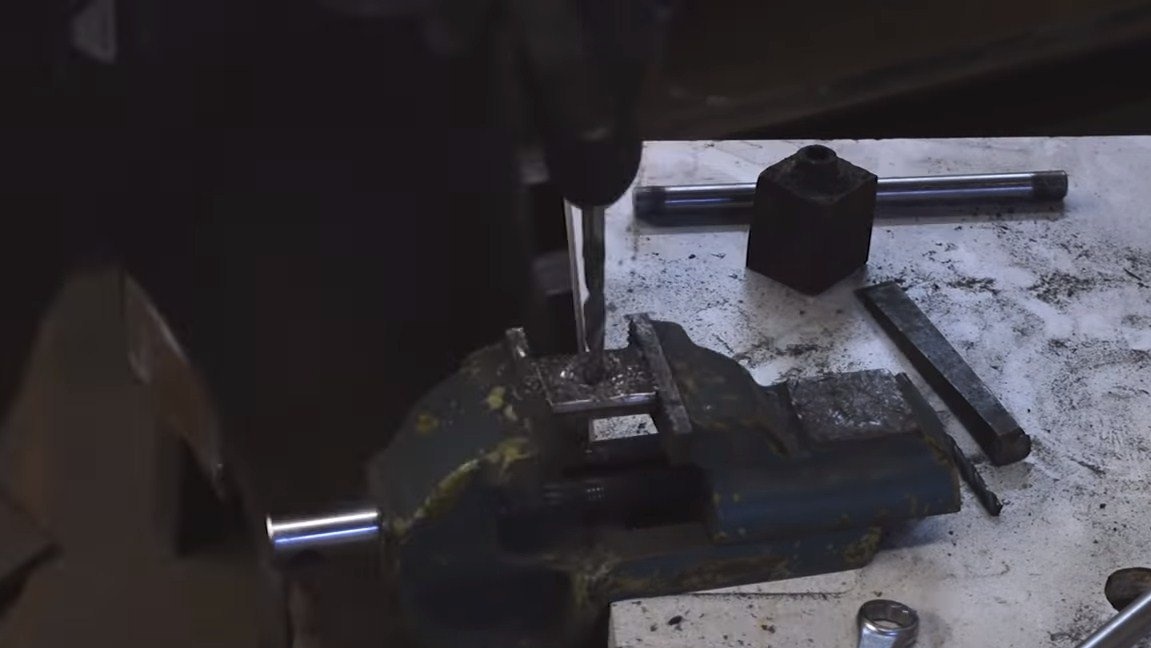
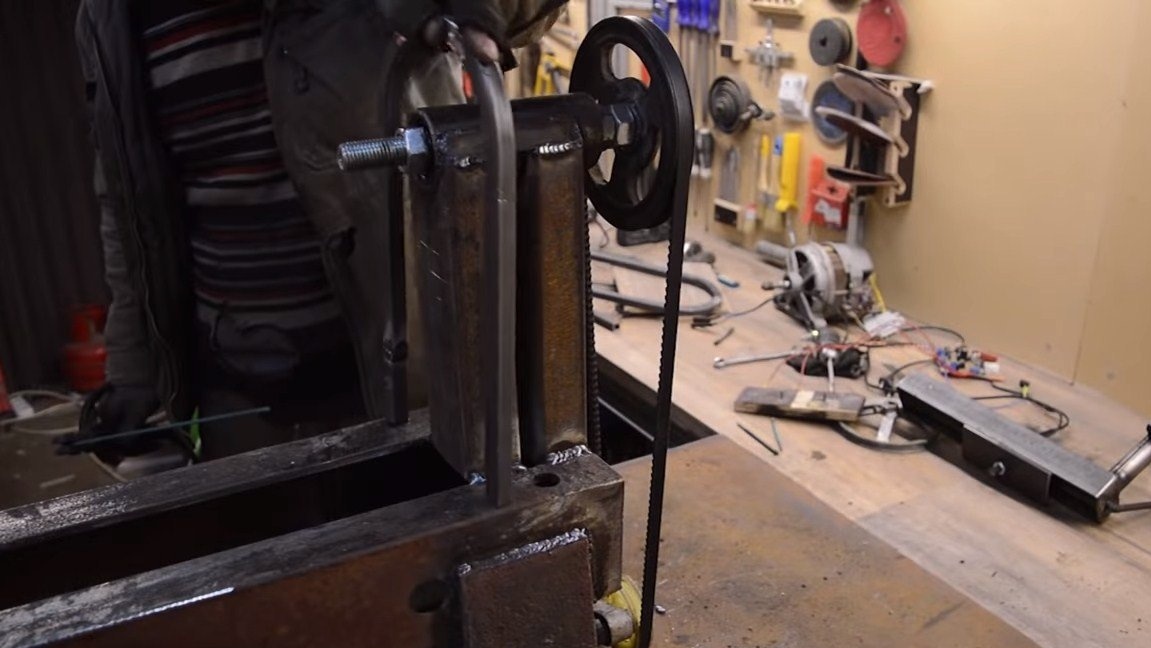
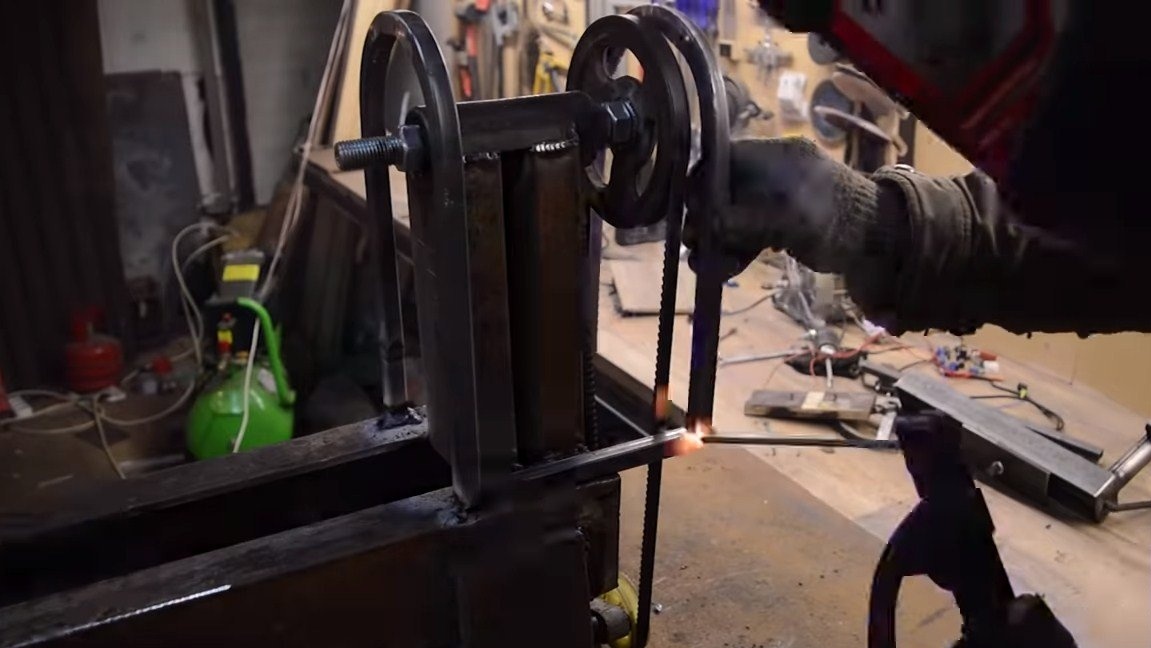
The frame is ready, you can make the headstock. As a rack, the author welded two pieces of a rectangular profile pipe to the bed and made a slot at the top to install the sleeve. The sleeve is made quite simply, we need a threaded rod, nuts and two bearings. As a body, the author used a piece of a round pipe of suitable diameter. The bearings must be clamped securely in the pipe, for this we cut the pipe lengthwise and then clamp it in a vice with the bearings. We weld the joint and clean the weld with a petal nozzle. That's all, now the finished sleeve must be welded securely to the rack. At the end, install the driven pulley on the axis and weld it.

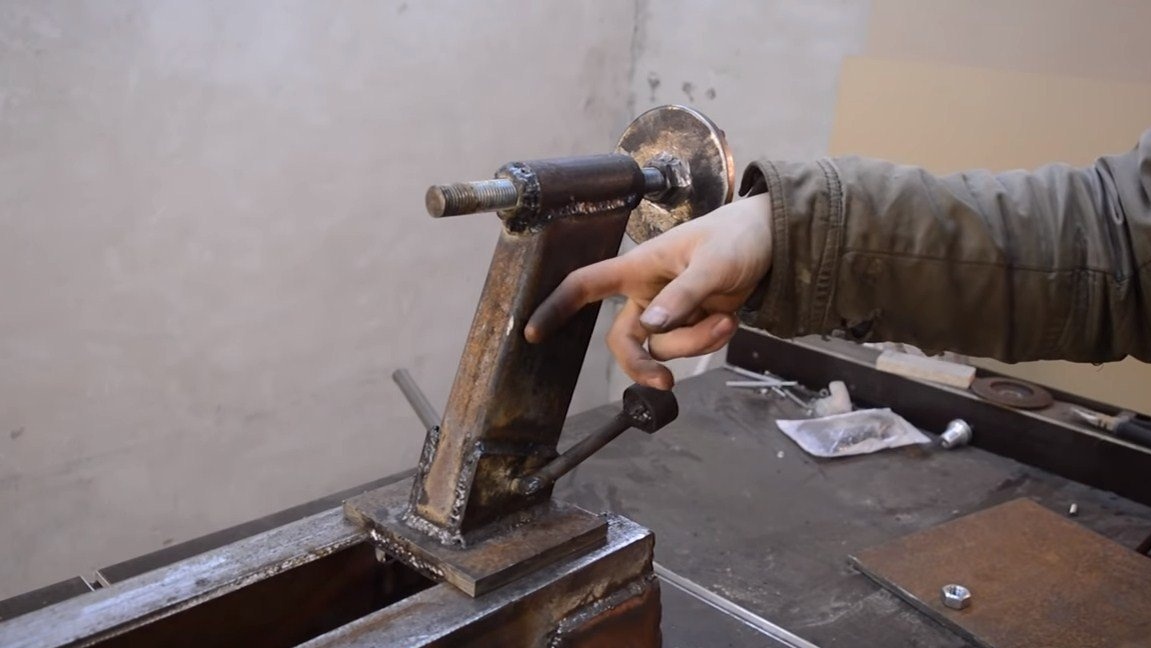
Step Three Making tailstock
The tailstock is made approximately the same as the front one, only instead of a sleeve with bearings, nuts and a threaded rod with a handle are installed here. The grandmother must ride on the bed, for this you need to make a convenient locking system. The author uses an eccentric knot to quickly and easily fix or release the headstock when necessary. The main headstock is a piece of thick sheet steel.
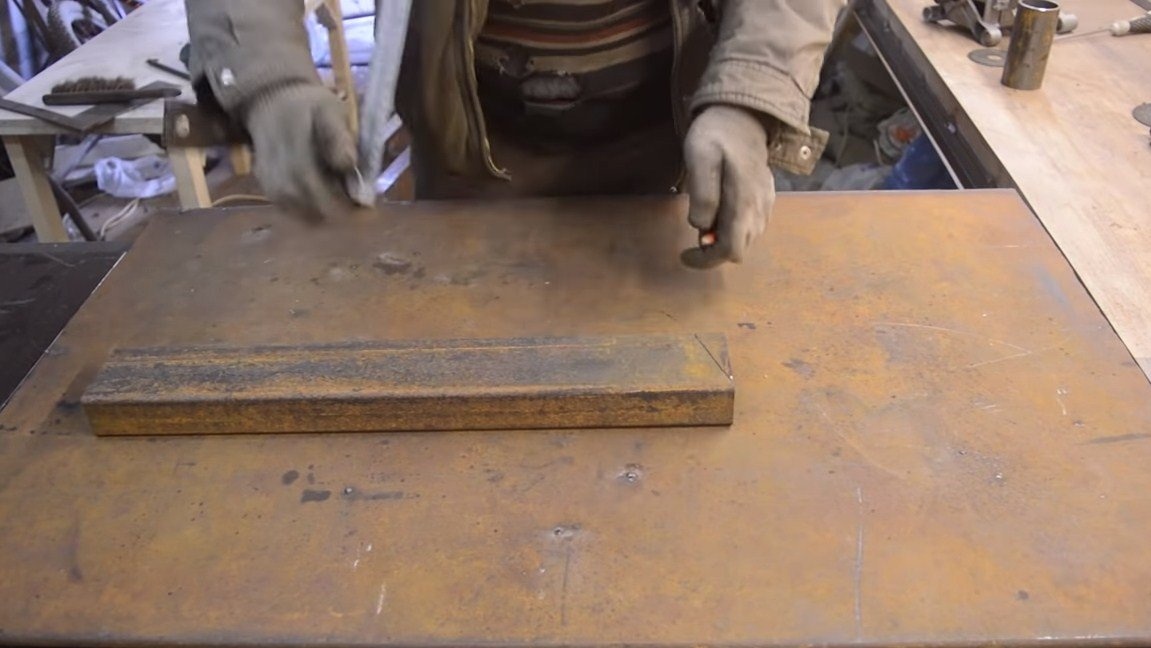
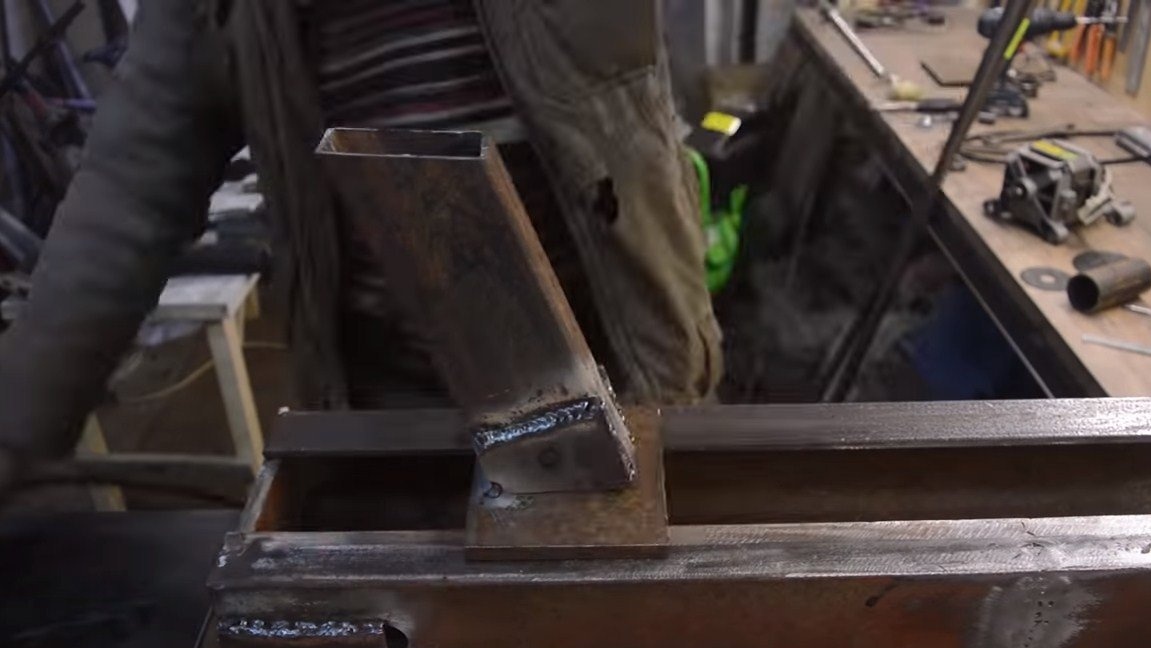
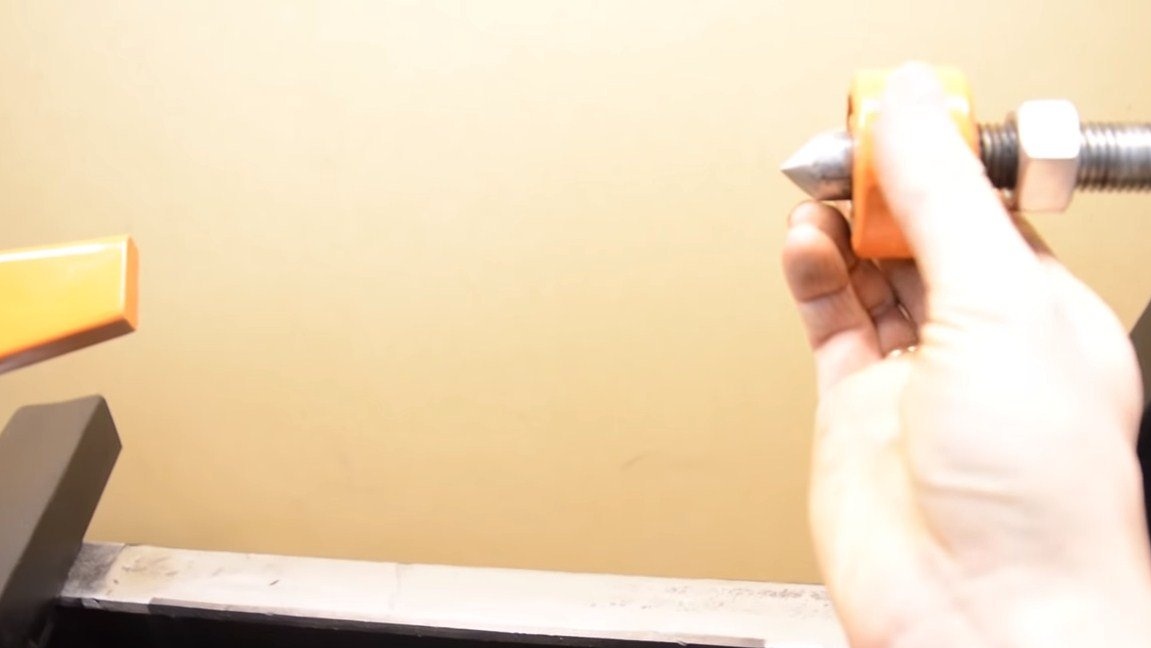
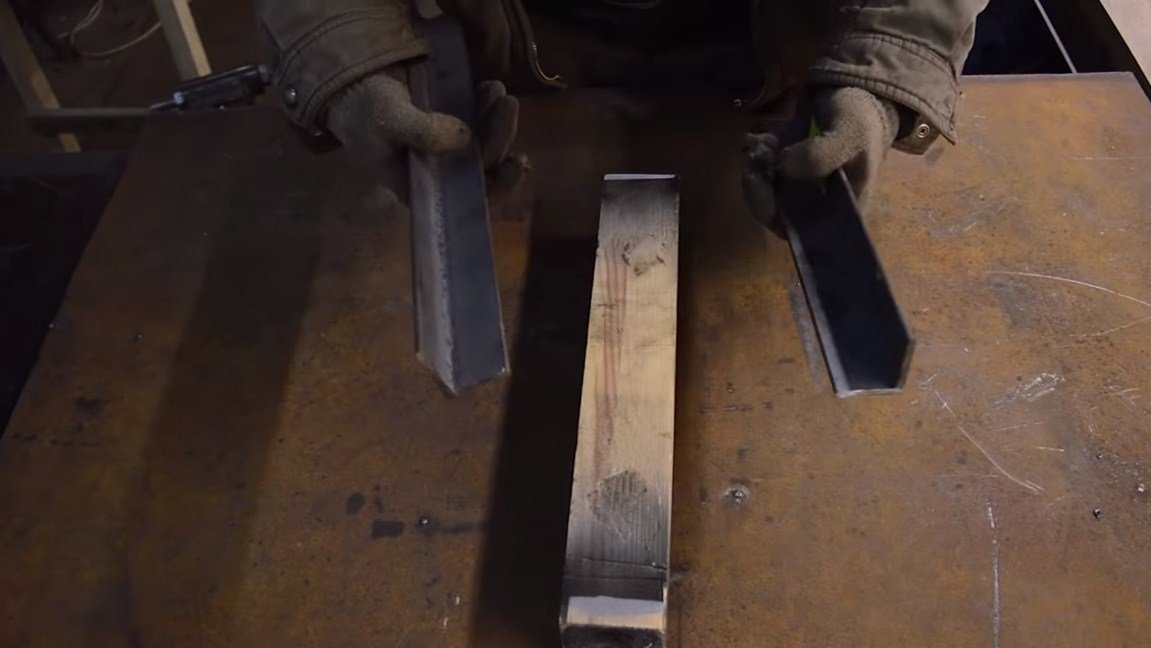
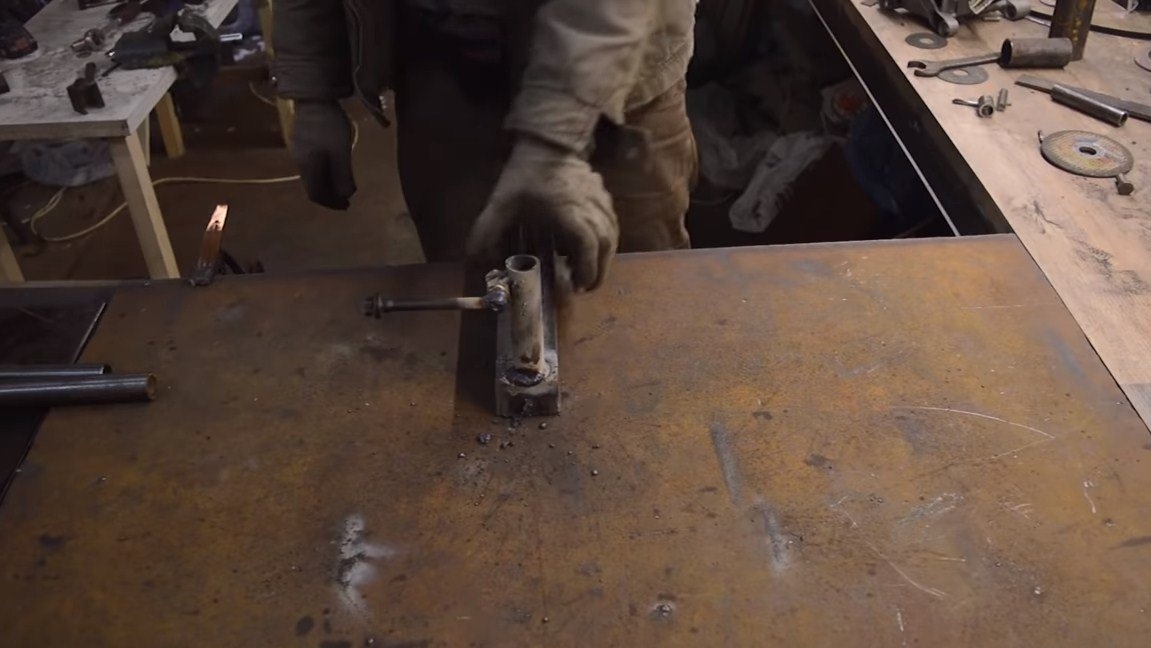
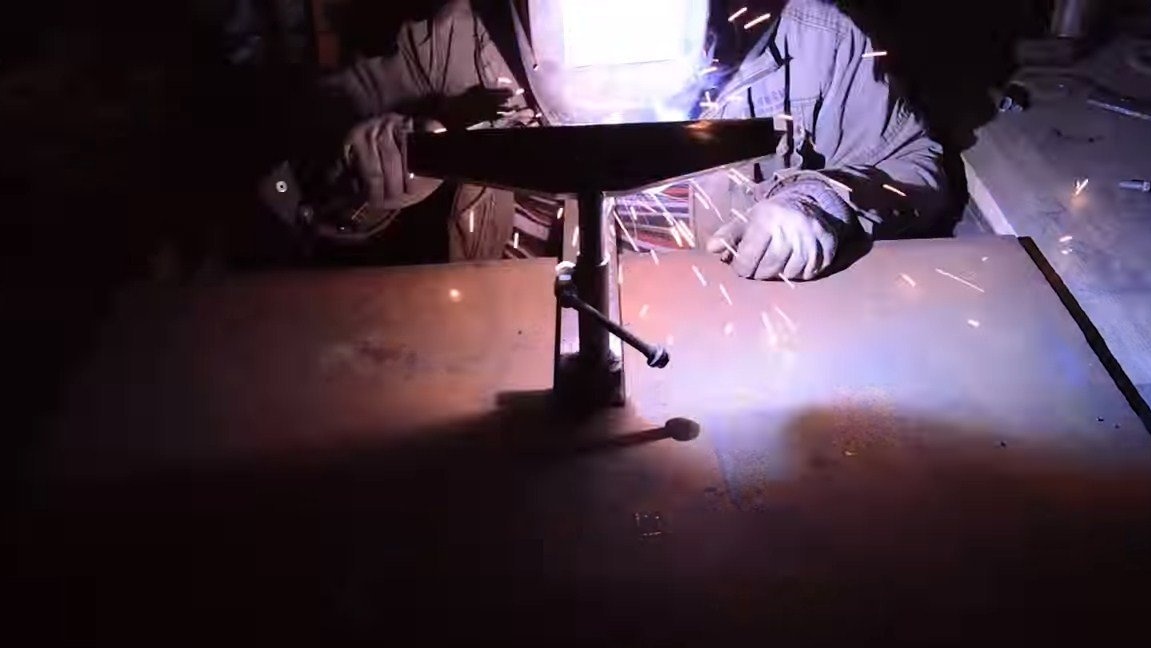
Step Four Emphasis for the lathe
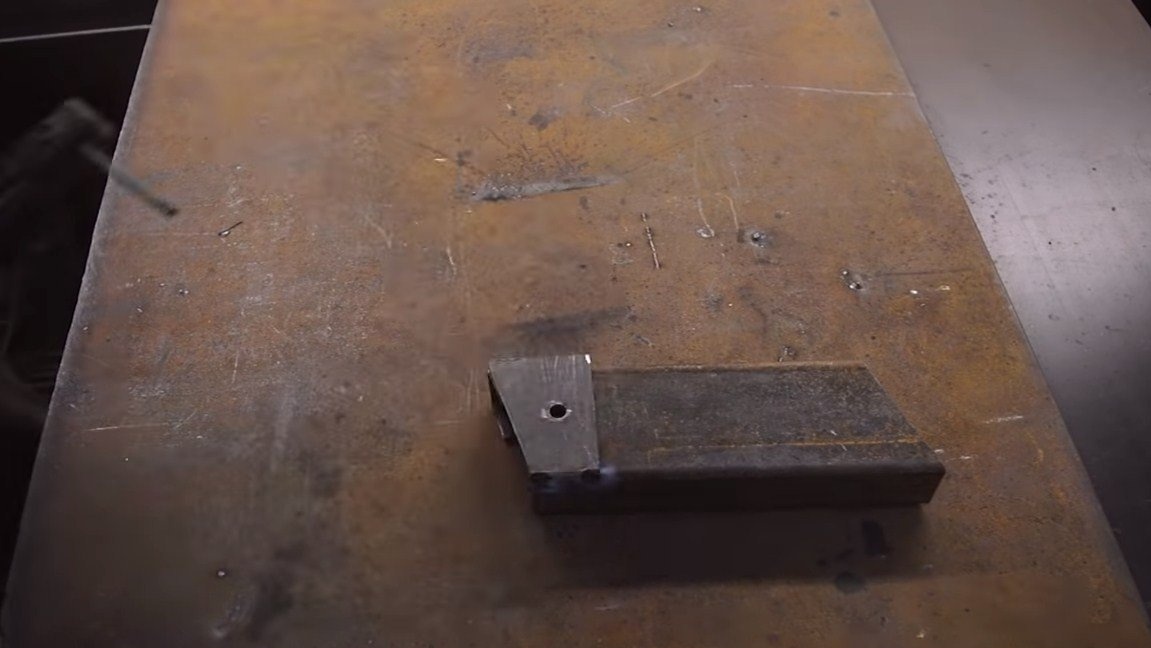
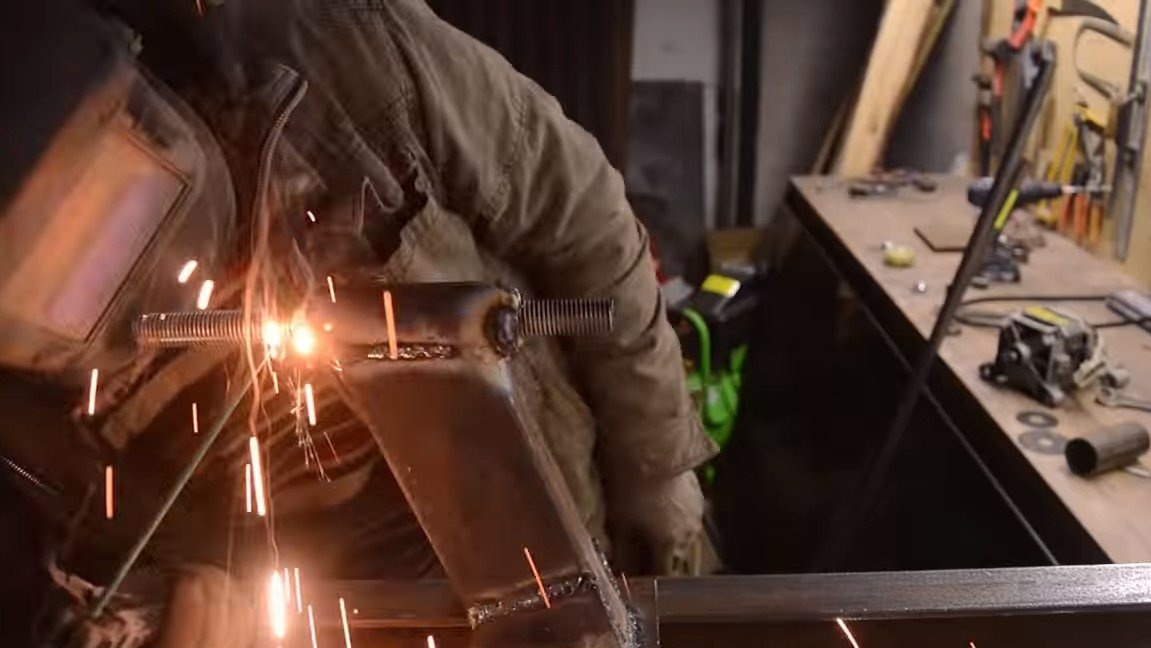
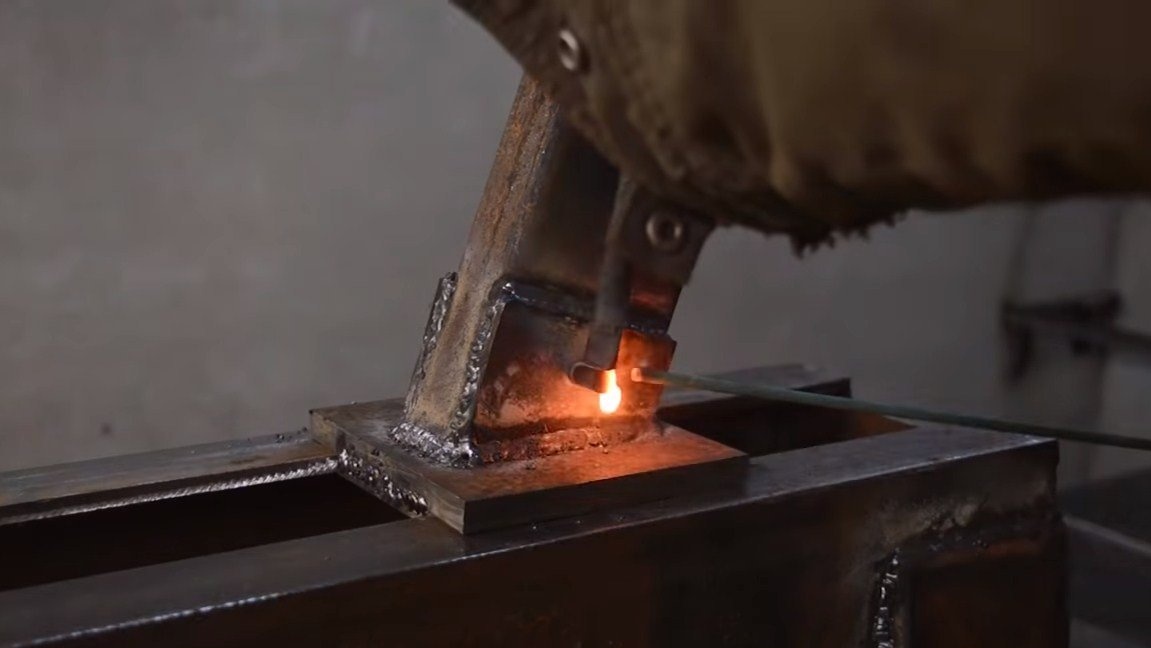
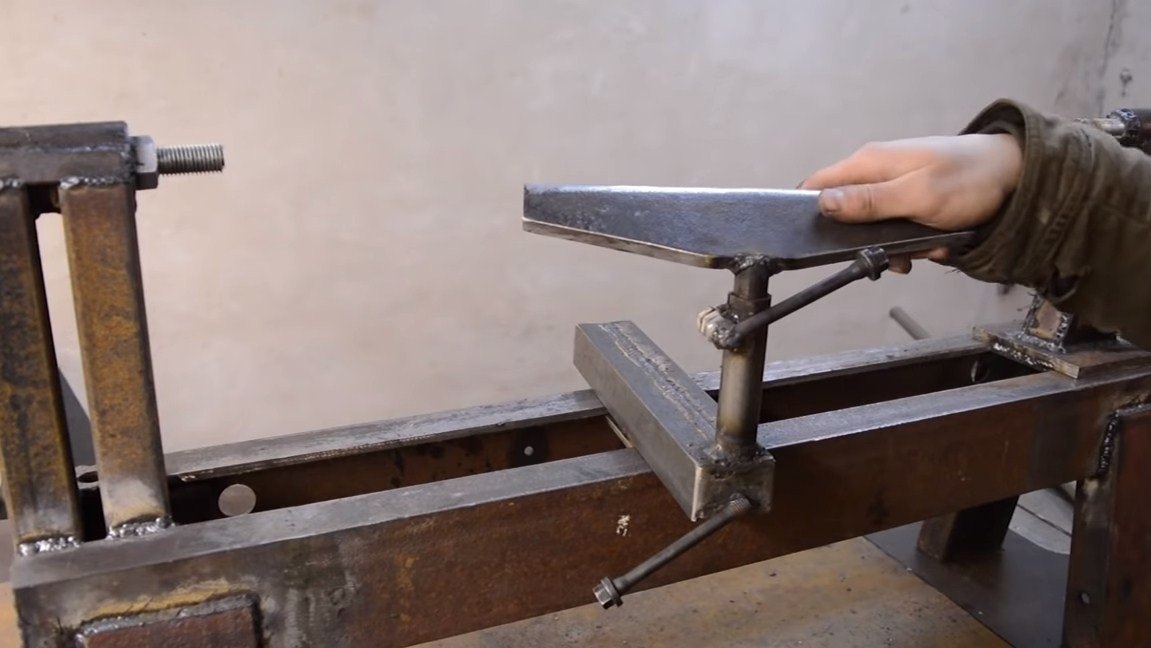
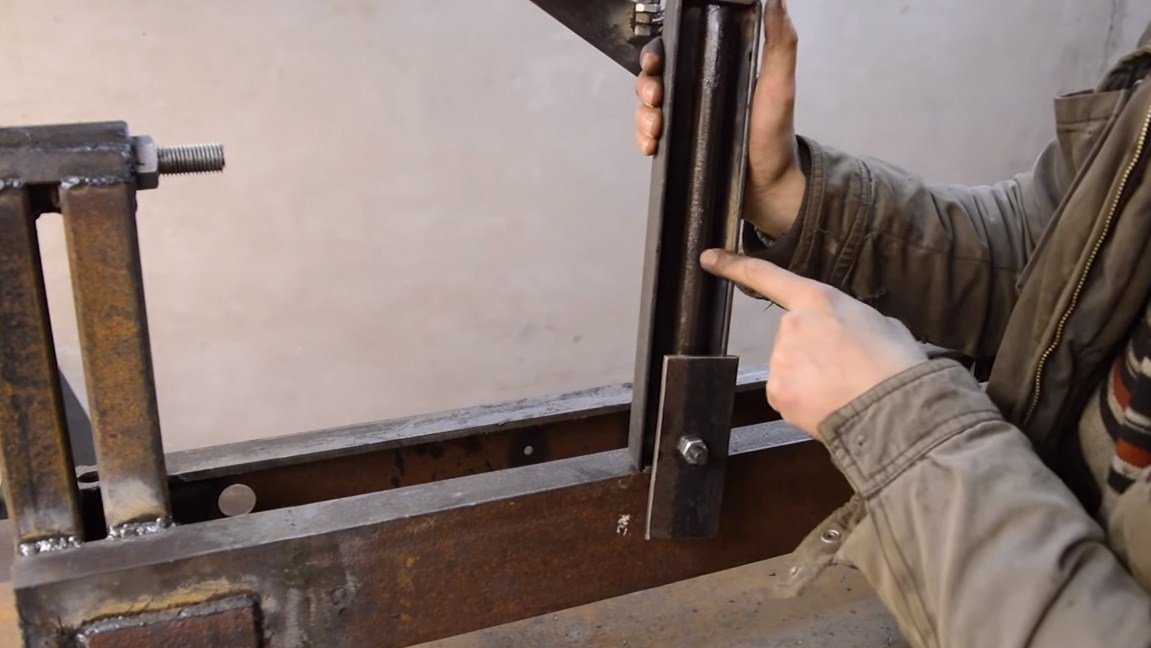
To make a stop we need two corners or a channel of a suitable size, these details will be needed for the base, which will be installed on the bed. The author welds two corners to get the channel of the right size. The ends of the product are welded with sheet steel. Inside the part passes a pipe, which is fixed on the axis with an offset. As a result, an eccentric mechanism is also obtained here, due to which the emphasis is fixed on the bed with a light movement of the hand.
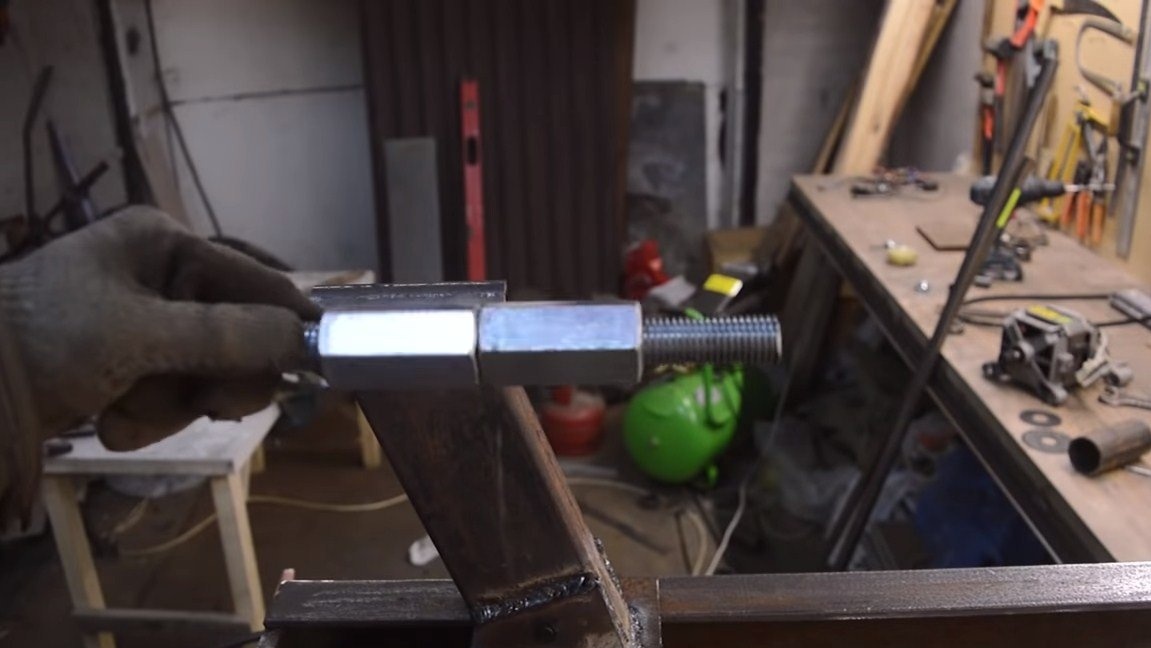
The emphasis should also be adjustable in height, for this the author uses a piece of pipe, into which another pipe is inserted, with a stop located on it, as a stand. The whole thing is tightened with a clamp in the form of a bolt with a nut.
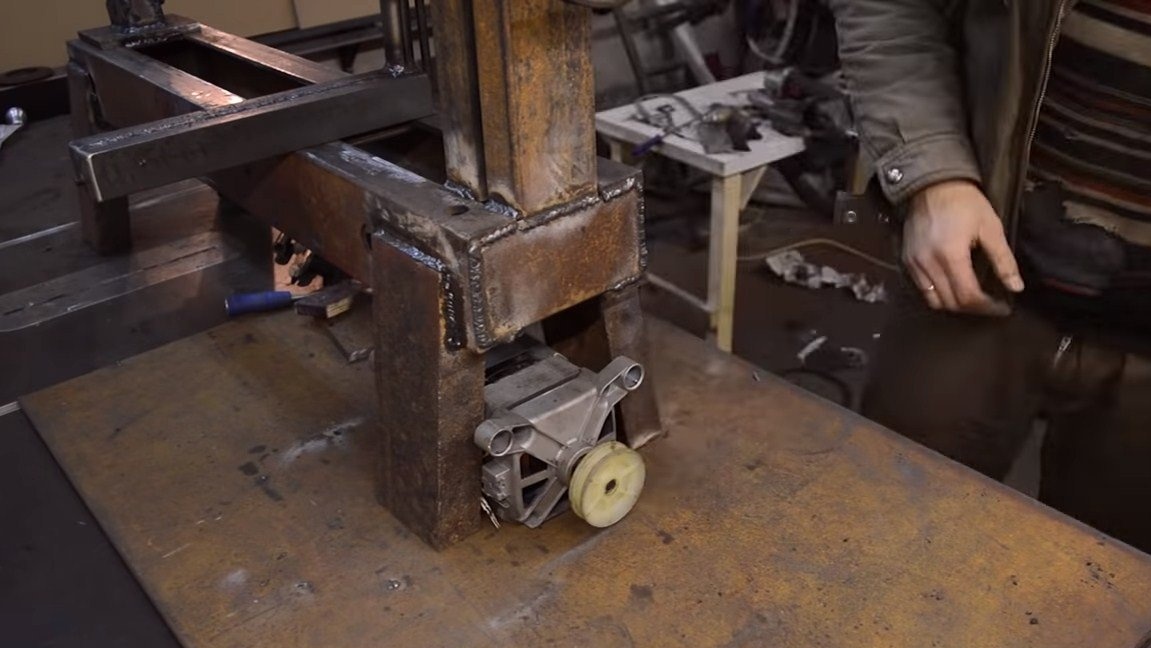
Step Five Mounting the engine and protective cover
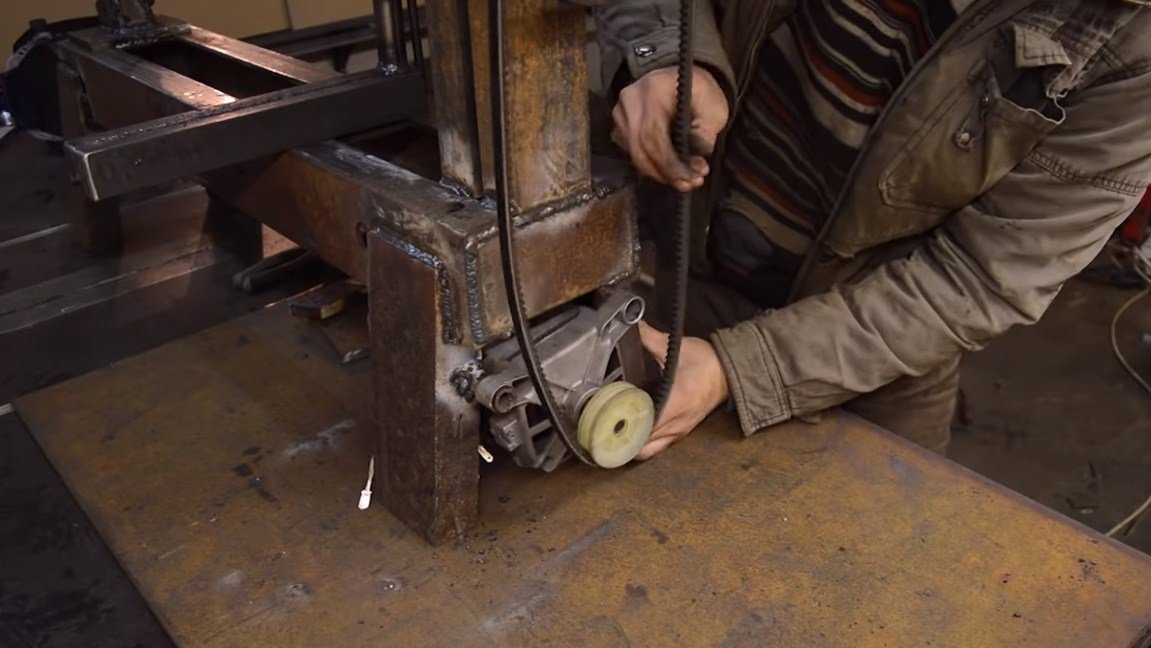
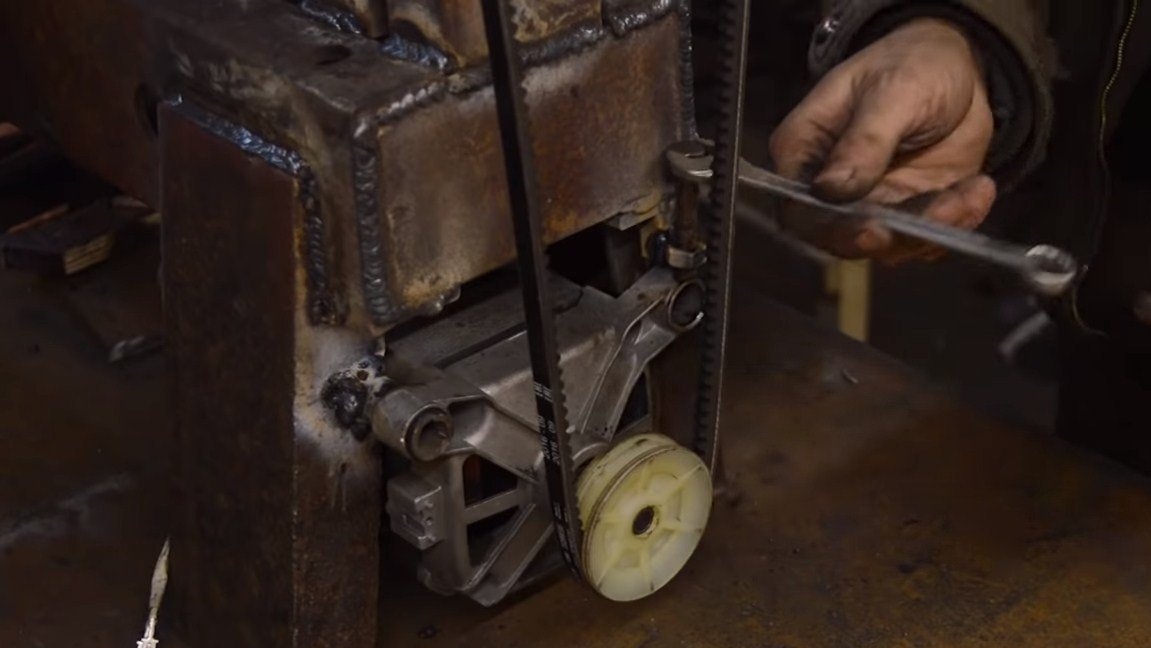
You can begin to install the engine. He has two ears, for one of them we weld a piece of pipe to a bed of suitable diameter. And opposite the other ear, a tensioner is installed in the form of a bolt and nut. Now you can install the belt and pull it.
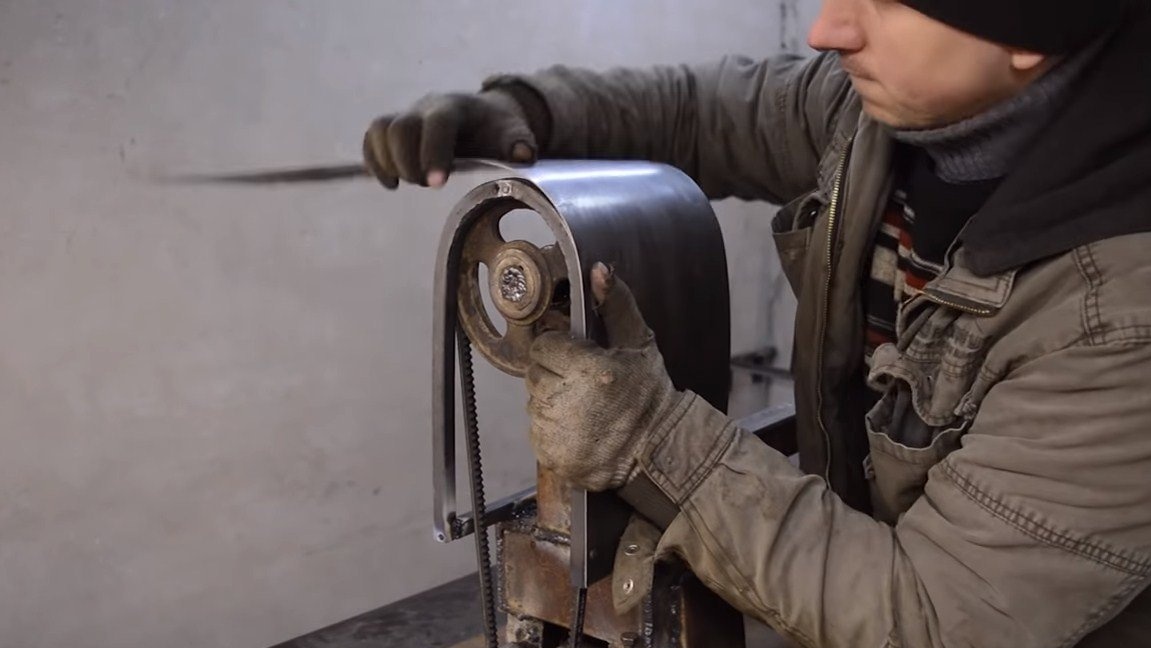
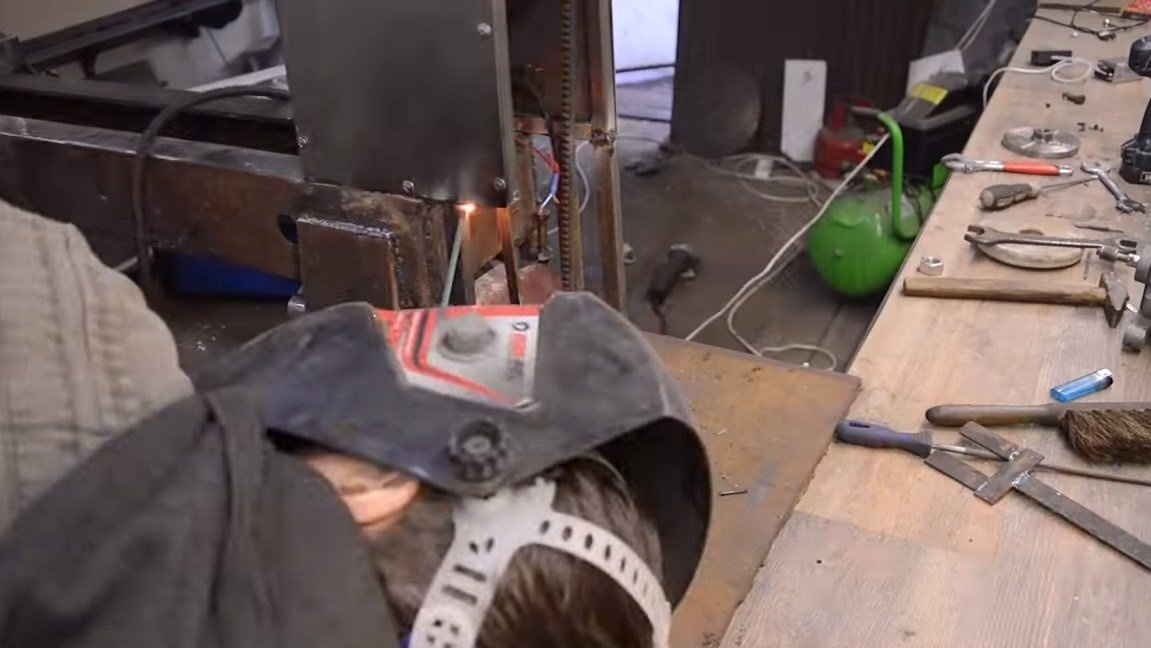
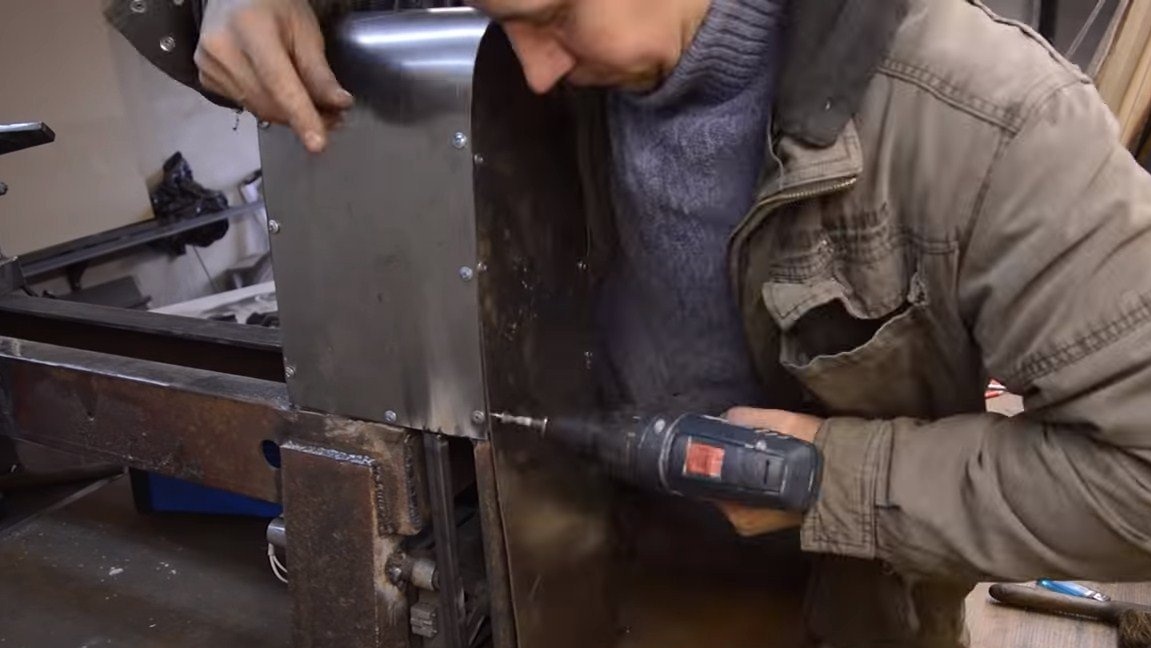

Around the belt and the engine it is extremely important to make a protective casing, here we need thin galvanized metal. We weld the frame around the engine and the headstock from a square profile pipe. Well, then we fasten sheet metal to this frame using self-tapping screws. It turns out neatly and reliably.
Step Six Finishing touches
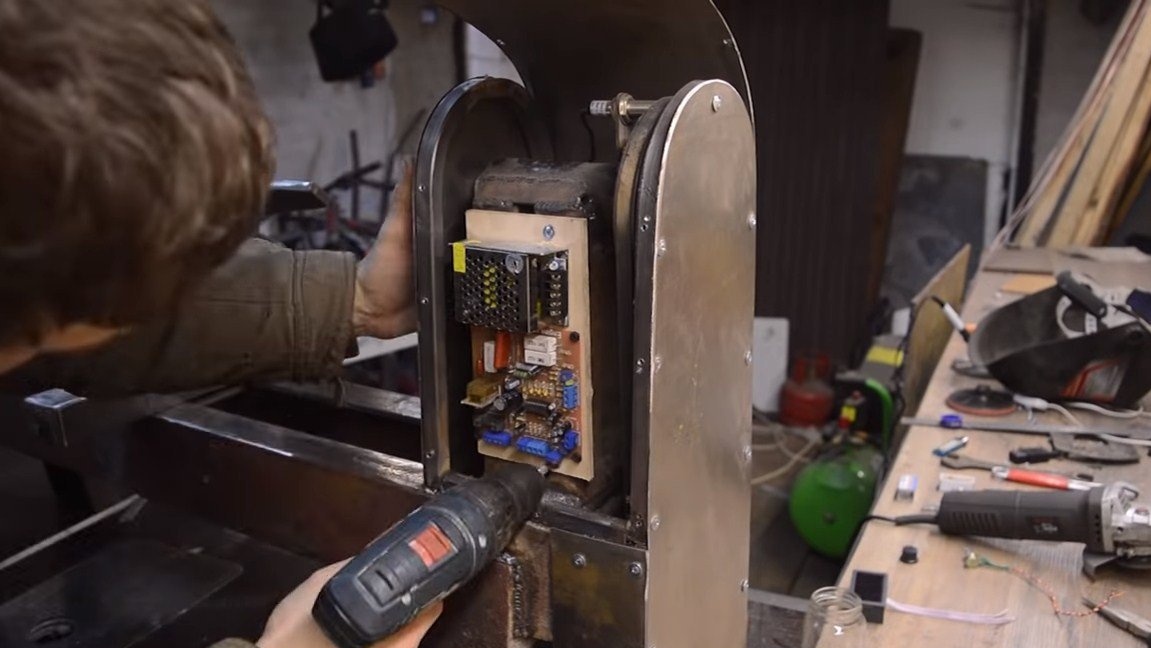
At the end, install the controller on the front headstock rack. If desired, you can also install. The tachometer consists of a sensor and a magnet, we attach a magnet to the pulley of the machine, and we install the sensor opposite the magnet. As a result, it will be possible to monitor the speed and quite accurately regulate it.
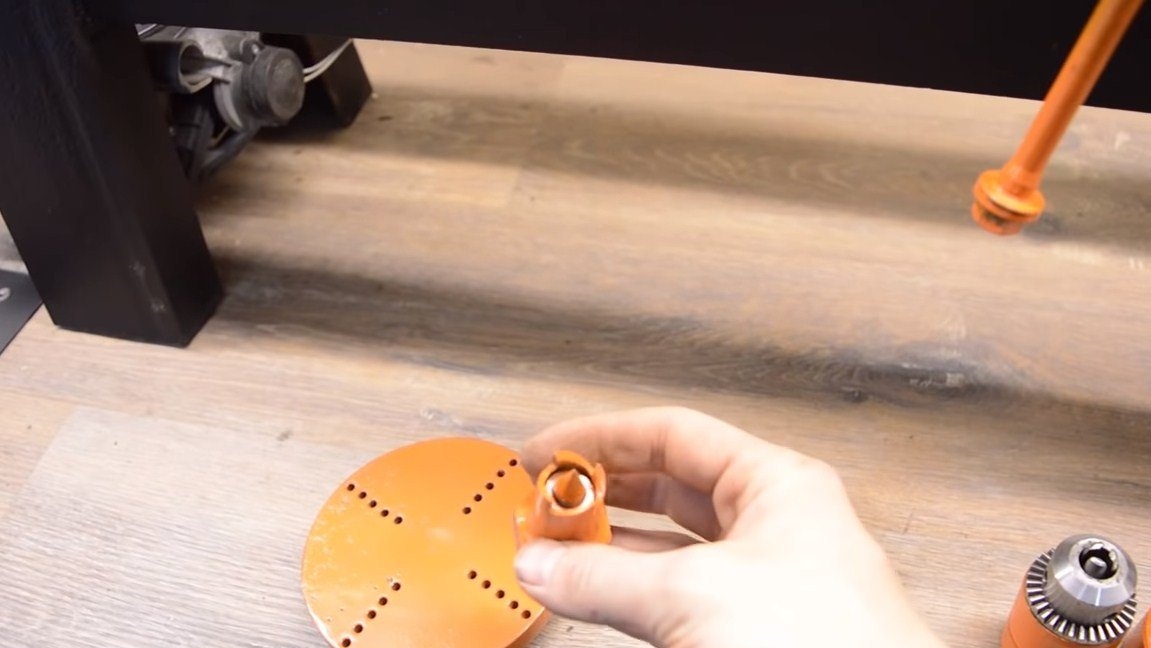
That's all, the machine is ready, we will paint it in colors to our taste so that it does not rust and looks good. In the end, the author made some nozzles for his car. For the headstock there are two nozzles, one disk with holes for mounting parts of various sizes. And one nozzle with spikes allows you to install workpieces of small diameter.
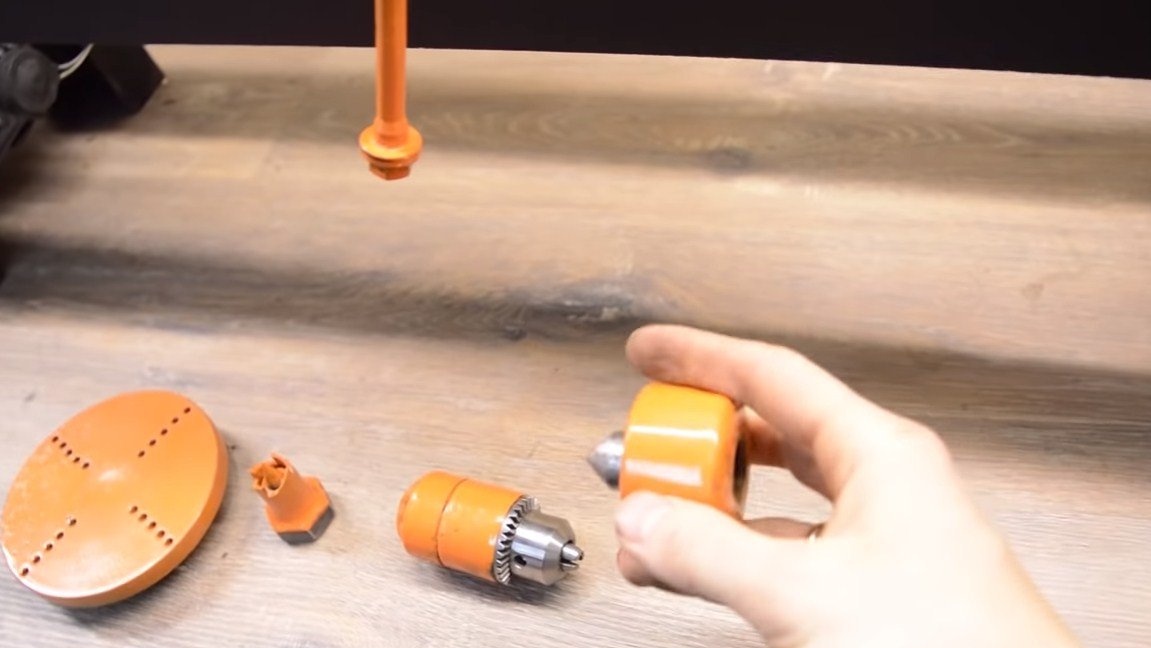
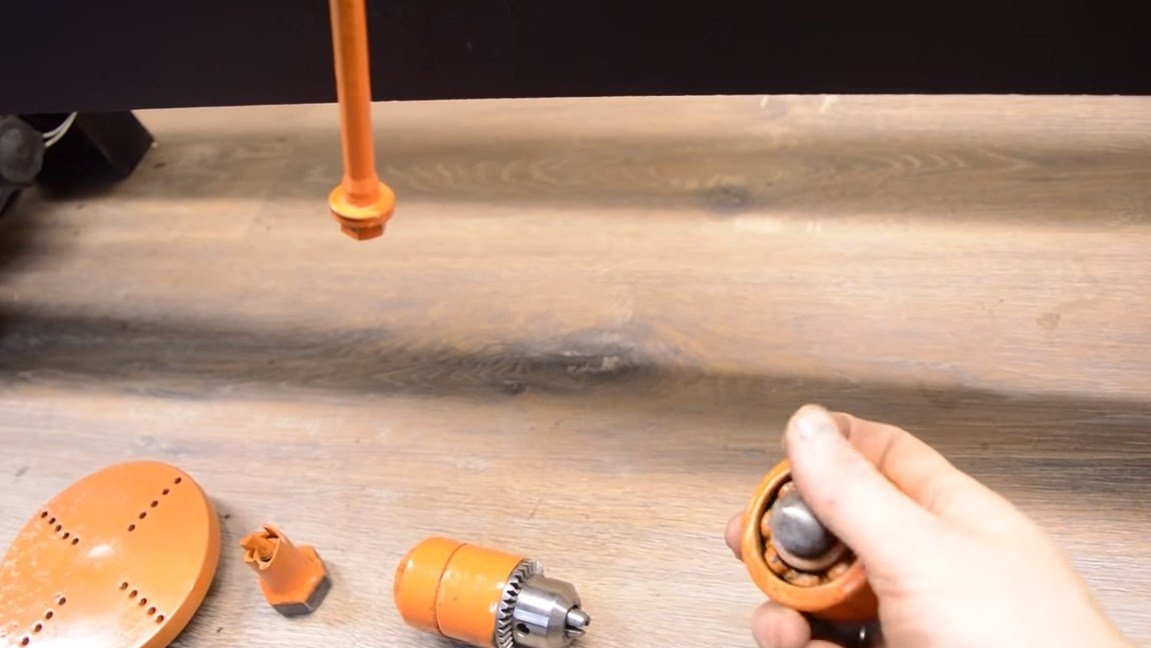
As for the tailstock, there is a drill chuck with a welded nut. Drills and other similar tools can be clamped into the chuck. There is also a classic emphasis, which the author has welded from pipes and bearings.
That's all, the project is over, everything looks pretty interesting and reliable. Author homemade pleased, I hope you liked the project. Good luck and creative inspiration, if you decide to repeat it! Do not forget to share your homemade products with us!