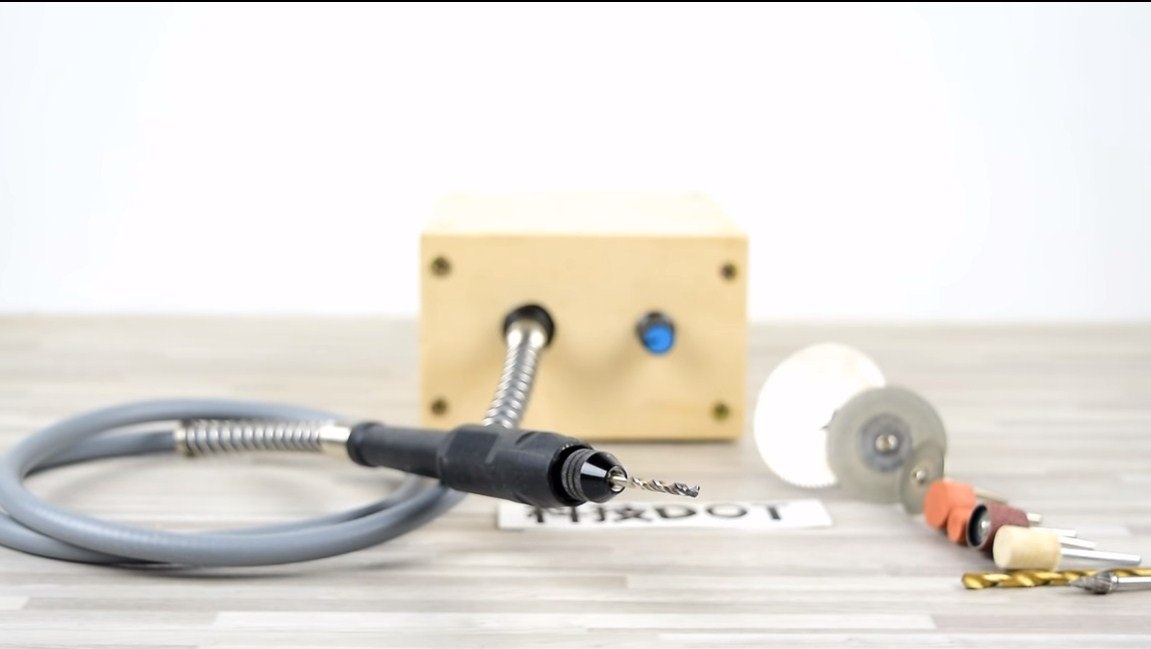

Greetings to fans to craft. In this manual, we will discuss how do it yourself make a small but powerful drill. Such a device will greatly facilitate your life if you like to make something. The device turned out reliable, compact, lightweight, and the student will also cope with the assembly process.
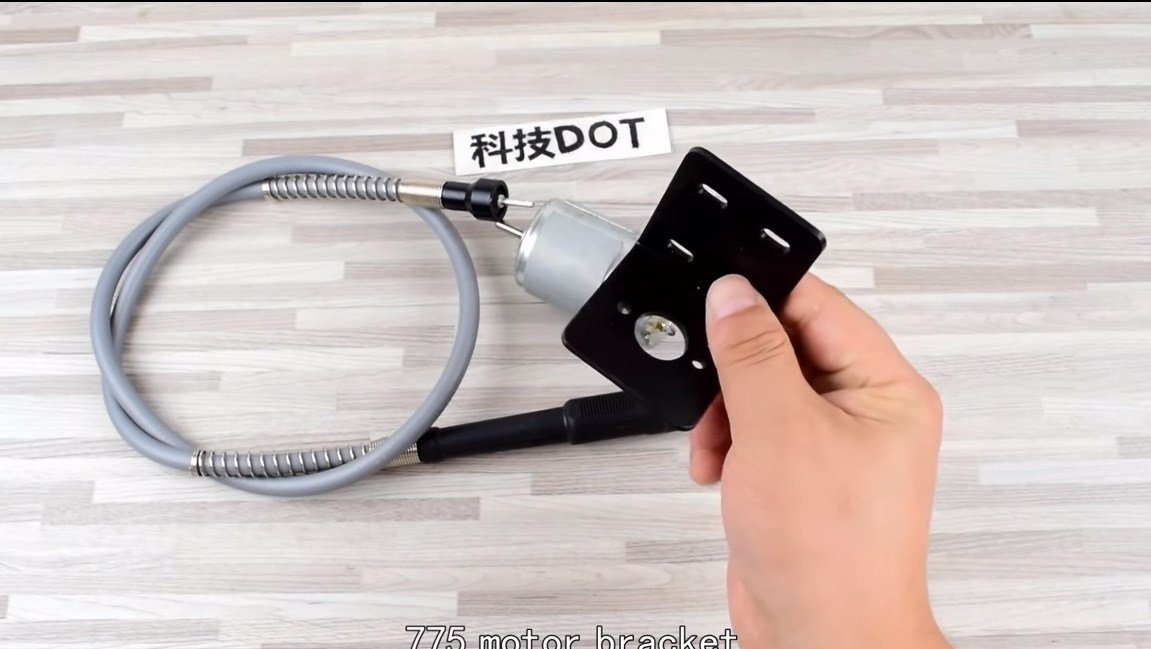
The machine is based on the legendary 775 engine, which are used for the manufacture of various home-made machines and not only. These motors can even be powered by a battery, as their operating voltage is 12-24V, although when powered at 24V, the engine runs to the limit. Such engines have a fairly long service life, especially those models that run on ball bearings. And forced cooling does not allow the engine to overheat.
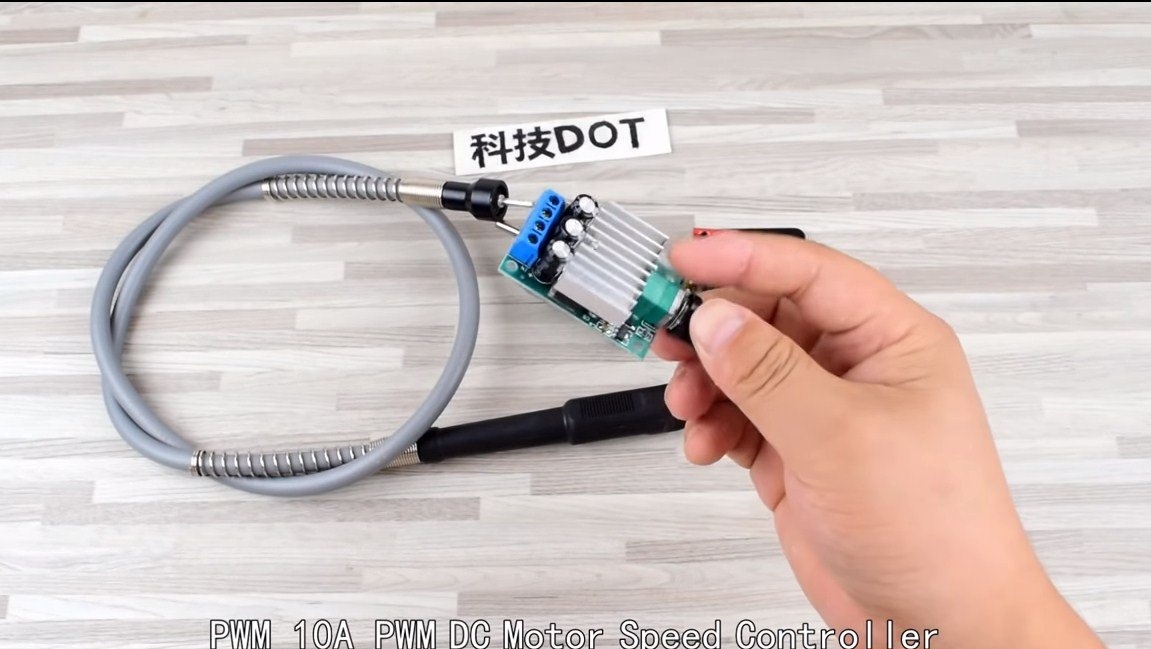
The machine made has a function of smooth adjustment of speed, a small controller is responsible for this task. If the project interests you, I suggest that you read homemade in more detail!
Materials and tools used by the author:
Material List:
- spacers or plywood (for the case);
- self-tapping screws;
- ;
- ;
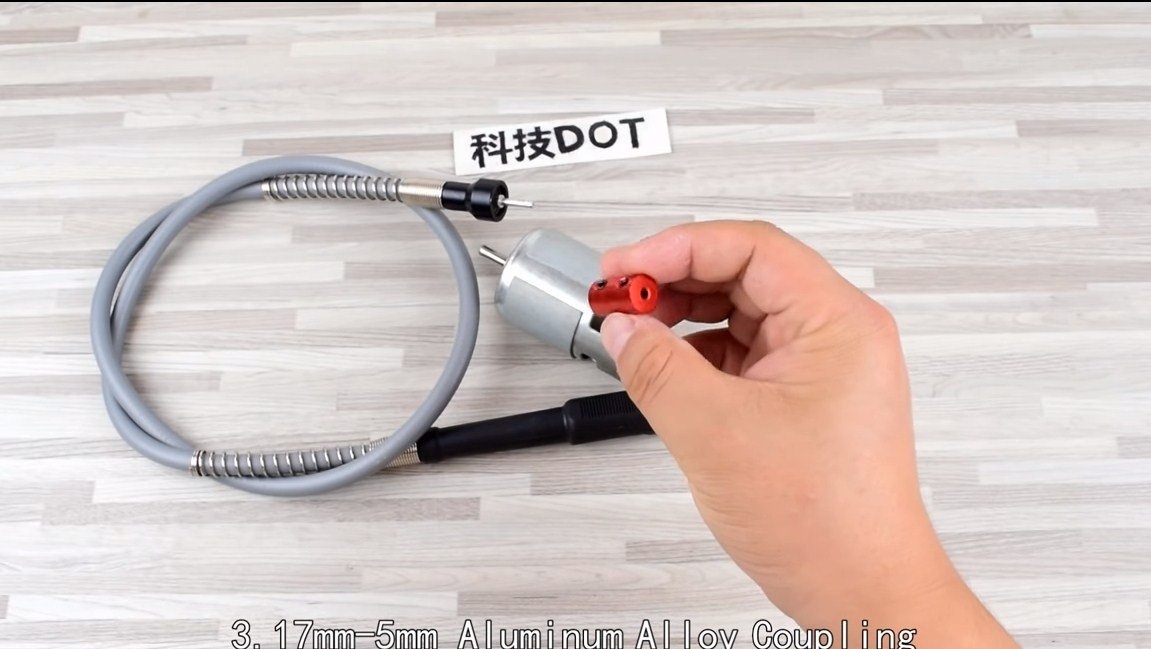
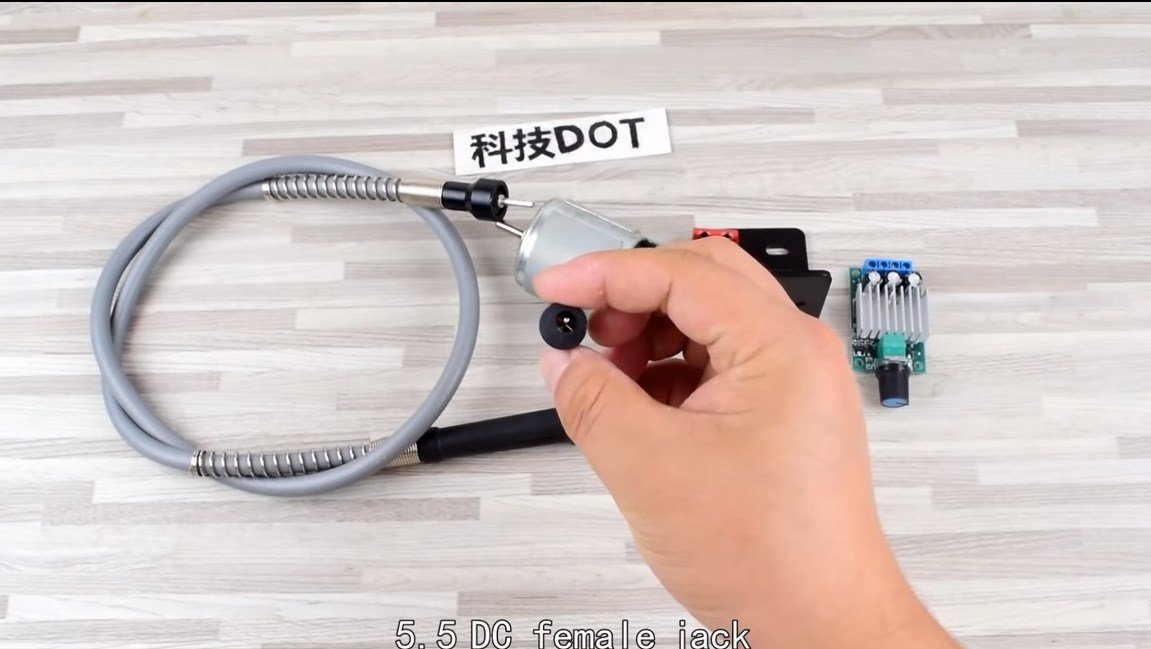
- adapter for motor shaft;
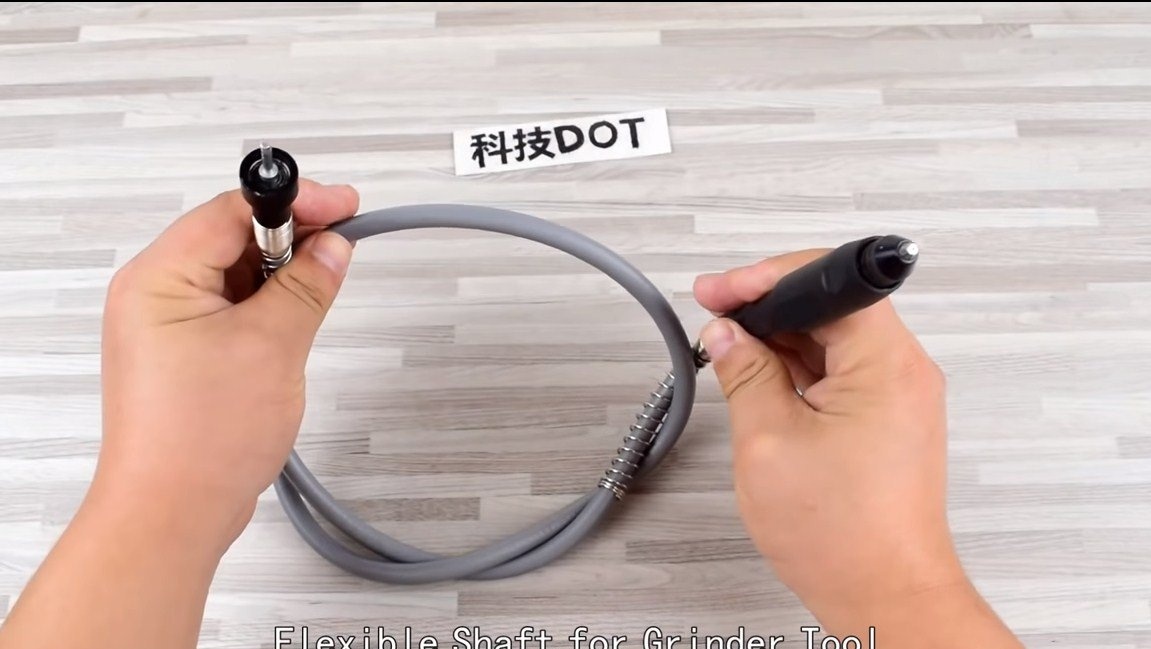
- flexible shaft (from the drill);
- ;
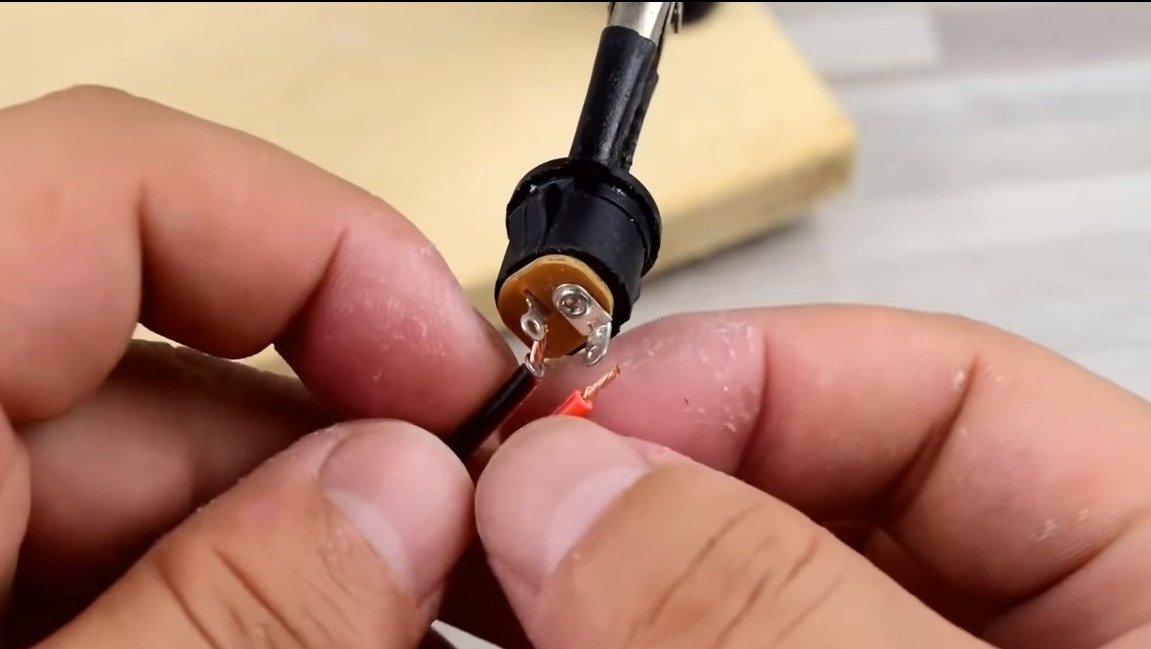
- socket for connecting the power supply;
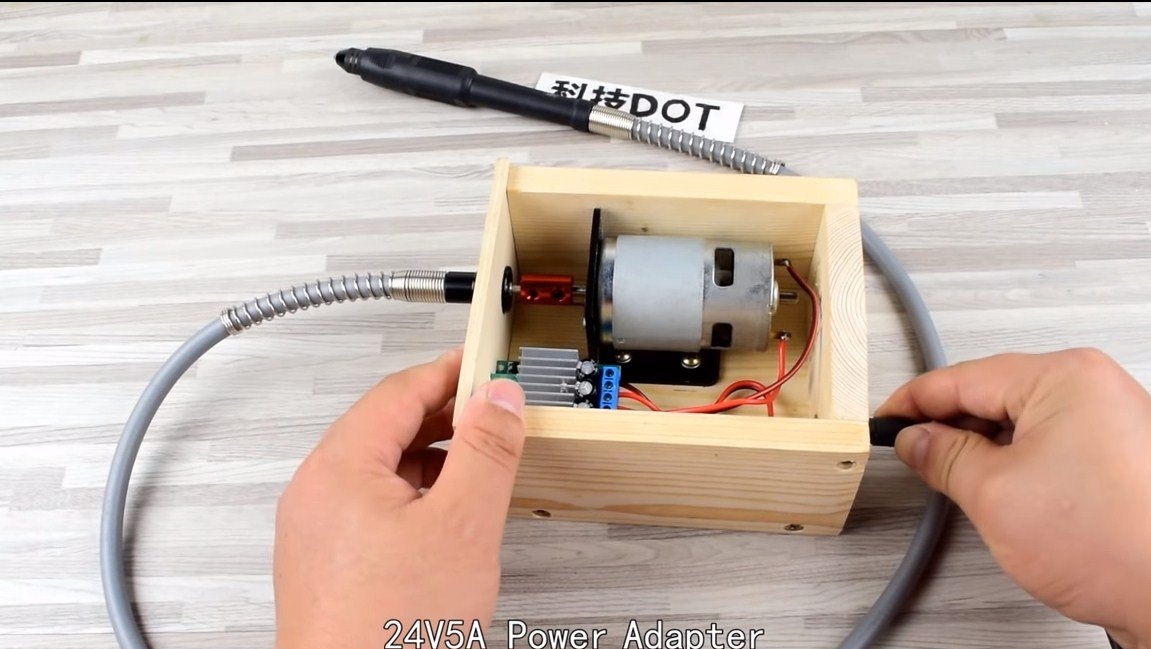
- power supply 24V / 5A;
- wires.


Tool List:
- screwdriver;
- soldering iron;
- a chisel.
Drill manufacturing process:
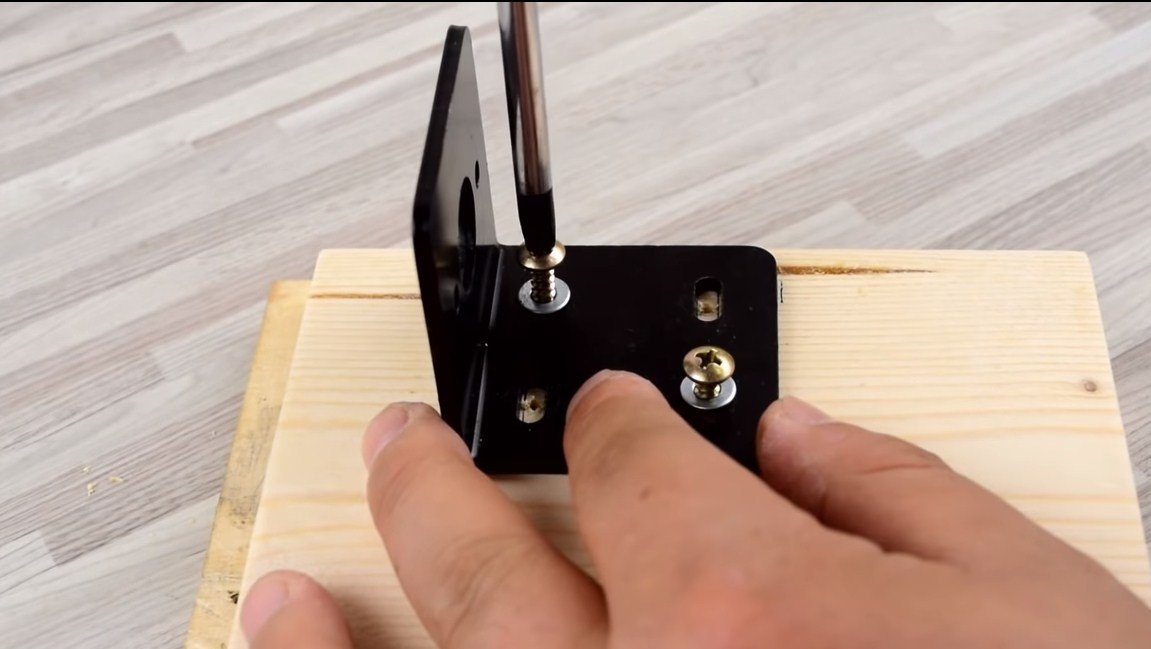
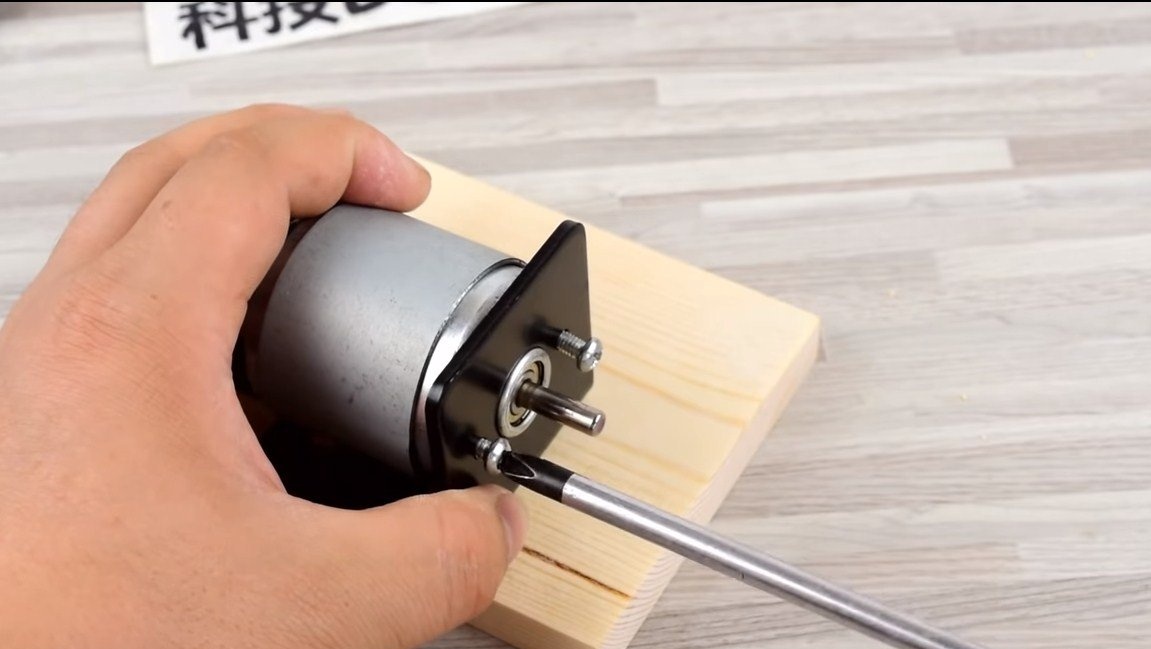
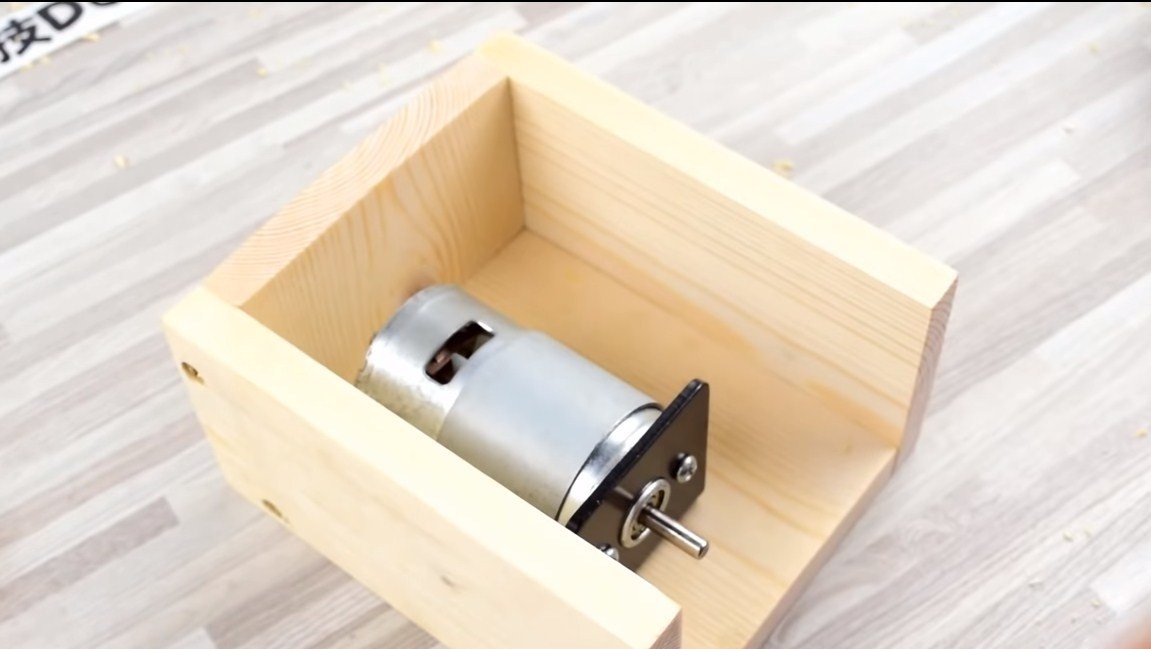
Step one. Engine installation
We install the engine on the base, for this we need a special bracket. Just fasten the bracket to the board with screws, and then fasten the motor to the bracket with the help of screws.

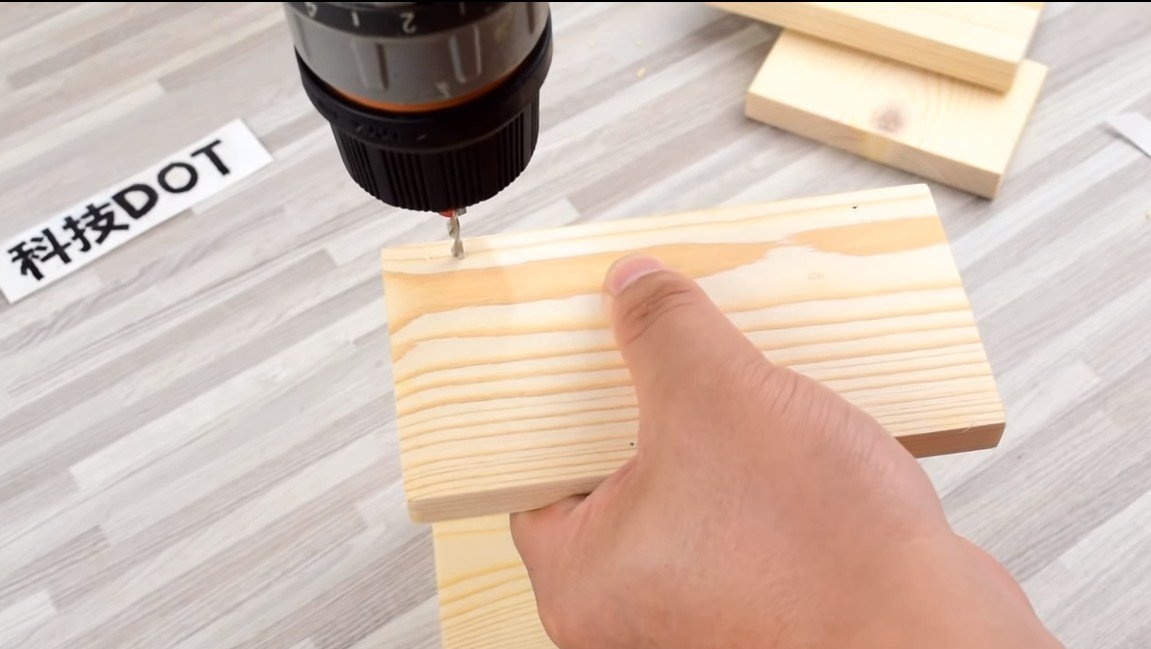
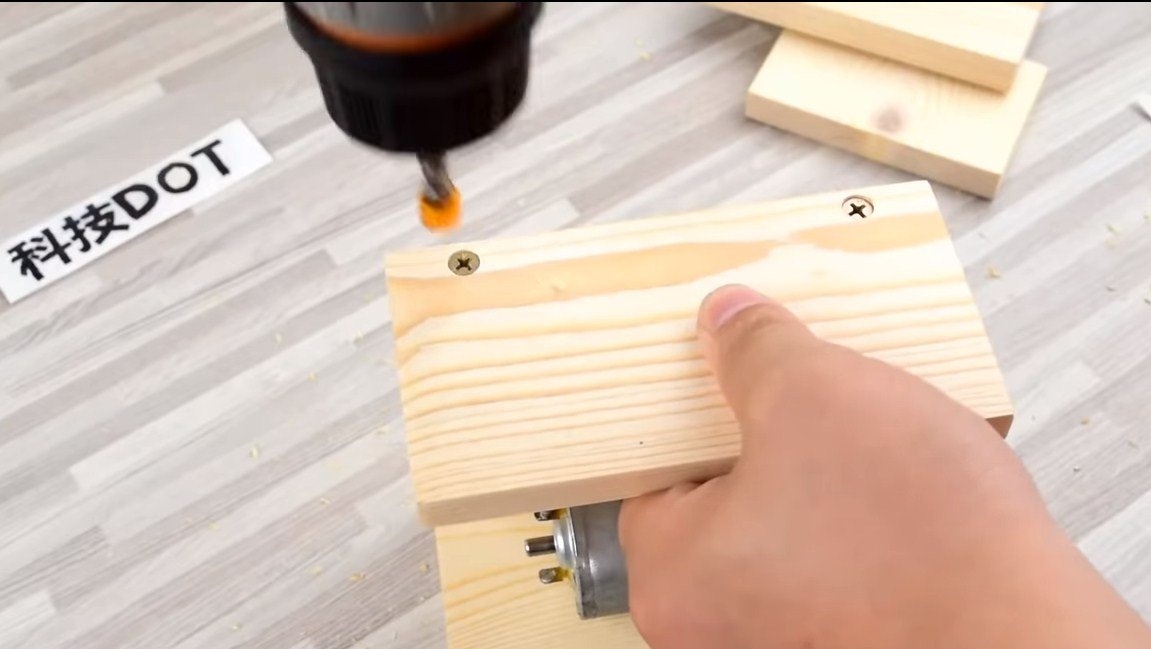
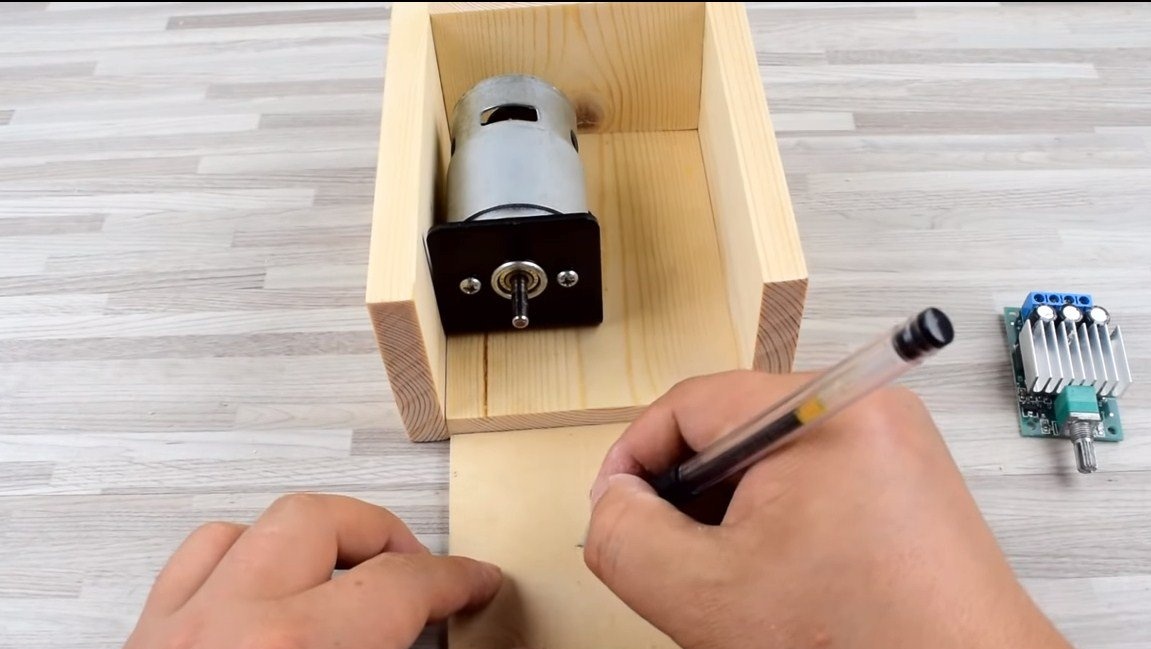
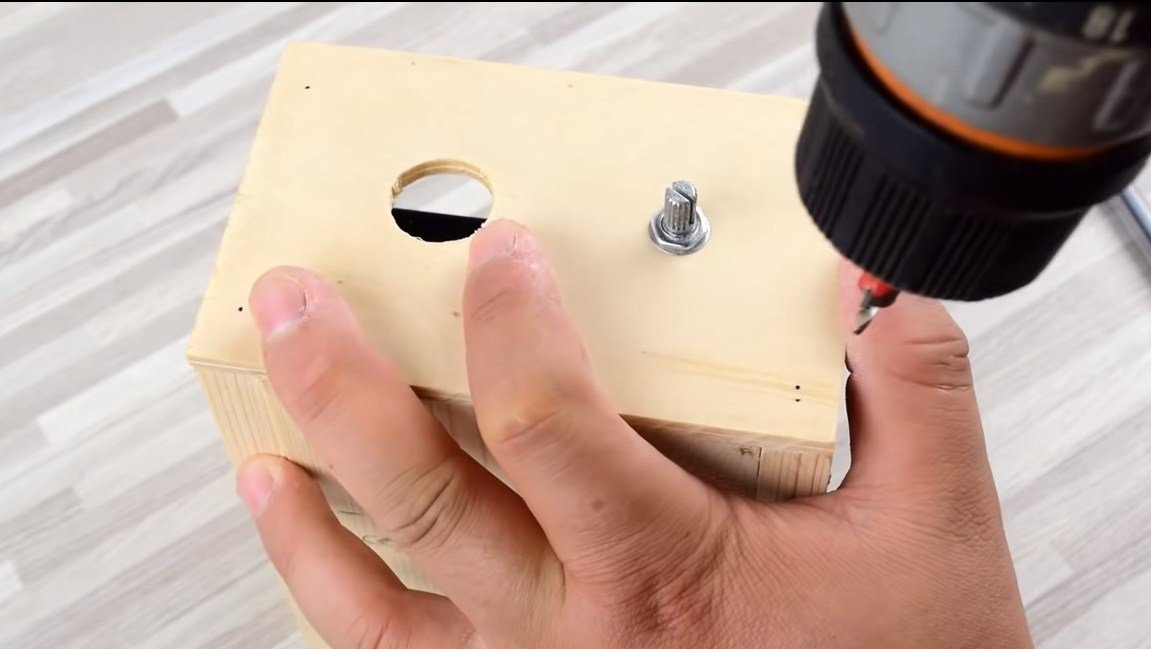
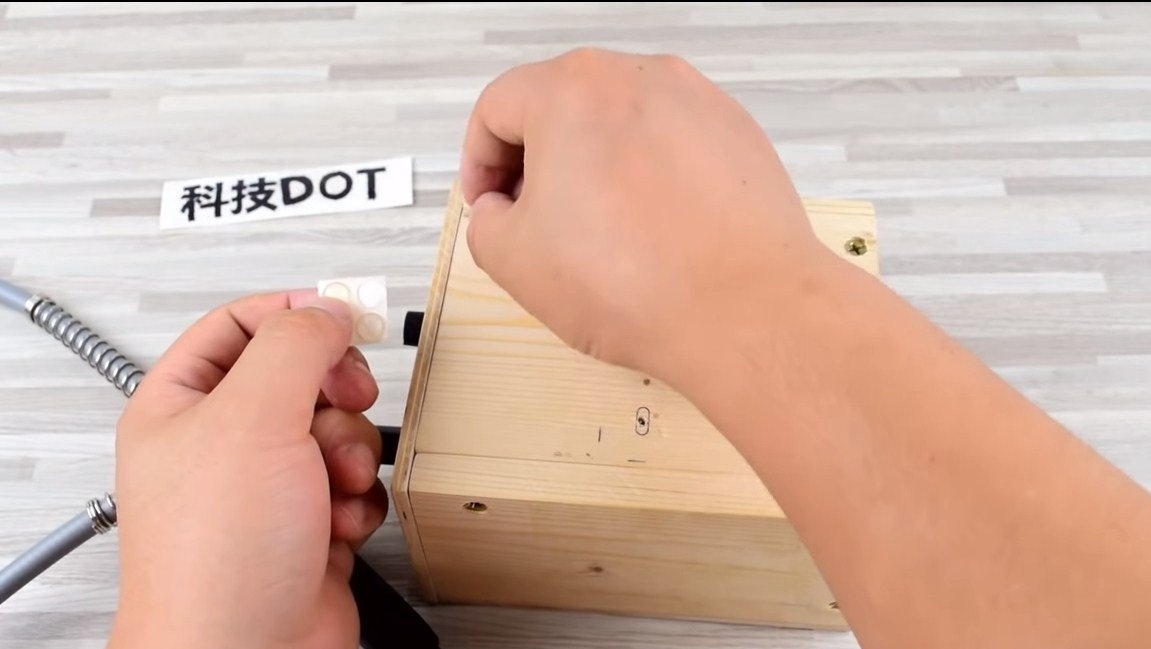
Step Two Putting the case together
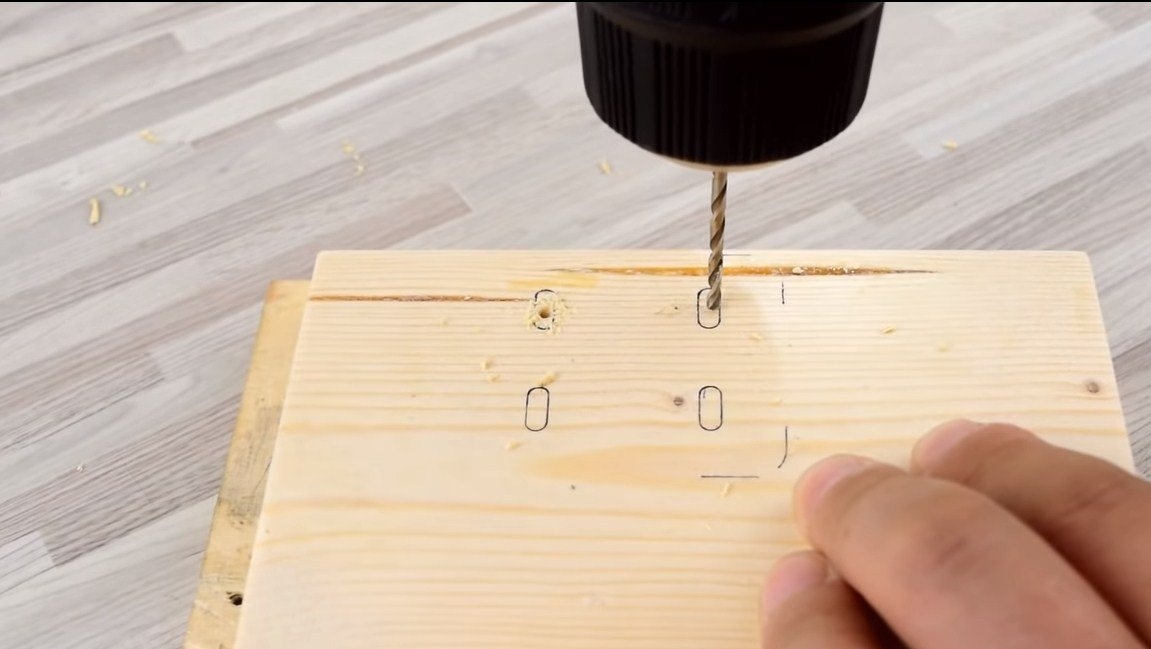
Next, we fasten three walls to the base, the author uses self-tapping screws for this. As for the front wall, here we need a thinner material such as fiberboard. It will need to drill two holes in it, through one we will connect a flexible shaft, and in the other we will set the speed adjustment knob. Then we also screw this part with screws.
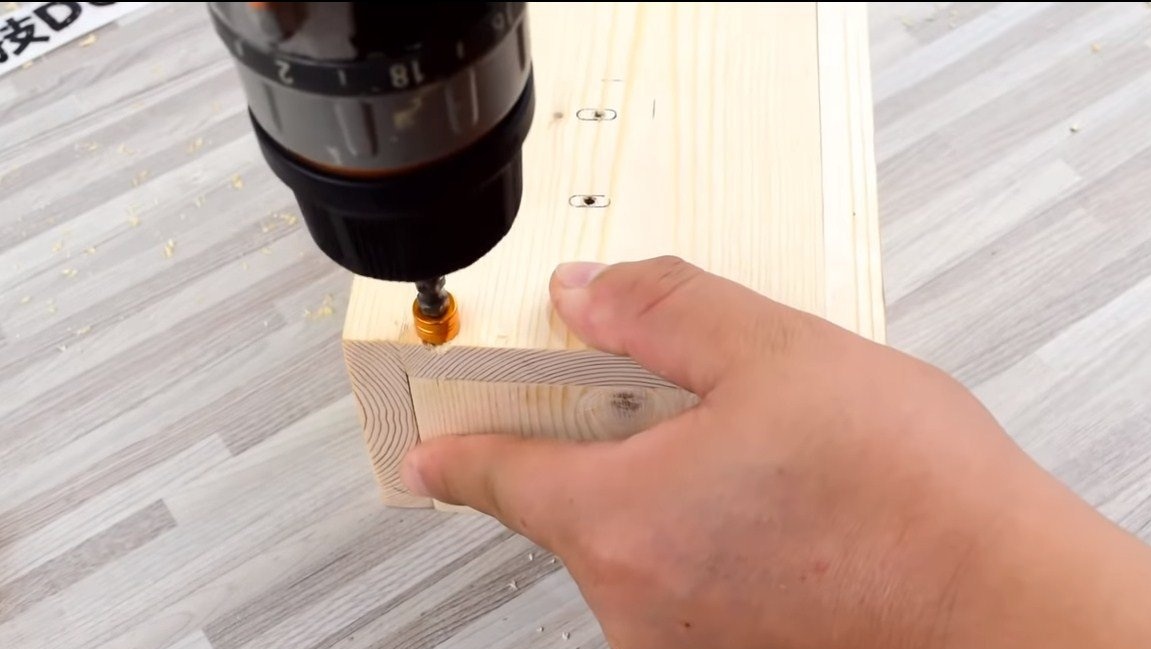
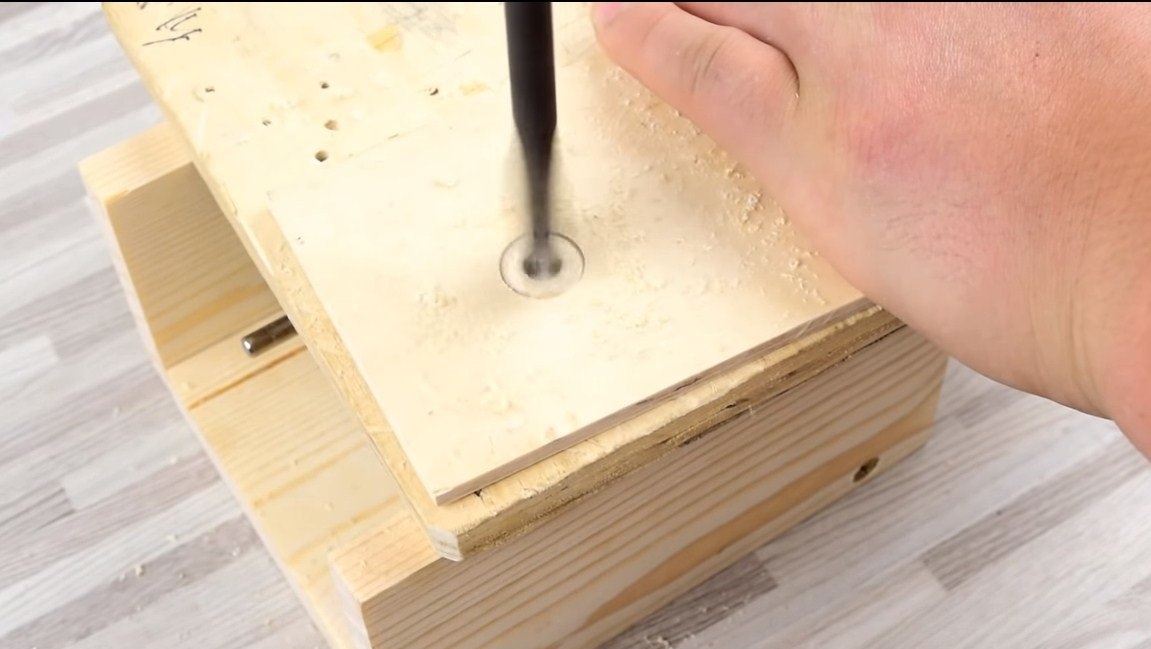

Step Three Machine assembly
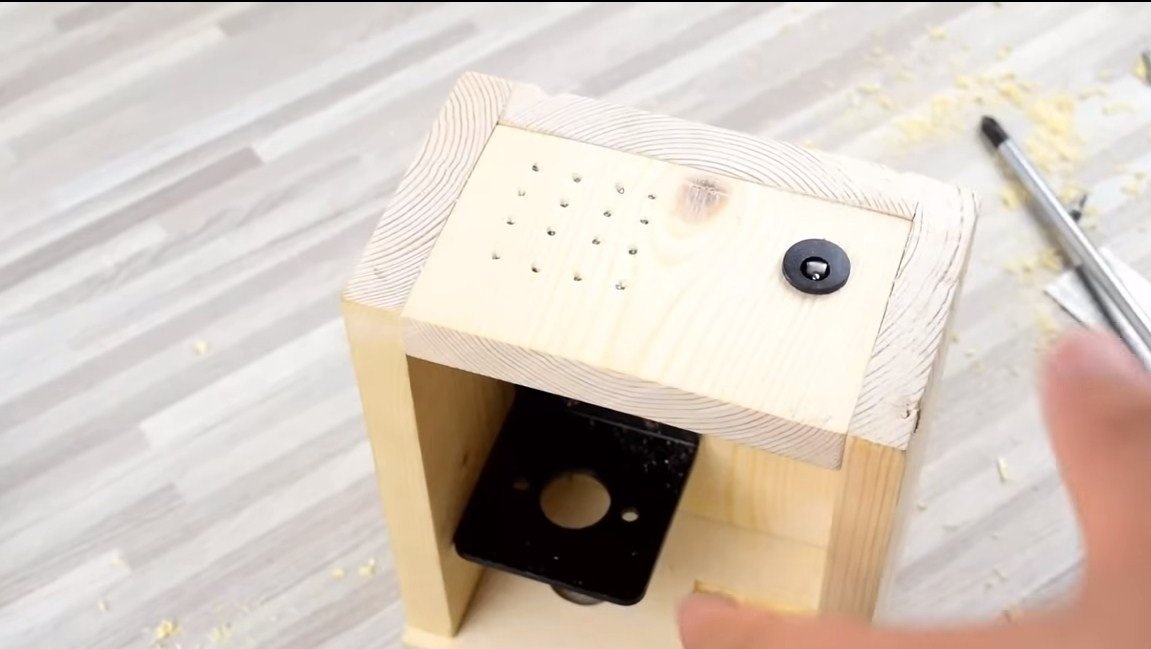
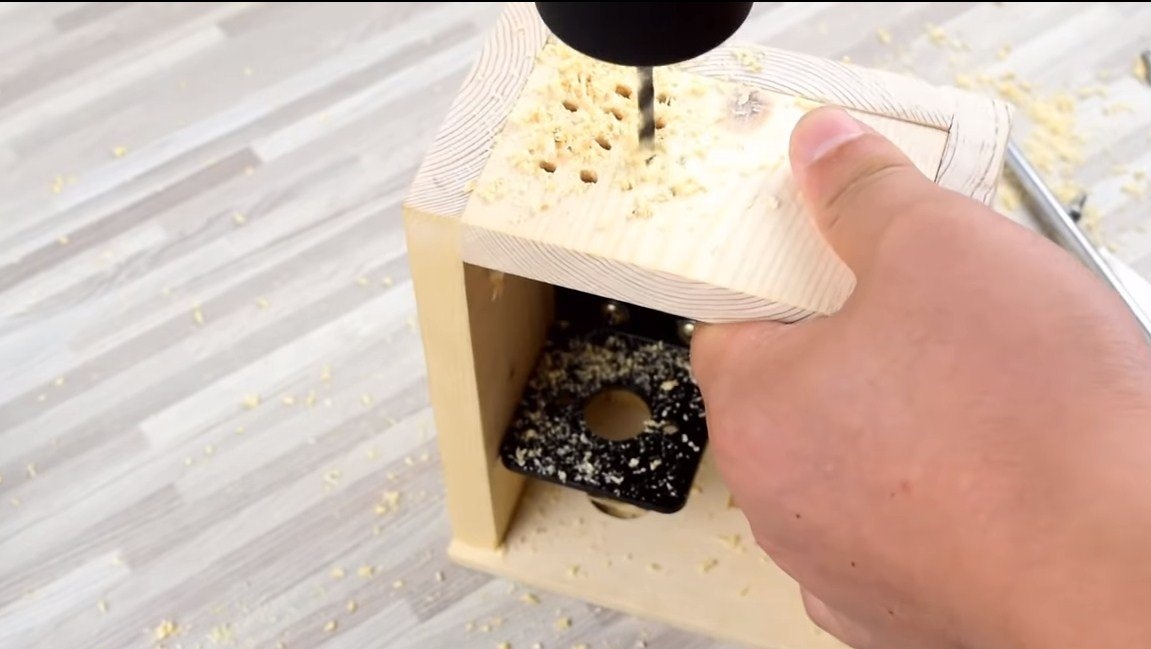
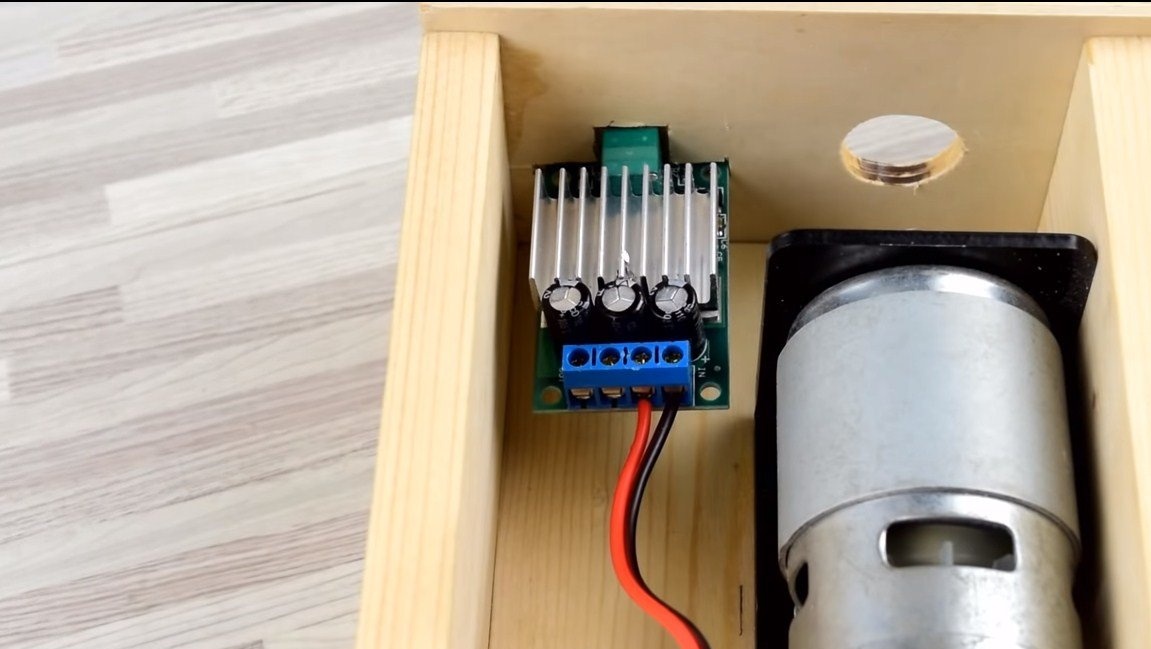
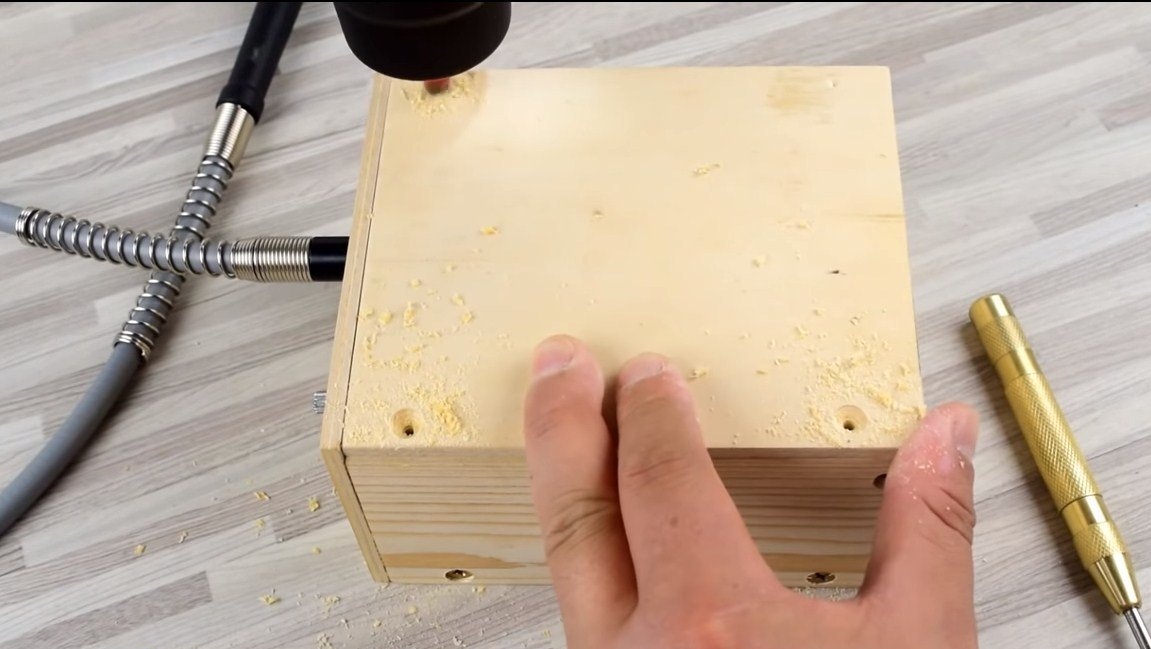
The homemade product is almost ready, we drill holes in the rear part opposite the engine, they are needed for ventilation of the engine. We also drill a hole and install a socket for connecting the power supply.
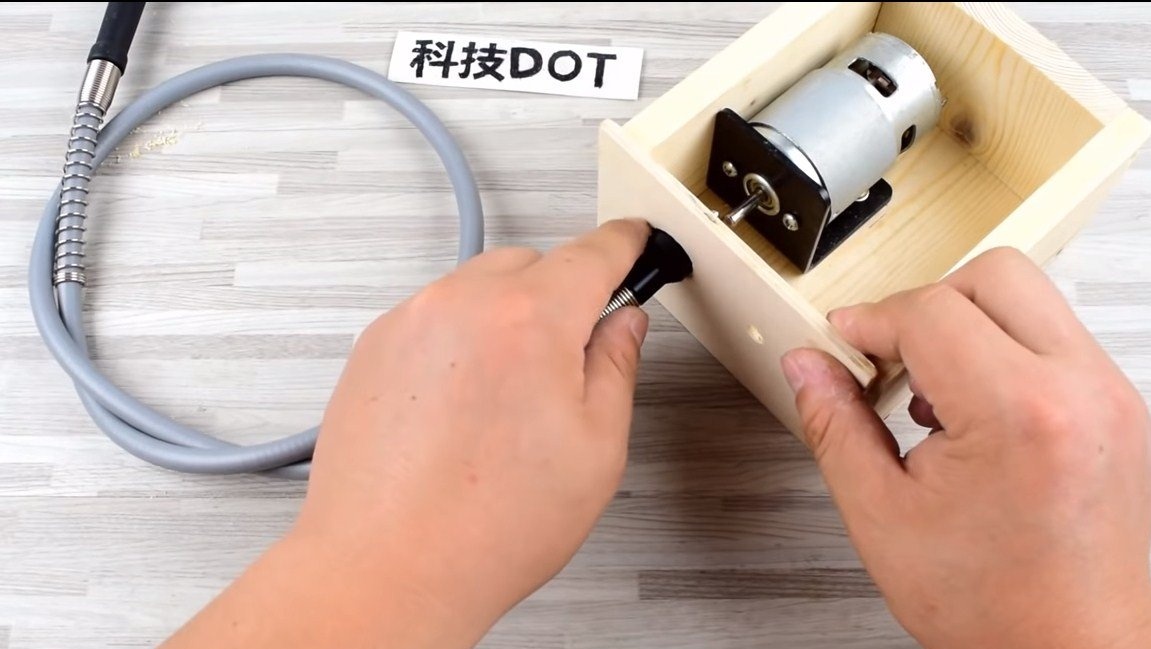
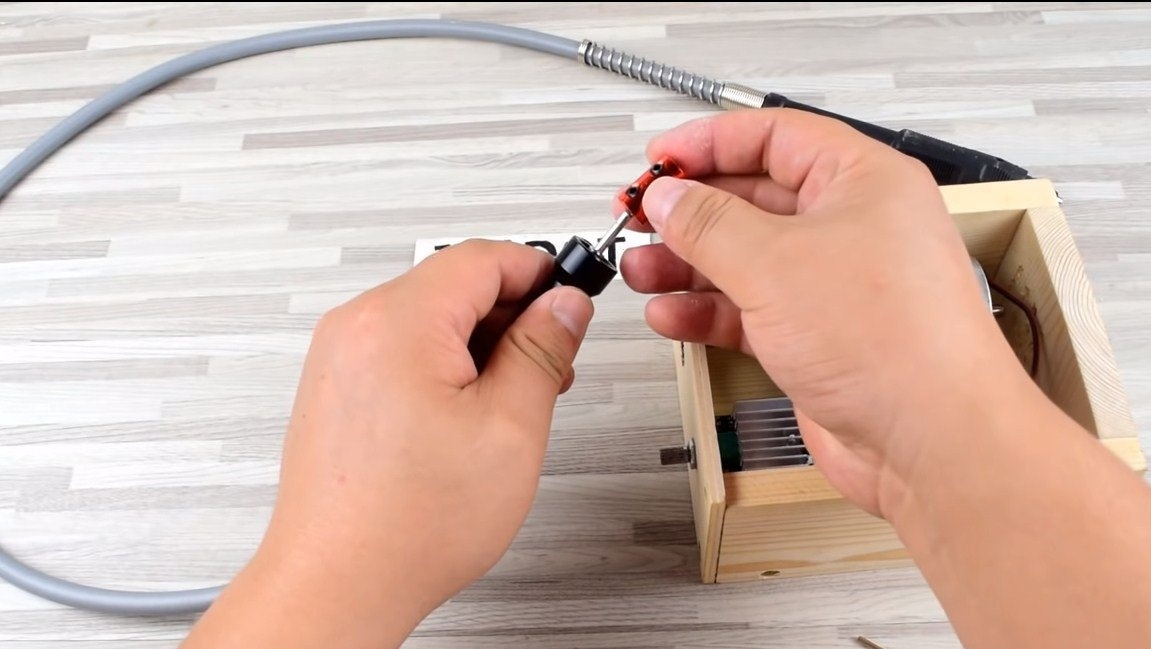
We install the engine and the speed controller inside. Now it remains to connect the flexible shaft to the motor shaft. For this, a special adapter is used. At the end we fasten the top cover!


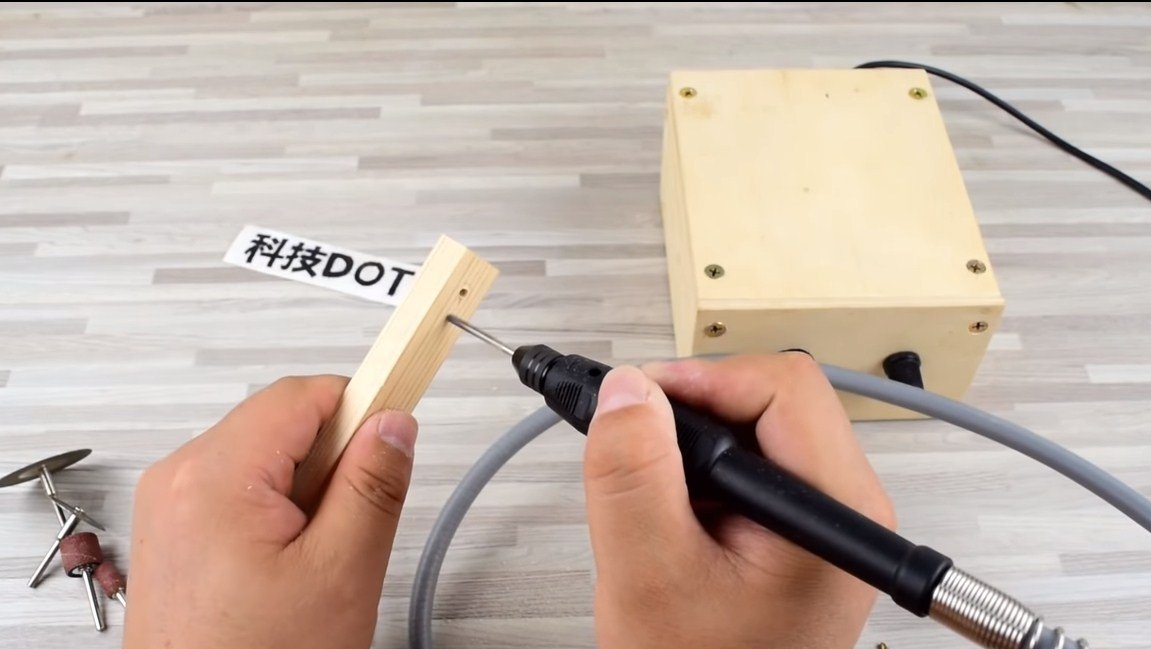
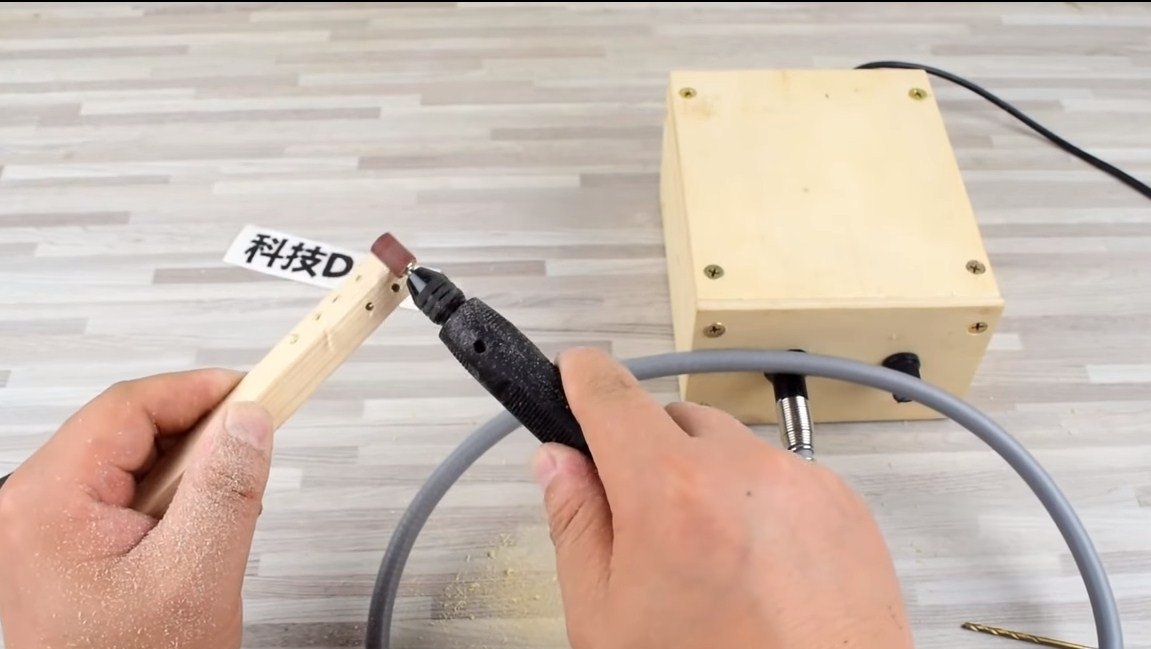
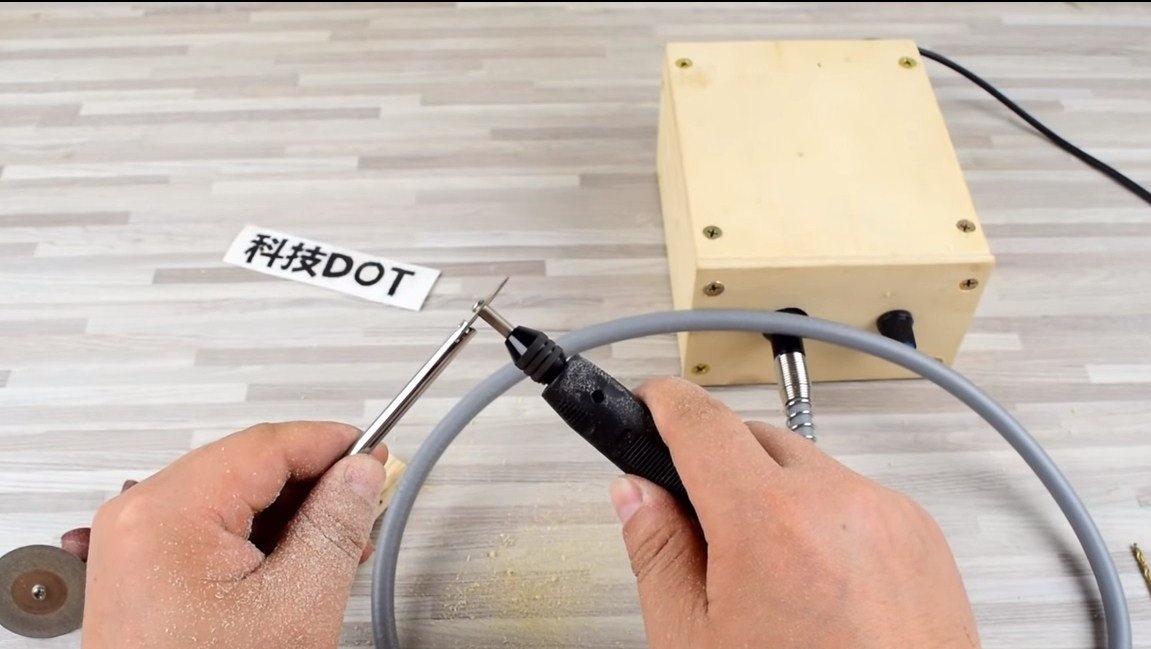
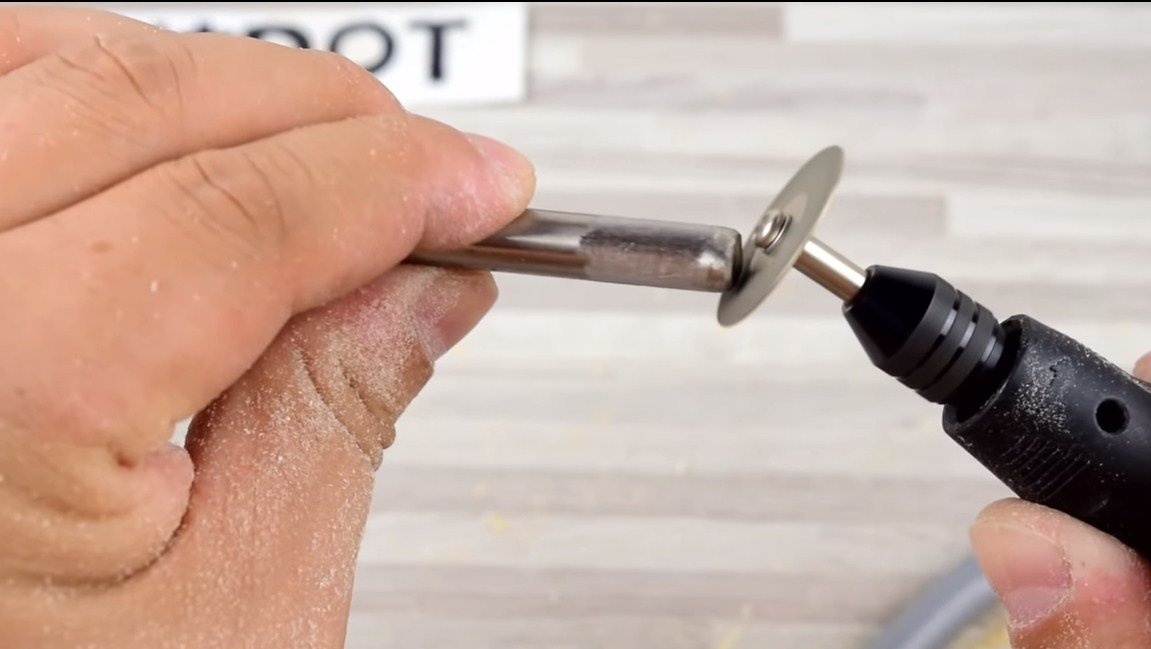
The drill is ready, in its cartridge you can install all the same nozzles as for a conventional drill. The rotations of the drill are quite high, if you are guided by the sound. Torque should also be enough for domestic needs. The author easily drills a board with his machine, grinds metal with a disc, and also works perfectly with a roller nozzle with sandpaper.
In general, the car turned out to be interesting, convenient, lightweight and quite powerful. I hope you enjoyed the project. Do not forget to share your opinions, ideas and impressions about this homemade! Good luck and creative inspiration if you decide to repeat it!