
From this article you will learn how to make, perhaps, one of the most useful tools for the workshop - a mini grinder. So if you are interested in knowing how do it yourself read this tool to the end. The author of this homemade product is the author of the TEXaS TV YouTube channel.
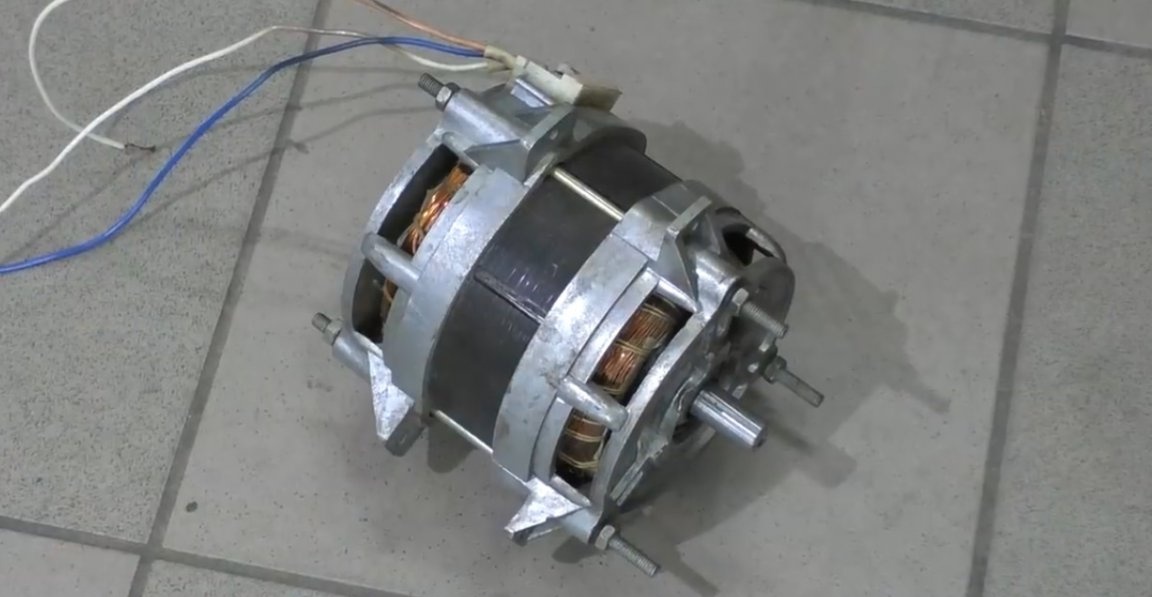
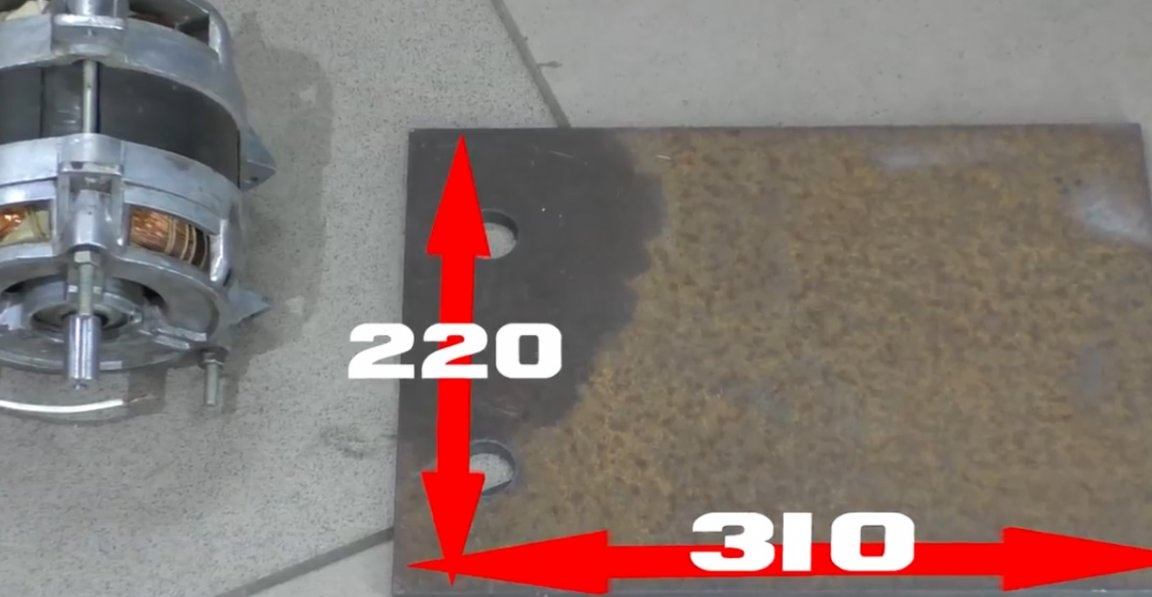
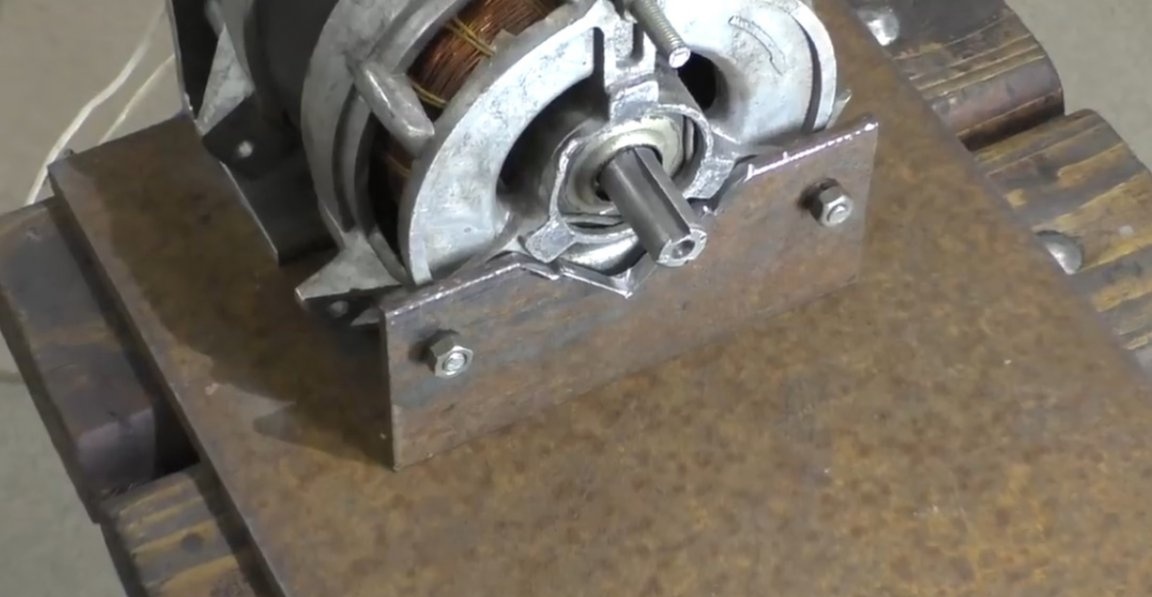
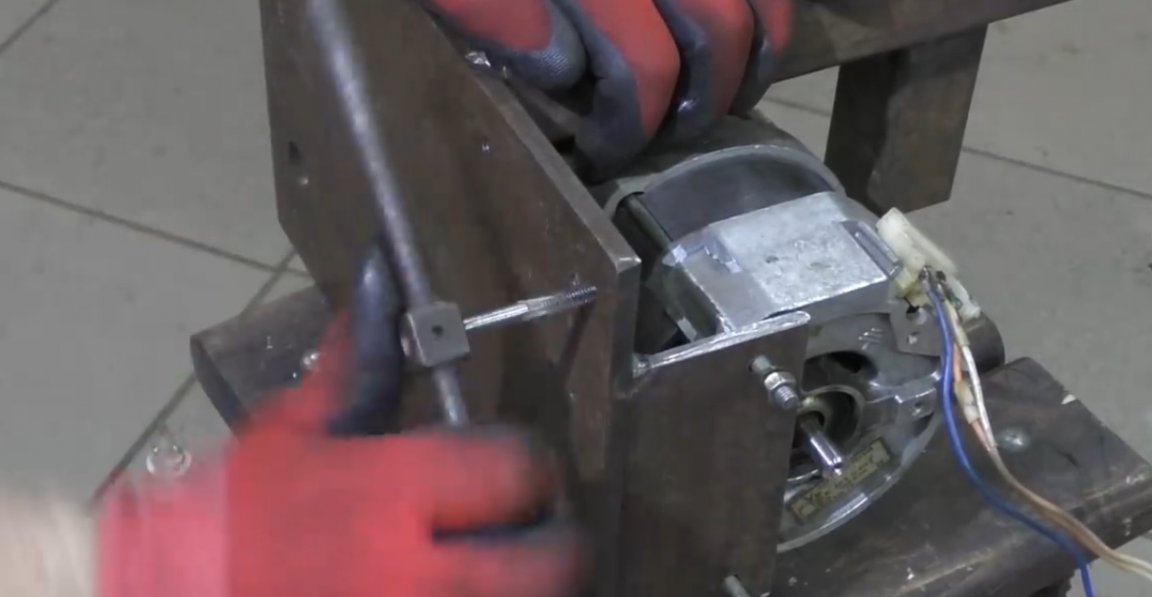
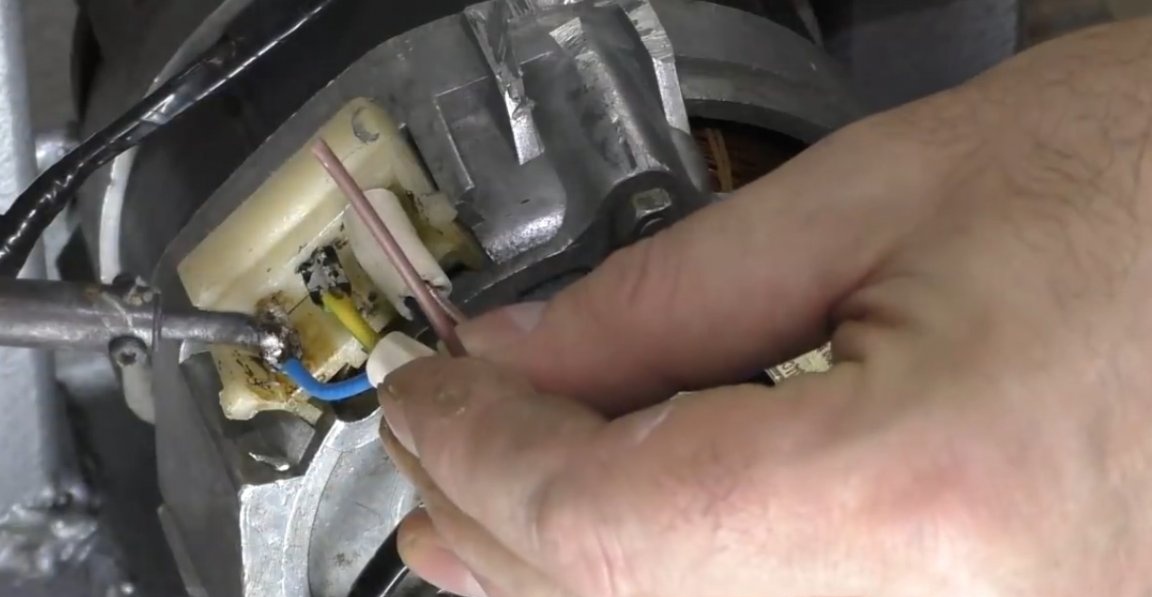
We take as a basis the already classic in self-made - the engine from the old washing machine. Power is 120 W, the number of revolutions is 2800.
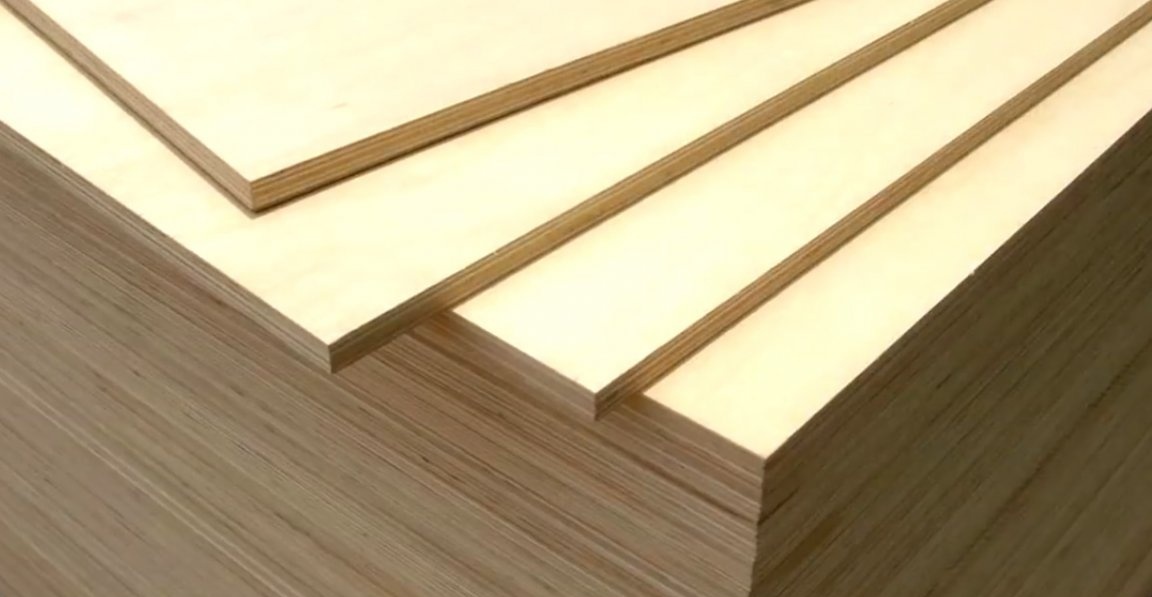
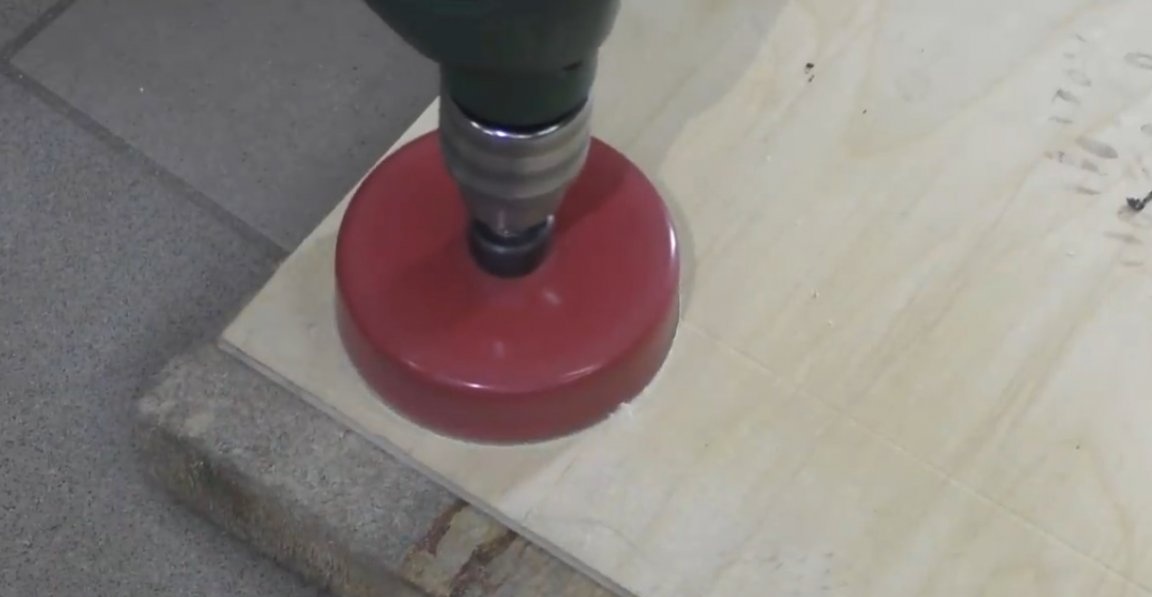
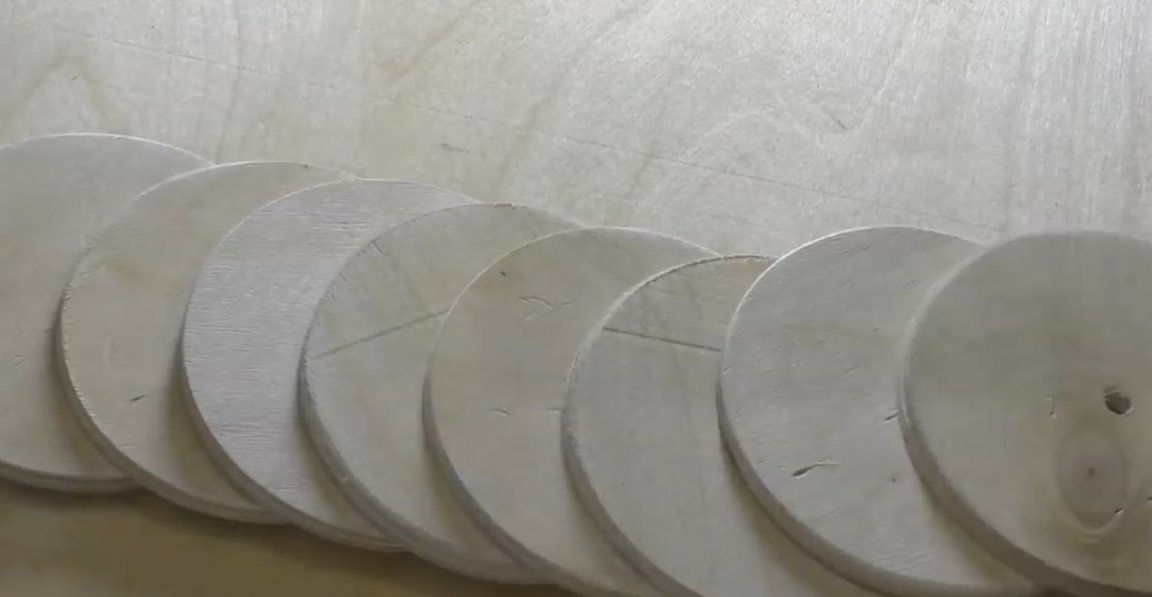
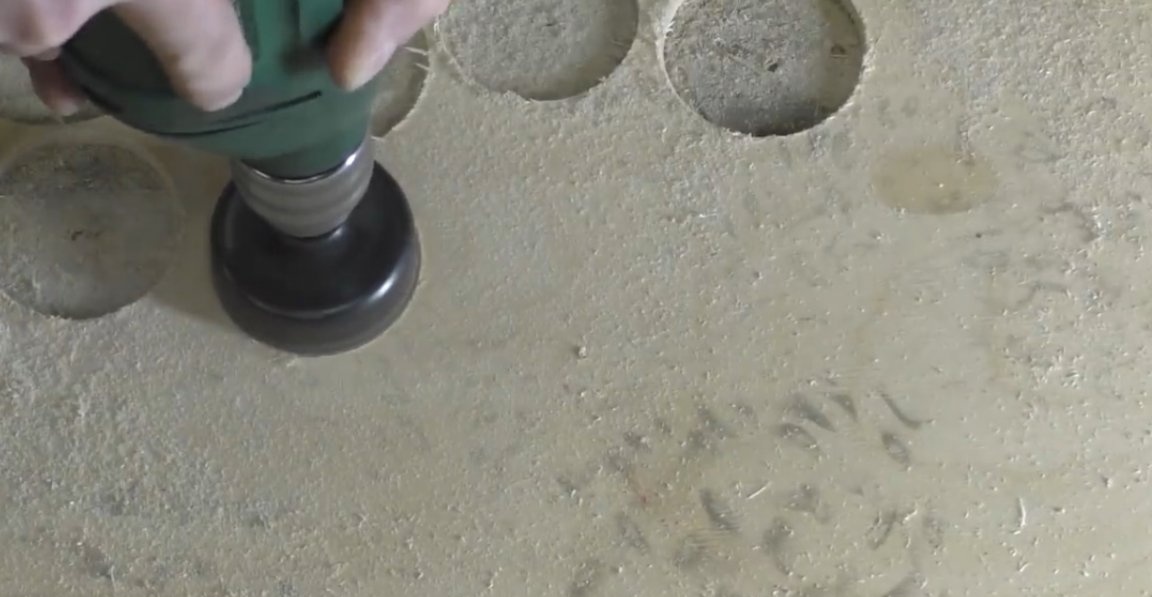
Let's start with the manufacture of rollers. We will do it in the simplest and probably the most common way - from ordinary plywood.
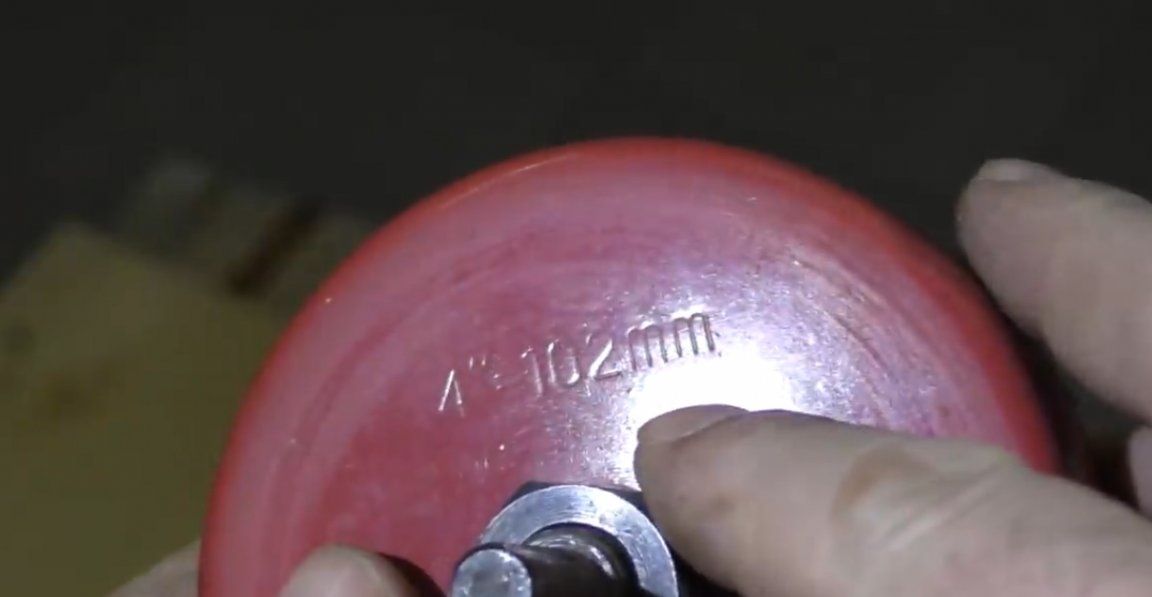
For the drive roller, we will use a 102 mm crown.
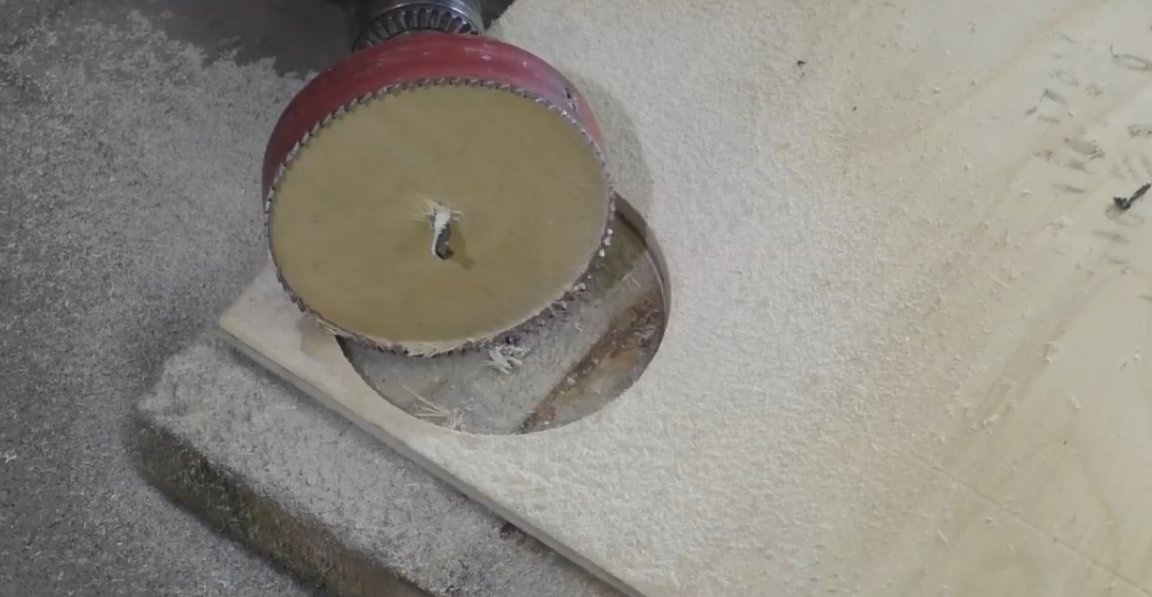
We load it into a drill and the heat started.
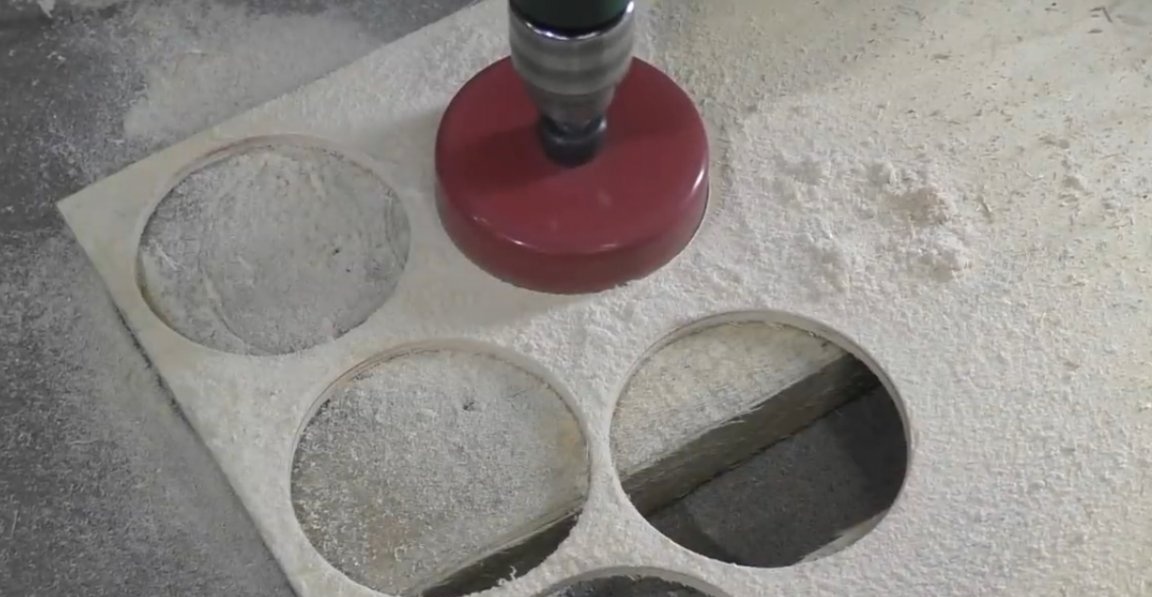
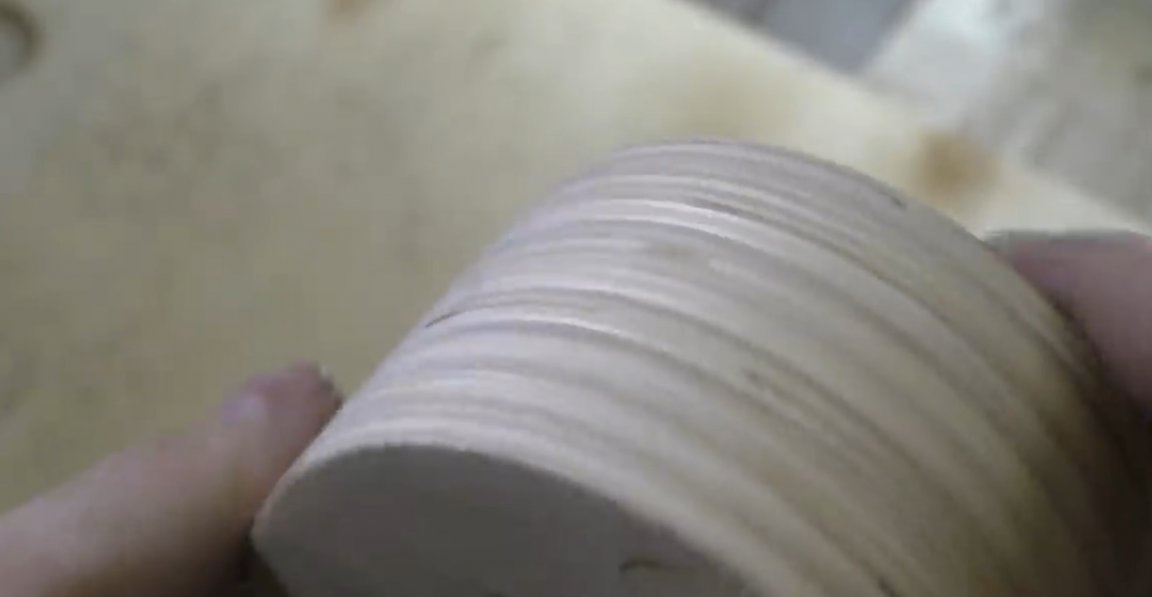
The work is dusty but enjoyable. And here is the first pancake and, by the way, not lumpy.
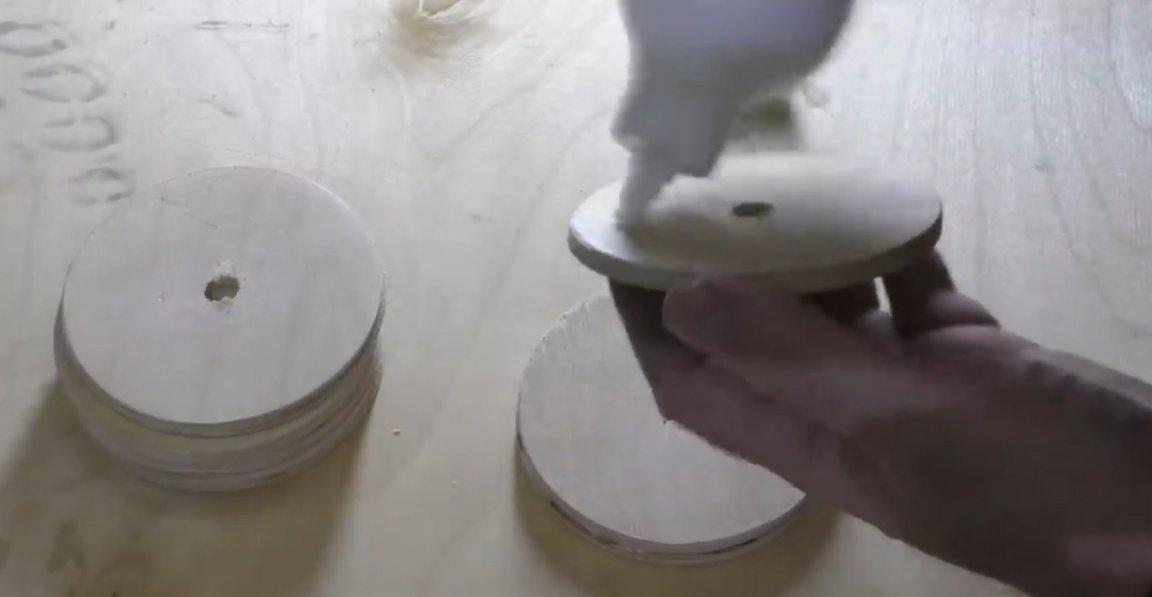
Well, then everything is as if on the thumb - damn pancake. Now the resulting workpieces need to be sanded a little for a more snug fit to each other.
All details are polished and gluing can begin. We do this with ordinary PVA glue. In principle, almost any glue is suitable here.
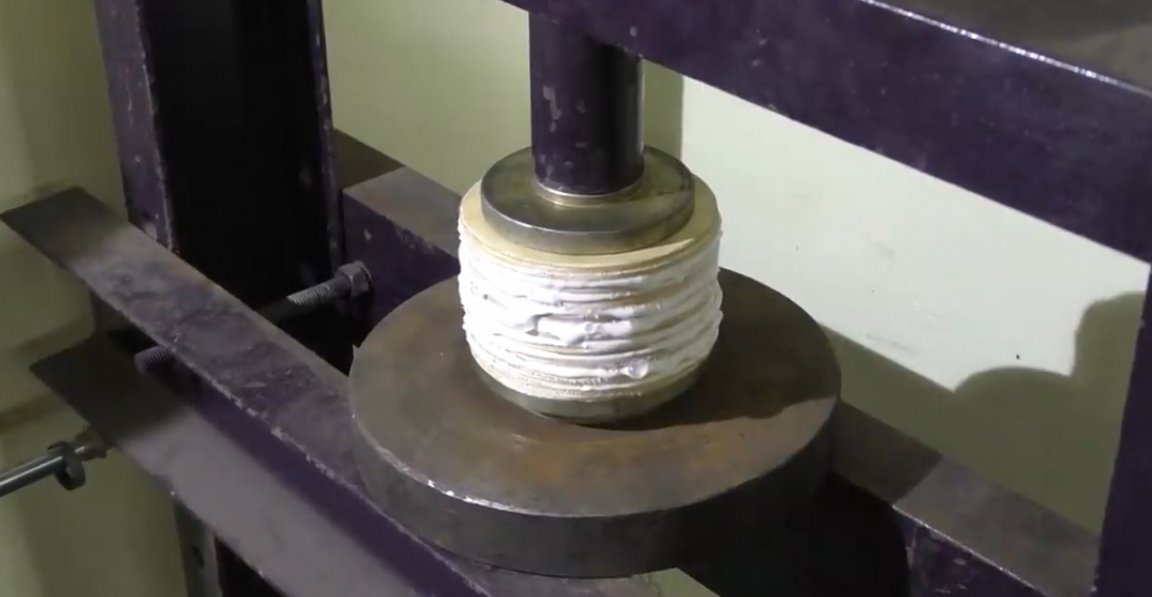
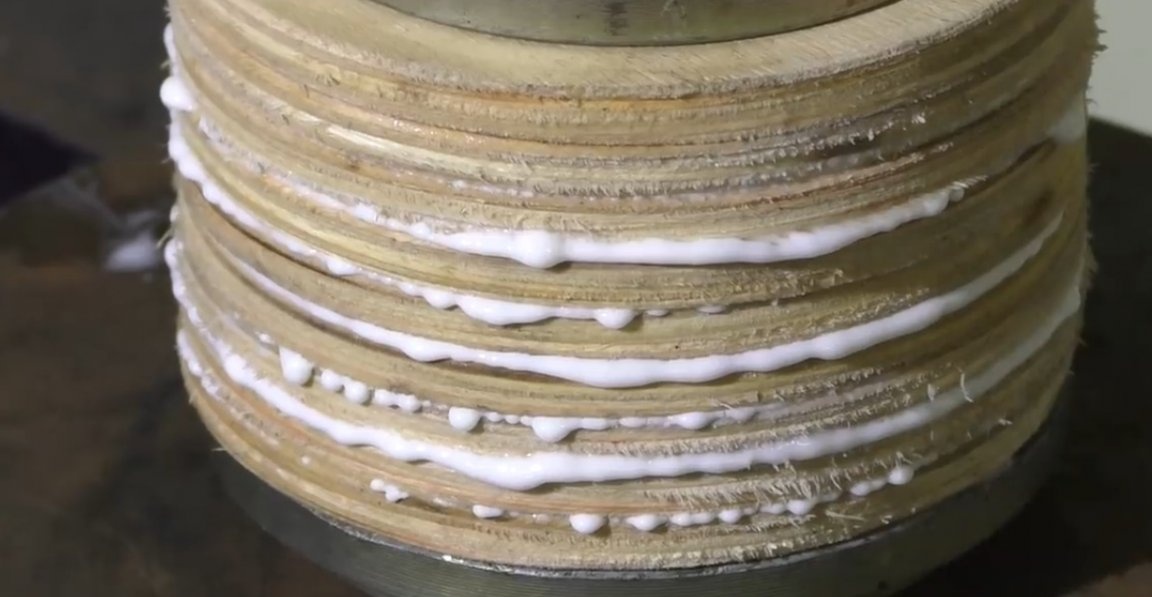
The resulting plywood cake needs to be tightly squeezed. For this purpose, you can use a clamp, a vice or, as in this case, a press.
While the drive roller dries under pressure, let's move on to the follower. Here we will use a 64 mm crown.

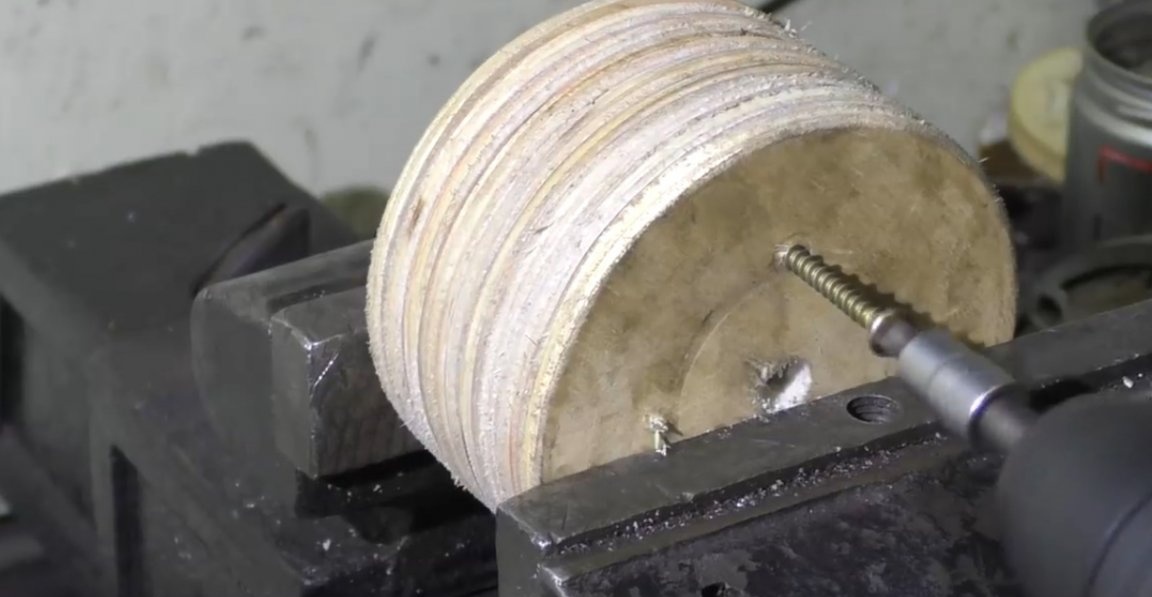
We perform the same operation as with the host. Cut 9 such blanks.
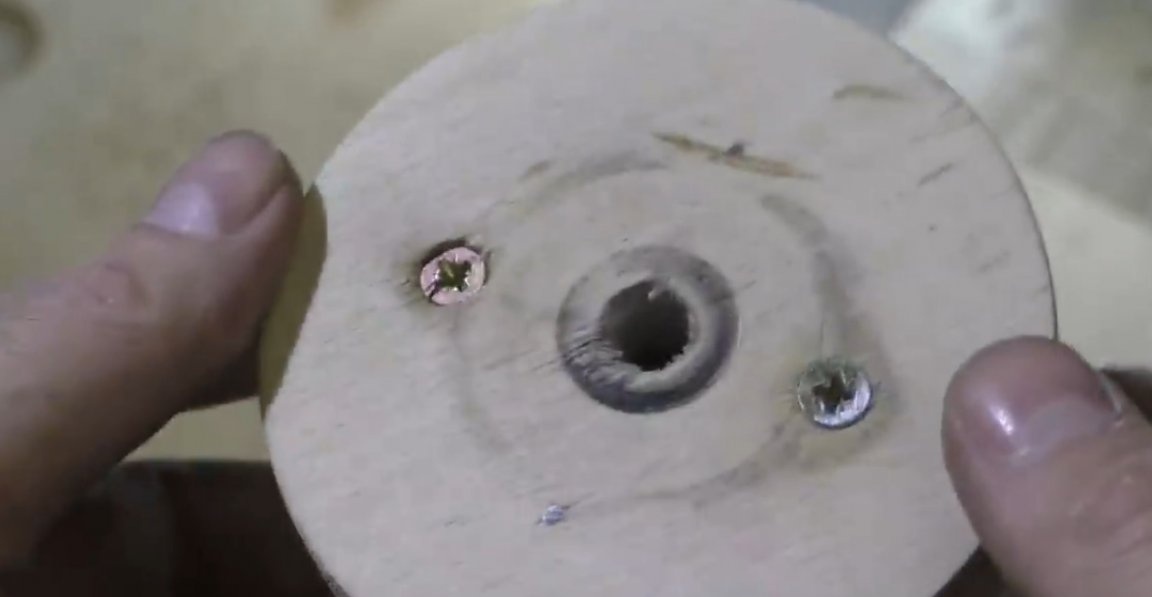
The billets are dried up and for greater reliability it is necessary to tighten them with self-tapping screws, after making a 3 mm hole.
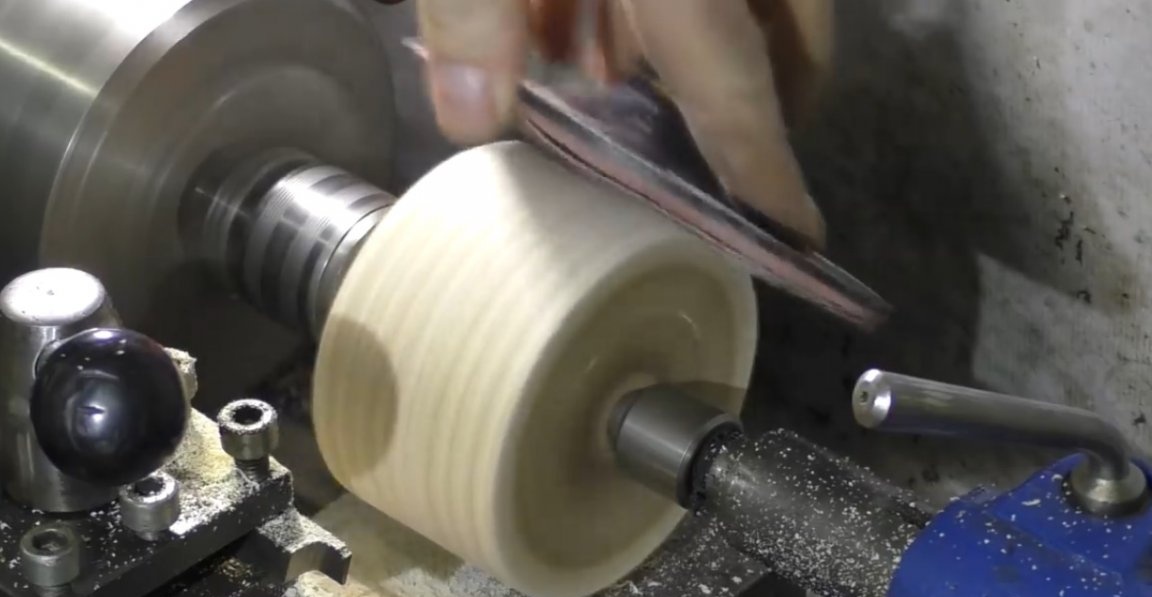
And now a little of our favorite lathe. It is necessary to trim and polish the workpieces a little.
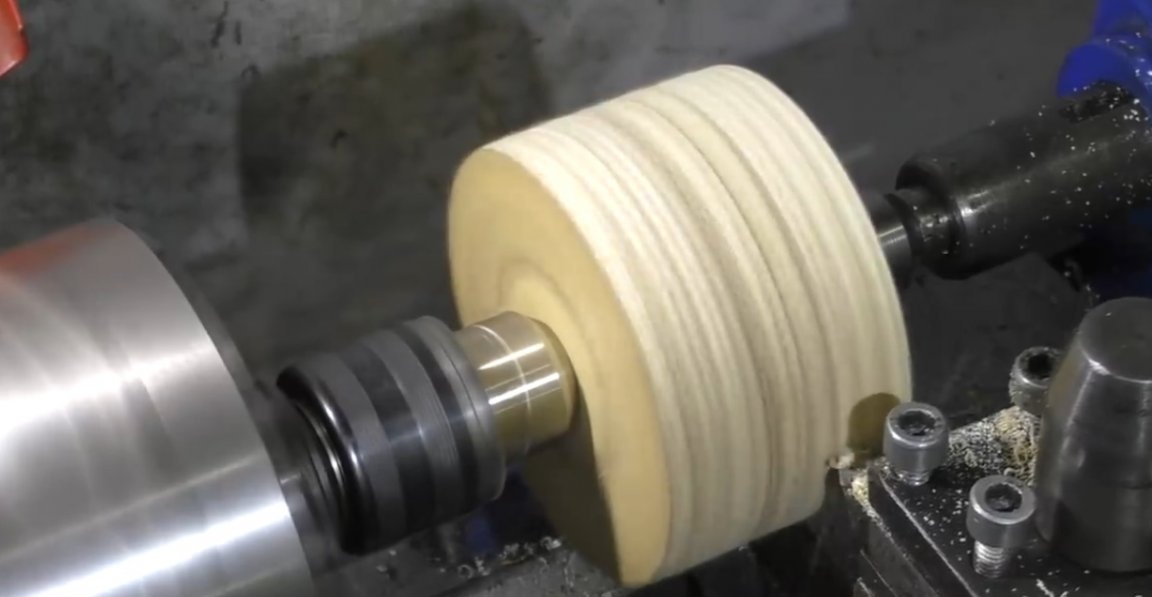
By the way, this operation can be done without a lathe. To do this, install the roller on the engine and grind it with sandpaper of different grain sizes.
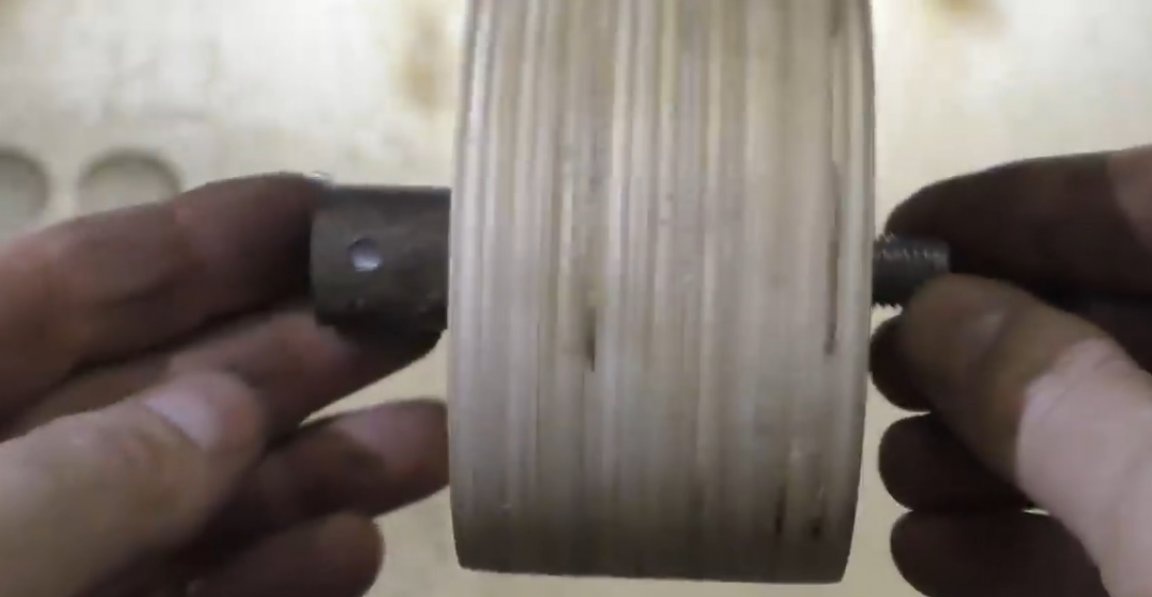
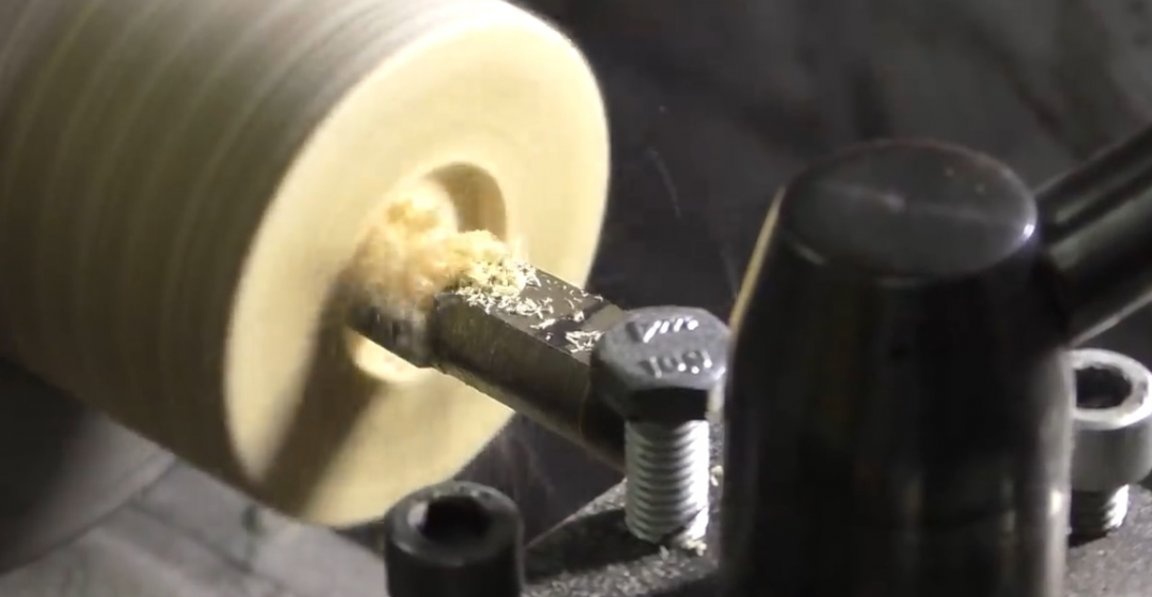
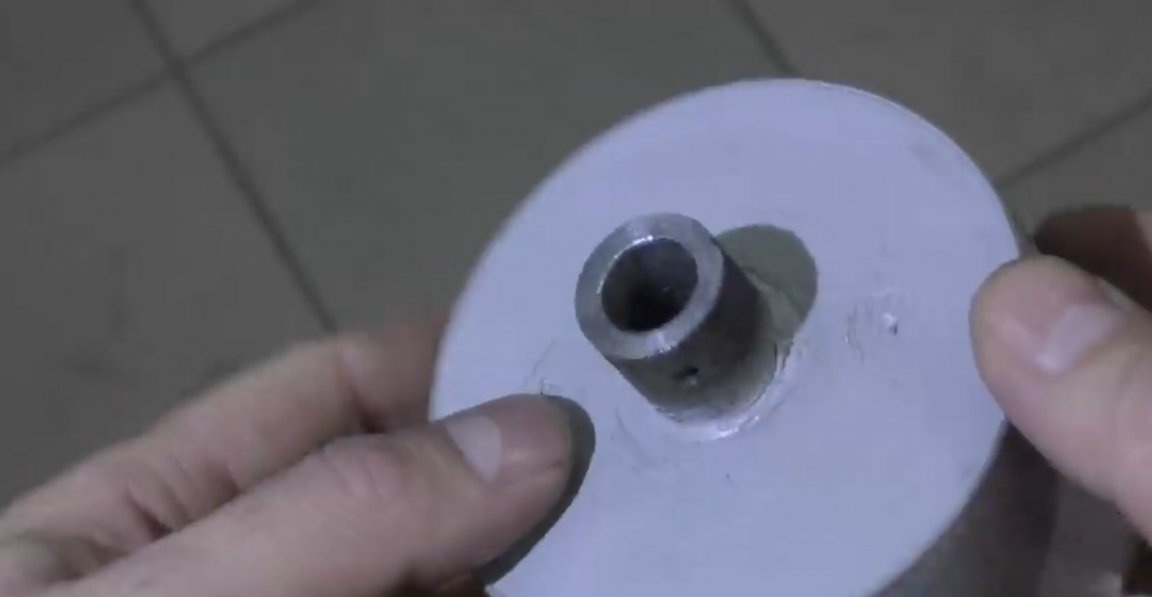
After processing, we get a practically finished roller, it remains only to make a hole of the desired diameter.
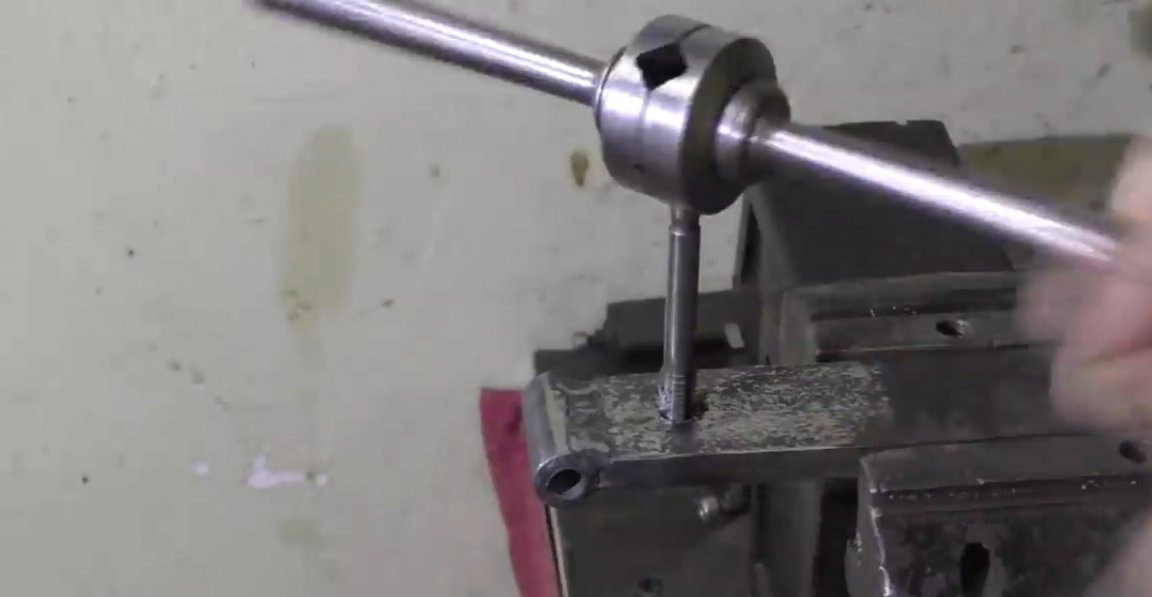
To fasten the roller to the motor shaft, it is necessary to select a pipe segment of the desired diameter. In this case, the internal size is 14 mm.
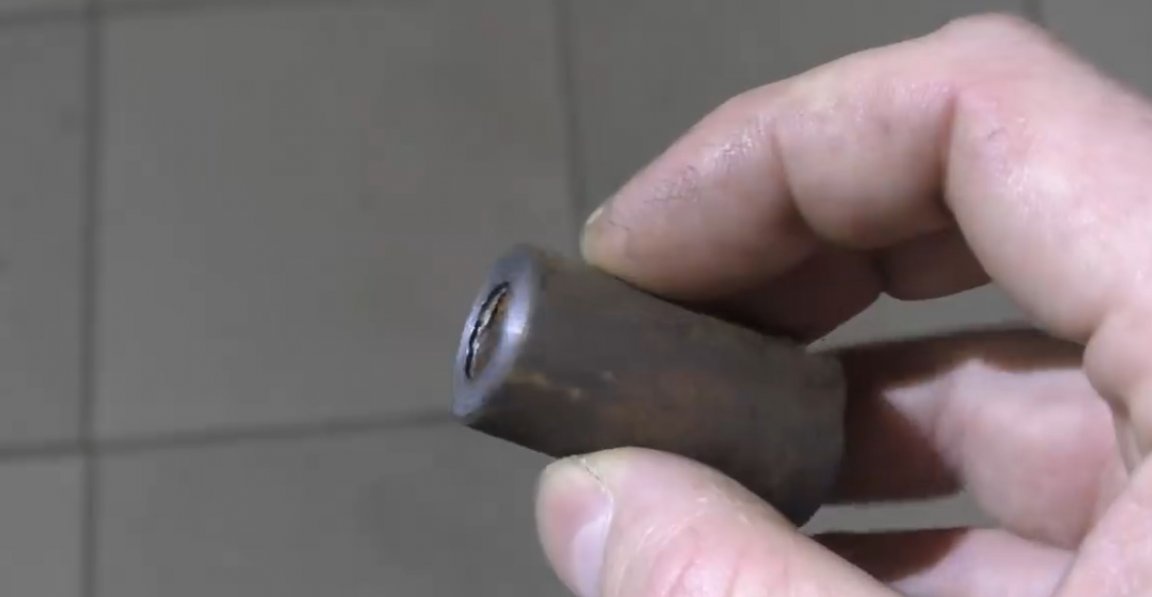
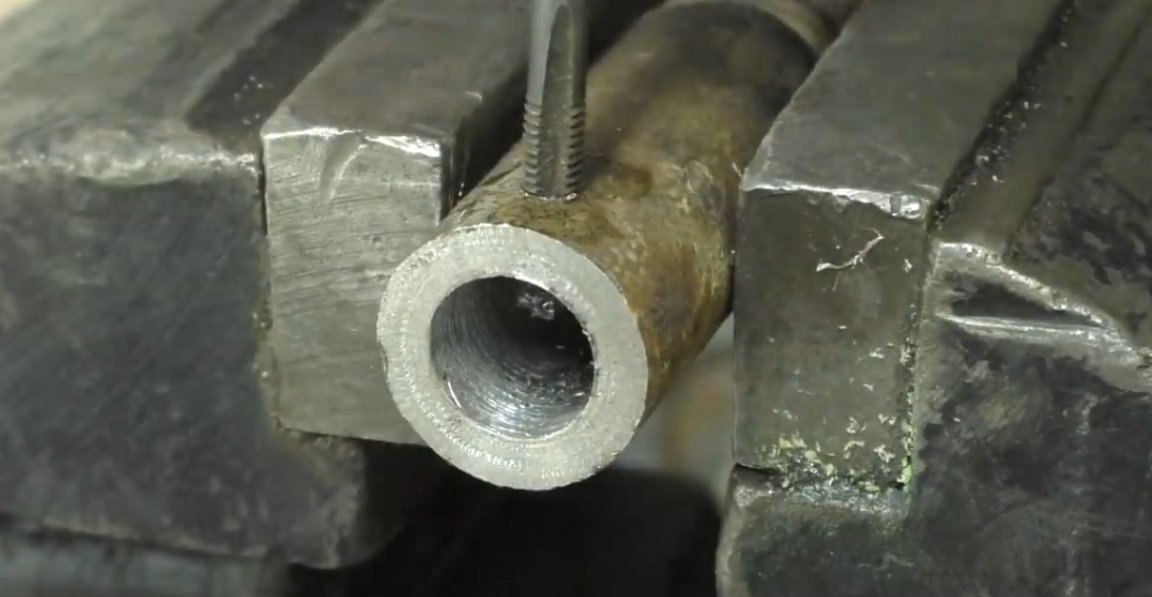
We cut the M5 thread, a screw will be screwed here to fix the roller. And also we will weld a piece of M12 thread to this workpiece. That's how it all came together.
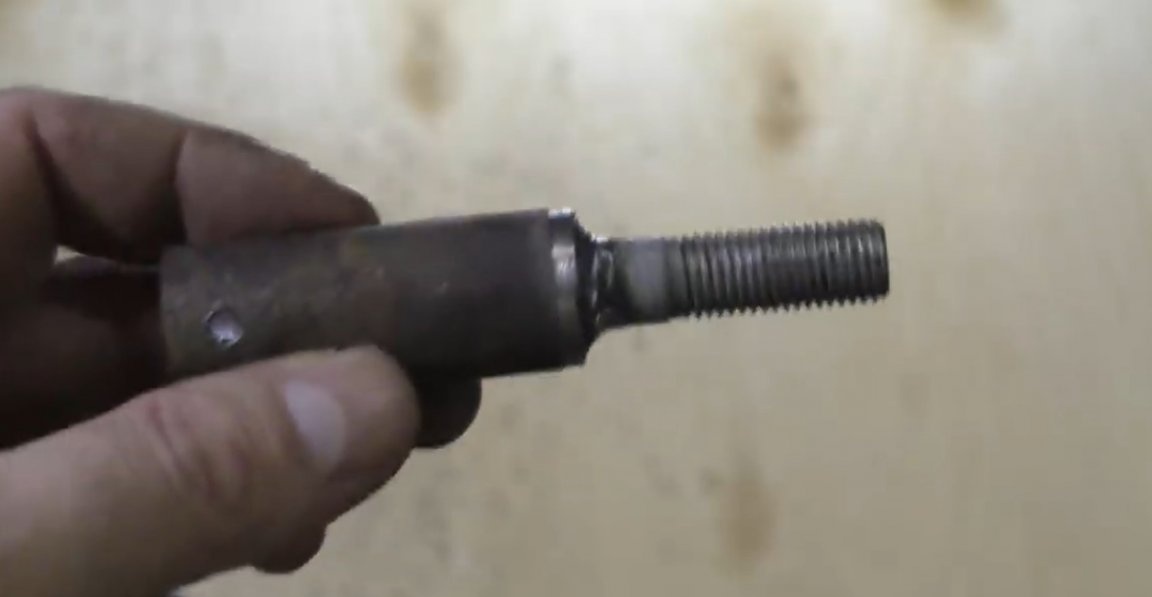
Then, in the roller itself, you need to make a hole to the thickness of the tube, about half the roller. The remaining half will be 12 mm.
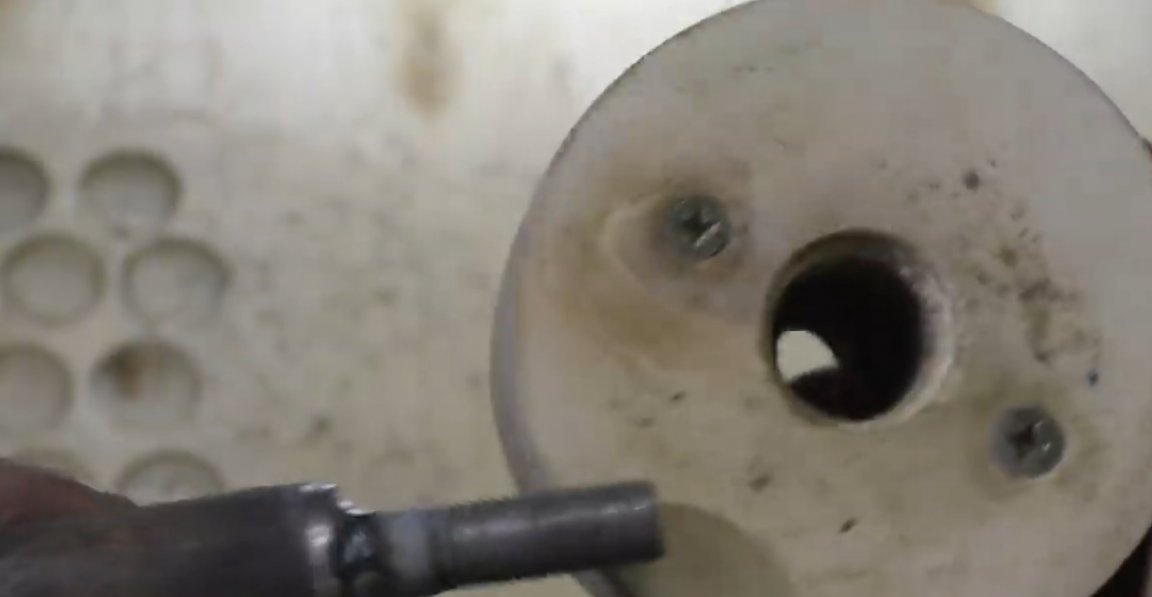
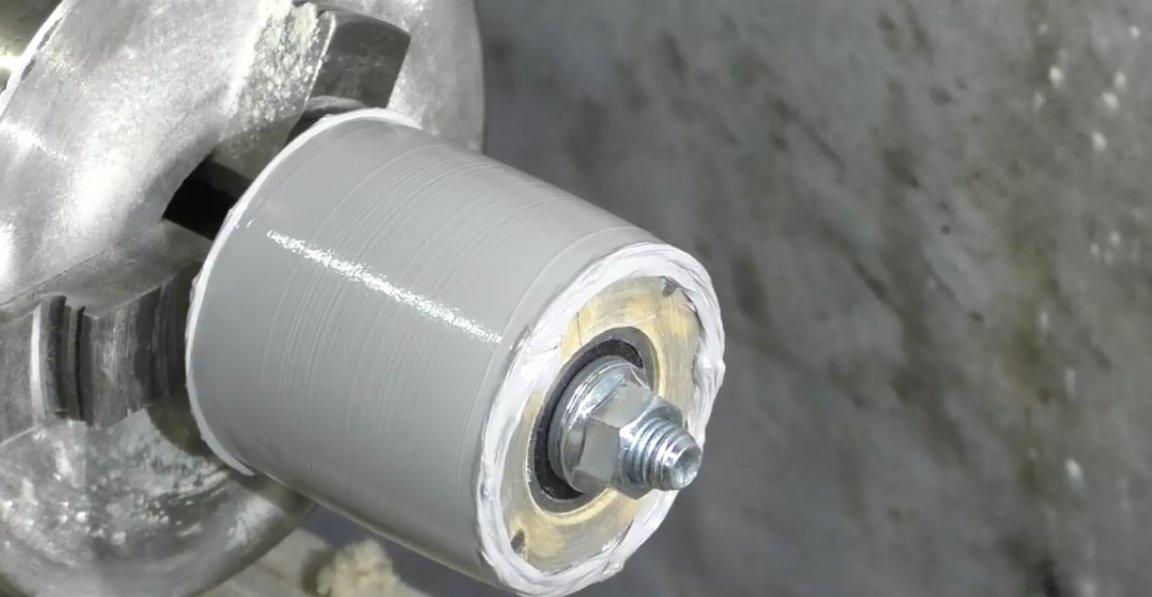
In the driven roller, we make a landing under the bearing.
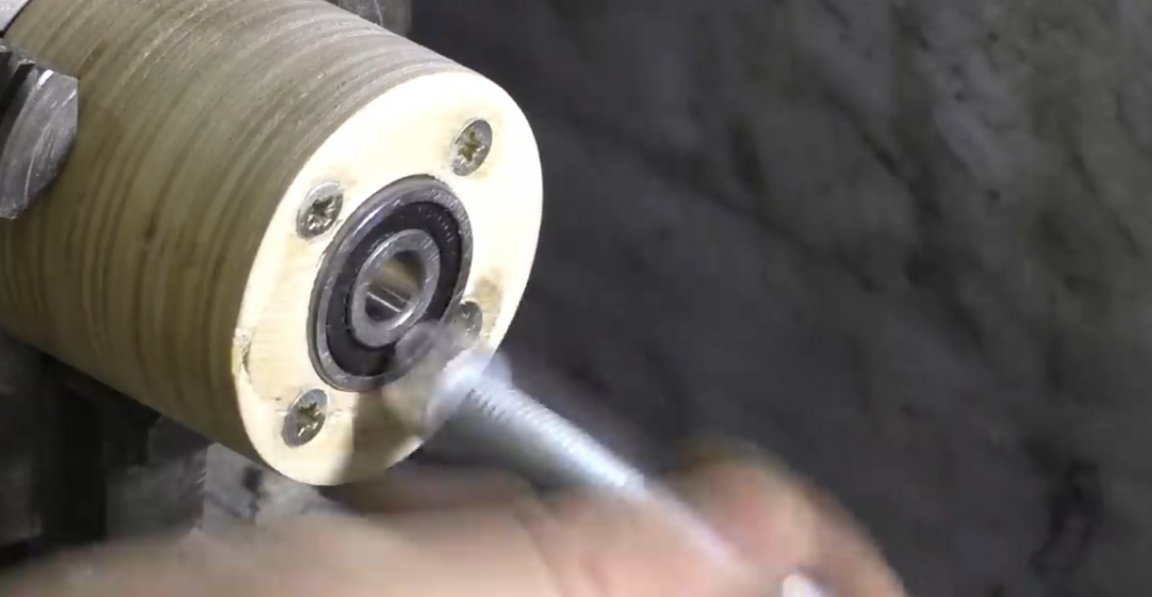
All this can be done with a conventional pen drill for lack of a machine. Now a small life hack from the author. We take a suture sealant or glass glue and apply it to a finished roller. Then we start the engine, or, as in this case, the machine, and press the whole thing with a spatula. The sealant evenly spreads along the roller, thereby creating a protective layer and subsequently improving the adhesion to the emery tape.
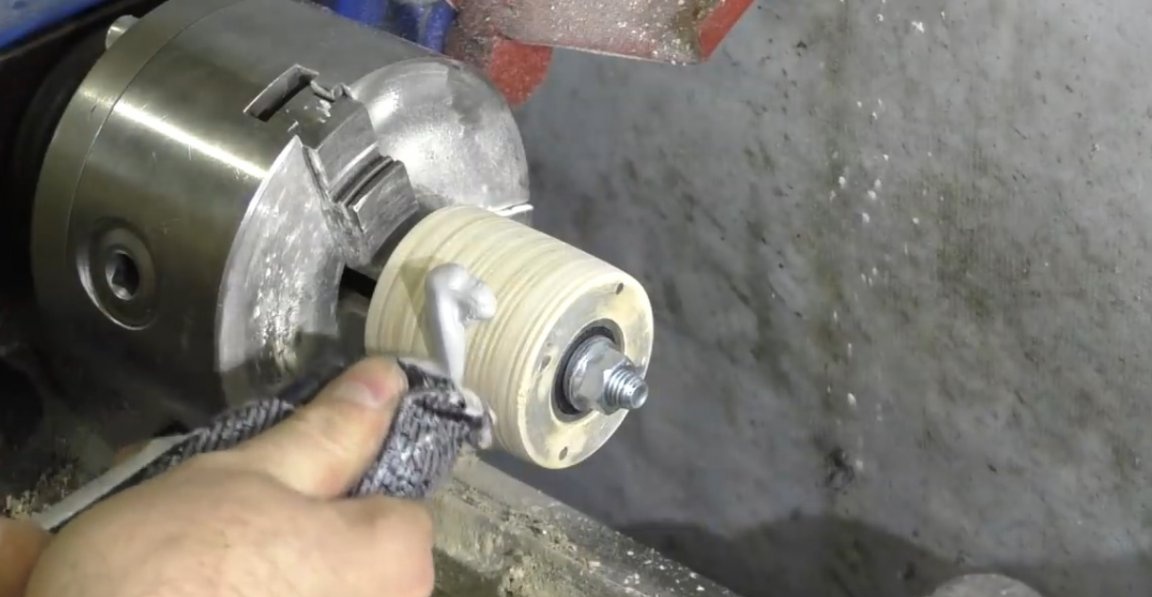
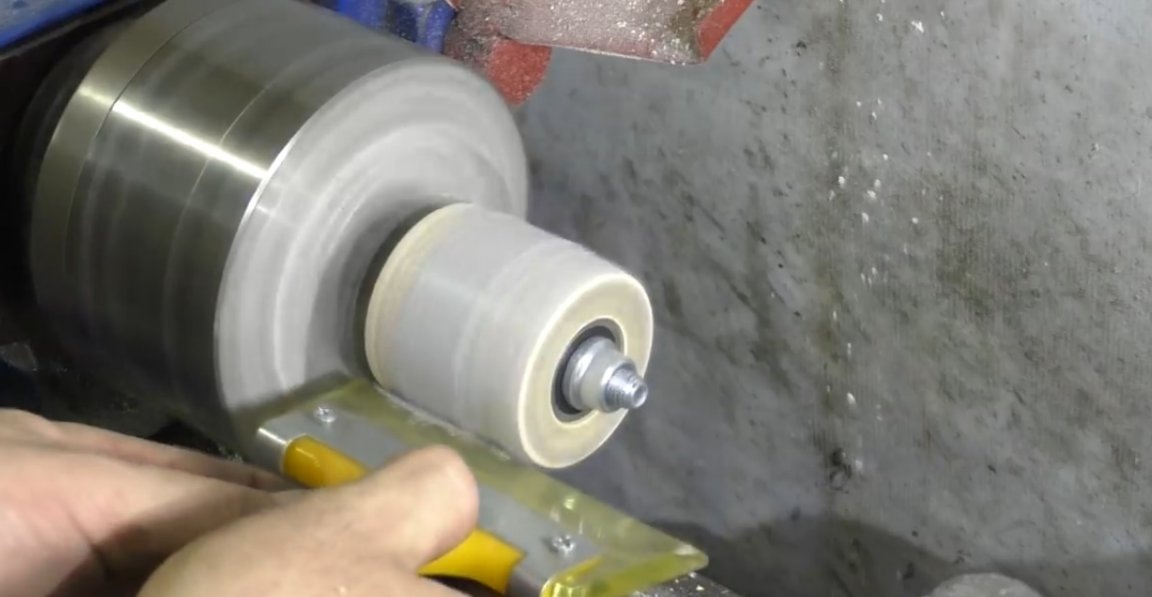
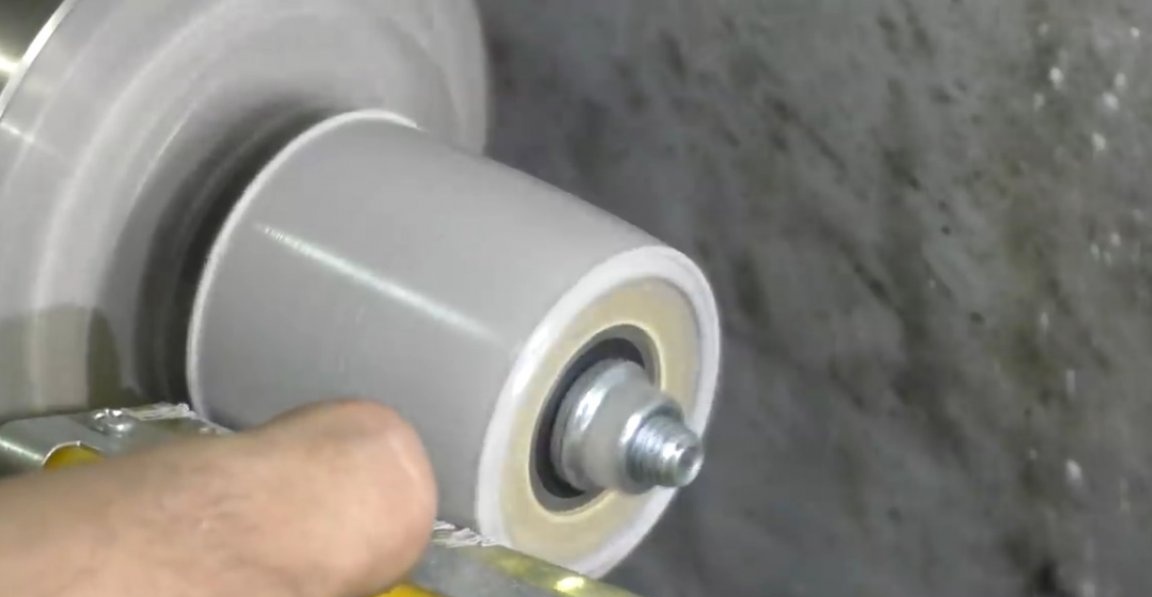
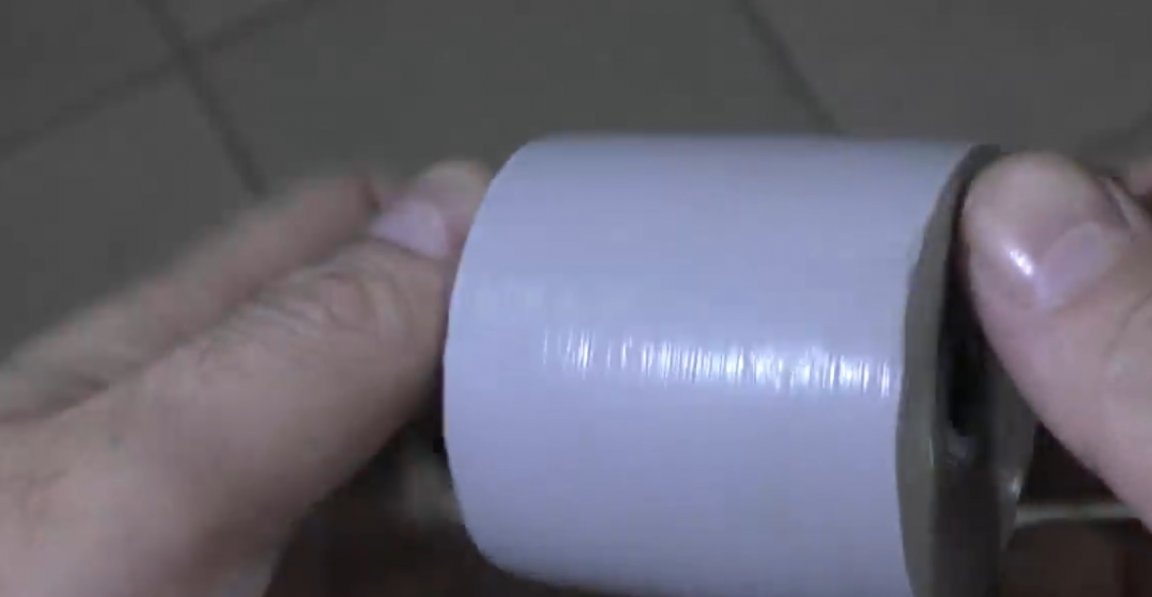
After drying, we get such nice cutscenes, at first glance you can’t even say that they are made of plywood.
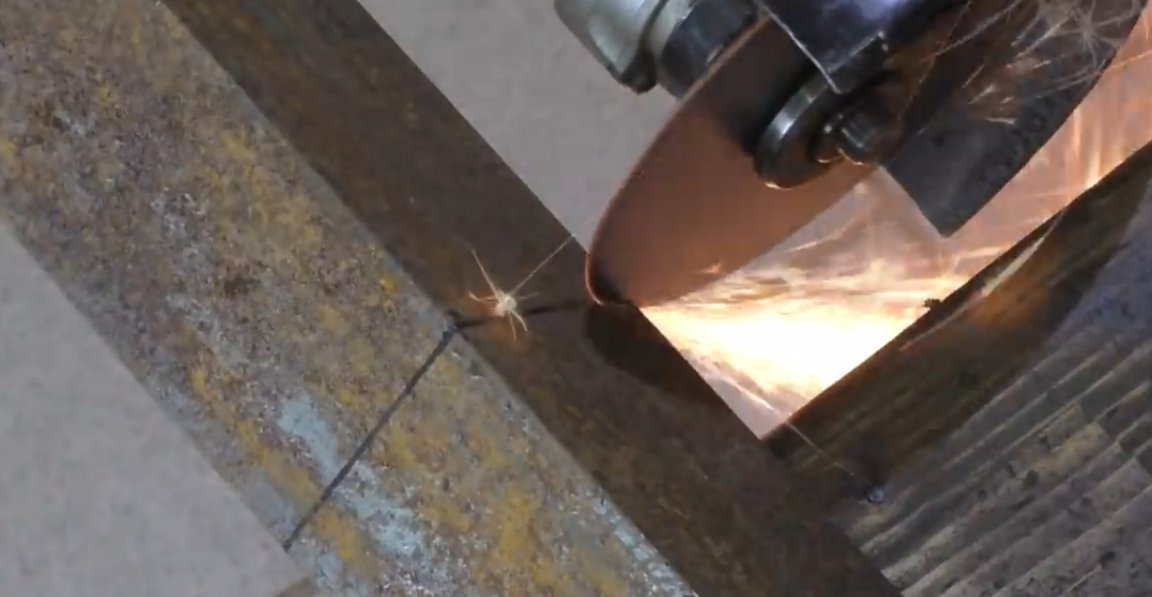
The rollers are ready and you can do the manufacture of the bed. As a basis, we take a piece of sheet metal with a thickness of 8 mm, dimensions 310 to 220 mm.
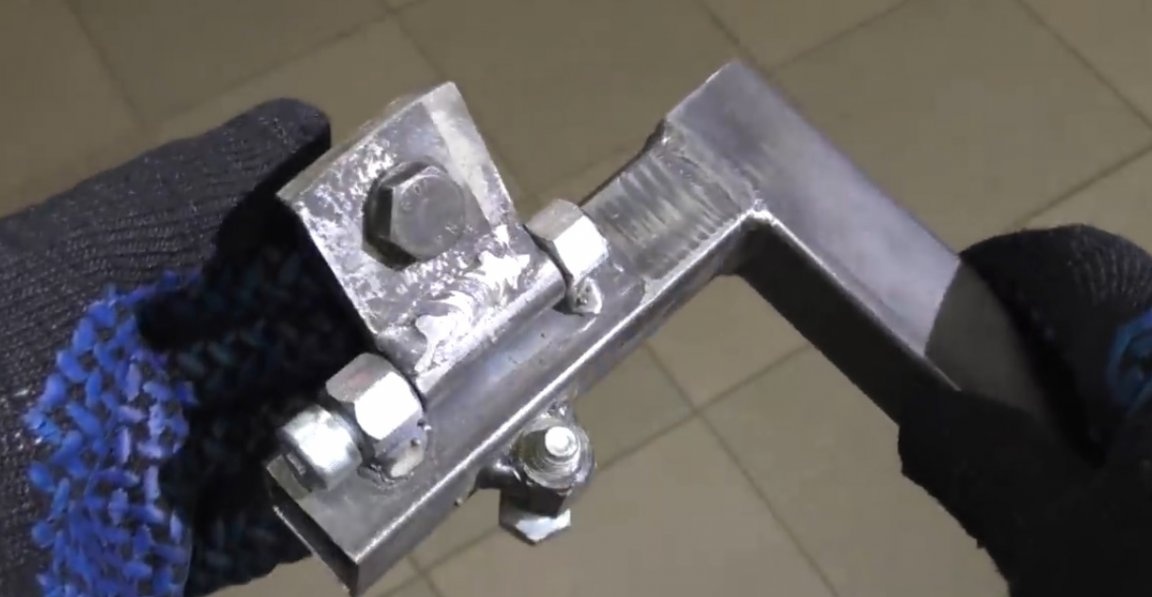
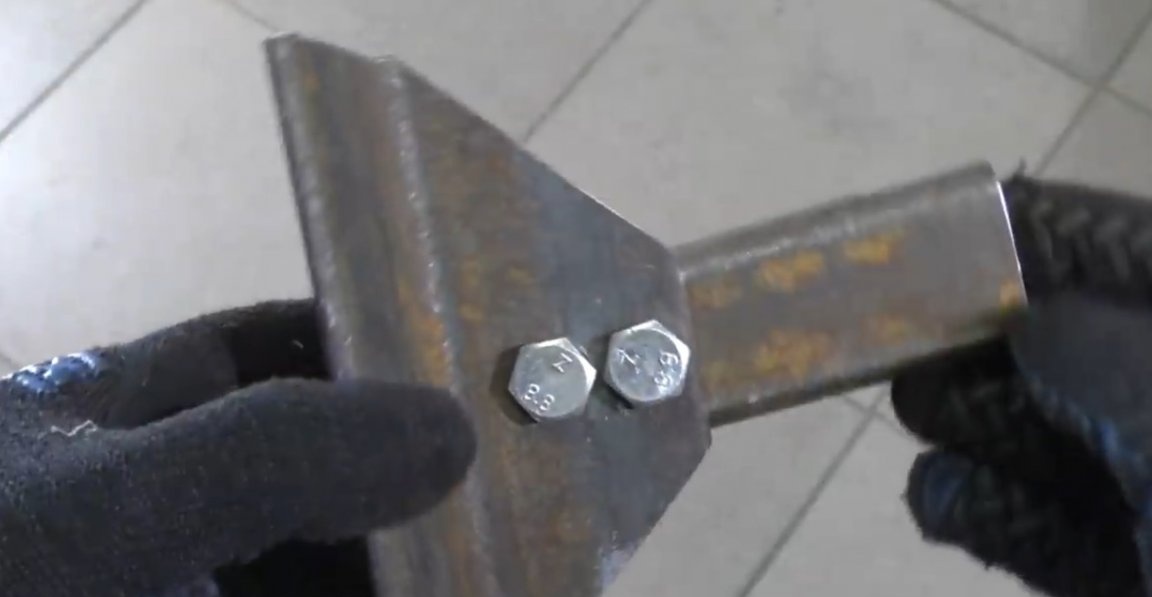
On this site you need to install the engine from the washing machine. To do this, cut 2 pieces of 130 mm from the 63rd corner. The resulting blanks are put on the site, there is also an engine for marking under the mounting holes.
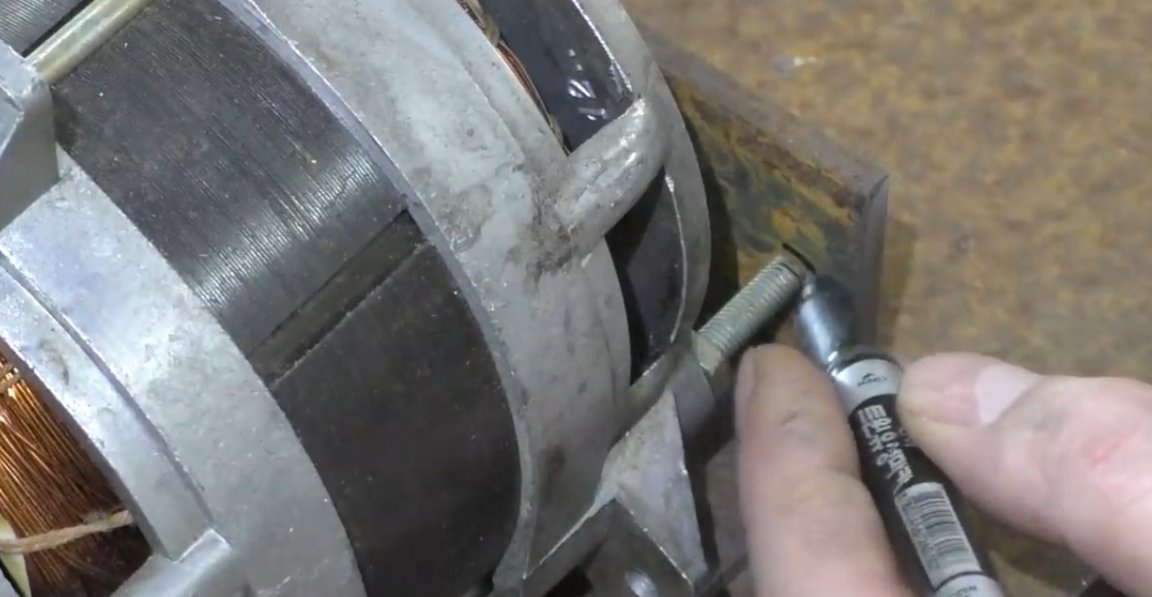
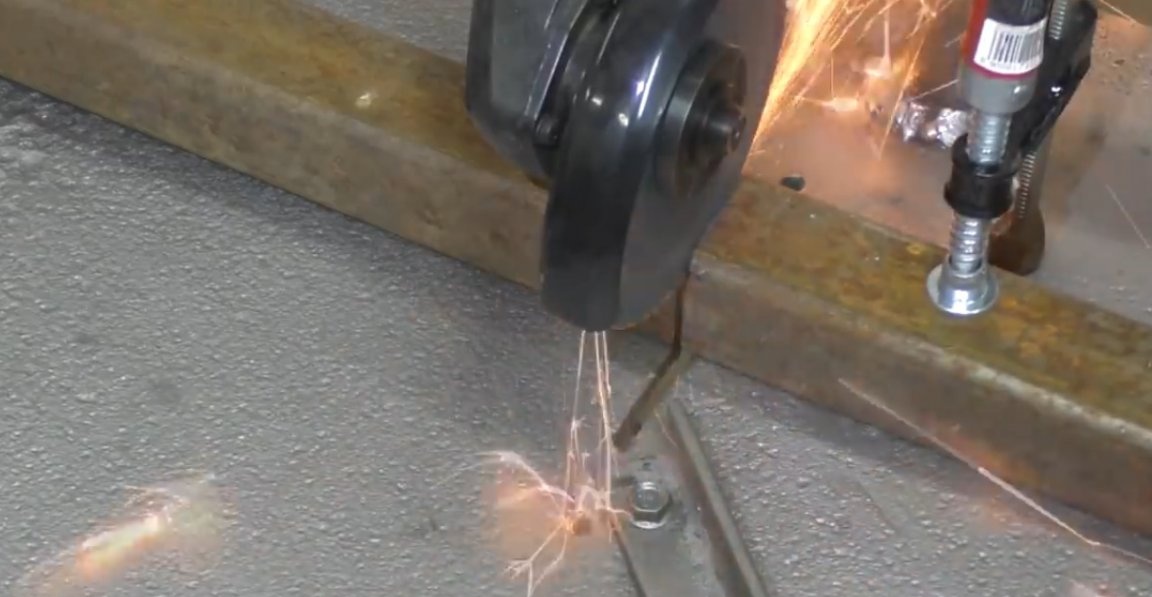
After we drill a hole with a diameter of 6 mm. We make a preliminary fitting. In one of the mounts, you need to make a cutout so that the roller fixing bolt does not cling to the corner and the fasteners fit snugly against the engine.
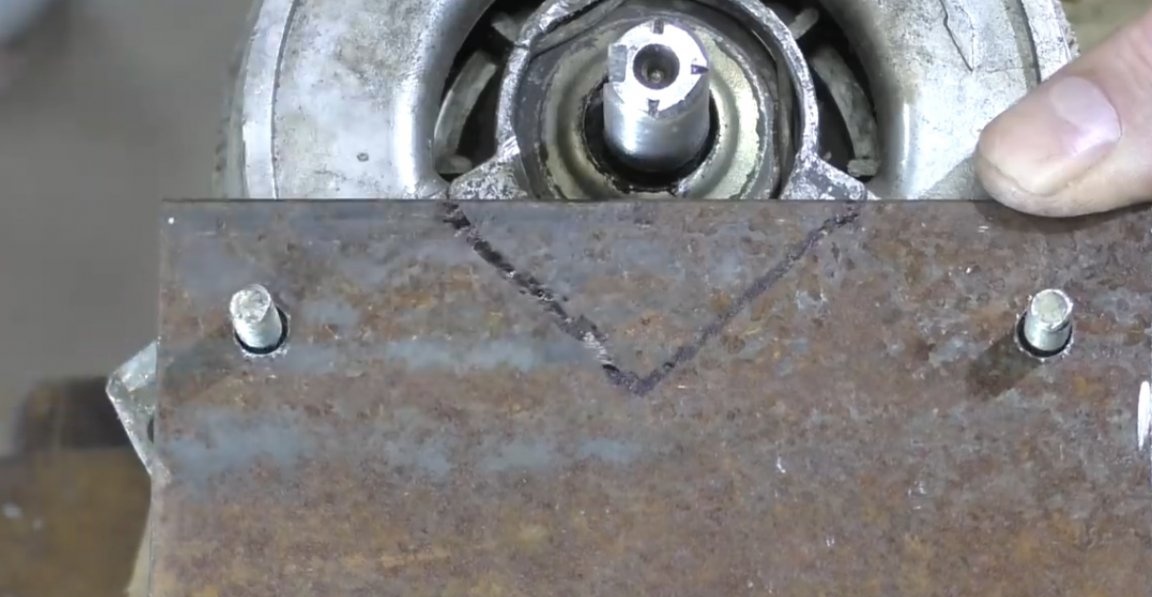

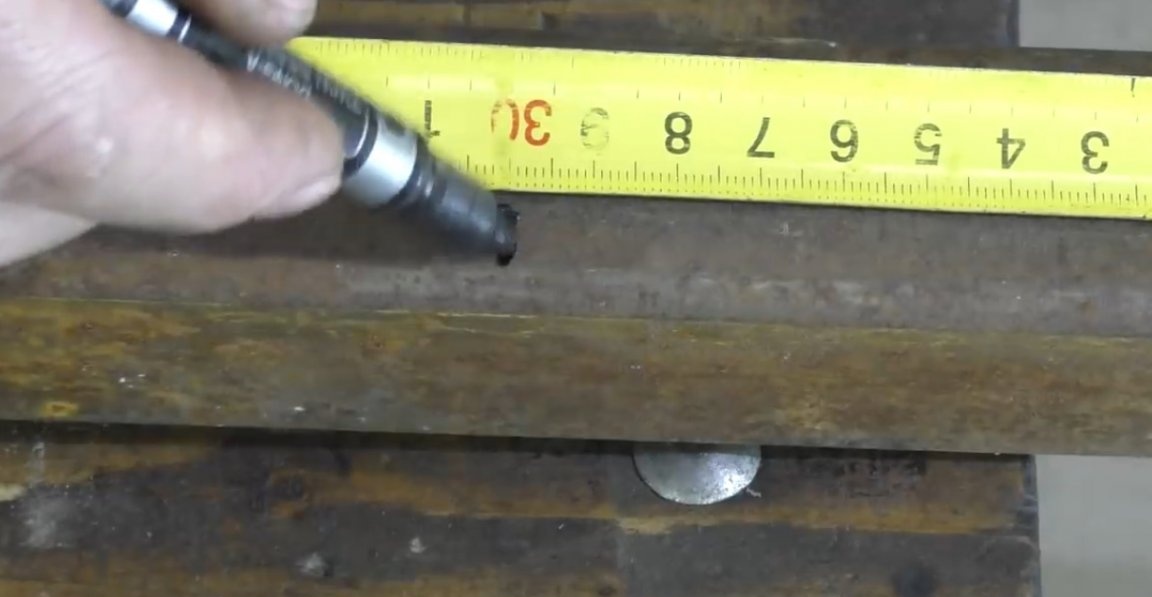
We mount the mount on the engine and now you can mark it up to the base and weld it. We make a few tacks, then re-measure everything again and only after that we finally scald it. And after welding we will go a little with a brush, it definitely will not be worse. Now we measure the distance of 300 mm from the profile pipe 40 by 40 mm and cut it off.
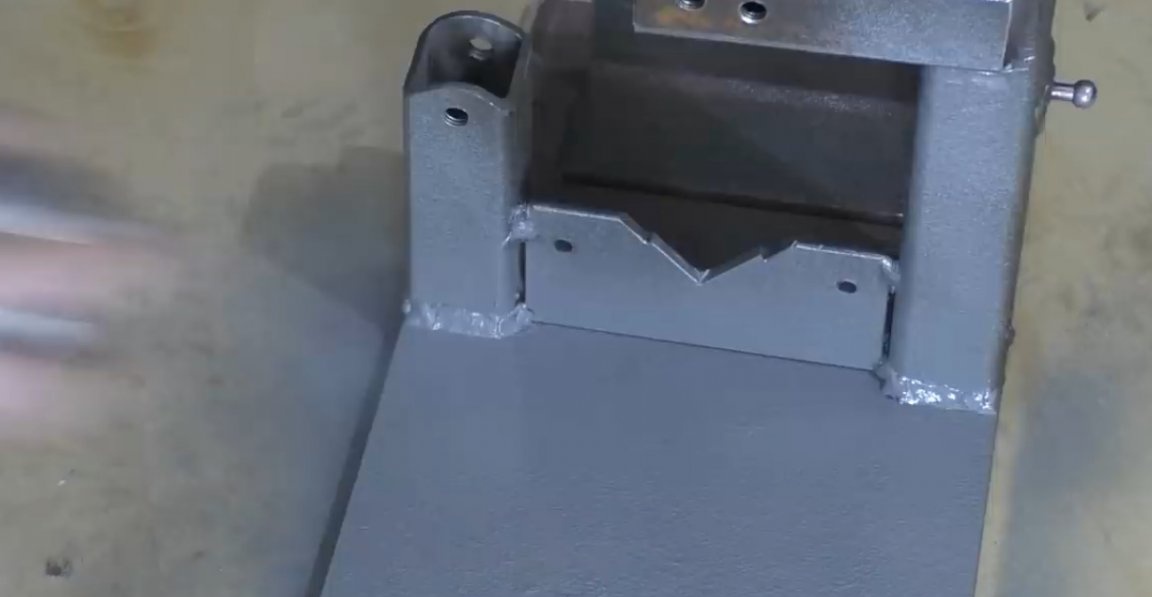
We make the same size with a 30 by 30 mm pipe, later you will see what these pipes are for, but for now, we will be manufacturing the adjustment mechanism. An elongated nut needs to be welded to a piece of thick sheet metal, the author used a 10 mm nut, pre-machined the nut, but this can not be done.
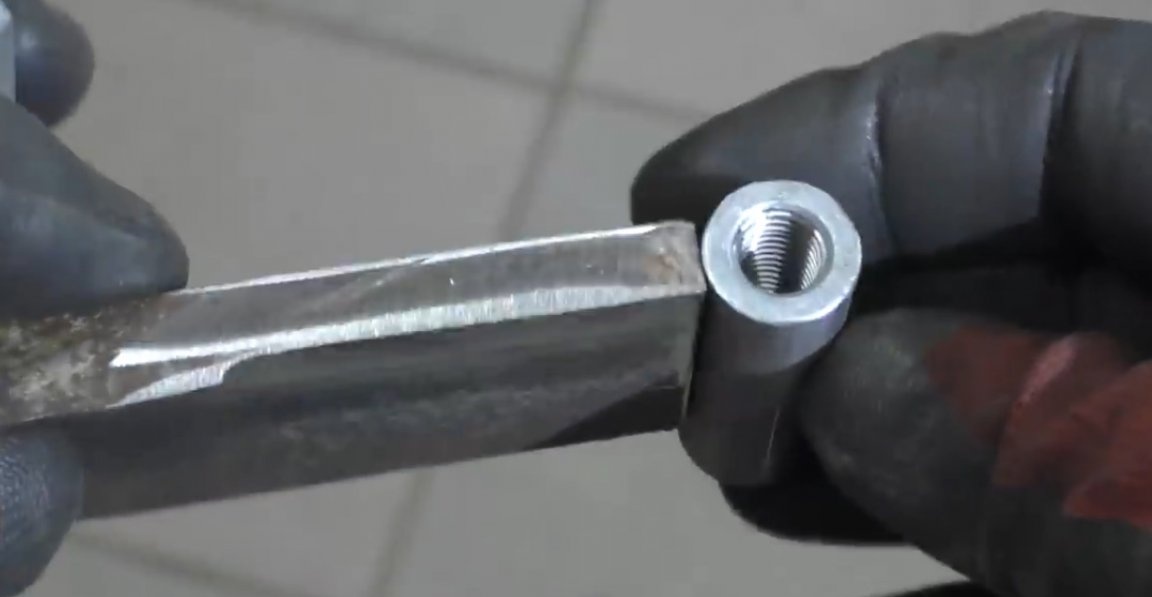
After the nut is welded, we cut the M10 thread to fix the driven roller. In general, here's what happened:

It took 2 elongated nuts. The knot turned out collapsible and with minimal backlash. Also, if necessary, the bolts can always be replaced. Well, now a small rough fitting.
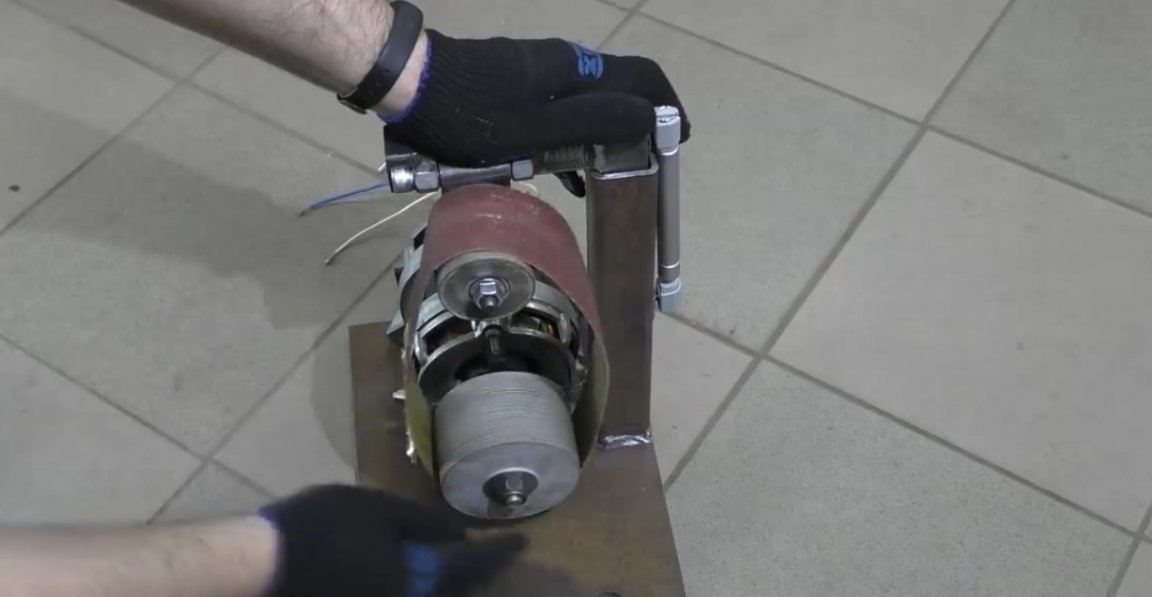
By the way, the author used a furniture gas shock absorber as a tensioner, since it gives a smoother tension than a spring. And here is the thrust pad under the tape, the 63rd corner and the leg of the profile pipe 40 by 40.
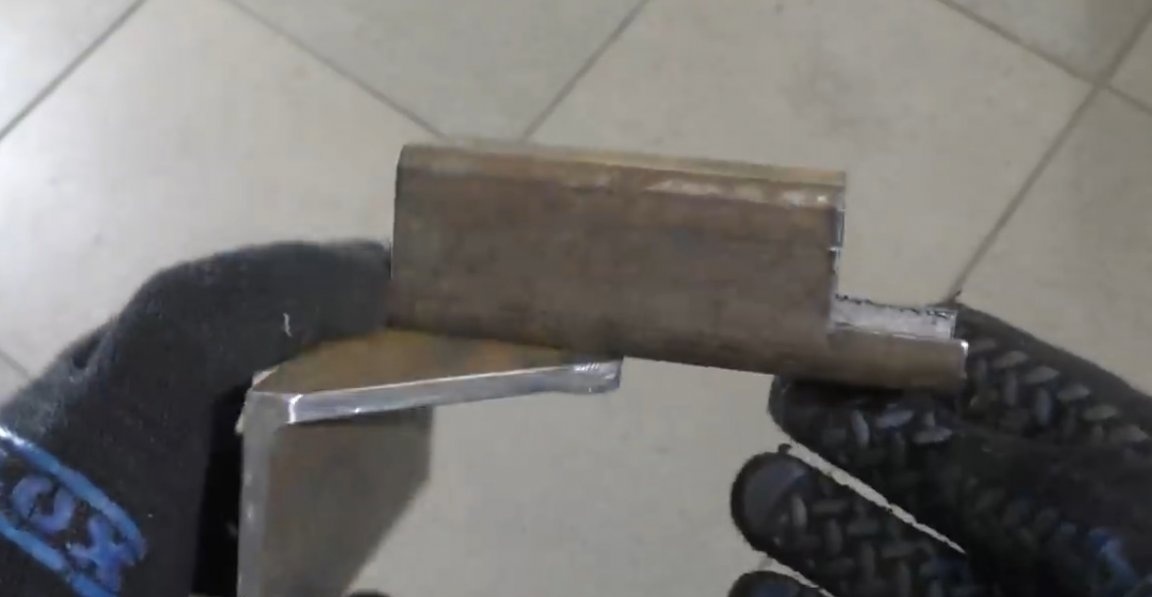
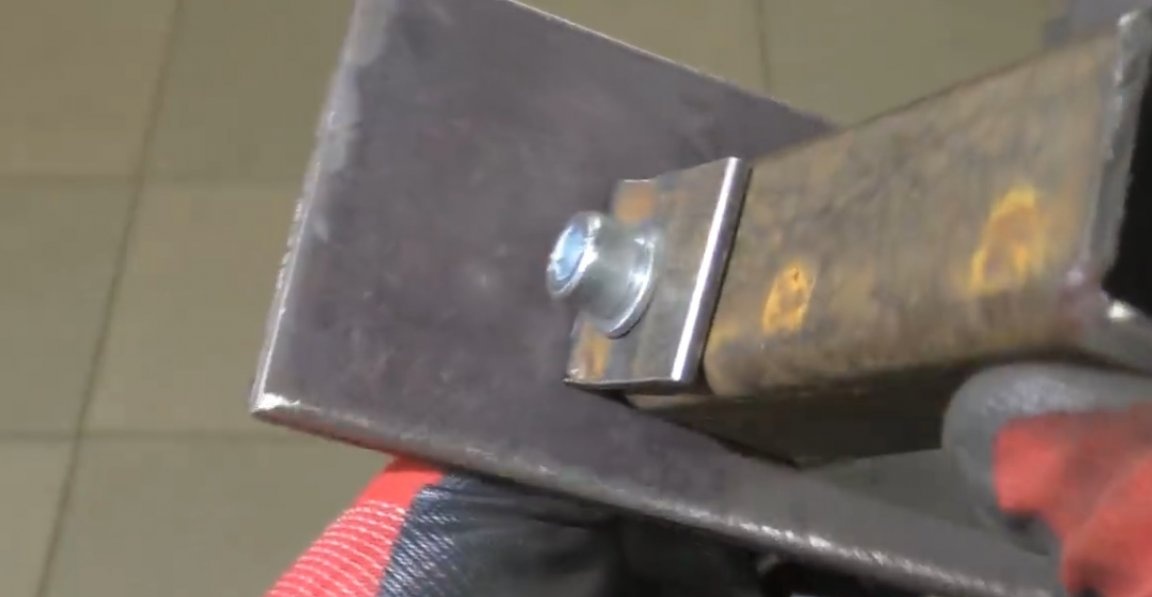
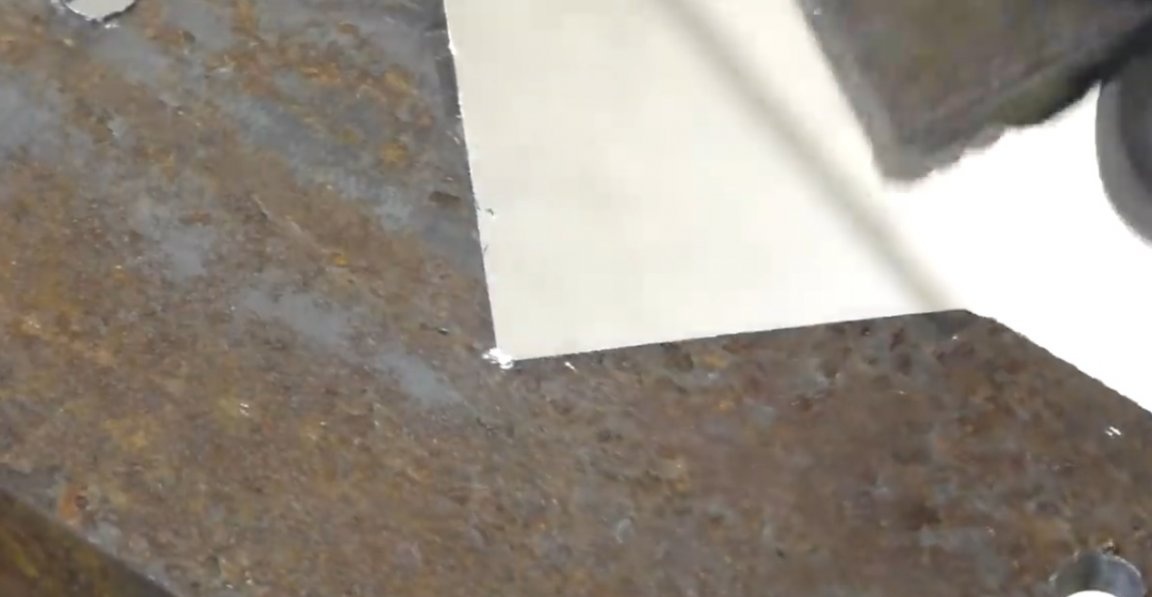
For the table we will use sheet metal with a thickness of 8 mm. We will make the table width 80 mm, this will be enough. Next, in the 40th pipe with a length of 120 mm, we cut a hole with a diameter of 10 mm, this will be the base for the table. The result is such a design, on which you now need to weld the table.
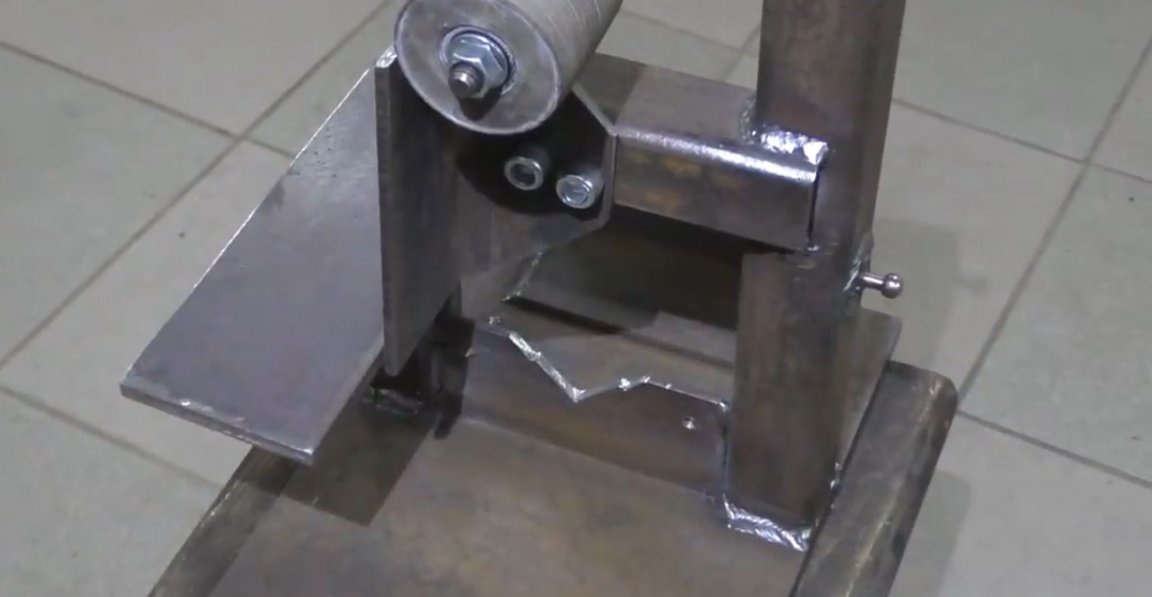
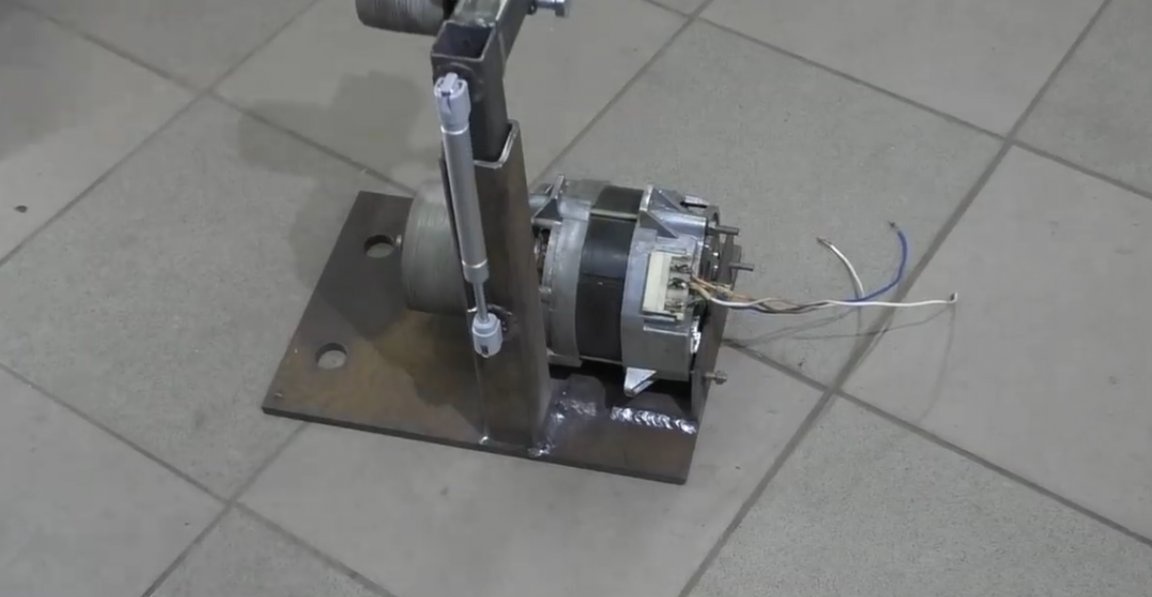
Well, we’ve practically finished with the base, there were some minor improvements, such as threading to install the legs and mount under the casing. We will make a casing from the casing from an old washing machine. We measure a strip with a width of 130 mm and cut it off. As a result, we get just such a blank.
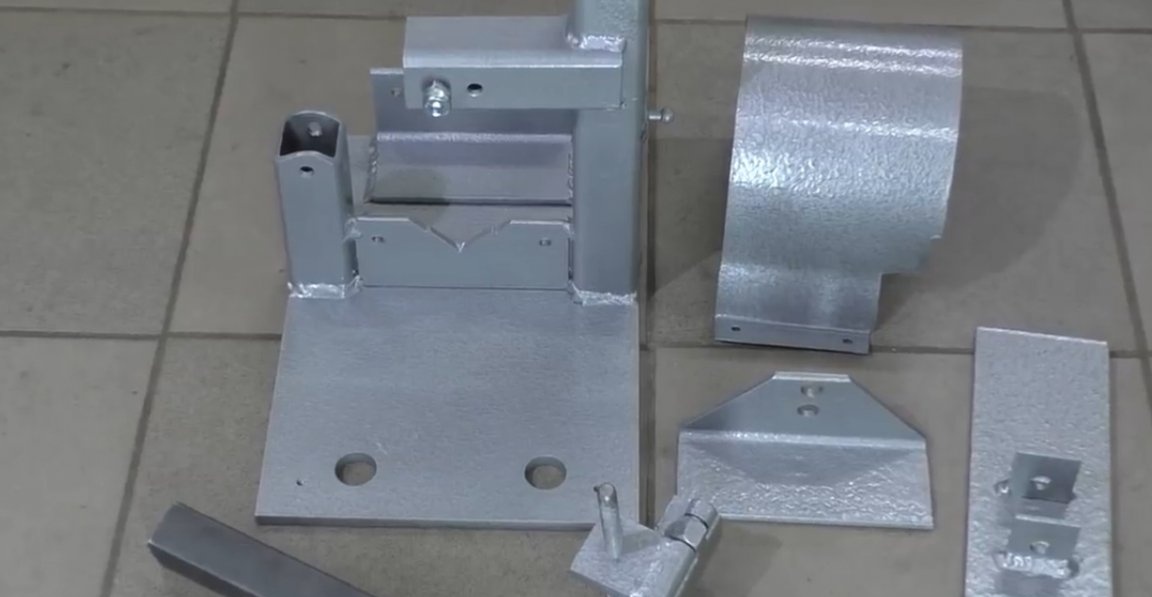
All components for assembling the grinder are ready, you can start painting.

Although the paint and rust, but still pre-all thoroughly degreased. We paint all the blanks and leave to dry overnight.
After painting, the assembly phase begins.
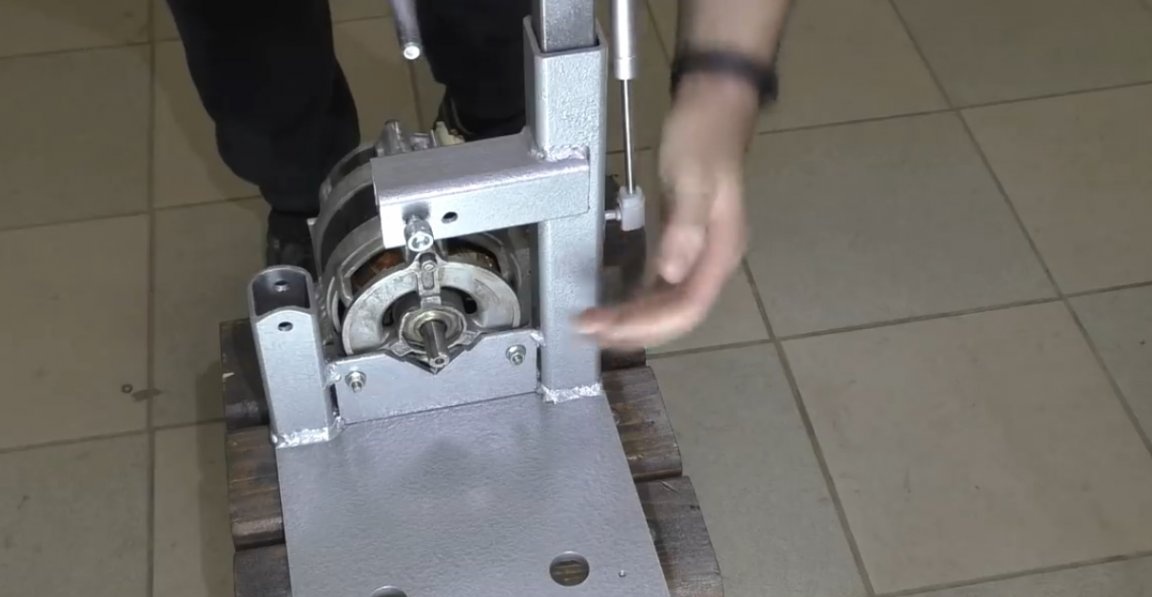
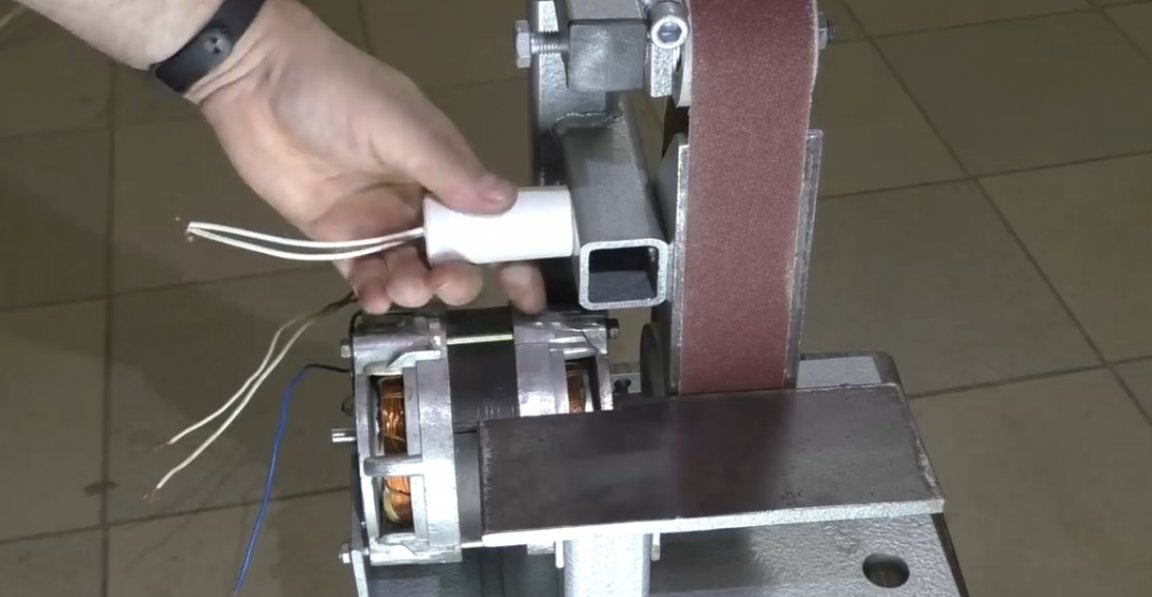
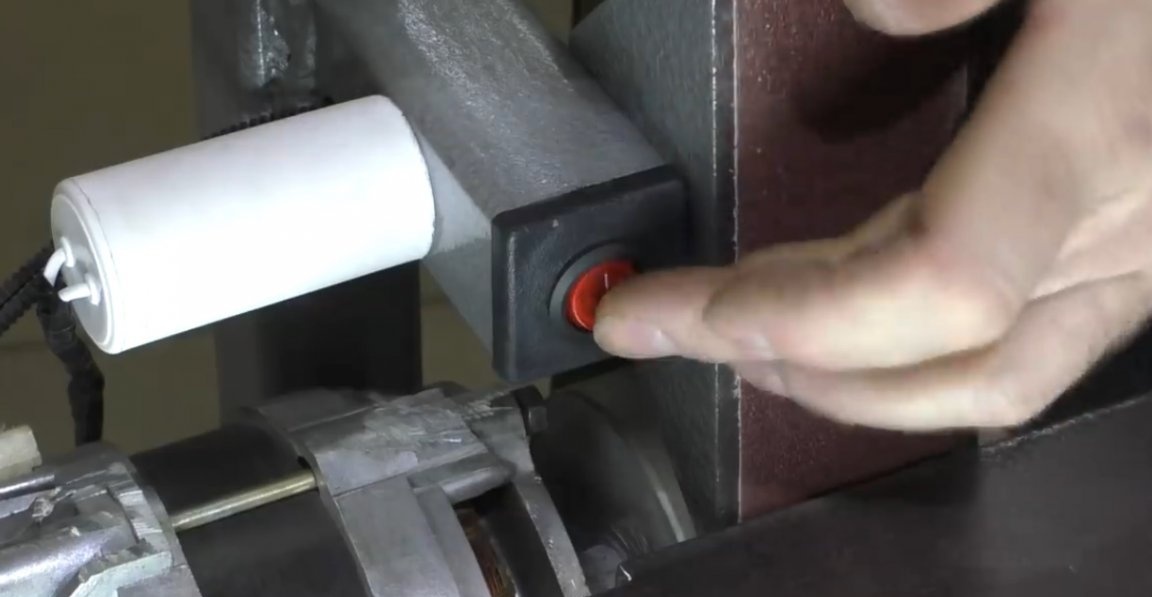
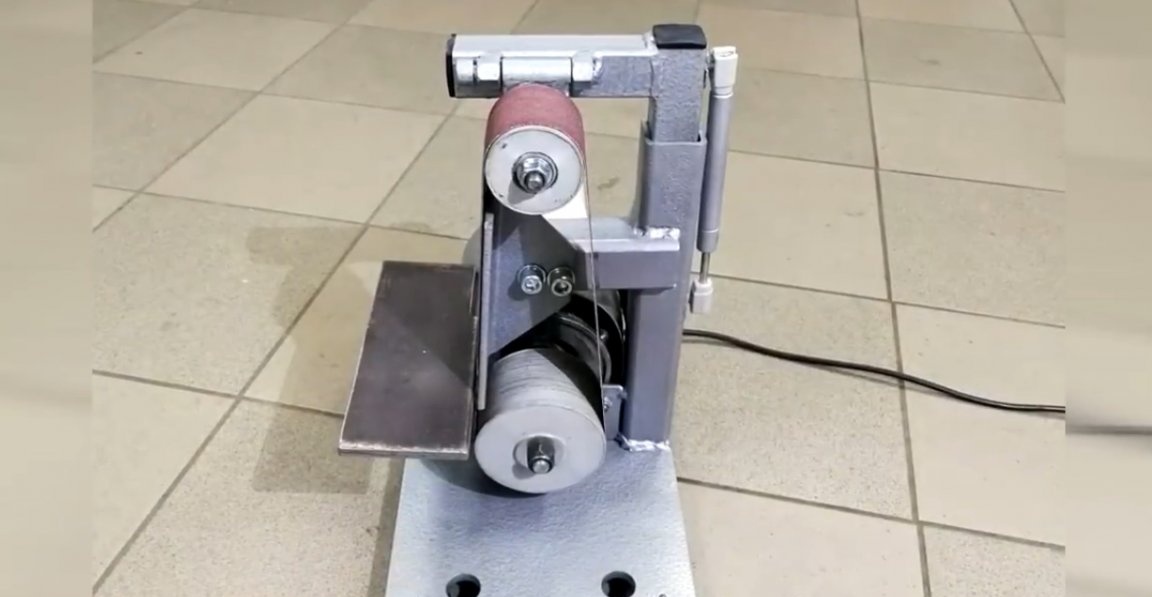
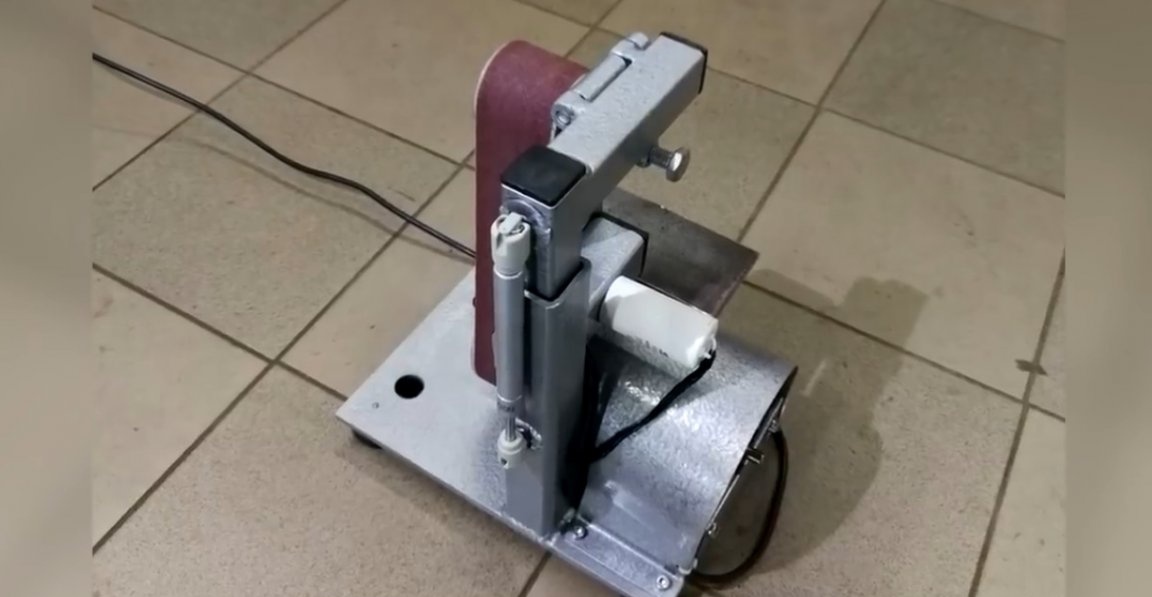
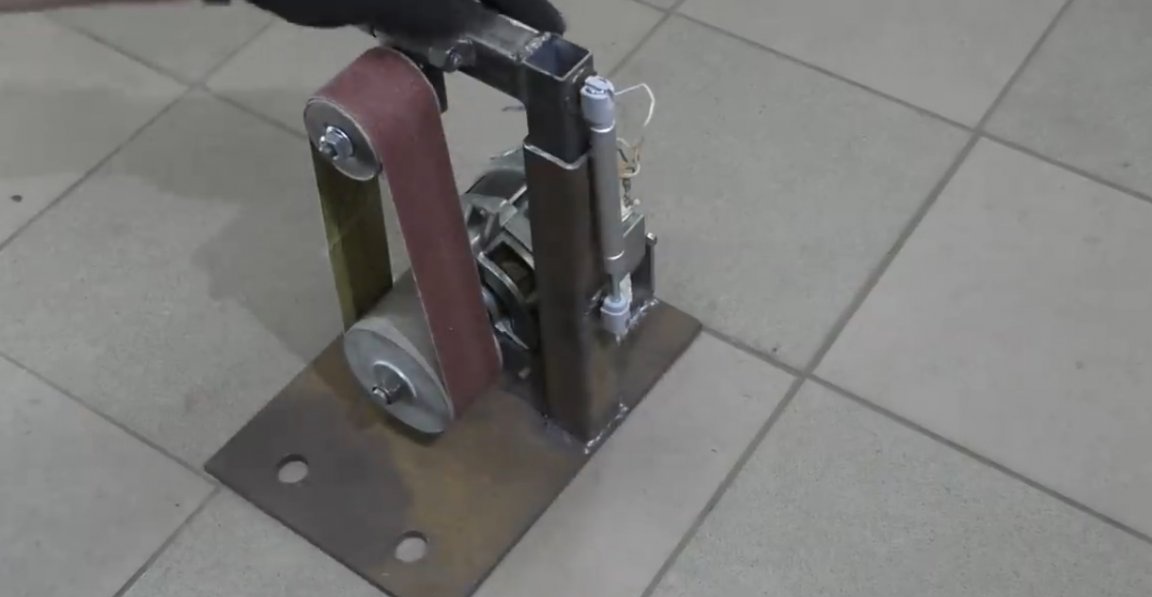
Here's what we ended up with:

Let's try to sharpen a broken screwdriver, look at what this kid is capable of.
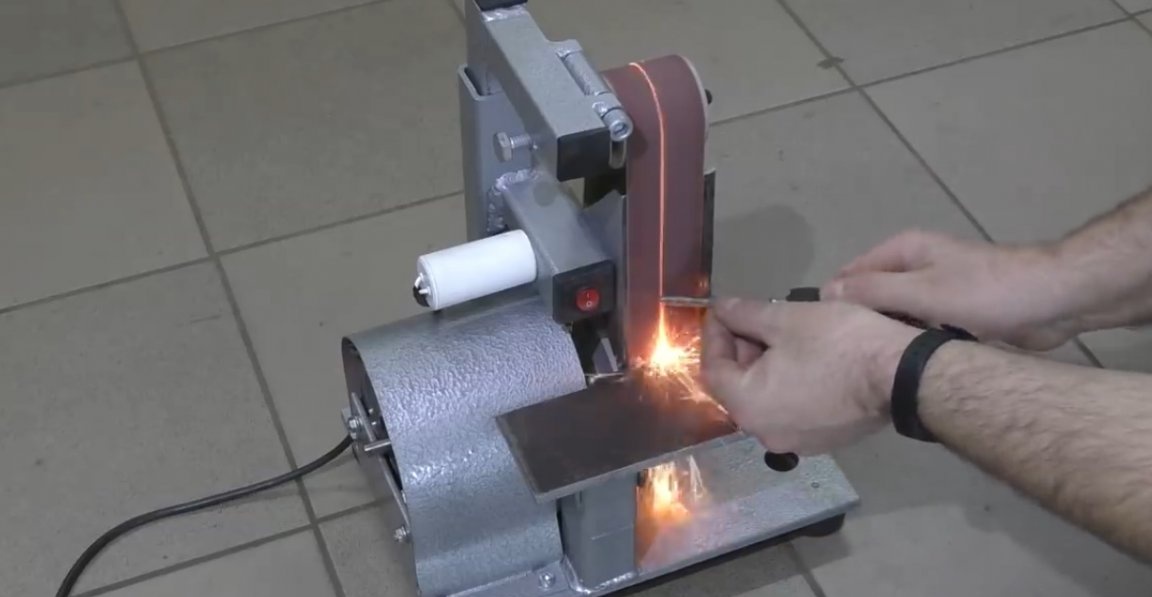
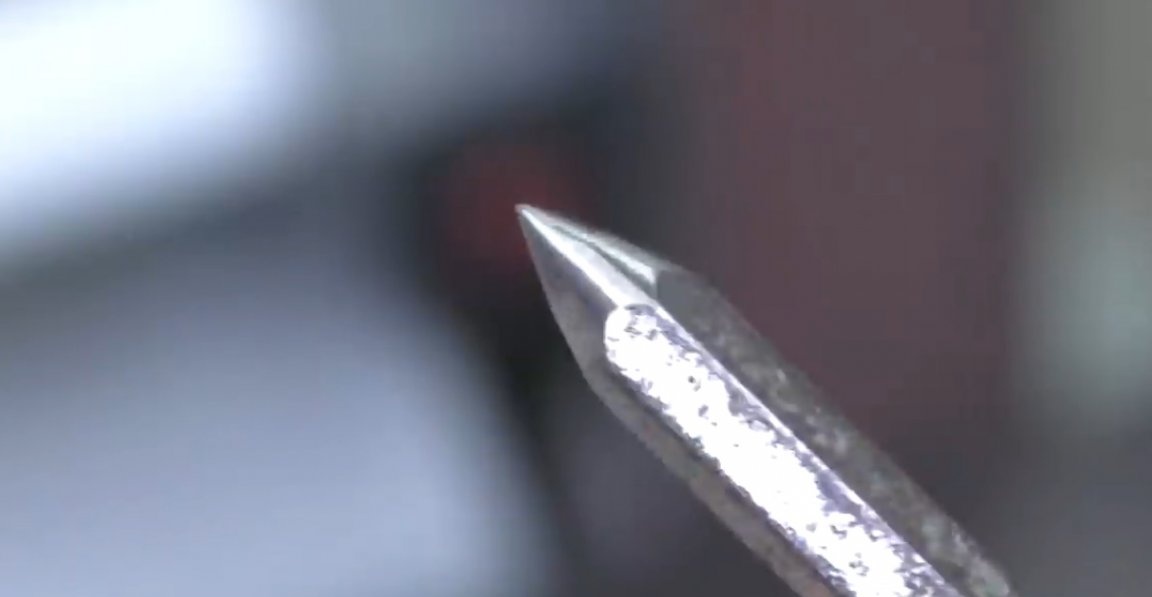
As you can see, he copes with this task without problems. Now sharpen the drill.
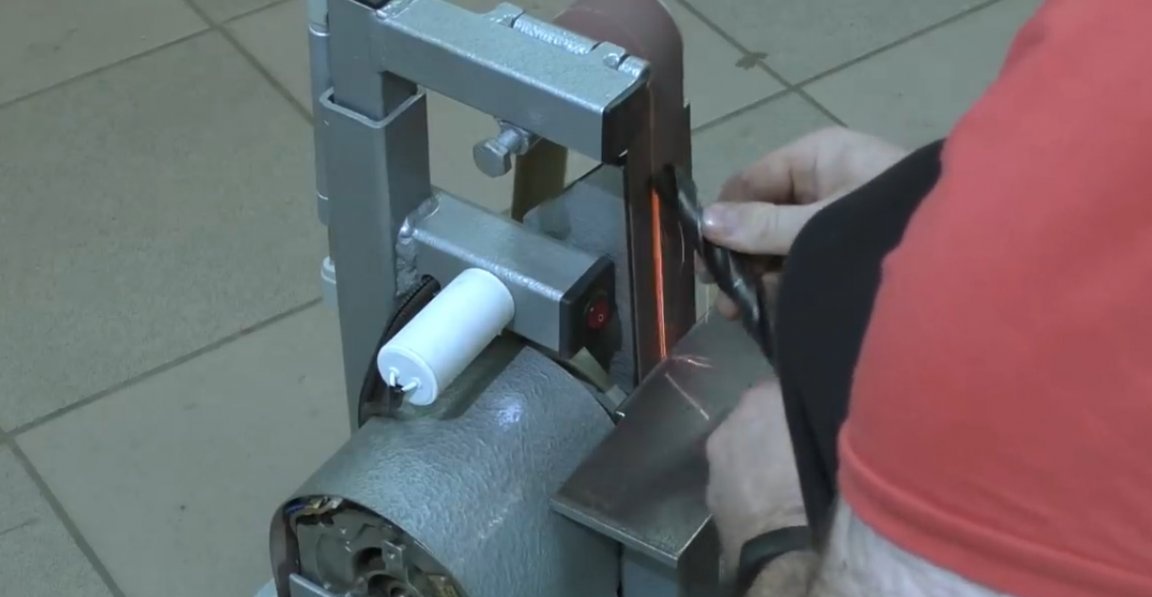
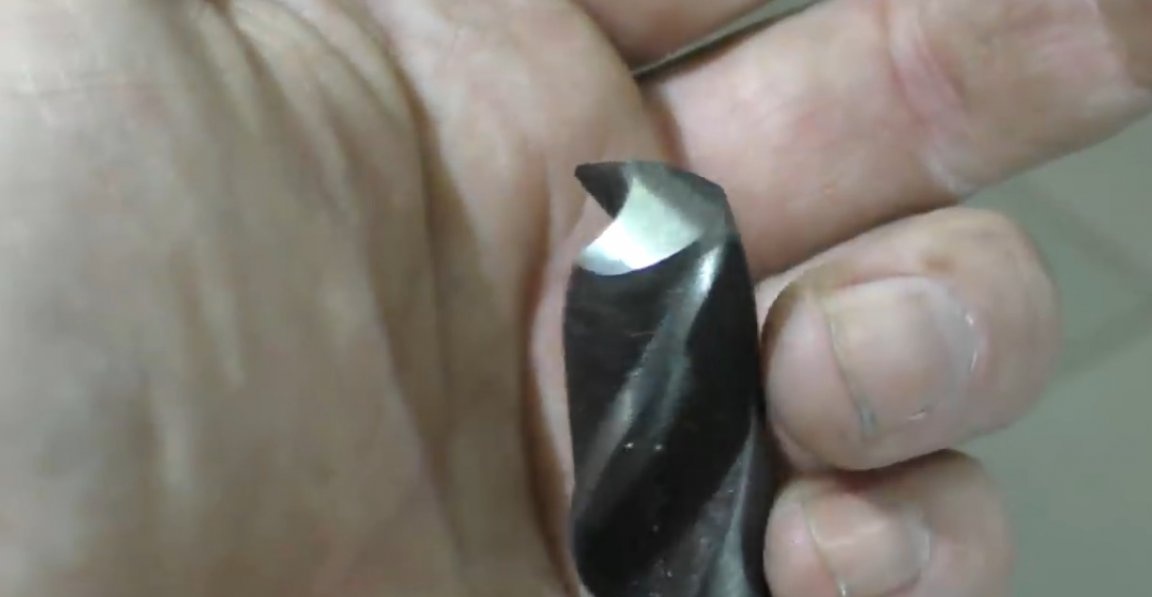
And here everything is fine. A broken drill can now be sharpened in literally seconds. In general, here we got such a cool machine from a conventional engine from a washing machine. Thank you for attention. See you soon!
Video: