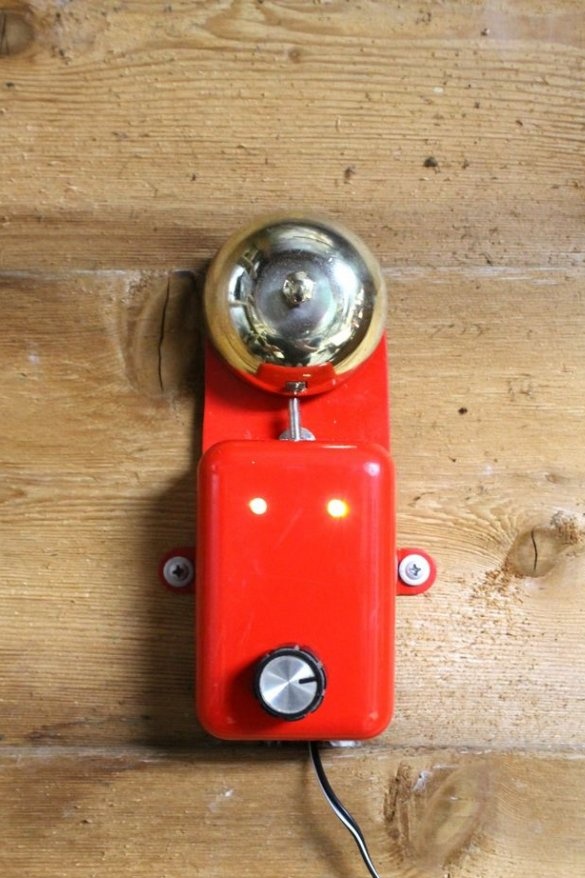
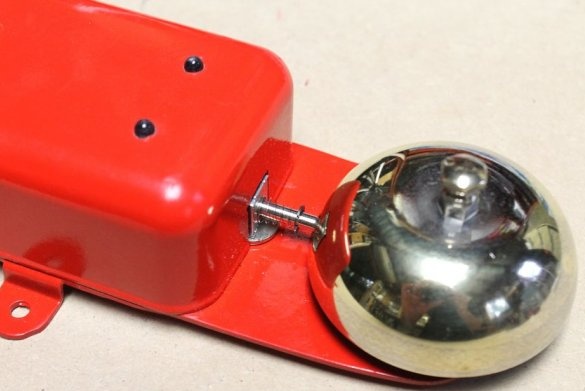
The workshop of the master is at a certain distance from the house and, in order to call him, he had to scream. To call, the master decided to make a wireless call, or rather remake the old one. The design of the device is simple and made of available materials. Let's see what he did.
Tools and materials:
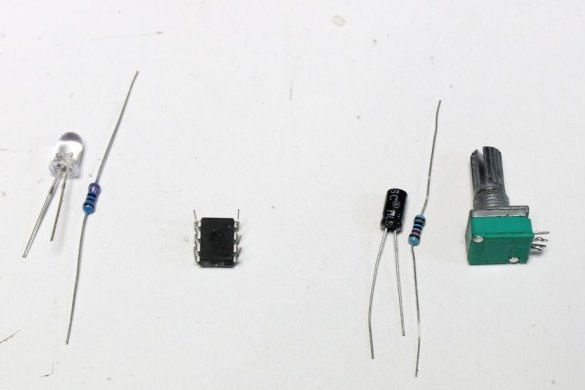
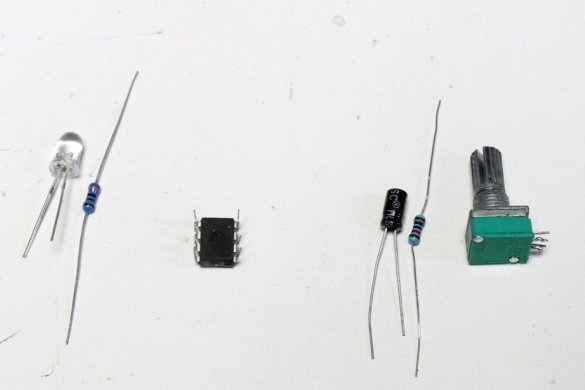
- Resistor 10 K;
Capacitor 6.8 uF;
-Bread board;
-Two LEDs;
- Resistor 2.2 K;
-
-Wire;
-Paint;
-Drill;
Grinding machine;
- Power supply 9V 300 mA;
-Old call (can use bicycle);
-Aluminum plate;
-Fasteners;
-Soldering accessories;
Step One: Scheme
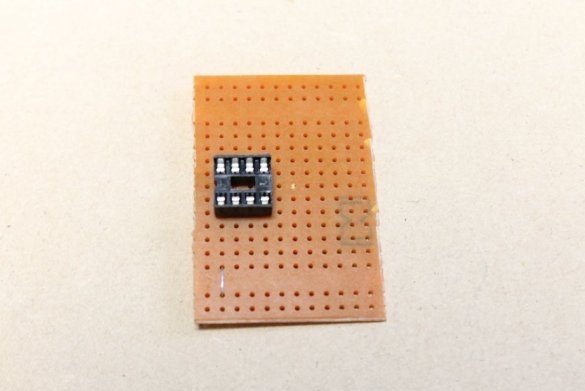
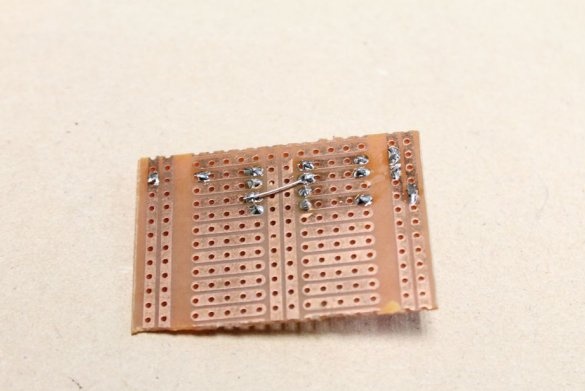
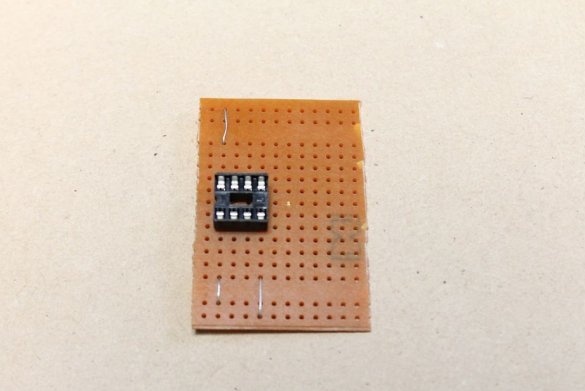
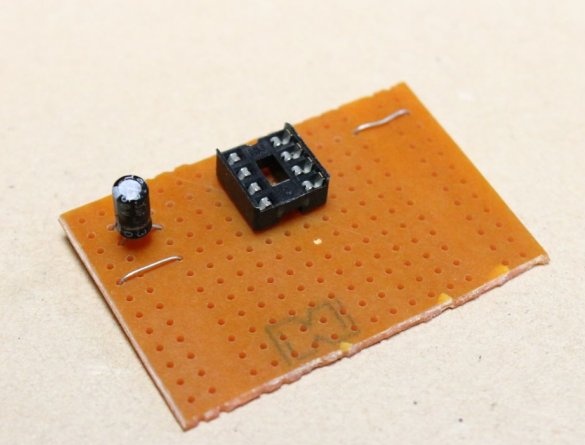
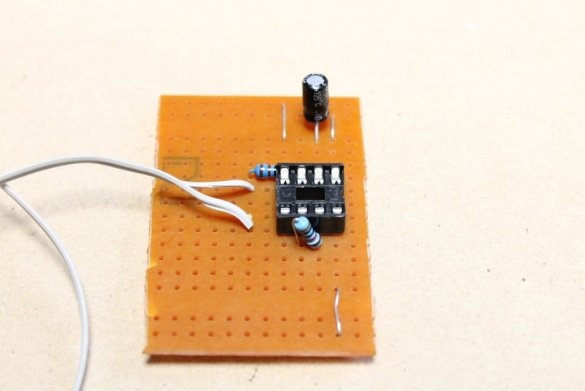
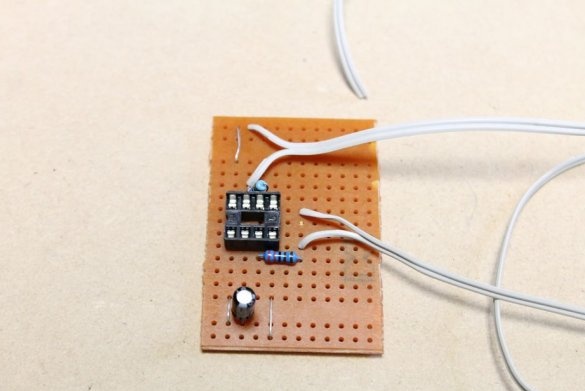
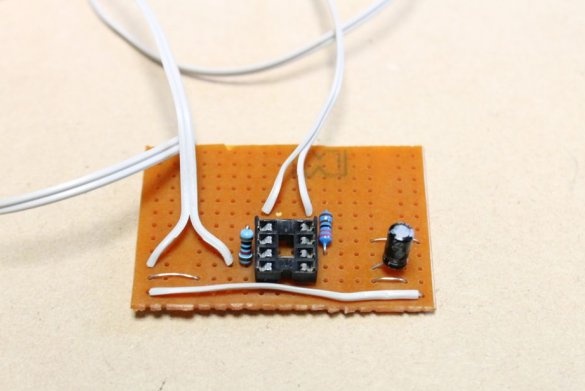
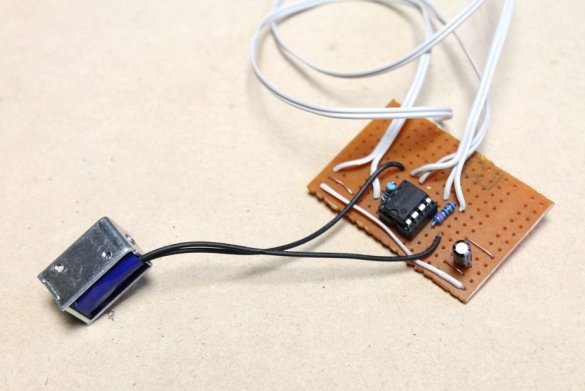
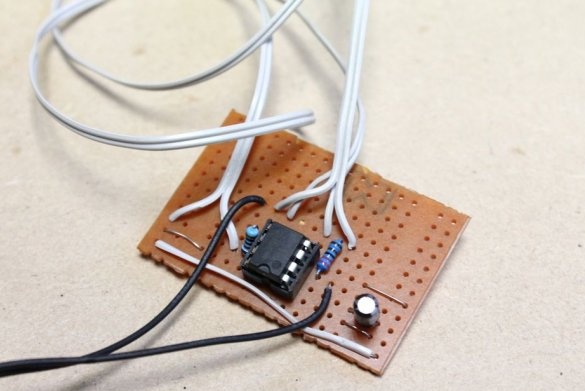
According to the scheme produces assembly e boards. Solder 555 chip.
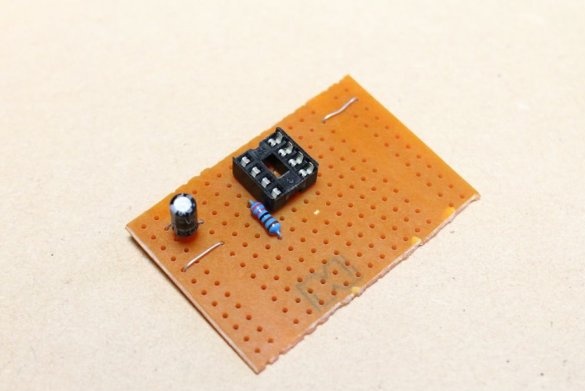
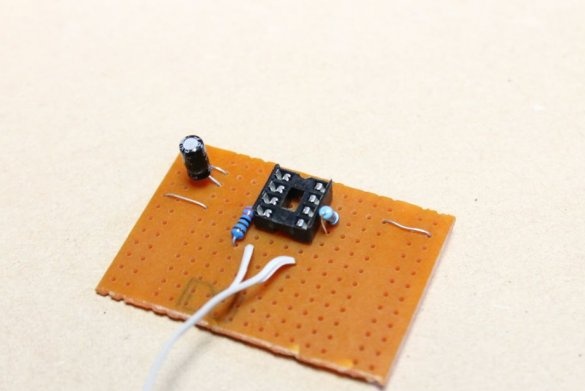
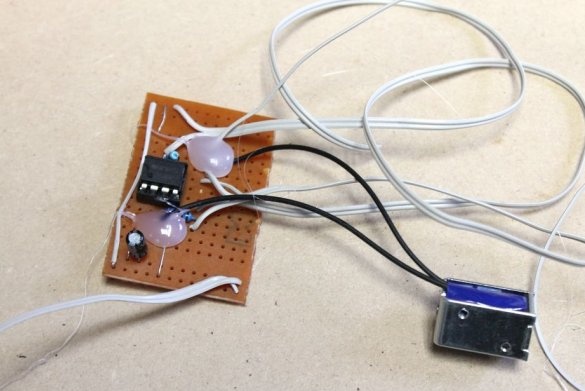
Mounts a capacitor and resistors.
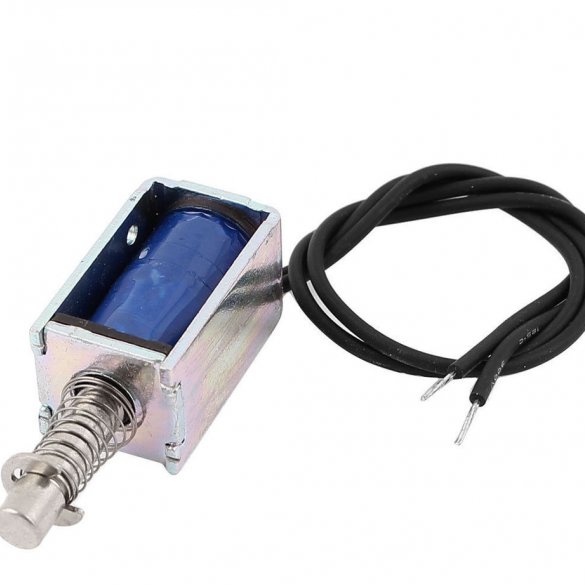
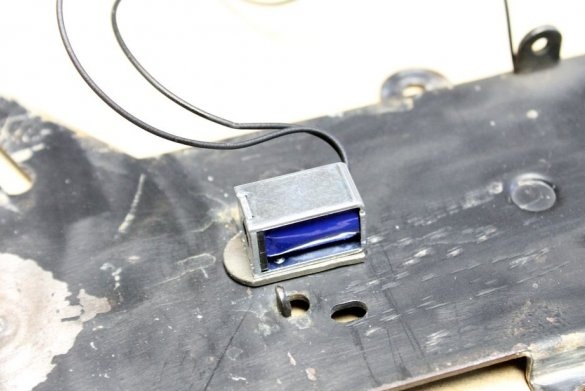
Connects a solenoid.
Step two: call preparation
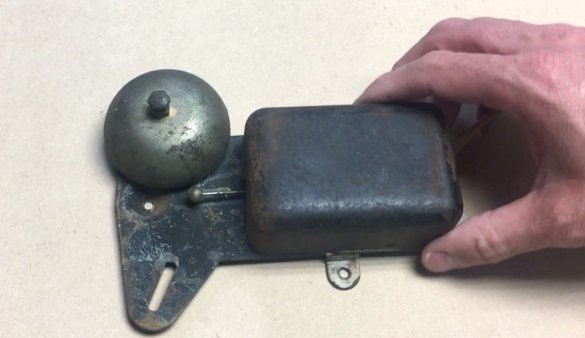
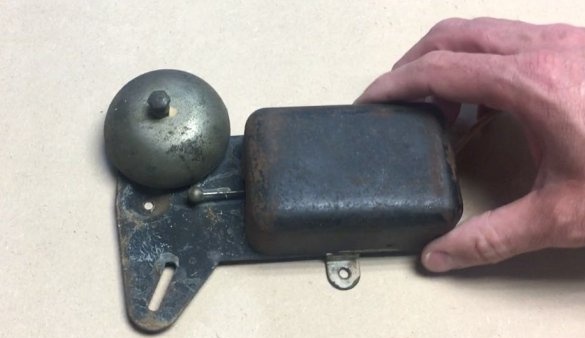
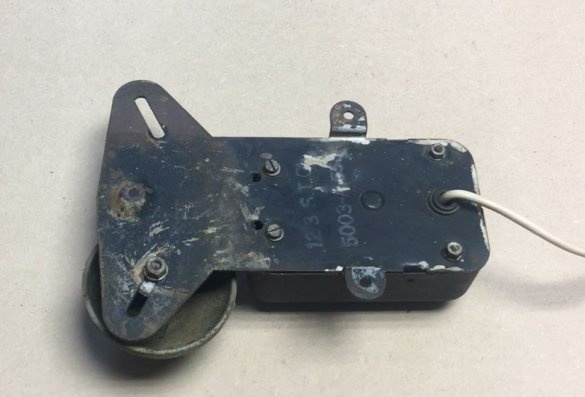
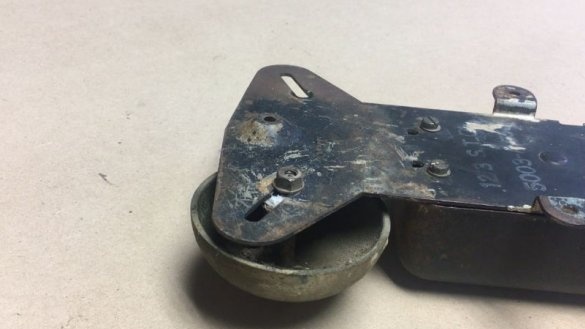
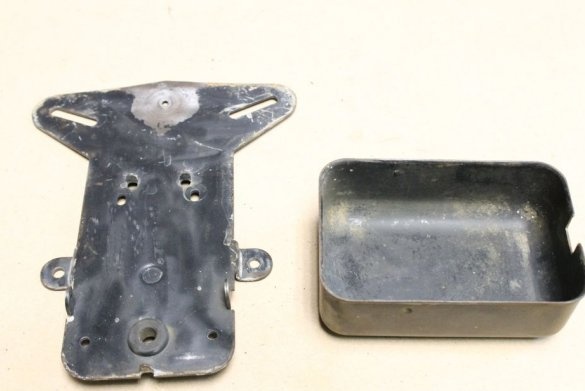
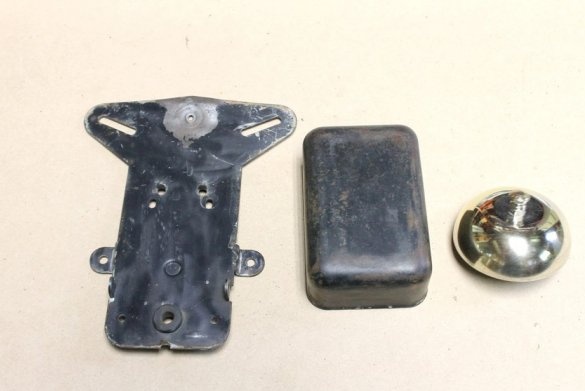
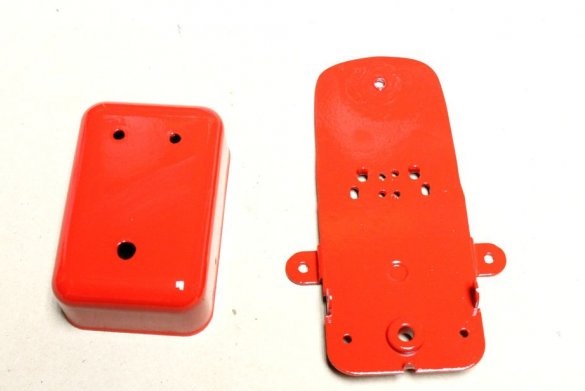
Next, the wizard starts working directly with the call. Disassembles it, removes all parts from the mounting plate.
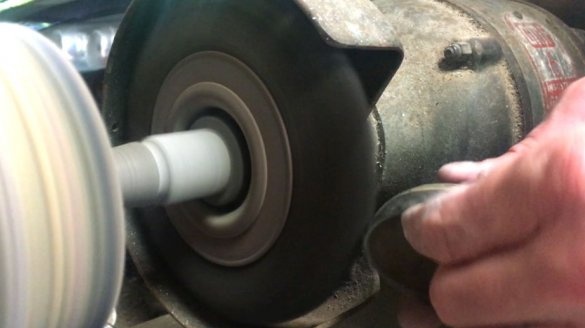
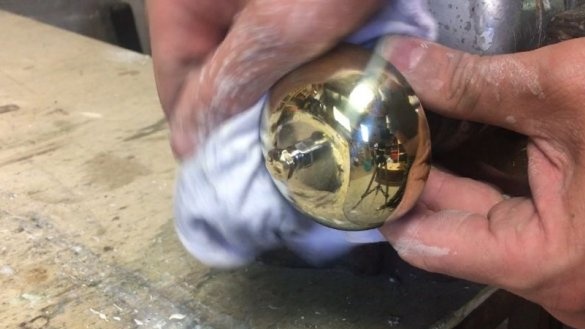
Cleans the brass ringer case. Grinds and polishes.
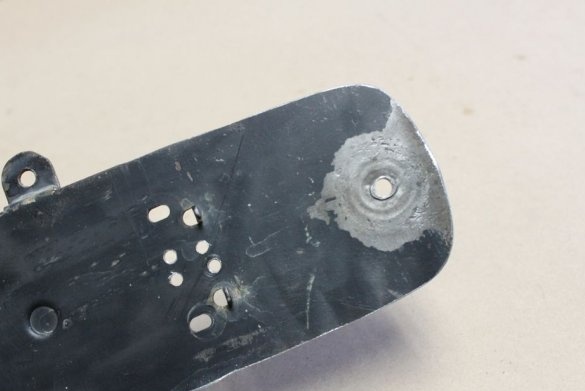
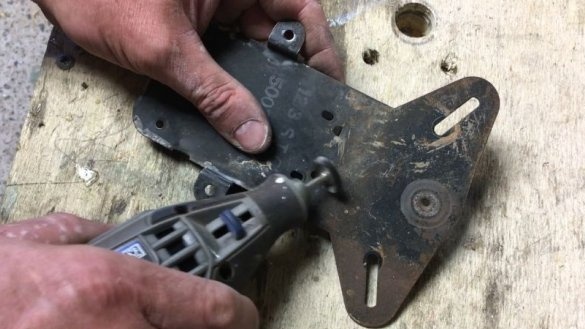
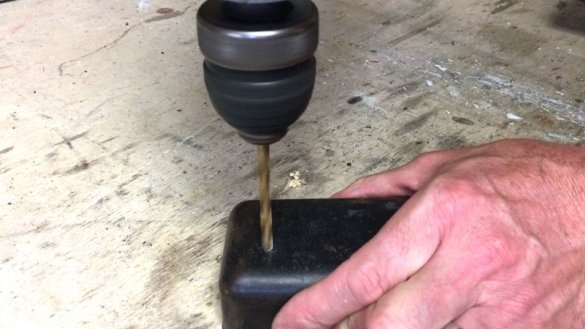
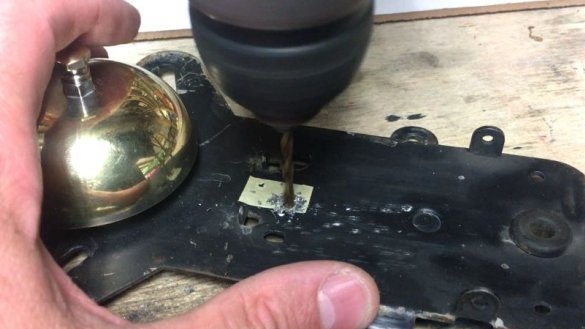
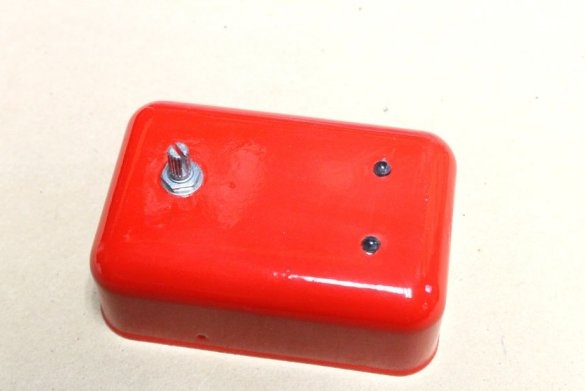
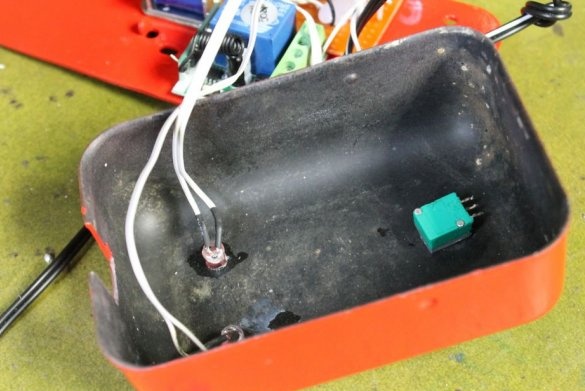
Drills holes for a potentiometer in a mounting plate, in a box for LEDs.
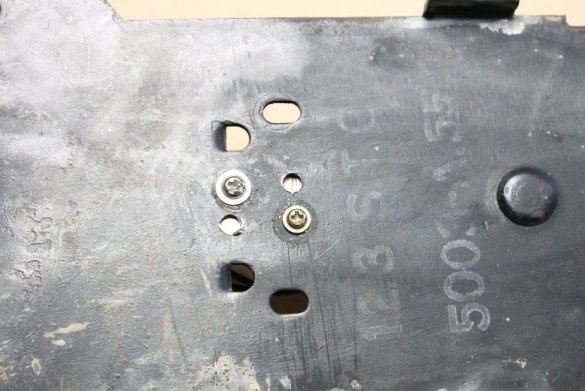
Marks a place under the solenoid.
Step Three: Painting
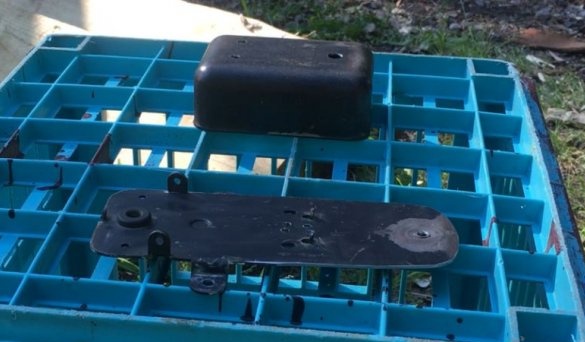
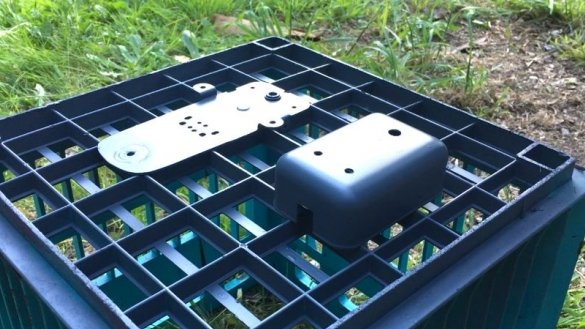
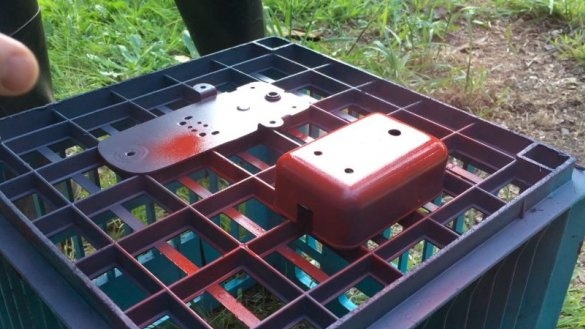
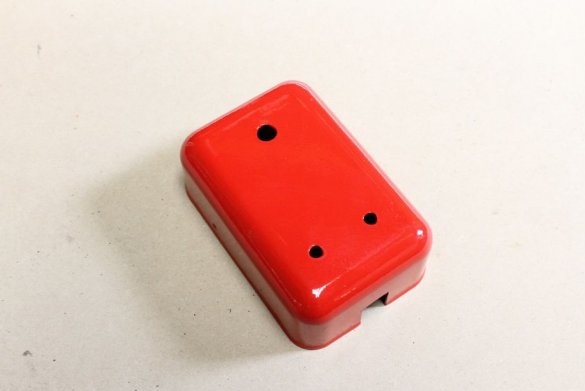
Paints the details.
Step Four: Build
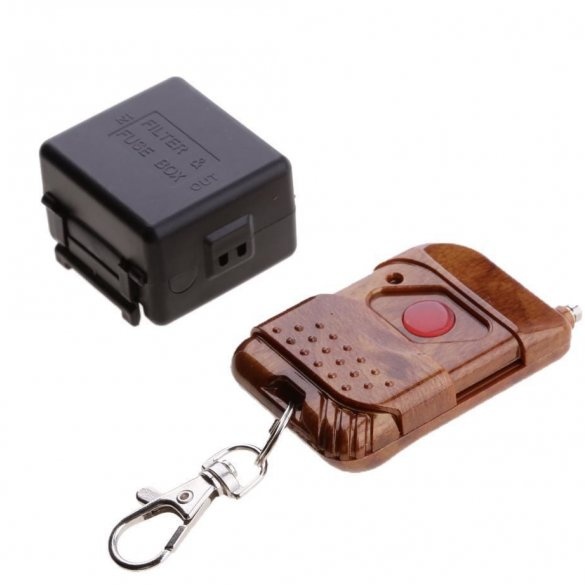
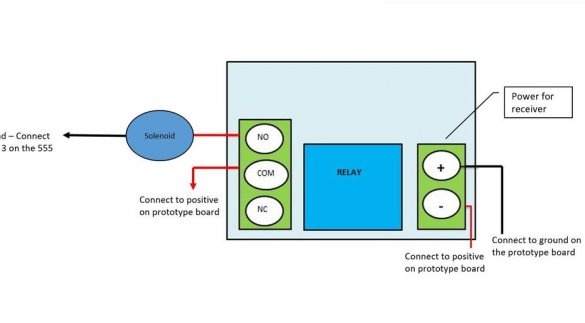
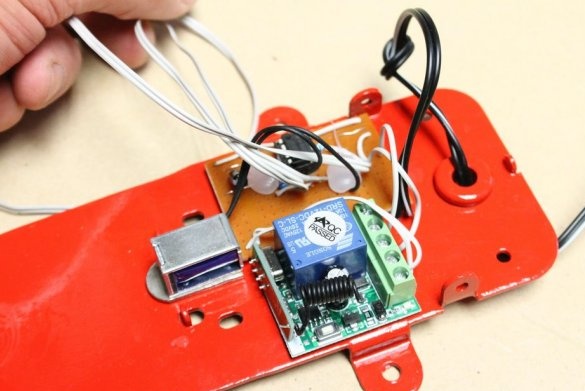
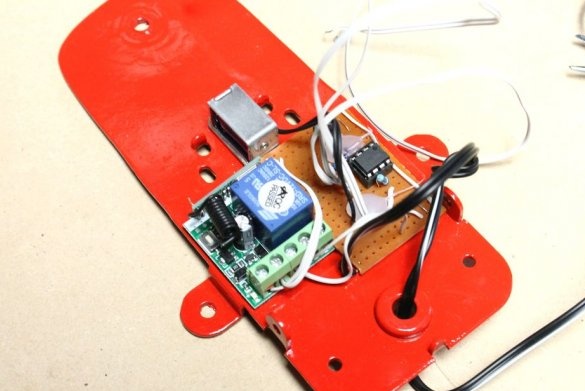
Next, the master proceeds to build the call. Secures the 555 circuit with double-sided tape on the circuit board. According to the diagram, it connects a wireless module.
Sets the LEDs and potentiometer.
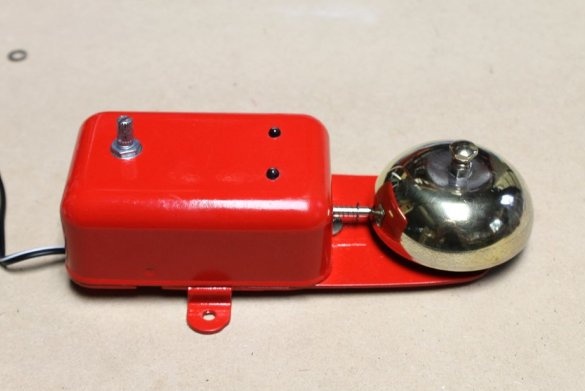
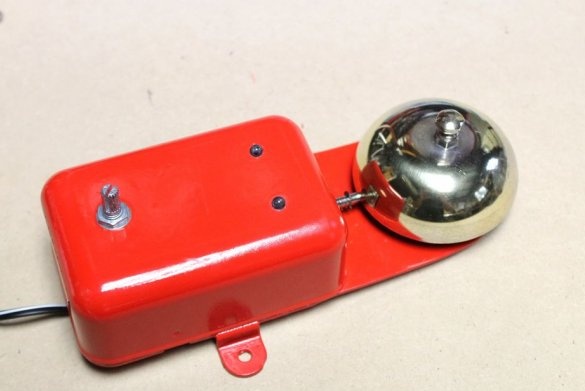
Installs the cover in place, while the solenoid rod leads into the hole in the cover body. Installs a spring and a washer on the bar.
All is ready. Now, when the remote control button is pressed, the circuit provides an intermittent signal to the solenoid. The solenoid begins to retract the rod, and it returns back under the influence of the spring. The frequency of operation of the solenoid can be adjusted with a potentiometer.
The whole process of assembling the call can be seen in the video.
As you can see, there is nothing complicated and based on the instructions of the wizard, you can collect your call that meets your needs.

