
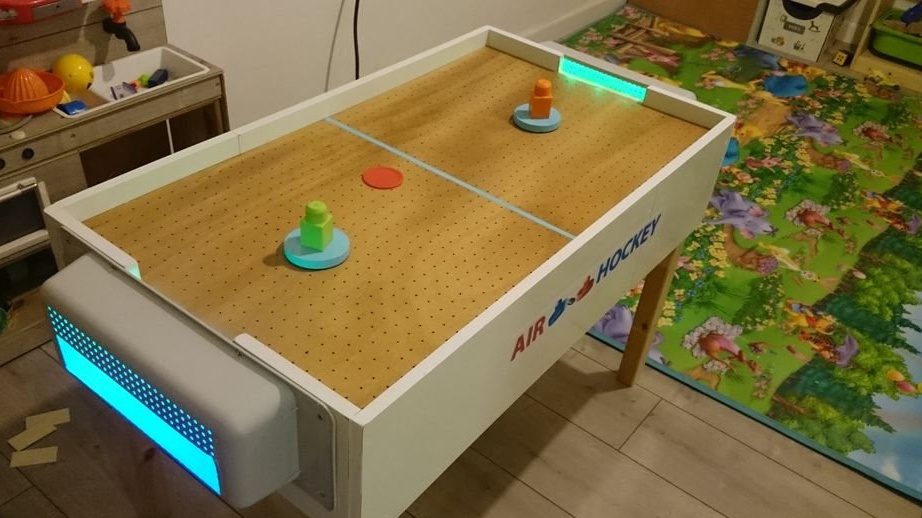
This exciting game is really made of inexpensive materials lying around with the master. The size of the table is certainly small, but this is due to the material for the playing field. The master made the playing field out of the board he had, and all the sides of the boards from the old kitchen corner.
Let's watch two videos first.
For the manufacture of air hockey, the Master used the following
Materials and tools:
-Boards;
-Two blocks from Lego constructor;
-Two round wooden blanks;
-Felt;
-LED strip;
-Power Supply;
-Two fans;
-Two plastic tray for dishes;
-Hockey pucks;
-A printer;
-Wire;
-Switch;
-Fasteners;
- Electric jigsaw;
-Drill;
-Super glue;
- Putty;
- Joiner's glue;
-Knife;
-Roulette;
-Marker;
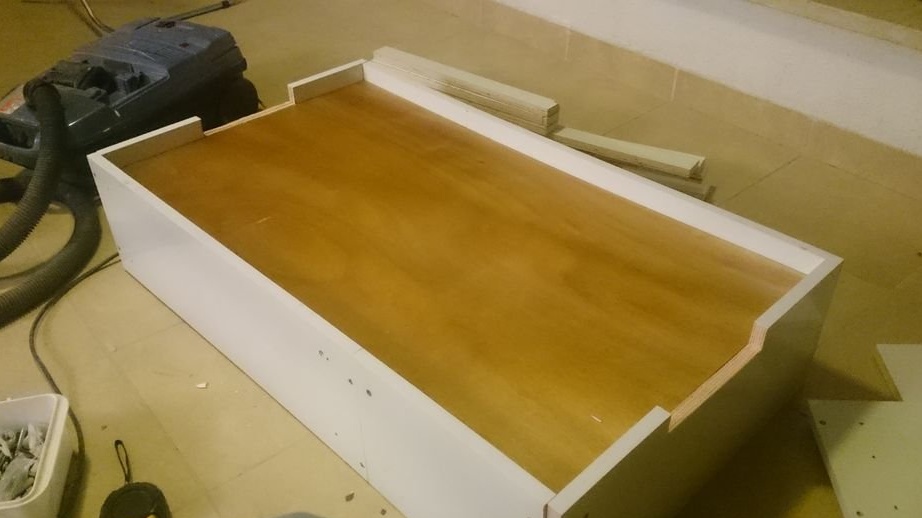
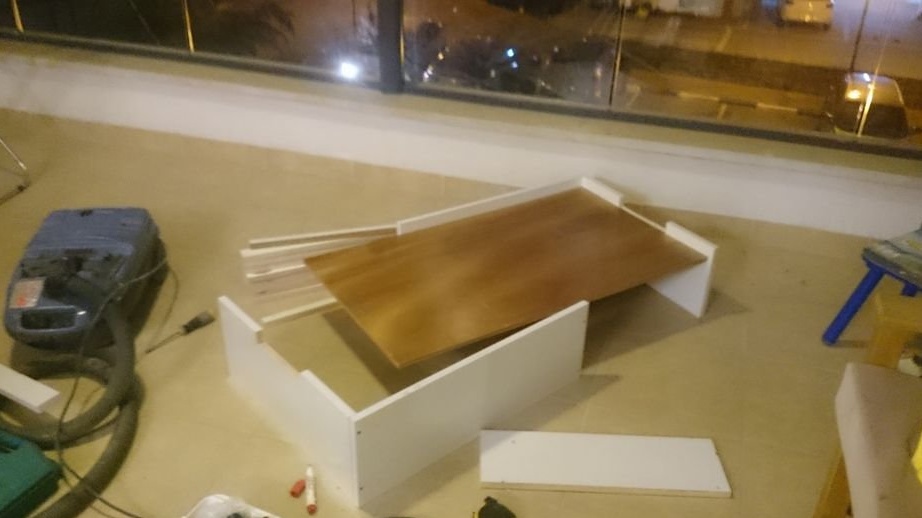
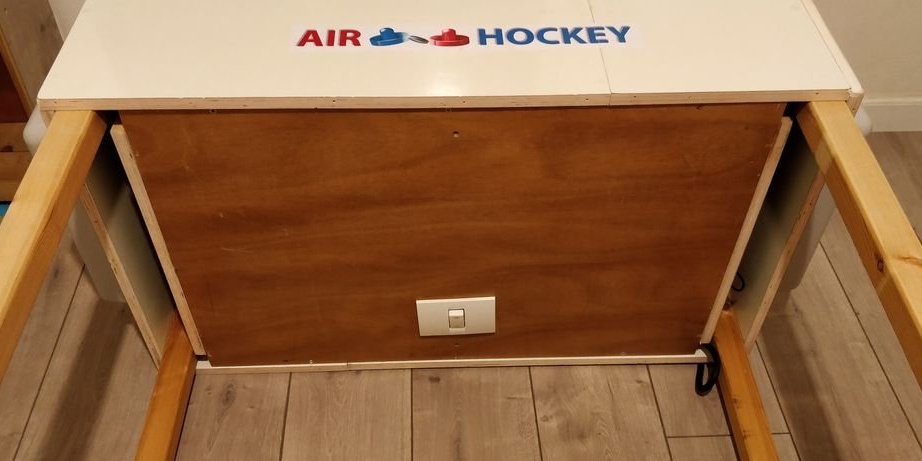
Step One: Frame
The table consists of a frame and three countertops. The top one is a game field, the middle one is for mounting fans, the bottom one is a protective cover.
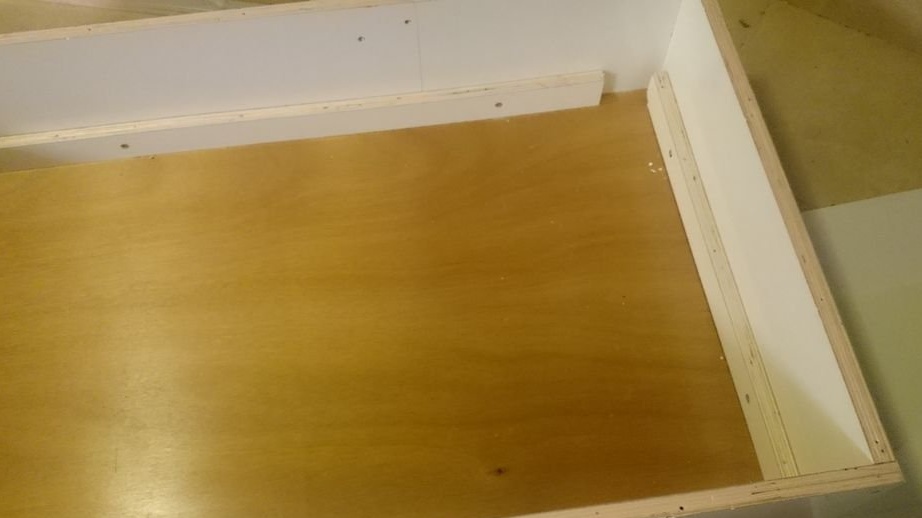
Based on the size of the top board for the playing field, the master makes a frame. All three countertops + side height should be fixed in height on the frame.
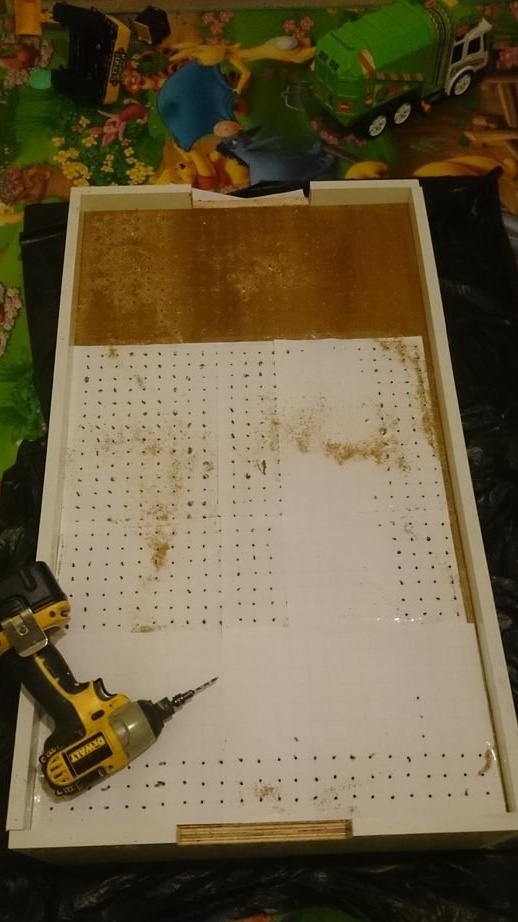
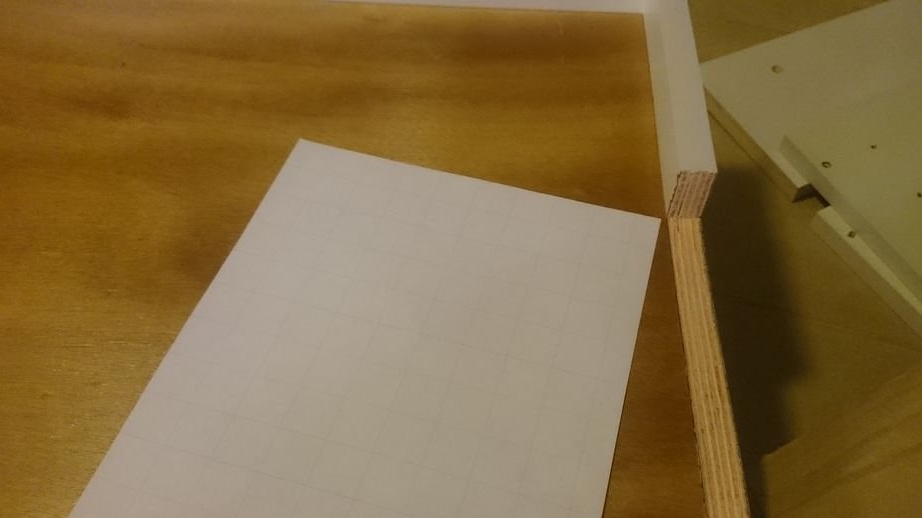
Step two: playing field
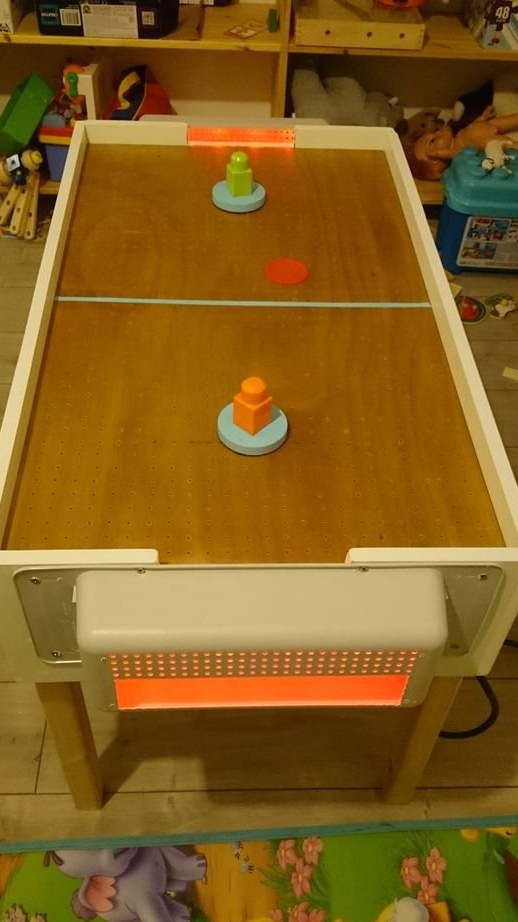
Air hockey is therefore called aero, because a stream of air blows from below into the holes and the puck “floats” in this stream. To make holes, the master printed a template on paper. The size of the squares is 2 by 2 centimeters. In the center of each square in the board, the master drilled a hole with a 2 mm drill. In total, 1056 holes turned out on this playing field.

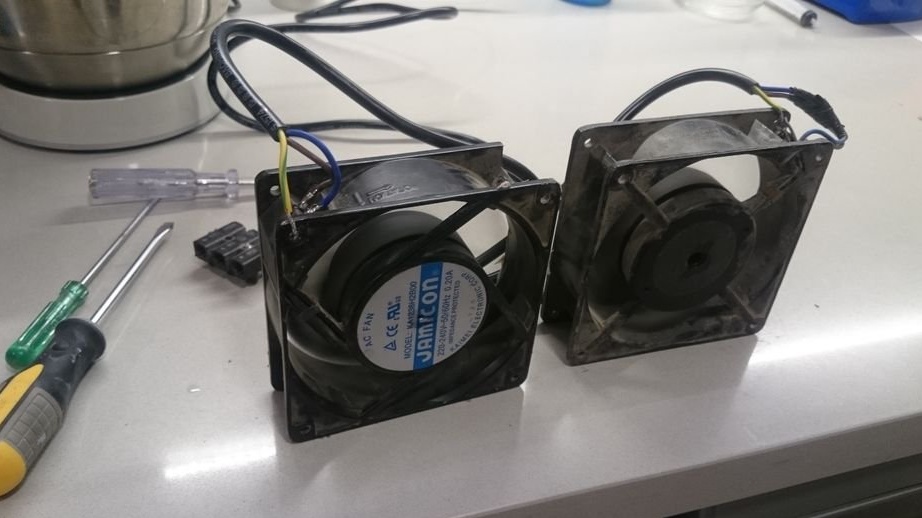
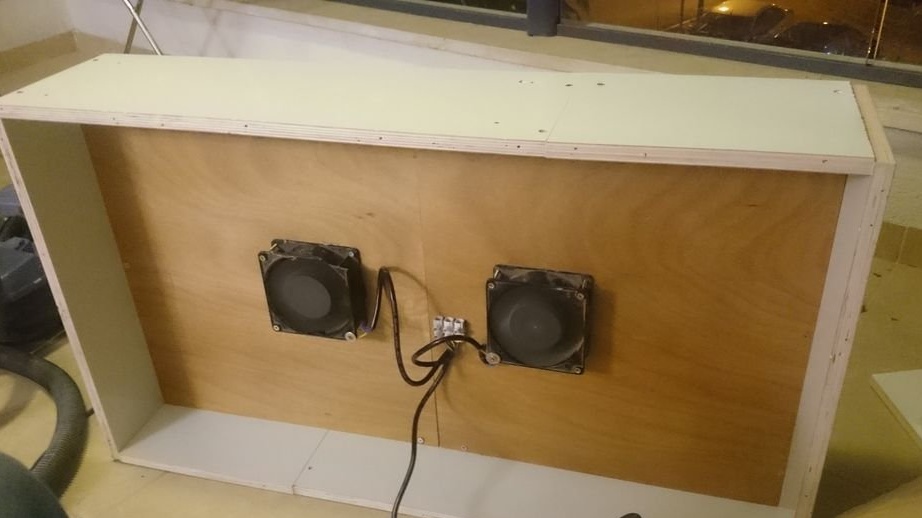
Step Three: Fans
To create an airflow, the master uses two kitchen hood fans built into the middle of the game table. The fans placed the fans evenly over the distance from all the walls.
Step Four: LEDs
The master had 5 volt RGB-LED strips with USB connectors. To power them, the master placed a charger from the phone under the middle part of the table. The tapes themselves brought out through the holes.

Step Five: Bottom Cover
He fixed the legs on the gaming table. Put the bottom cover with the switch installed.
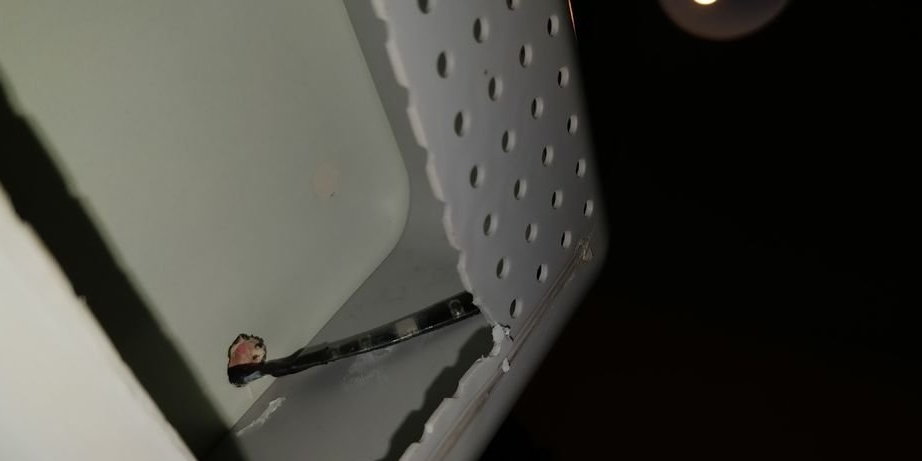
Step Six: The Gate
The master made a gate from plastic trays for utensils.

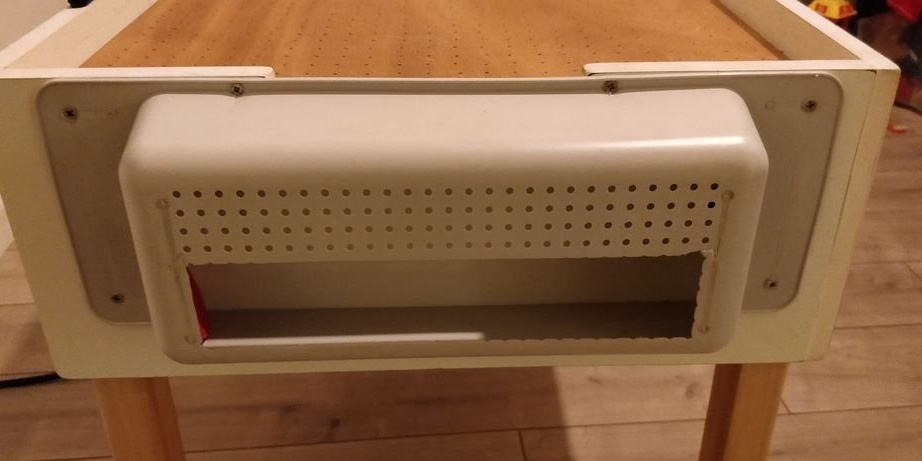
On the inside of each tray, LED strips are fixed.
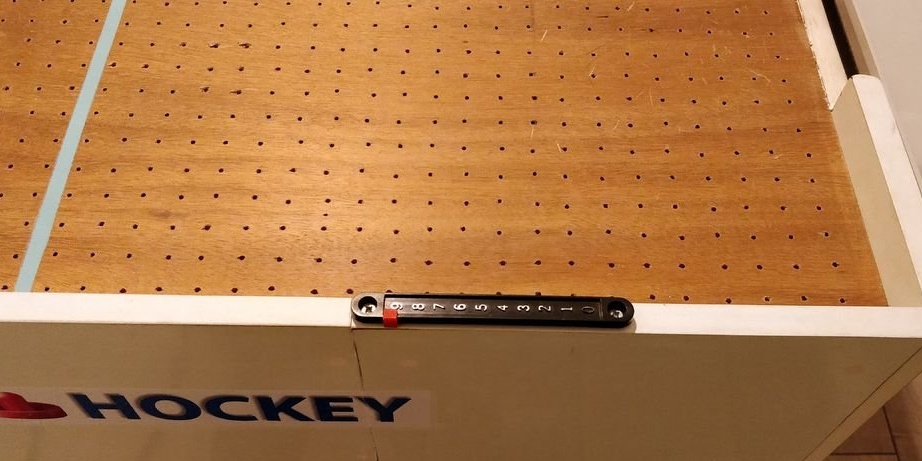
Step Seven: Scale Scale
The master bought the scale on Ebay. I screwed it to the side of the screws.
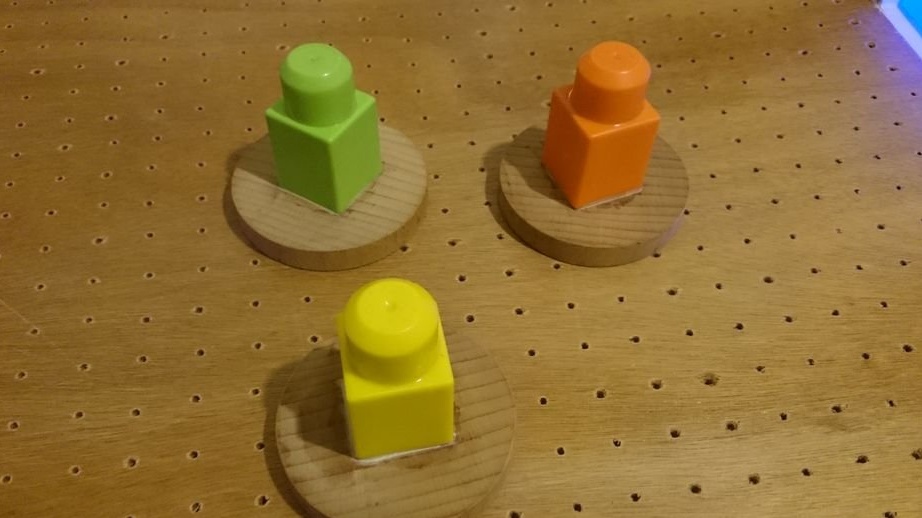
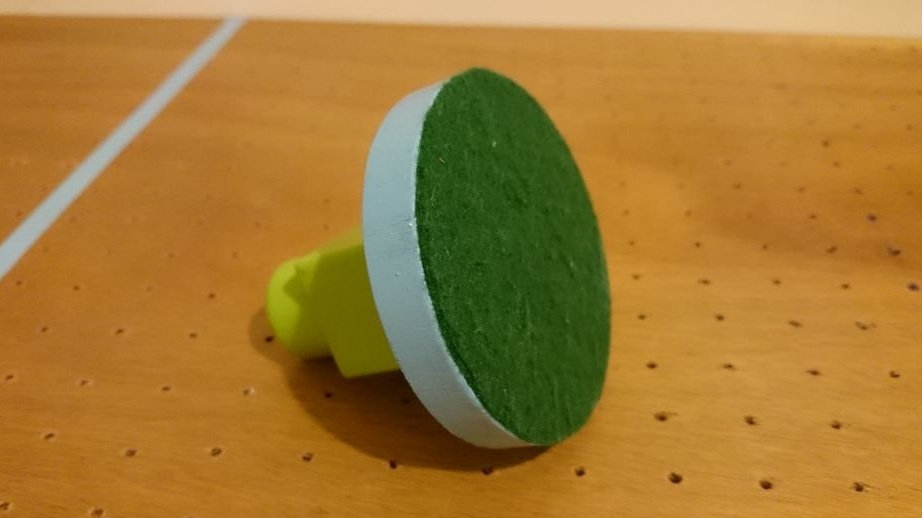
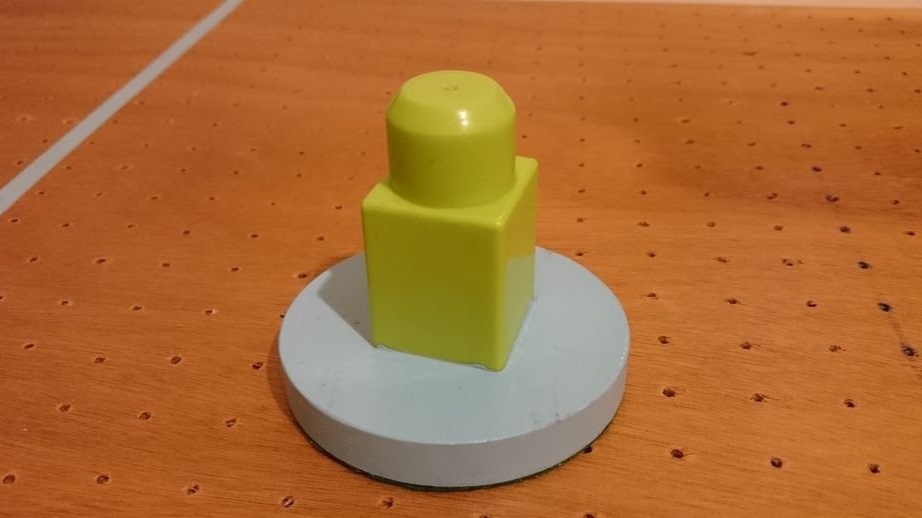
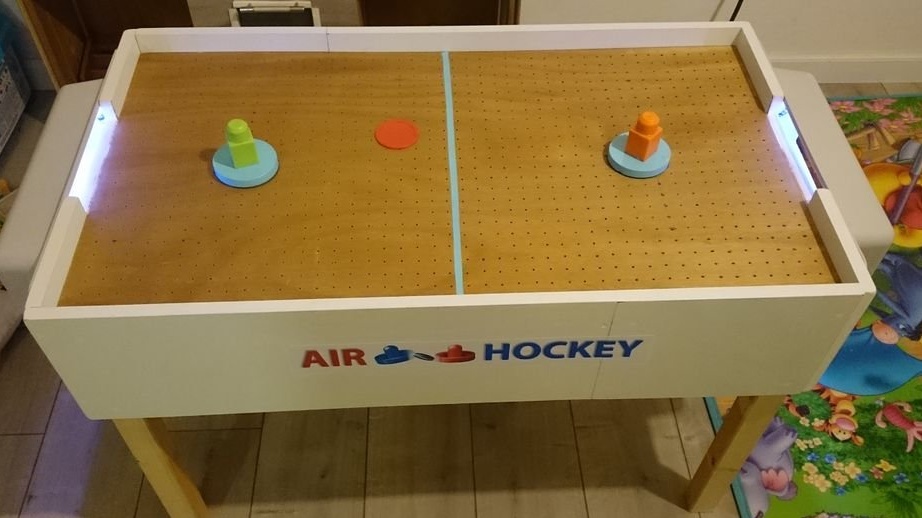
Step Eight: Bits
Inside the Lego blocks, the master pasted a wooden block. Carved round details from wood. Screwed them to the blocks. I glued felt for better gliding.

It remains to make an inscription on the side and the air hockey is ready.
As you can see, there is nothing complicated in making this game, and how many positive emotions you can get when playing and making it together with the children.