
Good day to all dear friends! In today's article, I would like to show you a rather interesting idea homemade. Today we will consider a homemade product that lovers of good coffee will surely like, namely, we will consider how to make a coffee grinder. Many of us do not like instant coffee, but many of us are tired of it at all. And many races for breakfast wanted to drink real aromatic coffee, but it all ended with the lack of a coffee grinder. The coffee grinder that we assemble will do its job perfectly. And also one of the features of the homemade product is that it will consist of the most simple and affordable materials that are likely to be found in your home or in the garage. In general, the homemade product is very interesting, so let's not pull with a long introduction, let's go!
For this homemade product we need:
- 1 * 1 m plywood sheet.
- Empty large construction foam bottle
- Furniture nails
- Metal plate
- ORG glass (not a big slice)
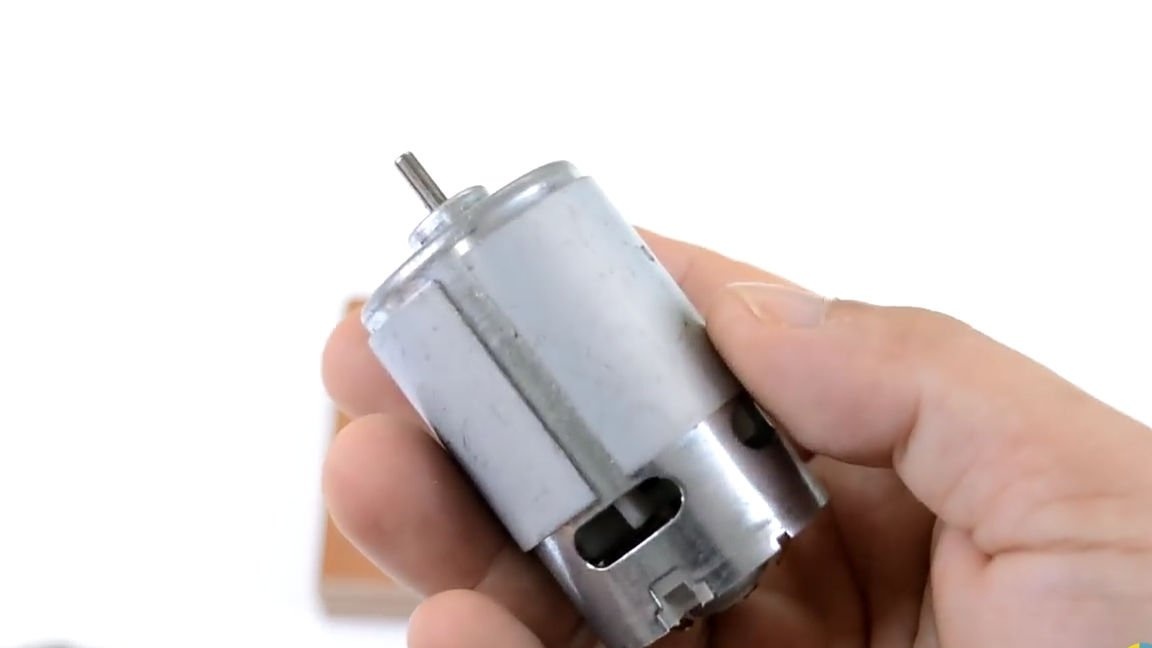
- A collector motor of class 550 (this is often installed in ordinary screwdrivers)
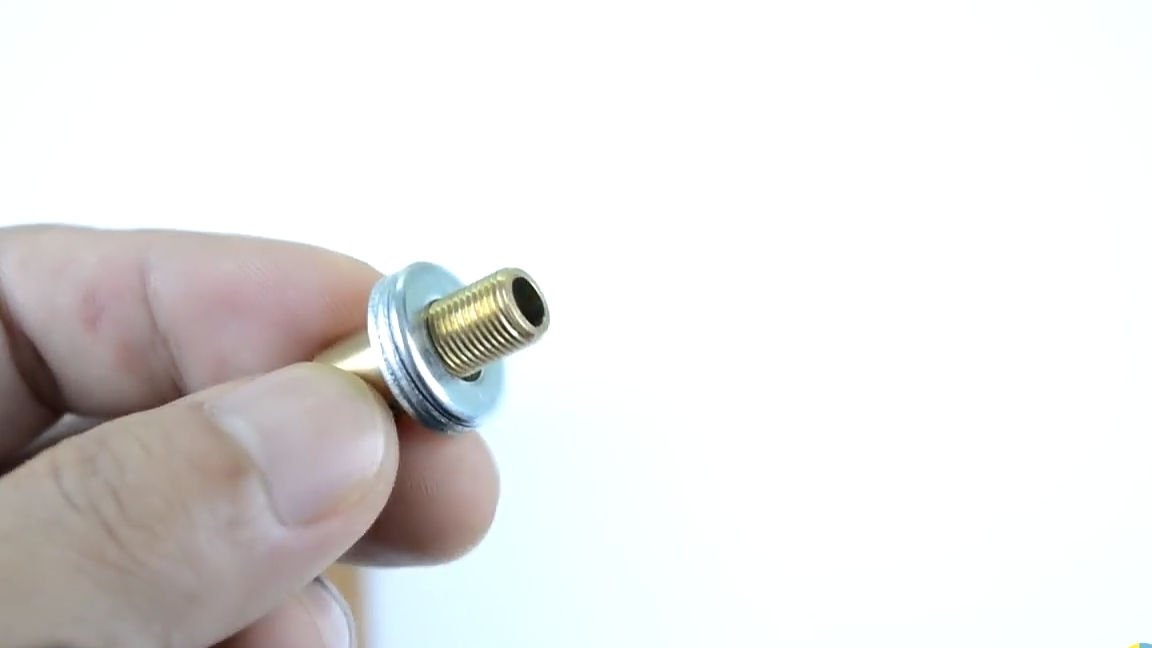
- Adapter to the motor shaft
- Self-tapping screws
- Metal washers
- Screws and nuts for them
- switch
- wires
- Power supply 12B DC.
Of the tools we will also need:
- Shrink
- soldering iron
- solder
- Ruler
- marker
- Drill and drill set
- Hacksaw
- Hammer
- File
- screwdriver
- Hot glue
- Electric fretsaw or ordinary manual.
- Super glue.
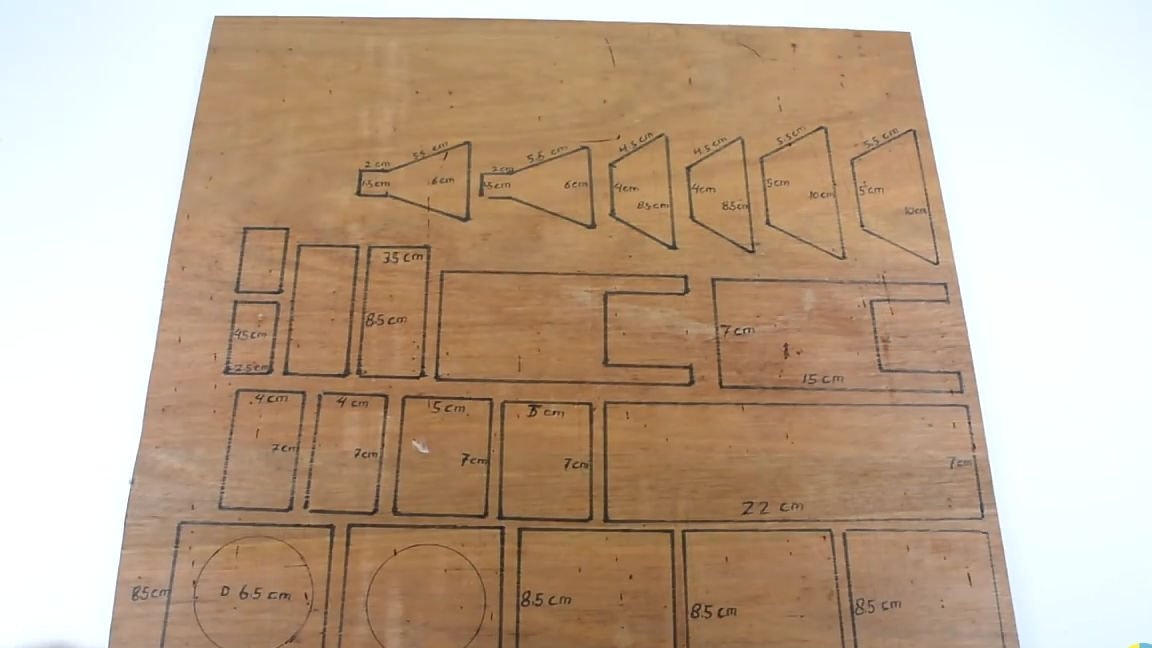
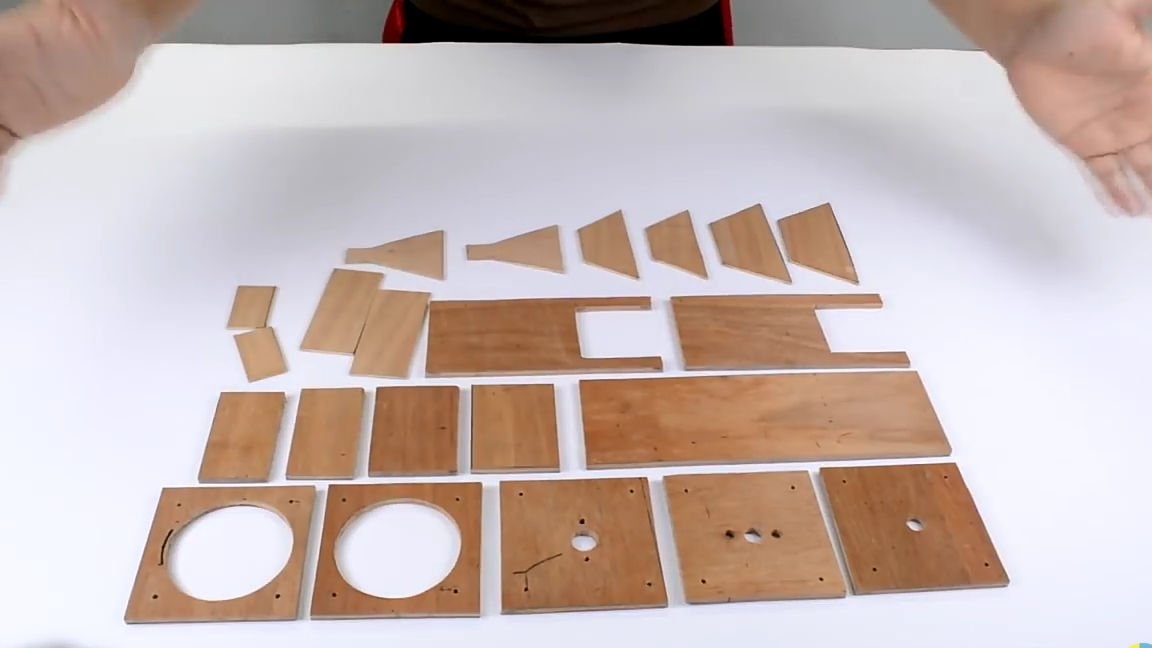
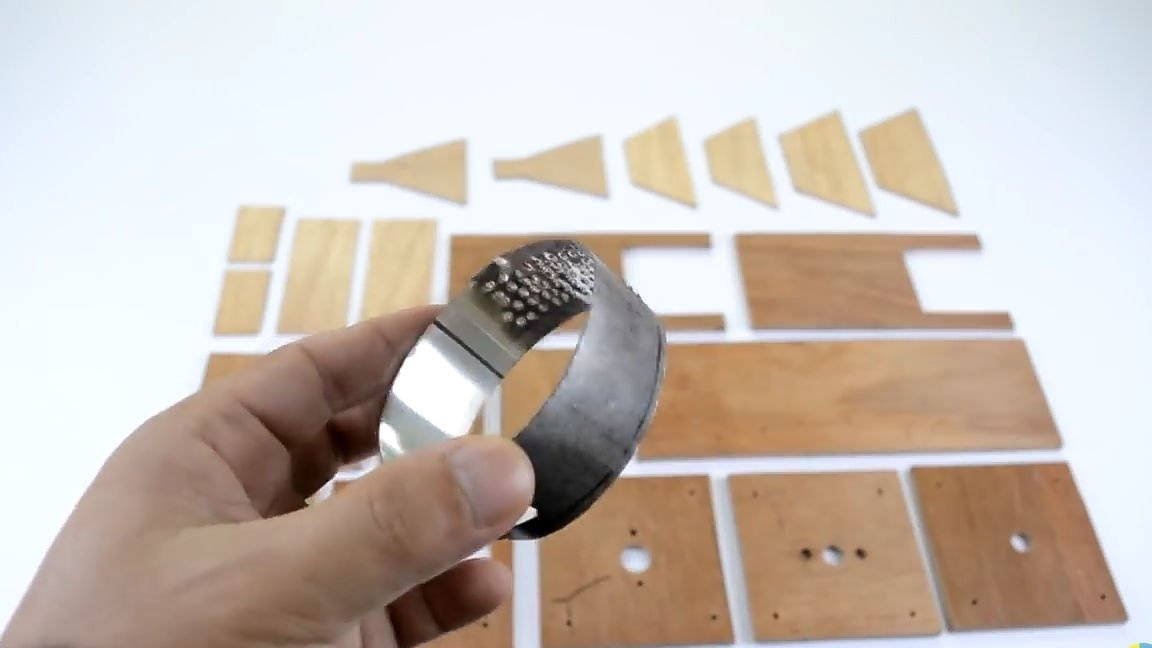
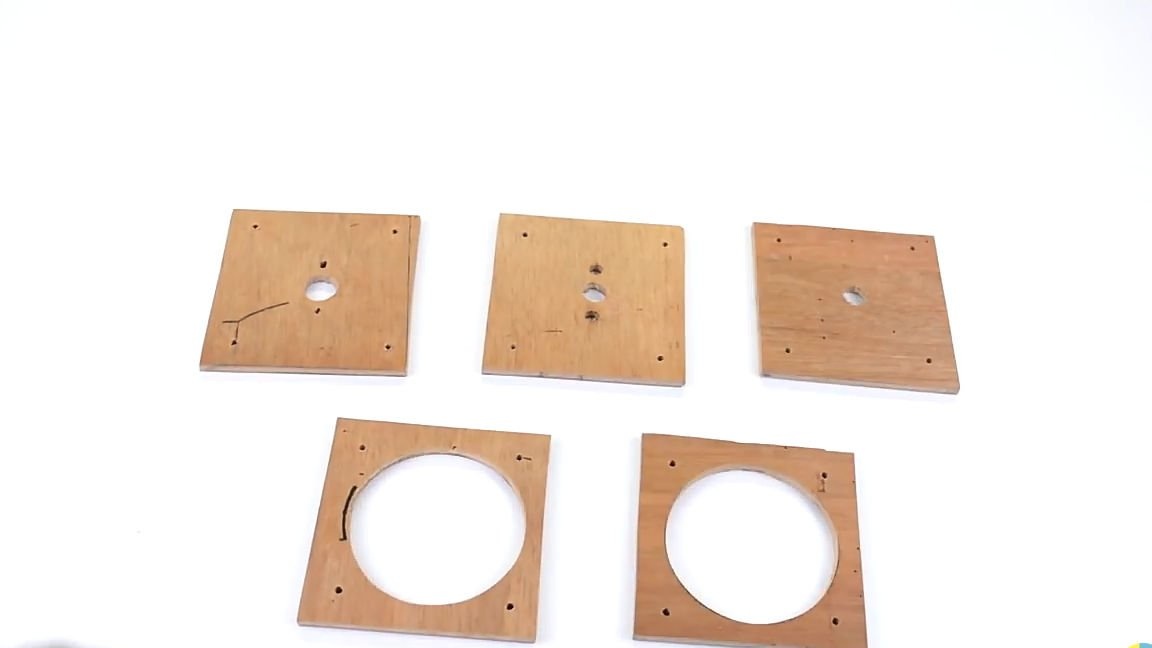
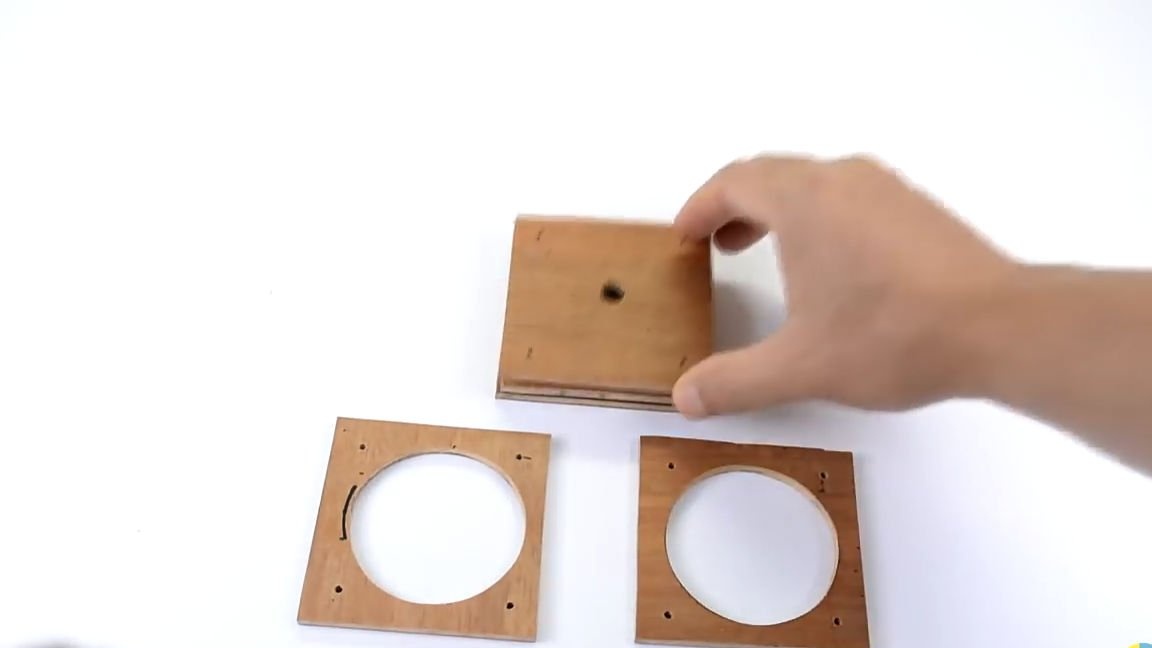
Well, so, let's start assembling our homemade product. To do this, to begin with, on a sheet of plywood you have taken (plywood should not be thick), you should mark out all the necessary elements using a ruler and marker. You can see all the necessary plywood elements in the image below (next, consider what, where and why). After marking all the necessary elements on a plywood sheet, cut them out with a jigsaw.
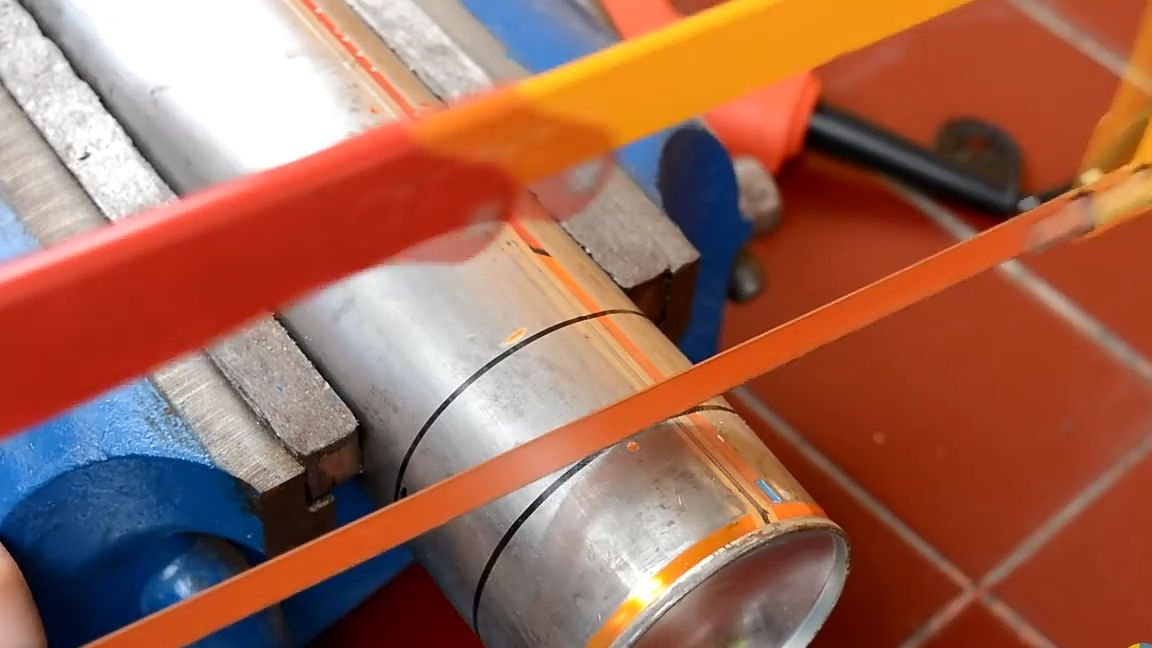
The next step is to make an element that will grind coffee. To manufacture this structural element, we need to take an empty cylinder from the mounting foam. Which in turn needs to be completely emptied and all the gas that remains inside will be released, it should be noted that it is not necessary to use a cylinder from foam, but you can take any other metal cylinder with approximately the same diameter.From the metal cylinder we took, we cut out a flat ring using a hacksaw for metal.
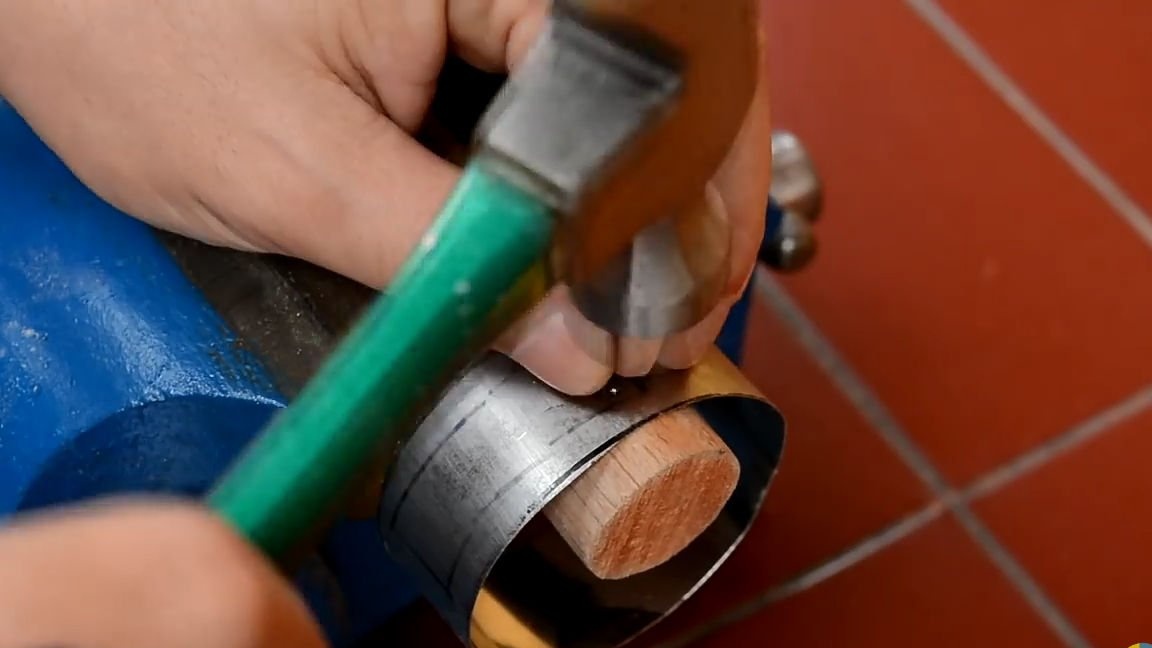
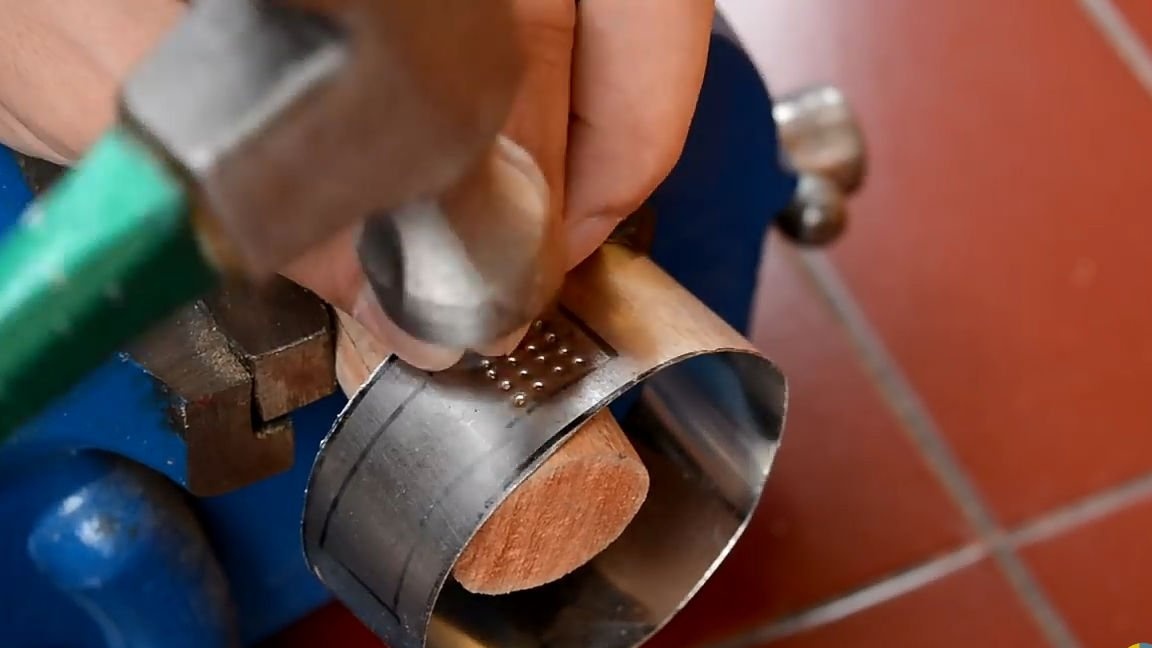
Next, we work with the ring itself. We put on a ring, on something like a wooden handle, and use ordinary furniture nails and a hammer to make through holes as shown below. And opposite the row of holes we make a large rectangular hole for feeding grain.
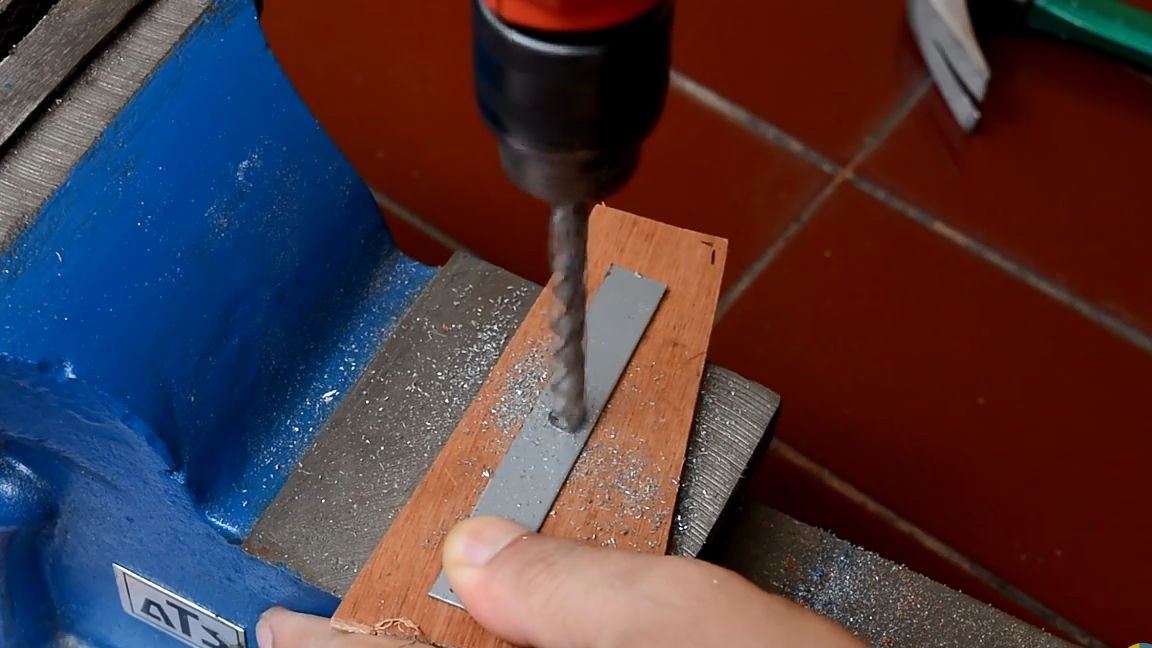
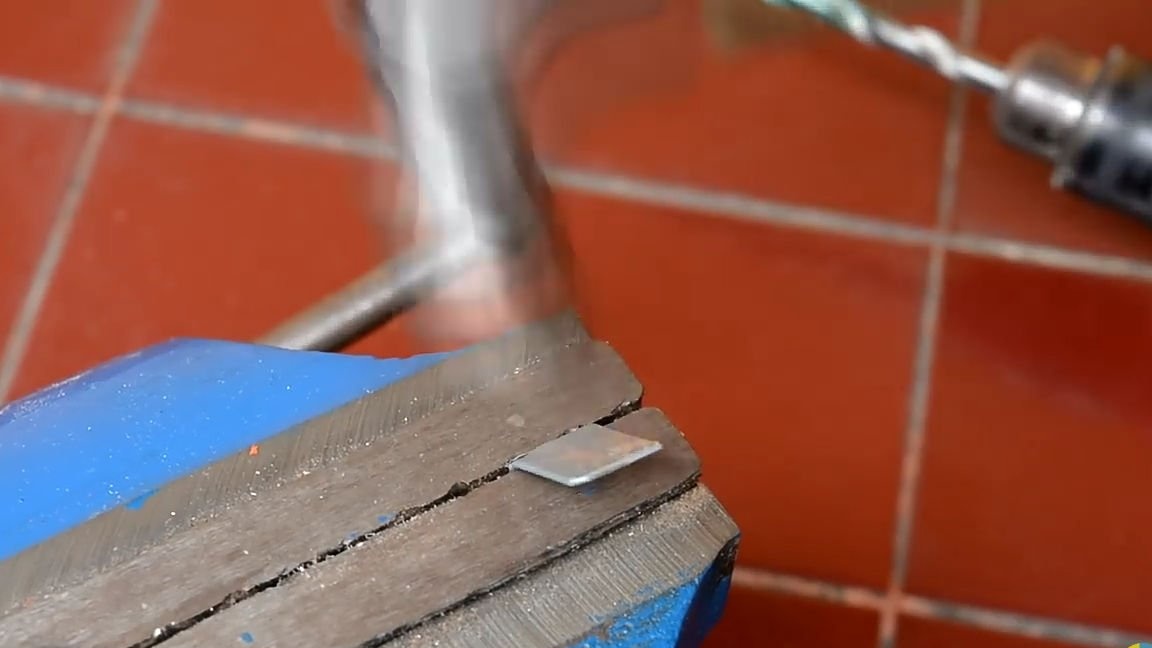
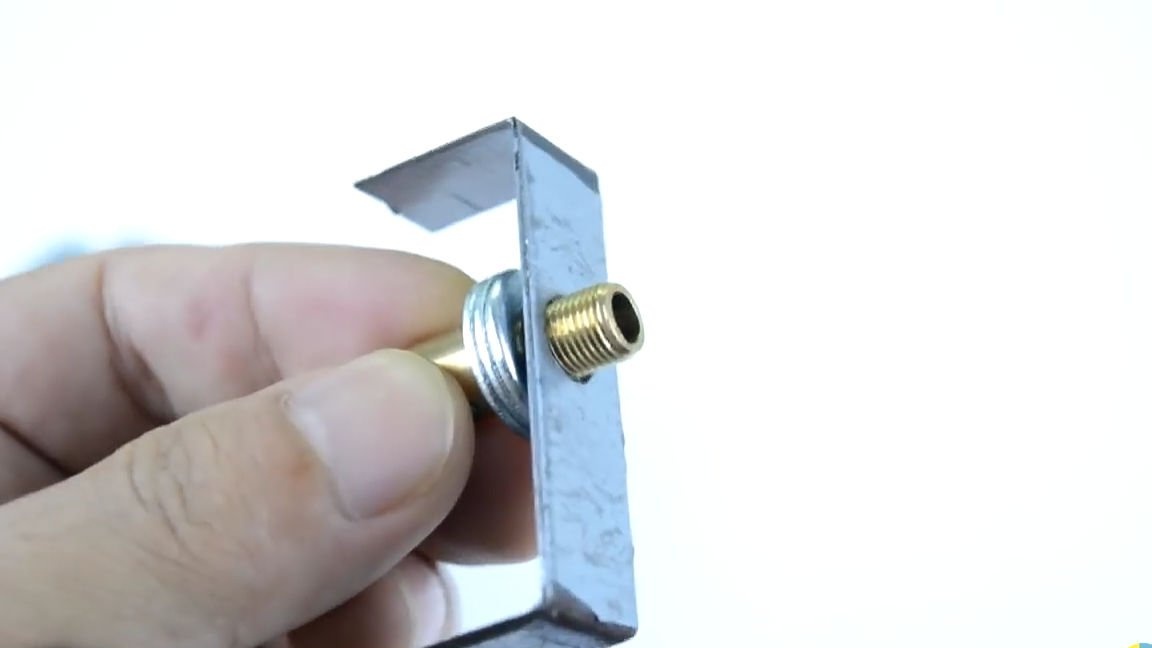
Then we take the metal plate exactly the same as in the photo below and make a through hole with a large drill (exactly in the center of the plate). Clamp platinum in tees and bend the edges (see photo below). The rough edges of the metal plate are smoothed with a file. As a result, we should get a plate, which in turn should be placed inside the metal ring (done earlier), with a small gap.
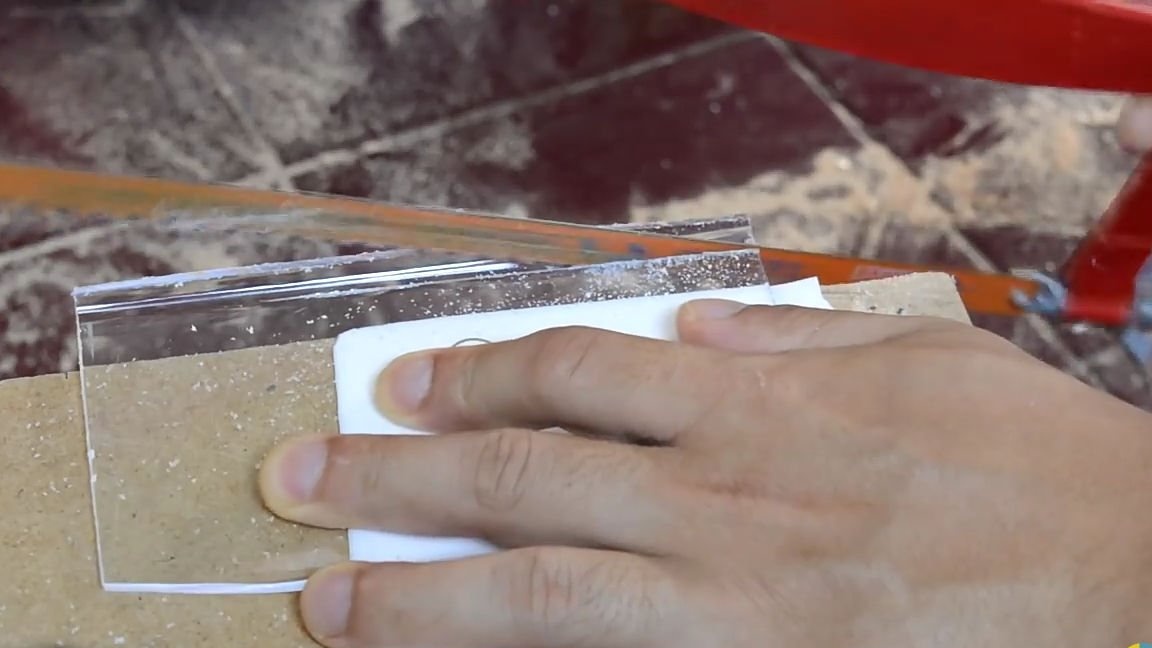
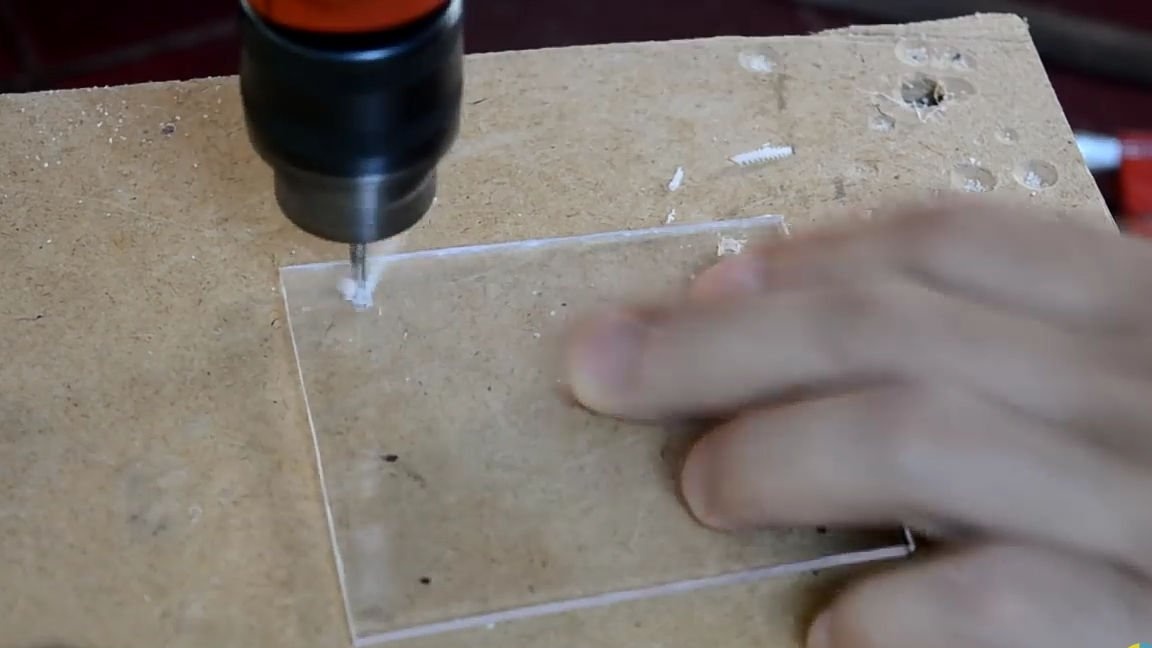
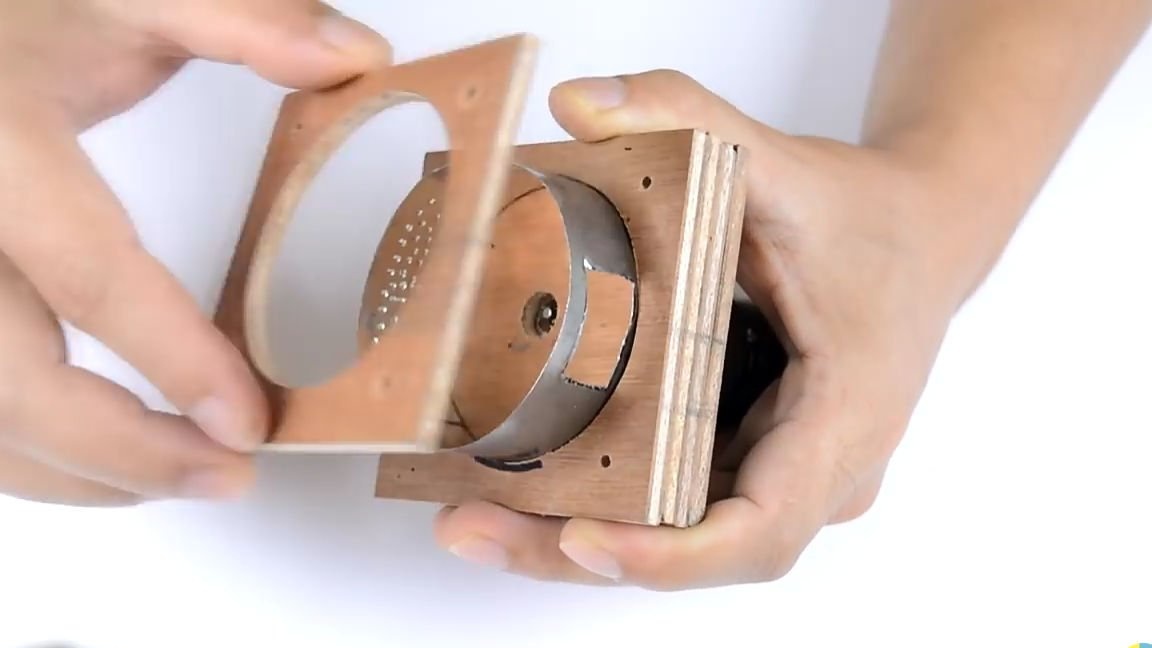
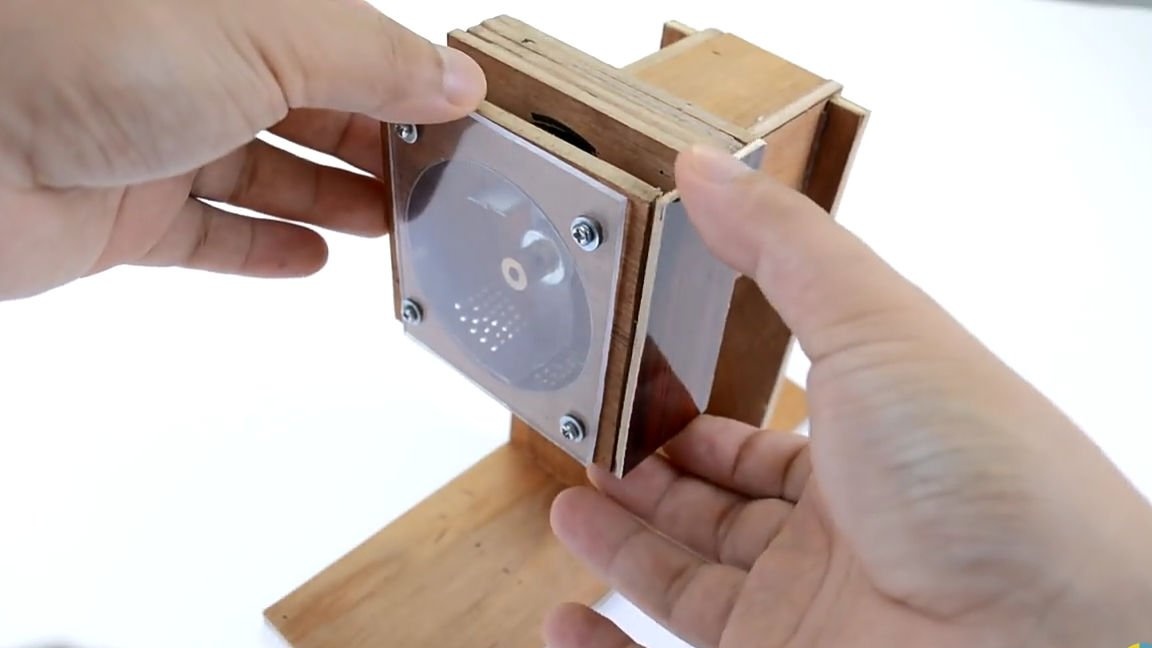
Then we will make a transparent wall of the mechanism, thanks to it you can see the number of grains inside and, based on its quantity, regulate the flow of grain. For her we need to take a small piece of ORG. Glass from which to cut a quadrangle of a suitable size (see photo). ORG. Glass can be cut using an ordinary hacksaw for metal. In the newly manufactured structural element, four through holes should be made. Holes are needed to secure this wall.
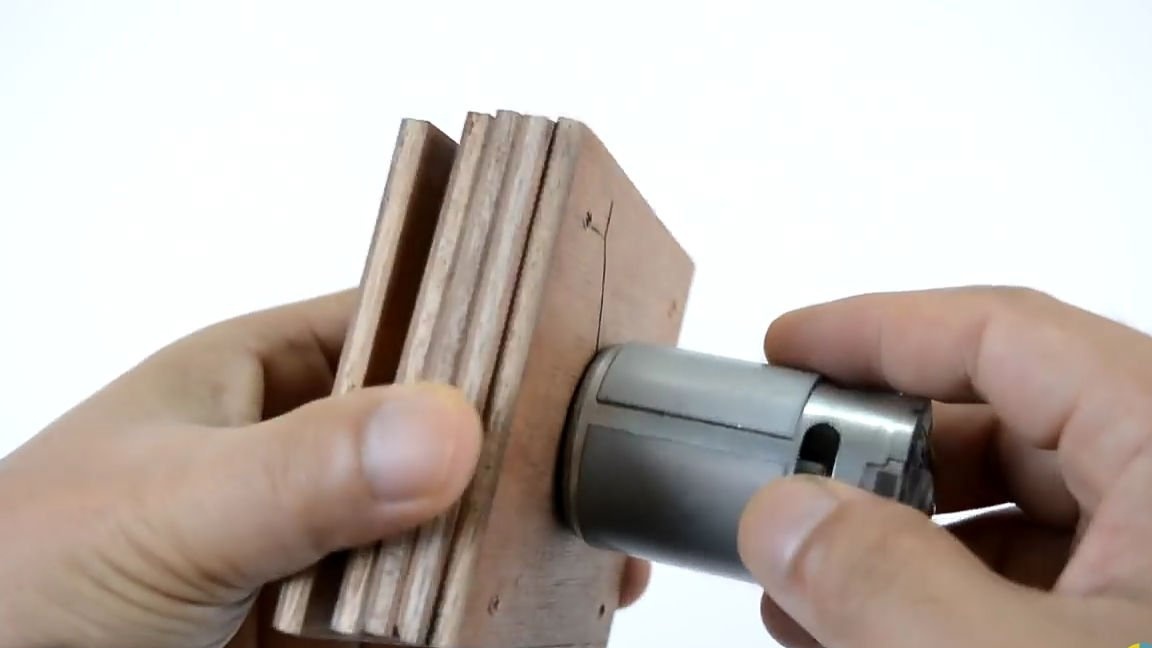
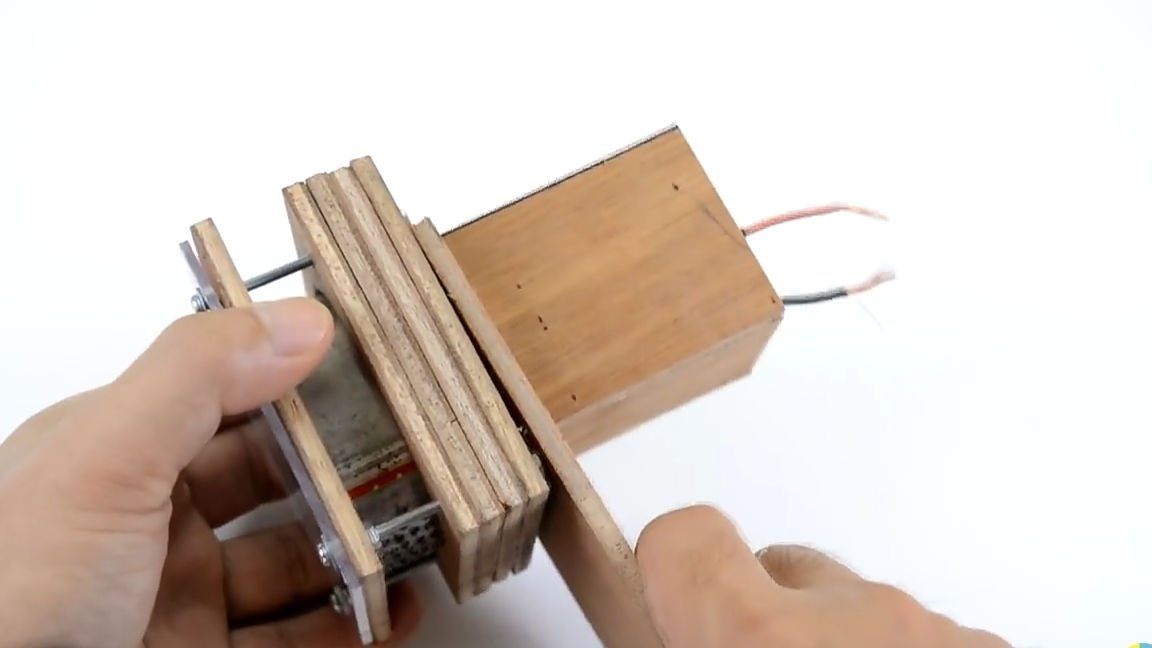
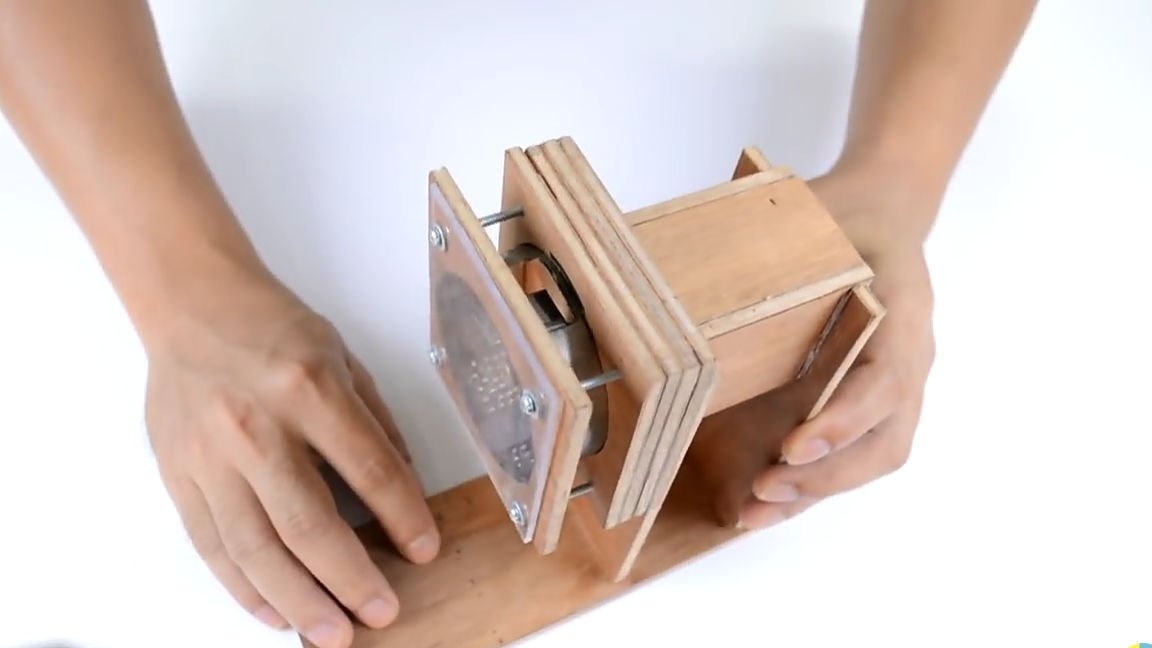
Having made all the basic necessary elements for assembling the structure, we will continue to assemble it. To do this, take four plywood square elements (those shown in the photo below) and combine them together into one exactly, as it is shown below, in the end we get a kind of sandwich. A 550 class collector motor should be attached to the sandwich just made. We insert the electric motor to the side where there are three small holes, these holes act as seats for our engine.
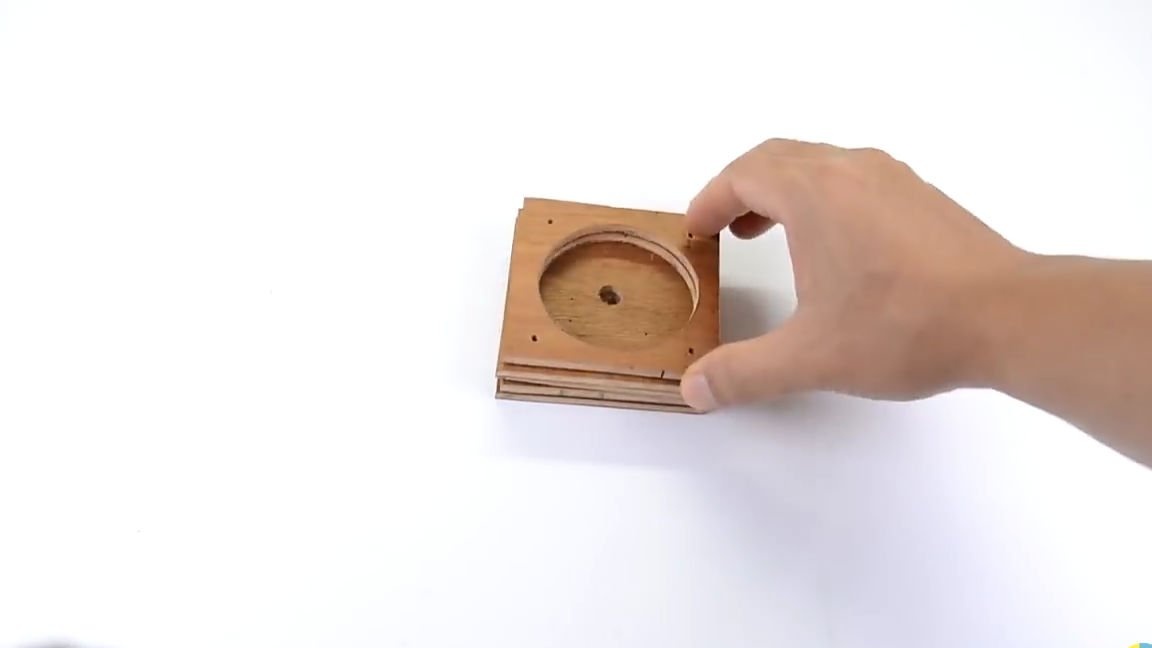
Then on the opposite side of the sandwich we insert our flat metal ring exactly, as it is shown in the photo. It should be noted that the extreme layer of our sandwich on the side of the metal ring should be on the edge of the ring itself (this is clearly visible in the photo below).
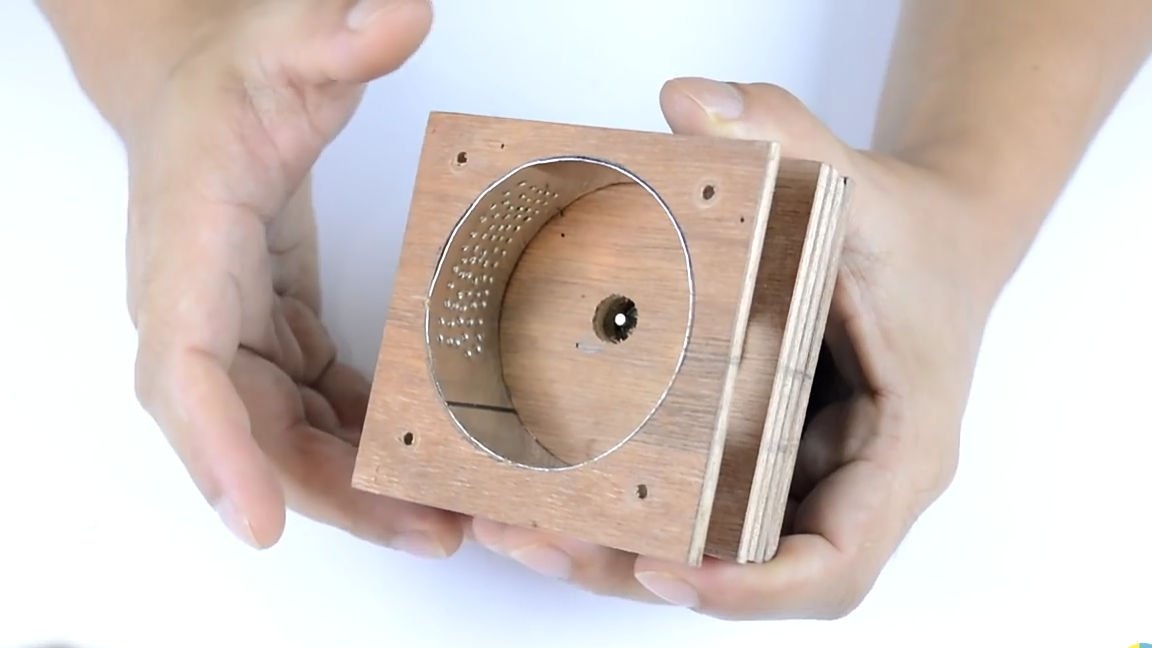
Then a metal plate should be put on the motor shaft, for this we take a suitable adapter. From the beginning, install the adapter on the electric motor itself, and then on it a metal plate, which should be installed using suitable metal washers in size. By the number of washers, the gap between the walls can be adjusted, it is desirable to install the plate itself exactly in the middle so that the gaps on both sides are the same.
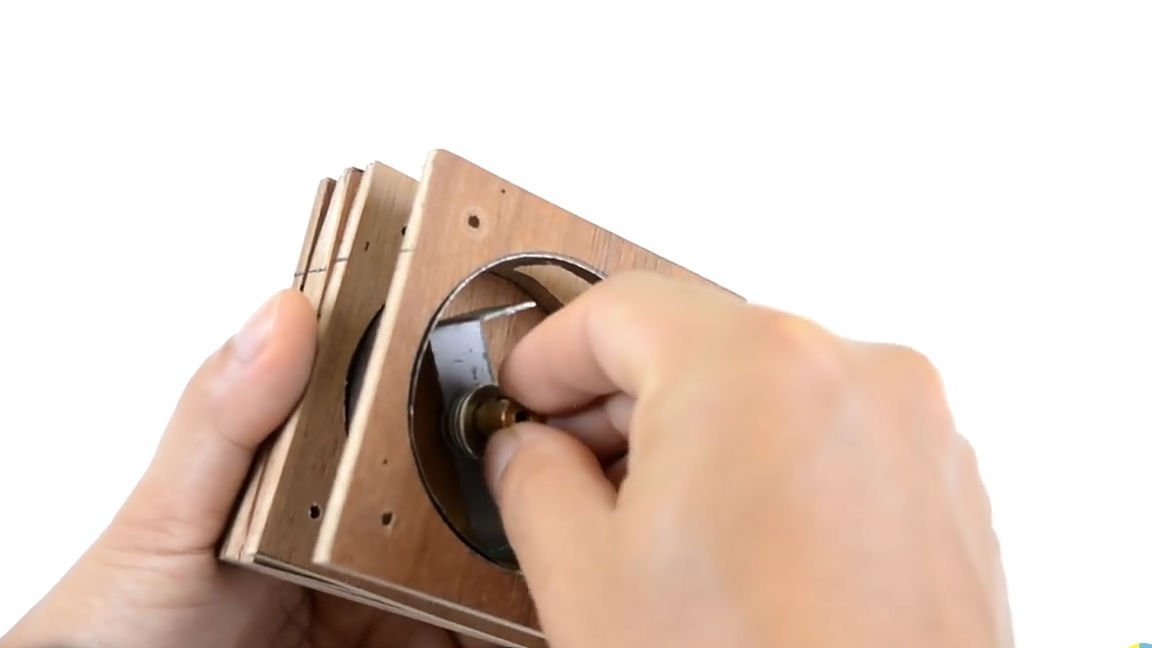
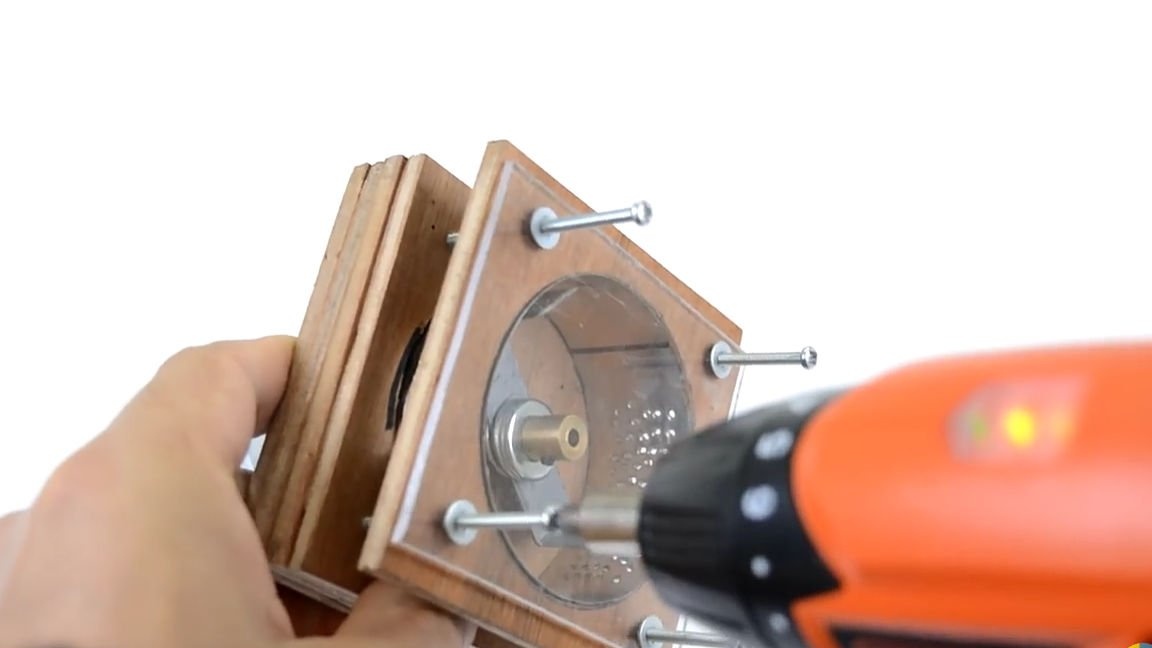
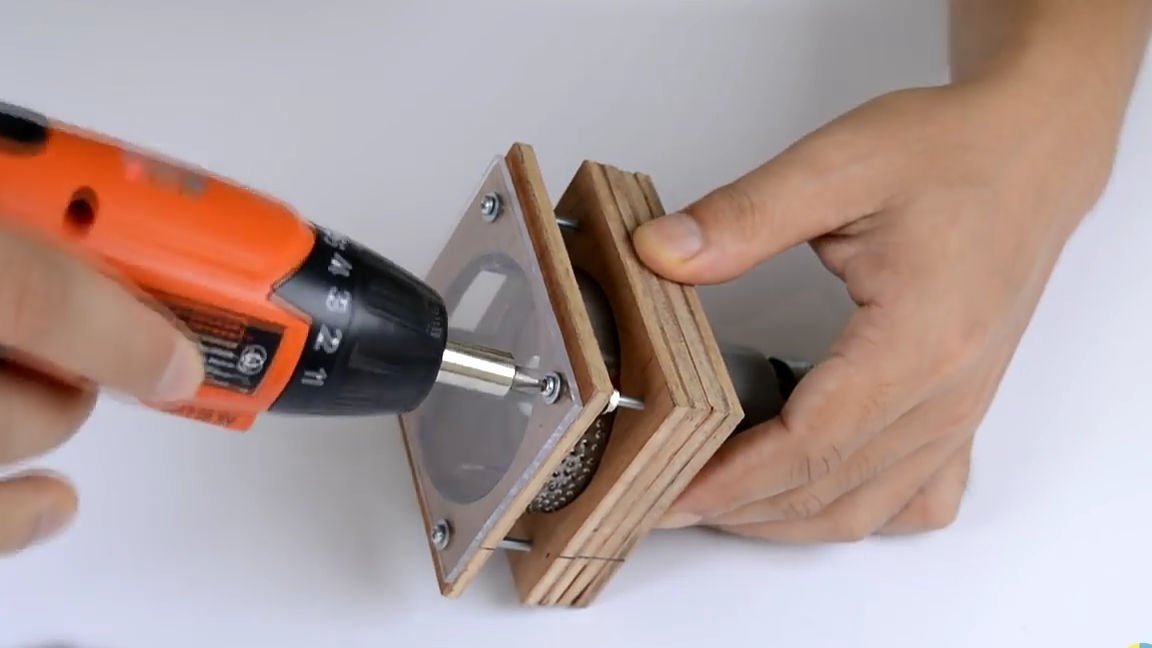
Next, close and fasten the sandwich. To do this, close the pre-made transparent wall of org. Glass threshing part of the structure, and into the holes made at the edges we insert the appropriate size screws, which should pass through and bulge a little, so that you can tighten the structure with nuts.

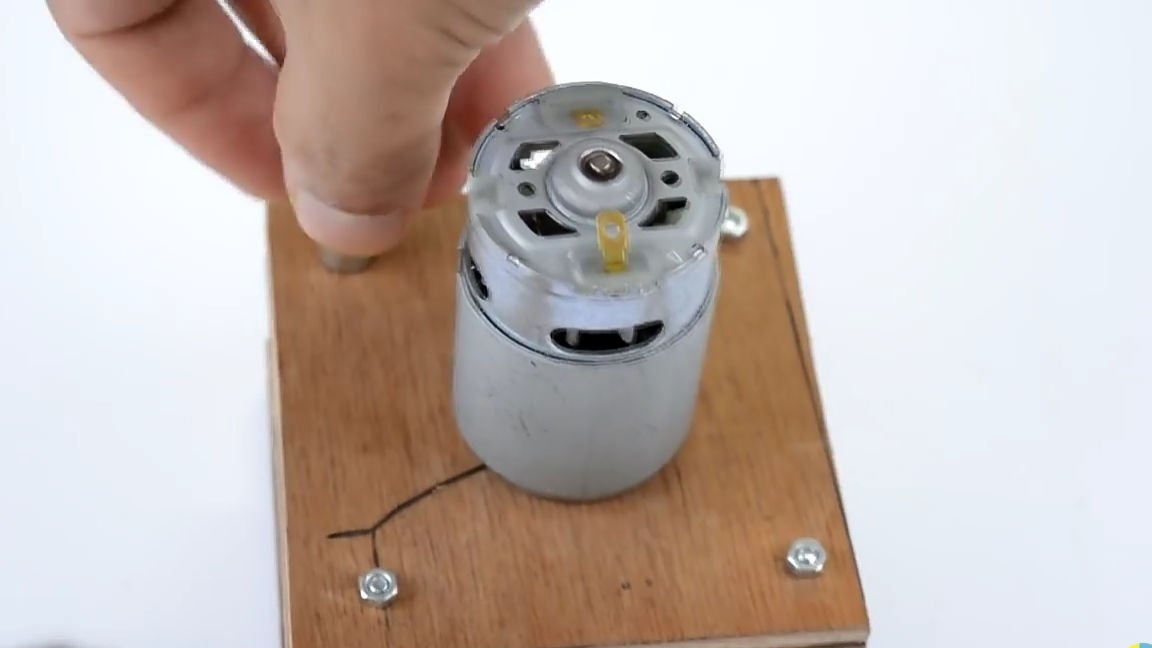
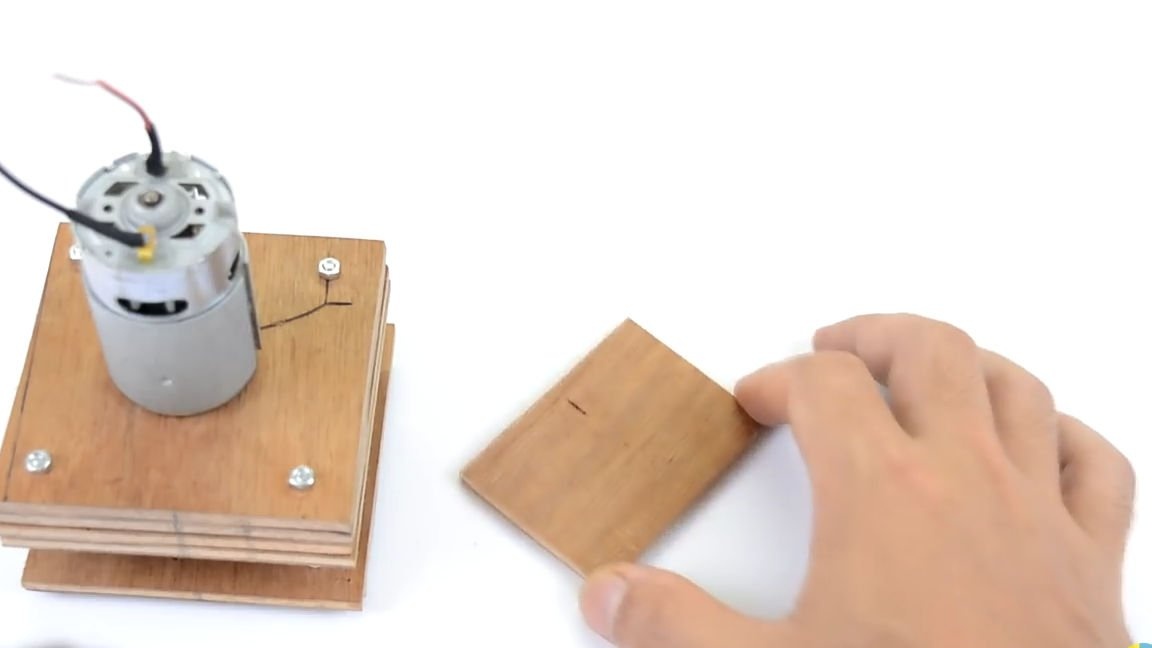
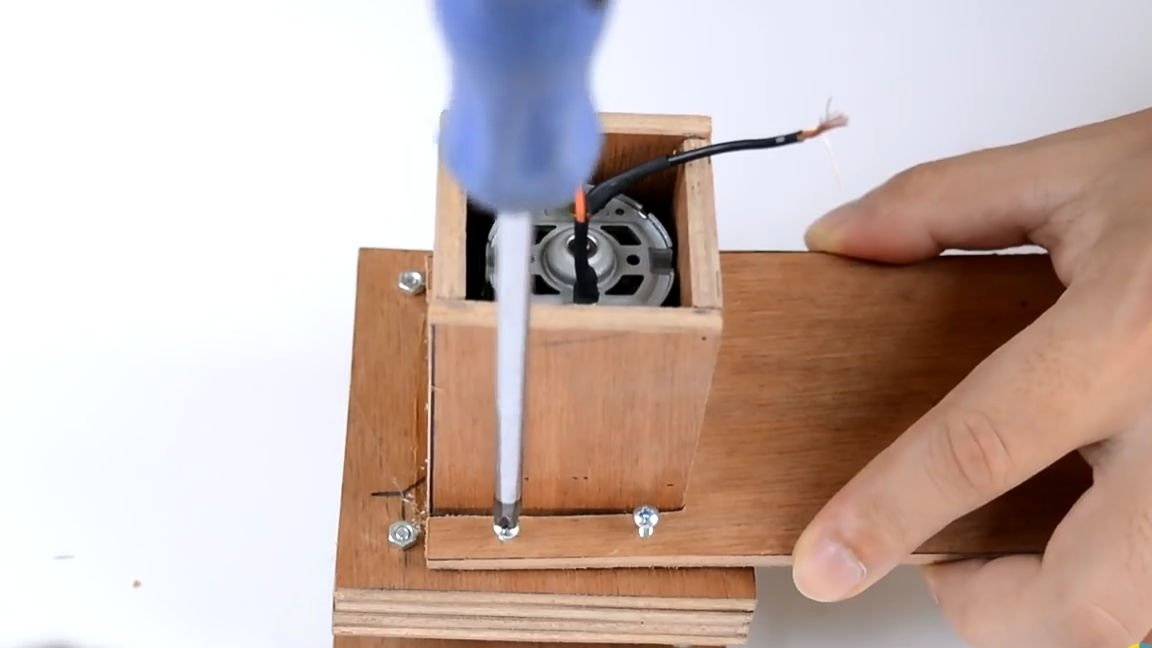
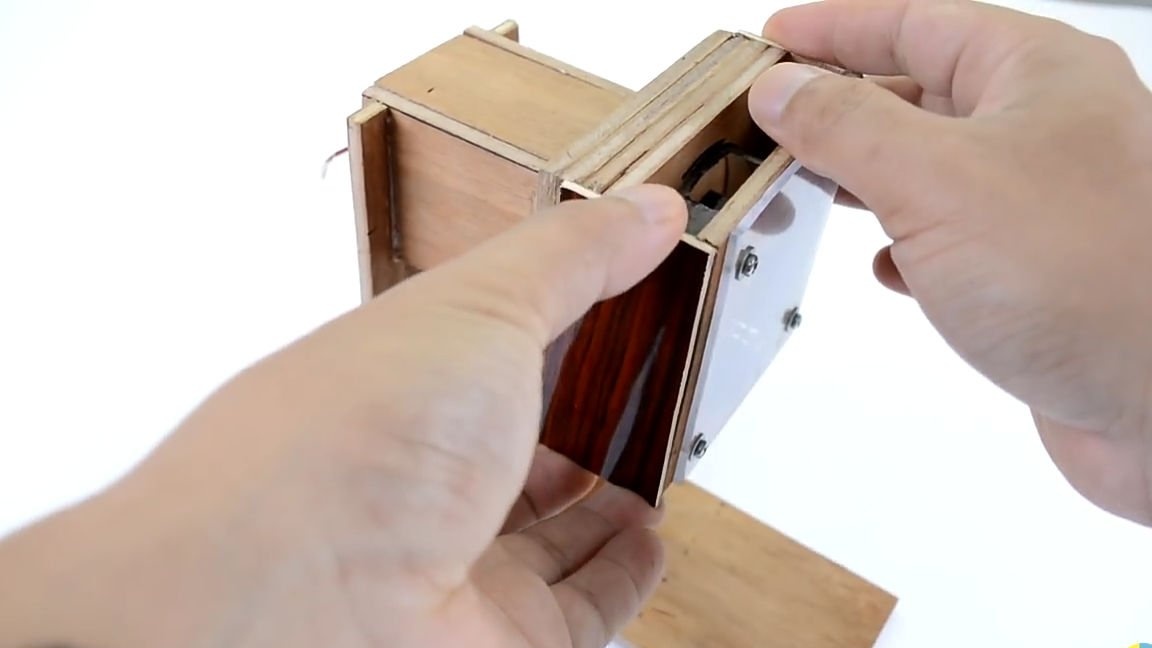
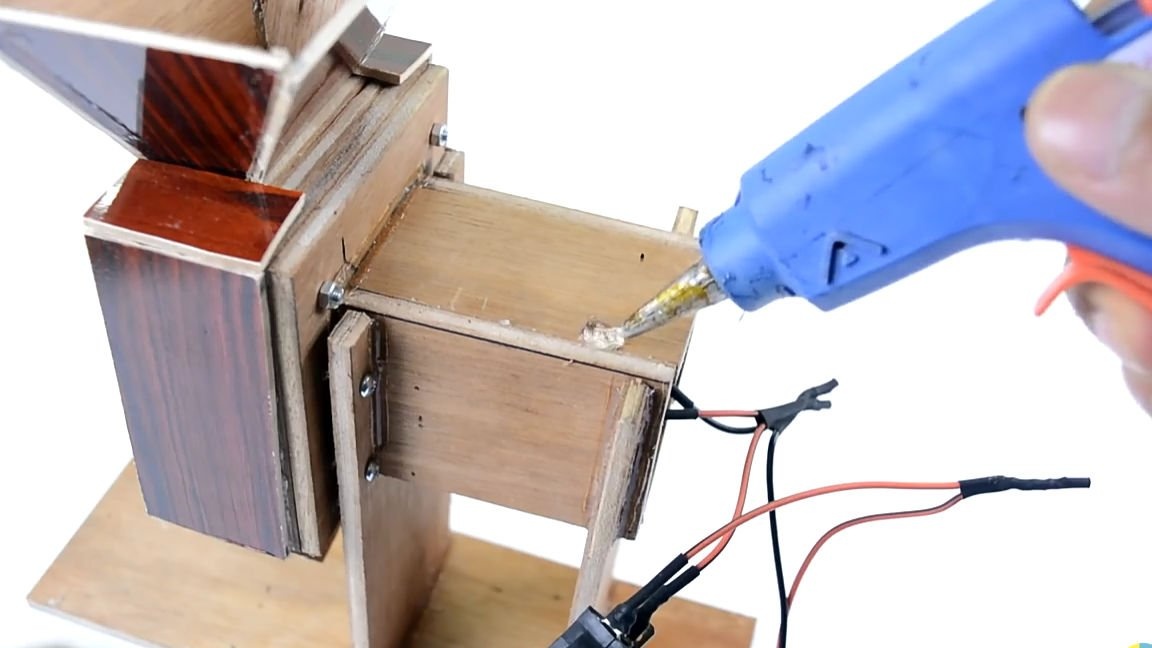
After that, take four small plywood rectangles and glue them into one volumetric rectangle using superglue. We need this element in order to close the electric motor. We put the workpiece just made on the electric motor and glue it.
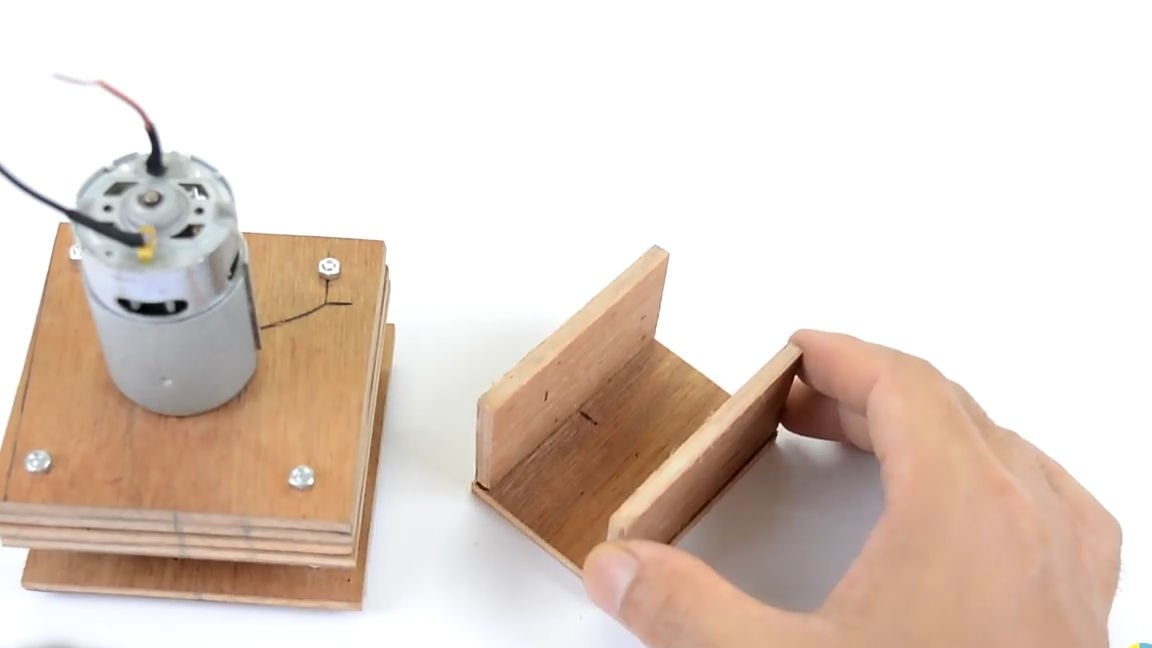
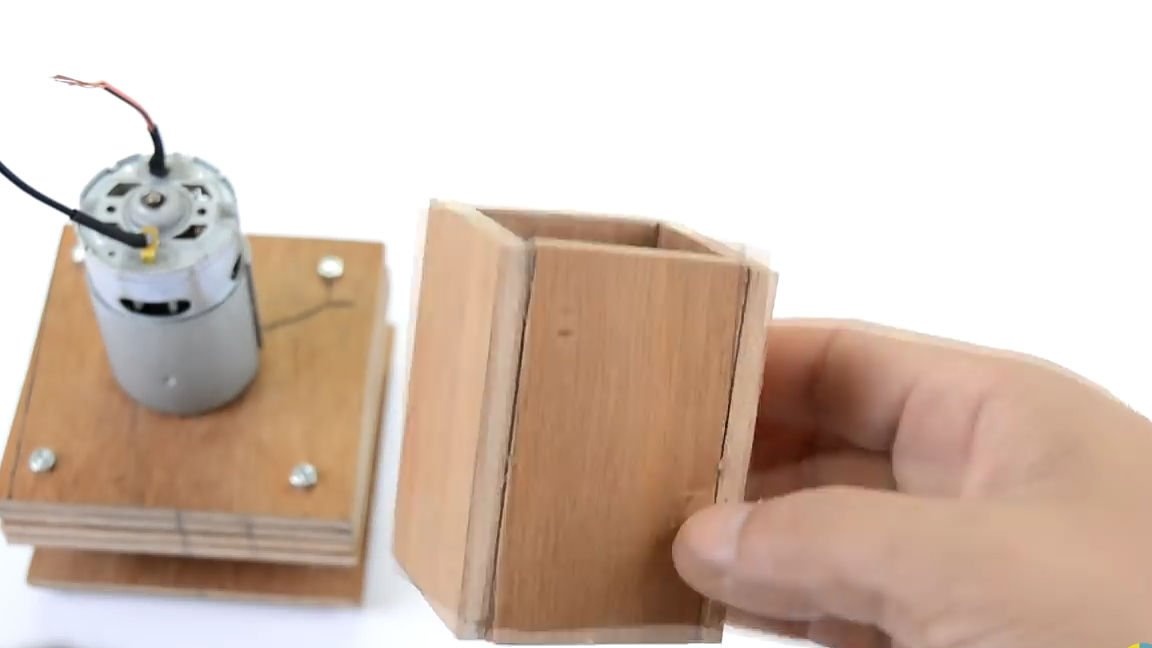
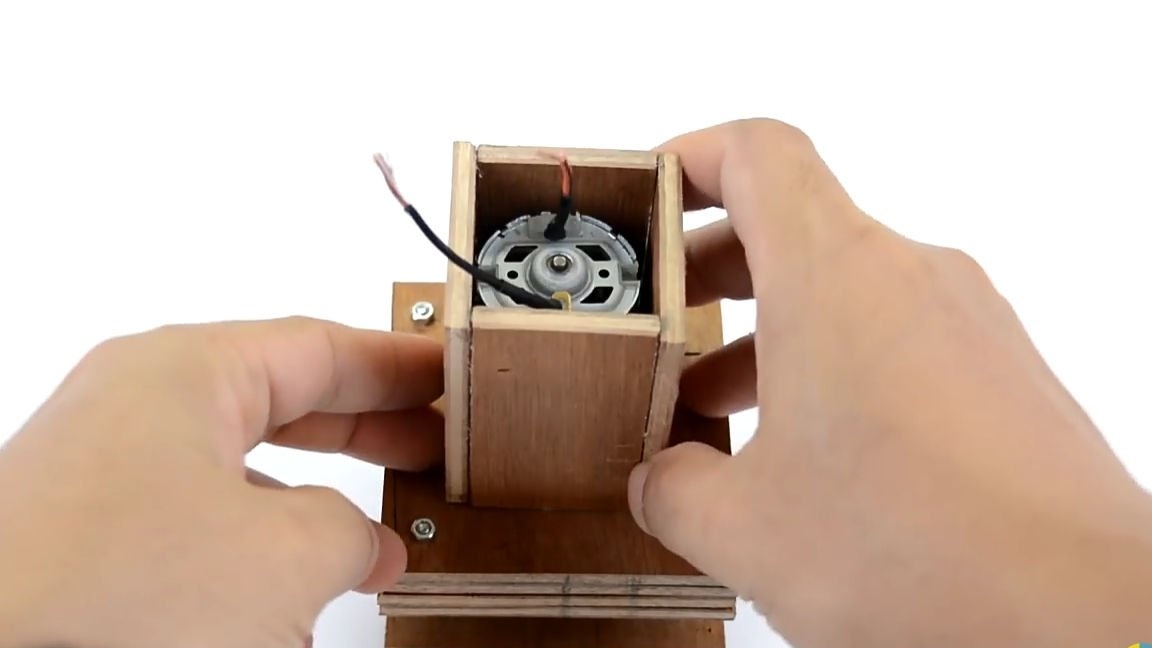
Then we take a larger rectangle with a “P” shaped cutout on one of the sides, and install it by inserting a slot into the lining of the electric motor, and fix it with self-tapping screws. And we fix the second rectangle of the same type on the same cladding, but, on the other hand, but fix it with a buoy not on self-tapping screws, but on hot-melt adhesive.
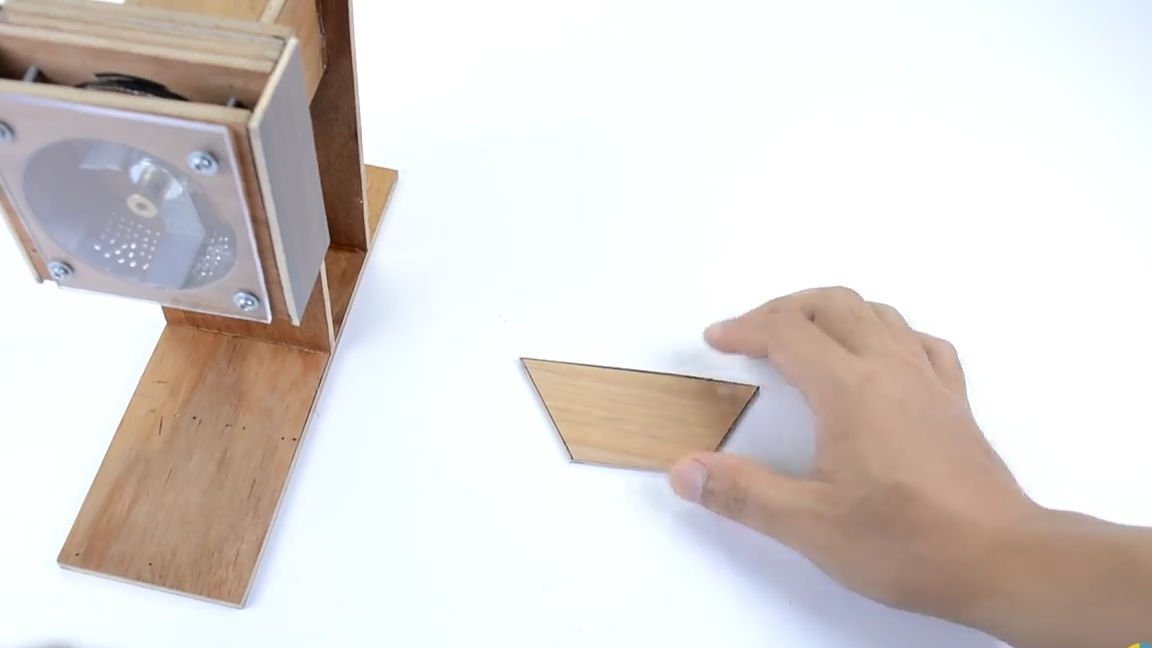
Next, we take a large rectangle, which will serve as the base of the homemade product and fix it to those rectangles that were previously fixed as shown in the photo.
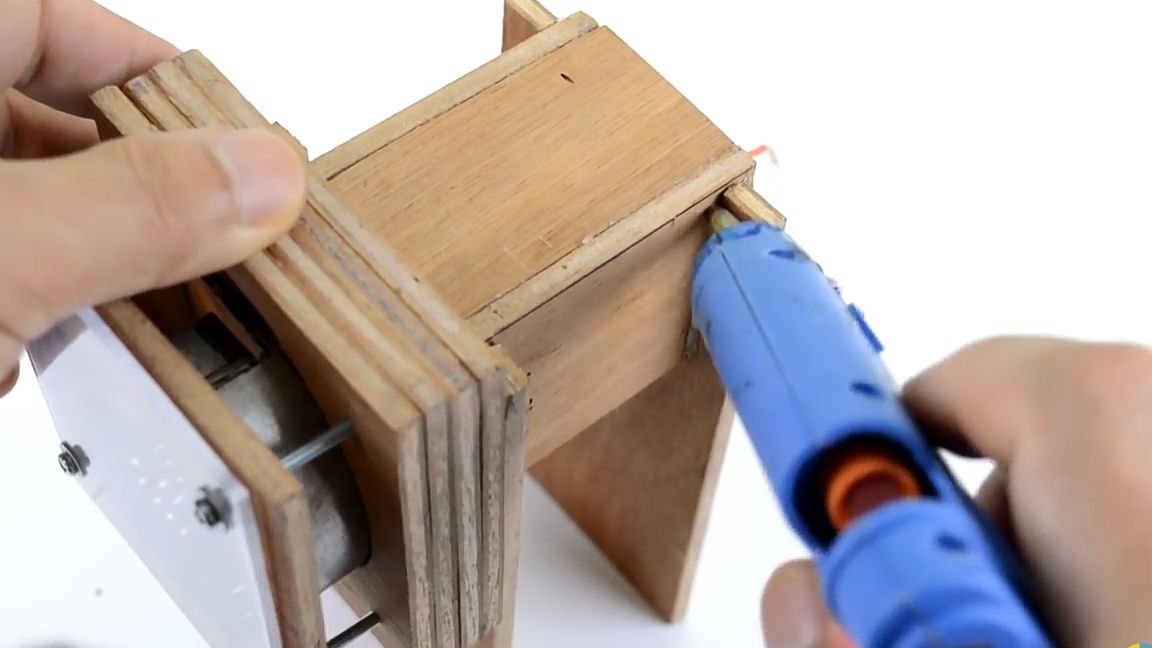
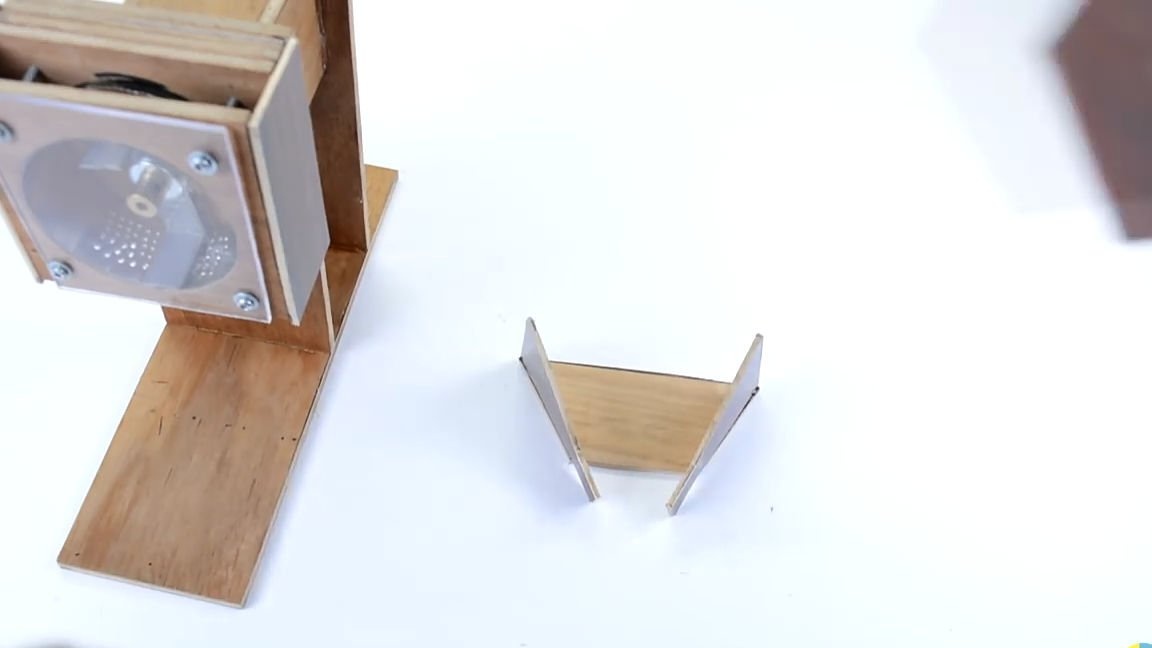
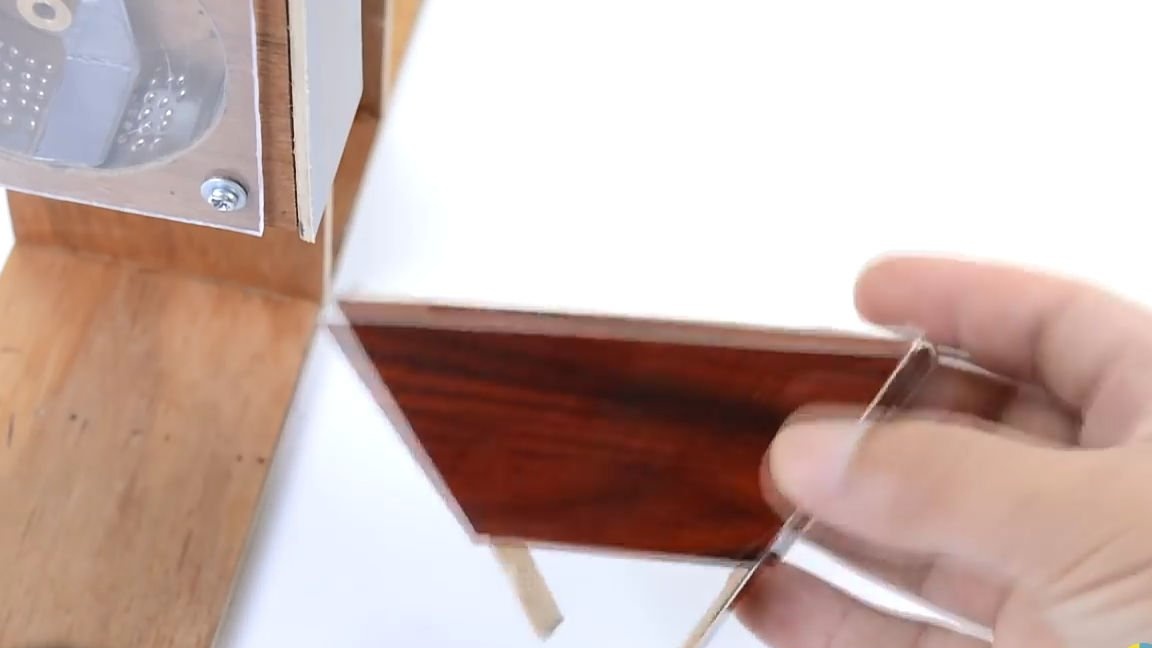
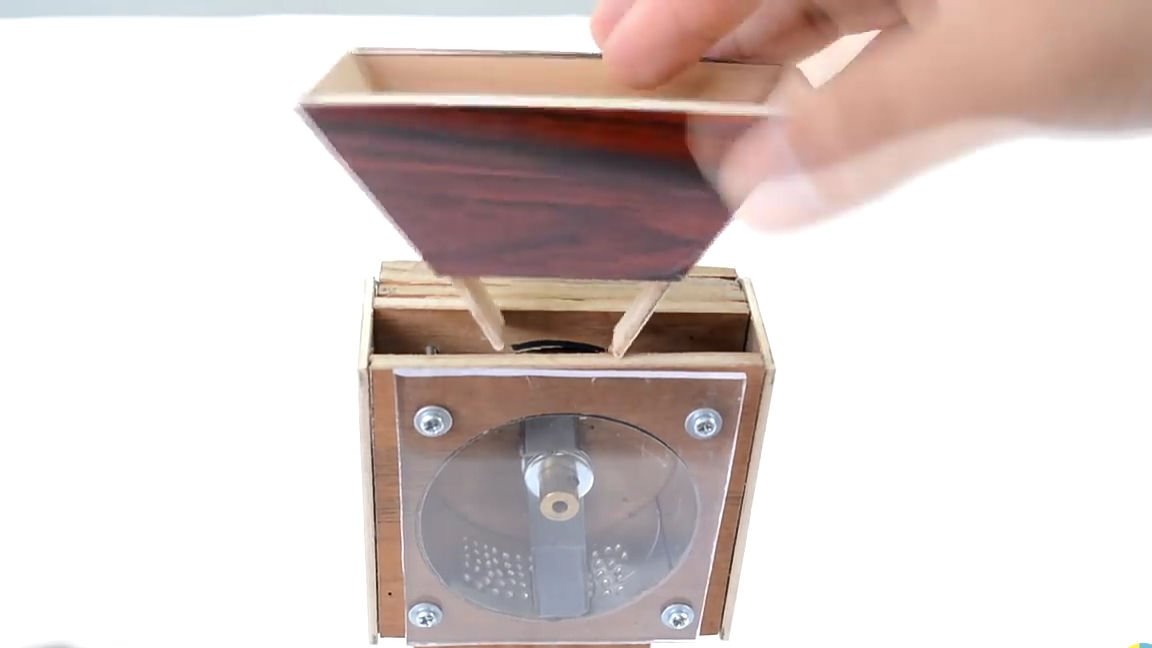
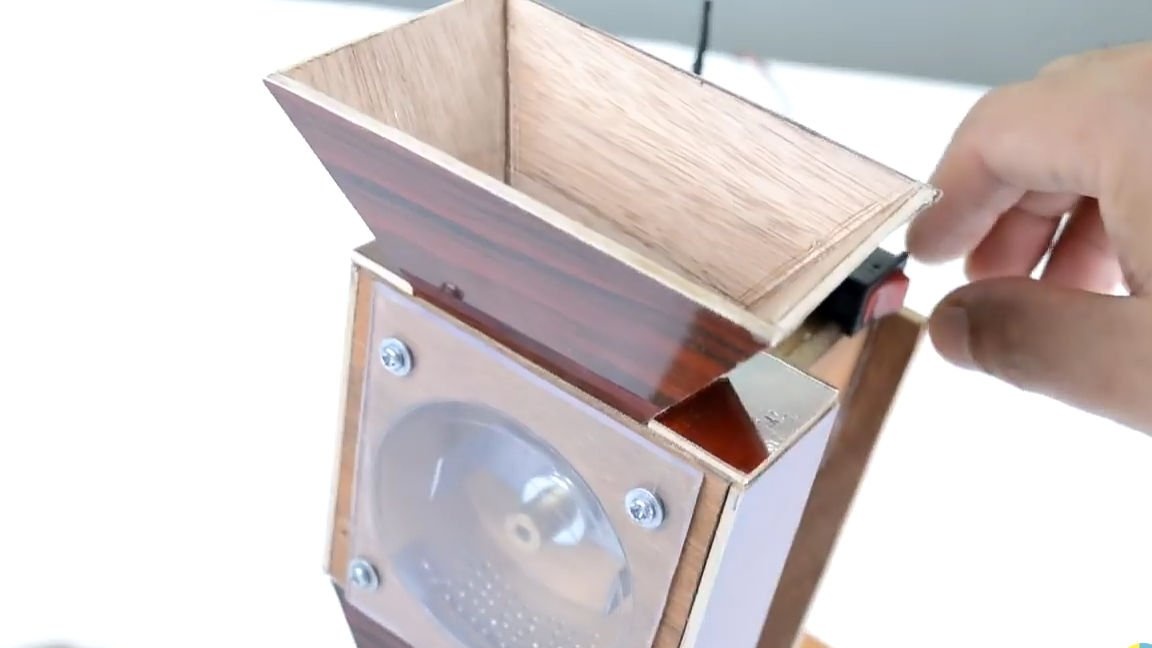
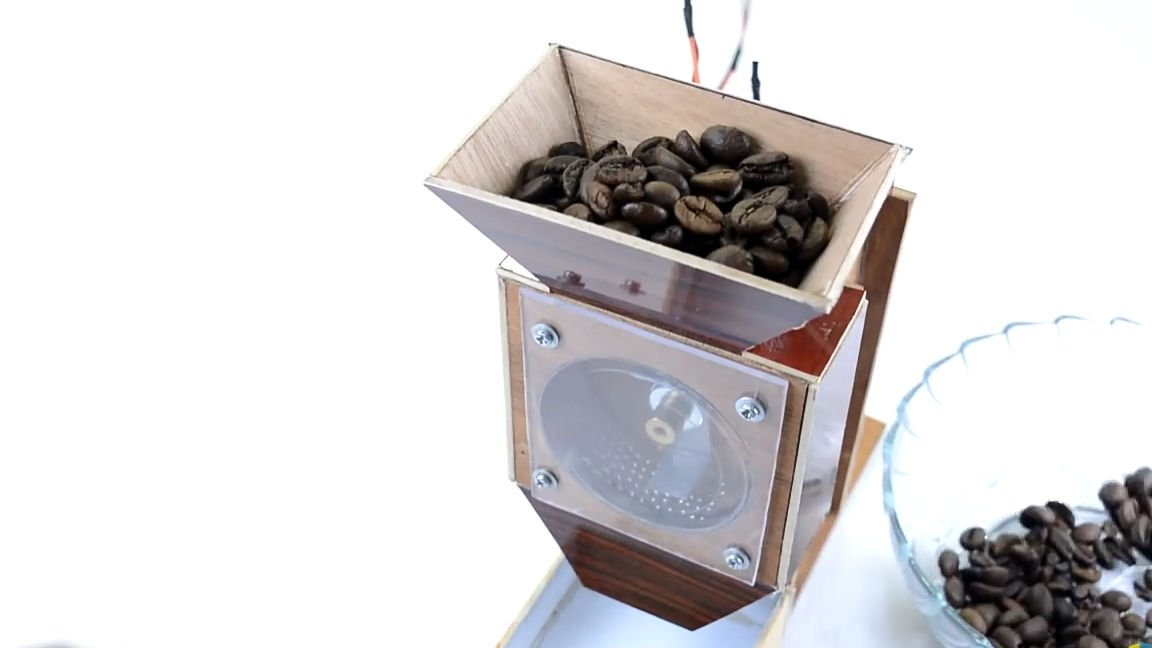
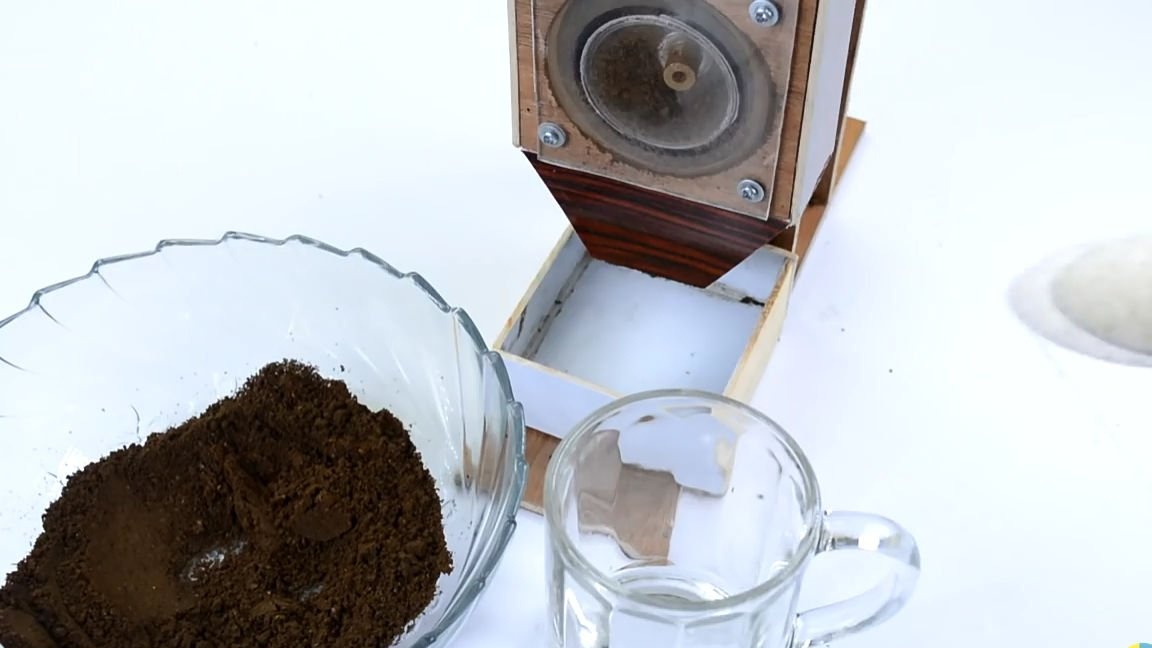
We glue the facing parts with the superglue to the threshing part of the structure (seea photo). Next, from the four plywood trapezes already cut, we will make a bunker in which grains will be filled, for this we just take them and glue them using superglue, as this is shown in the photo below. We fix the bunker on top, above the threshing part. And from the bottom so that the ground coffee does not pour in anywhere, we will make a part similar to the previous one, but only fix it from the bottom (see photo).
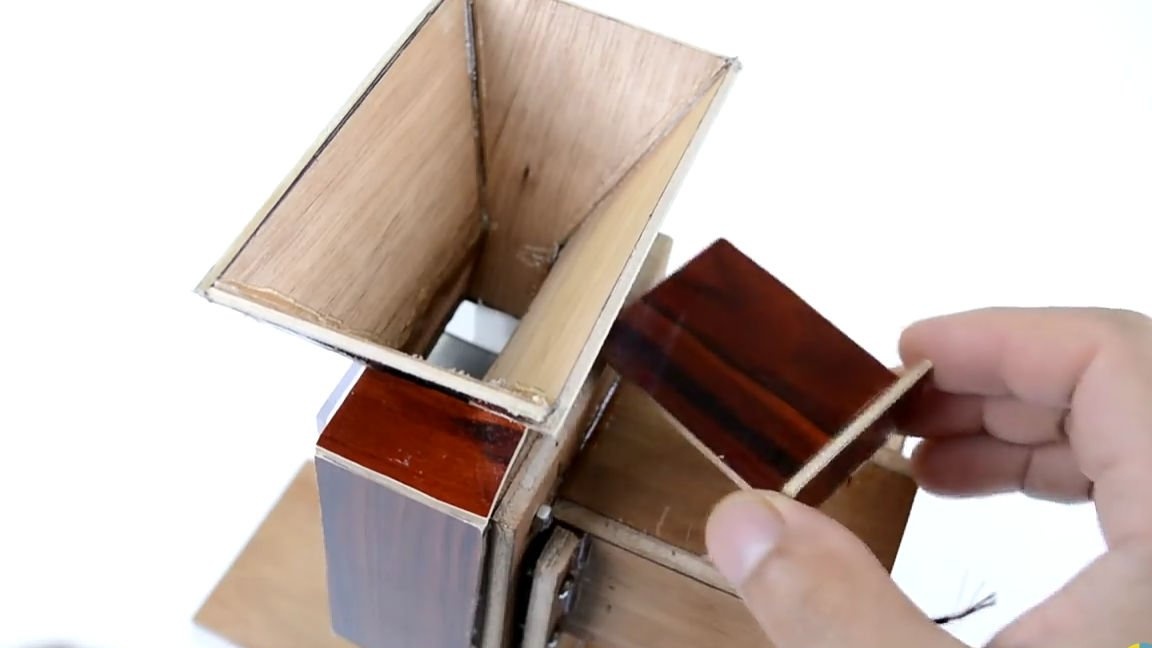
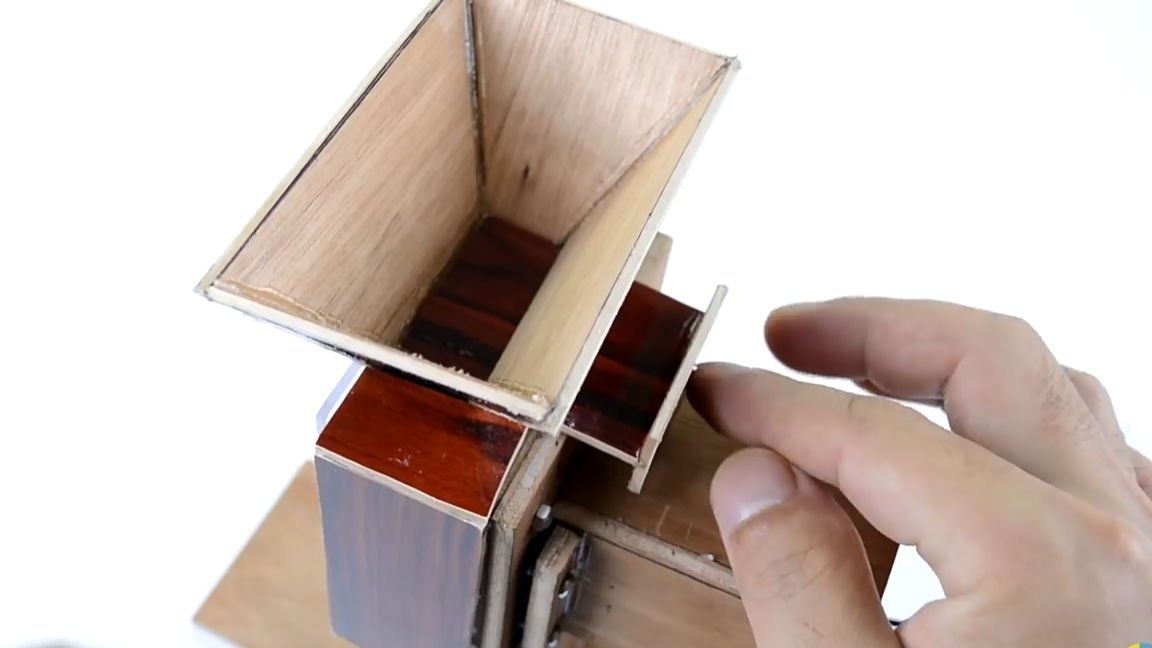
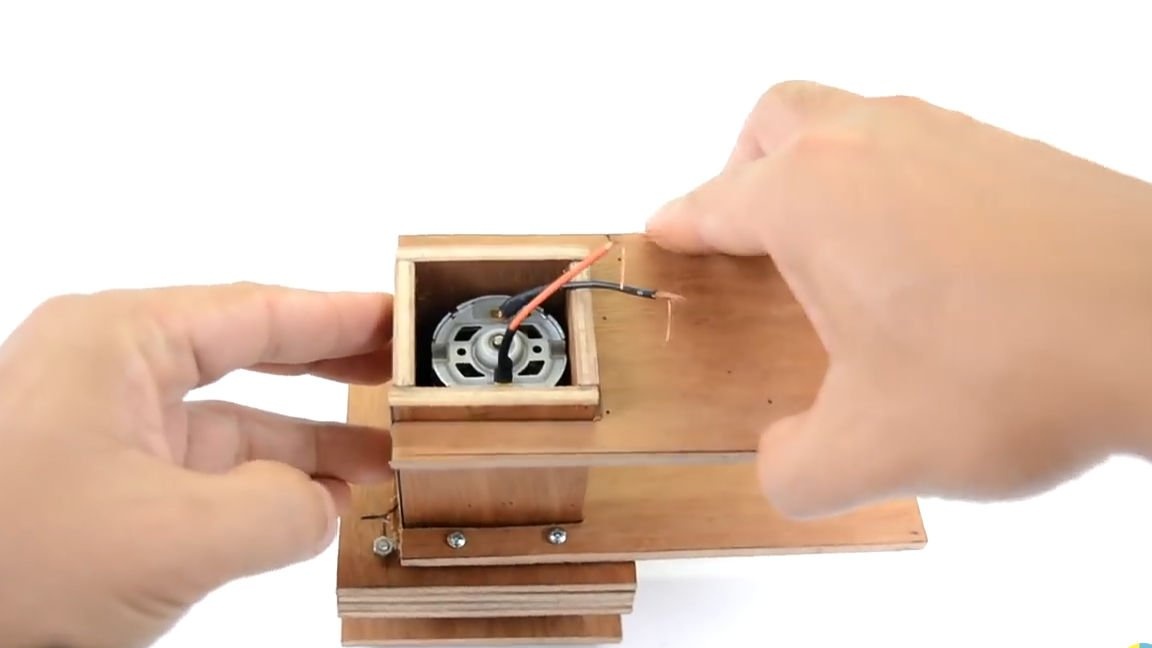
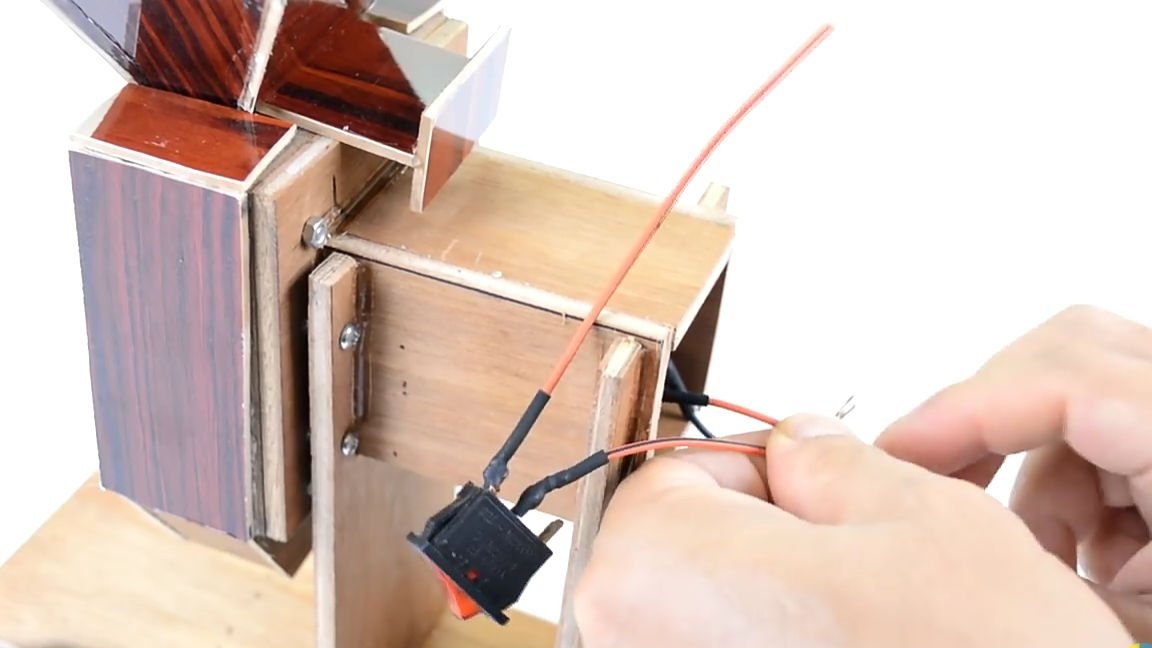
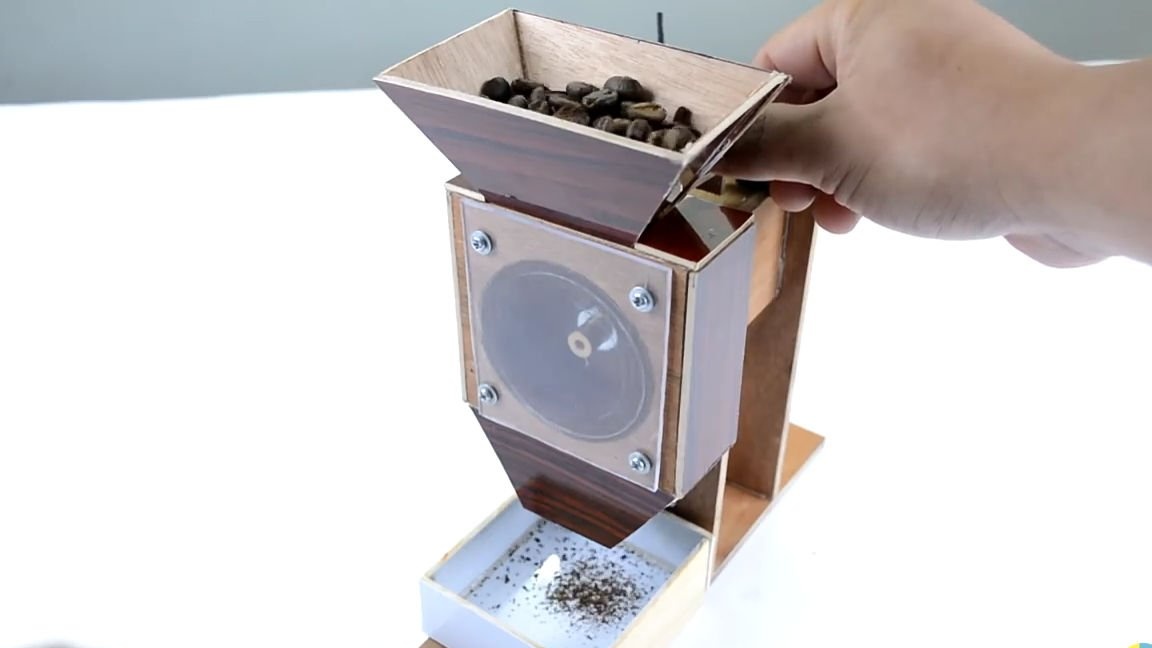
From two not large rectangular plywood elements, we will manufacture and install a damper in its place with the help of which, in turn, it will be possible to regulate the flow of grains. Well, at the end, connect and install the switch.
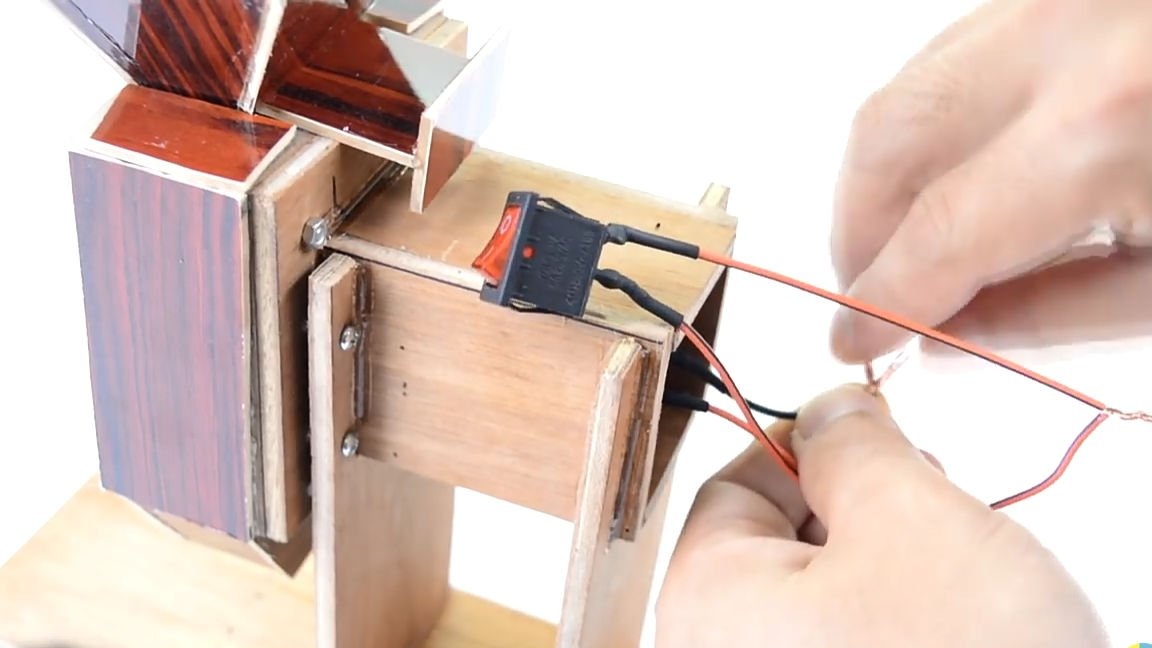
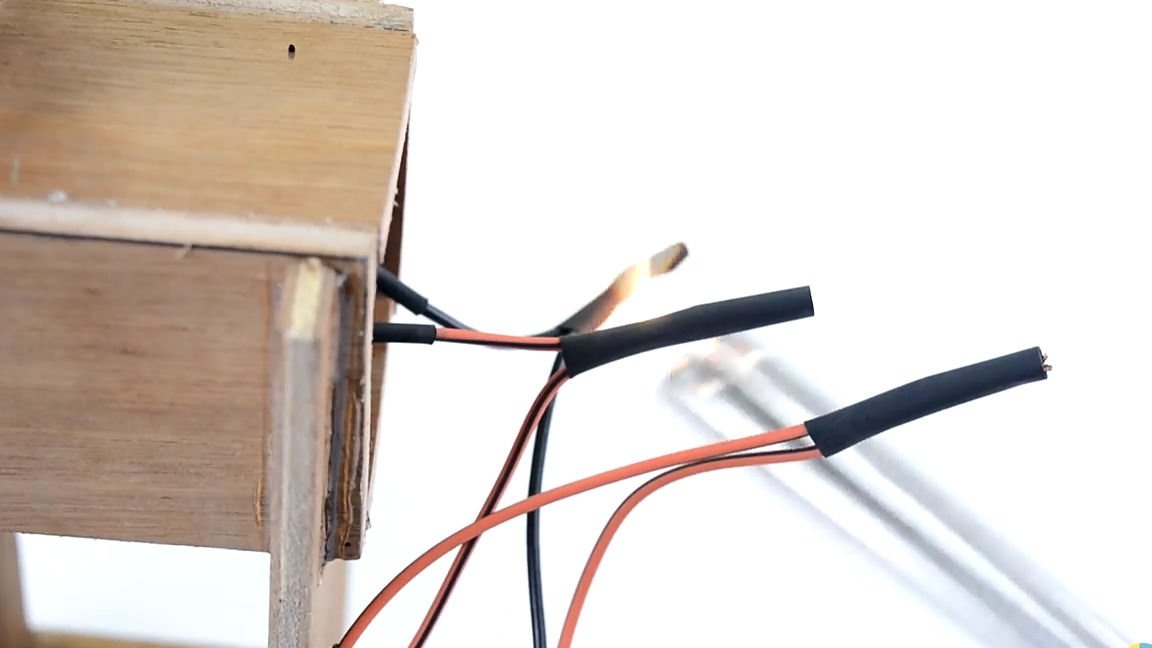
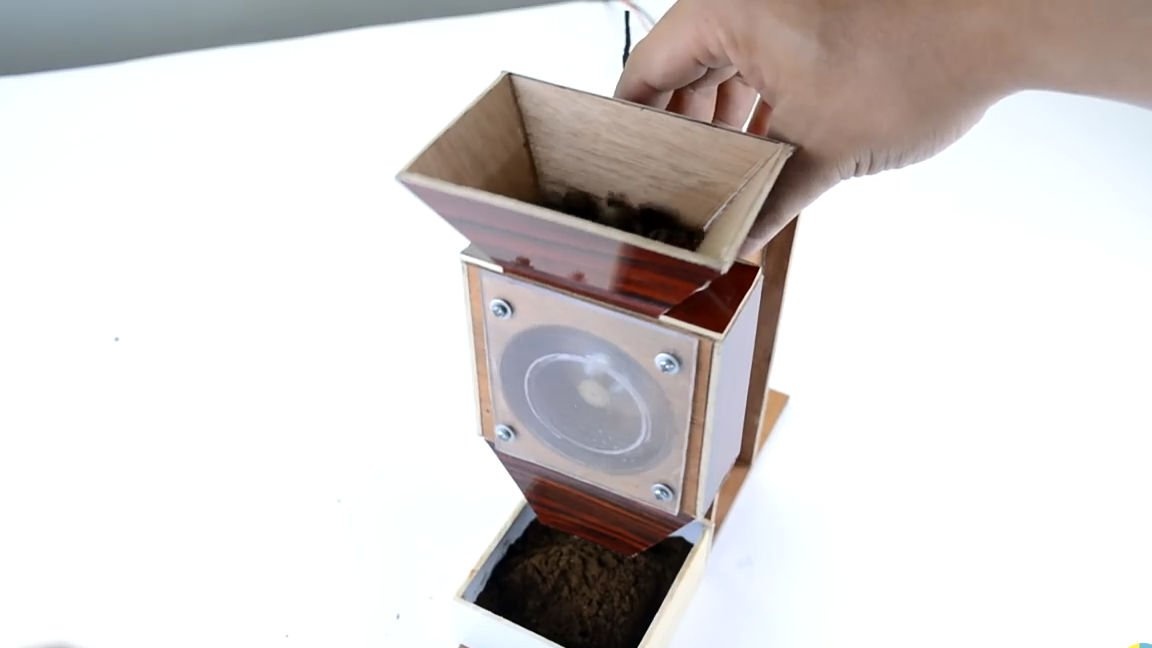
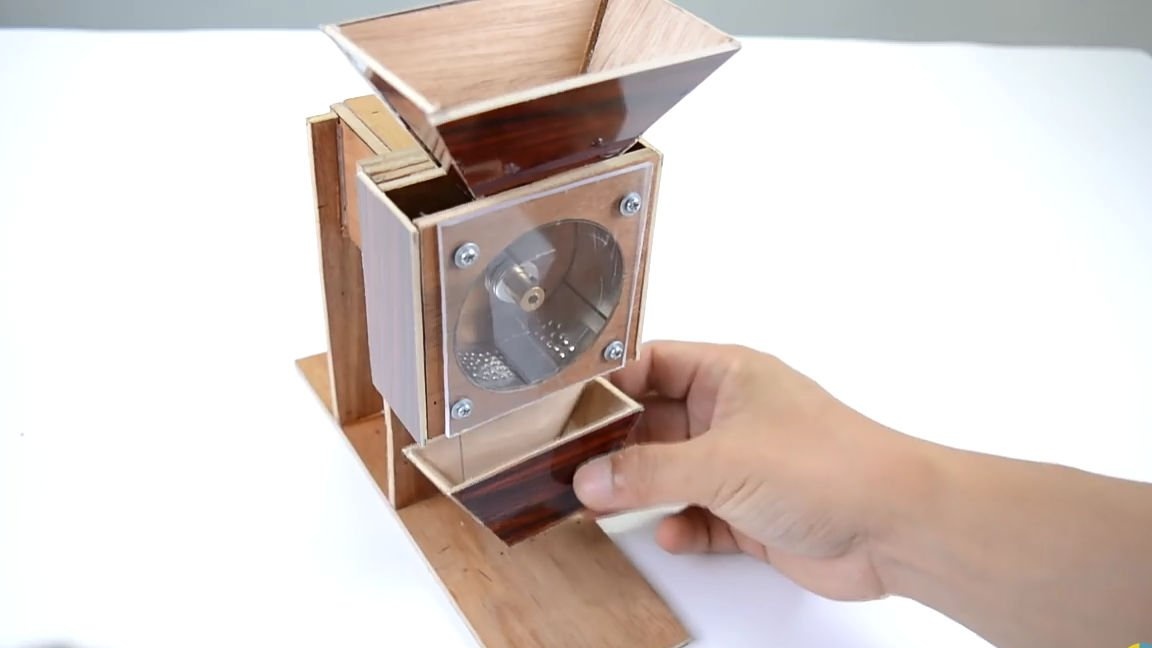
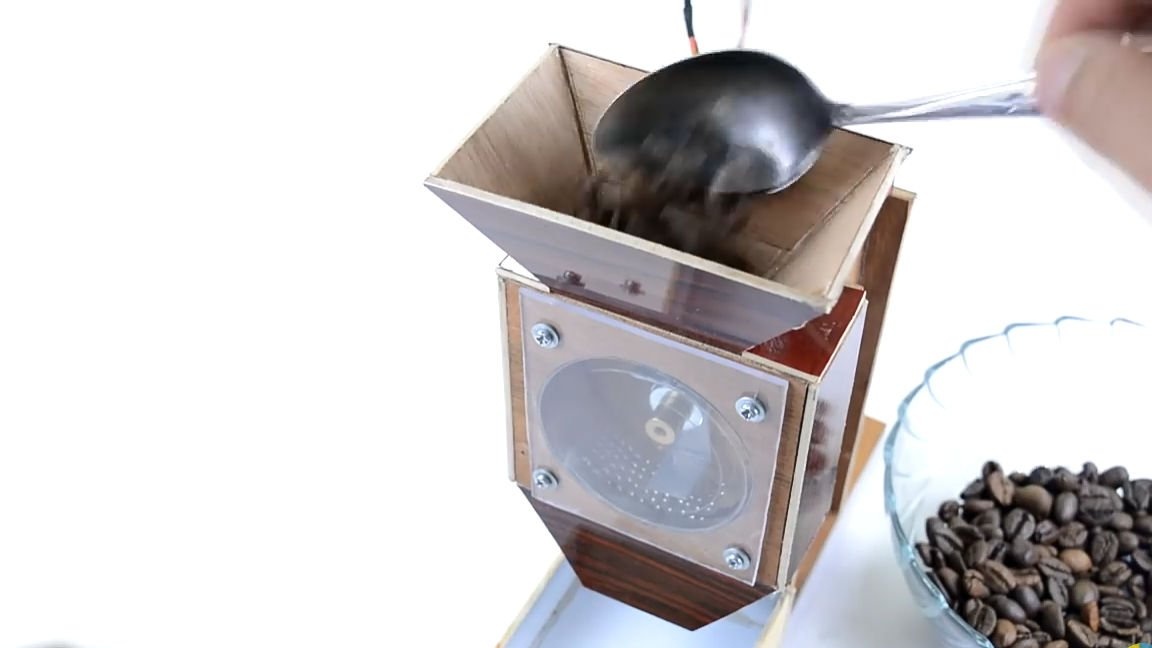
As a result, we got a very useful homemade product that can be useful to you in the kitchen more than once. It remains only to test it, for this we connect any 12V power supply (it can be either a power supply or some kind of battery). Homemade tests you can watch below.
Here is a video from the author with a detailed assembly and testing of this homemade product:
Well, thank you all for your attention and good luck in future projects, friends!