
Hello fans to craft, in this instruction we will consider how to make a large, strong and beautiful knife from an automobile spring. This metal is quite strong, so in the case of proper heat treatment, the blade will turn out to be very strong, it will be very difficult to break it. The only drawback of this steel is that the blade does not hold sharpening well, but the opinions of many masters differ on this. In general, if everything is done correctly, the knife should turn out to be of high quality.
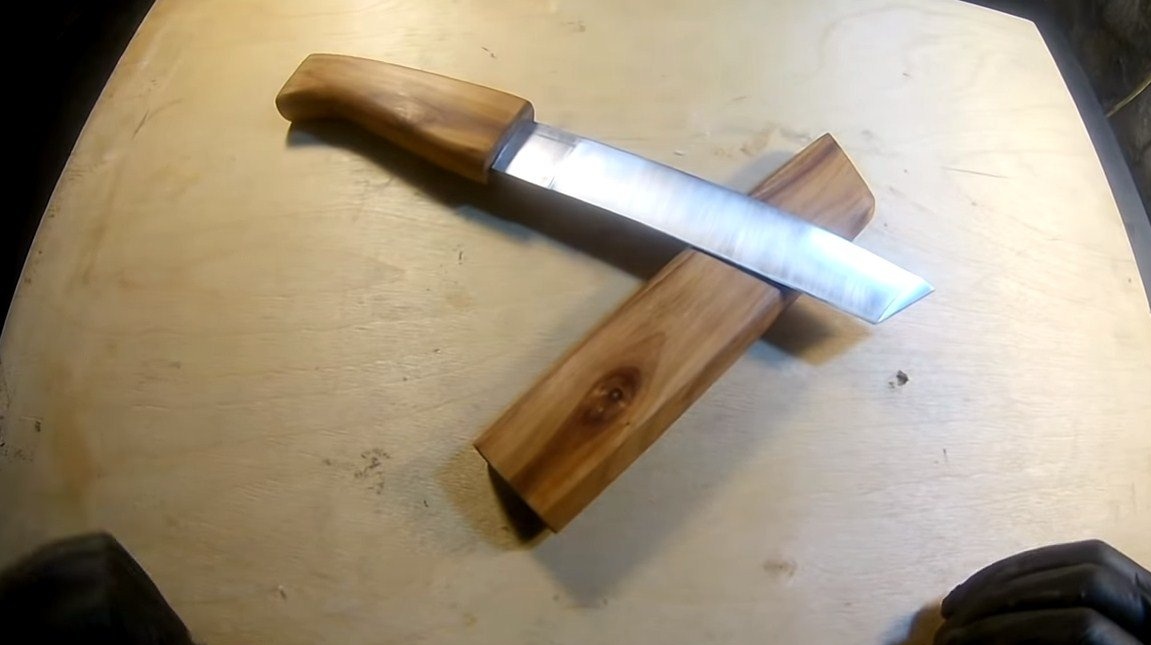
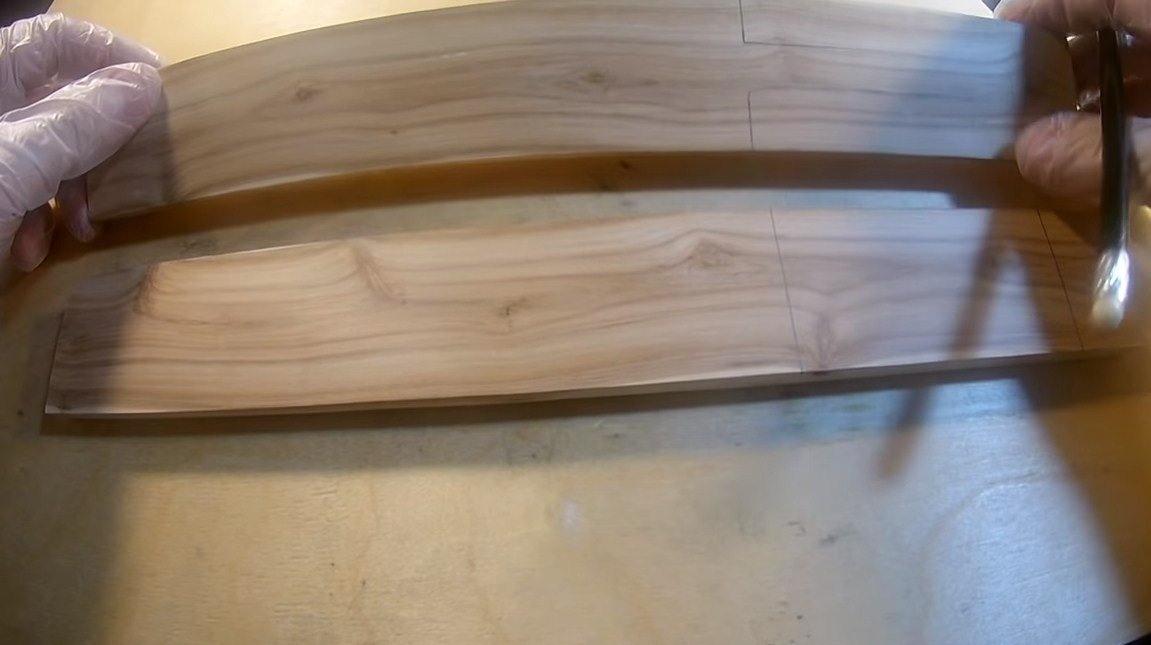
The author chose the knife design in the Japanese style, this is a cleaver knife, it is convenient for them to chop. The knife is distinguished by its sheath made of wood; the author used apricot as wood. Everything looks pretty pretty. If the project interests you, I propose to familiarize yourself with it in more detail.
Materials and tools used by the author:
Material List:
- car spring;
- boards for scabbard and handles;
- epoxy adhesive;
- small neodymium magnets;
- oil for wood impregnation.
Tool List:
- belt sander;
- vise;
- grinder;
- blacksmith furnace, oil, magnet (for hardening);
- domestic oven (for holidays);
- drill;
- sandpaper of different grain size;
- clamps.
The process of making a knife:
Step one. Cut the main profile
First of all, we clean the spring from rust, because this steel likes to rust. If the spring has a curved shape, it must first be leveled. To do this, you need to anneal the metal - to heat it and let it gradually cool in air. After that, the workpiece can easily be leveled with a hammer.
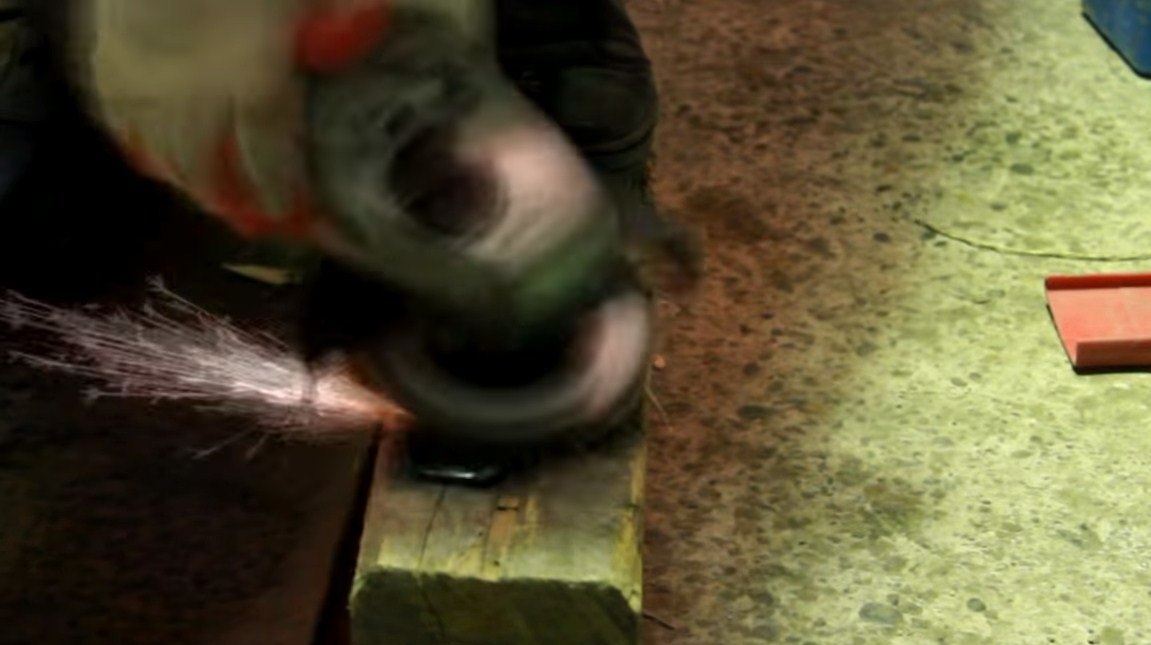
Well, then we transfer the template to the workpiece and cut out the primary profile. For cutting, the author used a grinder. It is advisable not to overheat the metal if it begins to turn blue, which means that the former strength of the steel in this place may be lost.


Step Two Grinding and beveling
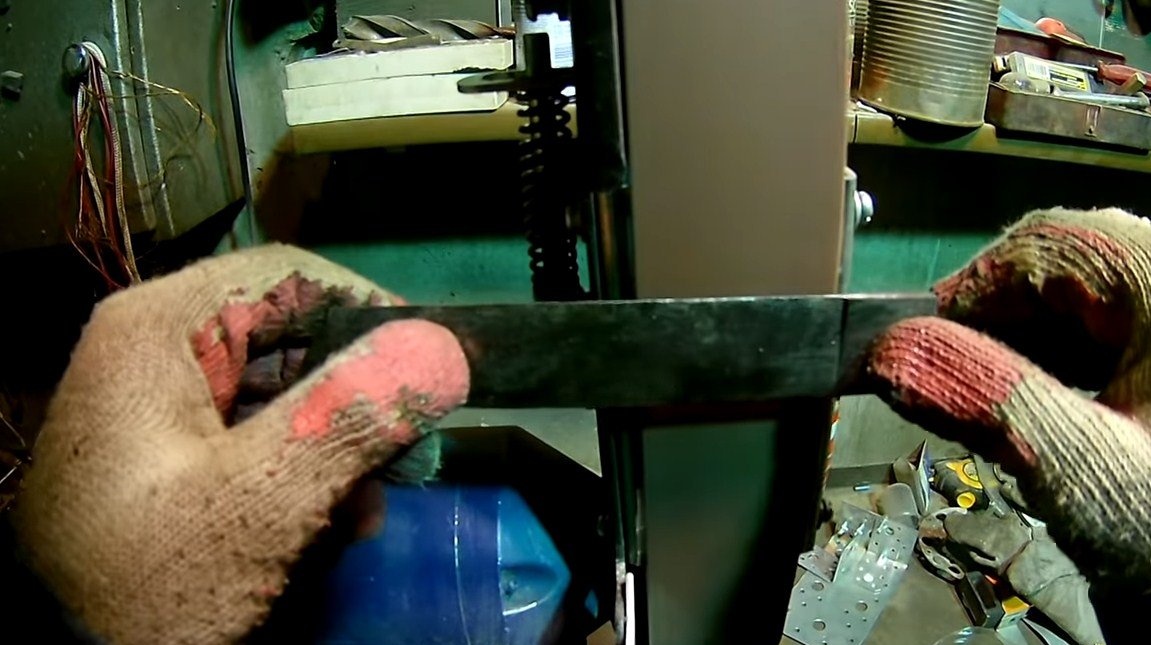
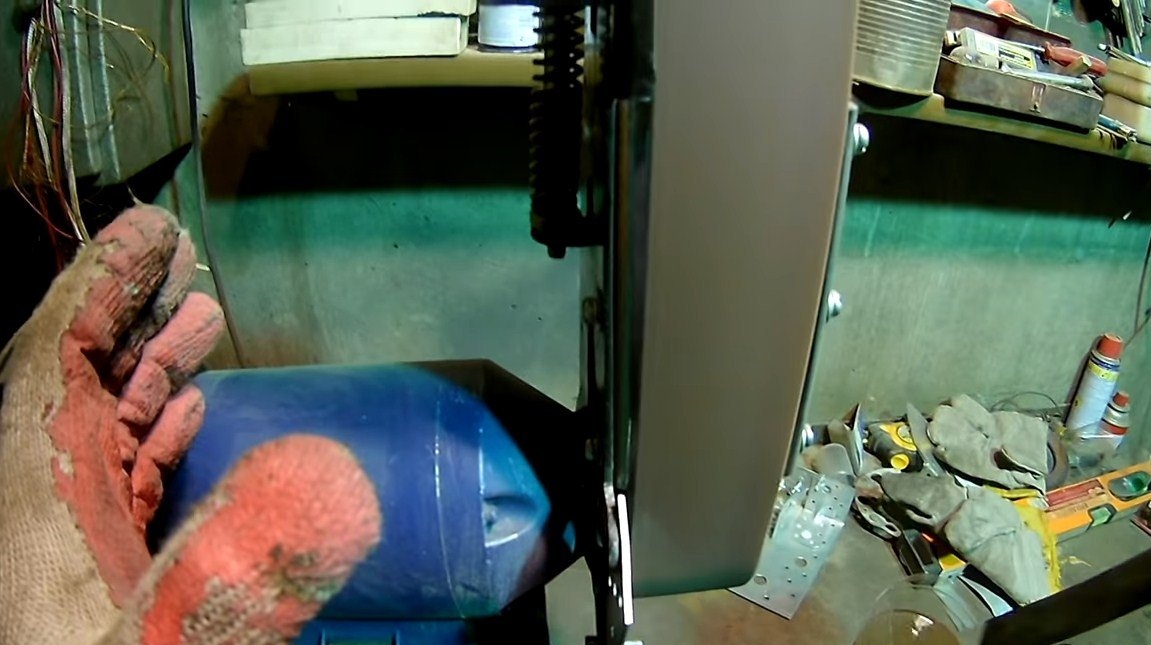
Well, then we proceed to the processing of the blade on a belt grinder. Finally, we refine the profile of the blade, and also grind it to a shiny surface. When the profile of the blade is finished, you can go to the bevels.
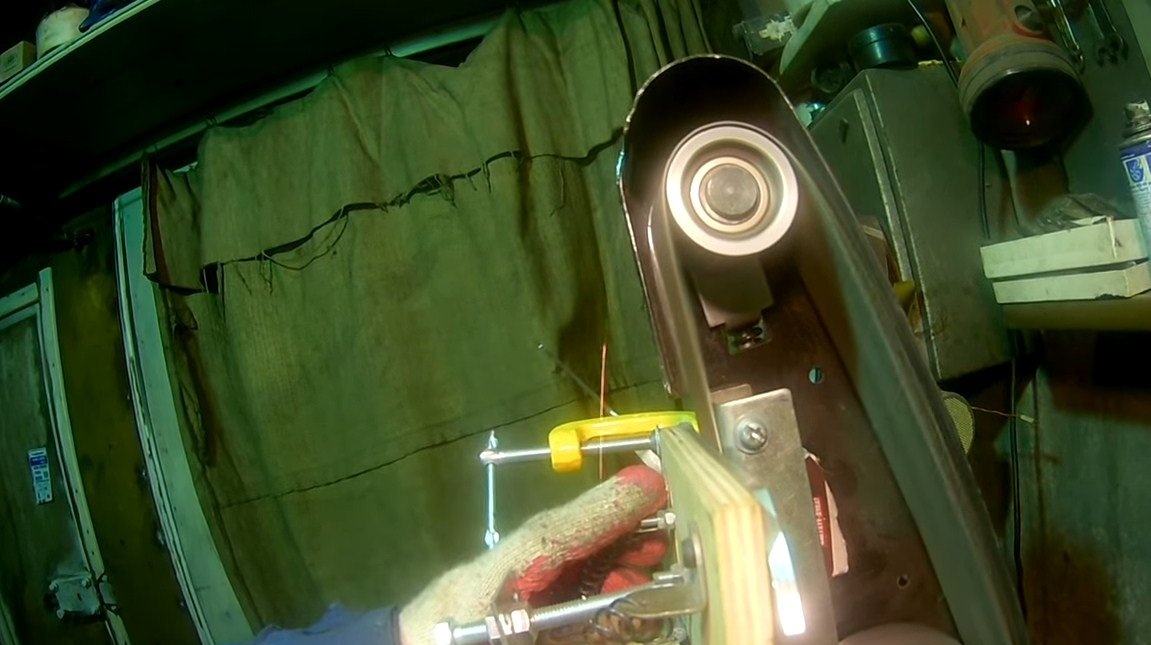
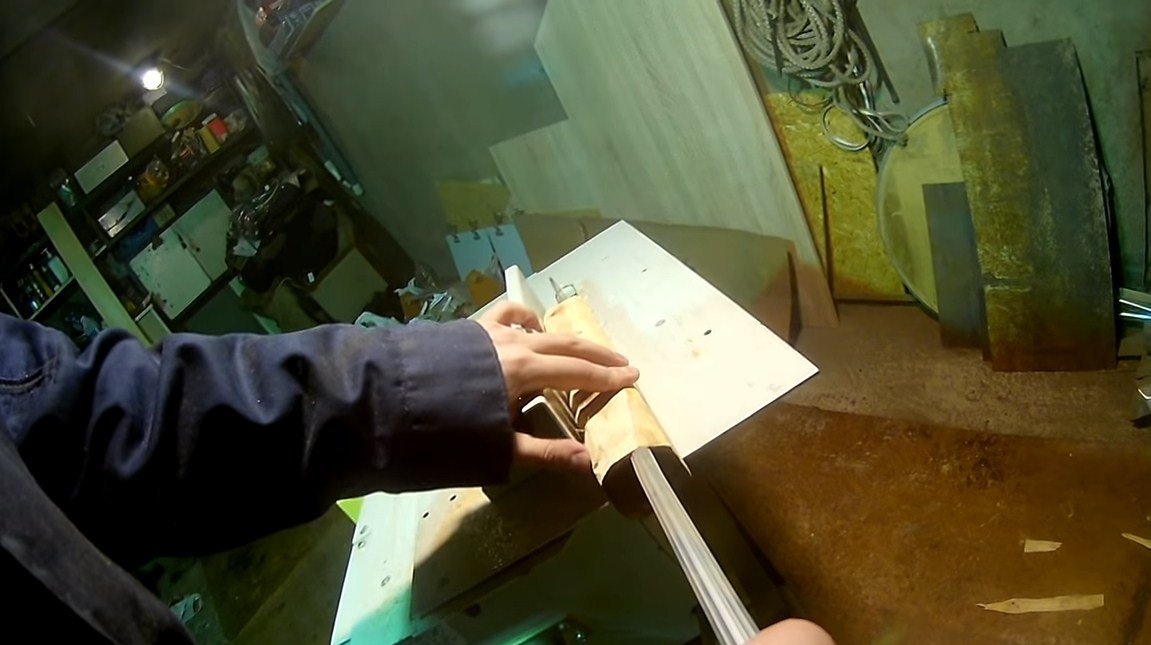
The author makes slopes or descents by eye, not marking anything. But if you are doing this for the first time, it is recommended that you first place everything. Our metal is quite thick, so grinding it will not be so simple, and the blade will be heated quite strongly. Here we need a special holder in which you can fix the blade and bring it at a certain angle to the sanding belt.Usually they are homemade by masters, someone makes them from a steel corner, and someone from plywood, like our author. After this, the main work on processing the blade can be considered finished.
Step Three Heat treatment
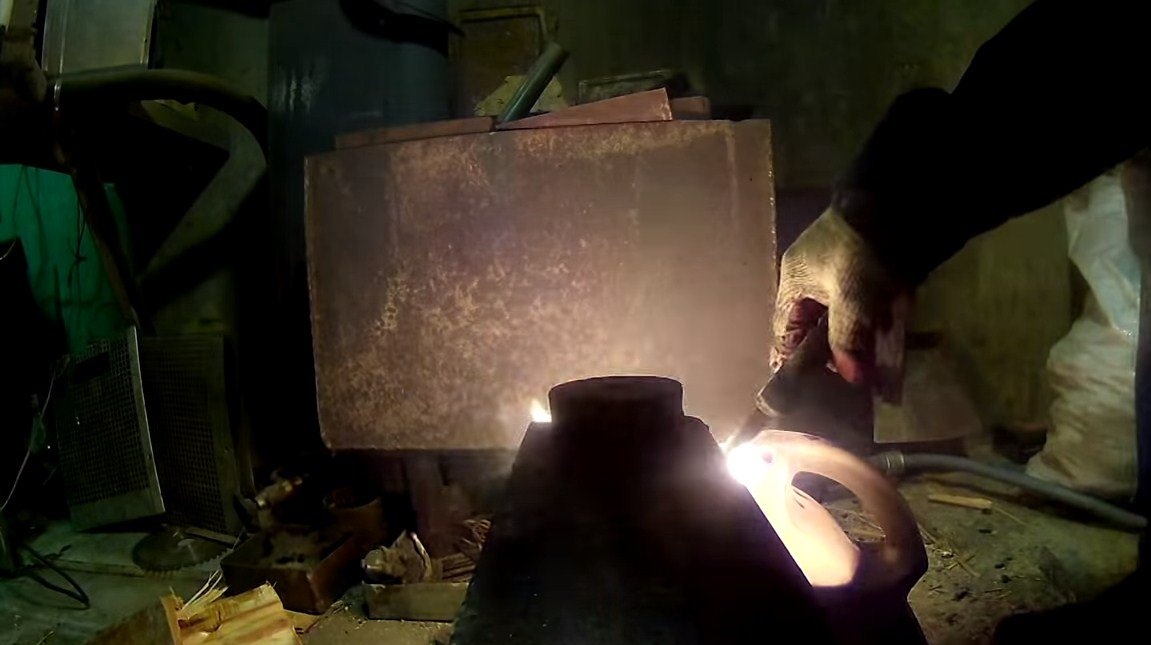
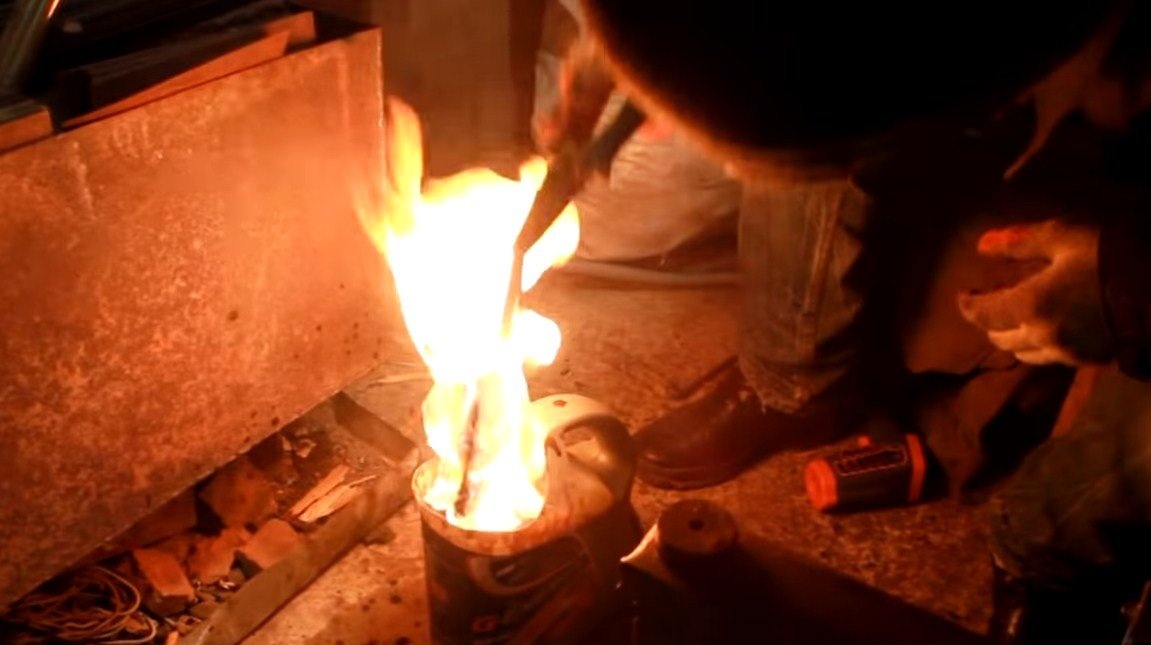
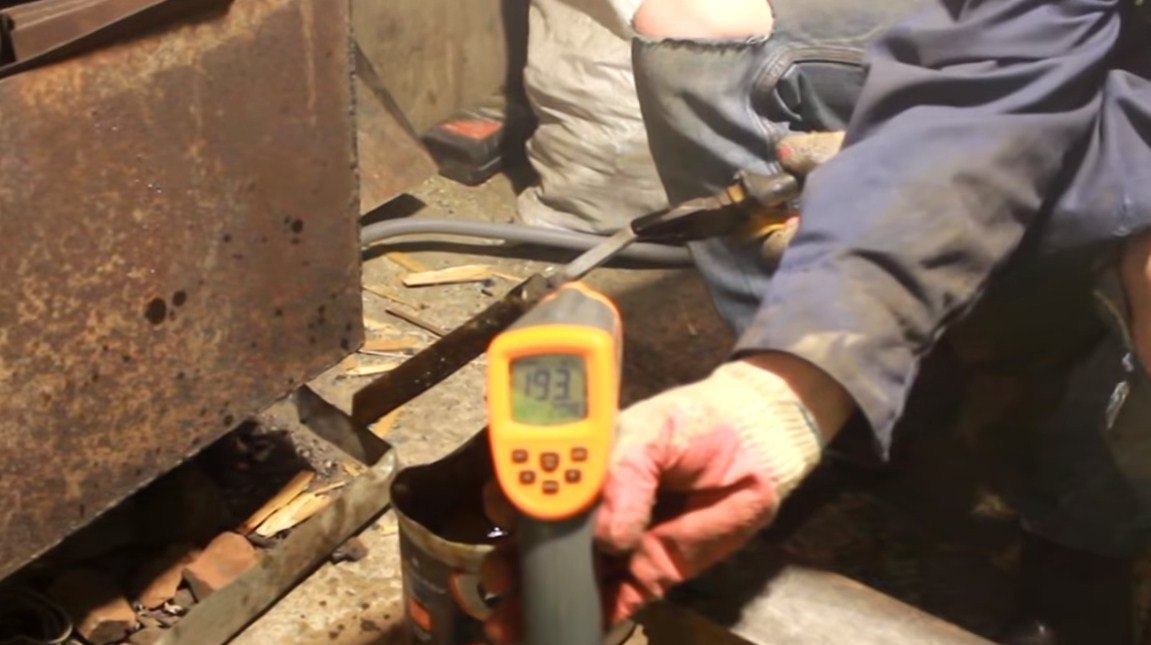
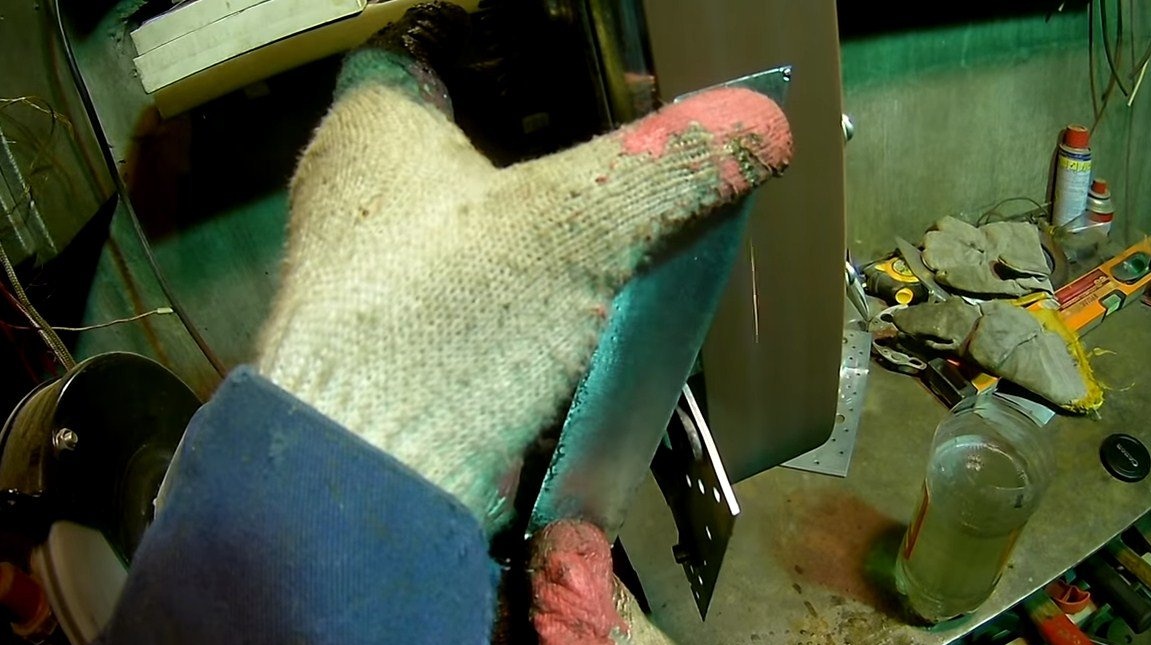
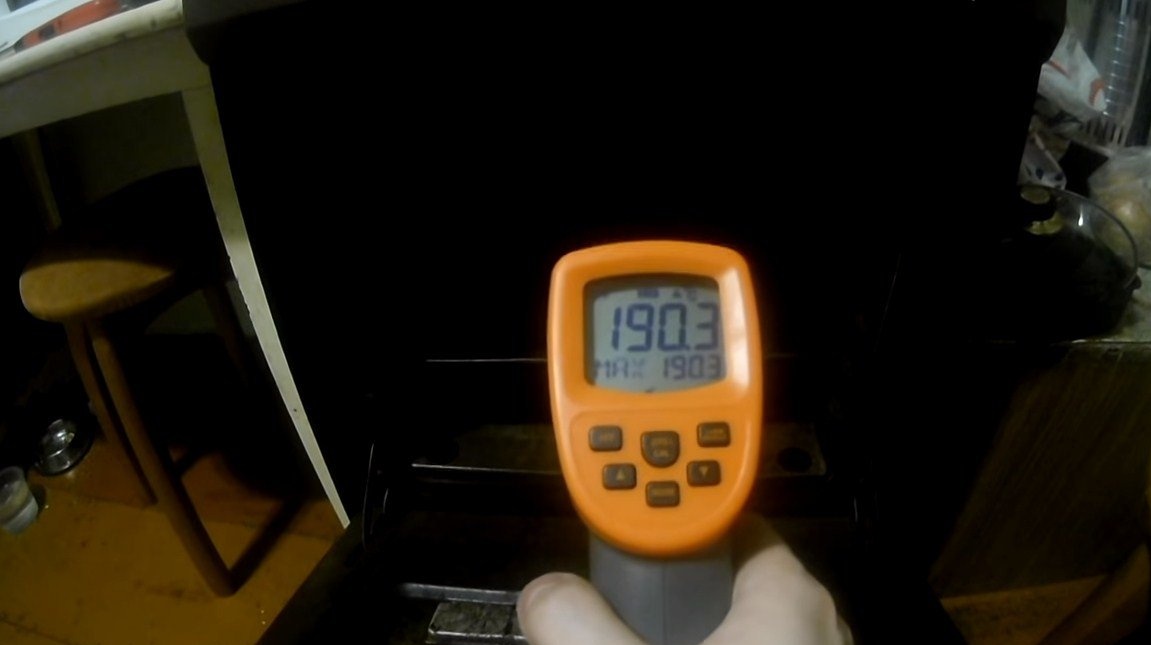
Next, we proceed to the hardening of the blade, after hardening we get a blade of the highest possible hardness. But after that it will be very fragile, so treat it carefully. For hardening, we heat the blade in the furnace to a red glow and bring it to the magnet, which the author has securely mounted on the table. If the blade does not magnetize, then the quenching temperature has been reached. Dip the blade in oil and cool to a temperature of 200 ° C. To catch this moment, the author uses a laser thermometer.

After hardening, we clean the blade from scale and wrap it with foil. This is followed by a procedure called vacation, it will make the metal a little softer, it will begin to spring and the metal will no longer be brittle. Here we will need an oven, the temperature should be about 200 degrees Celsius. It takes about an hour to warm the blade, and since our blade is quite massive, it may take more time. Usually, when tempered, the metal becomes a straw color.
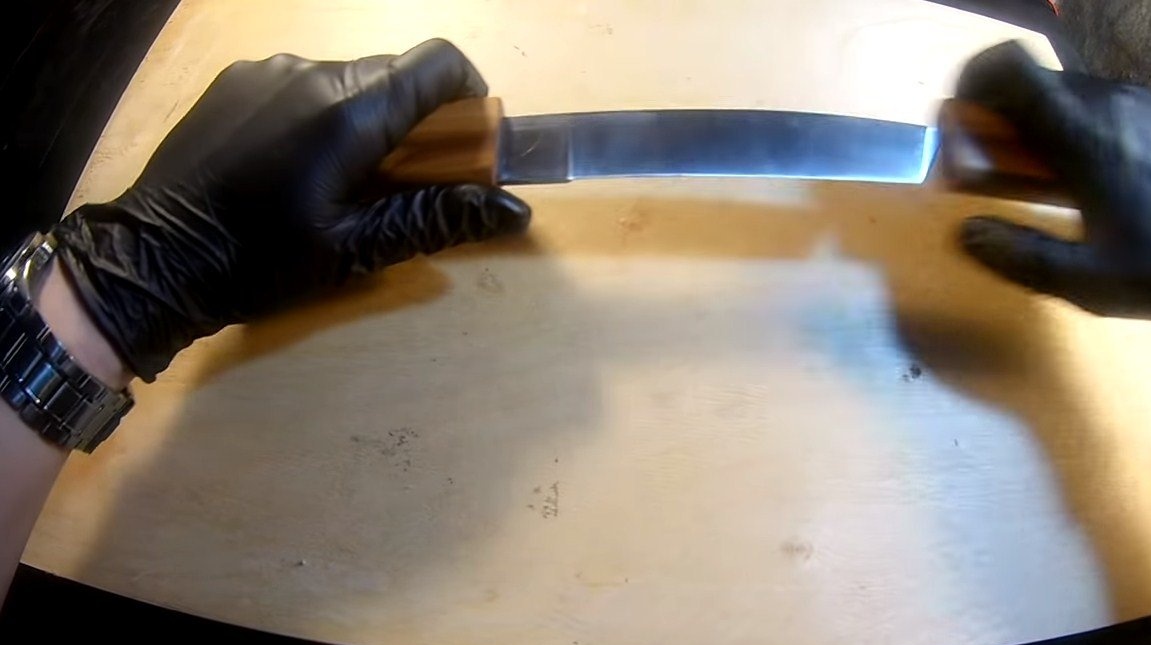
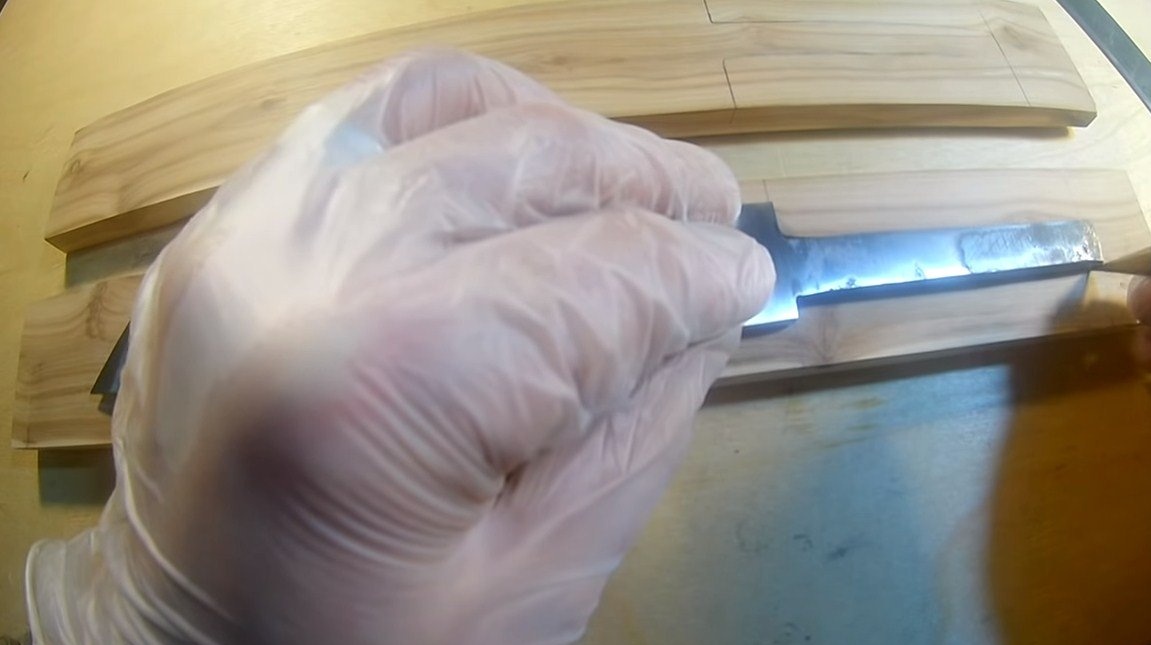
Step Four Grinding
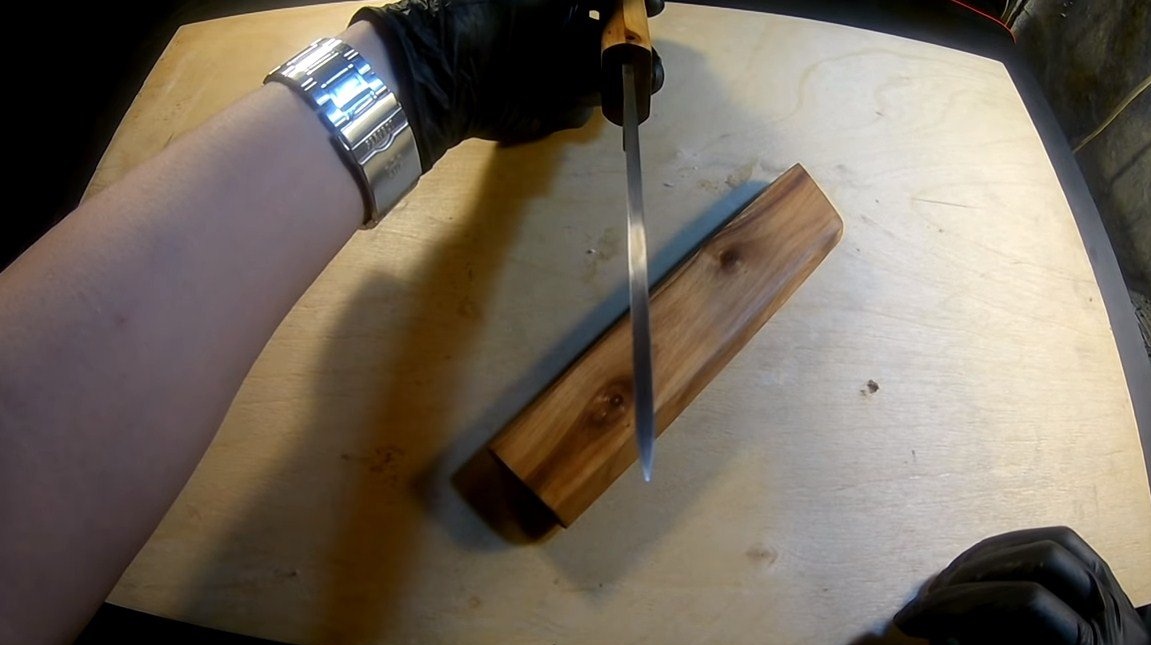
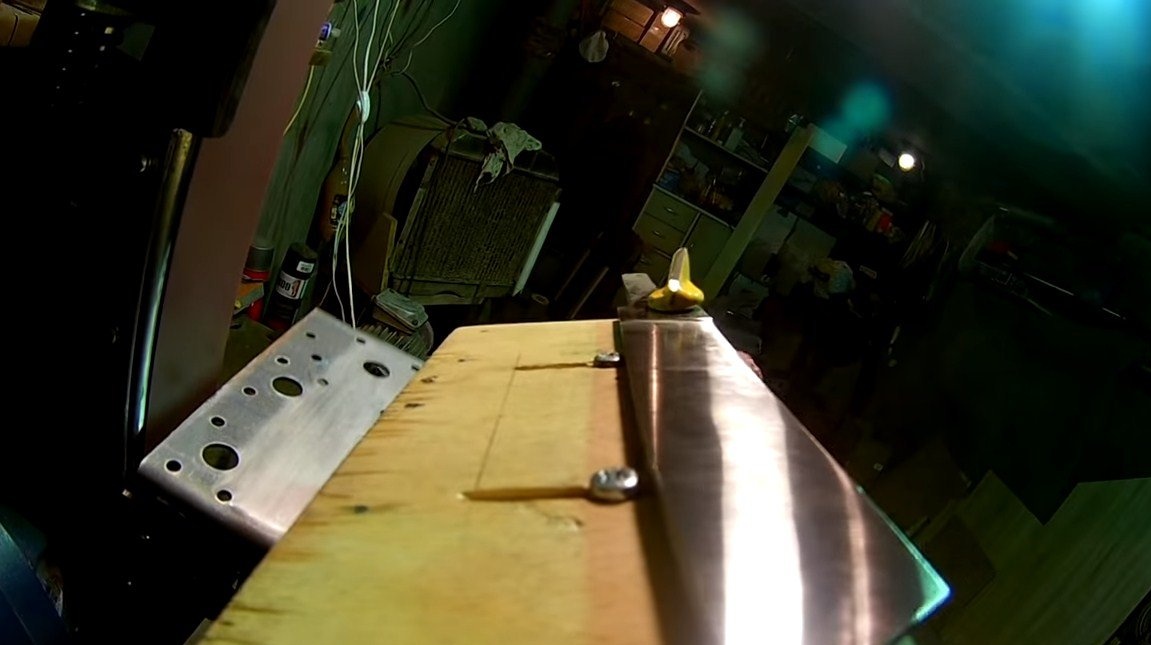
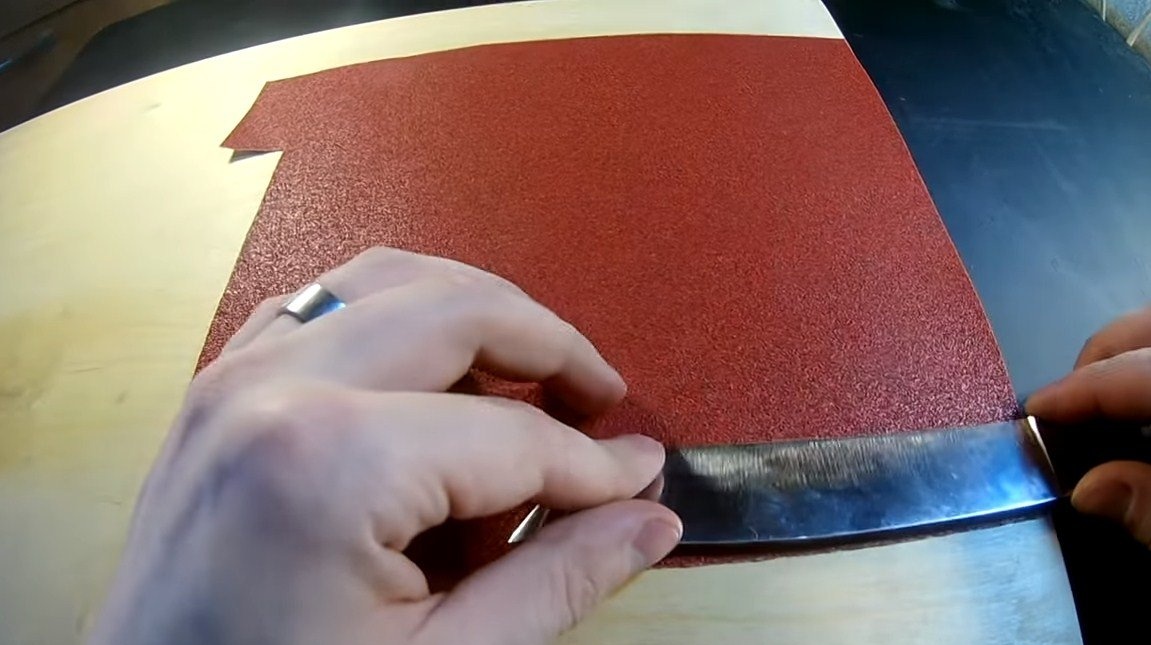
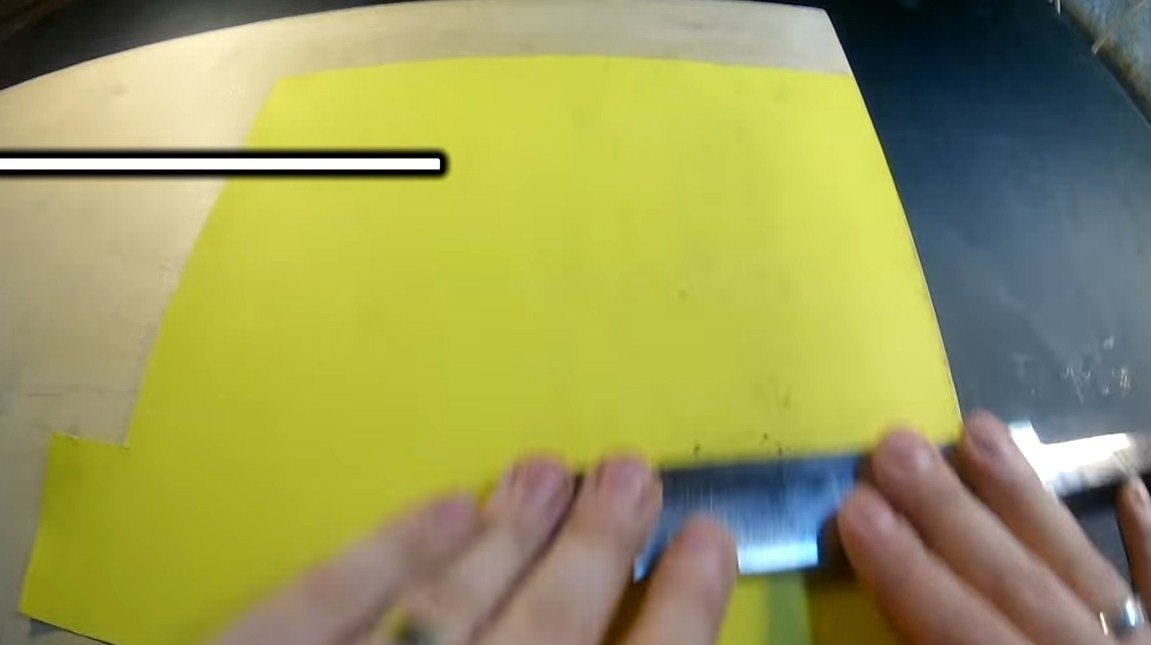
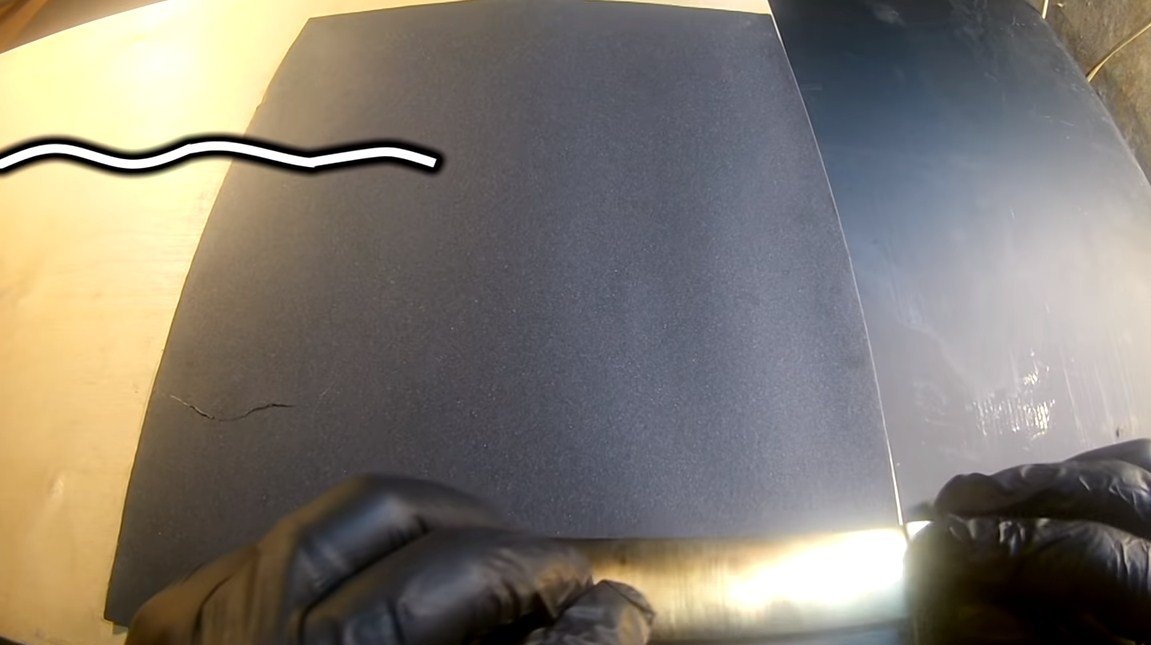
After heat treatment, we proceed to finishing grinding, the author works manually using sandpaper of different grain sizes. If desired, the metal can be brought to a mirror finish, this can be achieved by processing with very fine emery and subsequent polishing.
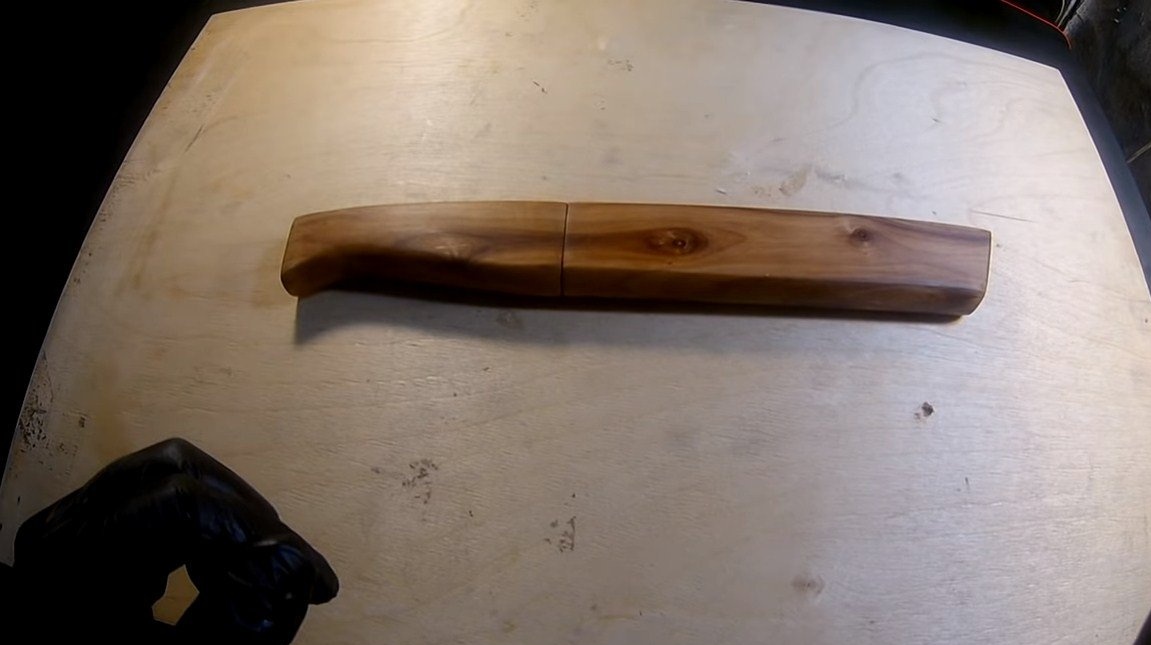
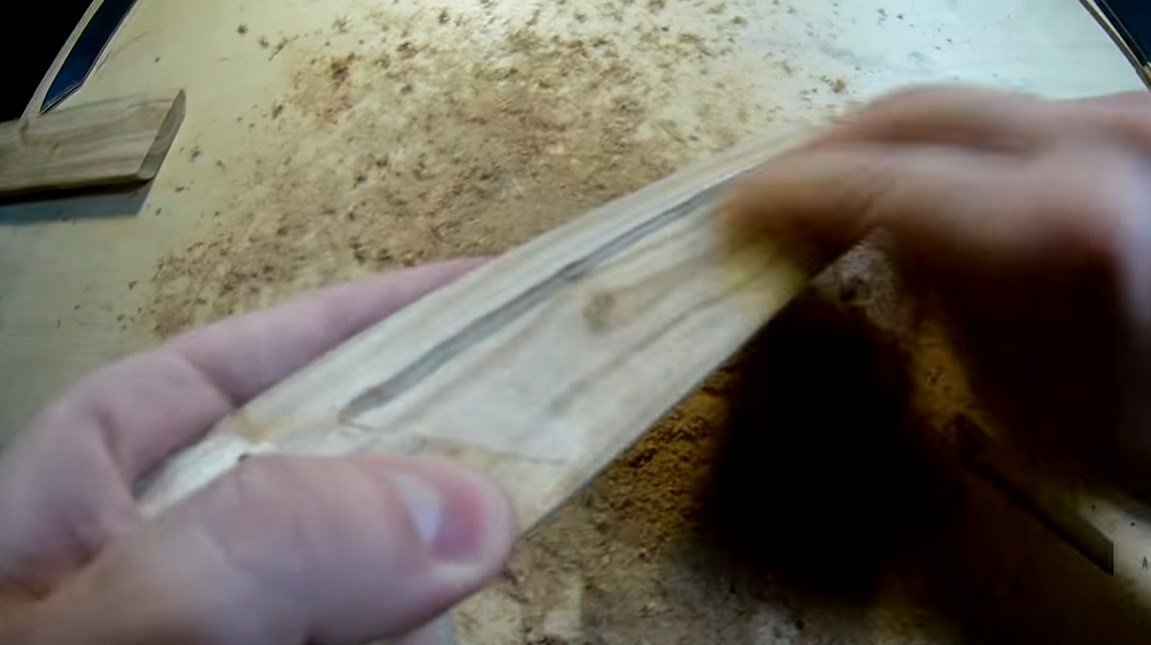
Step Five Scabbard
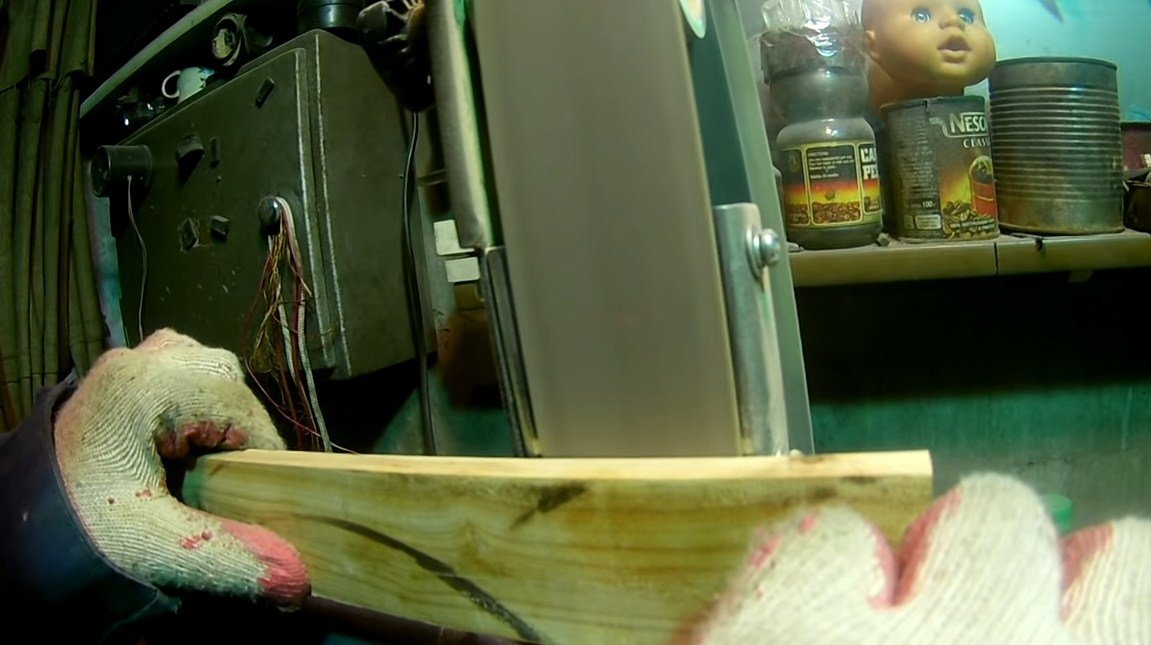
We will make a sheath for the knife, here we need two boards of suitable thickness, and if you have a circular machine, you can simply dissolve a suitable board into two parts. We grind the parts well, they must fit snugly together. The author used apricot as a material; wood has an interesting color and texture.
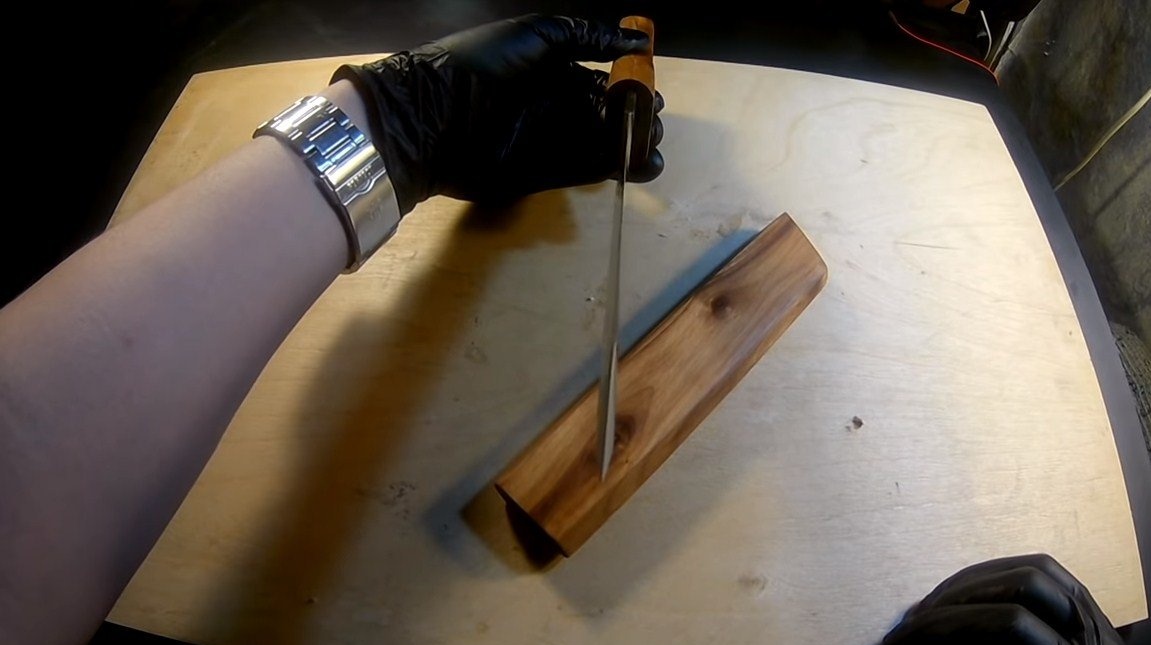
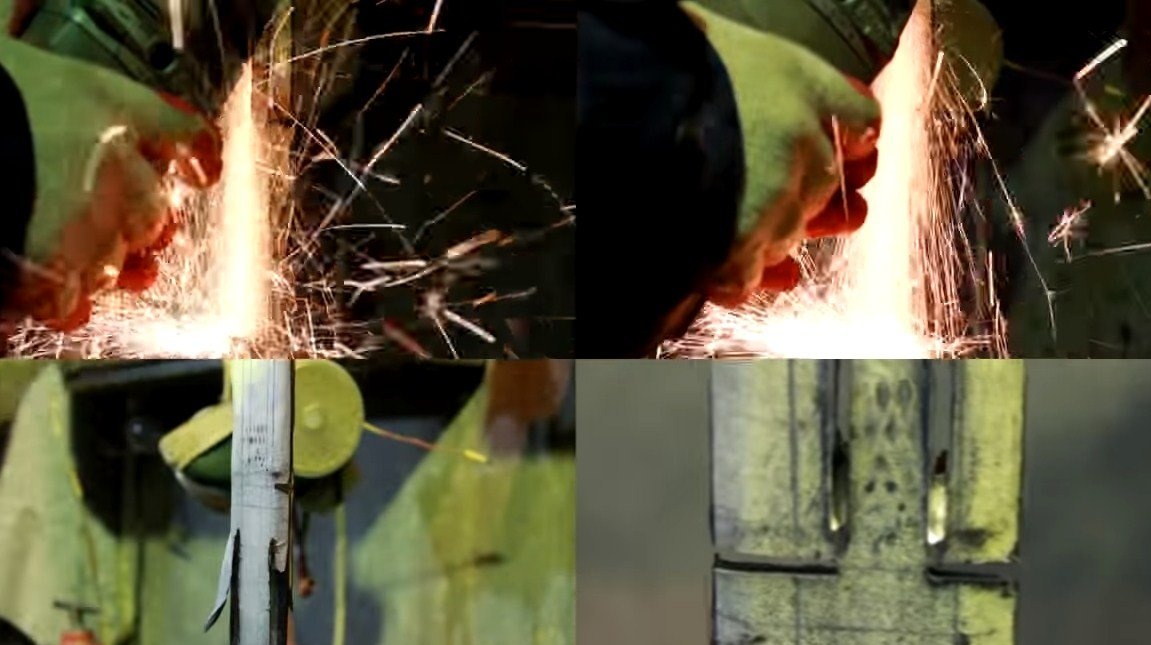
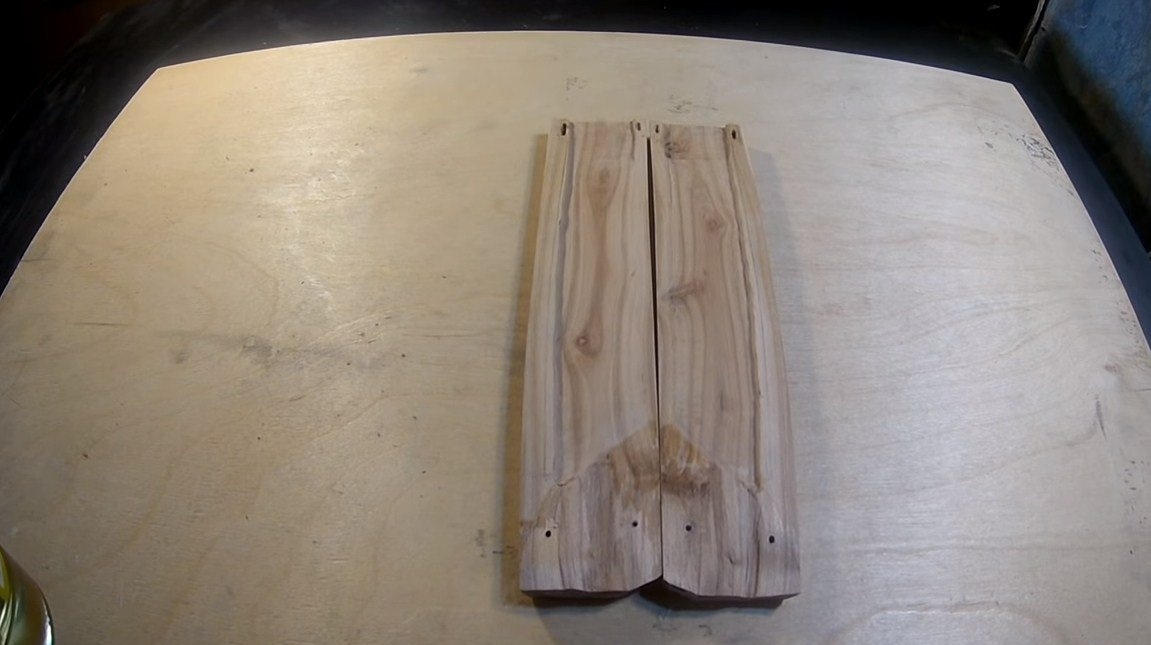
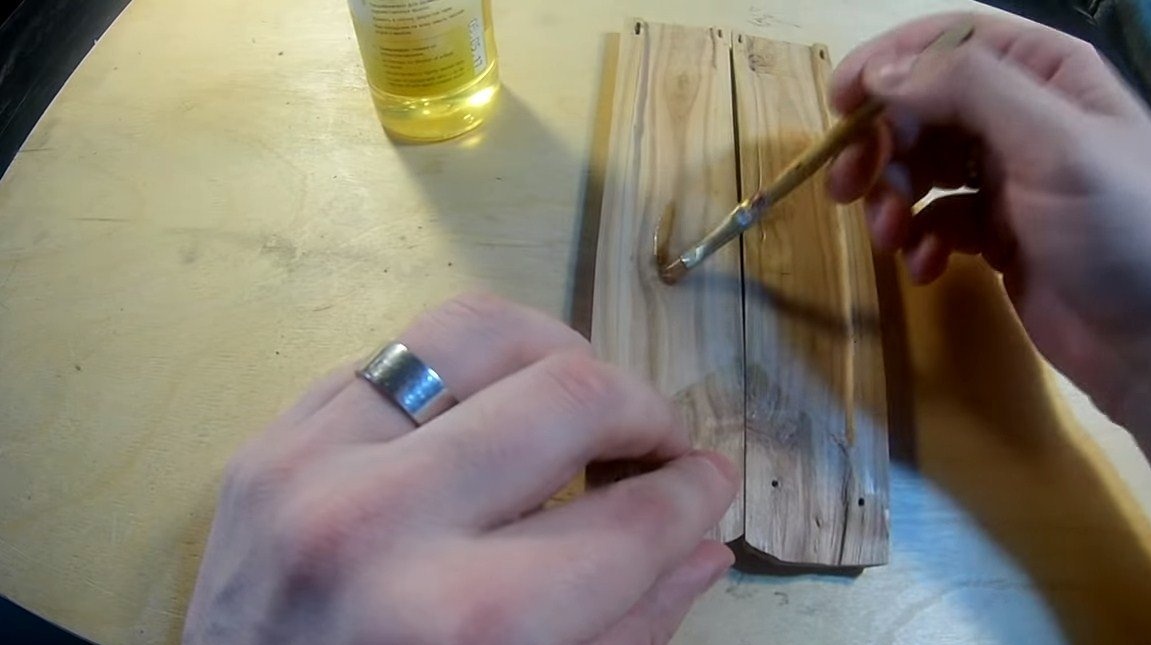
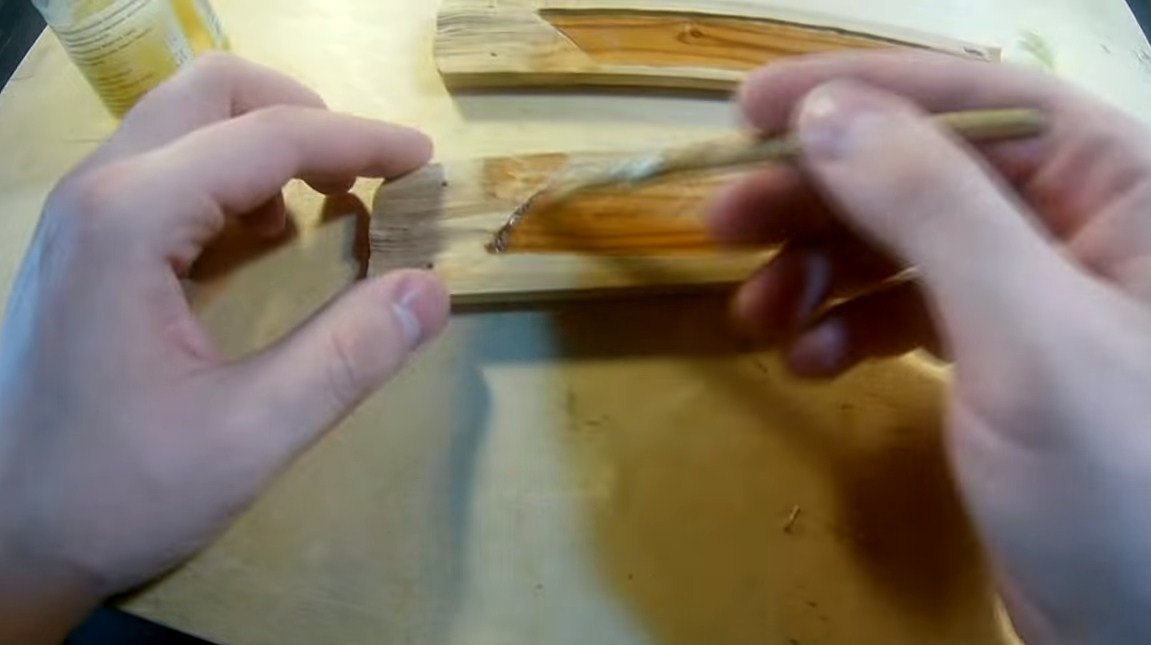
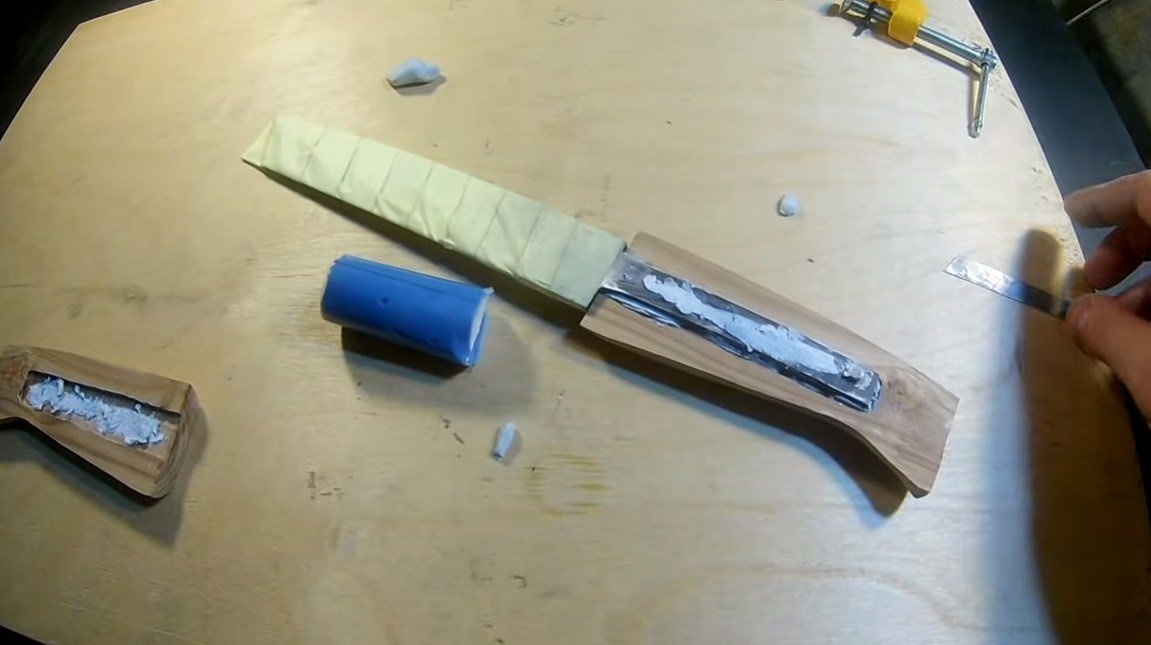
We attach the blade, circle and cut out the recesses with a drill. Then these places need to be polished well so that the blade does not scratch on the protrusions inside the scabbard. We also impregnate the inside with oil, otherwise, if water gets into the scabbard, the wood will swell and the scabbard will become unusable. But avoid getting oil on glued surfaces.
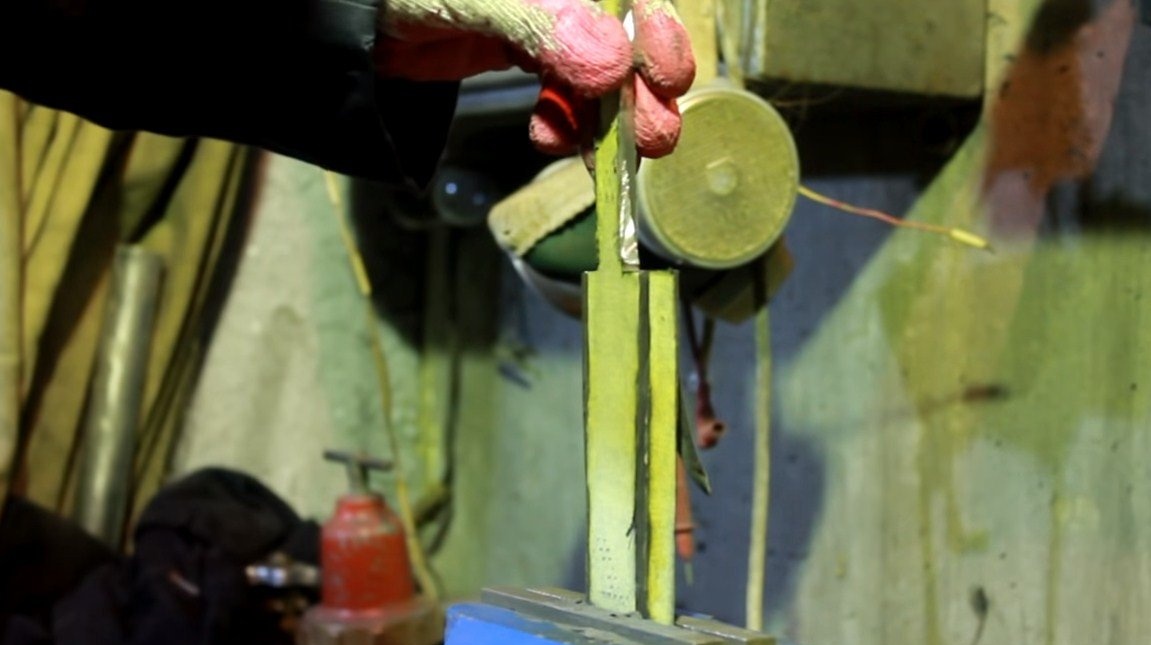
In the end, everything is glued together well with epoxy glue. The author strengthens the front of the scabbard by drilling grooves there, an epoxy will come in and reliably connect the parts.

Step Six A pen
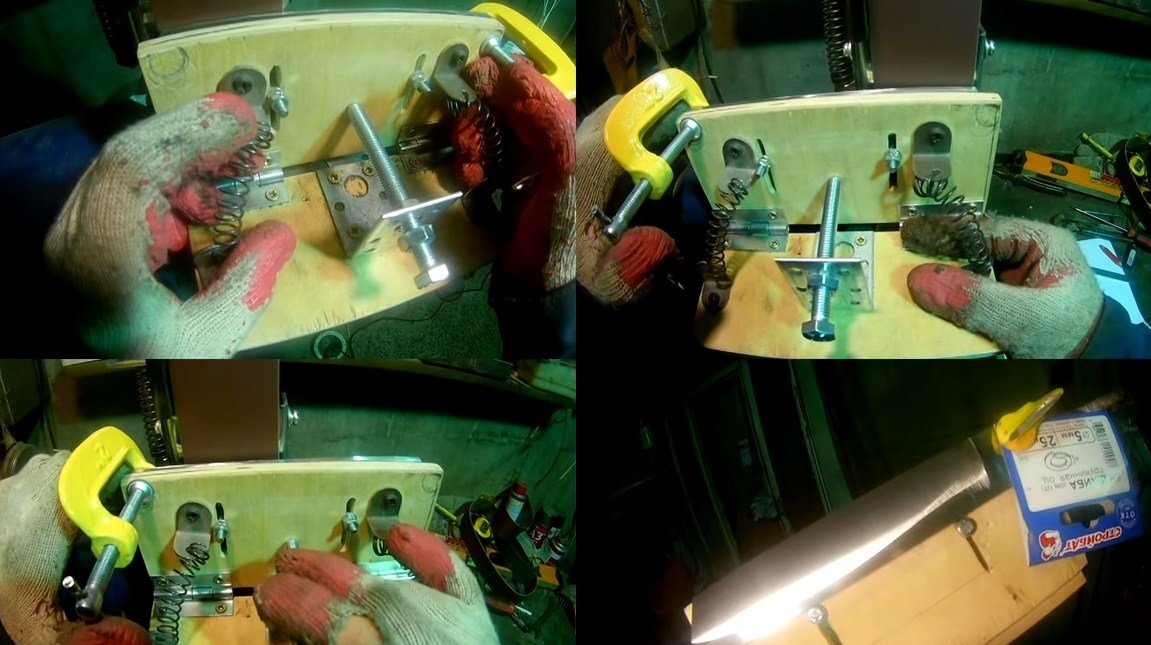
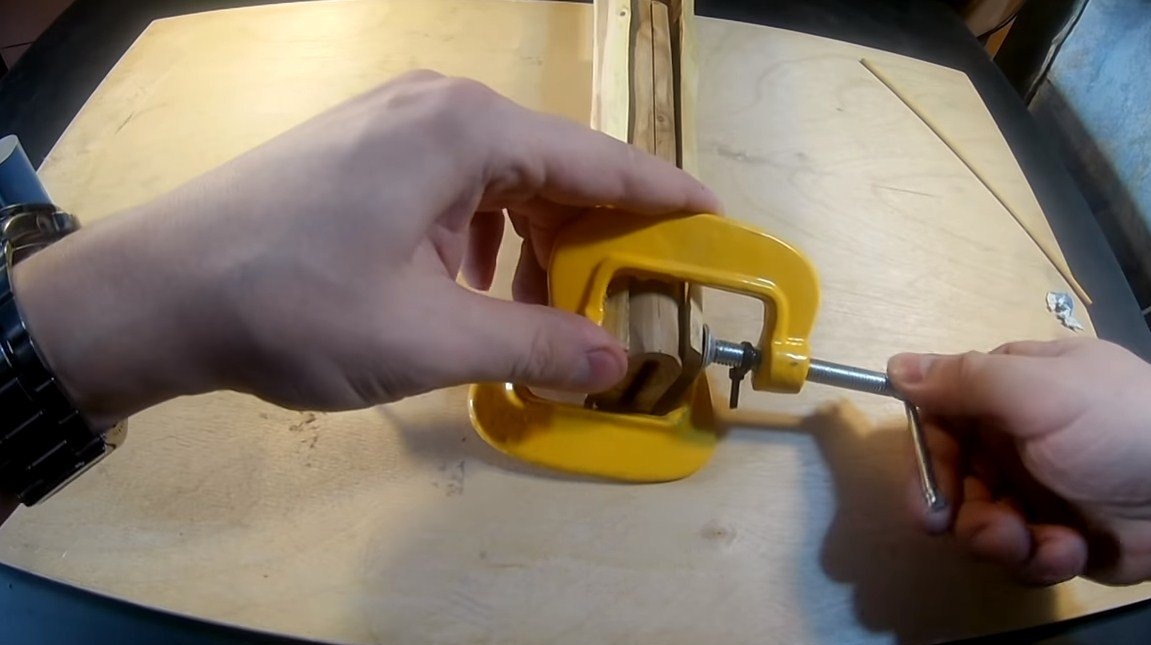
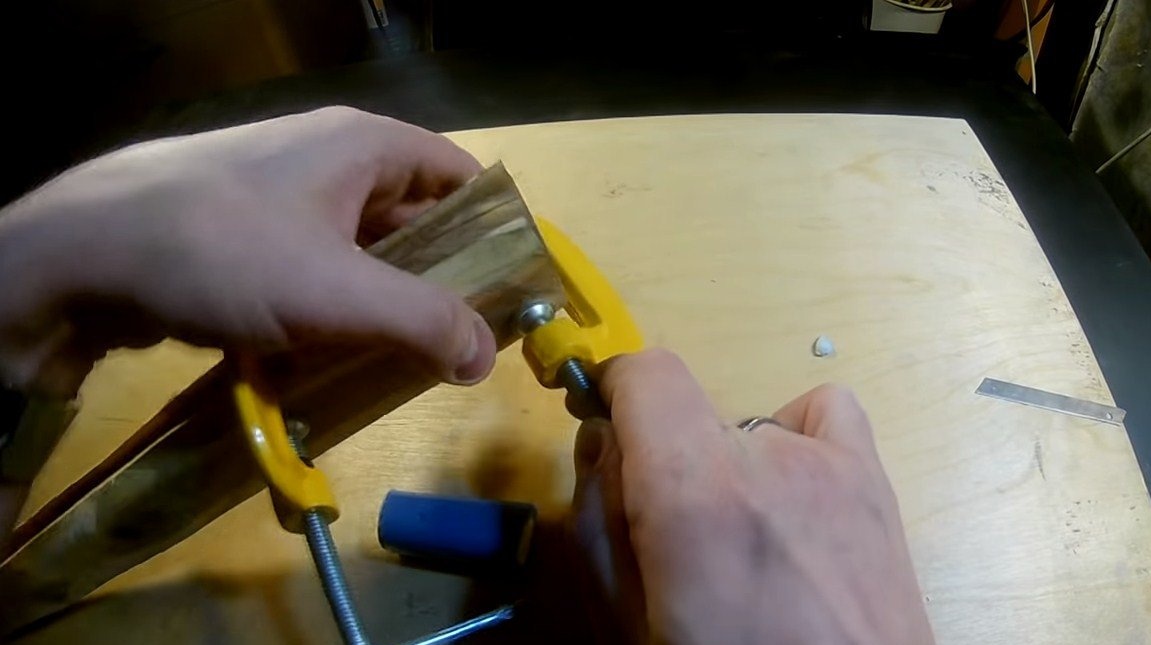
The handle is made in the same way, we make two parts and glue it with epoxy with an installed blade. At the end of the shank, the author drilled a hole and inserted a piece of a self-tapping screw, a kind of pin was obtained that would not allow the blade to pop out of the handle. We clamp everything with clamps and let the glue dry.
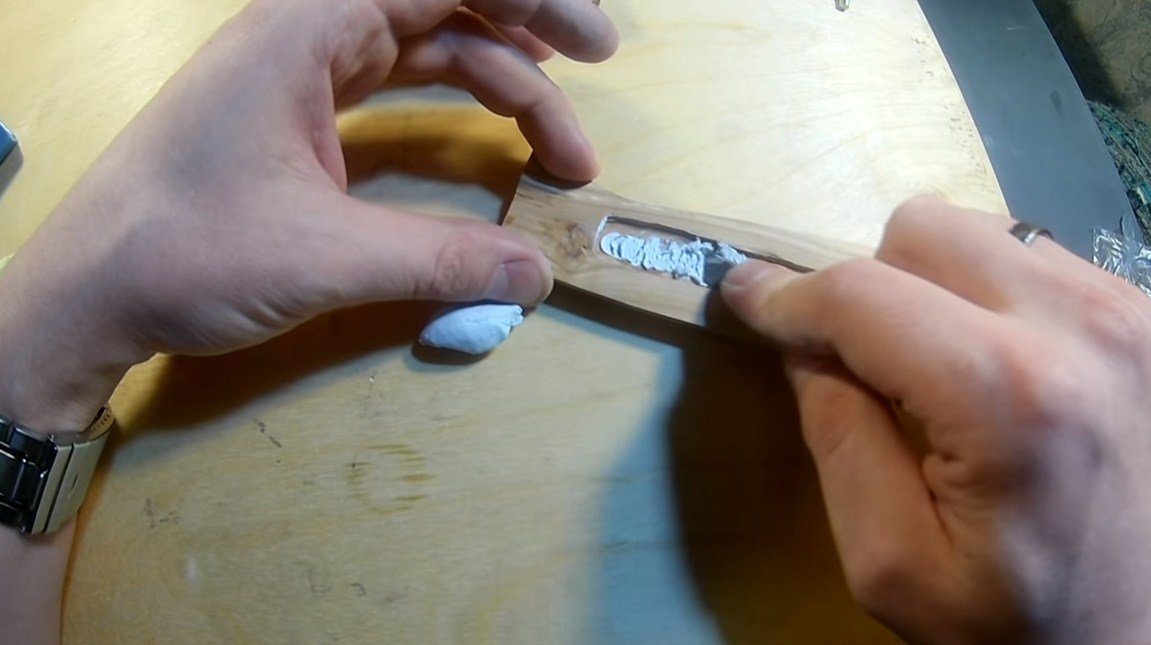
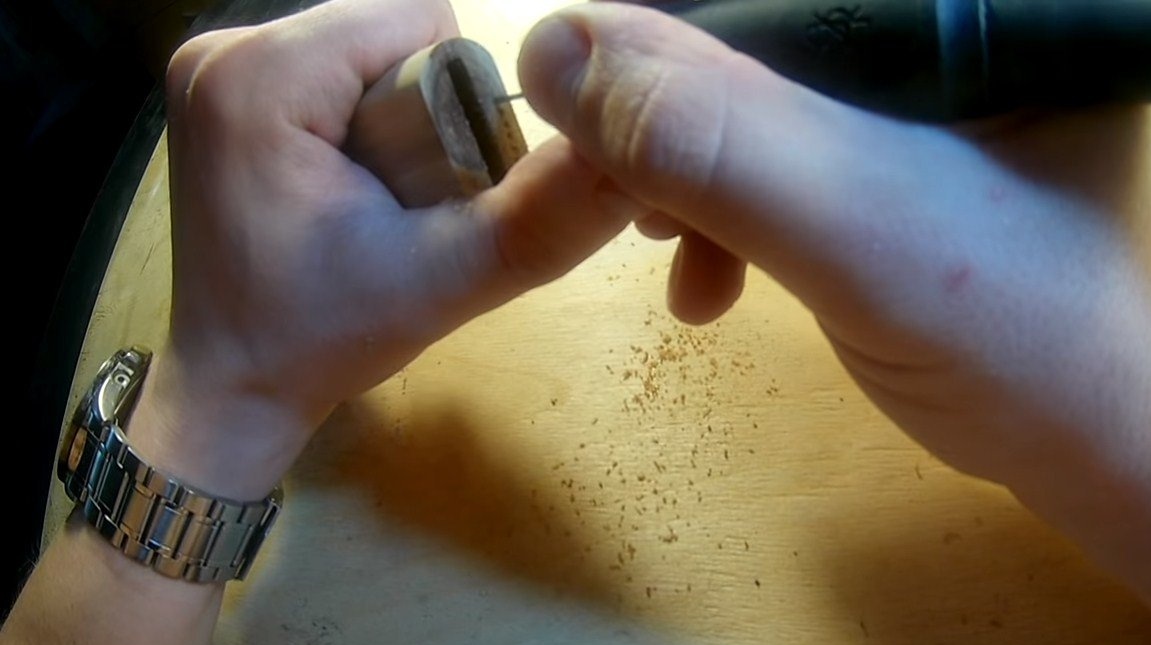
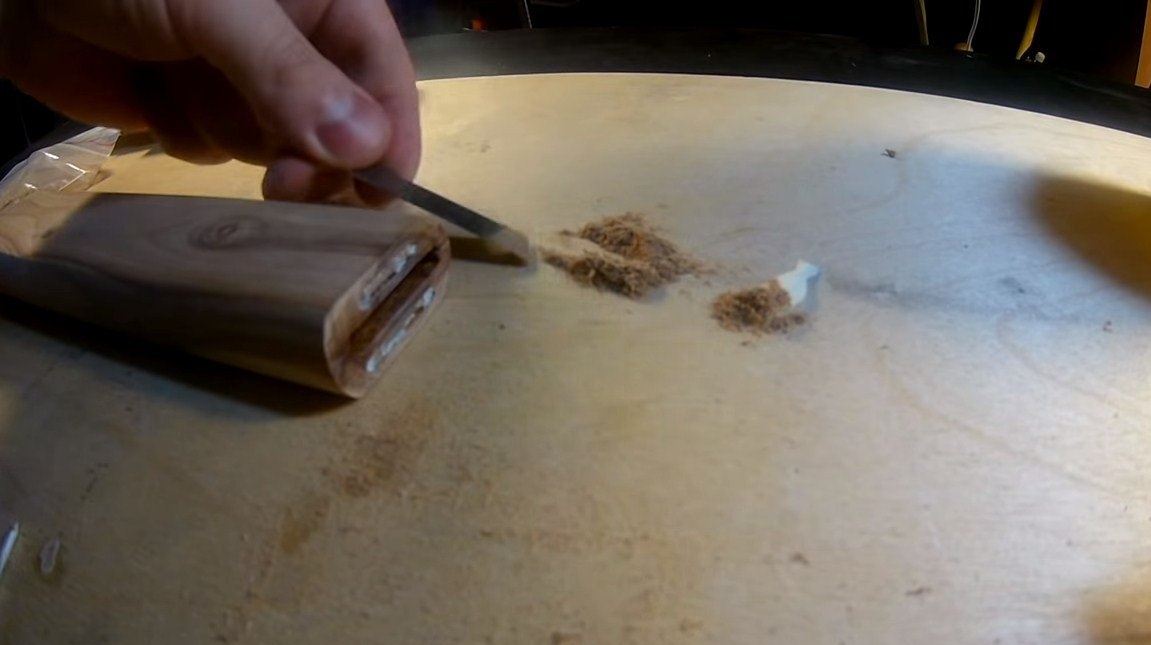
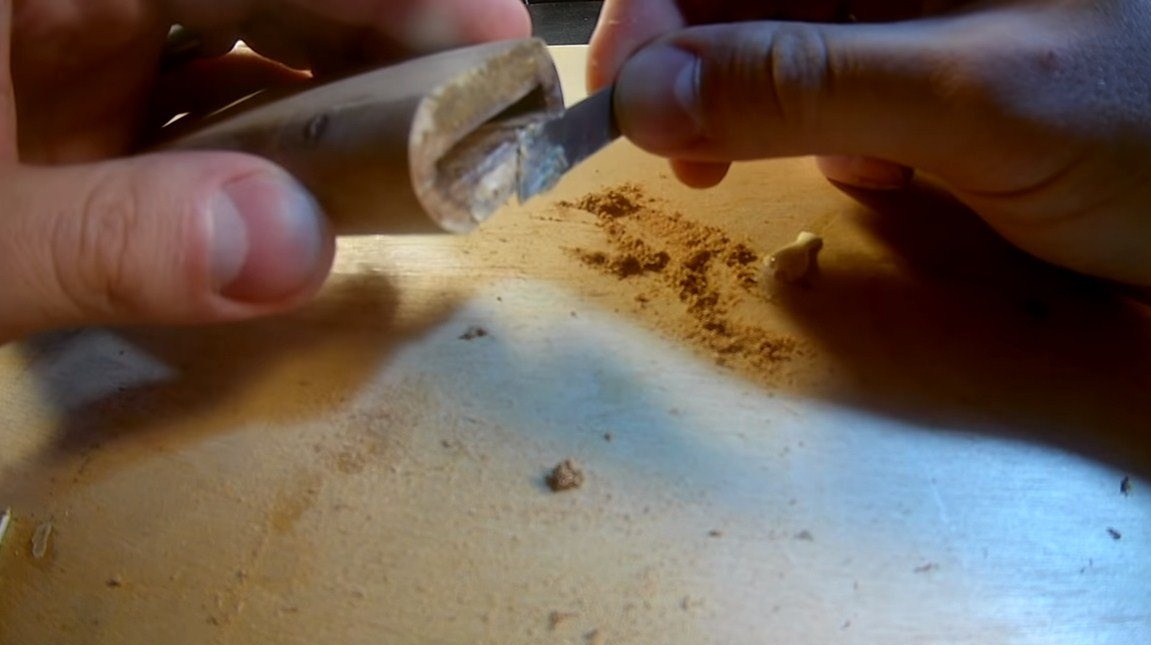
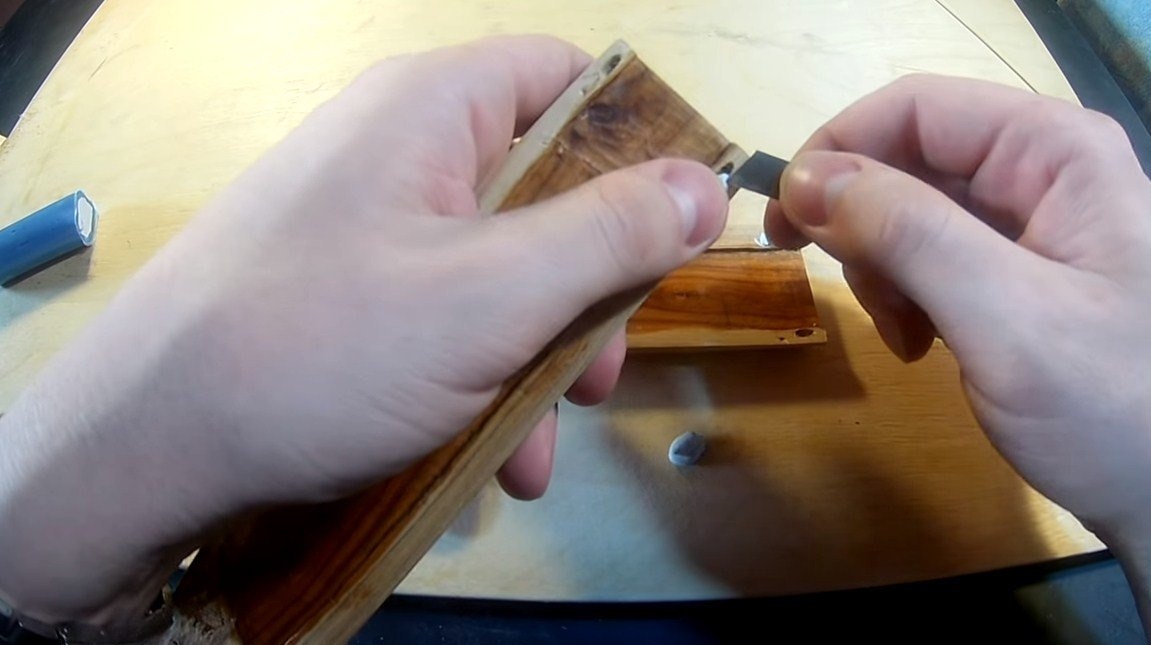
The author also decided to install magnets in the sheath, they are needed so that the knife is securely fixed in the sheath, since over time the sheath will probably wear out and the knife will begin to fall out. We drill holes for magnets, and on top we wrap them with glue and sawdust. After grinding, everything will become invisible.
That's all, now it remains to soak the wood with oil so that it looks good and does not deteriorate.
The knife is ready, everything turned out pretty interesting. I hope you enjoyed the project and found useful information for yourself. Do not forget to share your ideas with us and homemadecreative inspiration!