
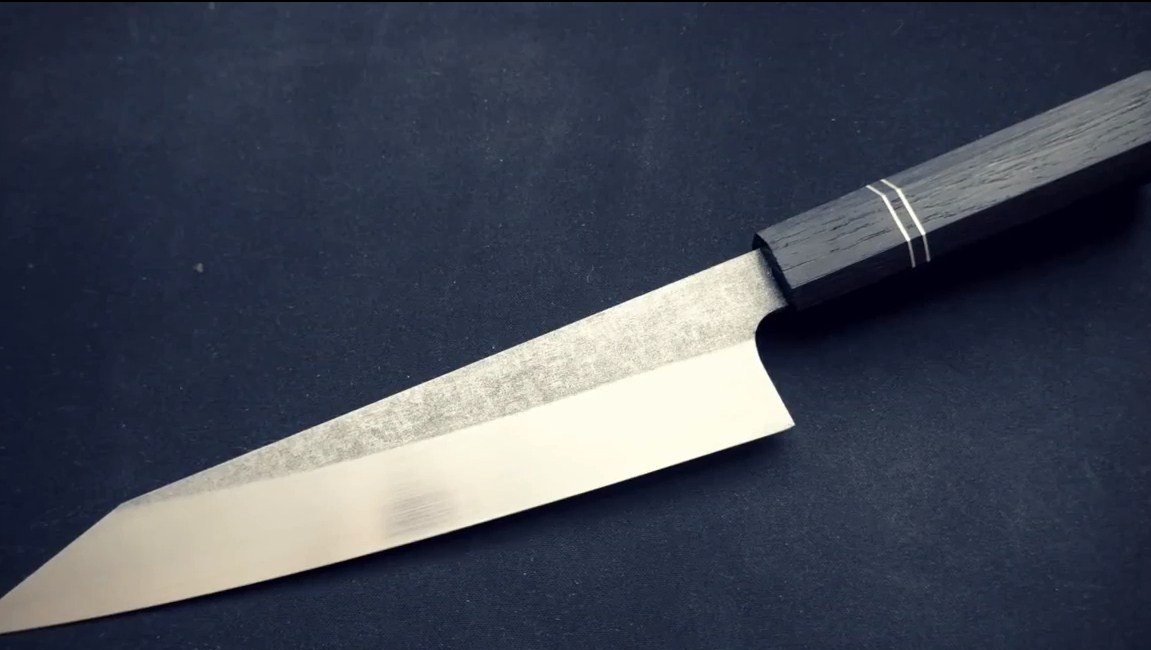
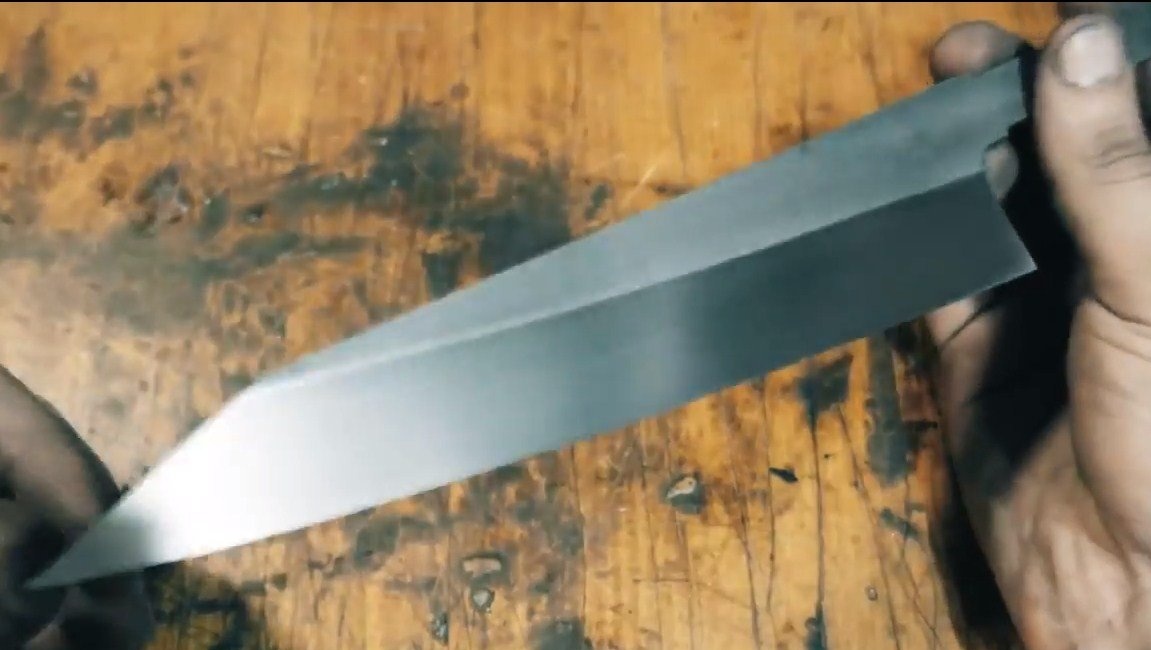
I welcome everyone, in this article we will talk about how to make a high-quality Japanese-style kitchen knife called Kiritsuke. Such a knife will be appreciated not only by housewives, but even professional chefs. They can conveniently and quickly cut, chop, the knife lies perfectly in the hand. The product also looks quite stylish.
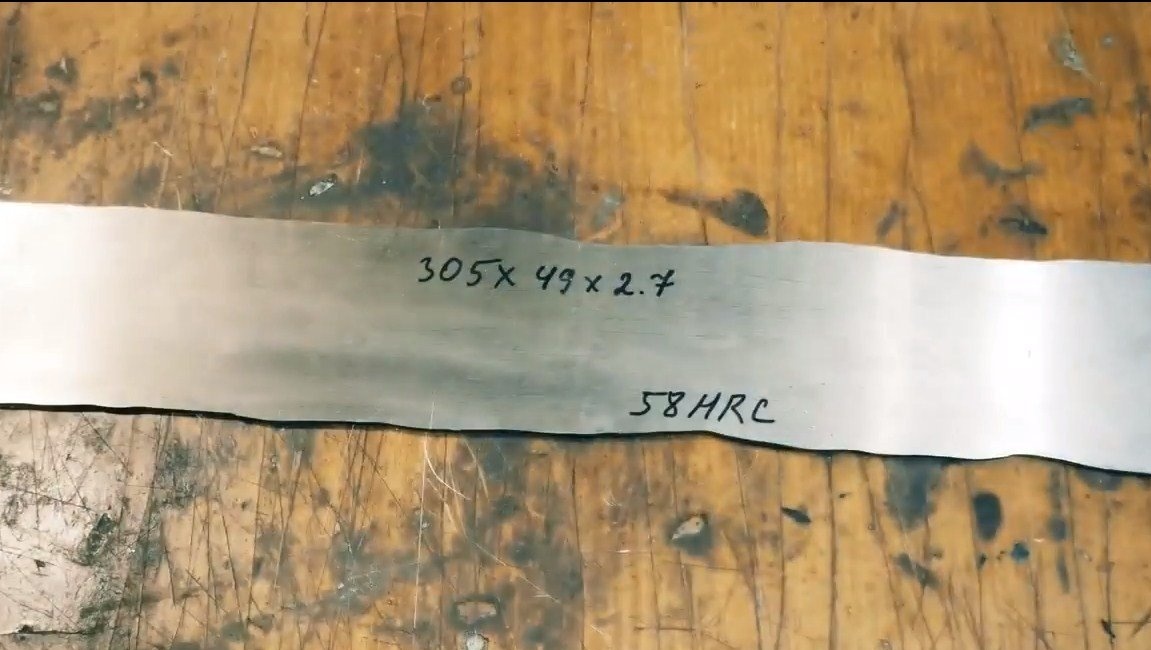
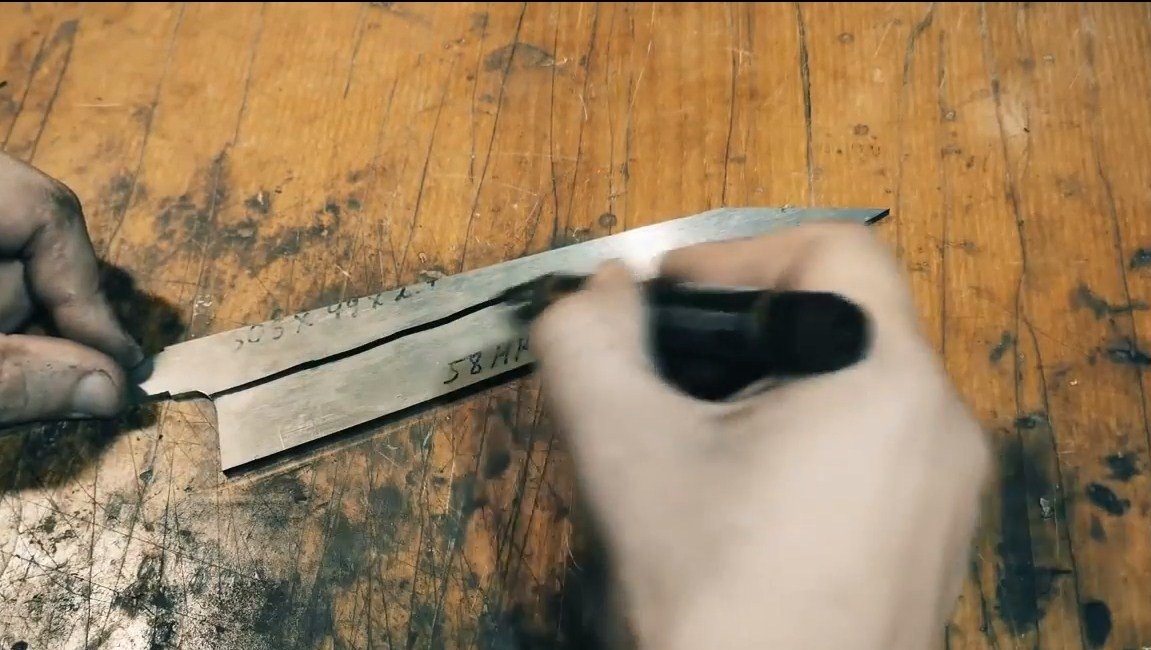
For the manufacture of the knife, the author used high-quality hardened steel, it has a hardness of 58HRC. We will not let go and temper the metal, the workpiece is already hardened, we just carefully cut the knife out of it, trying not to overheat the metal.
Everything is done quite simply, however, you will need some equipment, mainly a belt grinder and a grinder. If the project interests you, I propose to familiarize yourself with it in more detail.
Materials and tools used by the author:
Material List:
- a piece of quality hardened steel;
- a tree for the handle;
- epoxy adhesive;
- sheet aluminum or brass for handle inserts;
- oil for wood impregnation.
Tool List:
- belt sander;
- a drilling machine or drill;
- grinder;
- vise;
- vernier caliper;
- marker;
- acid for etching;
- sandpaper;
- drill;
- tape cutting saw;
- files.
Manufacturing process homemade:
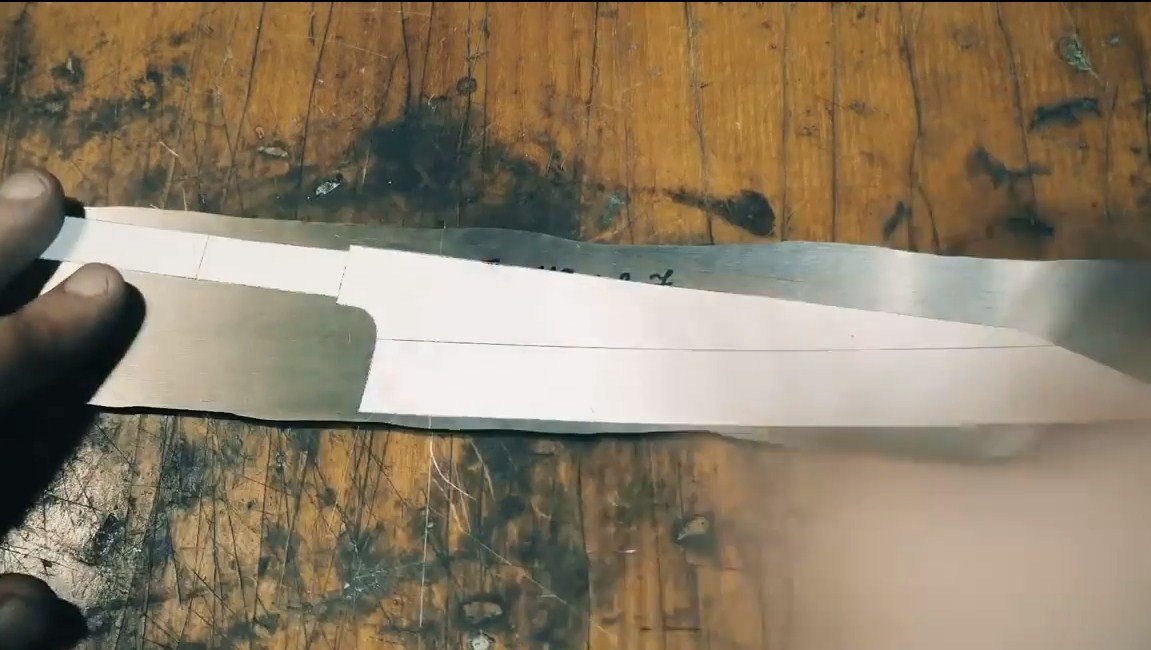
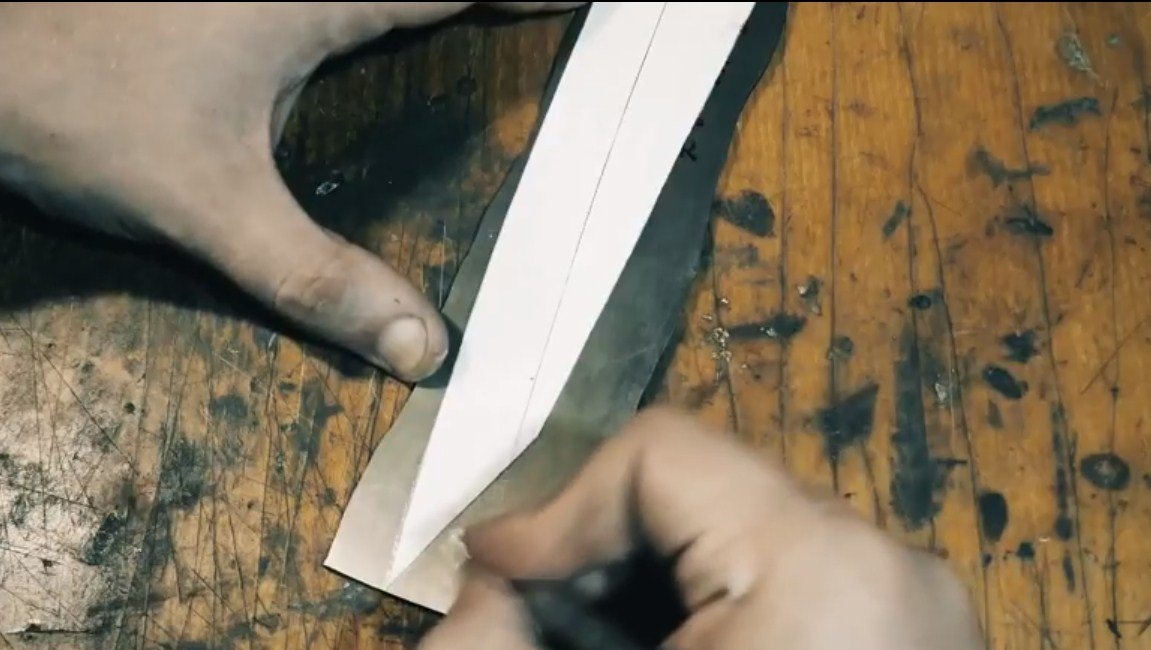
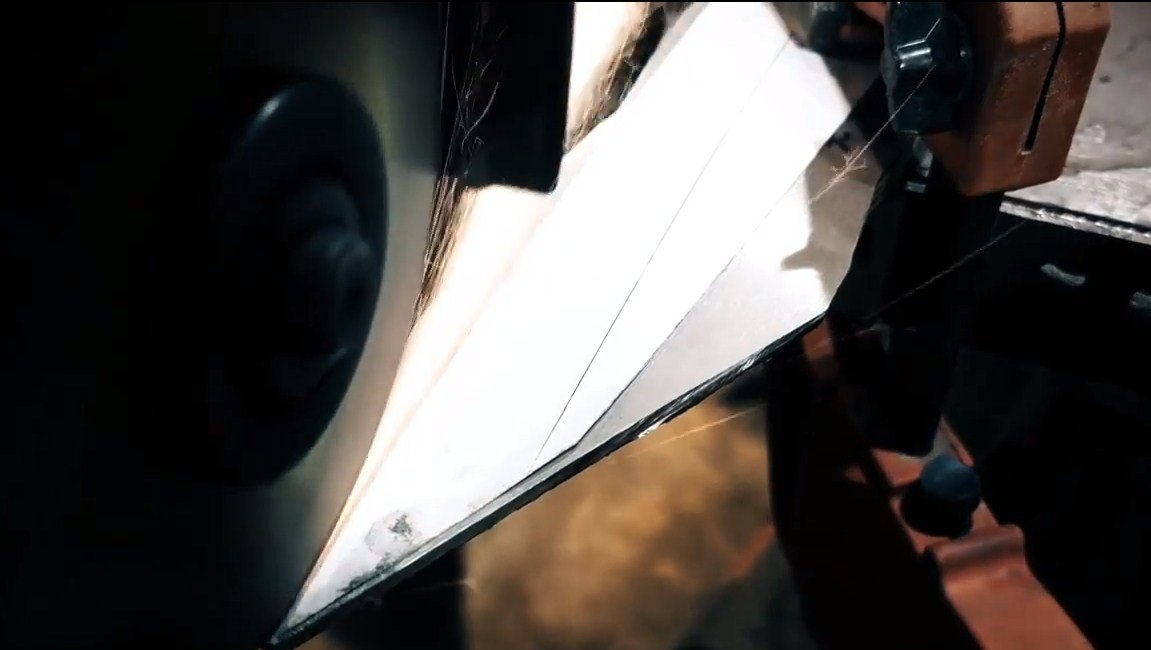
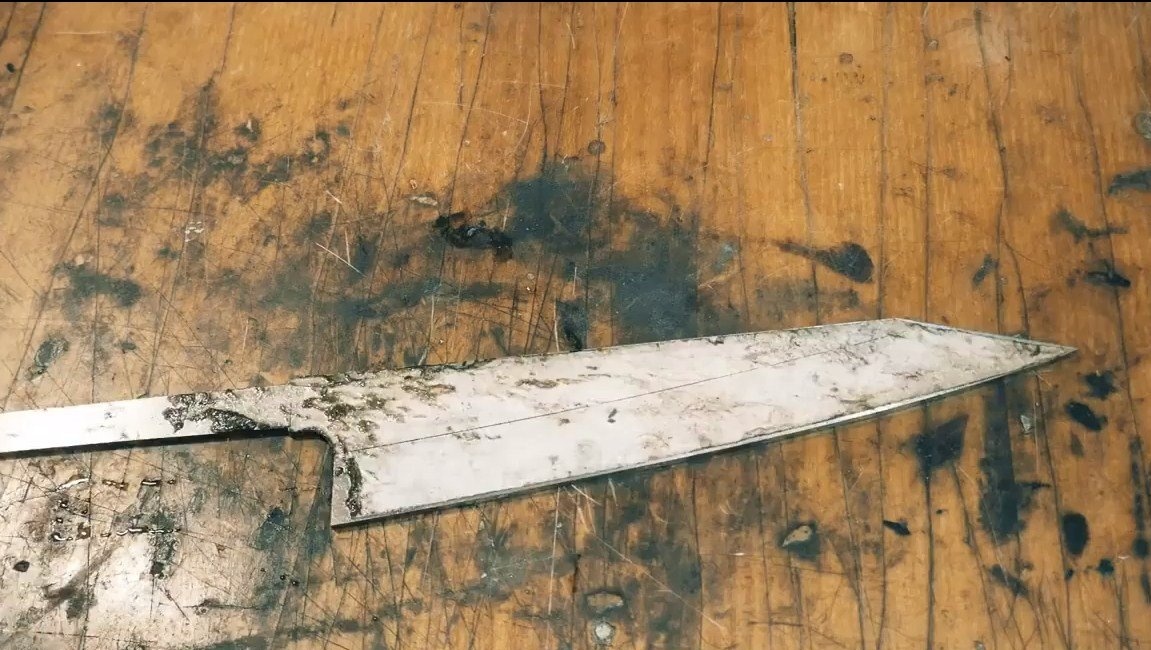
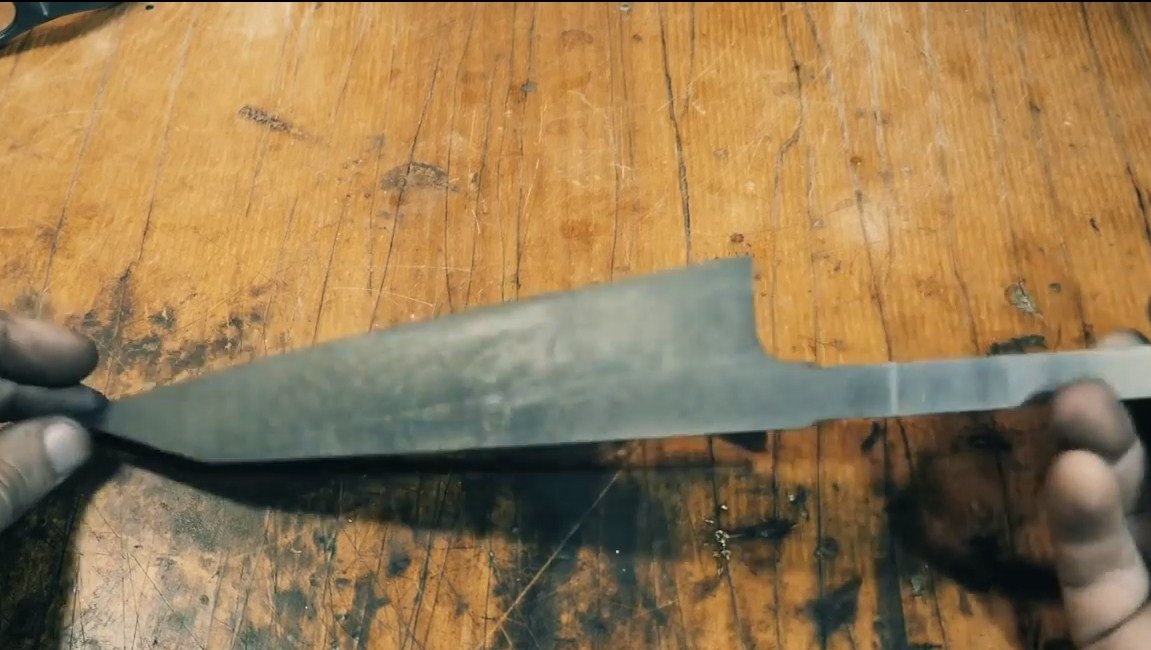
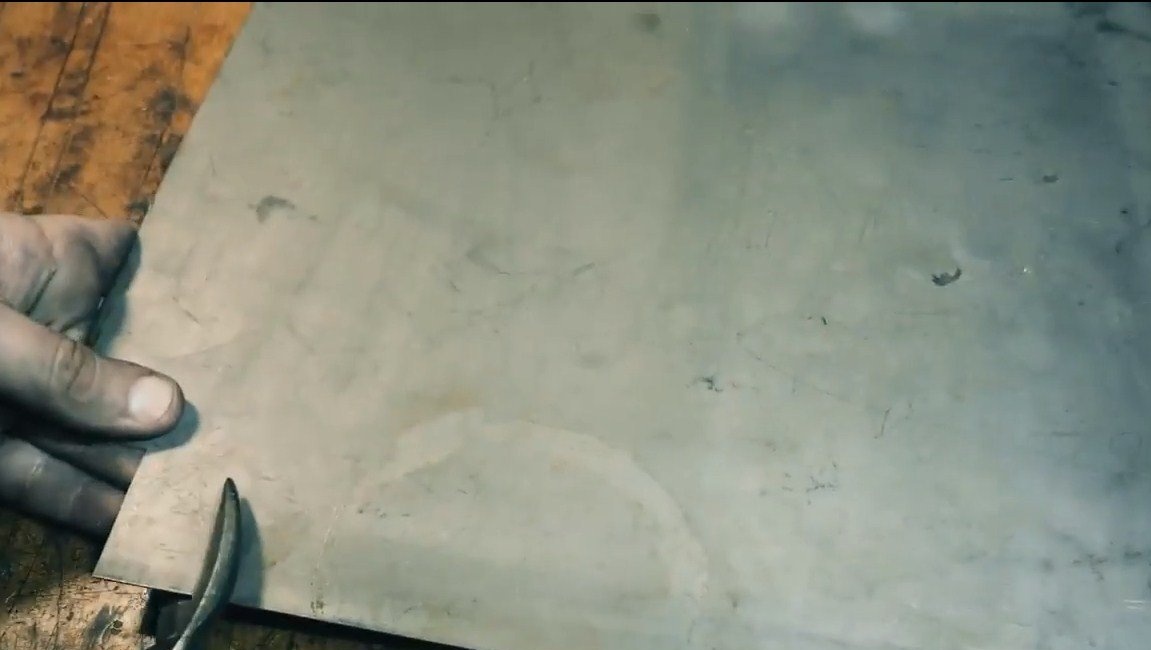
Step one. Cut the main profile
First, cut out the main knife profile. The finished template is the easiest to find on the Internet, and then print an printer and cut. The author glues the template to the workpiece and, just in case, circles it along the contour. This will allow you to continue working if the paper suddenly peels off.
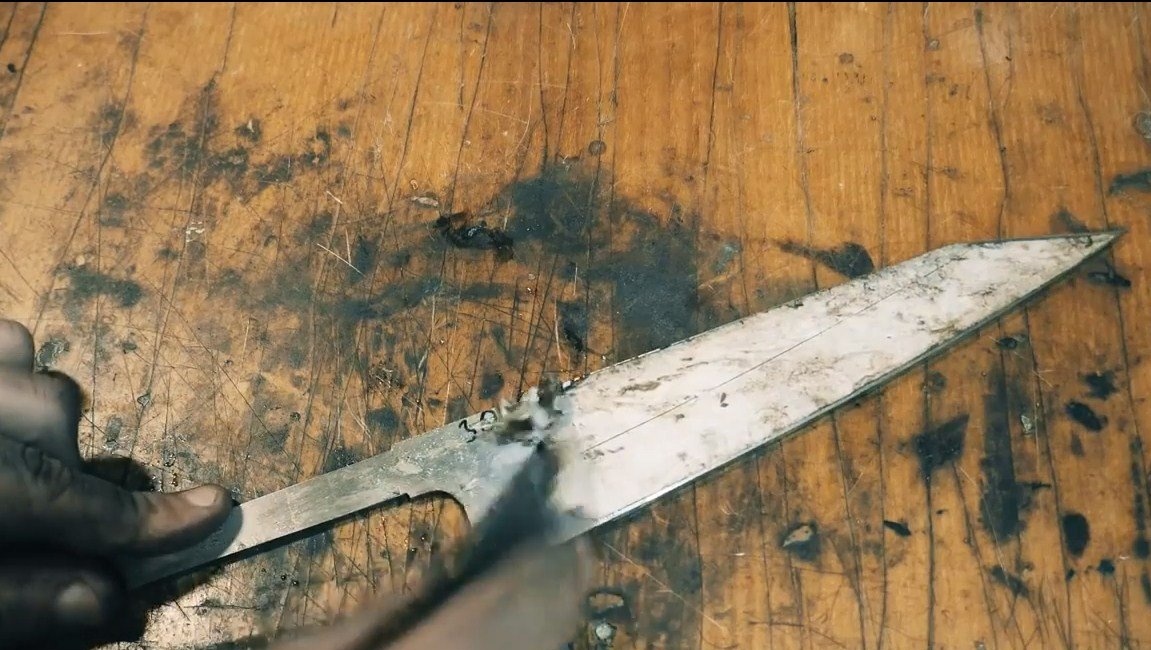
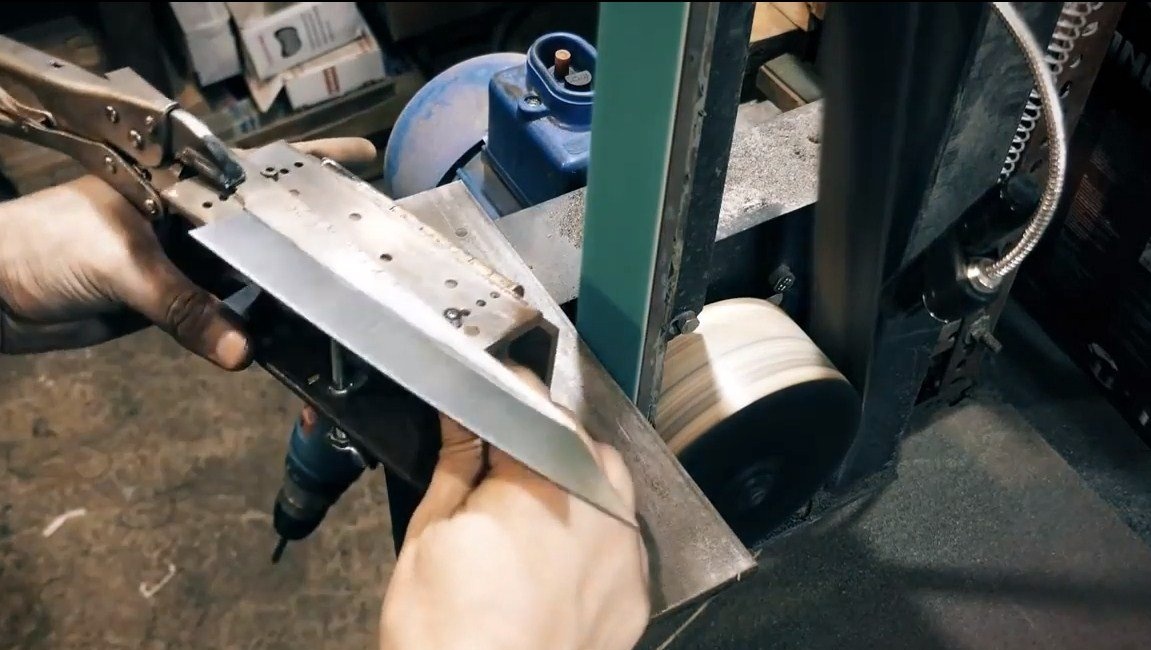
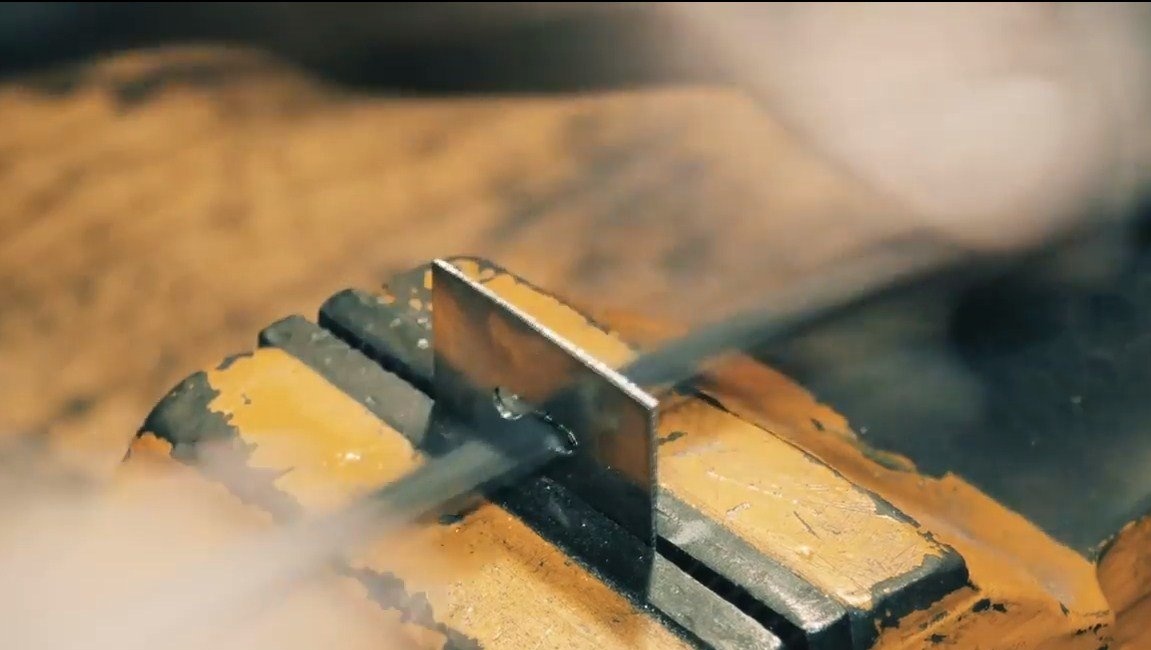
Well, then we proceed to cutting, for these purposes the author used a grinder. You need to cut it slowly, carefully, the author makes a superficial cut and gradually deepens it until he cuts the metal. This approach allows you to not overheat steel, which can be released during overheating and it will have to be hardened. We cut with a small distance from the planned lines, since then there is still grinding.
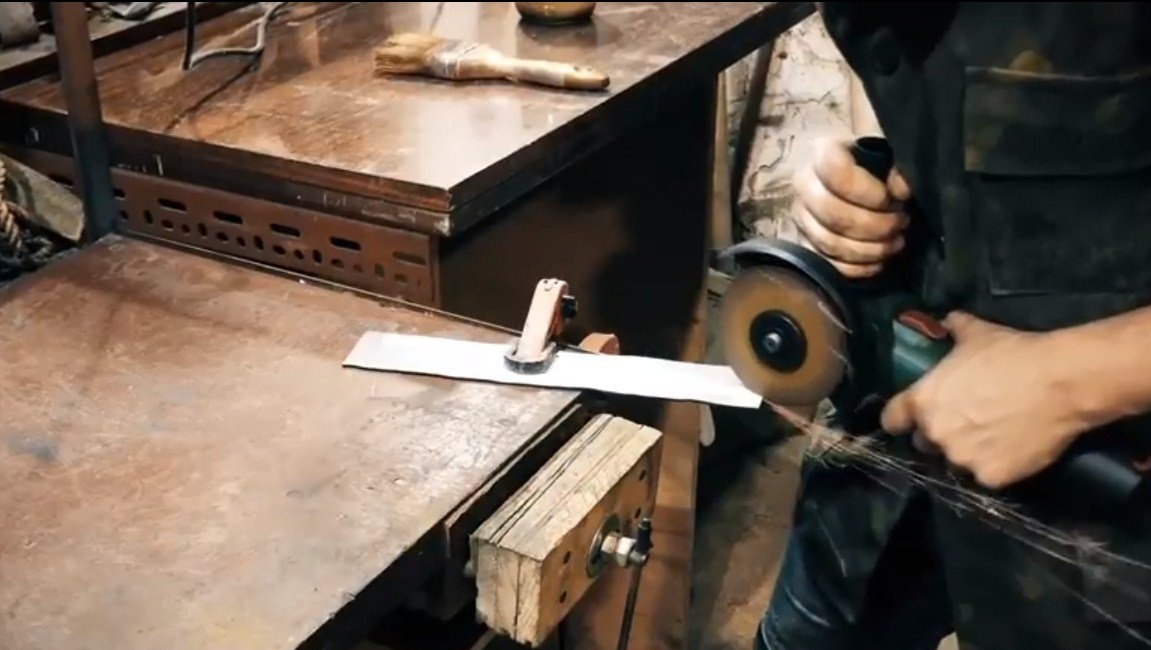
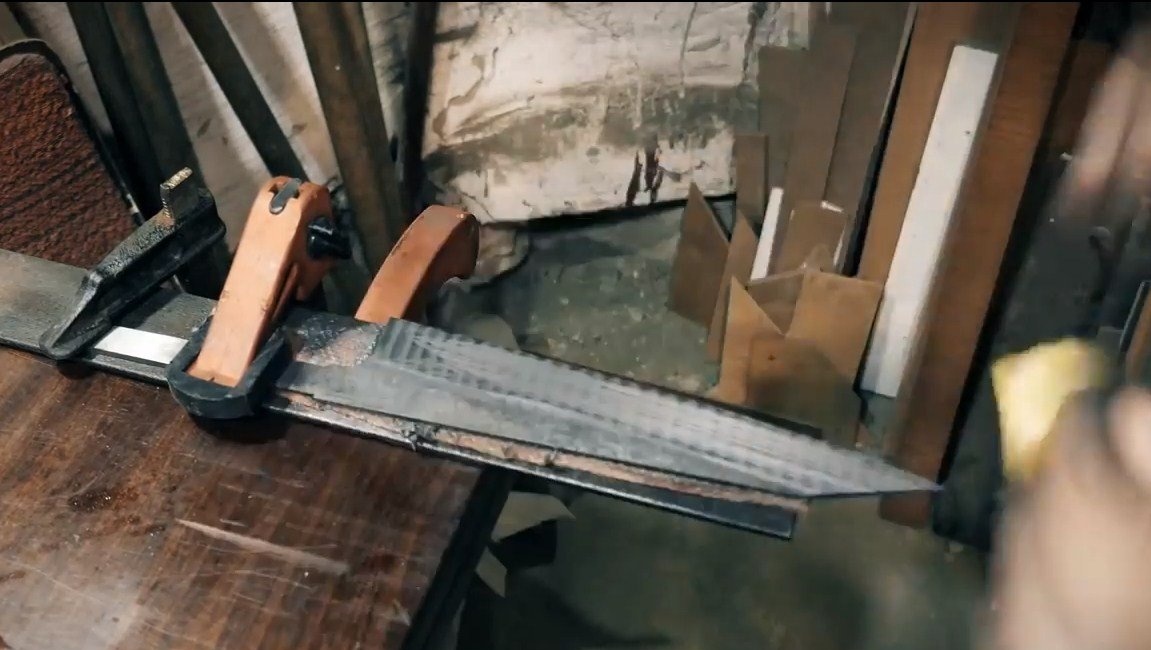
Step Two Modifying the circuit
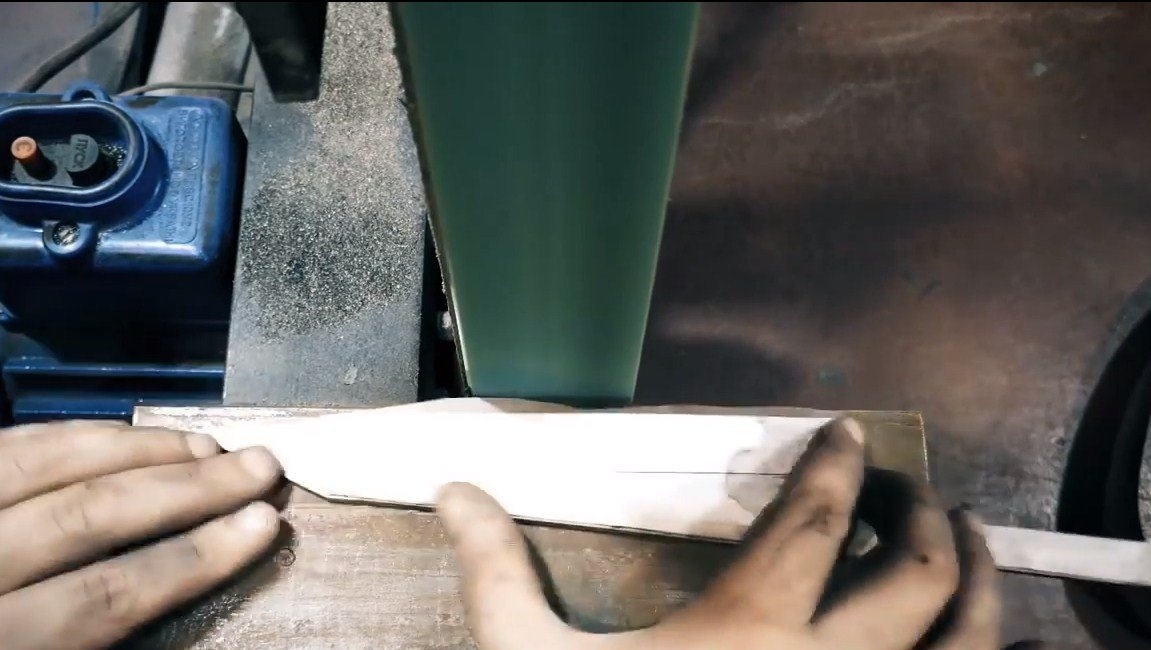
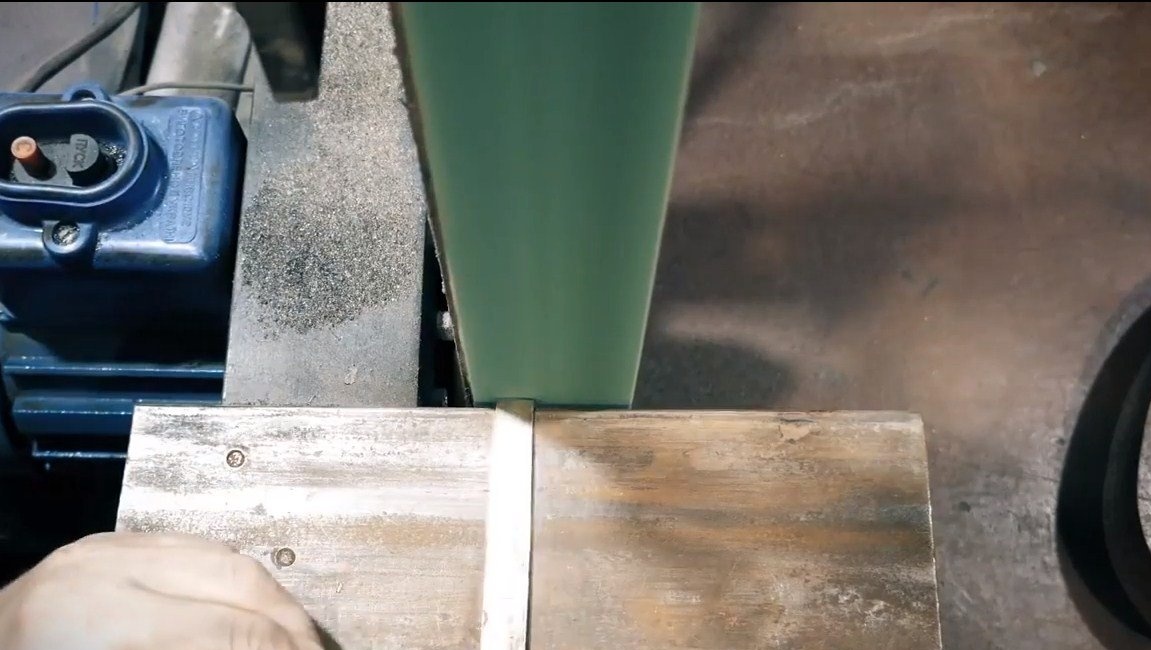
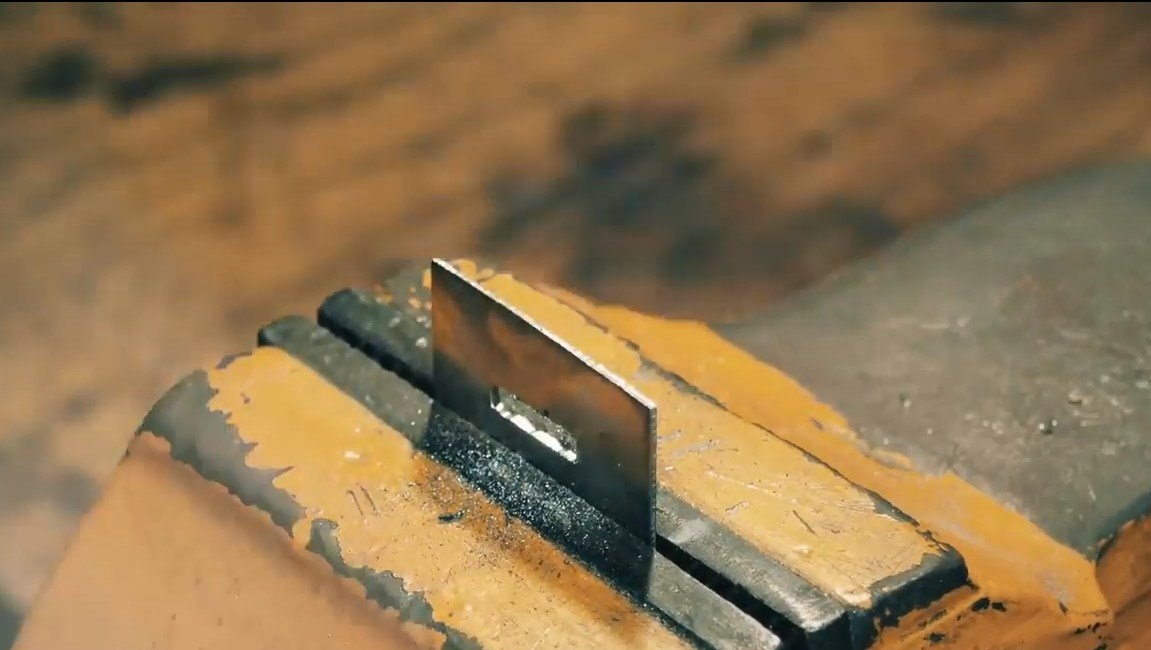
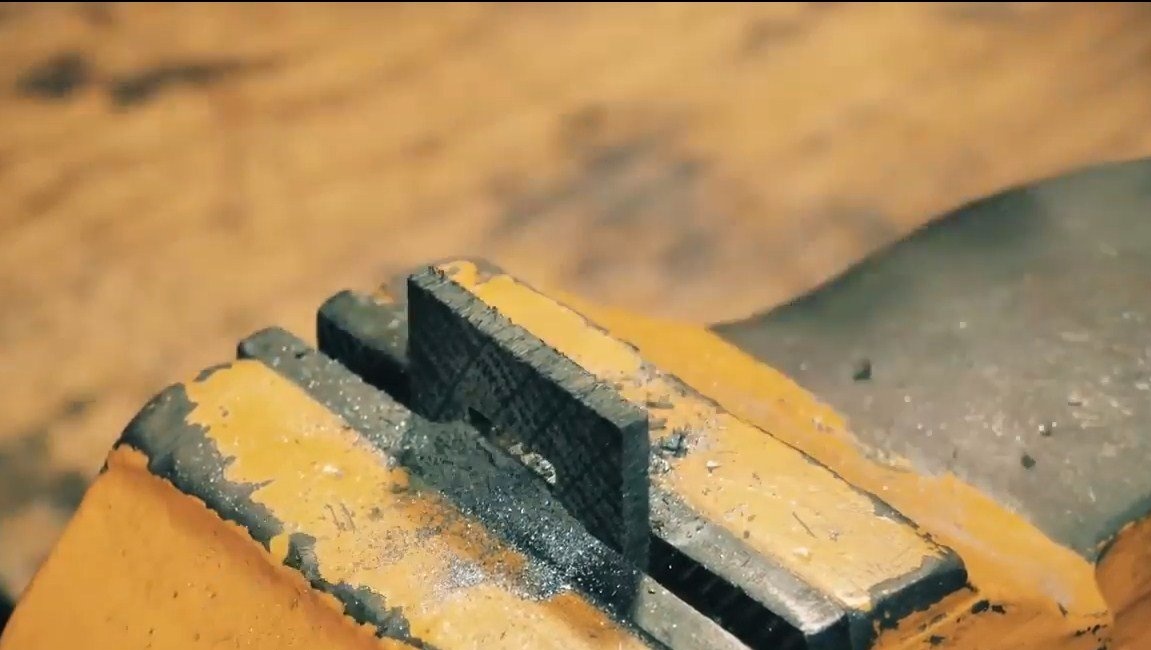
The final processing of the circuit is performed on a belt grinder. As a result, we get an excellent, high-quality profile of the blade. And if we have a high-quality workpiece, then we will not need to grind the plane.
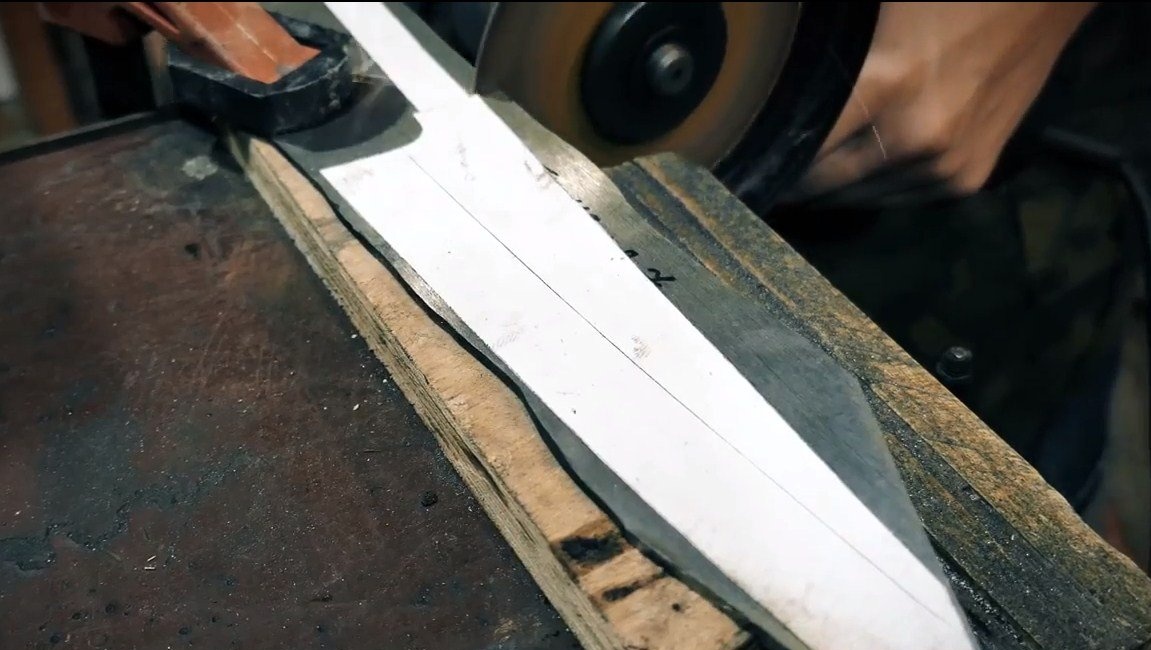
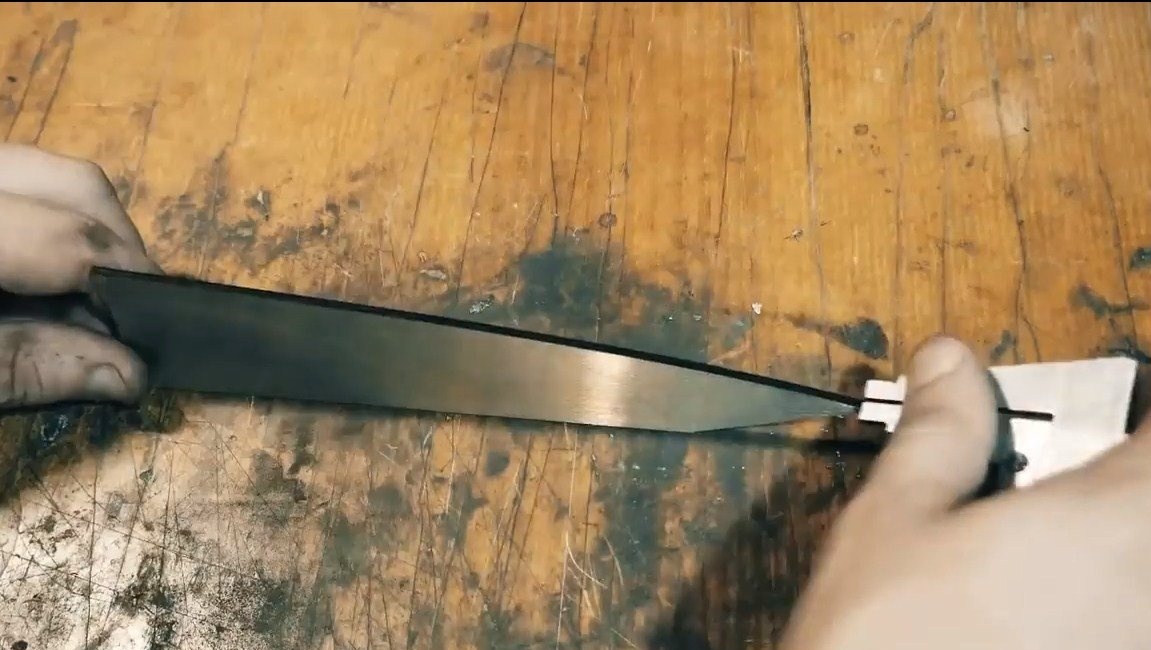
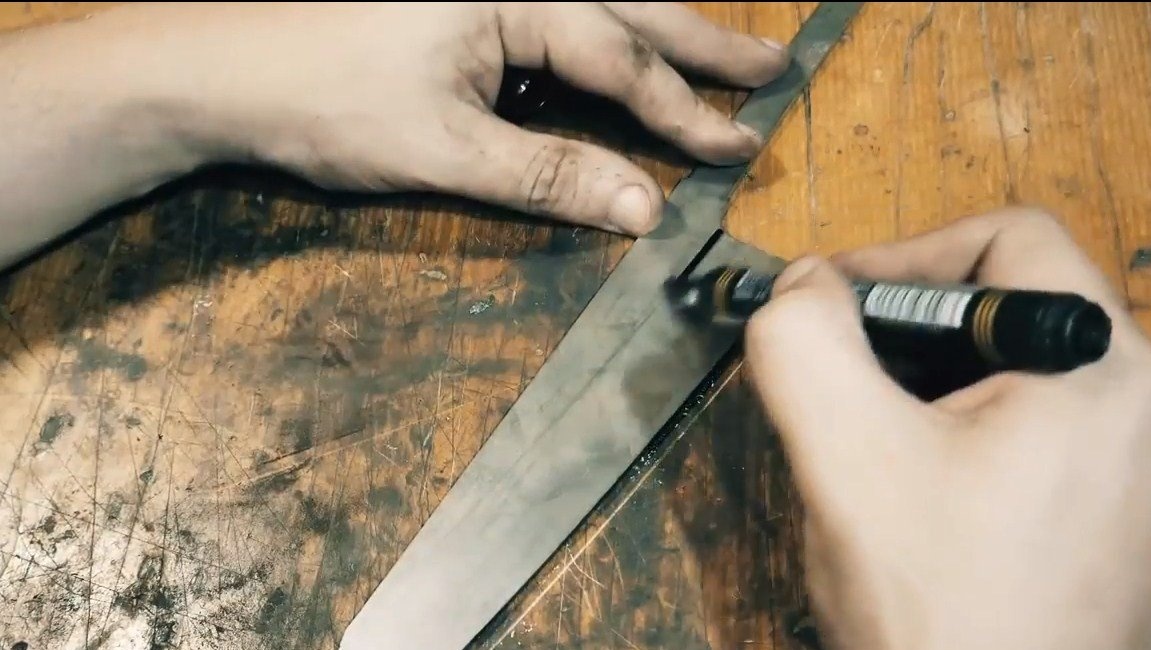
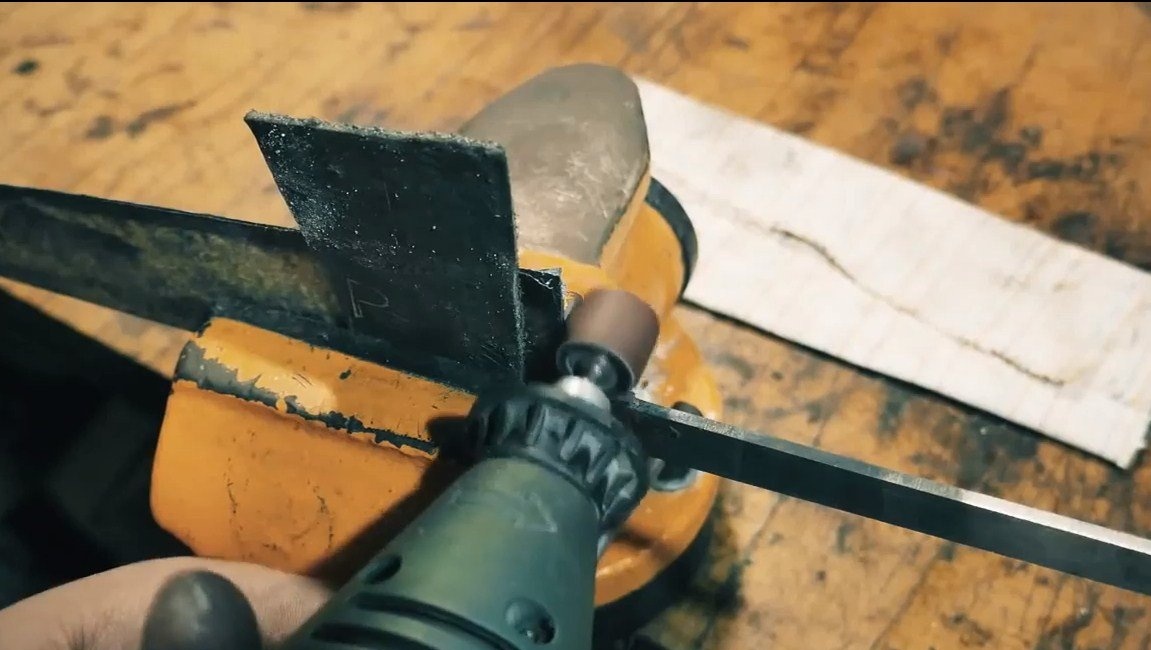
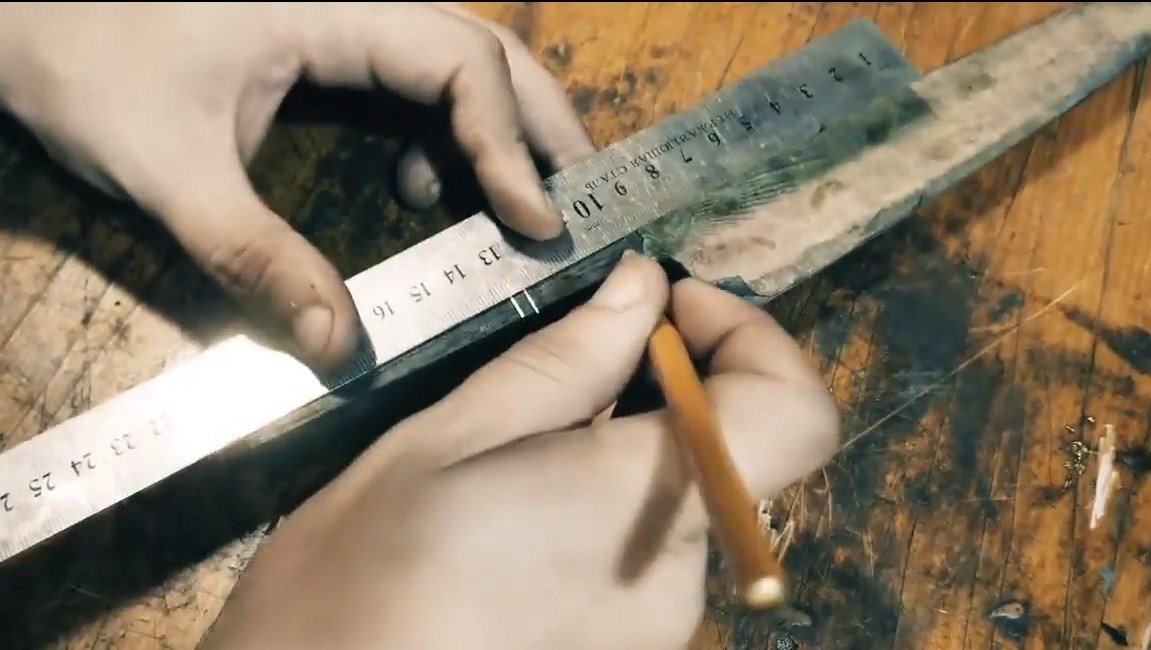
Step Three Bevels
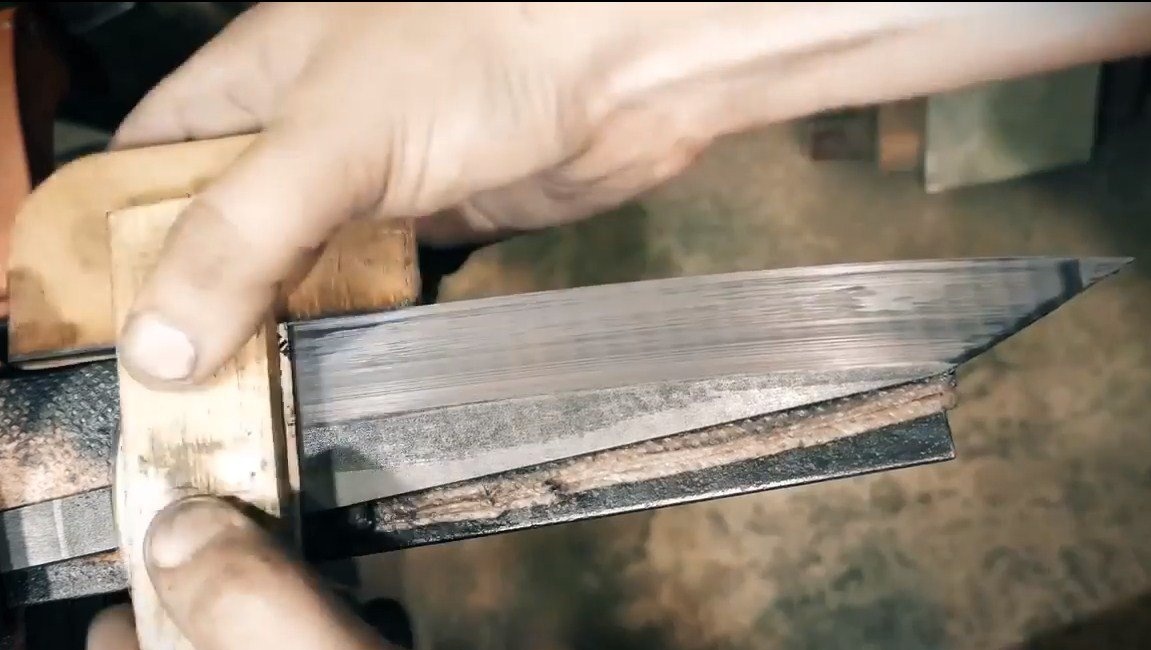
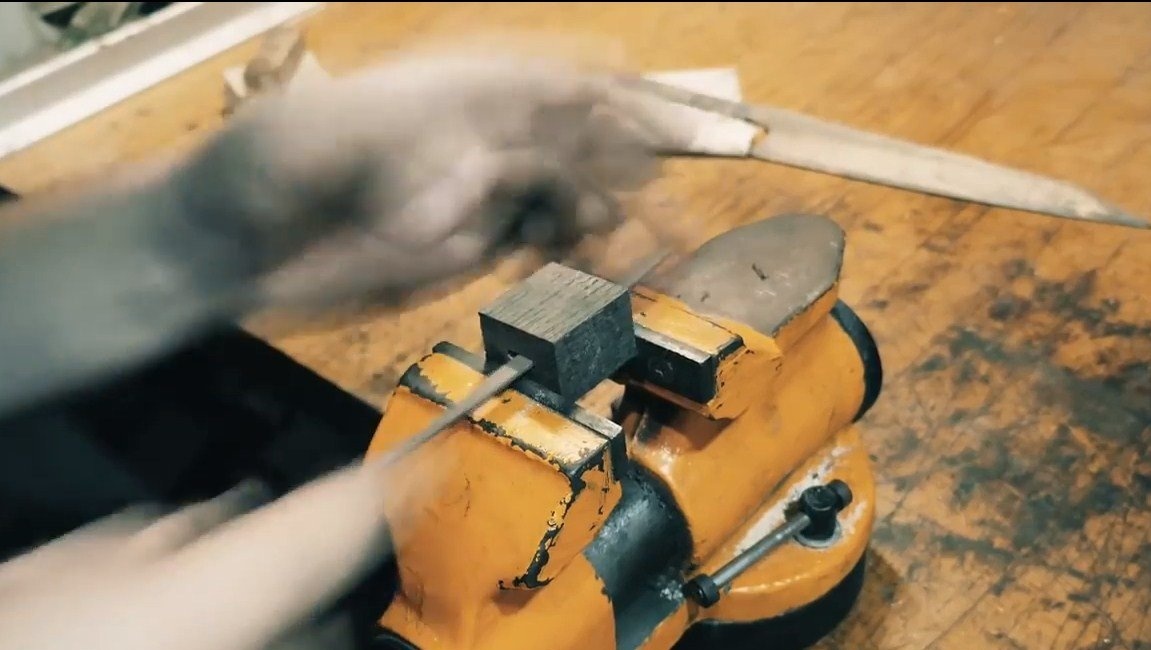
Next came the turn of the bevels, in order to correctly withdraw them, you will need to mark everything out first. A caliper will help us in this matter.In addition to the width of the bevels, also draw a centering line along the blade, it will allow you to remove the same amount of metal from both sides.

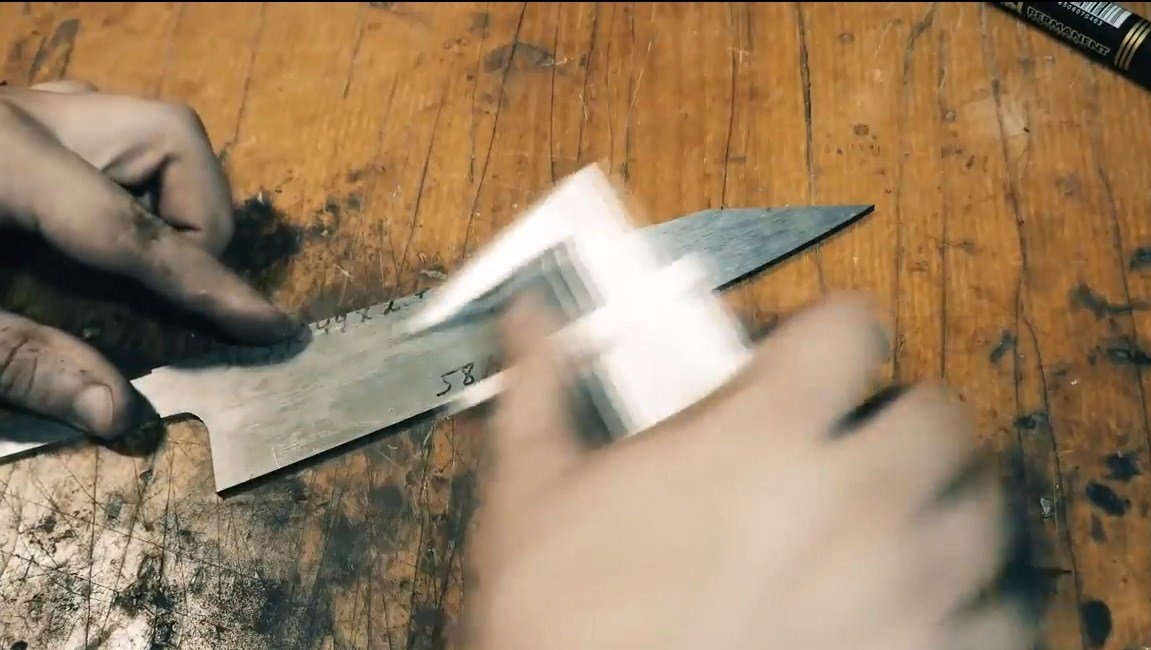
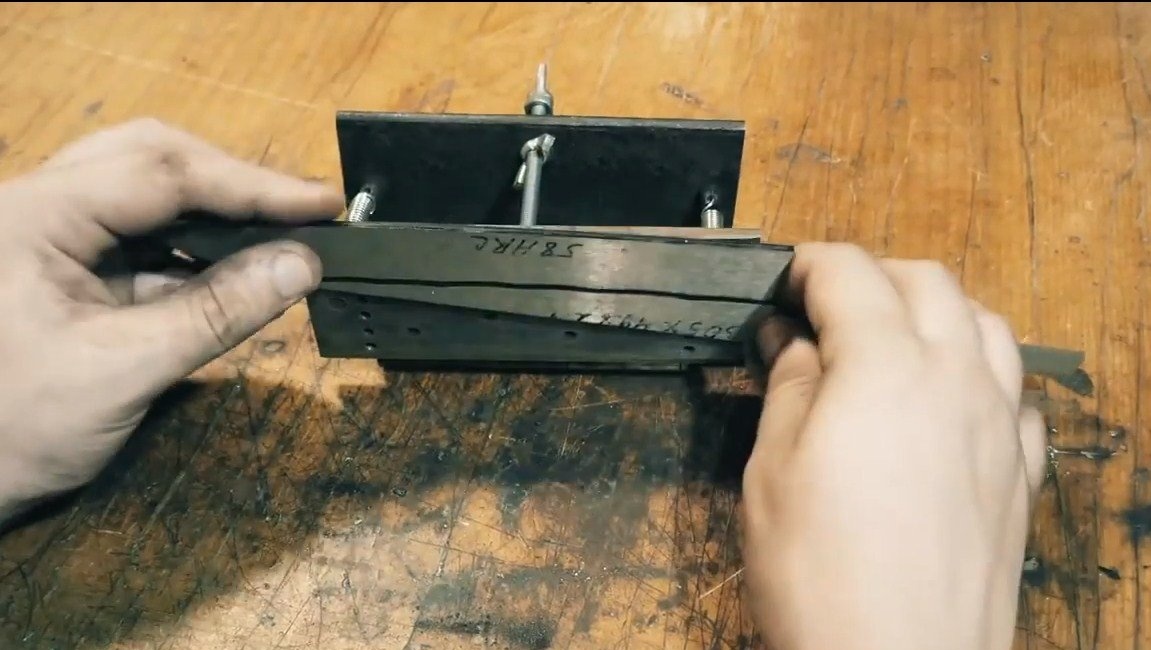
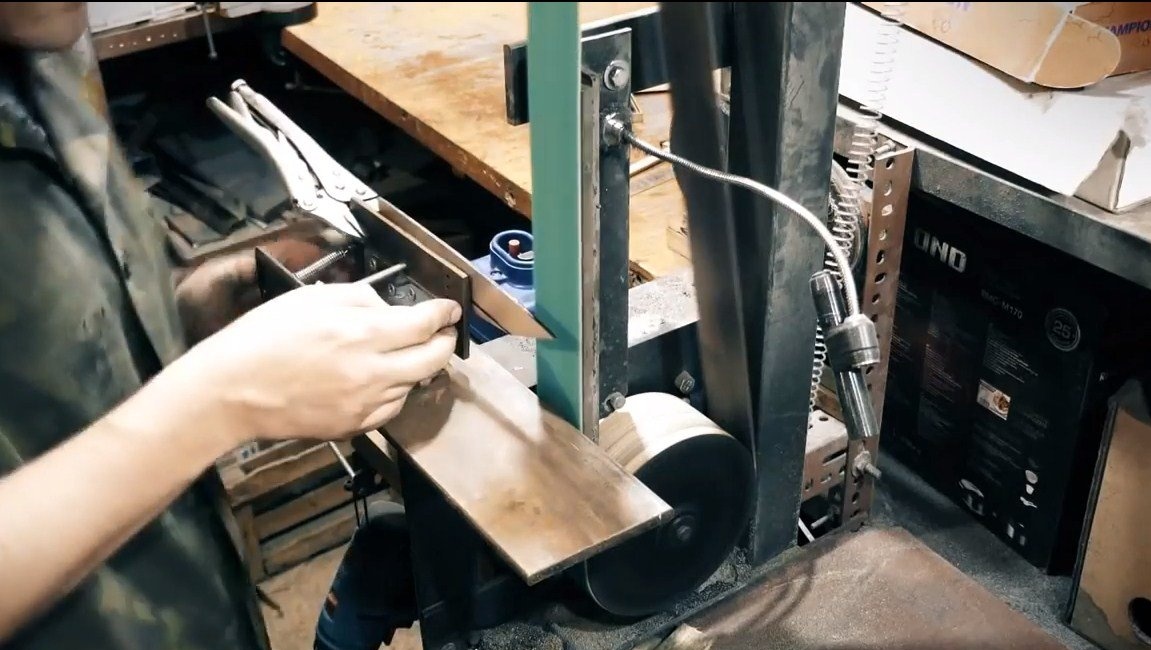
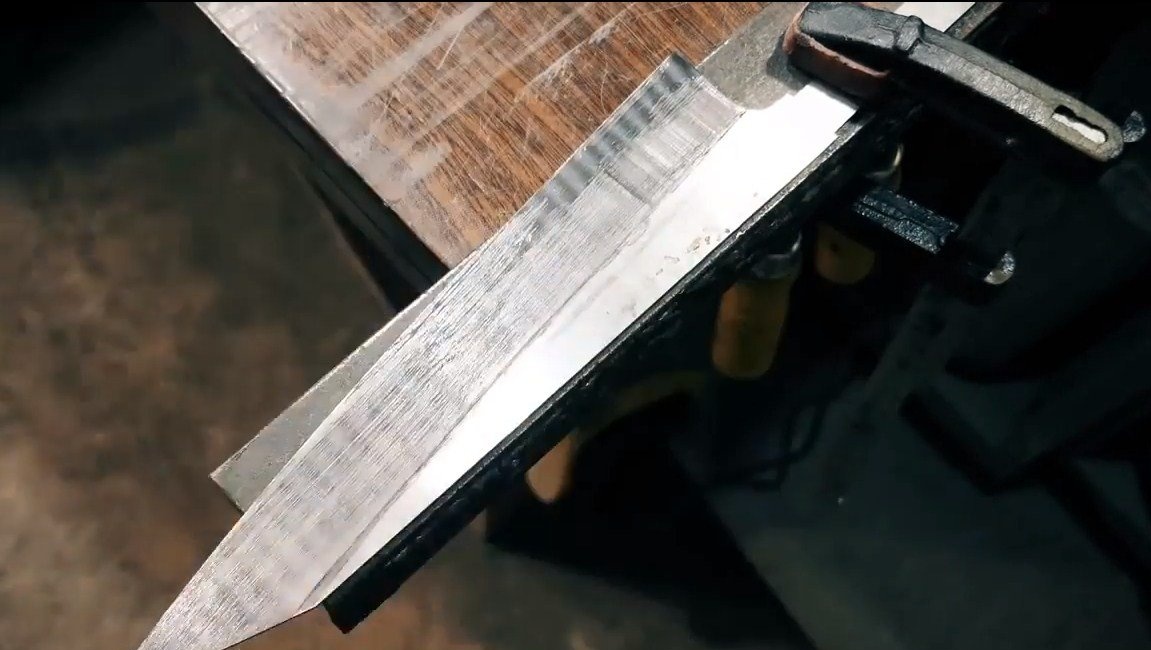
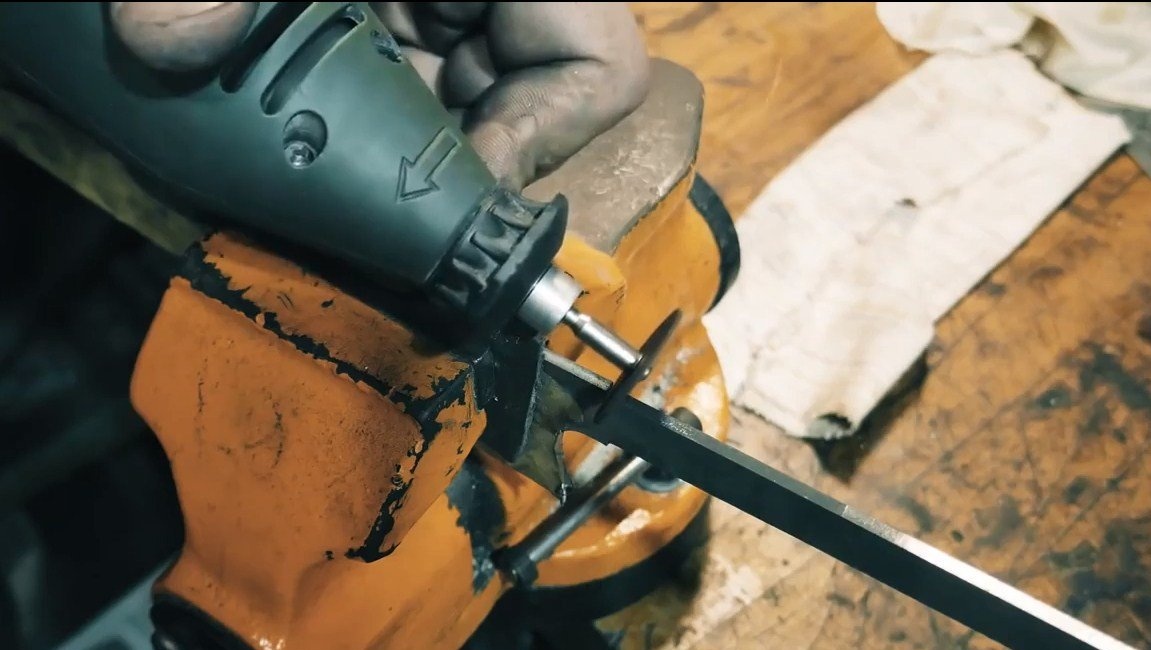
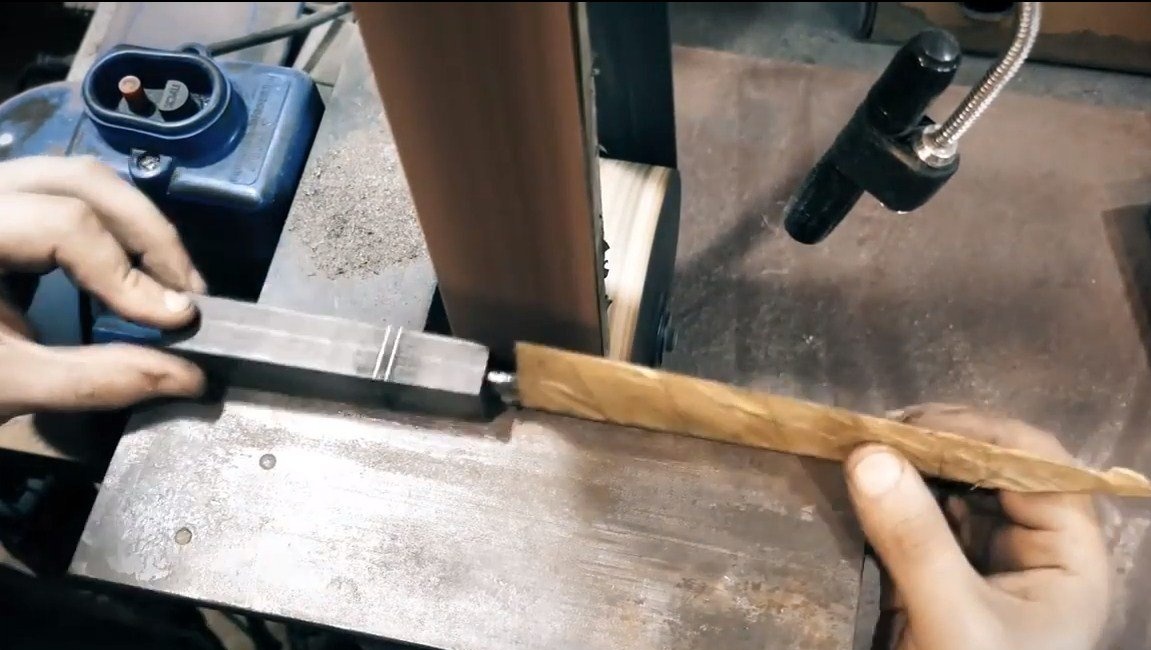
Well, then we get to work using a belt sander. For convenient, fast, high-quality and safe work, you will need a clamp, like the author. We fix the knife in it and adjust the desired angle. Do not forget also during the work that the metal cannot be overheated, it can be cooled with water. As a result, we get excellent quality bevels.
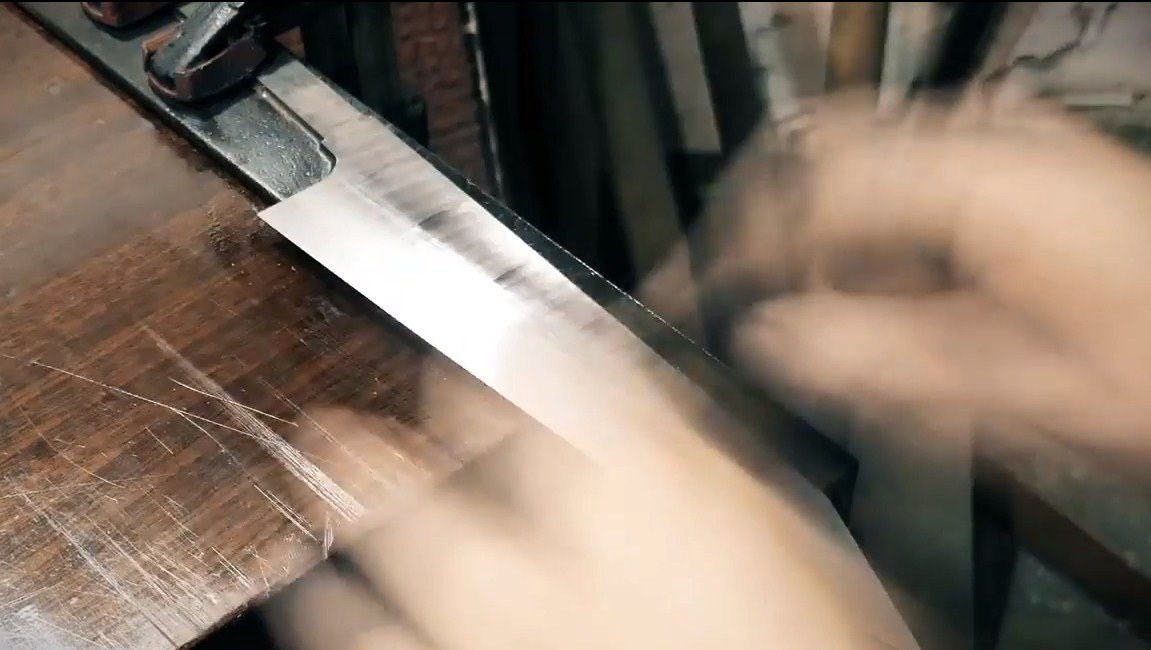
Final sanding is done manually using sandpaper and water. Grind the blade to a shine.
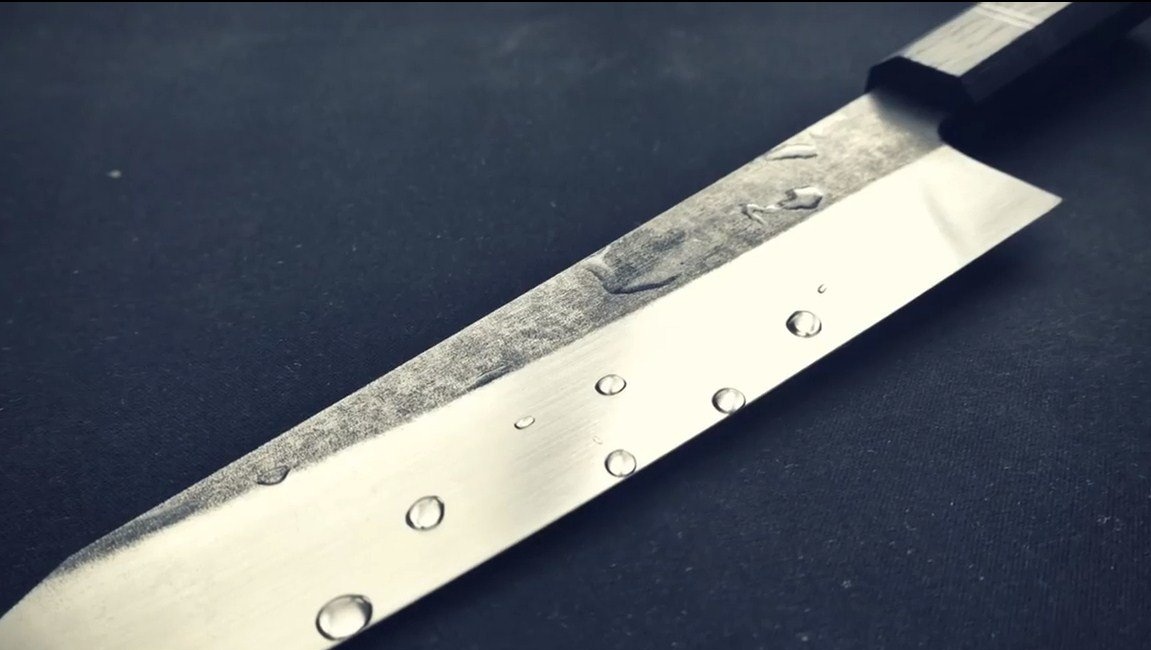
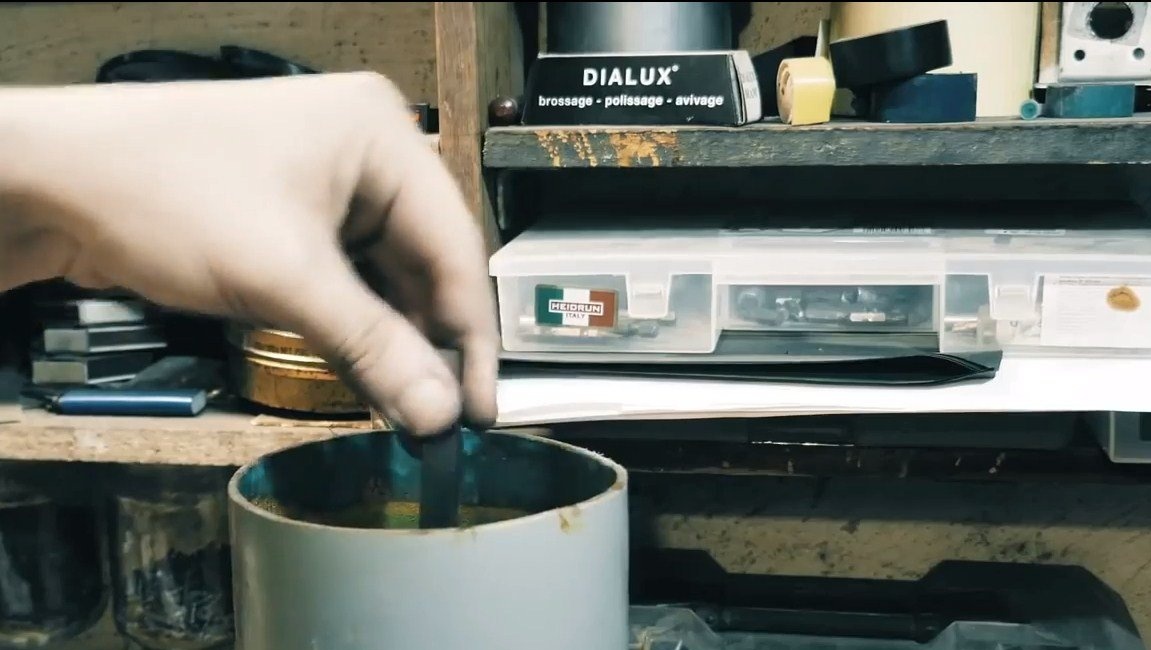
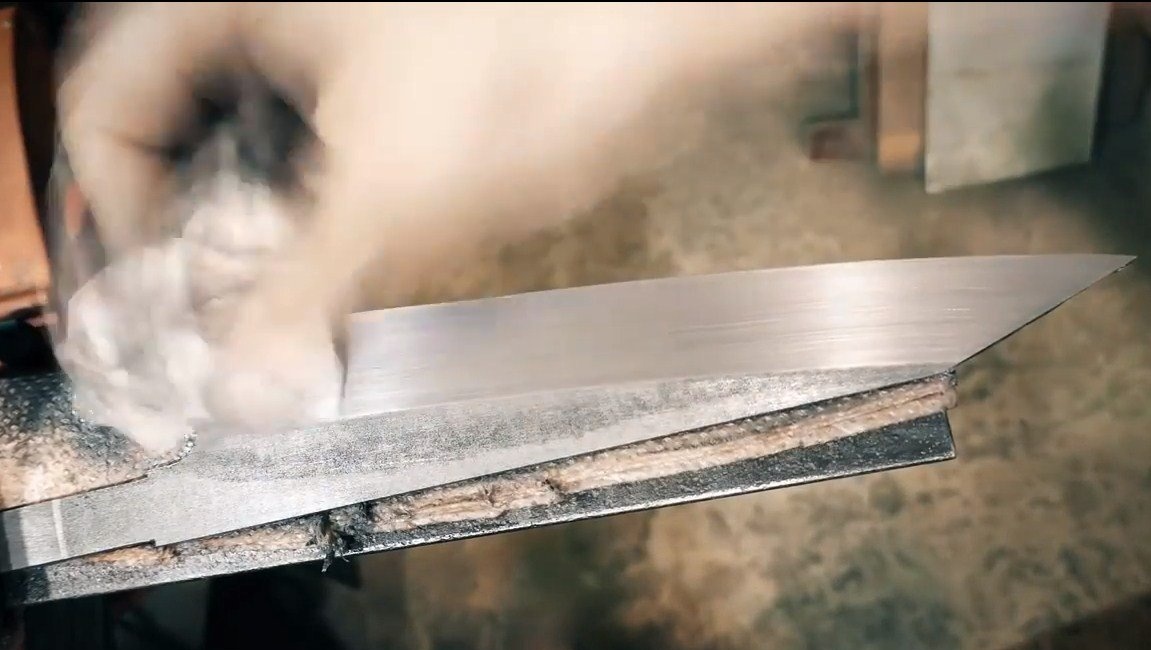
Step Four Etching
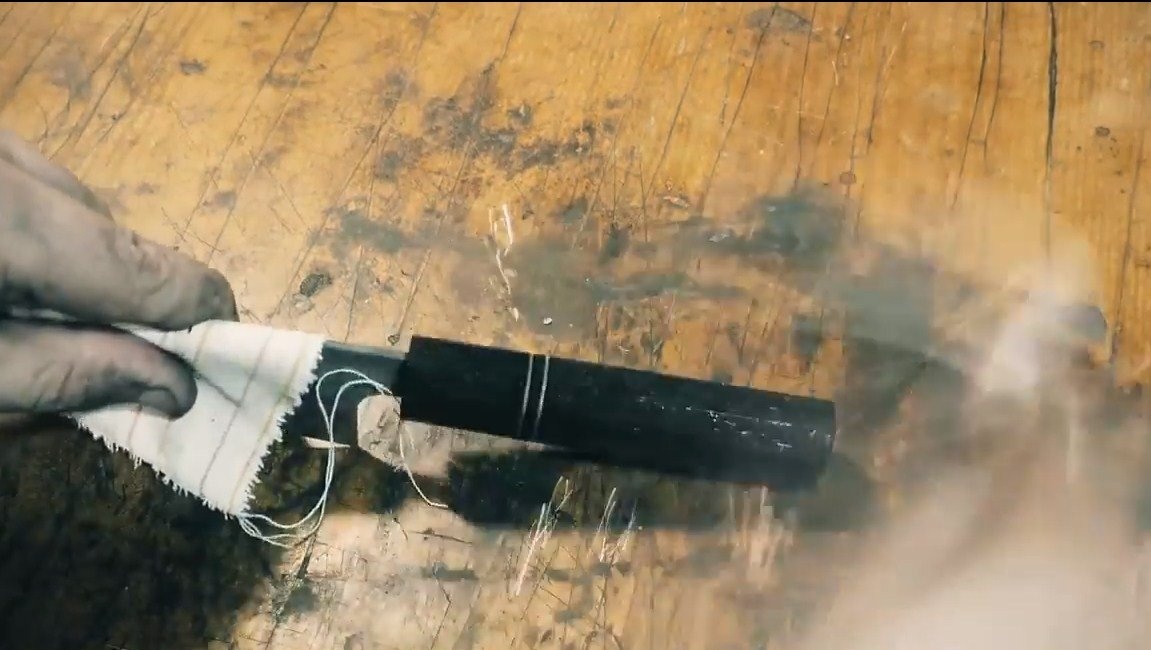
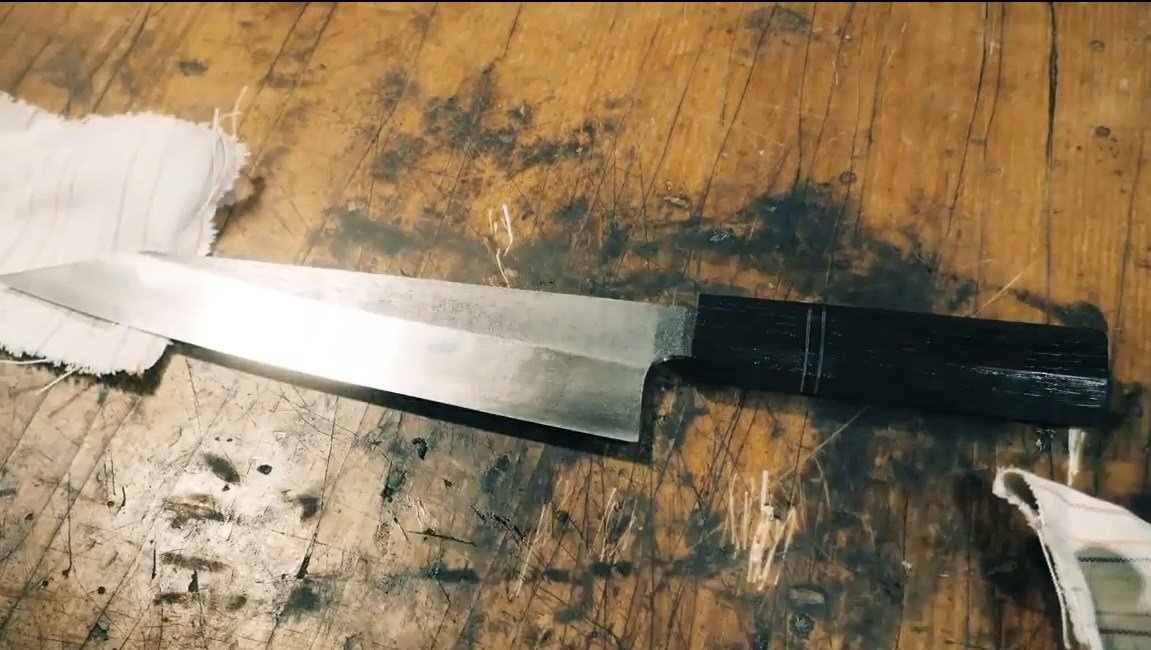
A feature of this knife is the gray patina, which is located on the butt. To get it, you need to etch the blade. After etching, we grind the blade again, as a result, it will begin to shine, and the butt will remain a beautiful gray color. In the end, it will seem that this knife is forged.
At the end, we modify the profile of the blade with a drill.
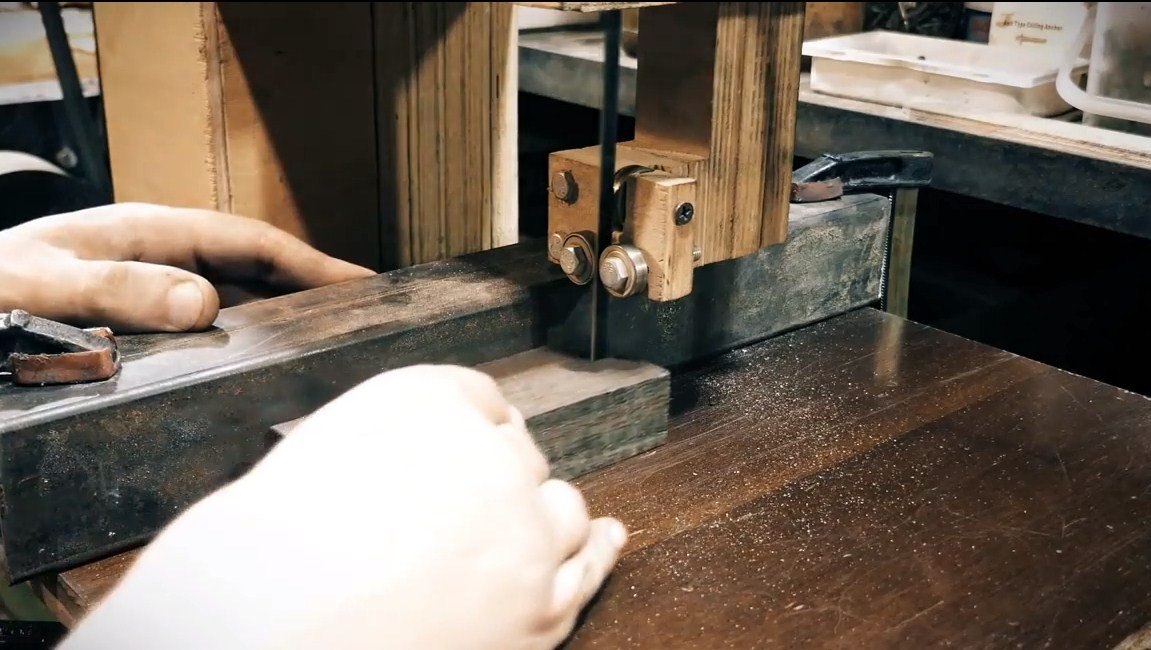
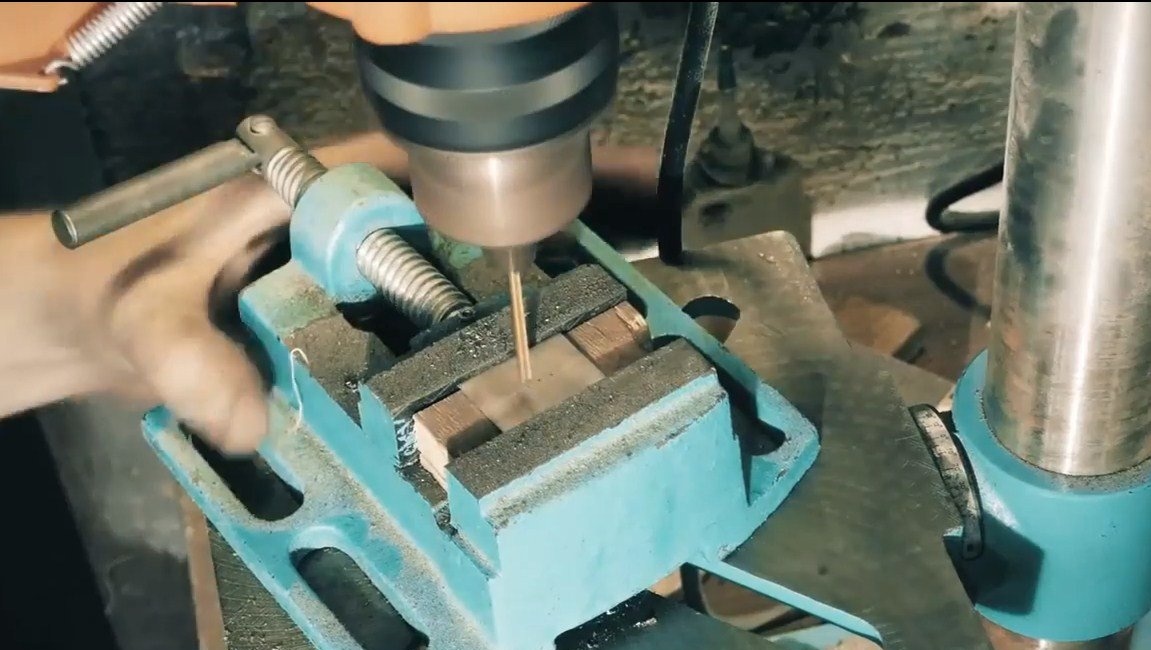
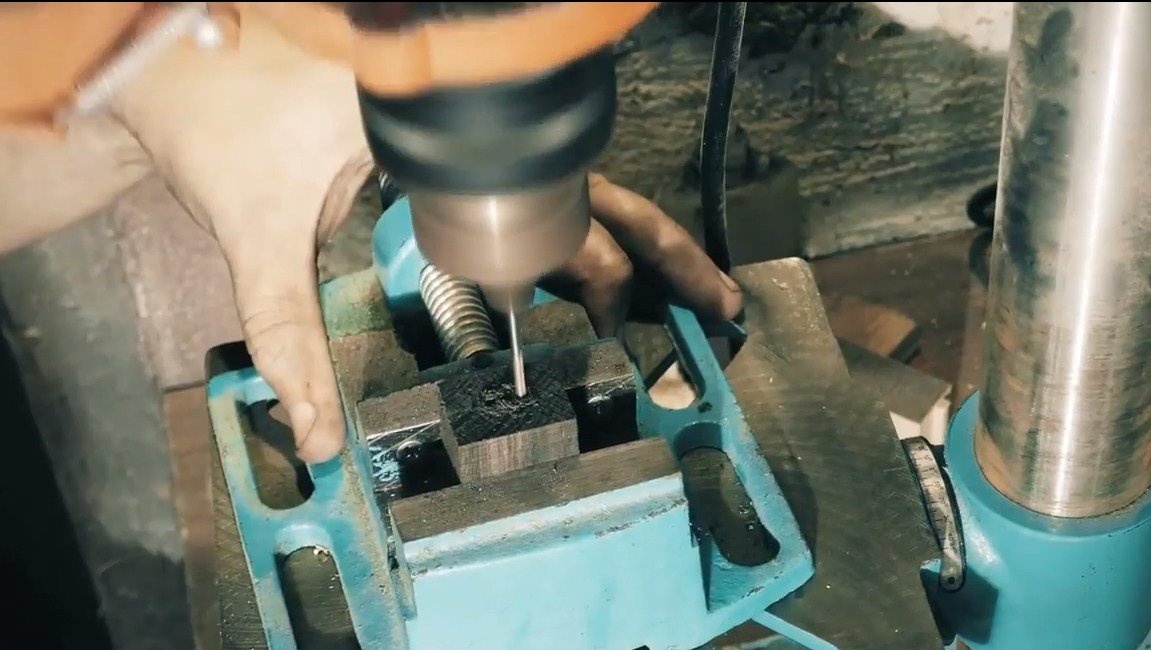
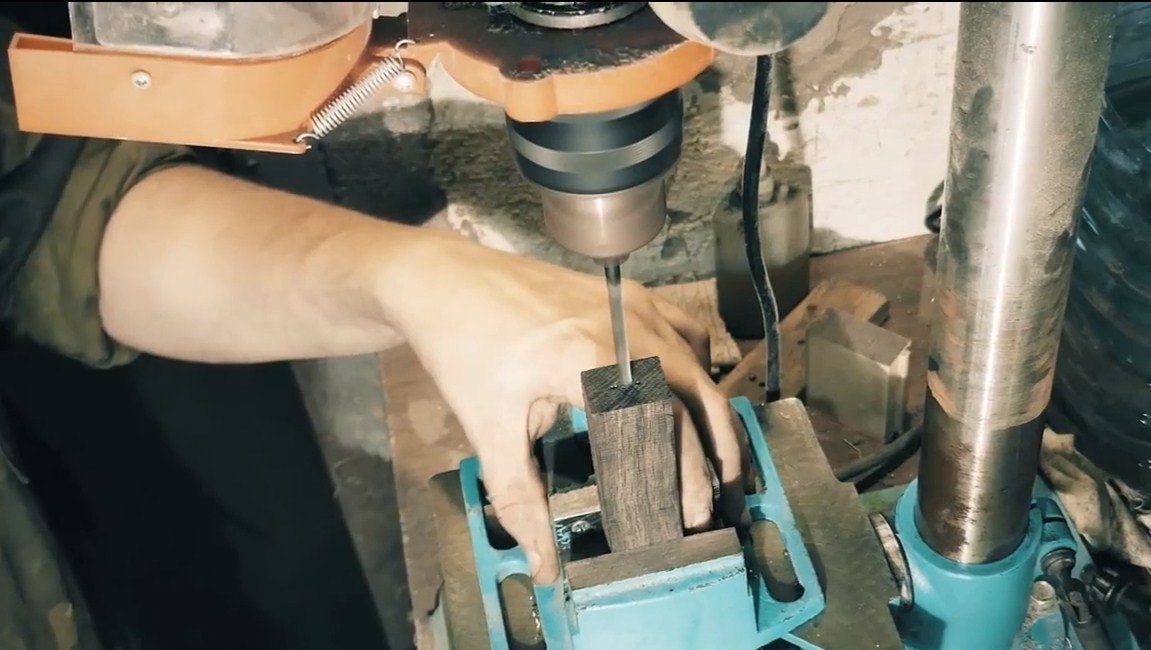
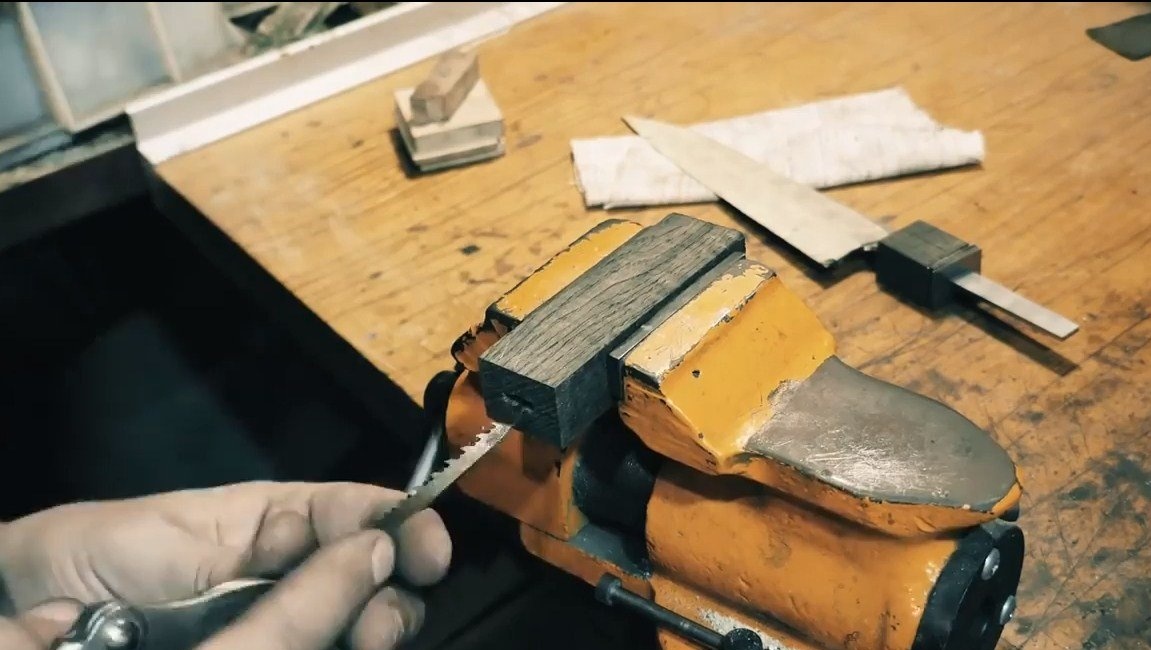
Step Five Making pens. Final stage
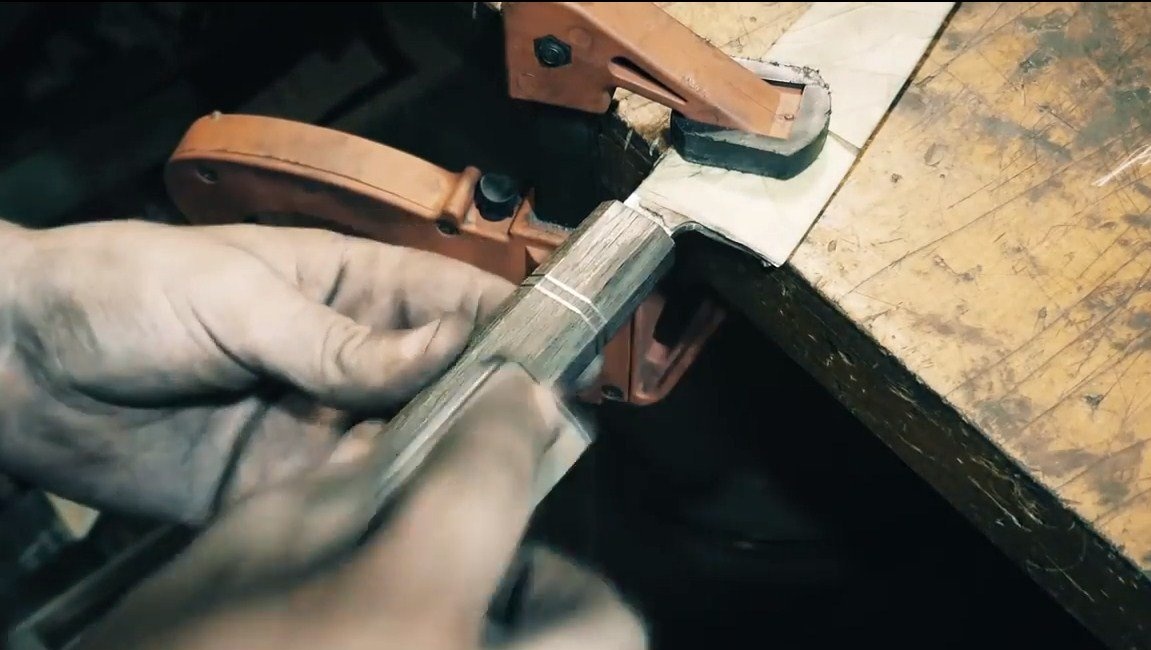
Now we just have to assemble a pen, here we need a tree, ebony or the like will do well. Cut the desired workpiece, drill a hole along it, and then give it the shape of a gap. A small narrow nail file will help you with this, a knife from a jigsaw will do well.
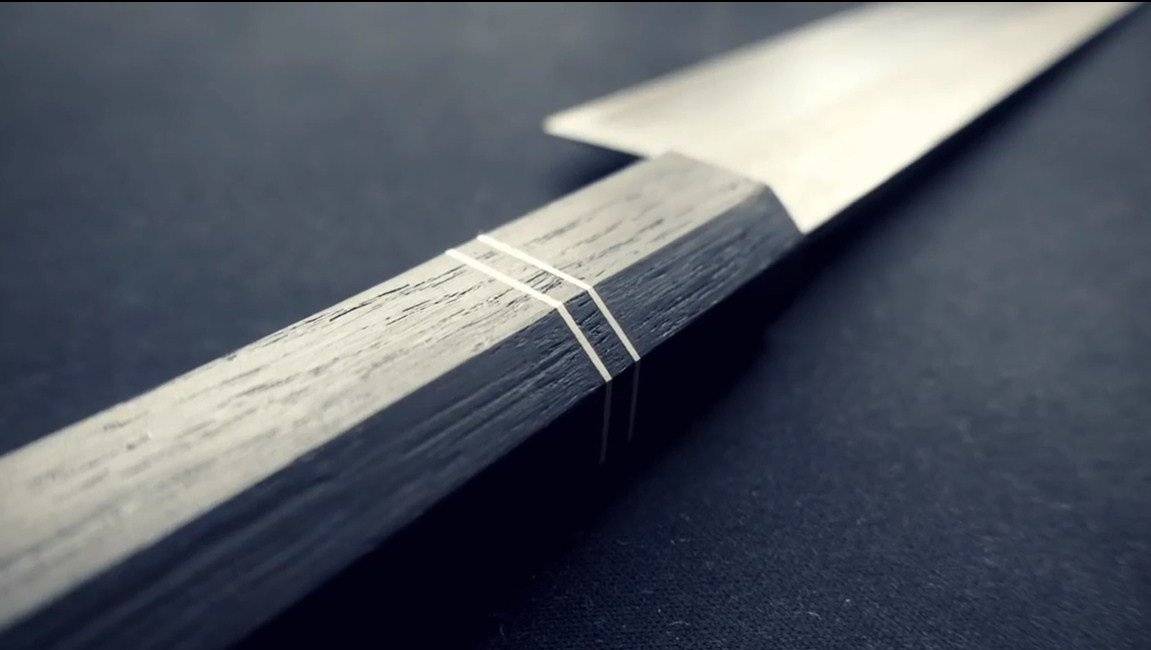
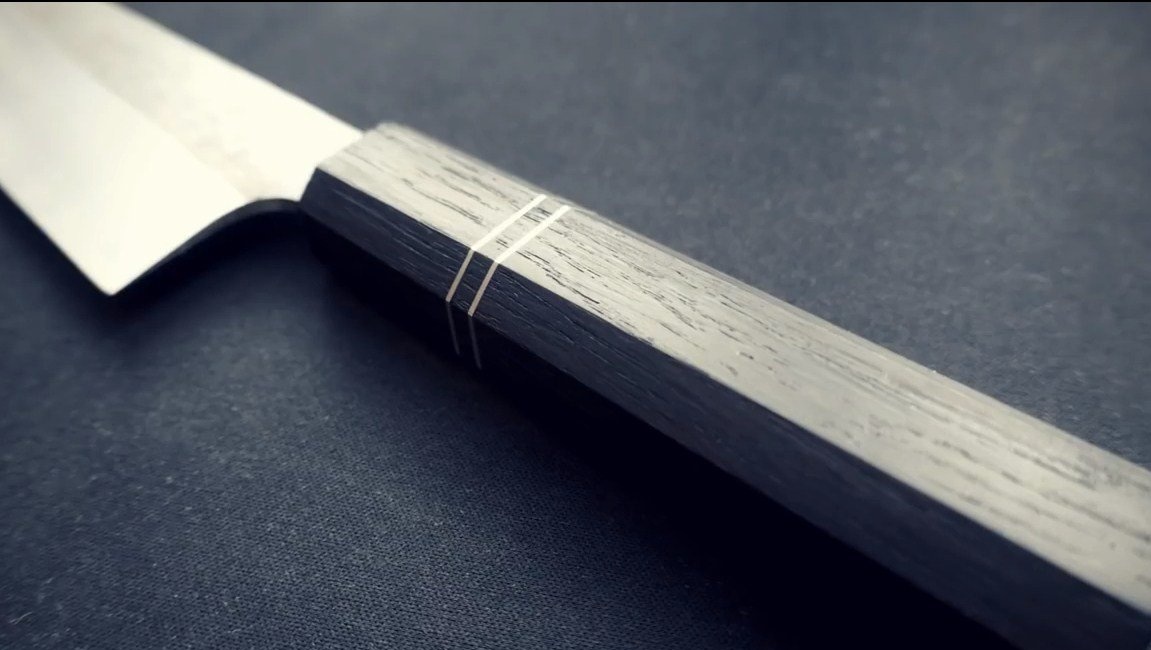
The author has inserts in the pen, most likely they are made of sheet aluminum. We cut out the necessary blanks and also make slotted holes with files.
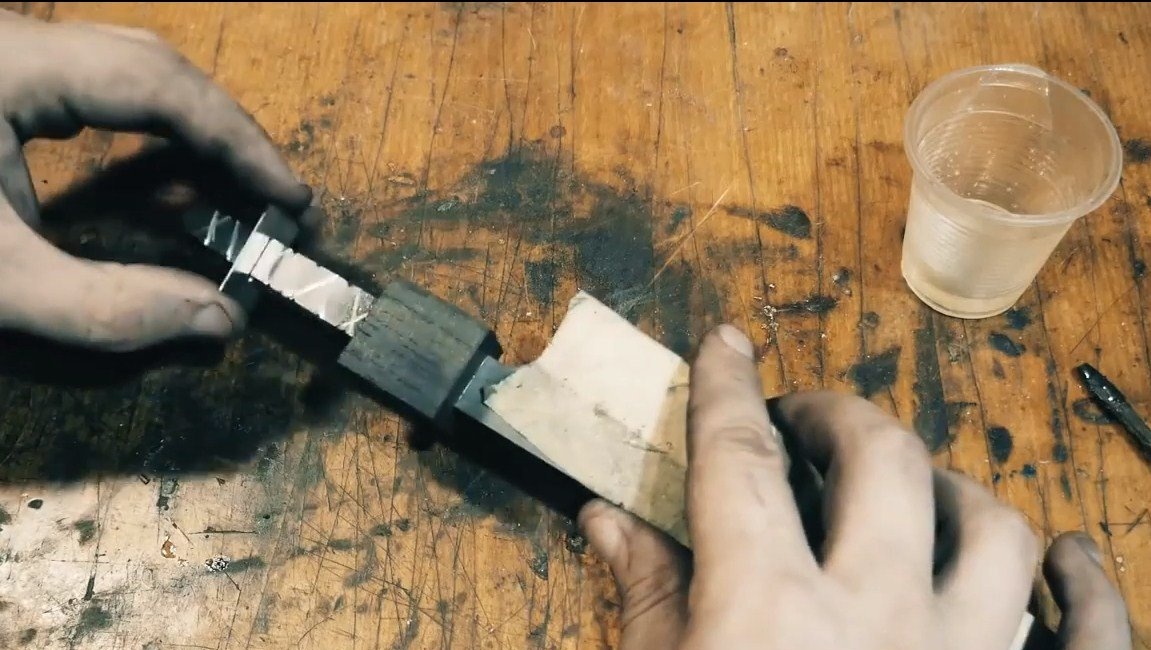
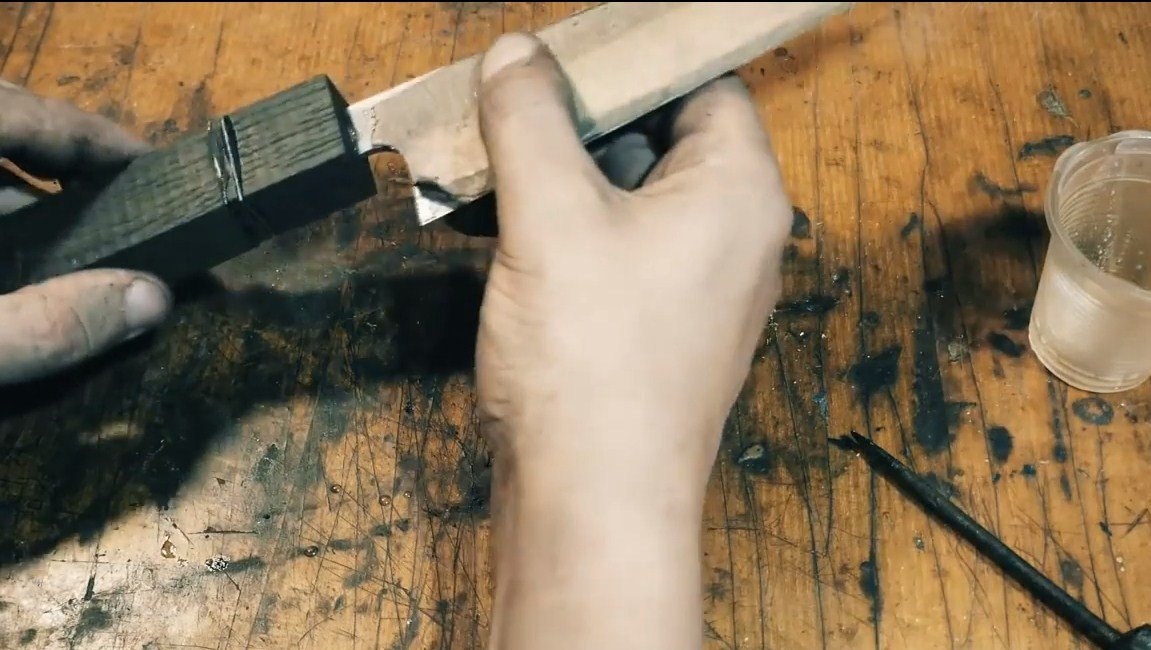
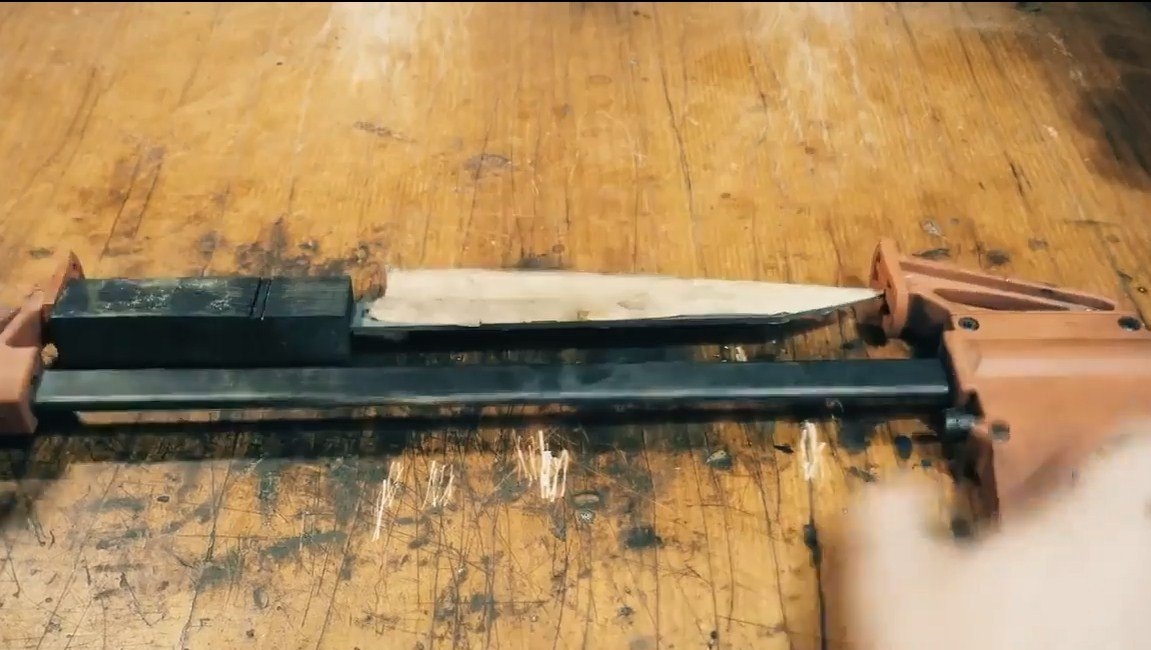

When all the blanks are ready, the handle can be glued. Before gluing, the author made notches on the shank of the knife, so that the glue reliably glued the handle, and it did not fly off over time. Everything is going to epoxy glue. When the glue dries, we carefully grind the whole thing. Sharp edges were left on the handle as planned.
At the end, we saturate the tree with oil, this will not allow it to deteriorate for a long time, and also the pen will look beautiful. We sharpen the knife and it is ready to use!
That's all, the project is over. I hope you enjoyed it, and you found useful information for yourself. Good luck and creative inspiration, if you want to repeat this. Do not forget to share your ideas and homemade things with us!