
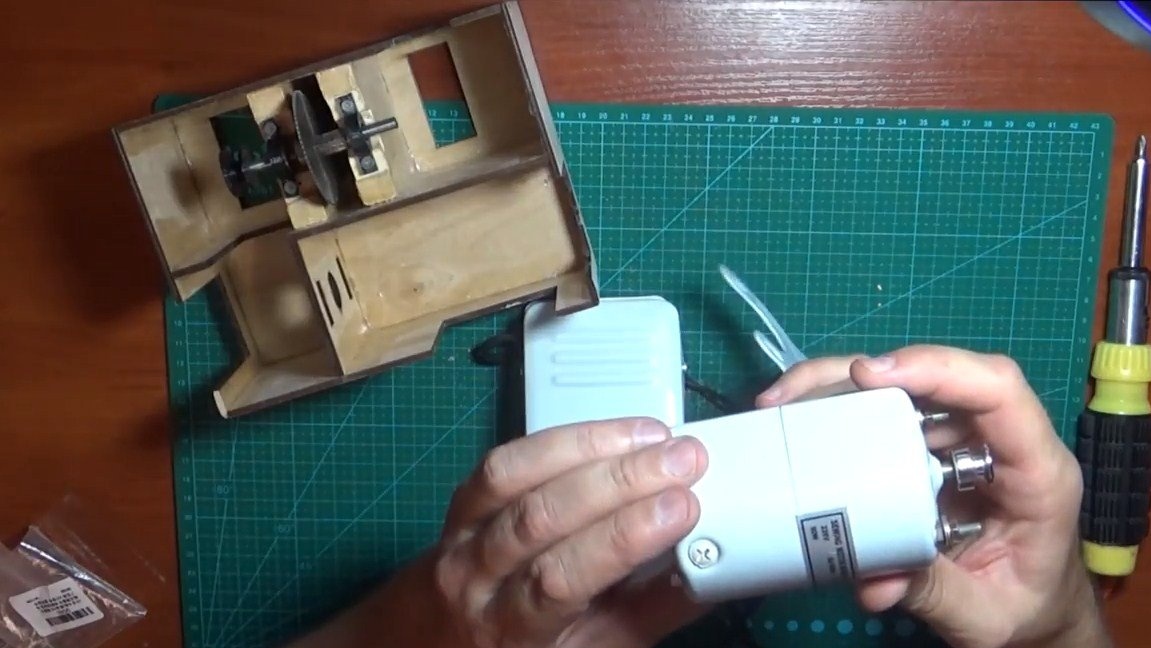
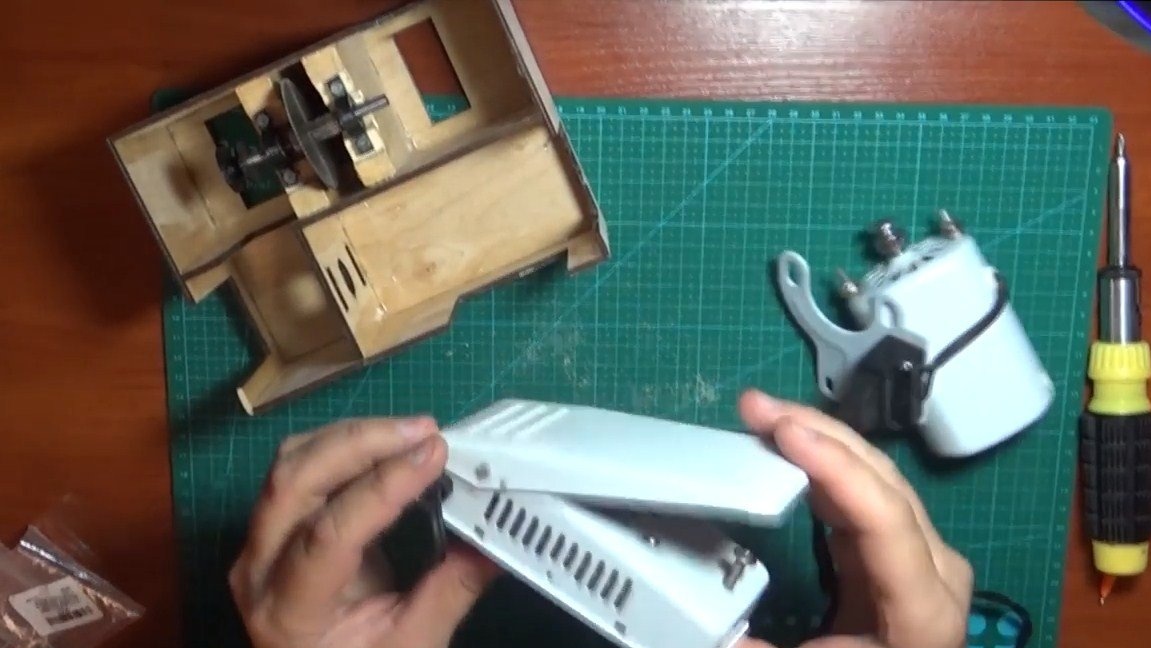
Greetings to fans who love to craft, I propose to study the instructions for the manufacture of a compact and powerful circular saw. Interesting homemade the fact that the author used a motor from an overlock as a power unit. The motors there are quite powerful and durable, the author installed an engine with a power of 90 watts, but there are more powerful ones, for example, 180 watts. Such motors operate on 220V, so an additional power supply is not needed for them.
In the kit for the engine, you can buy a pedal to control, so controlling the circular will be very convenient. Press the pedal with your foot and cut the material. To make the case, the author used laser CNC, but this problem can be handled with a jigsaw. Also, some details for the working axis were printed on a 3D printer, but you should have no difficulty making them from wood. If the project interests you, I propose to familiarize yourself with it in more detail.
Materials and tools used by the author:
Material List:
- plywood;
- a piece of a board for racks;
- screws;
- or similar (from overlock);
- ;
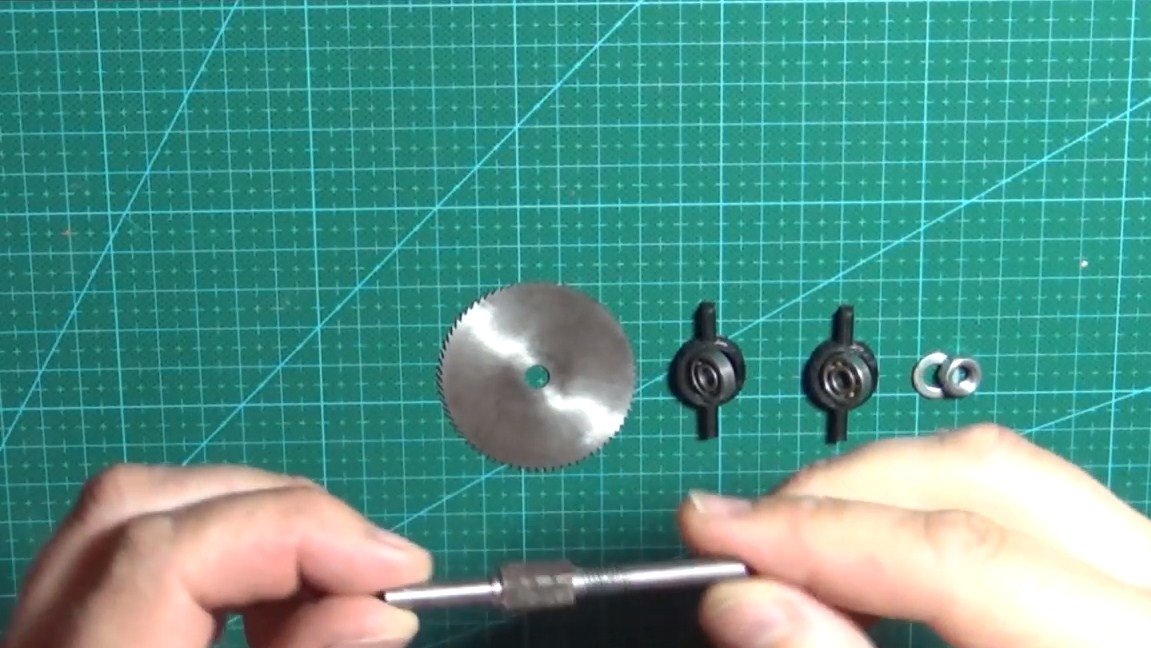
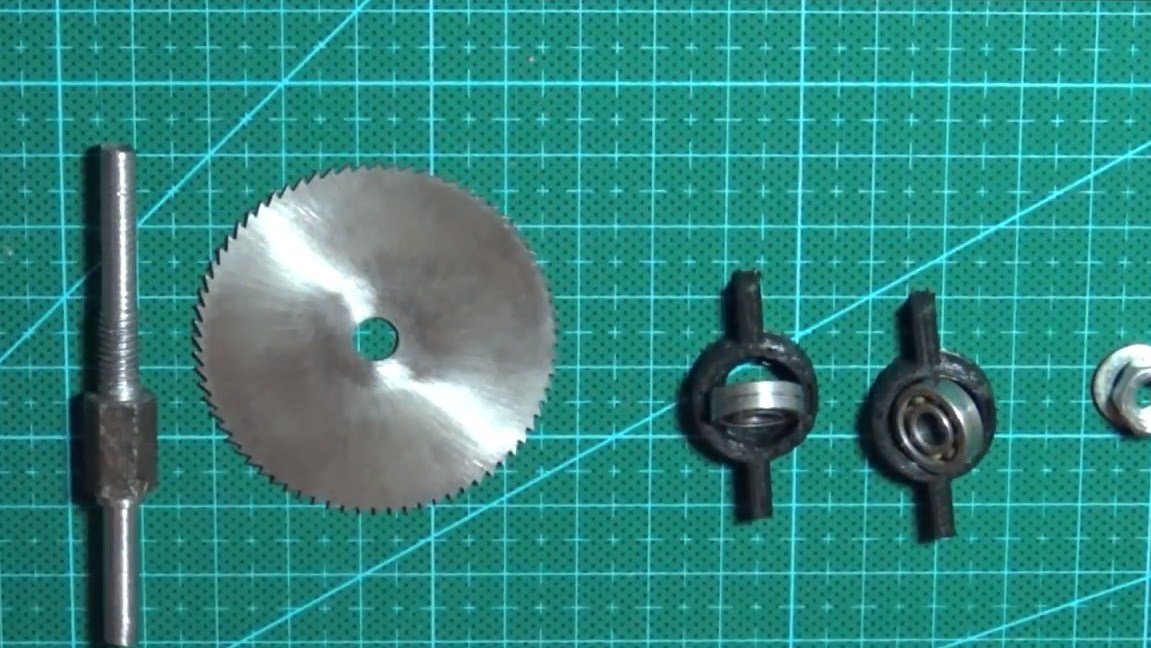
- two bearings and an axis;
- rubber legs;
- aluminum corner (for emphasis);
- pedal for controlling sewing machines;
- a leather belt (the author made a belt drive out of it).
Tool List:
- laser CNC;
- lathe;
- drill;
- 3D printer;
In general, you can get by with much simpler tools.
Homemade manufacturing process:
Step one. Parts for working axis
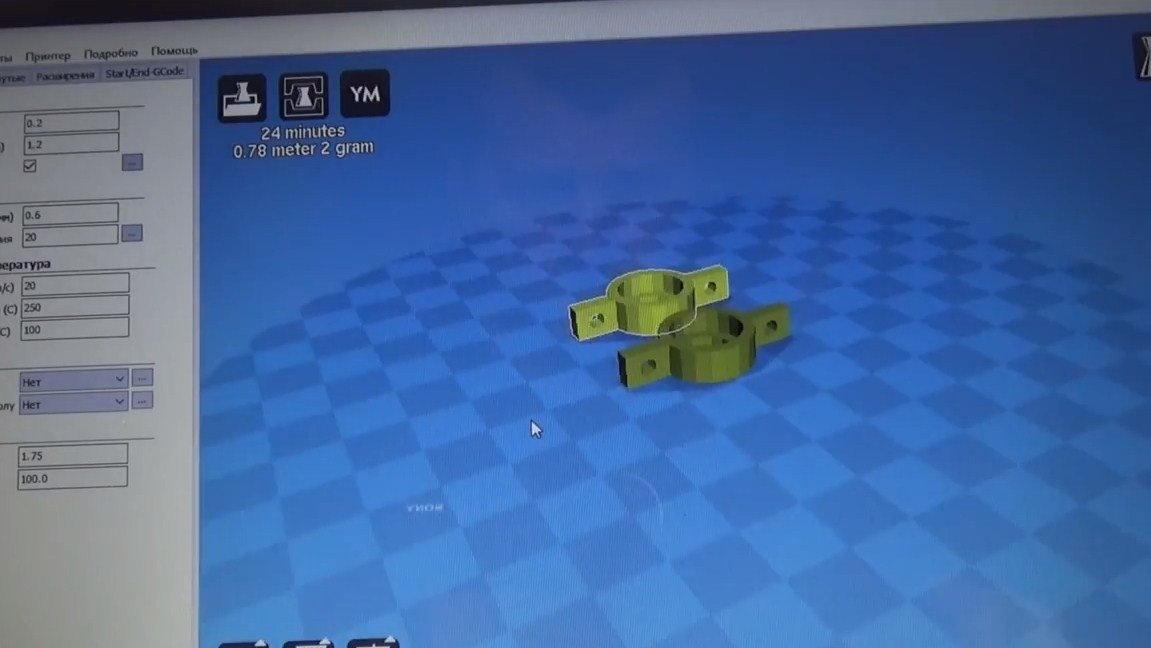
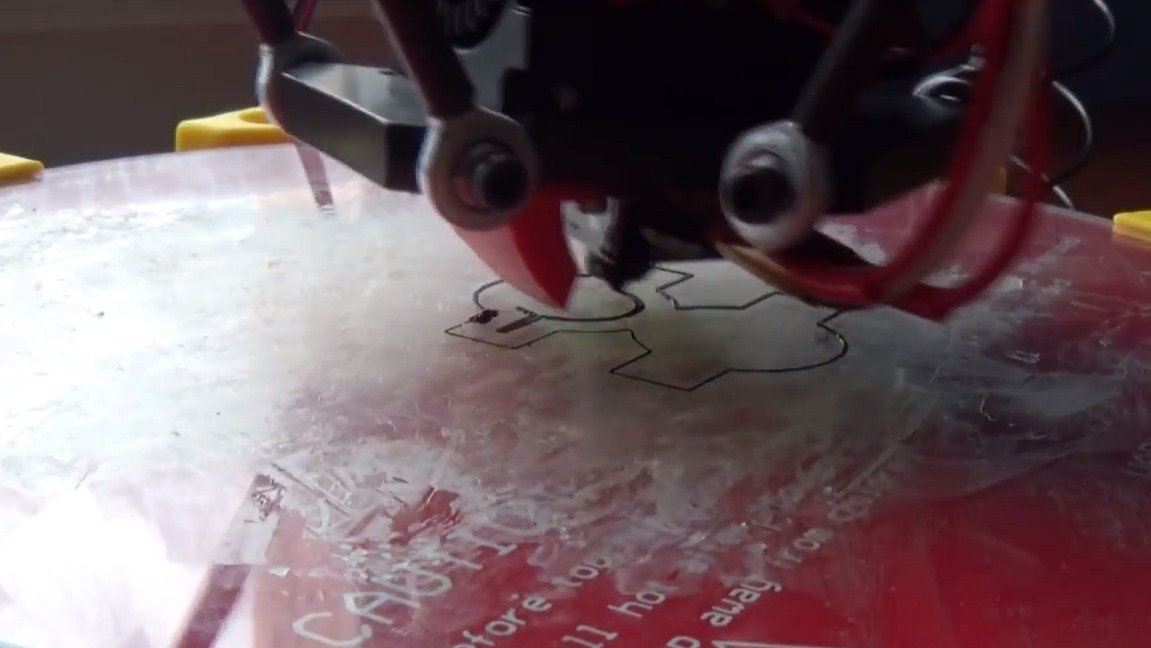
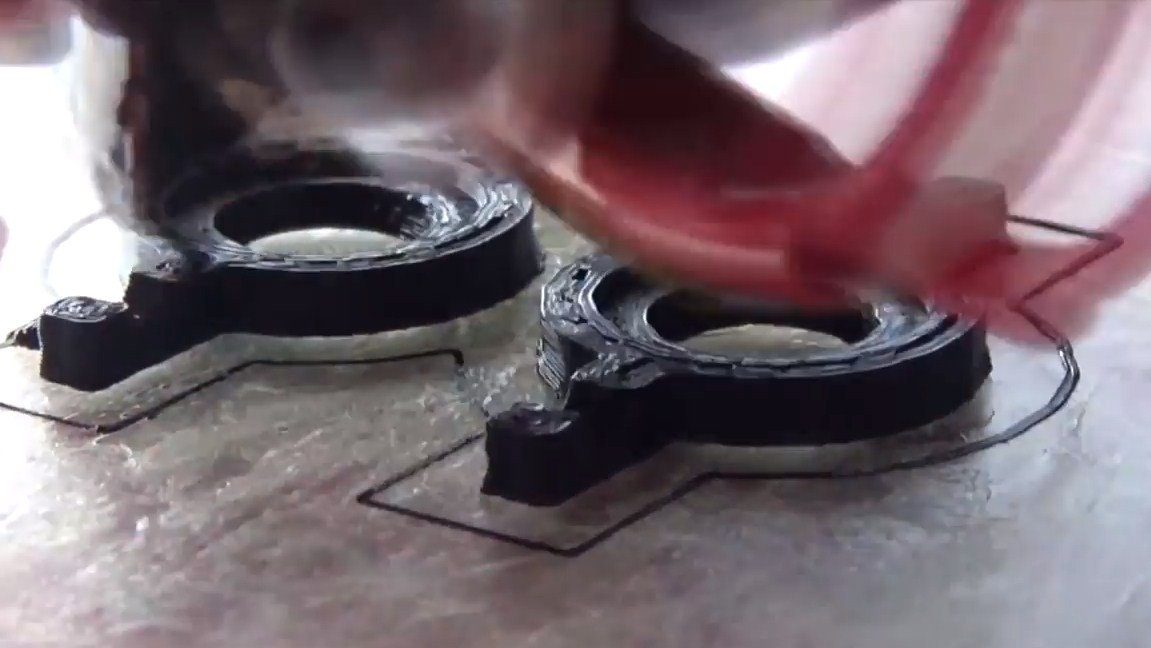
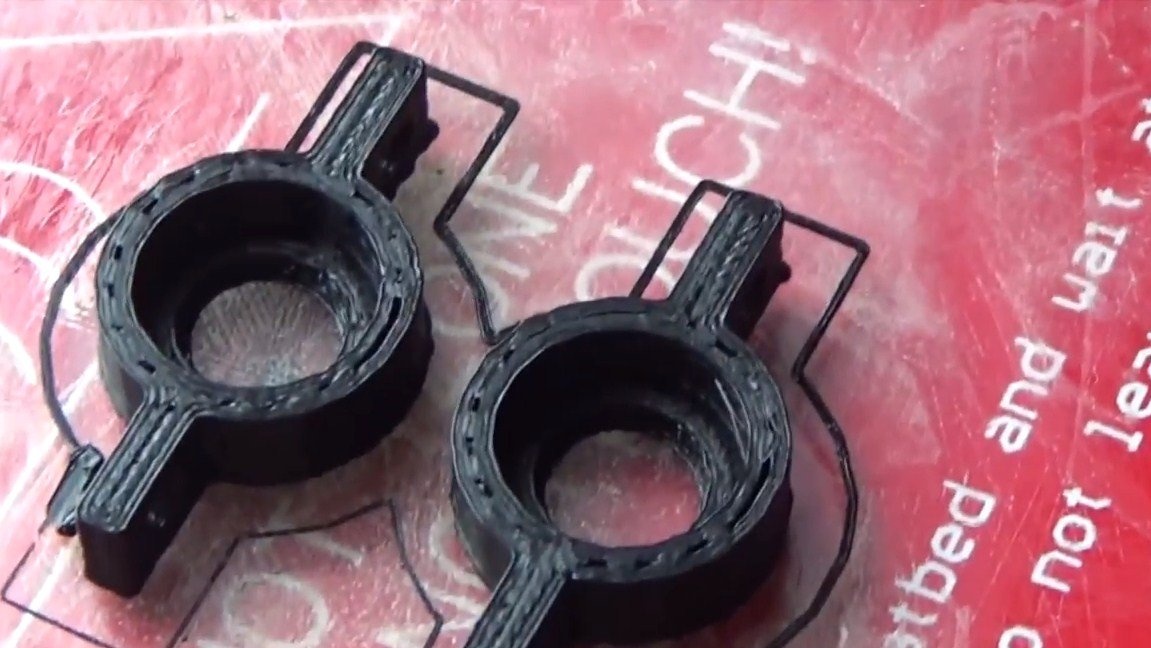
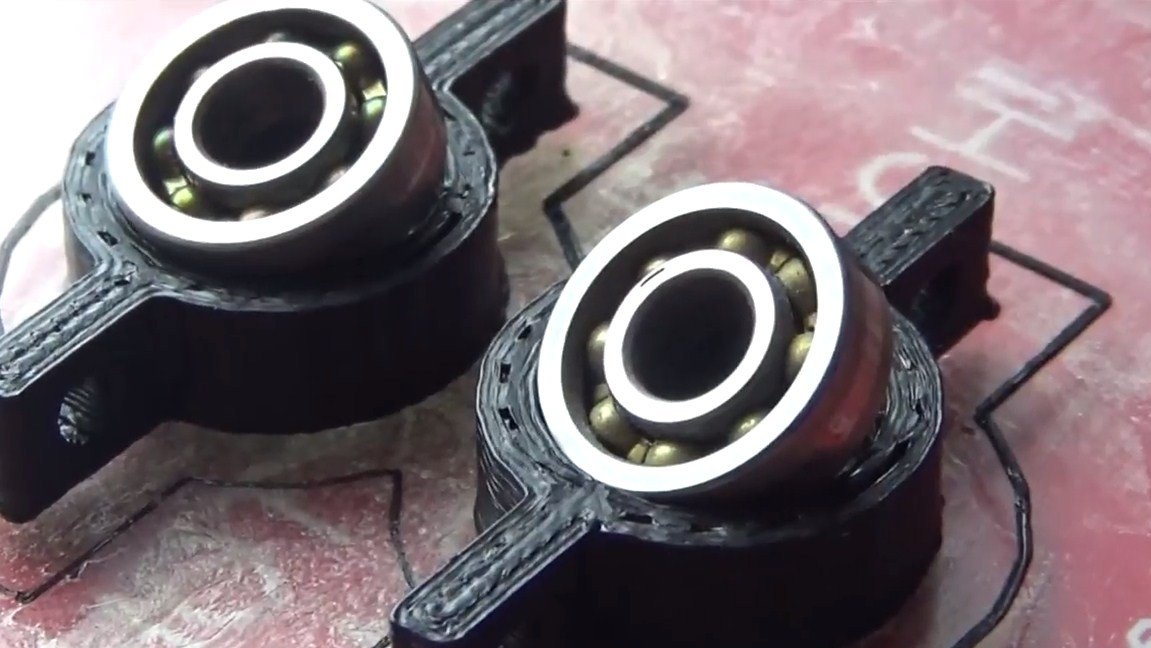
For the working axis, the author printed some details on the printer. This includes a pulley for a belt drive, as well as two brackets for bearings. Such a pulley can also be easily made of wood, and in quality and reliability it will be even better than plastic.
As for bearing housings, here you can also make something from wood or metal.

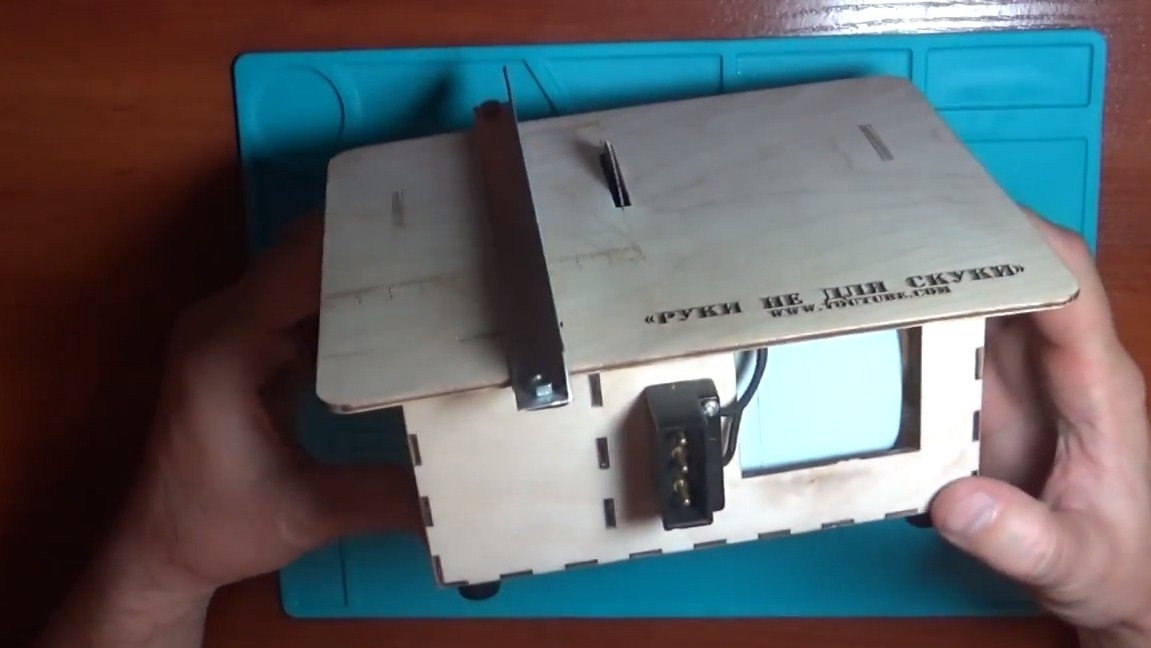
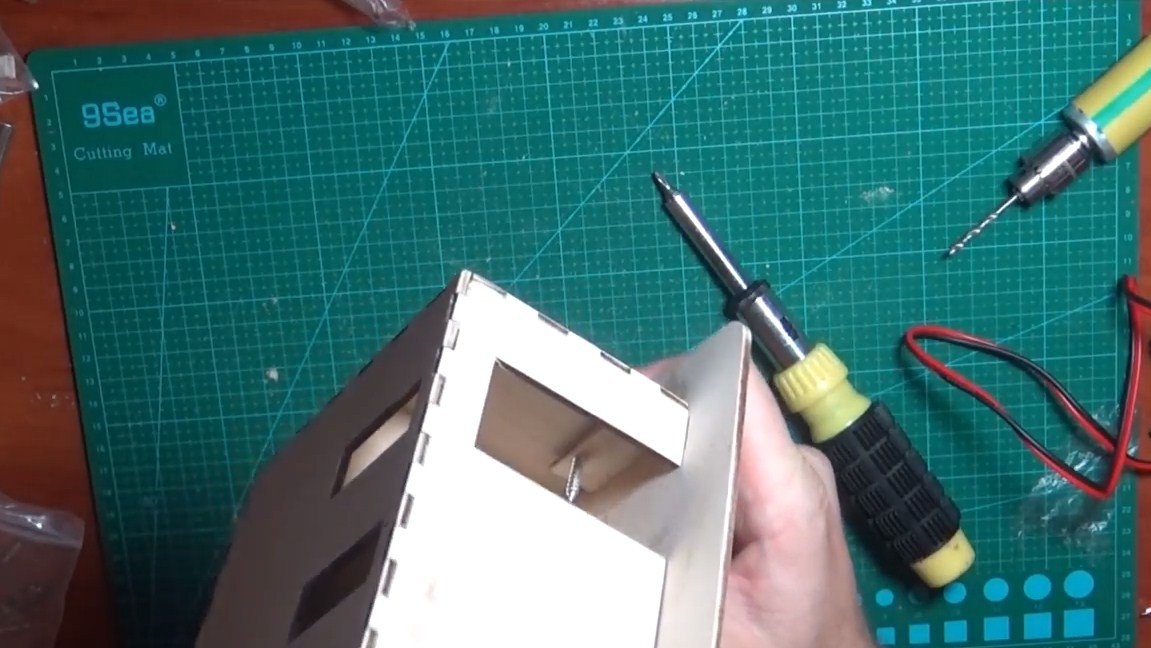
Step Two Body assembly
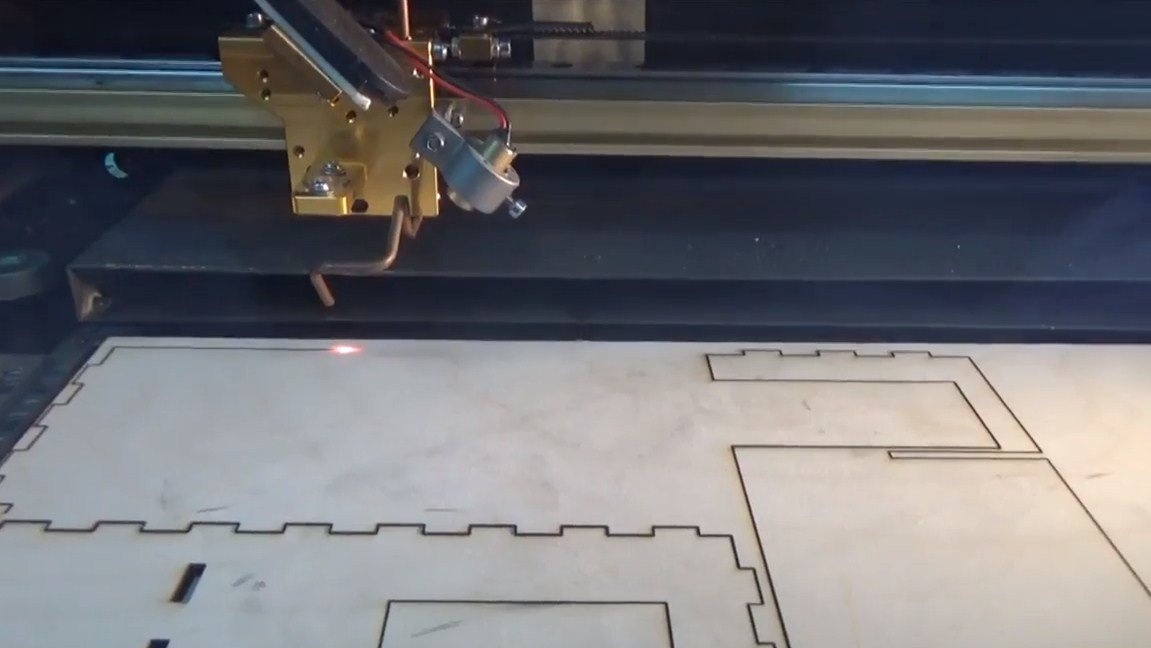
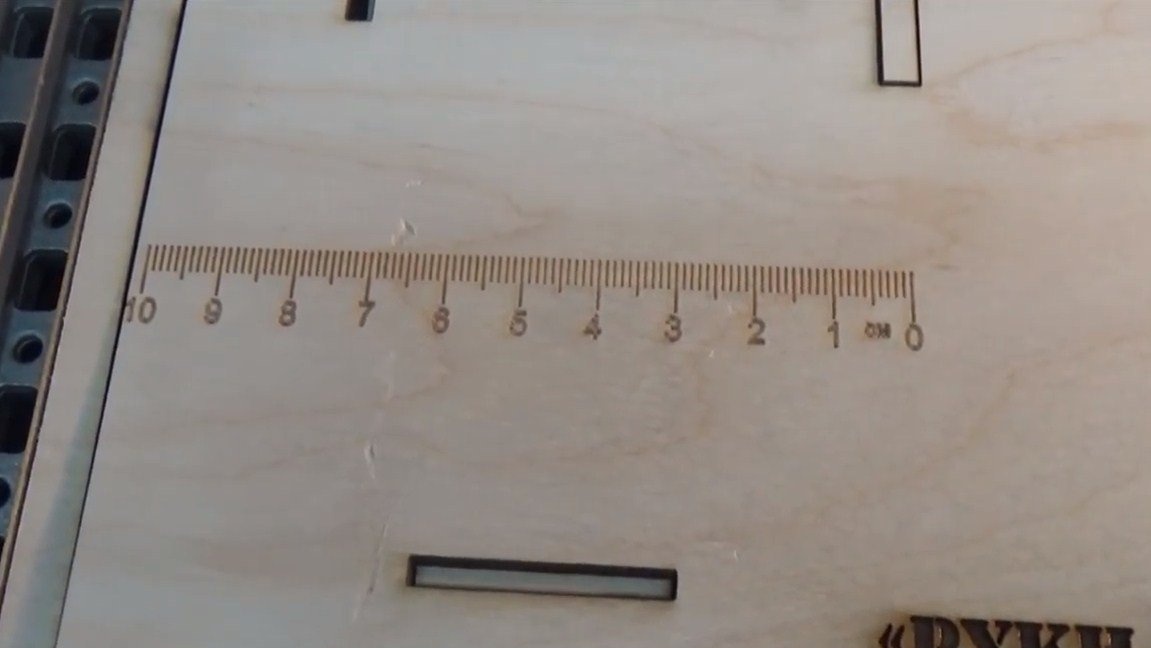
The machine body is made of plywood. The design is rather intricate, but after assembly the machine is convenient. The author cut out all the details using laser CNC.But if you are not lazy, then you can cope with this task with a jigsaw. And you can make the design of the case more simple.
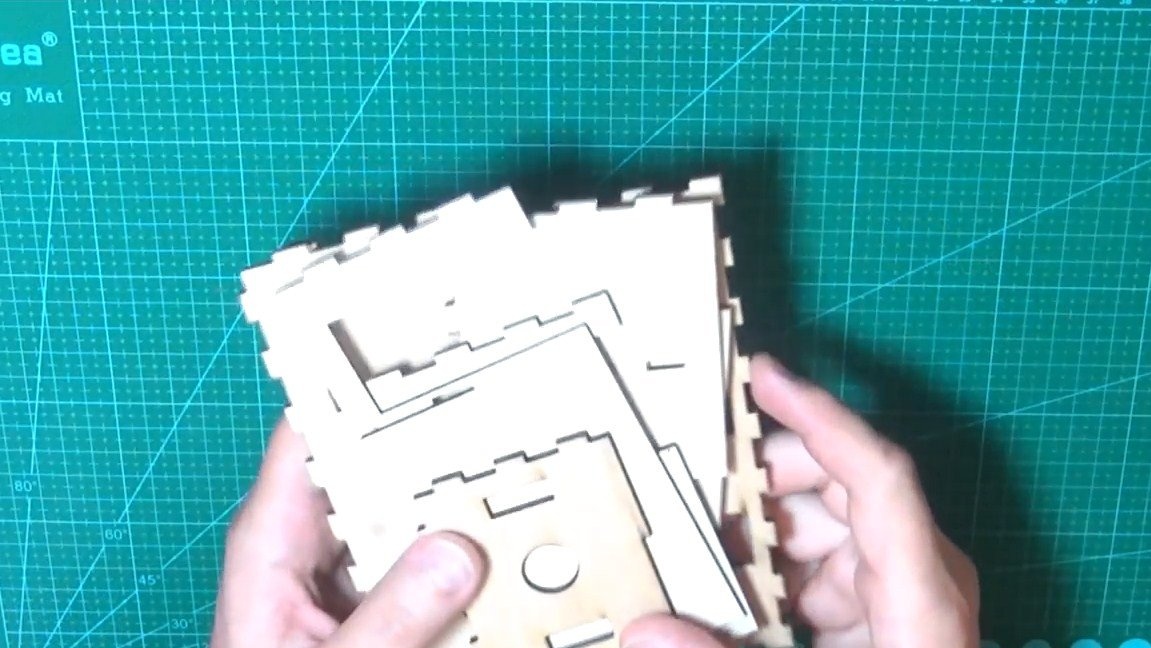
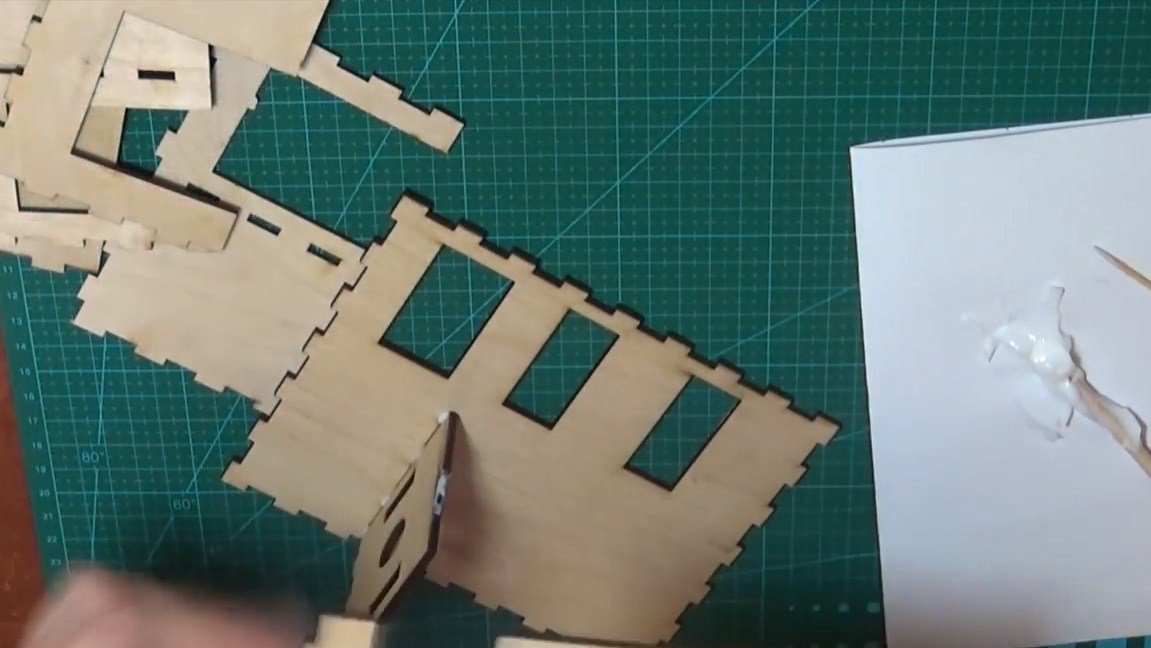

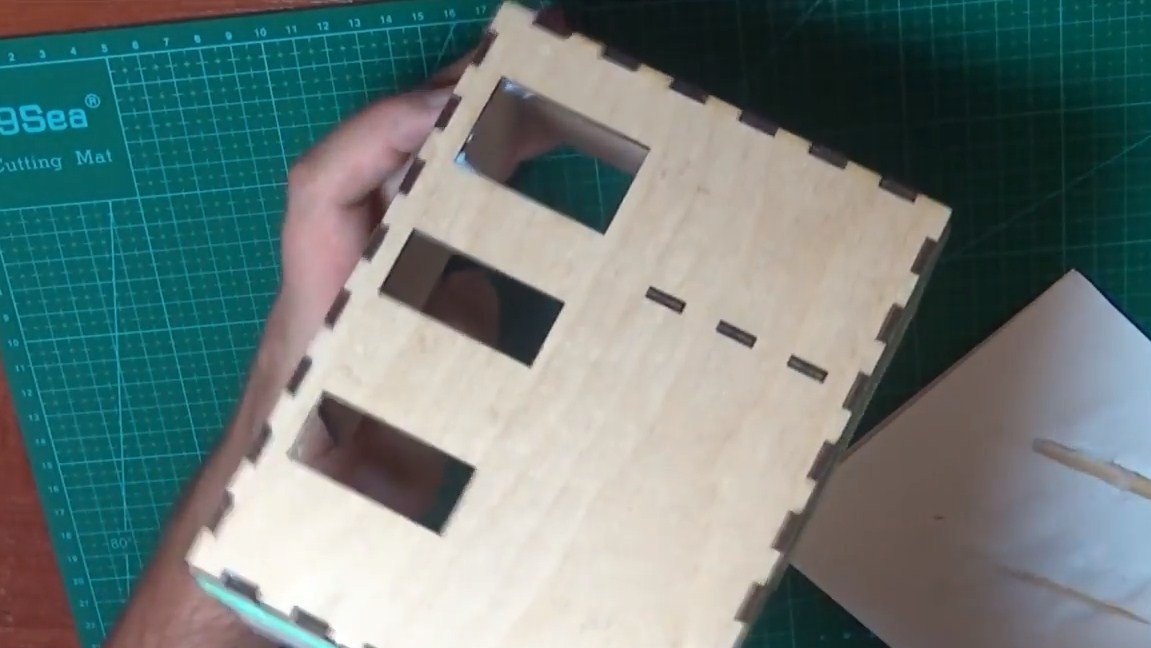
Next, the author assembles the case. Everything is glued with wood glue. Thanks to the spiked connection, everything turns out pretty tightly. We tighten the structure with an elastic band and let the glue dry.
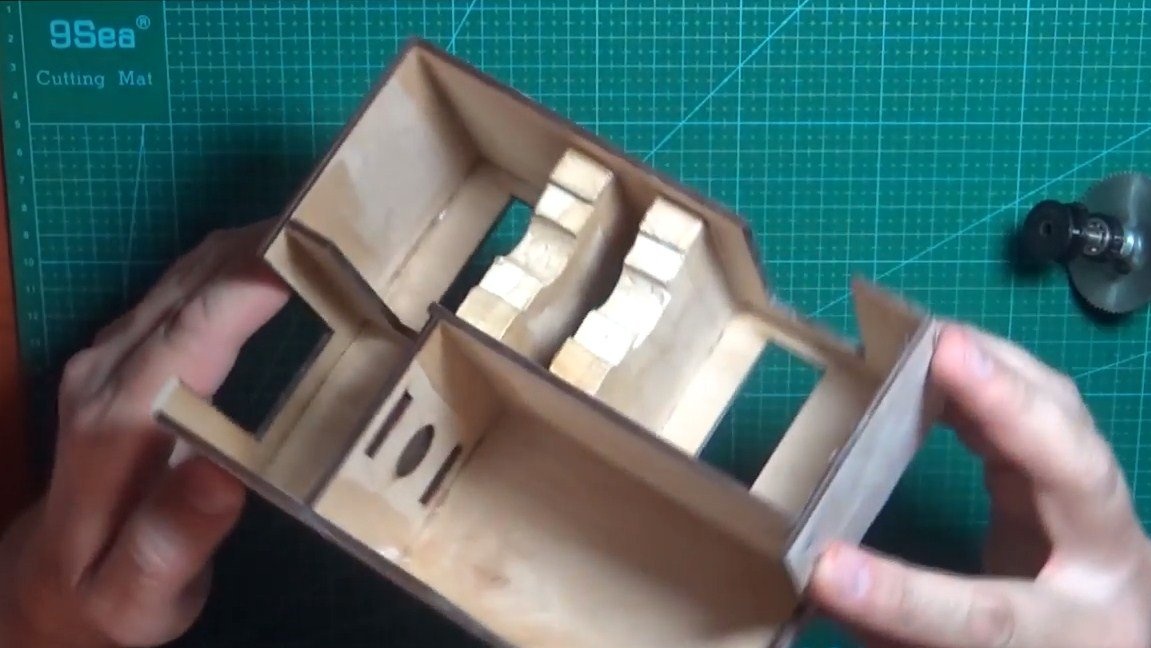
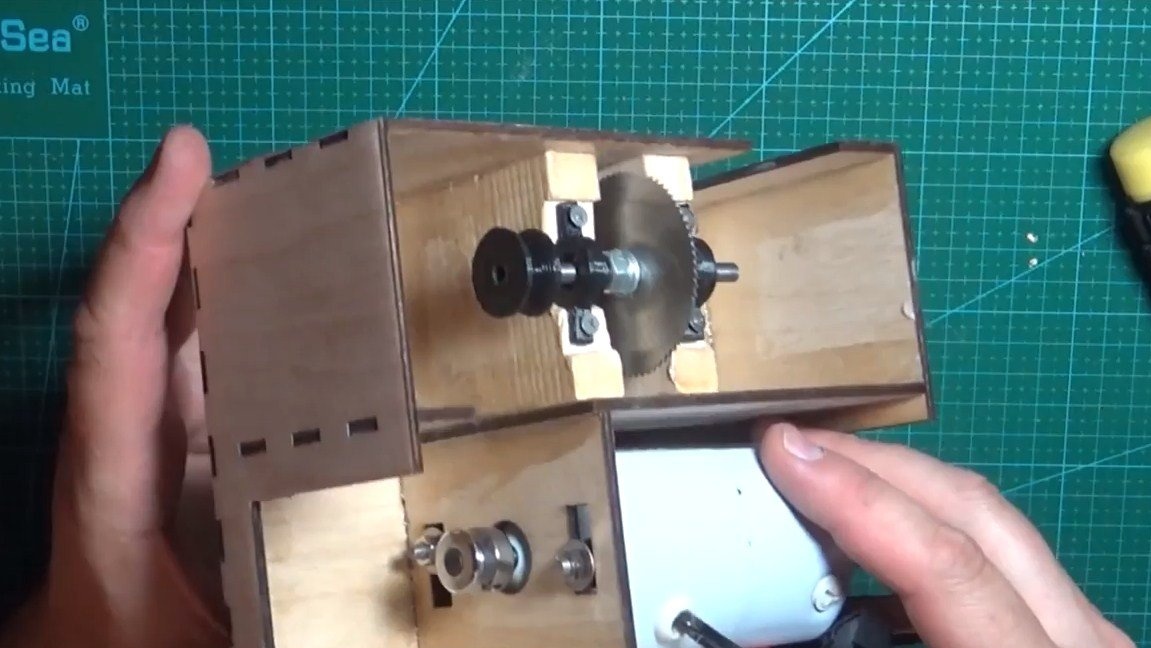
Step Three Installation of racks and working axis
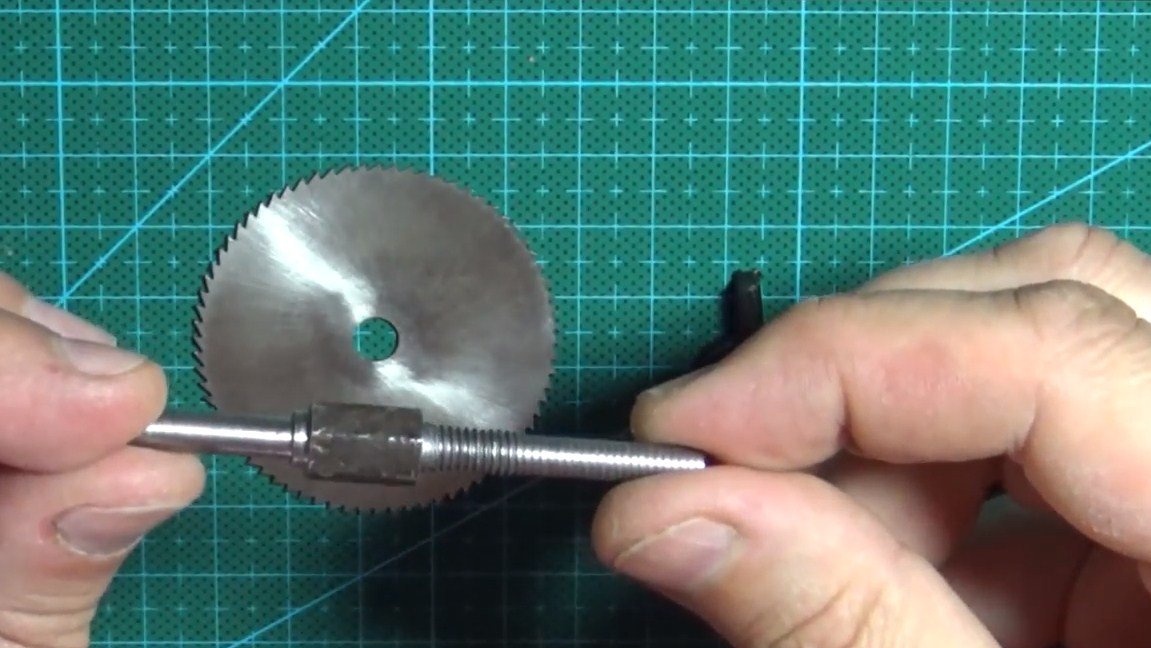
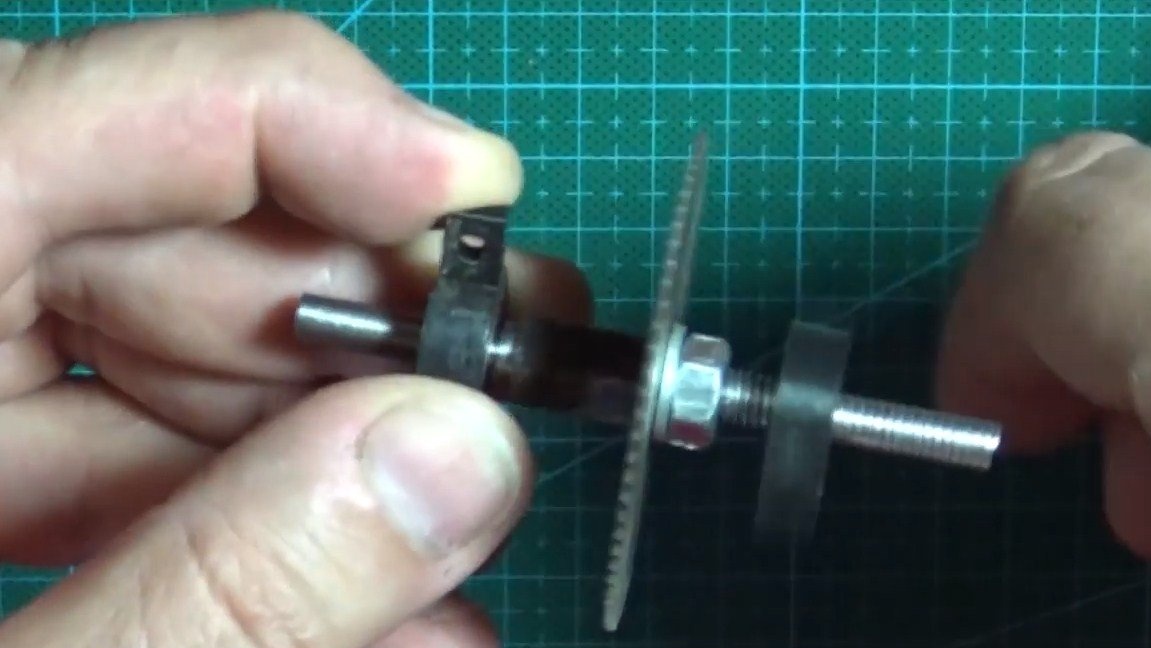
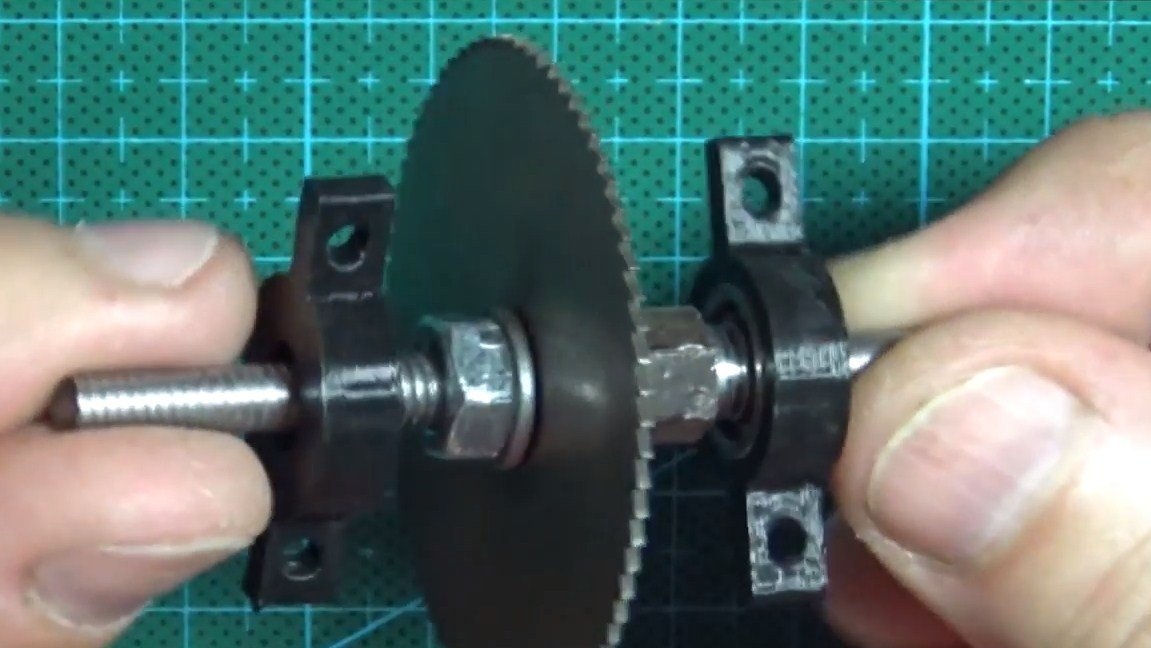
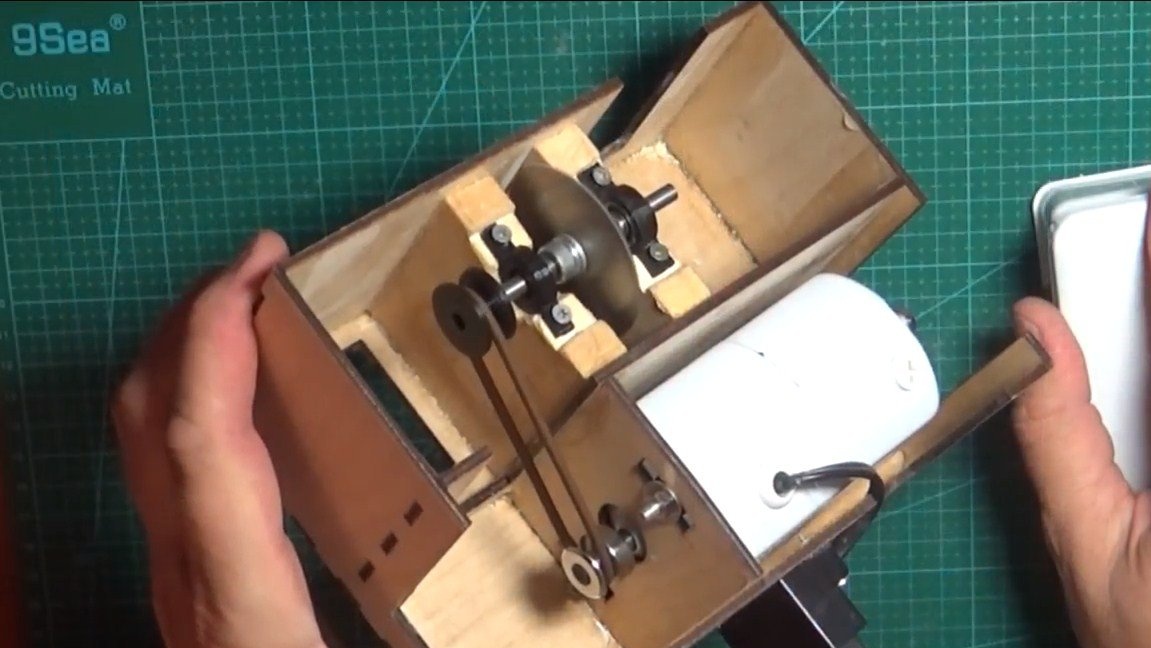
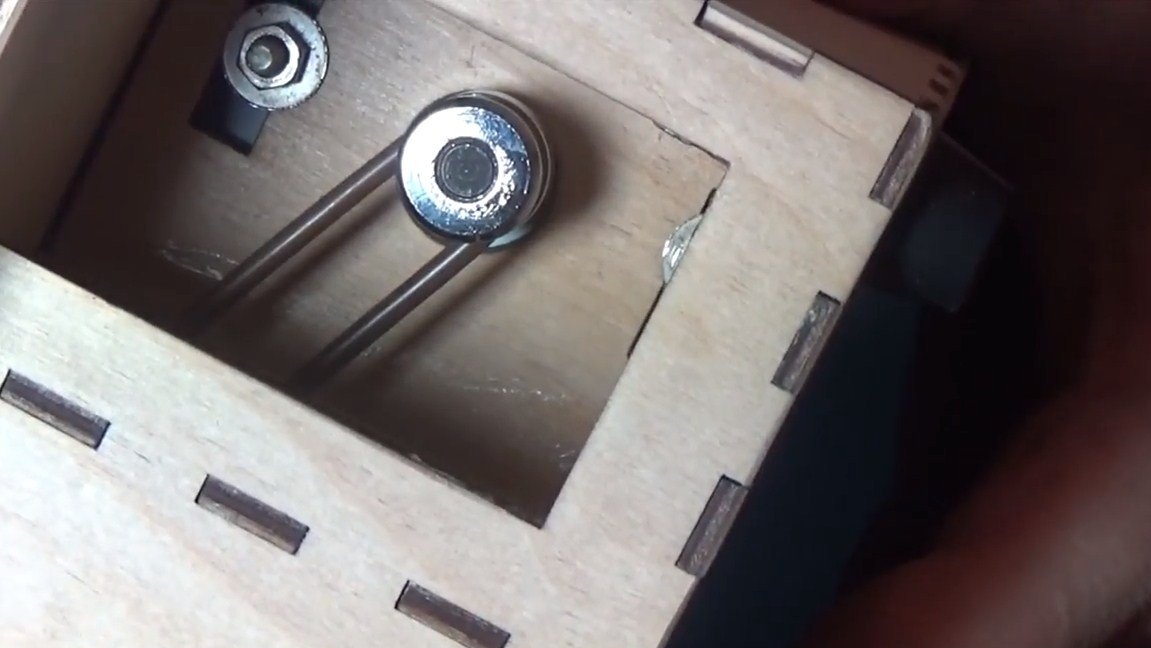
Next, we will establish the working axis, its author has previously machined it on a lathe, but this task can also be handled with a drill. We install the racks in the housing on which we will mount the bearings. As racks, you can use whetstones or planks. We paste them into the case, and it is better to additionally fix it with screws.
We fasten the bearing housings to the posts using self-tapping screws.
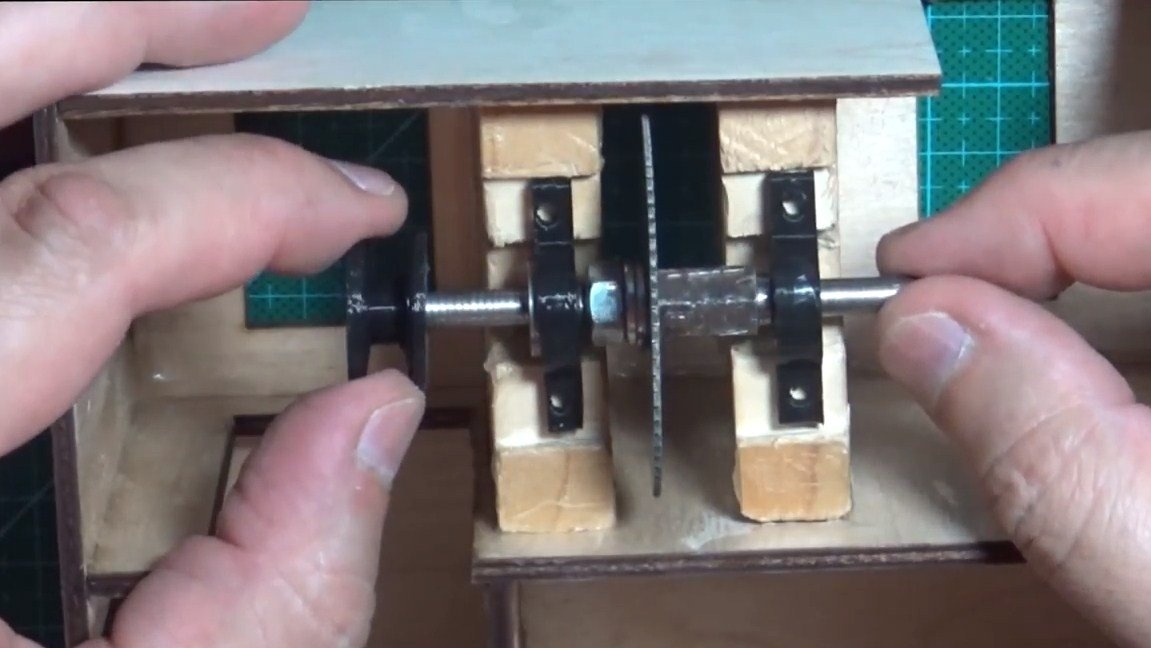


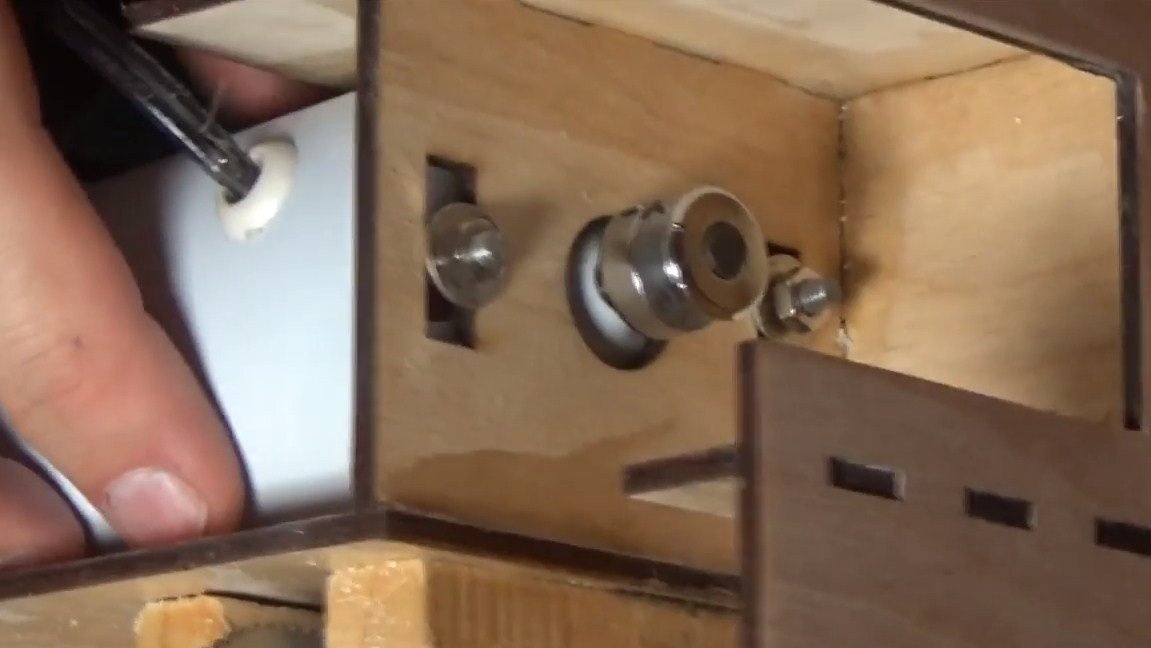
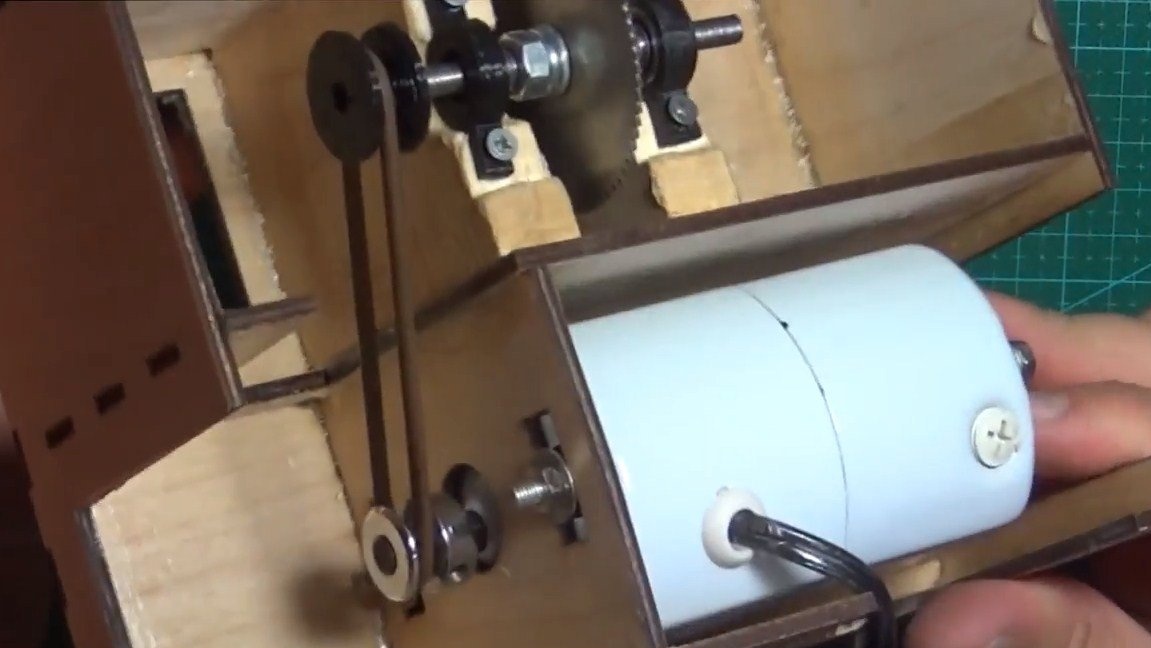
Step Four Engine installation
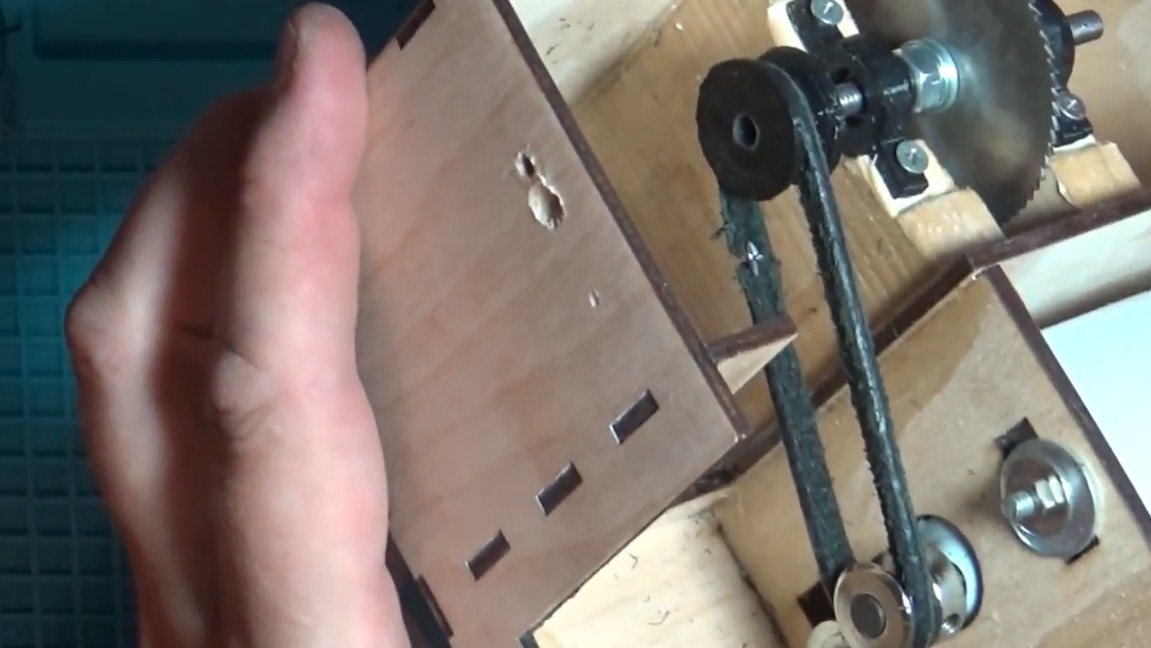
We install the engine, the author made slotted holes for the studs. They are needed so that you can pull the belt drive. We fix the motor with two nuts, putting good washers. We install the belt and try to turn on the engine.
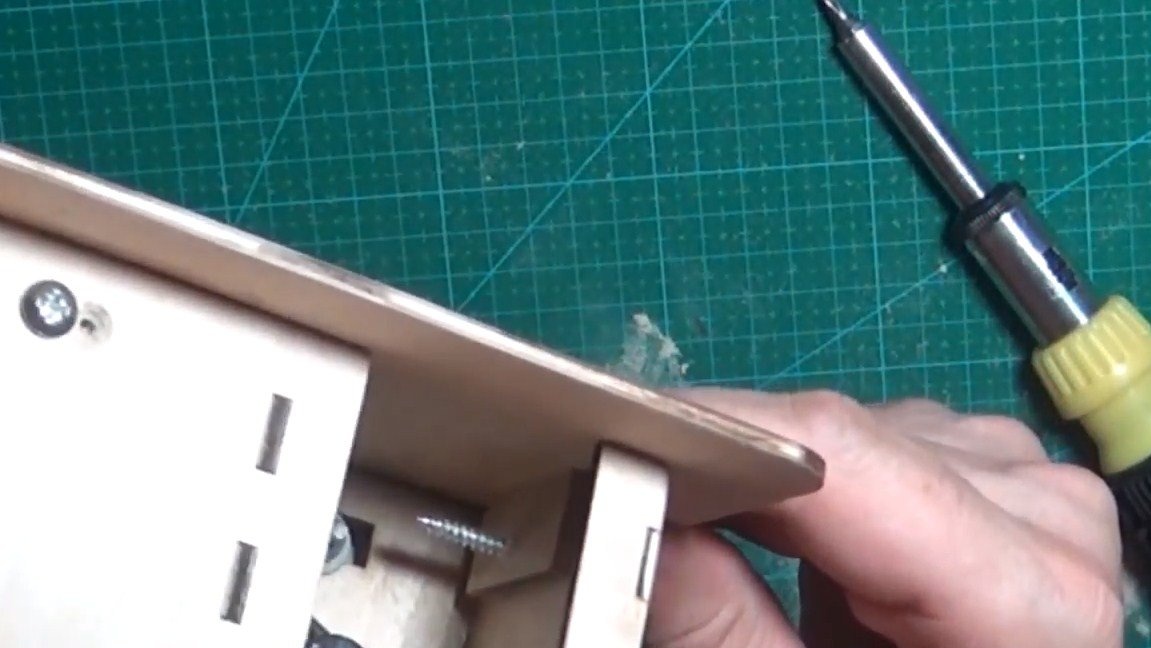
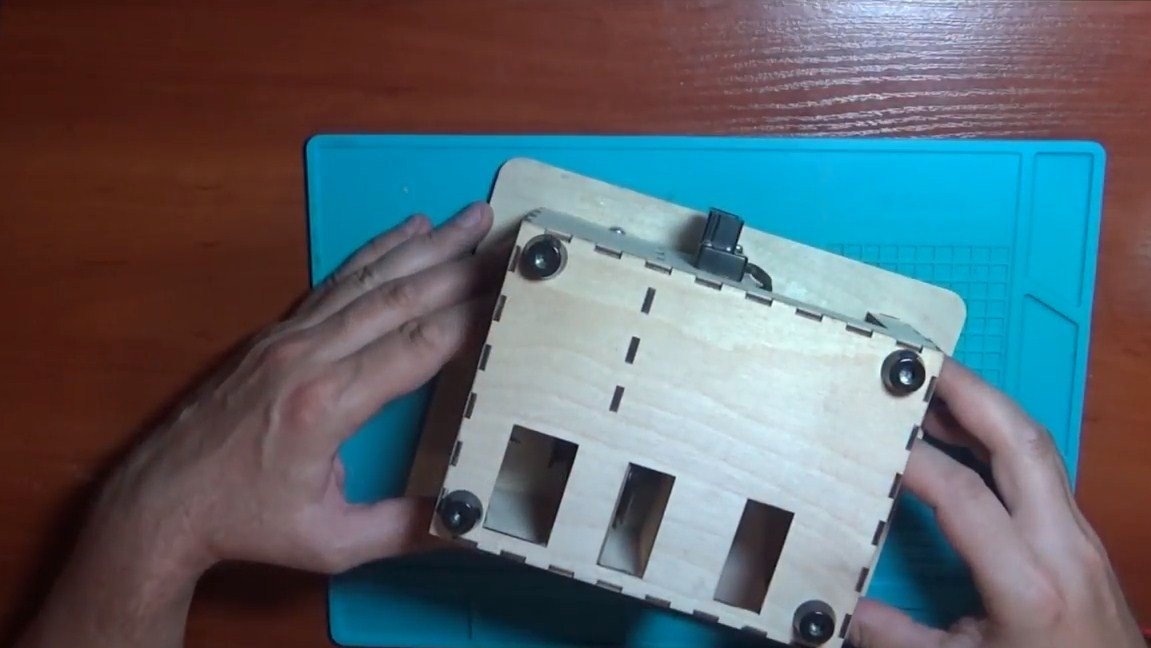
Step Five Cover installation
We install the cover, the author fastens it with screws so that you can get to the internal organs if necessary.

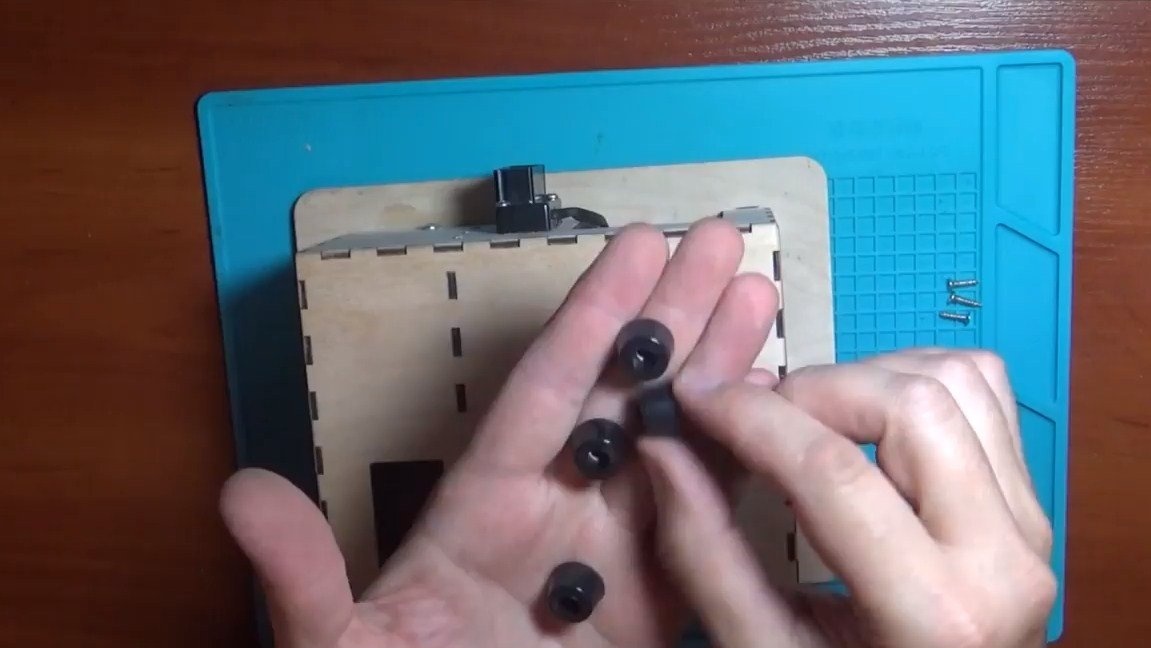
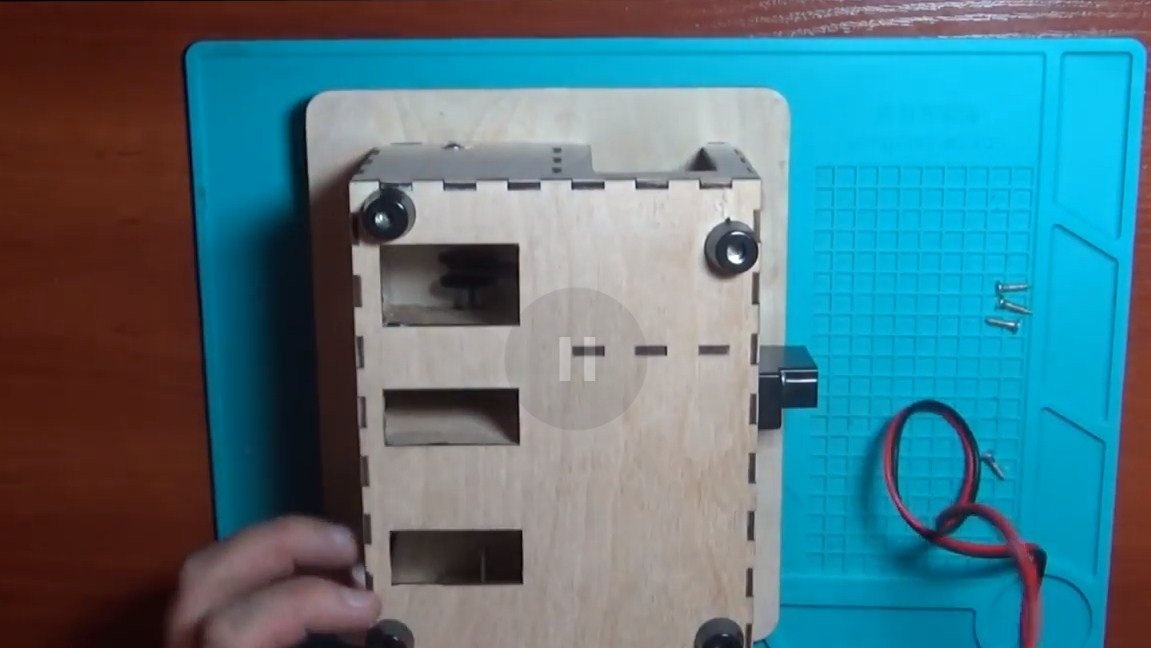
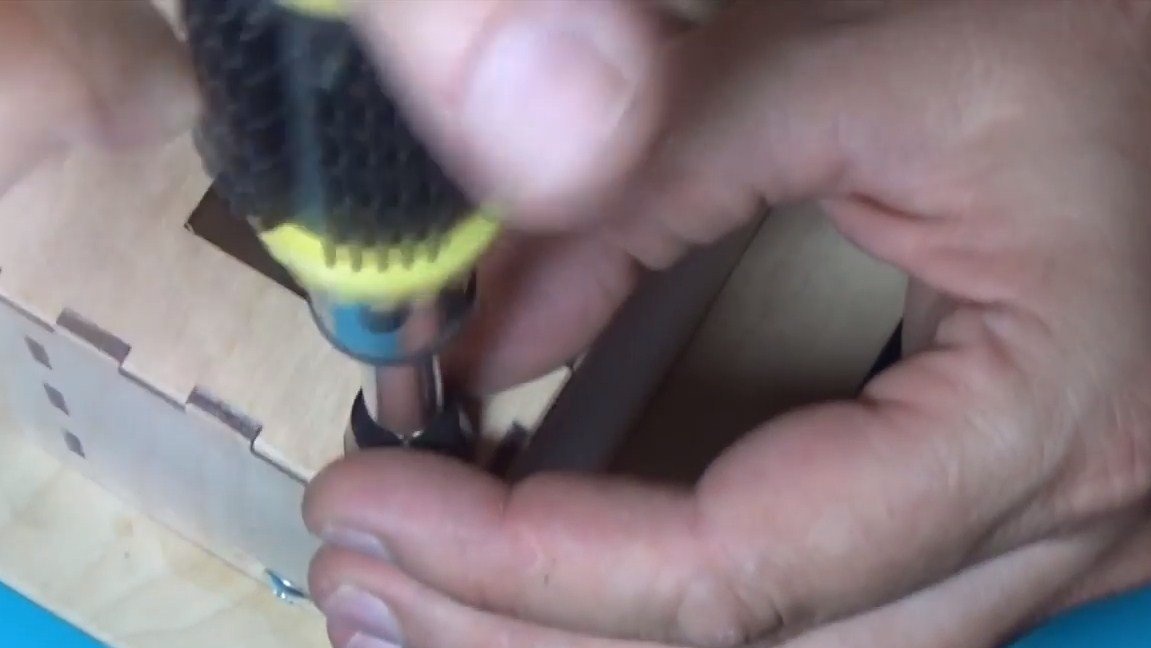
Step Six Legs
We fasten the good rubber legs to the base so that the machine stands confidently on the table. Such legs are quite common, they can be ordered from China.
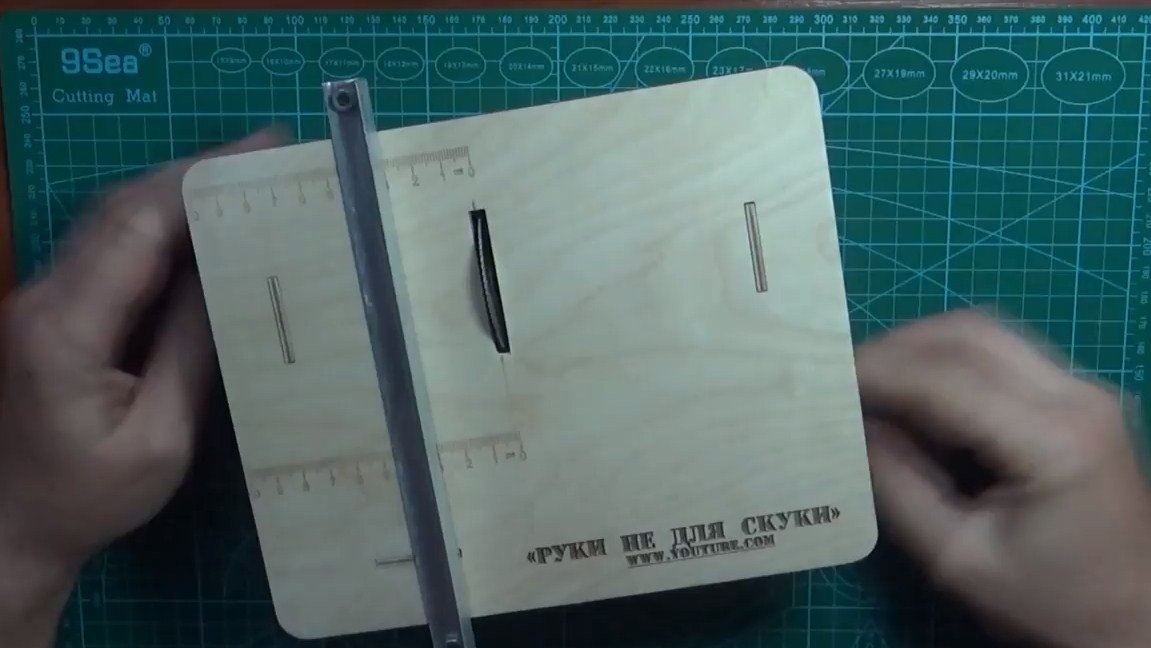
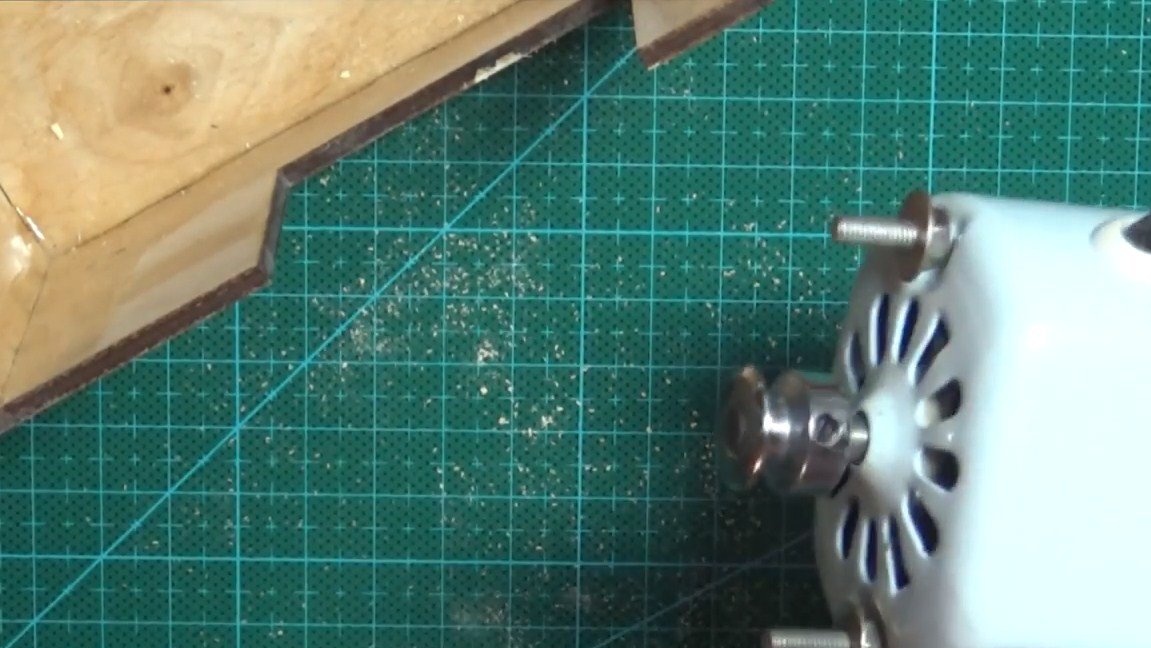
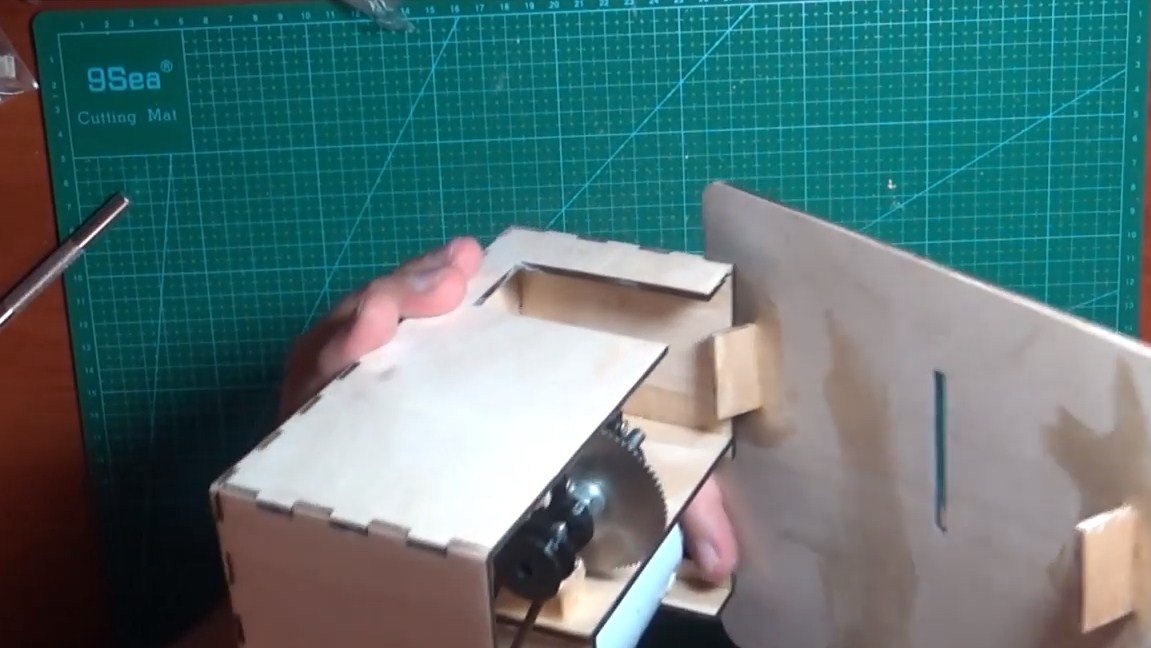
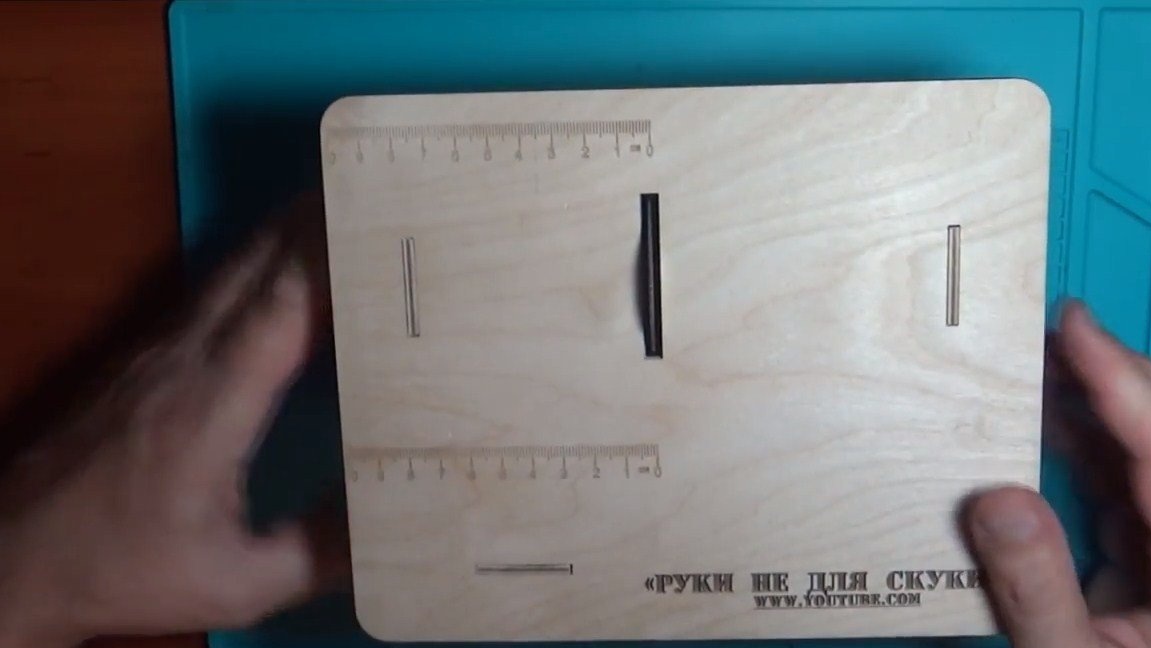
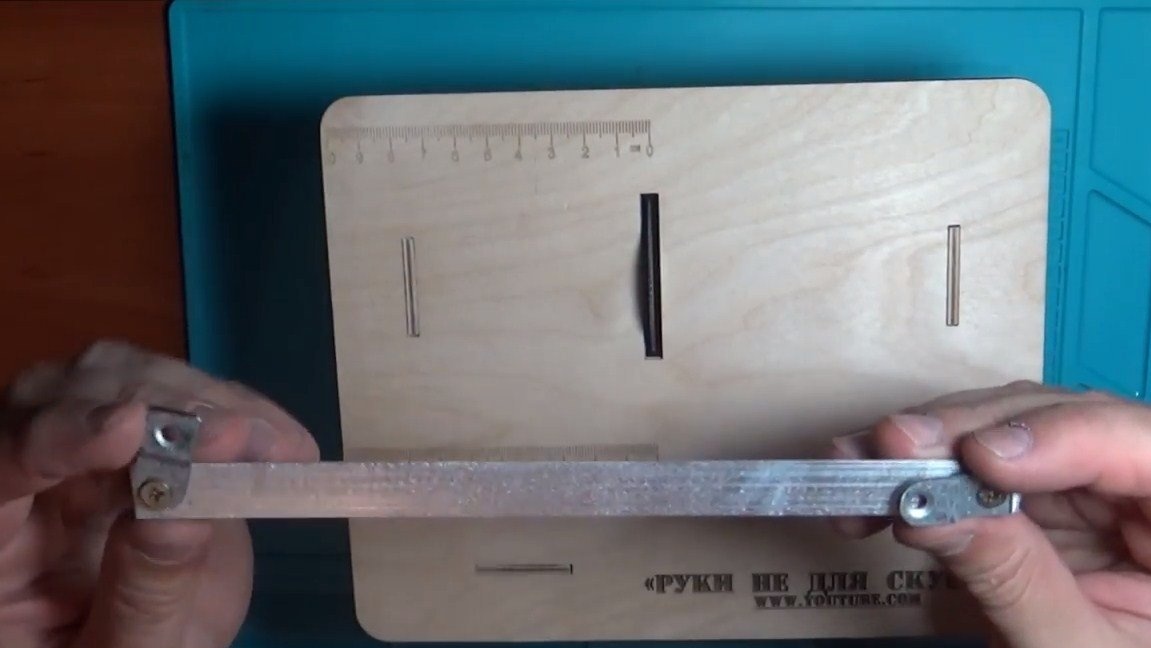
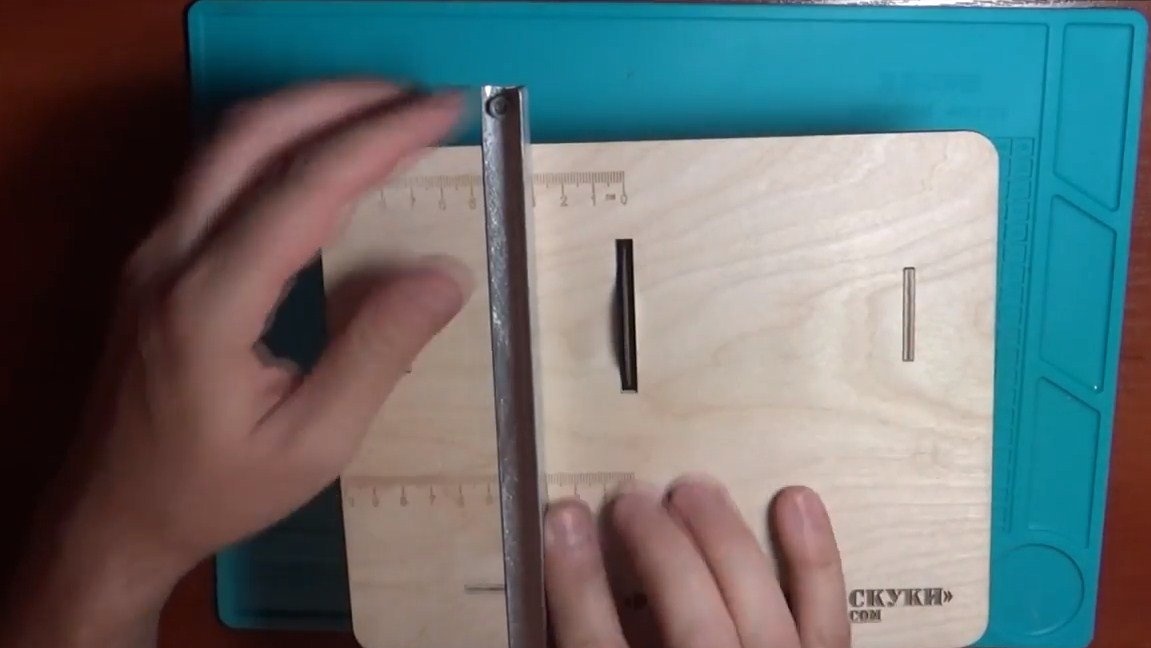
Seventh step. Emphasis
An emphasis is necessary for a circular saw, the author made it from an aluminum corner. Of course, the emphasis should be fixed so that it can be easily and quickly rearranged.

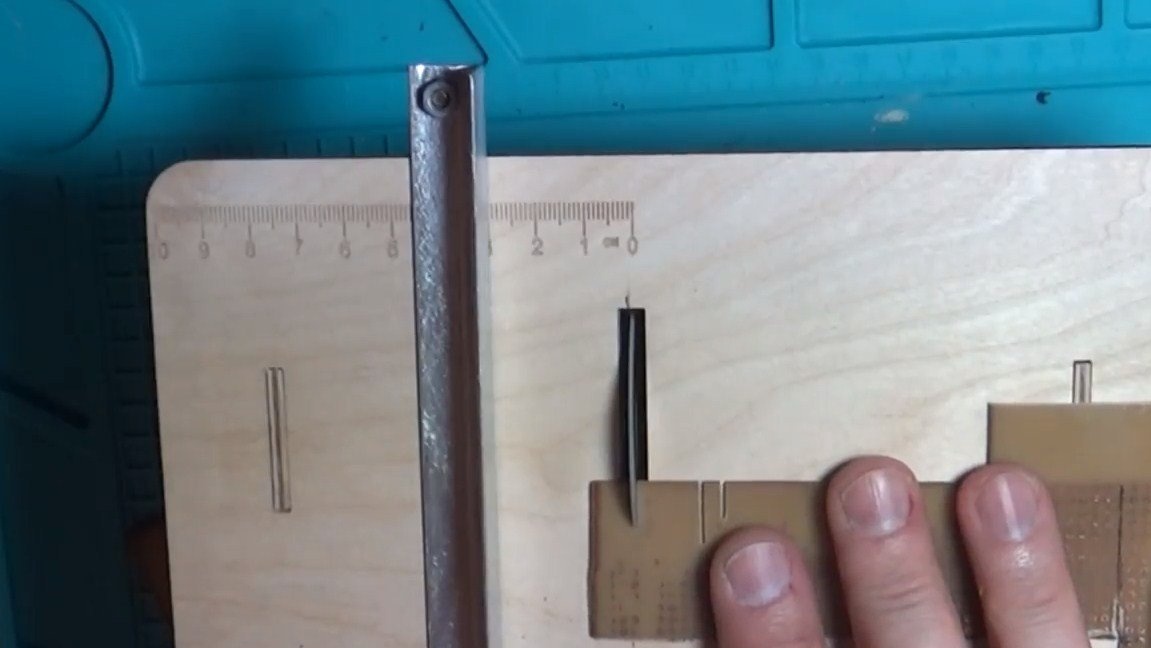
Step Eight. Testing and finalization
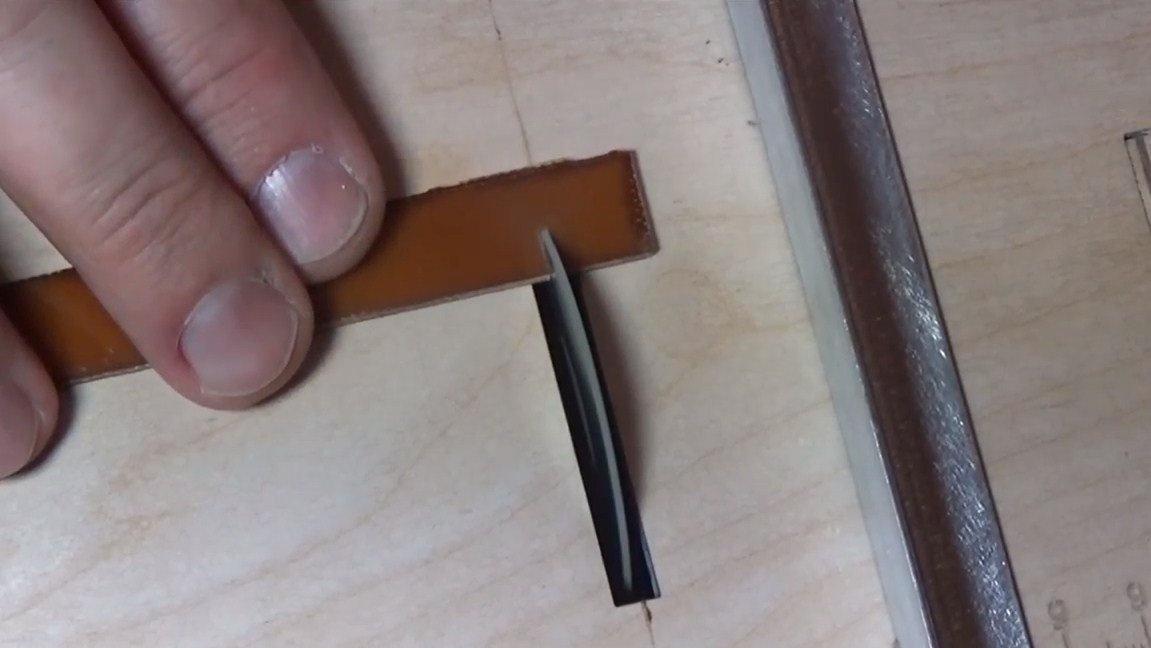
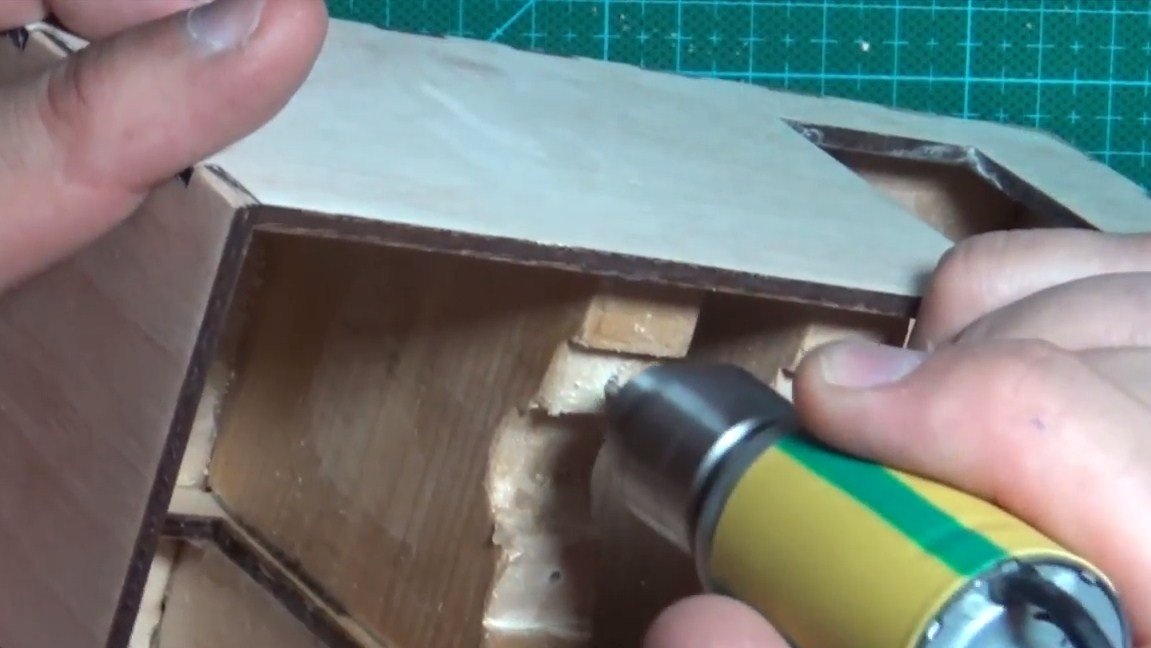
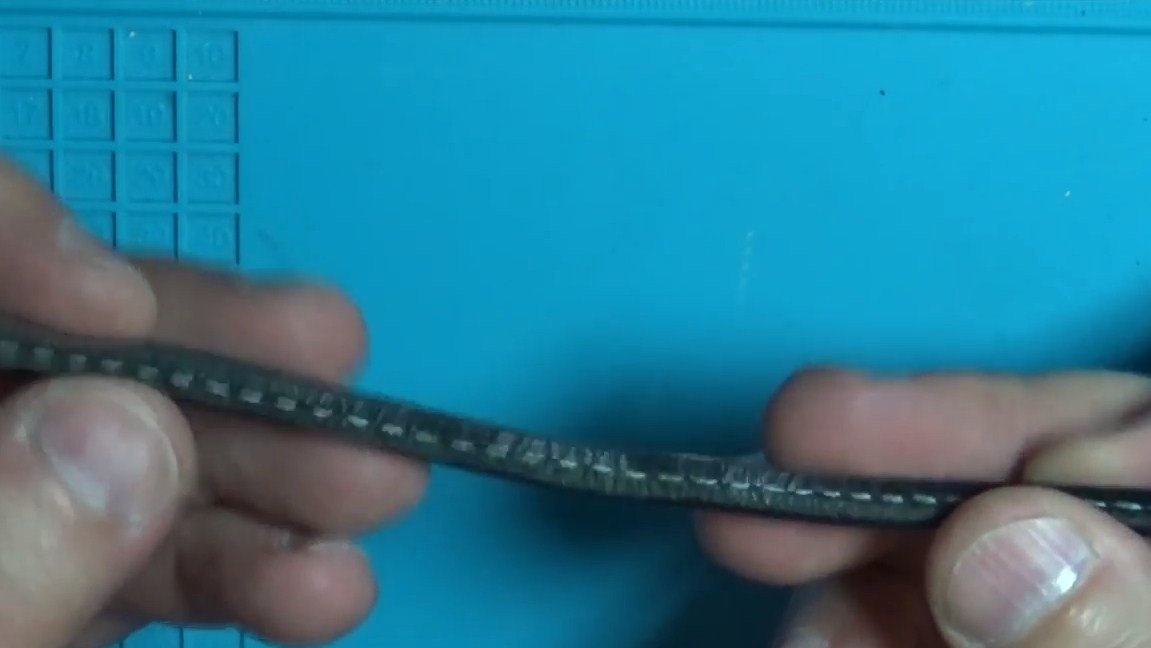
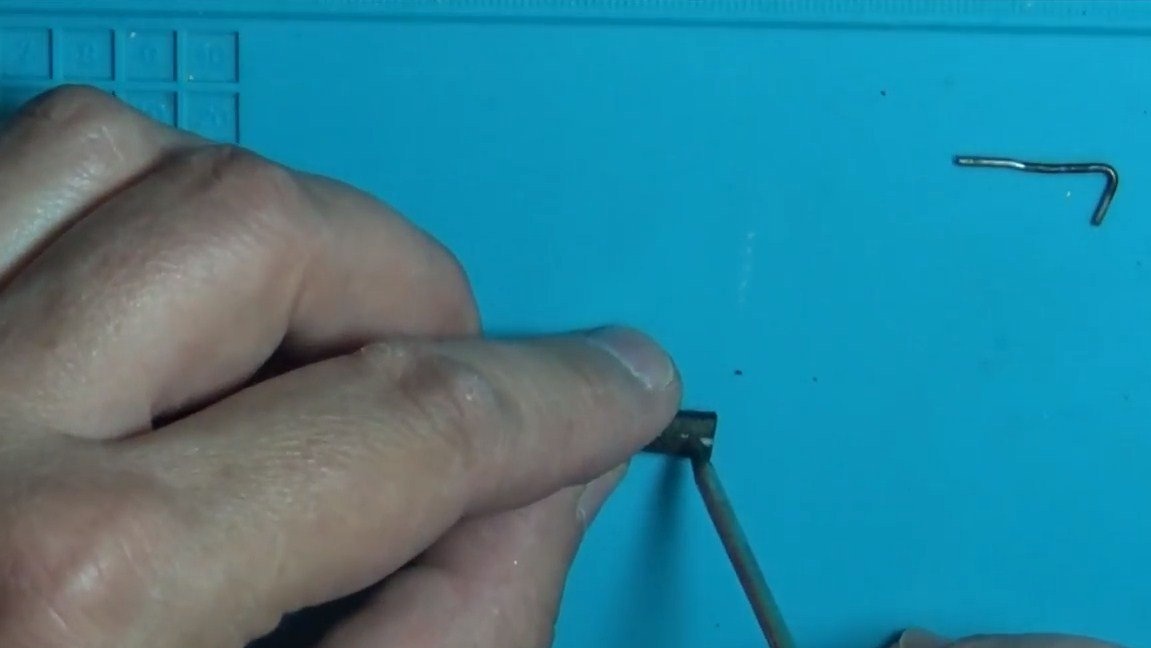
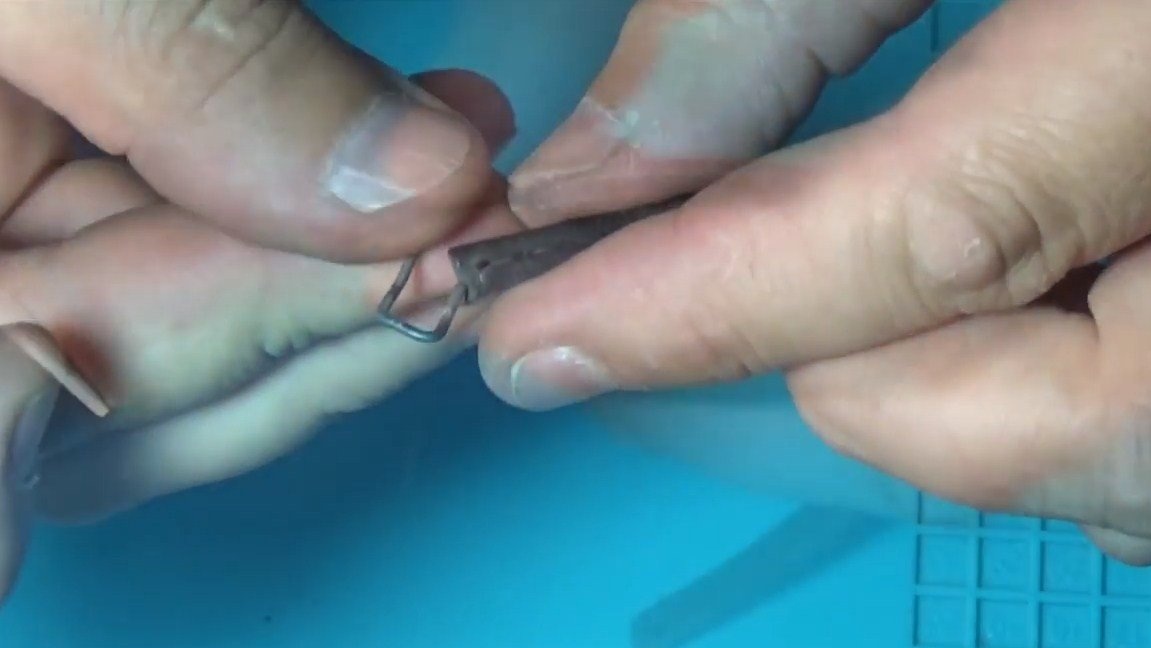
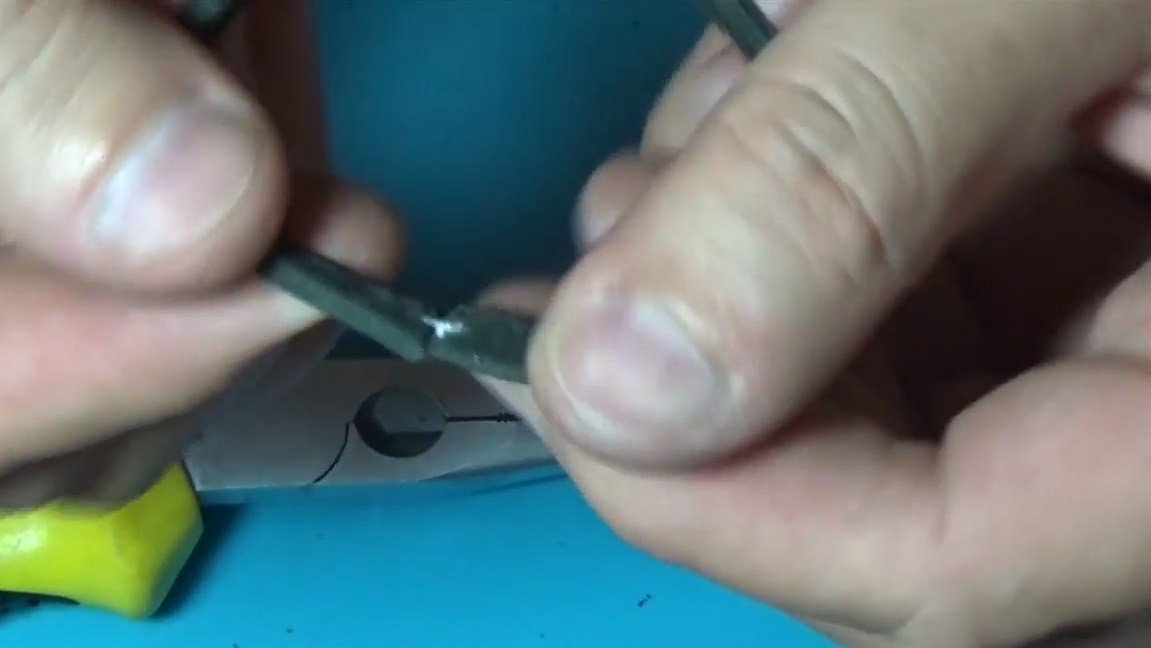
The machine can be tested, as an experiment, the author decided to cut a piece of PCB. But here a problem arose, the machine could not cope with the task, as the belt drive began to slip. As a result, the author had to make a leather belt, with him the car works fine. To make such a belt, the author cut a piece of the belt and connected it with a piece of wire. Of course, this is a temporary option, you need to make a more reliable belt or buy.
After that, the machine began to work without problems, it cuts textolite like paper. The machine is also controlled very conveniently, using the pedal. I hope you liked the homemade. Good luck and creative inspiration, if you decide to repeat this. Do not forget to share your ideas and homemade things with us!