
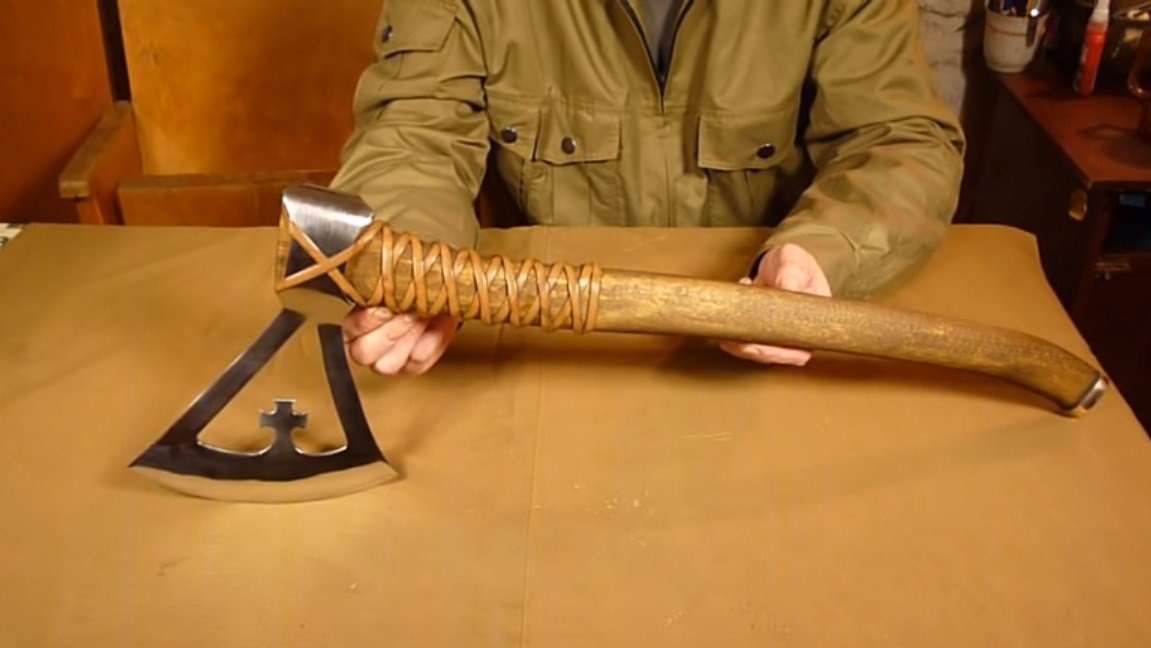
I welcome fans to knock on pieces of iron, I propose to consider the Viking hatchet, which you can do do it yourself effortlessly. And since there is also a cross on the ax, then with such an ax you can earn extra money with the inquisitor.
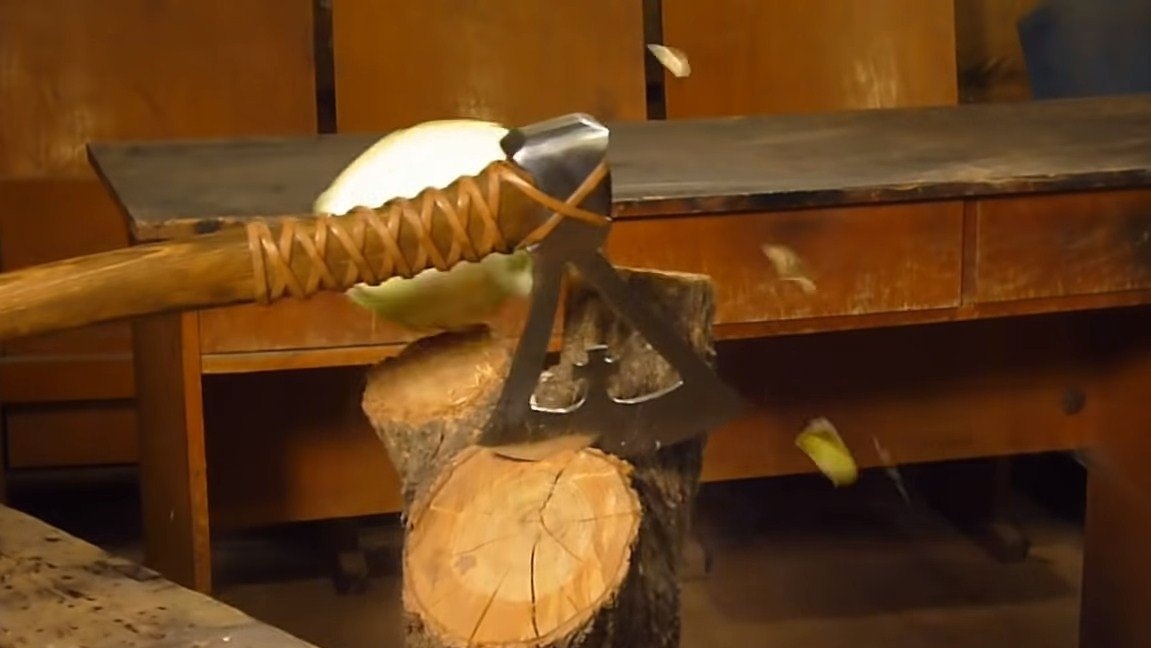
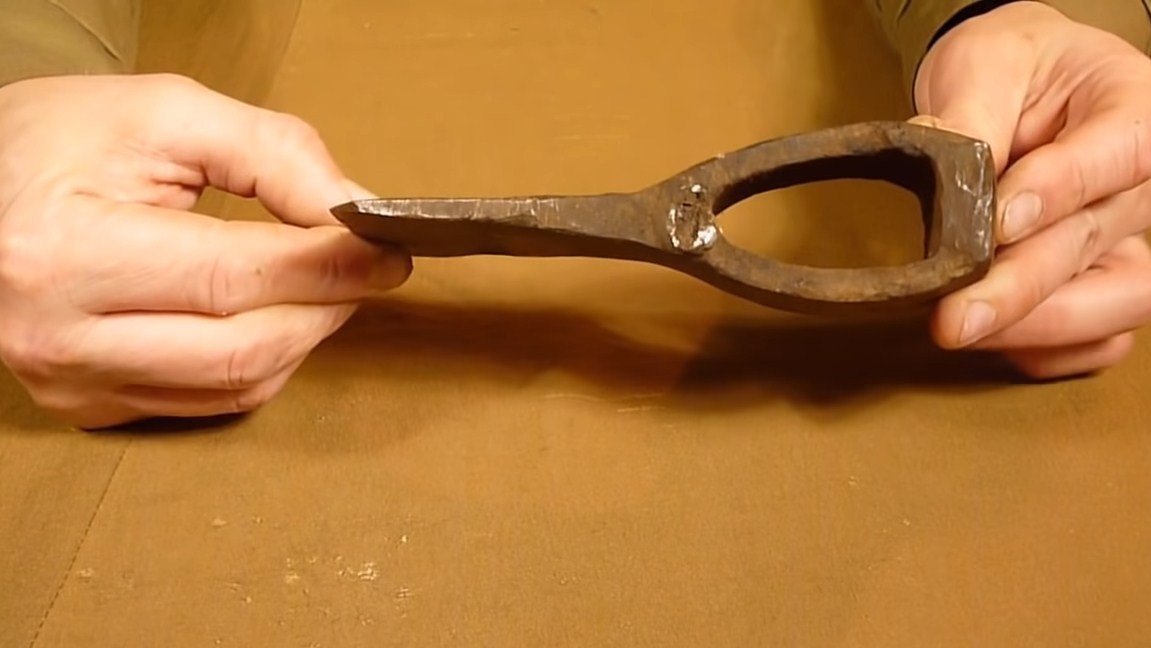
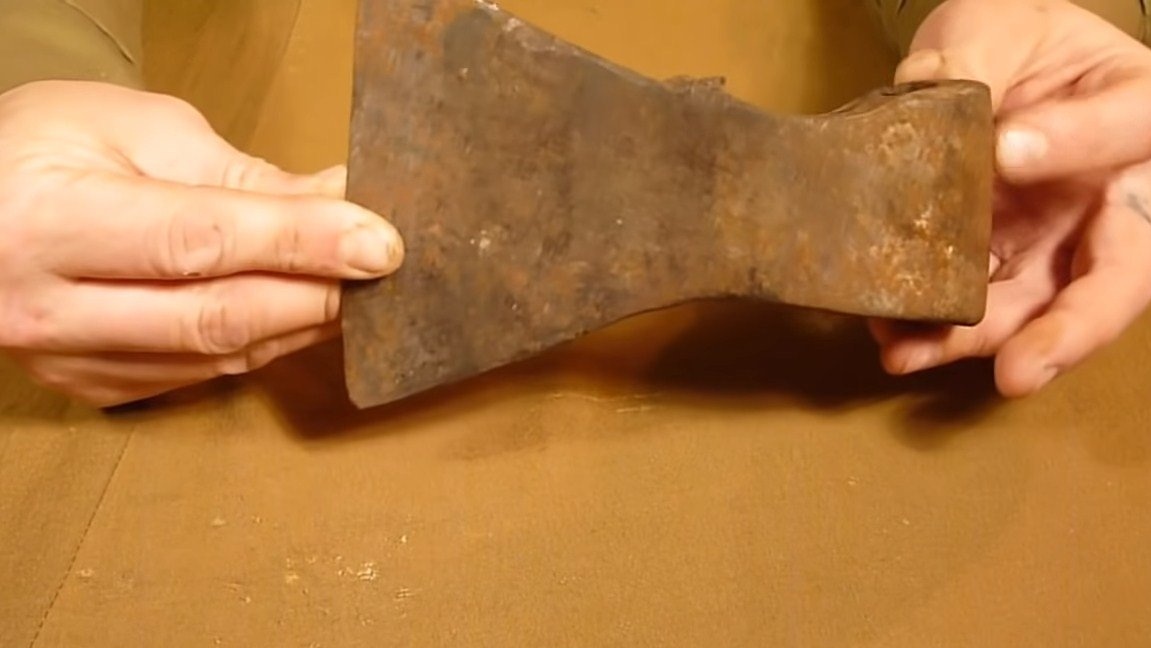
The ax is made quite simply, the old ax is used as a basis, which has already outlived its own, has been cooked several times, and so on. The author also used automobile springs as materials; a blade was made of this steel. Of course, this ax is decorative, steel did not pass hardening, but this does not mean that it cannot be used for its intended purpose. The author is literally chopping cabbage for them. If the project interests you, I propose to study it in more detail!
Materials and tools used by the author:
Material List:
- old ax;
- car spring or other steel;
- a bar or a blank (for the manufacture of an ax);
- a piece of brass (for the back);
- carpentry glue;
- stain, oil (or other impregnation for wood);
- rope (for decoration).
Tool List:
- grinder;
- welding machine;
- gas-burner;
- vise;
- grinding and polishing machine;
- drill;
- sandpaper;
- drilling machine.
Hatchet manufacturing process:
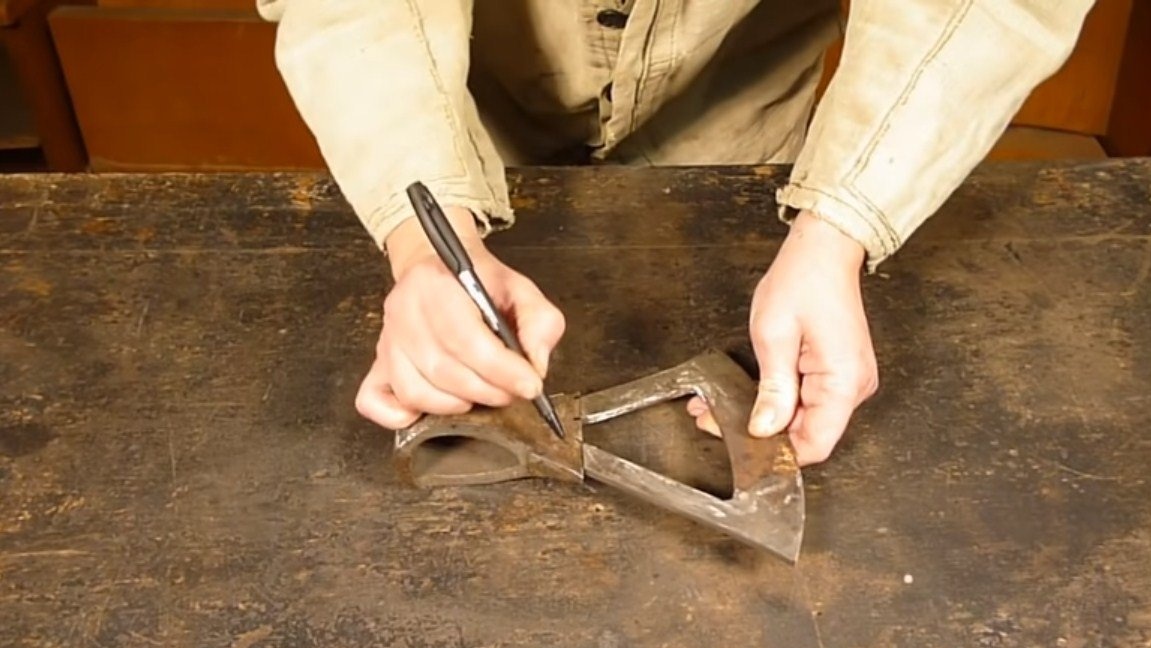
Step one. Cut the workpiece
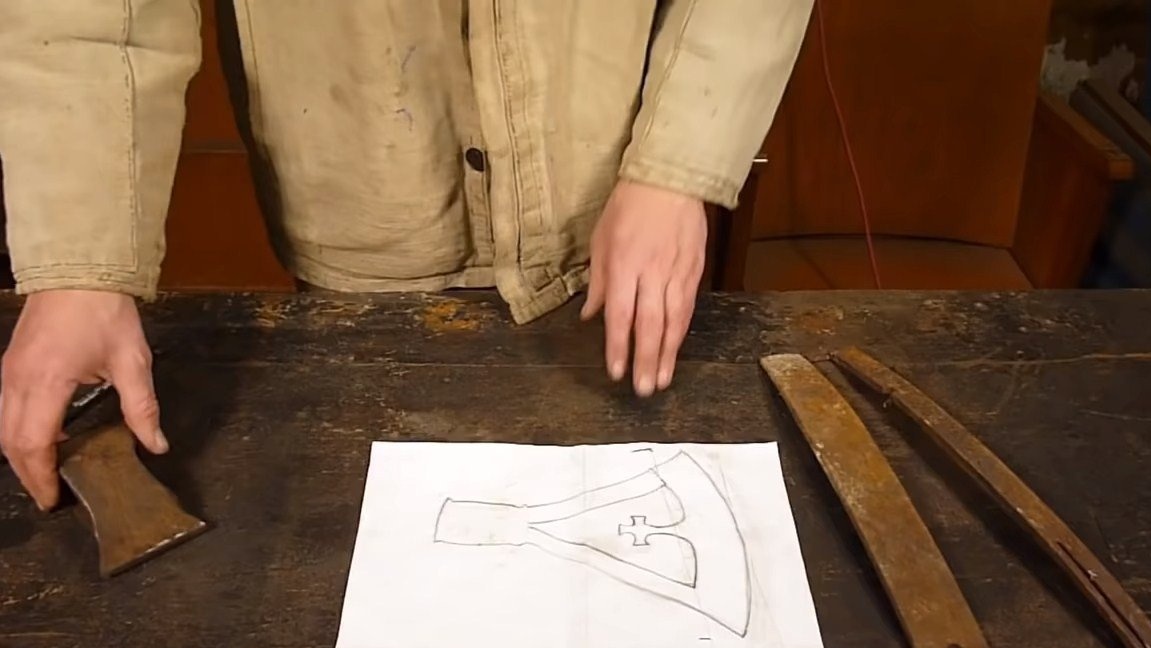
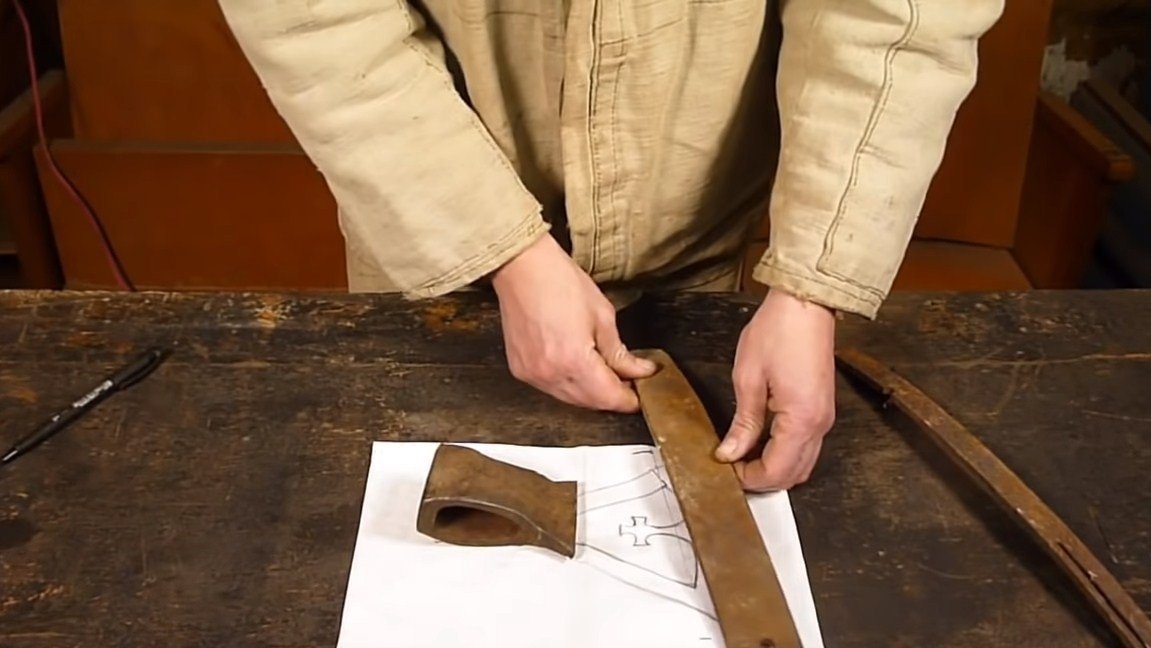
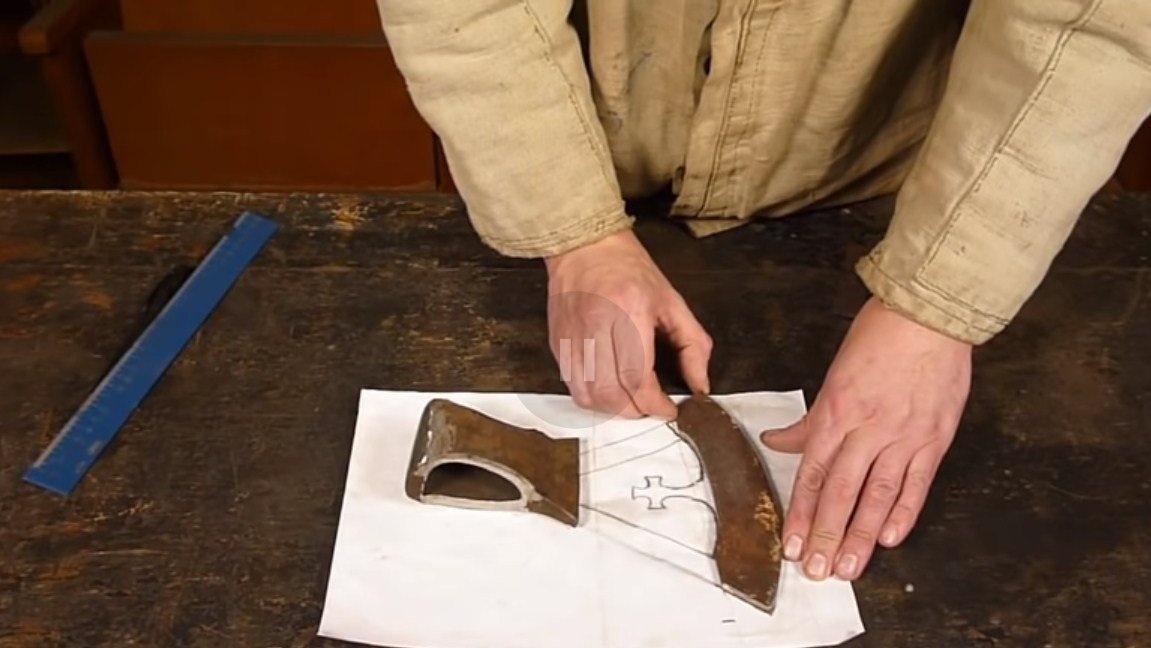
First, we need to print on a printer or come up with the most interesting ax design. Well, then we select the necessary pieces of iron, from which you can assemble an ax. The author used automobile springs for these purposes. This steel is quite durable, although the author did not temper it.
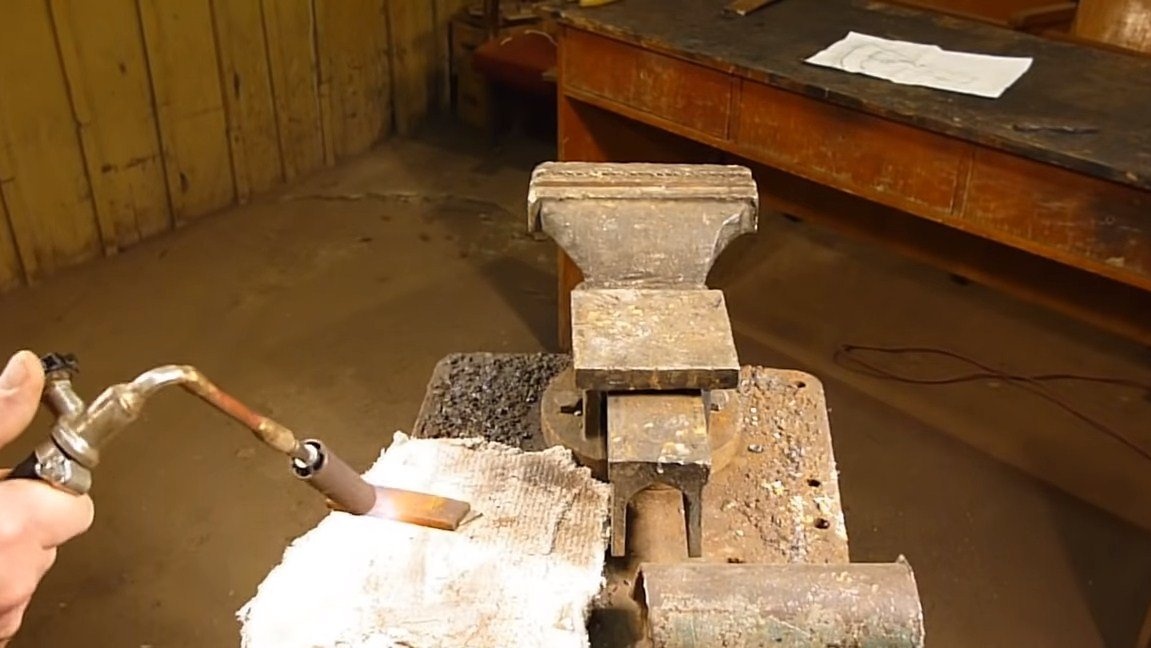
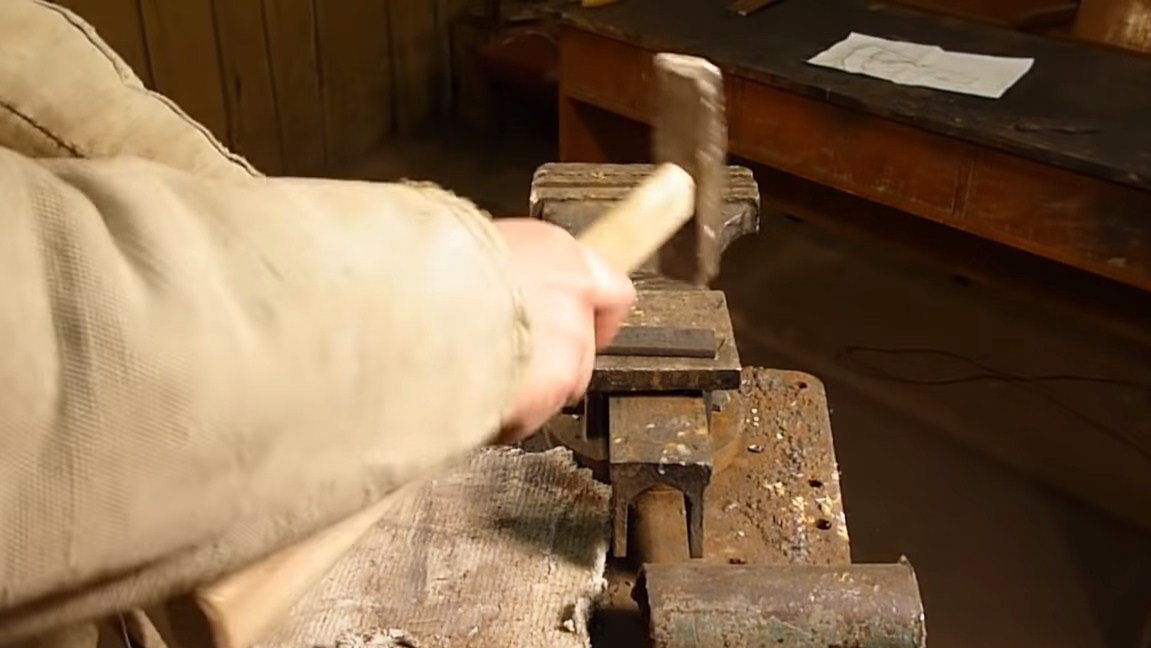
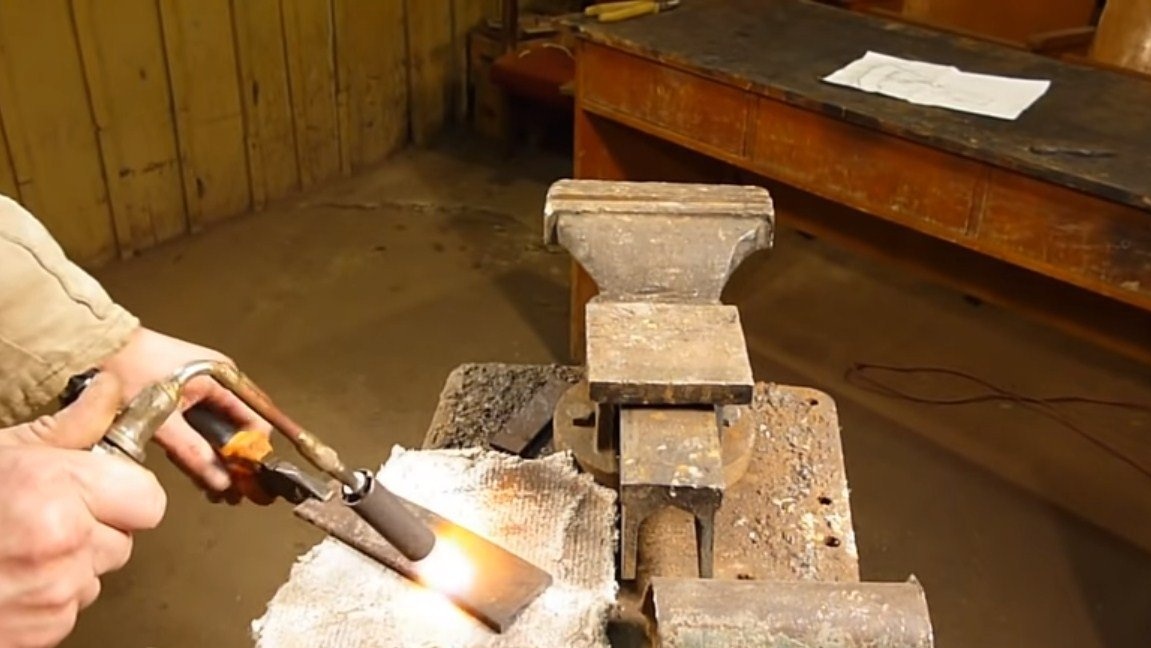
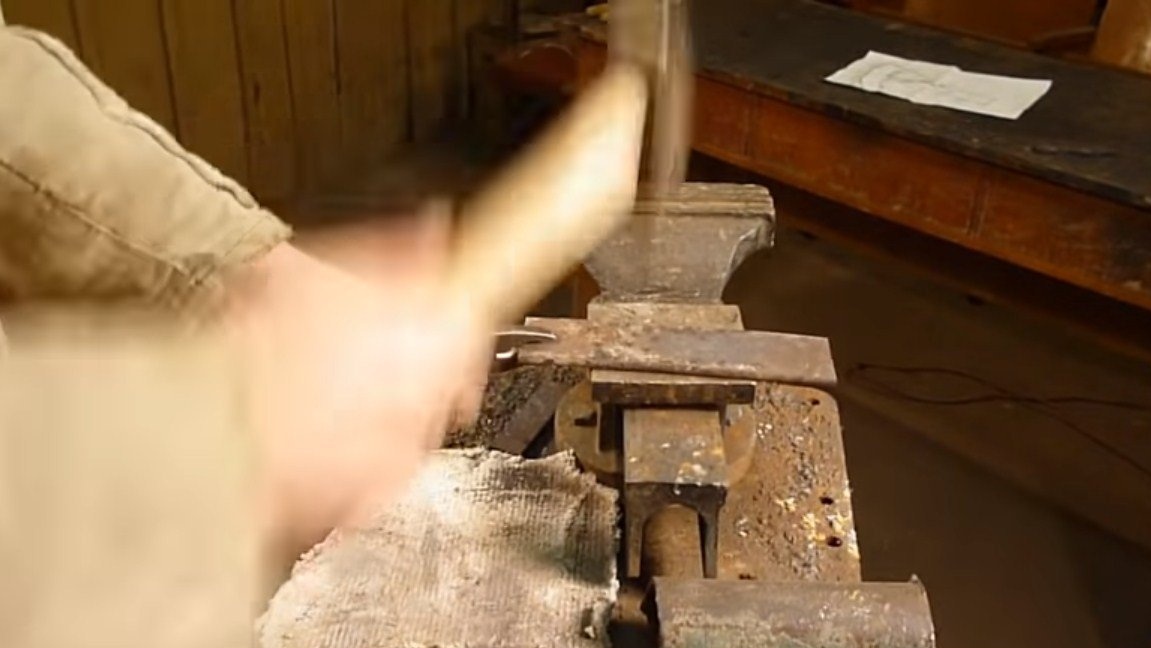
After cutting the blanks, the author had to align the springs. To do this, they were heated by a gas burner, and then a couple of blows with a hammer and you're done.
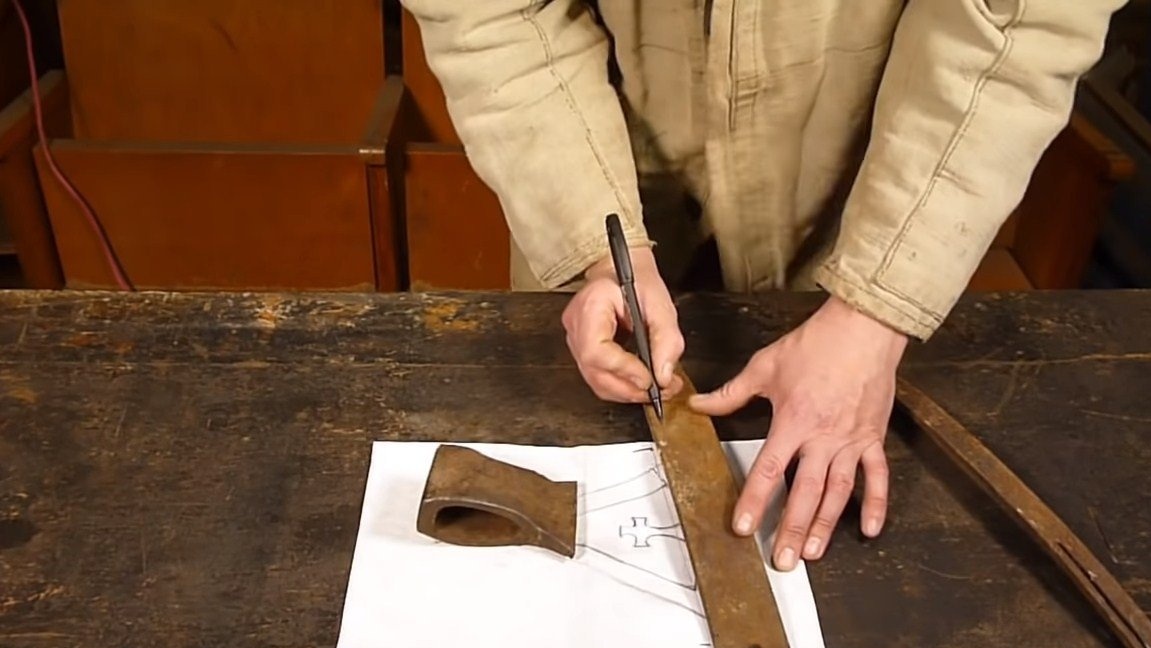
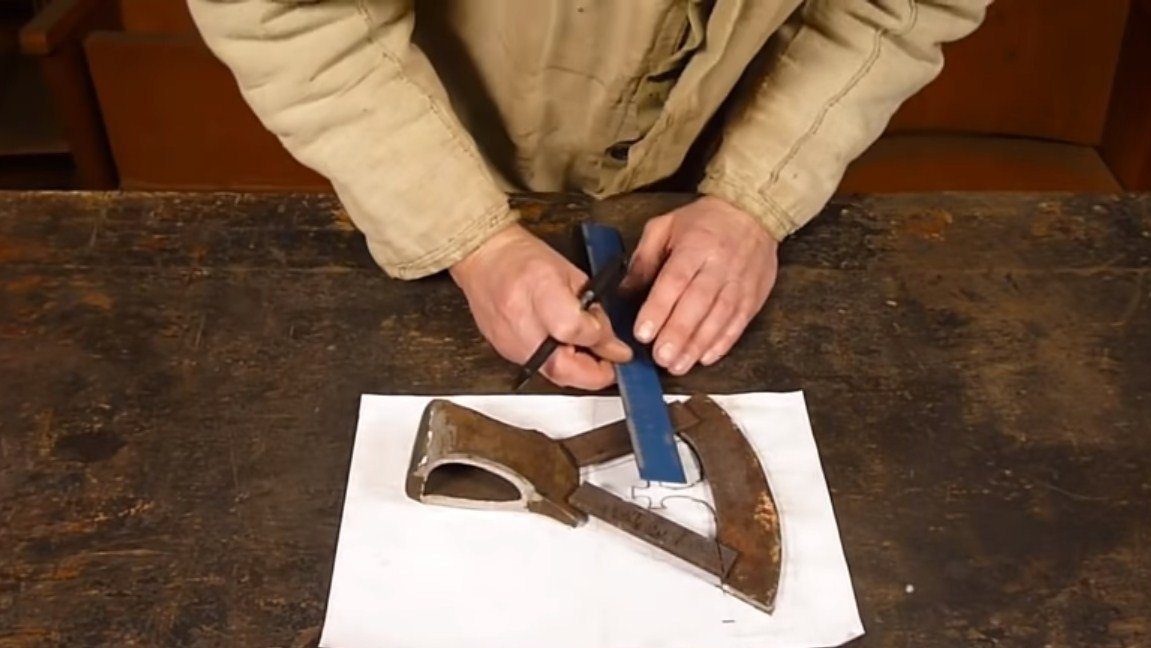
As soon as the blanks are ready, we cut out from them the necessary details for assembling the hatchet in accordance with the template.

medium] https://bgm.imdmyself.com/uploads/posts/2018-12/1544133043_screenshot_15.jpg [/ medium]

Step Two Welding work
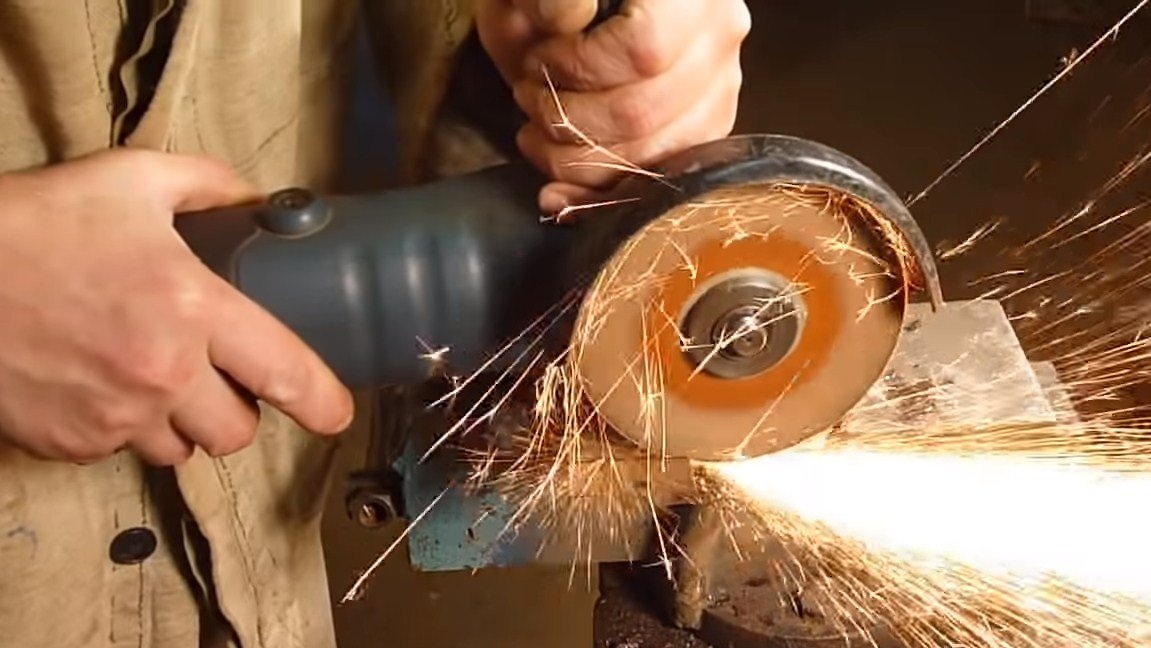
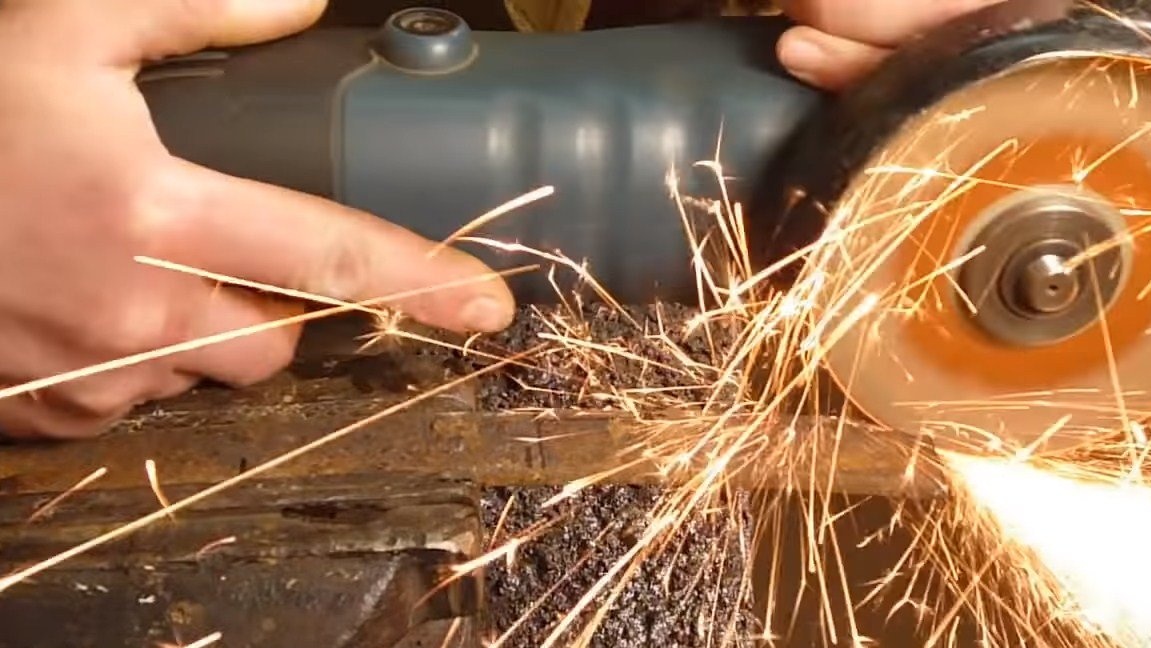
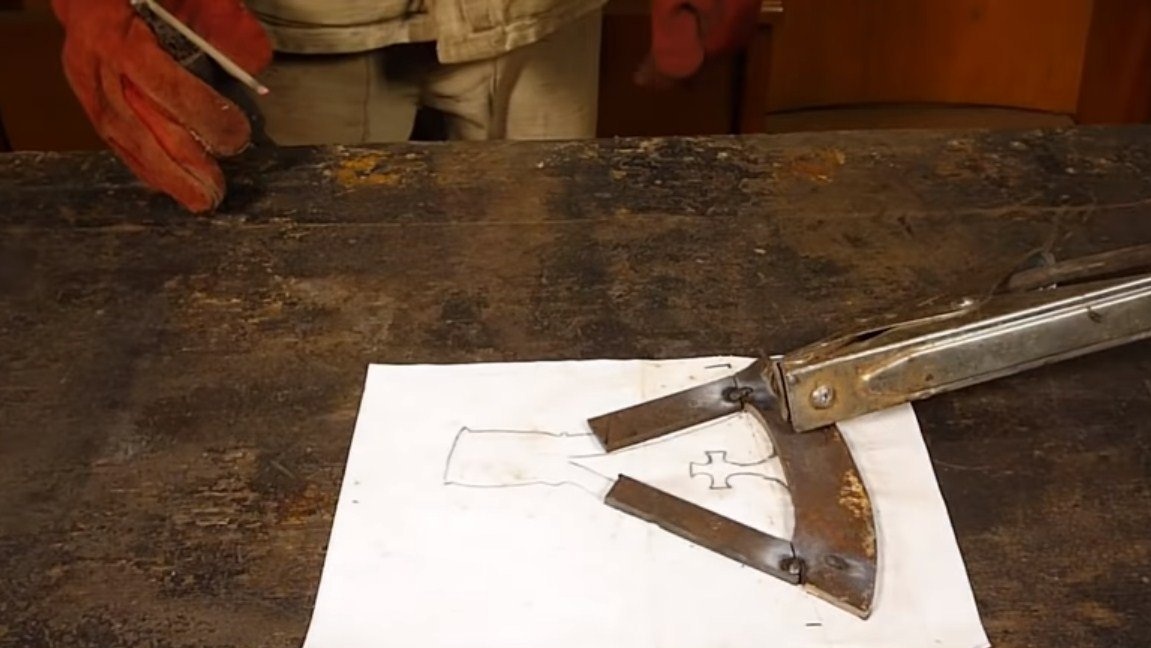
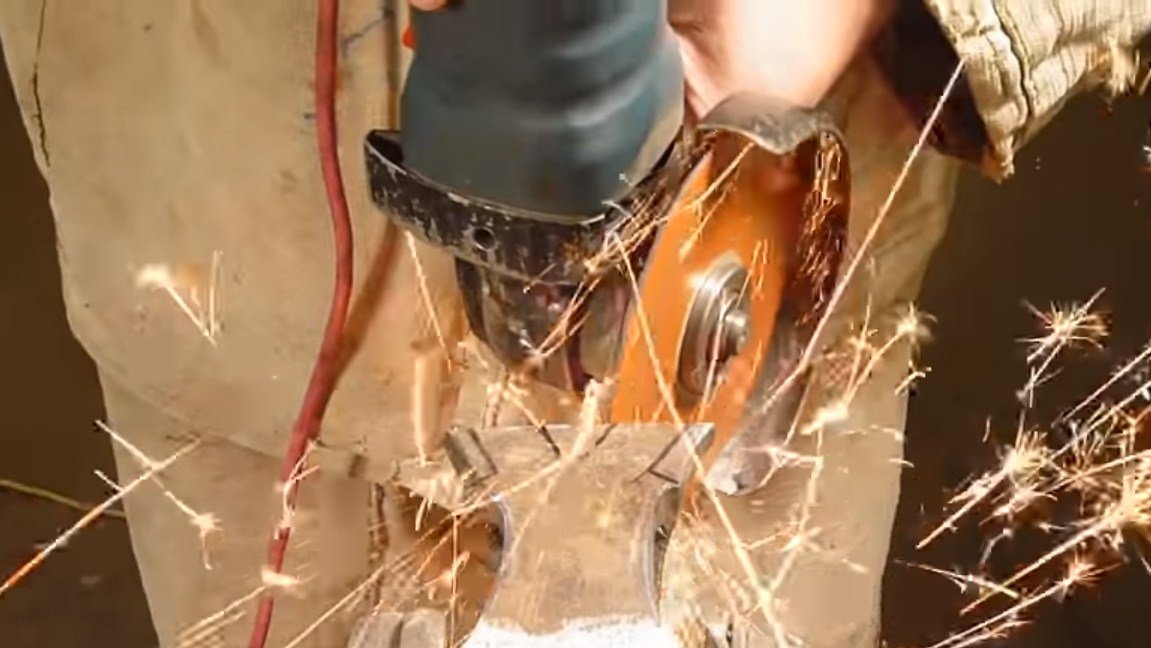
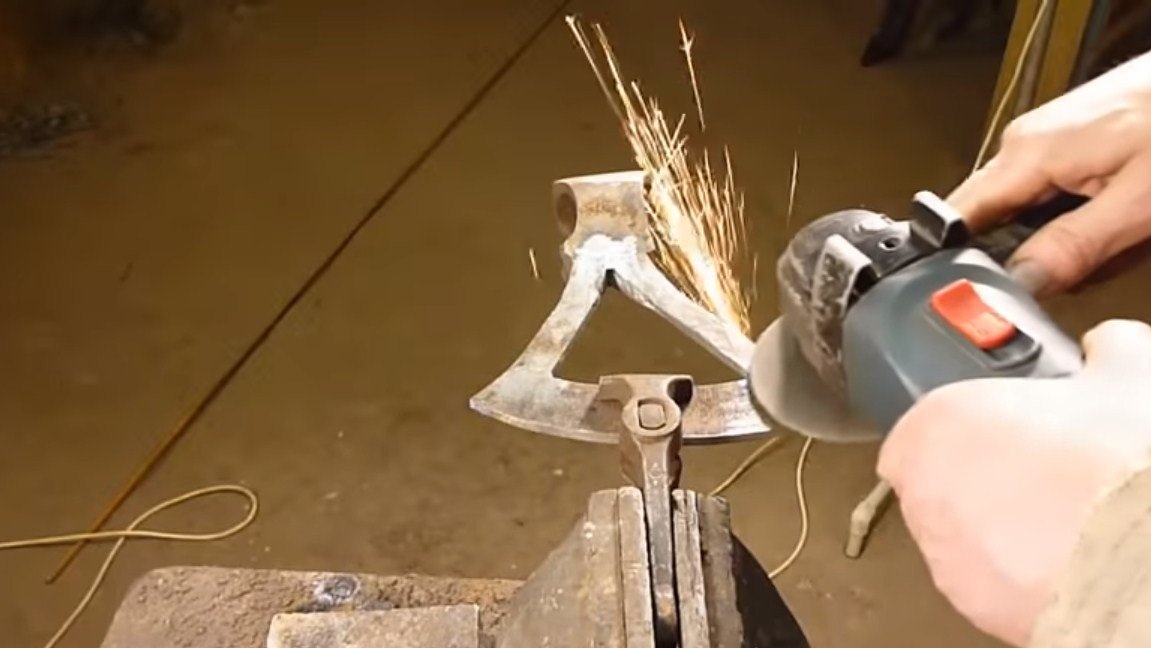
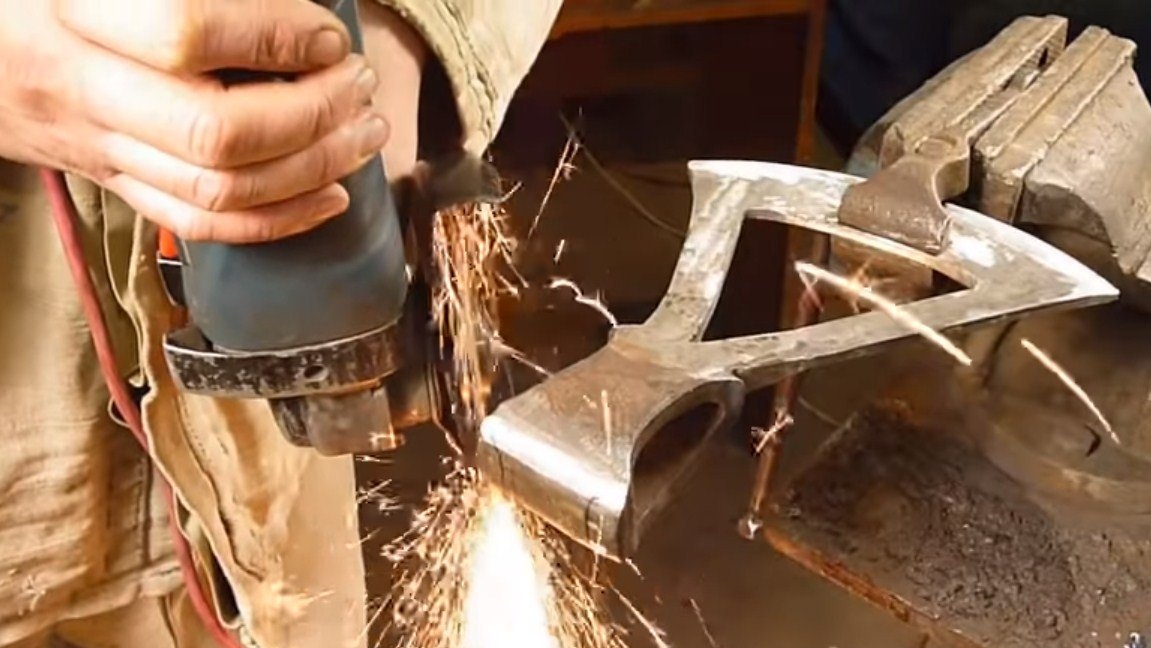
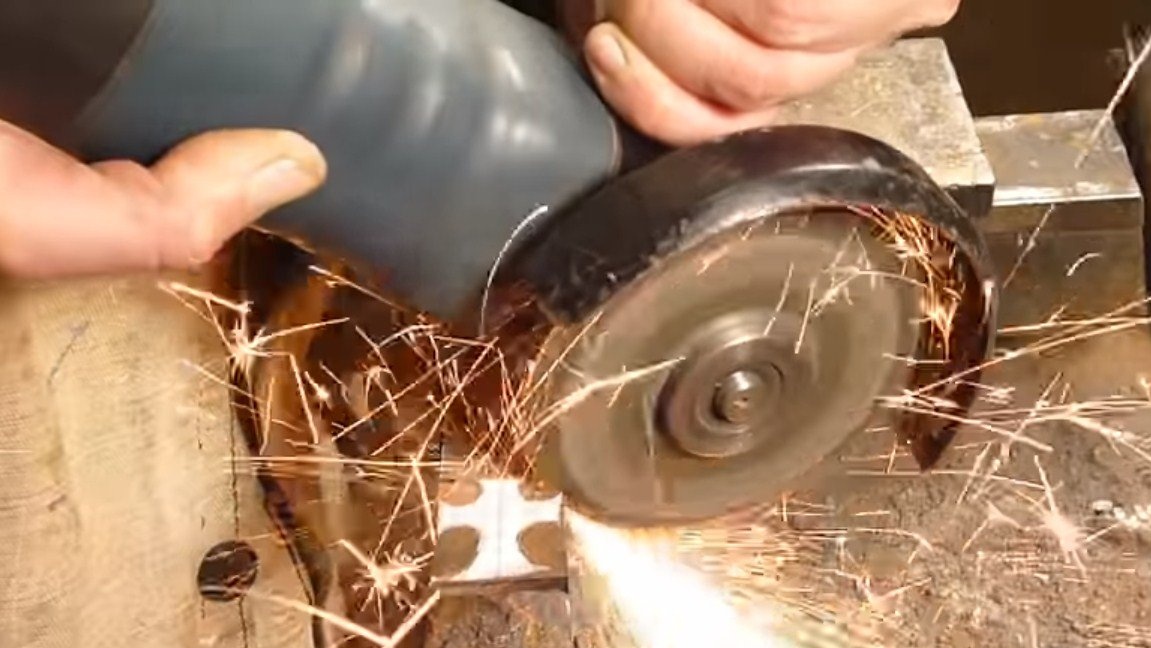
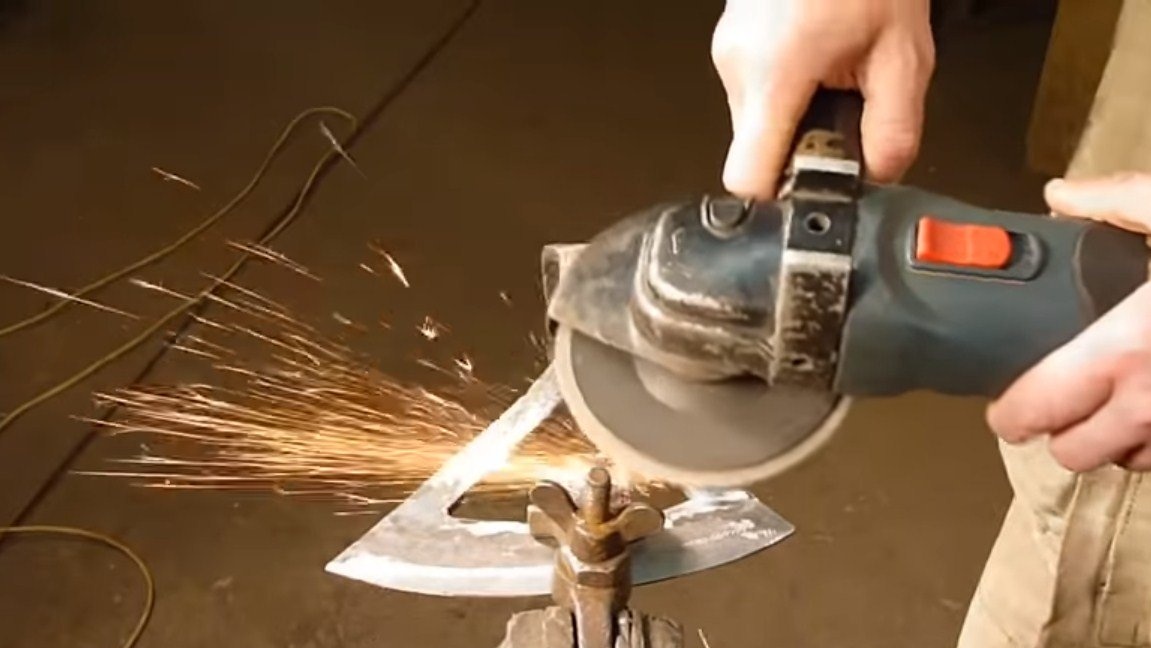
Once the workpieces are ready, they can be welded. To begin with, the author decided to weld the blade, the welds should be strong, we clean them with a grinder with a grinding or petal nozzle. In general, no welds on the ax should be visible.
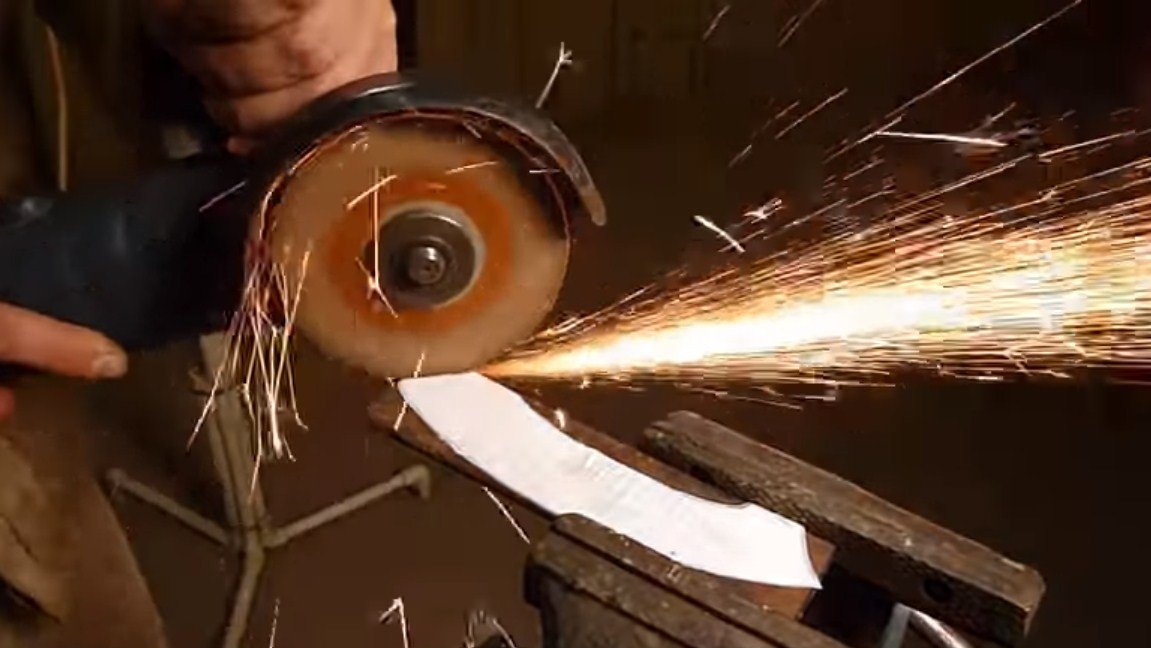
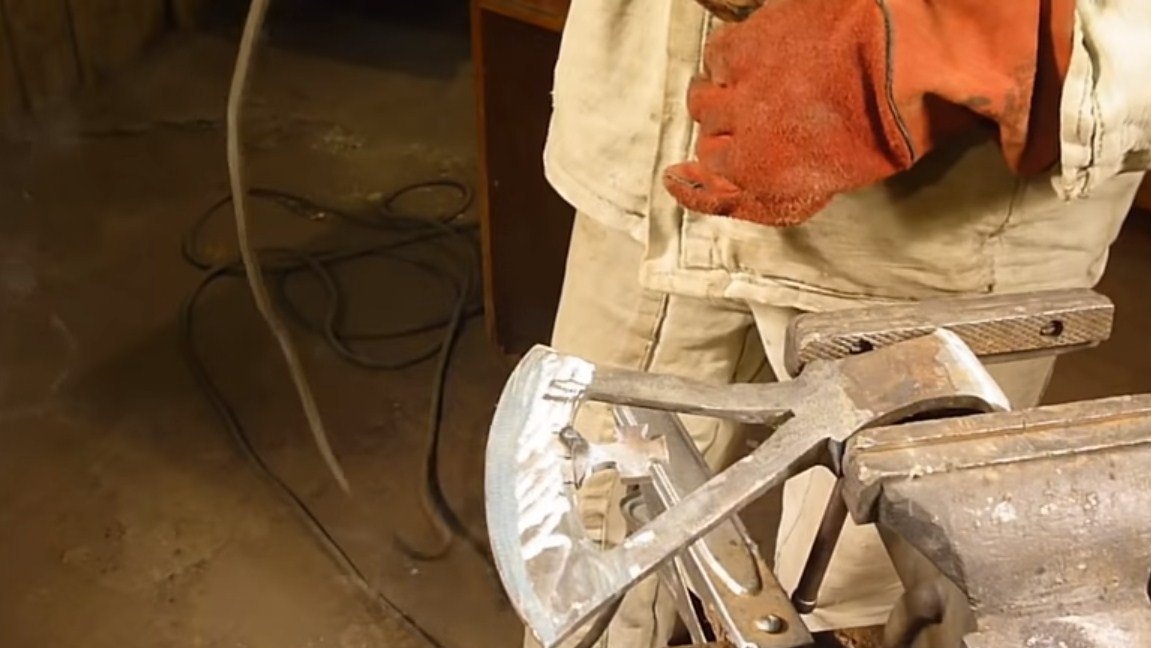
Next, we weld the blade to the ax, cutting off excess from it with a grinder. We grind the already assembled hatchet so that the whole structure becomes monolithic.

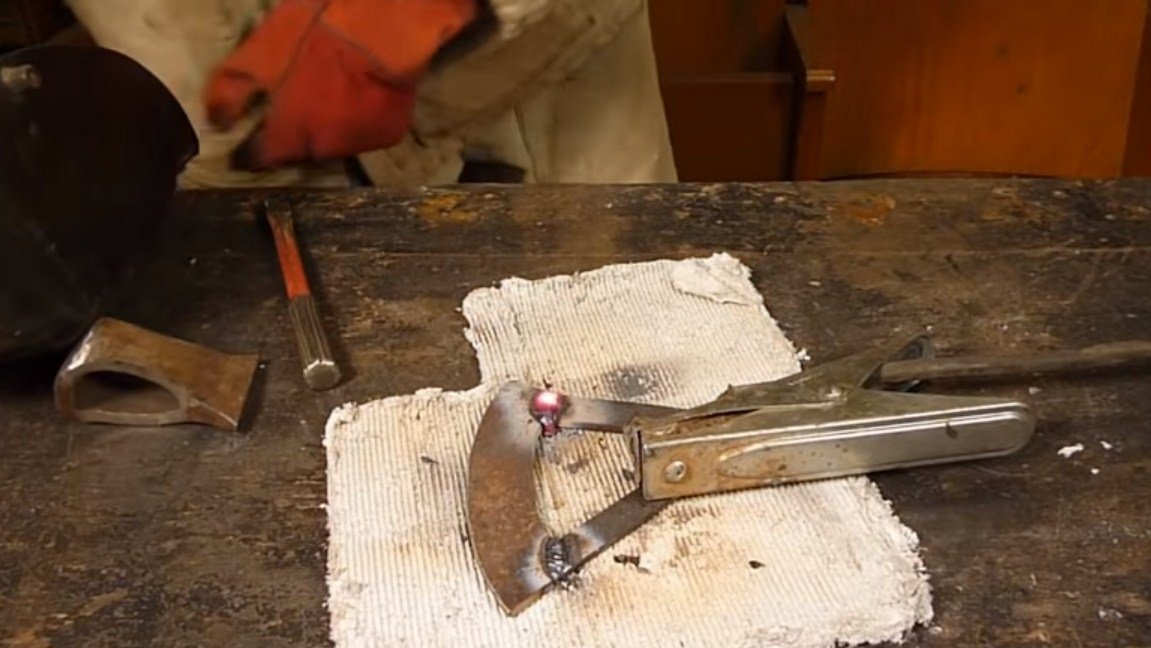


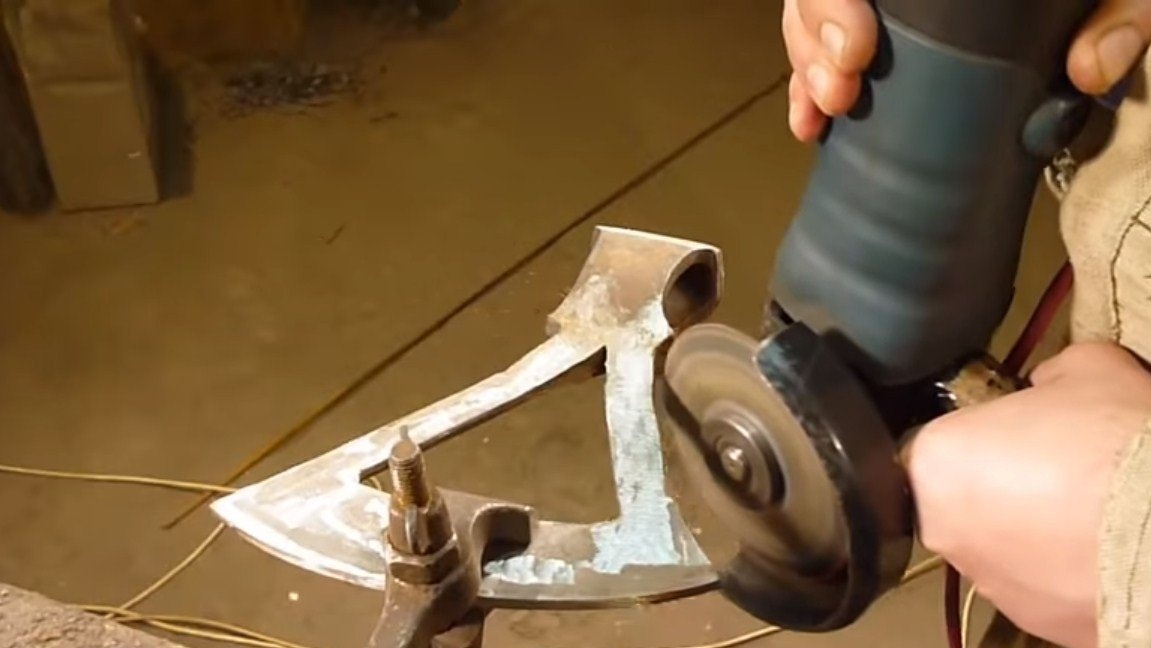
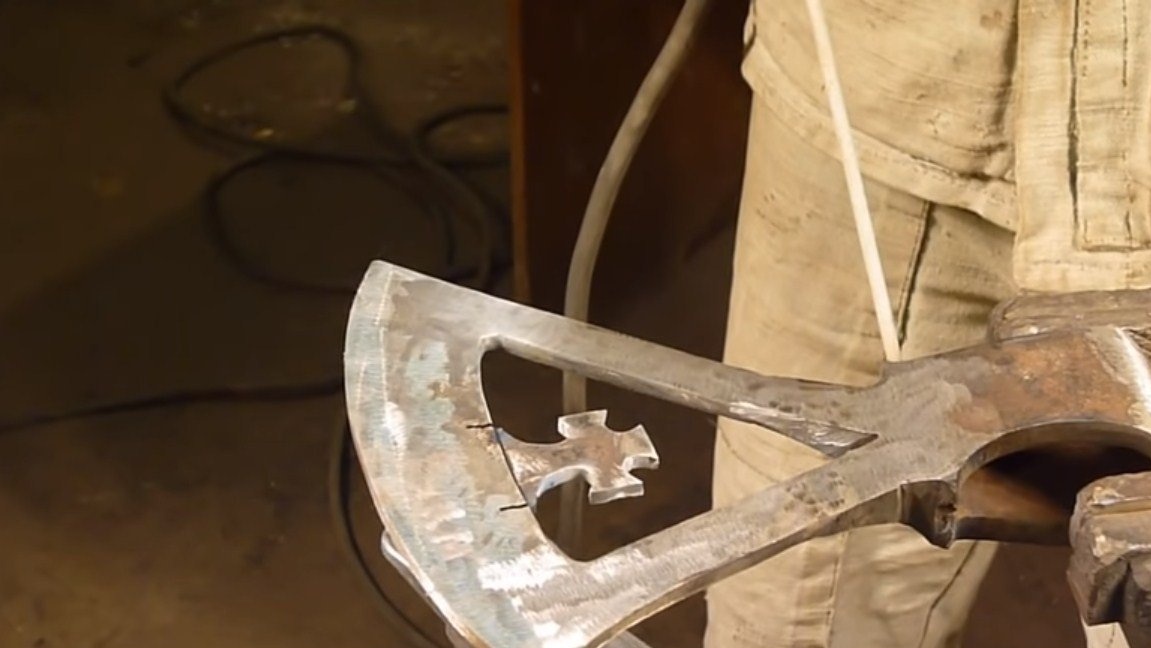
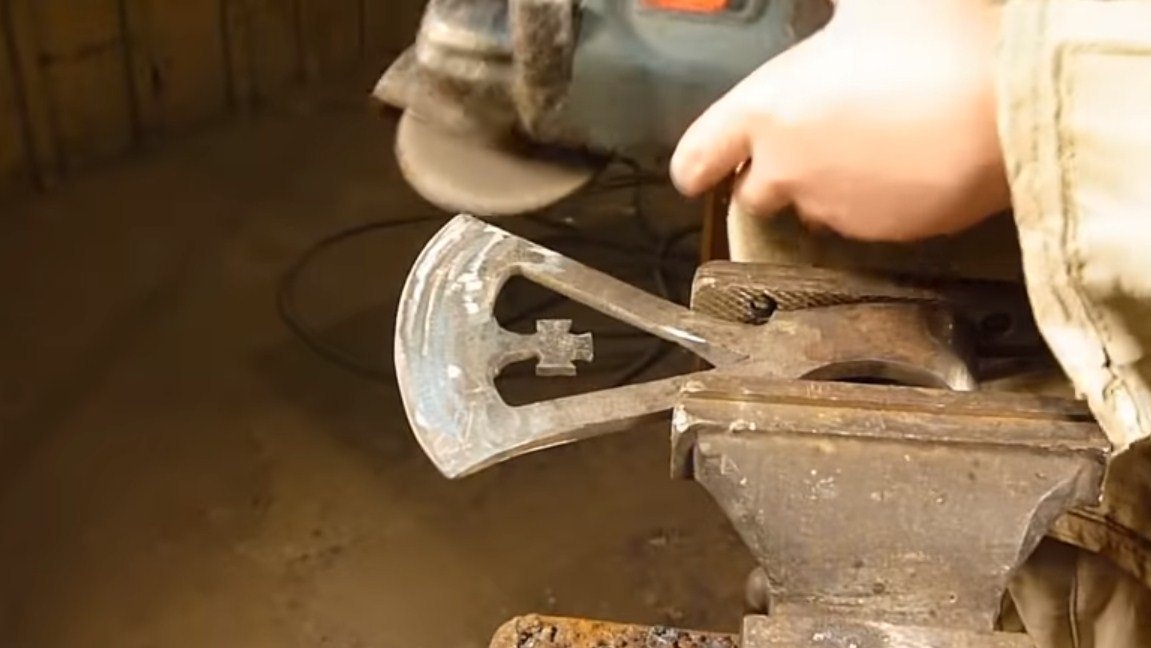
Step Three Life-giving cross ...
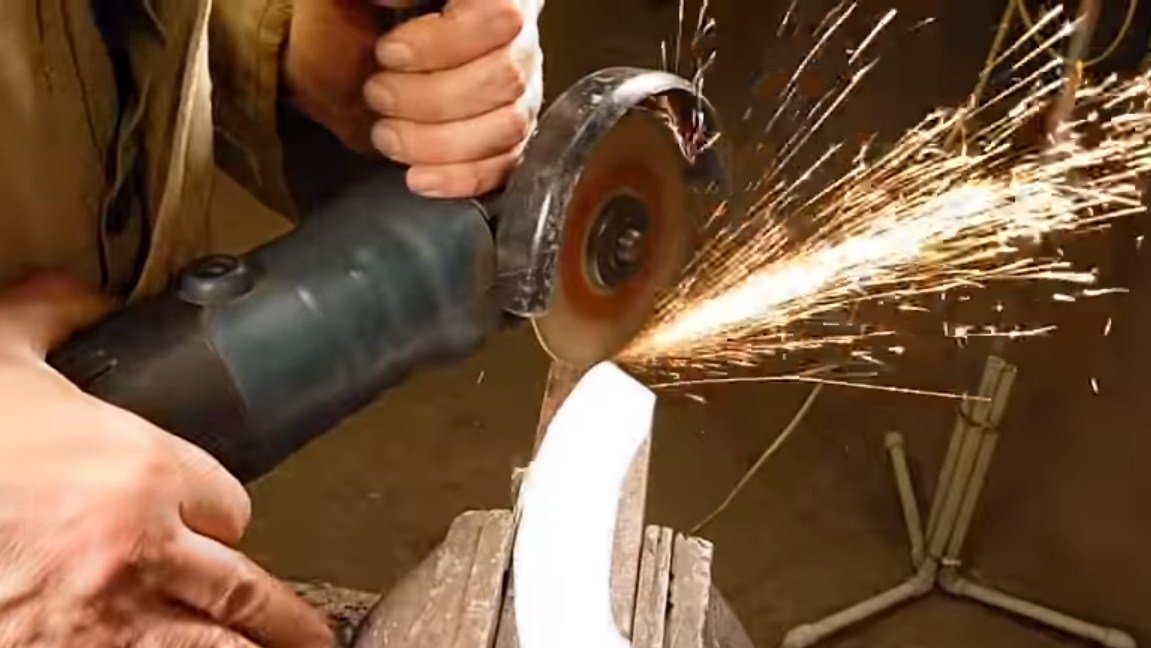
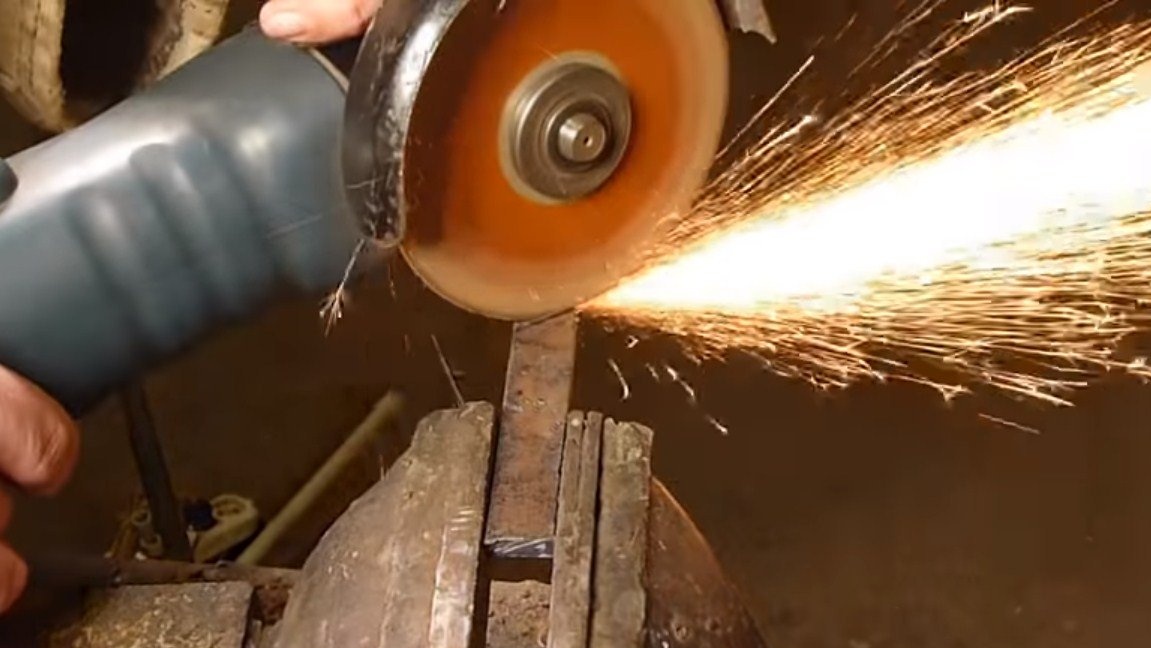
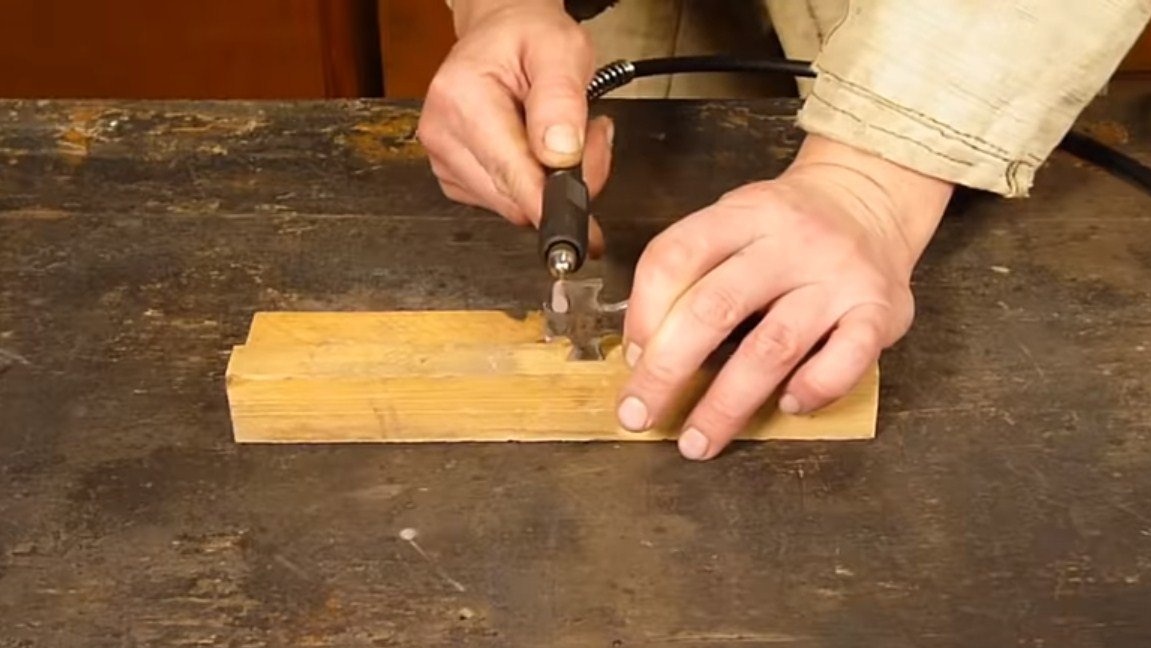
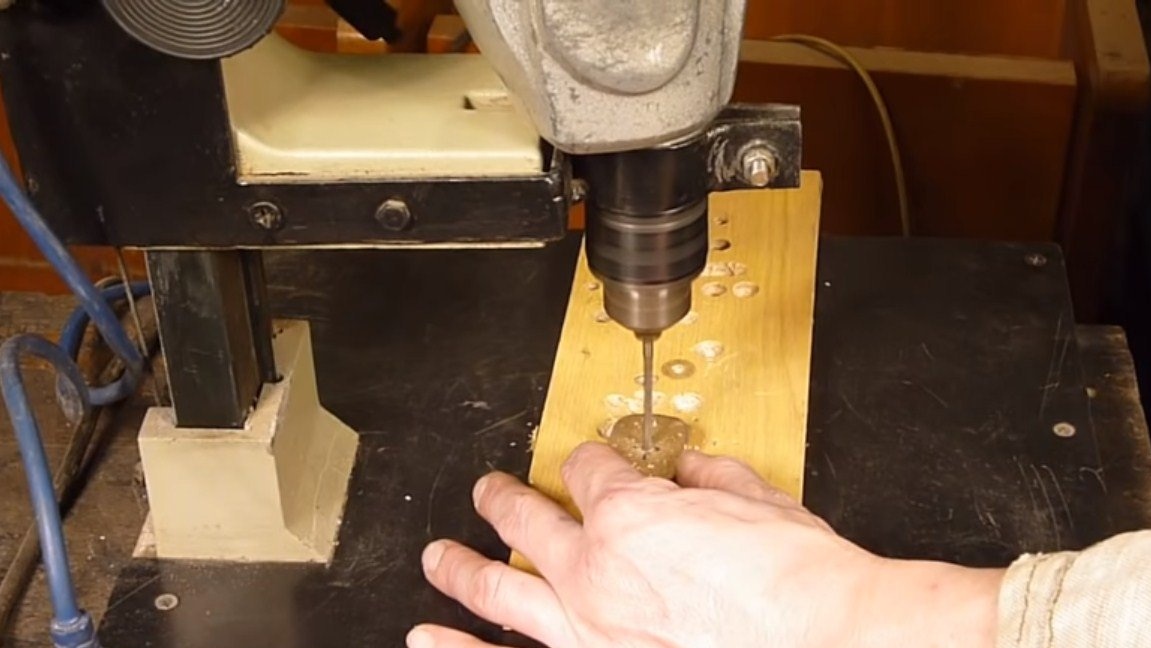
According to the author’s idea, a cross is welded to the ax’s blade, with it the ax looks quite interesting.Cut a cross from a piece of spring or other steel. The author works with a grinder and a thick grinding disc. The final processing of the cross is carried out using a drill. We weld the cross into place and carefully grind the weld.
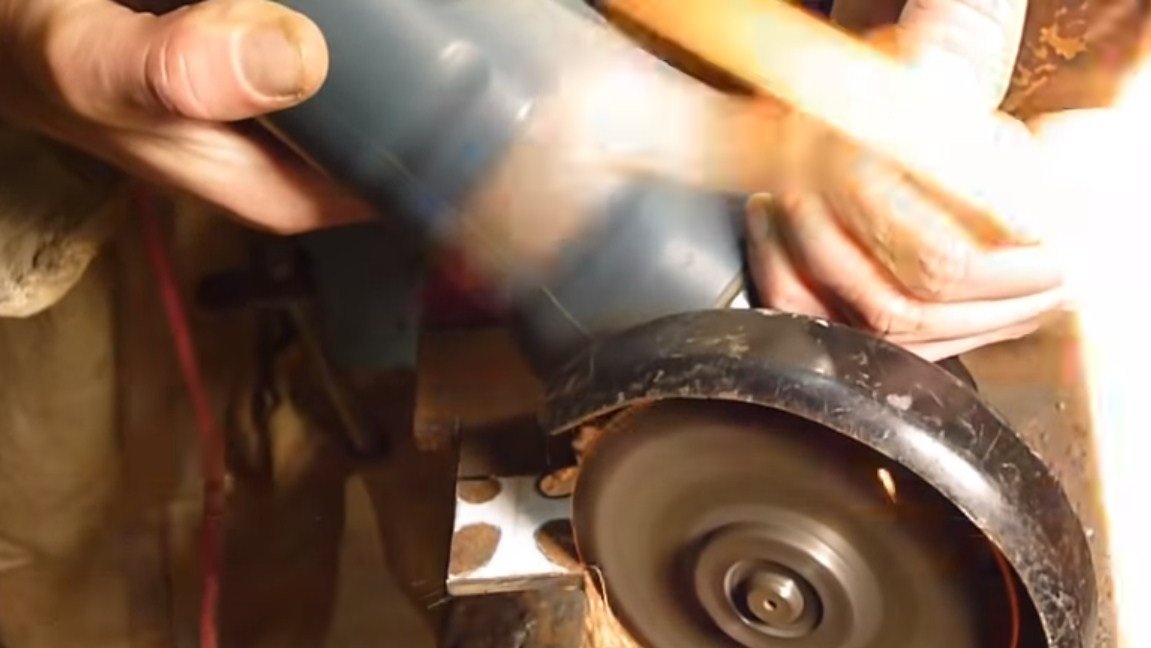
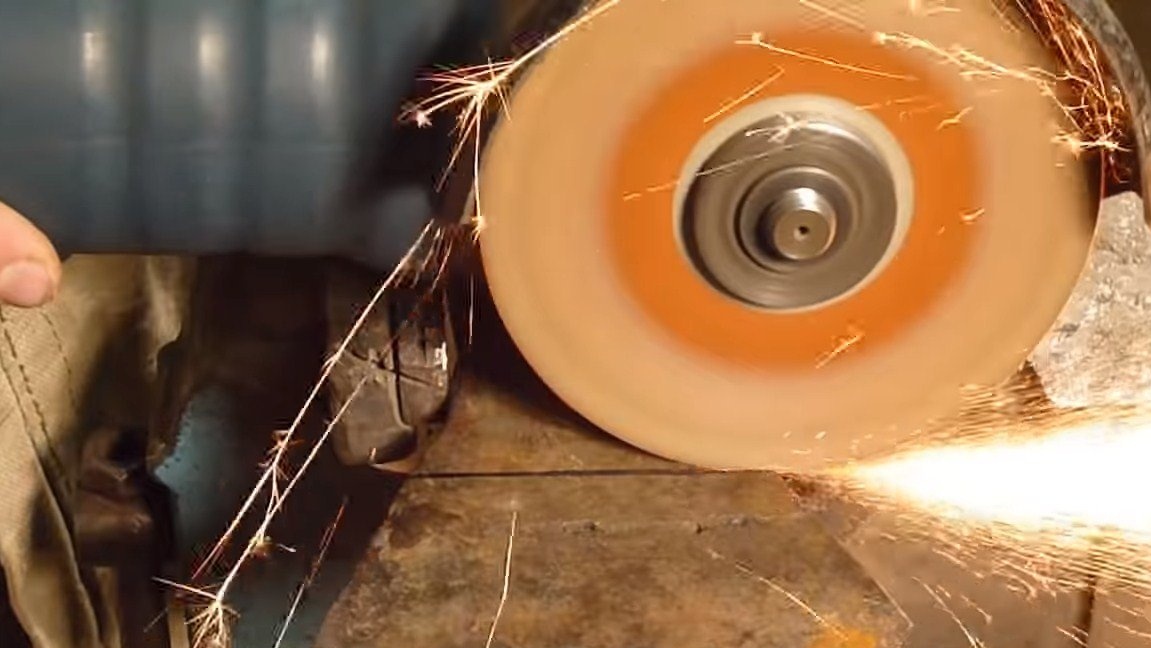
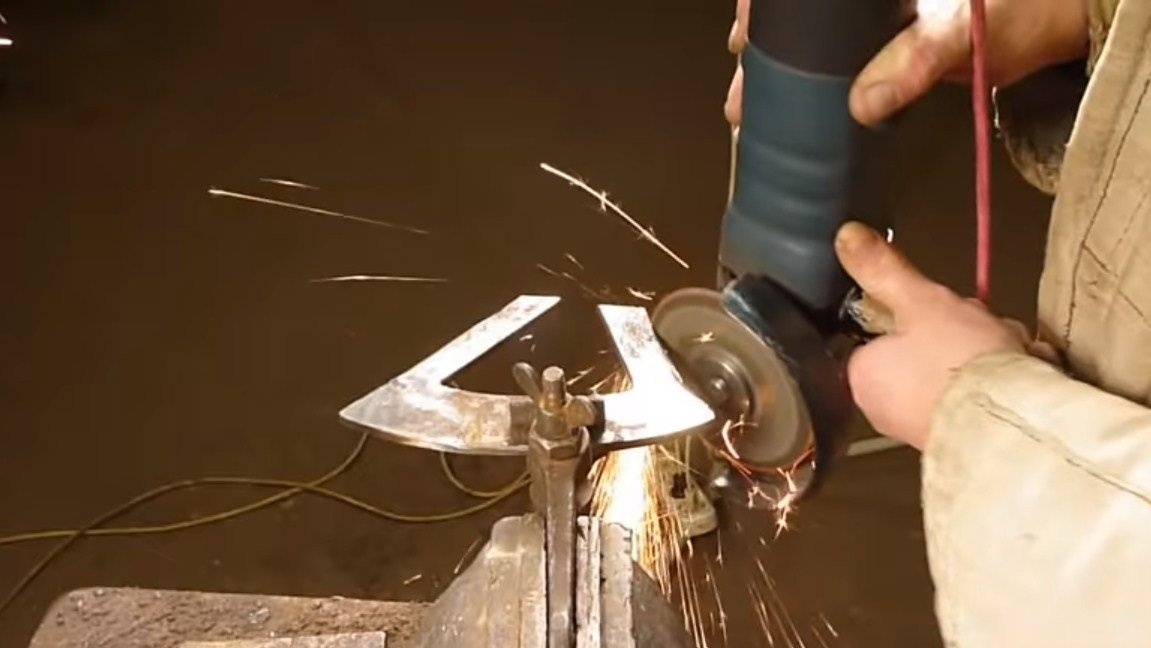
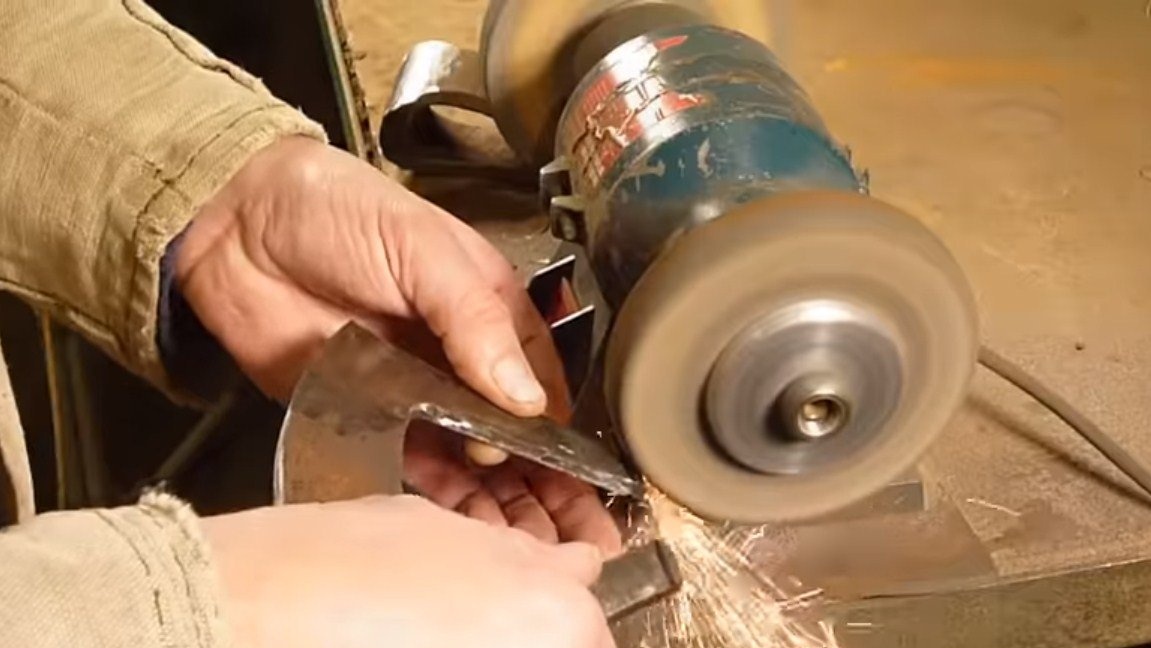
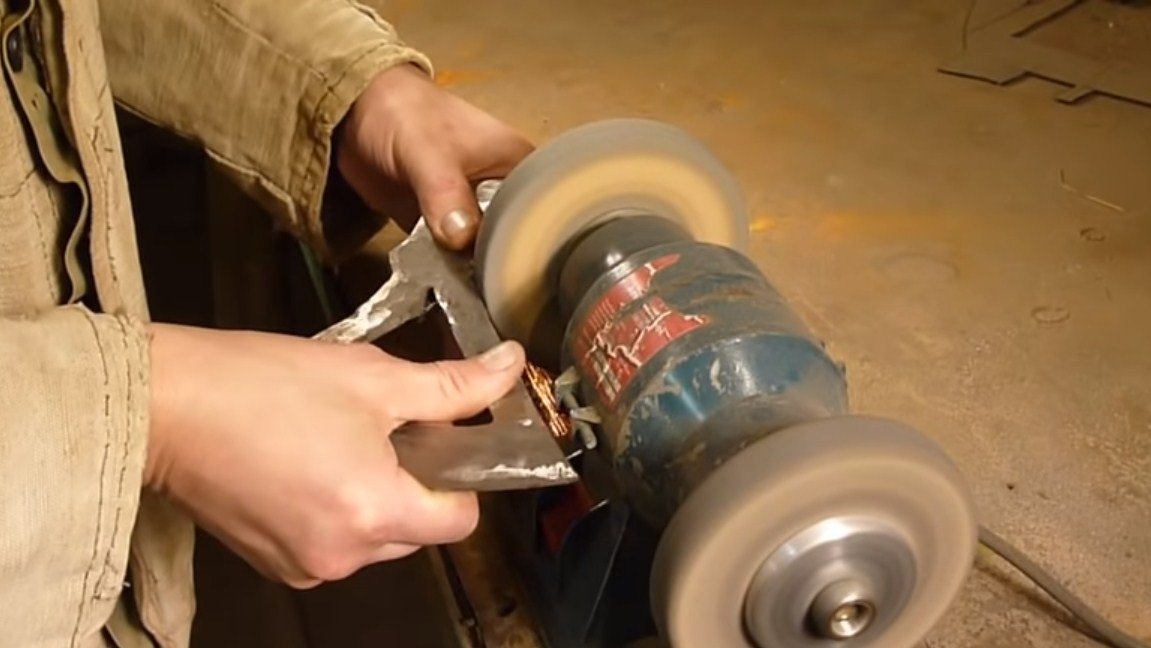
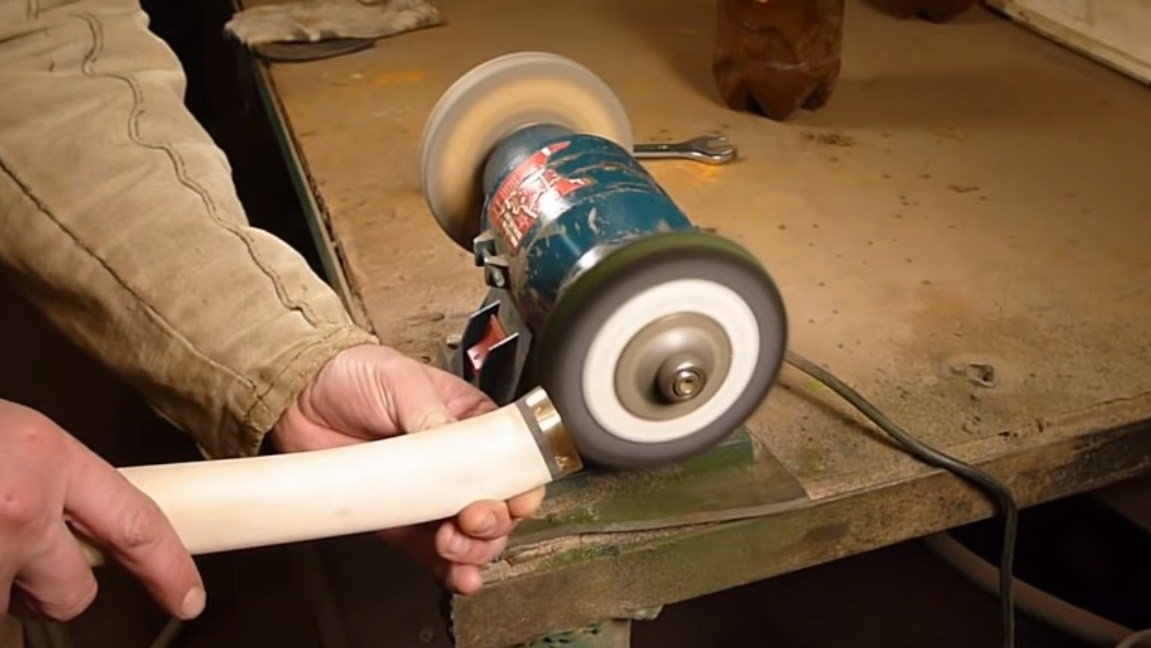
Step Four Grinding work
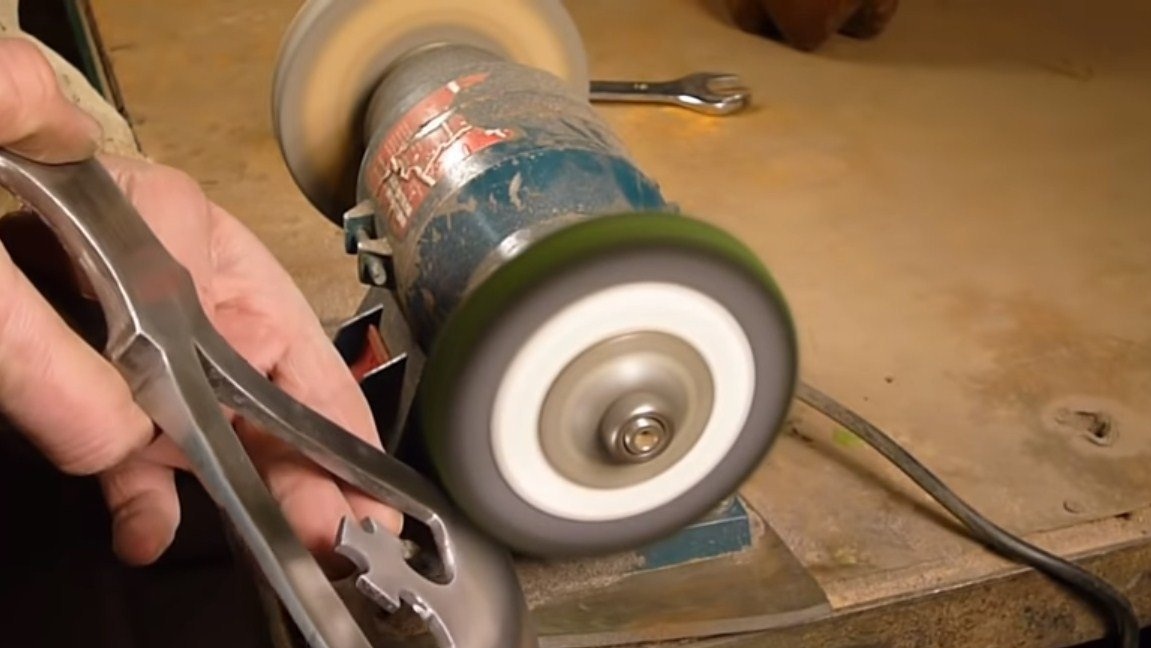
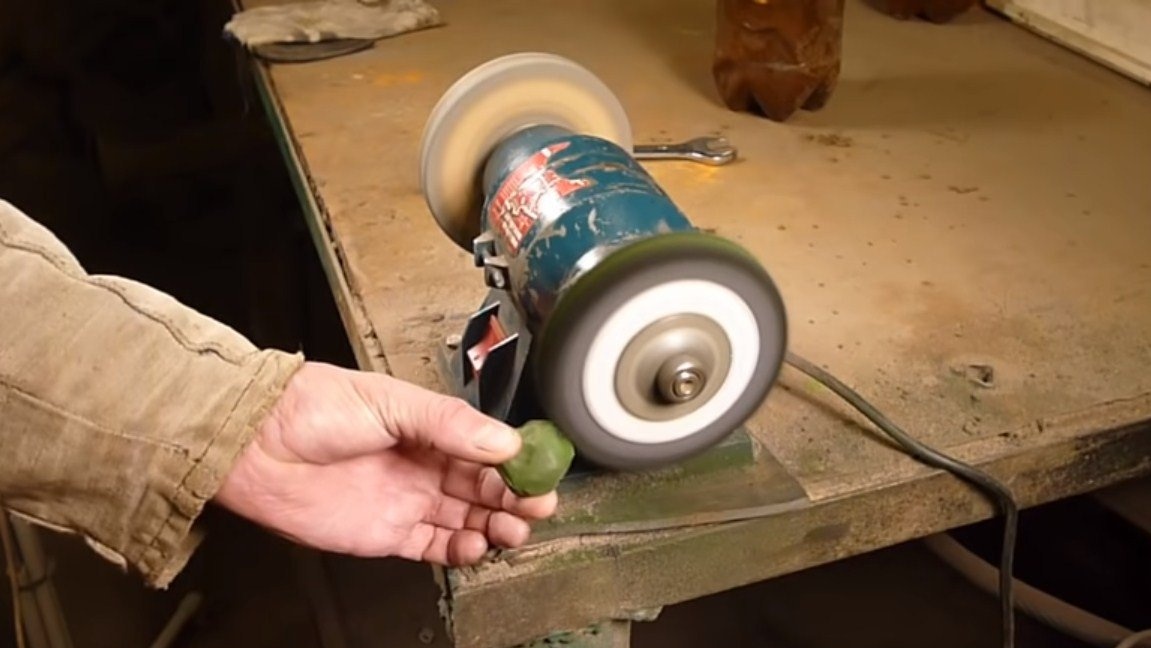
The ax is ready, it remains to polish it properly. Work on the grinder, as well as a grinder with grinding nozzles. The author carries out the final work with the help of a polishing wheel coated with GOI paste. As a result, the ax begins to shine like a mirror and evil spirits will begin to fear it even more.


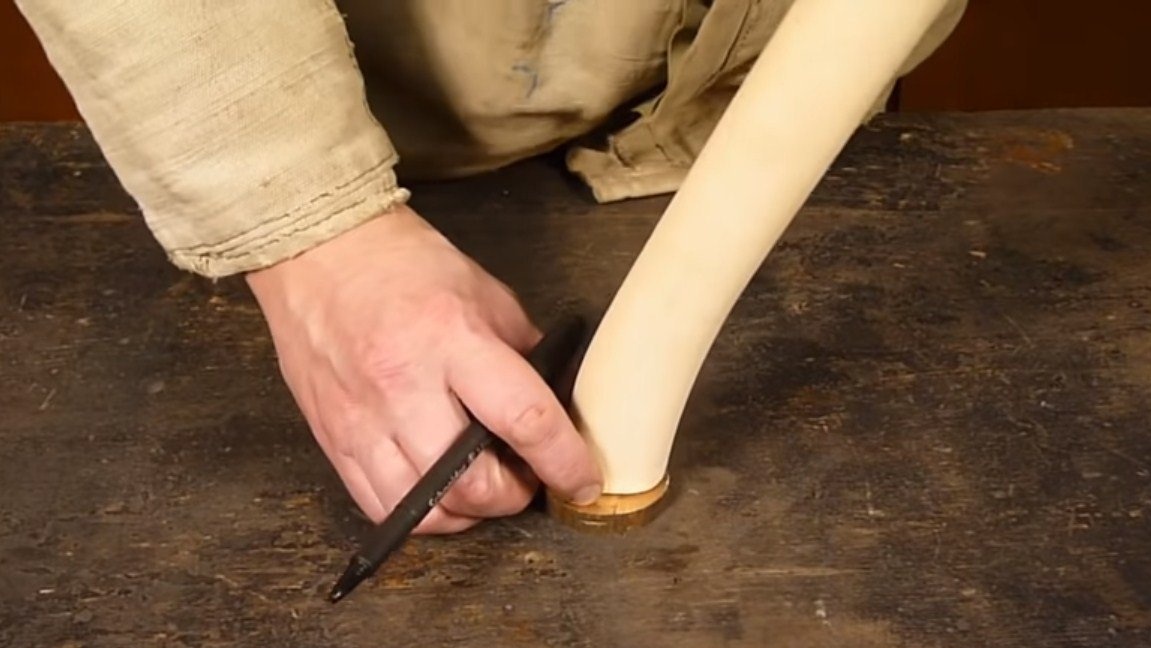
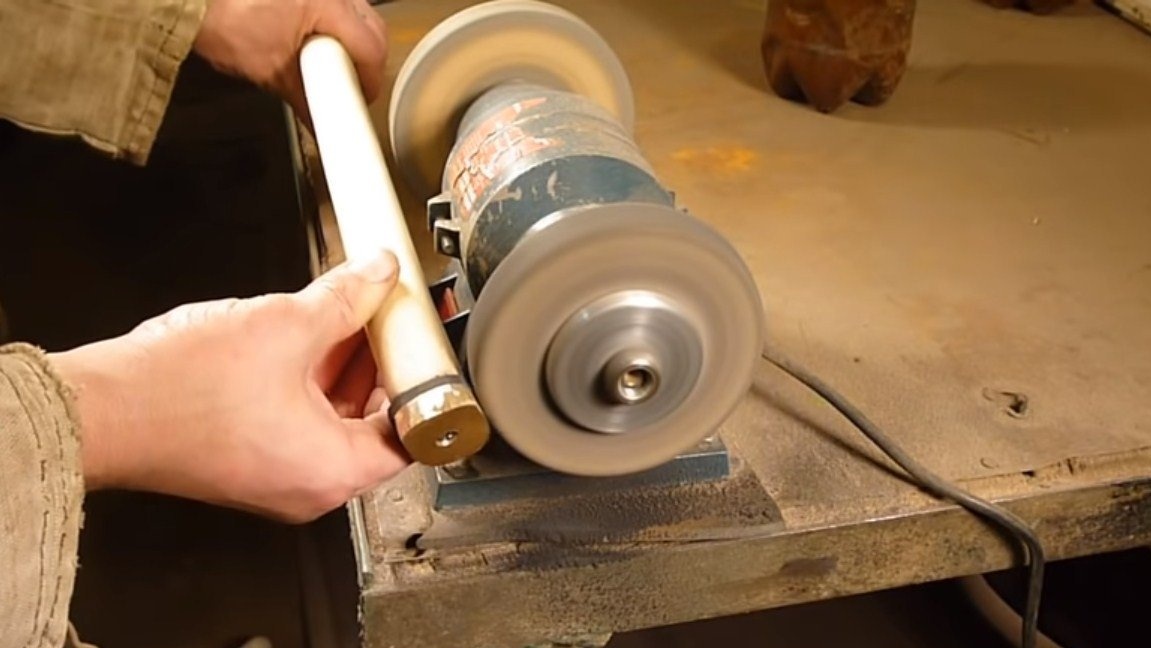
Step Five Hatchet
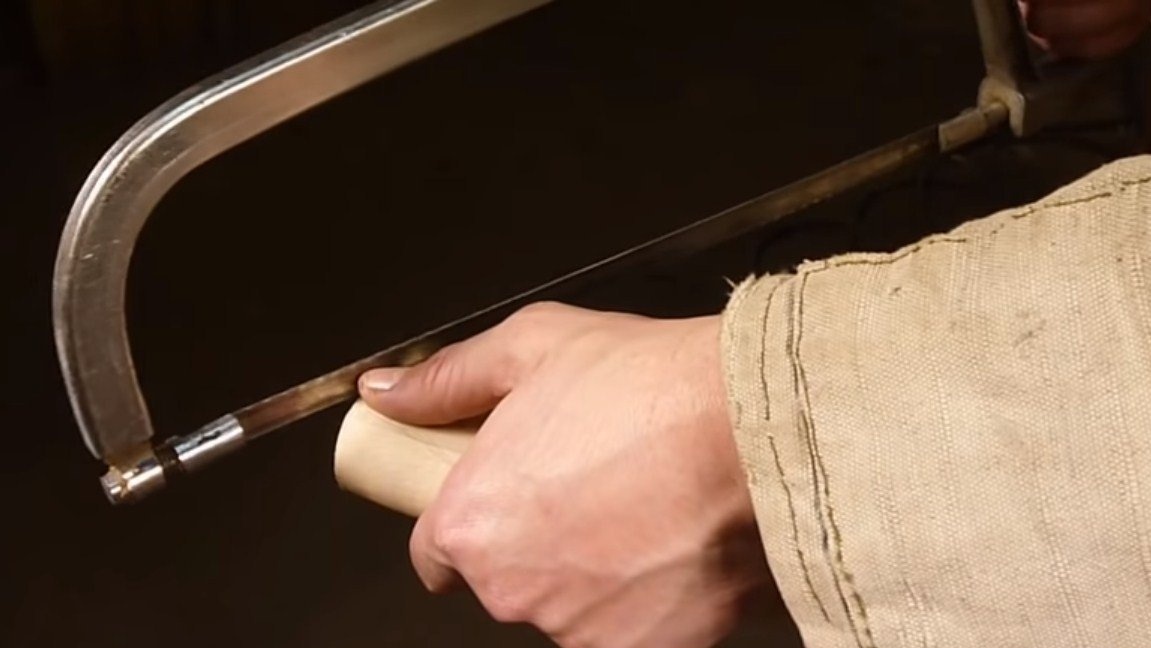
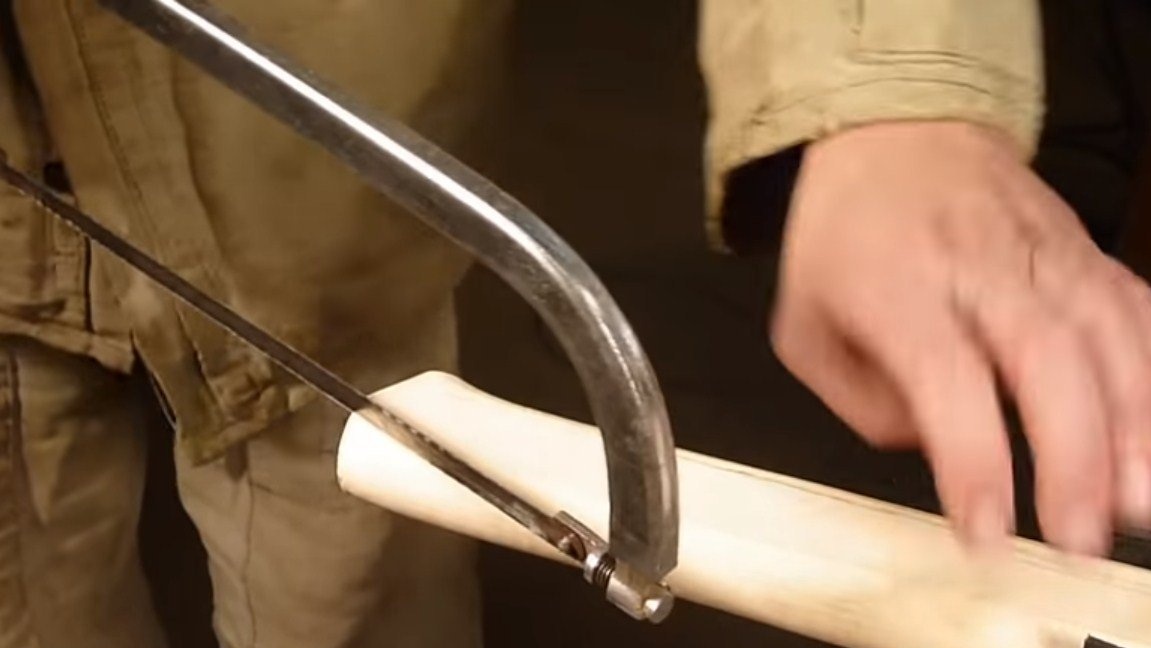
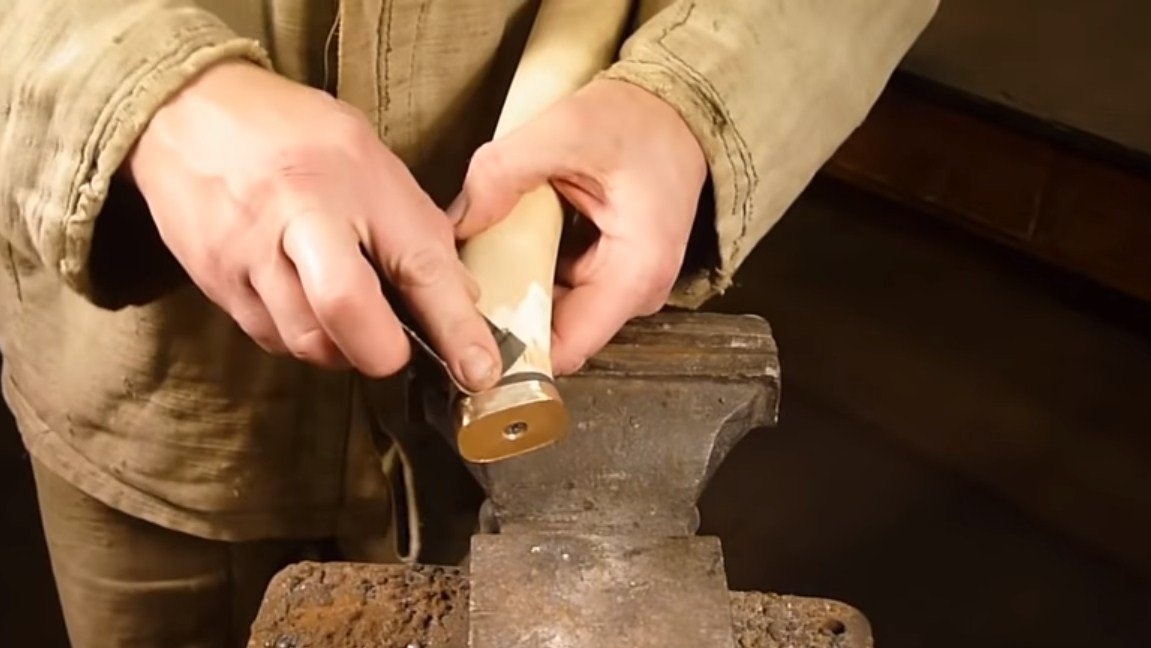
The author’s ax was almost ready, it’s not difficult for the master to carve it from a bar. The author modified the shape of the ax a little and decided to make a back for it. Thanks to the back of the pen, the pen will look prettier and will not collapse.
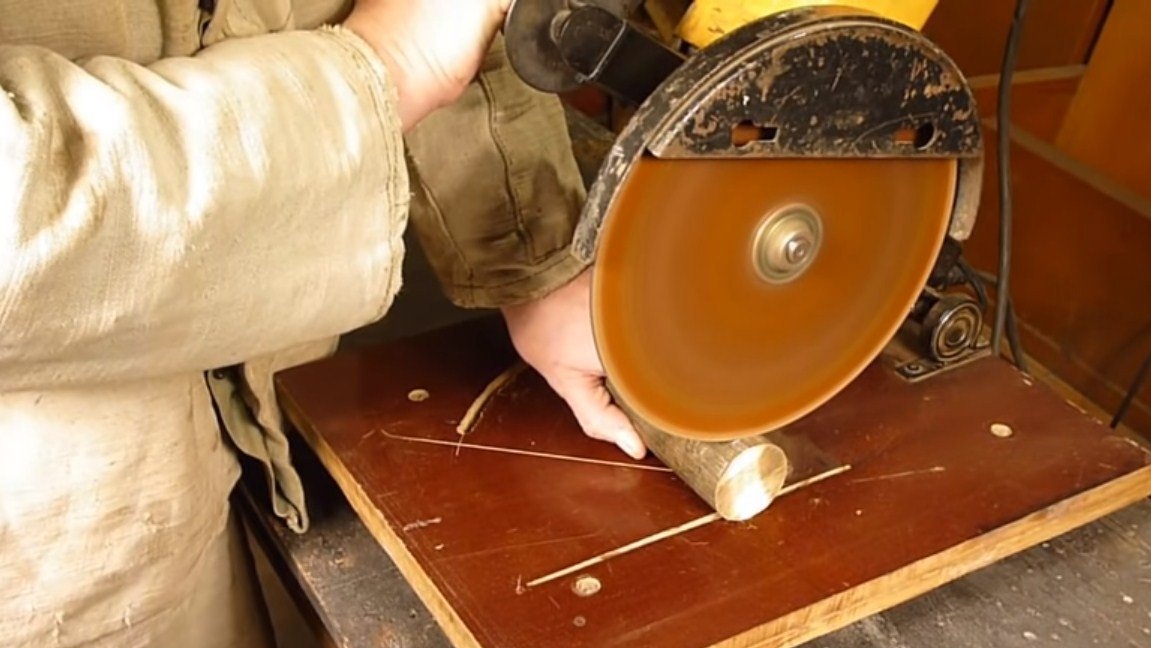
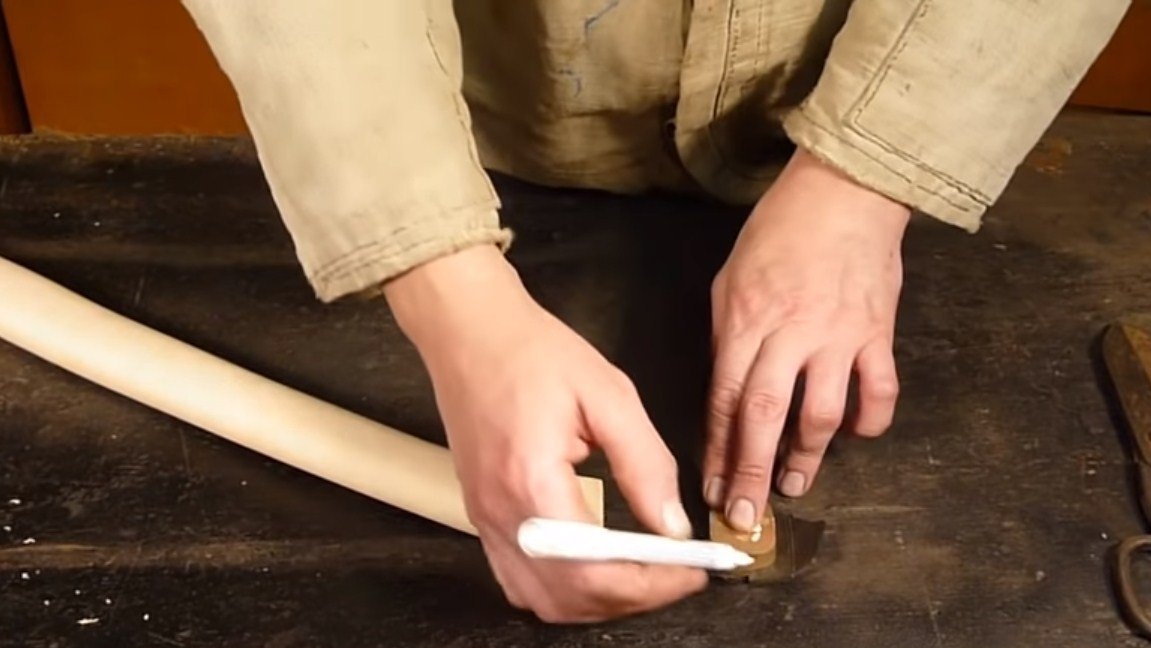
The talnik is made of a piece of brass, cut it out with a grinder, and then grind it on a grinder. It is best to fasten the backplate through a rubber gasket that can be made from a bicycle chamber. Thanks to the rubber, the back will cushion, and will not break. The author fastens it with a long self-tapping screw.


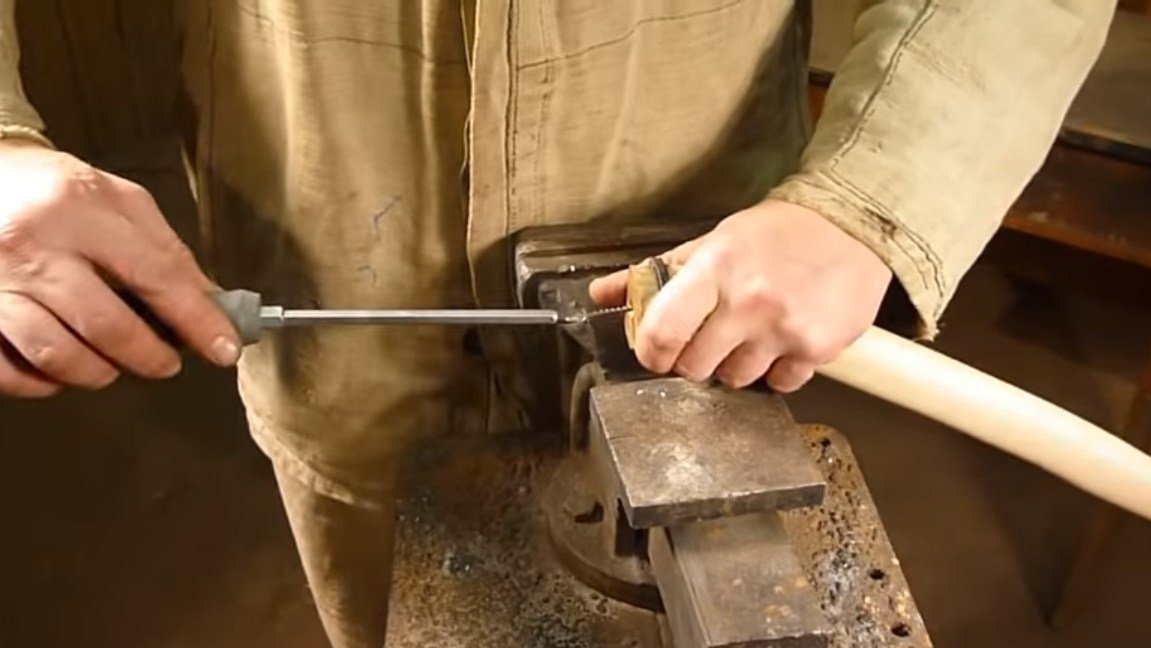
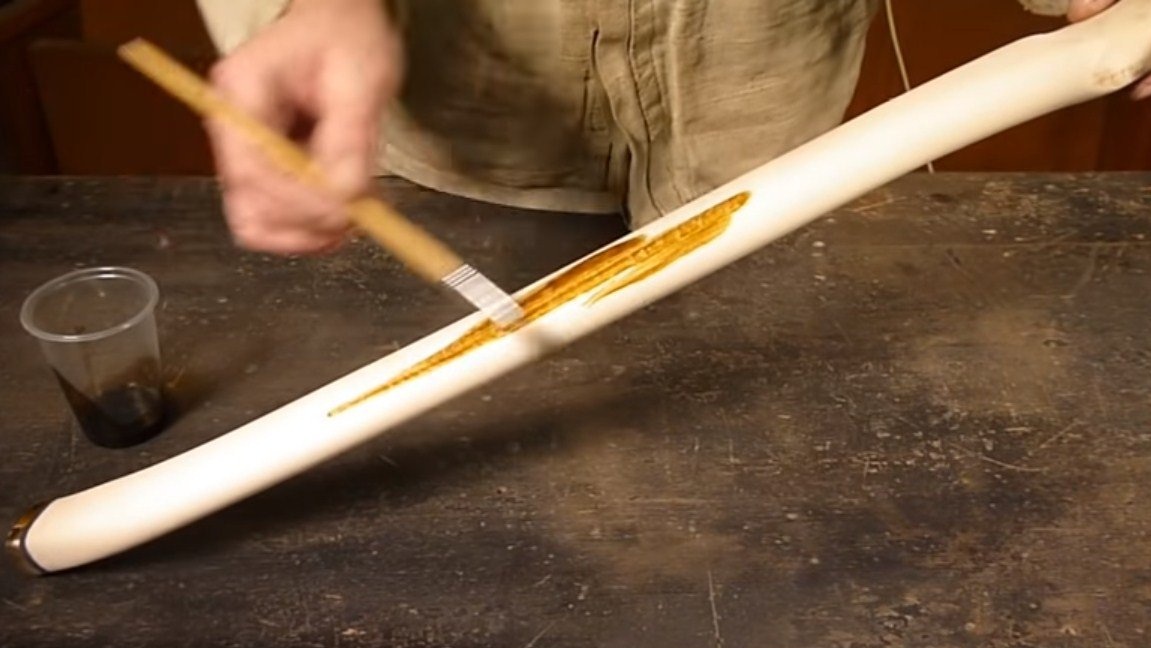
As a result, the handle is well grinded and covered with a stain, so that everything is "antique". As an additional decor, you can wrap the hatchet with twine and so on. We assemble an ax and test it in practice. The ax chopped cabbage without problems, and nobody plans to chop wood with them. Do not forget that spring steel likes to rust quickly and hard, so it is better to coat metal with oil or wax for storage.
That's all, homemade finished. I hope you enjoyed the project and found useful information for yourself. Good luck and creative inspiration, if you decide to repeat this. Do not forget to share your ideas and homemade things with us!