
Today, together with the author of the TEXaS TV YouTube channel, we will make a kitchen knife from an old file, and along the way we will make a couple more useful homemade products.
Here we will make a knife from this file today:
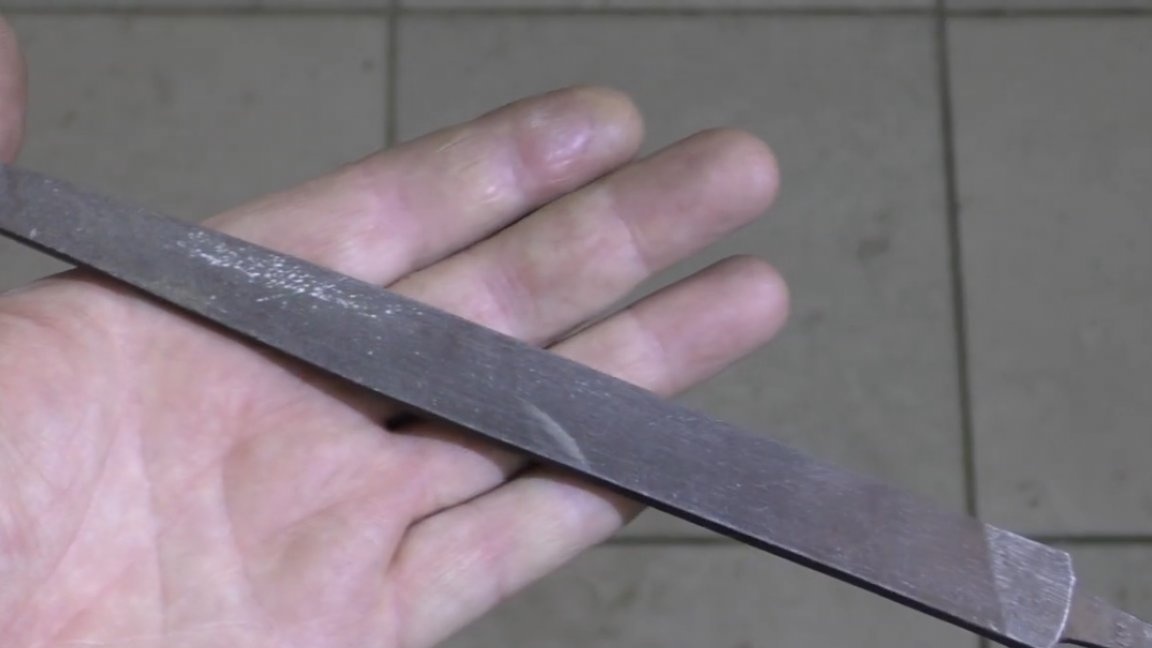
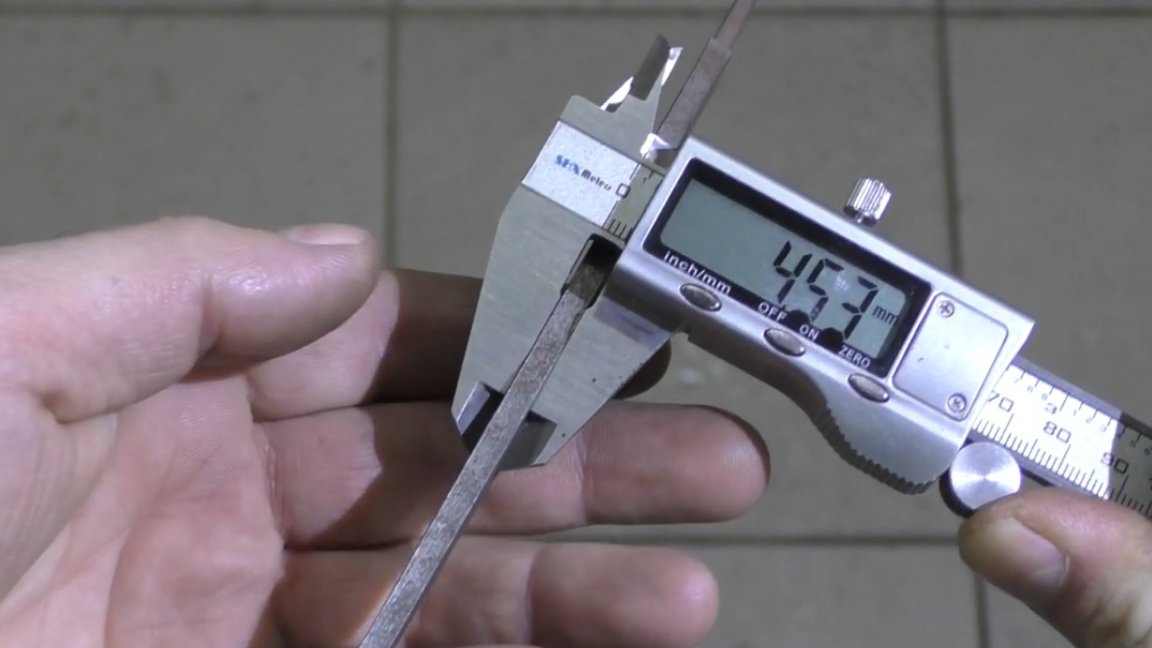
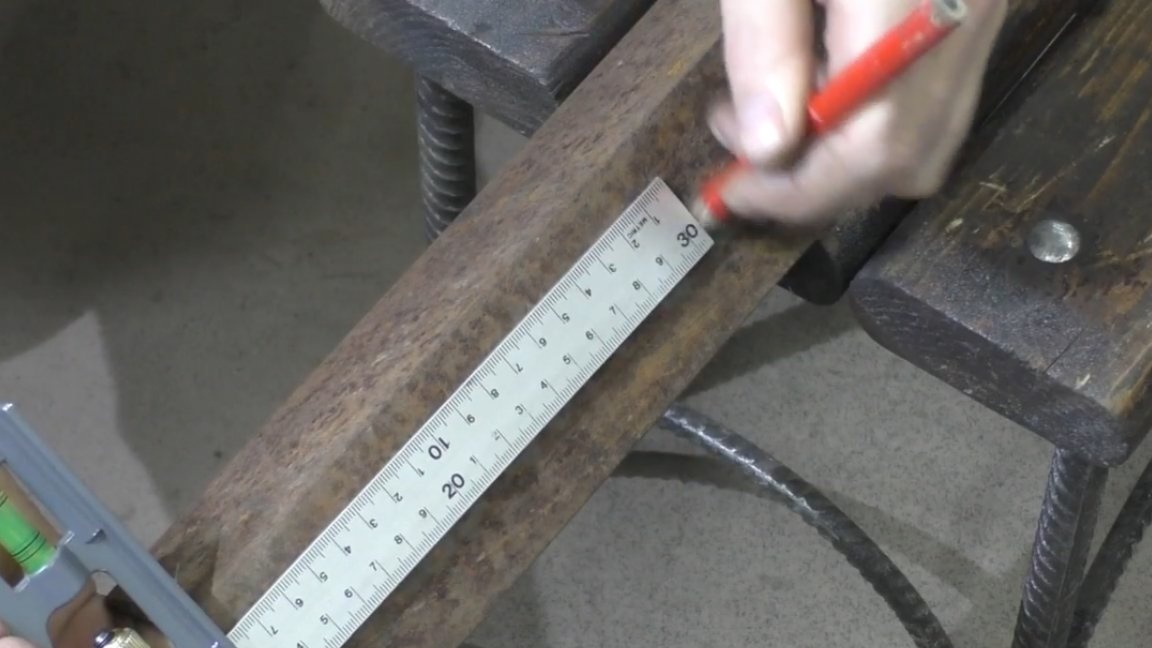
This is the most suitable that was found in the garage the author. The file is 18.5 mm wide and 4.5 mm thick.

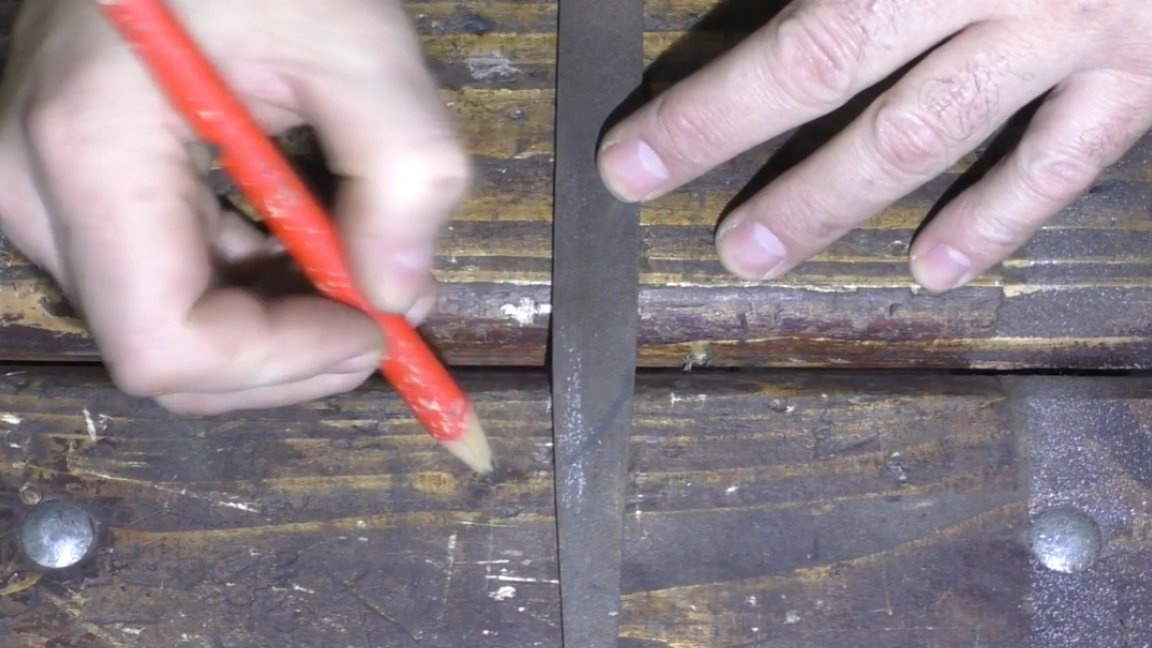
First, do a preliminary markup. We will do everything ad-lib, it will be more interesting what will turn out in the end.
Using a grinder, we cut out the draft blank of the blade. The author honestly admits that he did not make knives before, this will be the first experience.
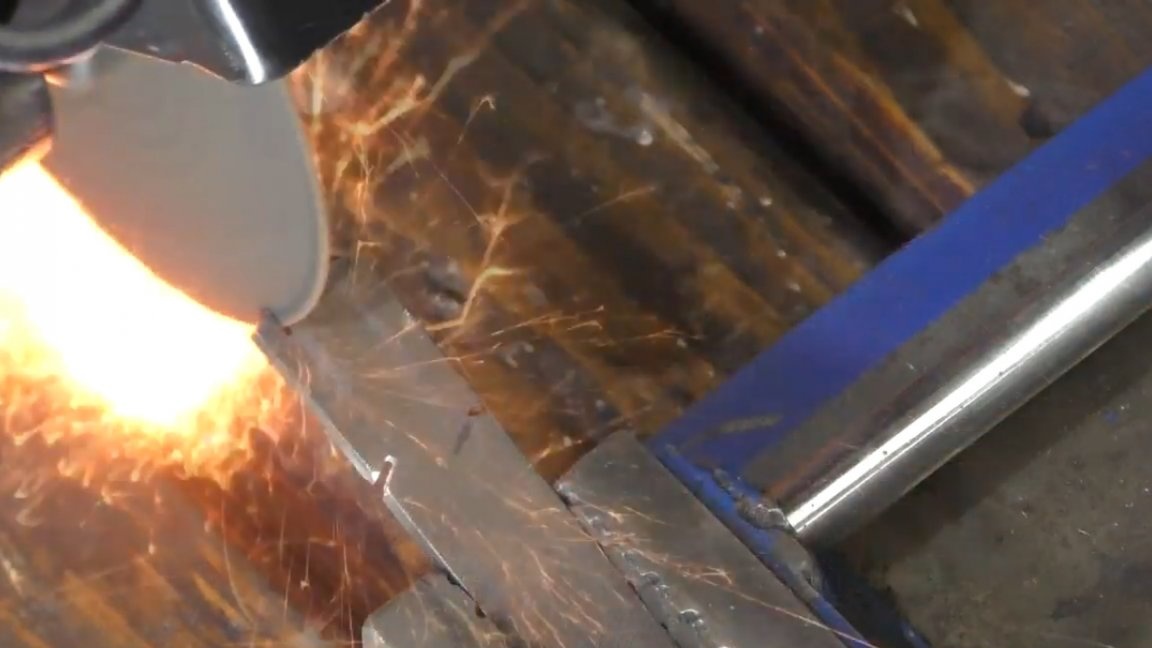
Now you need to cultivate the resulting workpiece a little and the grinder will greatly help in this.

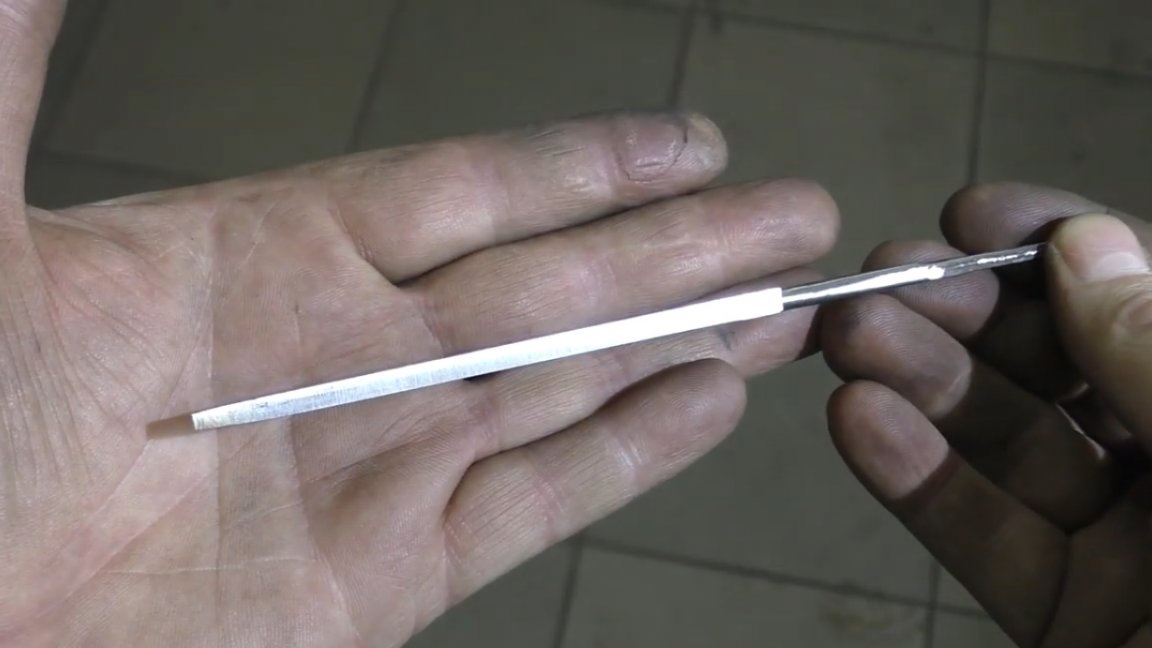
We remove the entire structure and align all the edges of the file to get a clean and smooth workpiece. This is certainly not a momentary matter, so you need to be patient. Also do not forget to cool the part. The result was such a blank:
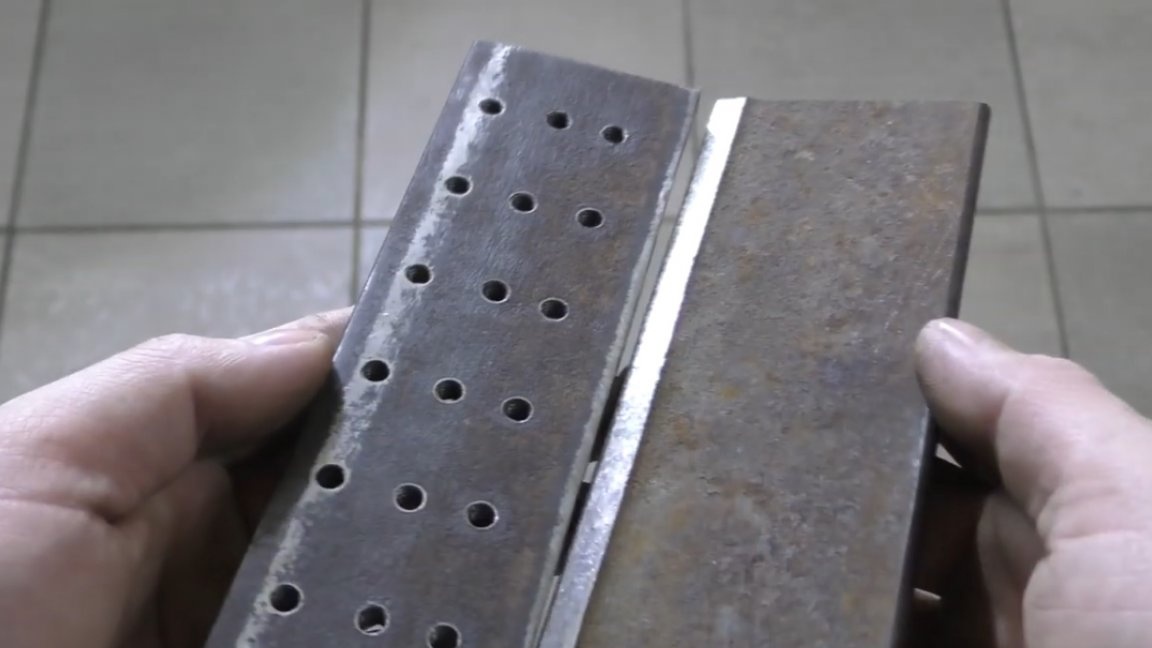
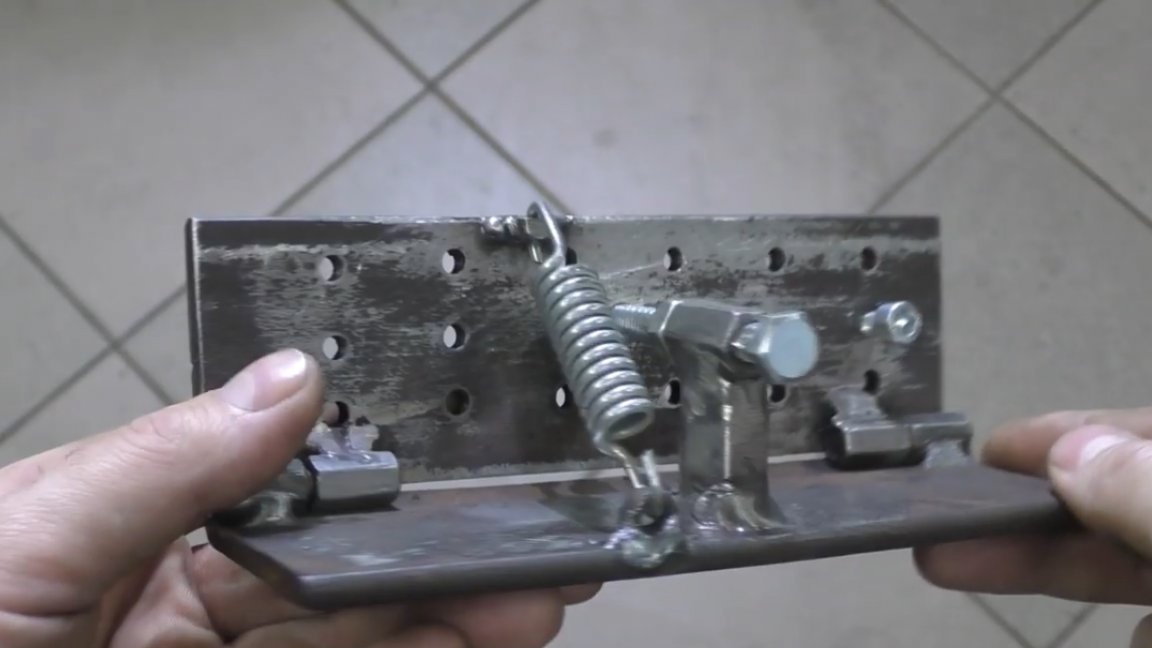
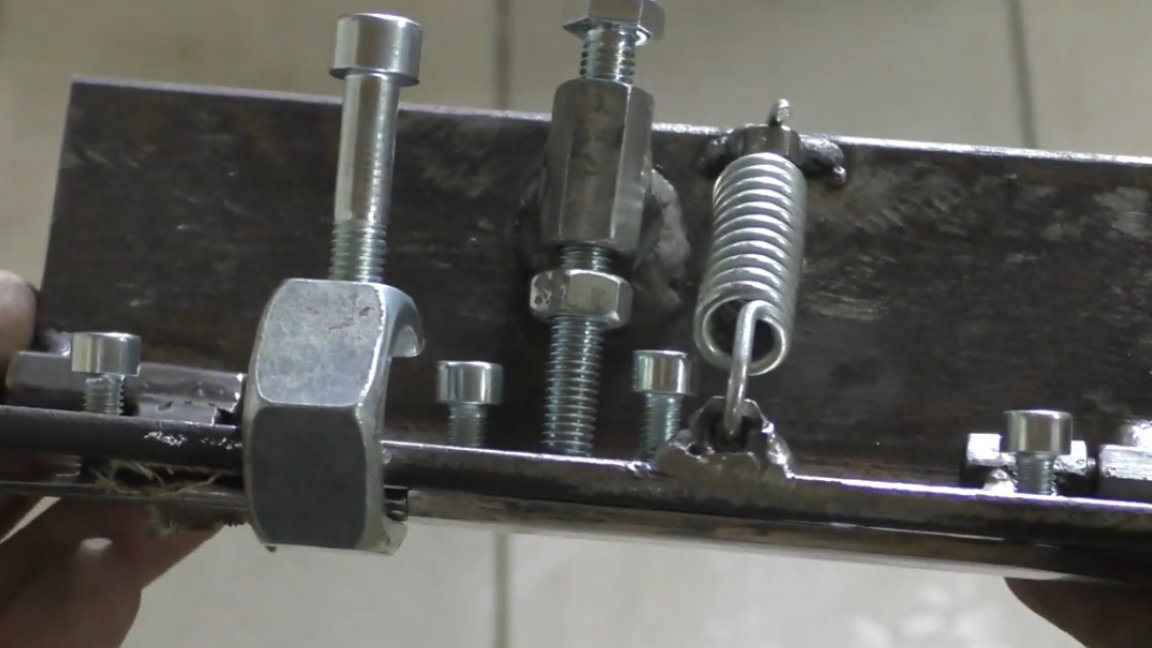
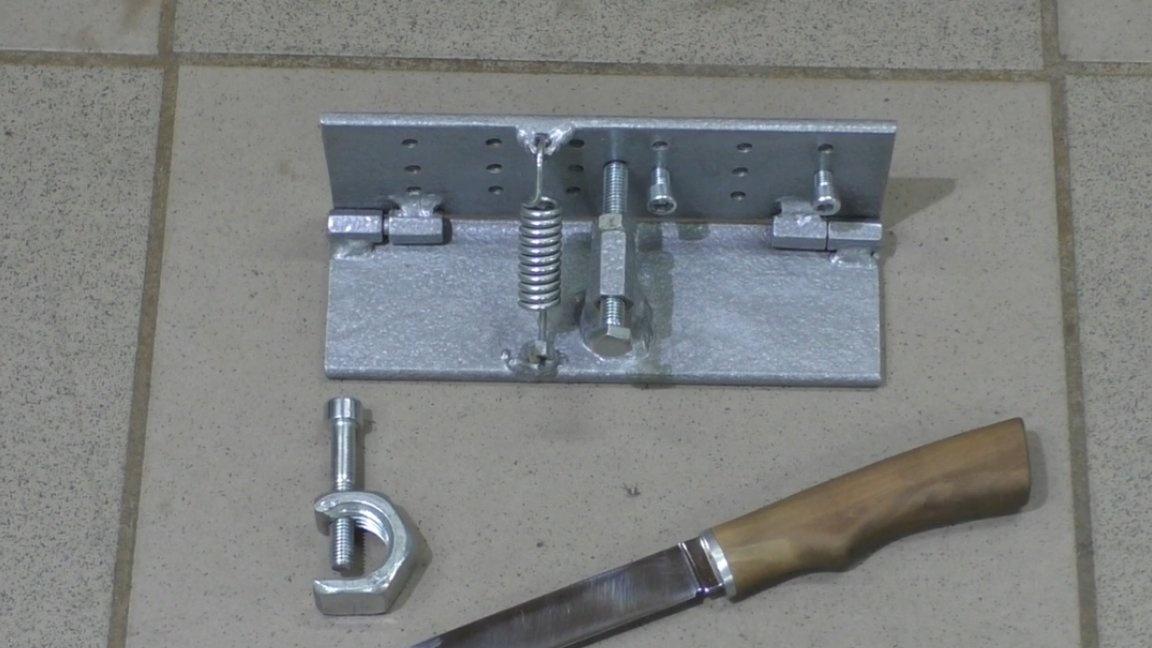
Now, to continue making the knife, we need devicewith the help of which they make descents. We’ll do it now. First, cut the 180 mm workpiece from the 63rd corner, this will be the main part of the device.
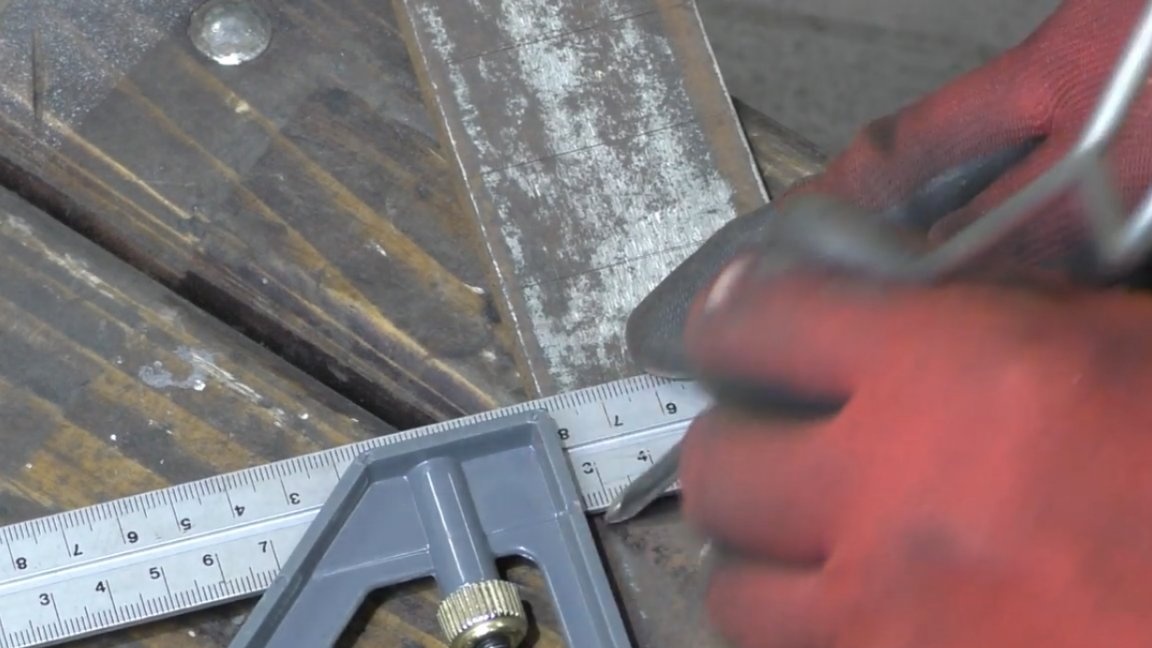
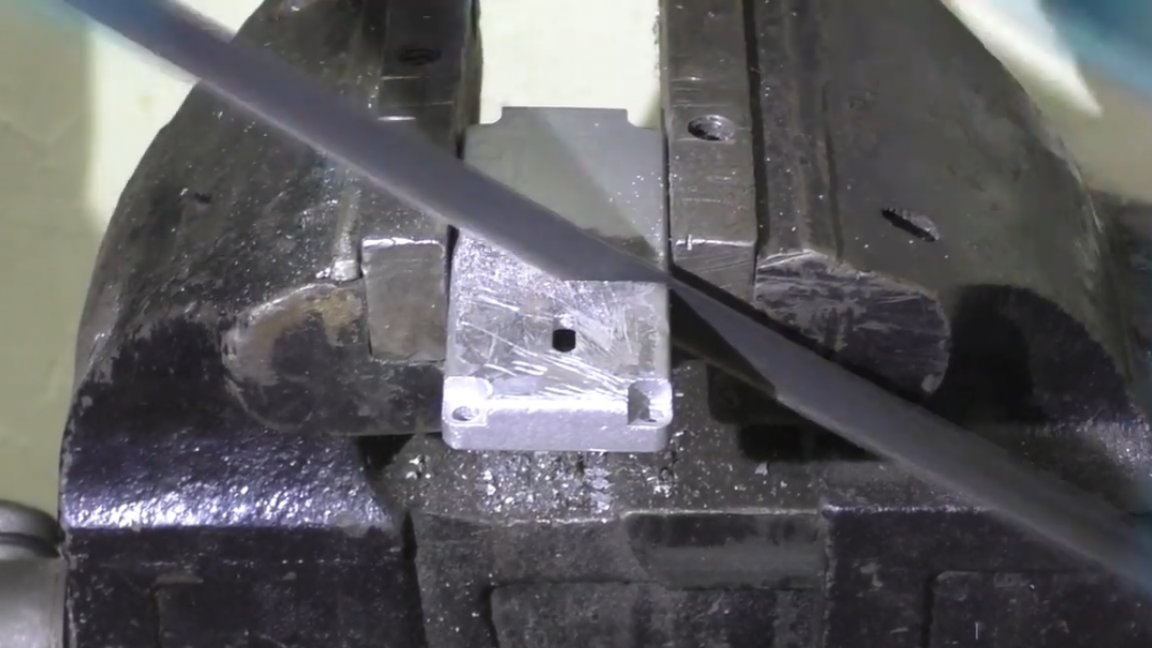
We clamp the resulting part in a vice and apply the marking in order to cut off one shelf of the corner as accurately as possible. We will clean the burrs a bit and trim the ends.
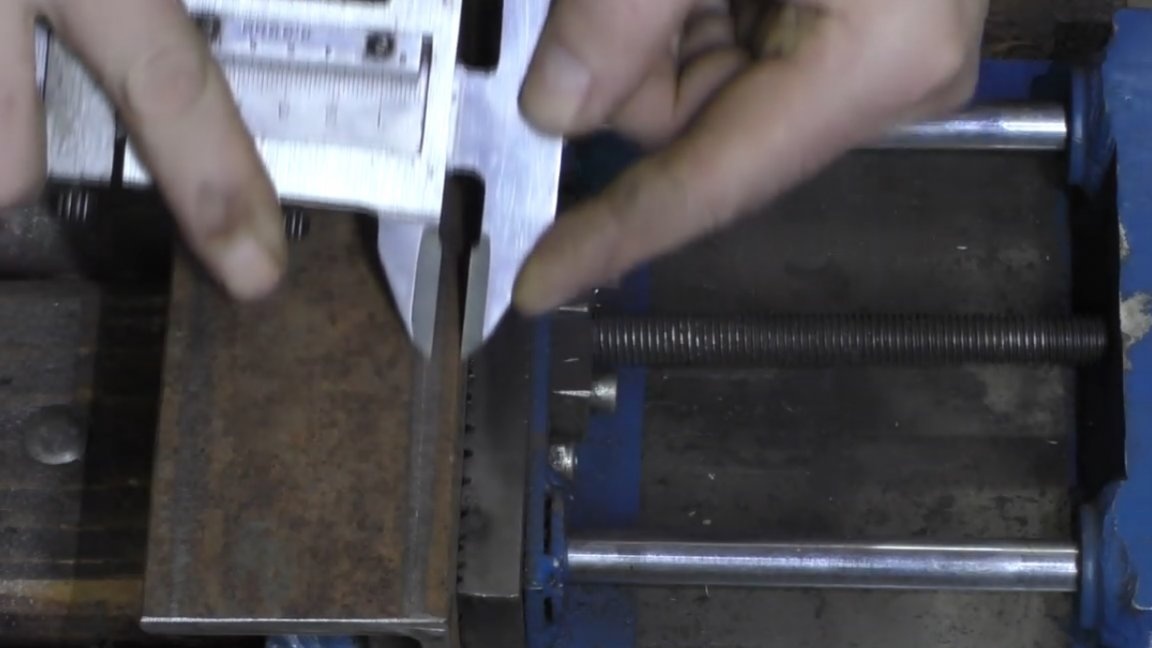
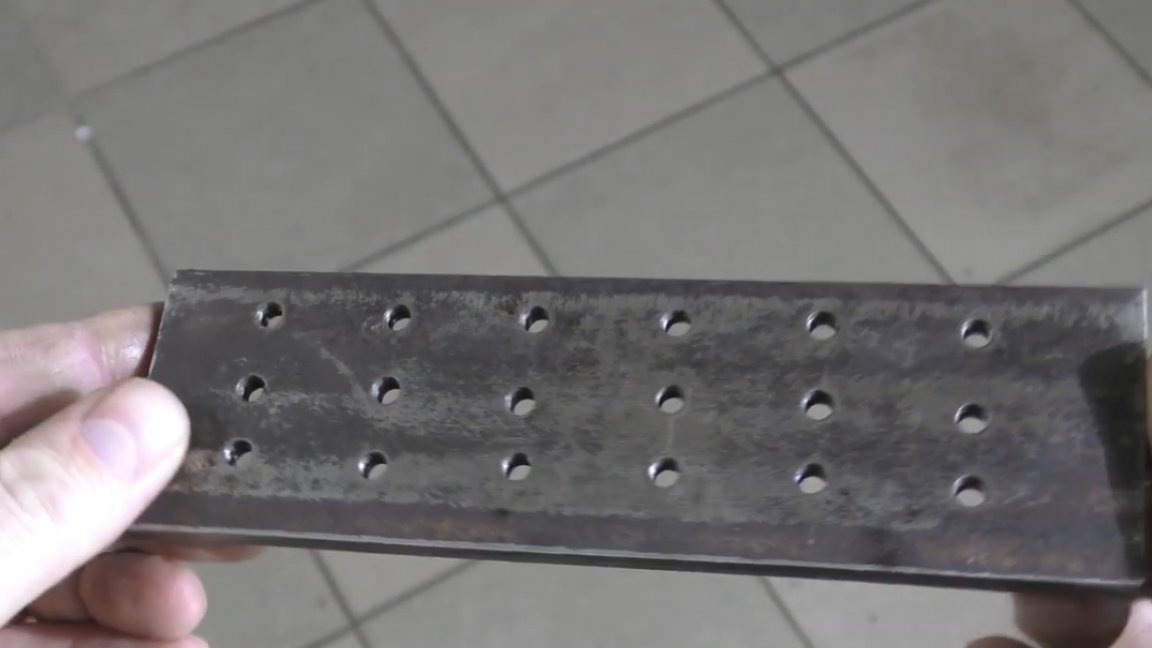
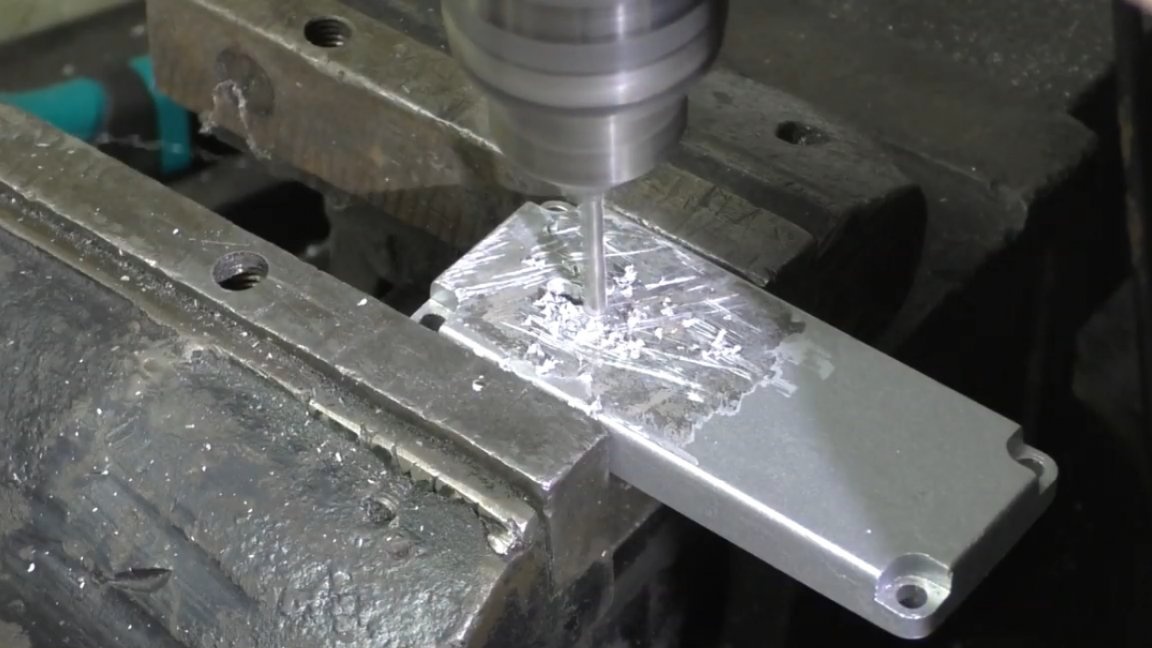
Now, on one of the obtained blanks, we make markings for drilling holes. Dimensions are arbitrary, but symmetrical. Previously, the whole thing needs to be screwed up and done fairly accurately.
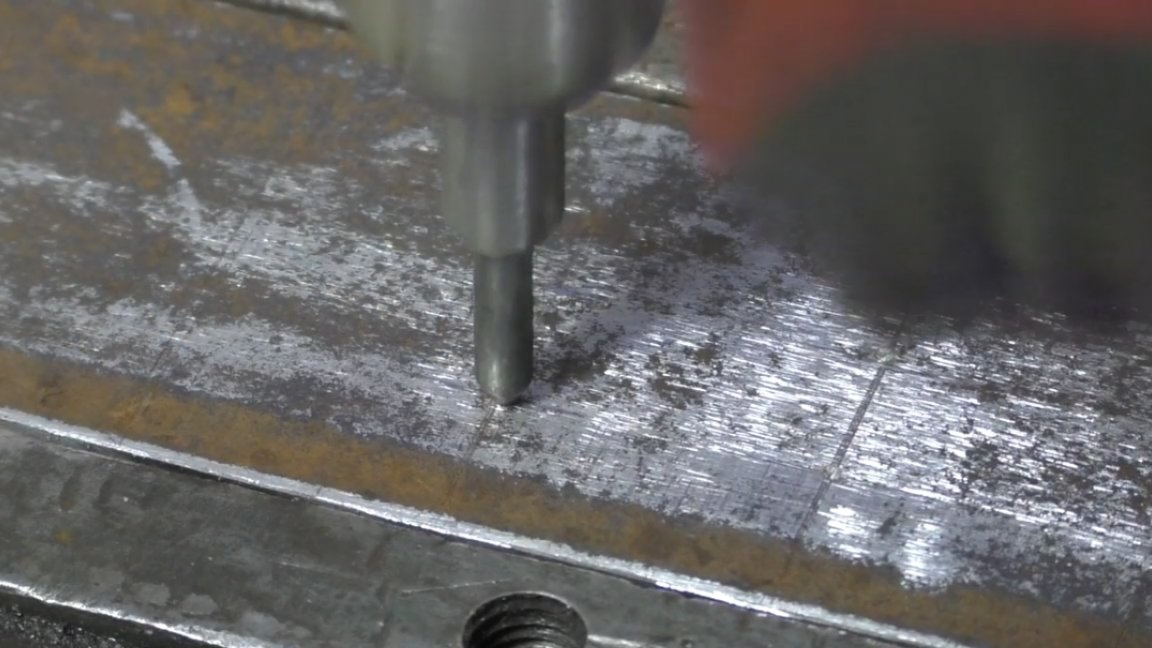
Now you can do the drilling.
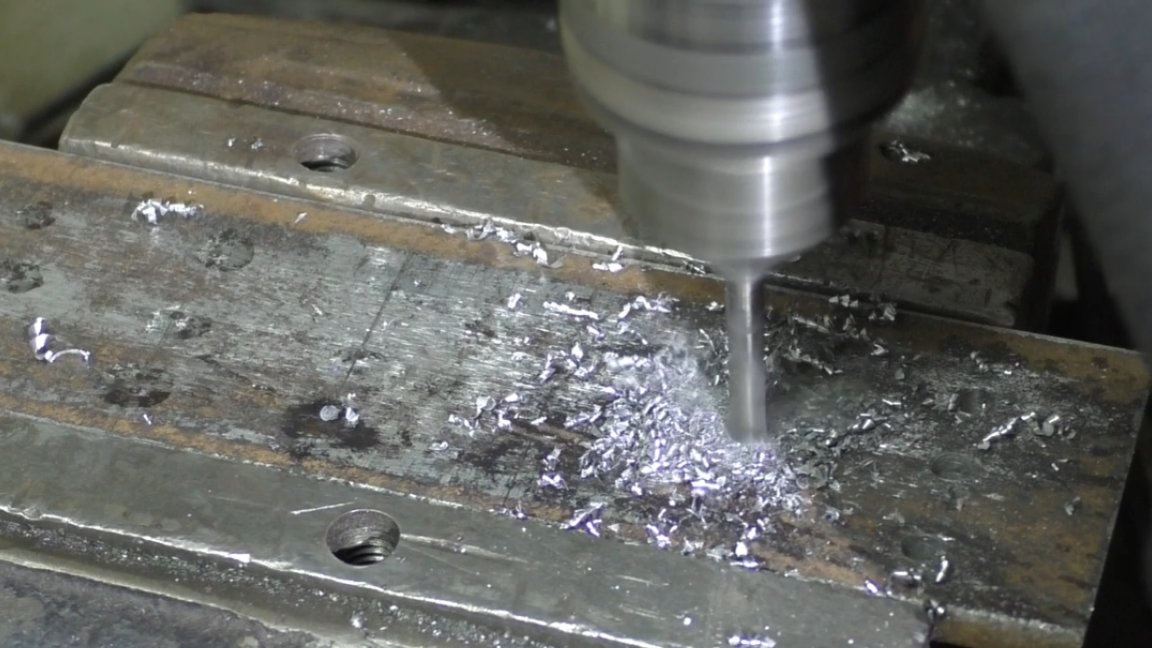
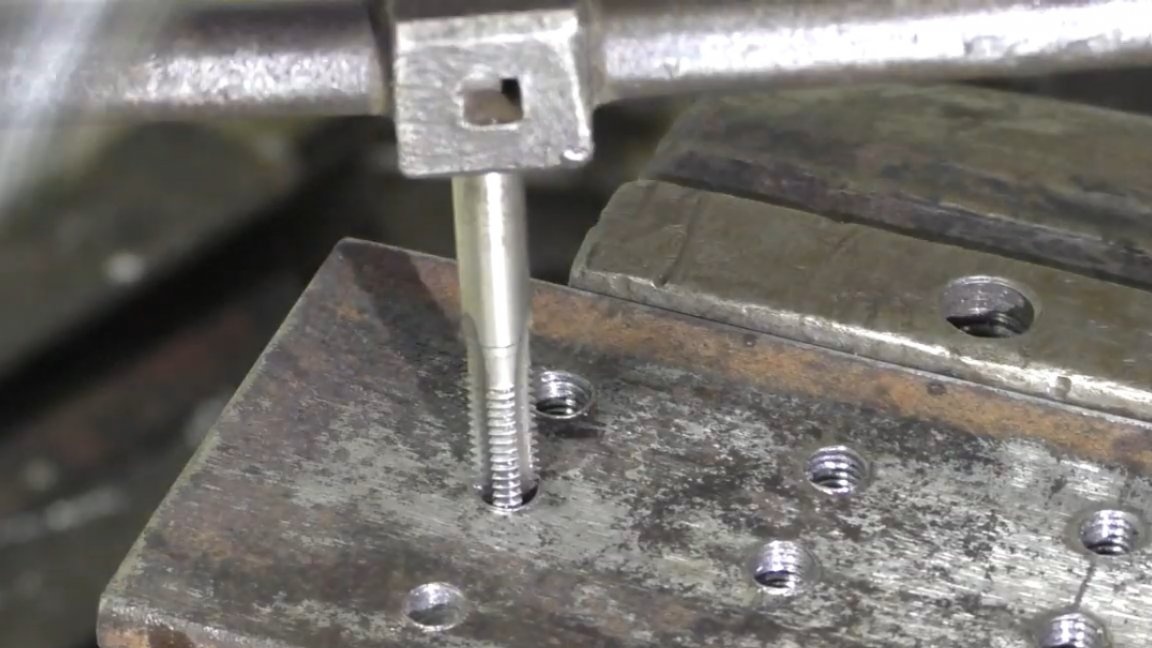
Surprisingly, everything went fast enough. We cut the thread under the m6 bolt. The result is such a detail with 18 holes:
Now these 2 blanks must be fastened through the hinges.
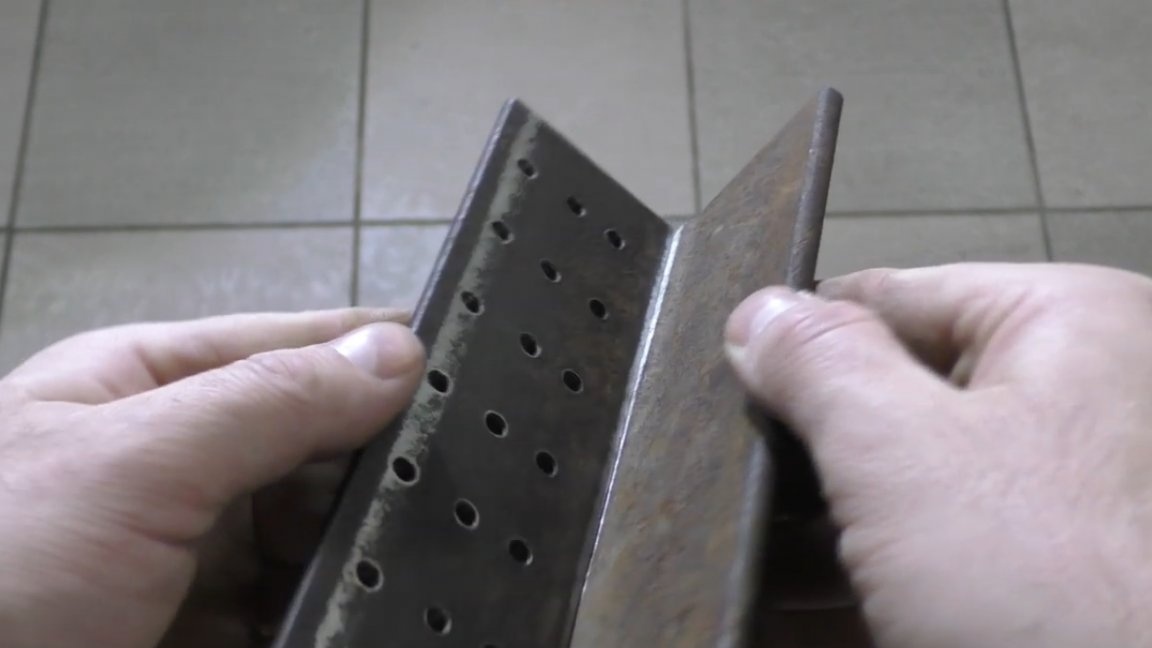
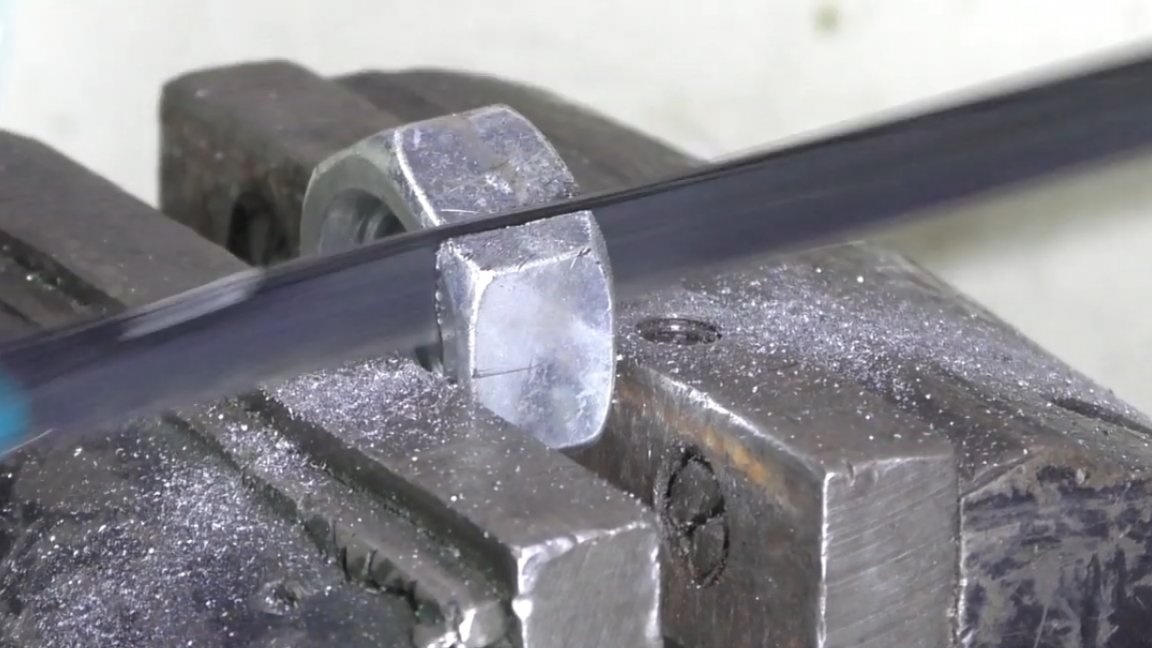
Hinges will be made of elongated nuts and bolts of the same diameter. We drill a nut for the diameter of the bolt and that's it - the loop is ready.
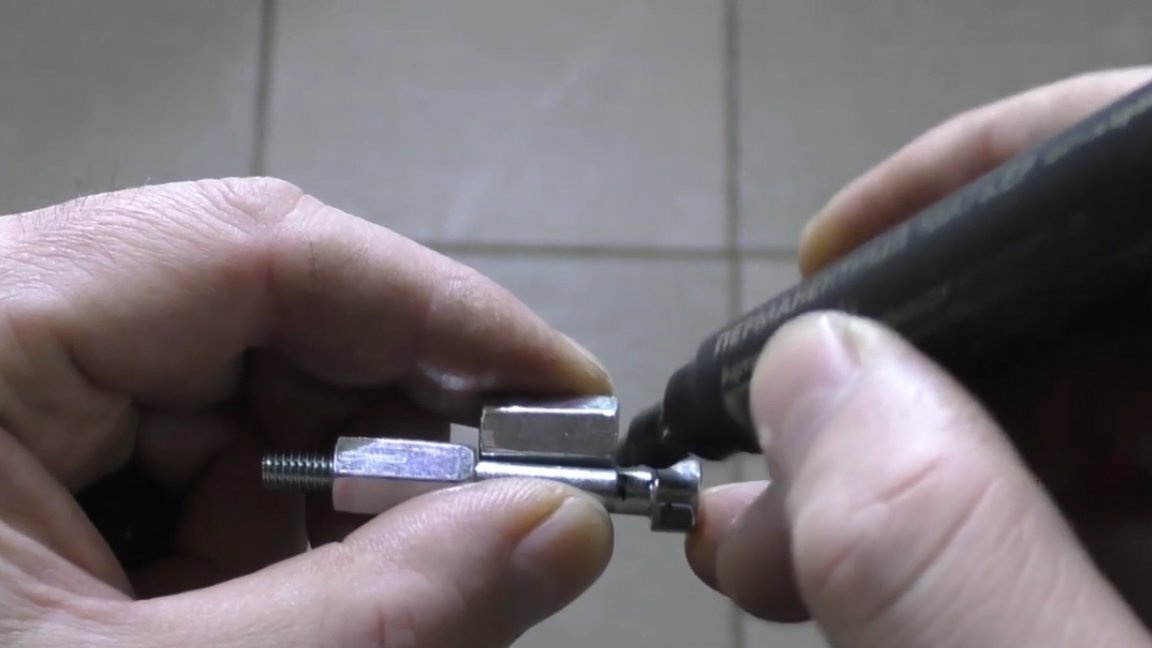
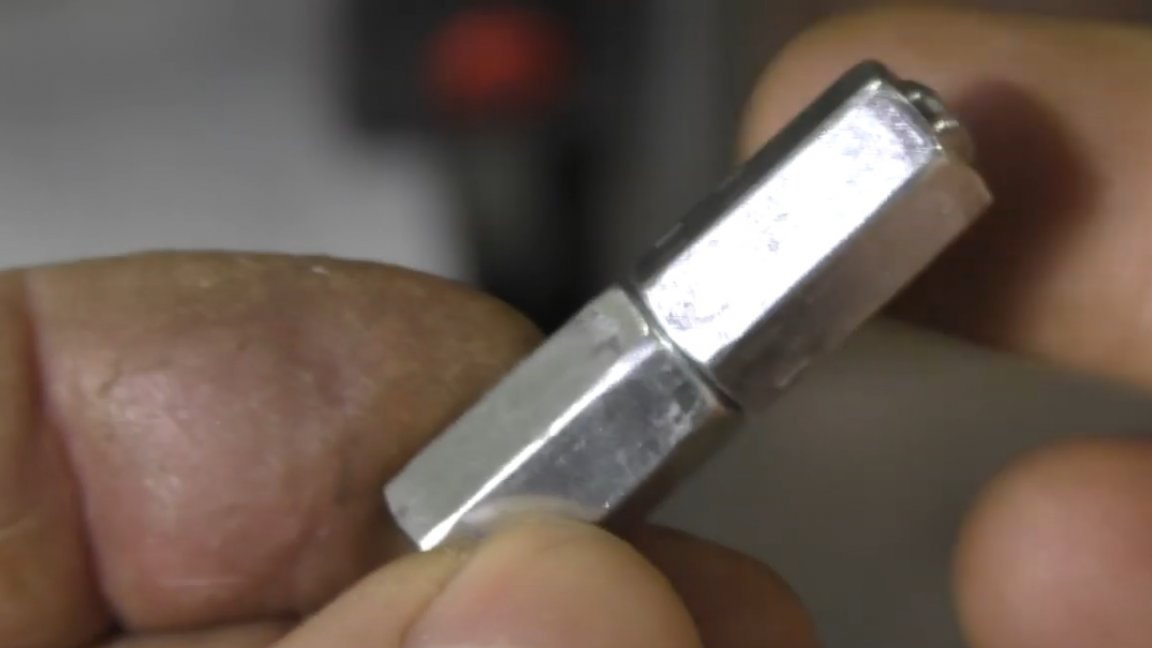
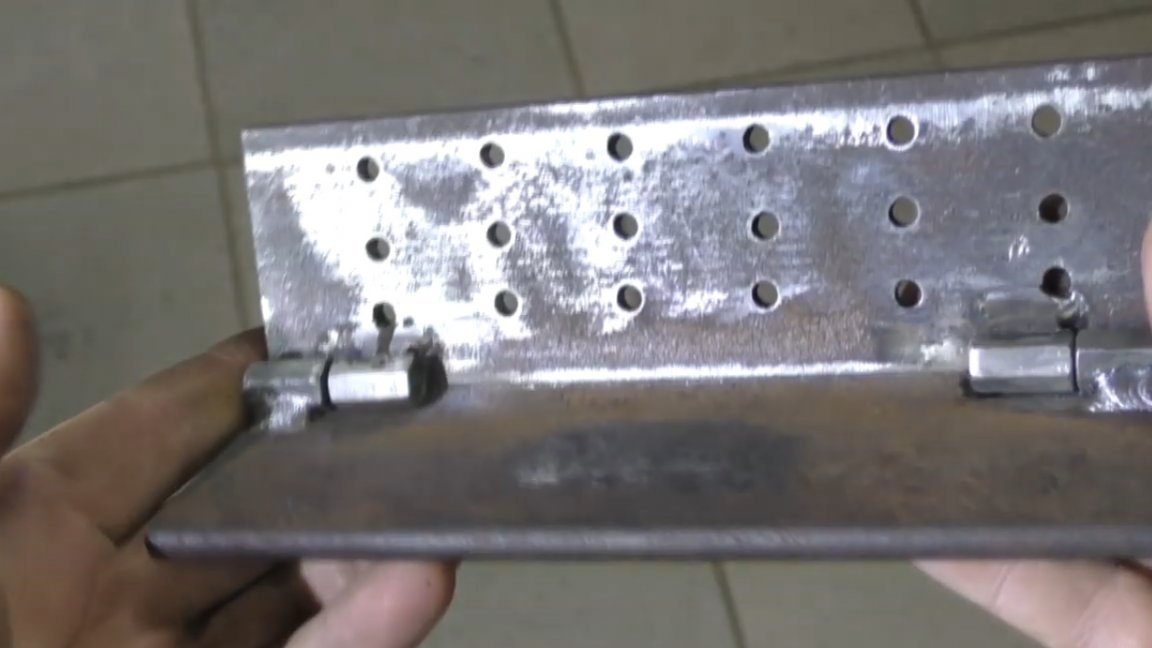
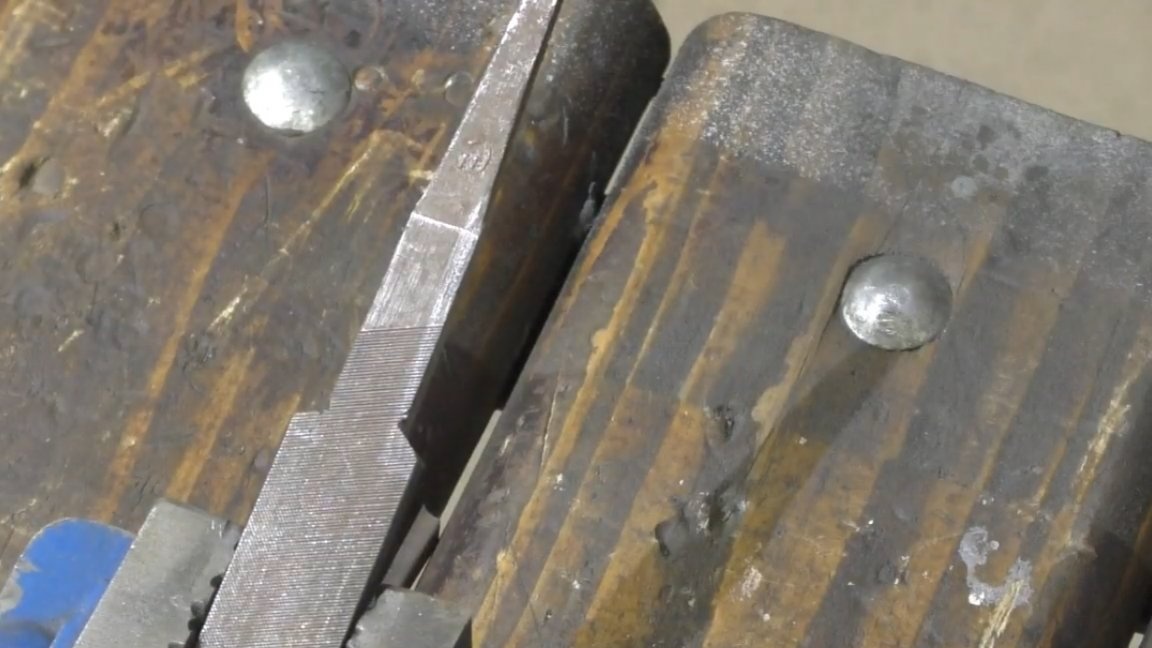
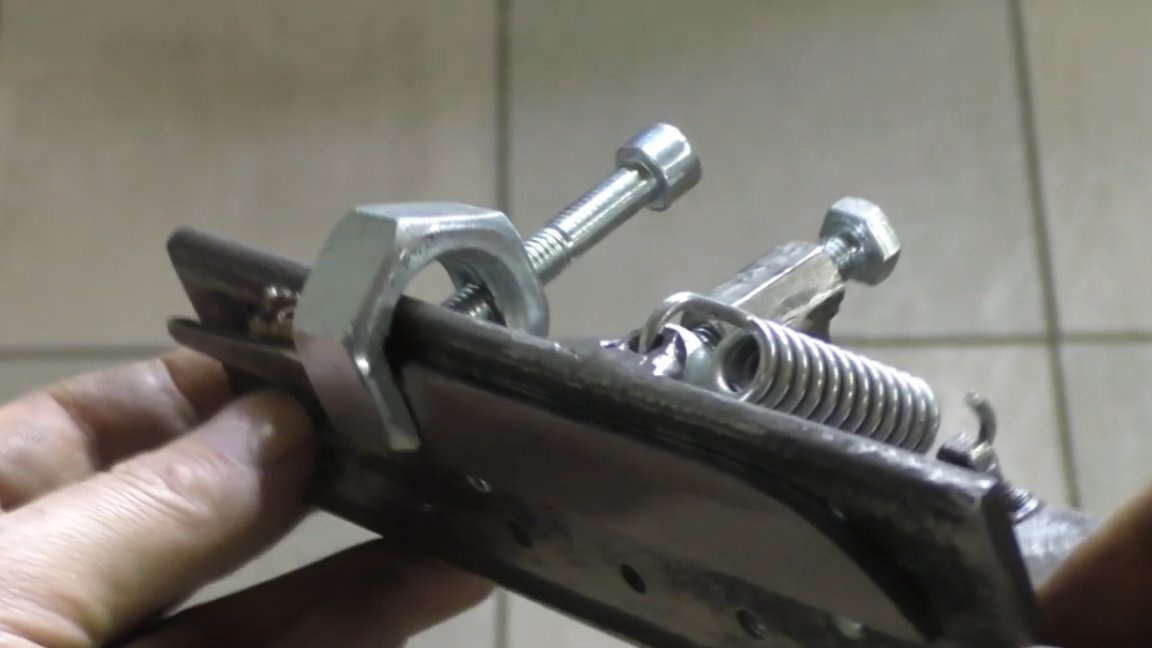
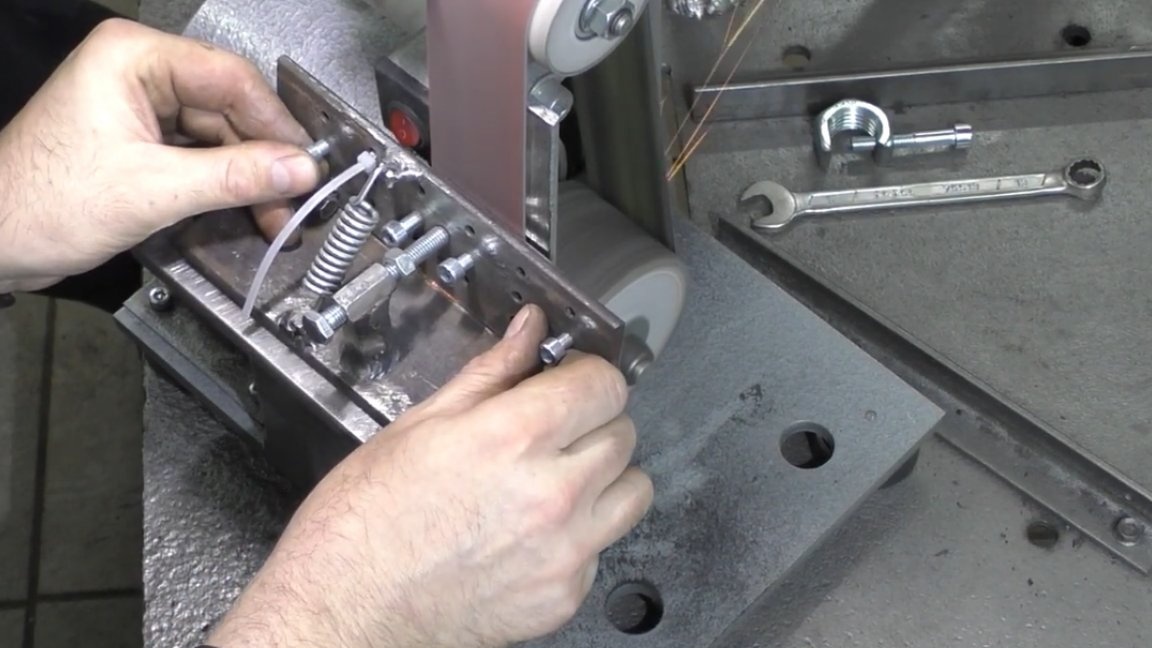
The hinges are welded in such a way that the part is integral and without backlash. Actually, this is how the device for making descents on a blade at a given angle looks like.
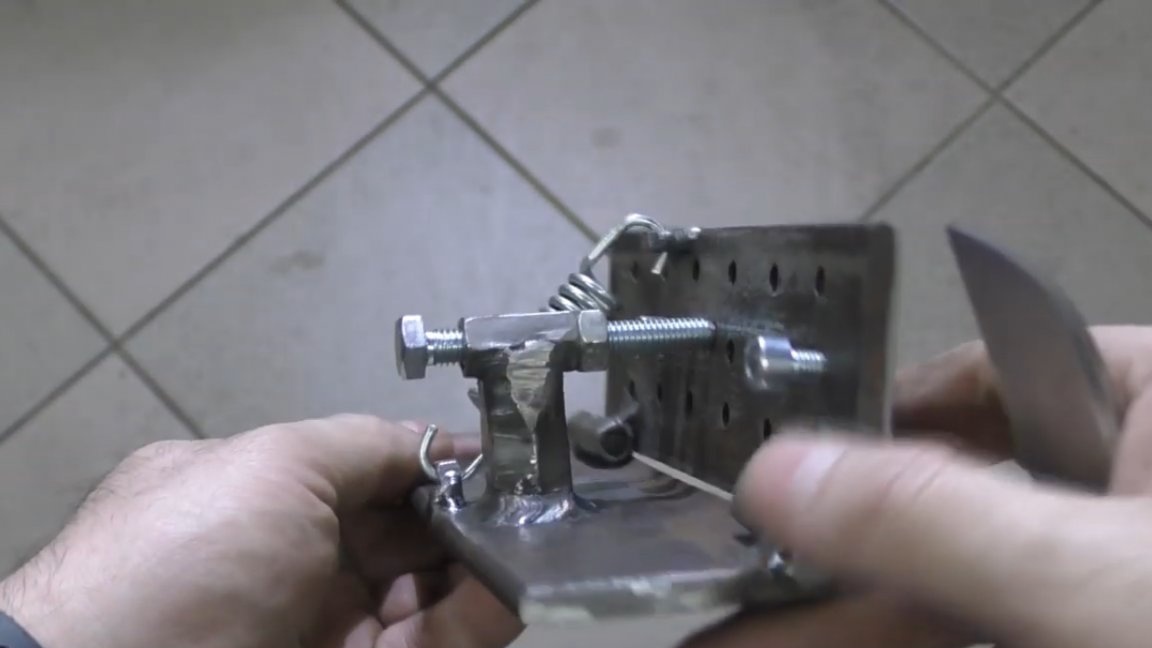
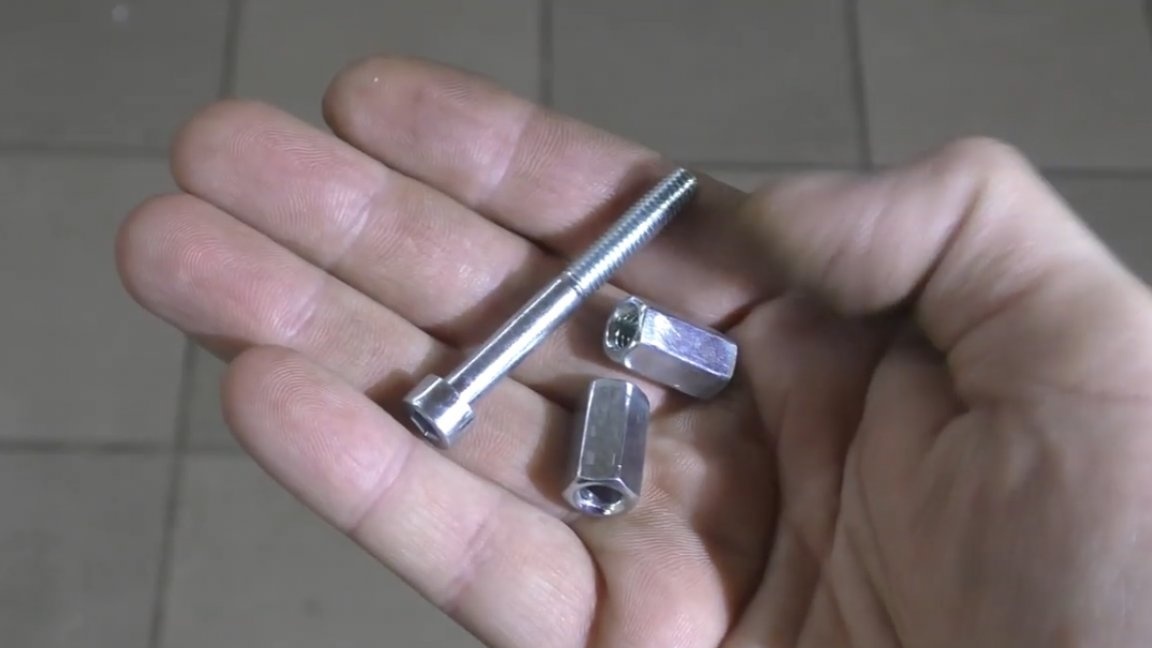
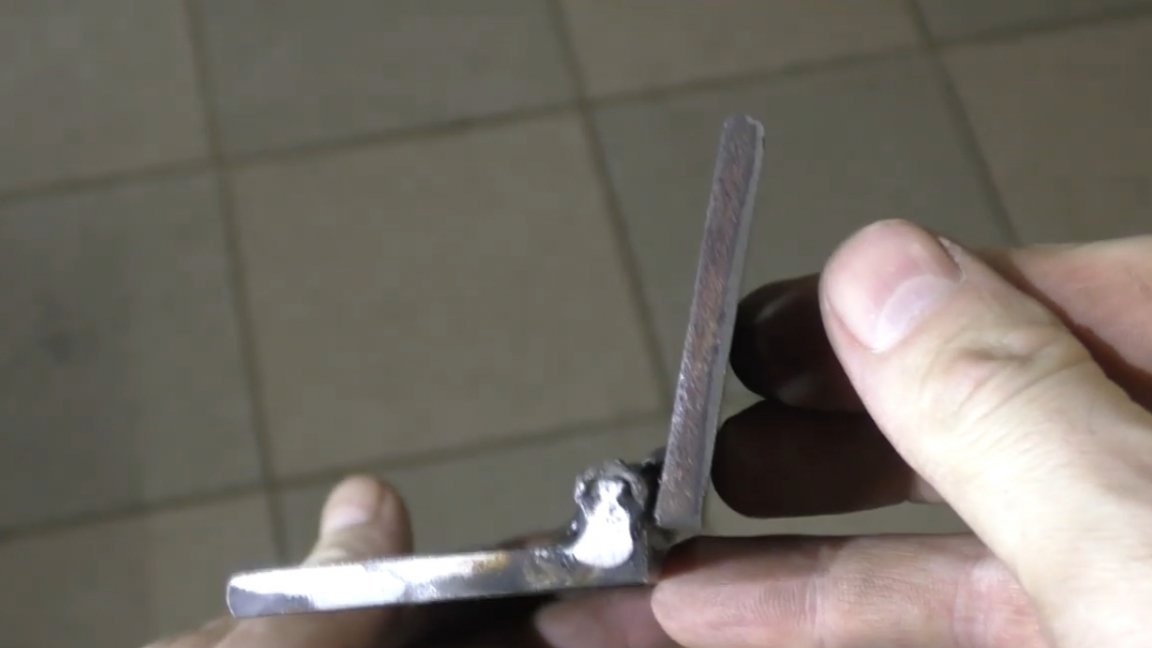
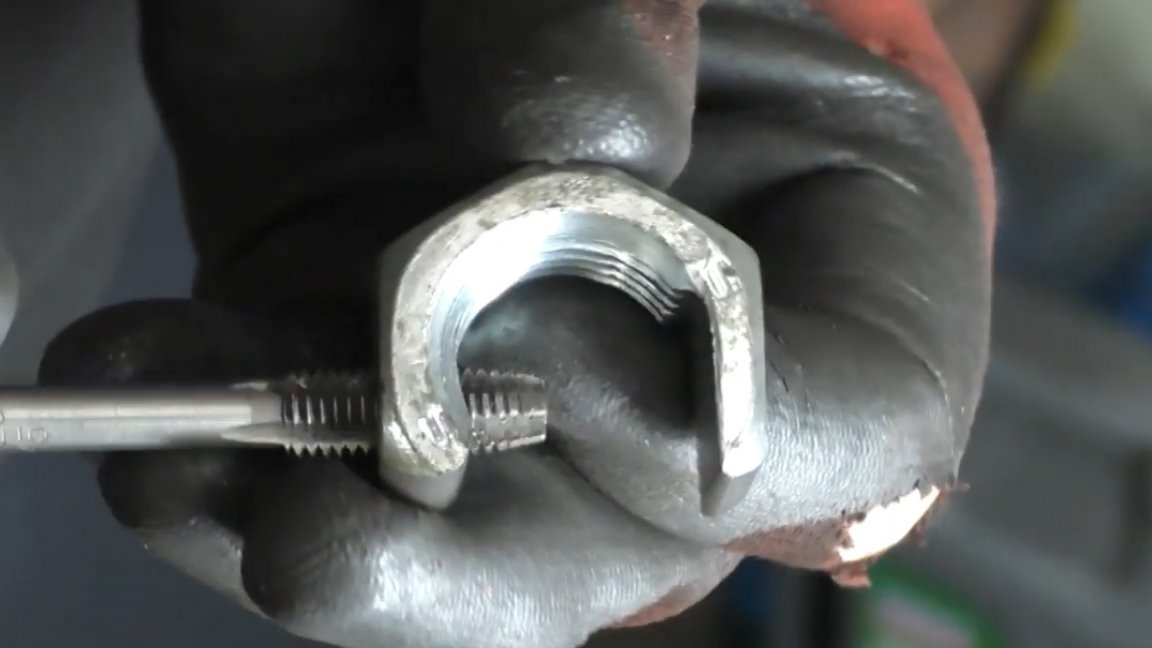
The blade is mounted on bolts screwed in from the inside and fixed with a clamp. And now we will make this clamp from this 36 nut:
To do this, using a hacksaw, we cut the segment so that the nut looks like a crescent.
On one of the faces of the nut we make an M8 thread. And in the end we get a clamp of the size we need.
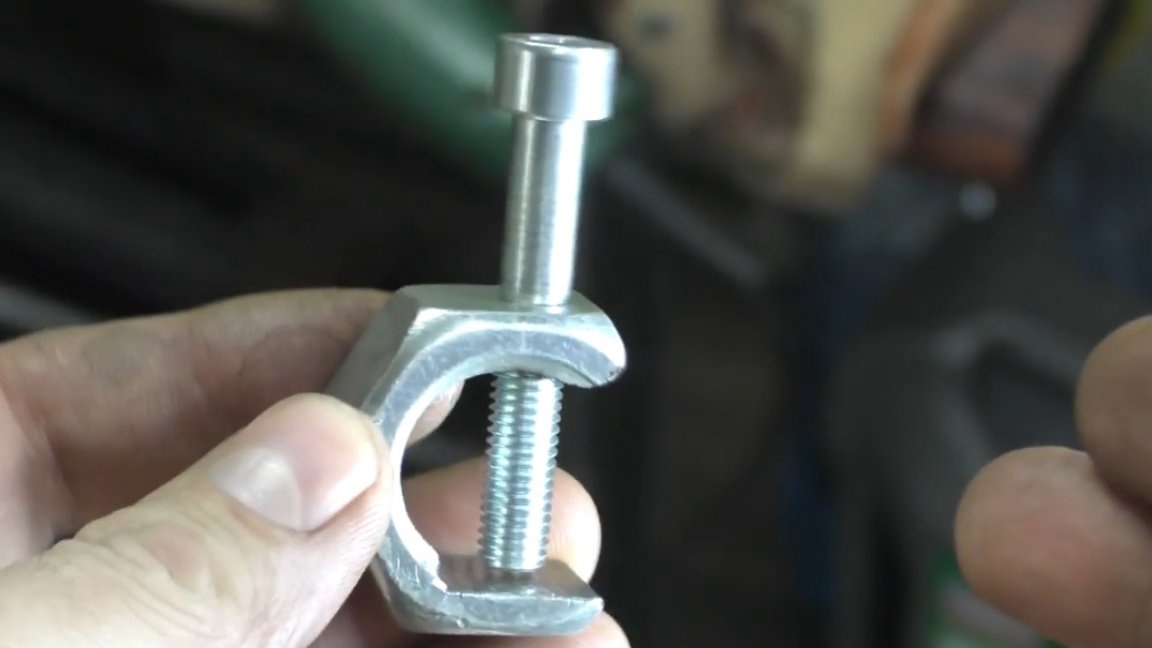
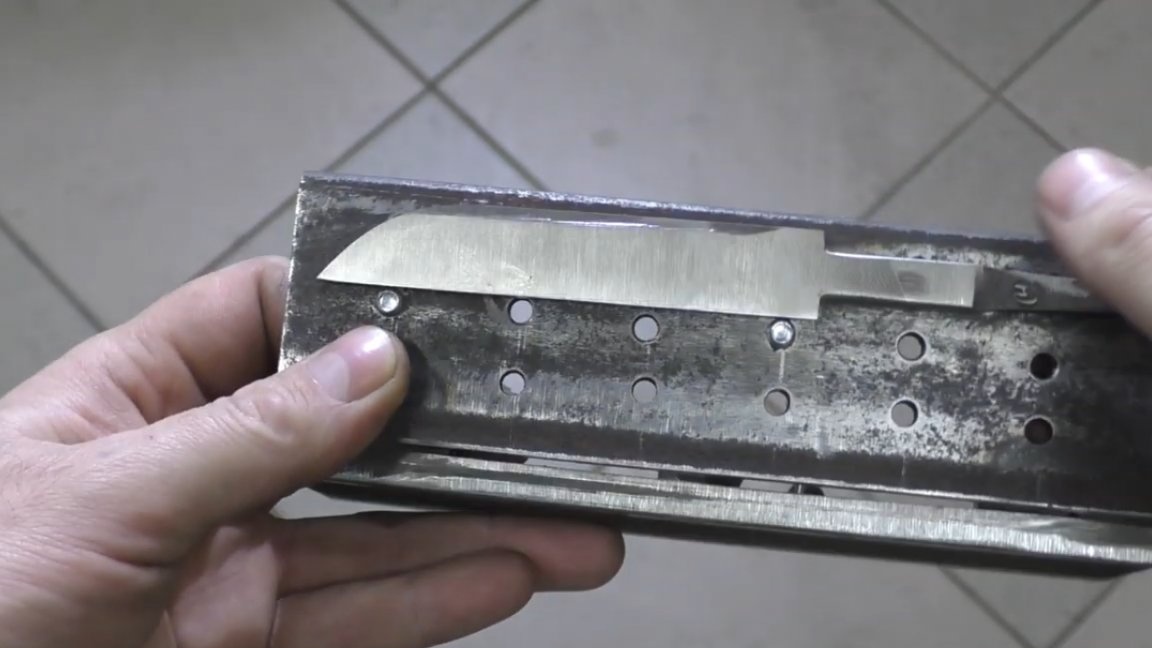
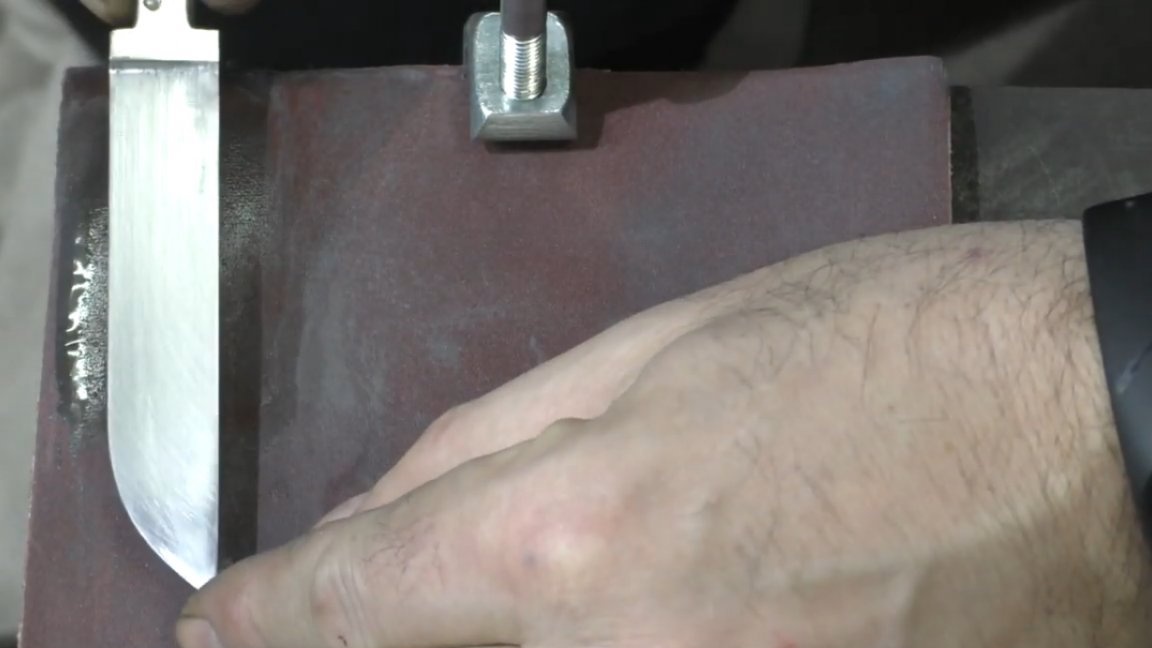
This is how the clamp and blade mounted on the device look like:
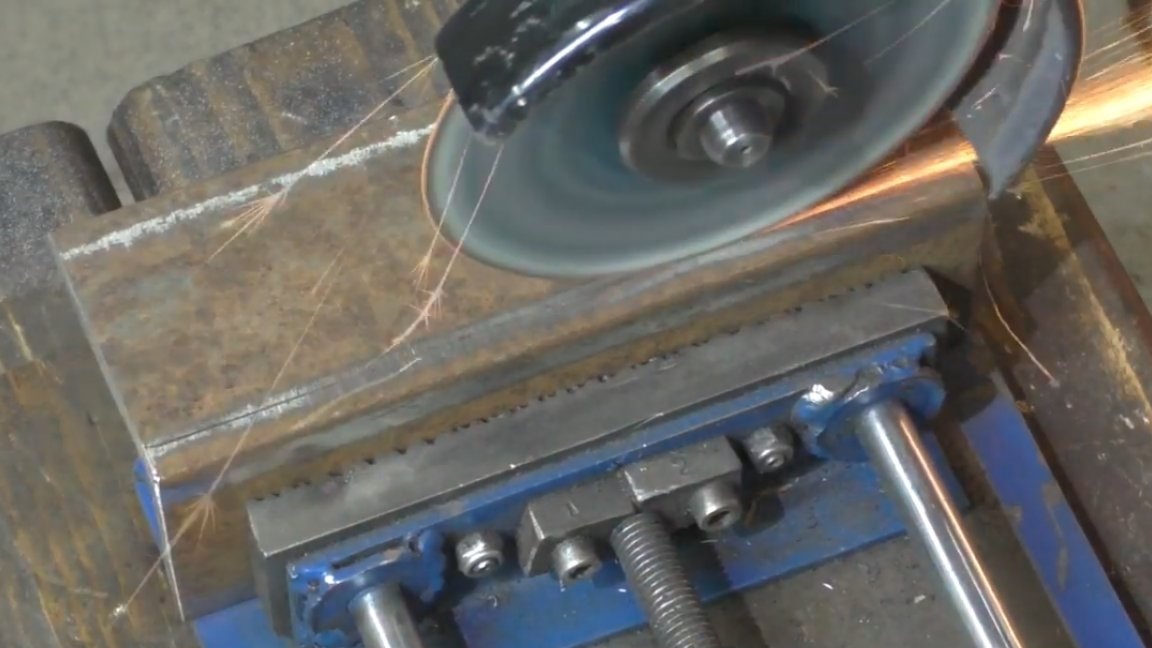
Well, you have set the desired angle and you can start processing. The work is not fast, and in principle you should not rush, you need to feel the tool and understand the whole process, as they say, from the inside.
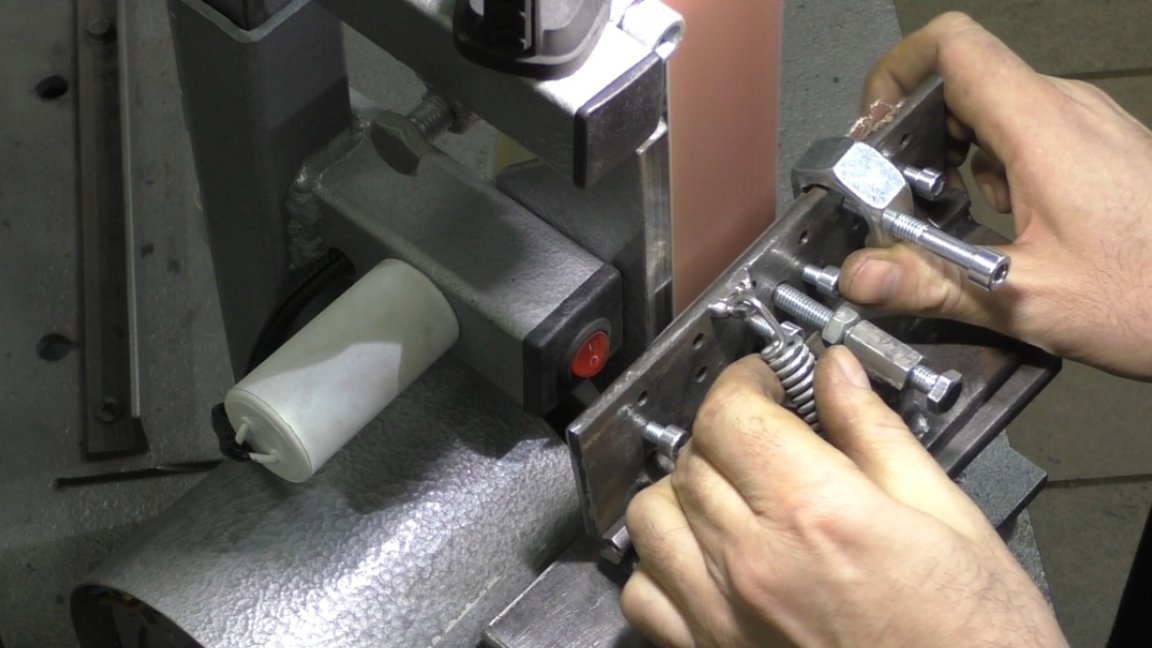

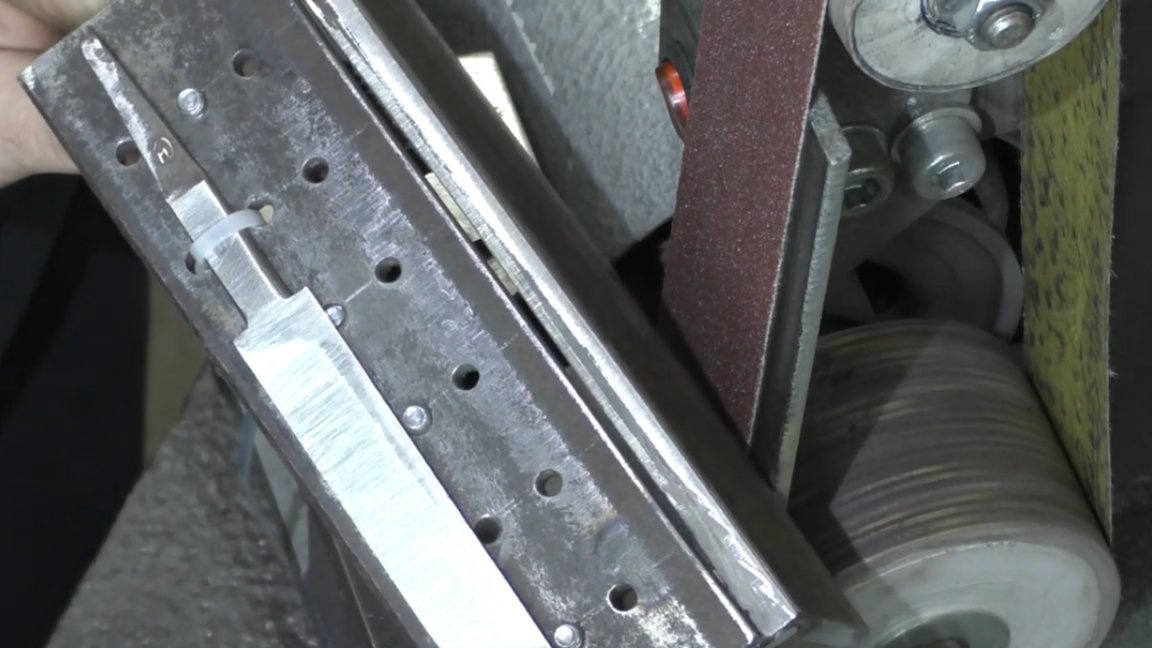
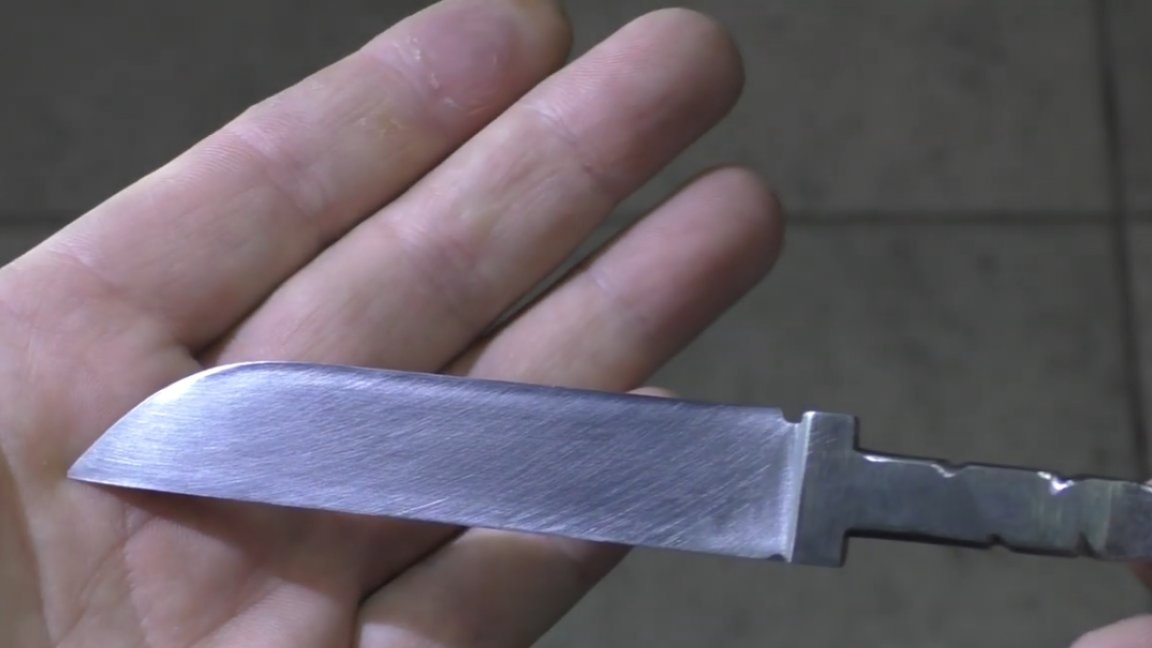
The workpiece is not overheated and, if necessary, cooled. One side is ready, in the end it turned out pretty good.
Now you need to turn it and do the same, on the other hand. By the way, the author tried to fix the blade with a plastic screed and wants to note that the option is quite working, if you often do not rearrange the blade.
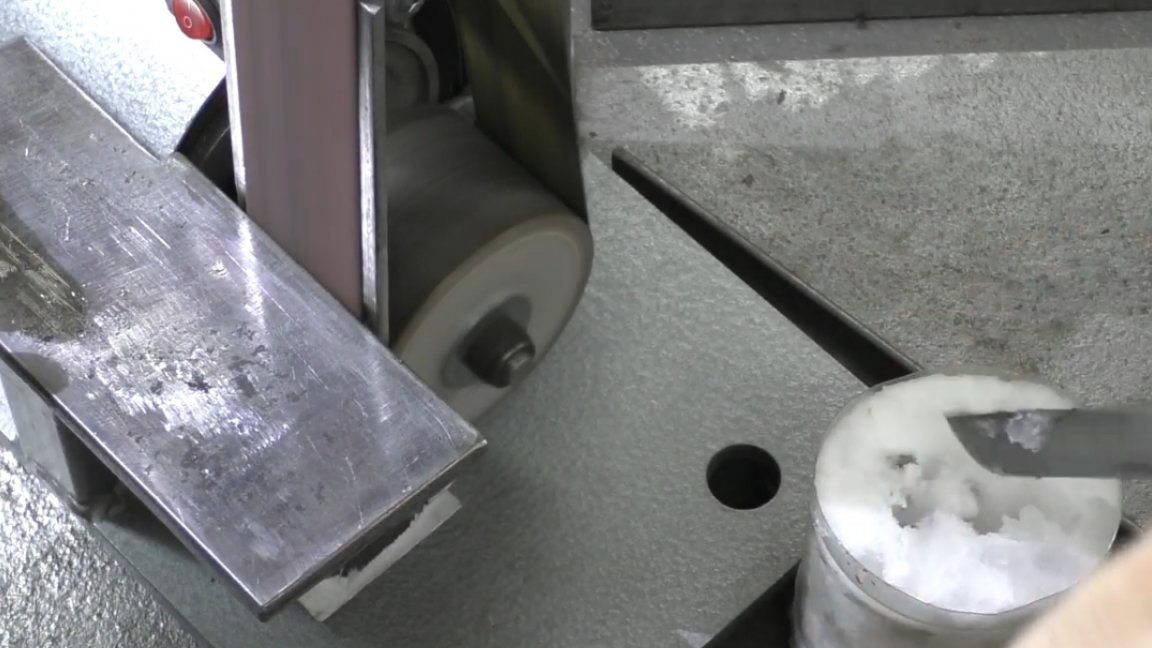
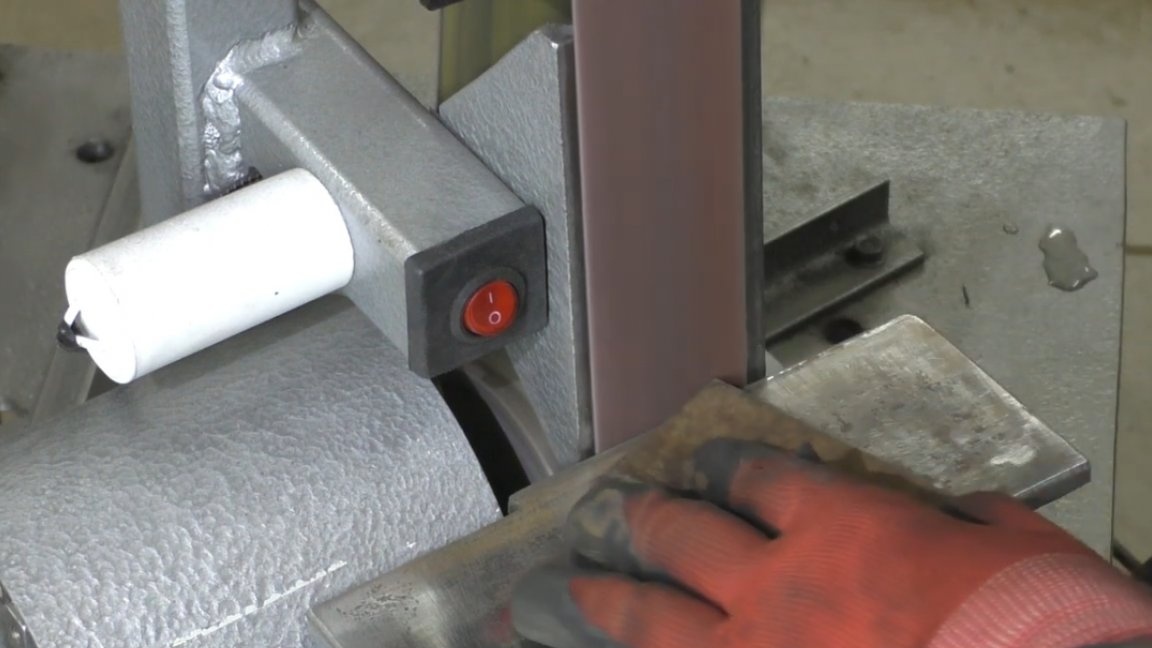
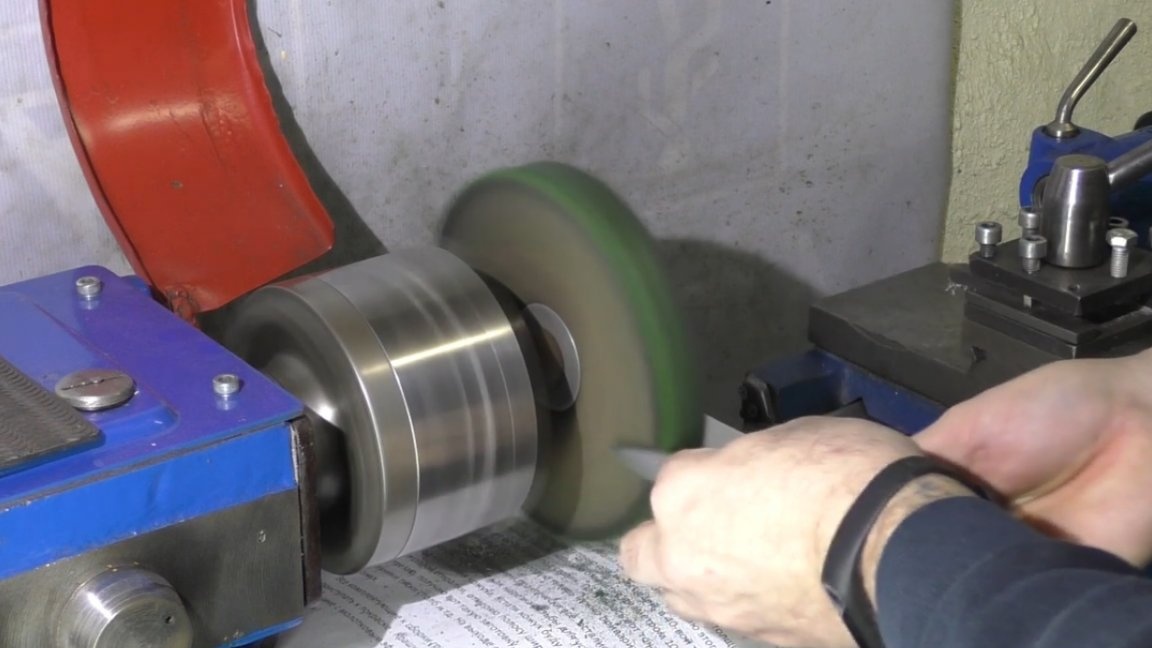
The roughing is almost finished, now we’ll go through a smaller grain, unfortunately, the author has the smallest one hundredth, then we knock down the risk from the grinder manually, until all the transverse risks disappear.

In order not to spoil the plane, we do this on the lapping plate. Here is the blade after the operation:
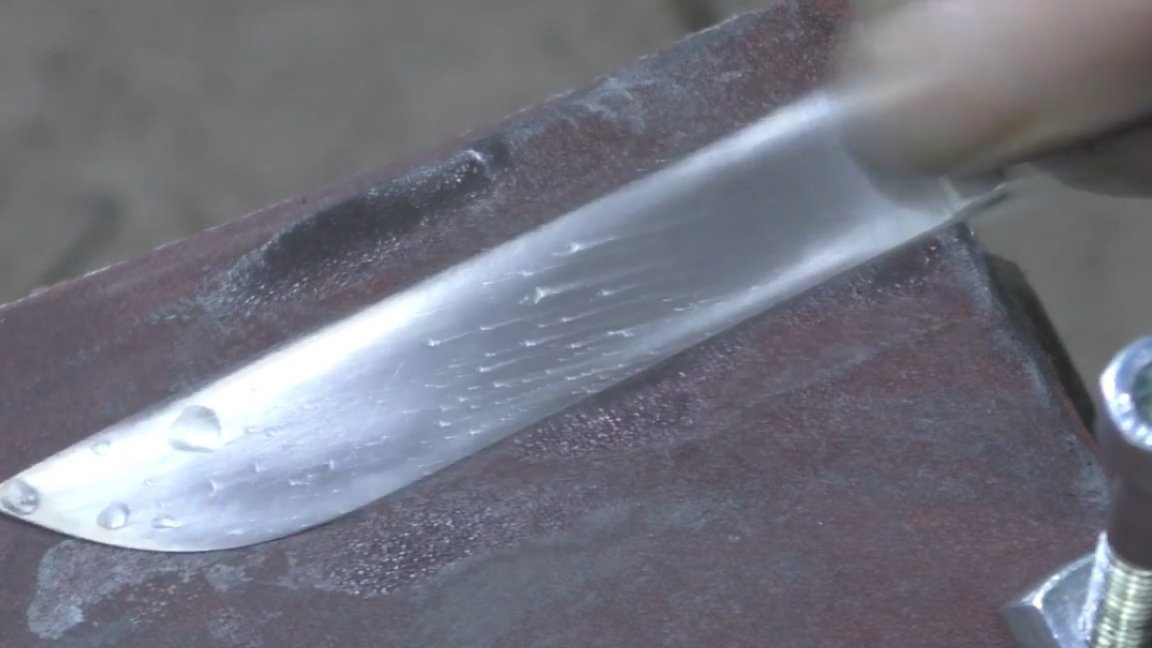
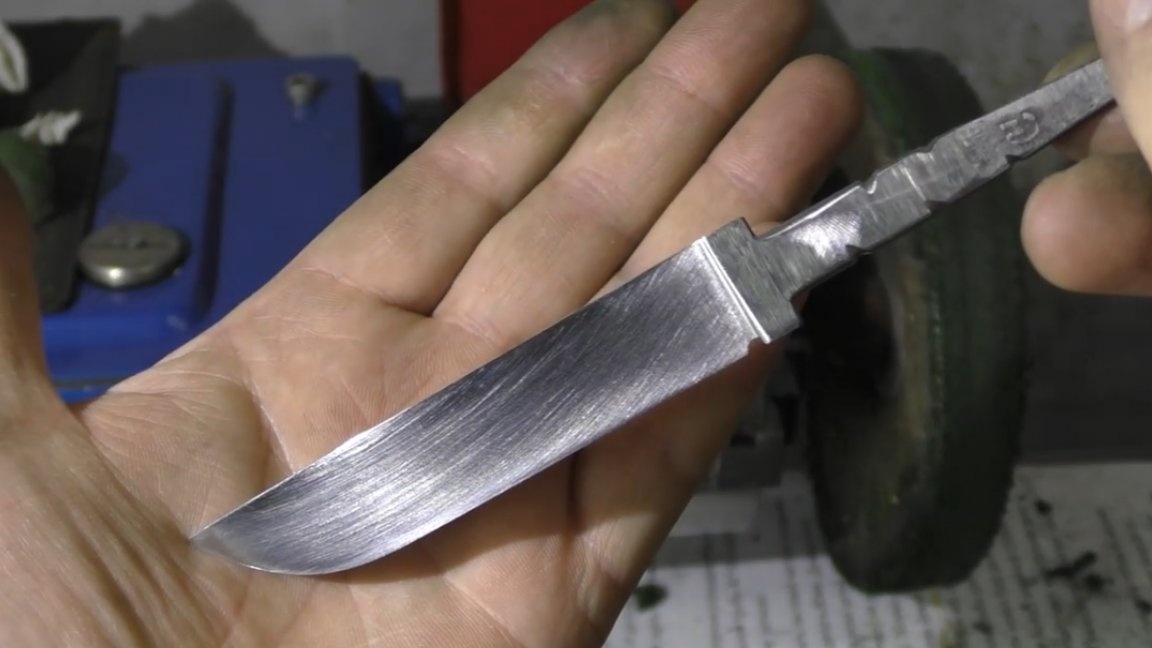
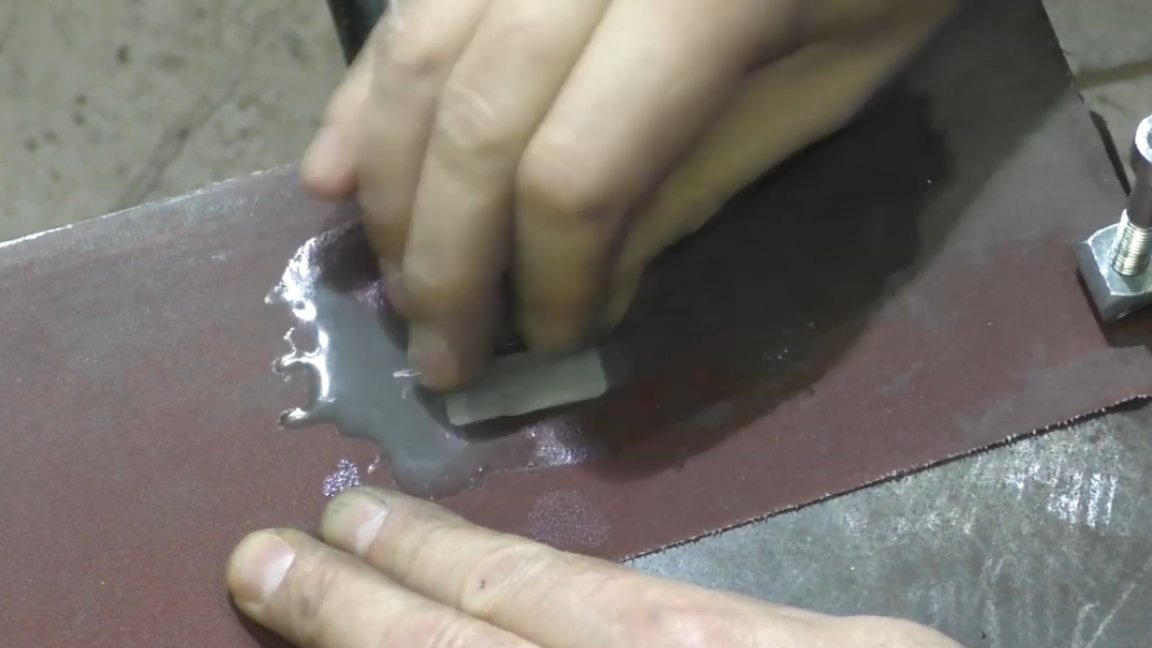
There are no transverse risks. I would also like to take a smaller sandpaper, but unfortunately, the author has only the 240th at hand, and it was too late to go to the store. So he decided to fix it by polishing. The author does not have special pastes, since he did not prepare for this in advance, so he polishes GOI paste in the old fashioned way.
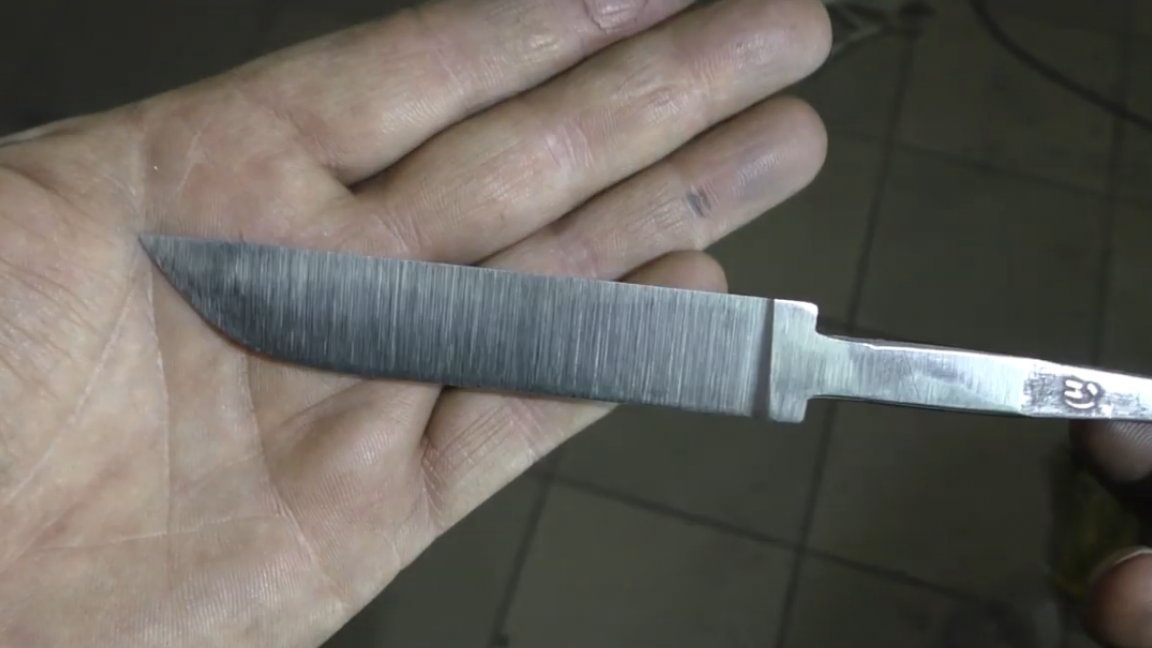
One side is almost ready, it turned out pretty good:
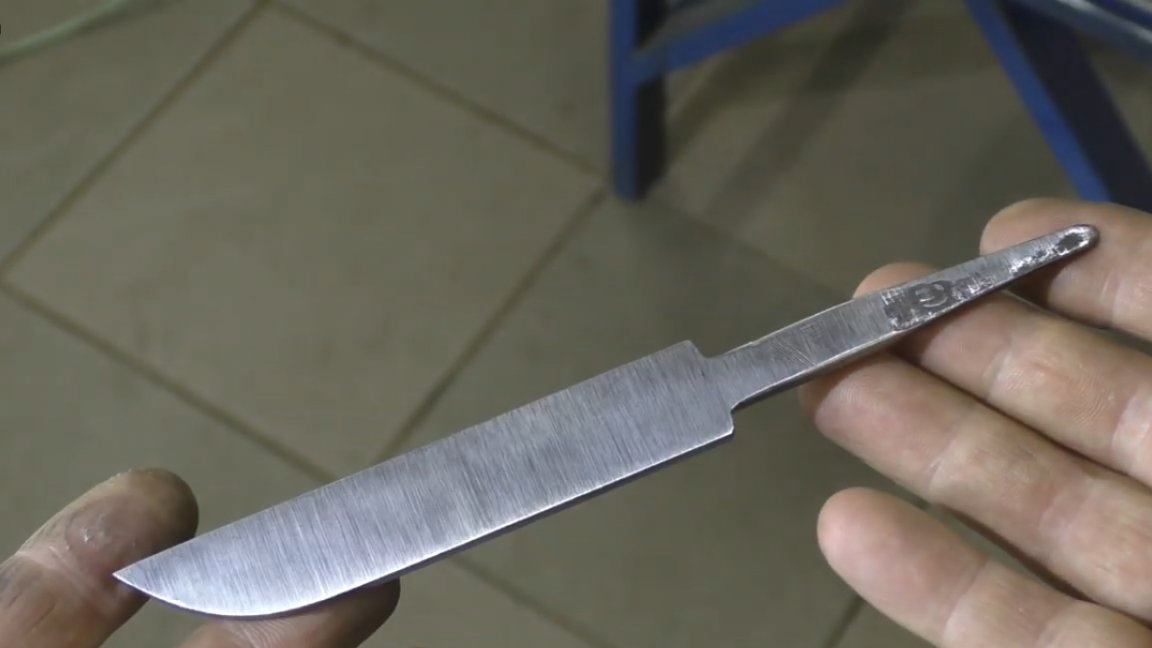
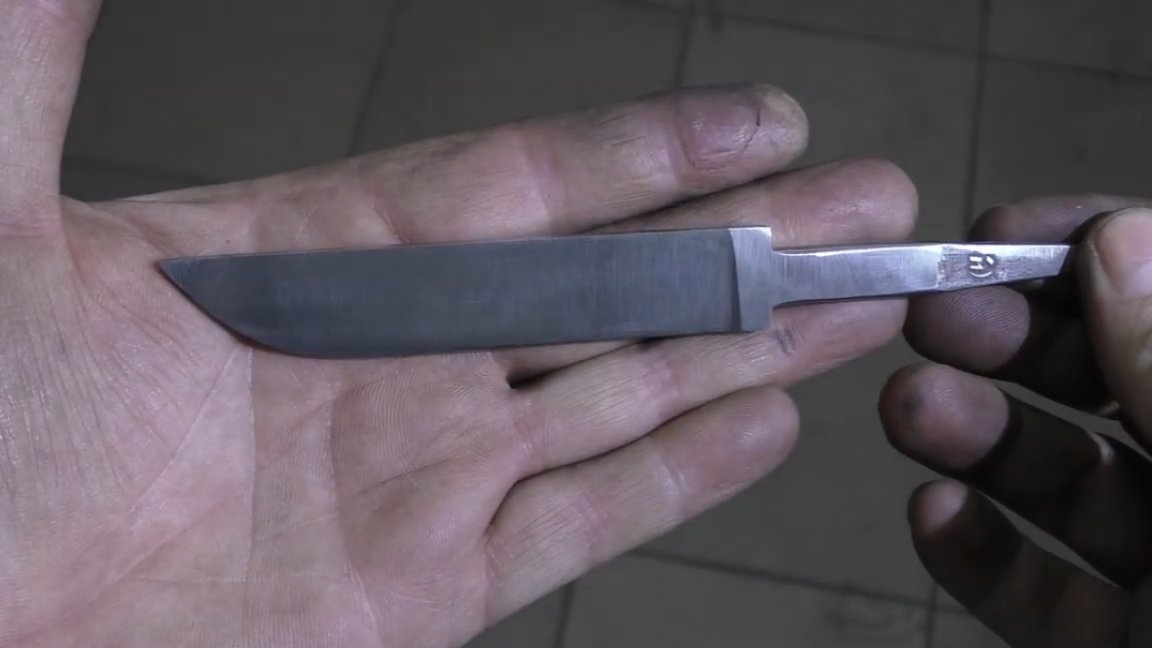
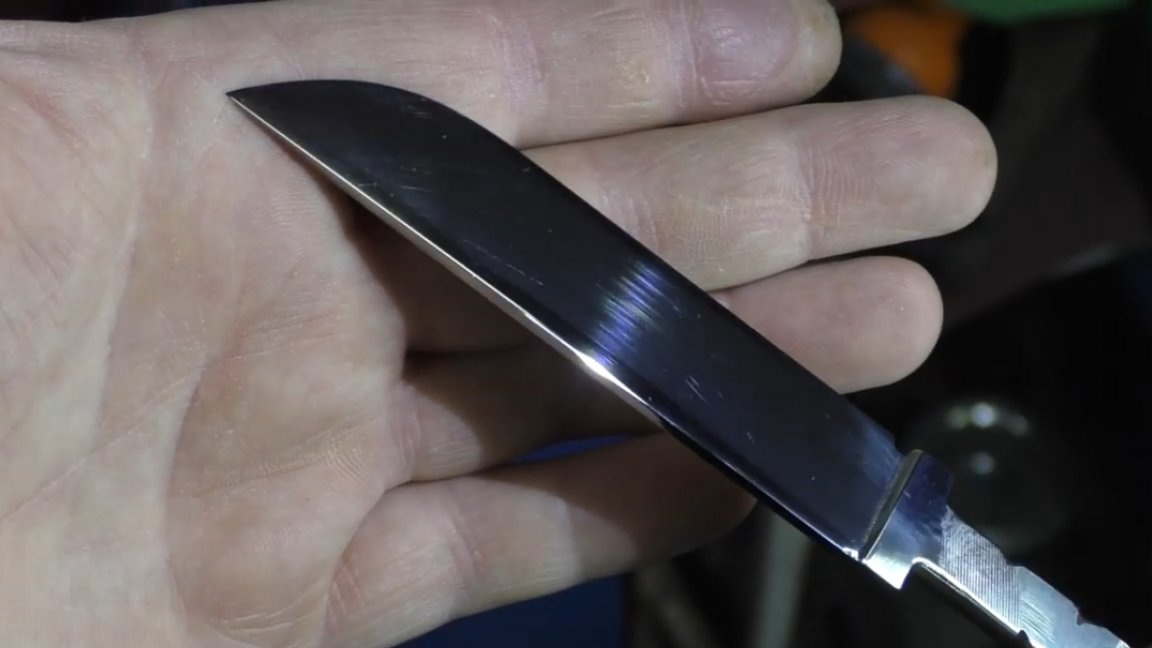
We also do it with the second side and at the output we get such a blade like this:
Now you can proceed to the manufacture of bolster. The author will make it from some kind of duralumin cover, in general, from what he found in the garage. Also, a bolster can be made from a coin. Make holes along the diameter of the blade shaft.
Now we cut with a hacksaw for metal with a margin and bring everything into proper shape using sandpaper and polishing.
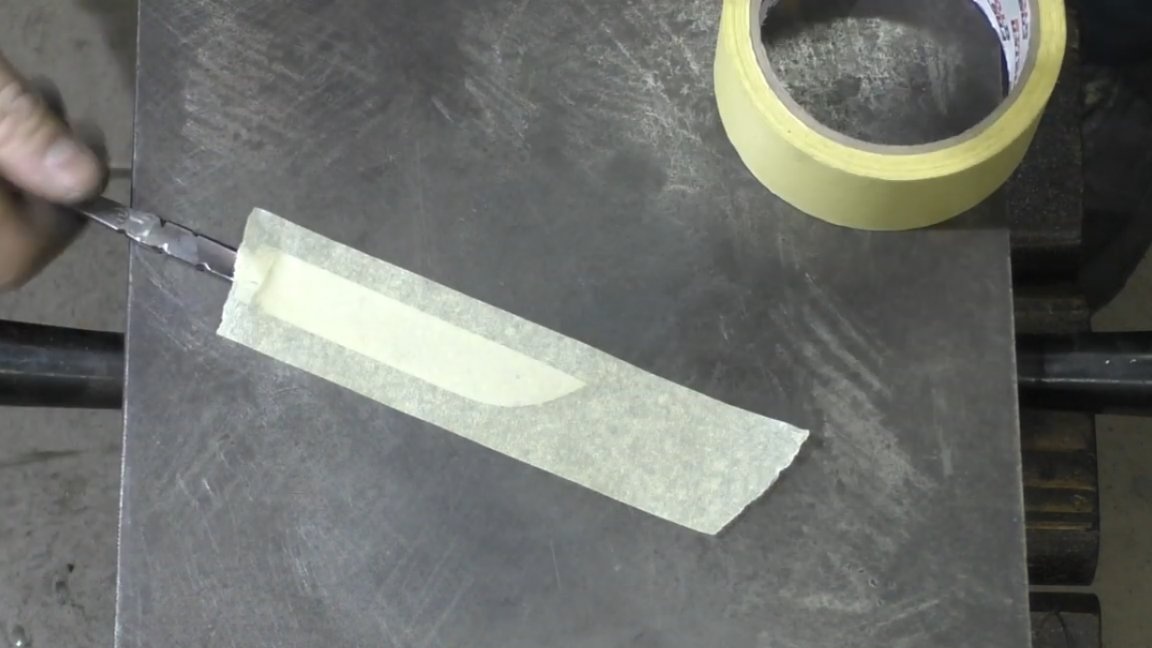
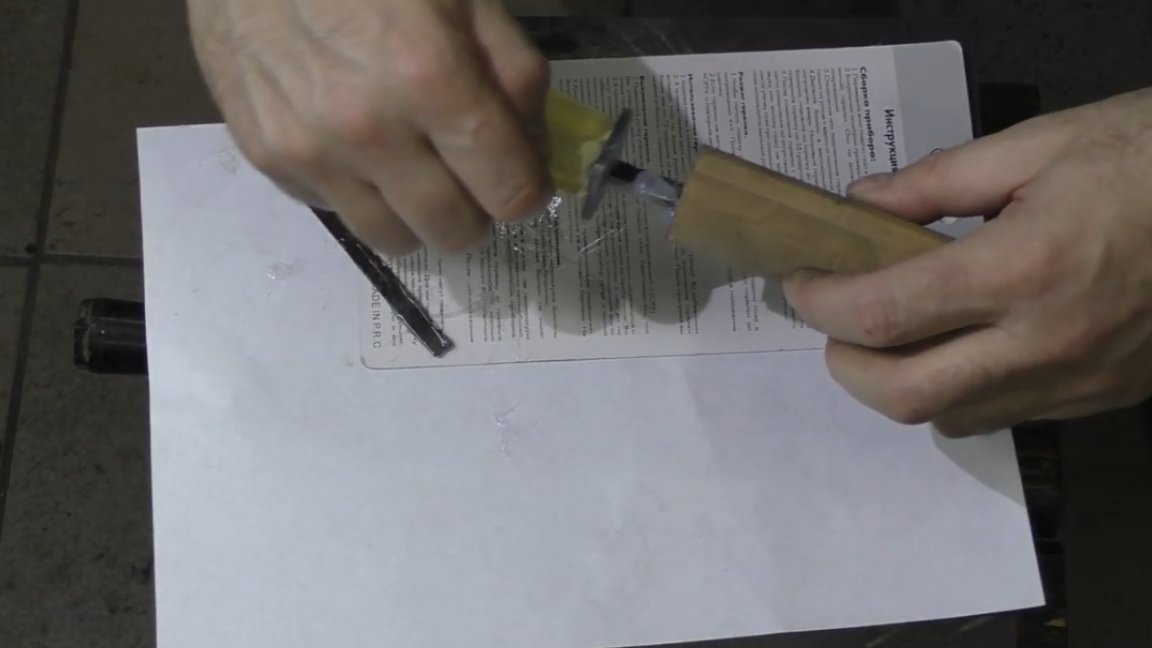
Before further work, the blade must be sealed with masking tape to avoid unnecessary scratches and scuffs, and the chance of cutting your hands will be significantly reduced.
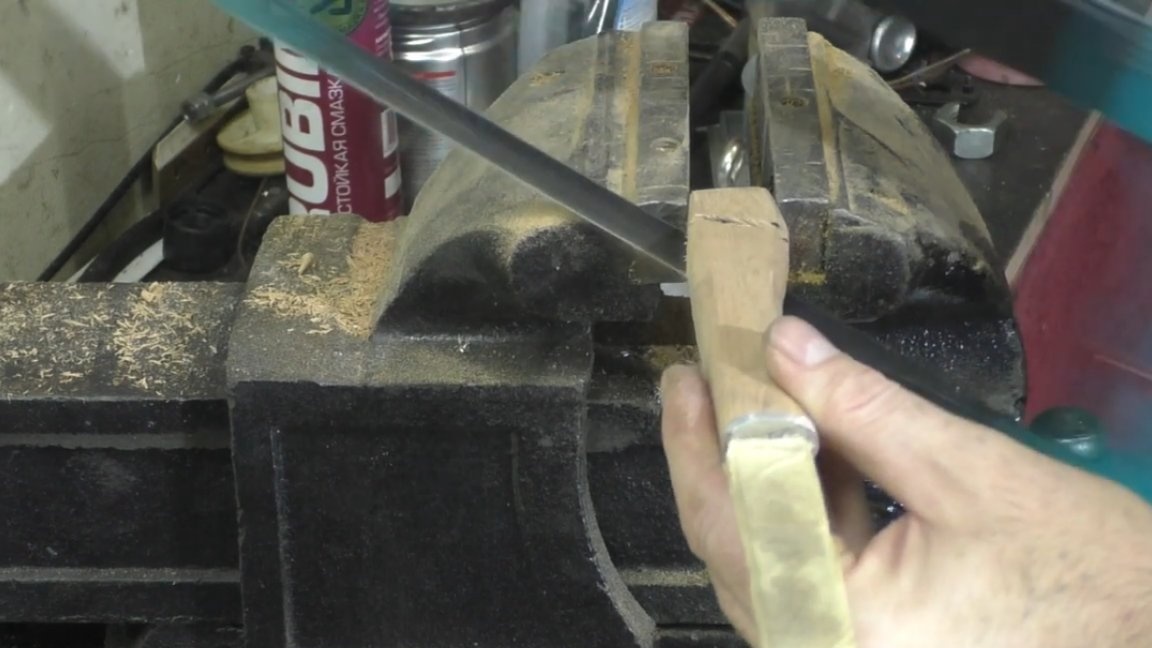
Now you can begin to manufacture the handle. And here, too, without options, only improvised materials. The author has a piece of apple from past homemade products - it will do.
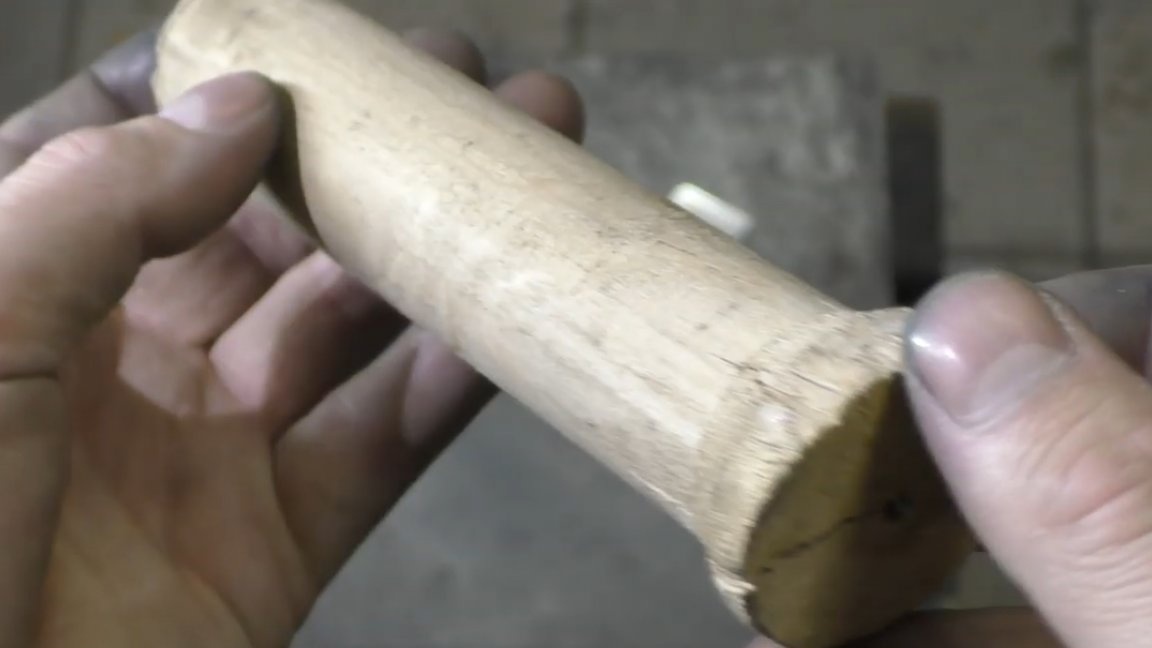
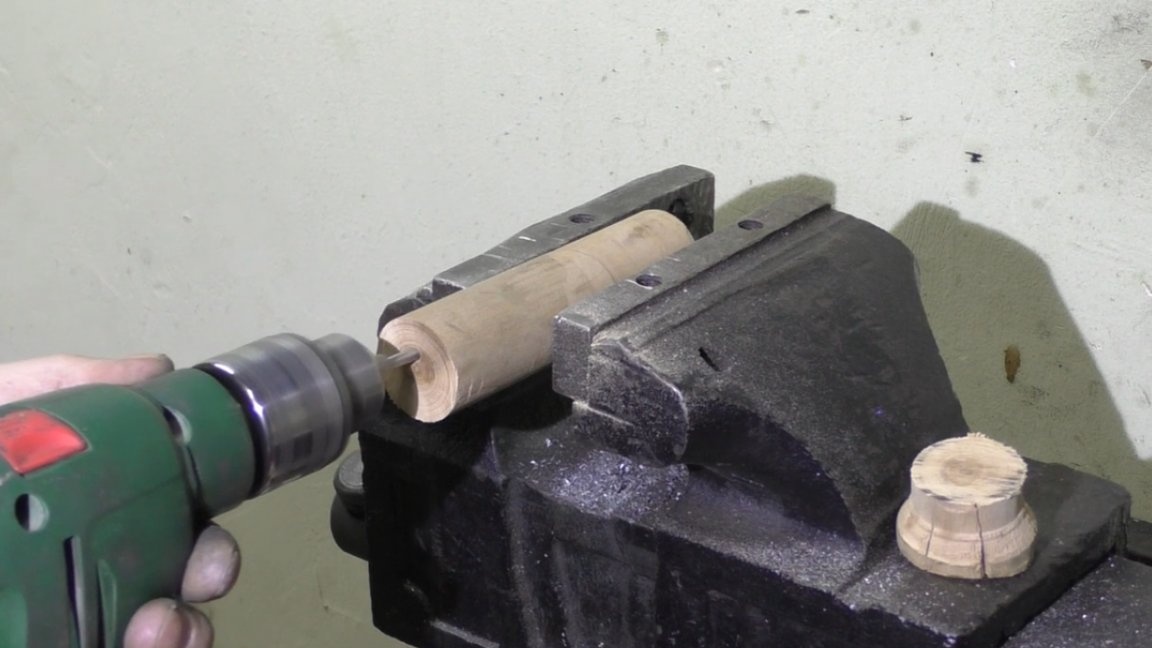
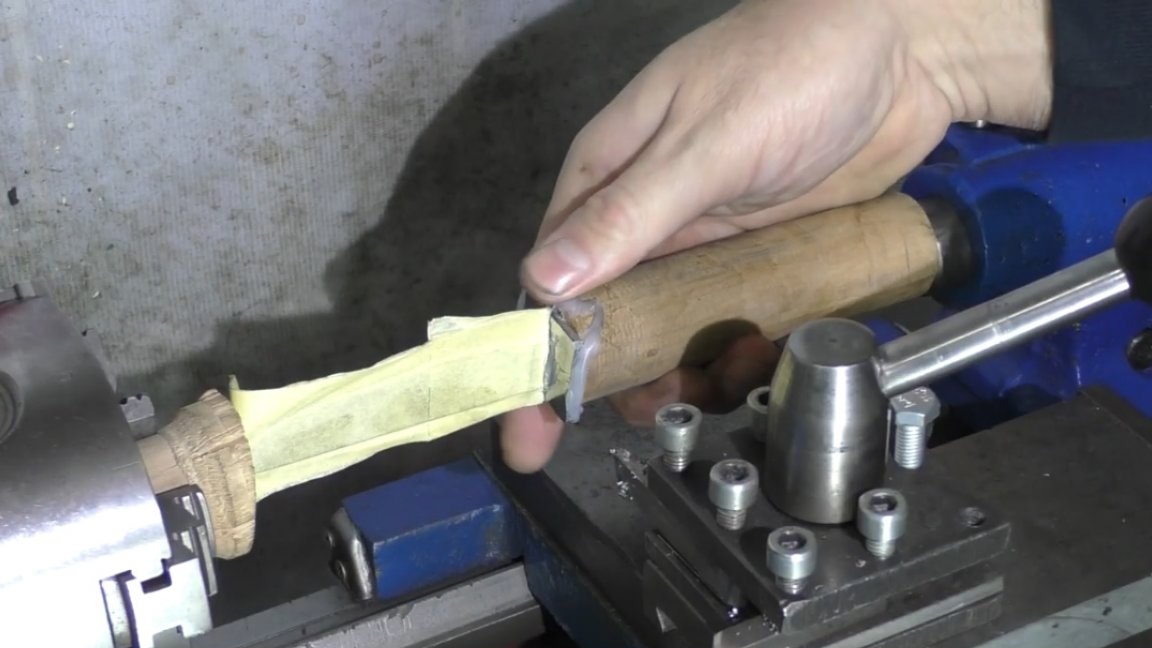
We cut off all the excess, but leave the workpiece with a margin for subsequent processing. We make a hole with a drill with a diameter of 4 mm for the thickness of the shank. The main thing here is not to mow down so that the blade is in the same plane with the handle.


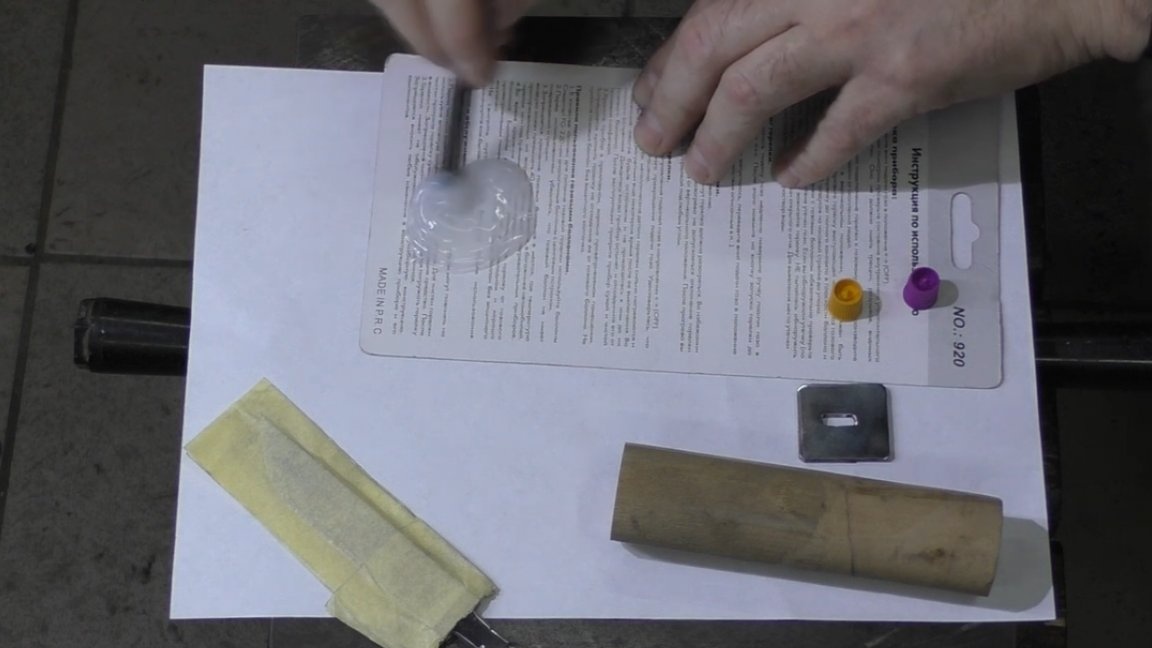
It turned out kind of good, you can stick it. We glue on two-component glue, here you need to do everything quickly, but carefully, because the glue catches quite quickly and if it clings to the handle, then we will have to redo everything, and we don’t need it at all.

As a clamp, the author used a lathe, and it turned out pretty well, there is a lot to do with it.
About an hour passed, although the glue dries only 10 minutes, but the author decided to play it safe anyway. Now you can do the roughing. To begin with, you can rudely knock everything down with a rasp and a grinder, then there is someone who likes it more.
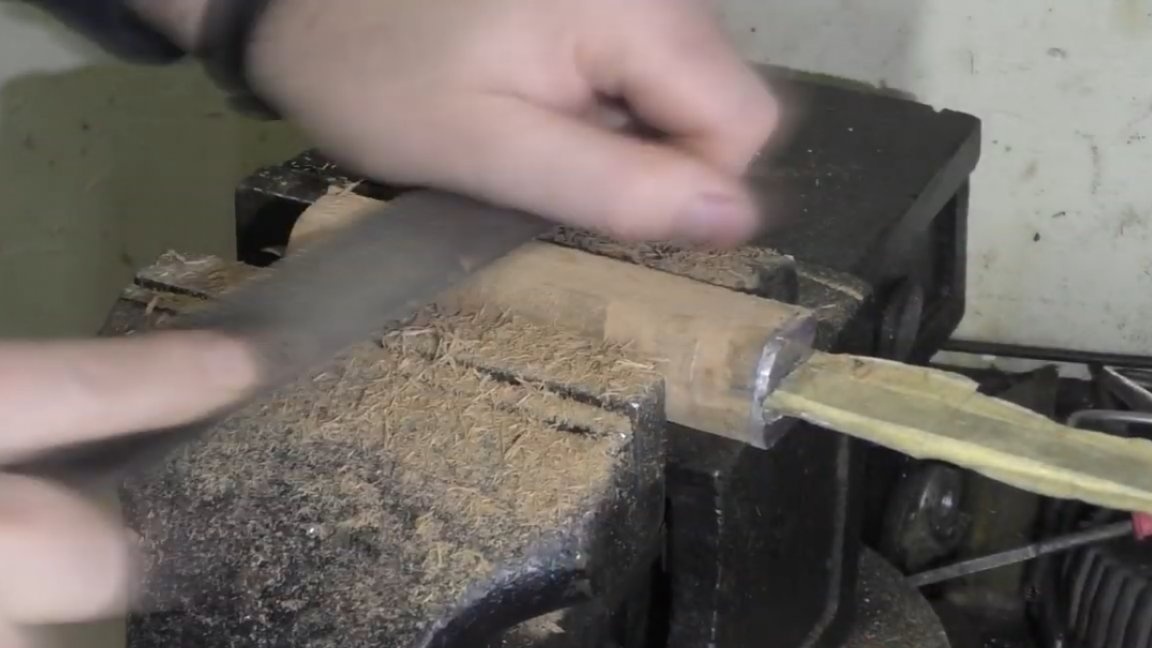
Closer to the final stage, cut off the extra piece of the handle and drive the final size.
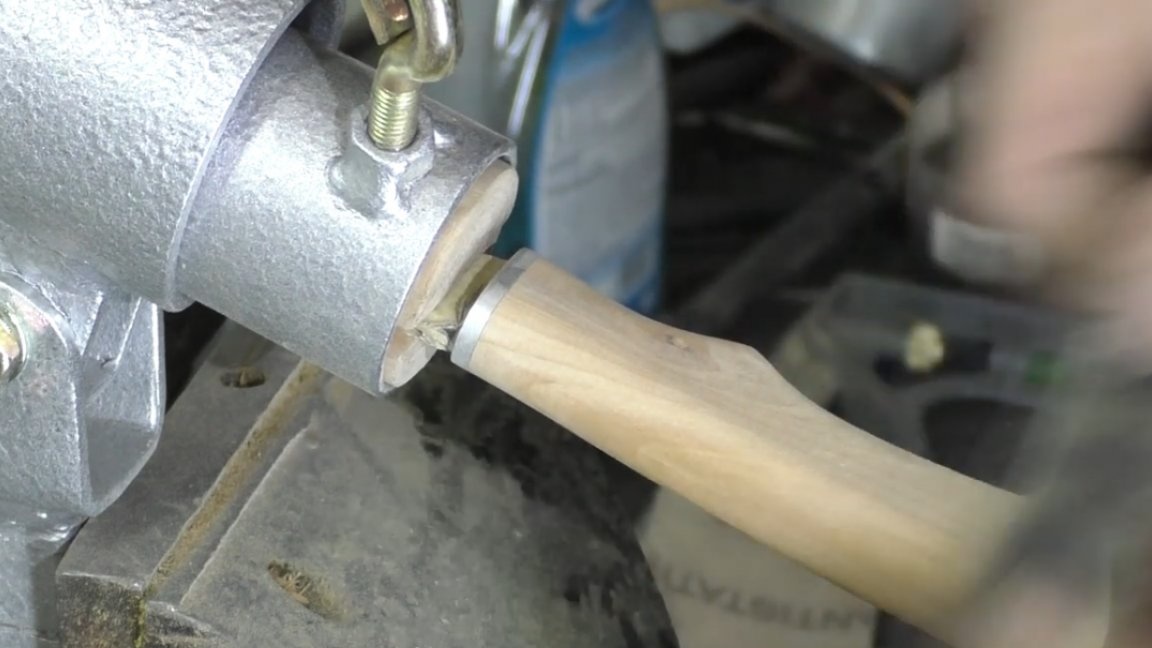
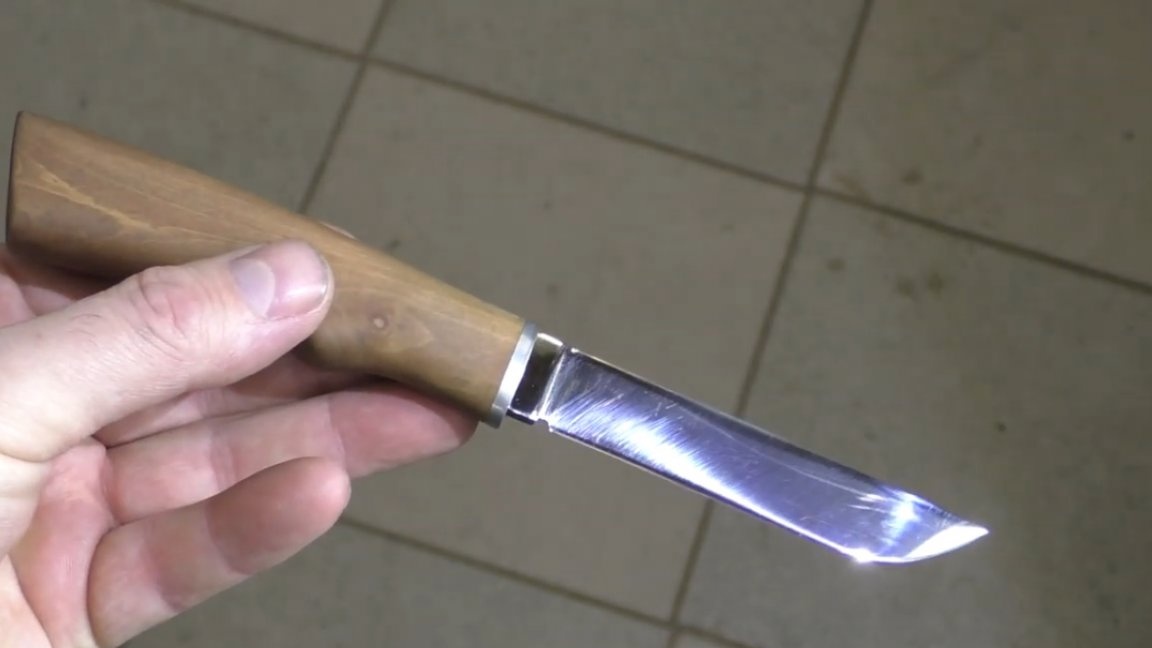
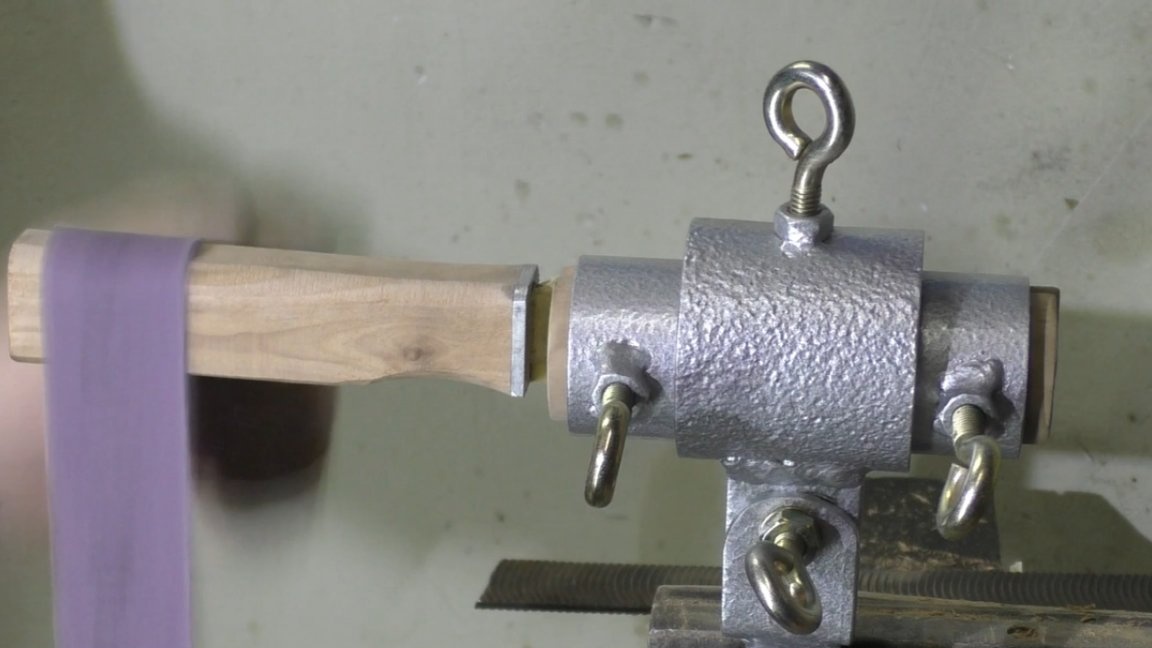
Well, such a handle turned out like this:
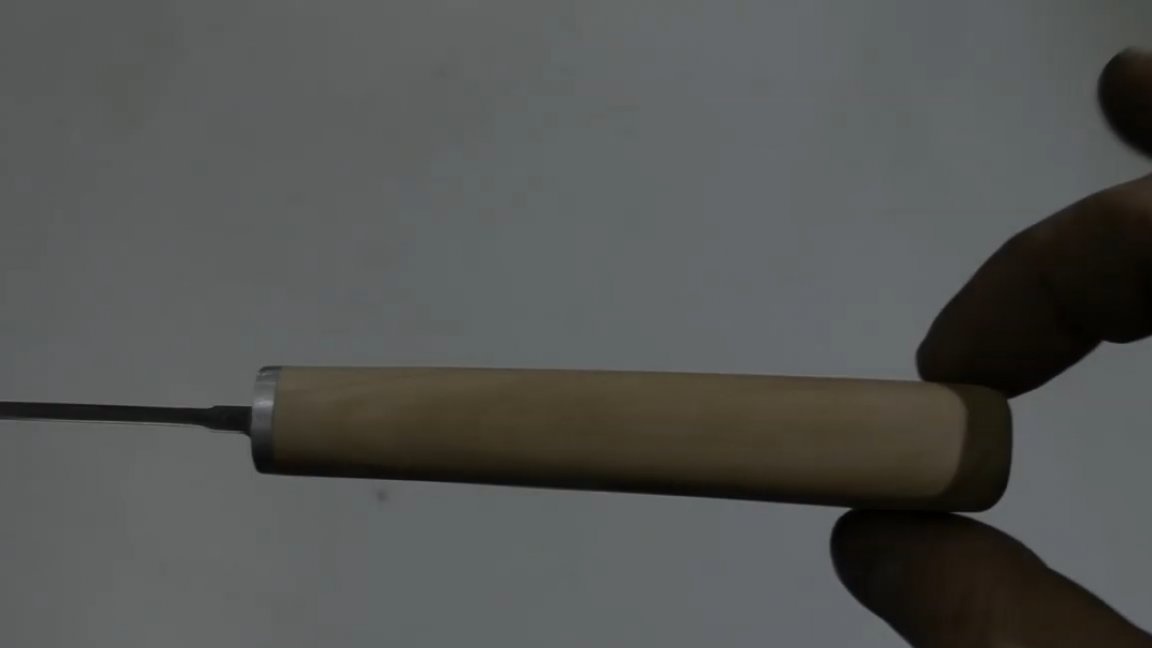
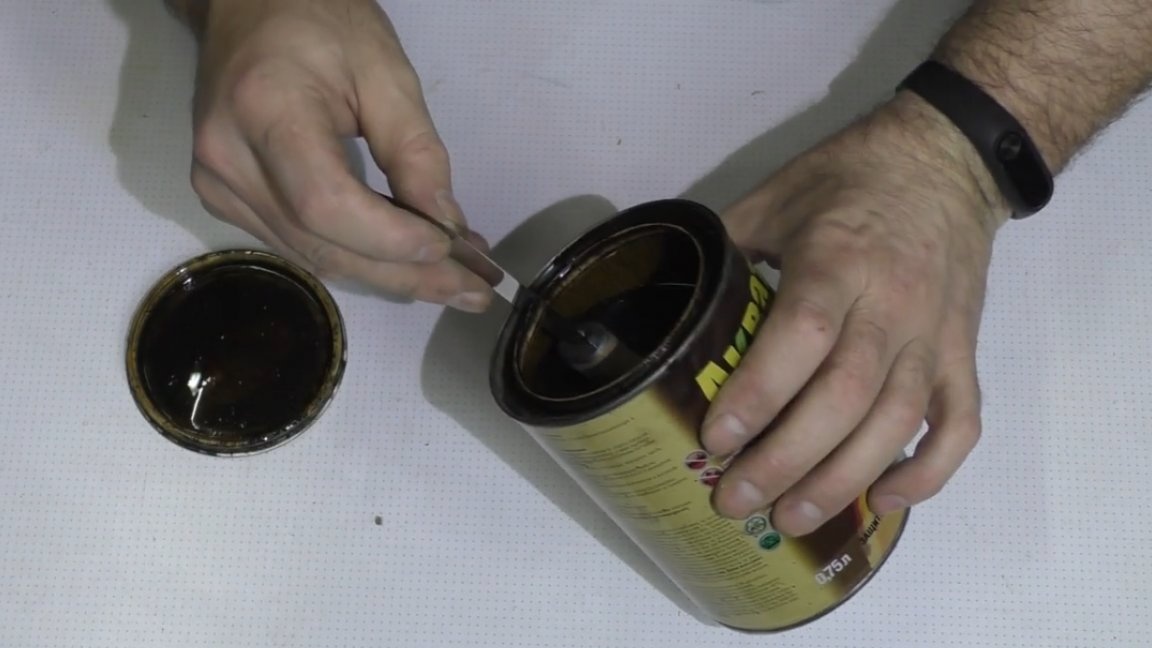
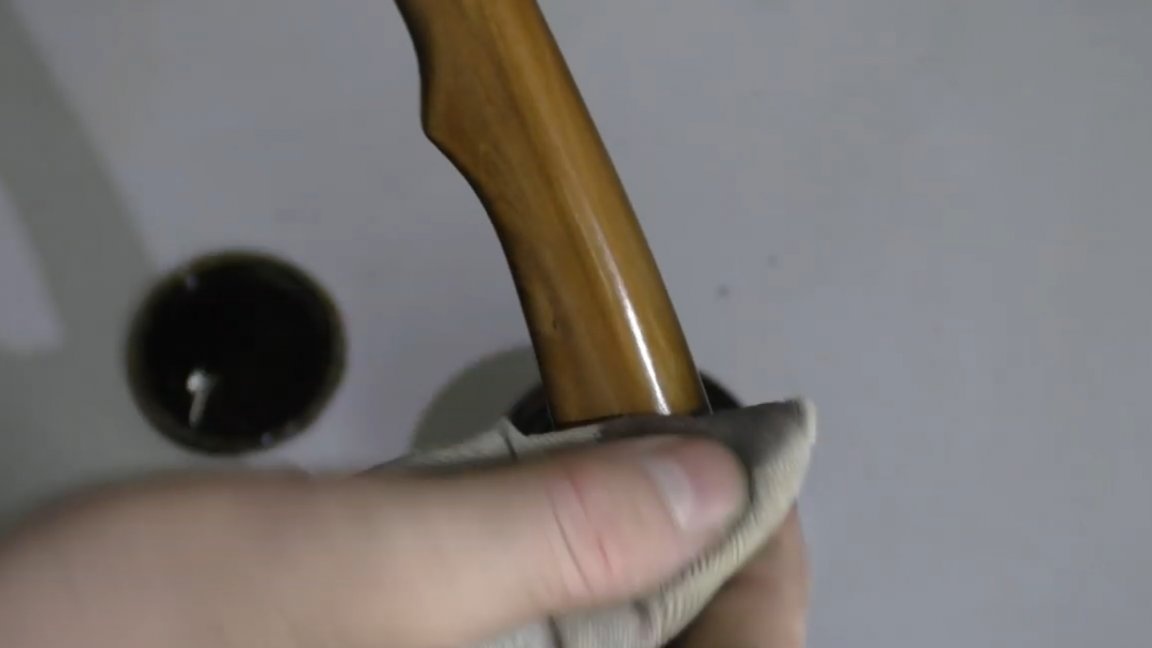
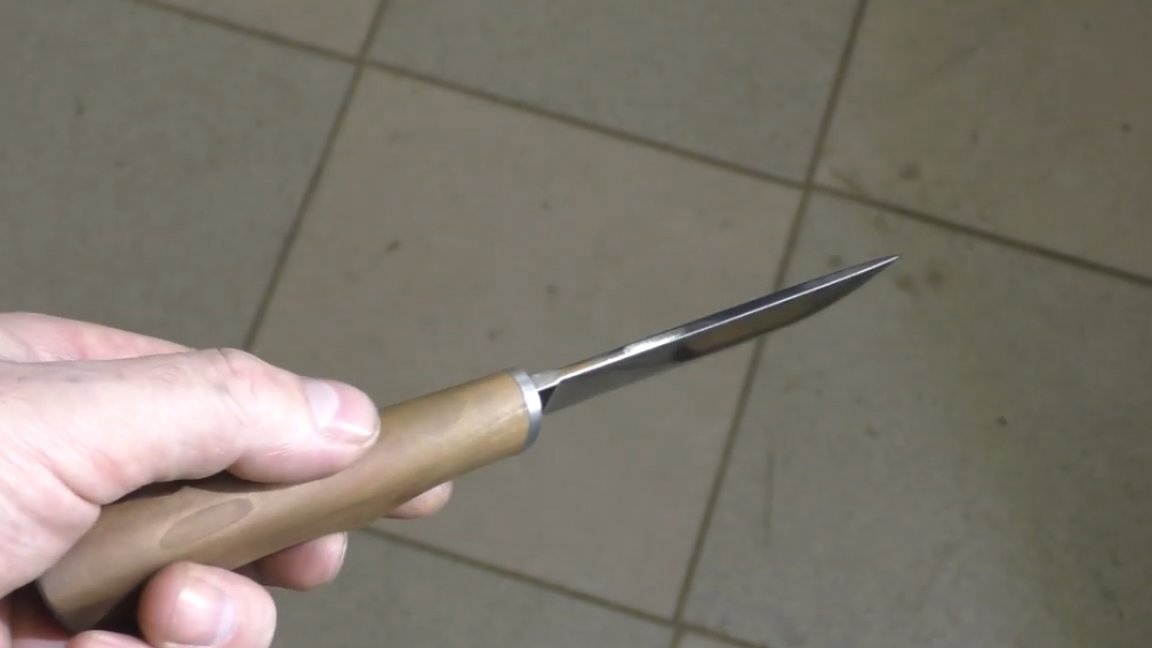
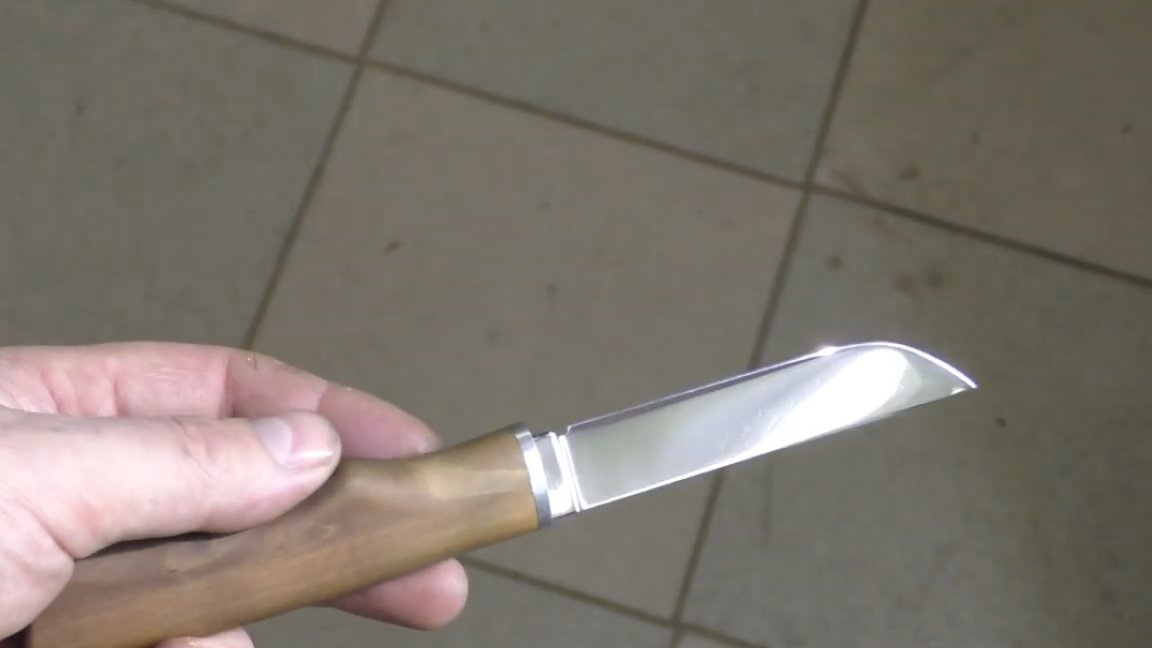
Pretty good and in the hand is good. Now for greater aesthetics, impregnate the handle with oil, thereby highlighting its structure and betraying the wood's protective properties.
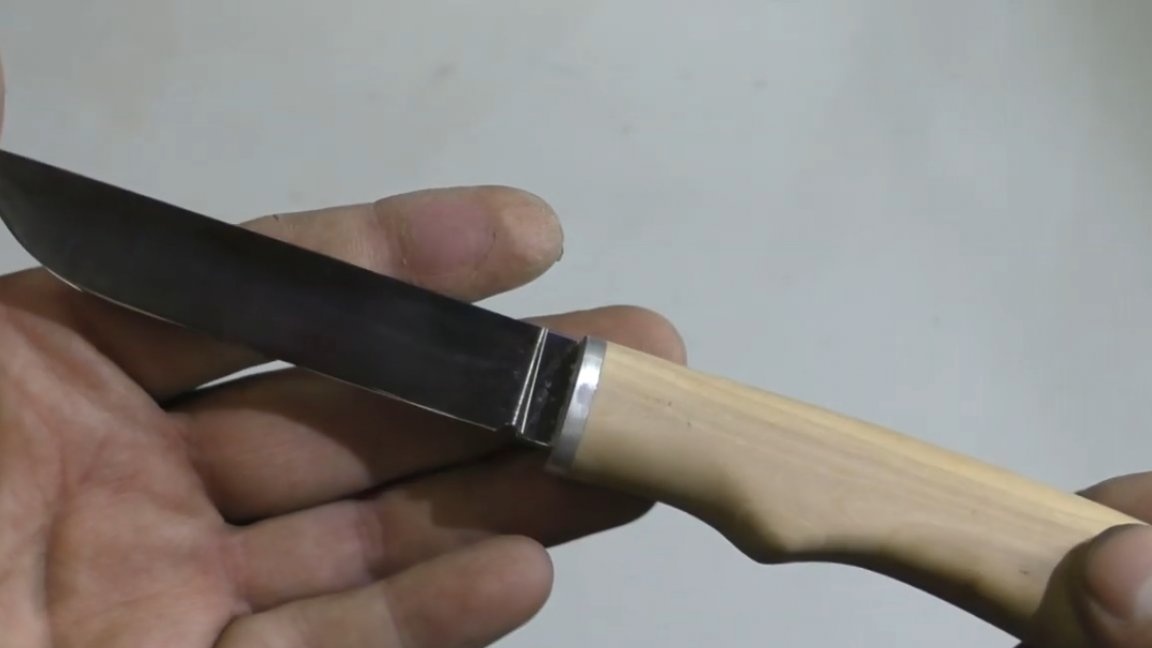
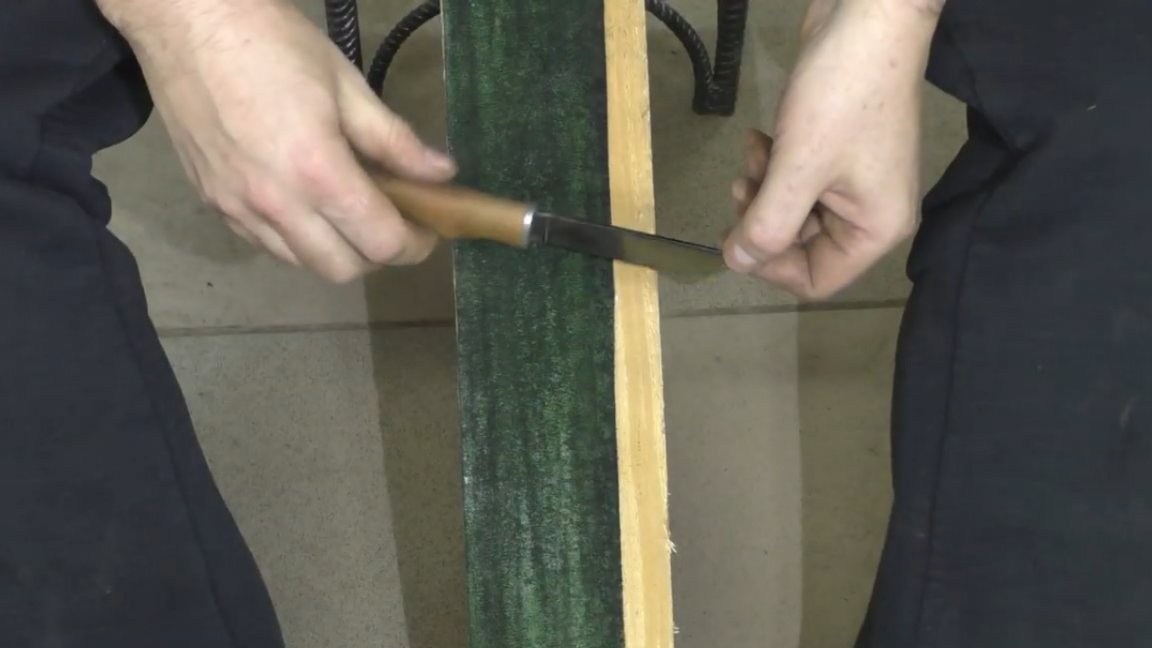
The final fine-tuning on the skin and you can shave (a joke of course).
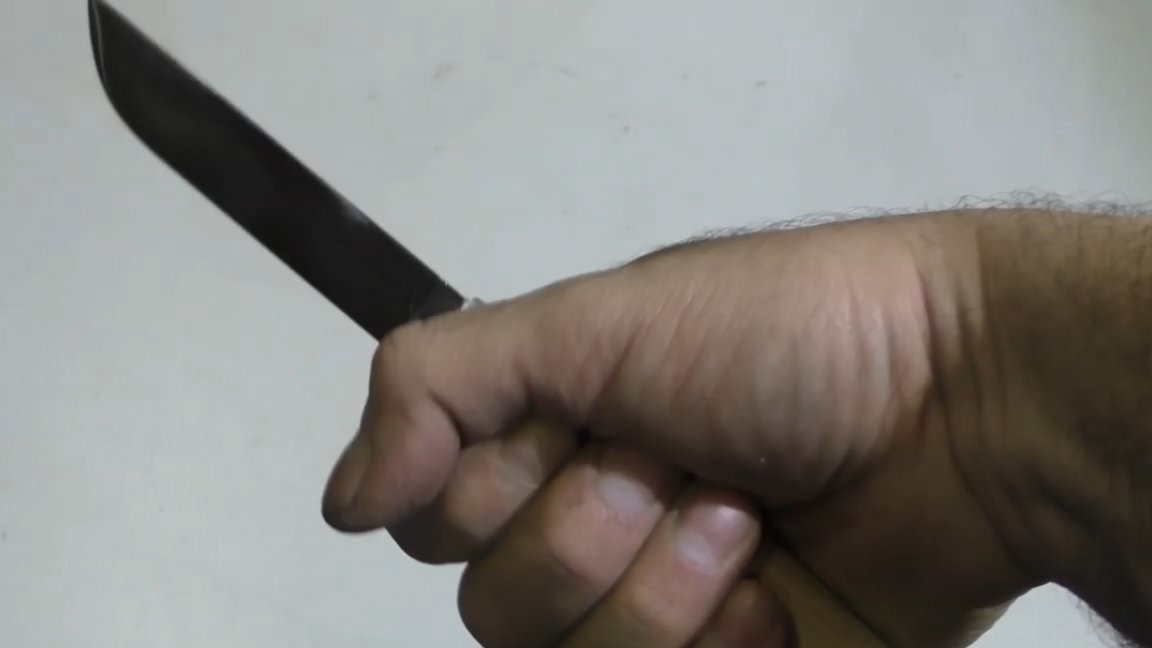
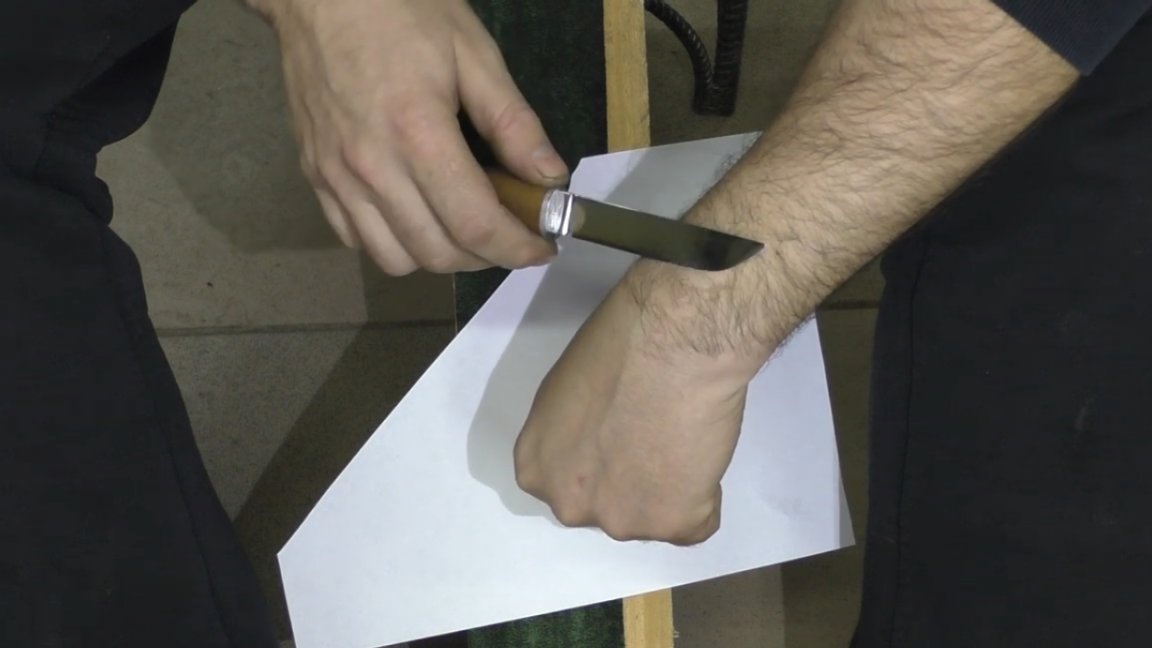
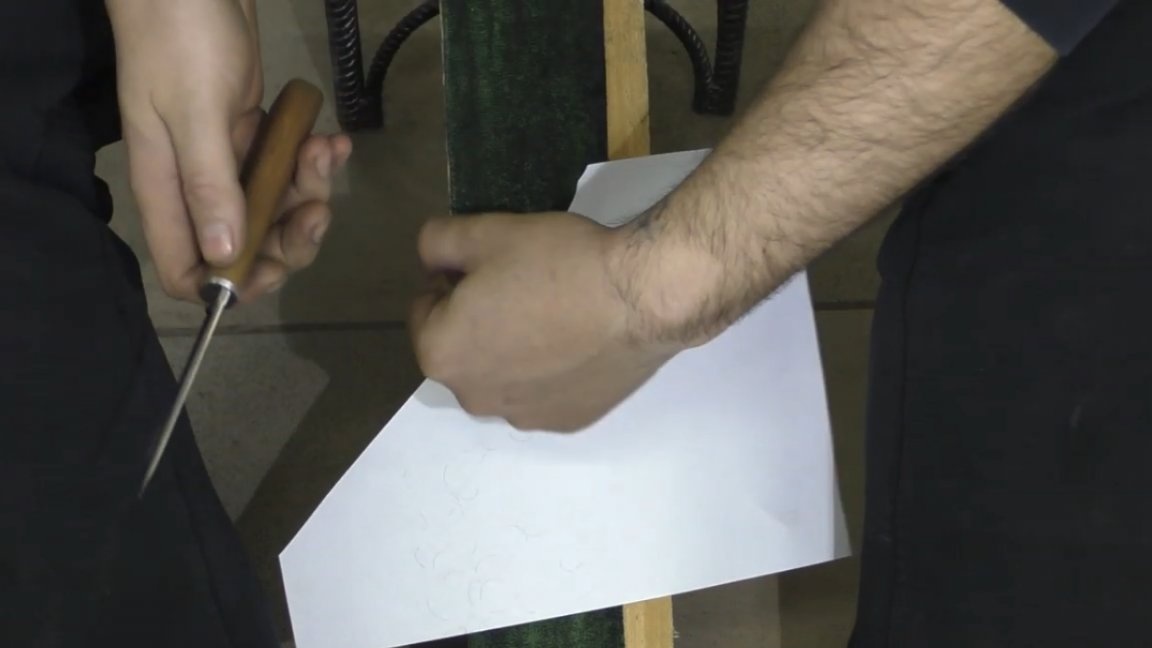
Well, as all knife makers show - a test on paper:
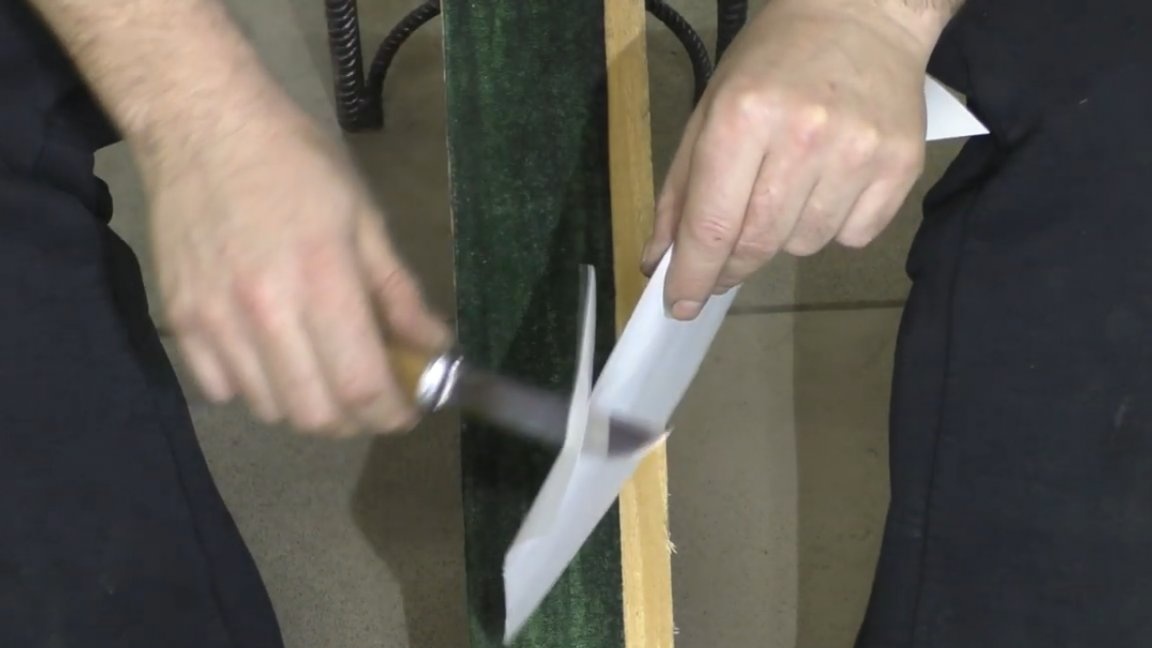
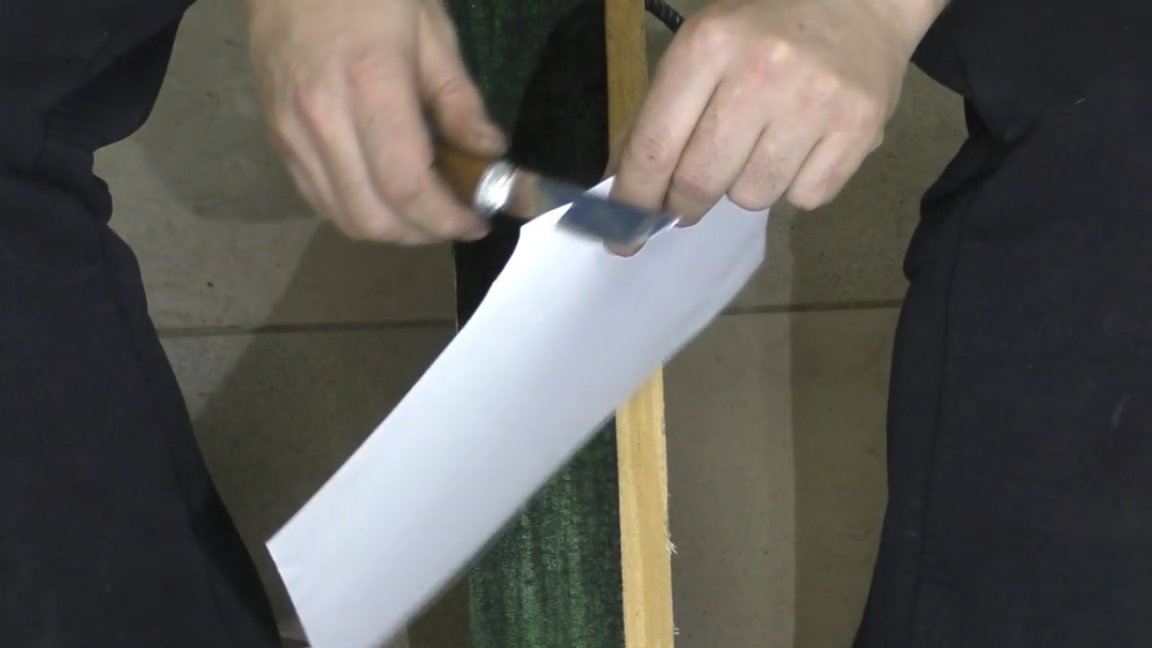
The author himself did not expect such a result, you can even shave, but this is no joke:
In general, such a knife turned out. Well, today we made as many as 3 useful homemade products, but the most important of them is of course a kitchen knife, made from beginning to end.
Thank you for attention. See you soon!
Video: