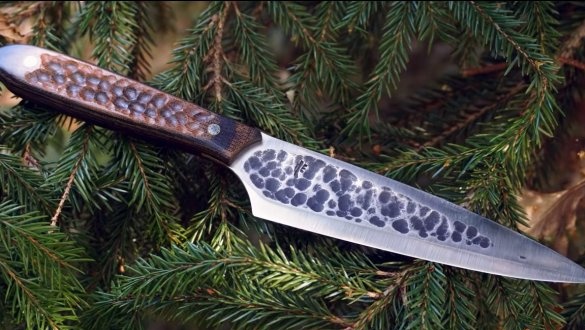
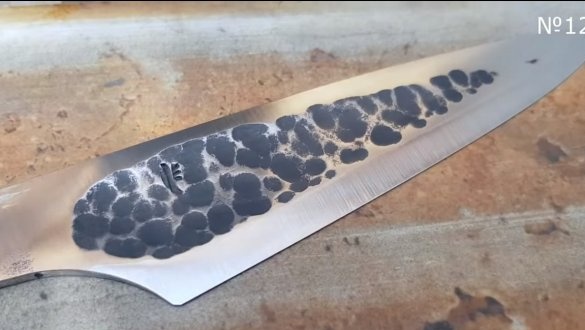
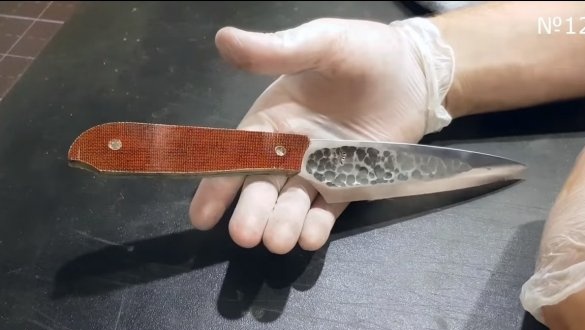
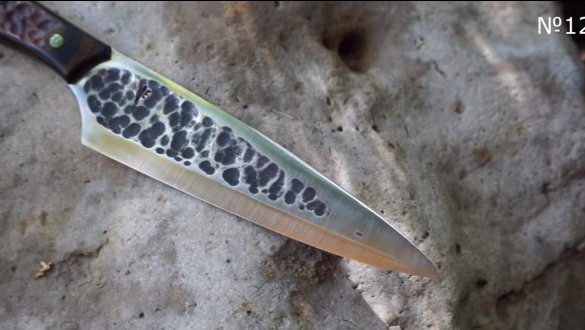
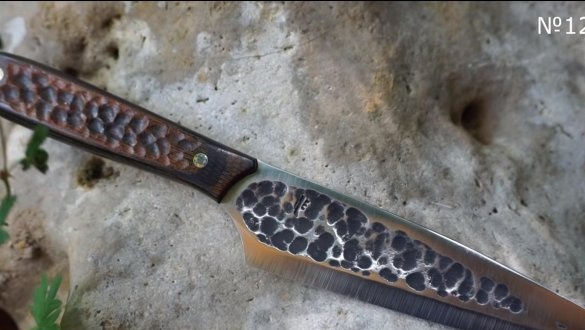
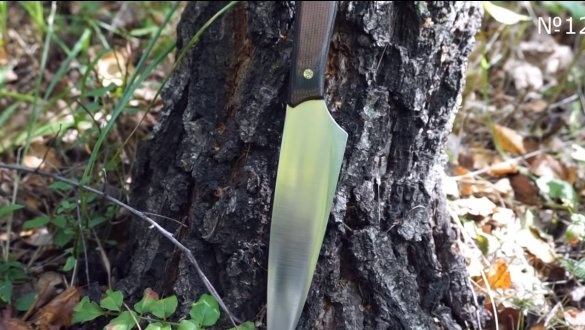
I welcome fans to craft, in this instruction we will look at how to make a kitchen knife in the Yakut spirit. Such knives are quite convenient to use, and they look unique and interesting. Of course, a real Yakut knife is made only by forging, because otherwise it is almost impossible to give it the desired shape and pattern. So if you want to bring such a project to life, you will need a forge and metal skills. If this does not scare you, I suggest that you familiarize yourself with the project in more detail!
Materials and tools used by the author:
Material List:
- carbon steel for forging a blade;
- textolite for overlays;
- pins (from brass tubes or rods);
- epoxy adhesive.
Tool List:
- forge furnace, anvil and other tools;
- belt sander;
- vise;
- sandpaper;
- drill or drilling machine;
- a drill and more.
The process of making a knife:
Step one. Forging
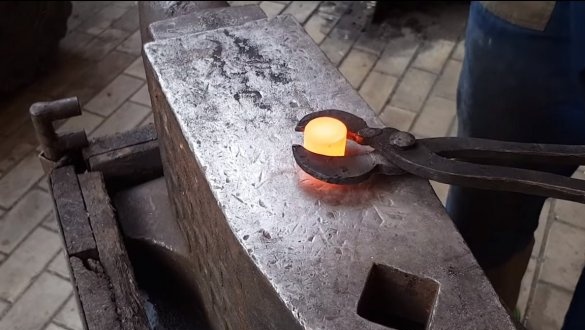
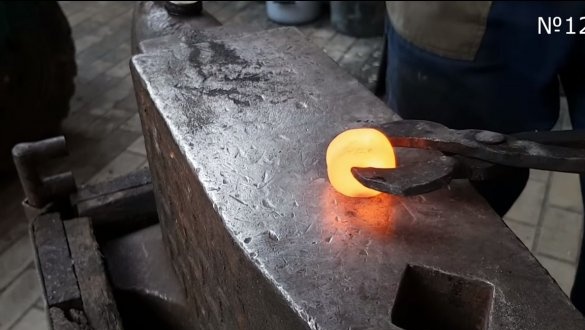
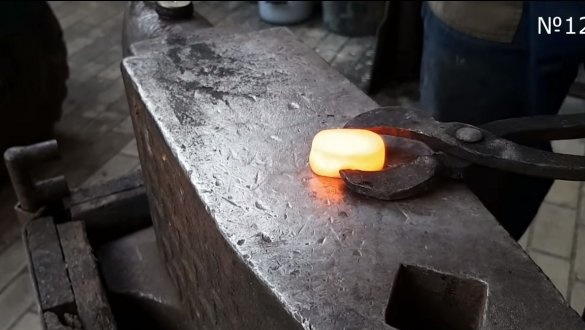
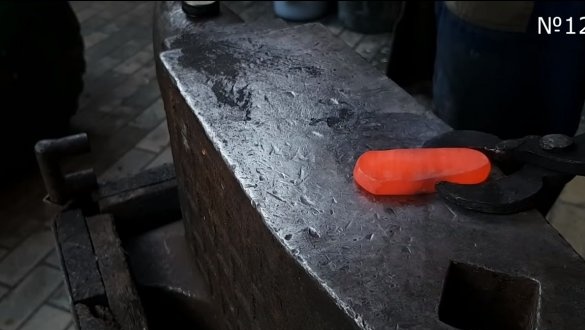
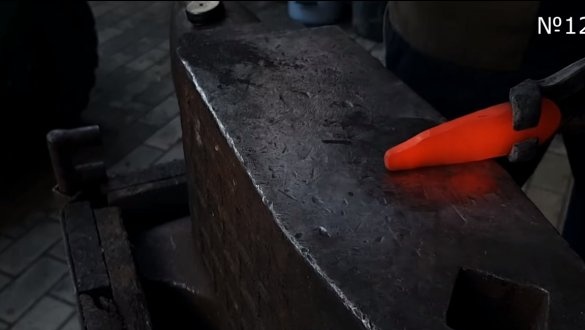
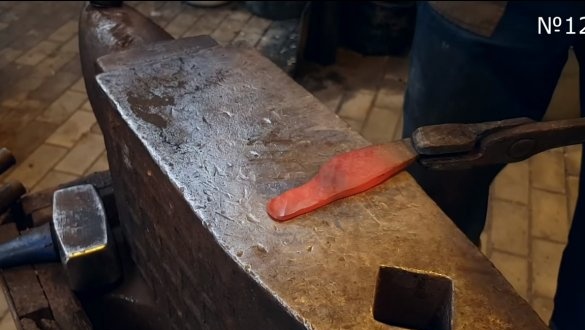
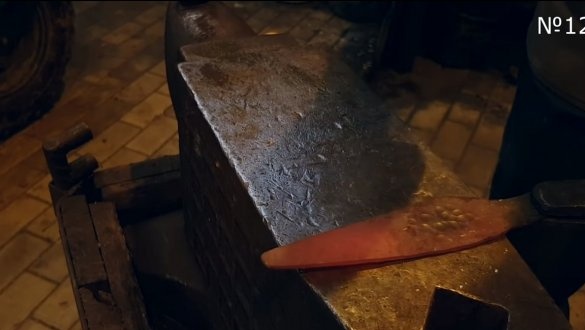
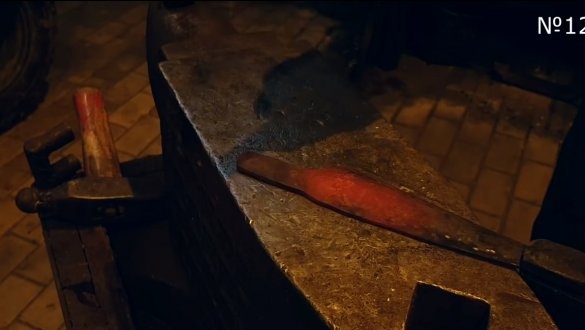
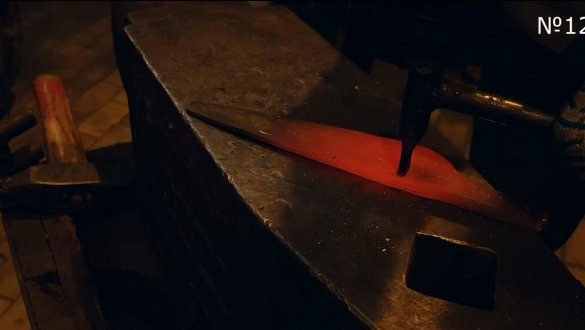
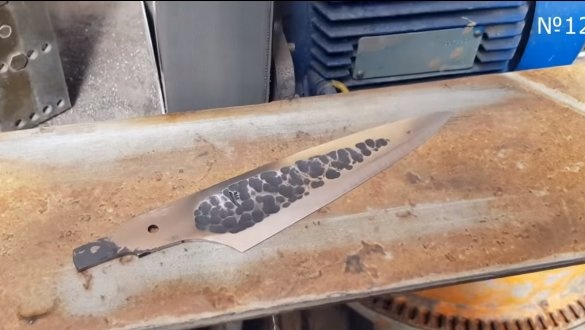
First we need to forge a blade, this is the most difficult task in the manufacture of such a knife. The author forges a blade from a piece of iron. It is important to use good steel, which can then be hardened and which can be forged.
Do not forget to also form a recess (dol) along the blade, here the author needed a special drummer.
Step Two Quenching
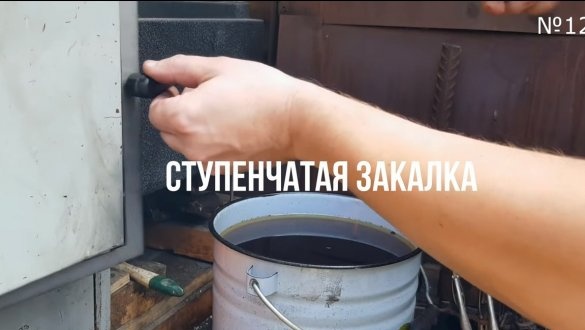
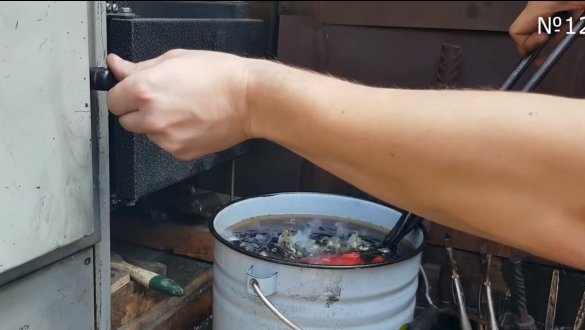
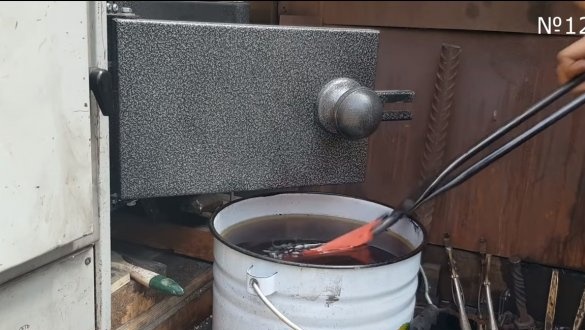
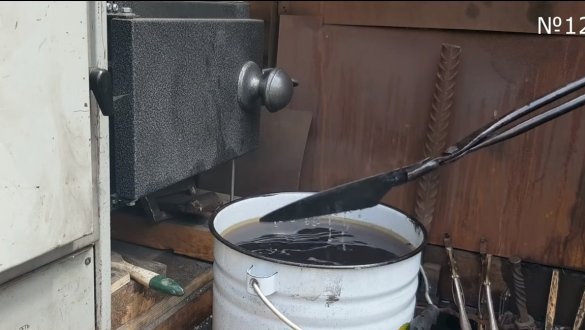
We select the quenching mode in accordance with the grade of steel. In most cases, carbon steel is quenched in oil. Before hardening, the blade is recommended to be normalized, since during hardening it will lead, as the author did. We heat the blade until it ceases to be attracted by a magnet, and lower it into oil.
We check the blade with a file, if hardening is obtained, there will be no scratches. Also, a properly hardened blade should ring if it is hung on a thread and hit with a metal object.
Usually, after hardening, the steel is released in the oven, but the author did not show this moment. If the steel is not released, the metal may be too brittle.
Step Three Grinding
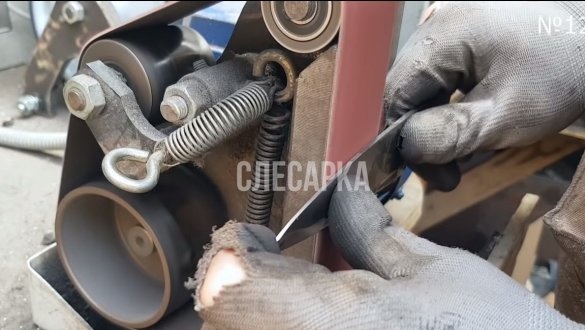
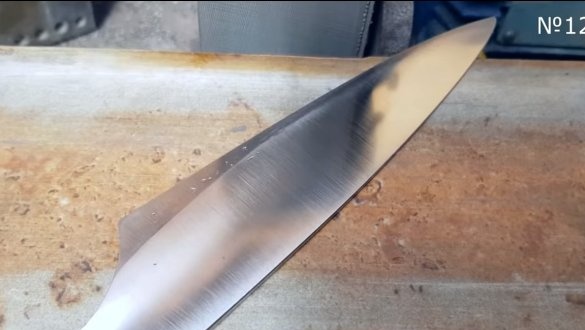
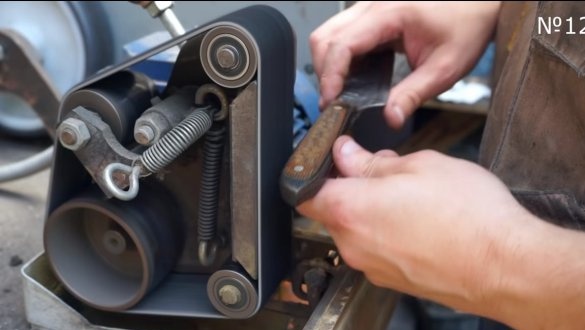
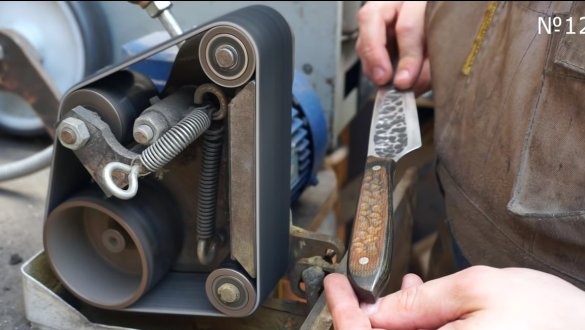
Now we need the help of a belt sander.We grind the blade so that it takes on a finished look. You can also form a cutting edge. Do not forget that the Yakutian knife has a bevel only on one side, on which side the right-handed person or the left-handed person depends.
Step Four Lining and knife assembly
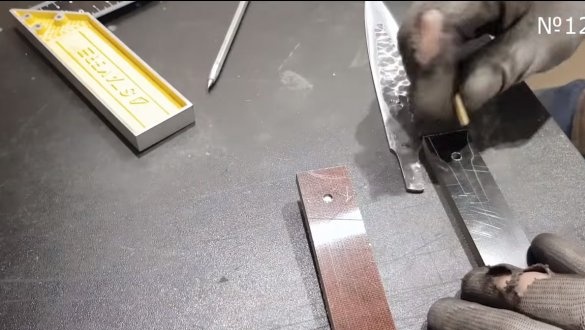
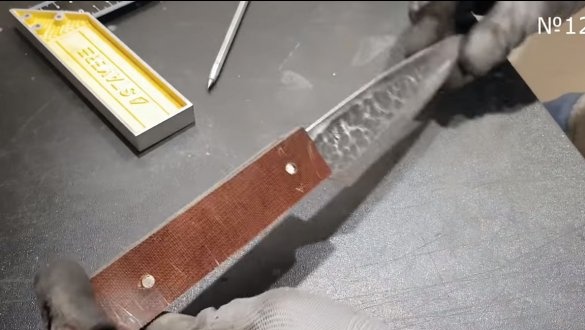
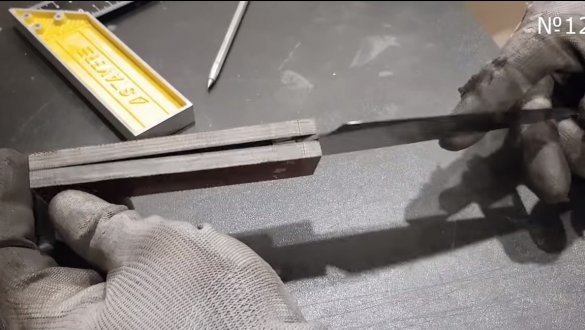
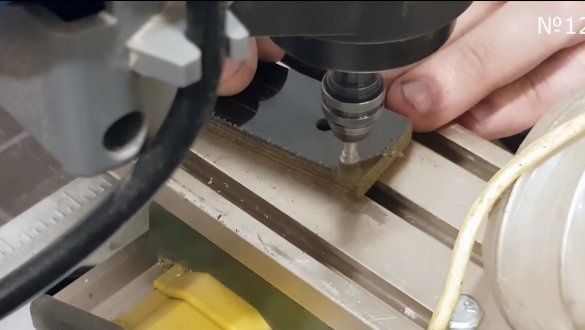
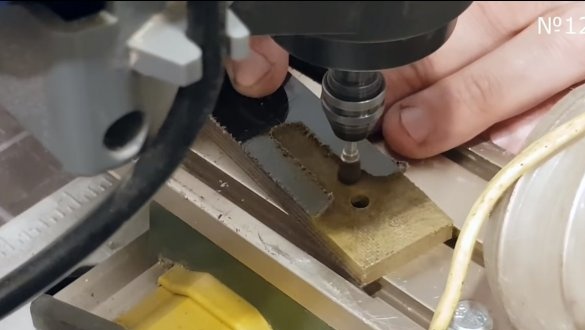
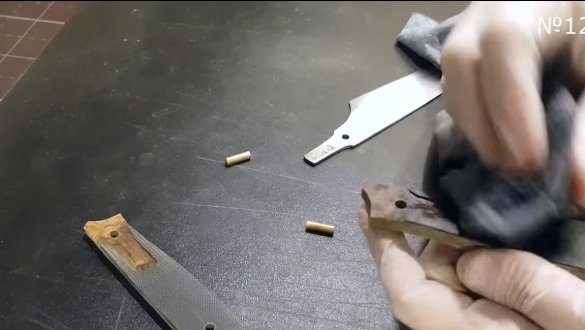
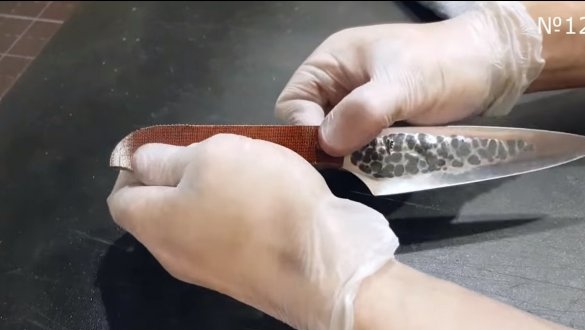
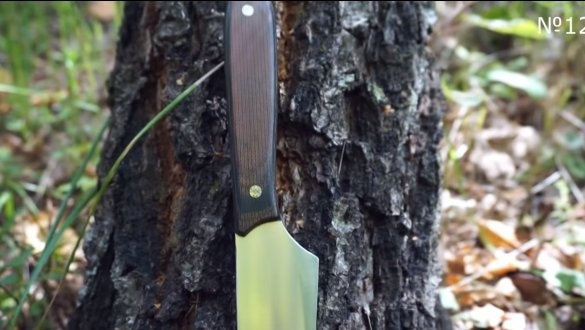
The lining for a kitchen knife should not be afraid of water, because in the kitchen it stays in the water for a longer time. Here, textolite is perfect as a material. We cut off two parts and mill the seat under the shank. We also drill holes for the pins. One pin will be in the rear, and one in the front for fixing the blade.
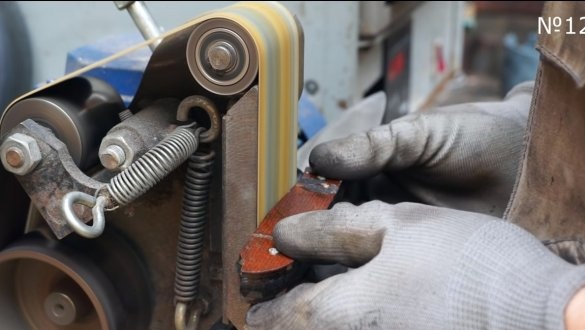
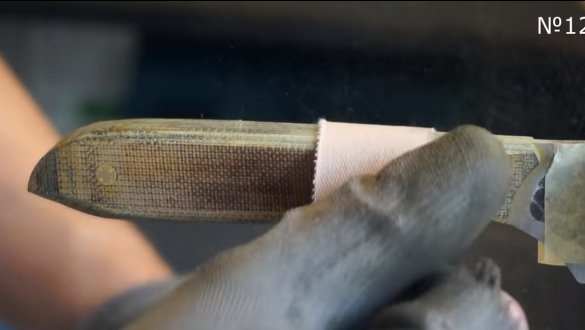
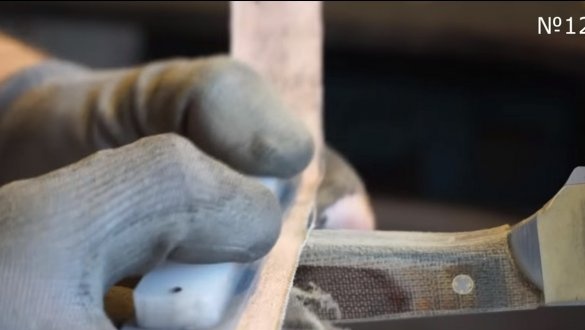
We glue the pads on the blade with epoxy glue. And when the glue dries, you can start grinding. Here we again need a tape machine. Finer processing is carried out manually with sandpaper.
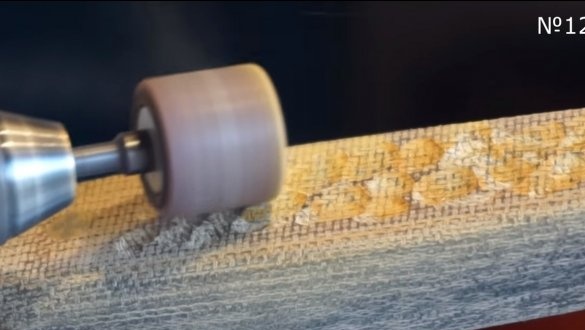
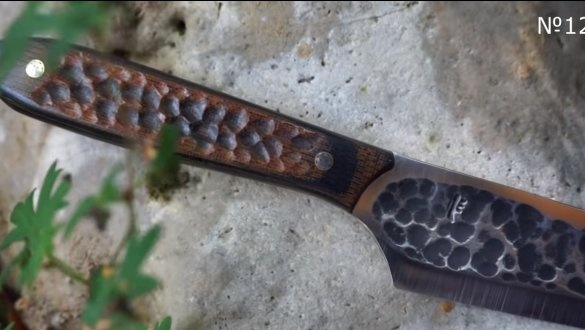
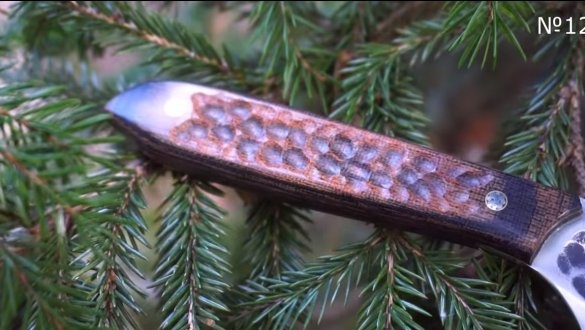
There are also recesses on the handle that make the knife unique and beautiful. These recesses can be made with a drill.
At the end you will have to polish the handle, this material does not need additional impregnation. The handle looks pretty nice, and also it is strong and durable.
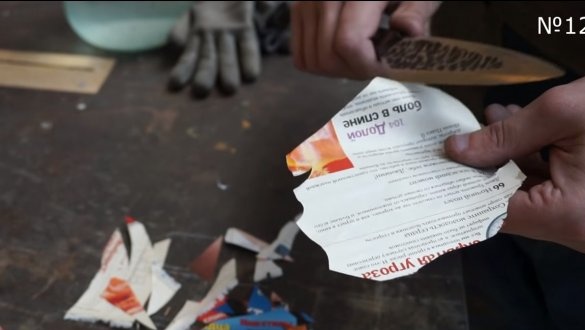
It remains to sharpen the blade, whetstones are good here. The author turned out to be very sharp, he easily cuts paper. The knife is ready, it looks beautiful, the blade is strong, and the handle is reliable and durable. I hope you enjoyed the project, good luck and creative inspiration, if you want to repeat this. Do not forget to share your ideas with us and homemade!

