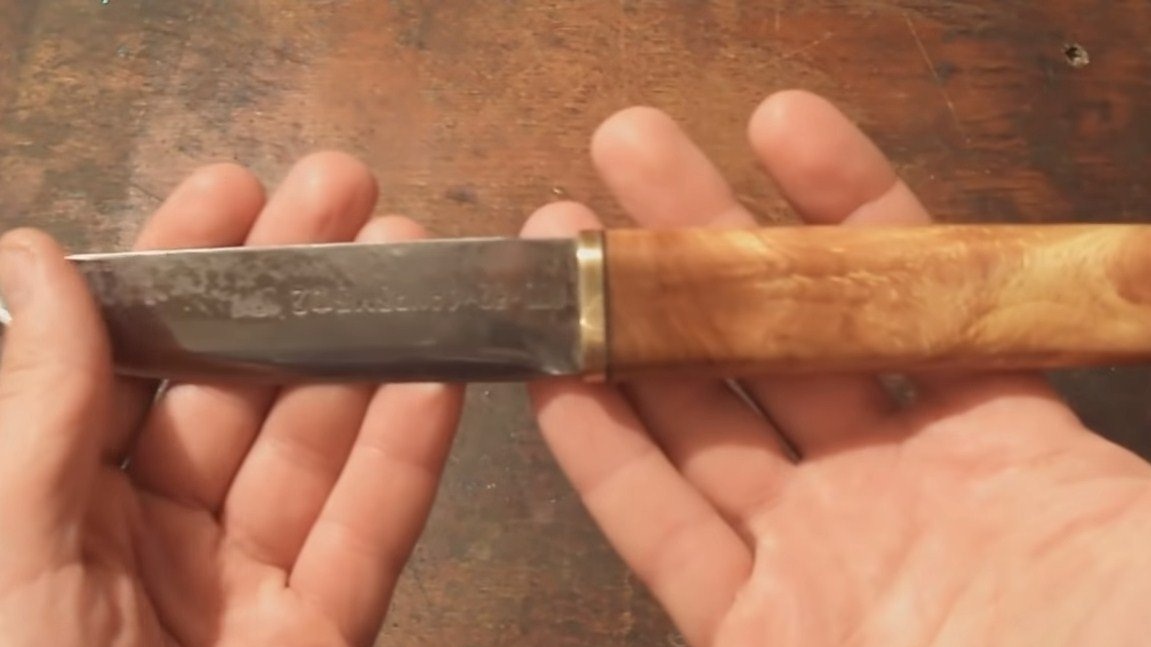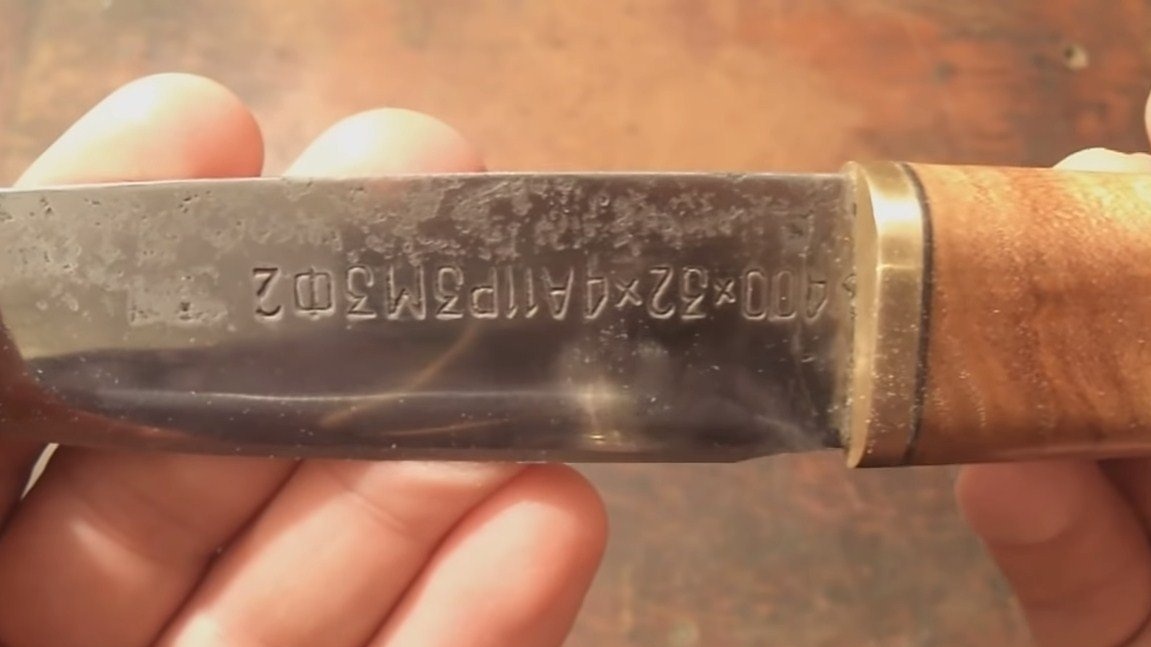
Hello everyone, I suggest studying the instructions on how to make a knife in the Yakut style with a minimal set of tools. Although of course that he is Yakut, the moment is debatable because forging is not used in the manufacture of the blade. In any case, the blade here is very strong and can be sharpened to the blade state, as it is made from a saw blade. As for the dol, characteristic of the Yakut knife, it is here made by etching, it turned out no worse than a real forged Yakut knife. If you are interested in the project, I propose to study it in more detail.
Materials and tools used by the author:
Material List:
- cloth of a saw;
- bar for the manufacture of handles;
- steel rod;
- sheet brass;
- oil for wood impregnation.
Tool List:
- grinder;
- orbital sander or other;
- drill;
- tap and die for threading;
- sandpaper;
- ;
- a device for etching;
- nail polish;
- hammer, vise and other simple tools.
The process of making a knife:
Step one. Main profile
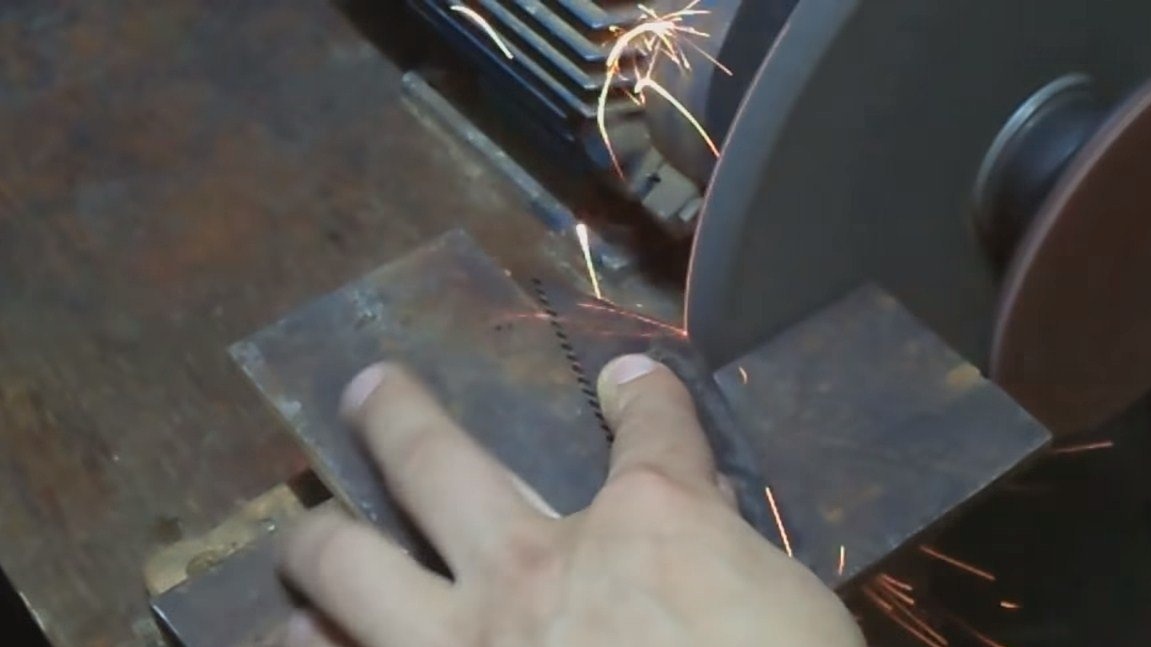
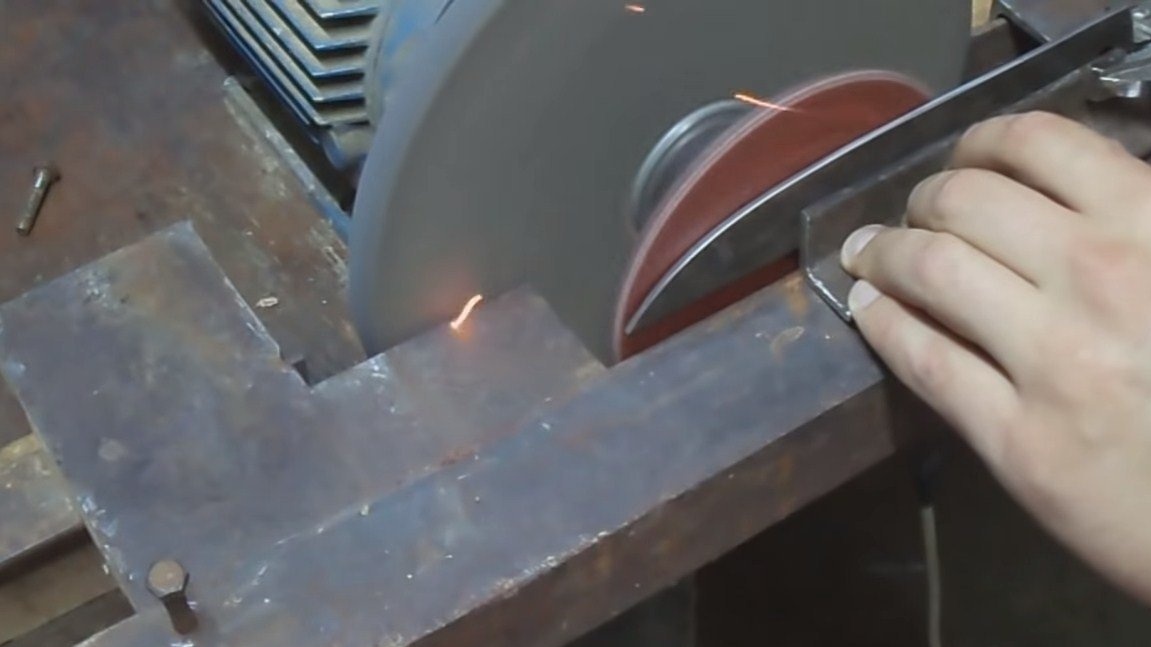
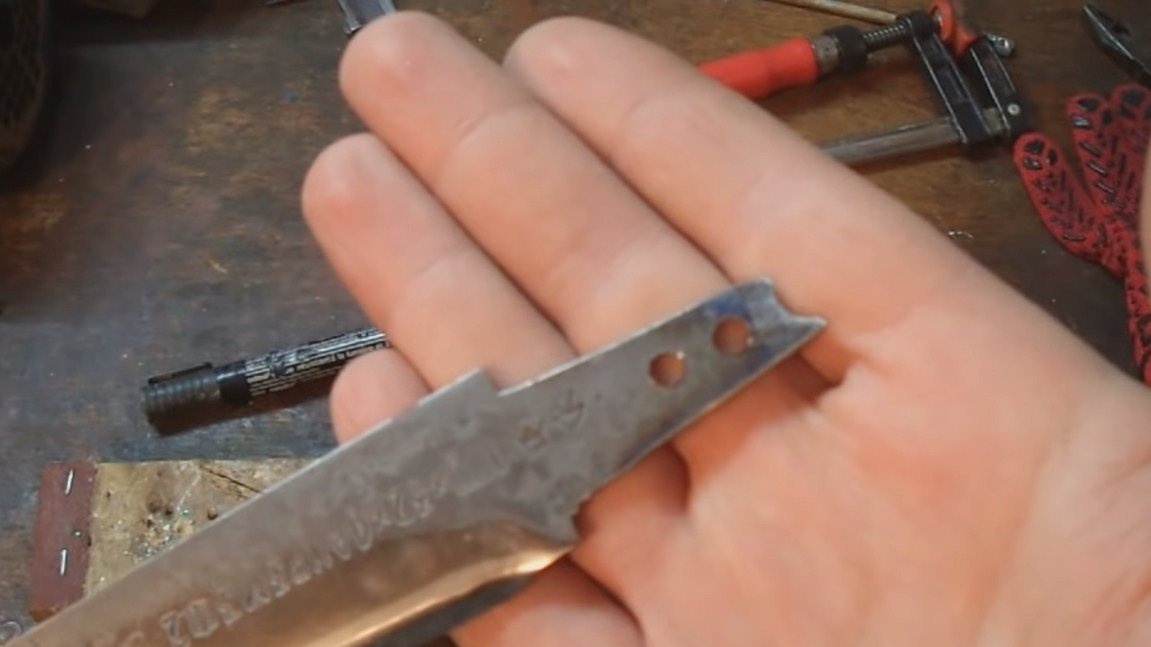
First, we will cut the main profile from the saw, there will be very little work here. The author easily copes with such a task on a grinder. Be careful only in terms of overheating of the metal, as in the future we will not temper it. If the workpiece is too hot, lower it from time to time in water.
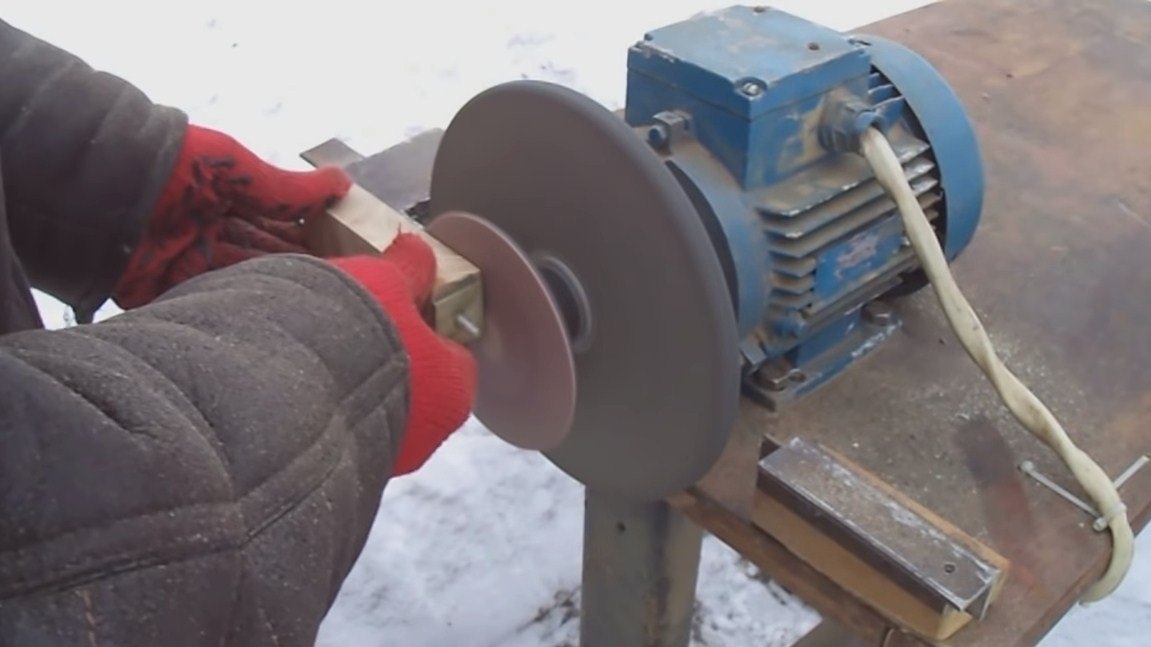
Step Two Sanding and downhill
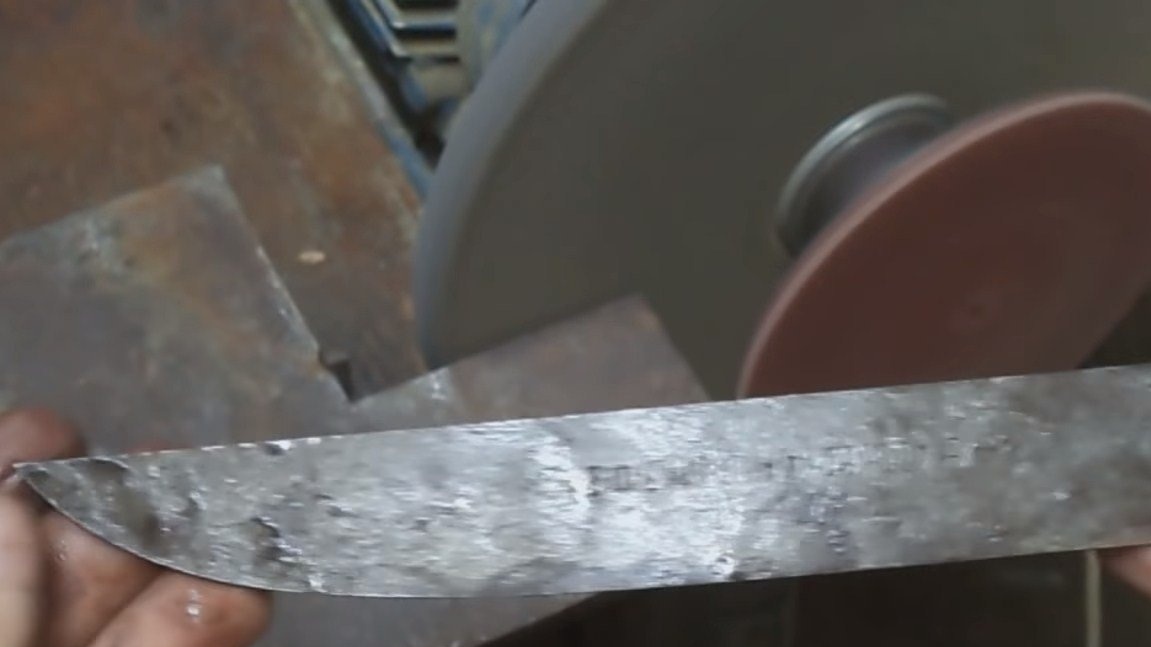
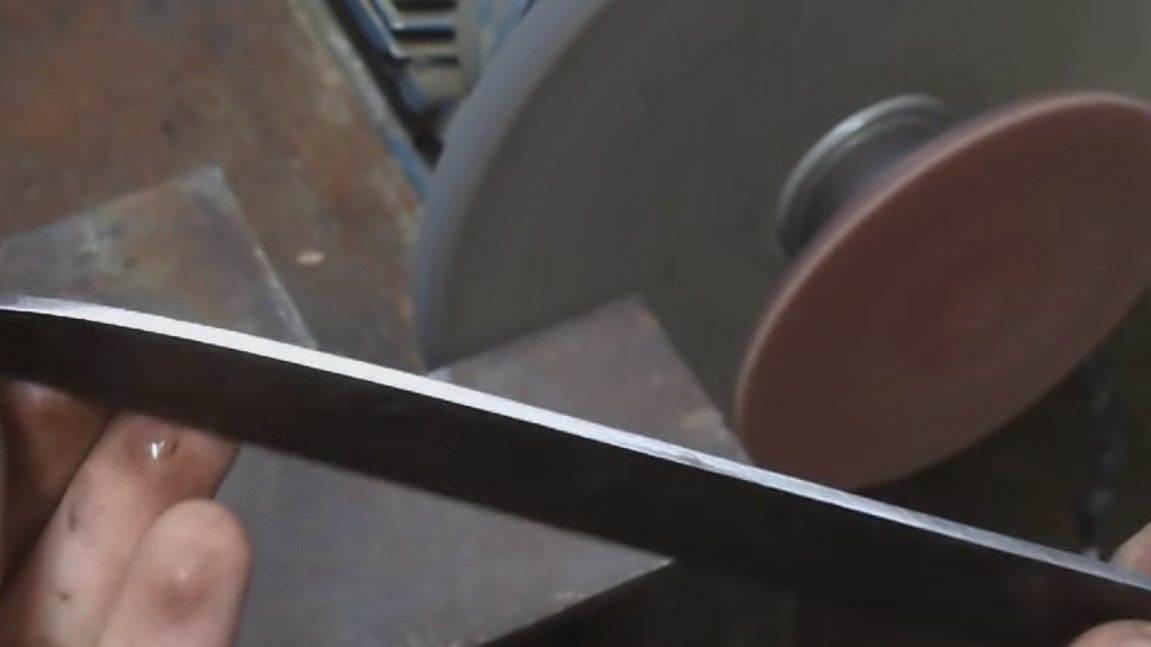
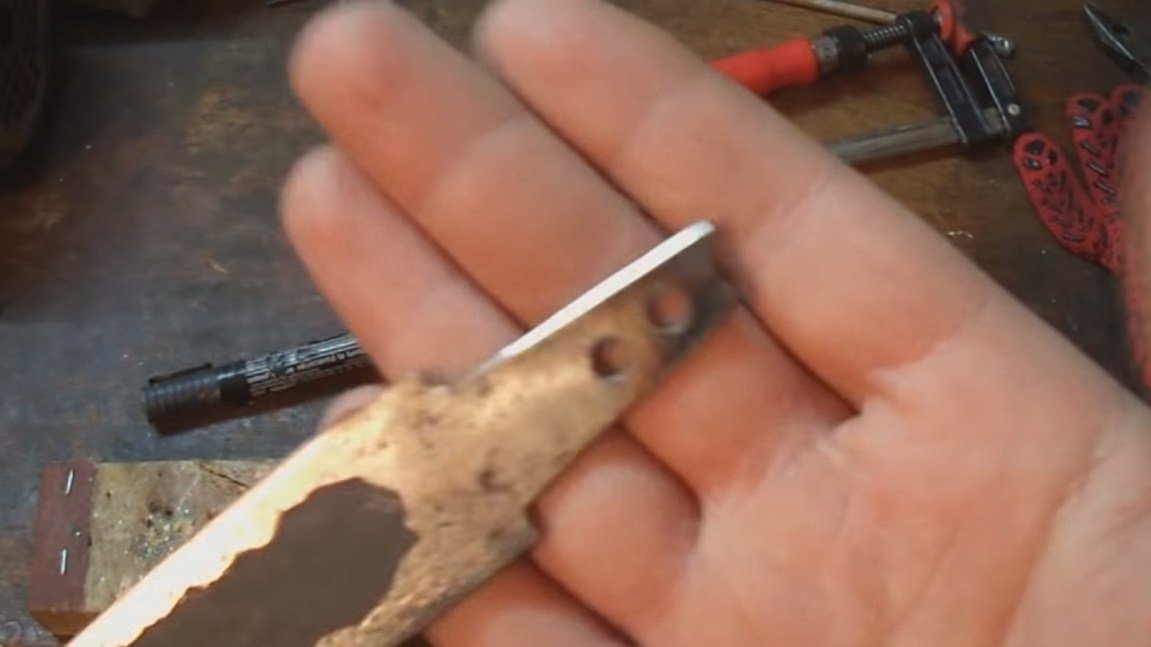
We carry out grinding of the planes, for this, the author has a Velcro disc with sandpaper on the grinder. After grinding the planes, we form and descends, the author does all this by eye. It should be noted that a real Yakut knife has a descent on only one side, and which side depends on whether you are right-handed or left-handed.

Step Three Etching
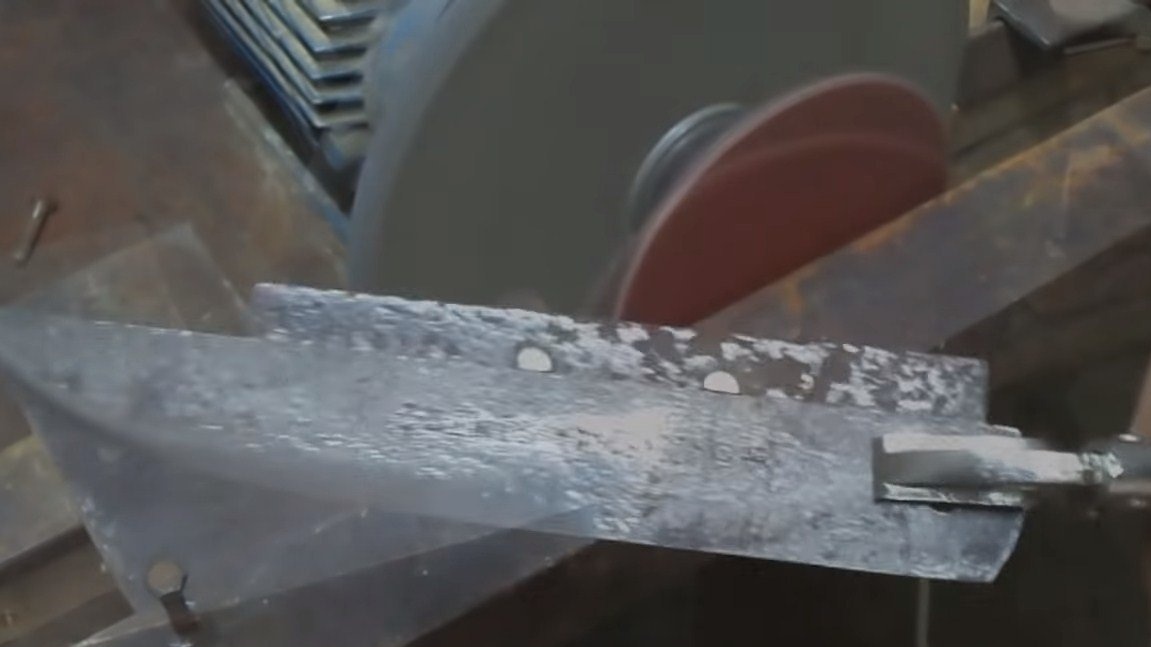
We will make dol on the blade by etching, it’s quick and easy. We take nail polish or any waterproof paint and paint over all those areas that will not participate in electrolysis. We leave only the abstract part in the center, from which, upon etching, a dol is formed.


For pickling we need a can, pour water with a lot of table salt there. We will have a blade as one electrode, and a steel plate and the like can be used as the other. We apply voltage to the electrodes and observe the process, the longer the electrolysis will go, the deeper the burn out.The power supply can be used with a voltage of 6-24V or something like that, the current is more important here. Some craftsmen perform etching using a welding machine, this happens quickly.
After etching, we make light grinding, remove the paint and get an excellent Yakut blade.

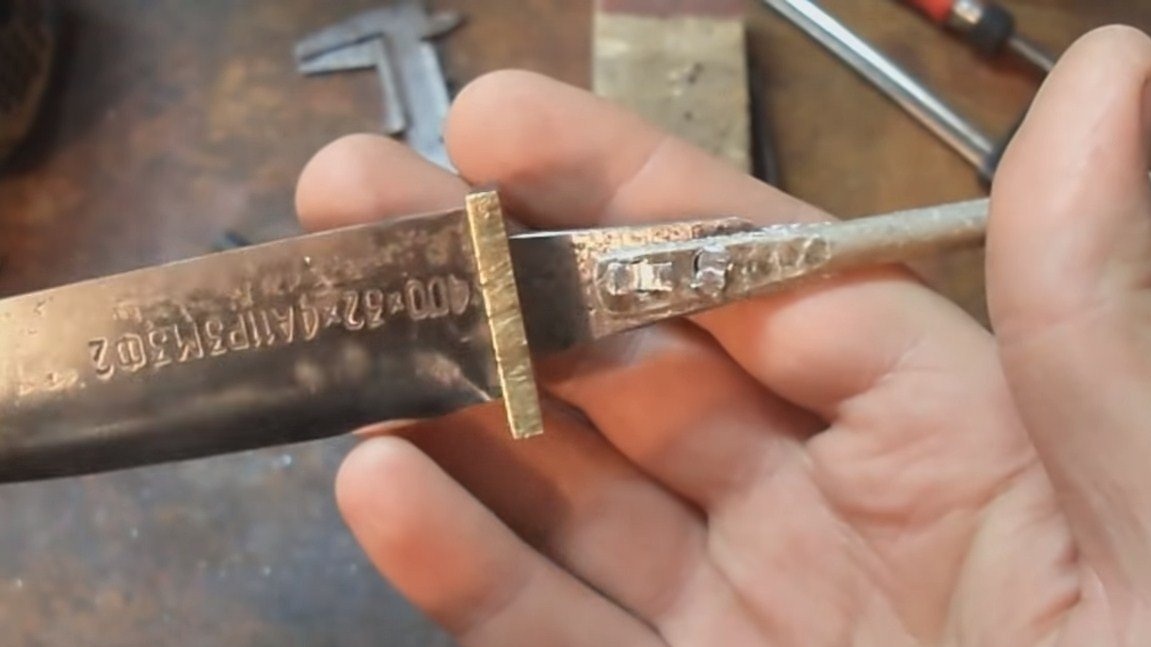
Step Four Garda
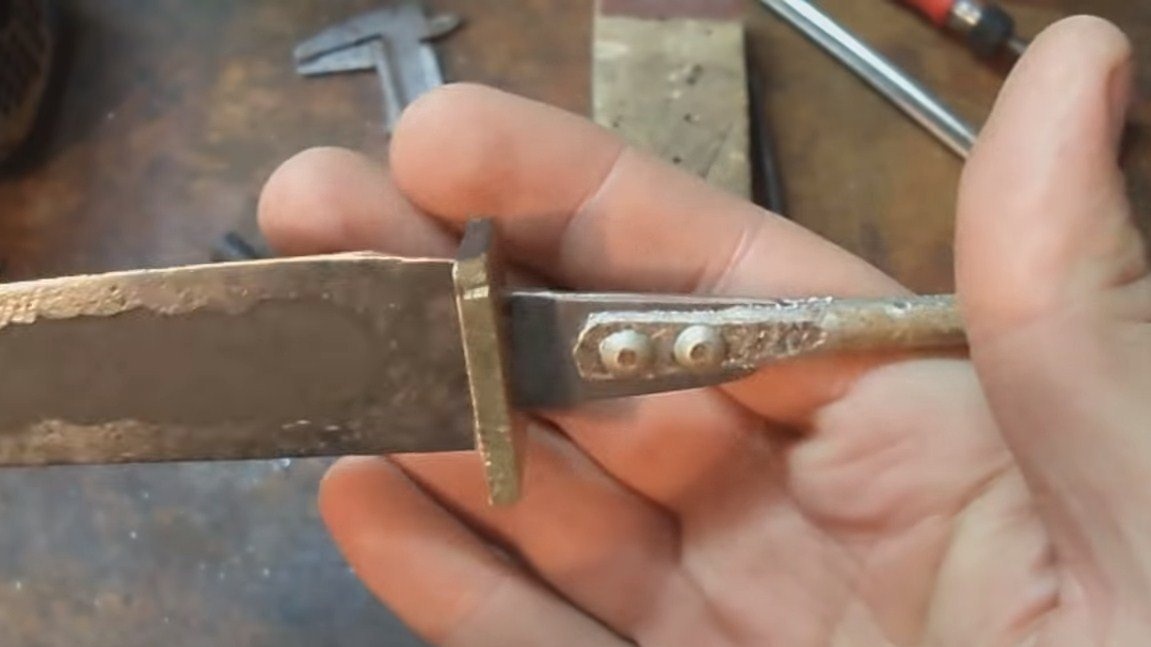
We make gardu from sheet brass, we will need to cut a slot hole. First, drill a series of round holes with a drill, and then bore them with a file. You can also cut the gap with a drill and the corresponding nozzle.

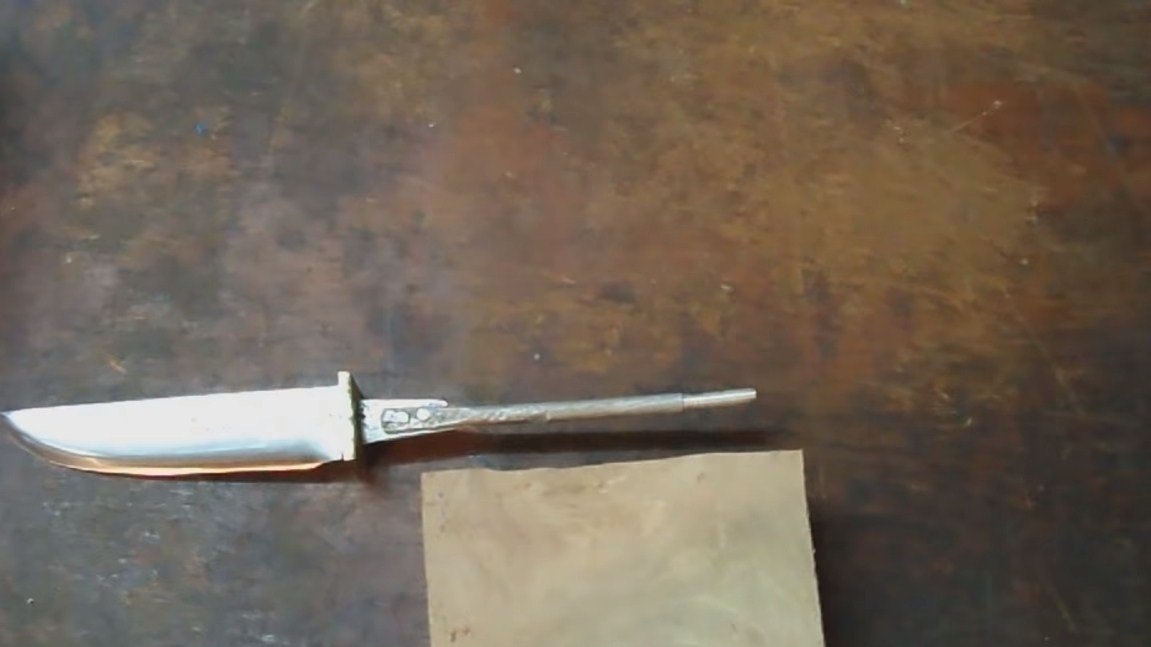
Step Five Shank and rear
We need to extend the knife shank so that the handle can be fixed. An interesting fact is that the handle is assembled on a threaded connection, no glue is used here. We will need a metal rod, one of its ends unfold with a hammer and make a slot hole. If you use copper and aluminum, you can easily unleash the rod to the cold. We drill holes and fix the rod with rivets.
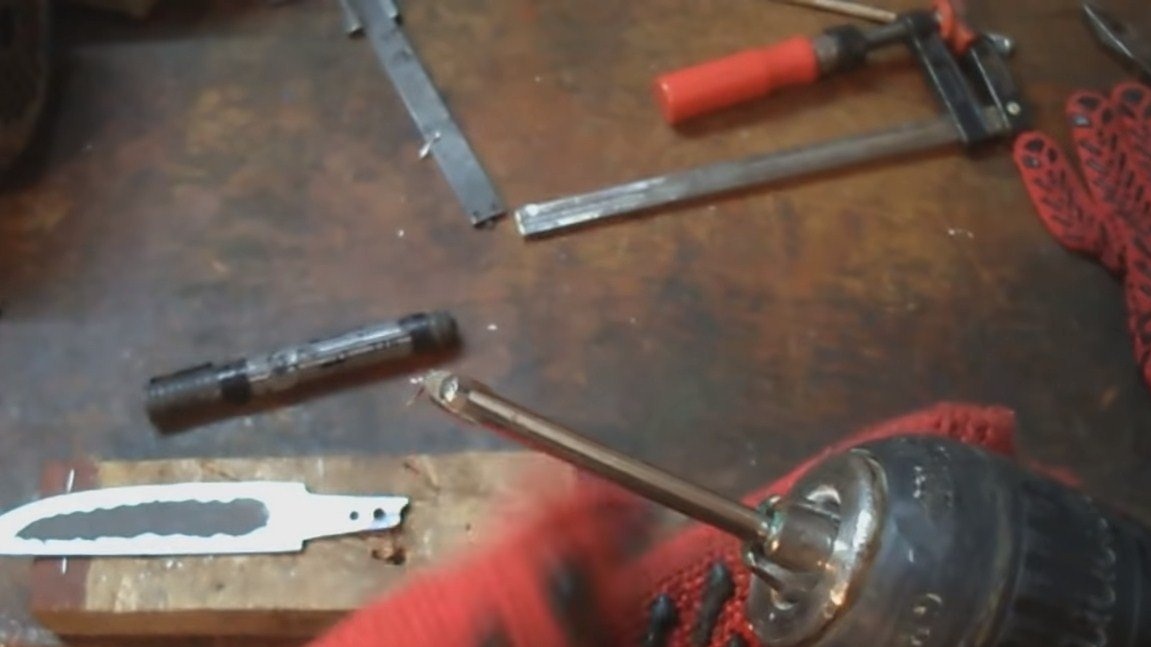
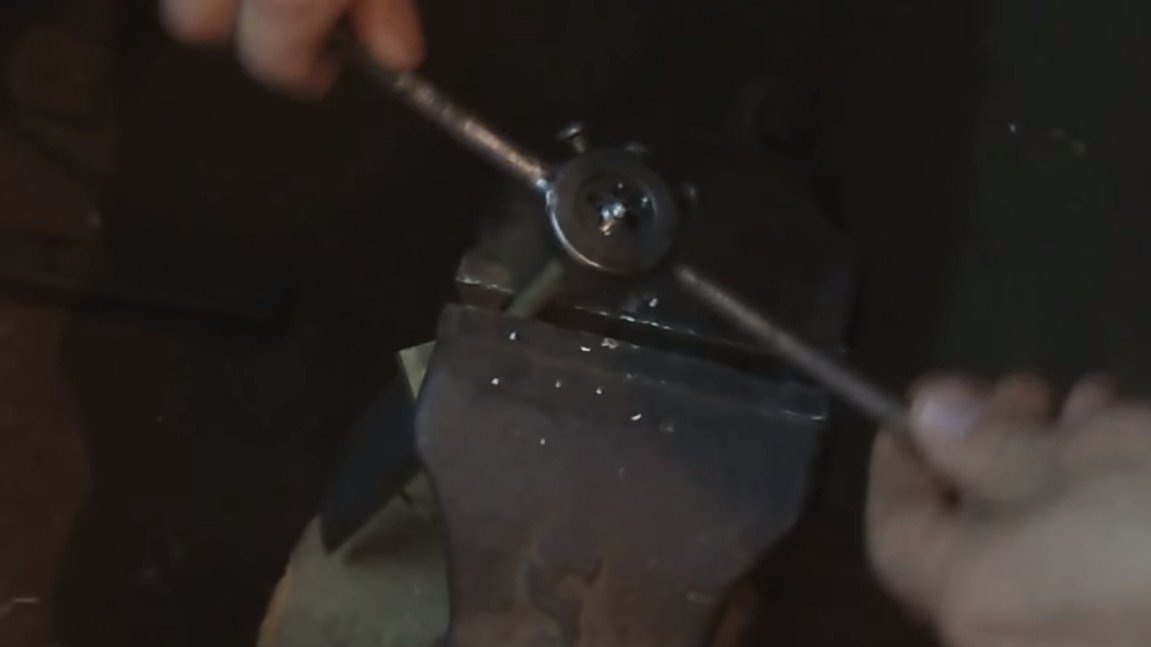
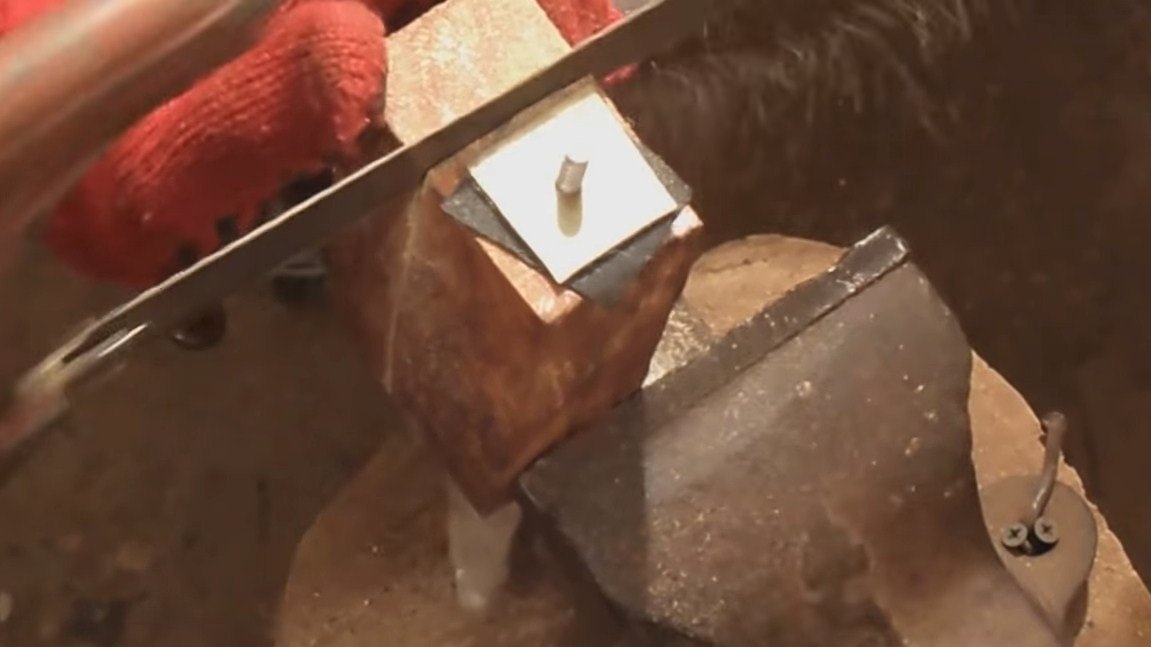
At the other end of the rod you need to cut the thread. The backcloth will be wound here, it is made of sheet brass, we drill a hole in it and also cut the thread.
Step Six Pen making
Before installing the handle, be sure to wind the blade with tape or tape so as not to get hurt.
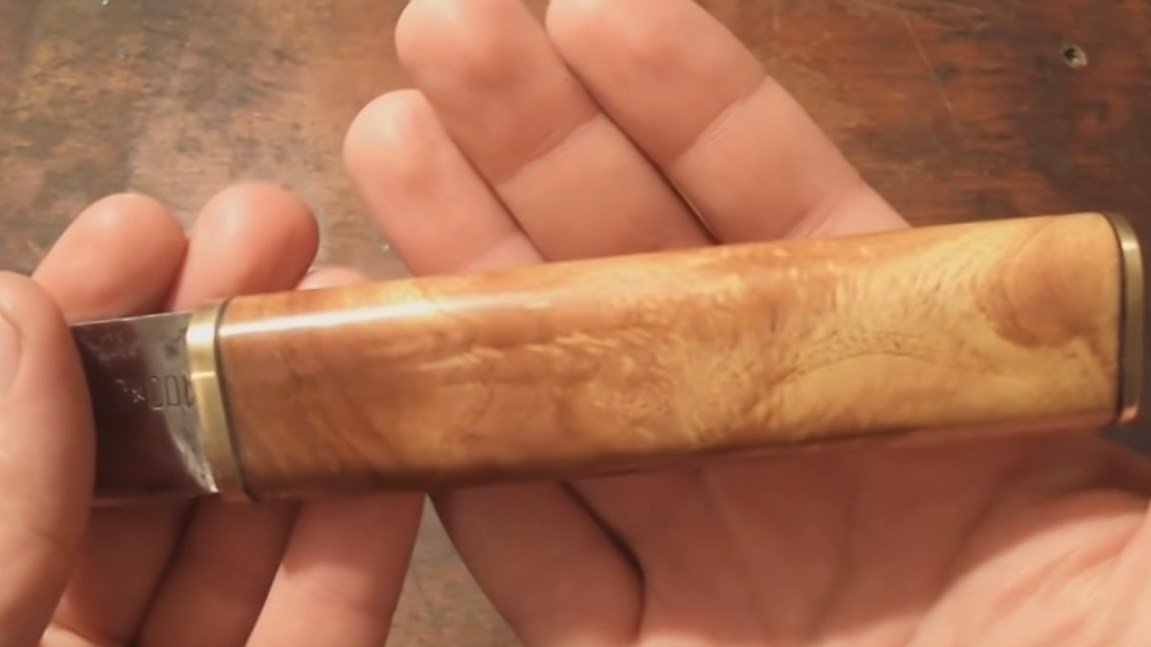
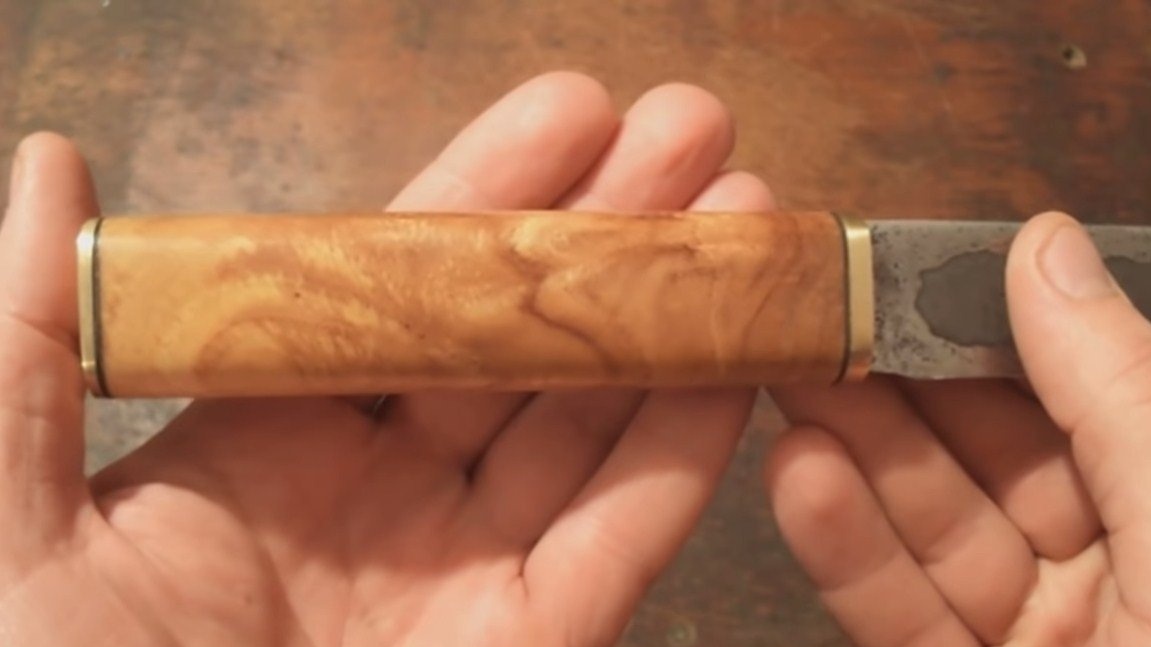
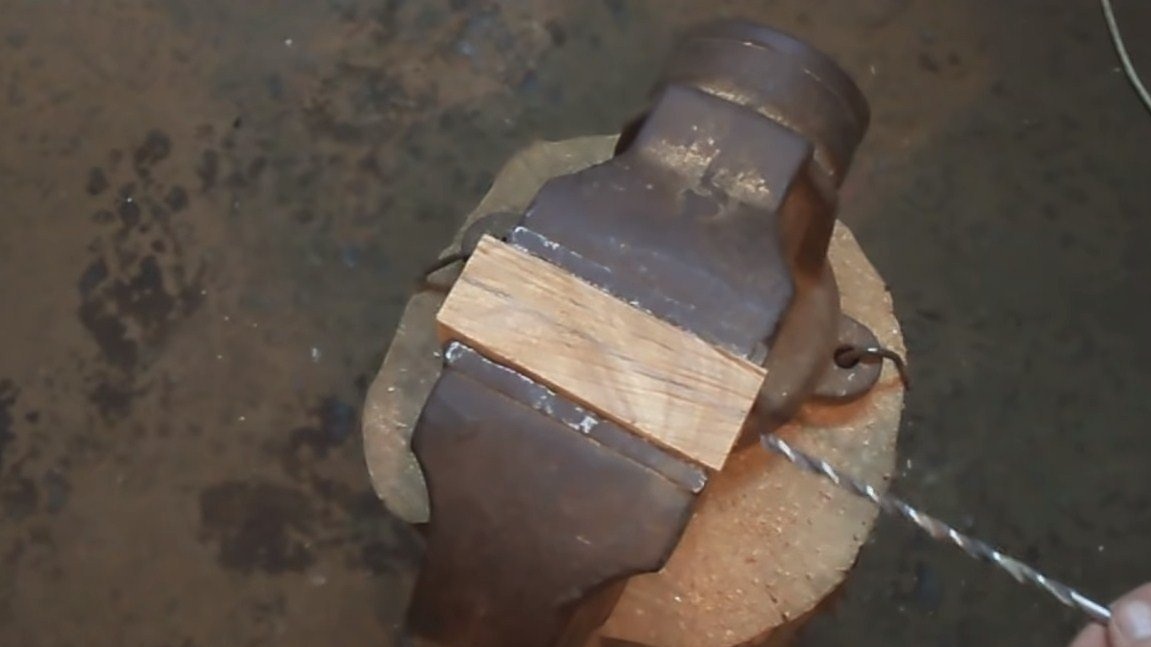
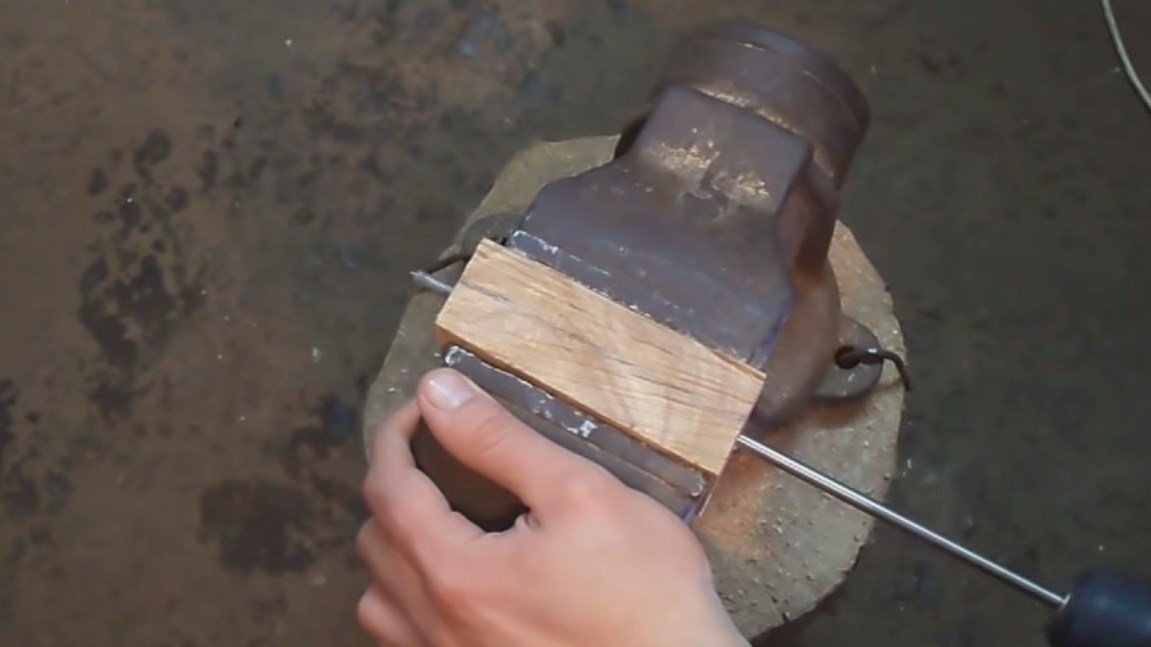
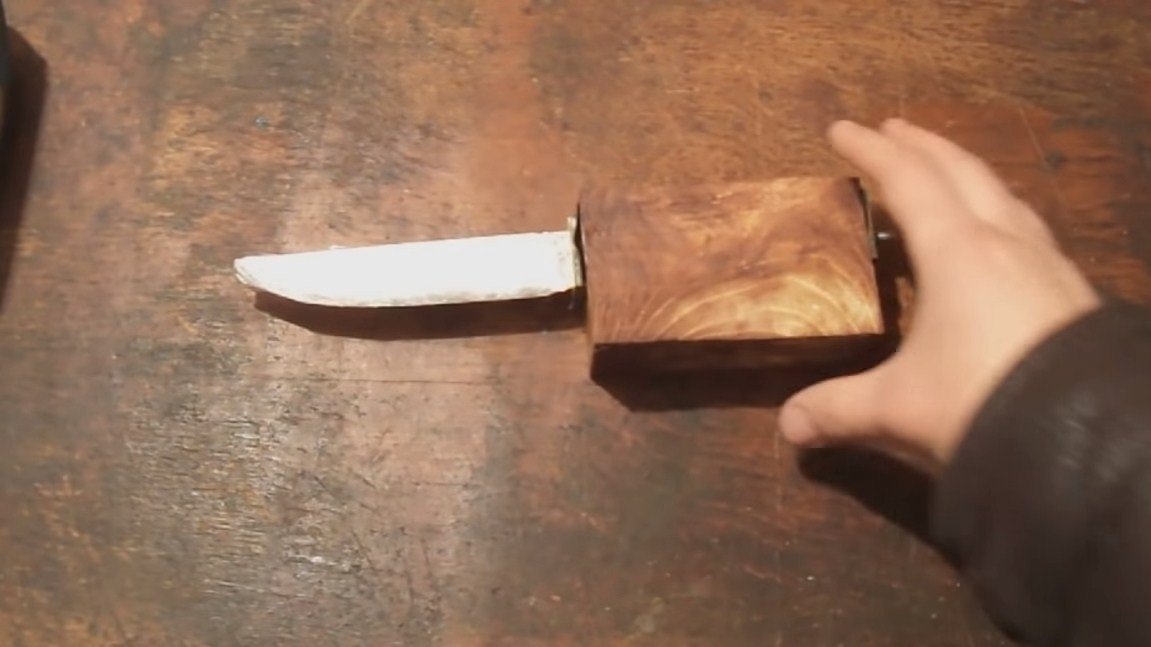
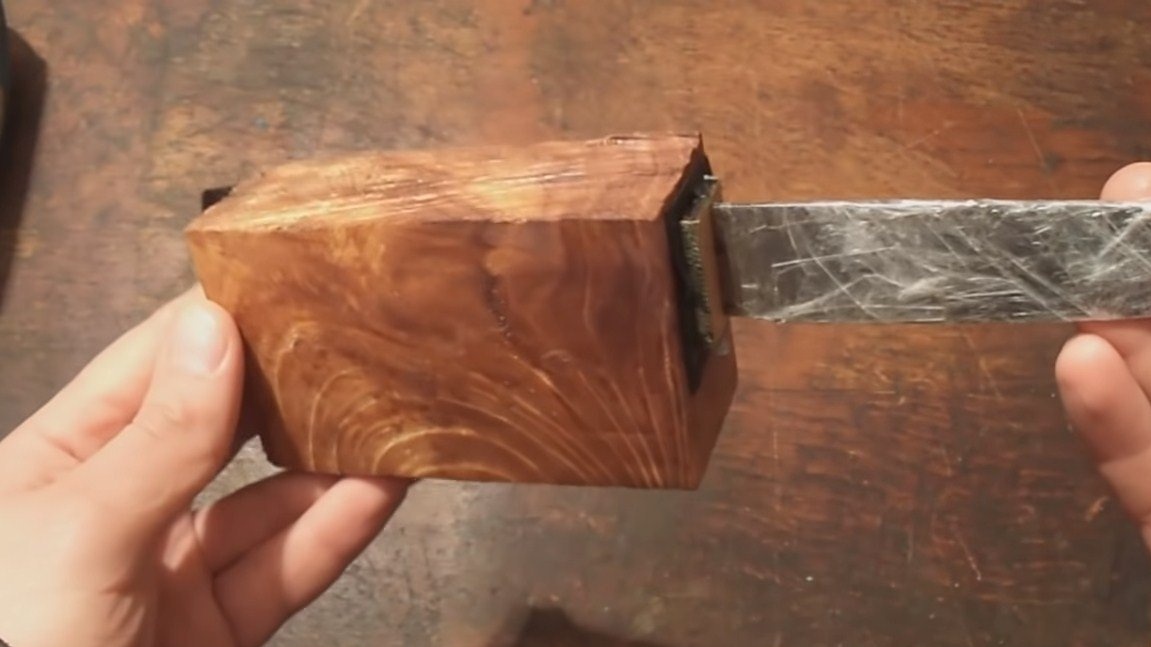
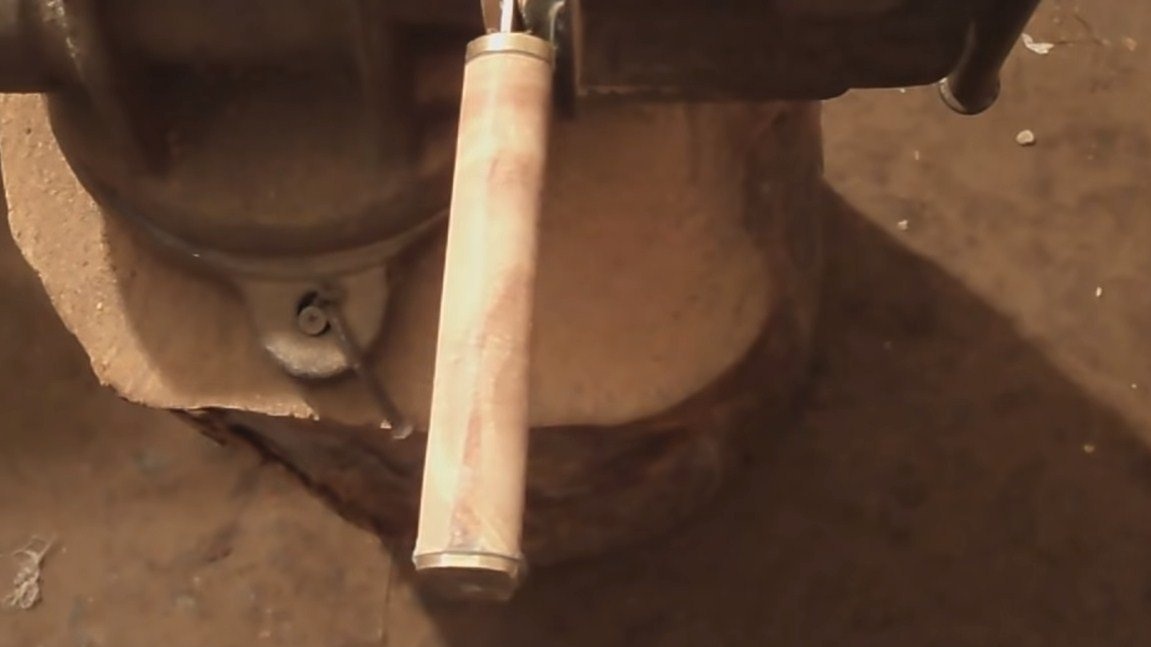
For the pen you need to find beautiful wood, we need a small block, you can also use bones or horns of animals. We drill a hole for the shank along the material and the handle can be assembled. The handle is pulled together with a back and it is not necessary to glue it.
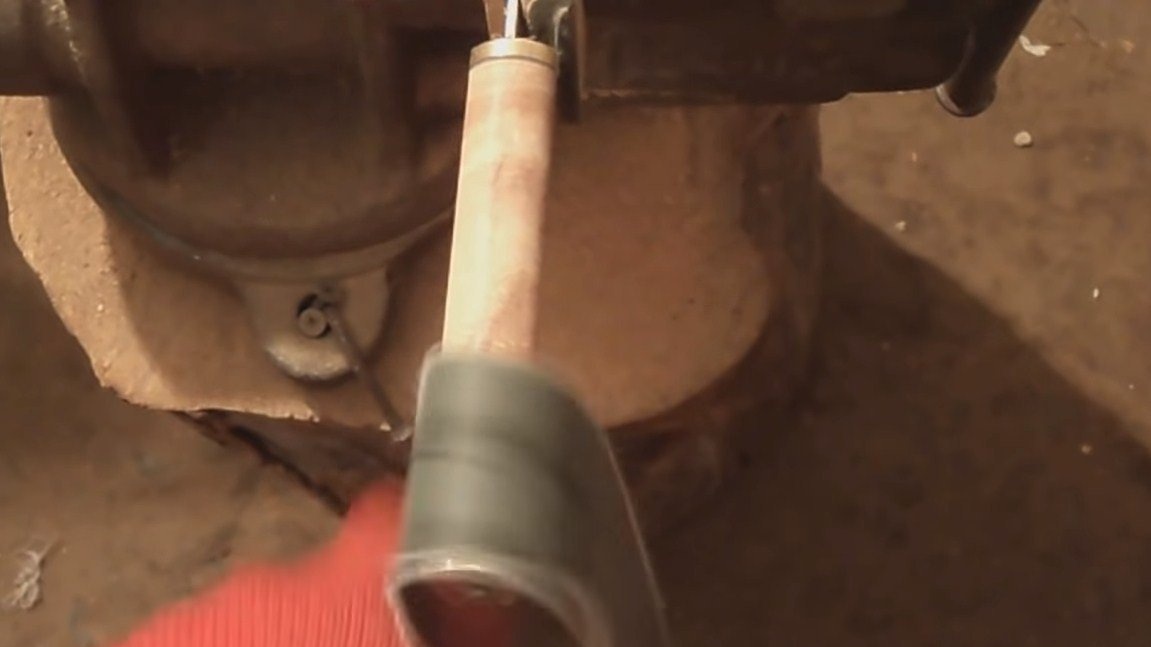
Next, we cut off the excess with an ordinary hacksaw for metal and proceed to processing the handle on the sharpener, and then on the disk grinder. If you wish, you can also create the desired handle profile with files on wood.
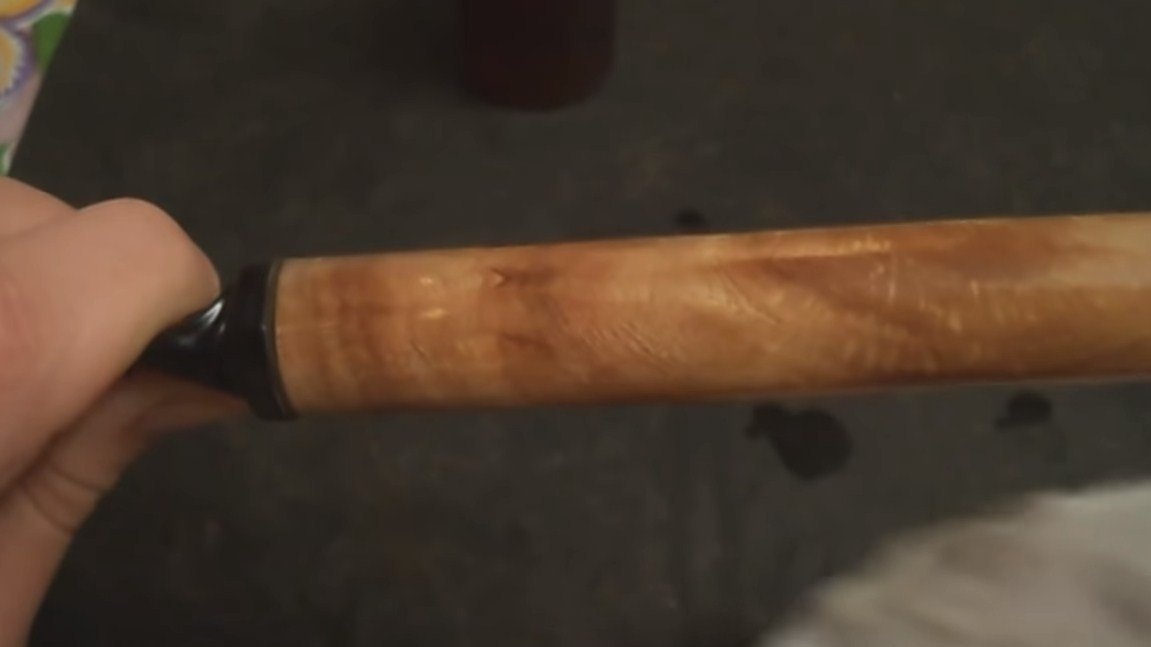
At the end, we turn to manual processing, for this we use sandpaper. We achieve this result so that the tree looks like a bone, it is perfectly smooth.


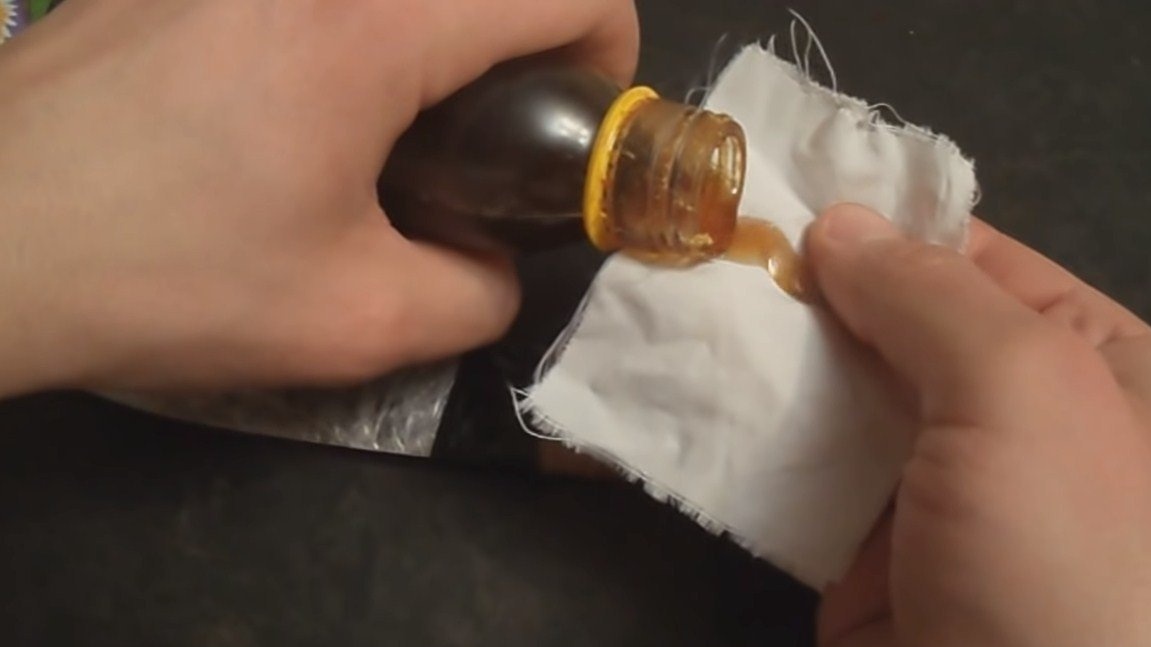
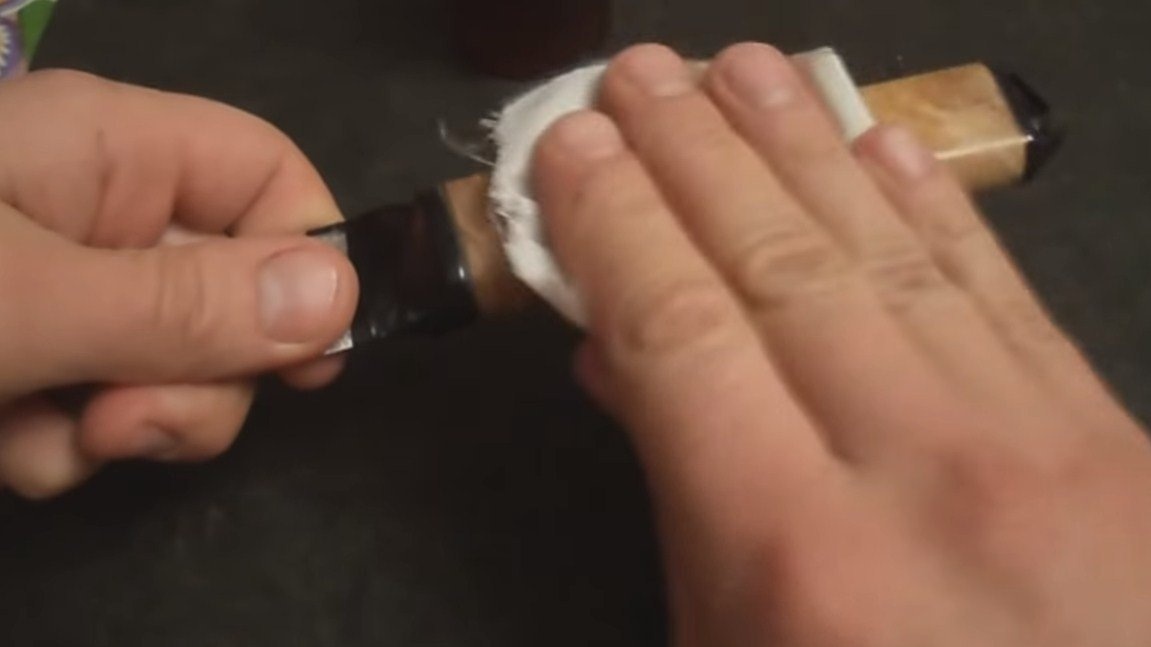
Seventh step. Impregnation
We impregnate the handle with oil, it will protect it from the harmful effects of moisture. Of course, oil will reveal the beauty of wood. You can use linseed oil, it is publicly available. Danish oil is also suitable, it is absorbed into the tree as deep as possible.

Step Eight. Sharpening and testing
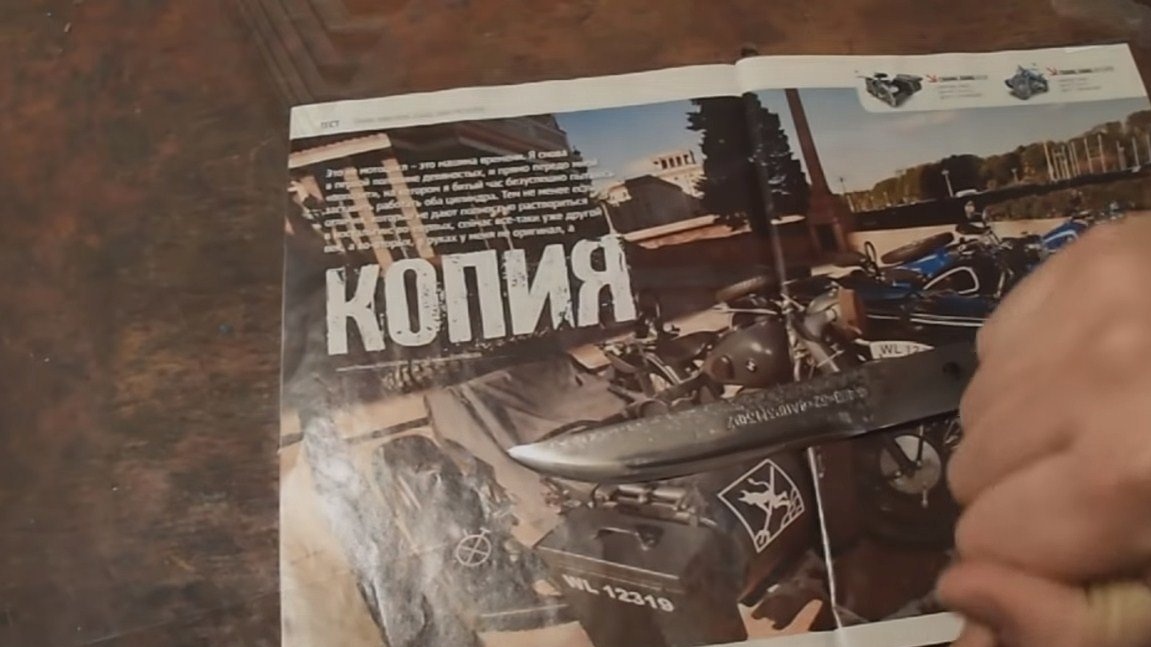
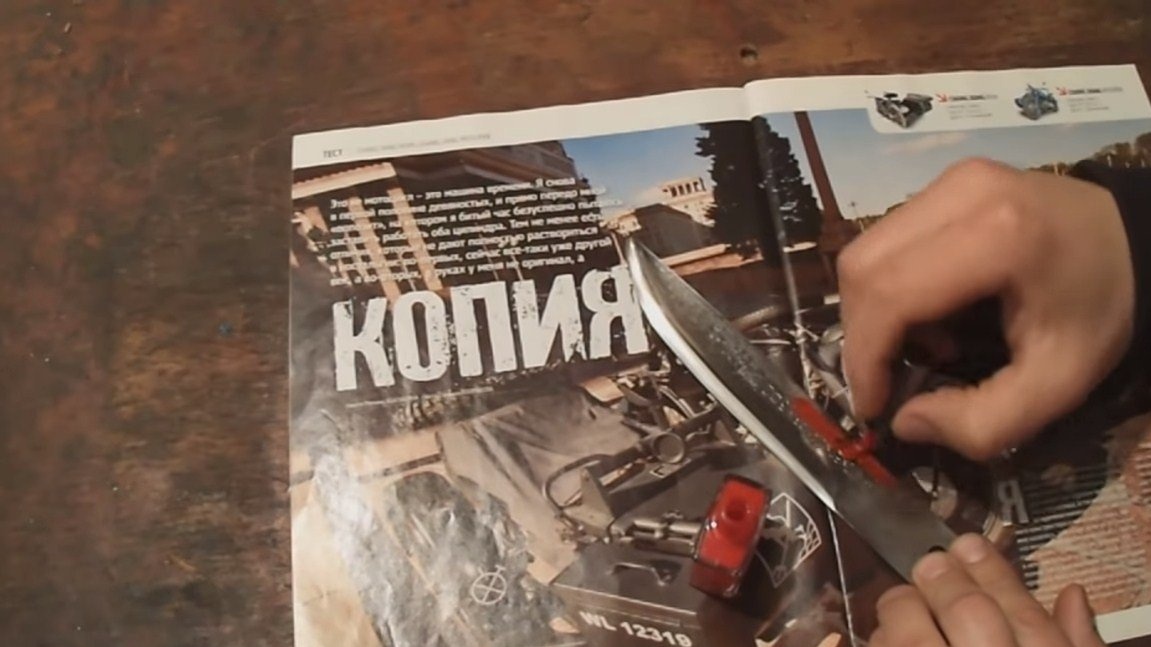
Sharpen the knife blade, then we need. It will allow you to sharpen the blade at a clearly defined angle. The author’s knife turned out to be very sharp, he easily cuts a newspaper with it. The steel here is strong, the blade should hold the sharpening for a long time.

That's all, the project is over, I hope you liked it. Good luck and creative inspiration, if you want to repeat this. Do not forget to share your ideas with us and homemade!