
This article will be interesting for both home and garage masters.
In it, the author of the YouTube channel "Mistry MakeTool" will tell you how to make a special attachment to the grinder for sharpening drills of various diameters at the right angle.
For the manufacture of homemade products, complex machines or a welding machine are not needed, everything can be done with a screwdriver and a saw.
Materials
- Thick sheet plywood
- Cutting boards
- Wooden beam
- Stud M6, washer, wing nut
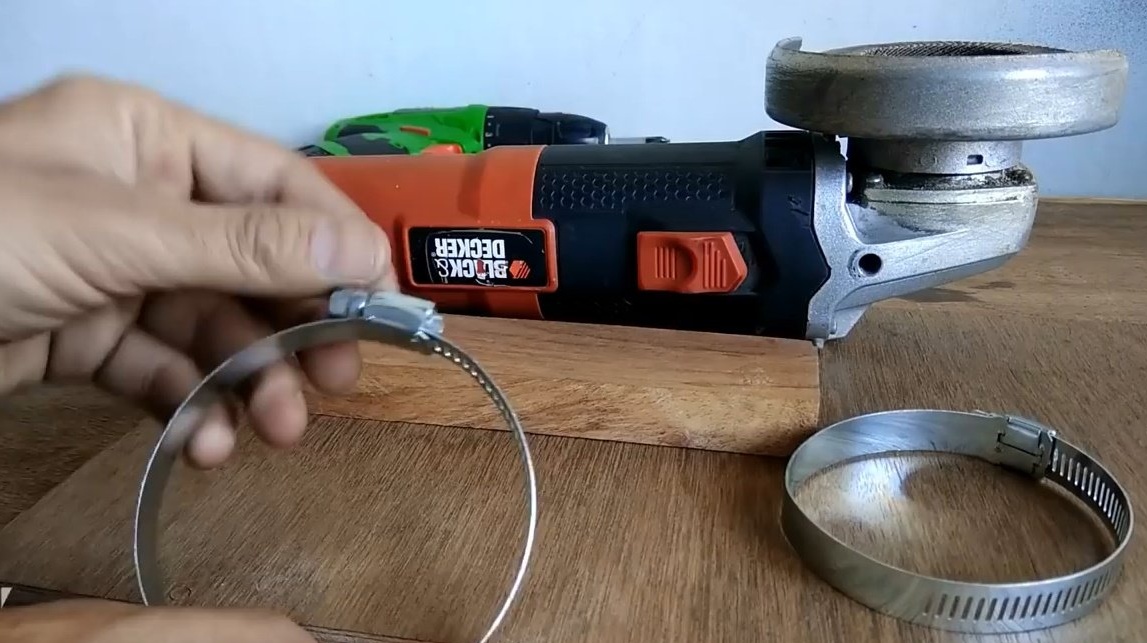
- Metal clamps
- Second glue
- PVA glue.
Instruments, used by the author.
- Drilling machine
- ballerina
- Countersink drill
- Bulgarian, diamond blade
- Screwdriver
- clamps
- File
- screwdriver
- Set of drills
- Square, ruler, marker.
Manufacturing process.
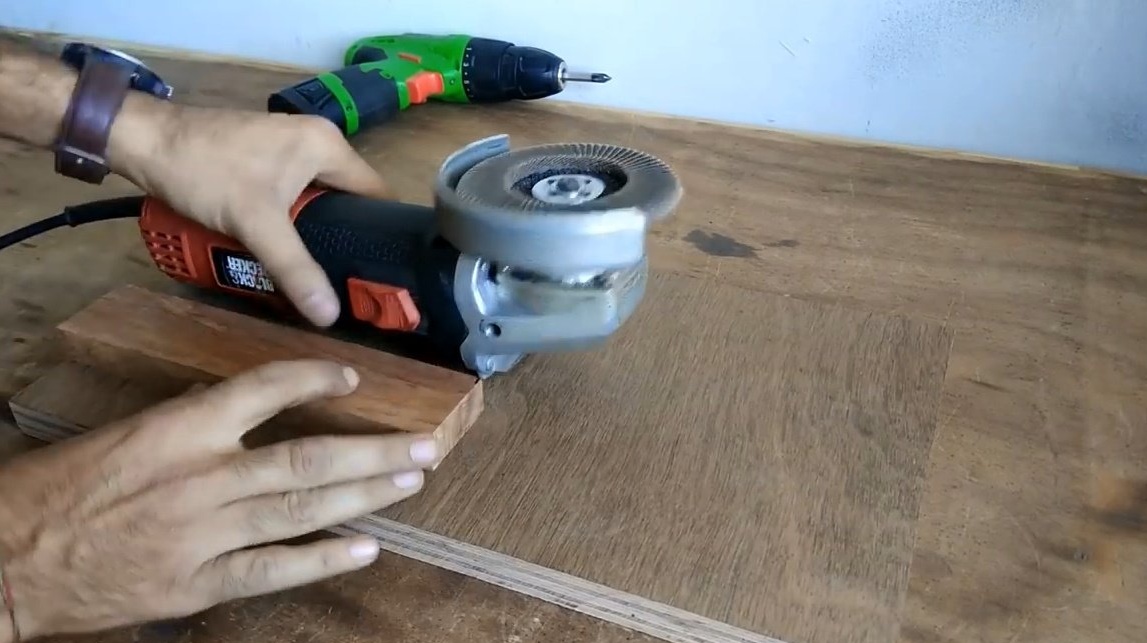
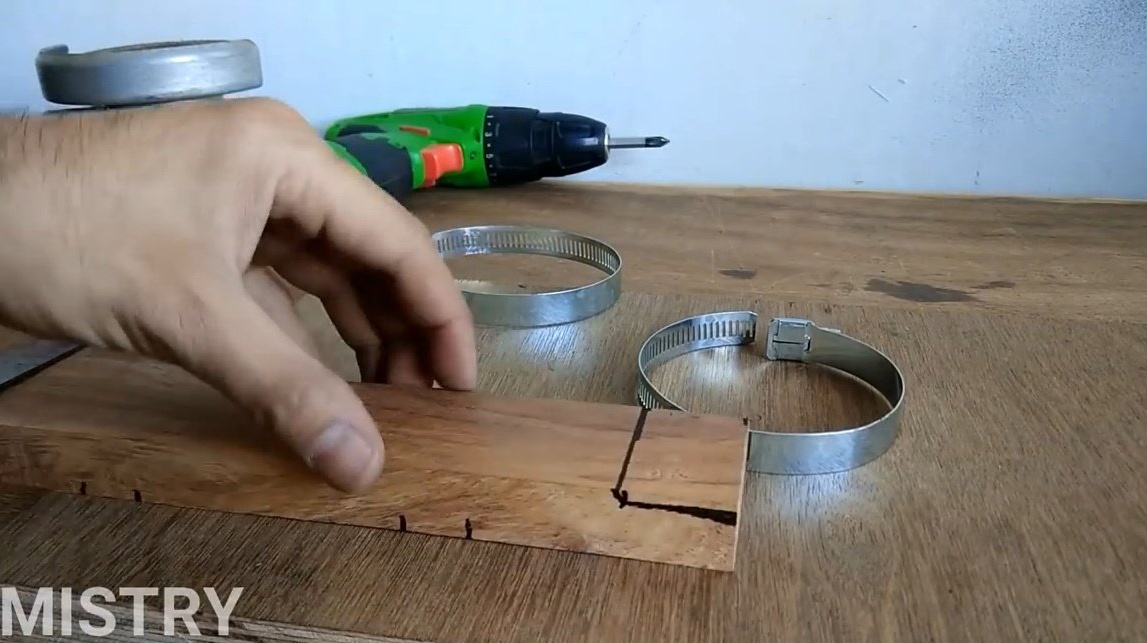
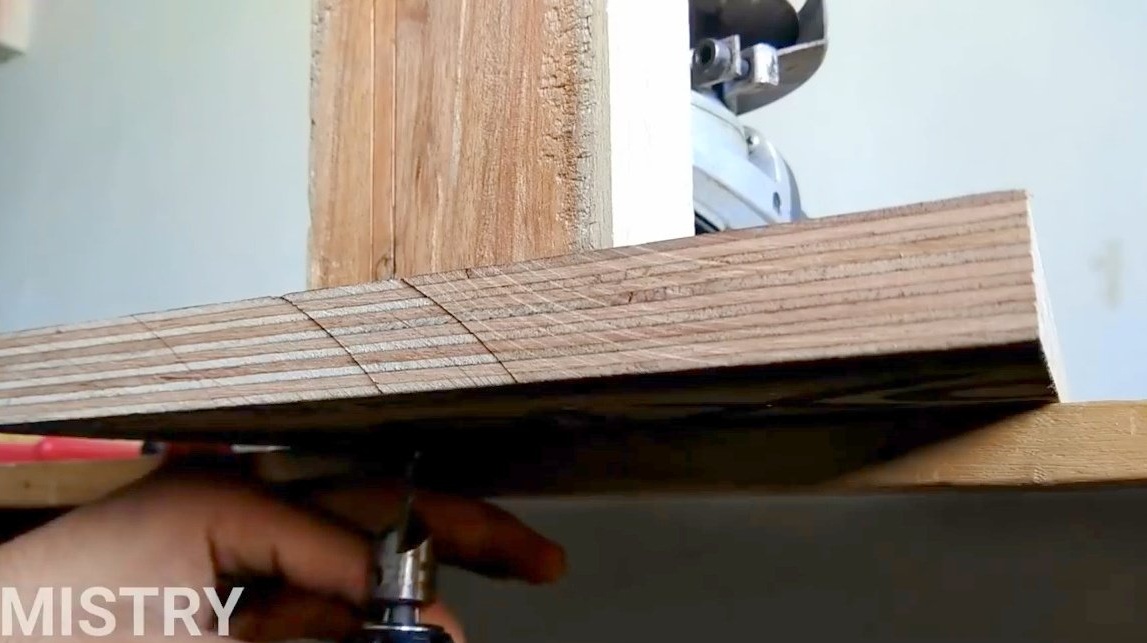
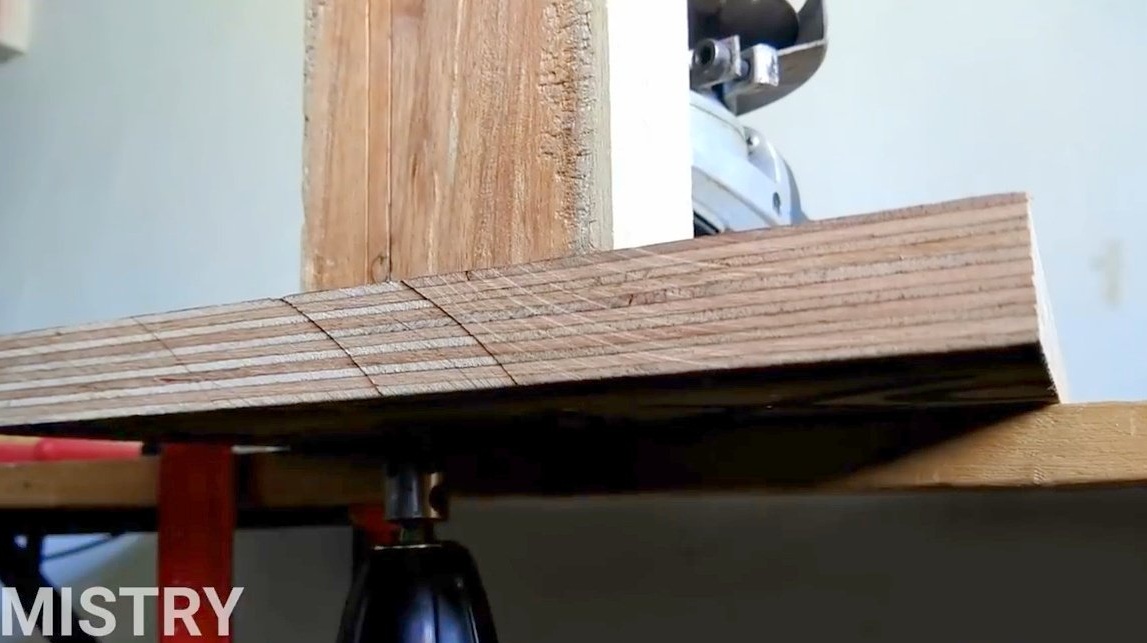
As a basis, the author uses a piece of thick plywood. For a lining under the grinder tries on a piece of the board.
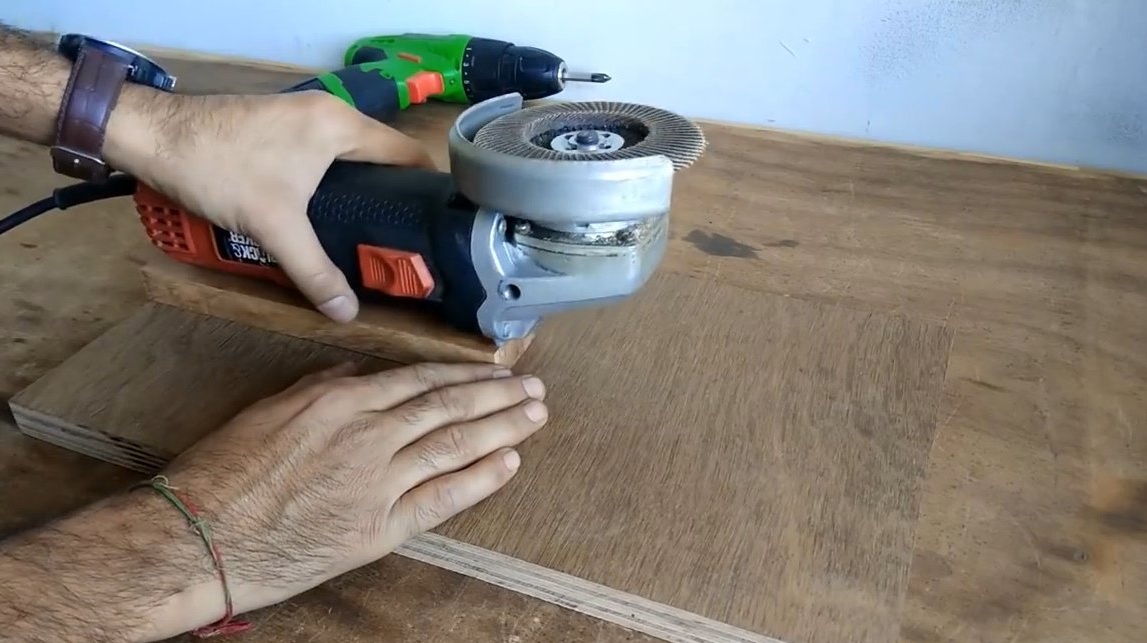
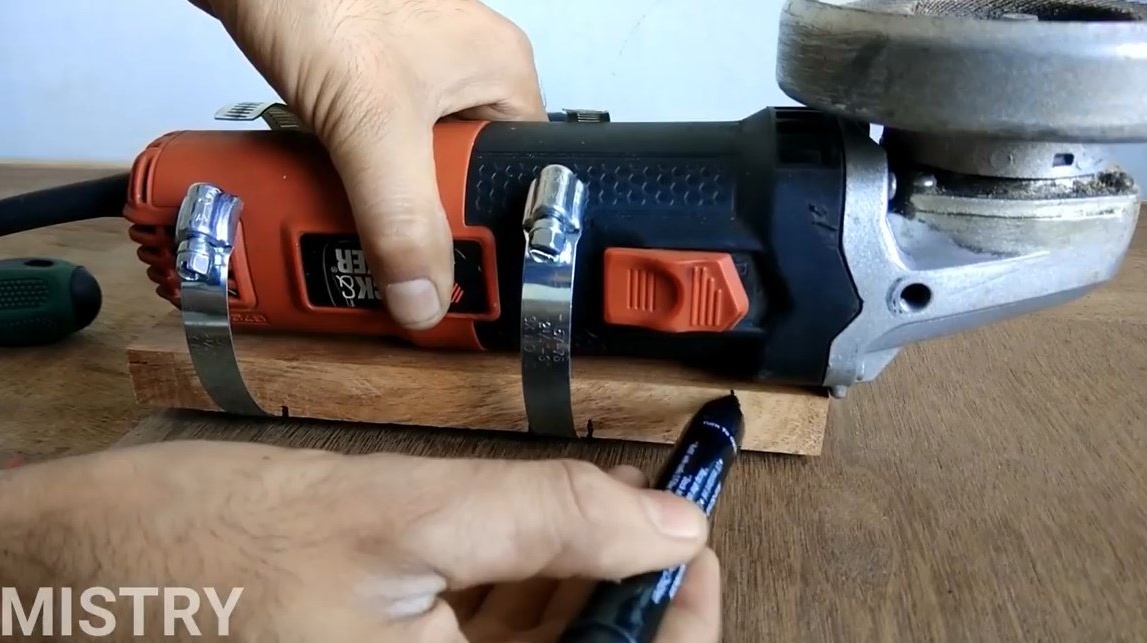
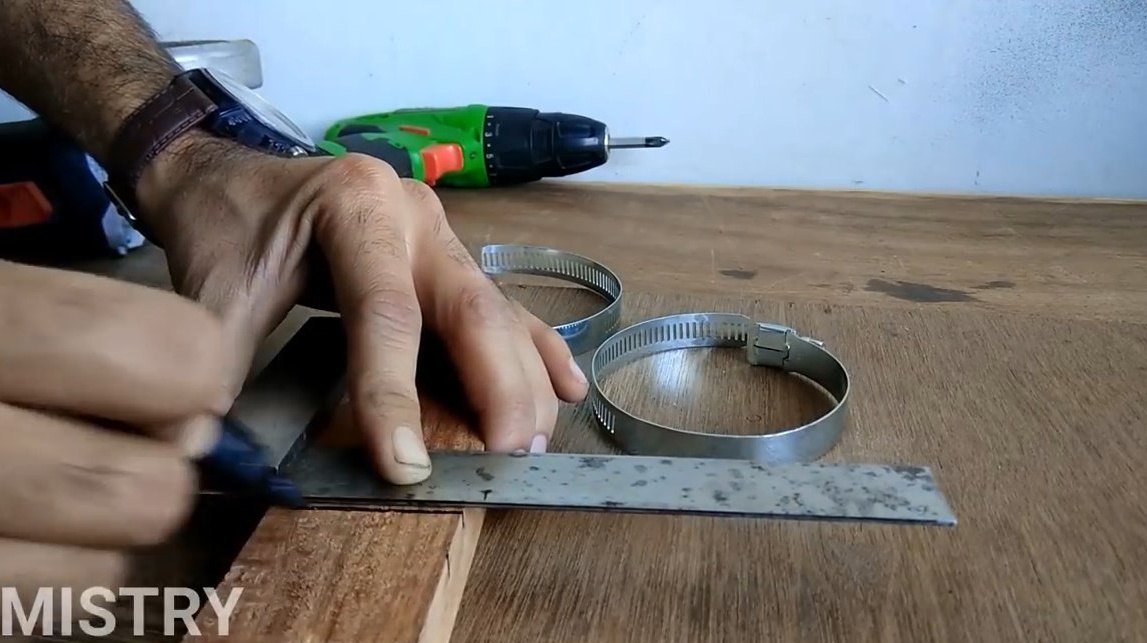
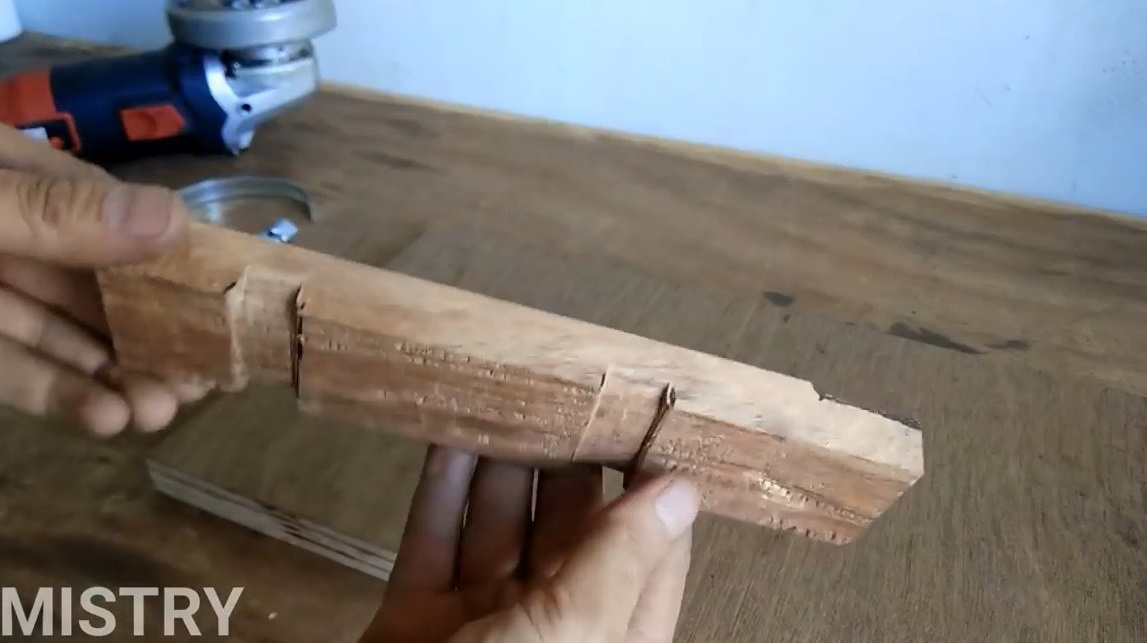
Having approximately attached the clamps, he marks the future grooves with a marker. Also marks the location for a recess under the protrusion of the gearbox.
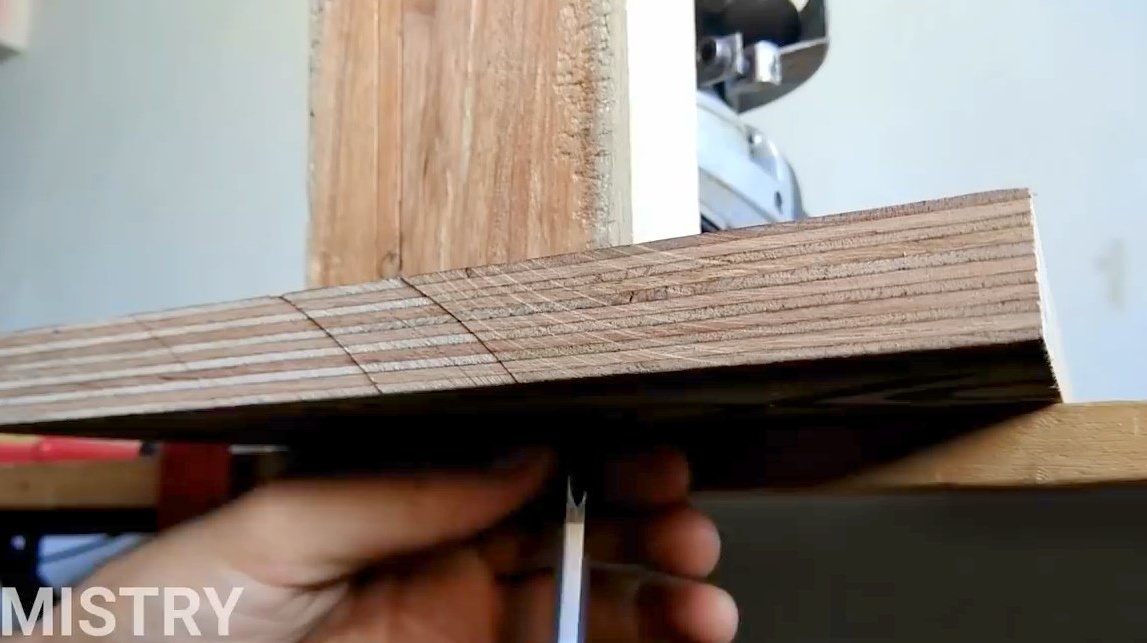
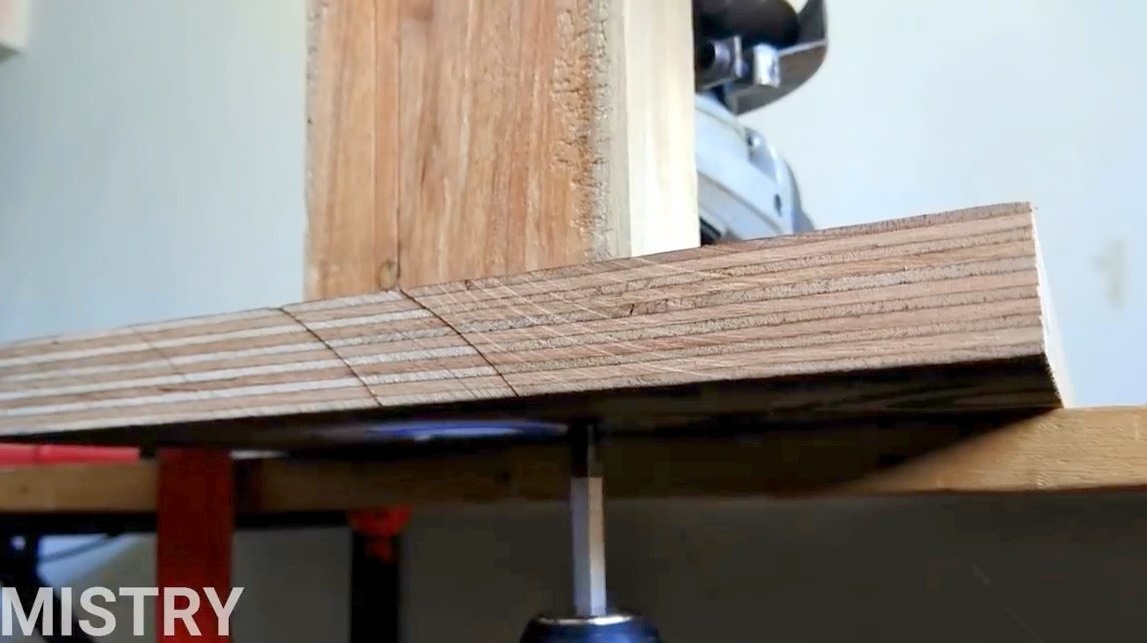
Now extends the side marking using a square.
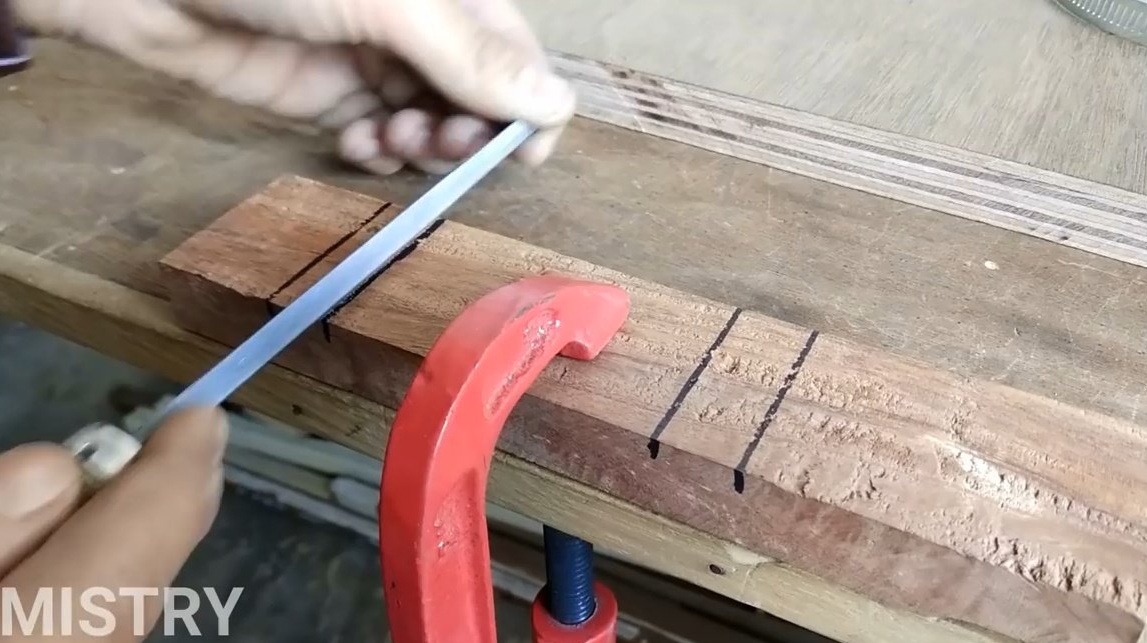
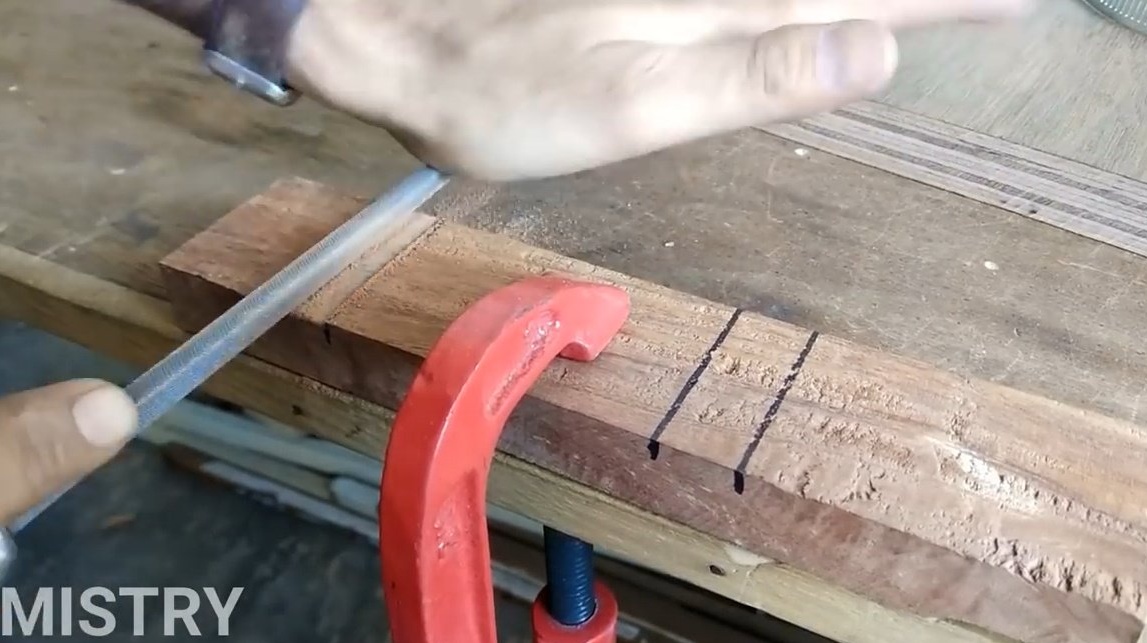
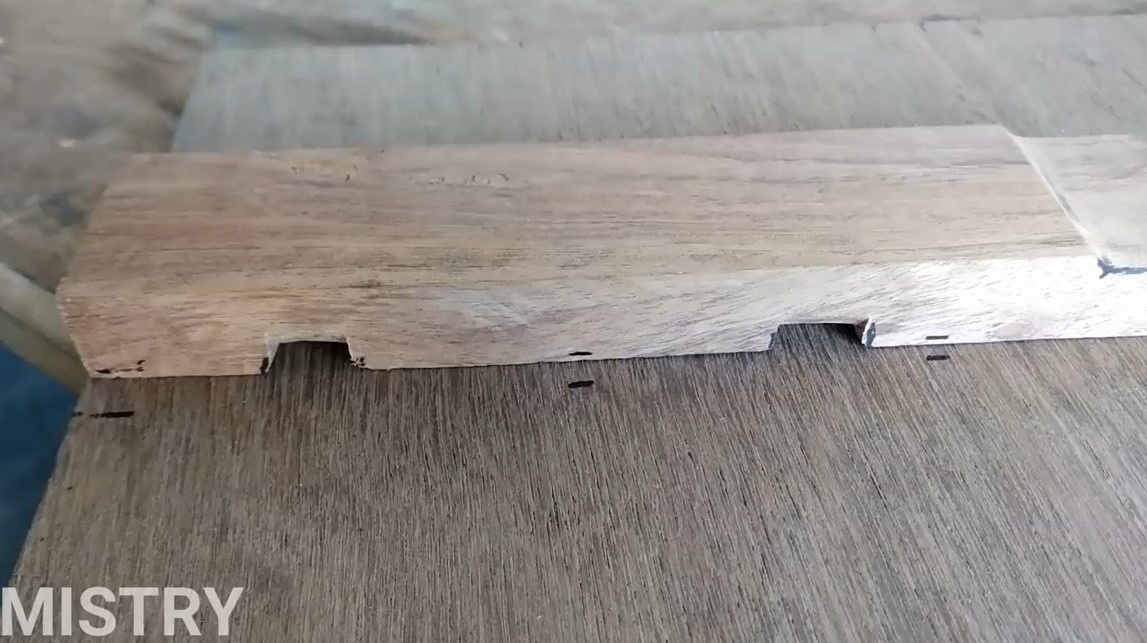
Having fixed the board with a clamp, it cuts through the necessary grooves using an ordinary file.
Although here she is, a Bulgarian with a stripping petal disk ... It was possible to make grooves for her as well.

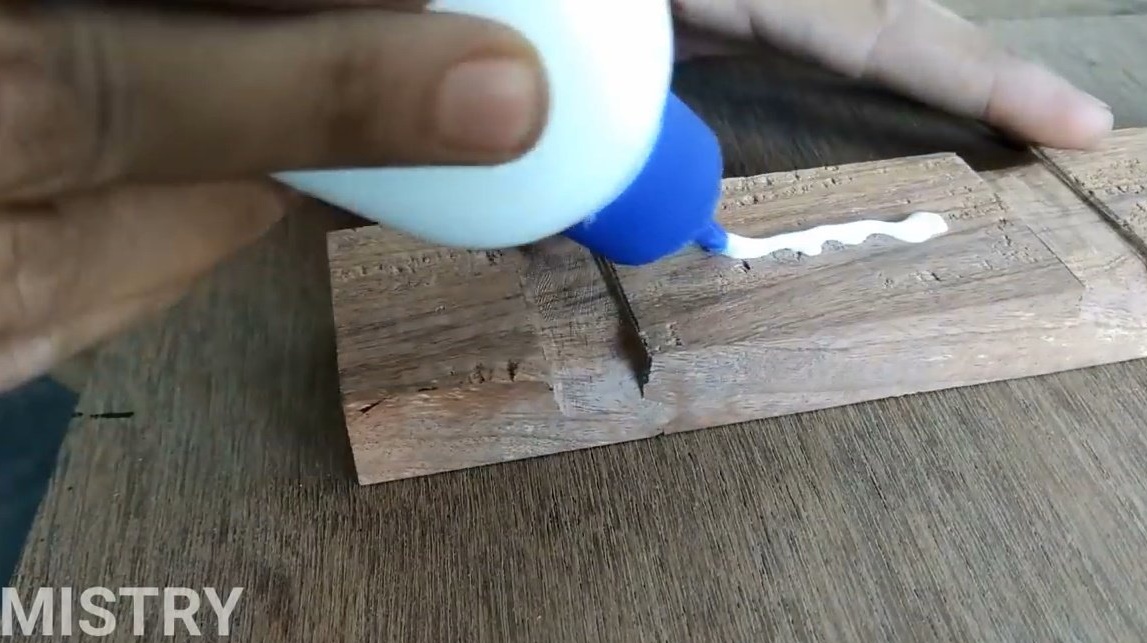
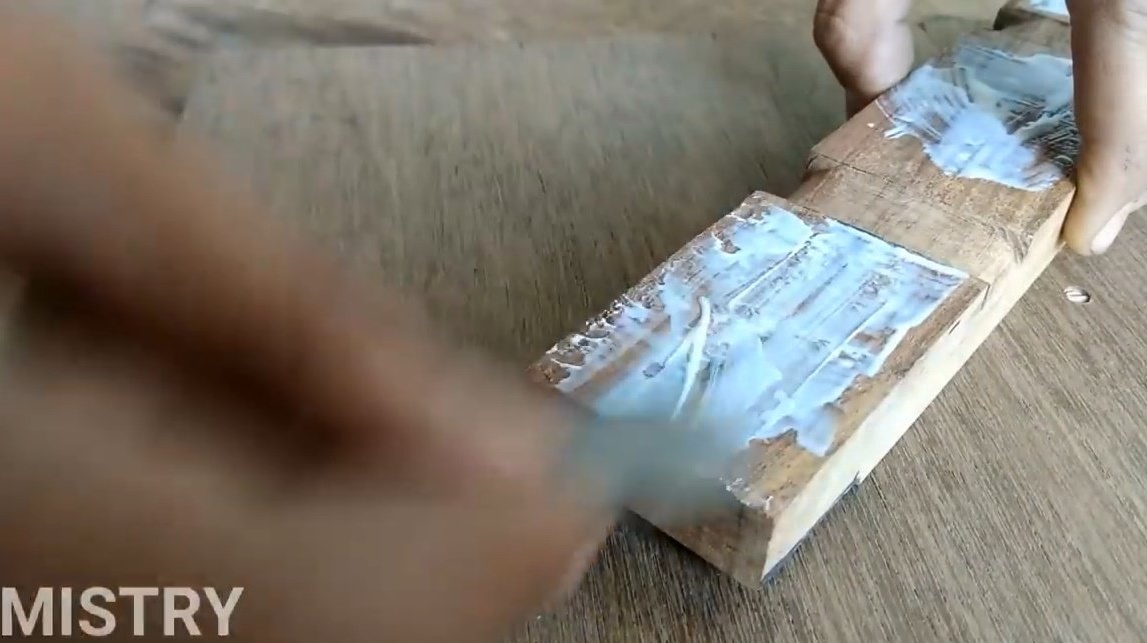
Further, it lubricates the surface of the board with PVA glue, presses the clamp to the base.

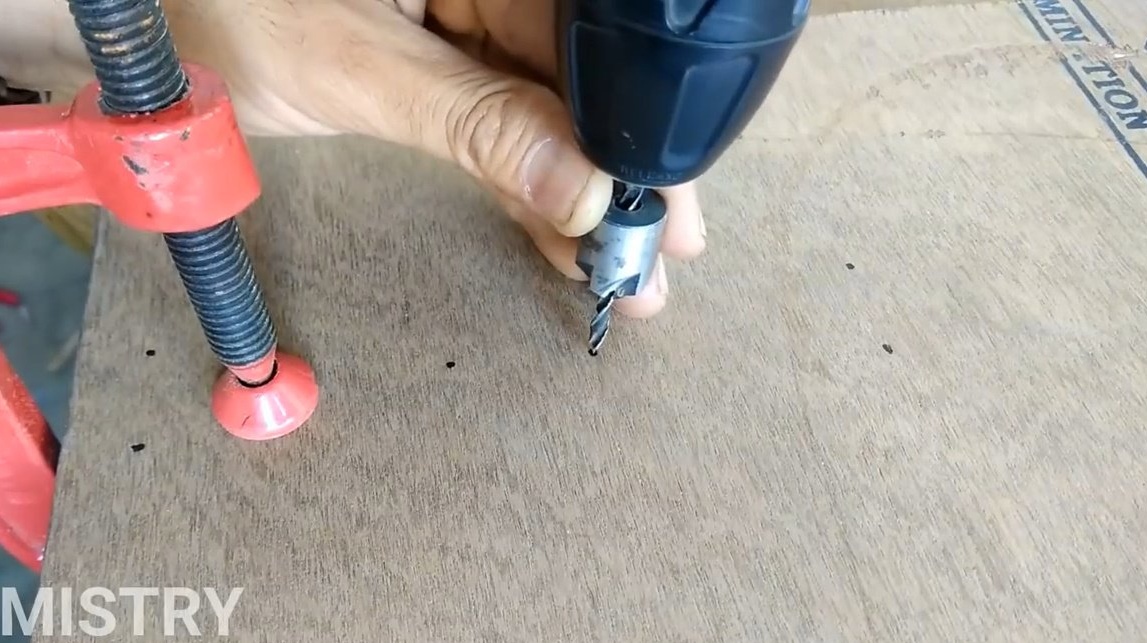
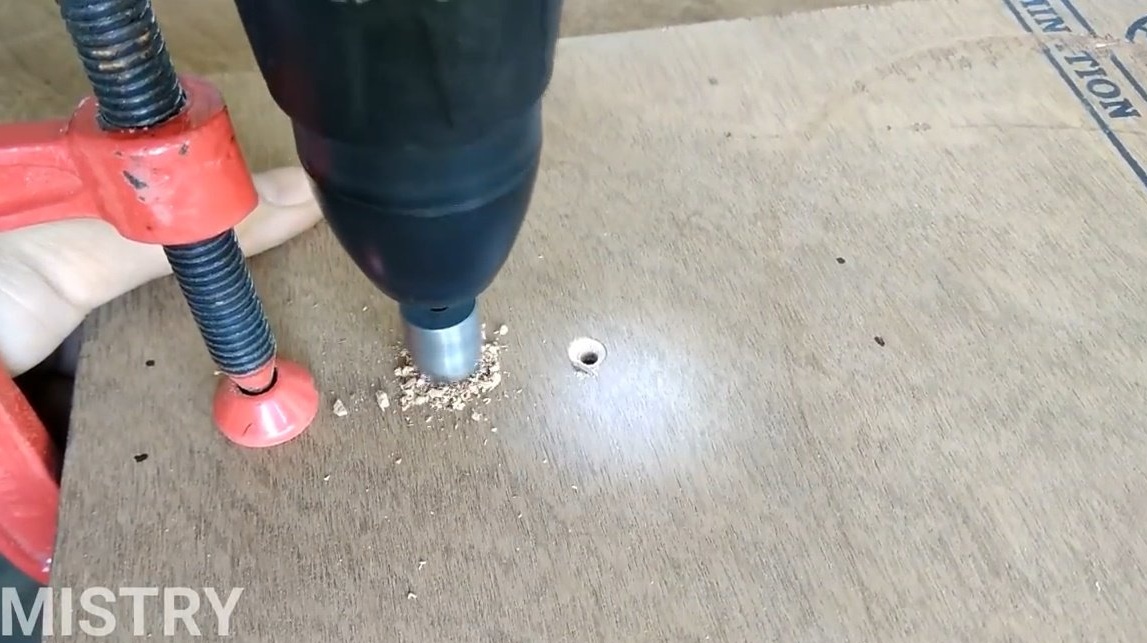
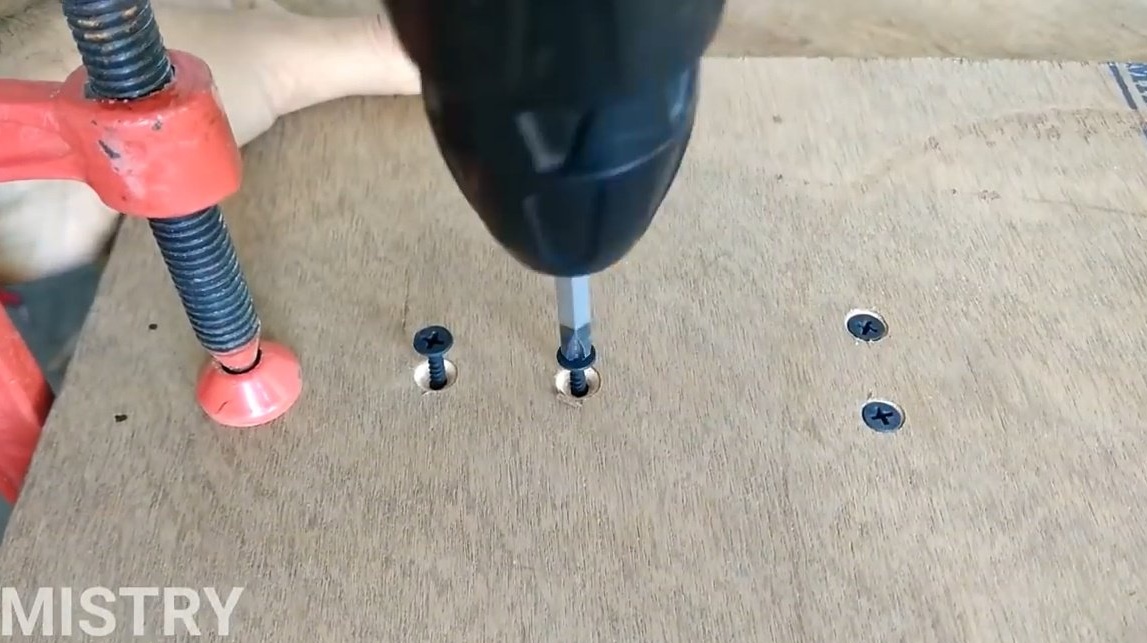
Then it turns the base over, countersinks the holes and fixes the blanks with each other additionally, using ordinary wood screws.
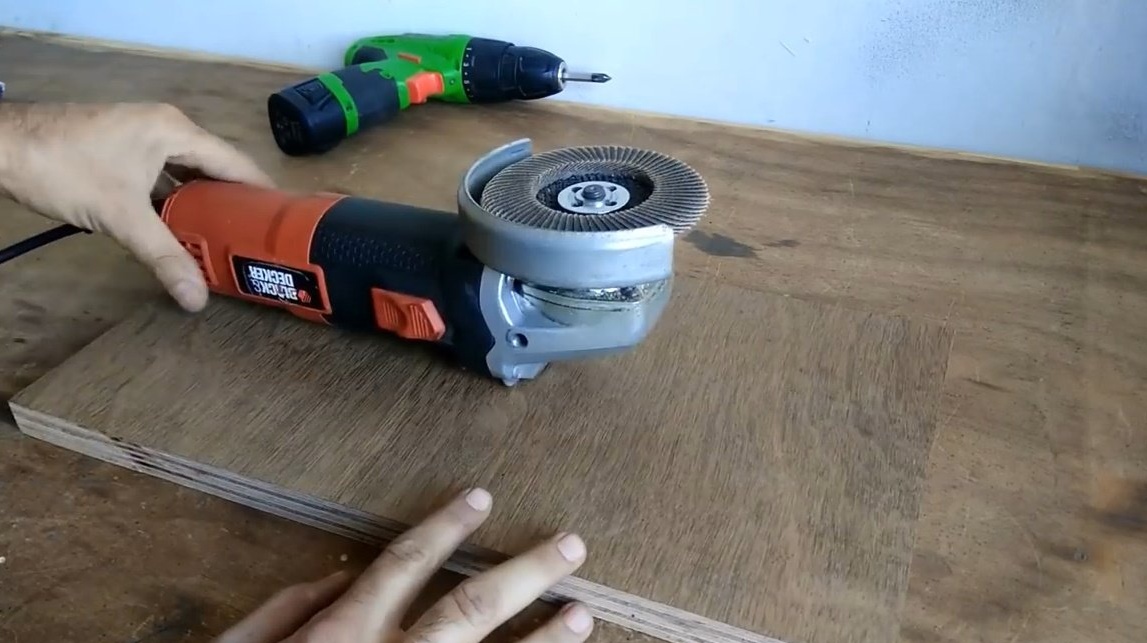
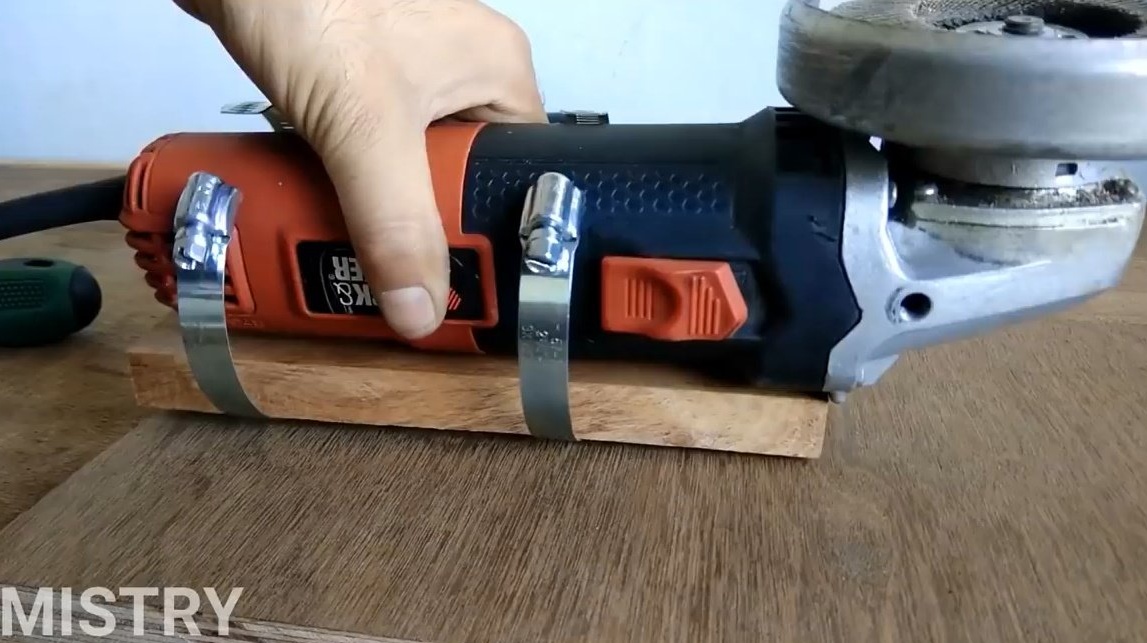
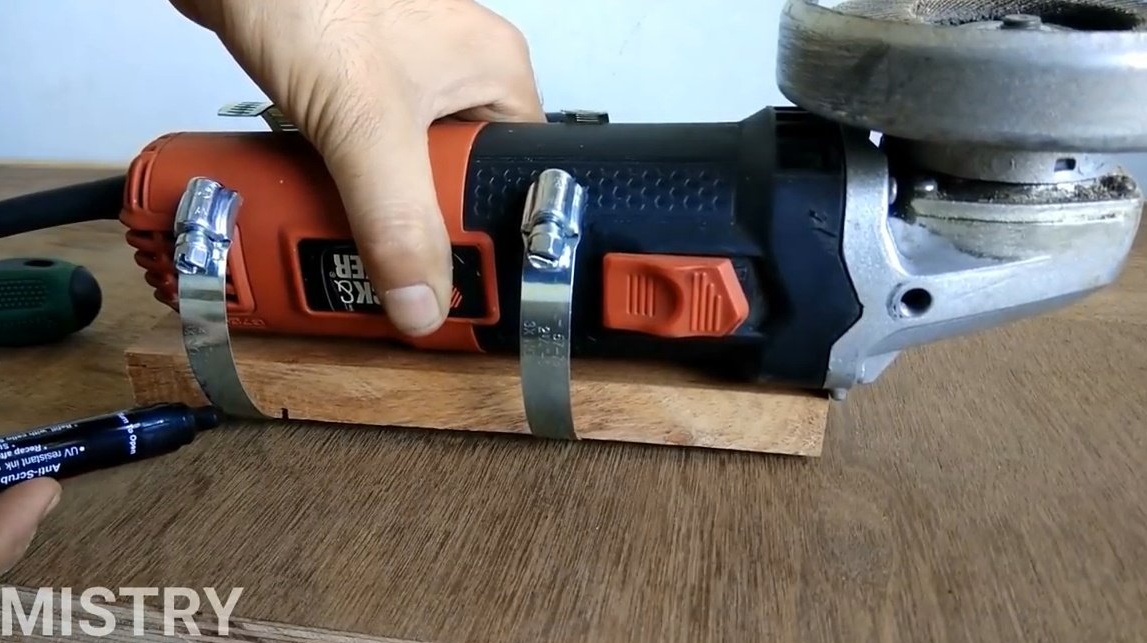
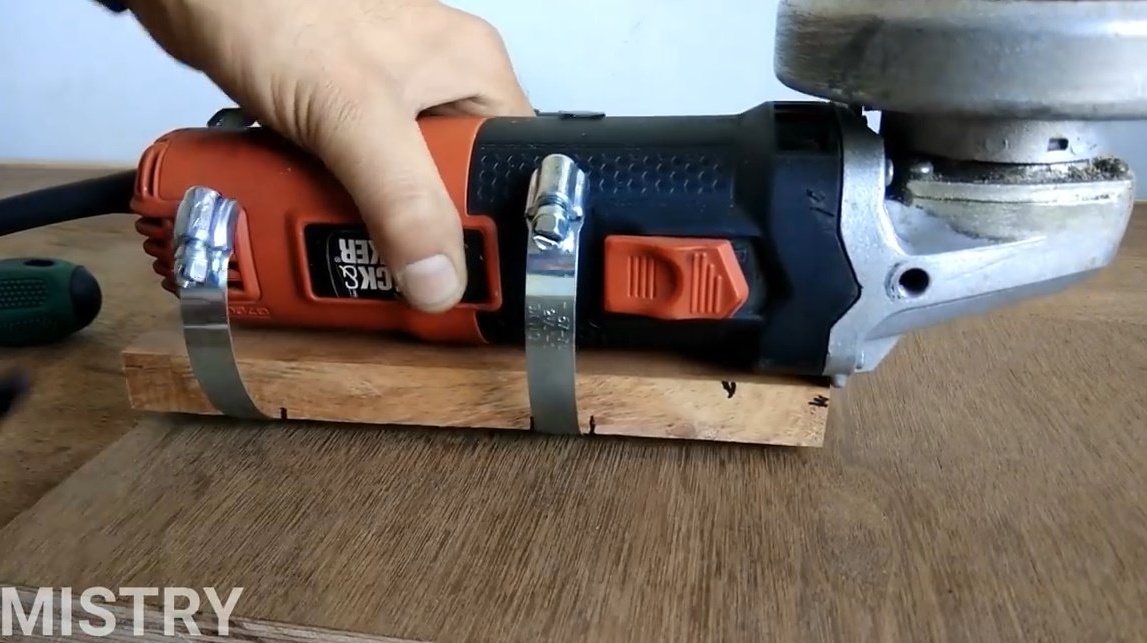
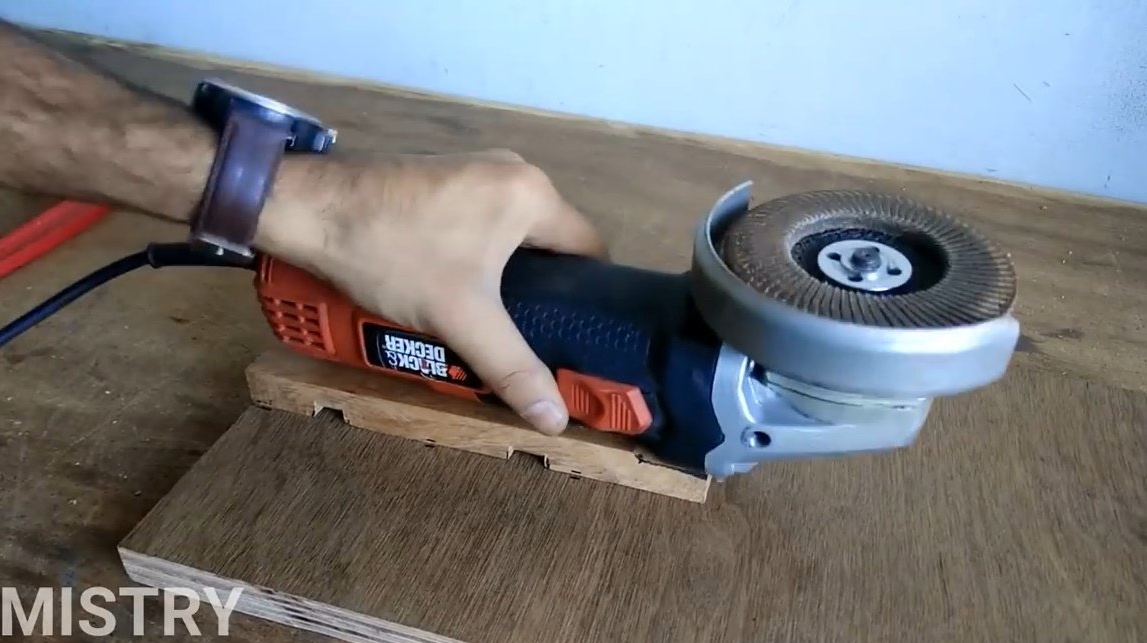
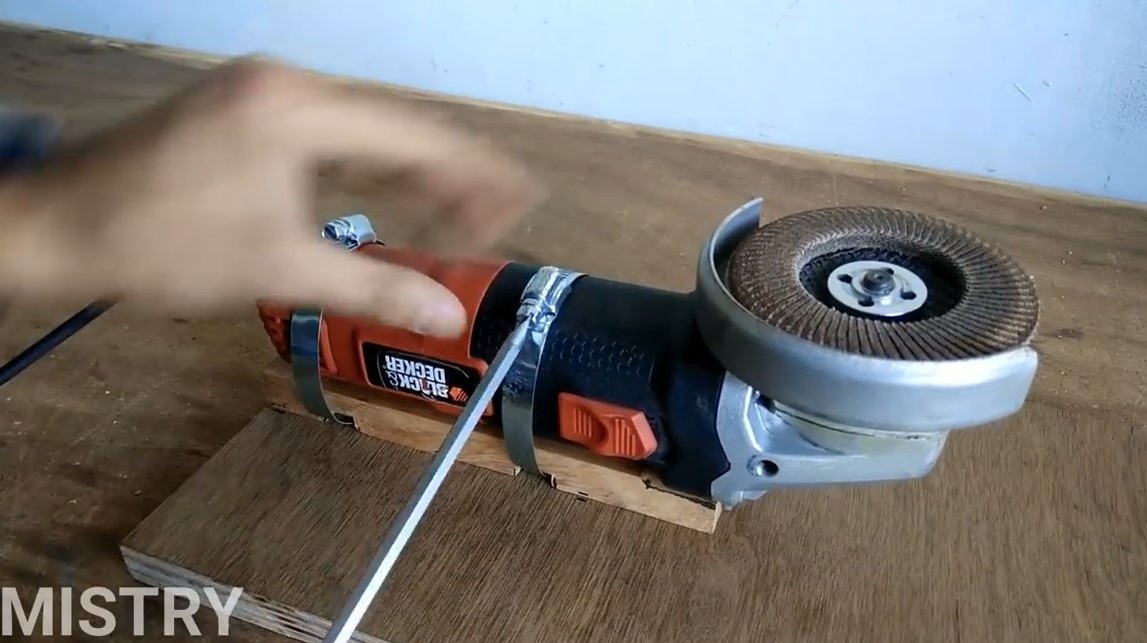
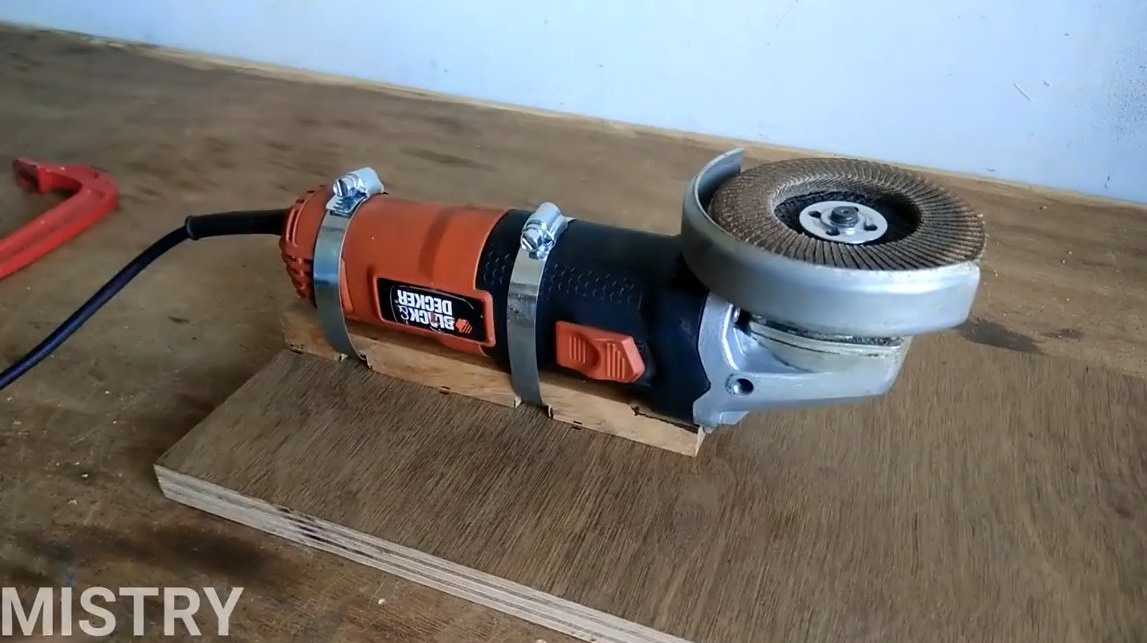
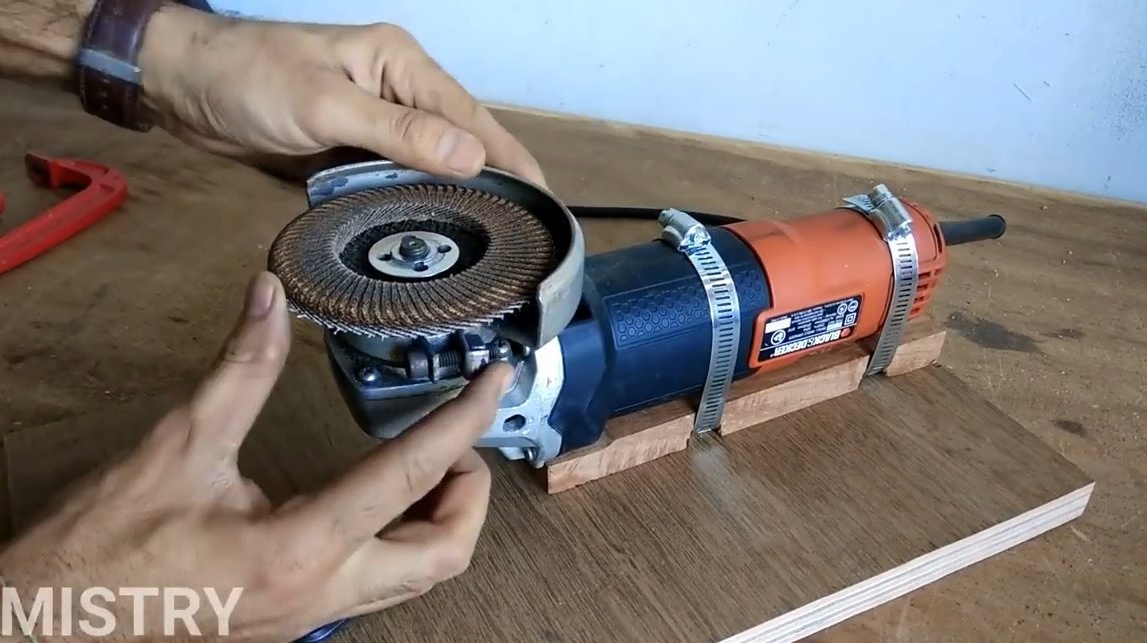
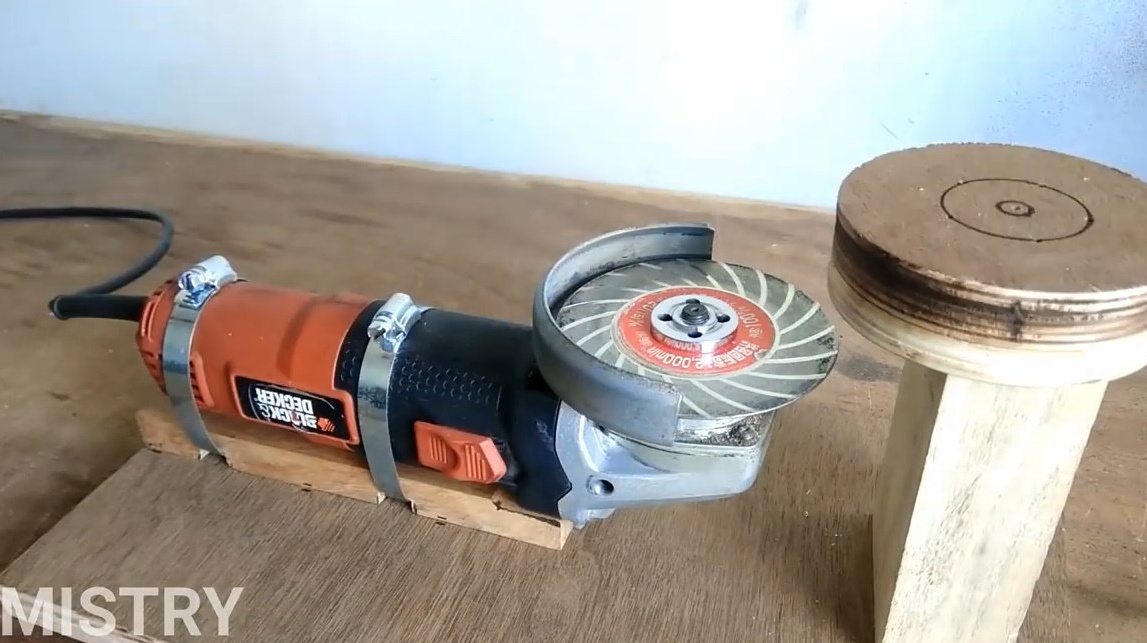
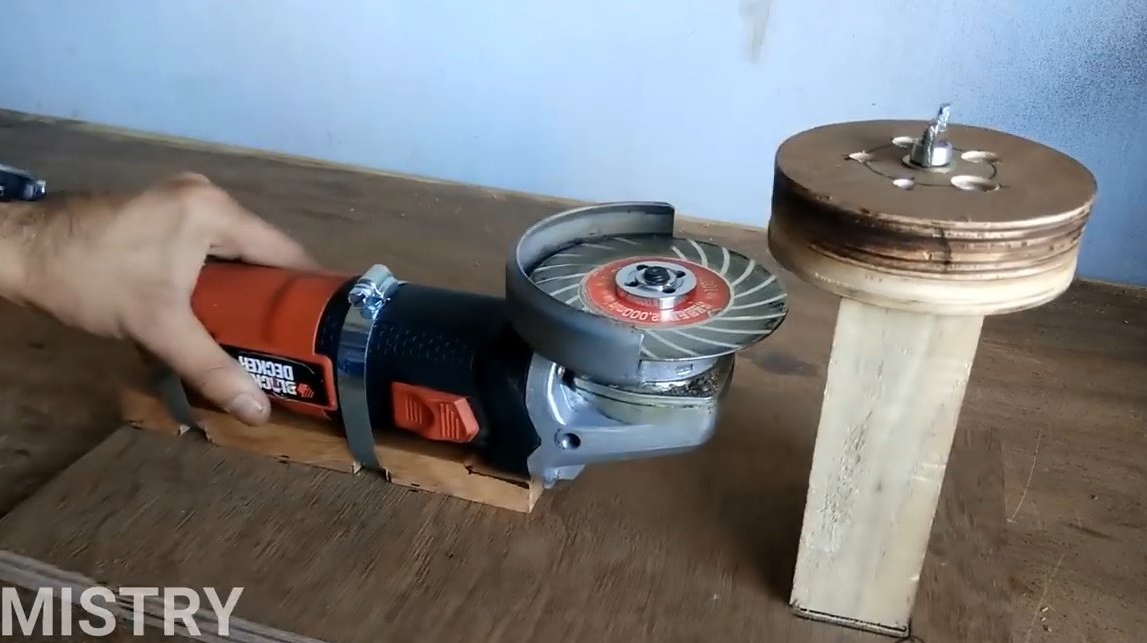
Secures the grinder with clamps, everything seems to fit. Rubber should be placed under the clamps so that they do not scratch the tool body.

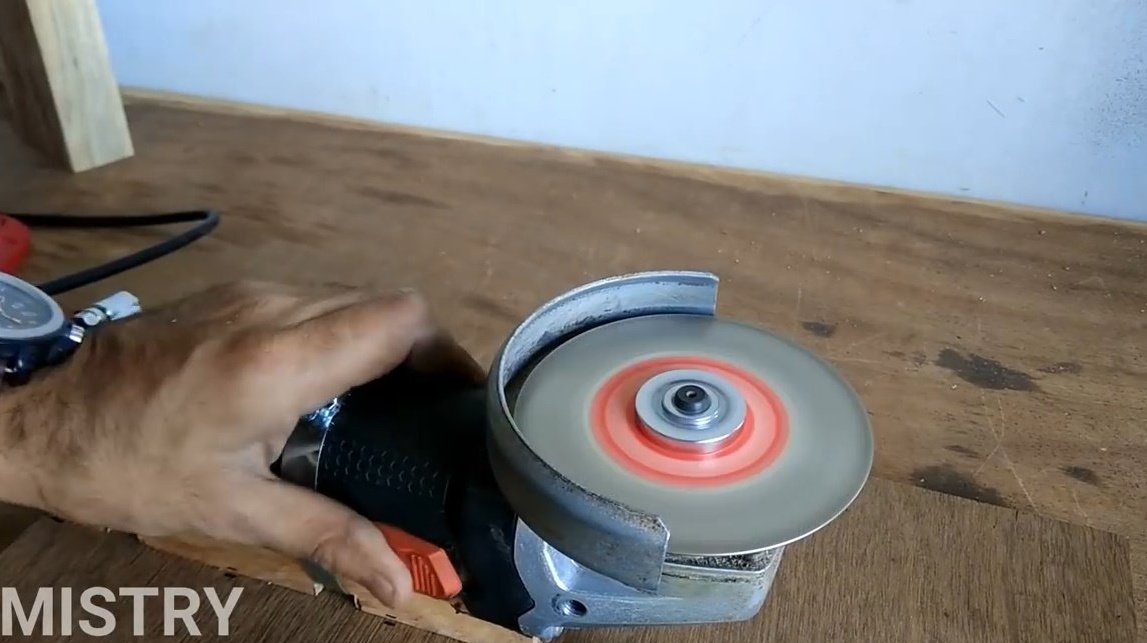
Now, releasing the clip of the protective cover, slightly expands it.
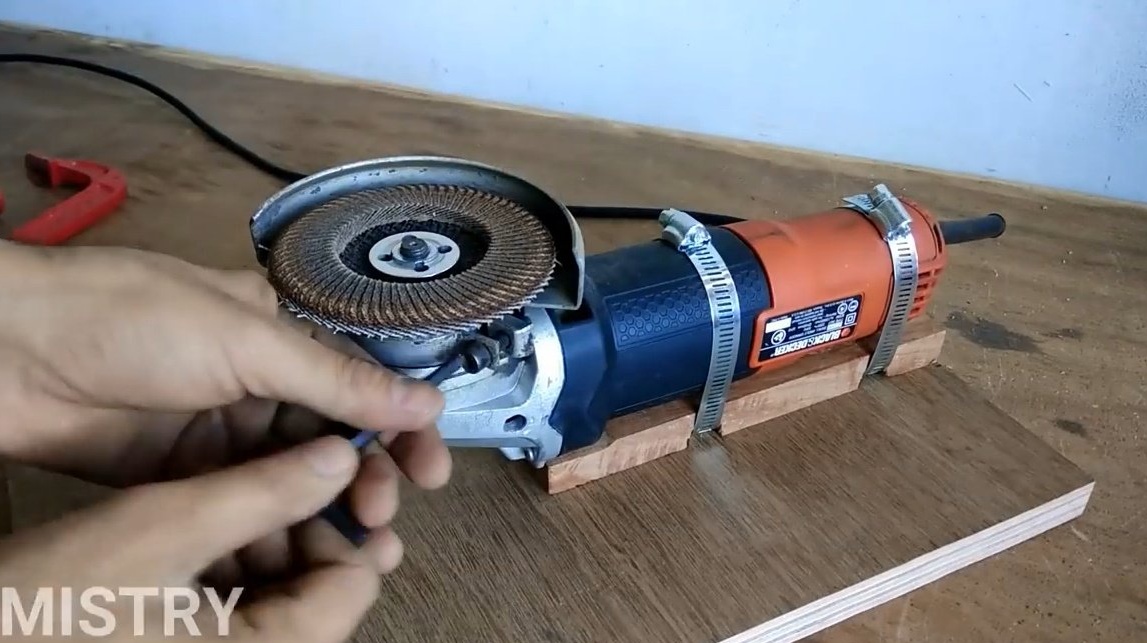
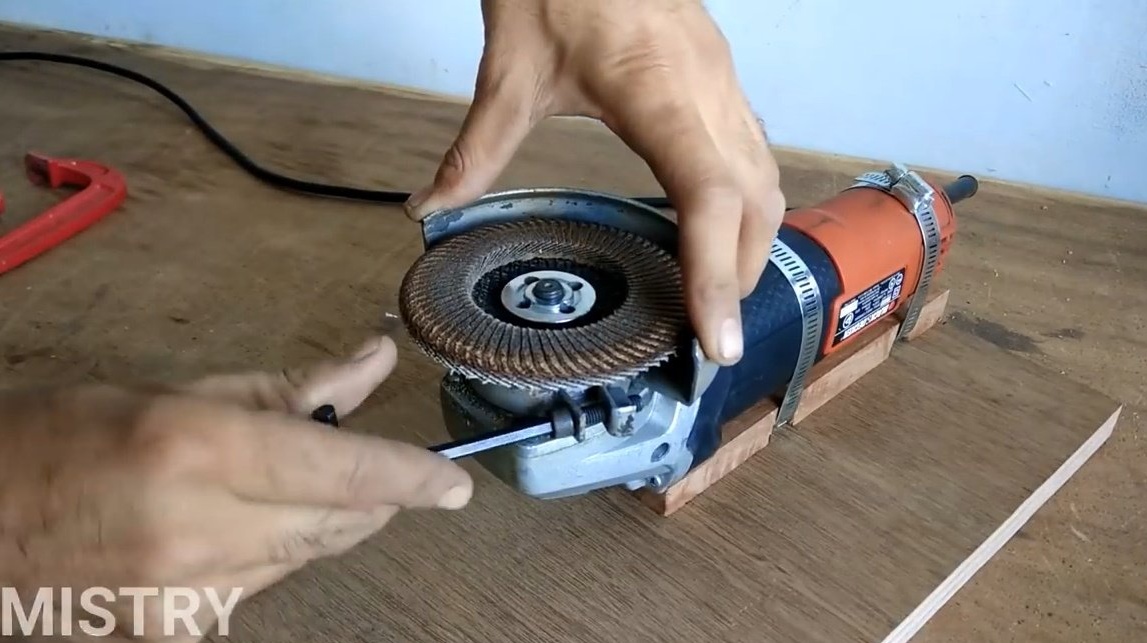
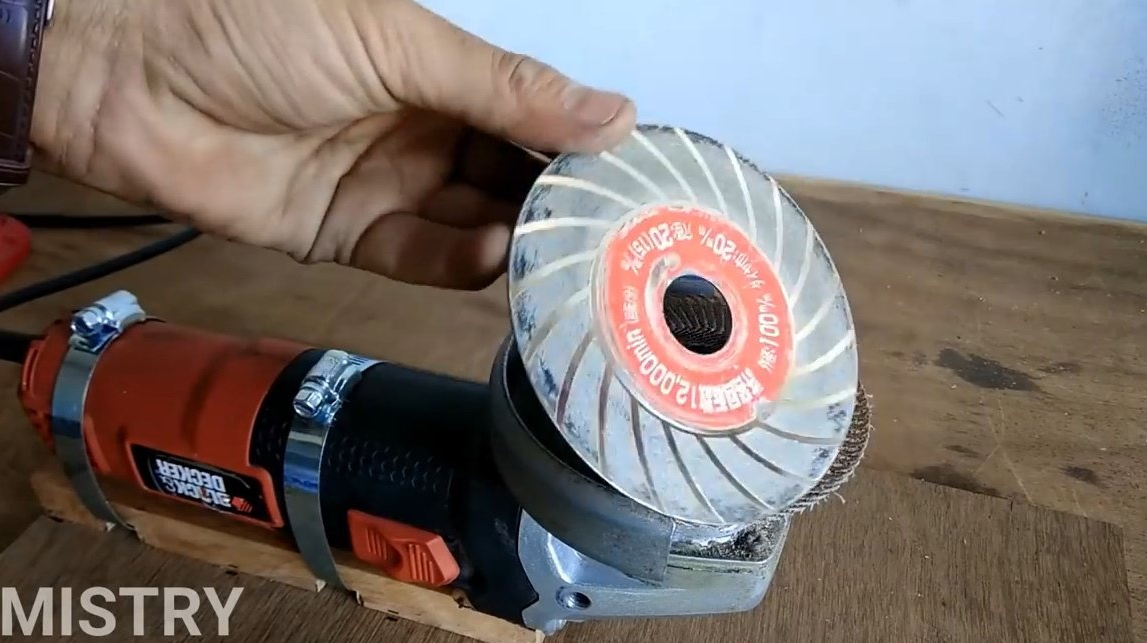
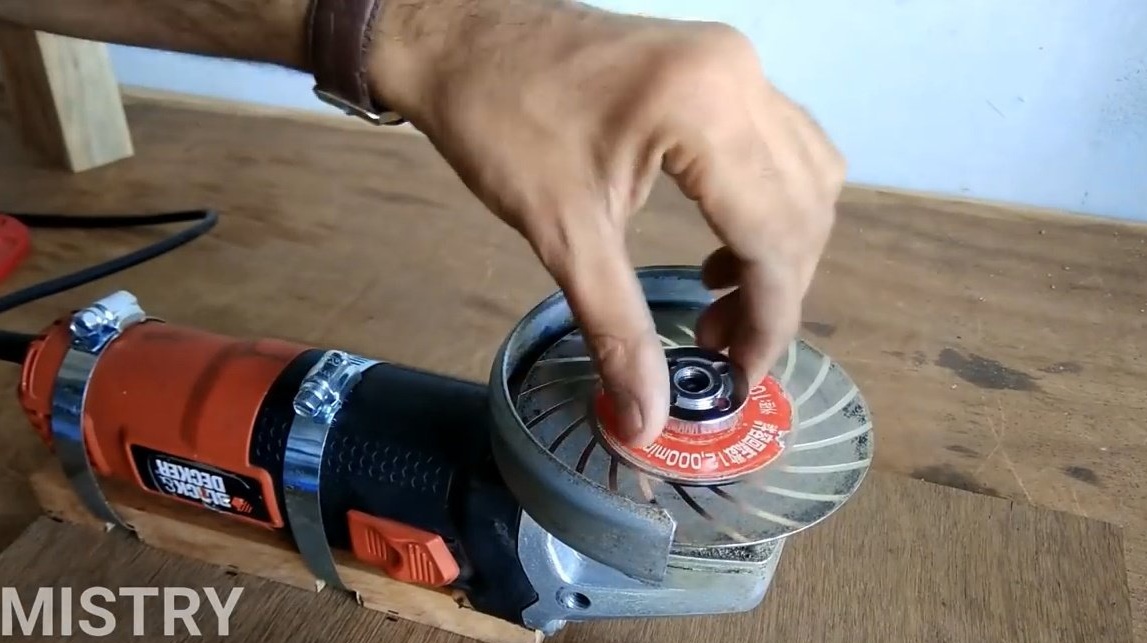
Replaces the petal stripping disc with a diamond one.
Further, on a drilling machine, with the help of a ballerina, cuts two circles from thick sheet plywood.
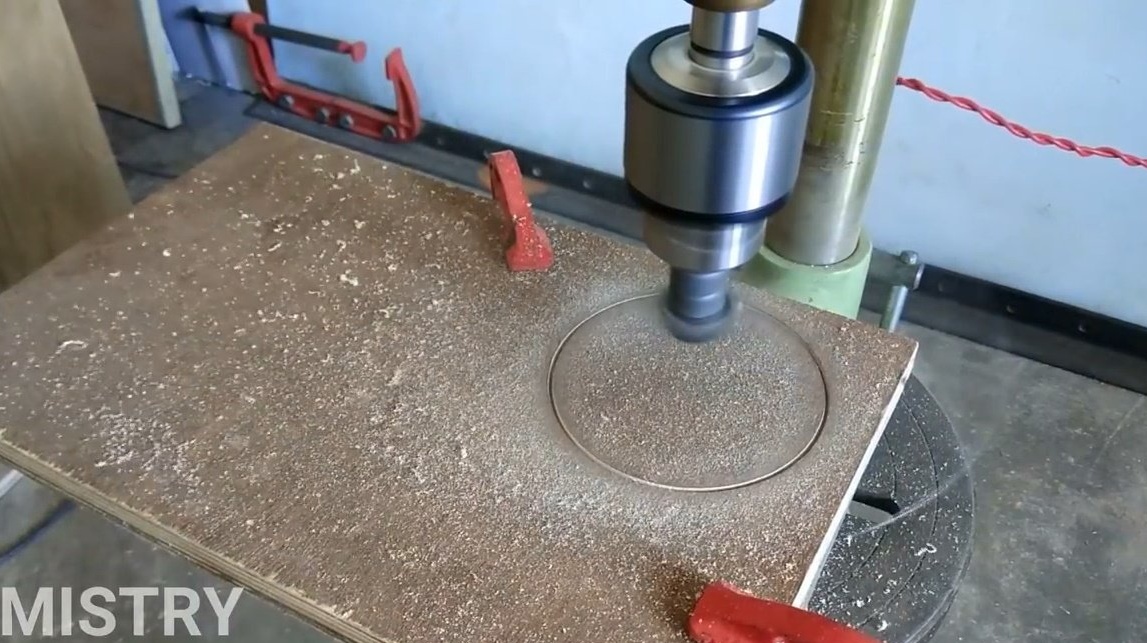

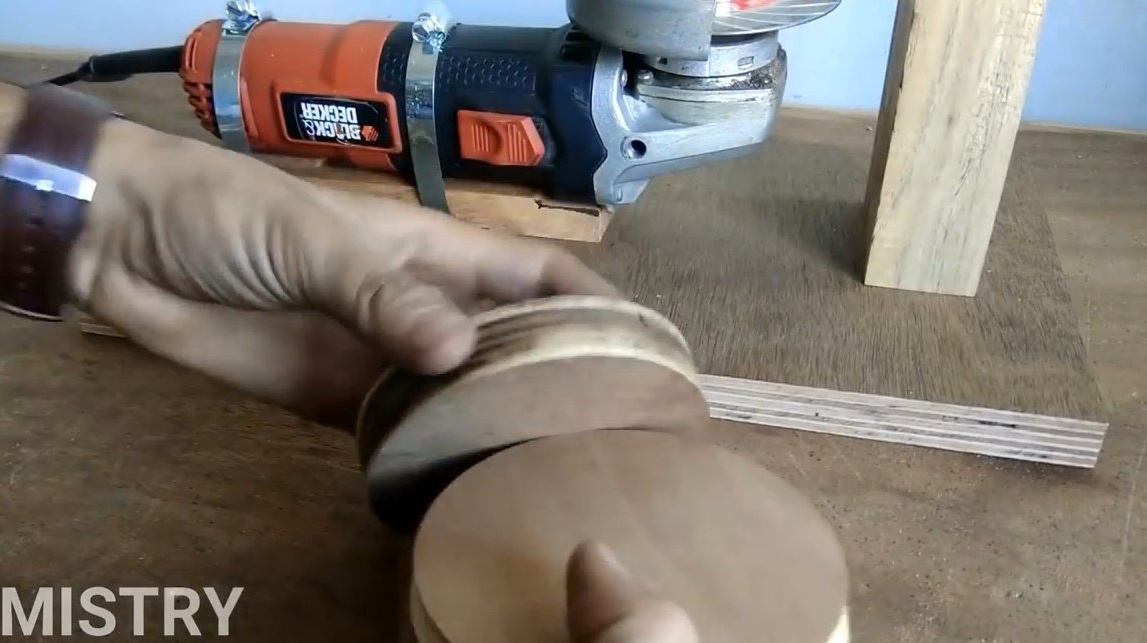
The thickness of plywood was not enough for the author, and he glued the circles together.
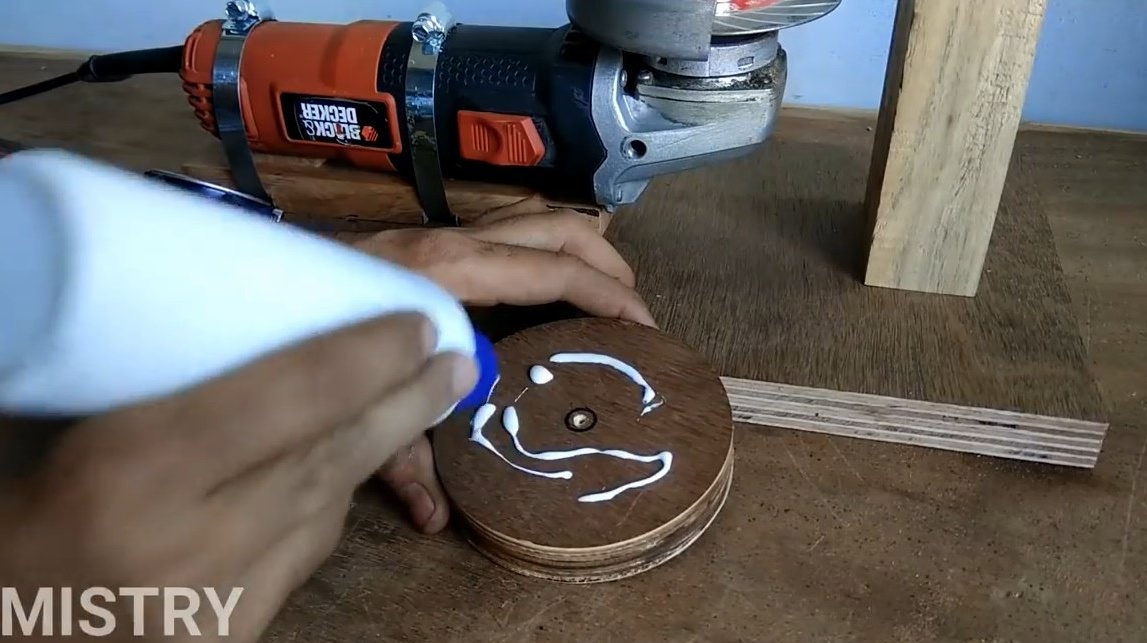
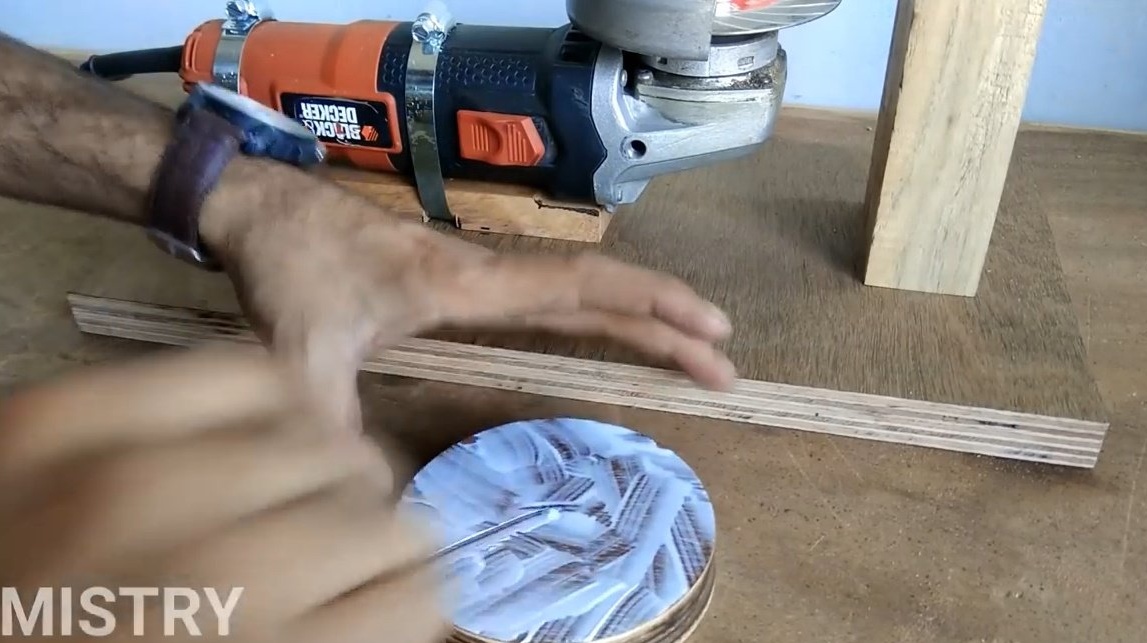
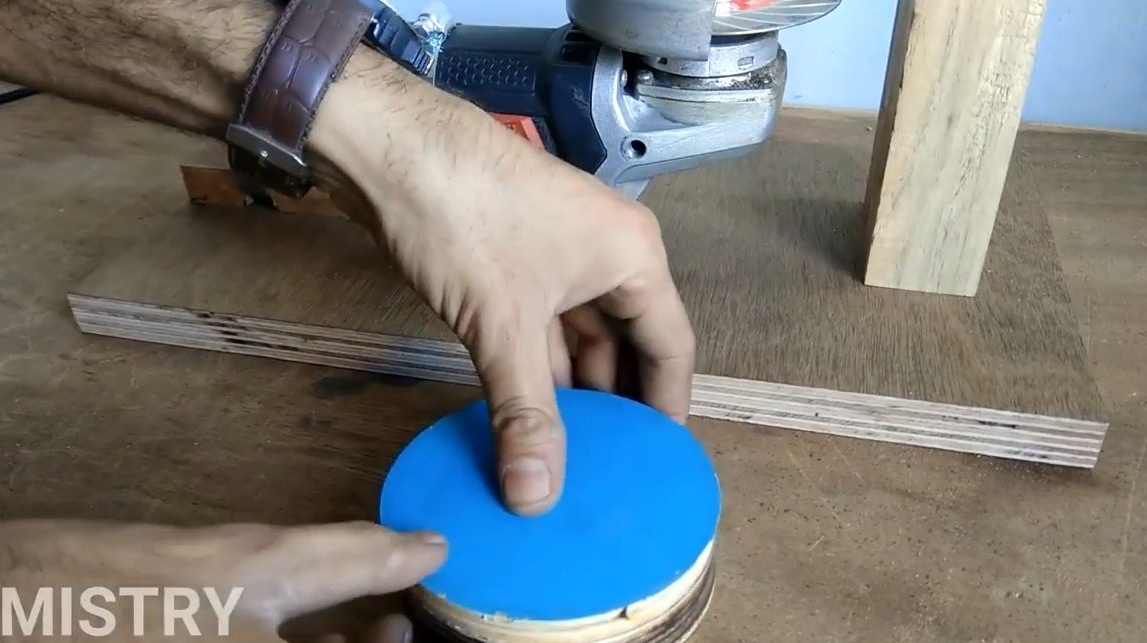
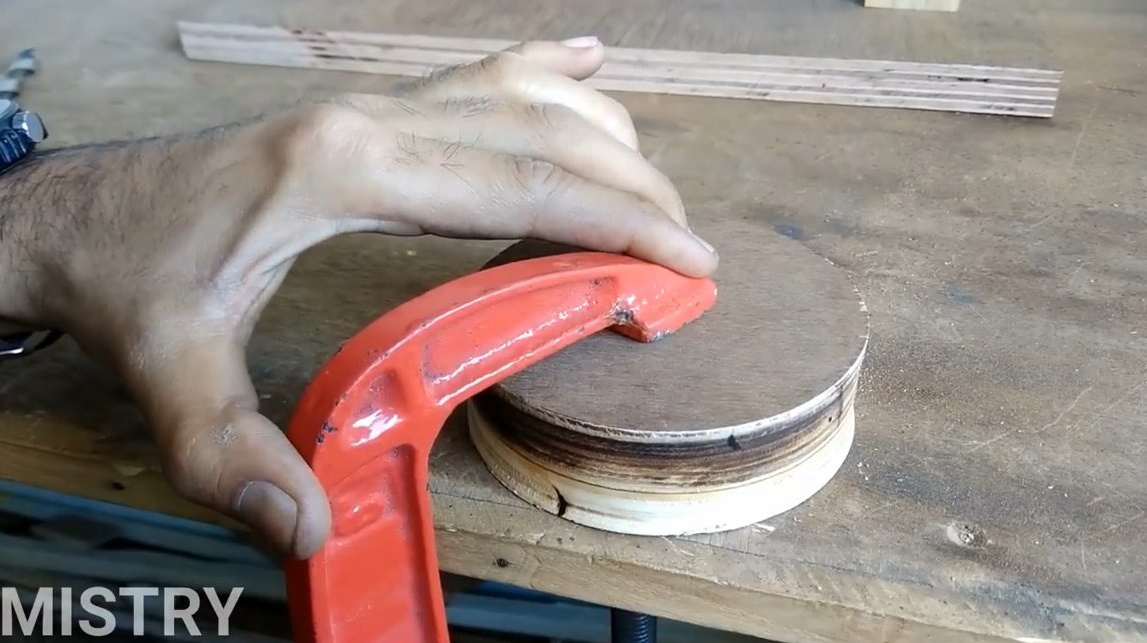
While the design looks like this.
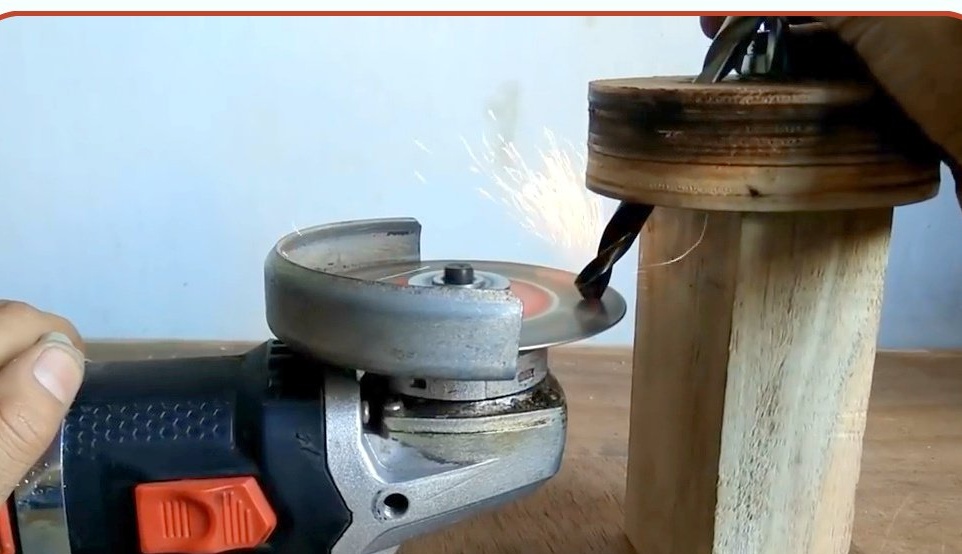
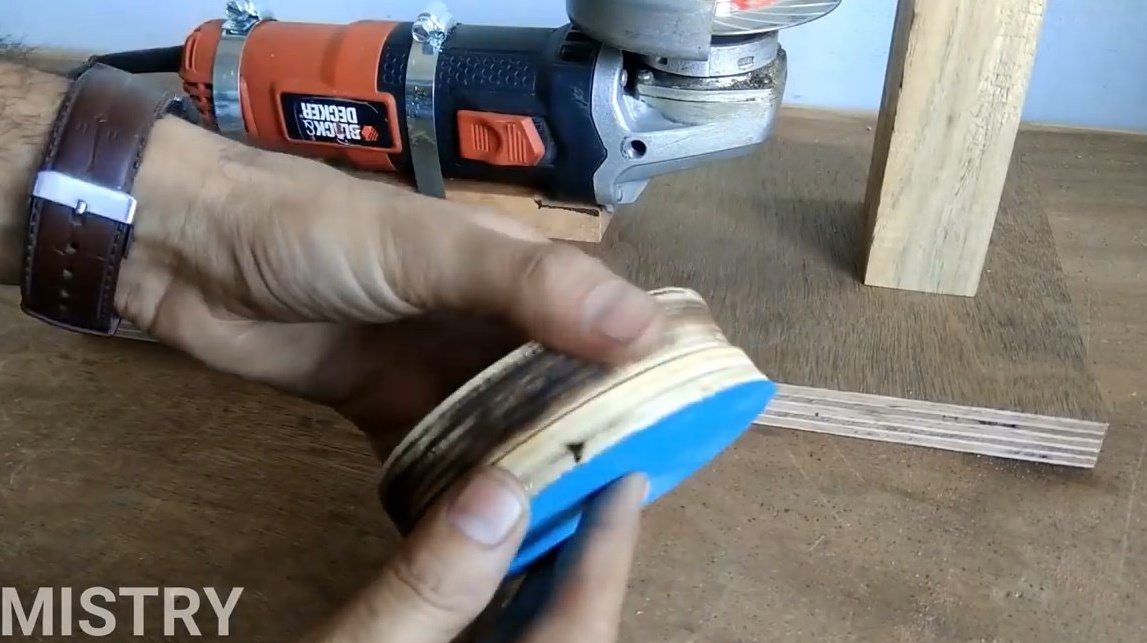
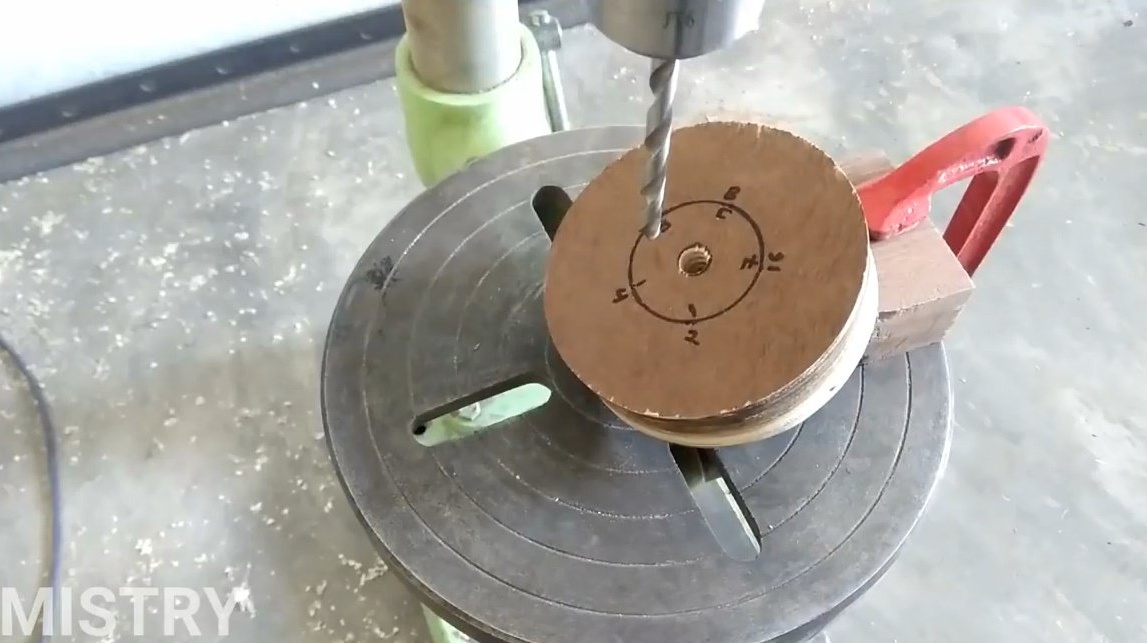
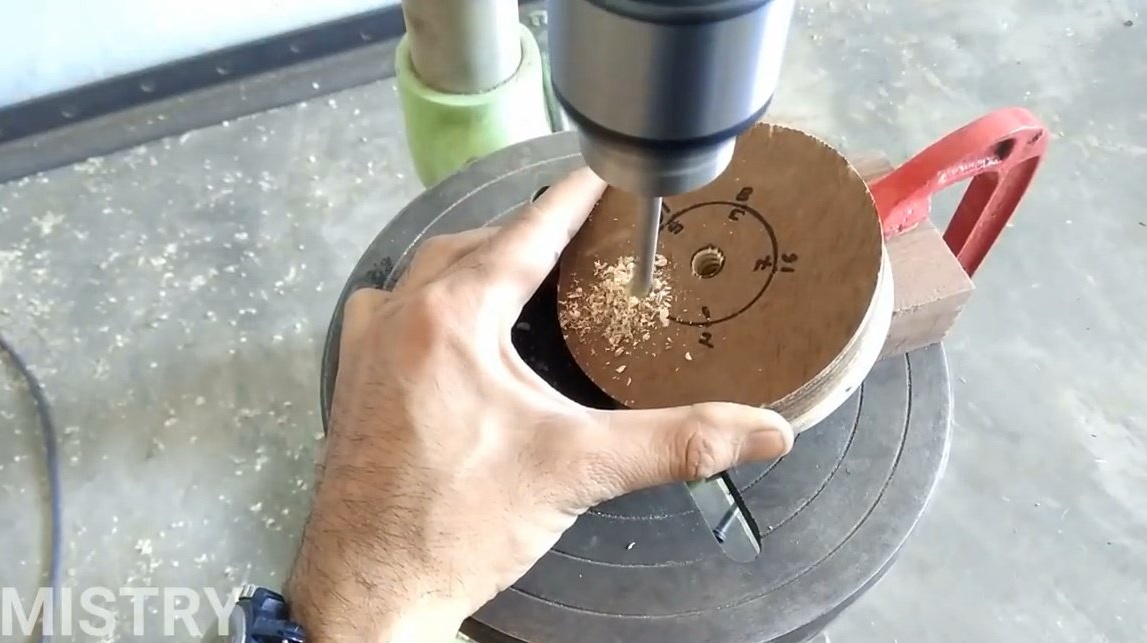
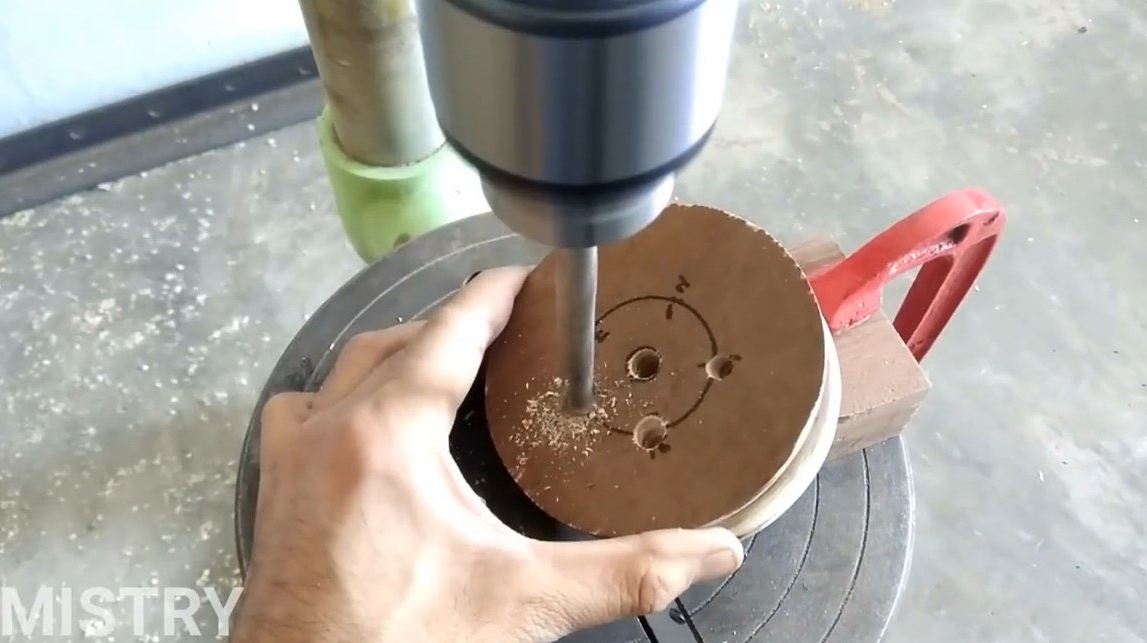
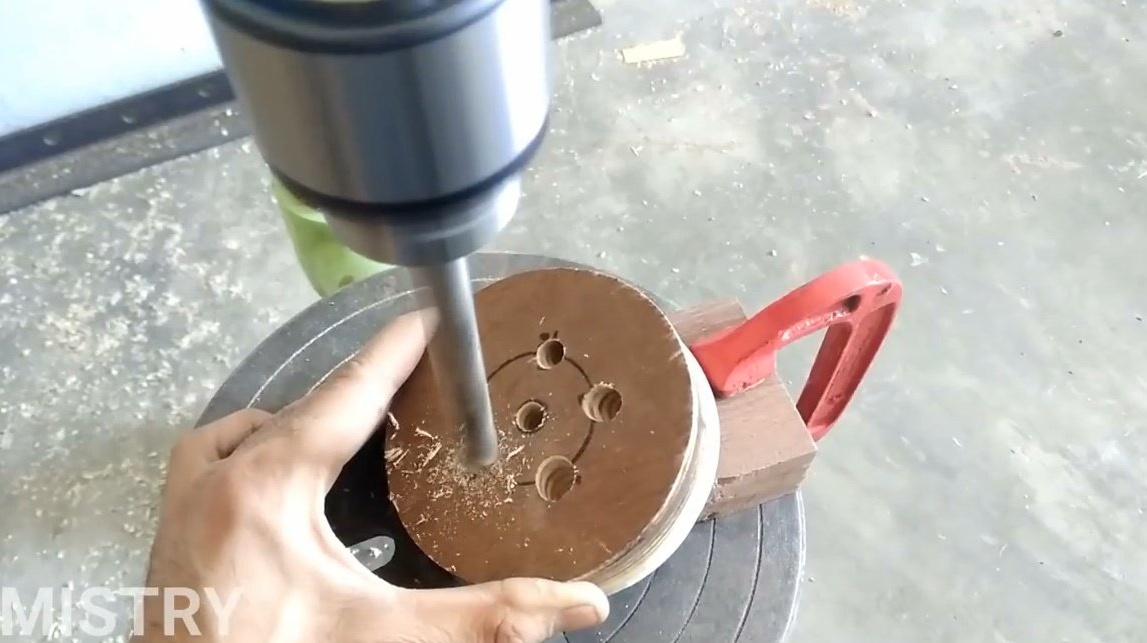
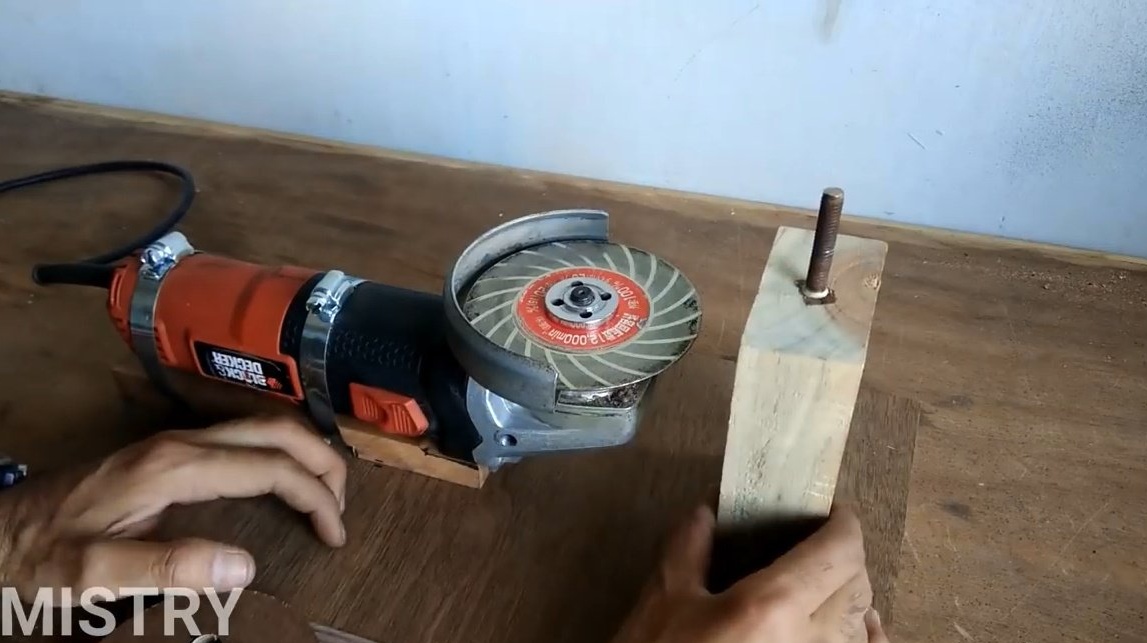
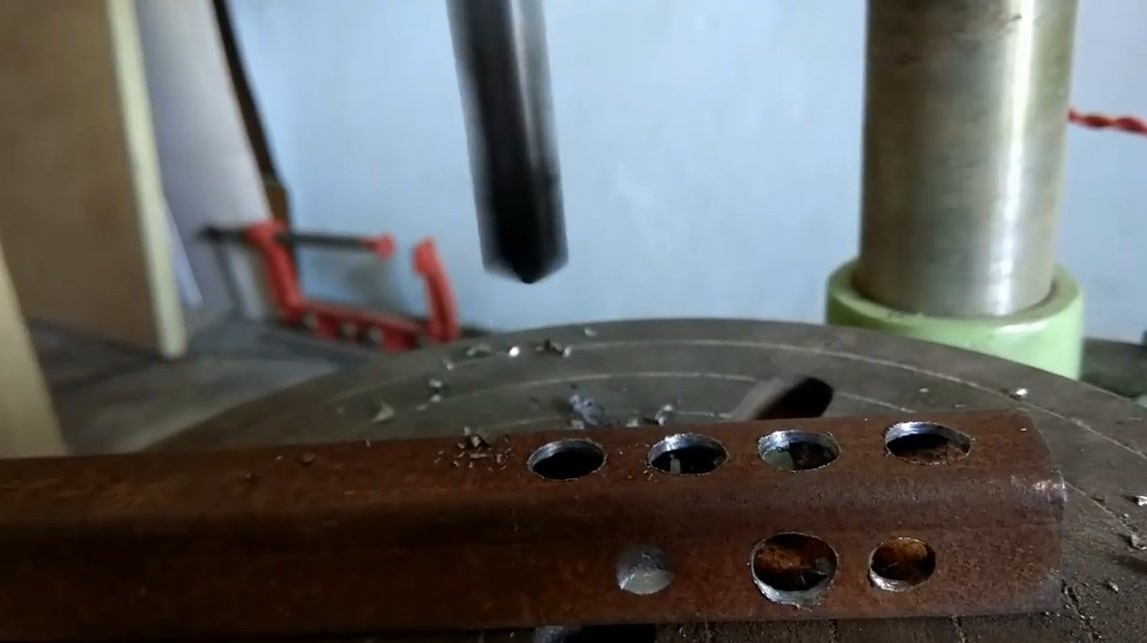
In the center of the obtained drum blank, drills a hole for the fixing bolt. After that, sets the workpiece at an angle of 58-60 degrees, this will be the angle of inclination of the drill to the grinding wheel. And drills several holes for different drill diameters.

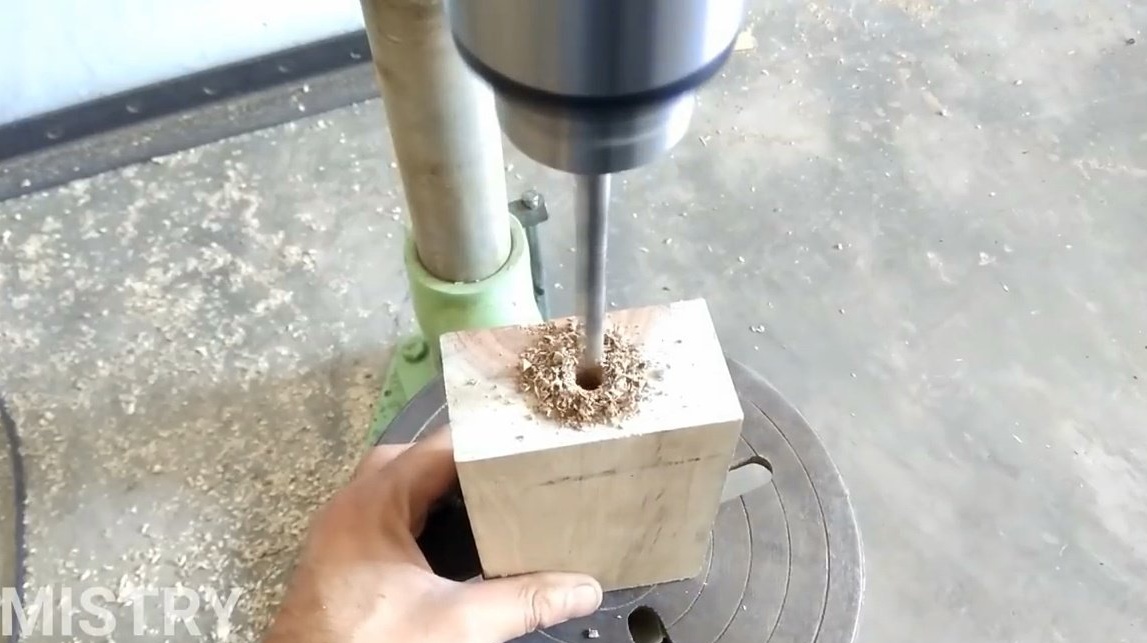
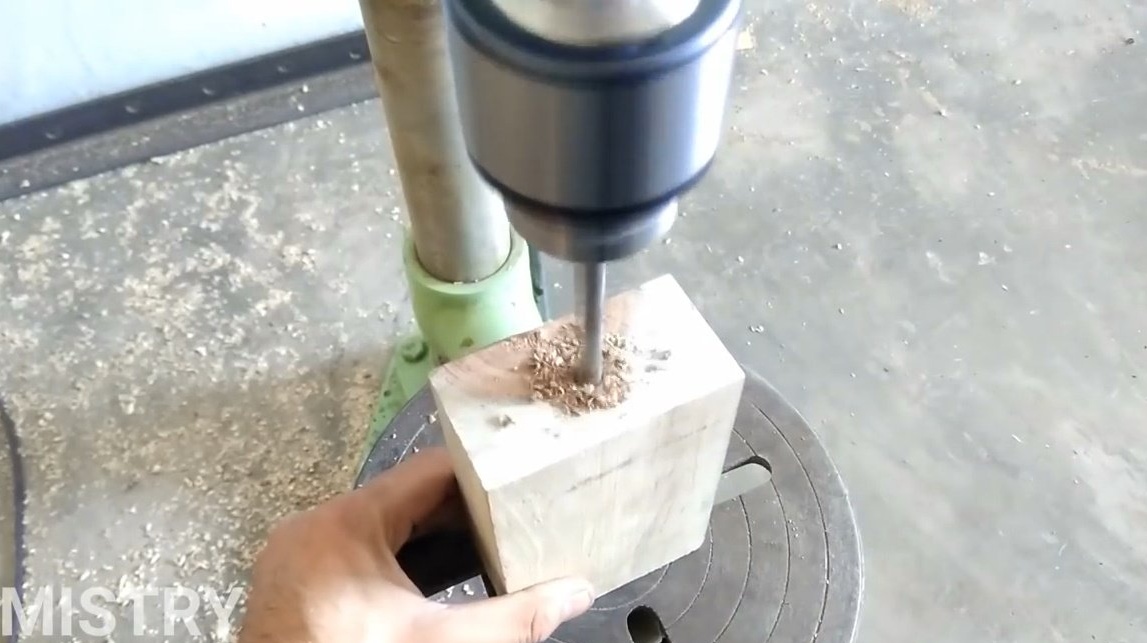
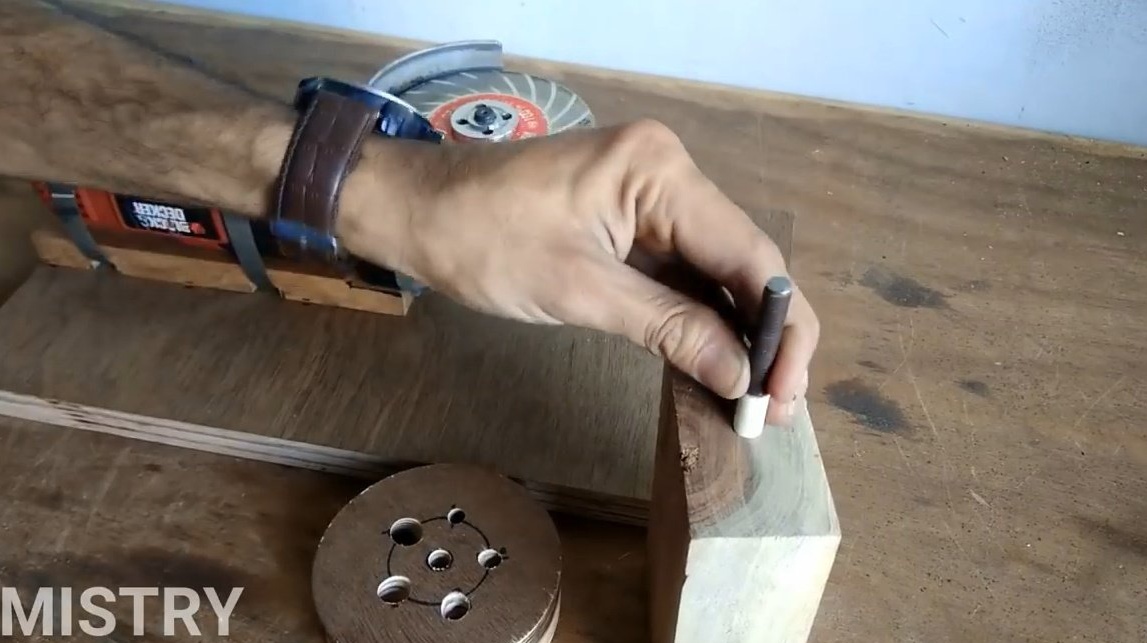
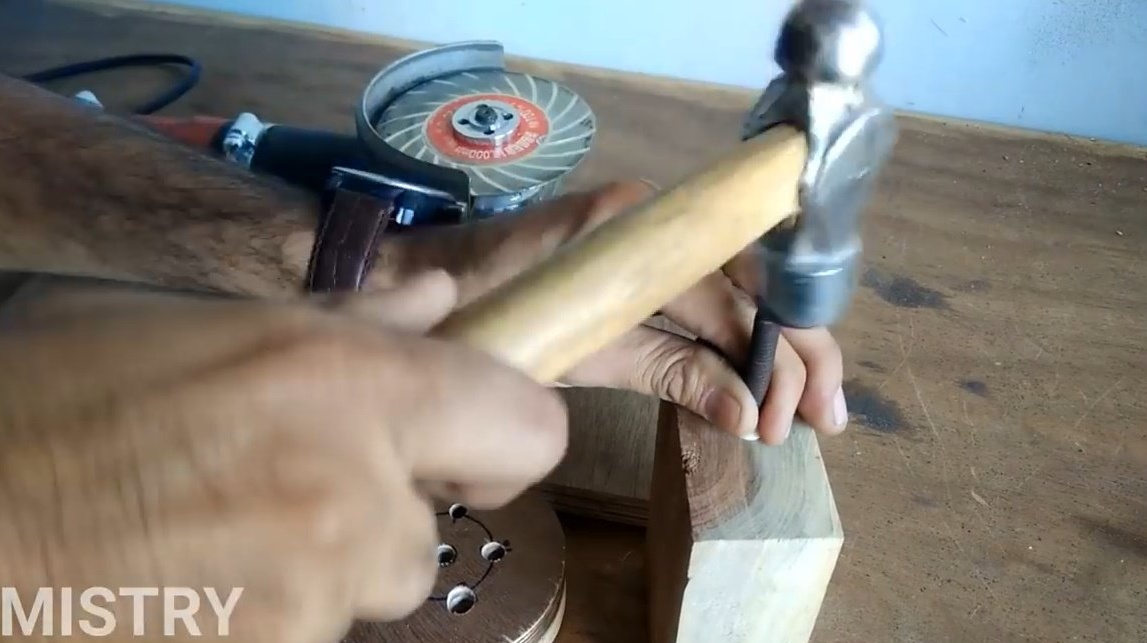
Now he drills a hole in the bar for the axis of the drum.
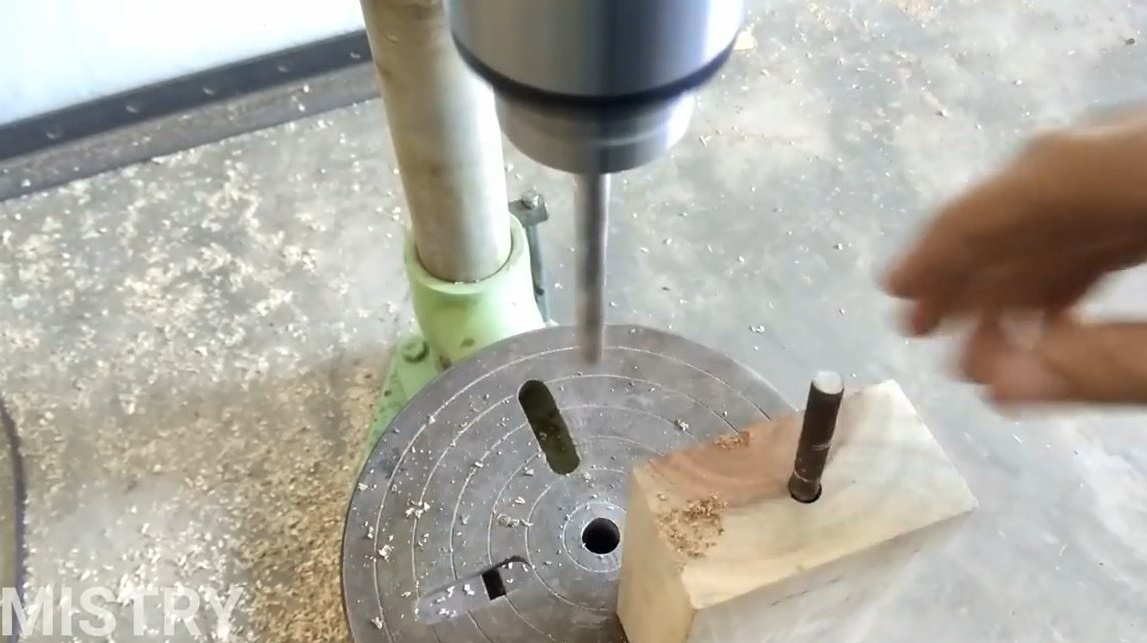
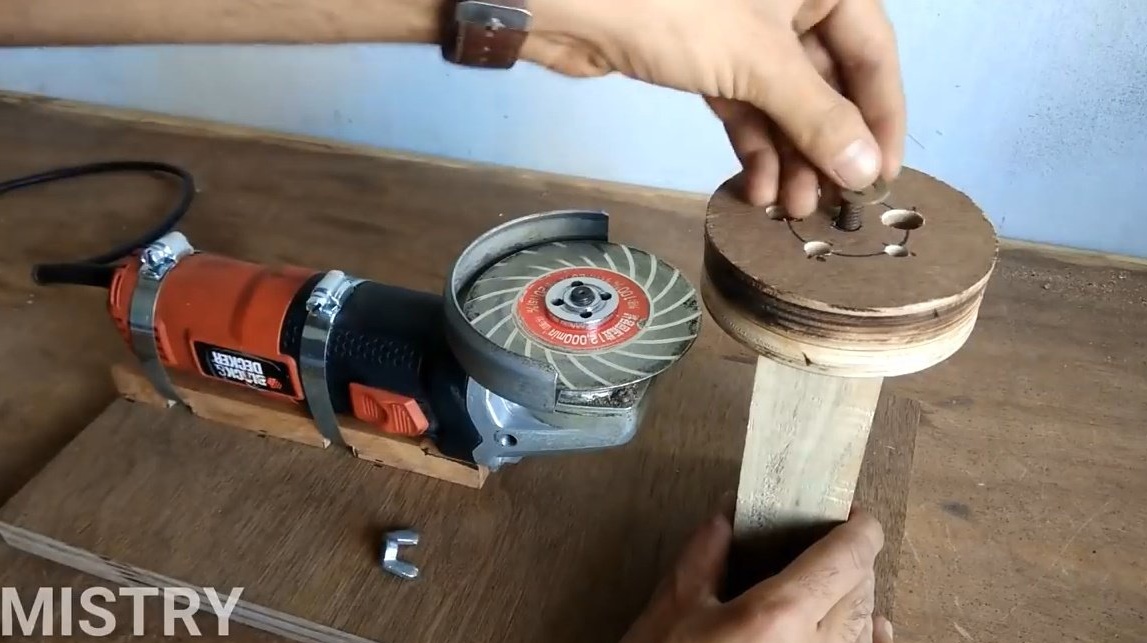
Clogs the M8 pin into it, additionally glues the joint with second glue.
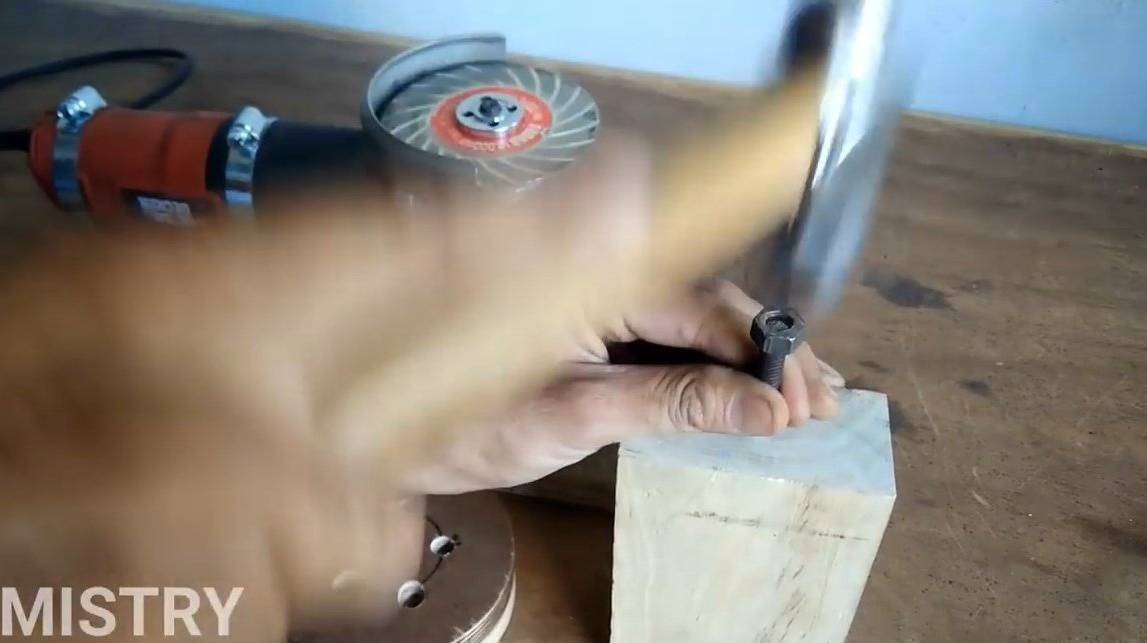
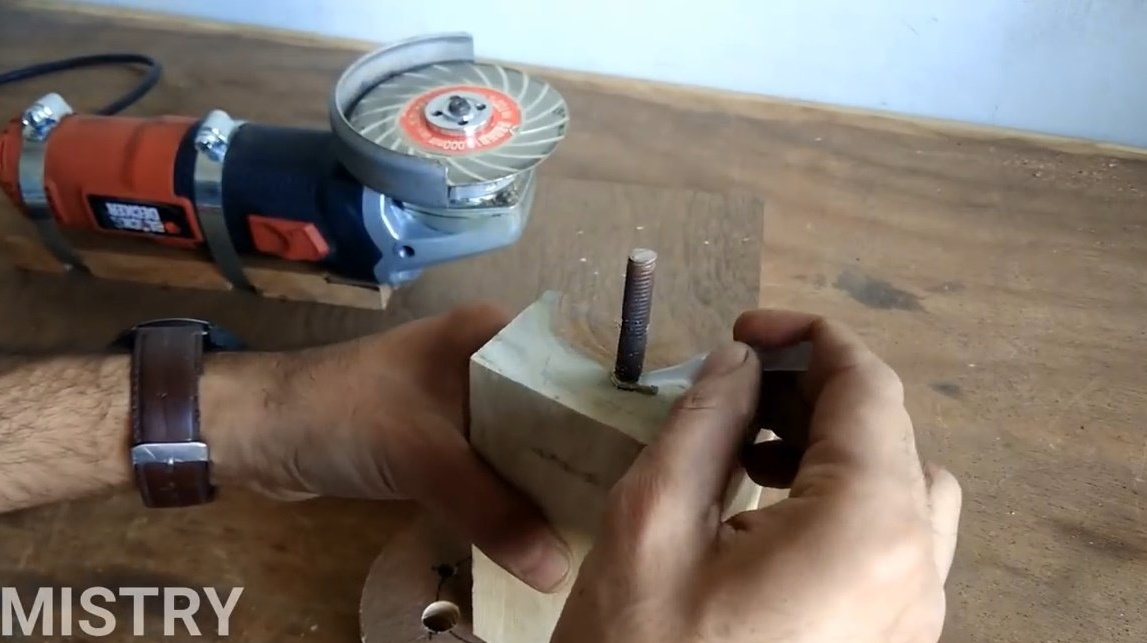
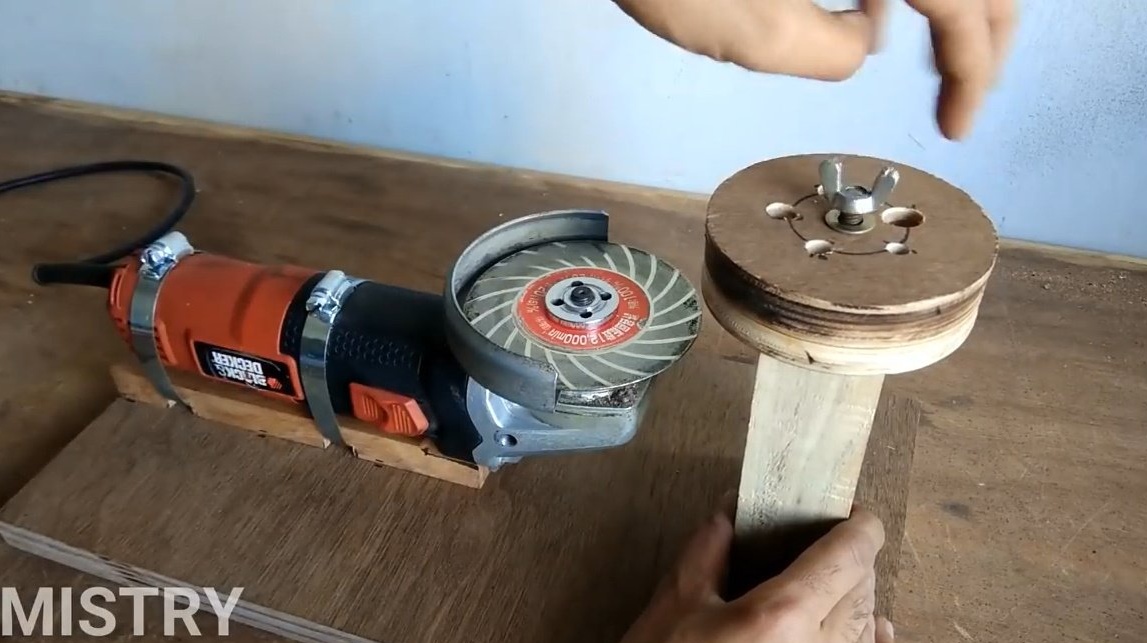
Puts the drum on the axle, fixes with the wing nut through the washer. Checks the angle of the drill, and the position relative to the disc.
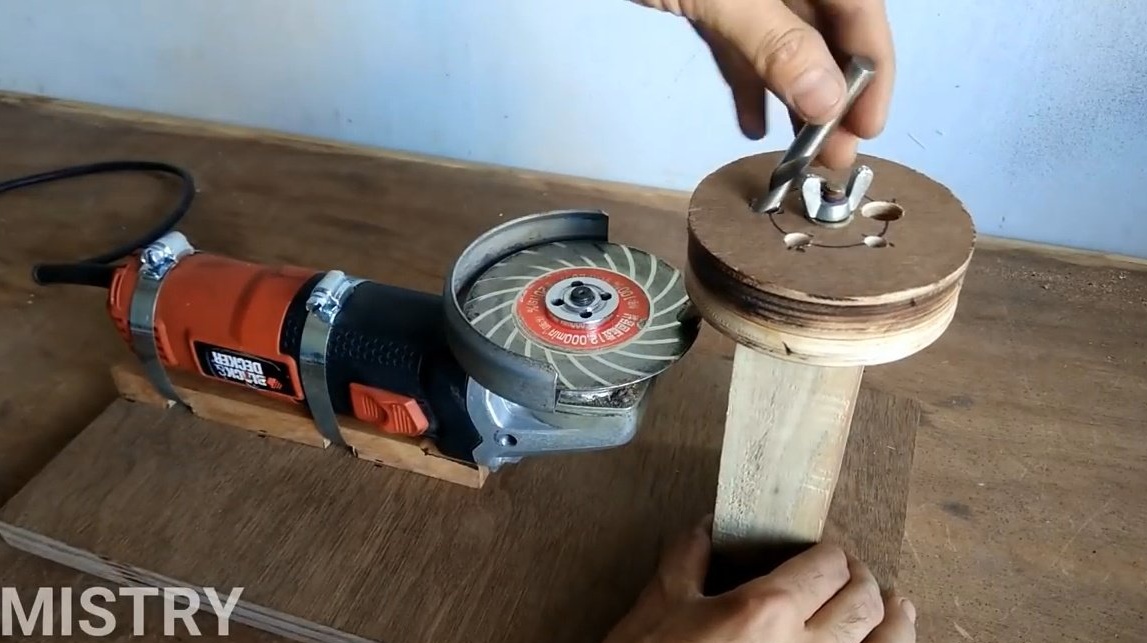

Now it fastens the rack with self-tapping screws, after countering the holes, so that the table does not scratch.
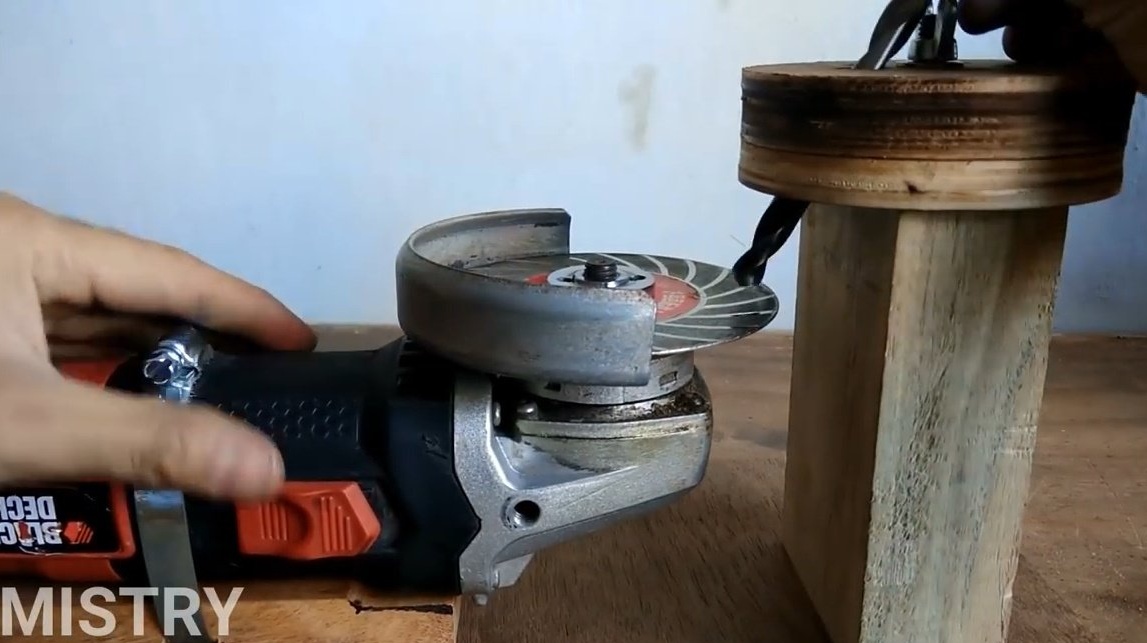
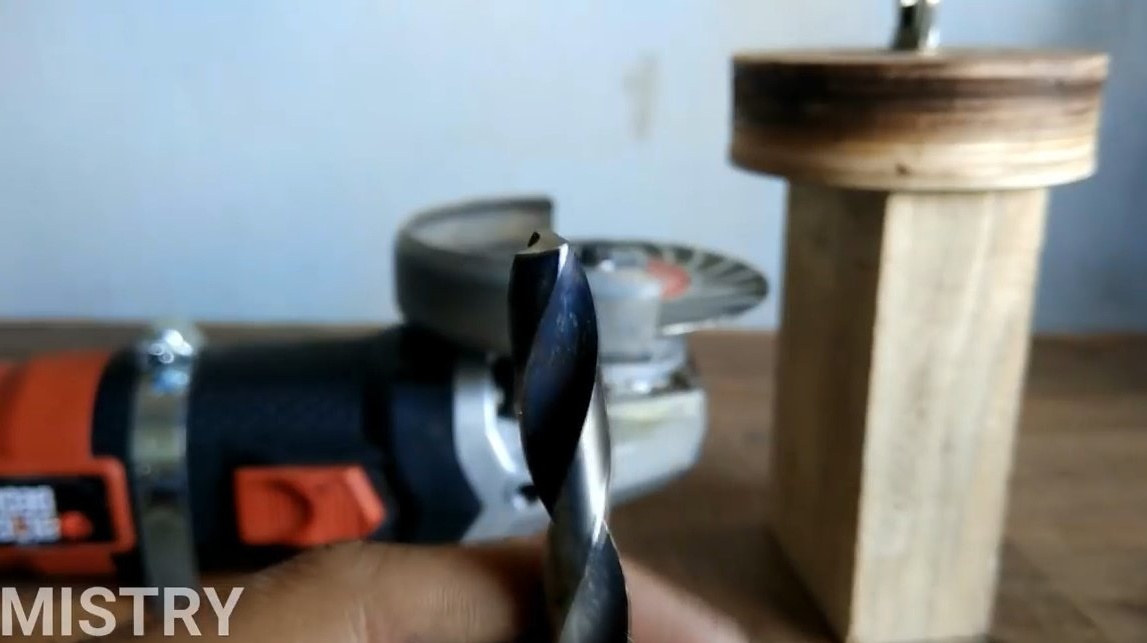
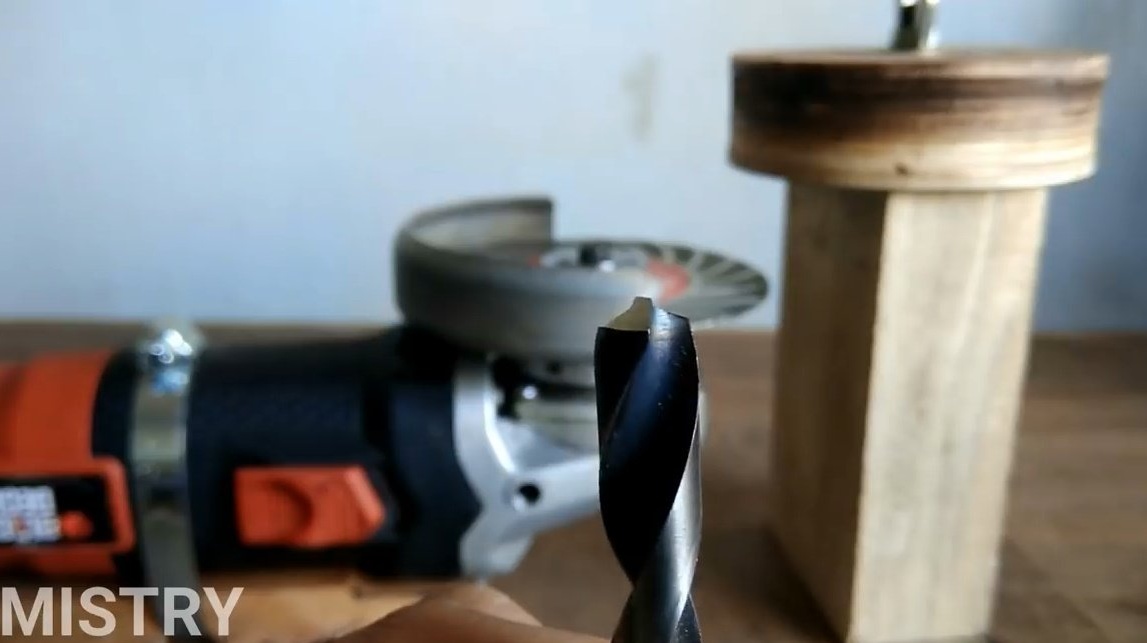
So, the device is ready, and the author has a drill in hand that needs sharpening.
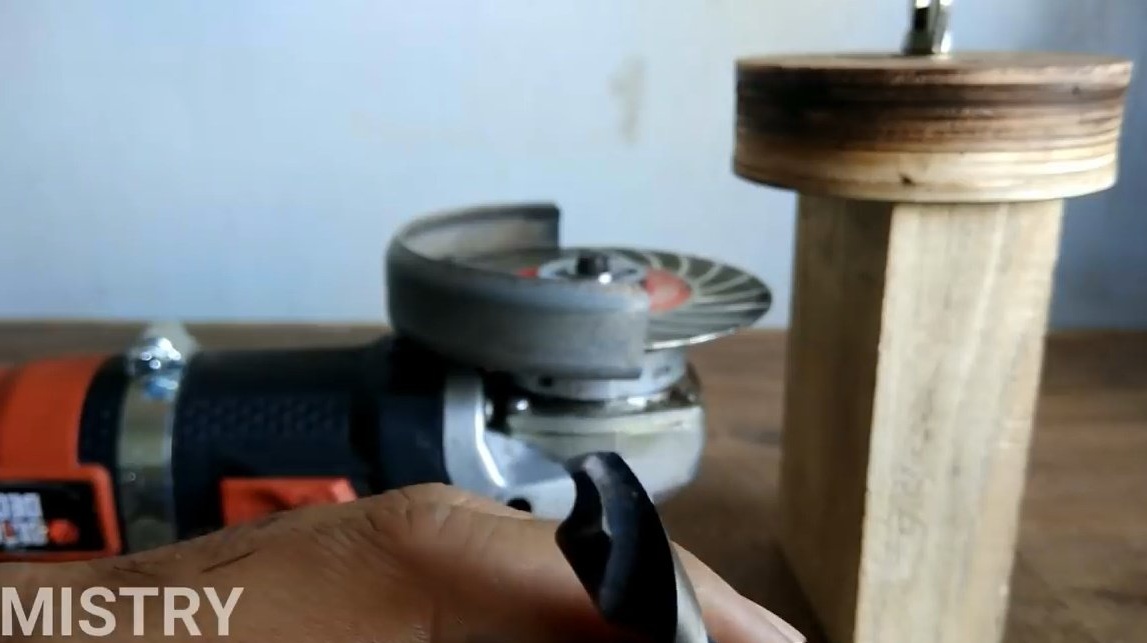
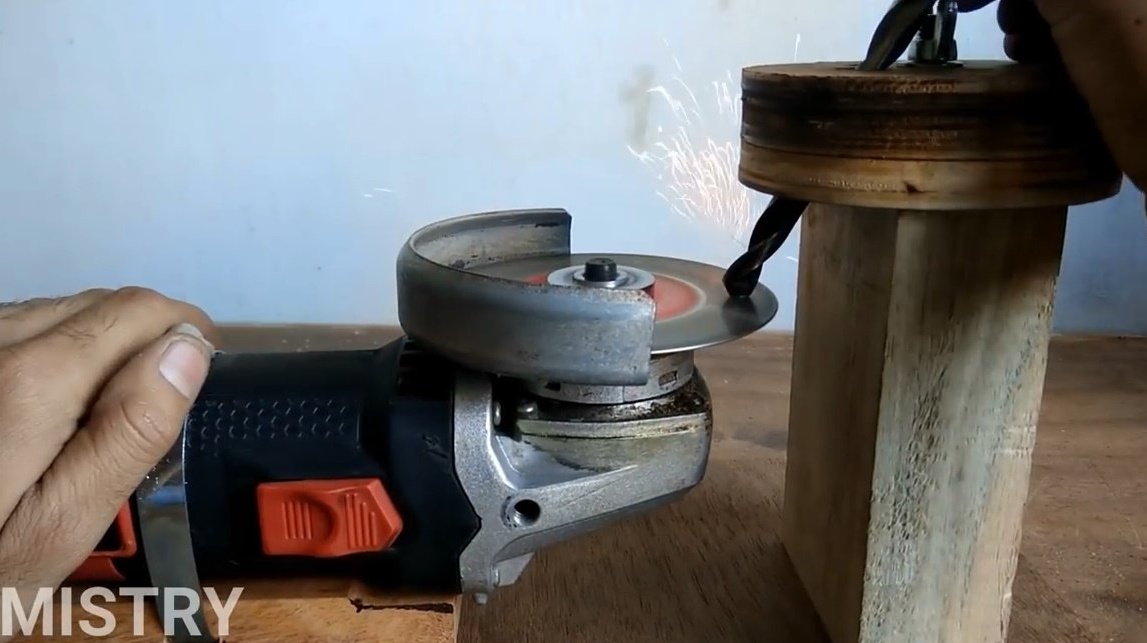
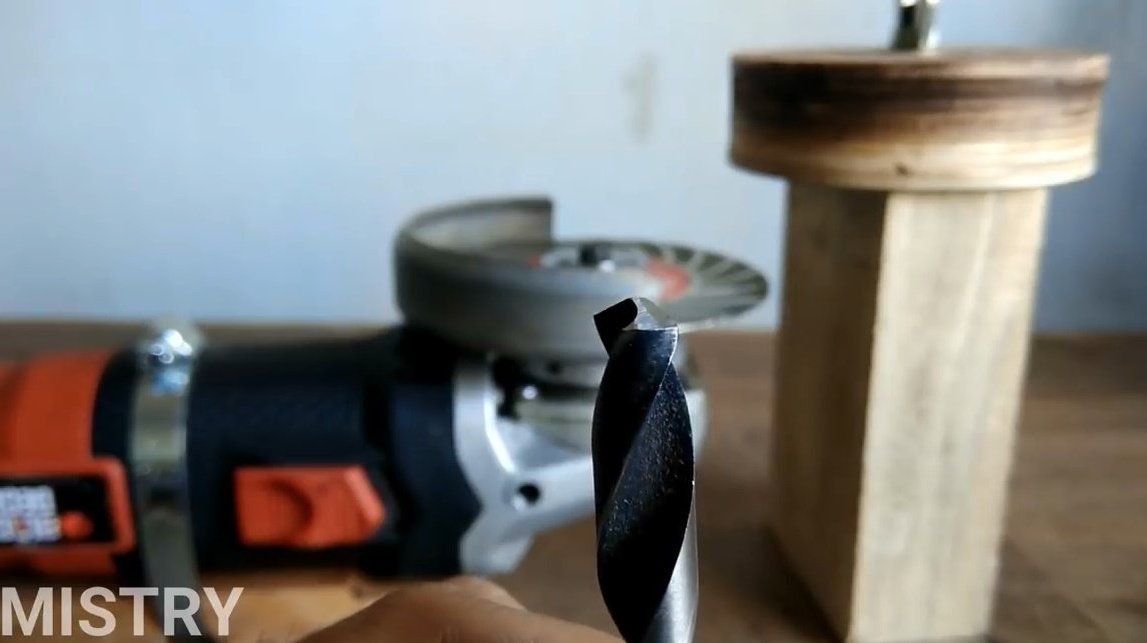
Having started the grinder, he grinds a drill. The result is very good!
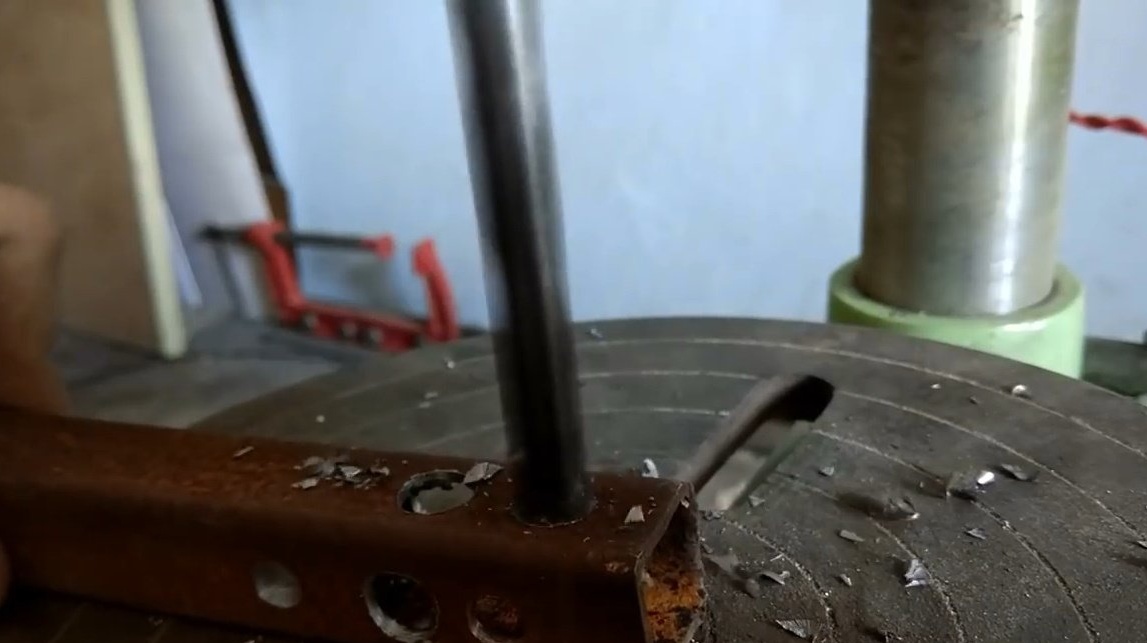
Now she is testing a drill, trying to drill a very thick steel profile pipe. Everything worked great!
Thanks to the author for interesting fixtures for the grinder!
Good mood and good luck to everyone! Sharp for you tools!