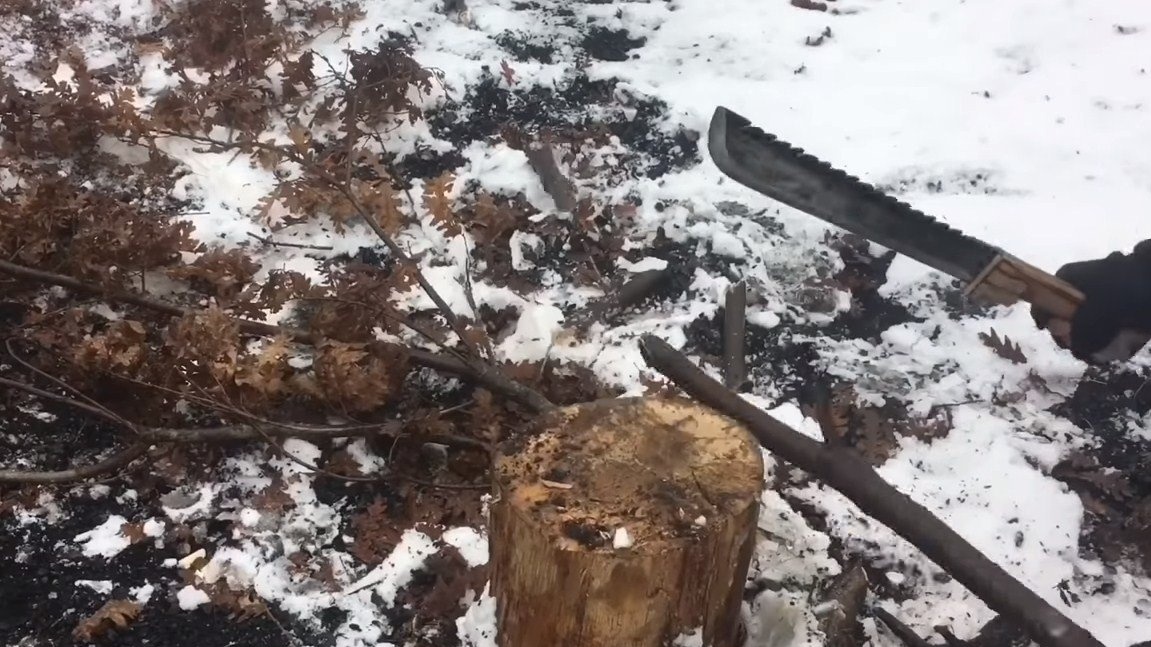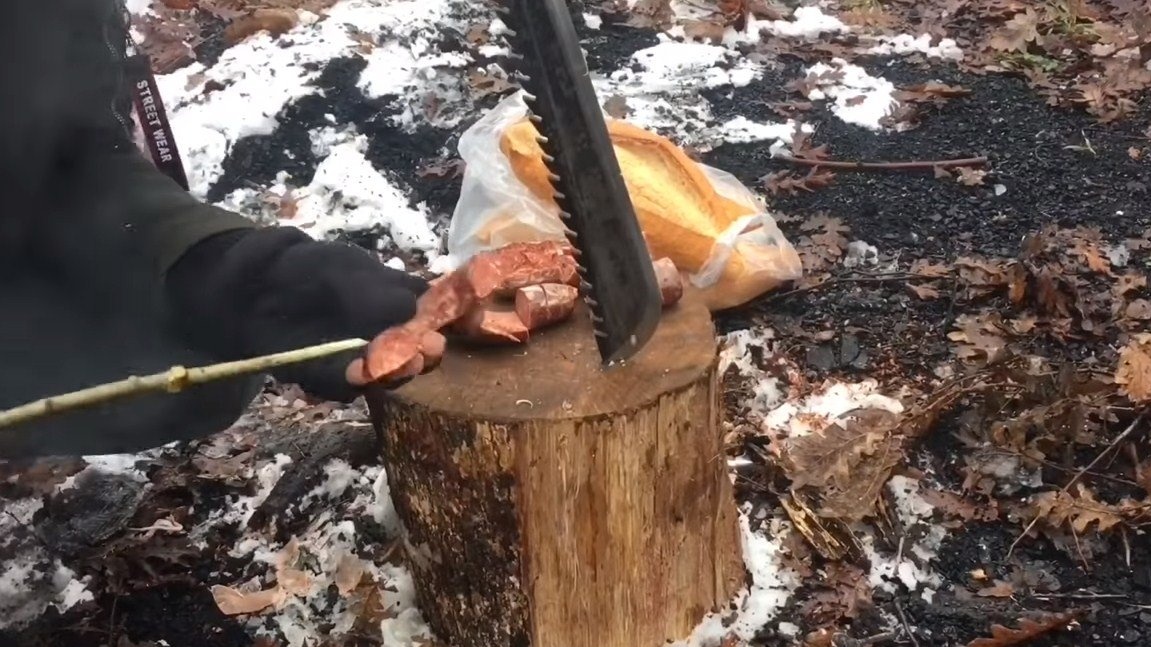
Hello everyone, in this instruction we will discuss how to make a reliable and sturdy cleaver with the saw function. With it, you can easily and simply chop quite thick sticks for a bonfire and sharpen sticks. And if the stick gets too thick, you can first file it, and then chop it, thanks to the presence of a saw on the cleaver.
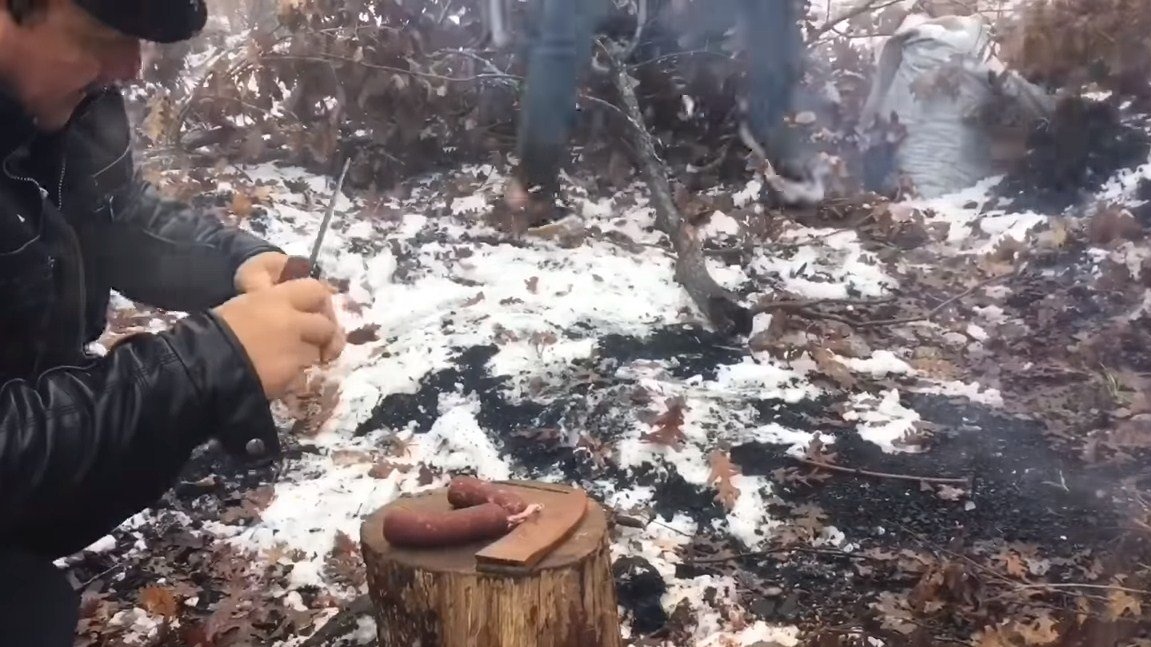
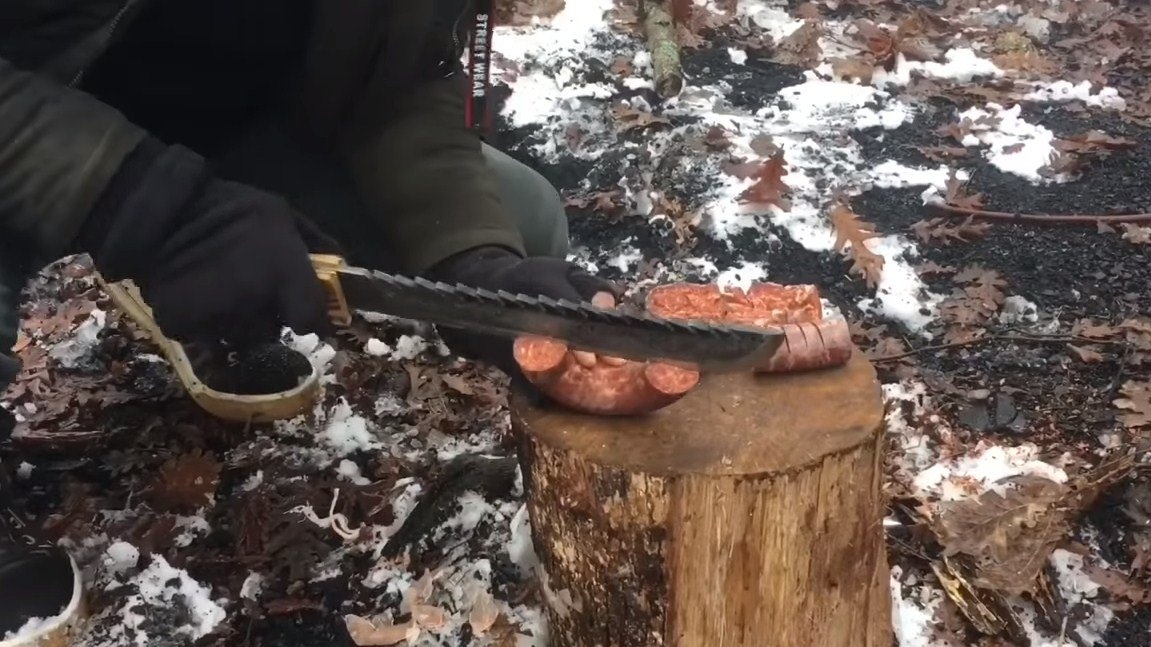
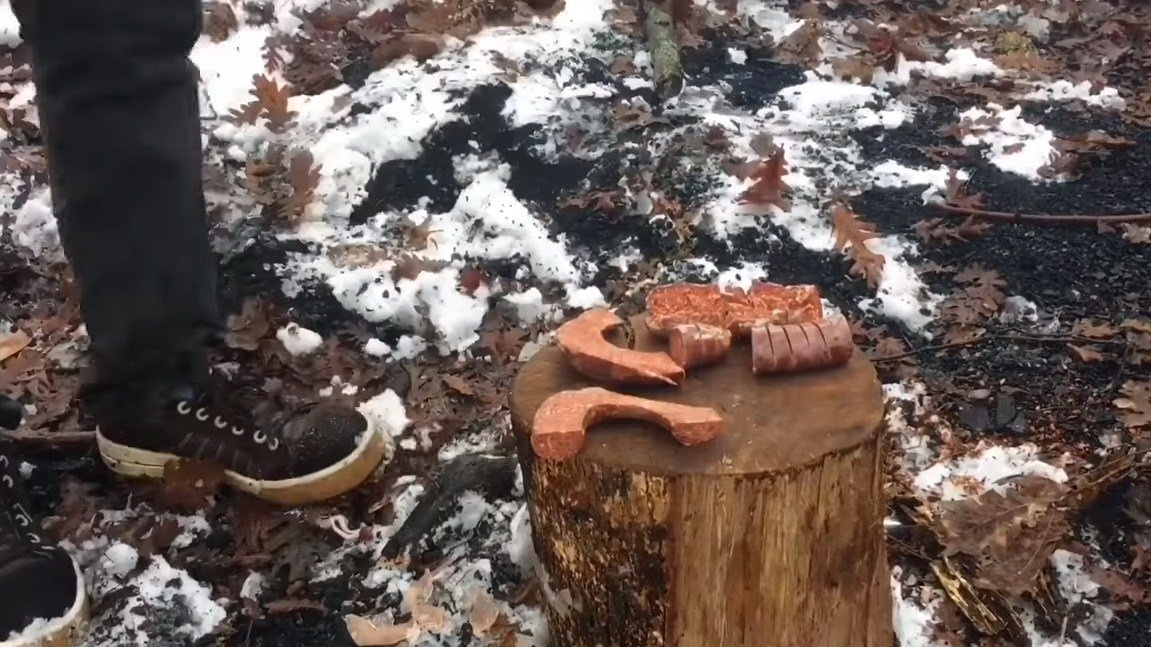
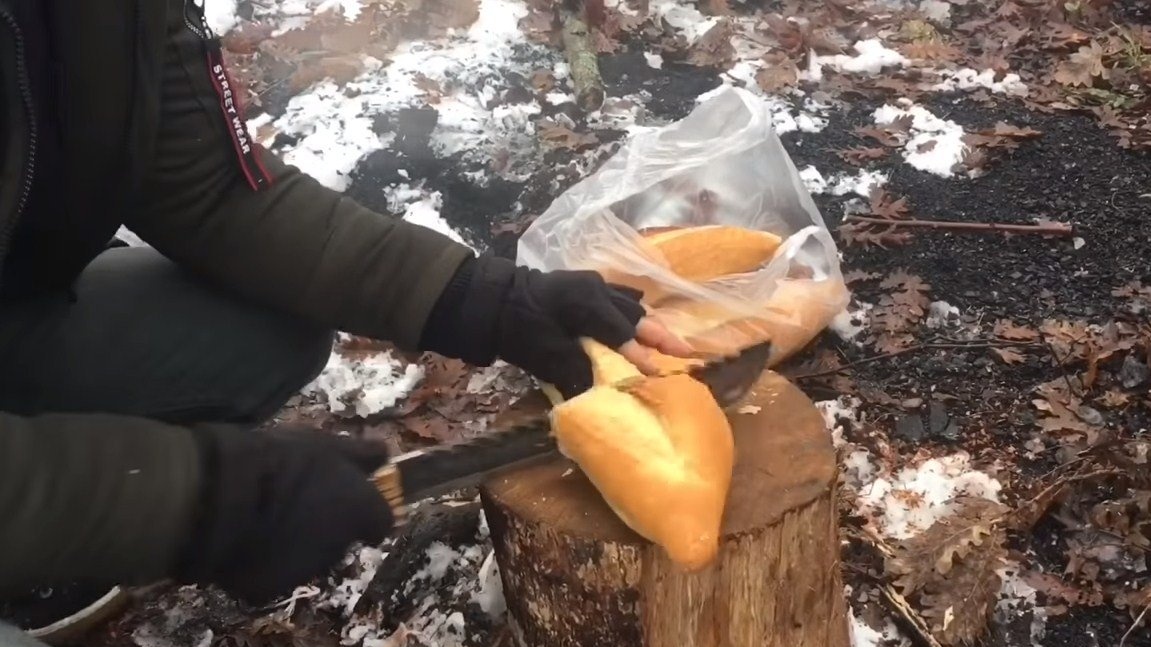
Despite its power, this cleaver also has a rather sharp blade, the author easily cuts sausages and rolls with it, and also grinds a thin stick for stringing kebabs. Made by homemade From an automobile spring, this steel is quite durable and can be hardened. To make this tool you will need a minimal set of tools, most of the work is done using a grinder with various nozzles.
Materials and tools used by the author:
Material List:
- car spring;
- wood for linings;
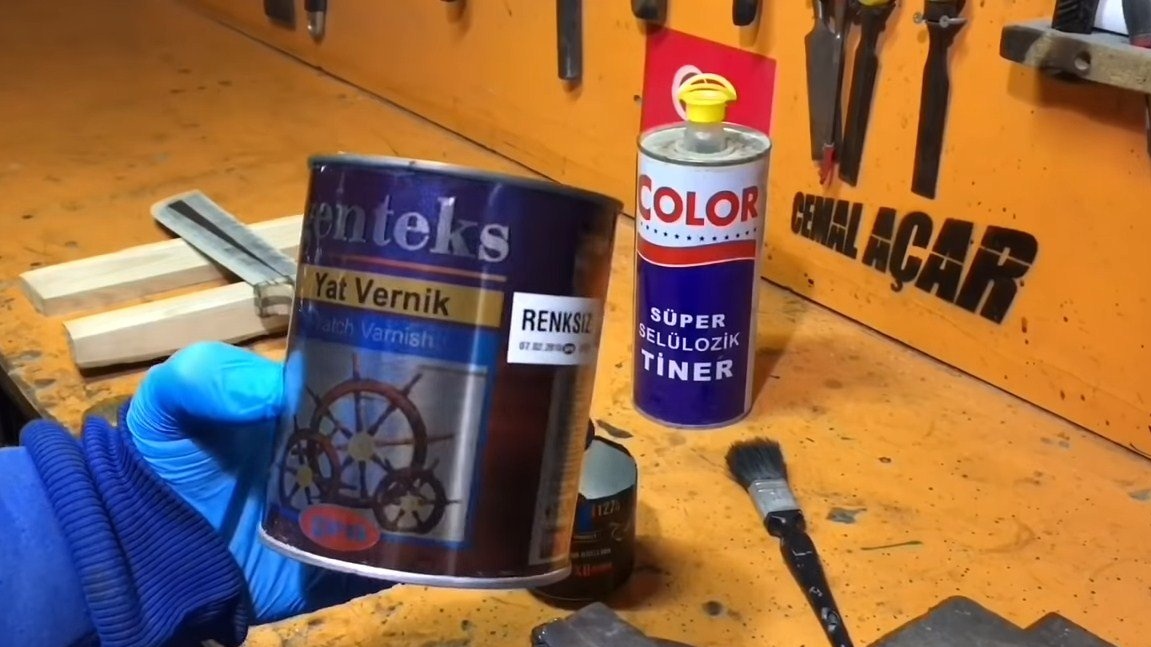
- oil for wood impregnation;
- steel rods (or nails) for pins;
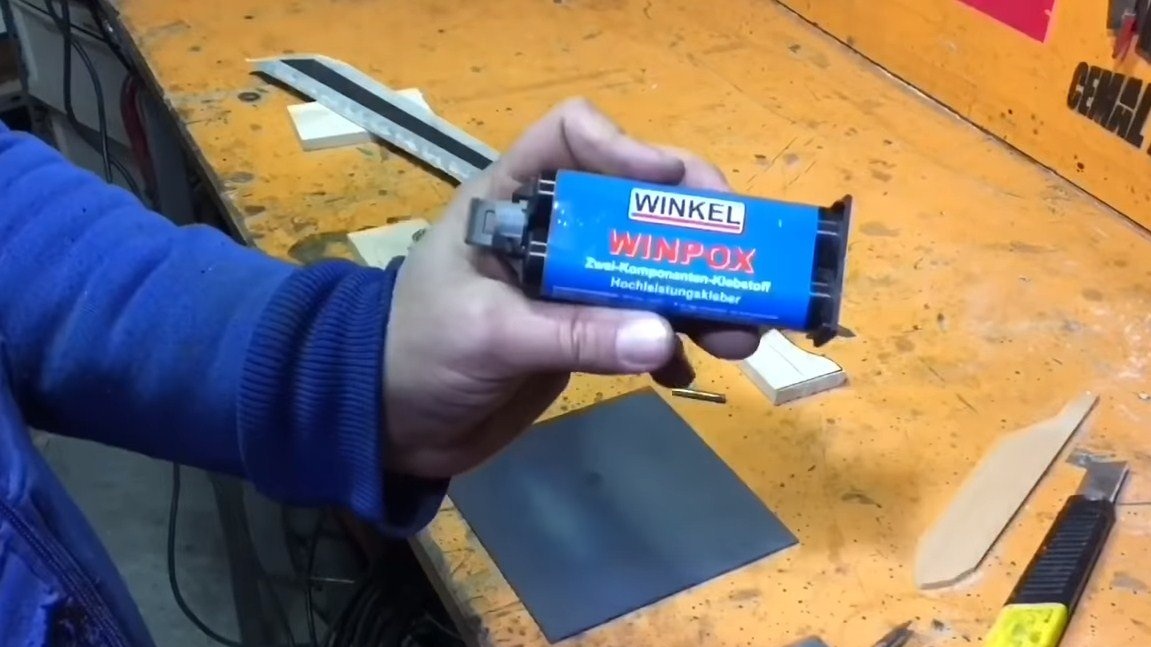
- epoxy adhesive.
Tool List:
- a grinder (cutting discs, flap nozzles, as well as Velcro for sandpaper);
- drill;
- gas burner, oil, a piece of steel pipe;
- sandpaper;
- jigsaw;
- clamps;
- vise;
-marker;
- hammer.
Homemade manufacturing process:
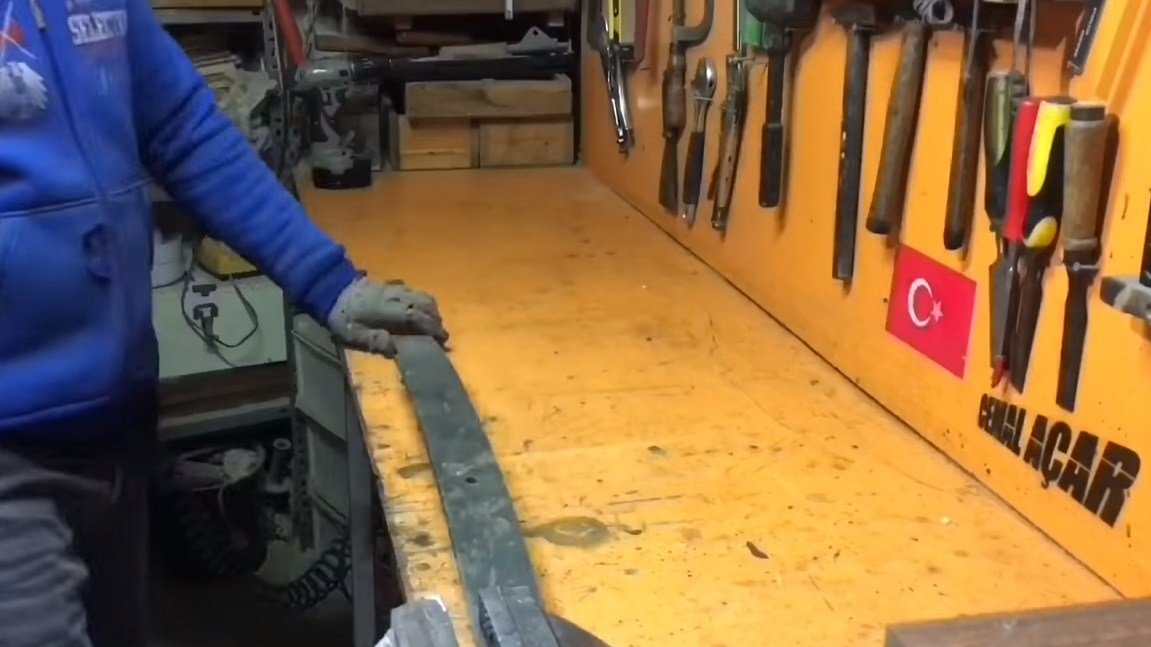
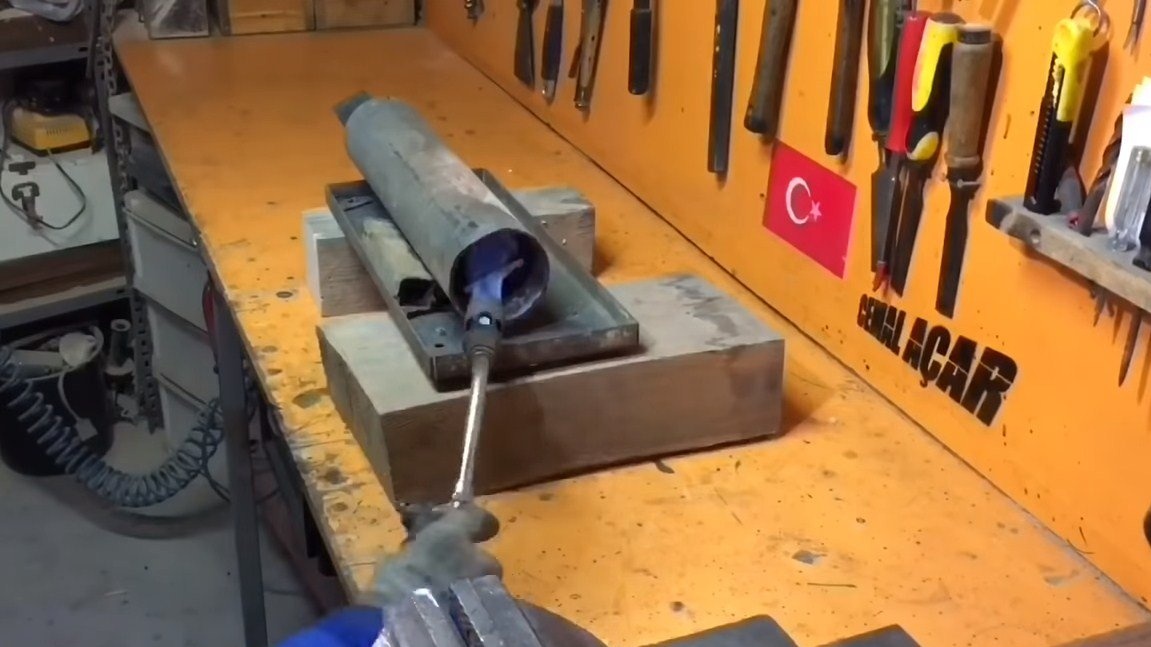
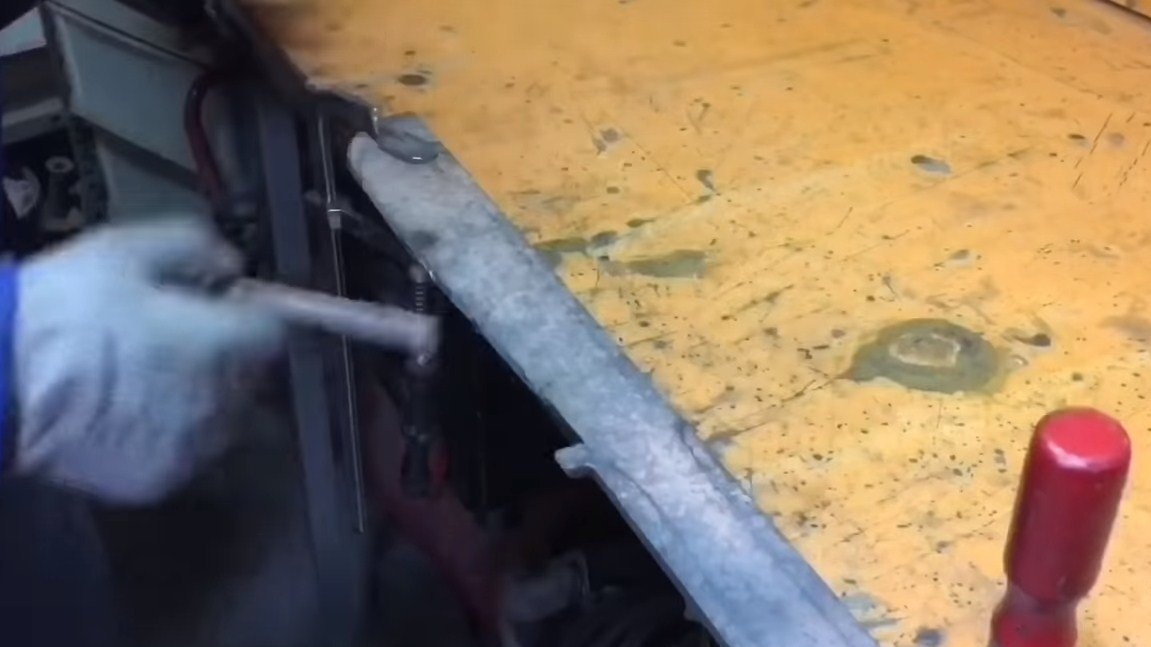
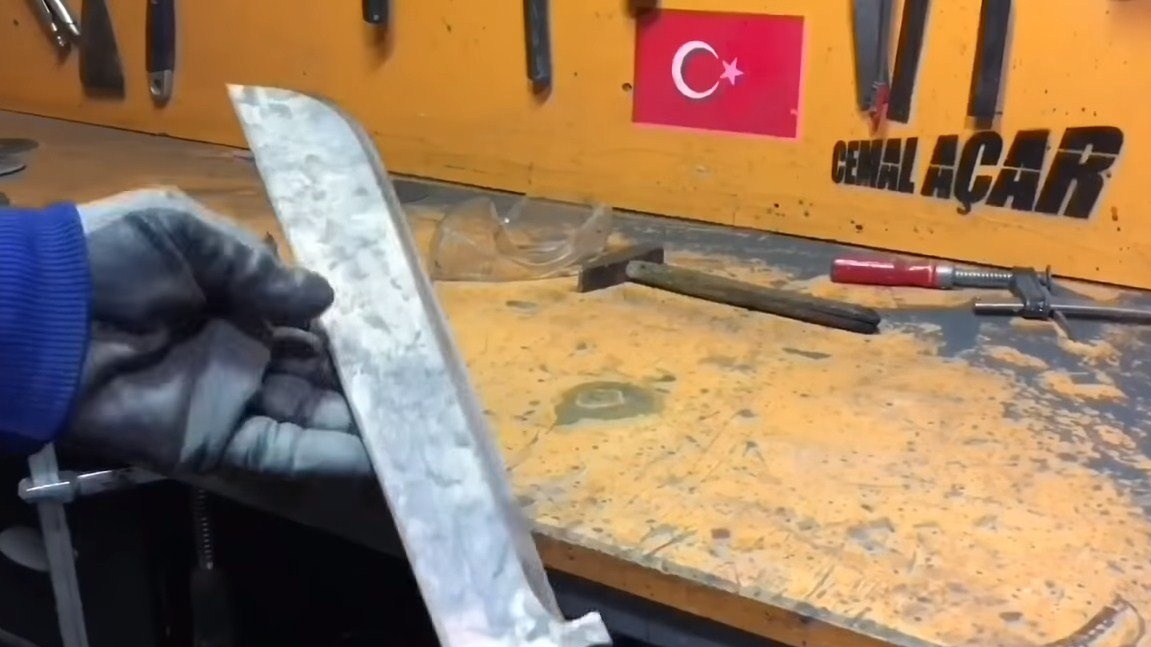
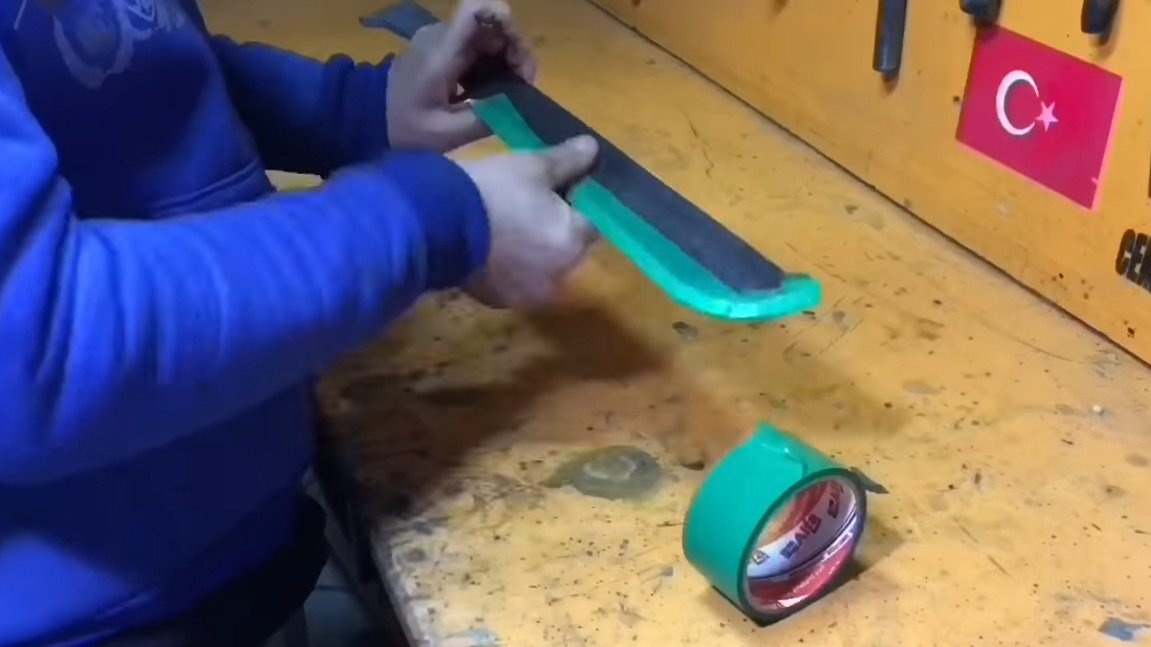
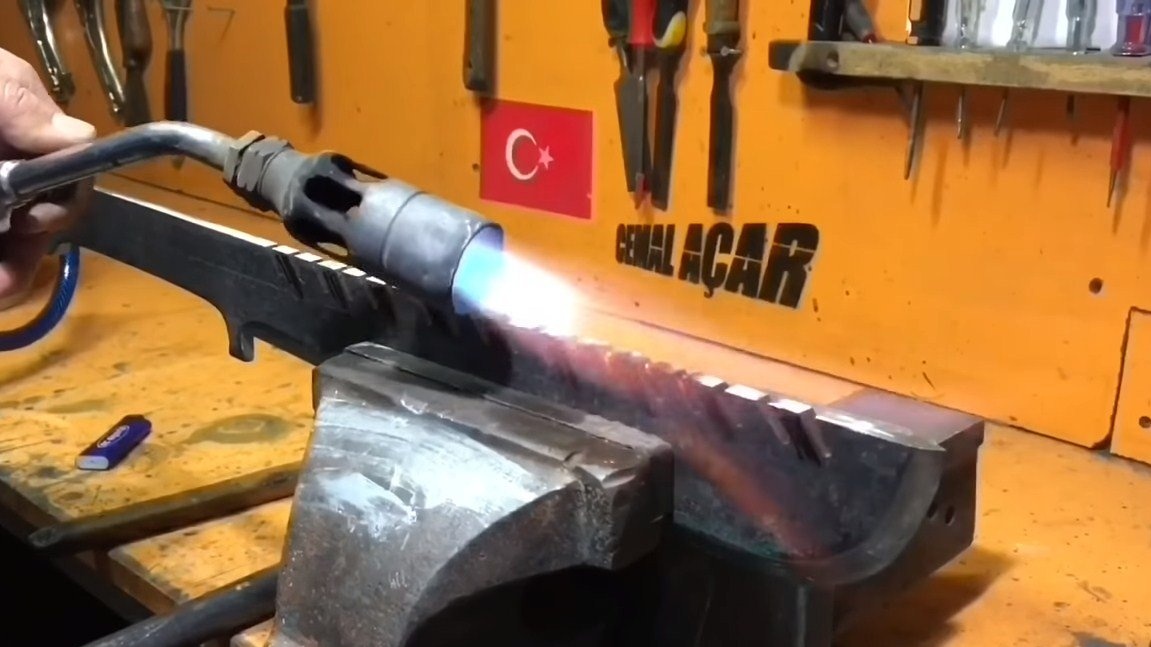
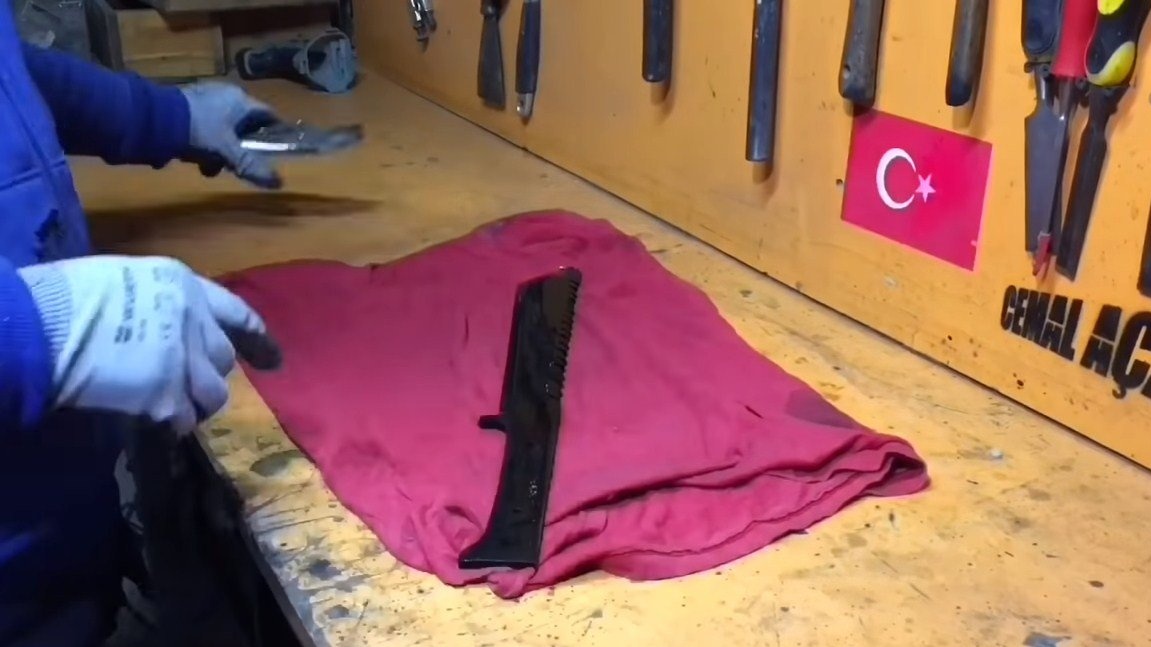
Step one. Level the spring
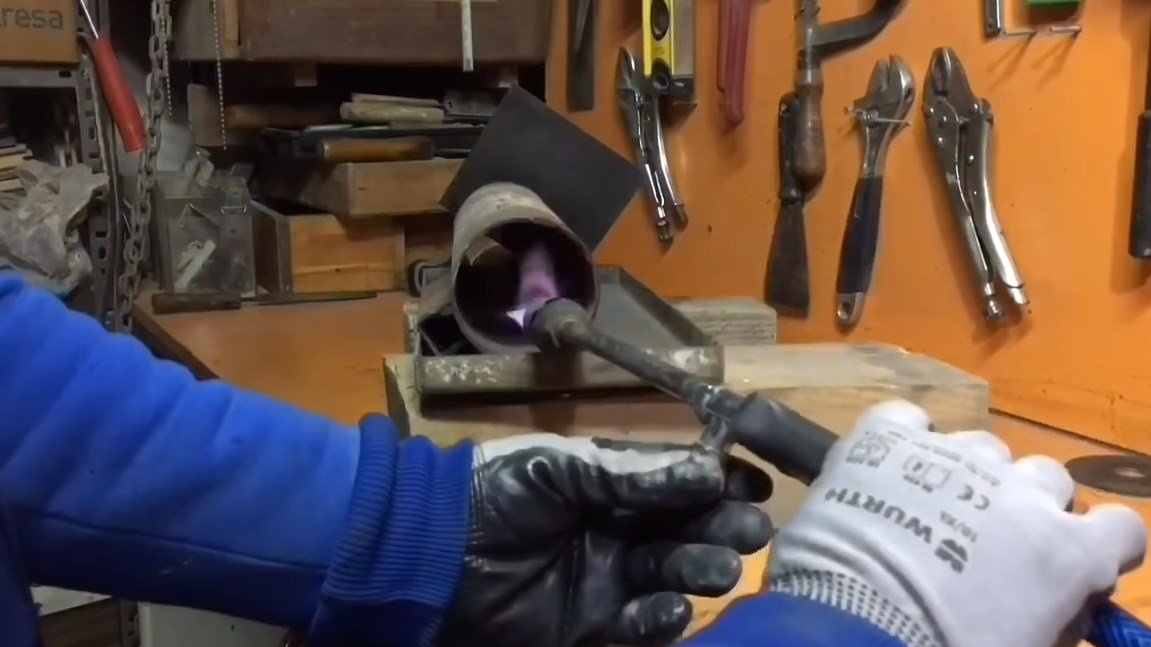
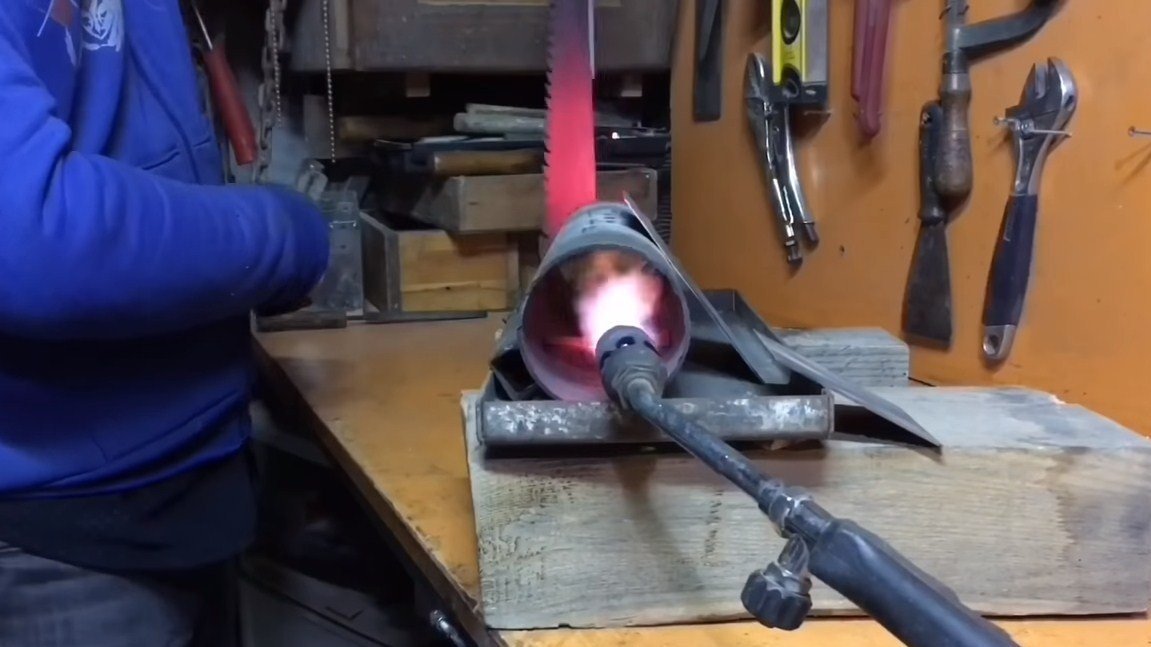
First, align the spring, for this the steel needs to be heated. The author did not use any furnaces; he heats the spring in parts in a piece of steel pipe using a gas burner. Well, then a couple of blows with a hammer and get an even blank for homemade work.


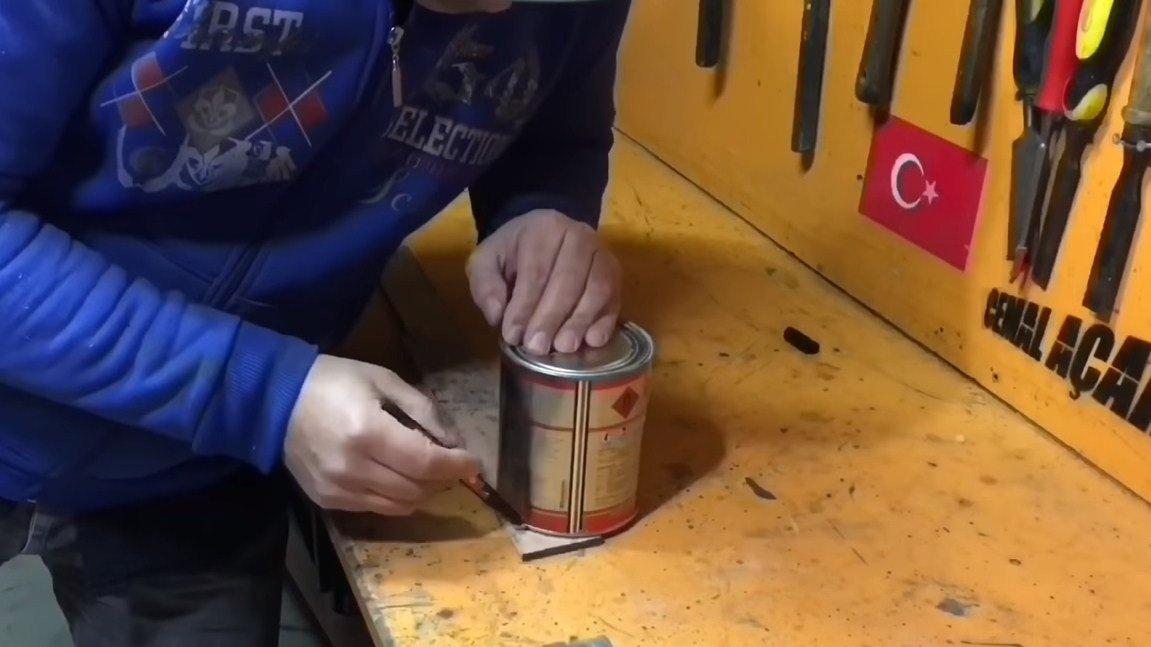
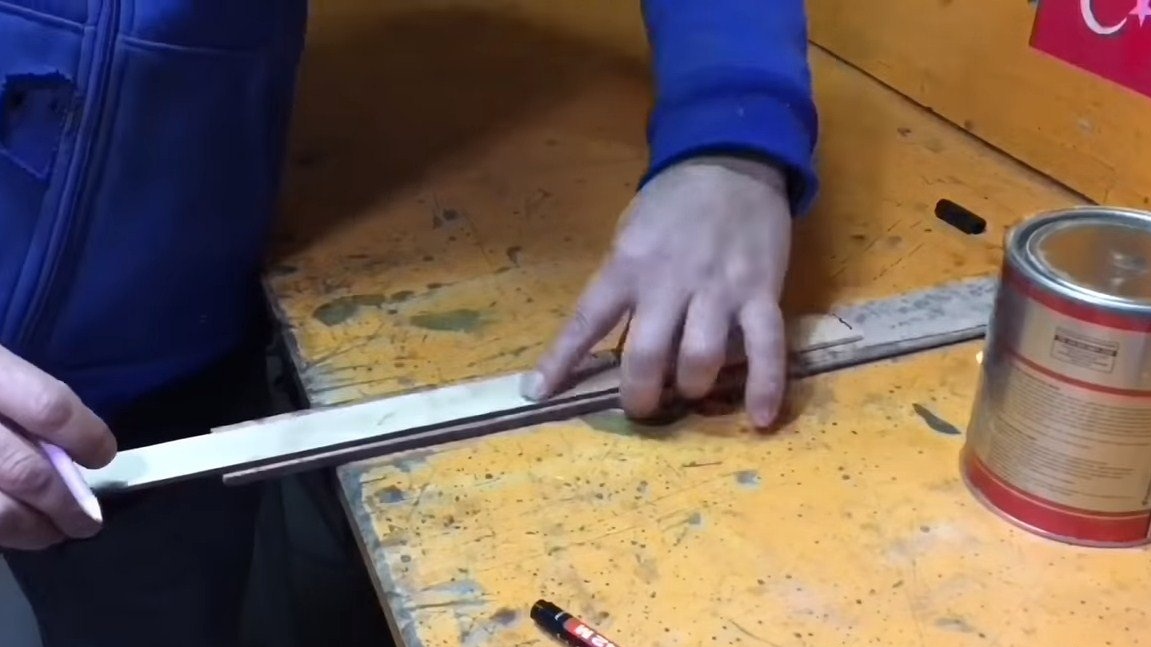
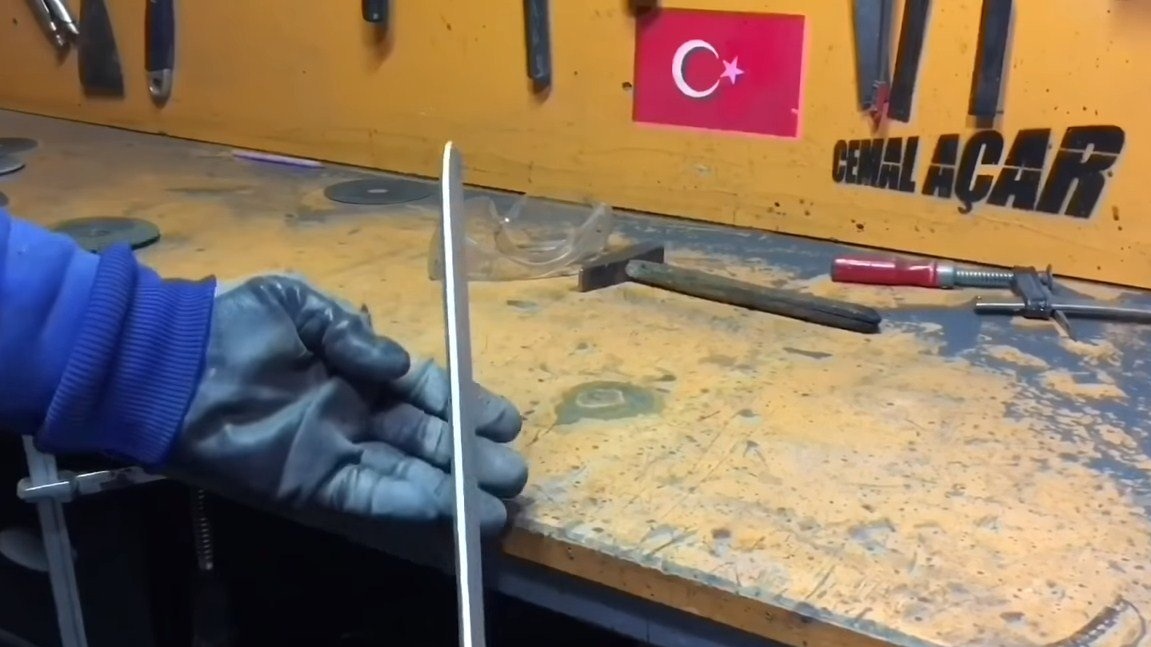
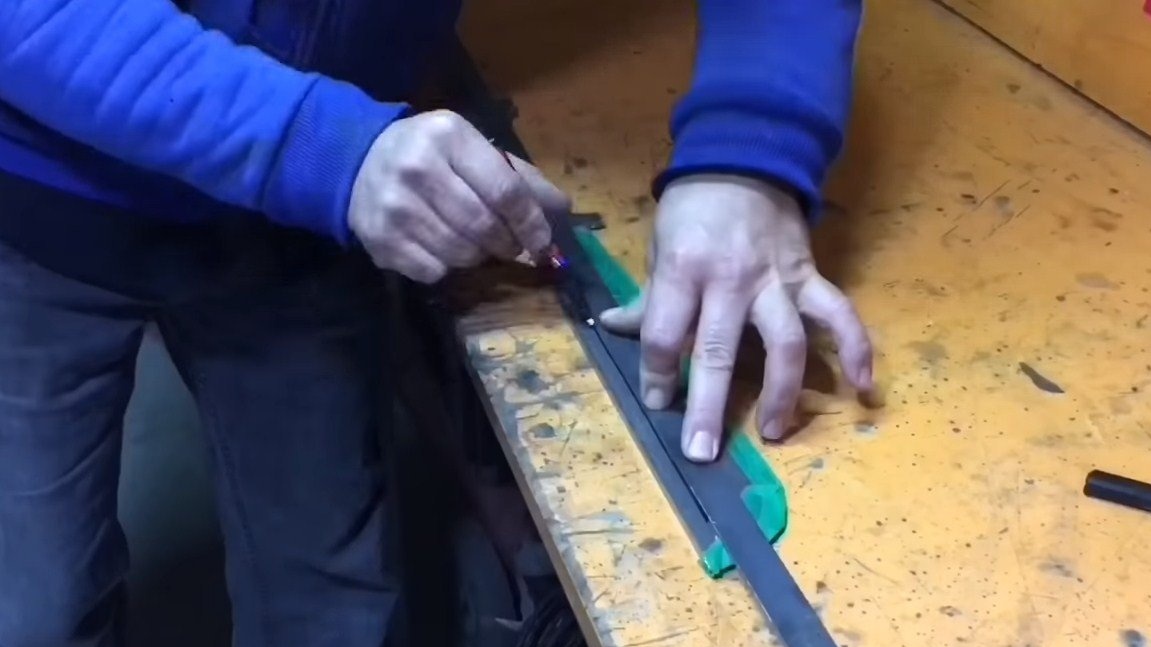
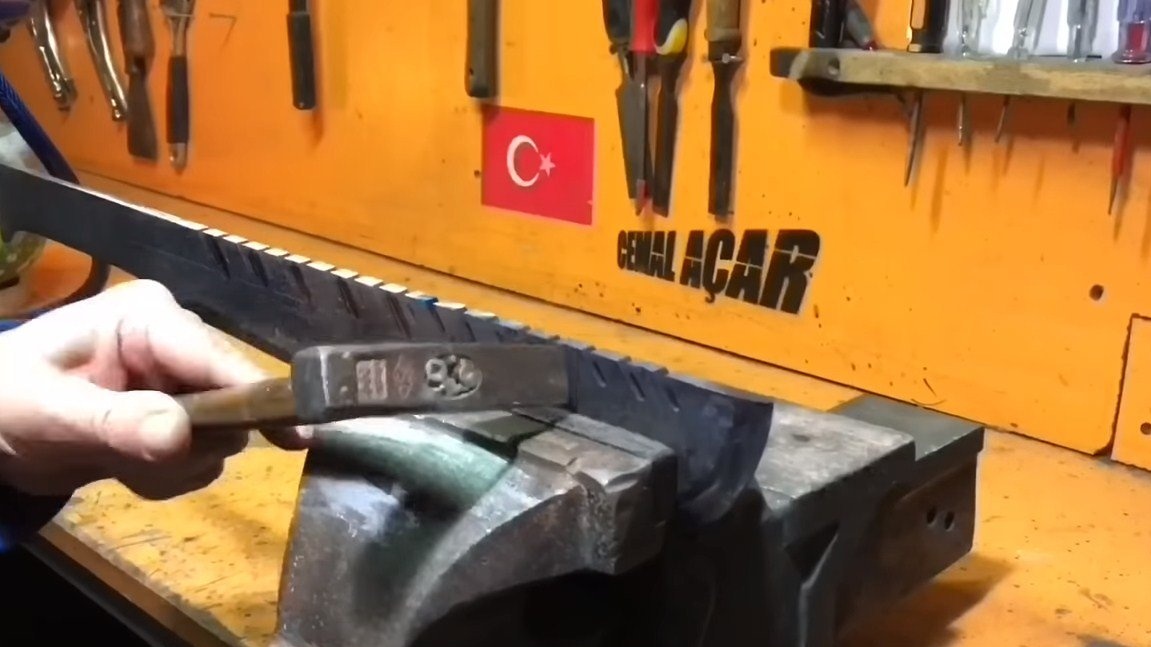
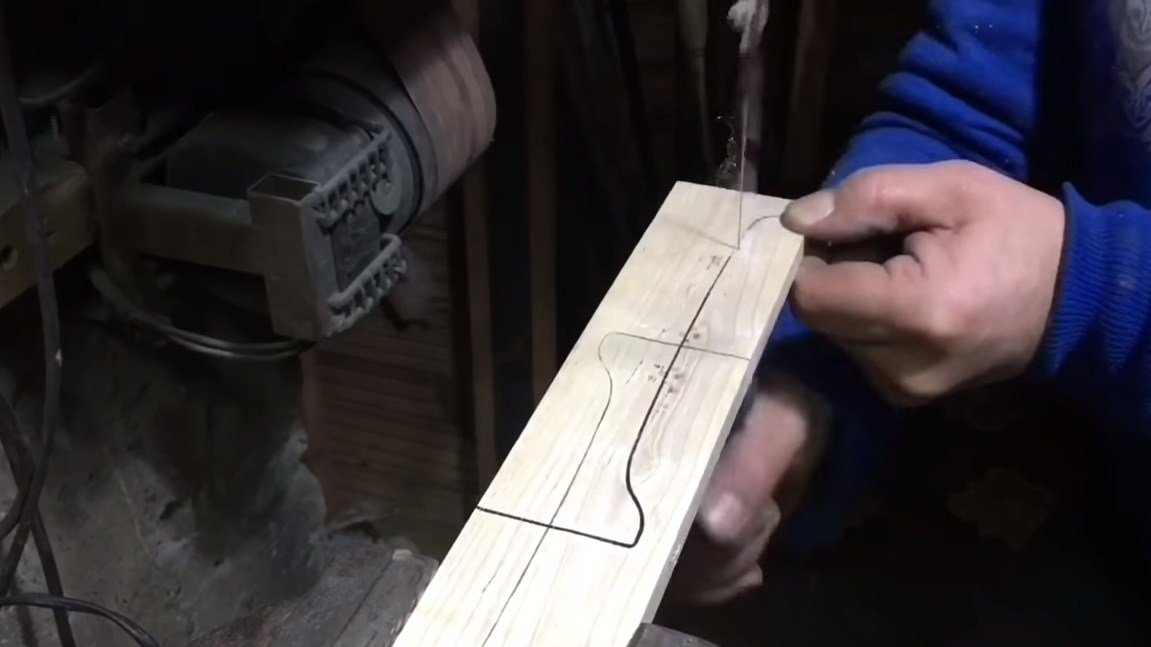
Step Two Main profile
We draw the desired profile of the product, the author drew a nose with a can of paint. Well, we draw other details using a ruler and marker.
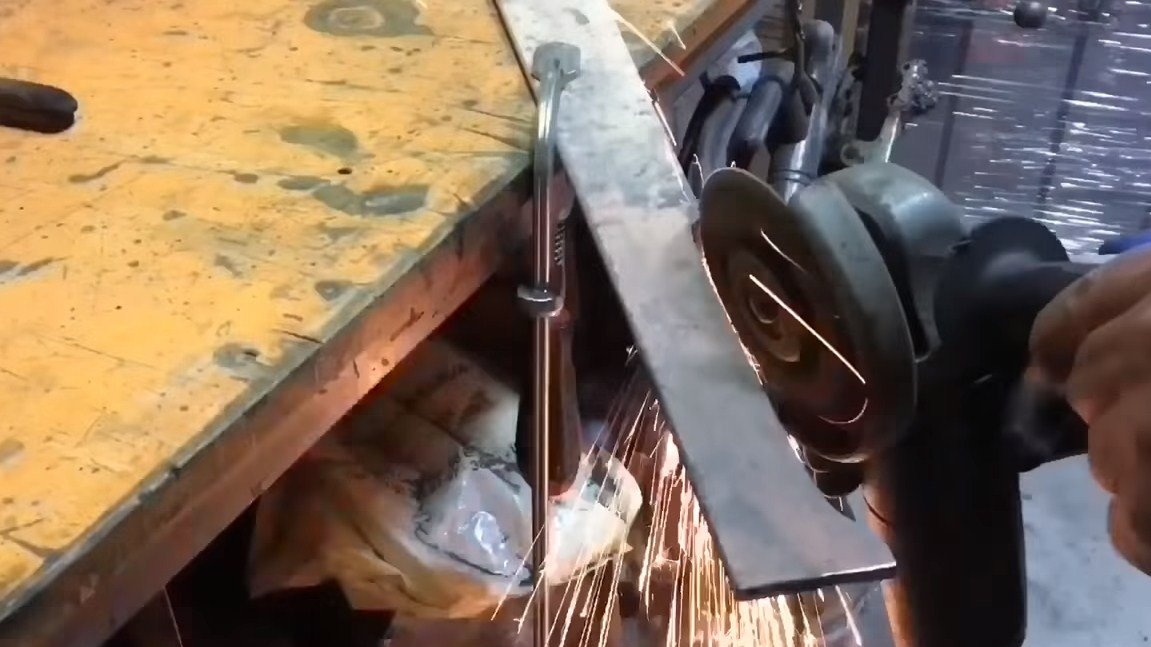
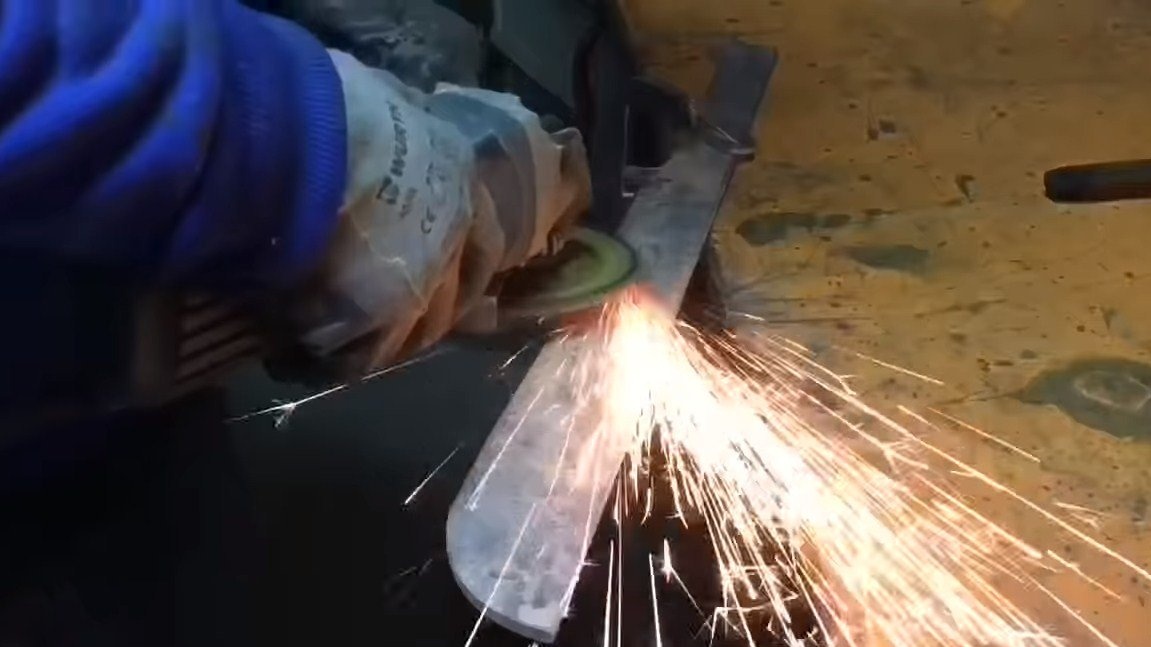
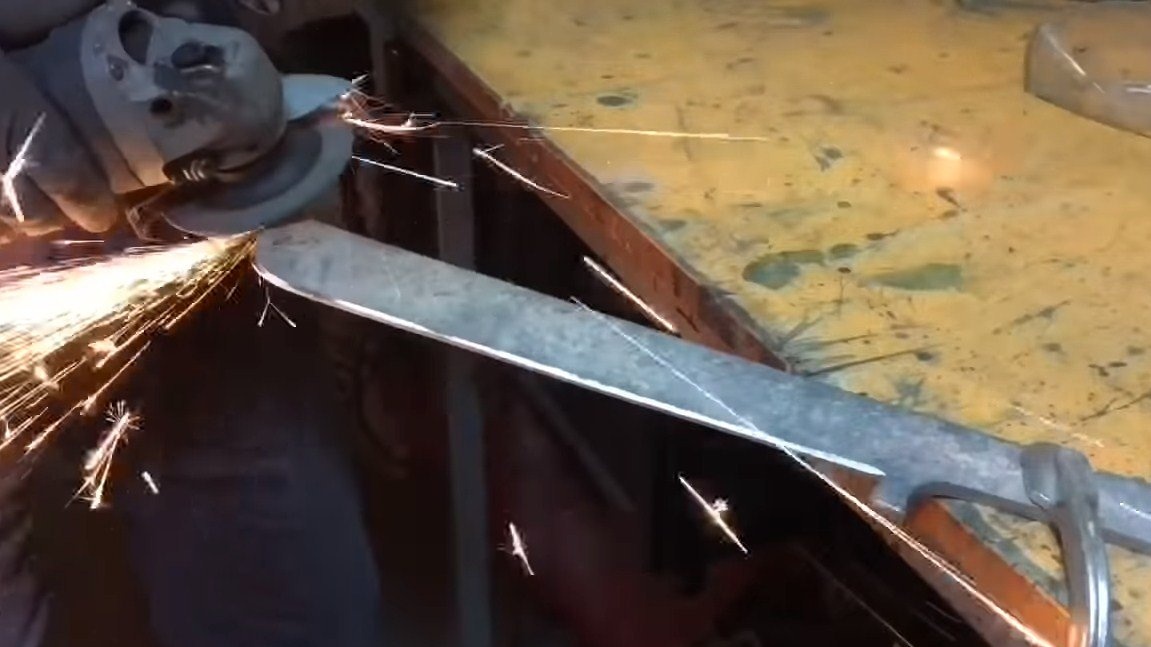
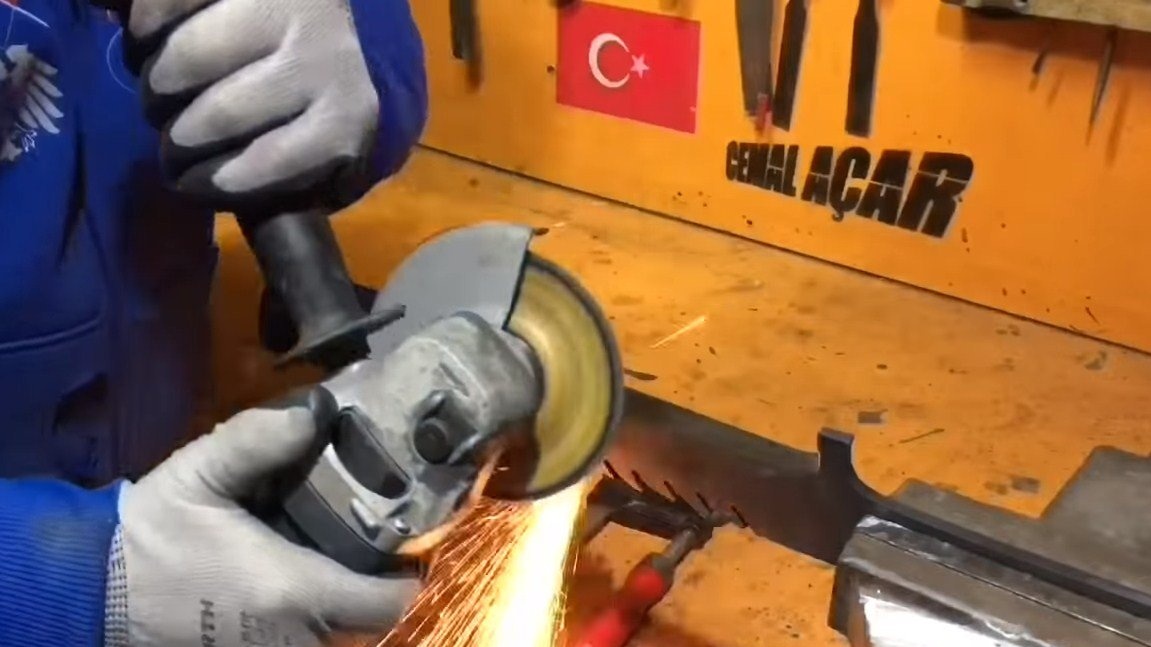
You can start cutting, for these purposes, the author uses a grinder with a cutting disc. When cutting, it is advisable not to overheat the place where the blade will be, otherwise alloying elements may burn out. We clamp the workpiece with a clamp and get to work.
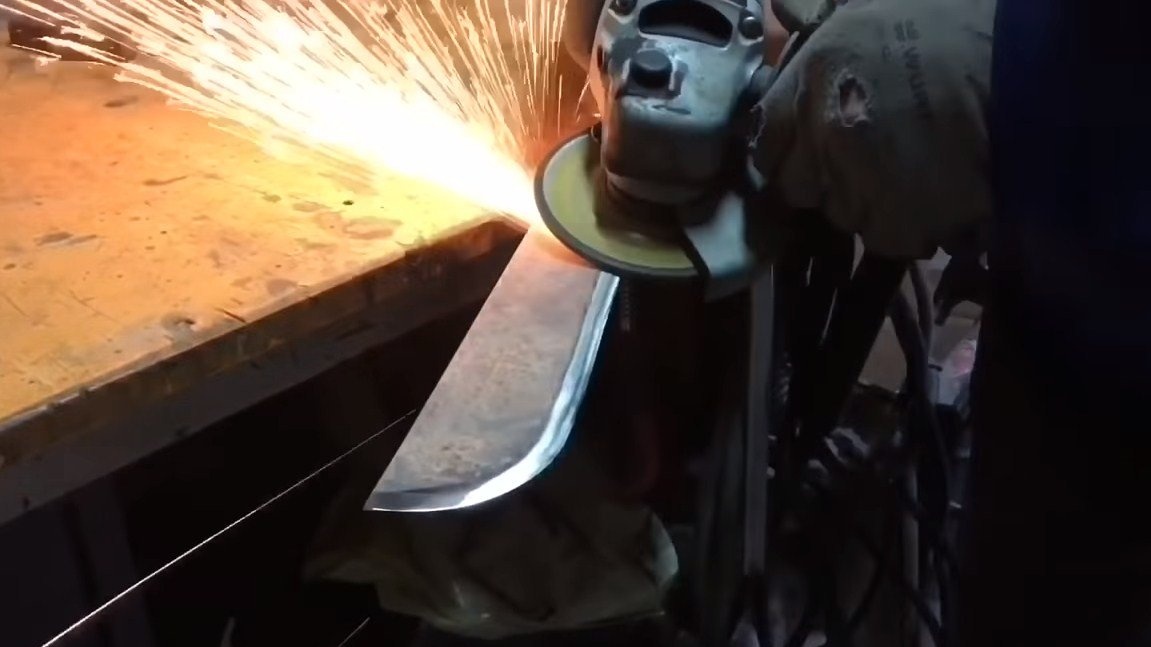
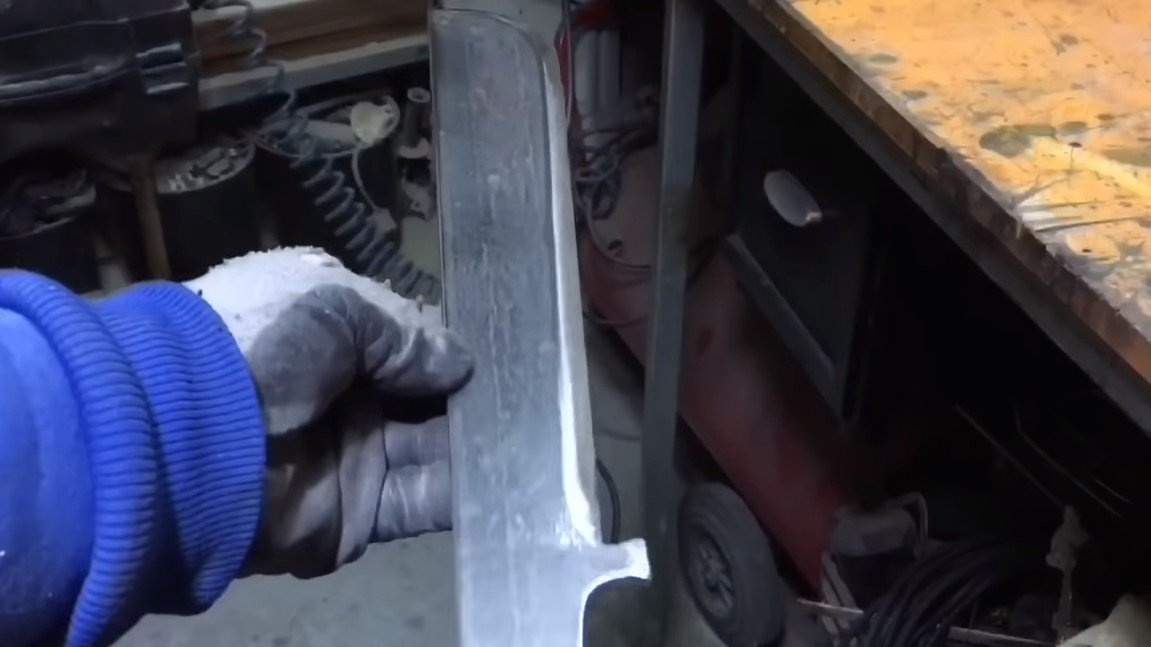
Step Three Slopes
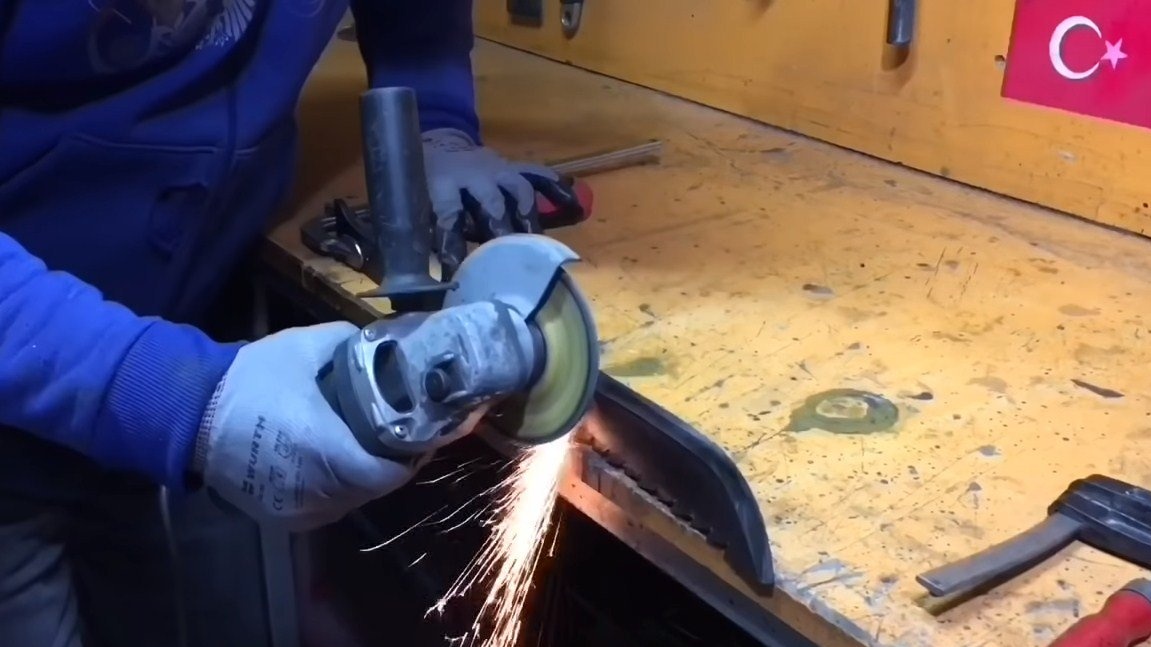
We form the descents on the instrument, for these purposes we need a grinder with a petal nozzle. The author does everything by hand. The slopes are quite smooth and beautiful. The blade has not been sharpened yet, since it will be hardened further.
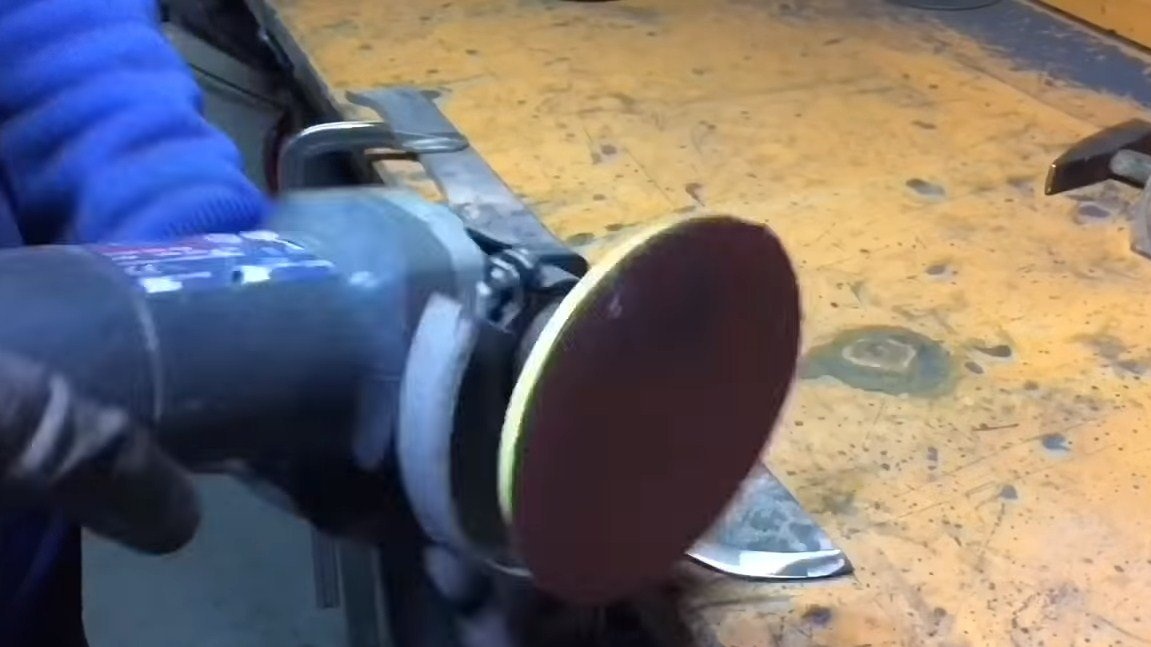
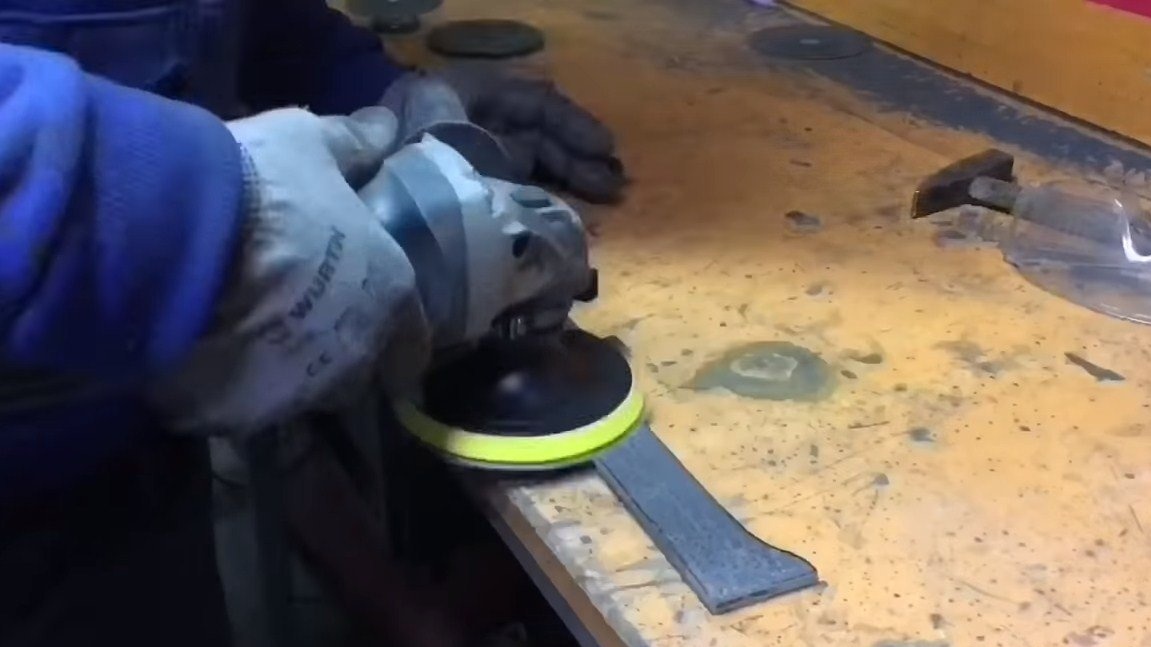
Step Four Grinding
We grind the workpiece, the author uses such a simple tool as a grinder with Velcro.
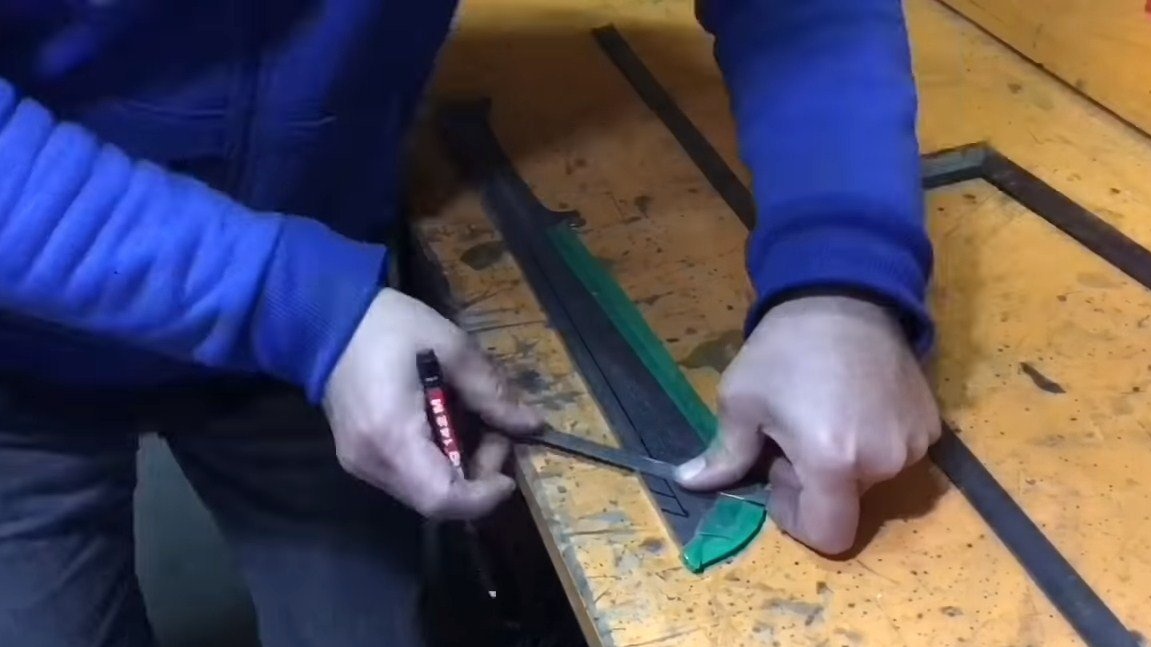
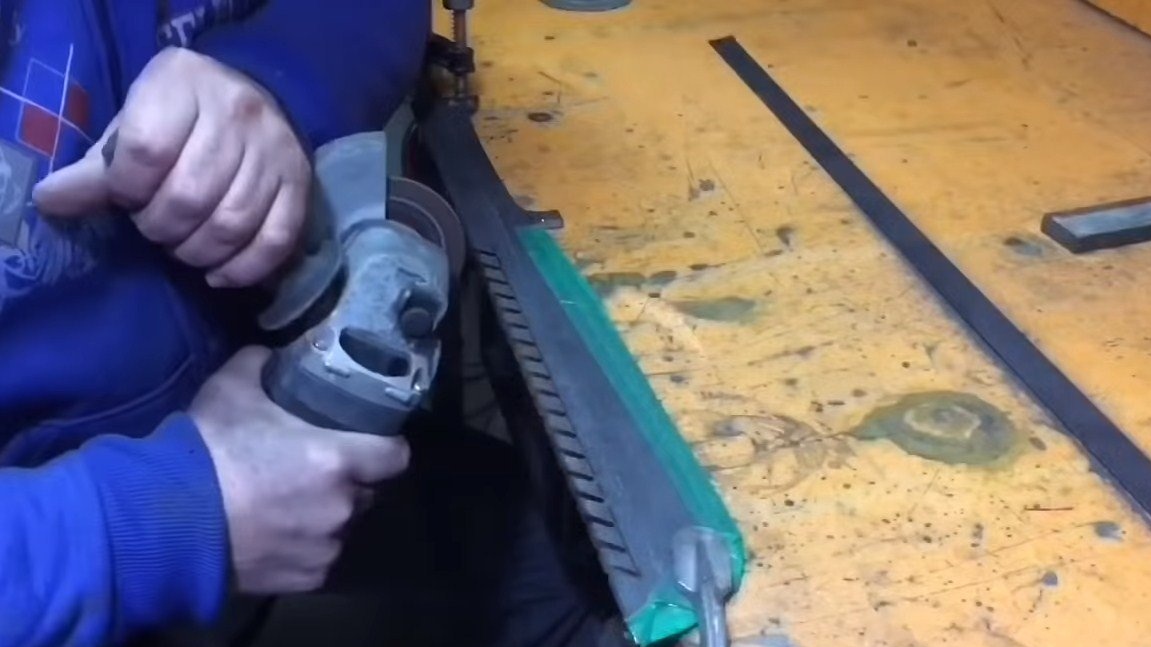
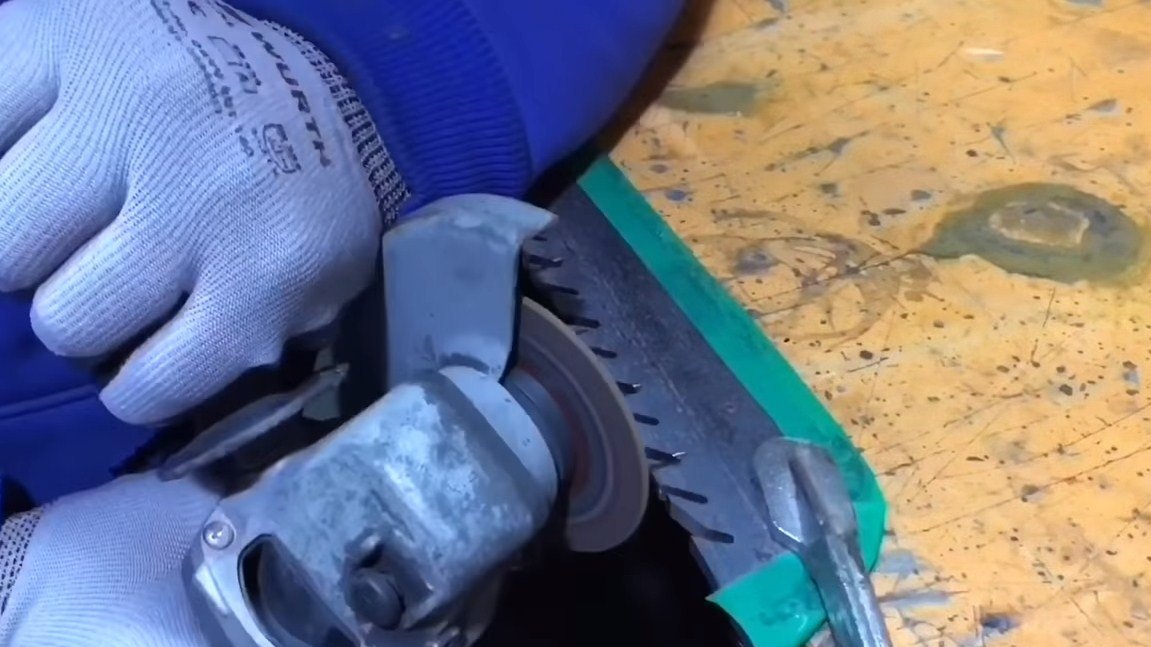
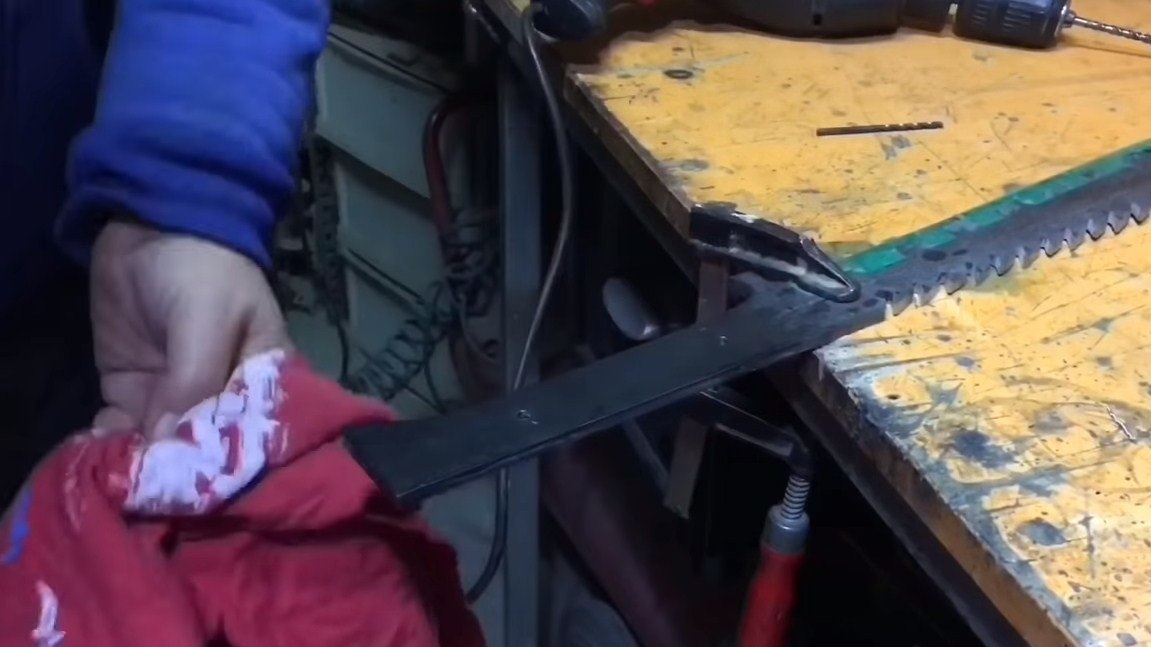
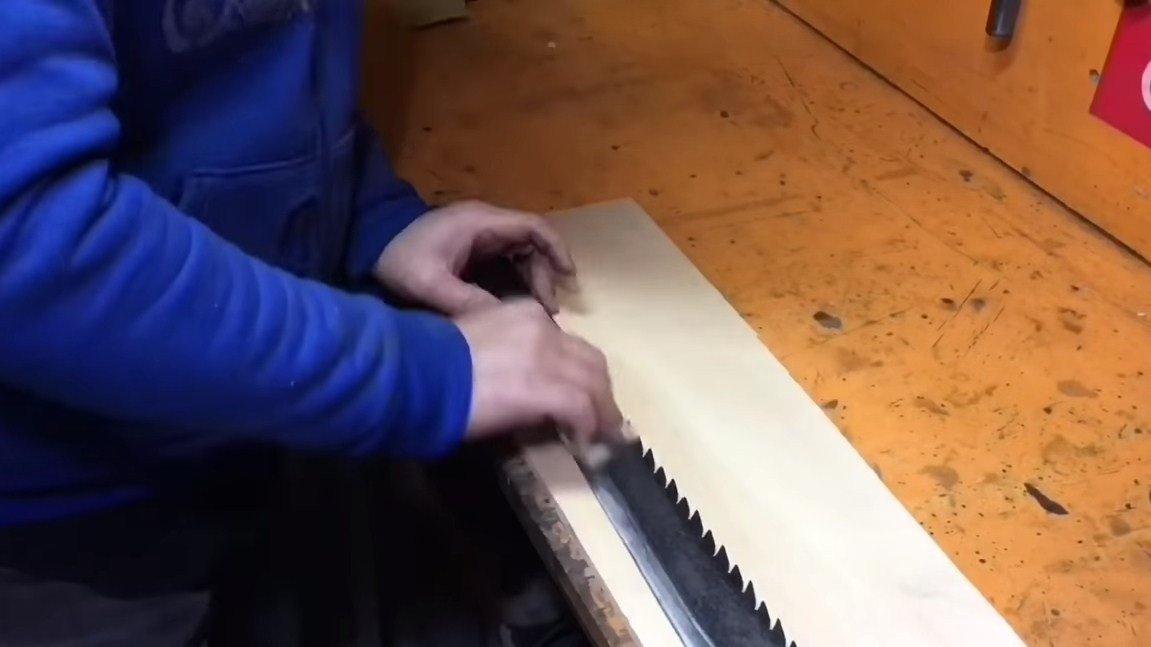
Step Five Saw
Let's make a saw on the cleaver’s butt, for this we’ll arm ourselves with a marker, a ruler and make markings.Well, then we make slots. Disks can be used thicker, so there will be less work in the future.
Of course, the saw must have a divorce, otherwise it will clog. To part the teeth, the author heats them and then bends through one hammer. When the divorce is ready, you can finally sharpen the teeth of the saw.
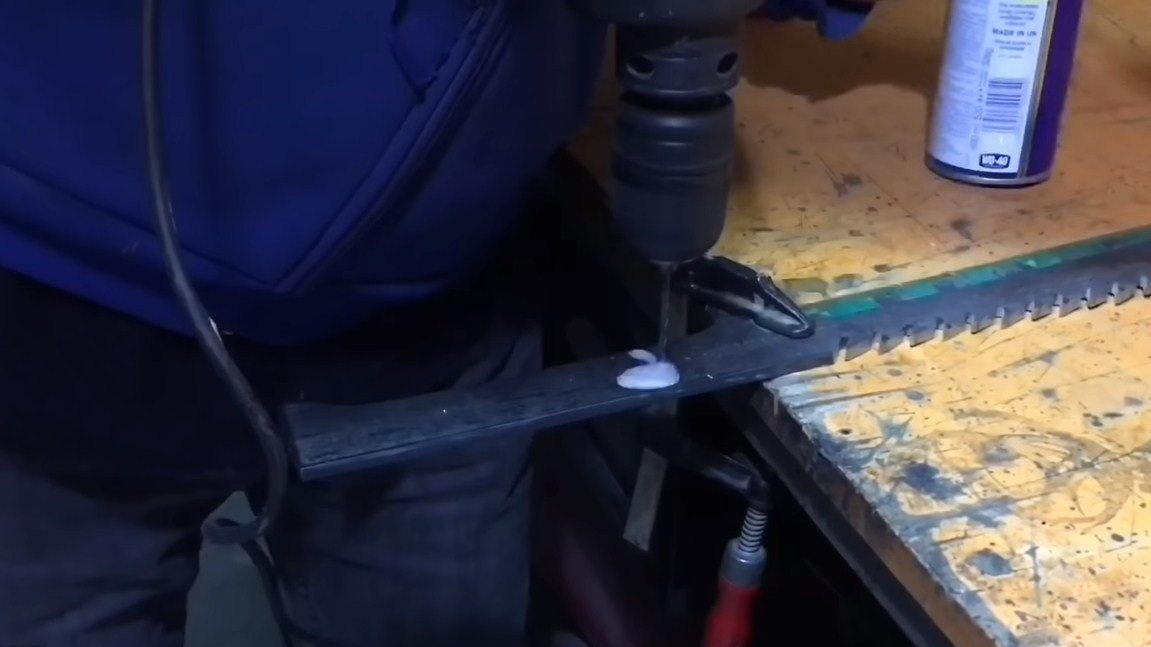
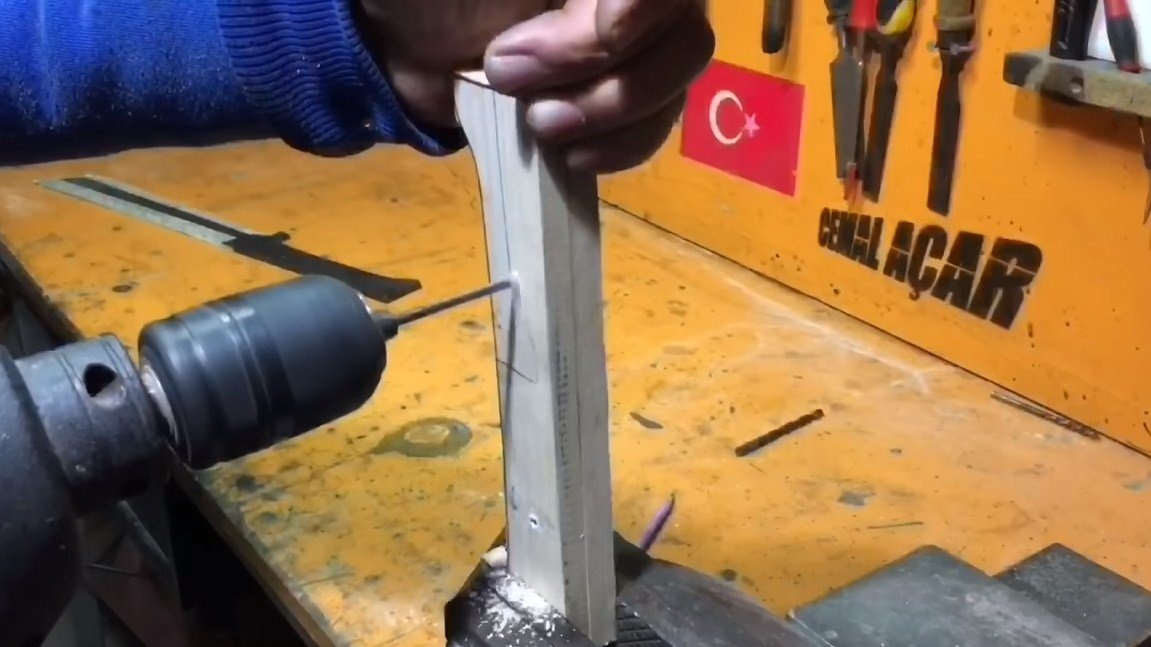
Step Six Holes
We drill holes in the handle, the fixing pins of the handle will be installed here. To drill spring steel, this part of the metal can be pre-heated.
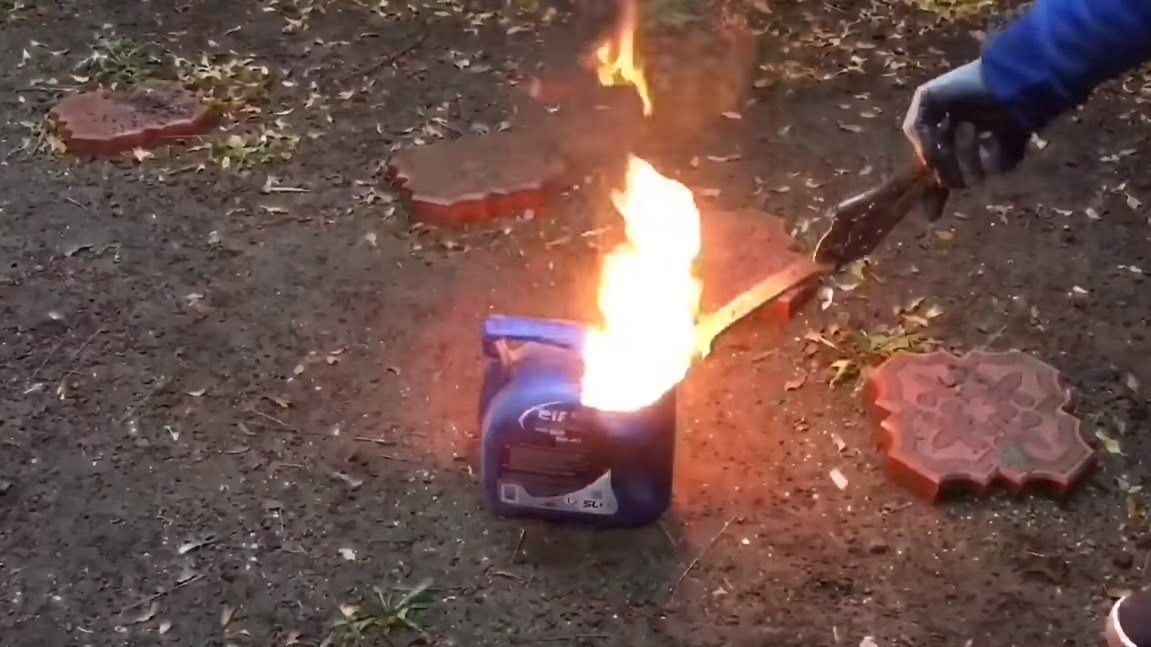
Seventh step. Quenching
We proceed to hardening steel to restore its former strength. To do this, we heat the product to a red glow and lower it into oil. You can check whether it was possible to harden the steel with a file, if there are no scratches, then everything is fine. And to determine whether the steel is sufficiently preheated, you can bring it to the magnet, it should not be magnetized.
The author used automobile oil, one can also use refining.
Usually, after hardening, the steel is still released, otherwise it may be brittle. But the author did not show this moment. Properly tempered steel becomes a straw color. Such a blade will spring and can withstand large bending loads, that is. It should spring, like the spring.

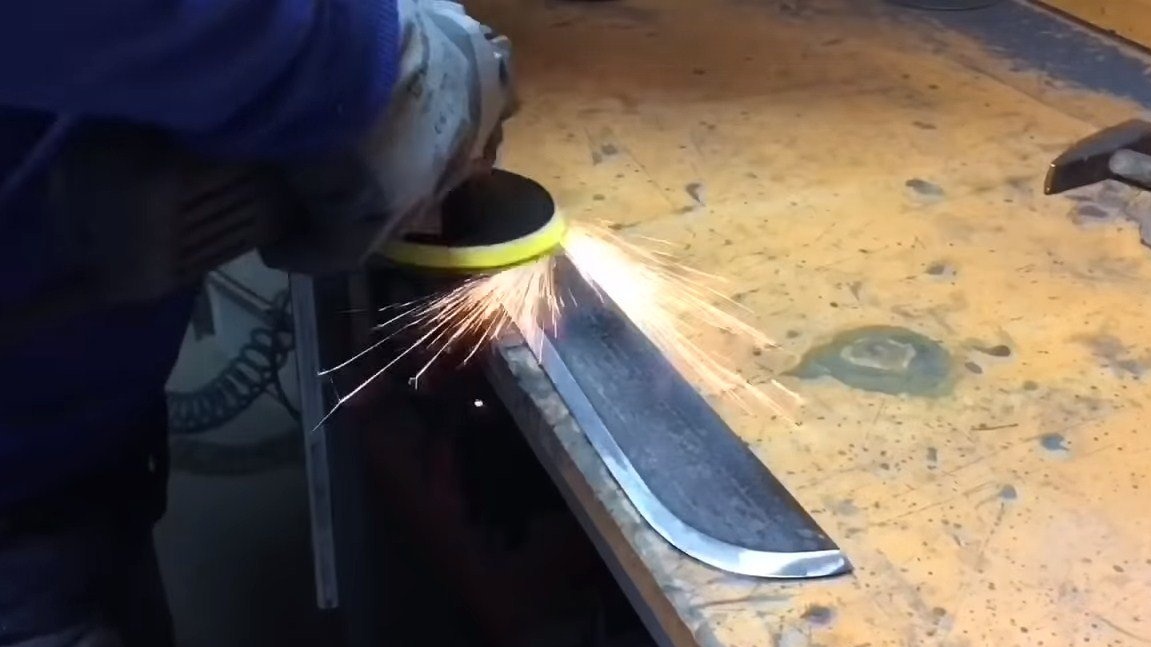
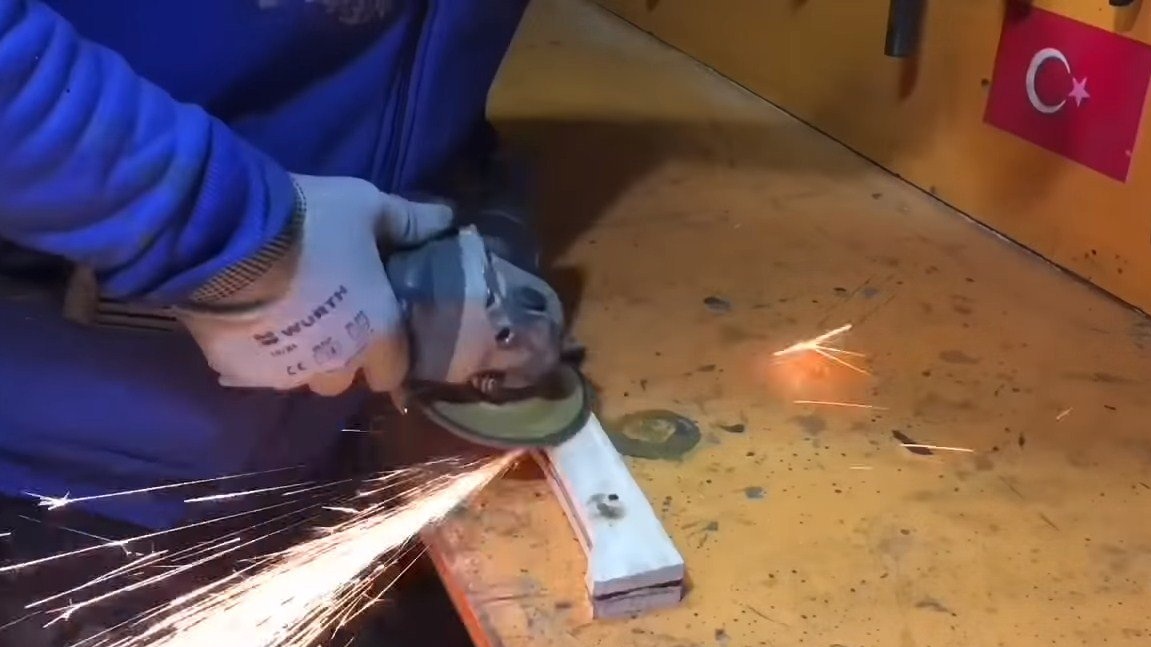
Step Eight. Grinding
After hardening, we pass along the cutting edge with a grinding nozzle and sharpen the blade. The author did not grind the entire product, the resulting patina will protect the homemade product from rust.

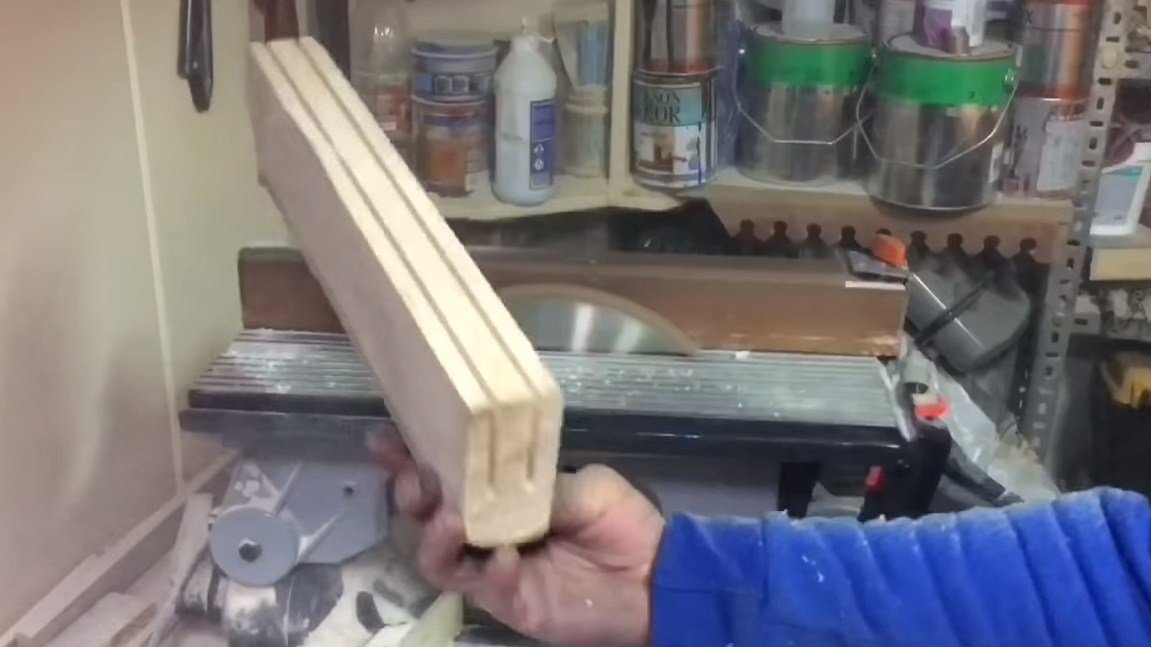
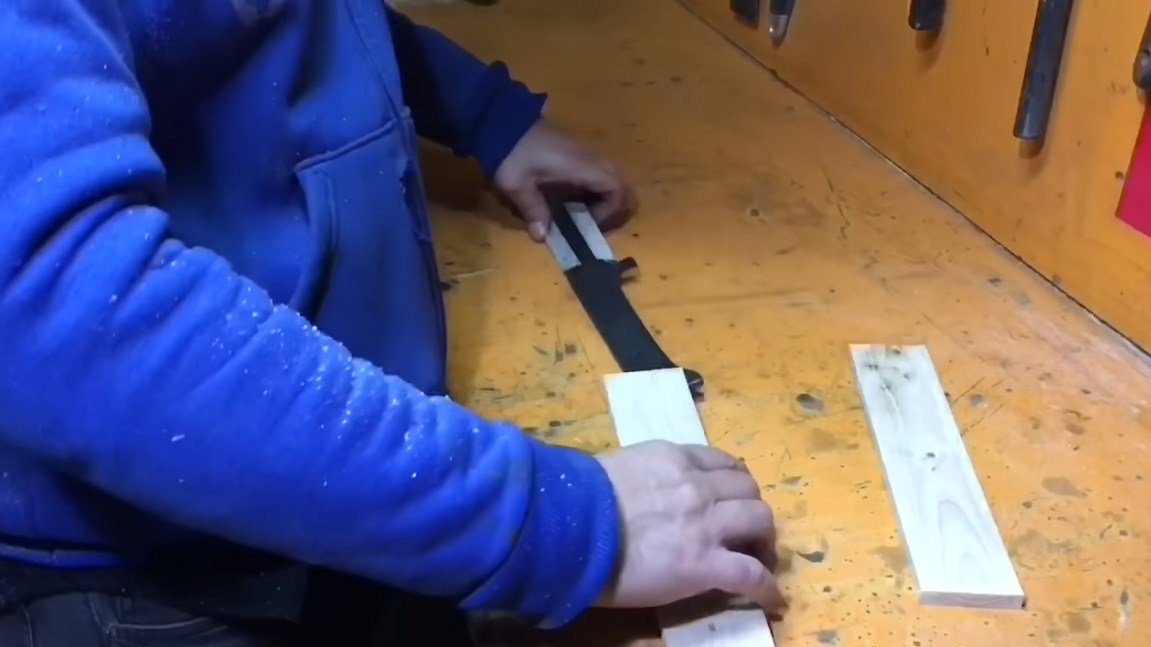
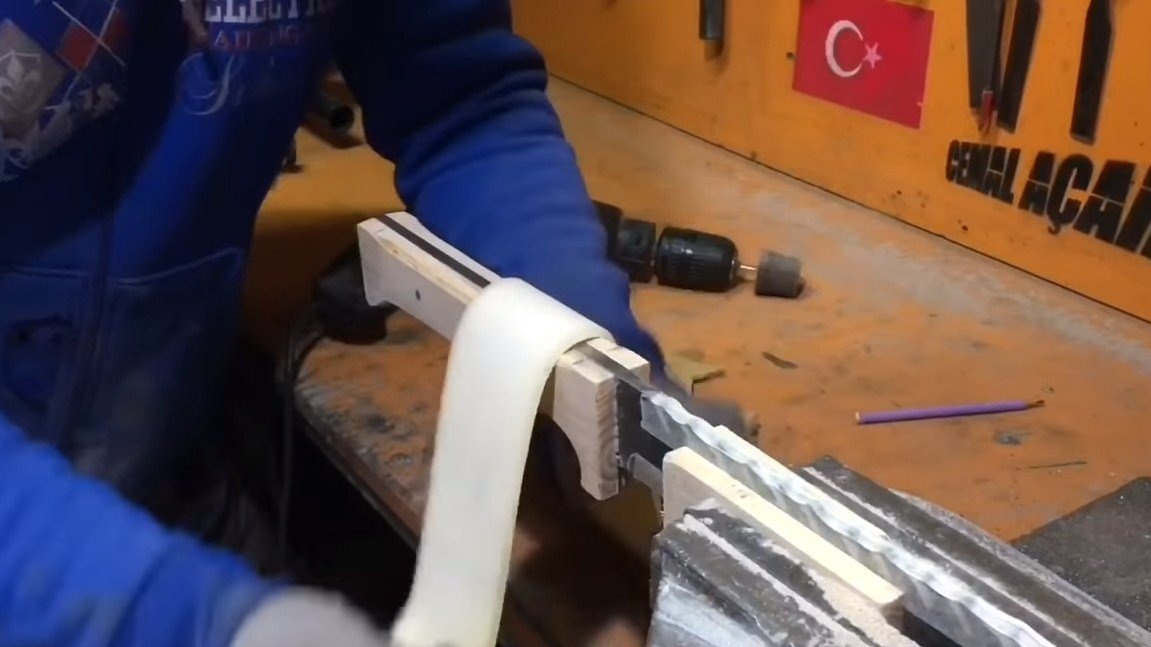
Step Nine. Collect the pen
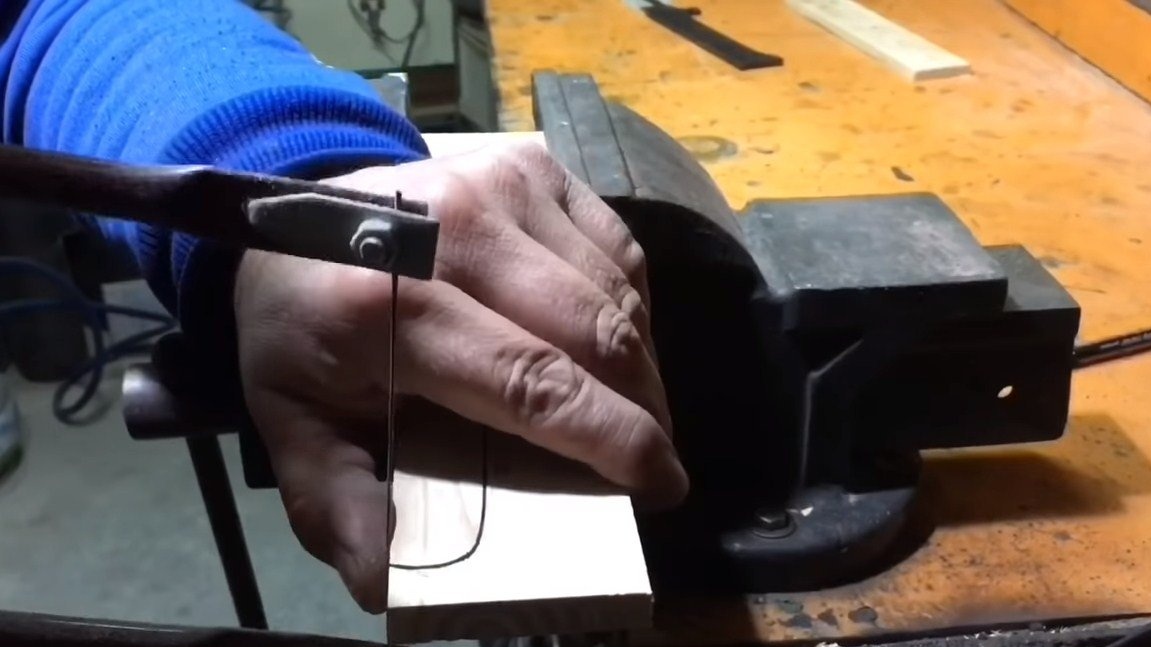
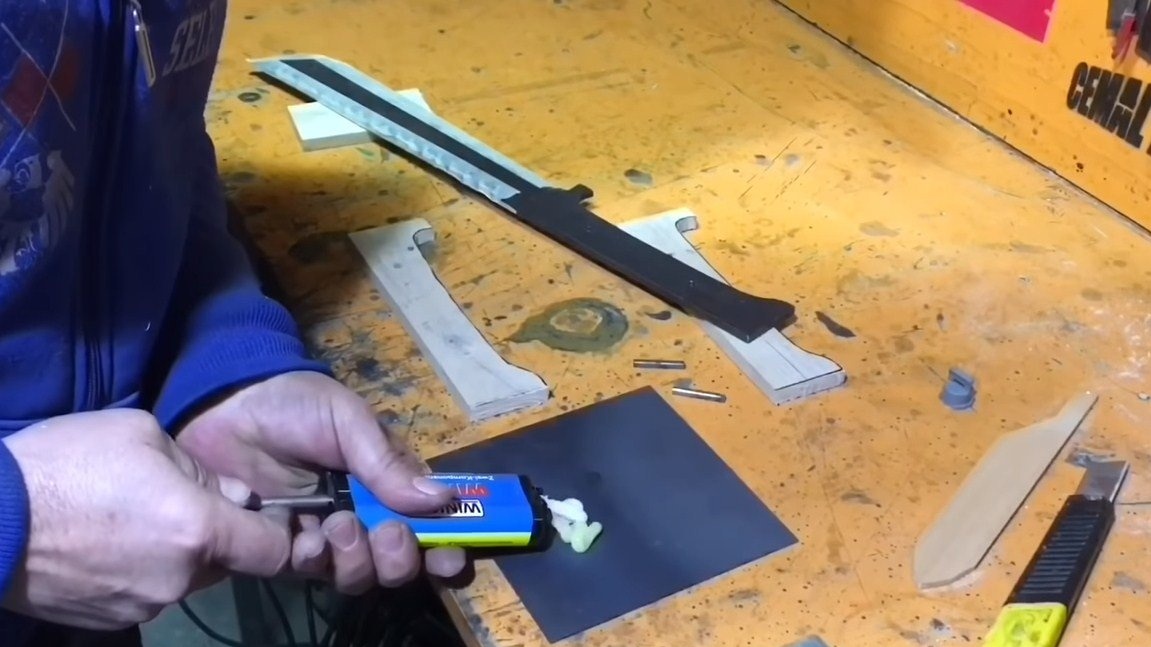
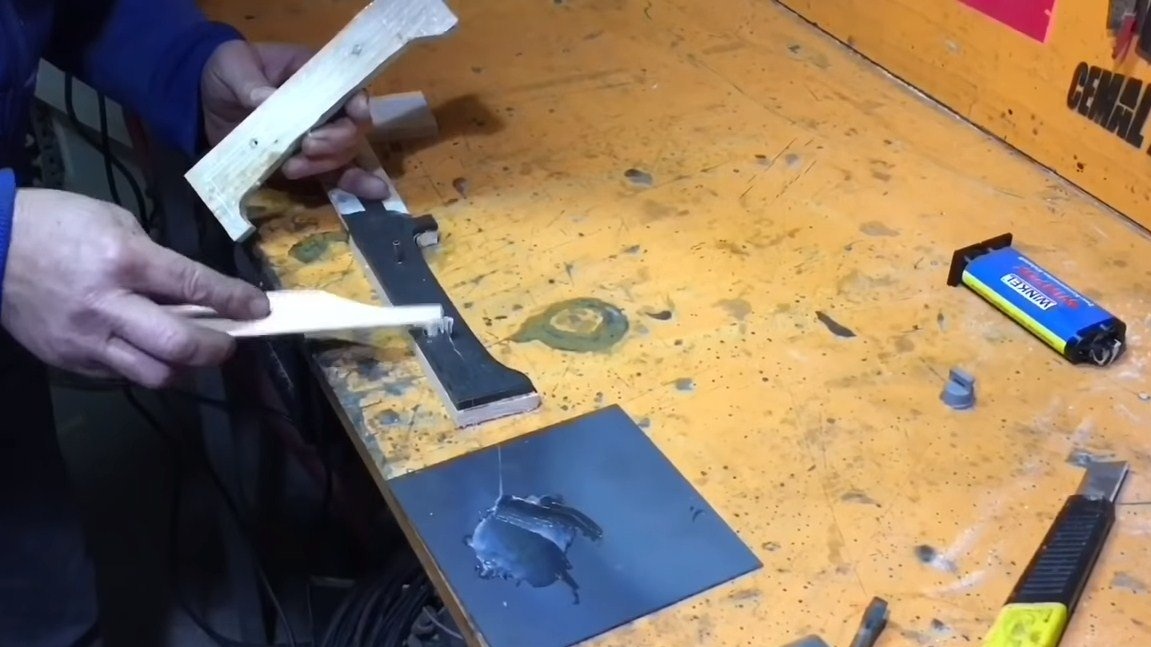
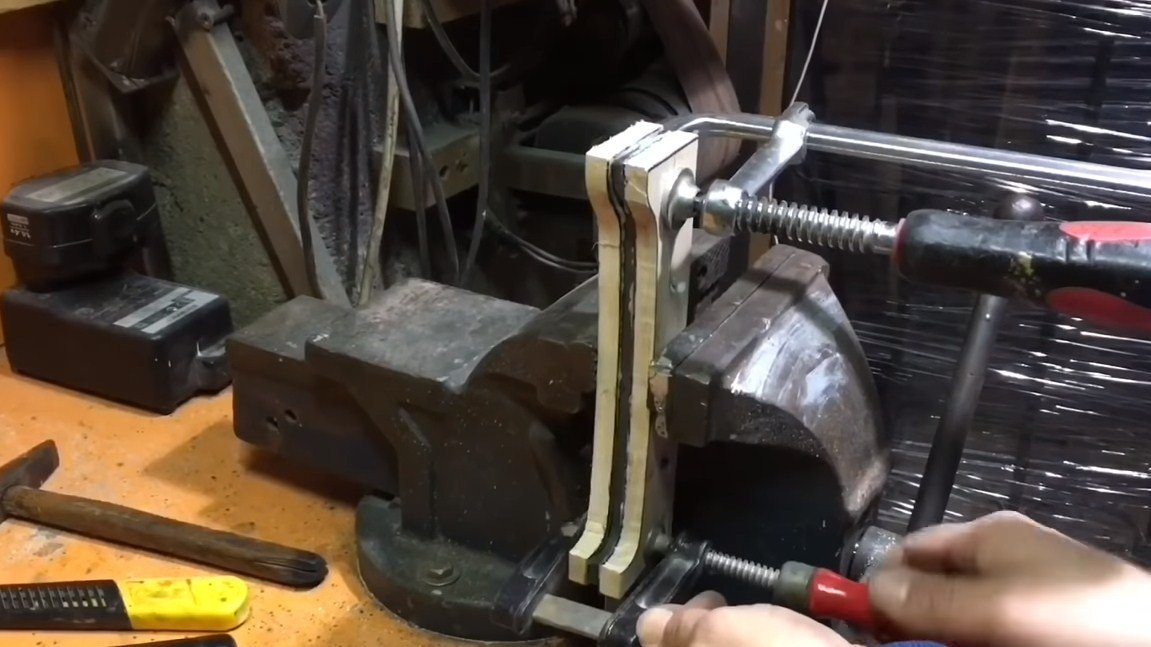
On the handle you need to install the pads, for this we need two pieces of suitable thickness. We cut two workpieces from them with a jigsaw, as close as possible to the handle profile. We grind adjacent planes and can be glued together.
For gluing, we will prepare steel pins, grease everything well with epoxy and tighten the handle with clamps. We leave the whole thing to dry, the usual epoxy dries for a day.
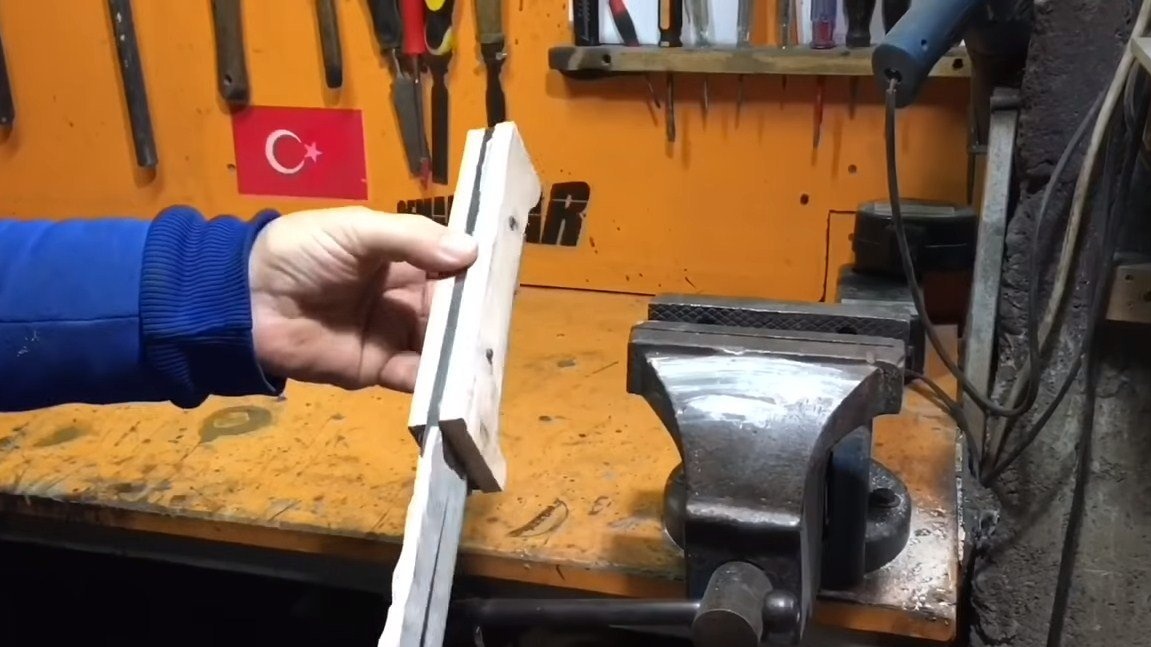
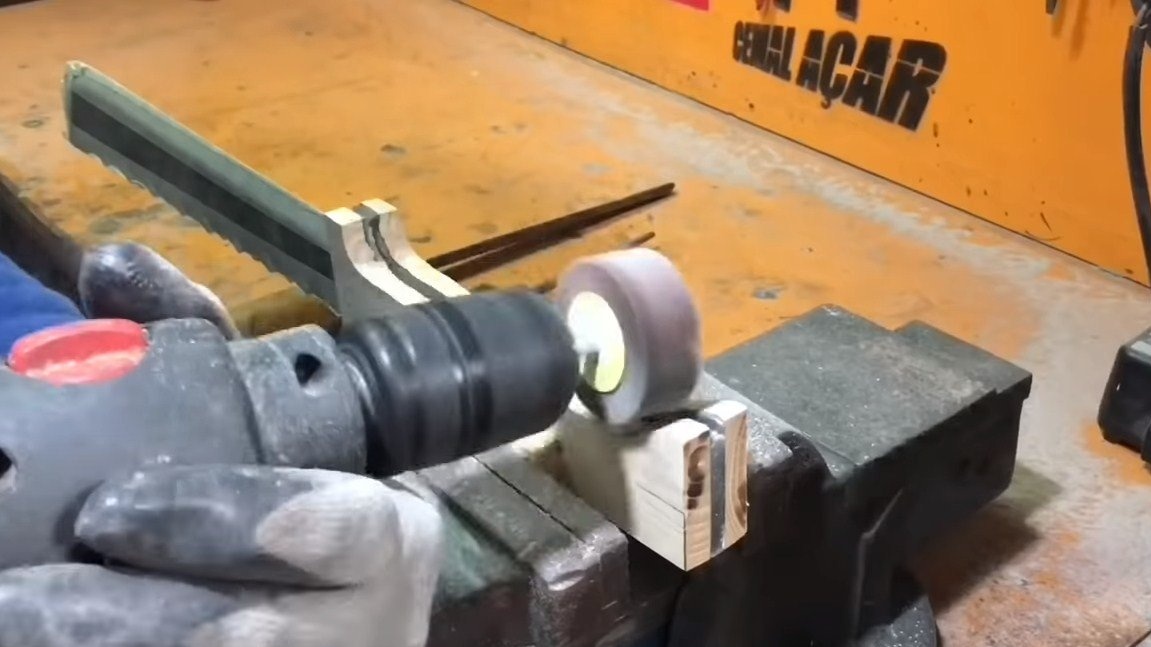
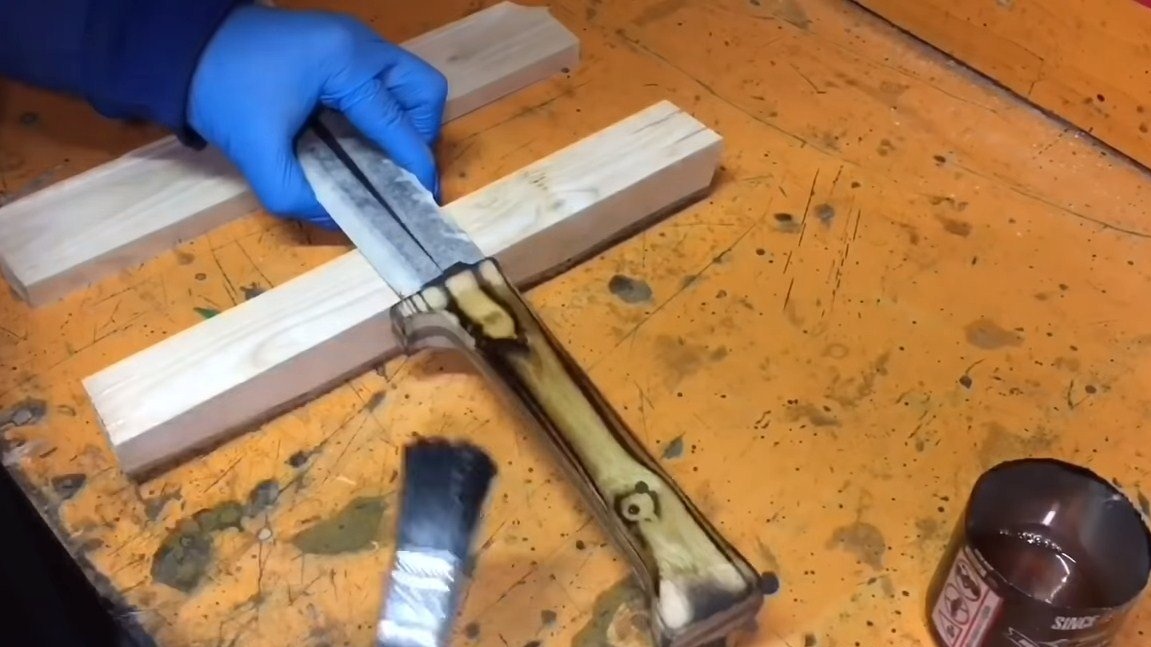
Then we will only have to form the desired pen profiles, the author works with a sandpaper nozzle.
Final work is carried out using sandpaper manually.


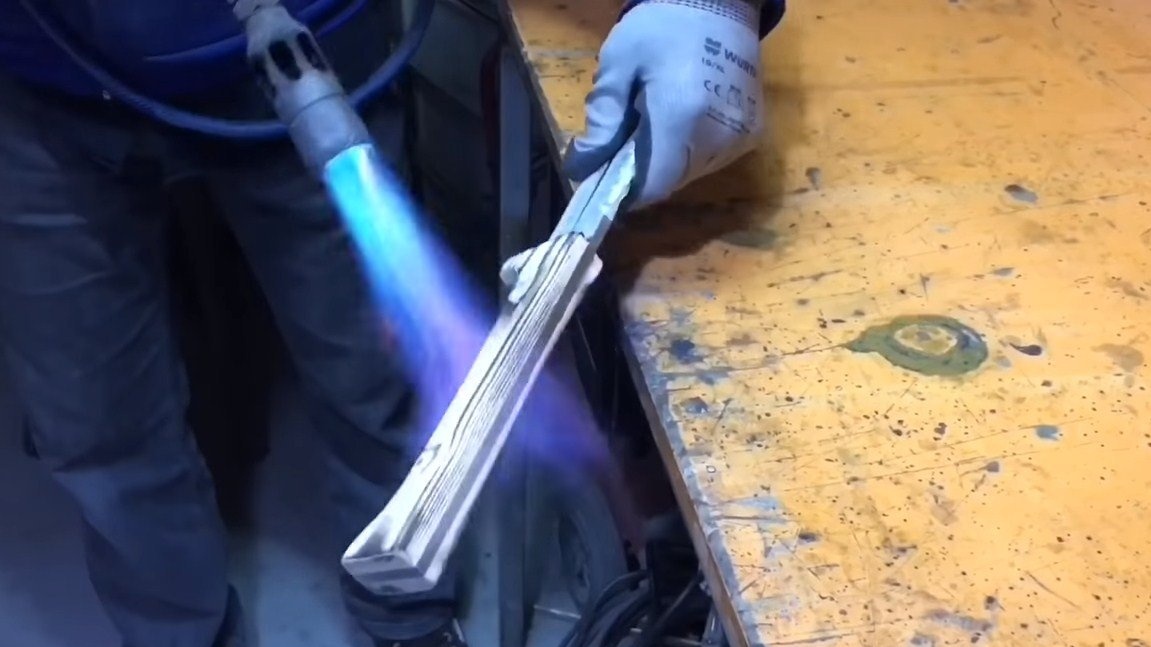
Step Ten Finishing touches
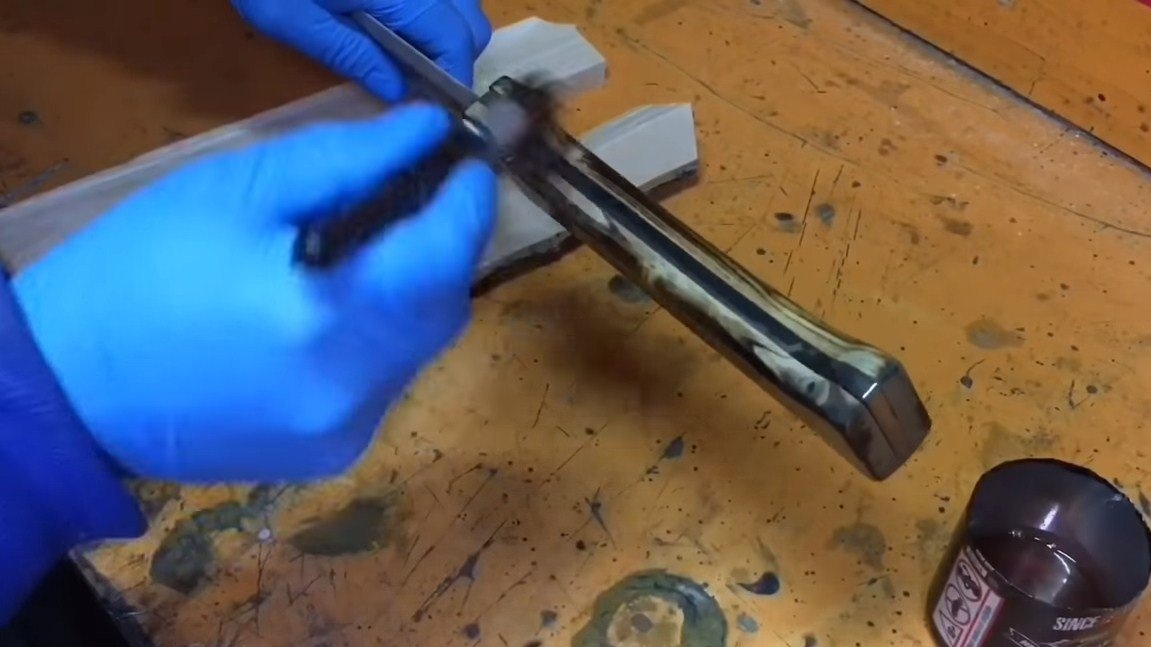
At the end, we burn the pen with a gas burner, as a result, the pattern will burn out more, and we will get an interesting picture. After firing, grind the handle a little and saturate the oil, you can add dye to your liking.
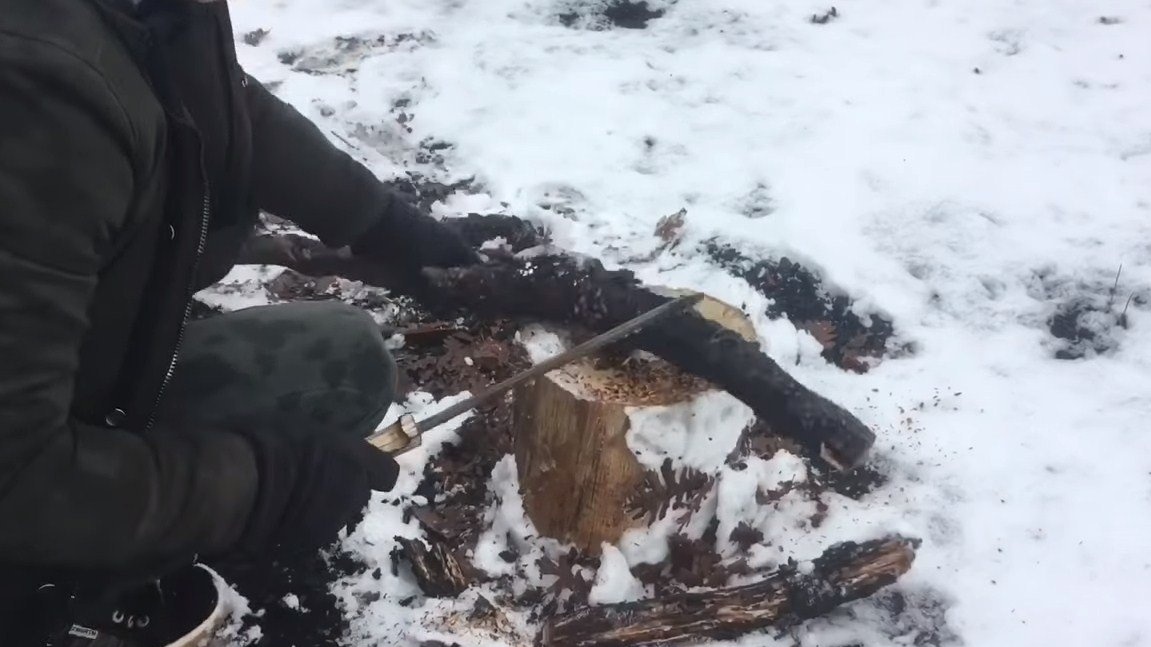
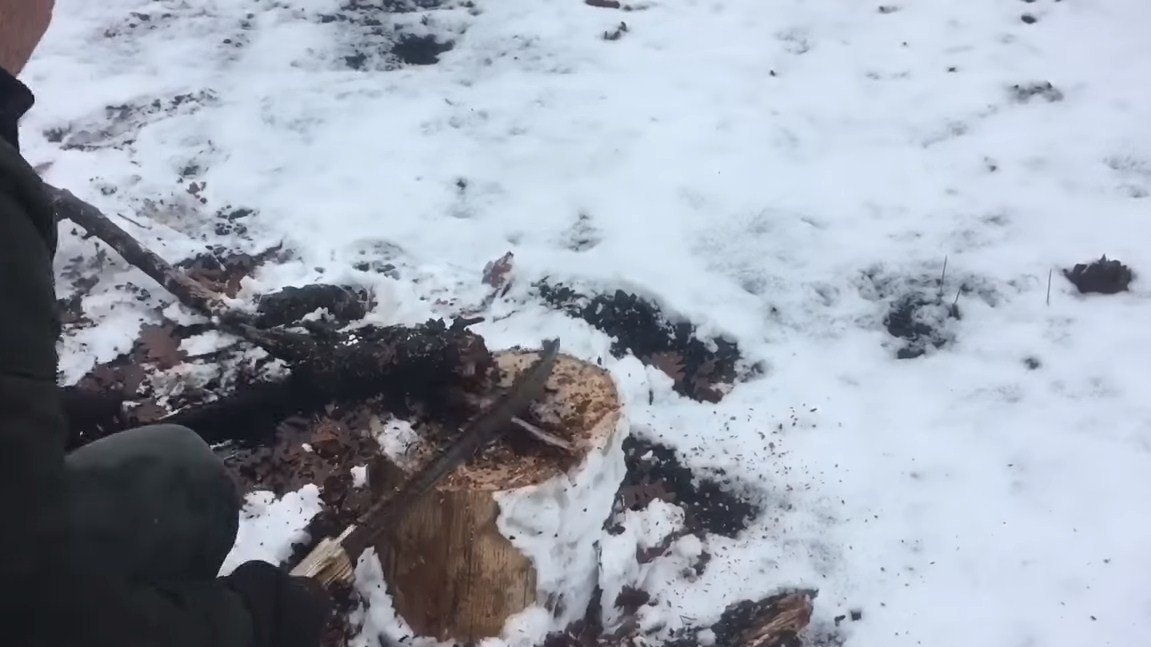
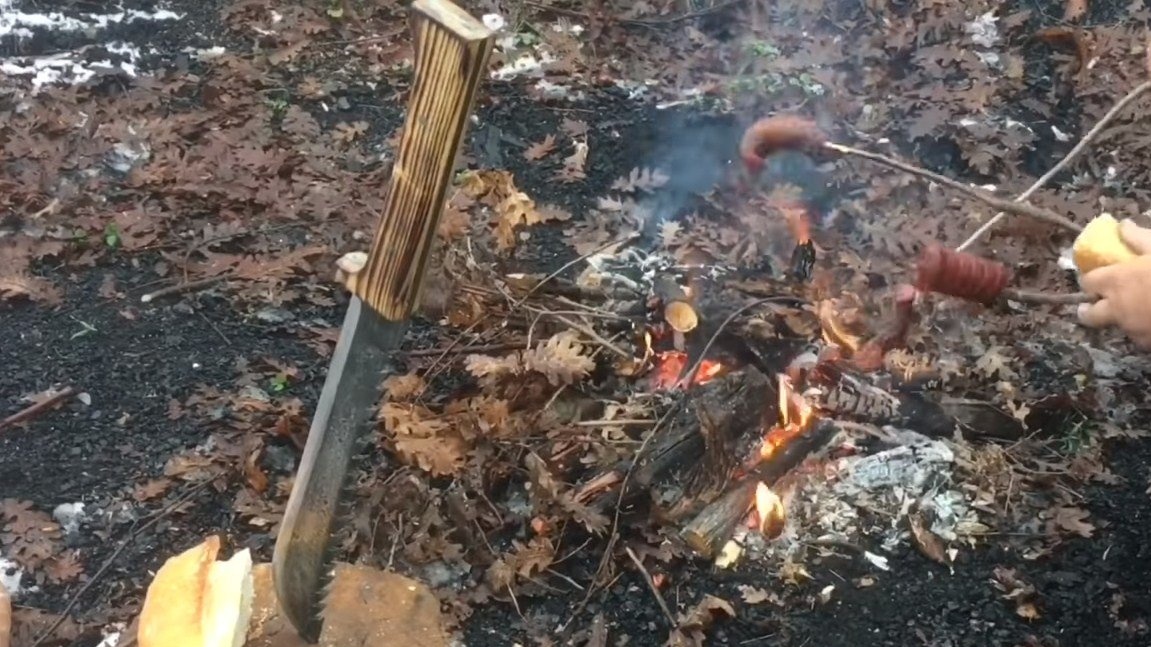
That's all, after that the product is ready, you can experience it. To begin with, the author decided to cut a stick, and he did it with ease. Then the ax was tested, the author easily chopped sticks for the fire with his help.
In conclusion, the author noted the making of home-made using a sandwich with fried sausages, the remaining dishes and drinks were left overs.
The project is completed, it turned out to be quite successful. Good luck and creative inspiration, if you decide to repeat this. Do not forget to share your homemade products and ideas with us.