
Today, together with the author of the YouTube channel "TEXaS TV", we will do one useful thing device, which is useful not only to knife makers, but also to every master, and even a housewife.
This is a tool for sharpening knives and various kinds of tools, so if you are interested in this topic, we’ve been sent. We take the profile pipe 20 by 20 as the basis. The tool must be not only beautiful, but also durable.
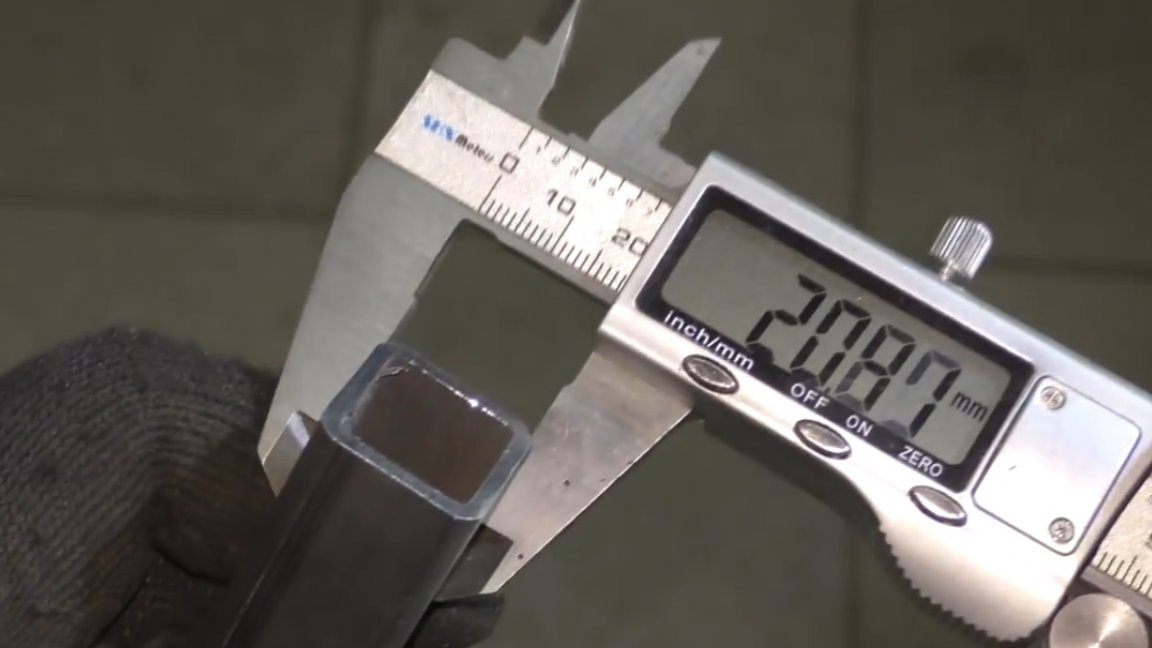
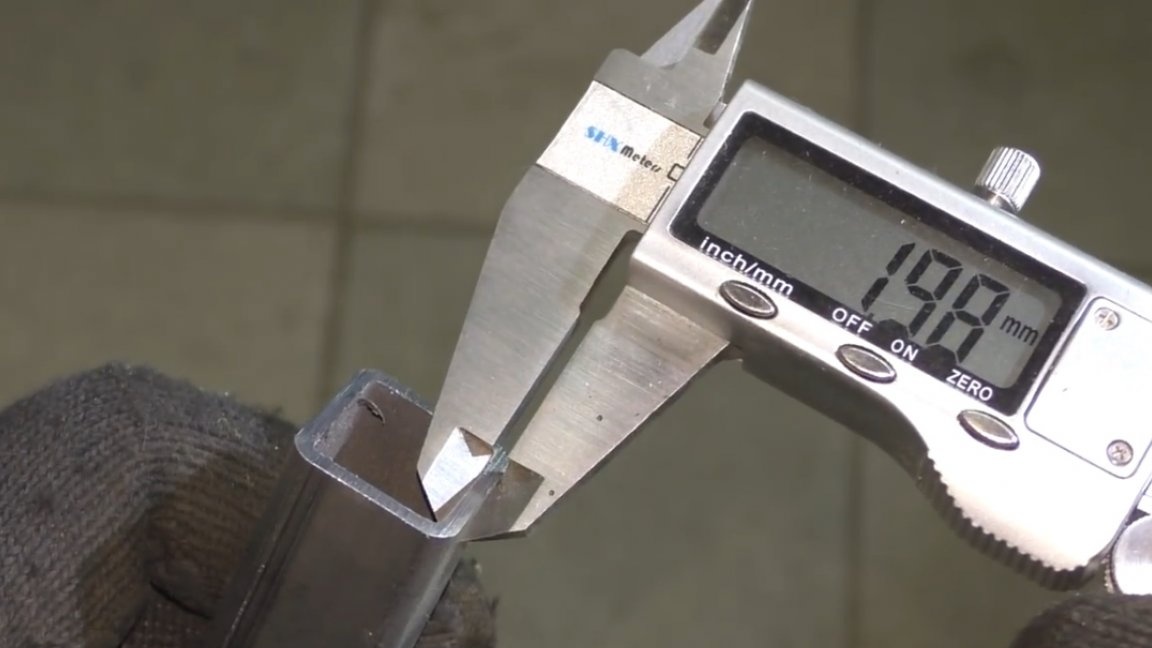
We cut off the blanks, only 4 pieces, 2 of which are 250 mm and 2 of 130 mm. The sizes are arbitrary and can be any, everything is at your discretion.

This is what the base will look like.
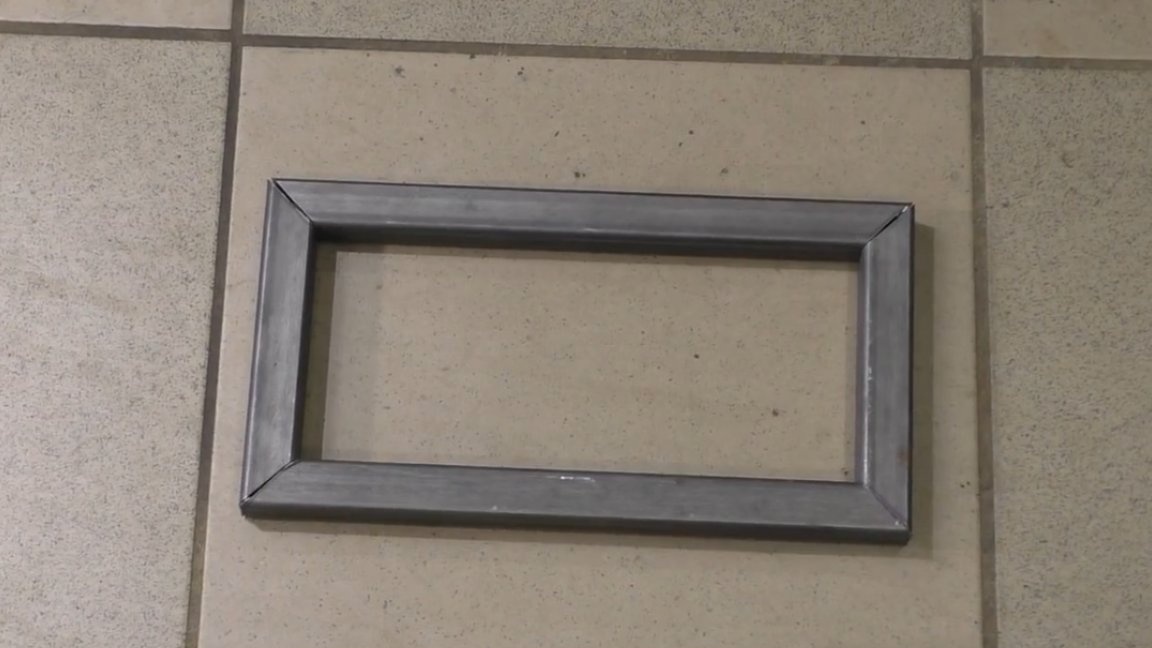
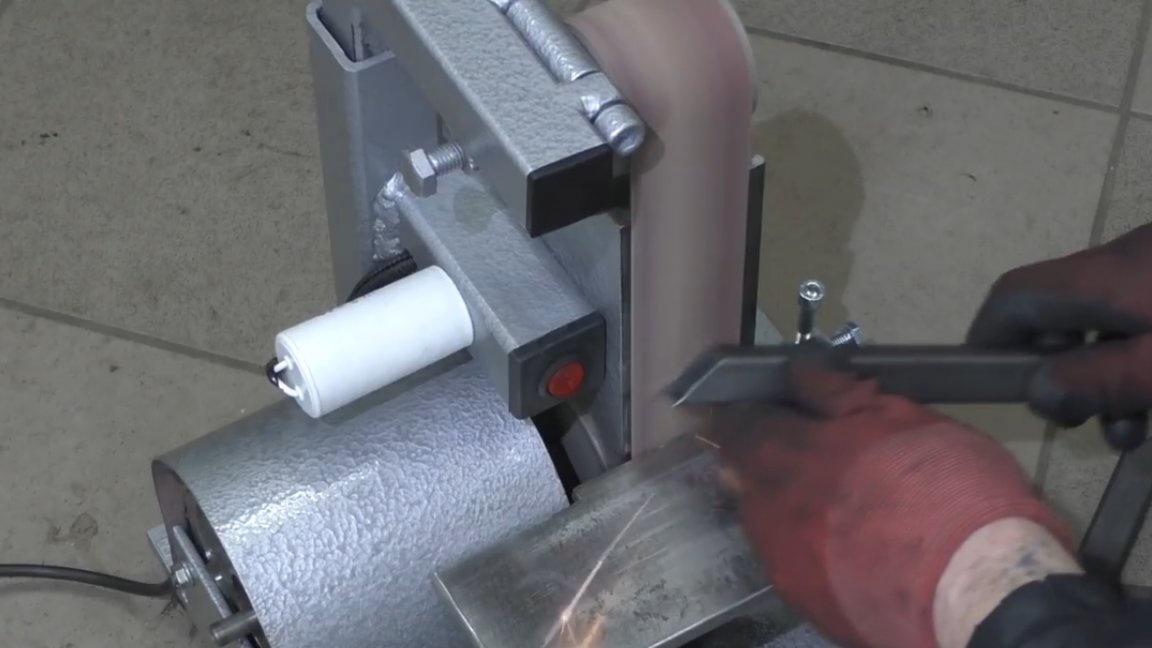
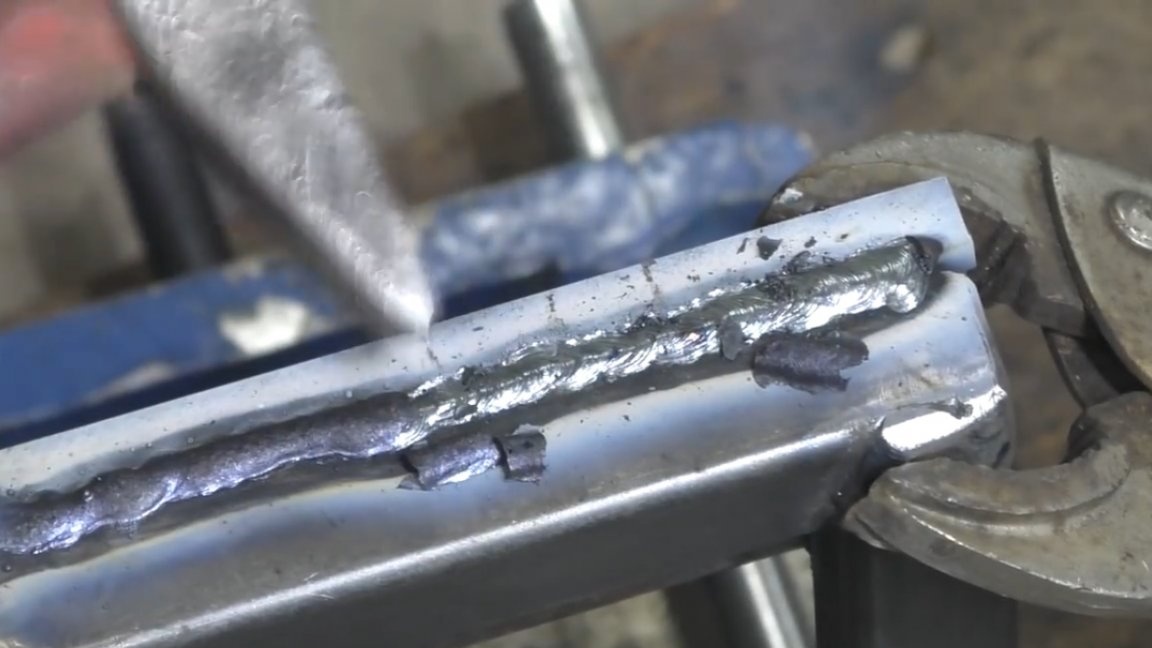
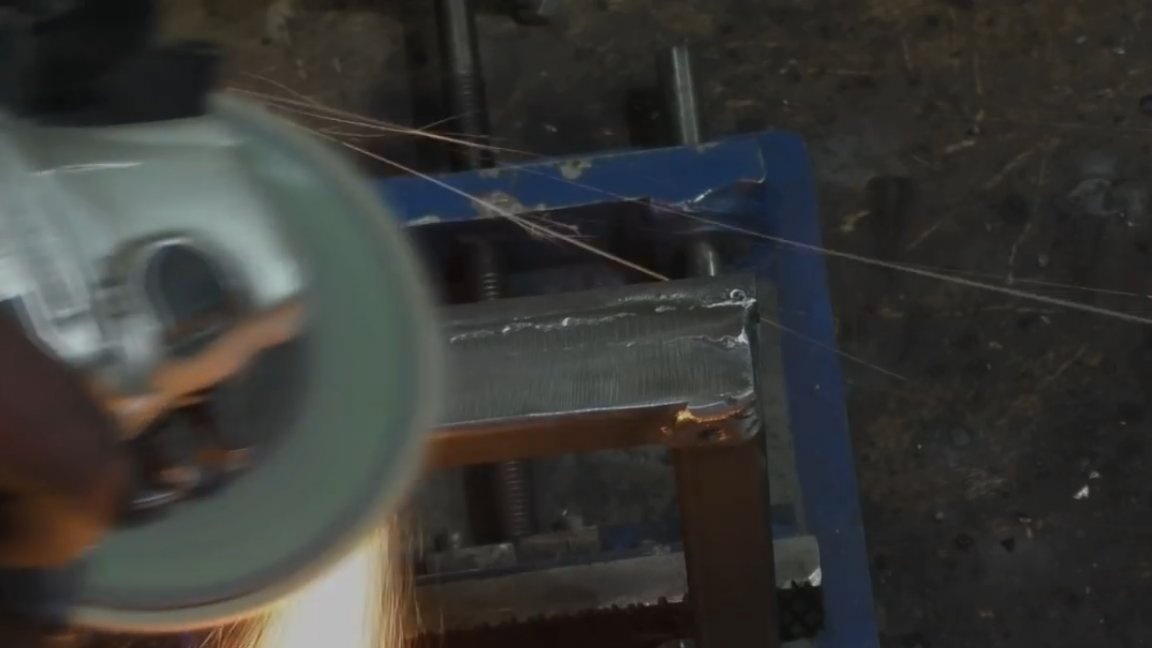
We remove the burrs and weld all the parts into one whole. For aesthetics, the author decided to cultivate welds a little, and the petal circle copes with this as well as possible.
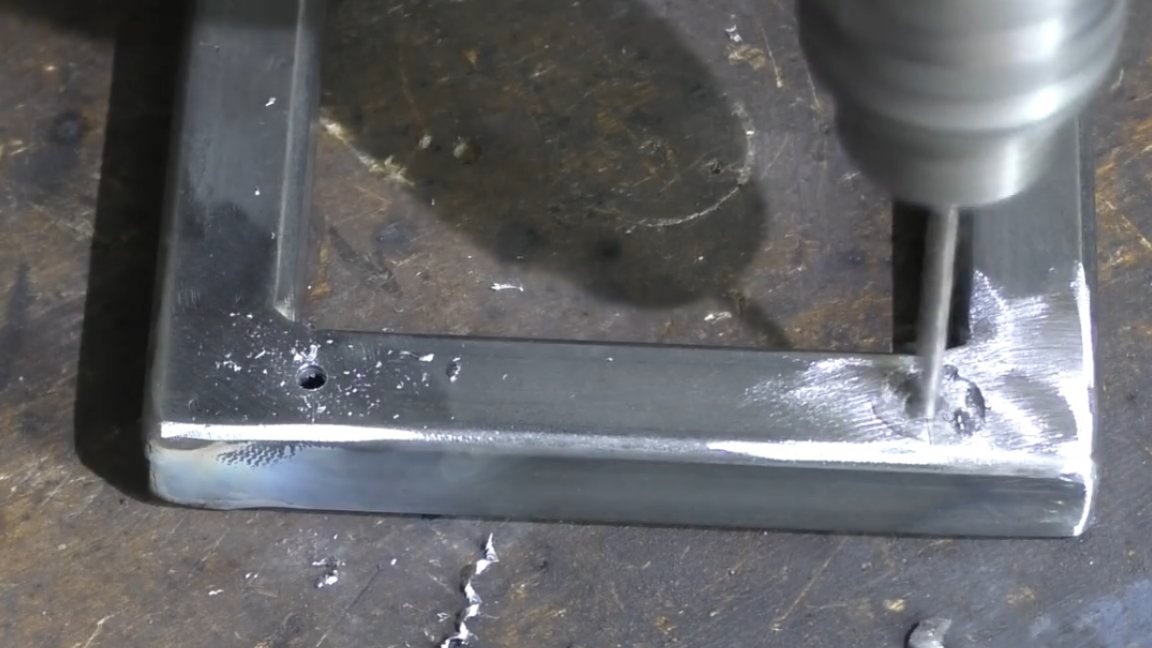
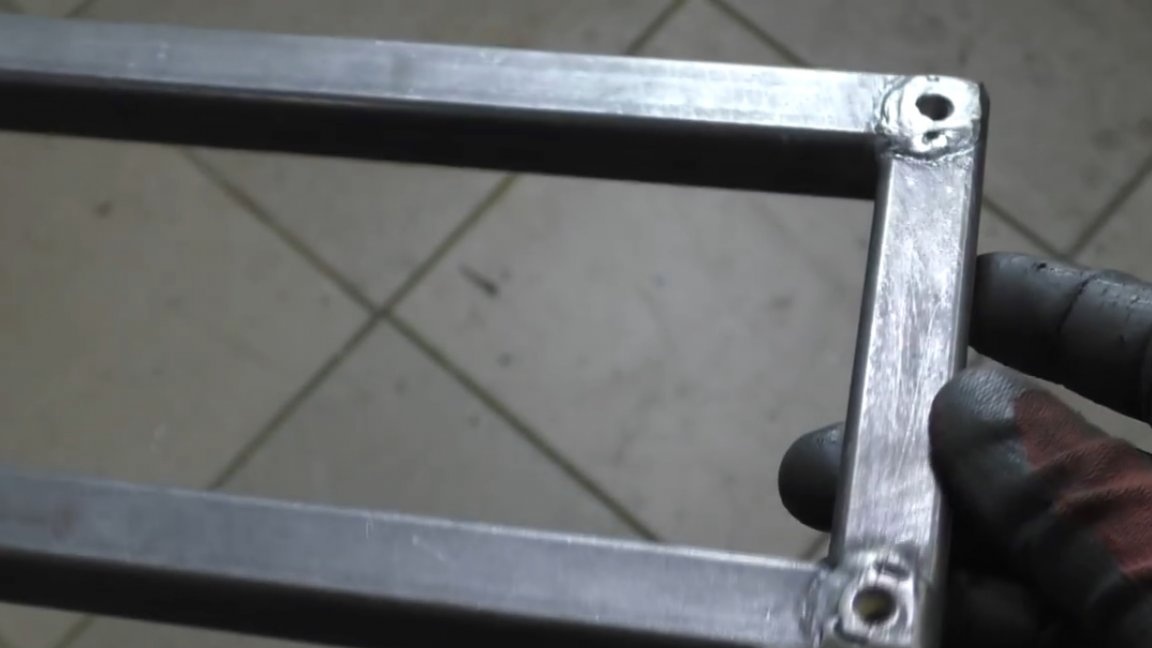
On the opposite side, we drill holes with a diameter of 8 mm for installing mortgages under an adjustable support.
By the way, this is how it looks:
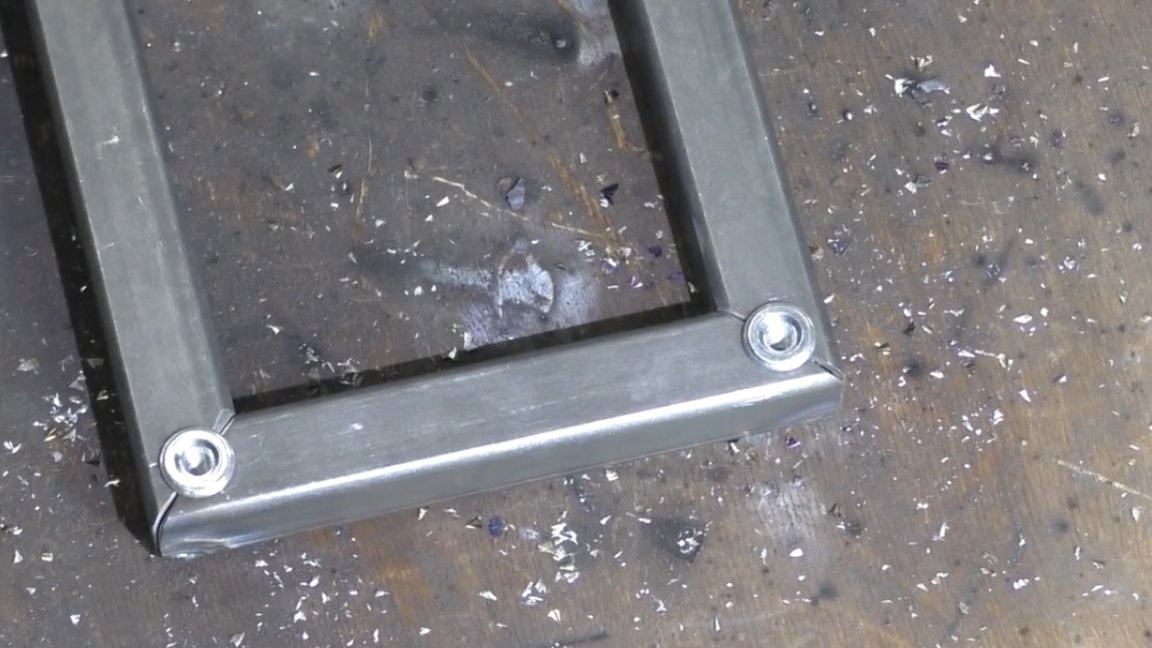
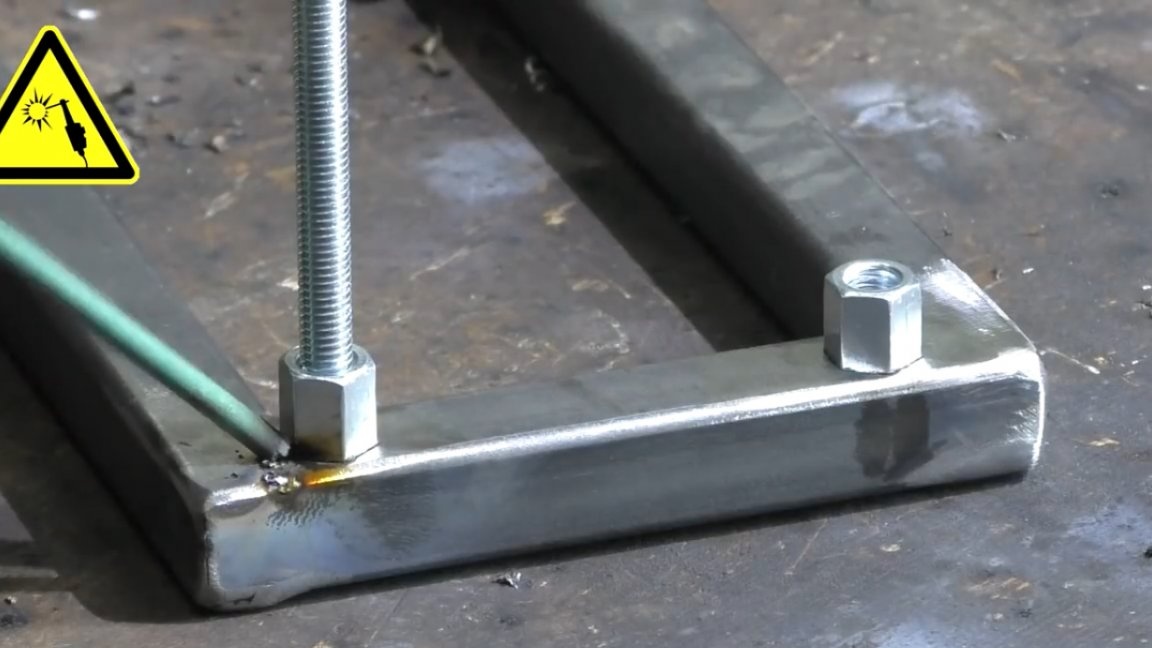
Also on the front side you need to fix a couple of mortgages, which the author made of elongated nuts M8.
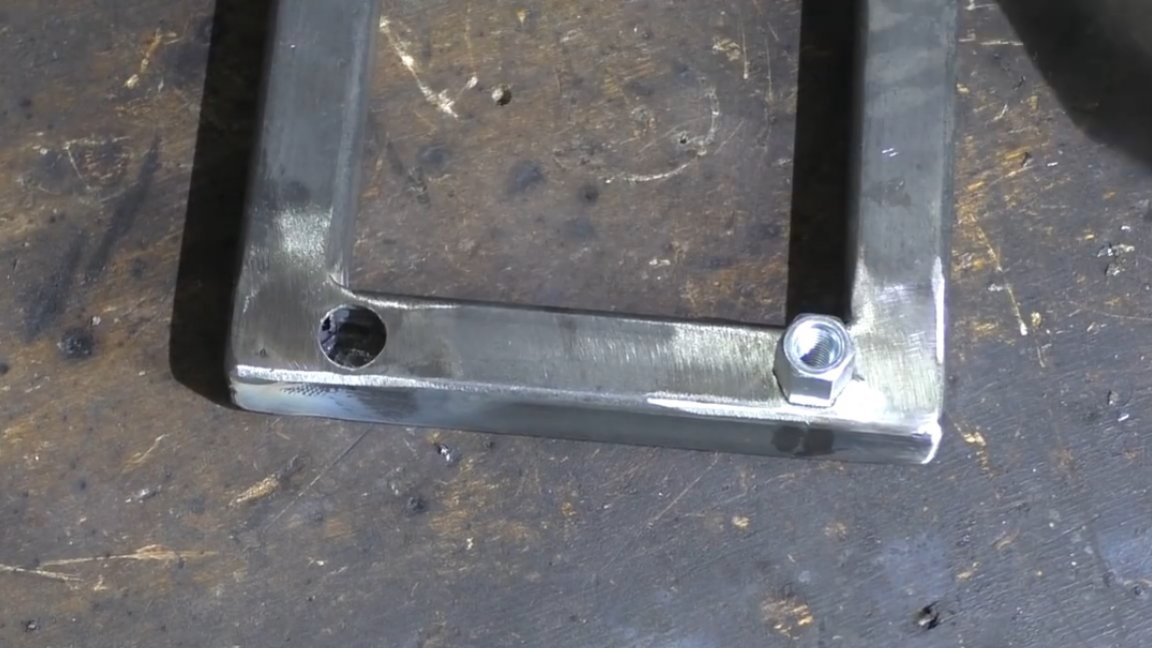
Later, the author remembered that he had threaded rivets, but it was too late, the nuts were welded.
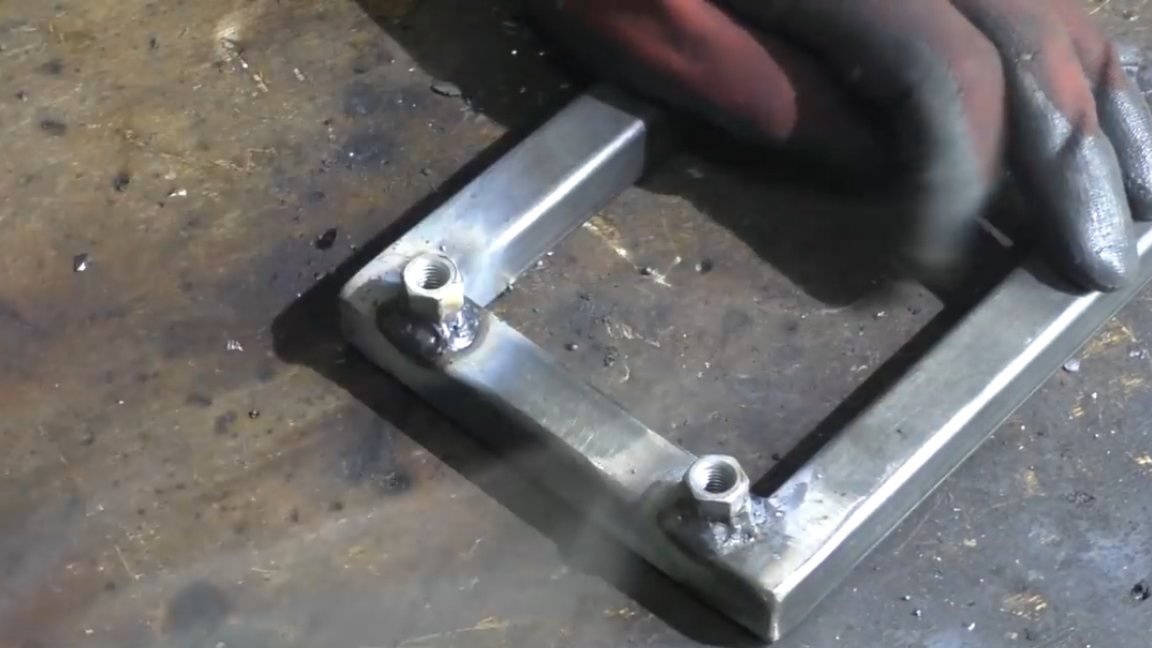
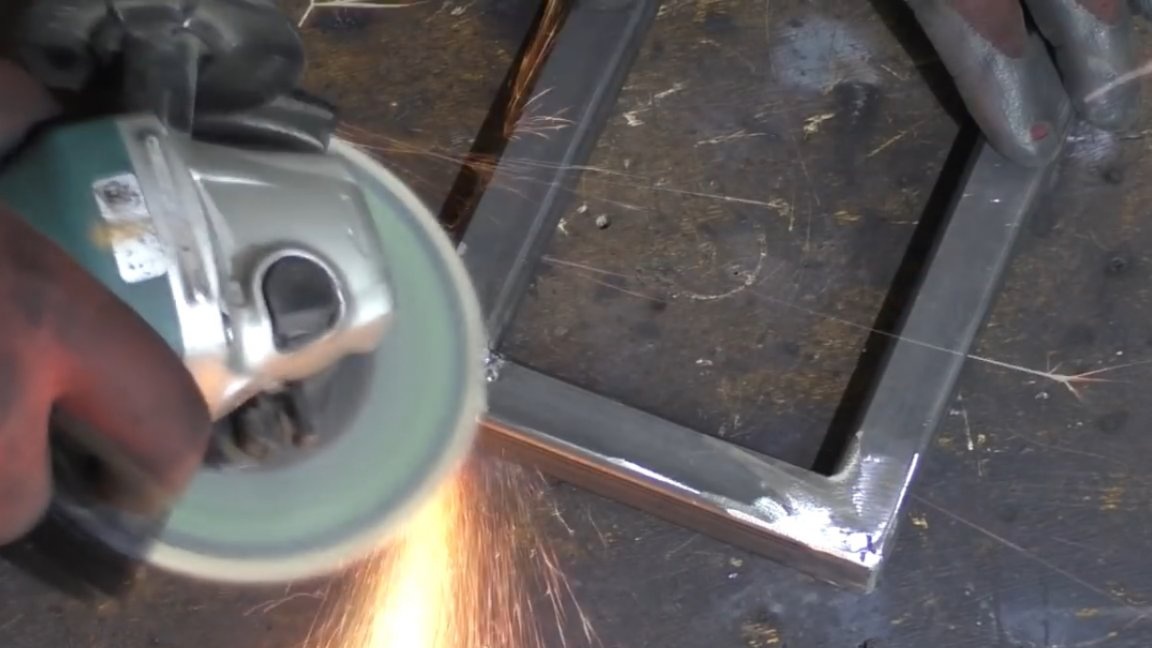
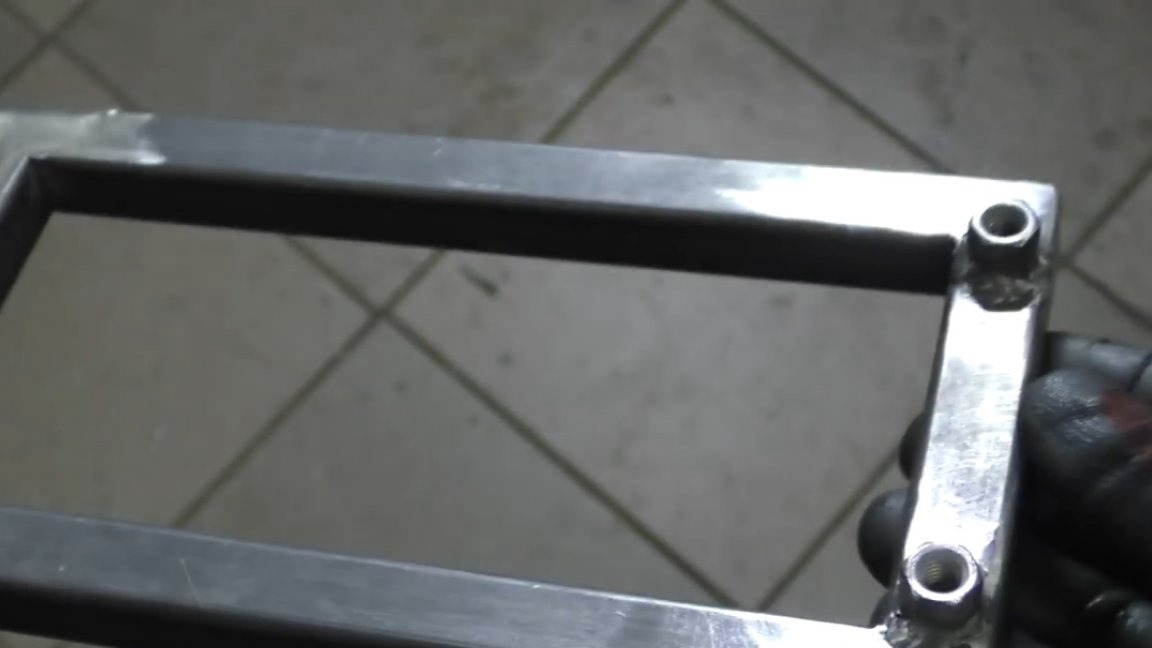
It turned out such a base in the form of a rectangle.
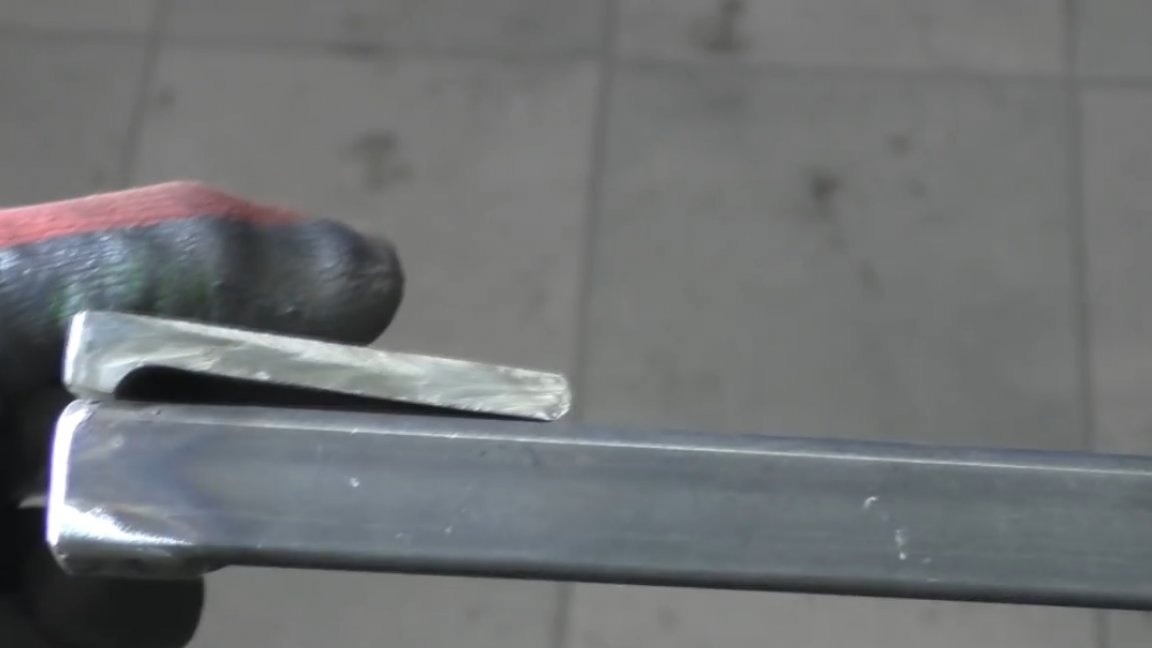
Now you need to make a pad for fixing. We will do it and the 63rd corner. Cut the workpiece with a length of 130 mm.
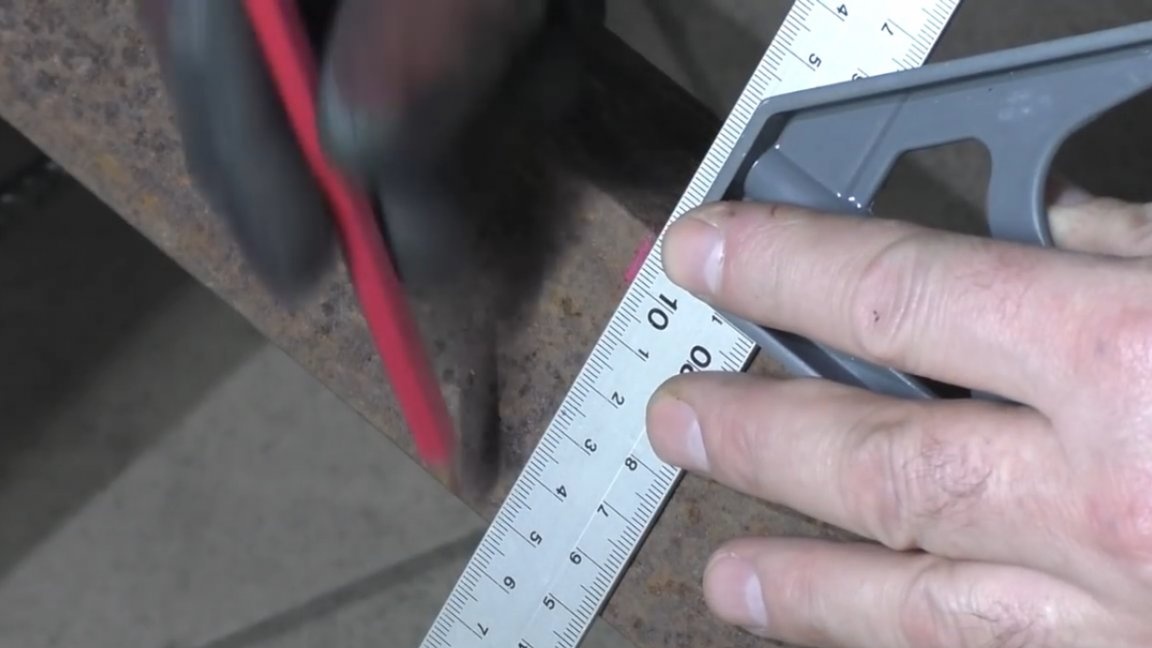

Now squeeze this workpiece into a vice and cut one shelf of the corner.
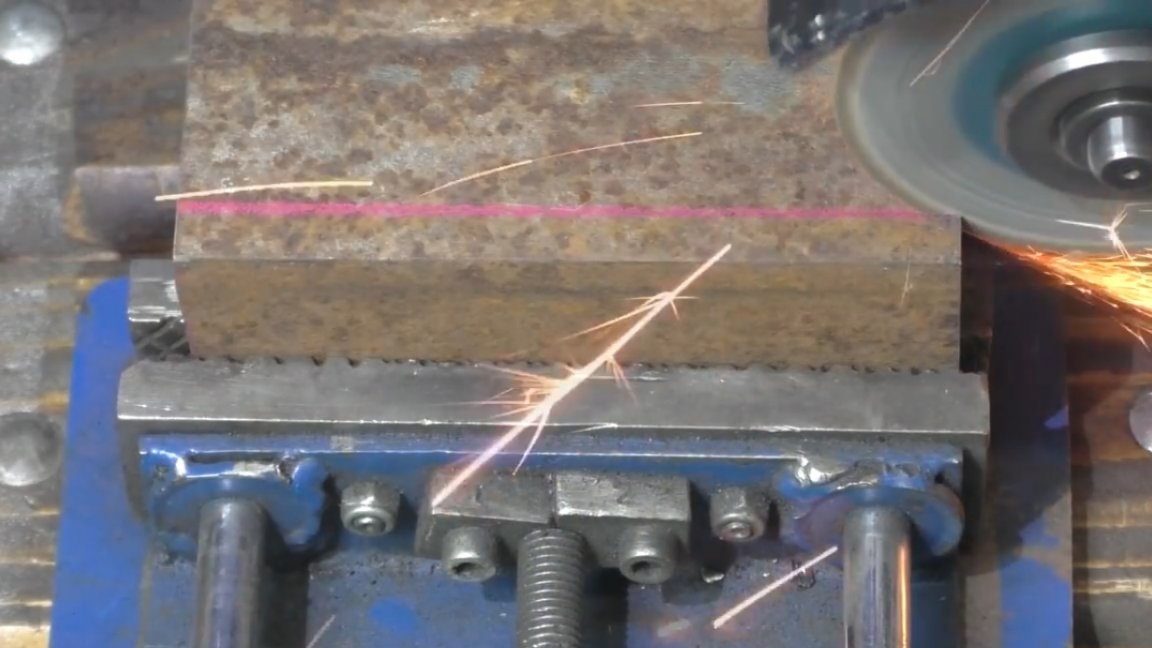
It turned out such a detail.
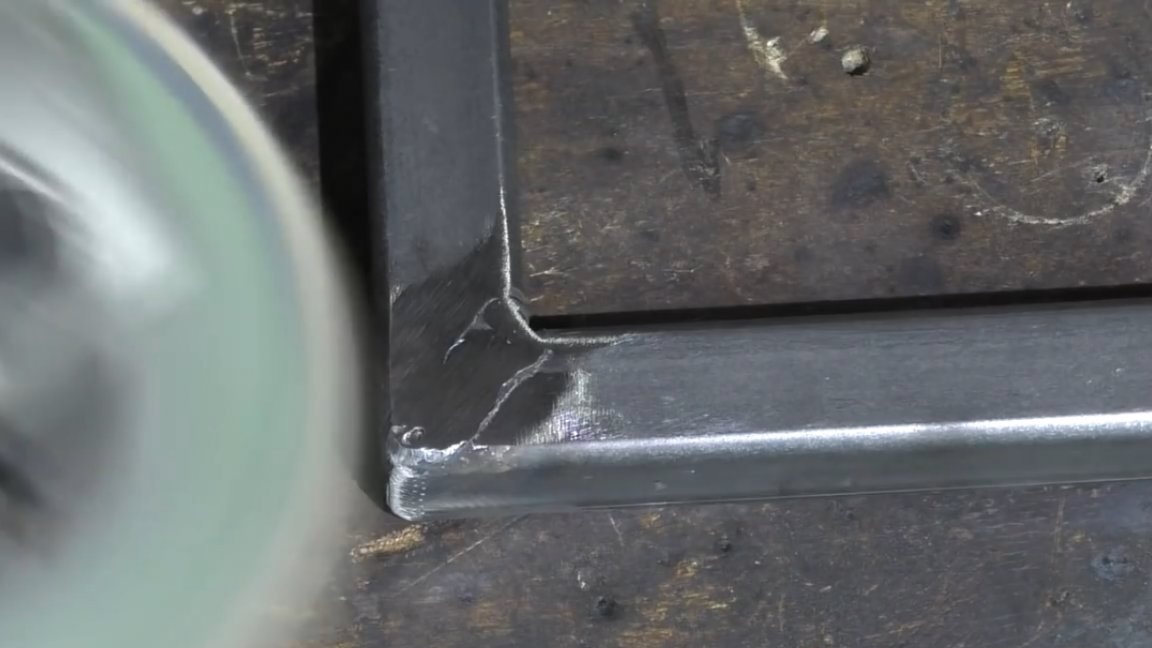
Now it needs to be welded to the base like this:
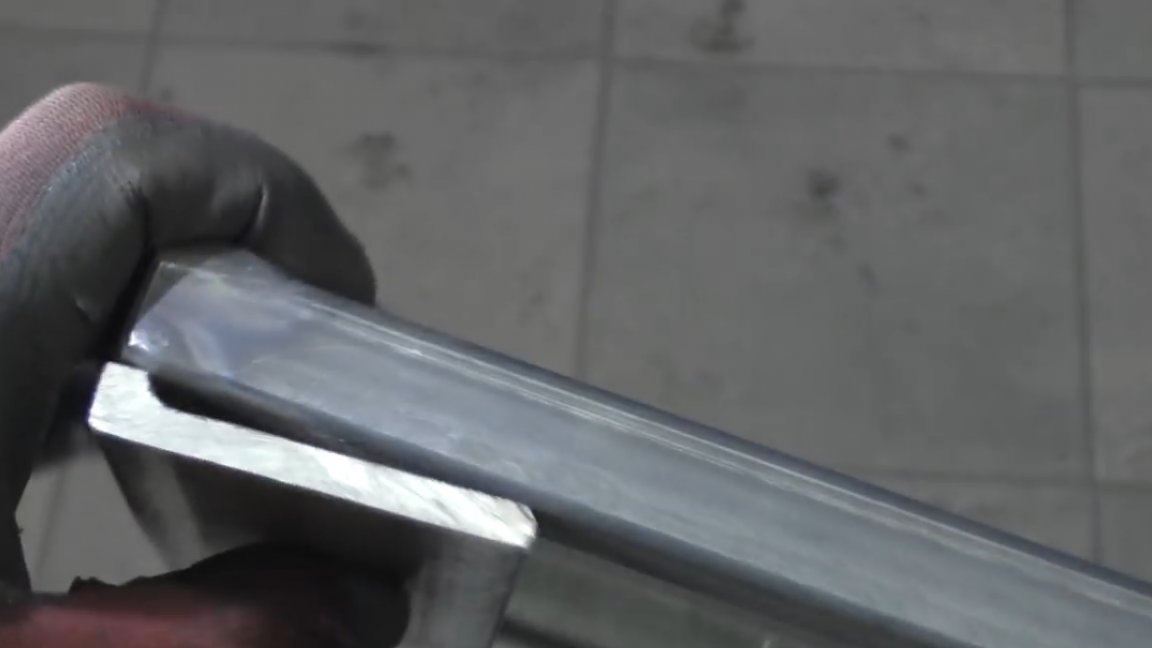
The author made a slight bias, although this could not have been done. The pad is welded, and you can slightly clean the seams, as mentioned earlier, for greater aesthetics.
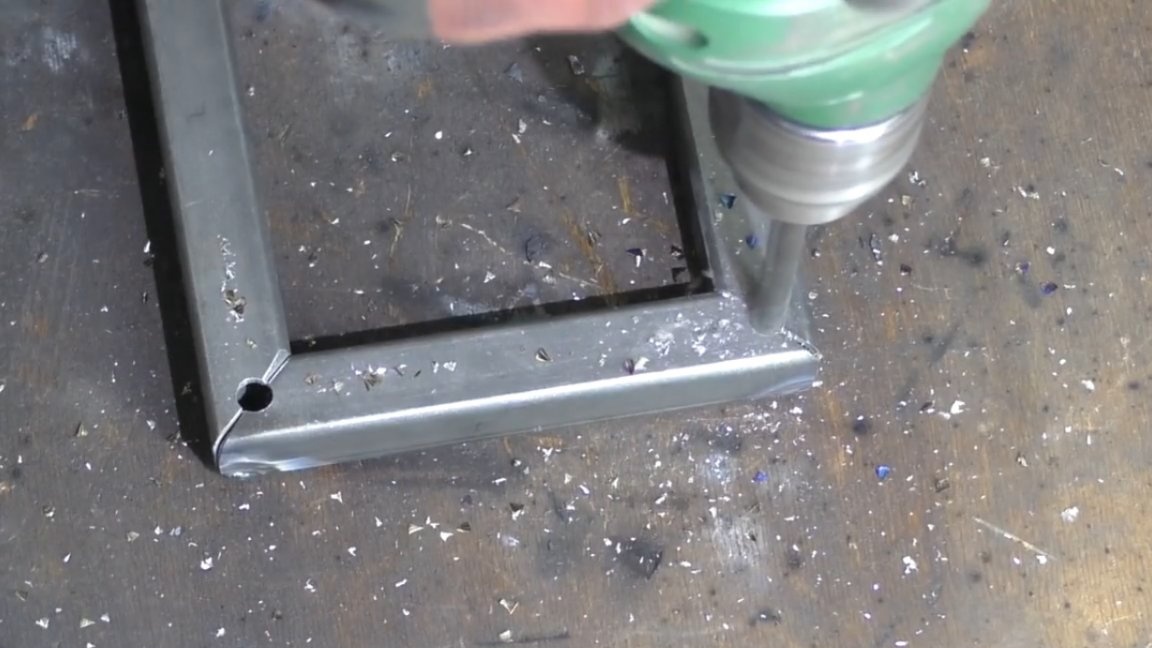
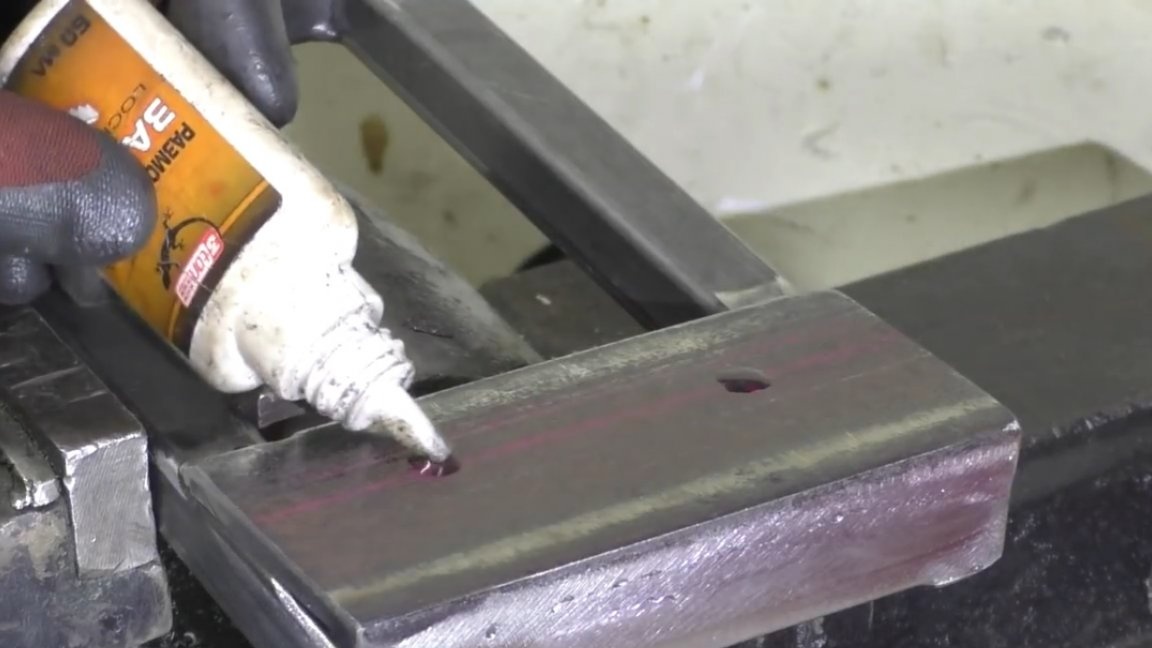
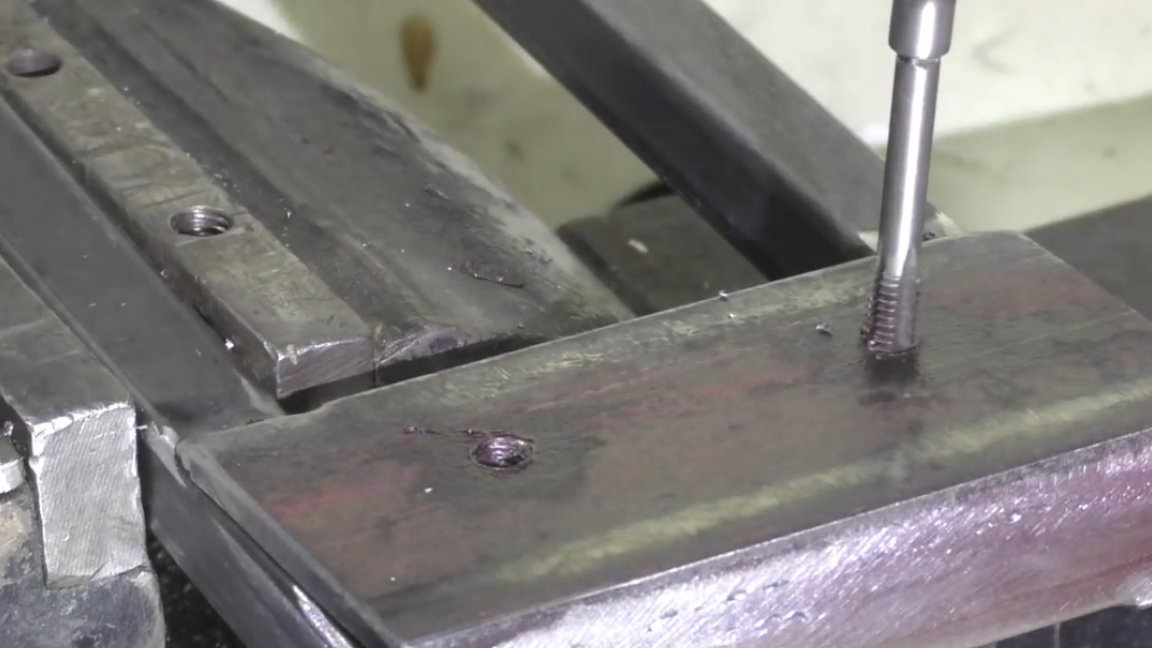
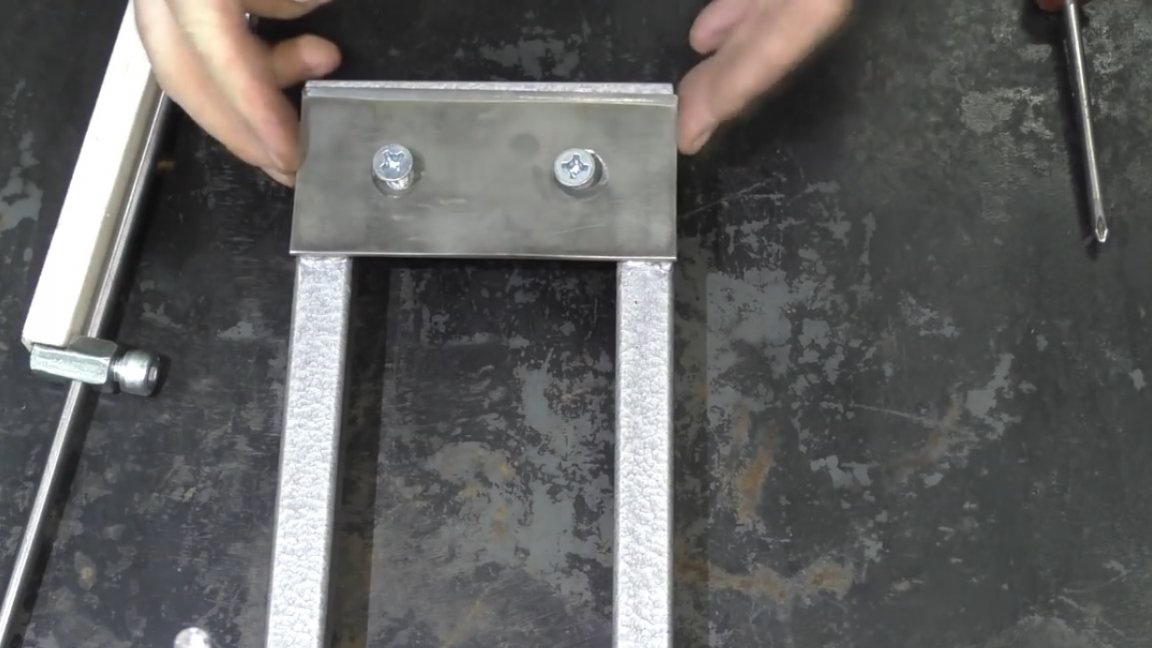
Now in this area we make 2 holes and cut the m8 thread. The pressure plate will be attached here.

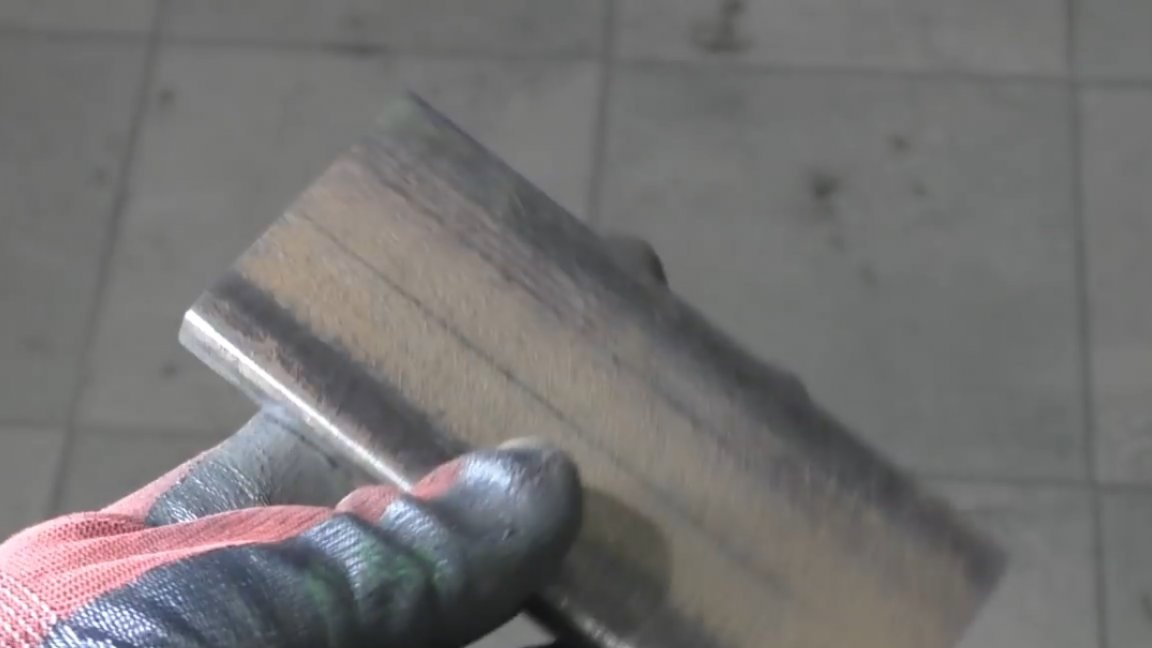
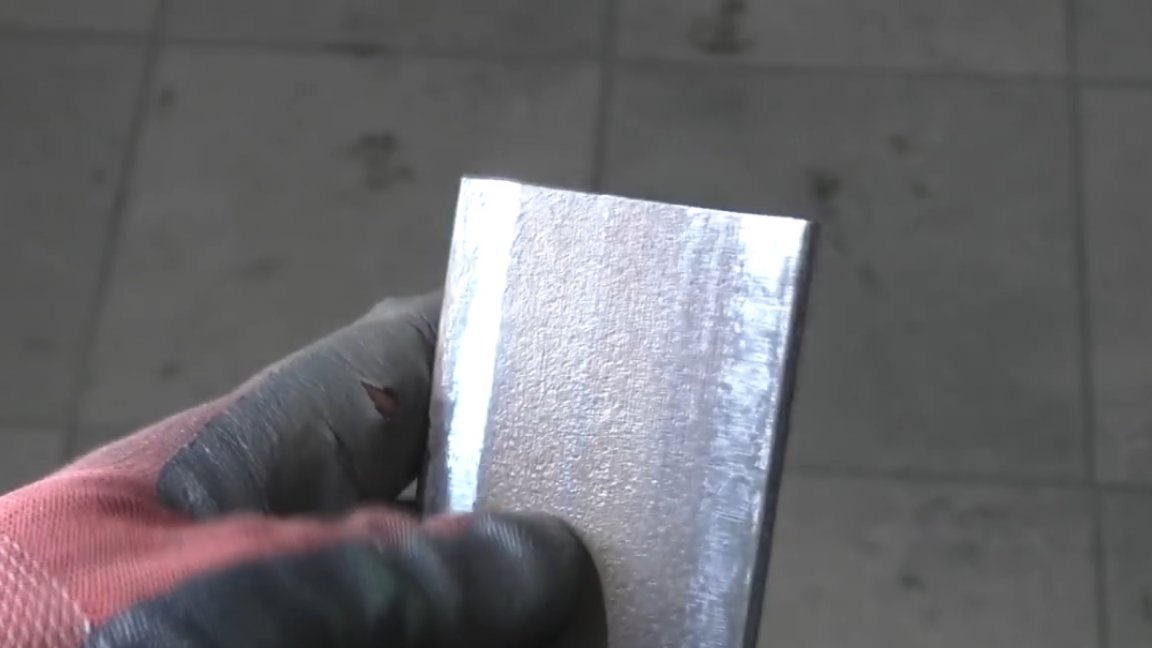
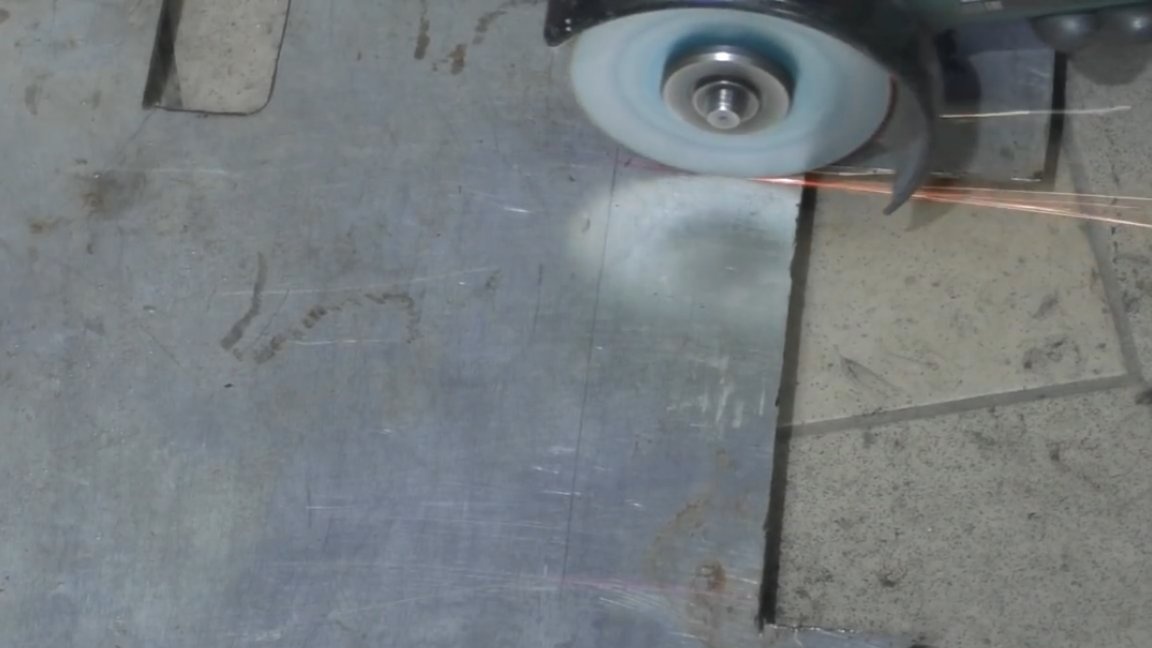
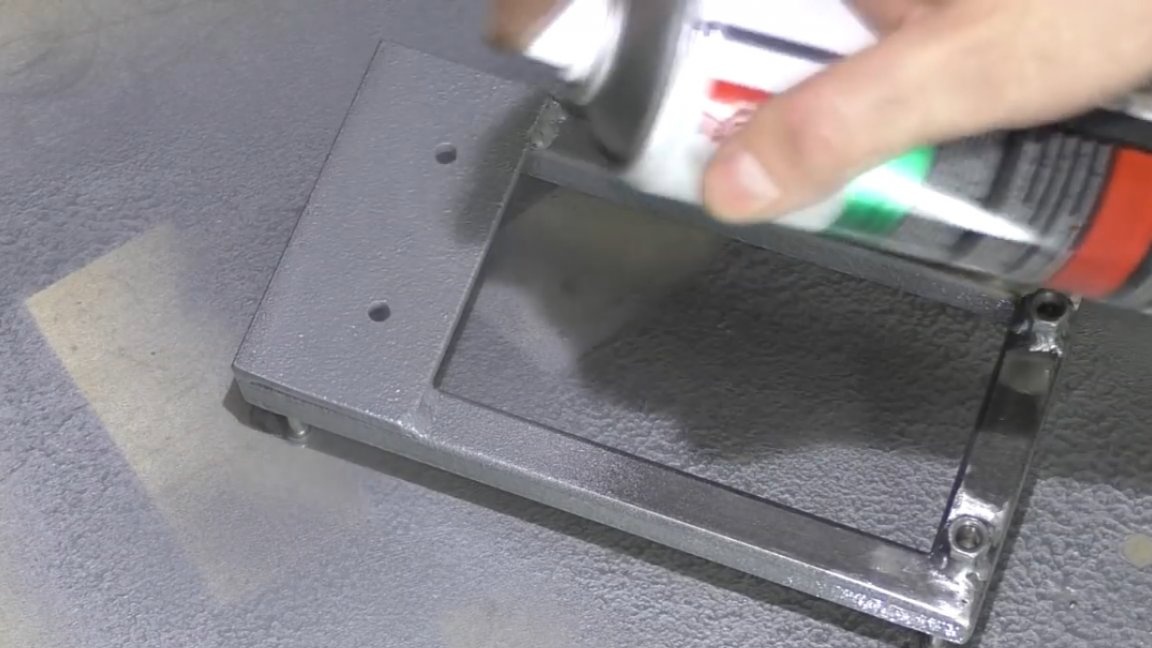
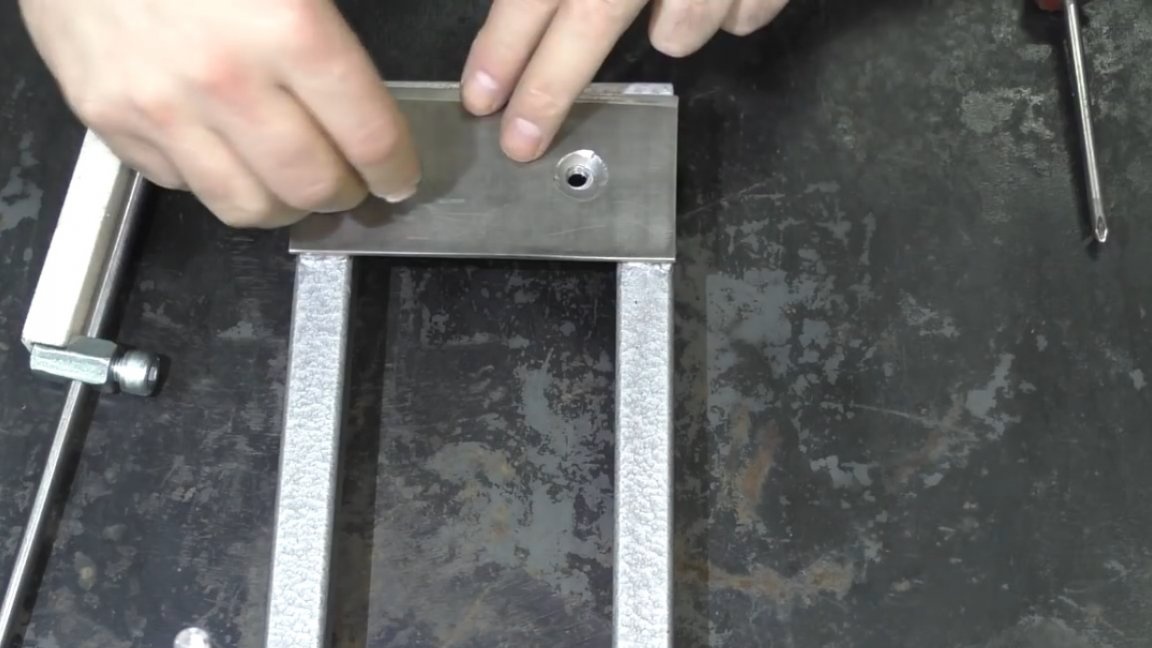
The author decided to make the plate itself out of stainless steel. When equal with ordinary steel, it will be much tougher and will not deform. After all the work done, we got such a plate:

Now the base can be painted.
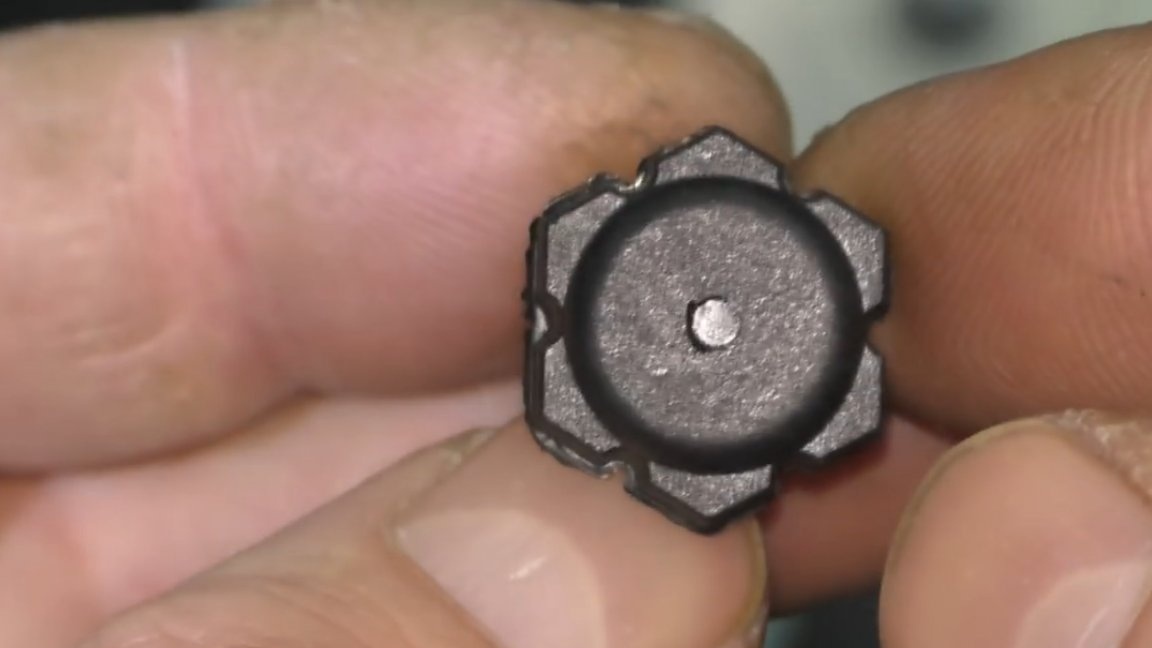
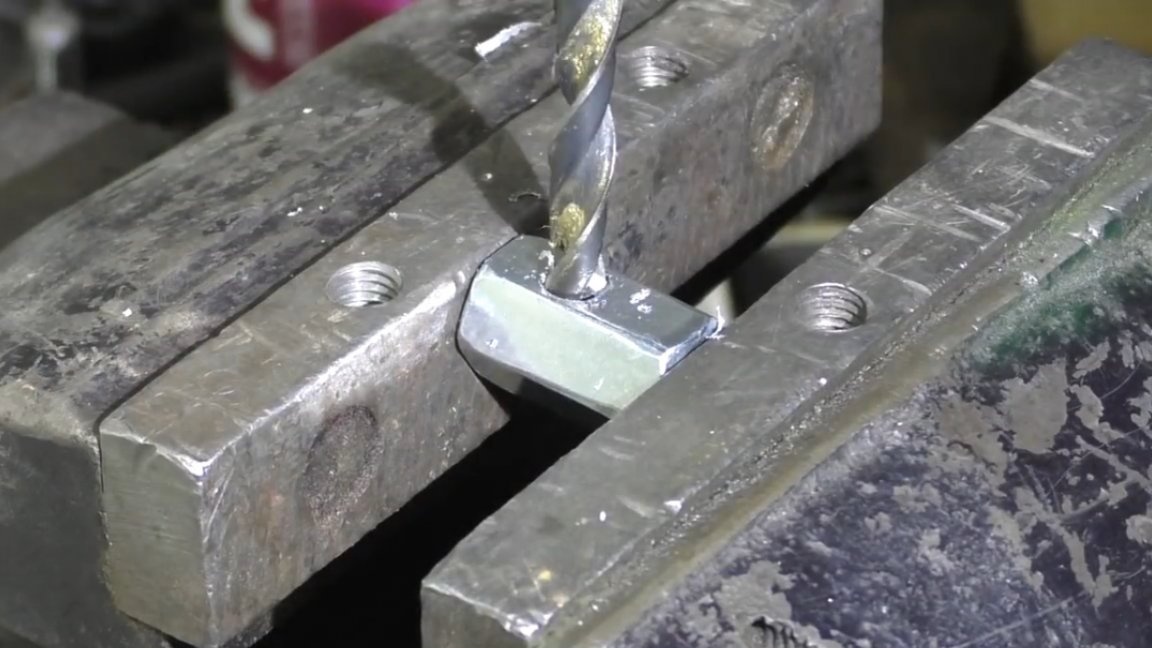
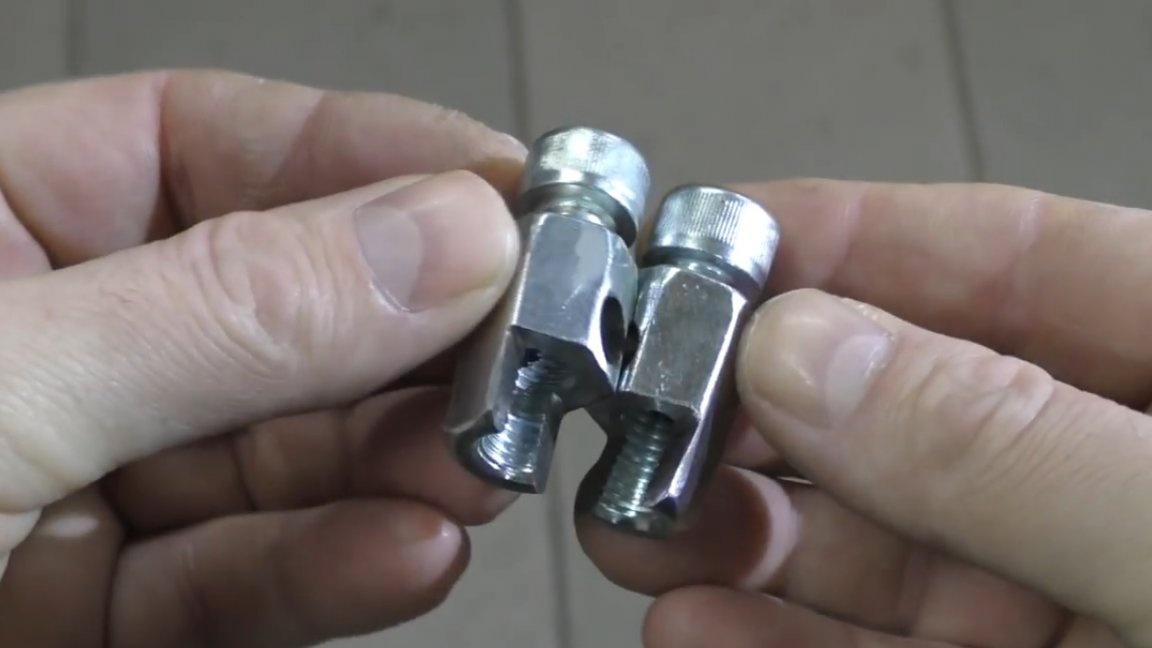
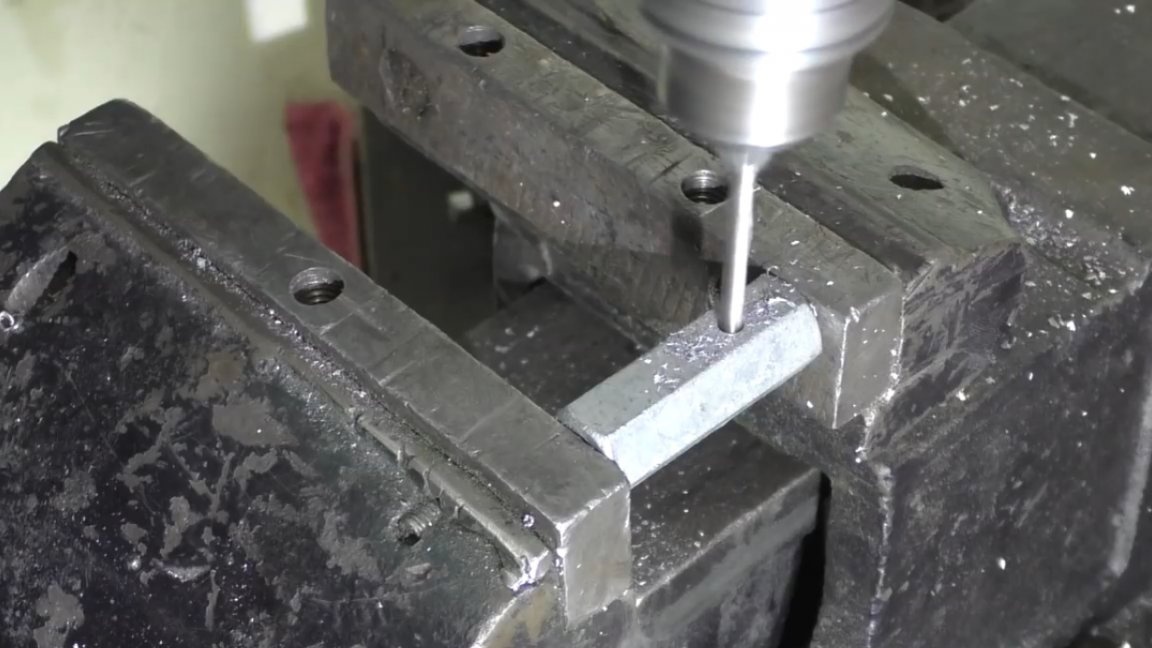
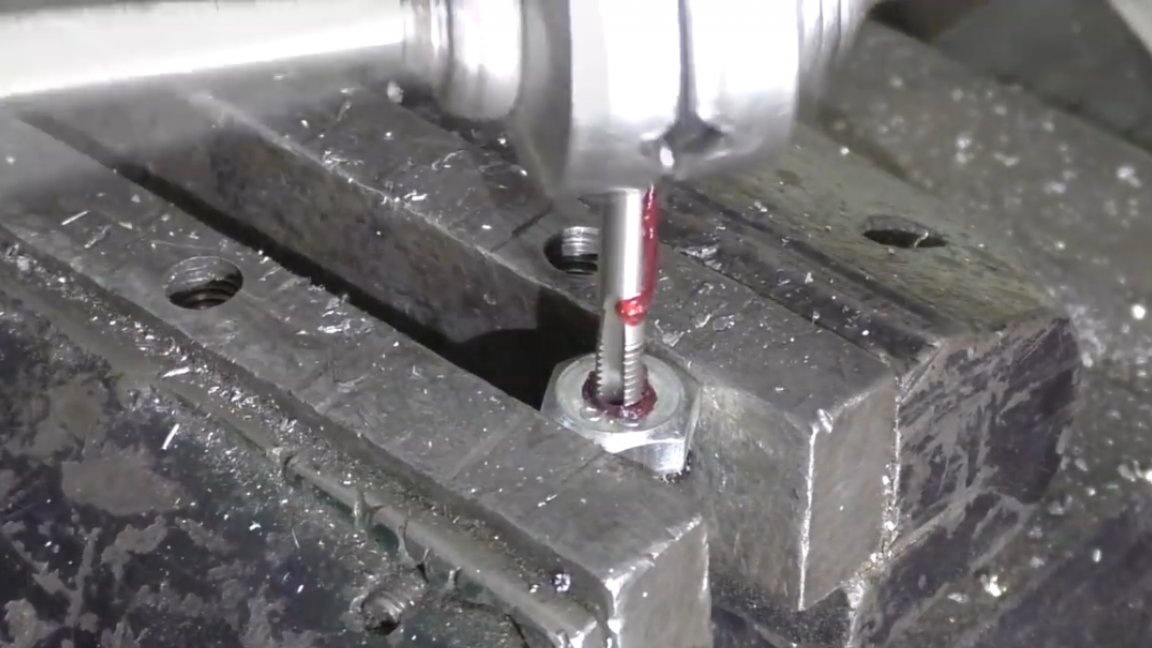
In the meantime, the paint dries, we will manufacture the remaining components.In an elongated nut m10, stepping back from the edge of about 12 mm, we drill a hole with a diameter of 8 mm. It is advisable not to mow down and do everything carefully.
Then, using a hacksaw, we make a cut in the nut in the form of a quarter.
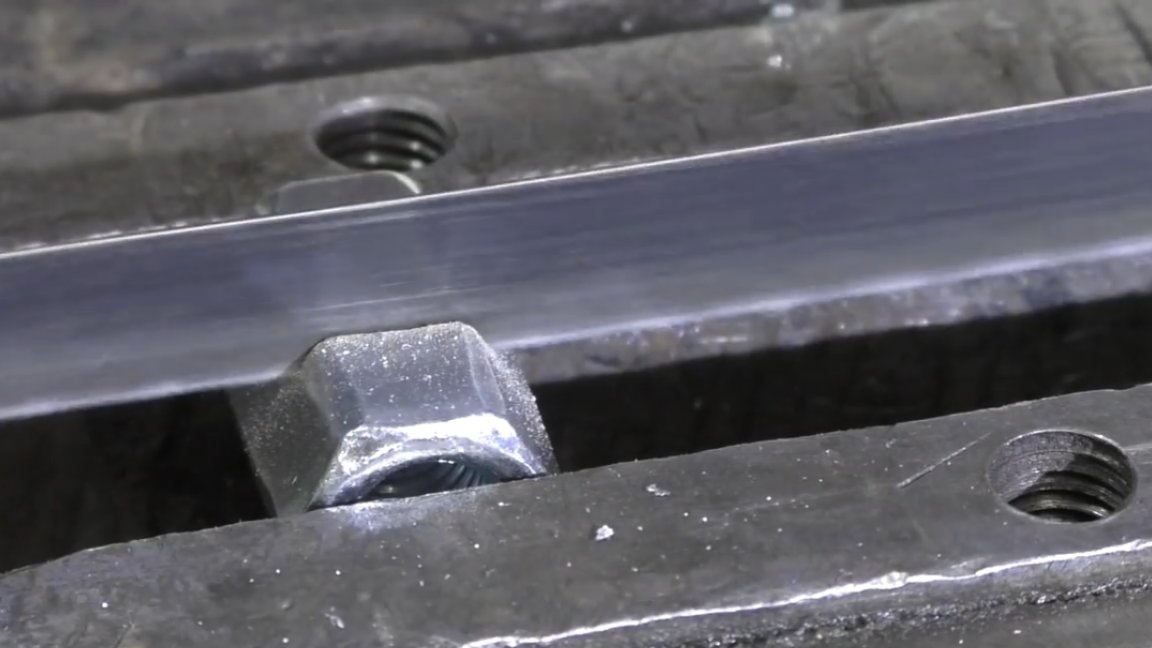
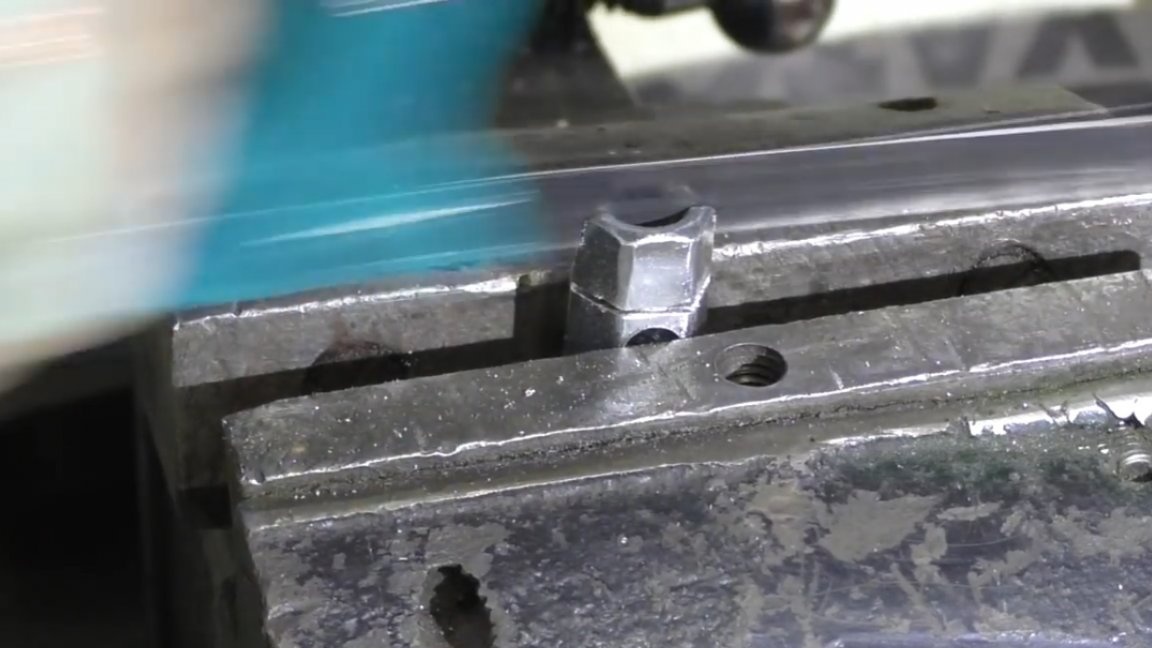
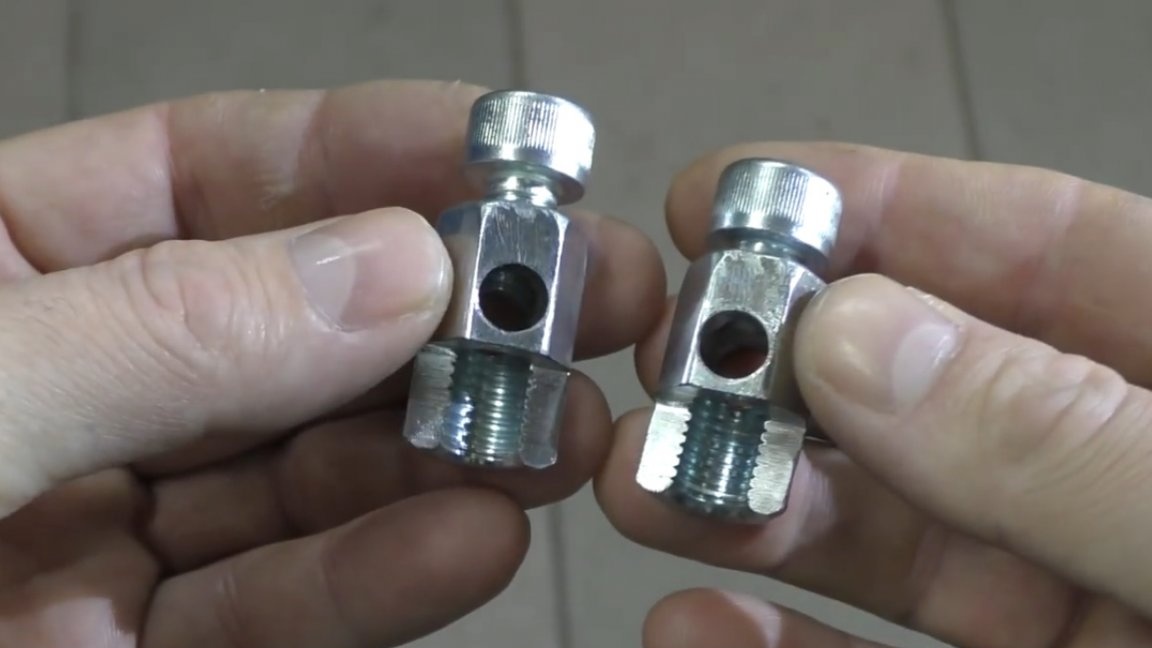
Such nuts must be made 2 things. The result should be something like this:
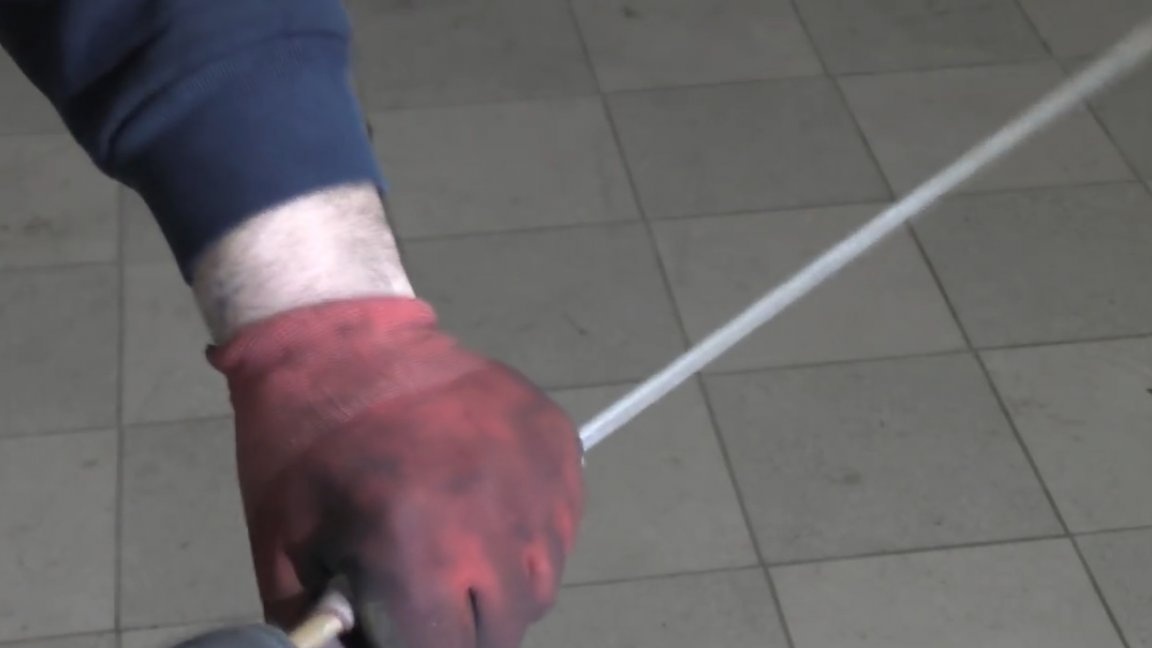
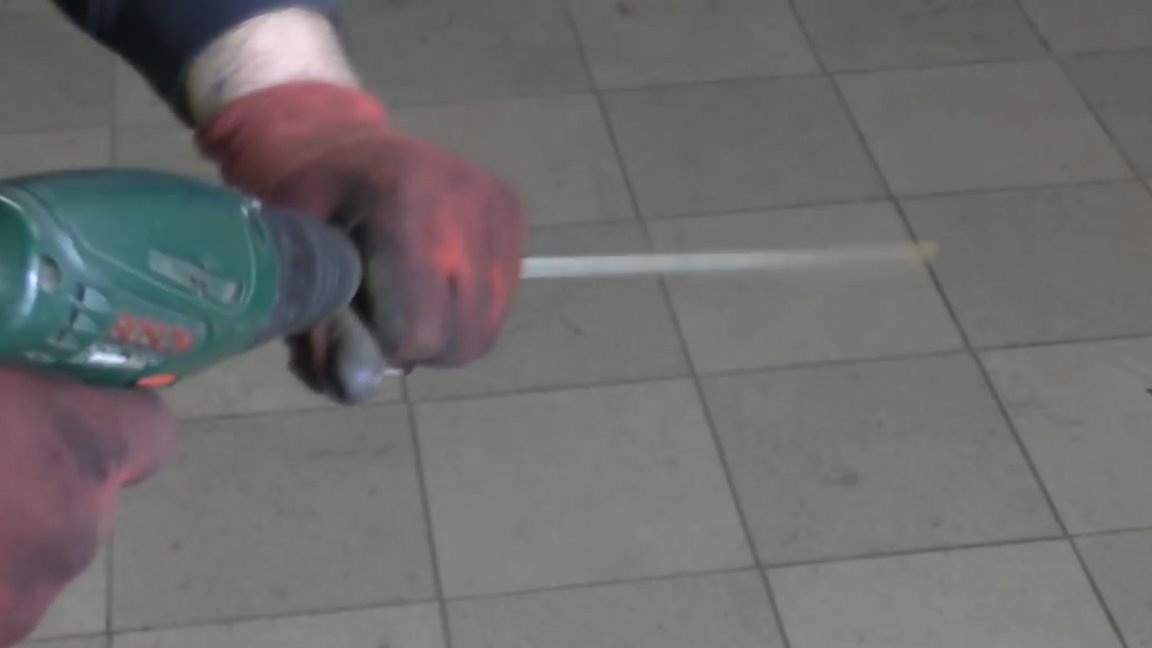
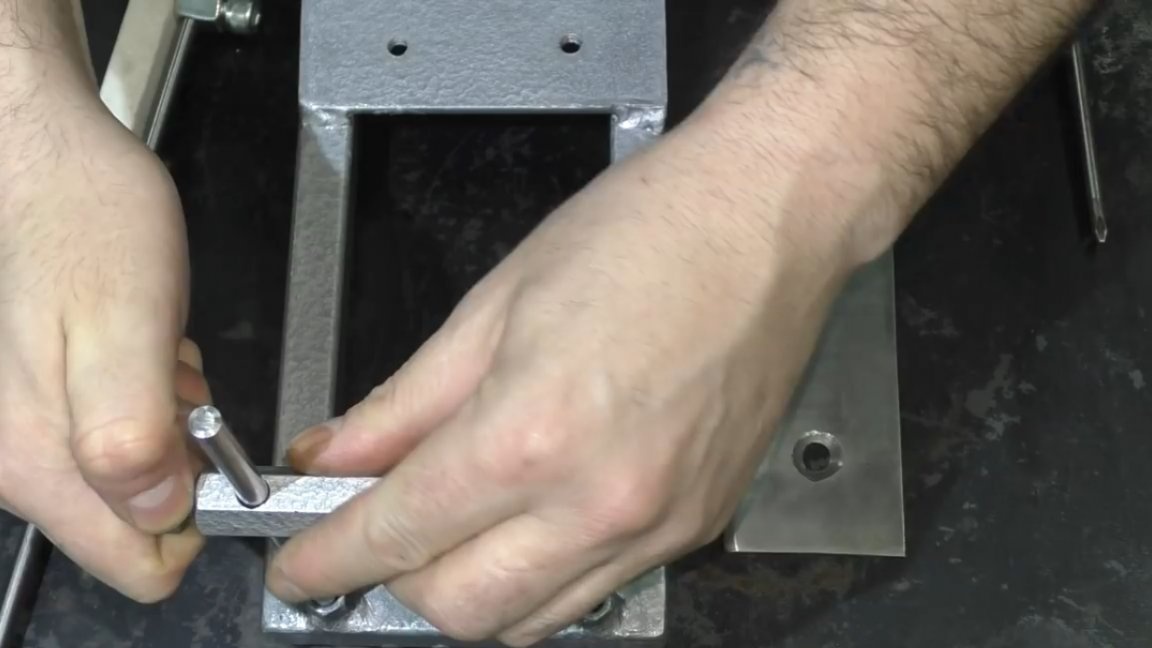
Then we protect the bar with a diameter of 8 mm. This procedure can be done using a conventional drill. To do this, simply clamp the rod into the drill chuck, take a piece of sandpaper and without applying special effort we get the necessary workpiece. It will be a bar for attaching abrasive blocks.
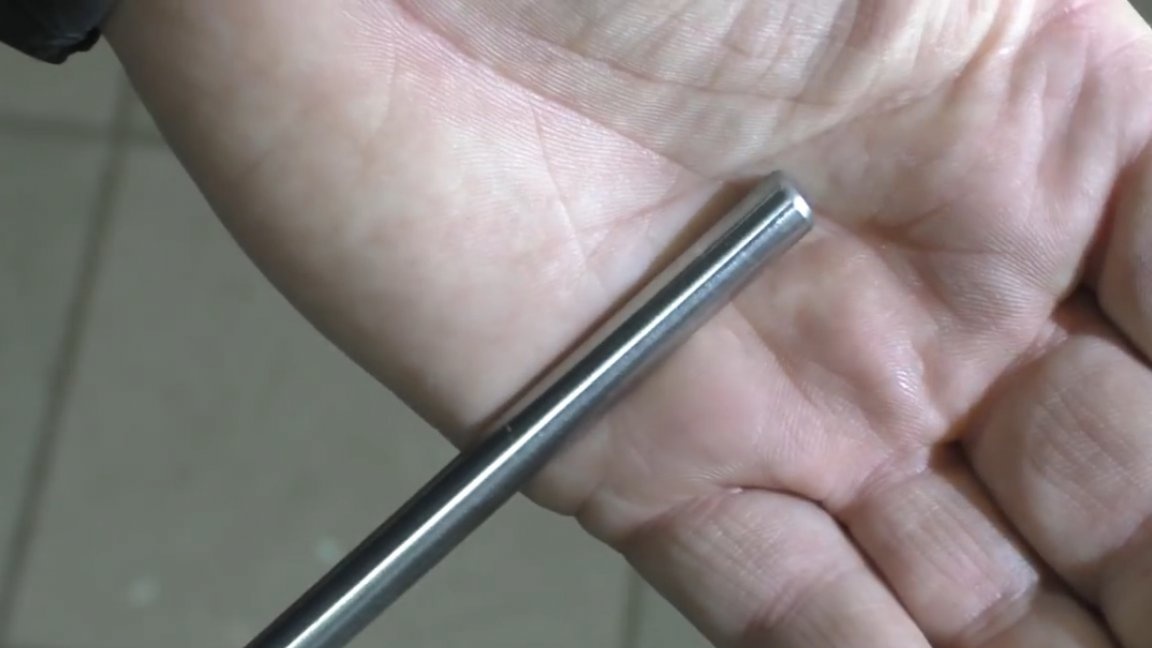
The bar is ready, and now on one of the sides it is necessary to cut the m8 thread, about 5 cm.
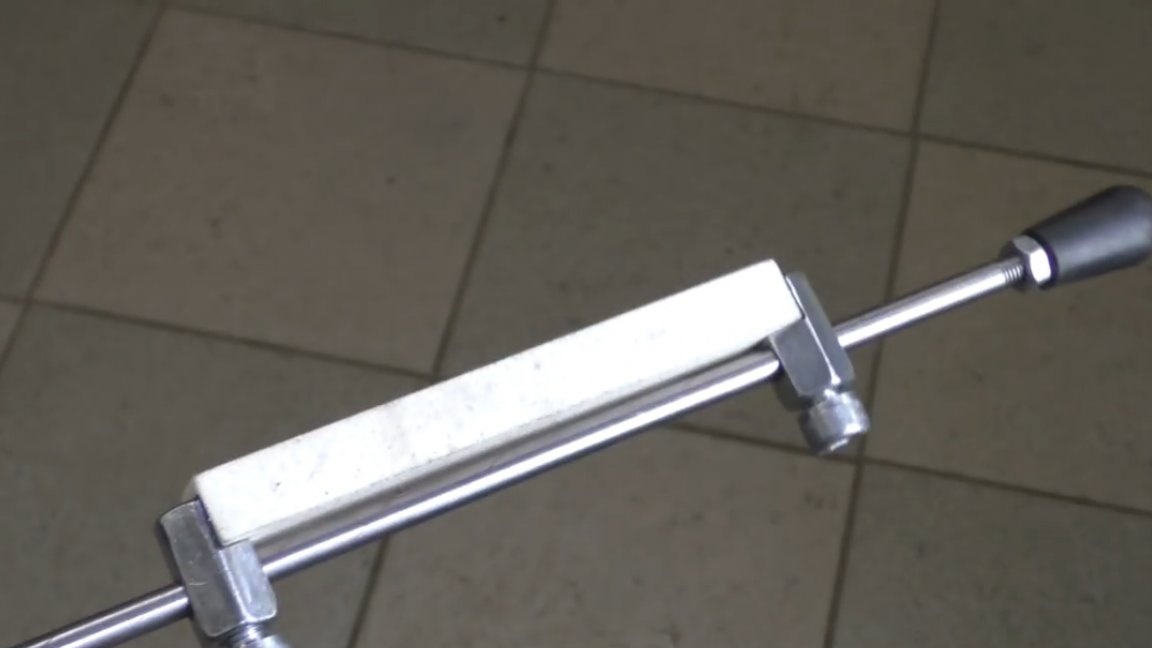
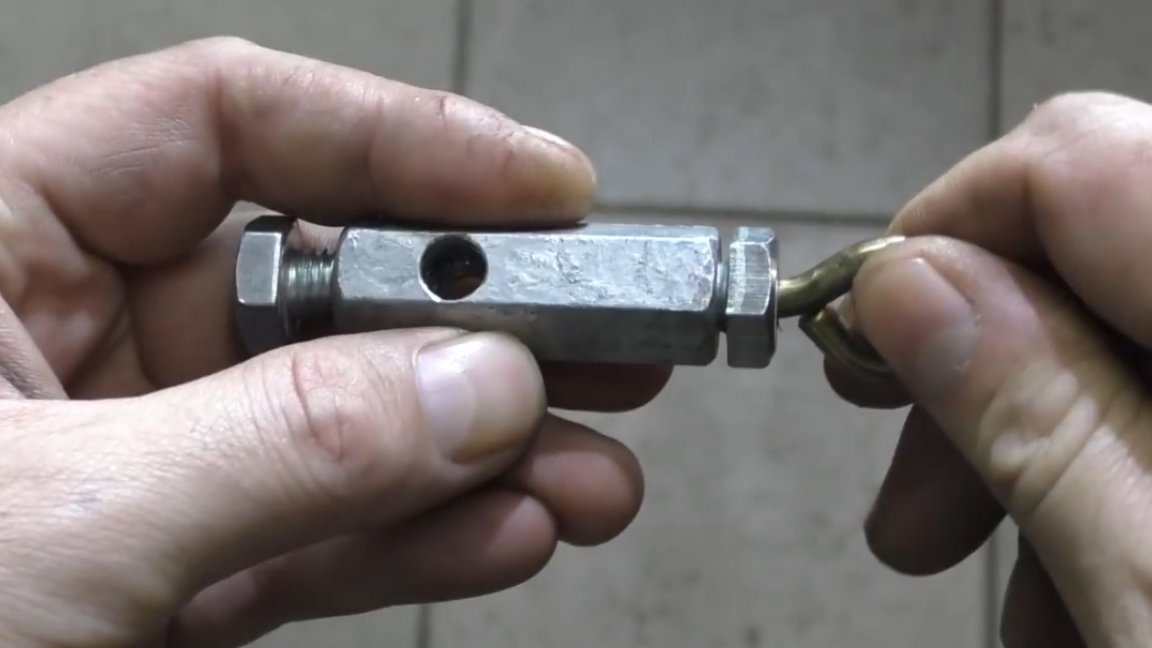
By the way, we need 2 pieces of such rods, one 40-50 centimeters, and the second 20-25. The thread is ready and you can install the handle and finally assemble the rod.

That's how it all looks.
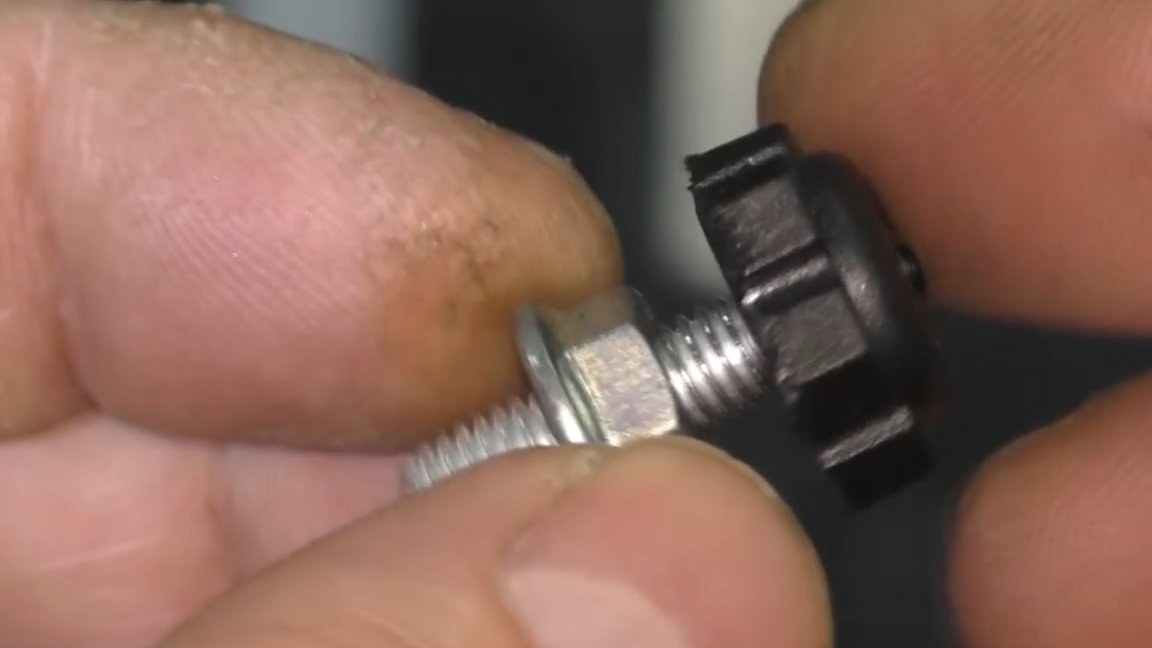
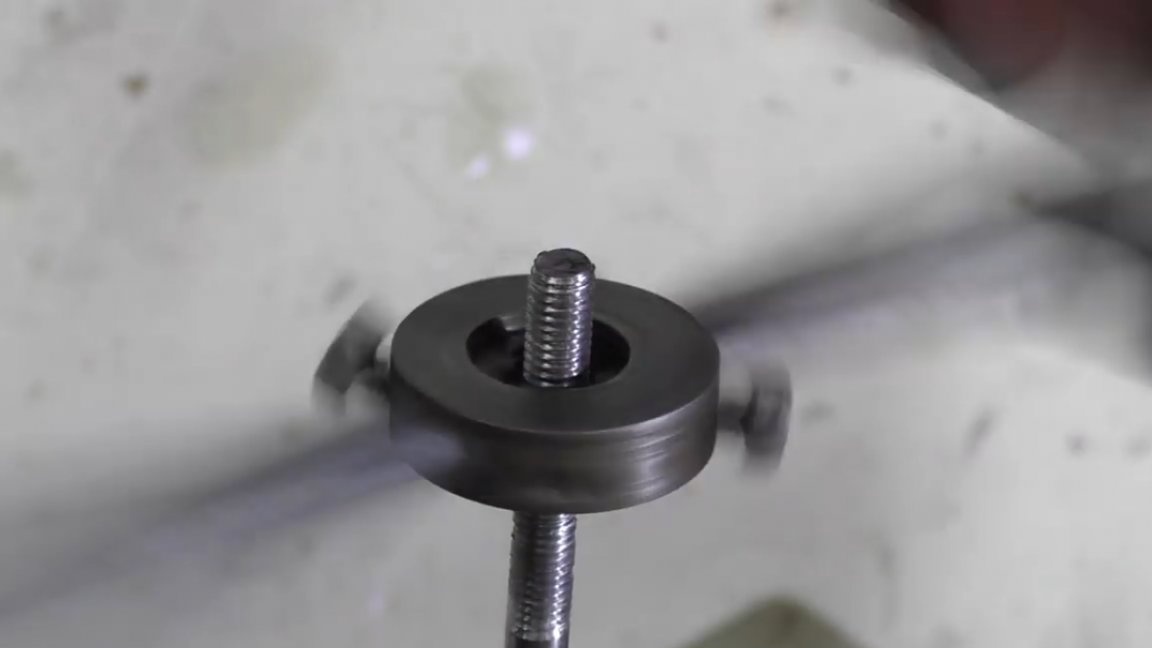
Well, very personal. It remains to do one more detail. We drill a hole in the elongated nut, approximately the same as we did a little earlier.
Then, in the m10 bolt, in a pre-drilled hole, we cut the m8 thread.
As a result, we get the next part with a ring from the anchor.
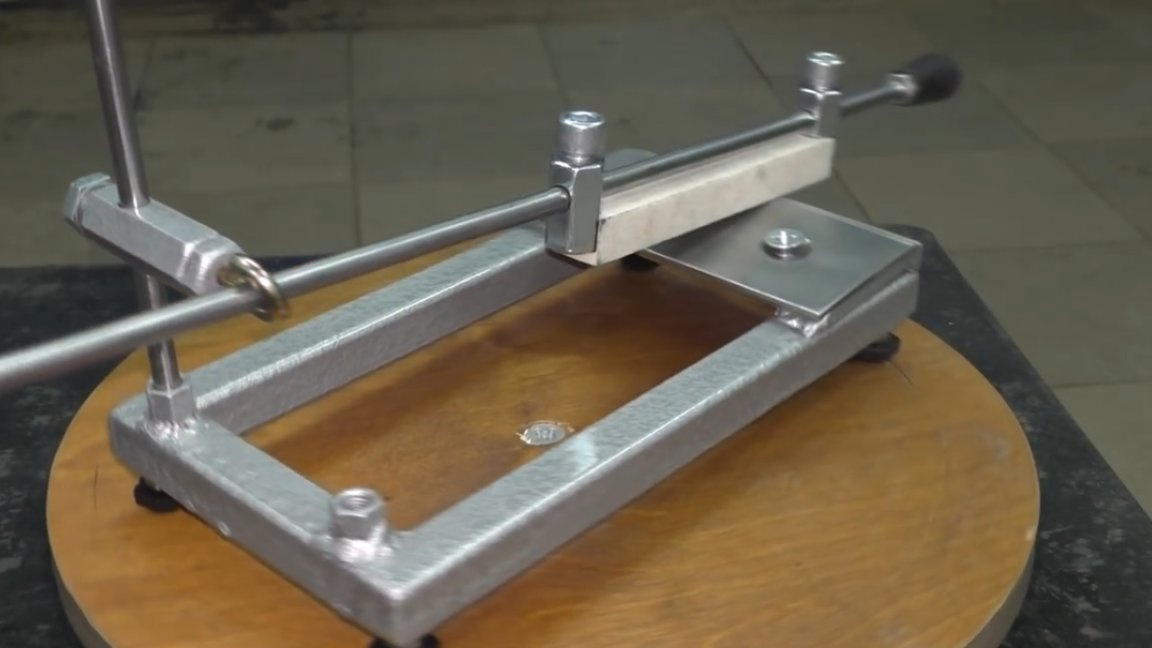
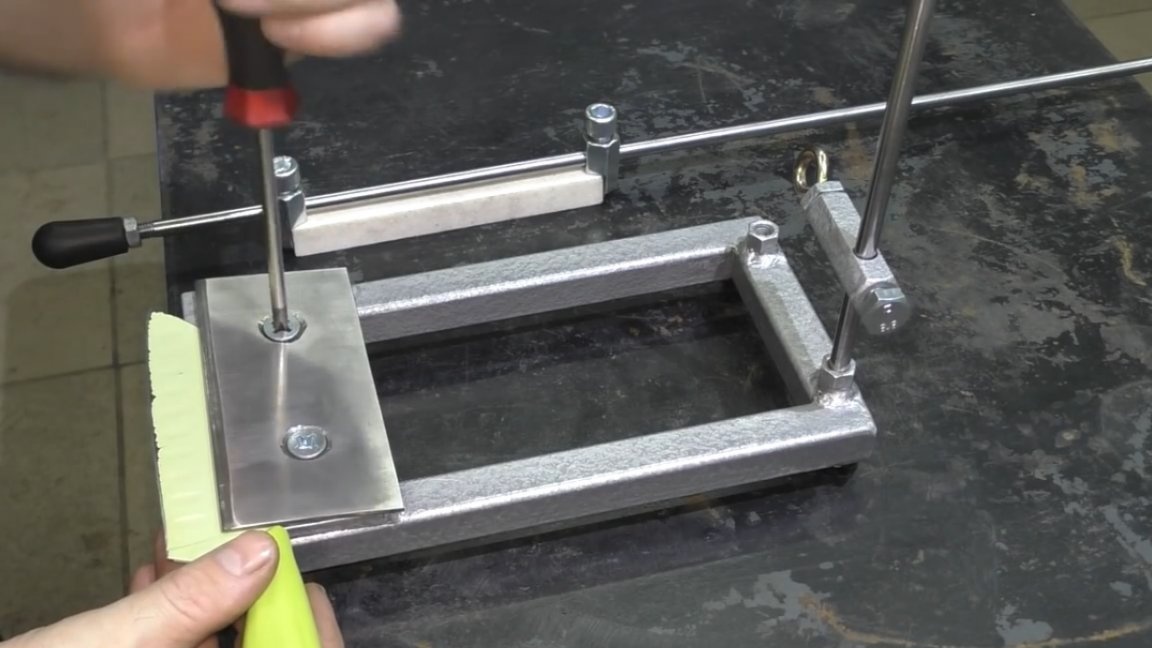
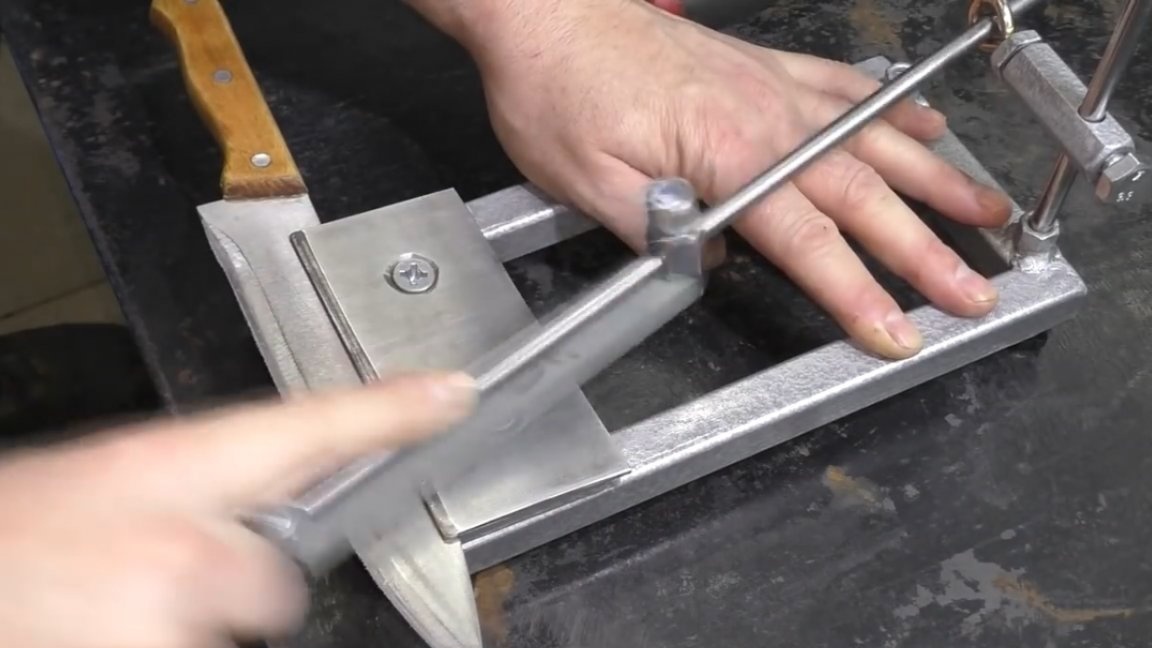
The base has dried up and all the components are ready, you can start assembling.

Done. Here is the beauty we have.
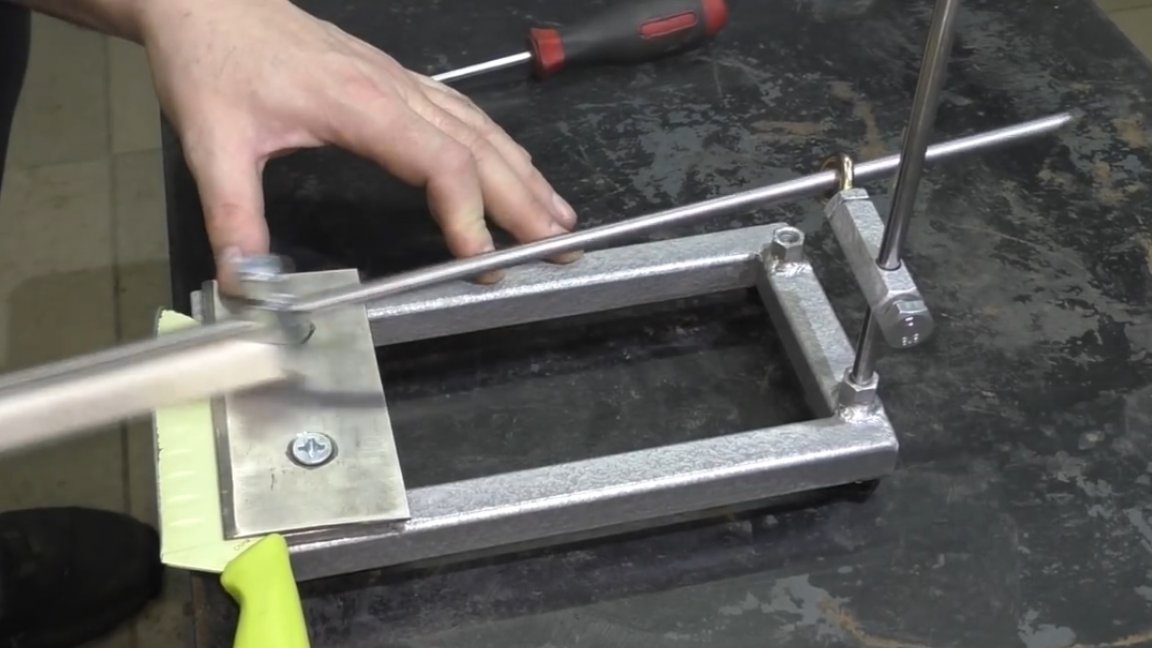
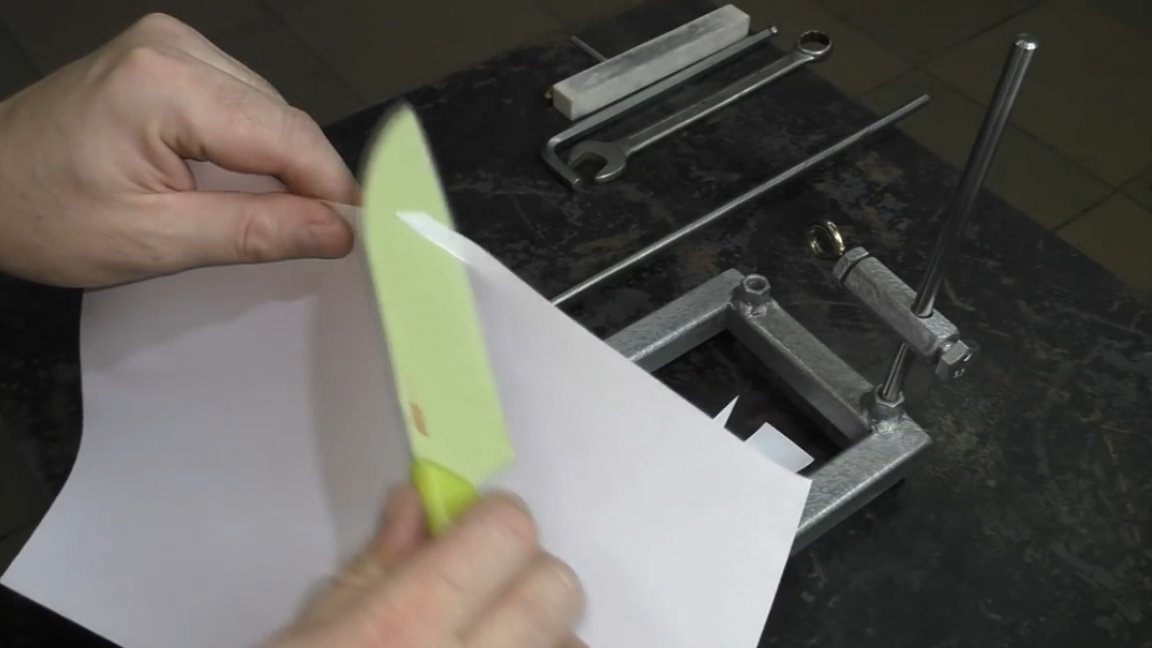
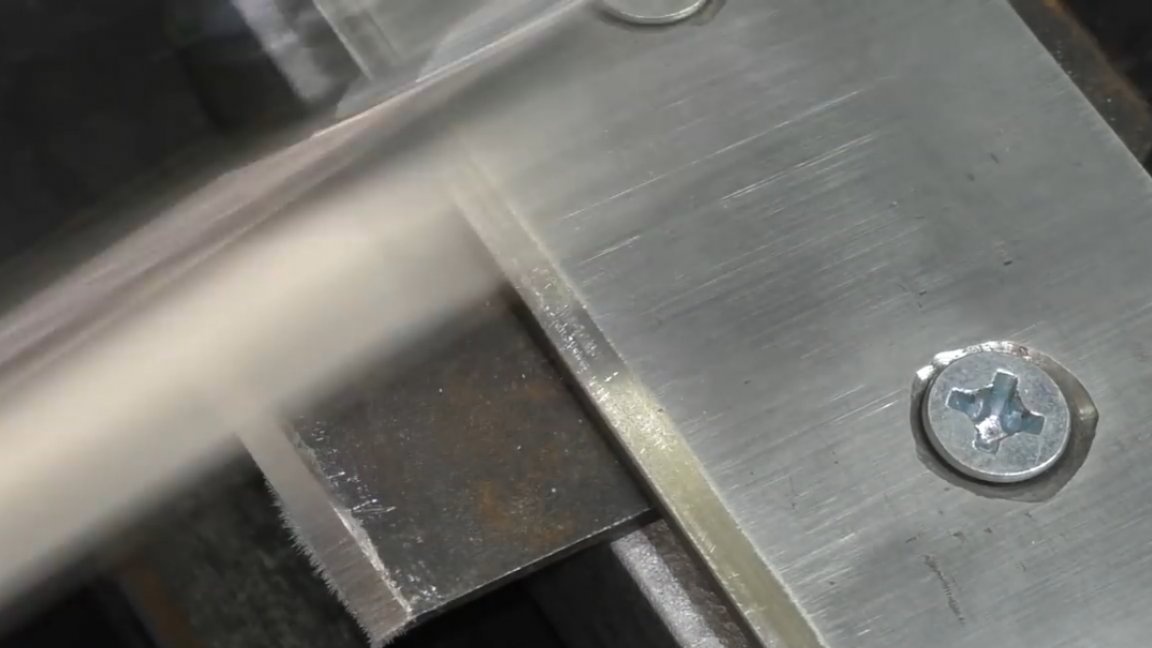
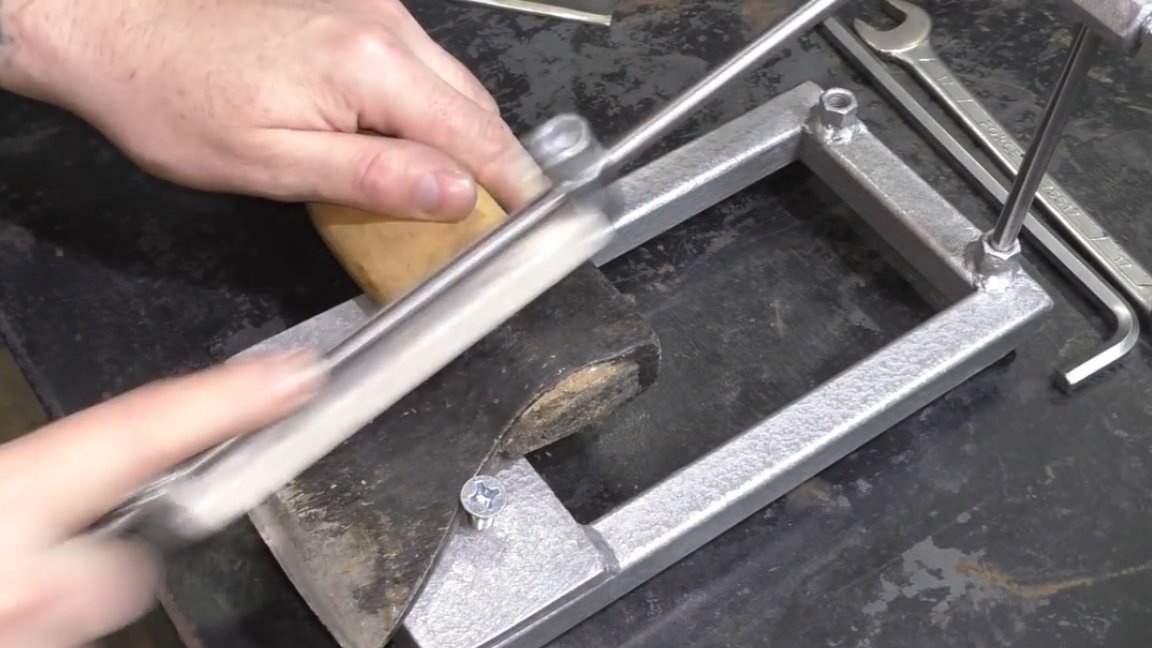
All this is made of what was in the garage the author. Well, now you can sharpen something. Let's start here with this knife.

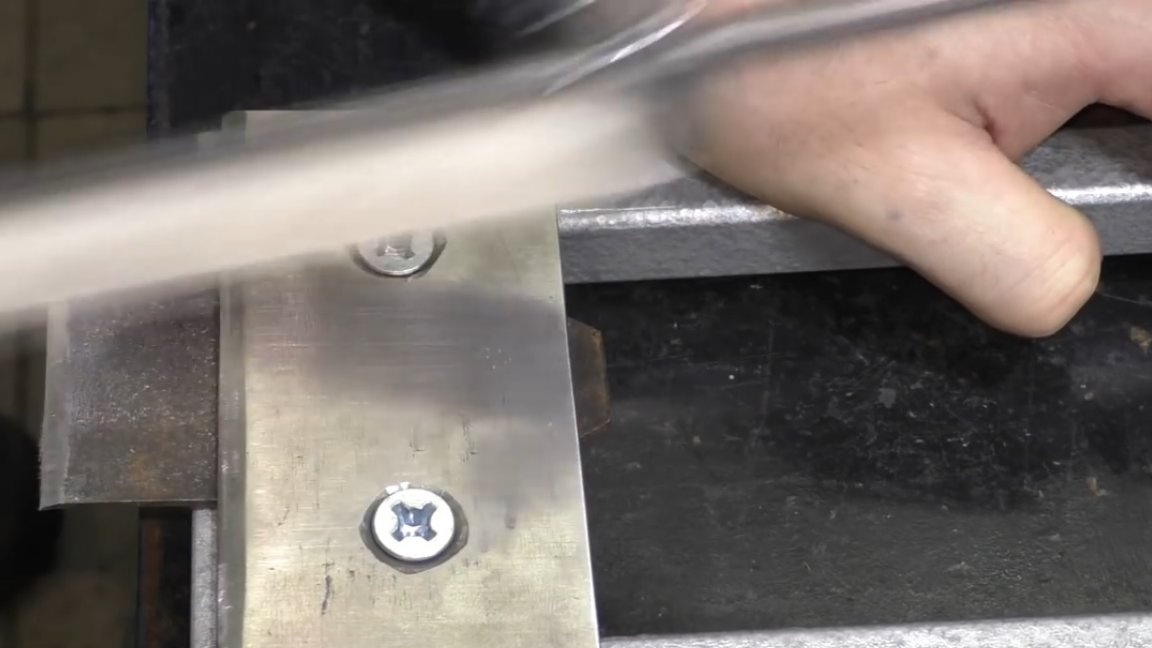
The cutting edge is not very here, so try to fix it. First, take a larger abrasive.
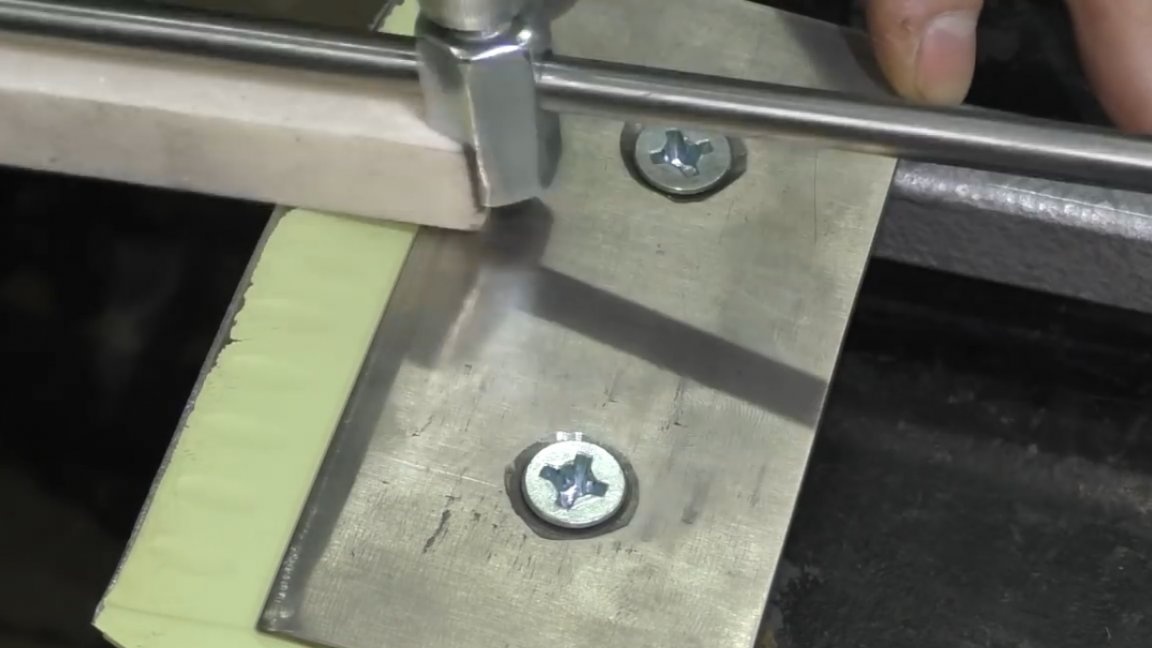
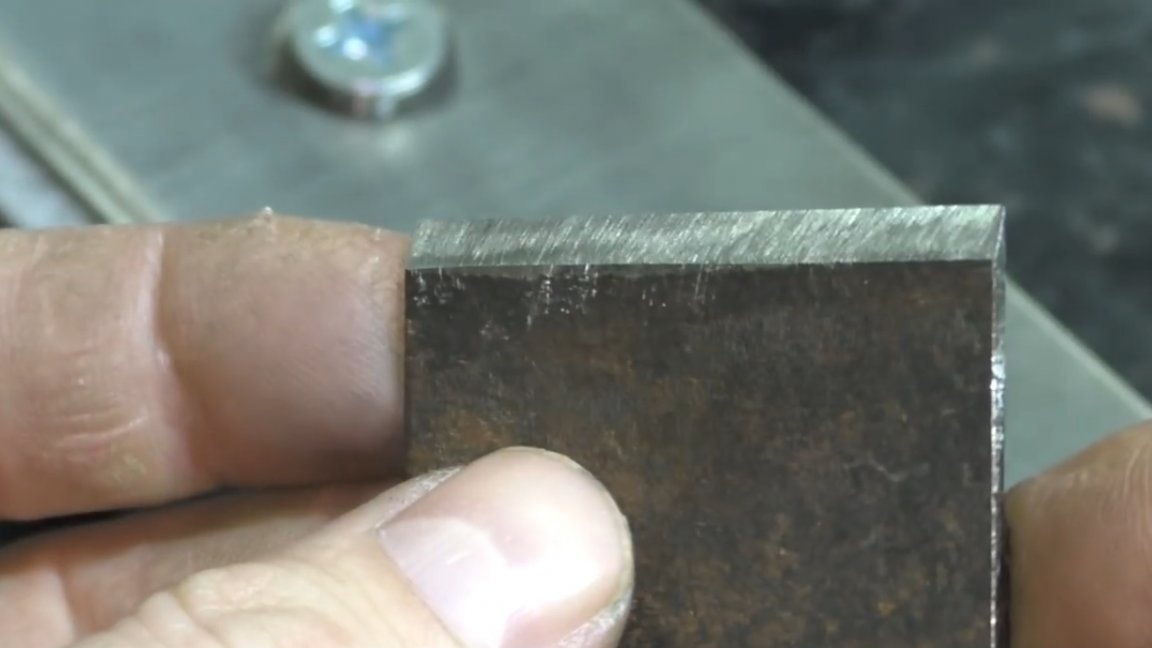
You can see how the cutting edge began to form. Now take a bar with a smaller fraction.
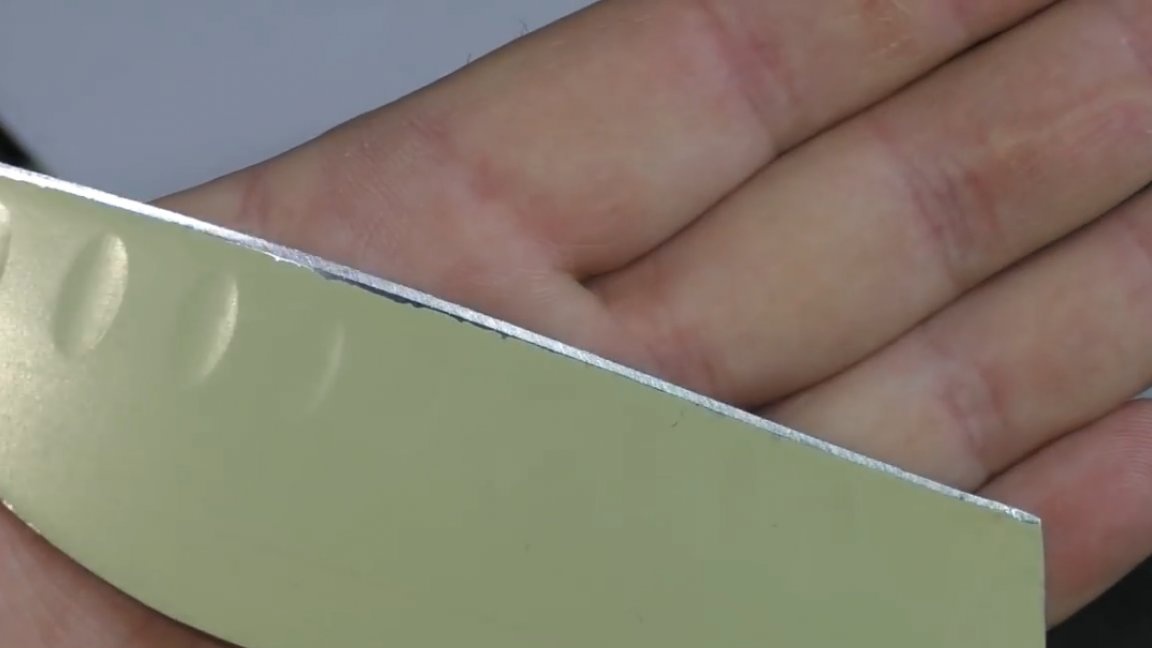
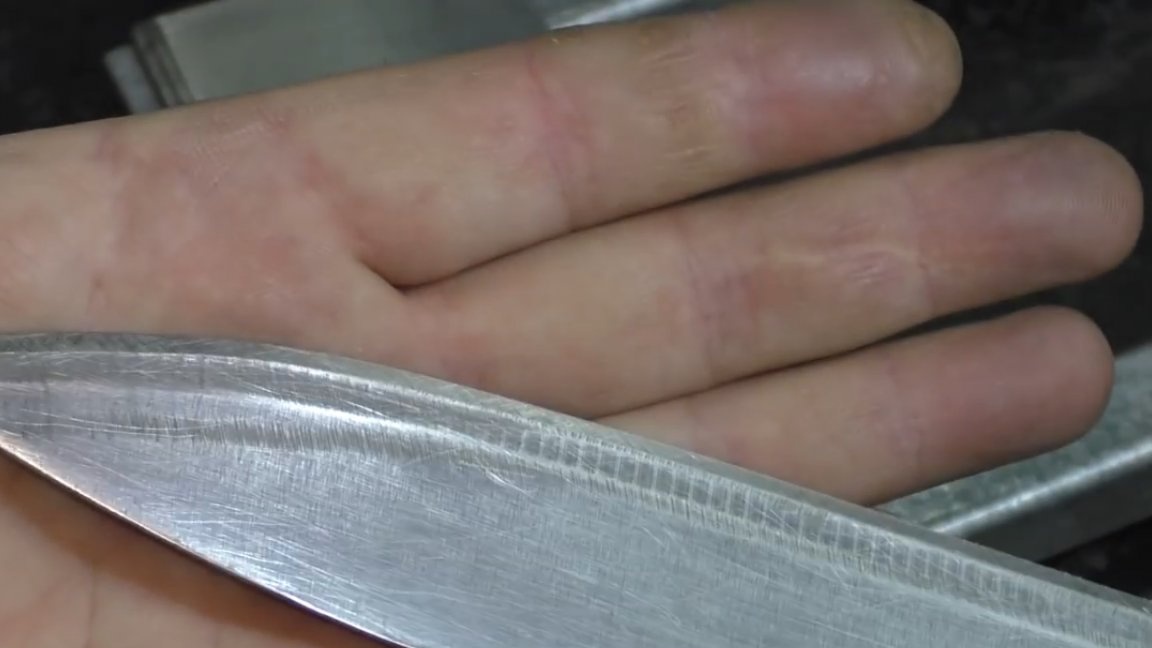
As a result, we get just such a sharpening with a well-defined and evenly cutting edge.
Now let's sharpen this knife from the plane.
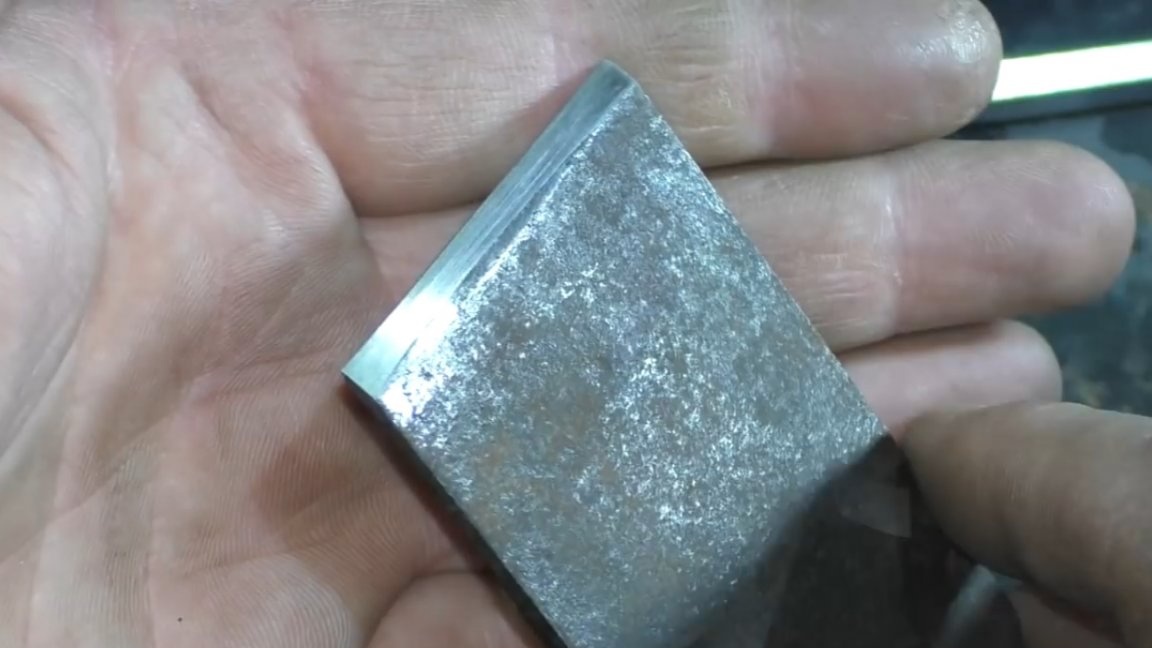
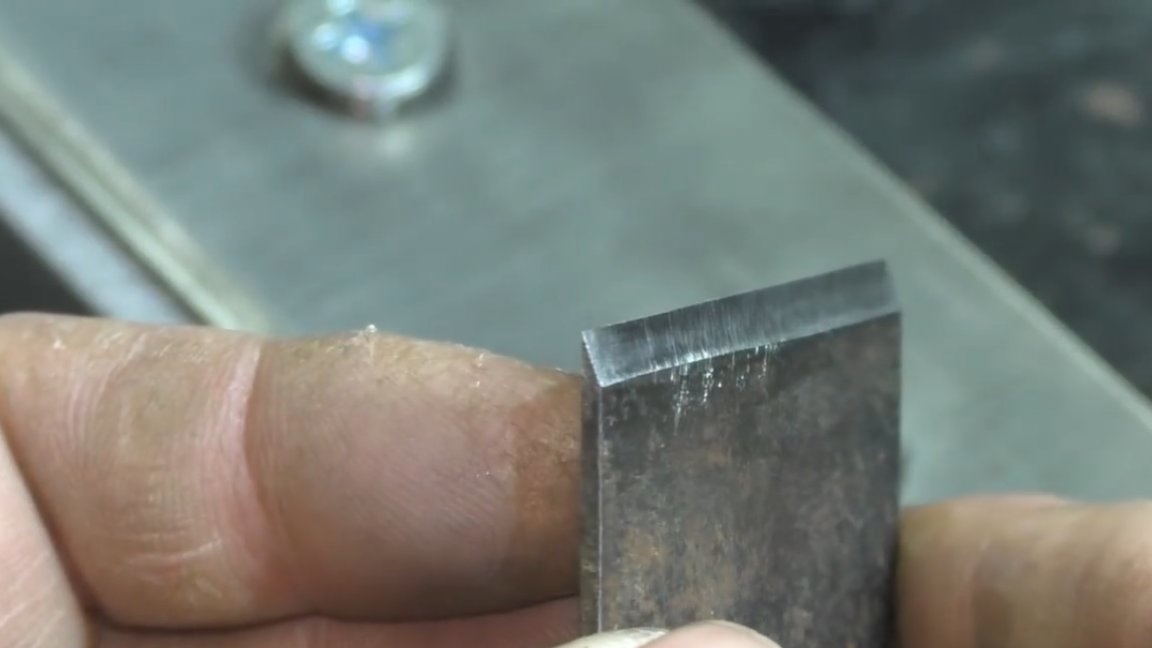
He was covered in hollows, so the author danced a little and now he needs to be imprisoned. Everything is according to the old pattern, first a large stone, and then a small one.
Again we see how a clear boundary of the cutting edge is formed. It turned out like this:
In general, the author was satisfied with the result. The author also sharpened a larger knife.
And everything worked out fine here.
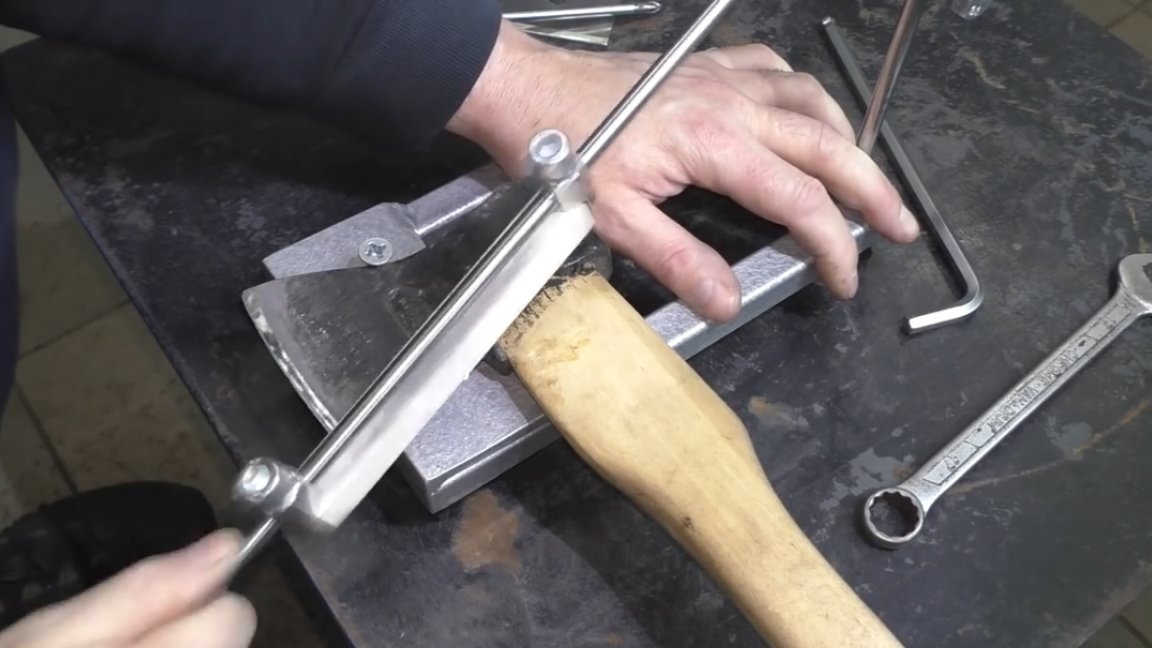
And finally, the author decided to try to sharpen the hatchet. The bar is larger and forward.
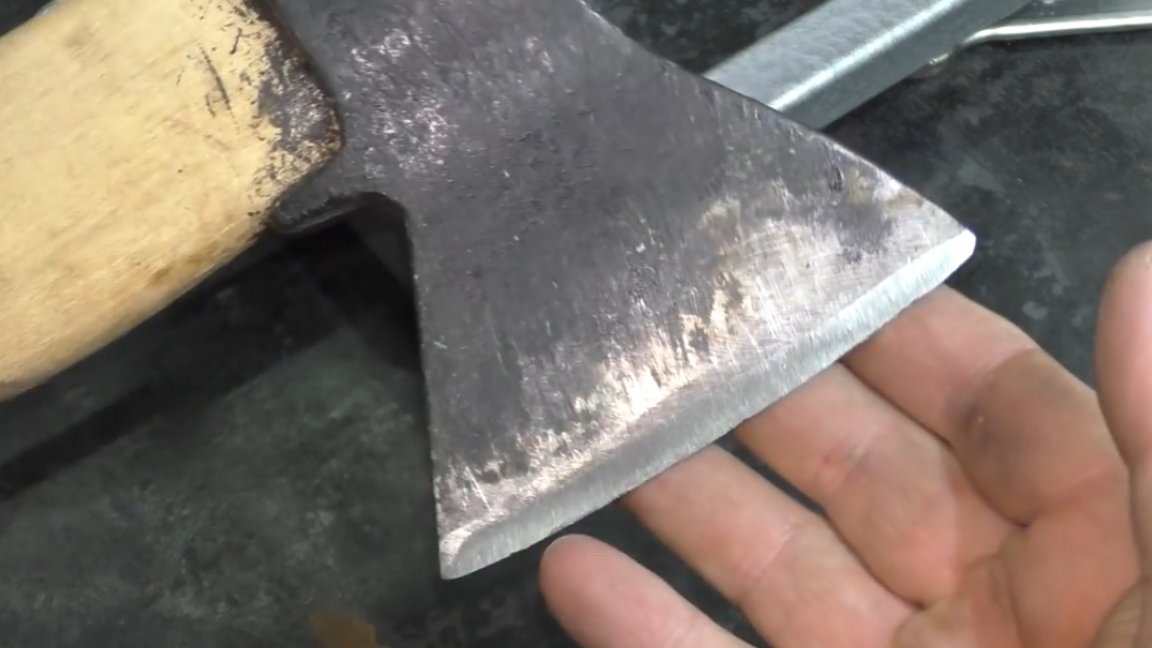
After literally 10 minutes of work, the hatchet acquired the correct cutting edge. So, the sharpener passed the test, and the author was pleased with today's homemade. Well, that’s all. Thank you for attention. See you soon!
Video: