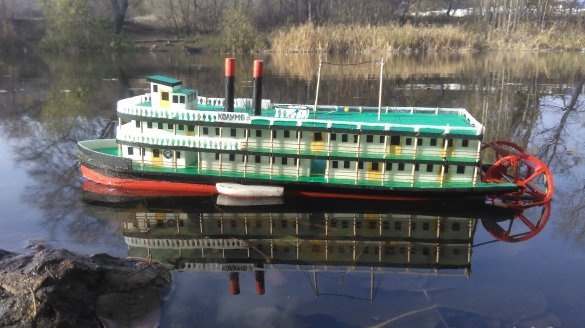
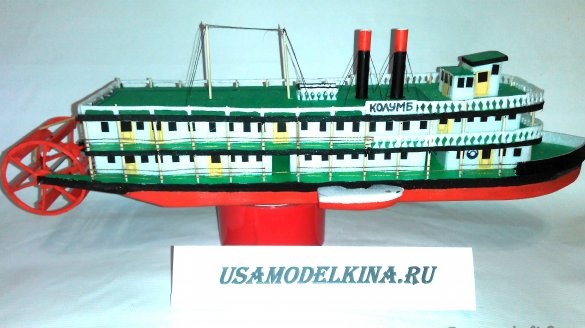
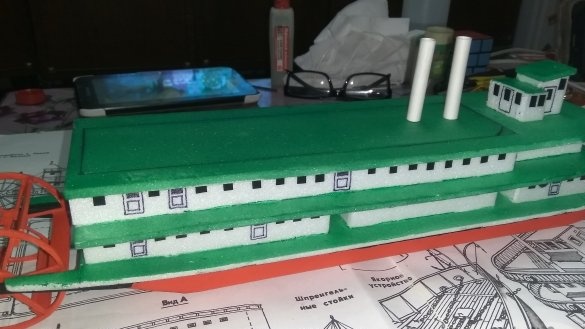
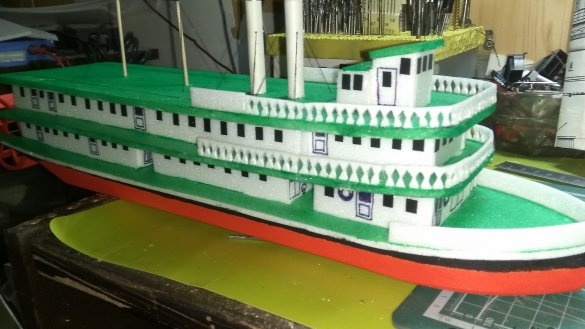
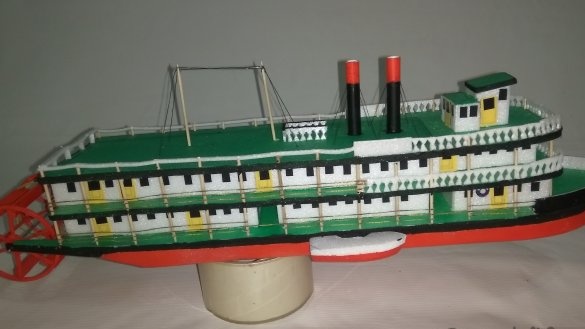
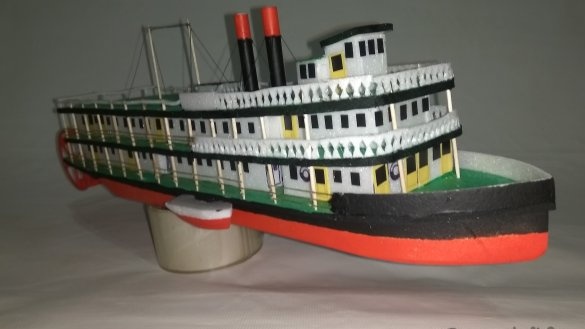
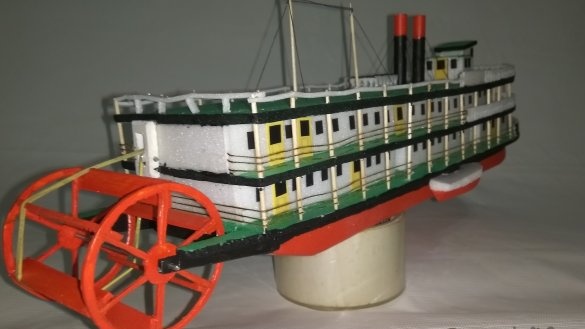
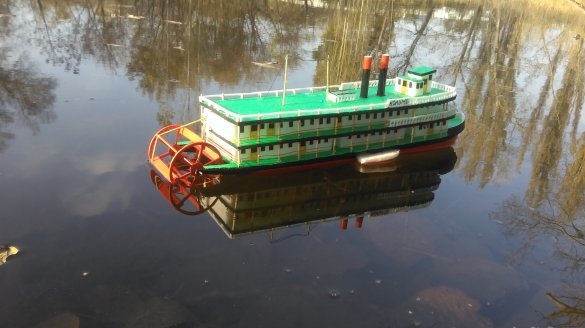
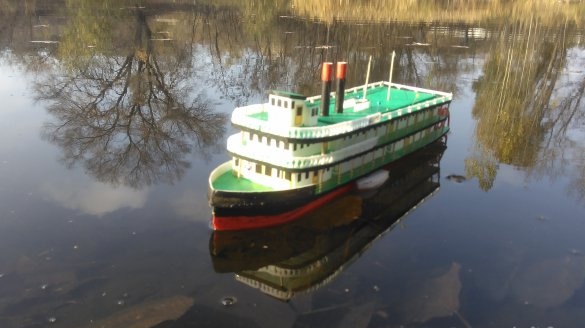
Good day, I want to tell you about my model of the Columbus steamboat from the ceiling tile.
A little history of the ship on.
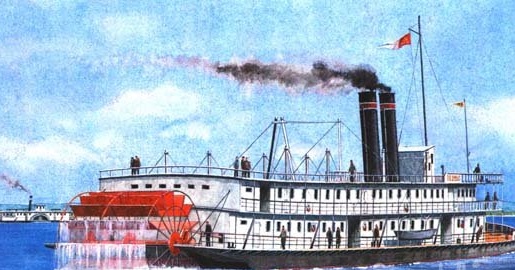
Well, let's start for the construction we need:
1 ceiling tile
2 adhesive for ceiling tiles (Titanium or Master)
3 mounting knife
4 ruler metal 50 cm
5 sheet PVC plastic 2 mm
6 toothpicks
7 sewing threads
6 acrylic varnish
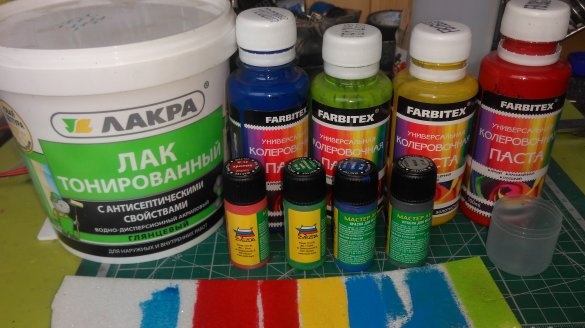
7 colors for acrylic paint
8 knitting needle from the great
9 adhesive tape
10 self-adhesive black and yellow film
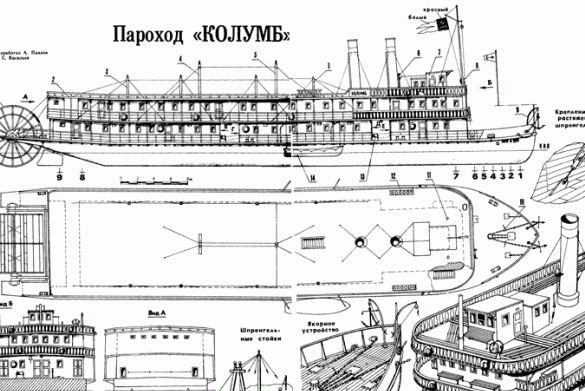
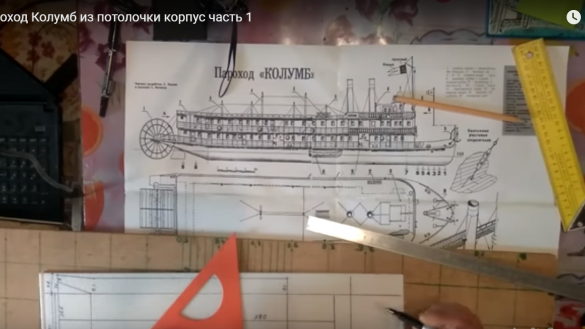
11 drawings
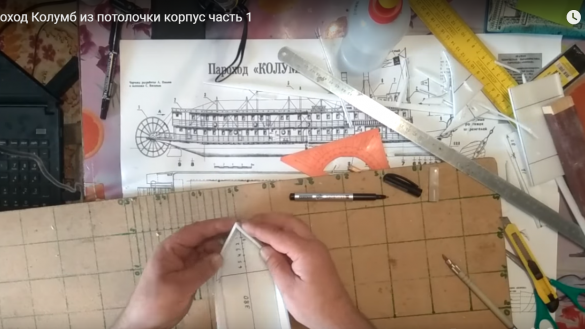
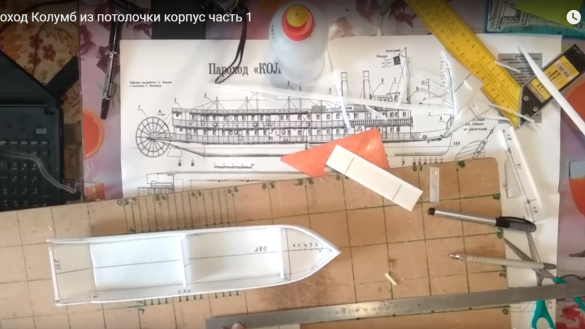
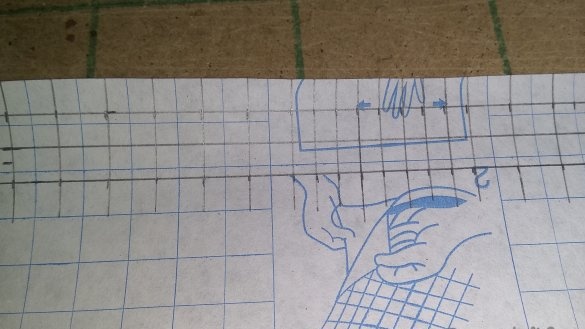
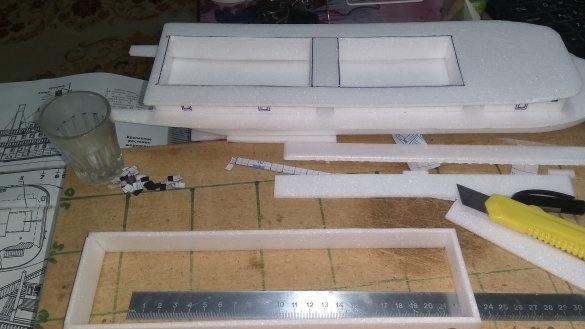
Do a scan of the case
Cut with a mounting knife
On the bend line we make a slot V and erase the edges where we will glue
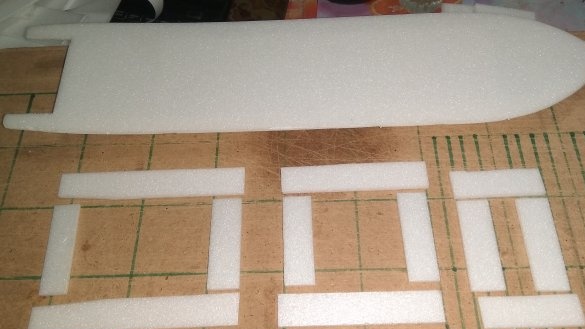
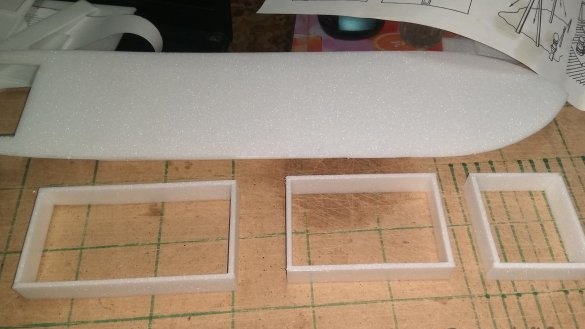
And we begin to glue the case, insert rectangular 2 frames with tape, fix the sides so that they do not creep
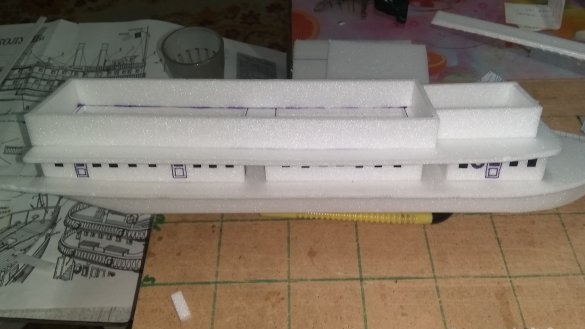
Cut the deck and first floor in three parts
We glue the first floor
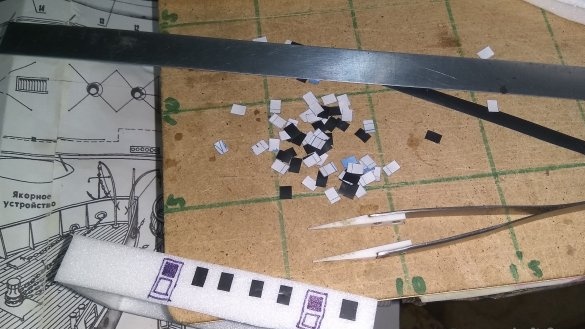
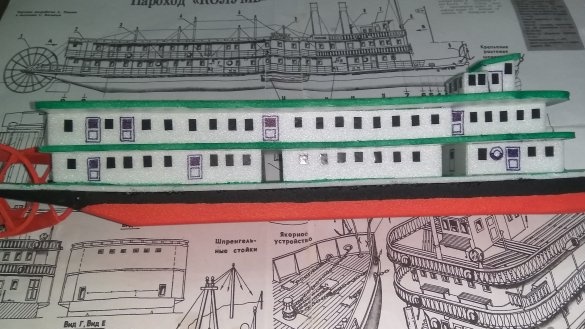
I decided to make the windows from a self-adhesive black film on the reverse side, lined and cut out
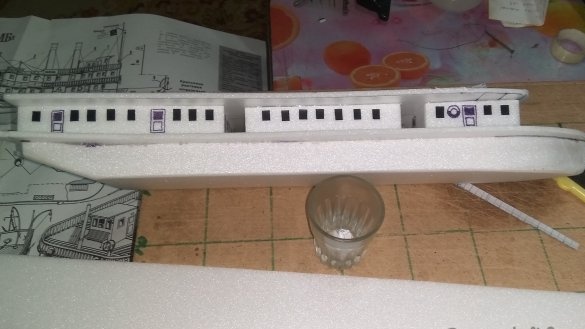
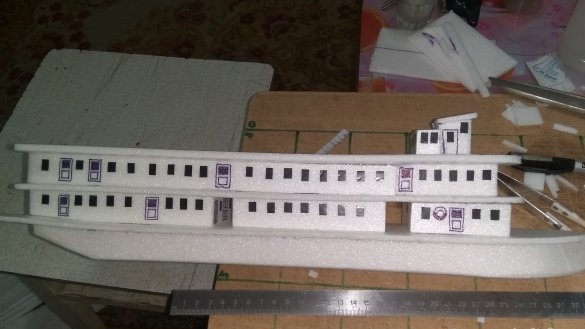
After gluing the windows, we glue the floor and 2 deck
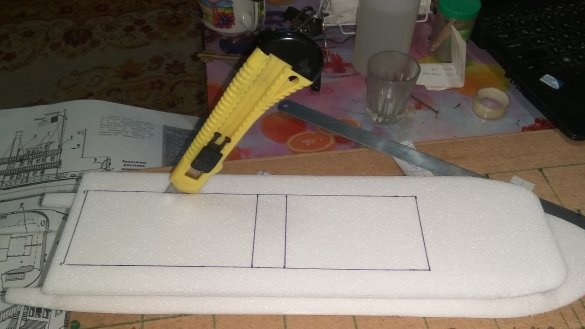
We cut the deck of the 2nd floor
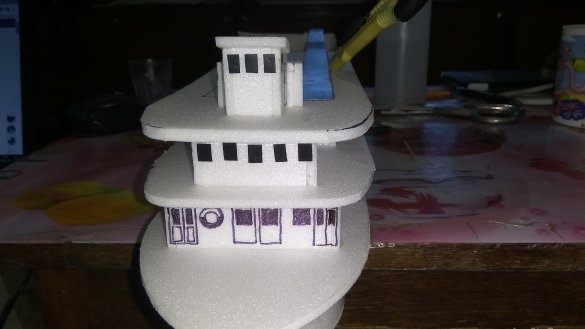
And collect the second floor
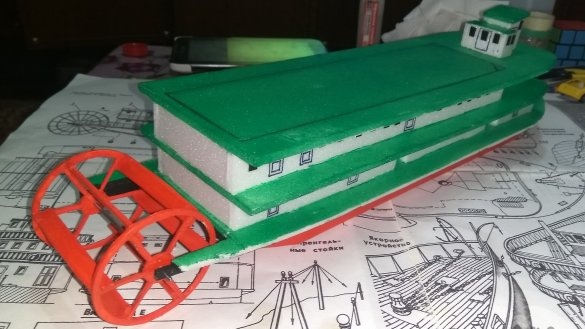
We glue the deck of 3 floors and the captain’s bridge
We cut the deck at 45 degrees to get a dovetail \ /
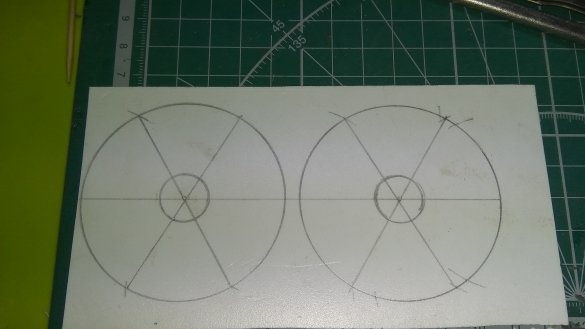
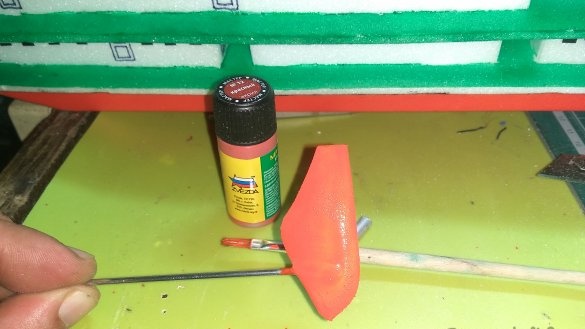
Draw a paddle wheel on a piece of PVC plastic with a pair of compasses
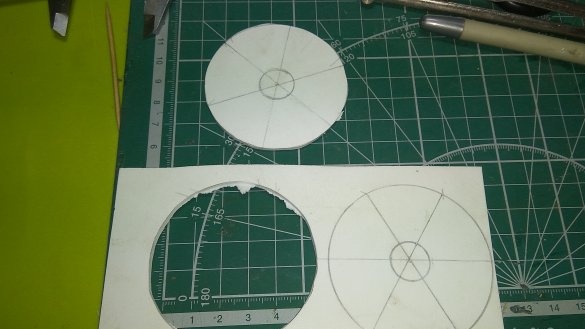
Cut with a mounting knife
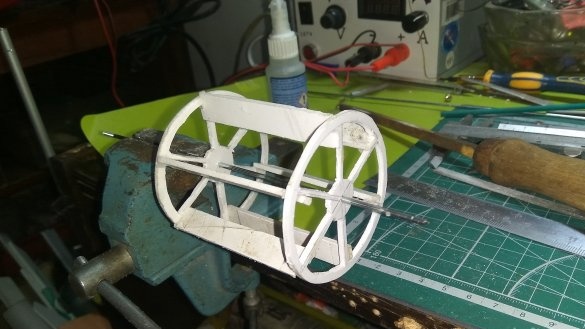
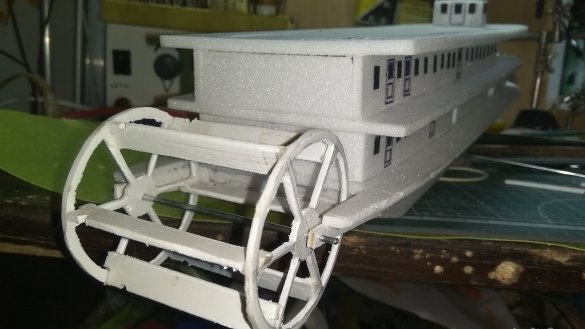
After assembling the wheel, we process the file, remove the chamfers and insert the spoke
We do in the blades cut under the gum for transmission to the motor
We take a varnish acrylic color make the desired color
And color the steamer
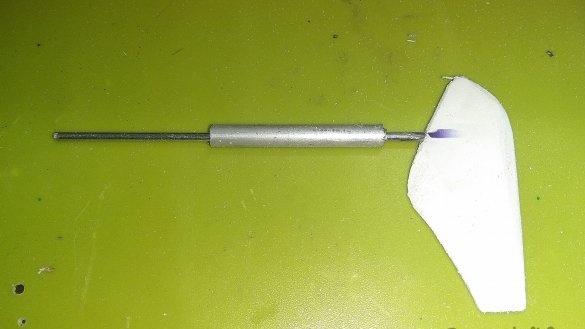
From the knitting needles and PVC plastic we make the steering wheel Deadwood we make from a dural tube 5 mm
Paint
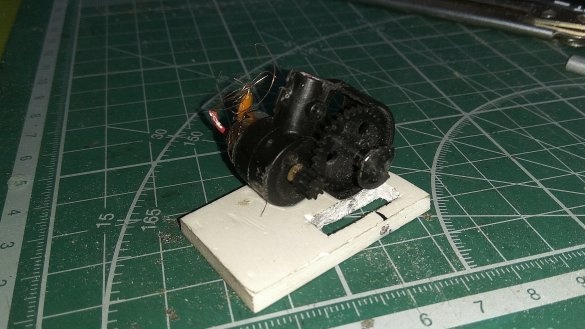
The motor with the gearbox was taken from a broken tail rotor helicopter and glued to the pvc motor mount
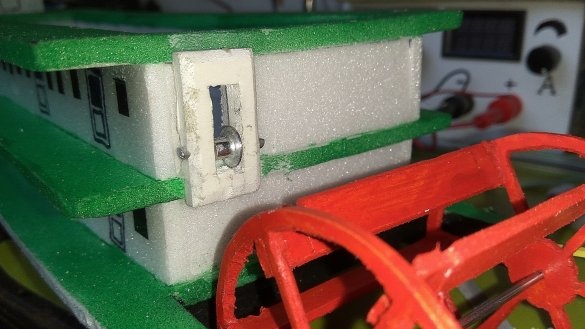
Here, from pvc and rivet we make a guide block for clerical gum
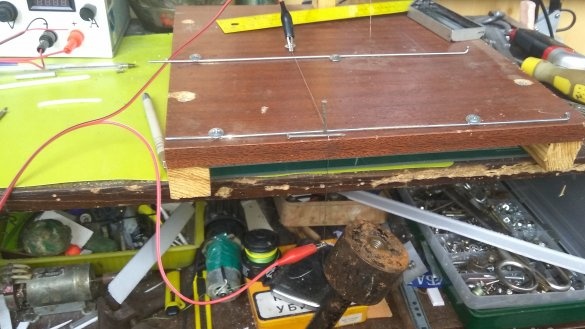
From two knitting needles and nichrome, we make foam cutting and dissolve the ceiling horizontally by 2 mm and cut out the rail
Pipes made of paper
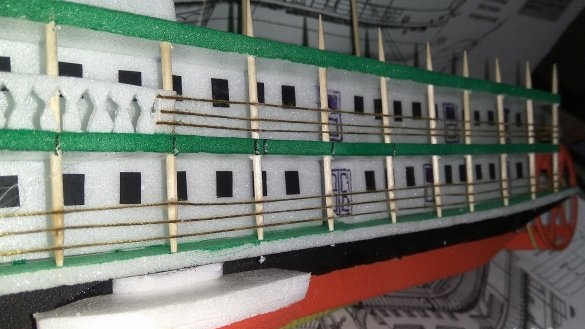
Masts are made of toothpicks, everything is stretched by a thread of a rail from a thin ceiling
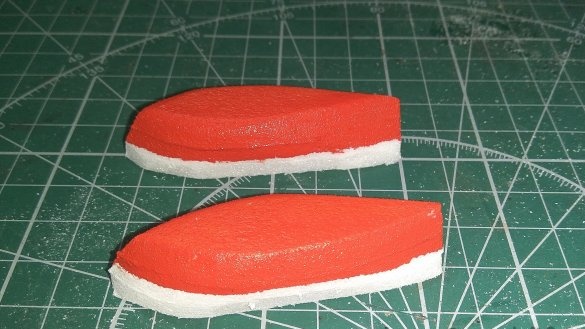
From three layers of ceilings we make boats
And the last touch we finish from toothpicks and threads the rest of the rail
Here is the result
We install the equipment on the arduino in the video about this in more detail and go to the lake
There is a video about the manufacturing and testing process:
Part 1
Part 2


