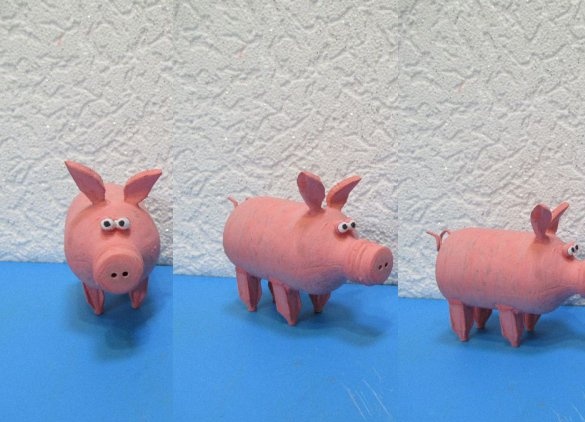
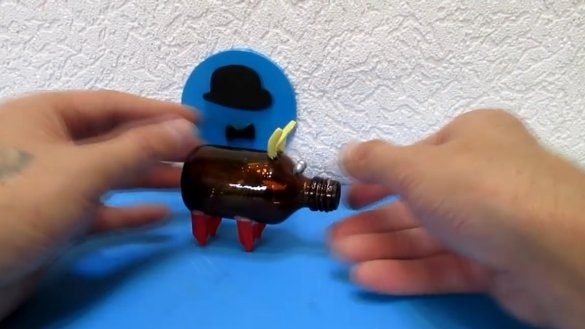
According to Eastern traditions and beliefs, such mascot figures patronize their owners all year long, bring good luck, help career advancement, and also provide material and family well-being. Of course, we don’t really believe in all these oriental characters, but at least so cute homemade will be able to please your loved ones, friends and especially children. In addition, it can be used as a gift to a friend or colleague. Well, in the end, its manufacture will show that you are responsible for the upcoming celebration of the Most-Main-Winter-Holiday.
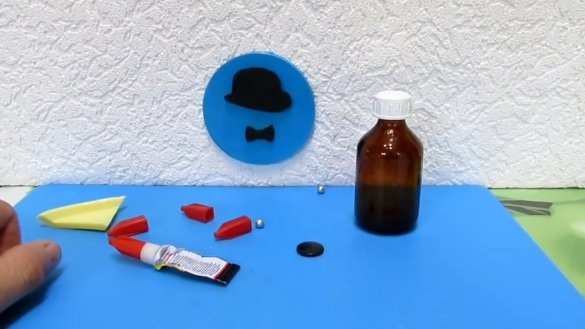
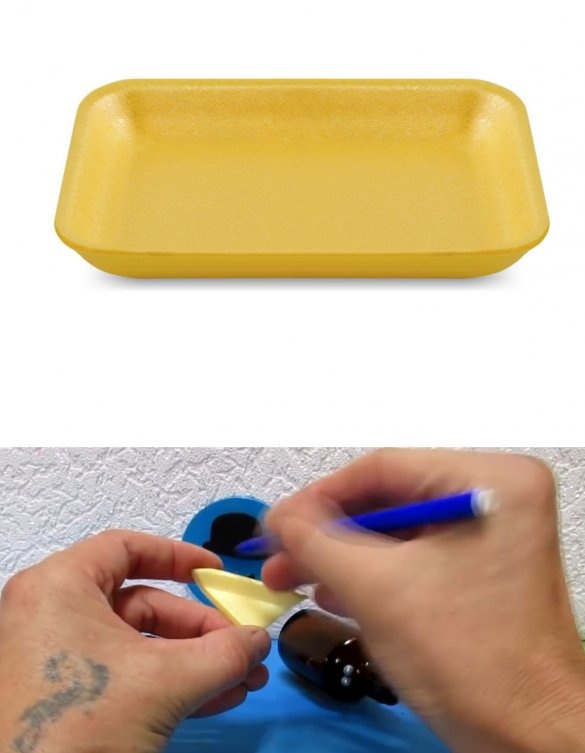
A pig mascot is made extremely simple, from junk materials. Here's what you need to make it: a bottle of medicine, four caps from under small tubes of glue, a button with two holes, two bullets from a children’s gun, a piece of a food pallet, scraps of wire from the headphones, as well as paints, a brush, a file, an office knife and glue.
Step 1
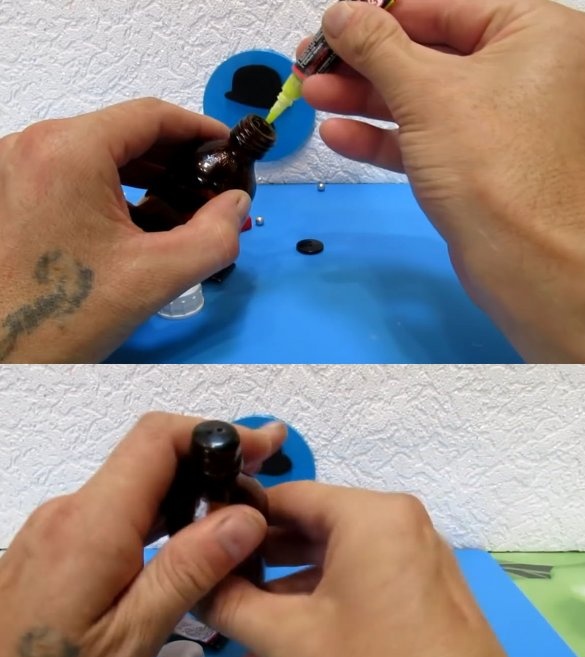
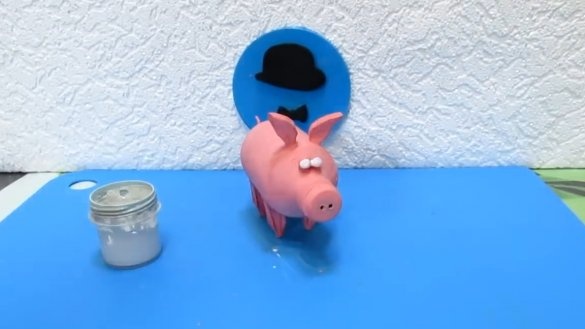
We clean the bottle from the label, wash it thoroughly, and let it dry. After that, we make a “piglet” to our pig: we glue a button of a suitable size on the neck of the bubble.
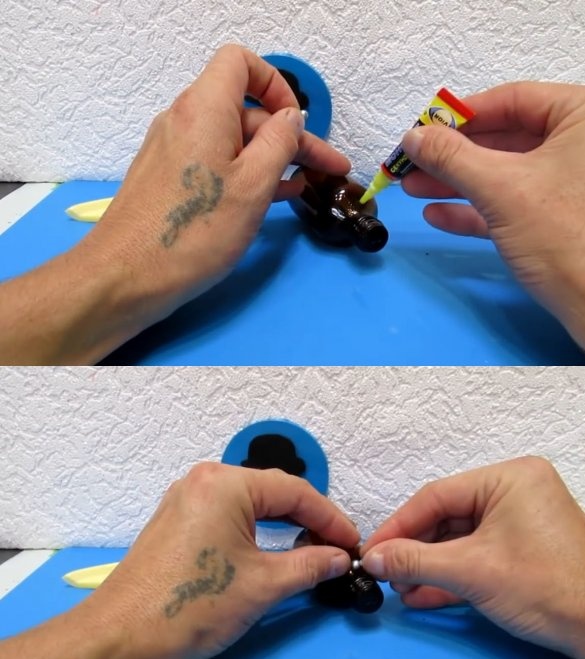
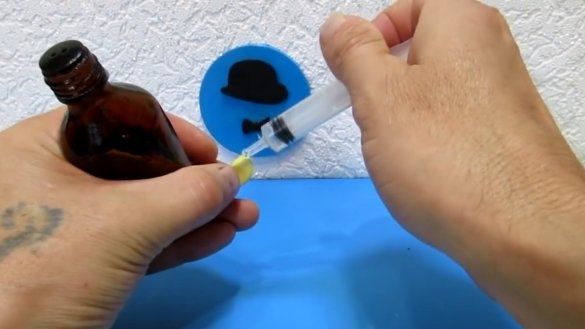
Next, paste the eyes.
Instead of bullets from a children's pistol, you can use beads, large beads and so on. (in general, any suitable balls that are at hand).
Step 2
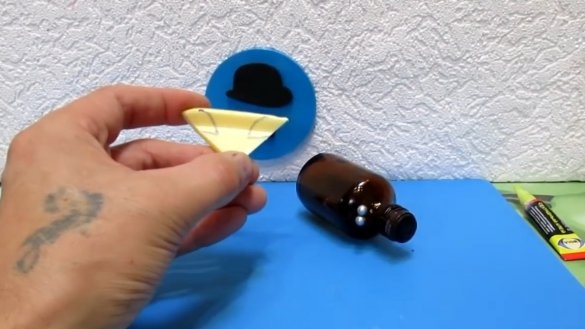
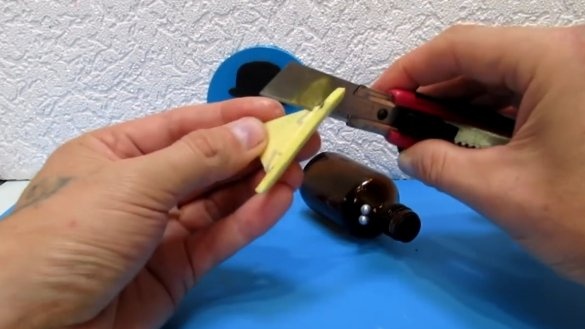
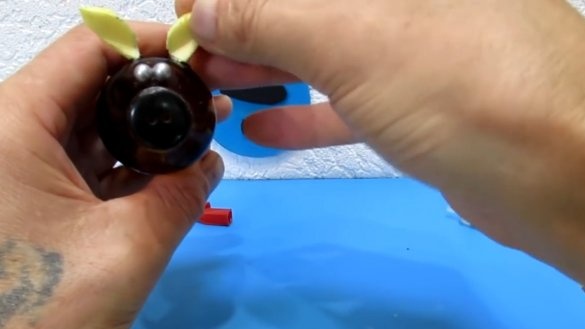
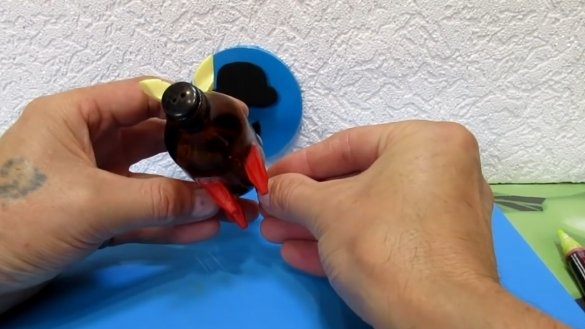
From the food tray cut off a piece with a side (so that the ears turn out with a bend). We draw a contour of future pork ears with a marker or felt-tip pen, and cut them with a clerical knife.
After we cut out these two parts, we remove small irregularities from them so that they are as accurate as possible and do not differ in size.
The author carved ears that are pointed at the ends. However, sticking such a part will be difficult, so it cuts the corner on one side to increase the area of contact when gluing.
Step 3
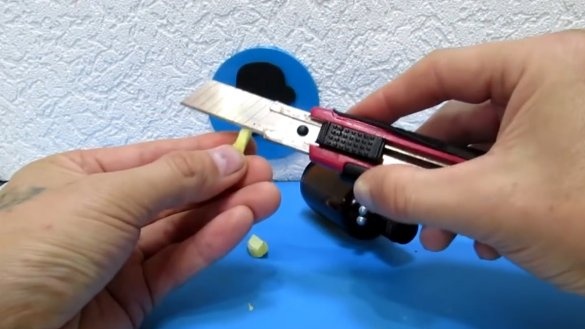
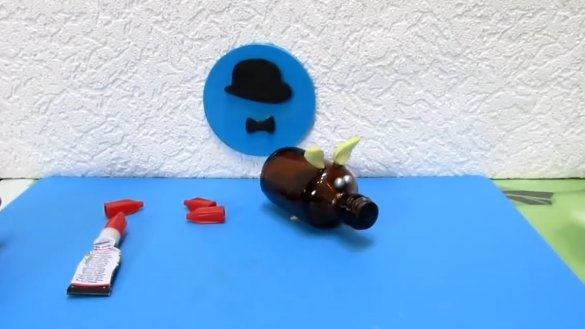
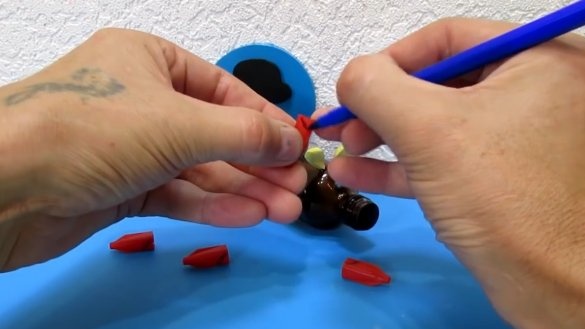
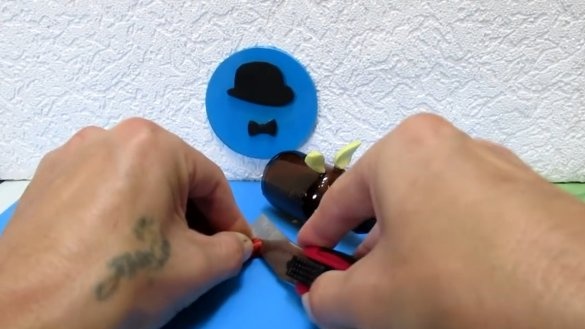
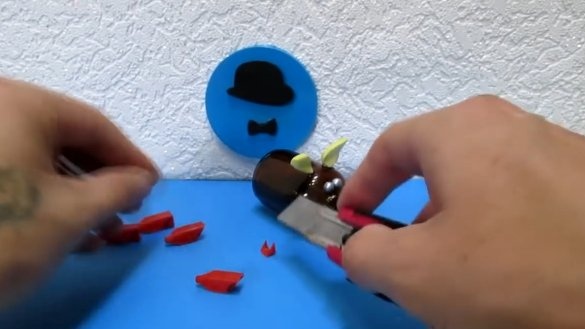
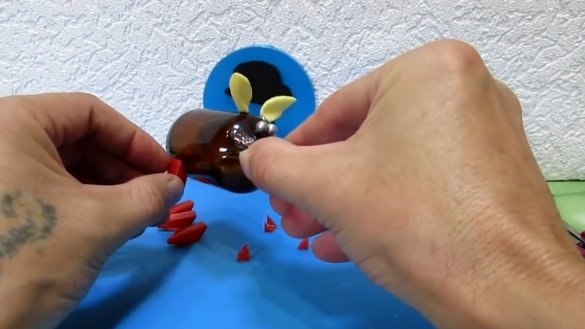
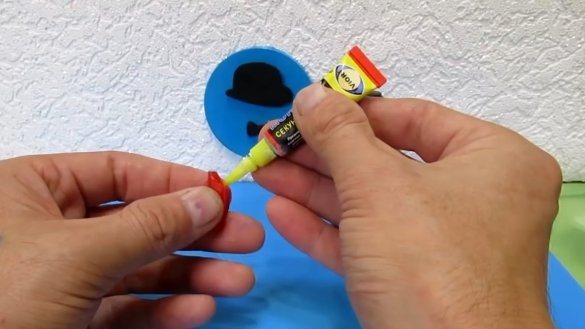
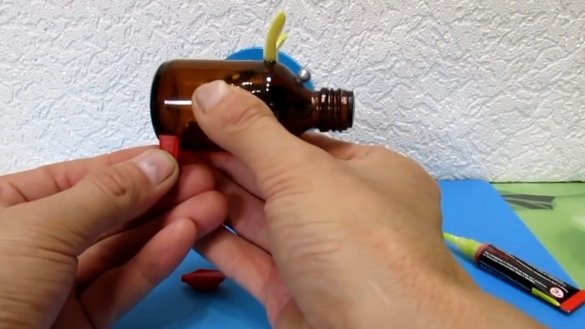
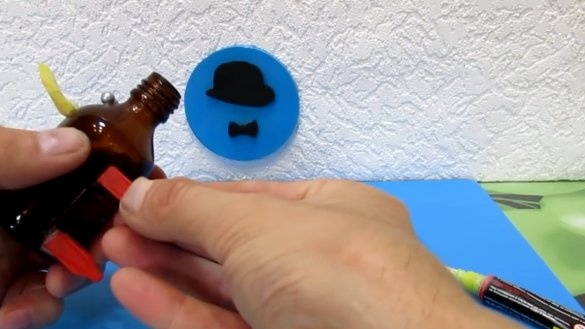
Glue caps will be used as pork legs. Before sticking them, you need to cut off part of the cap diagonally as shown in the photo (this is necessary so that its shape matches the curve of the bottle).
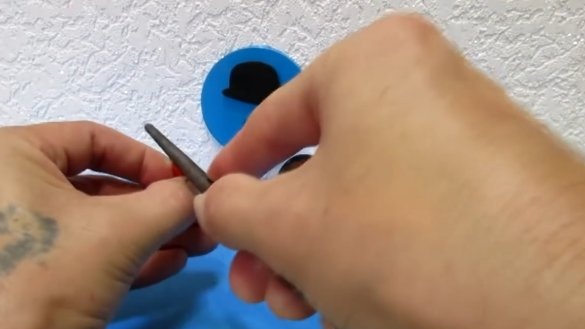
We grind all the irregularities that occurred during trimming with a file.
Now you can stick them.
Step 4
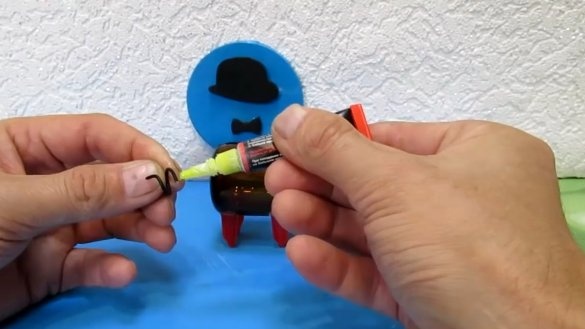
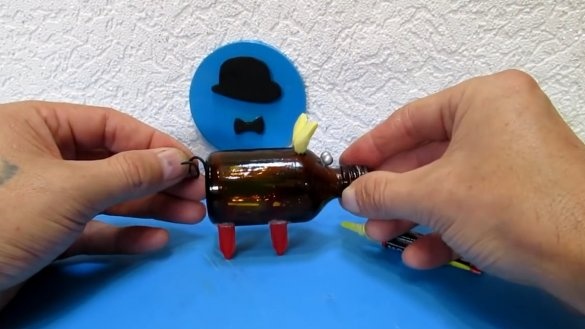
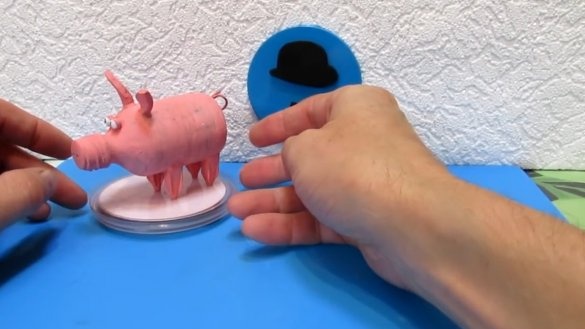
We glue the “tail” for which we use an unnecessary scrap of thin wiring (the author of the idea uses a wire from the headphones). Before applying the glue, twist it to get a spiral of one and a half or two turns.
Now gently apply glue and attach the wire to the back of the bubble.
Step 5
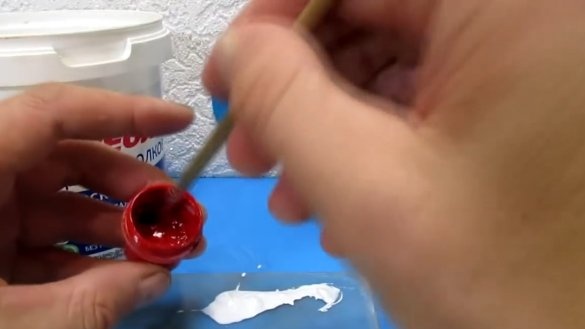
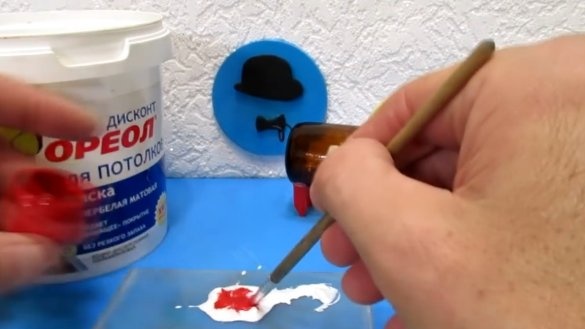
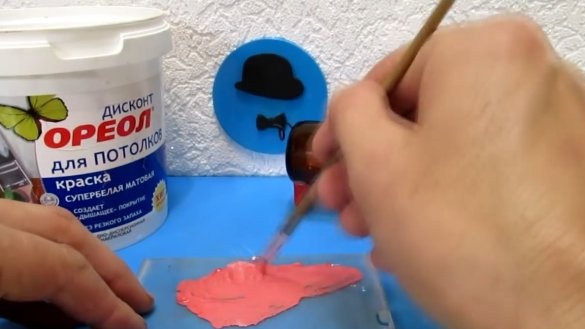
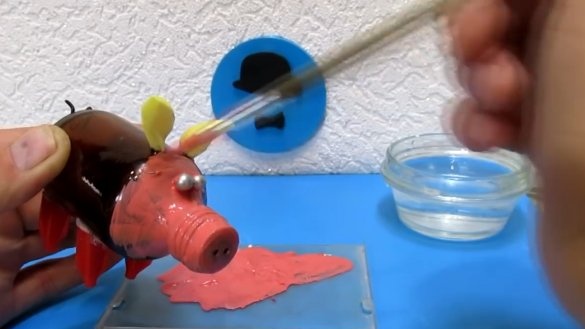
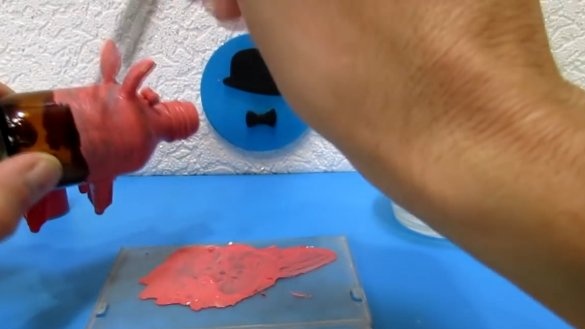
The assembly of the mascot figure is completed. It remains to paint it. The author of the idea did not find pink paint, so he uses red (acrylic), diluting it to the desired shade of white (also acrylic) paint.
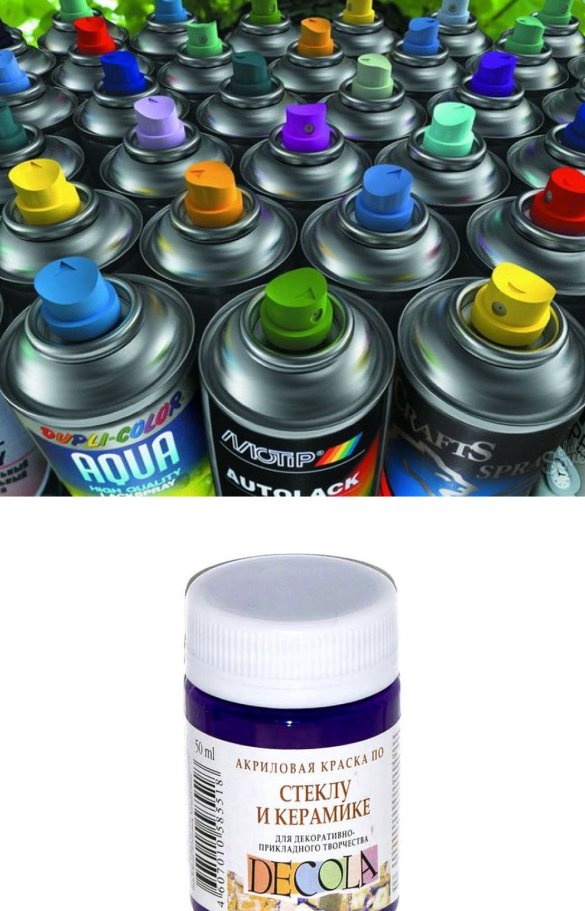
In addition to acrylic, you can use spray paint formulations or, in extreme cases, buy special glass paint.
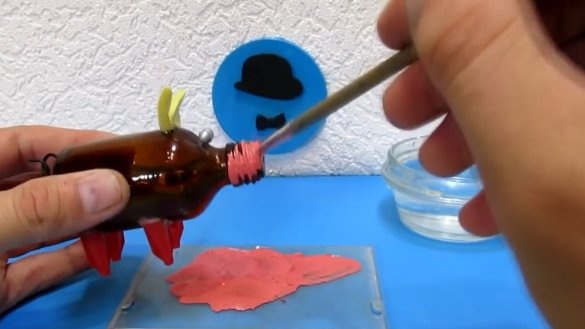
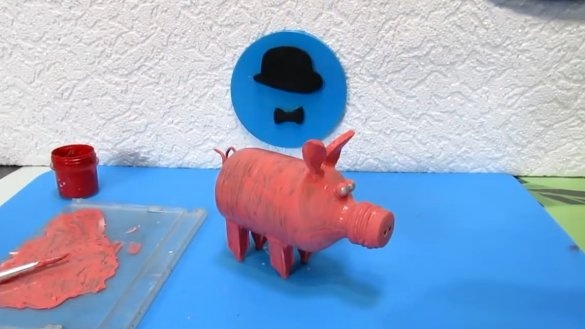
Before painting, degrease the glass surface and allow it to dry. After that we take a brush in our hands and begin to cover the figure with pink paint, trying not to leave unpainted “bald spots” anywhere. To achieve the best result, you can paint the pig a couple of times.
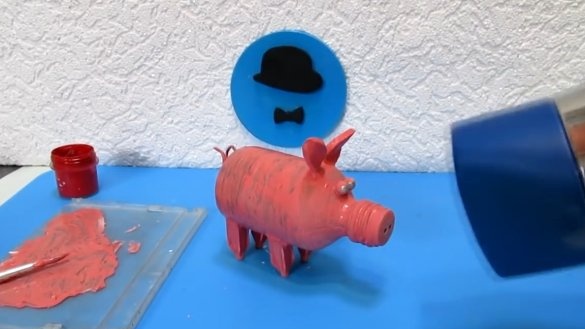
After the staining procedure, the author uses a hair dryer to dry the paint faster.
Step 6
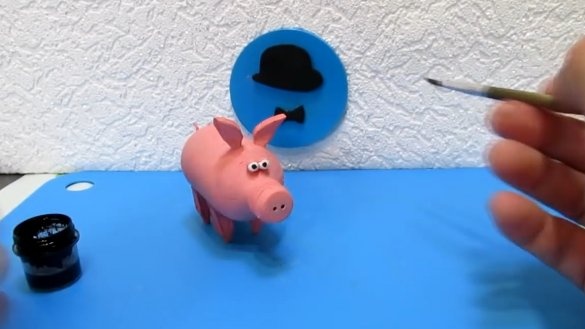
The final touch - we colorize the pig-symbol of 2019 eyes. To do this, we need white and black paint, as well as a thin brush.
First, paint the eyes-bullets with white.
After that, add the pupils, putting - in black paint - a dot in the center of each eye.
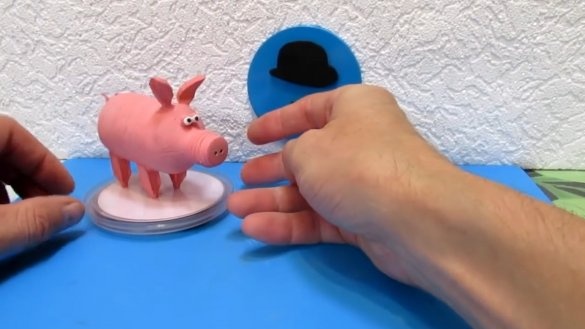
The mascot pig is ready! May she bring you good luck in the new year and contribute to the successful completion of any undertakings.
All with the coming!

