This project was created as part of the school competition "Robotics in the family", the system is fully operational and can be used for growing plants. The use of hydroponics in crop production saves up to 90% of water and minimizes environmental pollution by fertilizers.
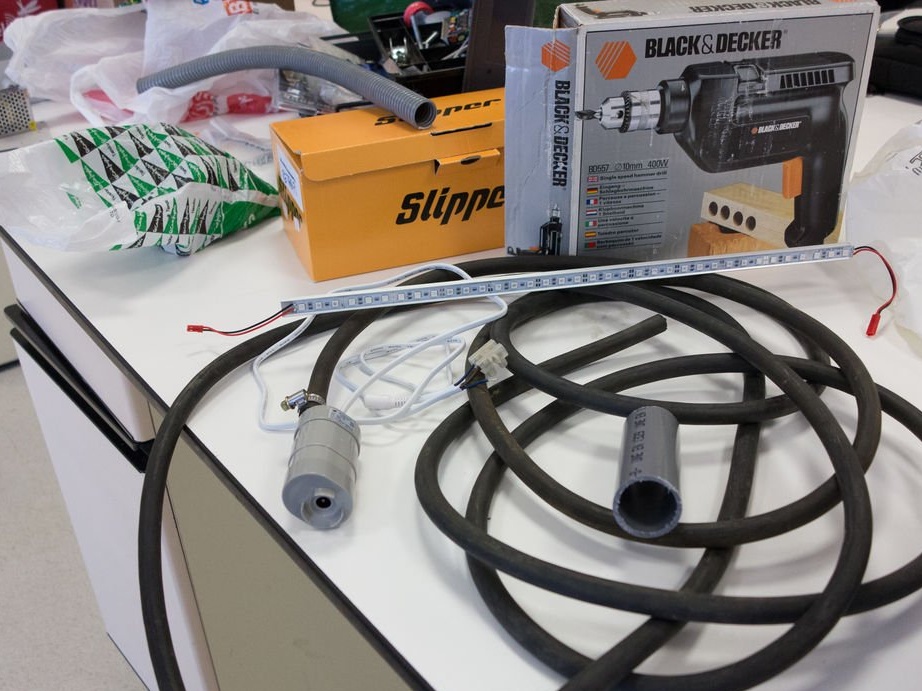
Tools and materials:
- PVC pipe with a diameter of 100mm 6 meters;
- PVC pipe with a diameter of 40 mm 2 meters;
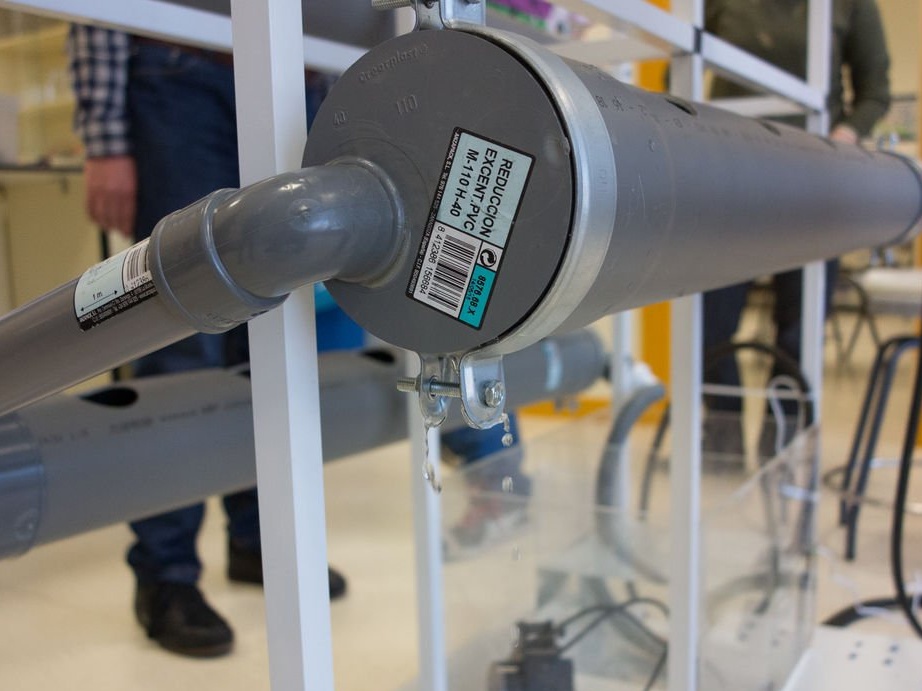
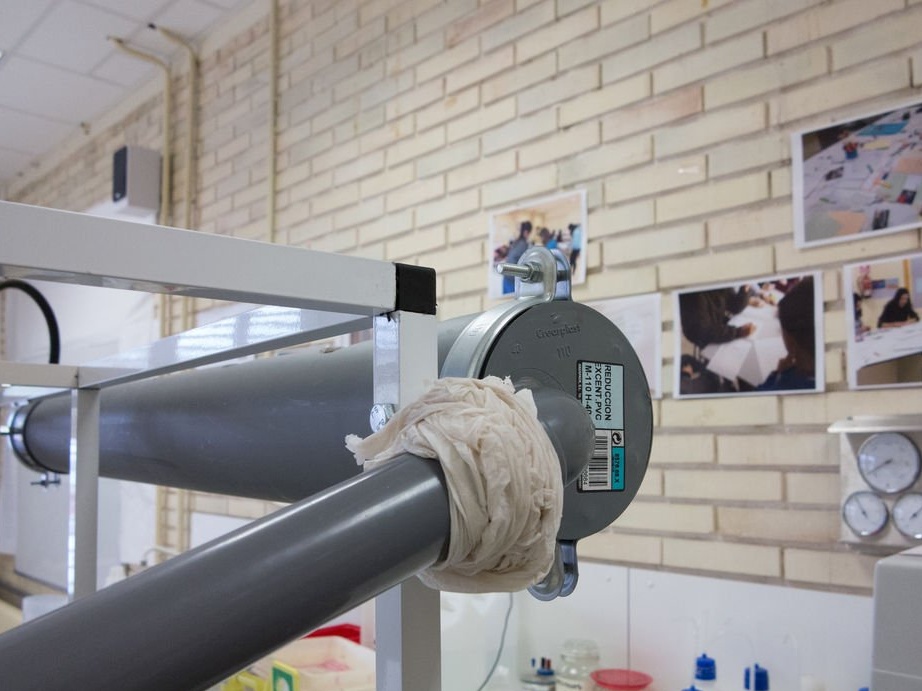
-100-40 mm PVC connector 12 pcs;
-40-10 mm PVC connector;
-Angle 90º 40mm connector 12 pcs;
-Acrylic paint;
- Flexible pipe 10 mm 2 meters;
-Wooden table 2x1x1 m;
-Aluminum pipe 16 meters;
-Aluminum 3-section connector 8 pcs;
-Aluminum 4-section connector 8 pcs:
-Aluminum 5-section connector 2 pcs:
-Wheels 4 pcs;
- PVC glue;
-12V power supply;
-Temperature sensor waterproof;
-Pots for plants;
-Manual drill;
-Soldering iron;
-Stipper;
-Glue gun;
- clamps;
-Hacksaw;
-Roulette;
-Marker;
Step One: Project
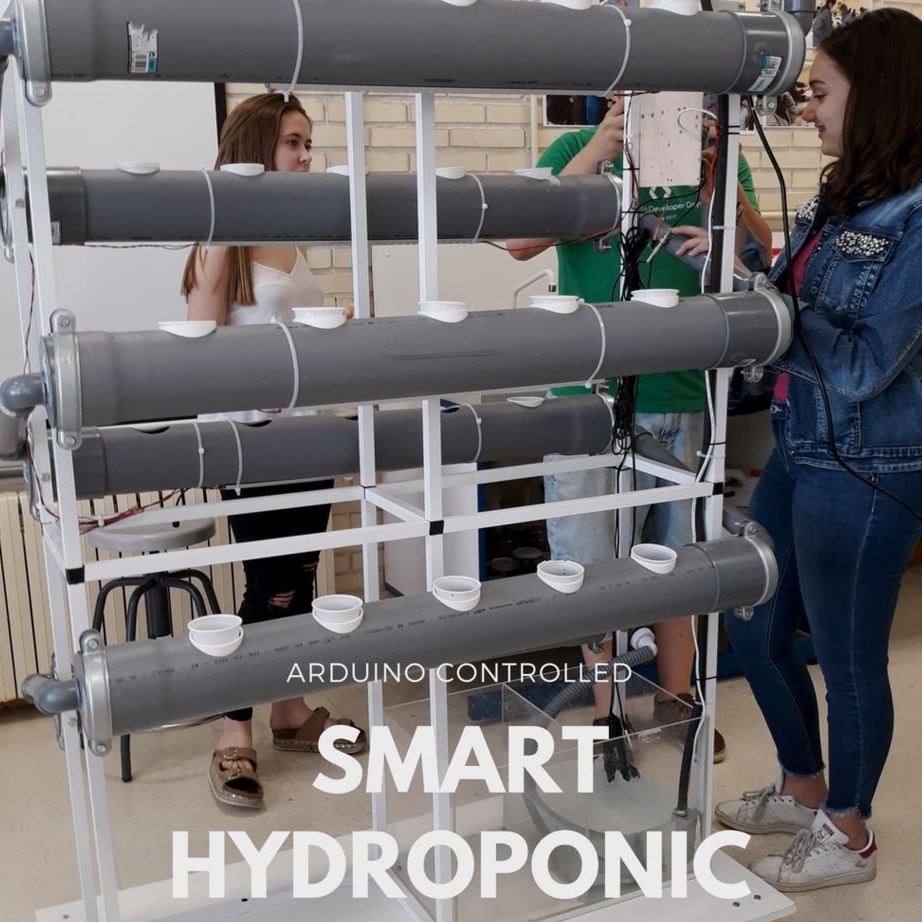
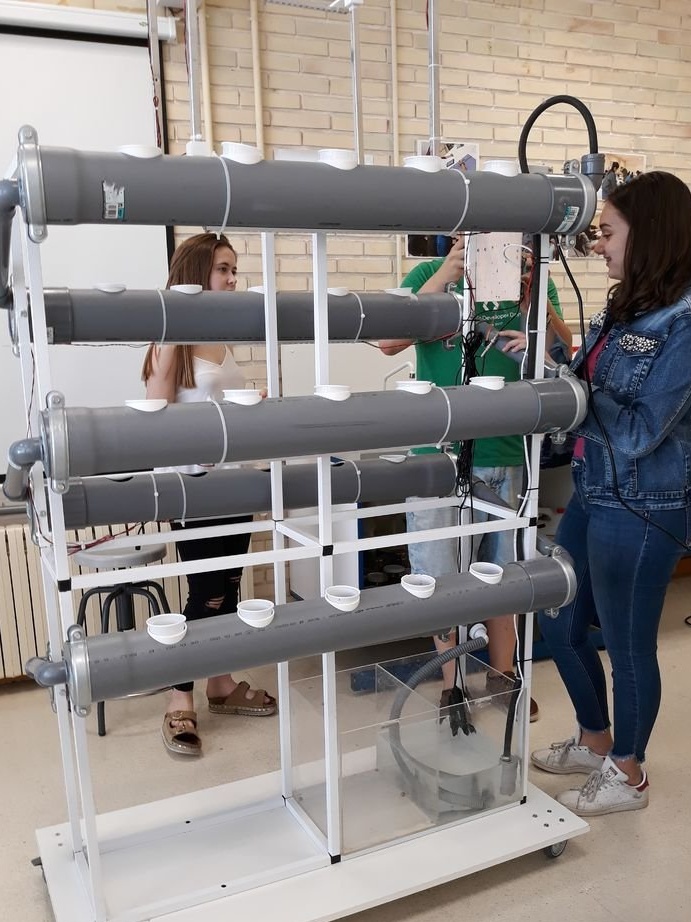
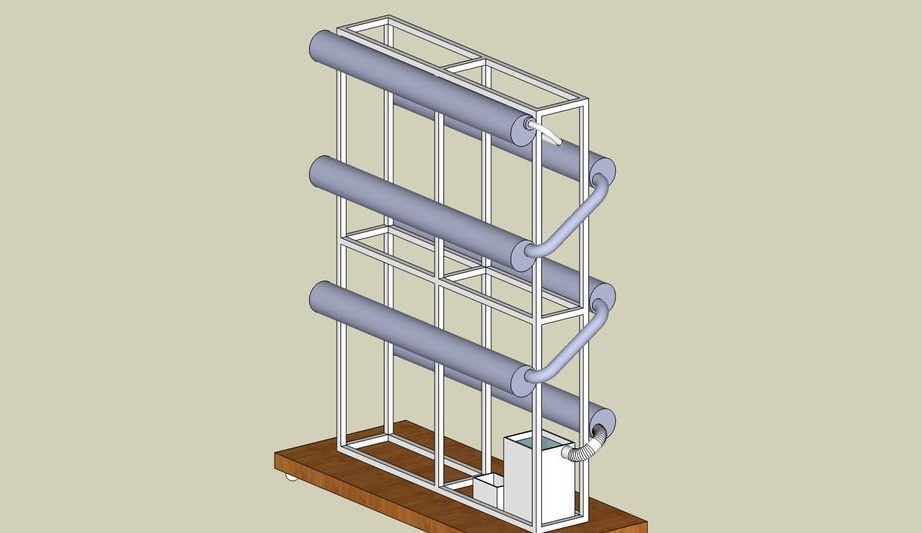
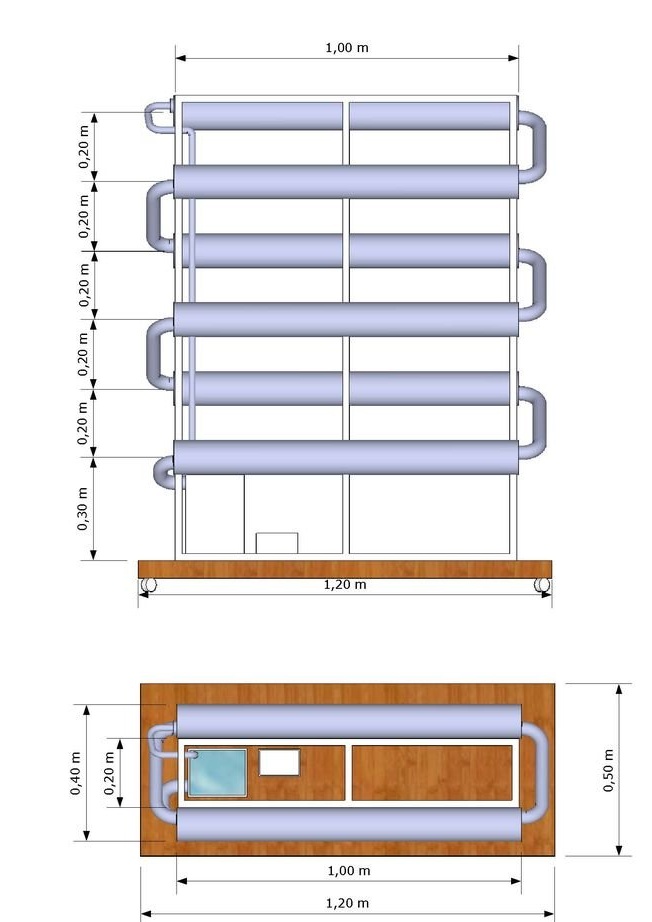
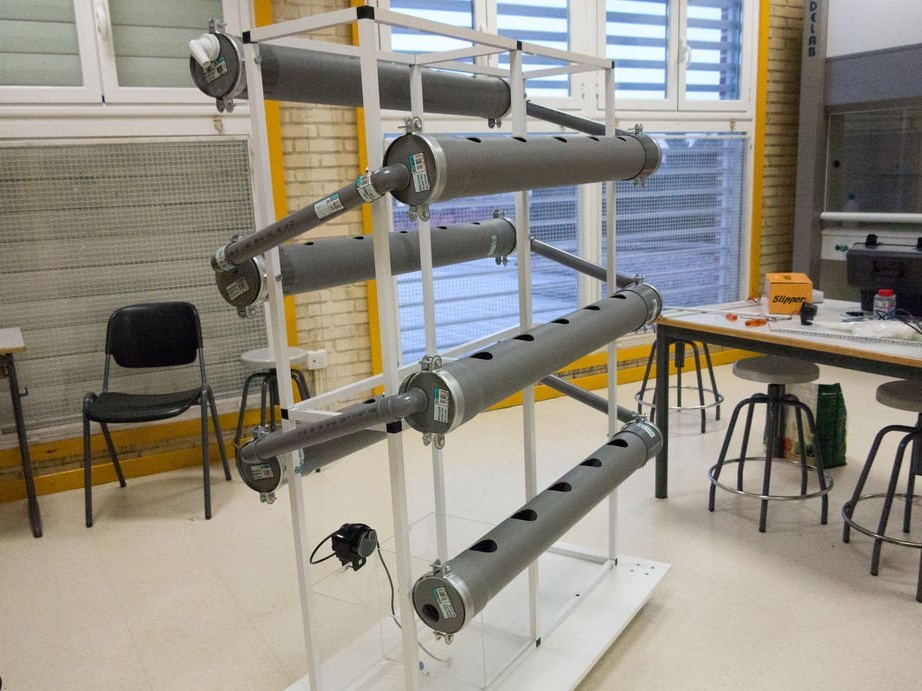
Hydroponics is a system for growing plants using mineral solutions instead of soil. The overall design of the equipment is made of aluminum. The channel through which water circulates consists of PVC pipes, and consists of 6 levels through which water passes. At each level of the channels, holes for placing pots are made. At the bottom there is a reservoir into which water from the system enters and through which various components can be added to the water.
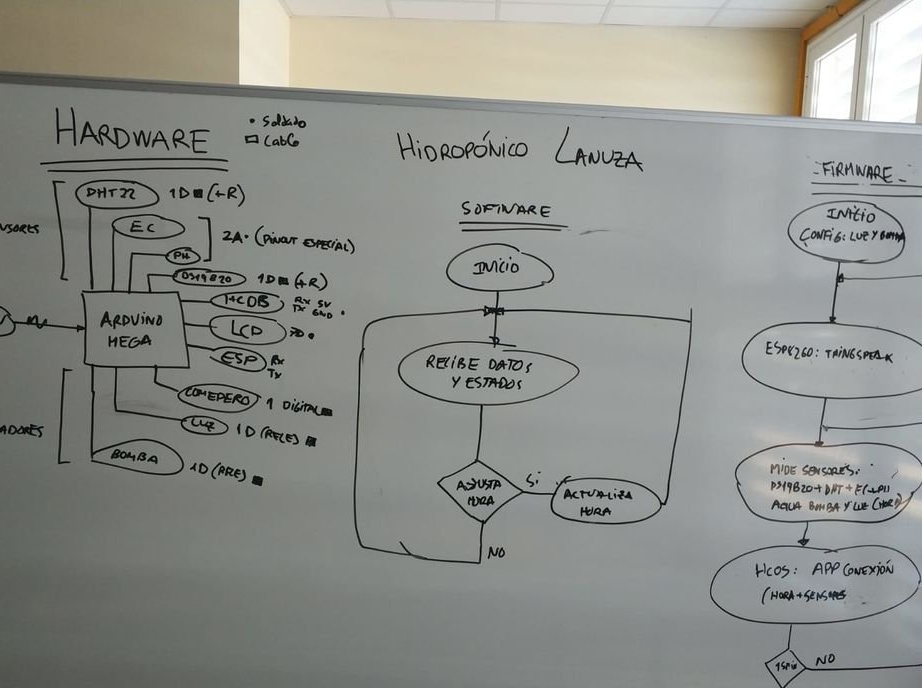
The entire system is automated and equipped with various sensors and actuators.
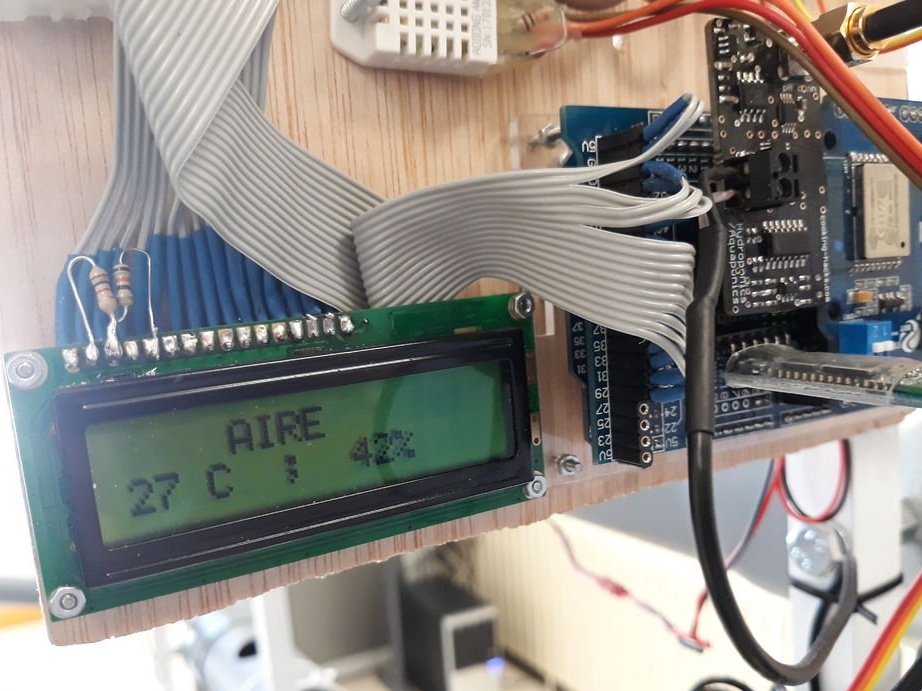
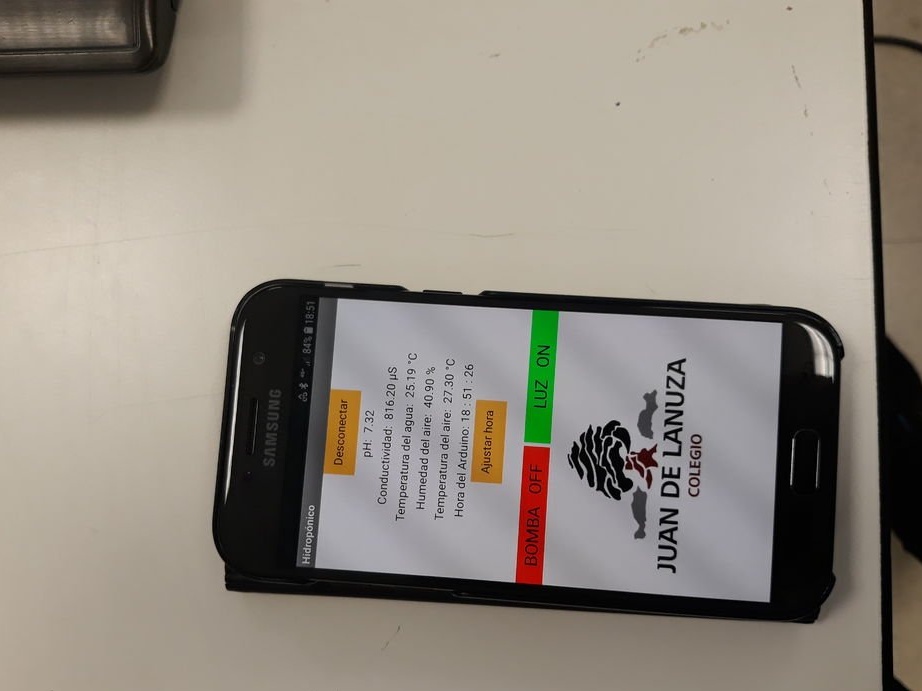
Using sensors, the following parameters are monitored:
air temperature and humidity
water temperature
pH
conductivity
time
Based on these parameters, on / off pump, lighting, mineral feed device.
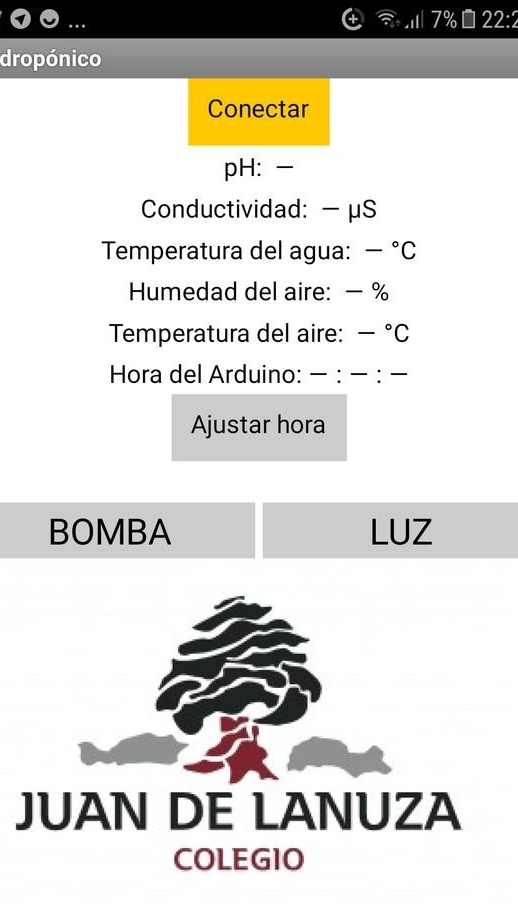
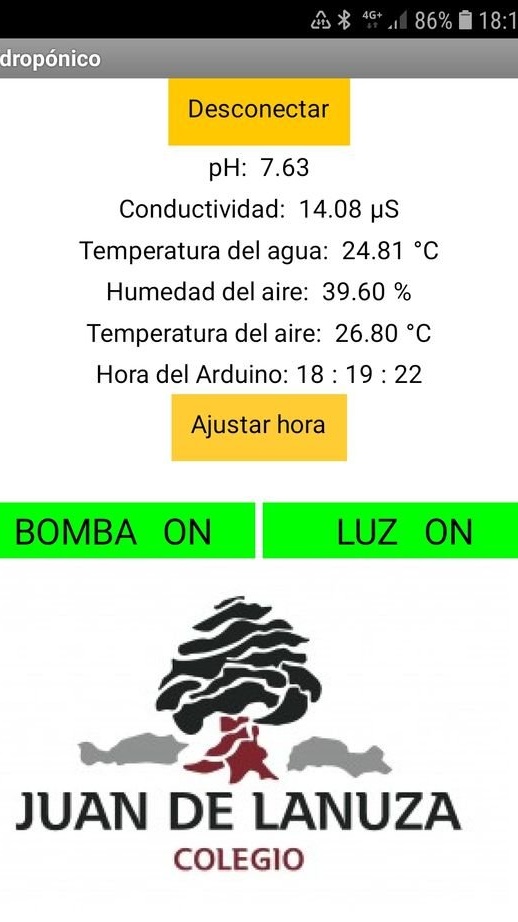
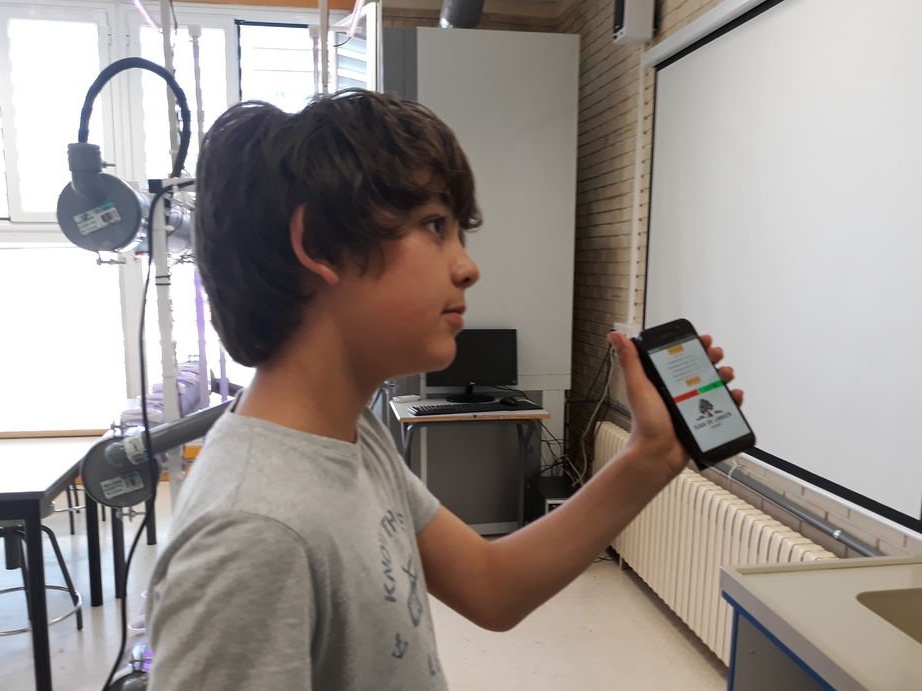
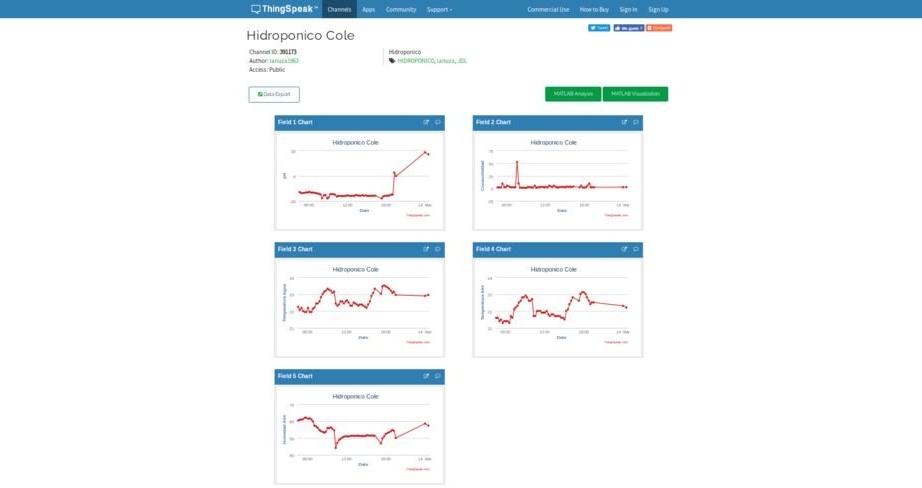
The device periodically sends information to the web server using WiFi. Also, you can read data using the Android application.

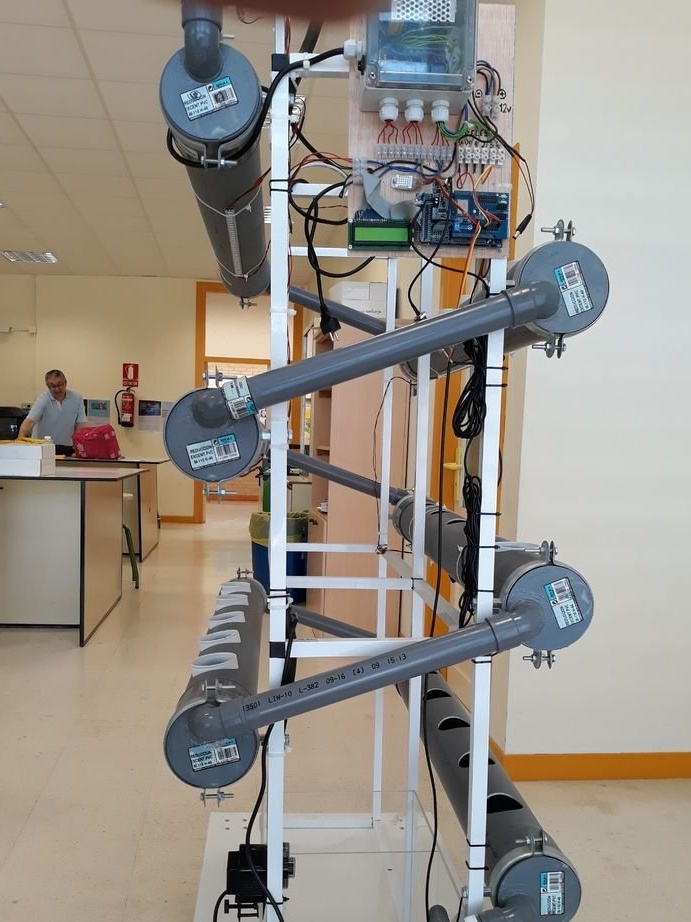
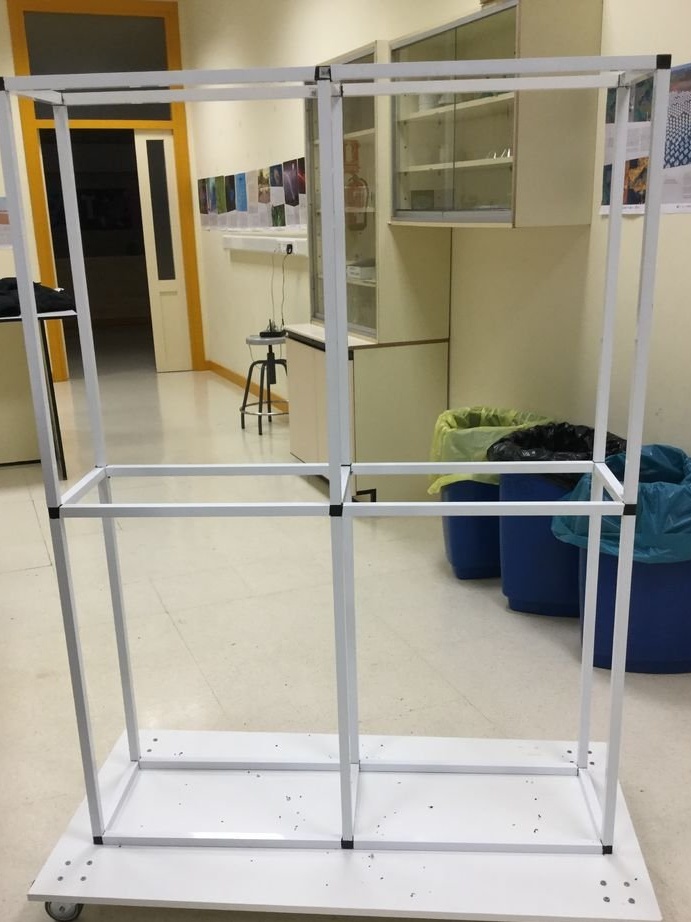
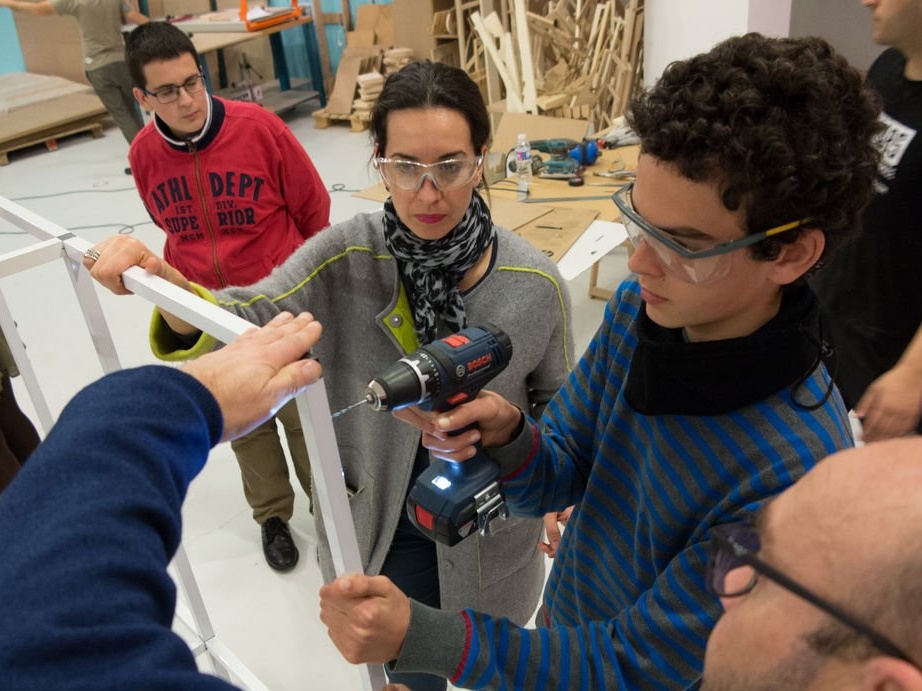
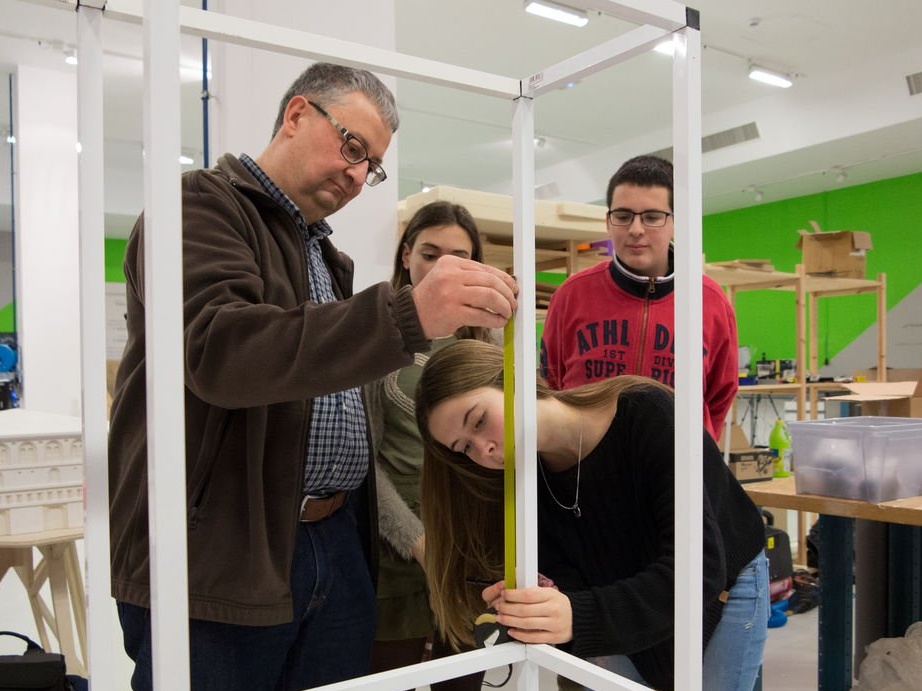
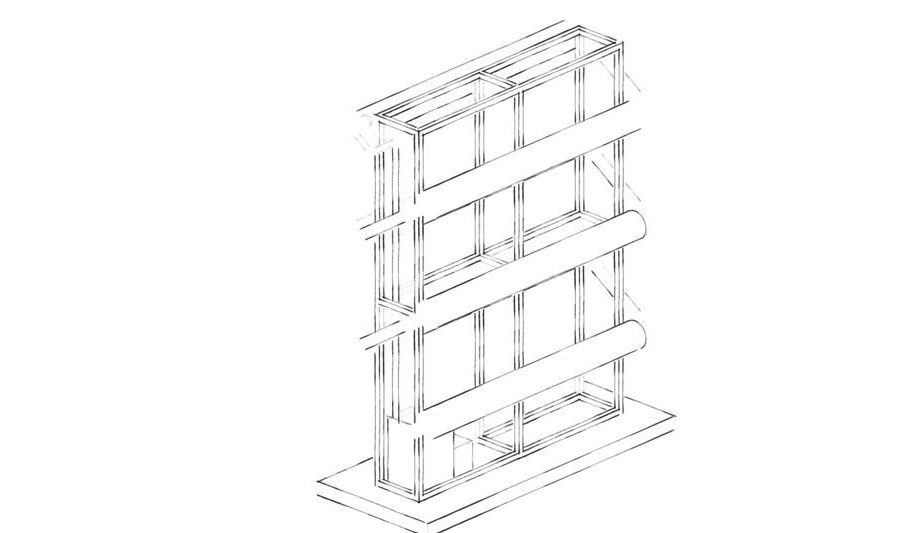
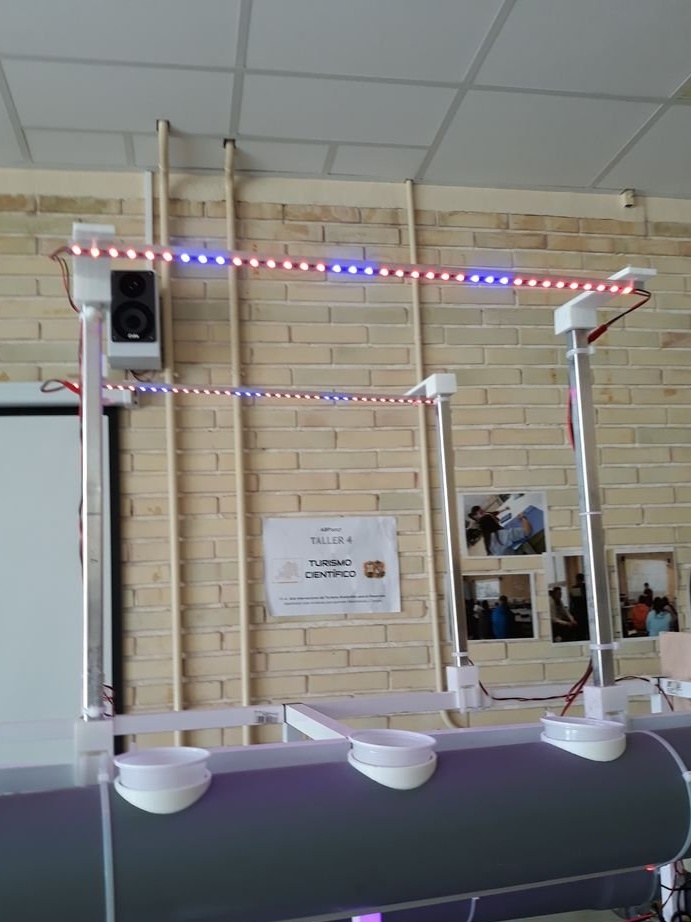
Step Two: Frame
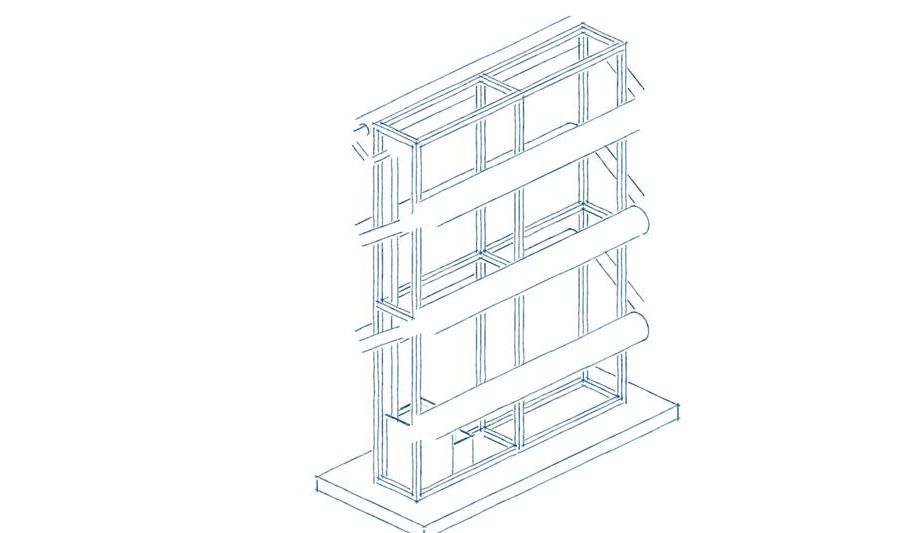
The hydroponic system is mounted on an aluminum frame. The frame itself is mounted on a wooden support with wheels. To make the frame, you need to cut the aluminum profile in size and assemble the frame using connectors.
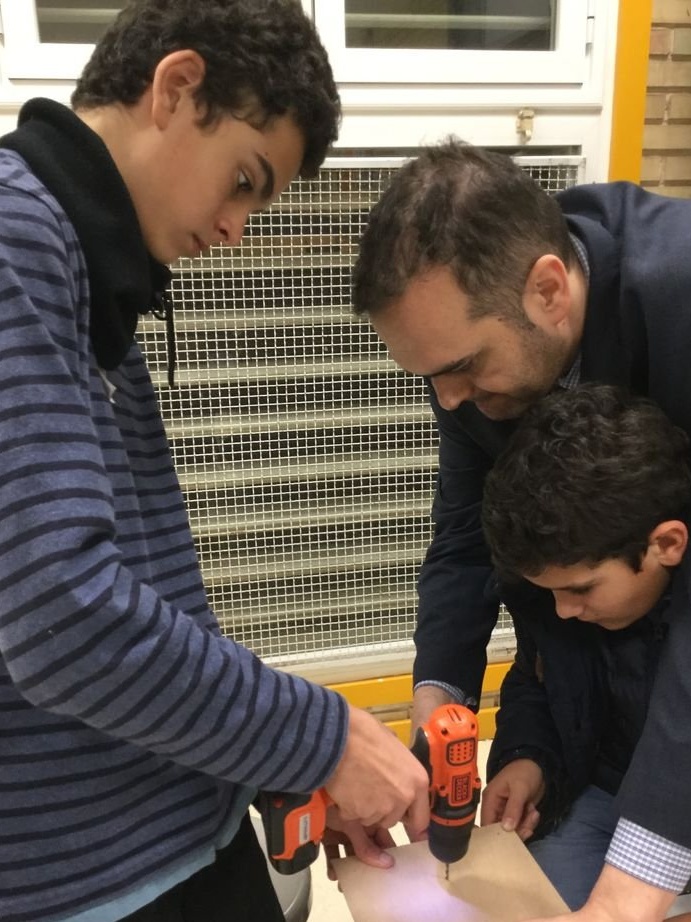
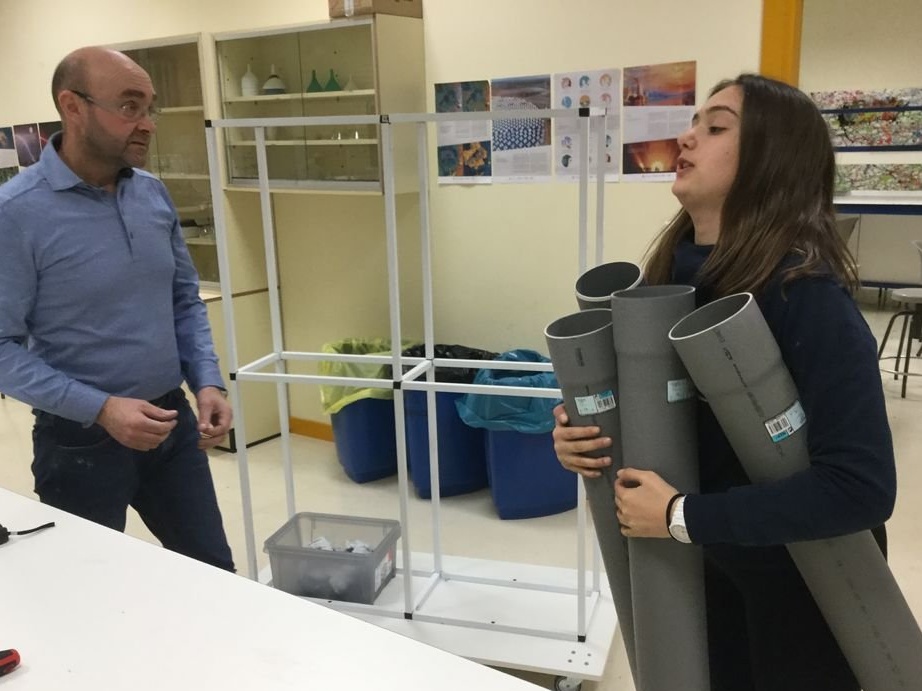
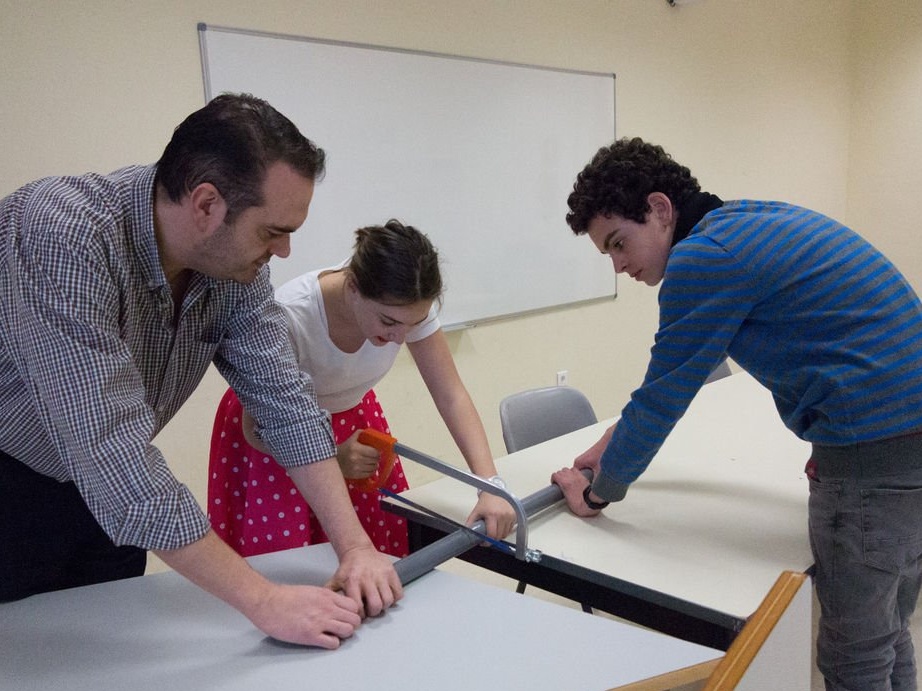
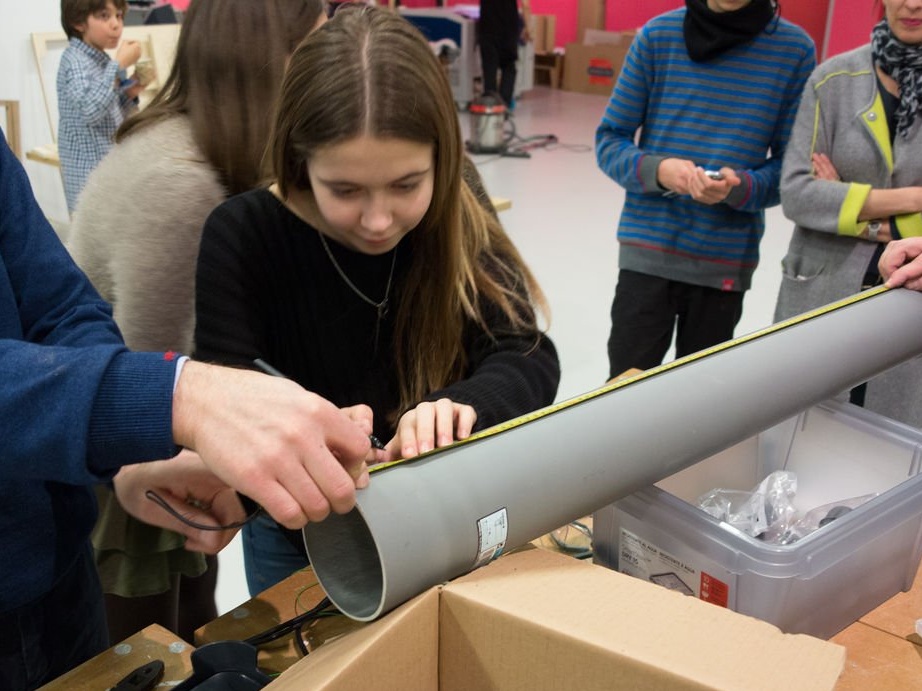
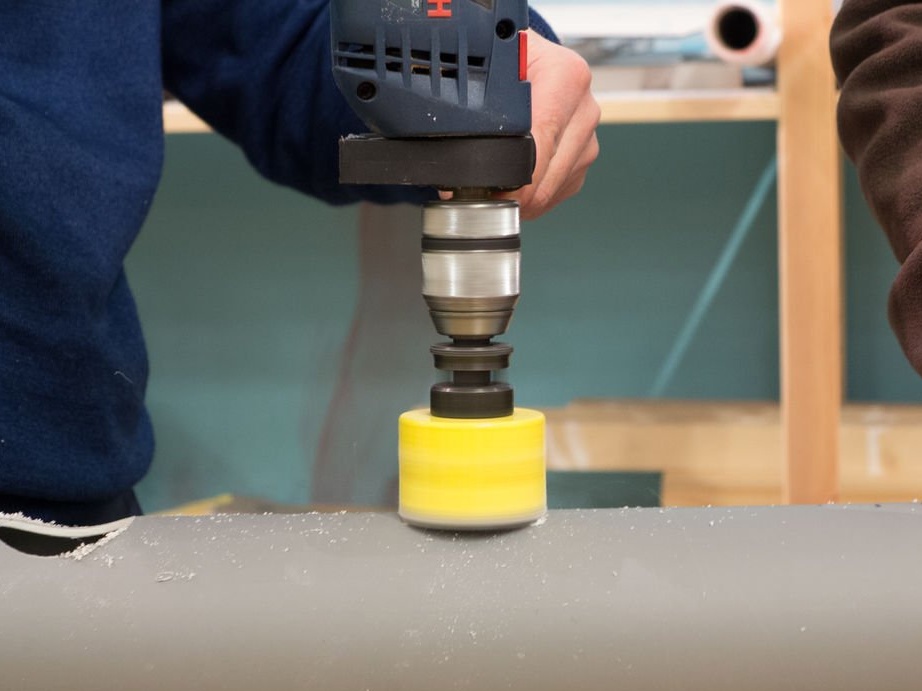
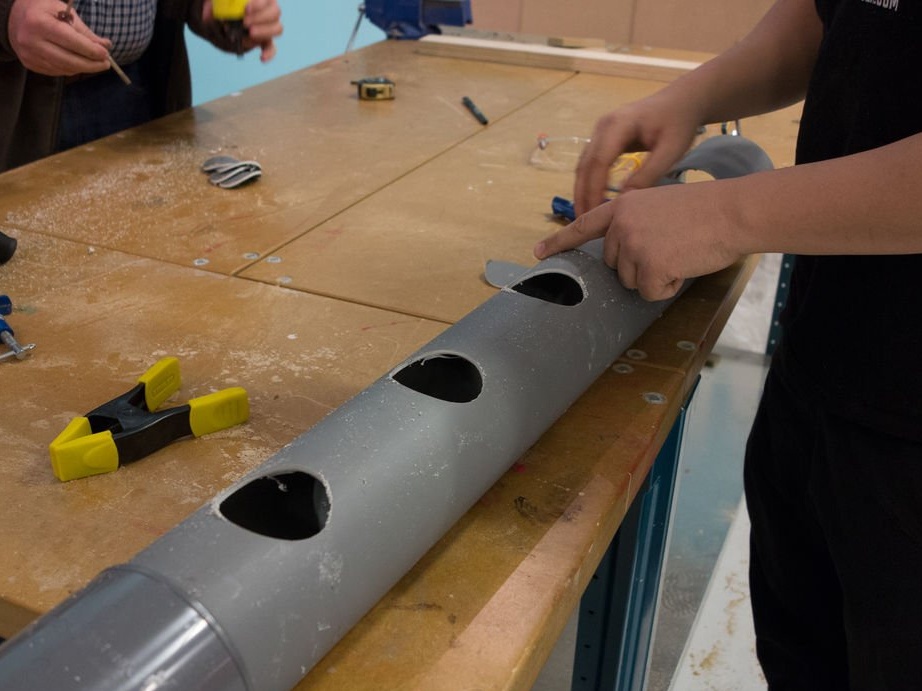
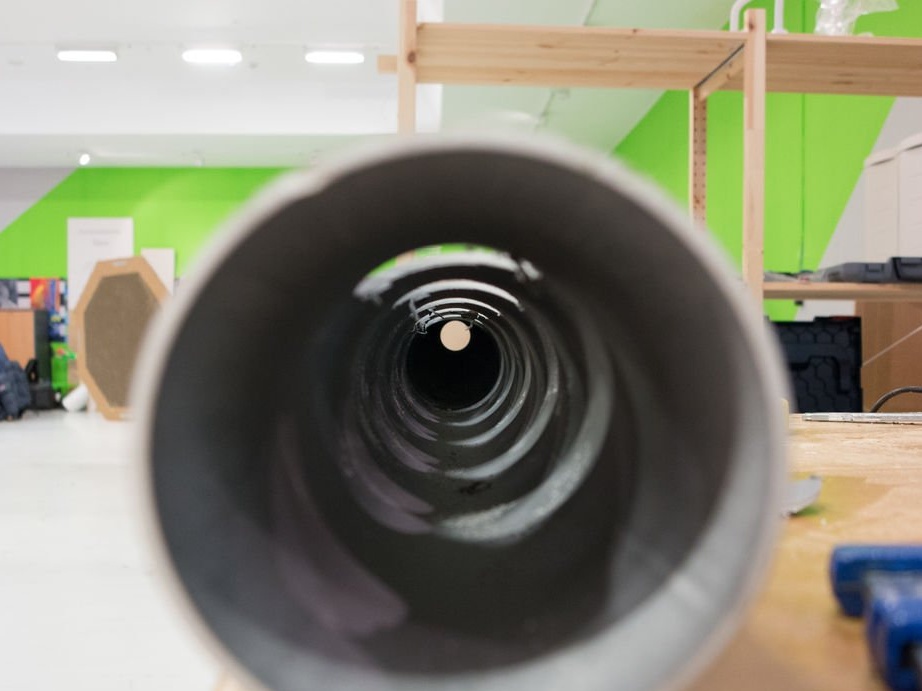
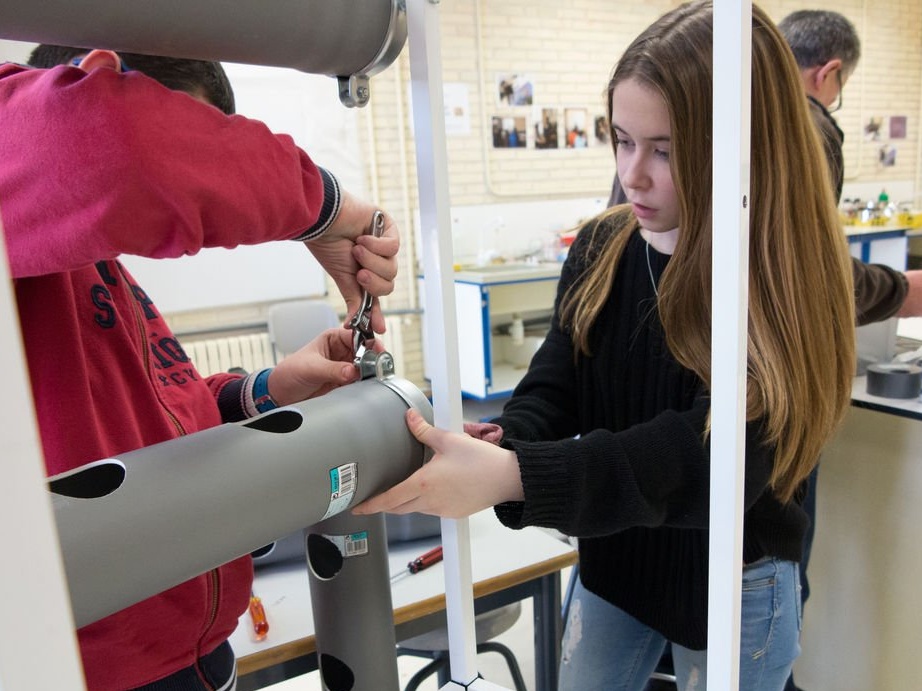
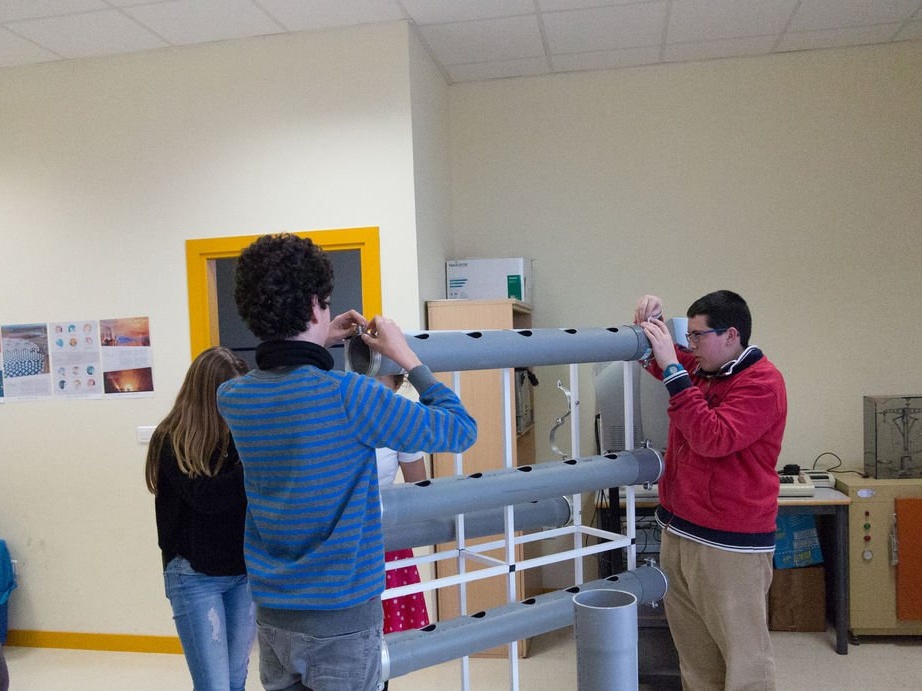
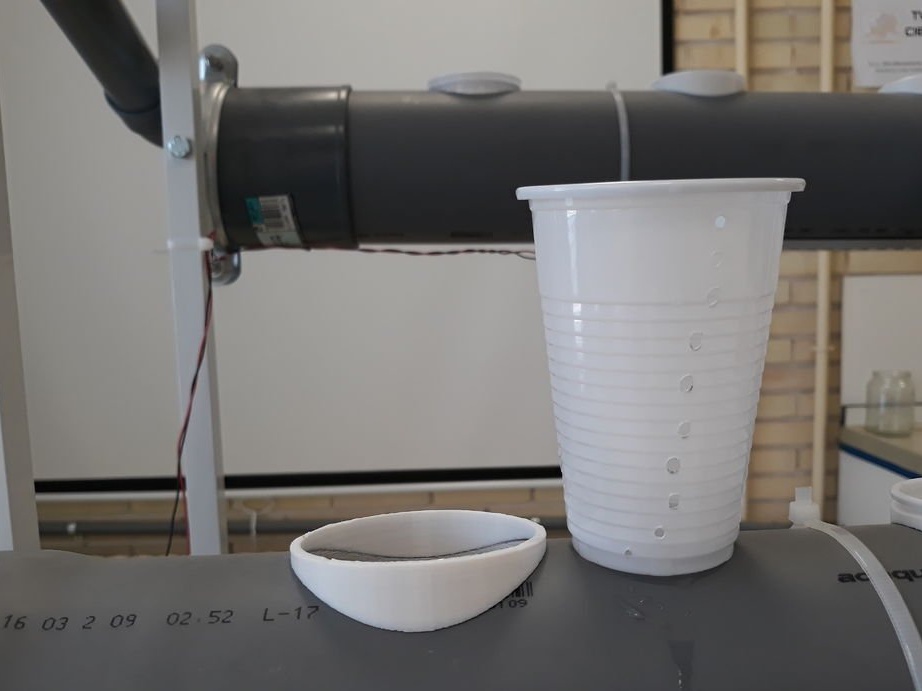
Step Three: Pipes
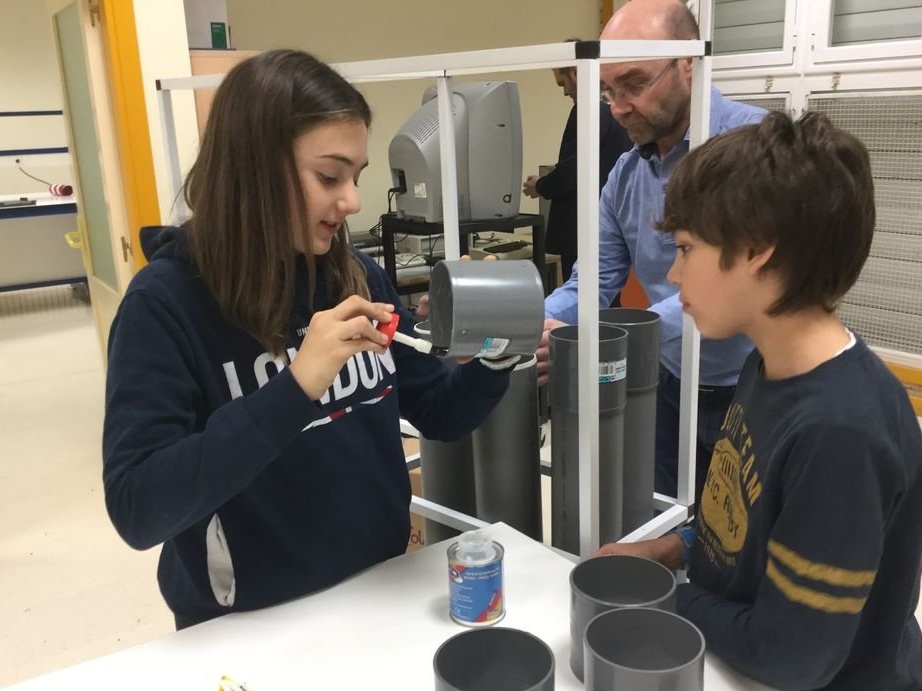
Now you need to build a hydroponic system. PVC pipes are cut to size. Holes under the pots are drilled in the pipes. Pipes are fixed with PVC glue.
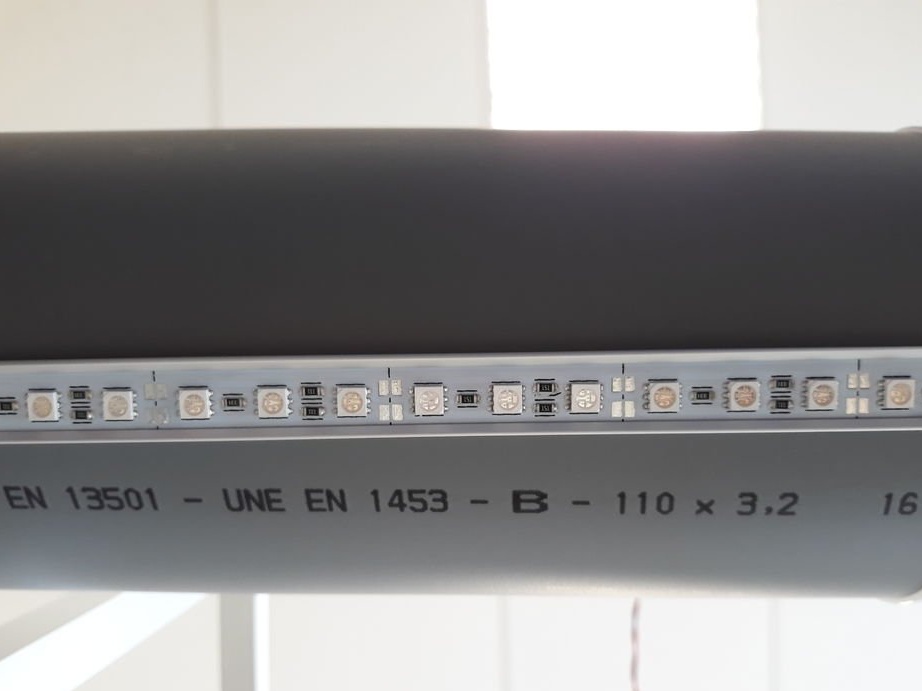
Fourth step: phytolamp, pump, 3D printing
A phytolamp is used to illuminate plants. Phytolamps feed from the power supply. In the lower pipe, a pump is installed to pump water into the upper pipe.
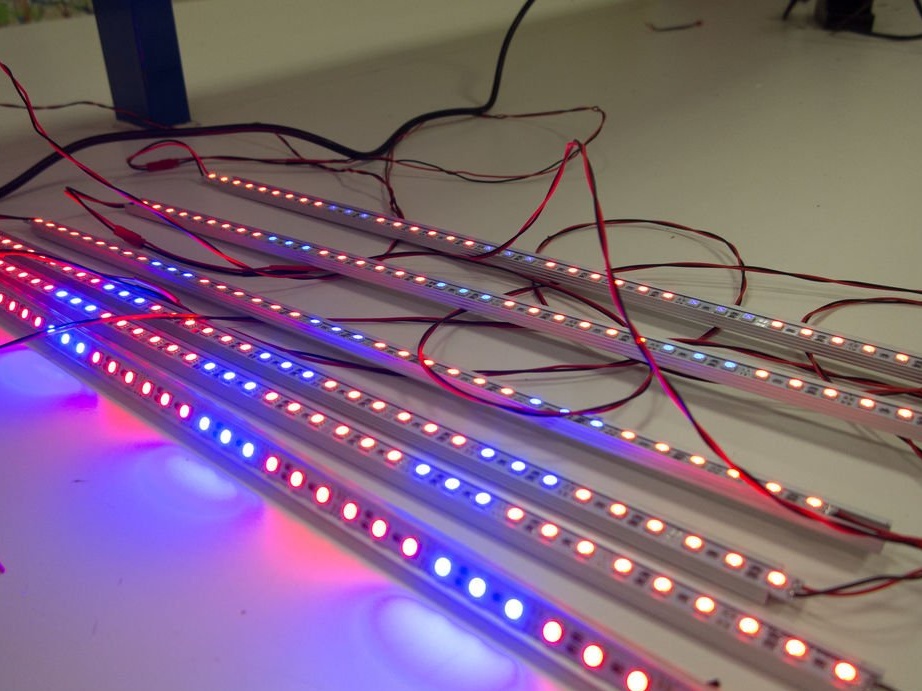

For fastening phytolamps and supporting pots for plants, parts can be printed on a 3D printer.
soporte_macetas_v0.stl
soporte_luces_v0.stl
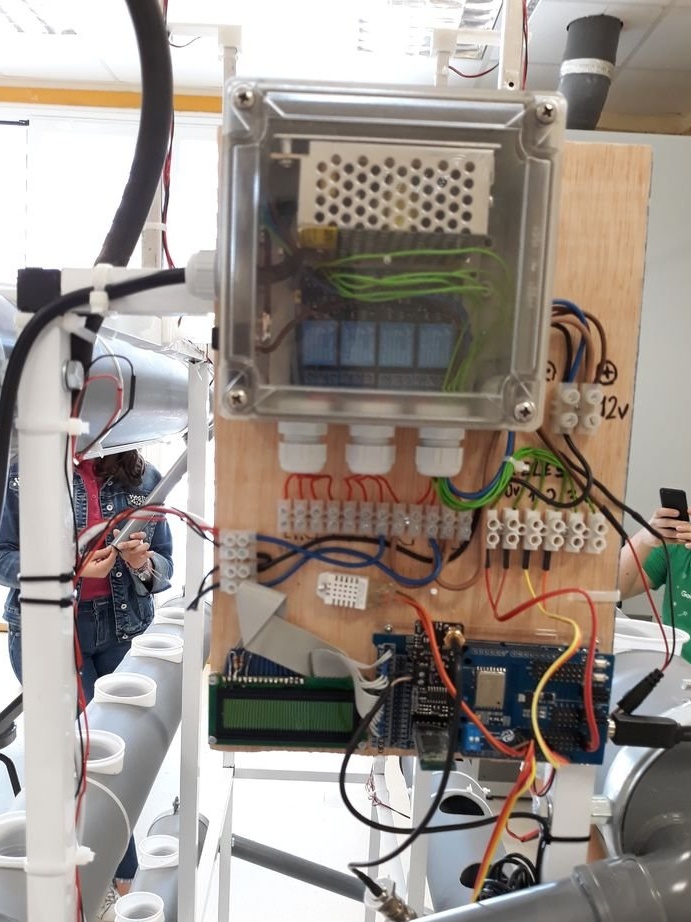
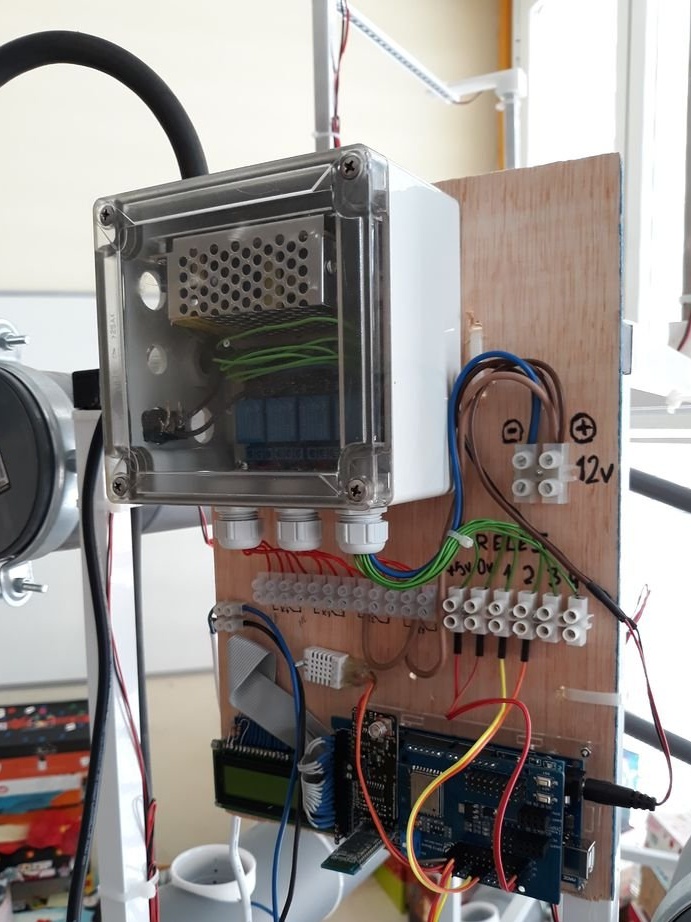
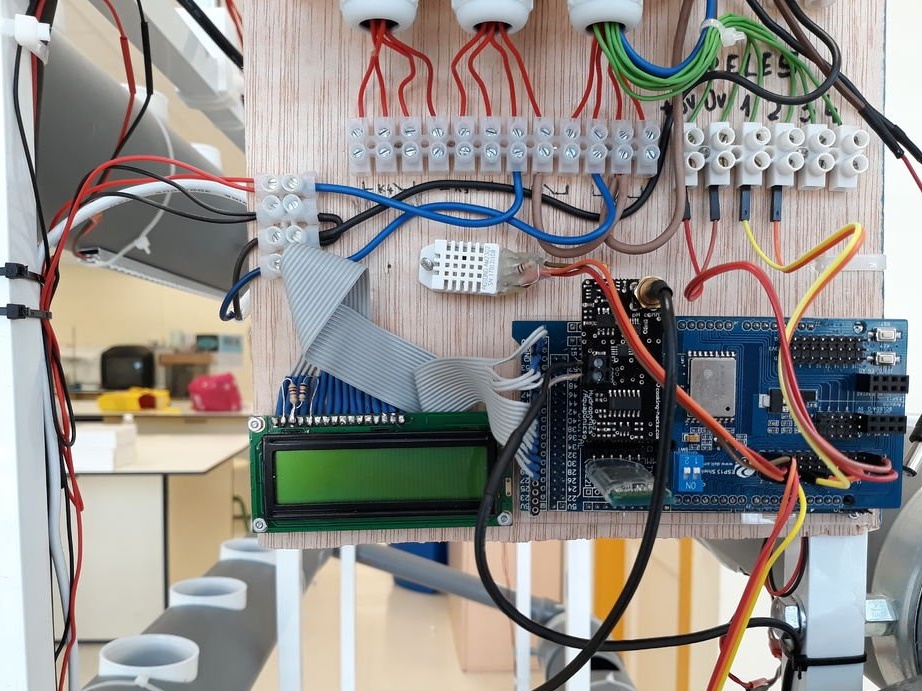
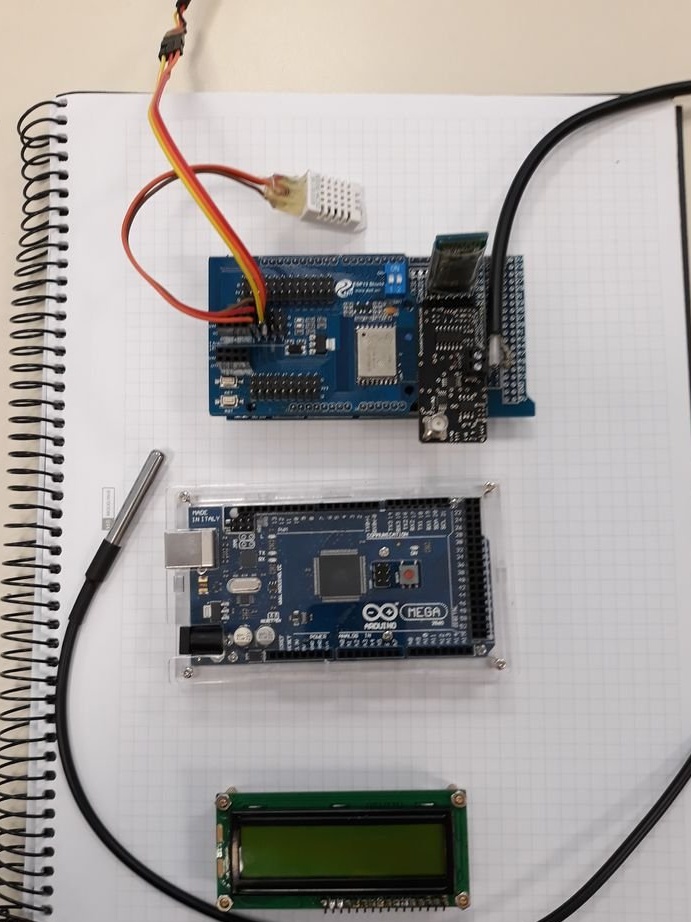
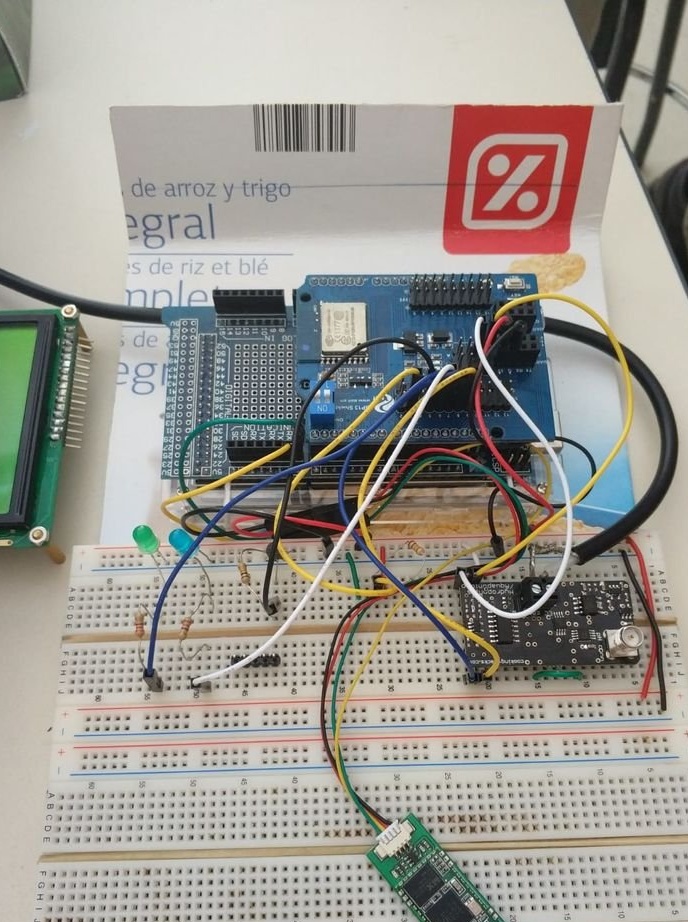
Step Five: electronics
Electrical equipment is connected as follows.
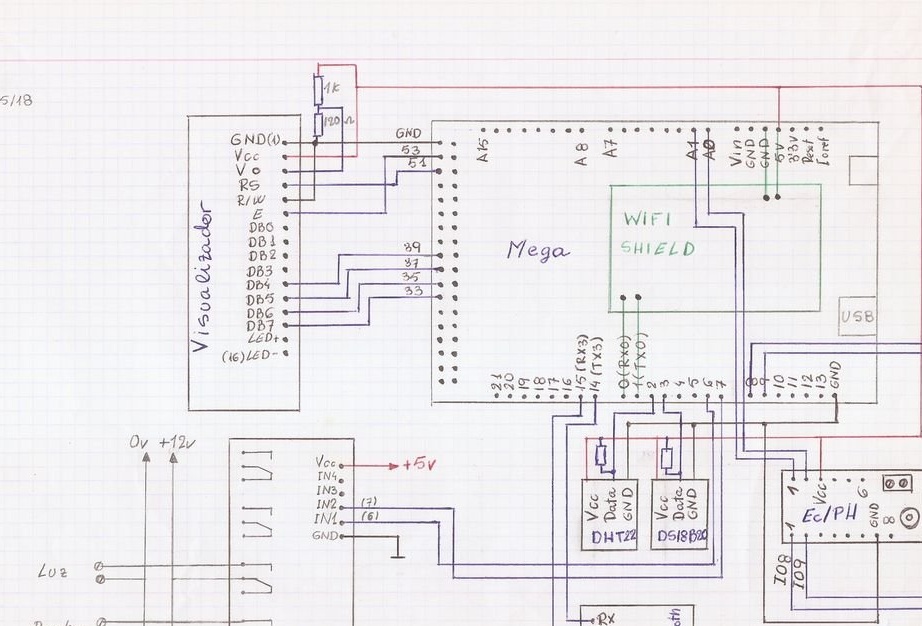

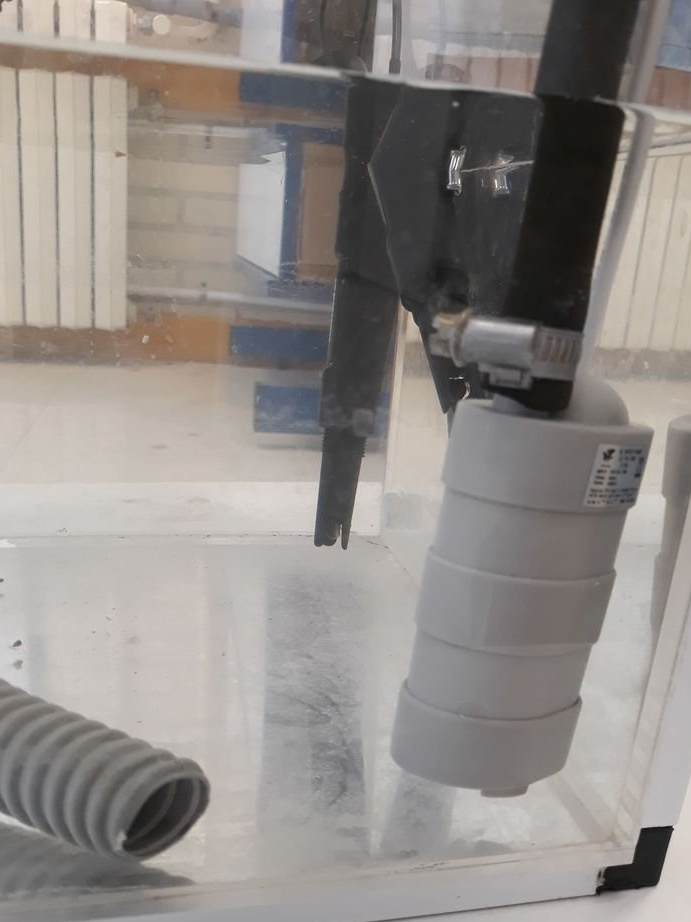
As previously stated, a pump is used to lift water.
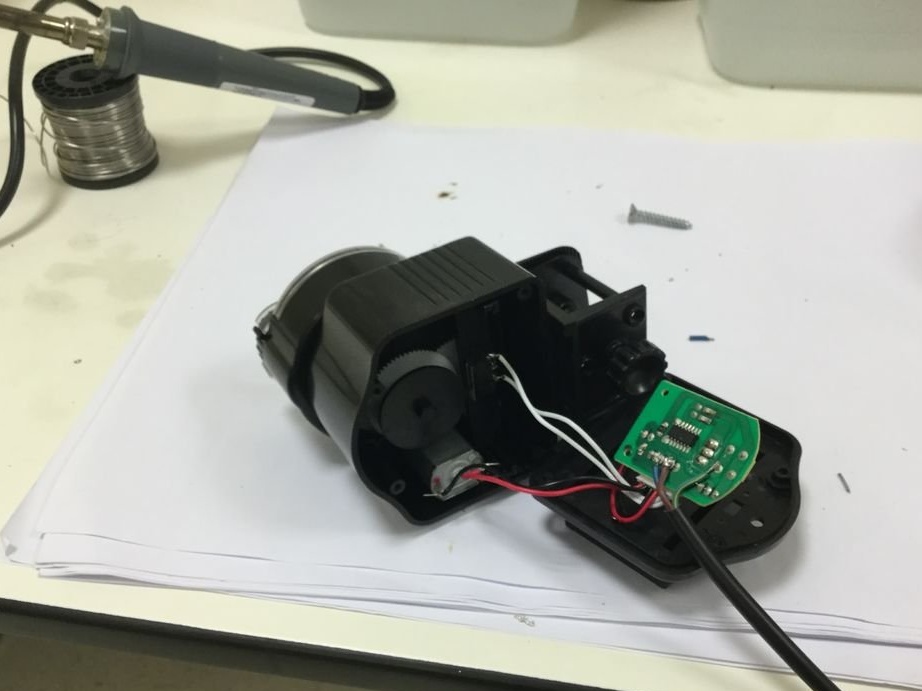
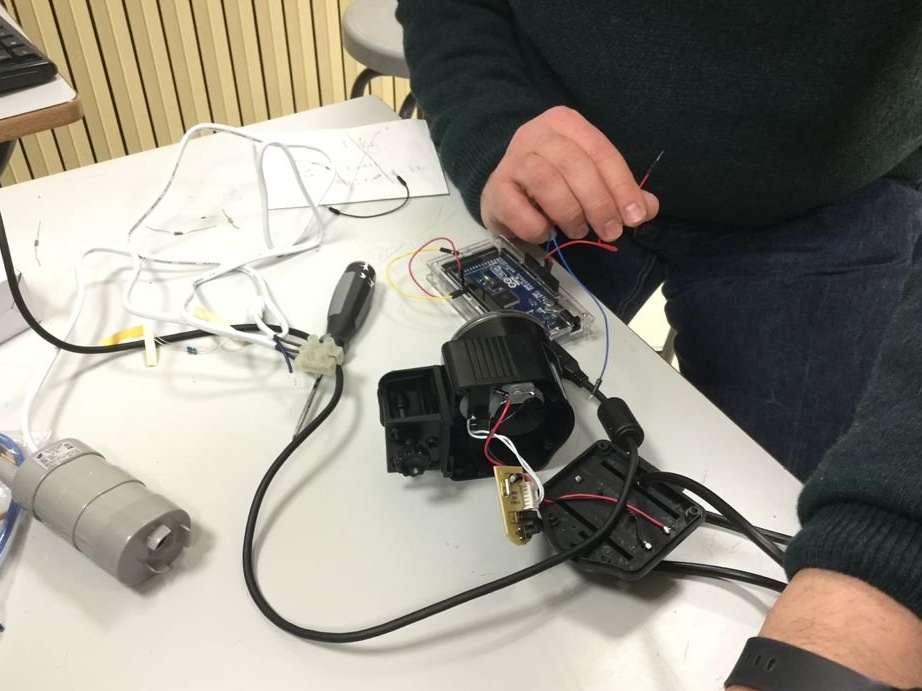
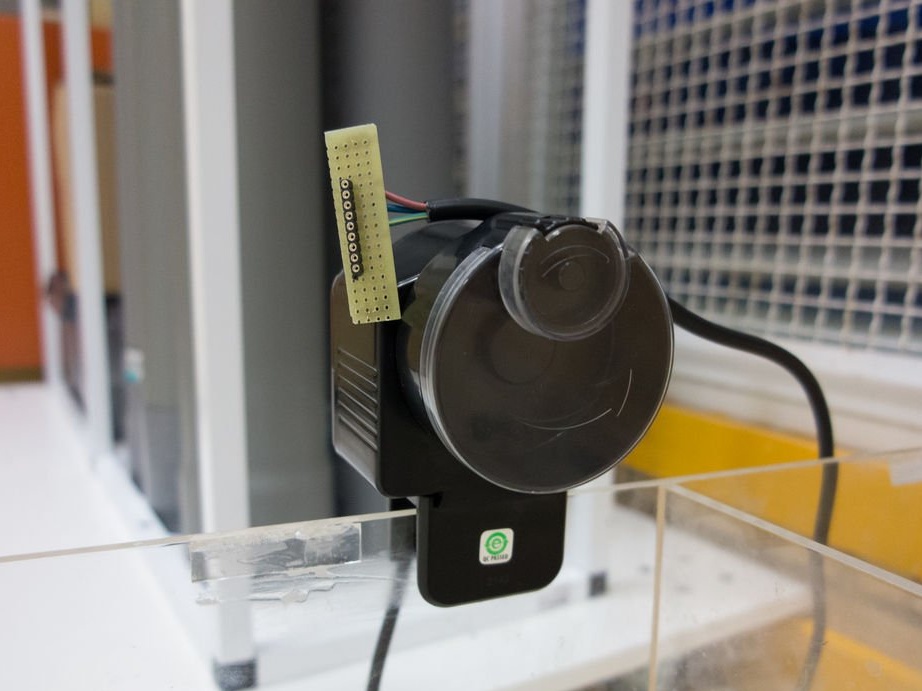
An automatic fish feeder is used to feed mineral fertilizers. To control the feeder using Arduino, it was disassembled and connected according to the scheme.
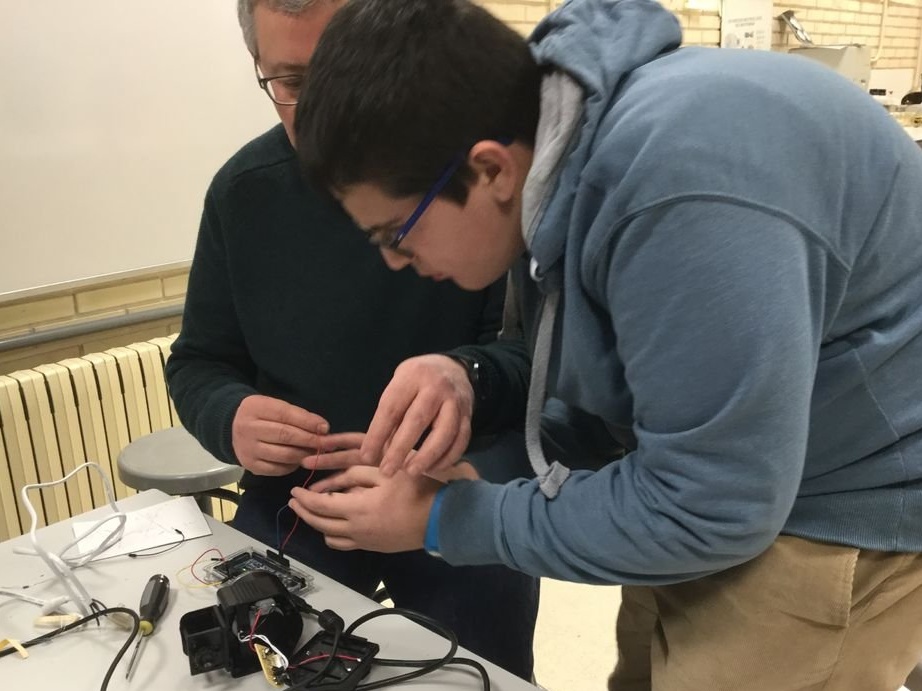
Sensors are installed and connected.

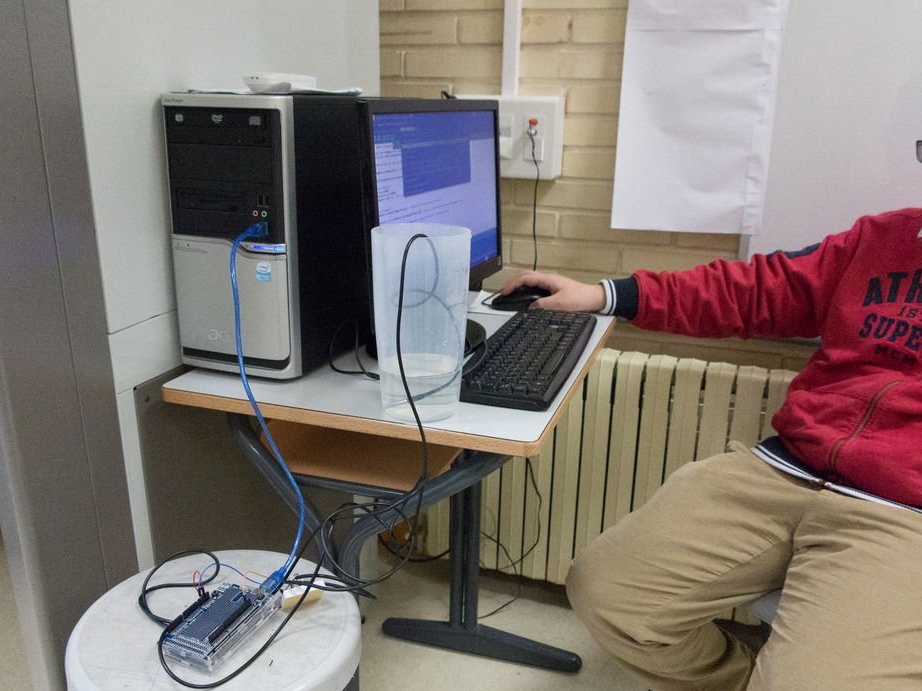
Step Six: Code
The code is loading.
libraries_v0.rar
main_code_hydroponic_v0.rar
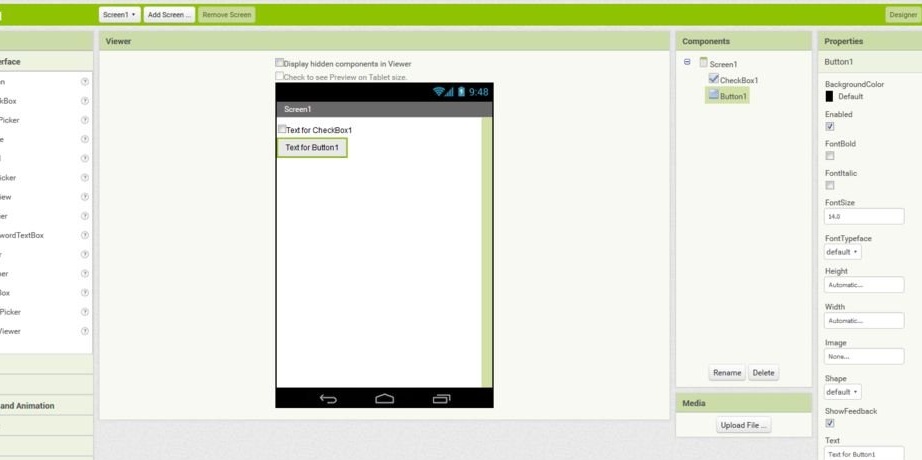
A special application was developed to work with Android devices.
app_hydroponic_v0.apk
app_hydroponic_v0.aia
Data is also transmitted to the server.
All is ready.