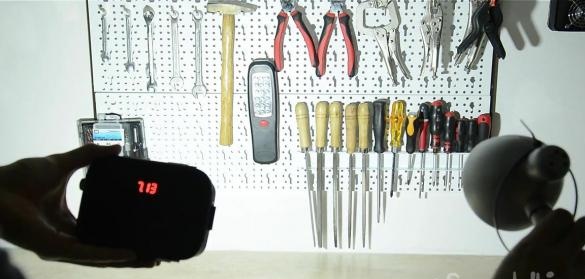
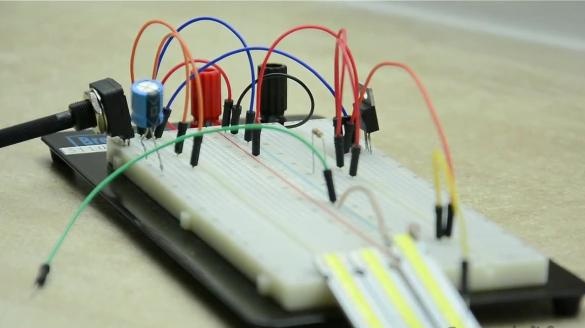
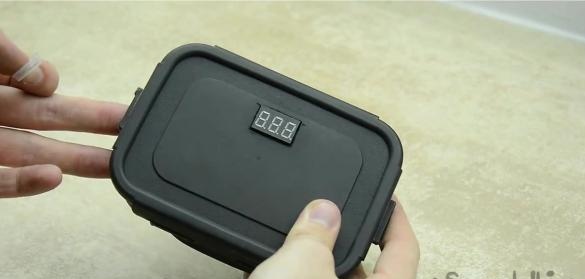
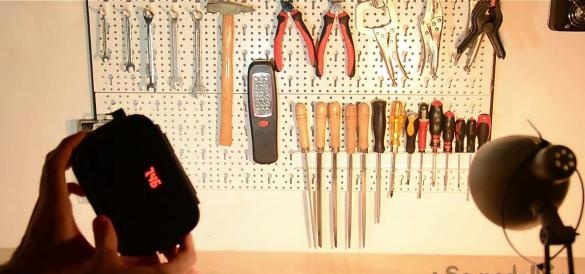
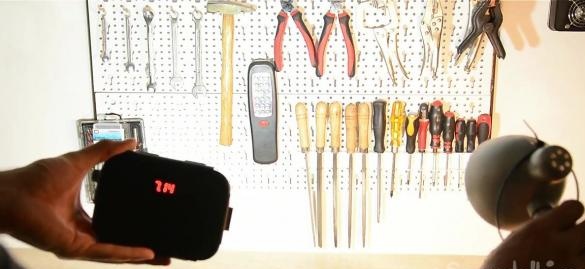
In one of the past materials we did circuit for adjustingwhich can be used to make a miniature spotlight. This is what our today's review is dedicated to.
We advise you to start by watching the author’s video
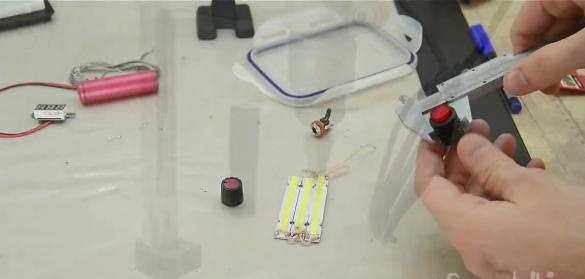
So we need:
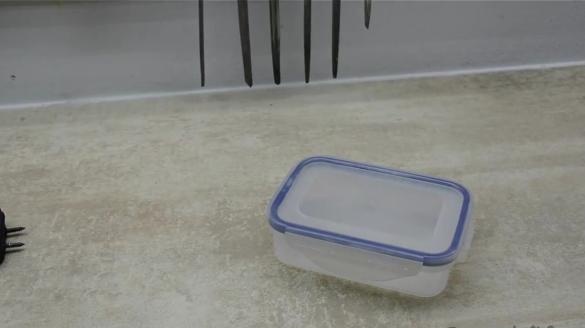
- food container;
- power button;
- potentiometer;
- drill;
- drill;
- marker;
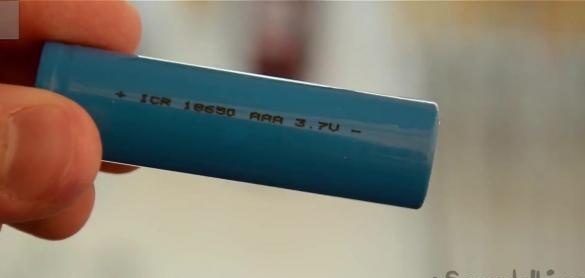
- two lithium-ion batteries at 3.7 volts;
- digital voltmeter;
- LEDs;
- radiator;
- thermal grease
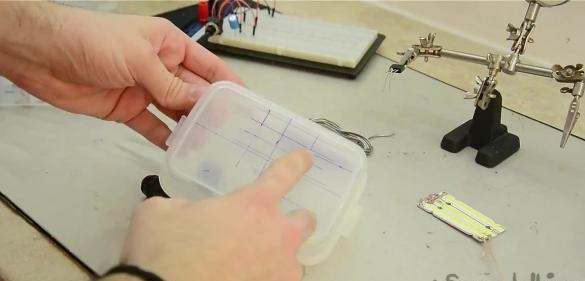
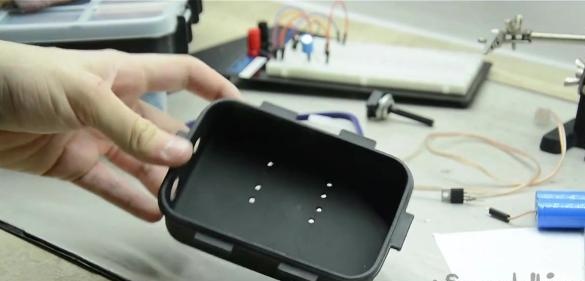
First of all, we mark all distances on the food container, as well as the places where the button and potentiometer will be installed.
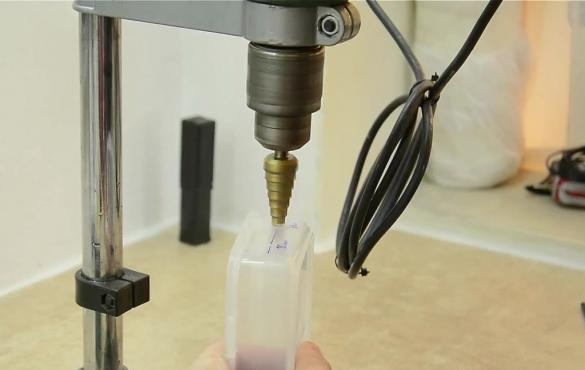
We drill the necessary holes.
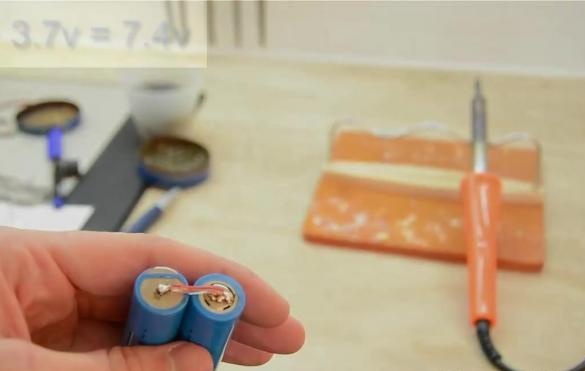
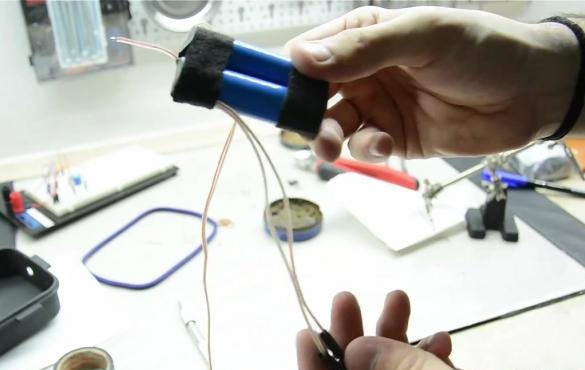
We connect the batteries in series, getting a voltage of 7.4 volts.
To display the voltage of the spotlight, a digital voltmeter will be used, under which it is also necessary to make a hole on the food container.
Repaint the container in any convenient color.
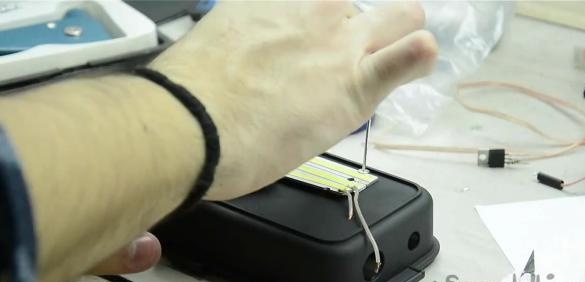
Install the LEDs.
Solder 4 wires to the batteries. Two of them should be connected to the circuit, and the other two will be used to charge the batteries.
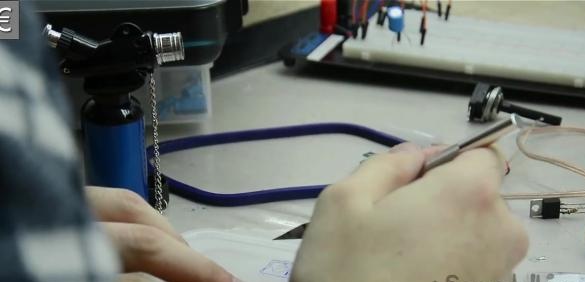
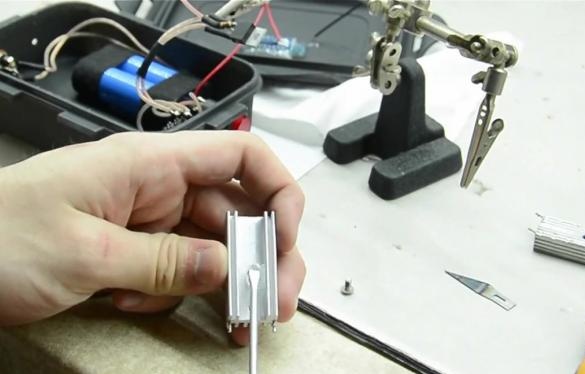
We take a radiator and apply a little thermal paste on it to provide cooling of the searchlight. This is very important because it is assembled in a plastic container.
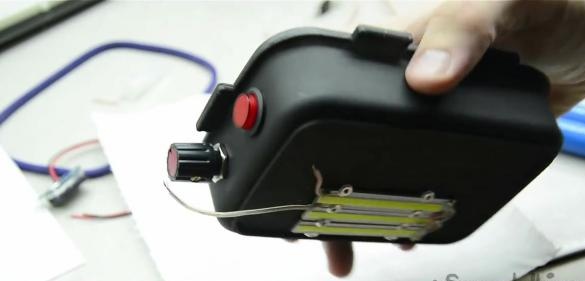
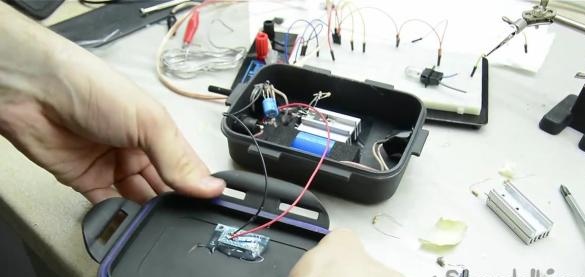
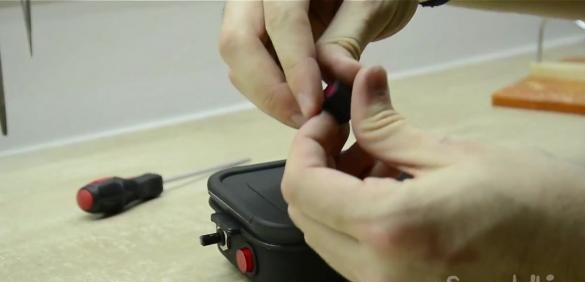
We set the power button and potentiometer, connect all the wires.
We attach a digital voltmeter with hot glue.
Each LED gives out about 300 lumens of light. The author of the idea uses three LEDs, so the spotlight will give light at almost 1000 lumens.
Spotlight is ready. The owner has the full advantage of adjusting the lighting level with a potentiometer. And the spotlight itself can be used as an on-camera light. It should be noted that the lack of pulse adjustment allows you to get a picture without any flicker.

