
Quite often it happens, getting out for a walk and having plenty of walks, you can involuntarily get hungry. But it’s clear that it makes no sense to carry a grill or barbecue with you, so we want to offer you instructions for making a mini camping stove. Compact, lightweight, not taking up much space, will be a godsend.
So, we will understand step by step in its manufacture.
Step 1: Preparation of materials.
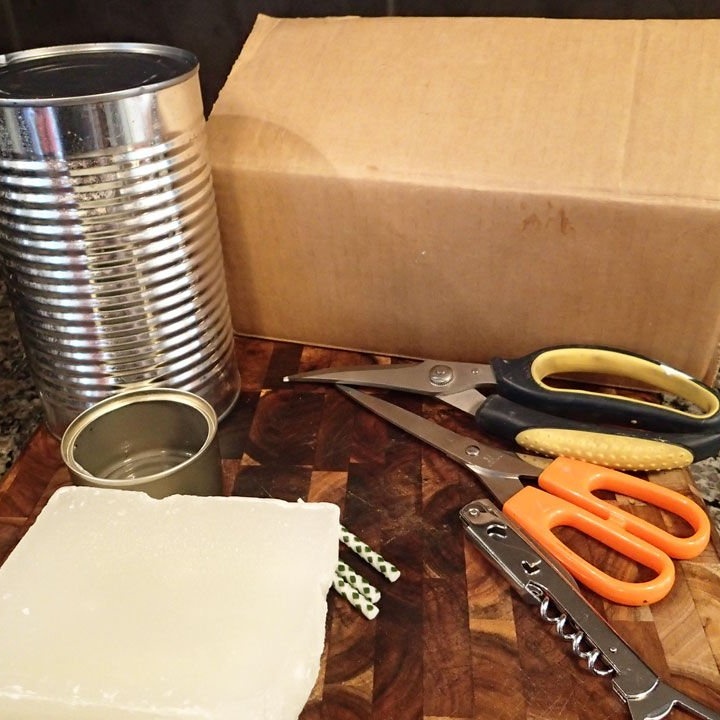
You will need:
• empty large iron can (volume 2 l / 1 kg)
• an empty small iron can (suitable for canned tuna or feed for home
• animals)
• wax or paraffin candle
• metal scissors
• paper scissors
• cardboard (preferably corrugated)
• bottle opener
• candles for cake (small size)
• matches (lighter)
• a sandwich (eggs, sausages, vegetables or other products) for a “test drive” of your own mini plate.
Step 2: Burner manufacturing.
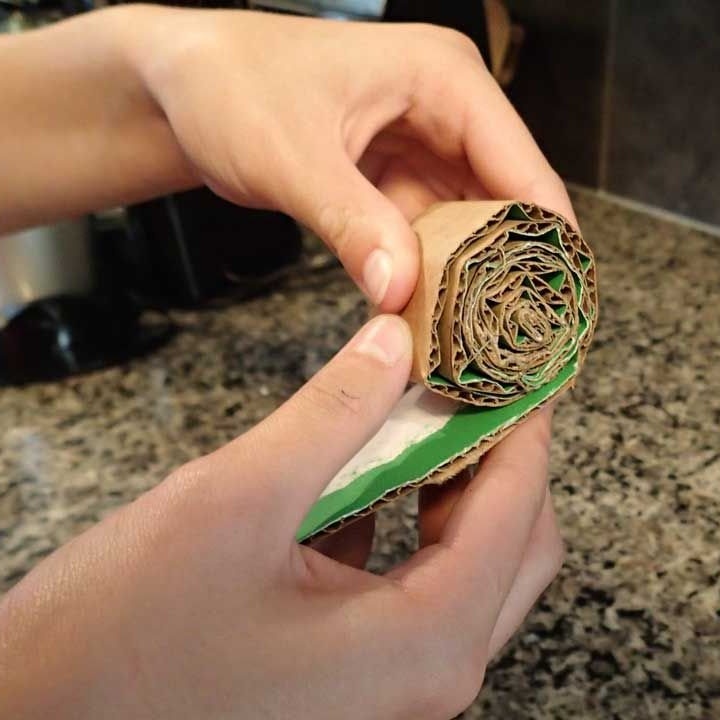
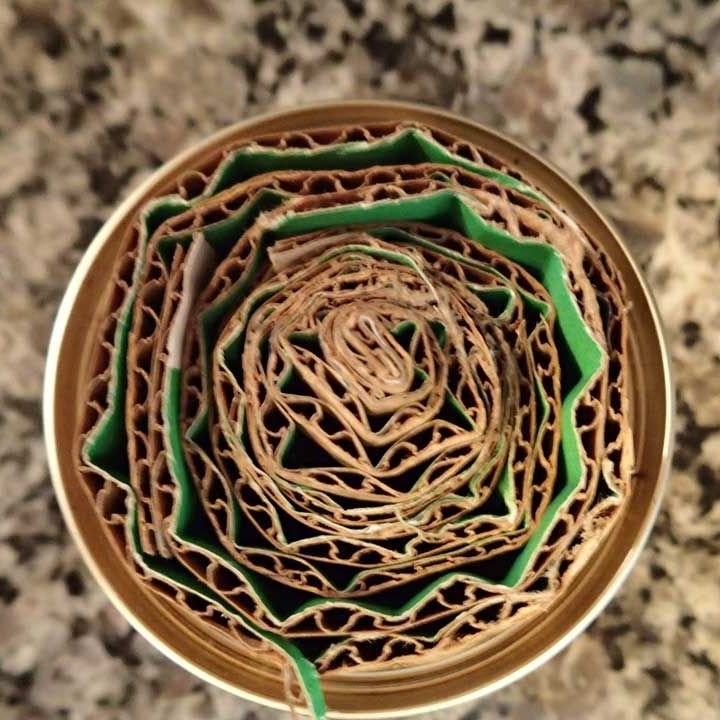
Take a small iron can. Now cut the strips of cardboard according to its height. Roll them tightly as shown in the photo and place them on the bottom of the can.

Insert the resulting cardboard roll into a jar.
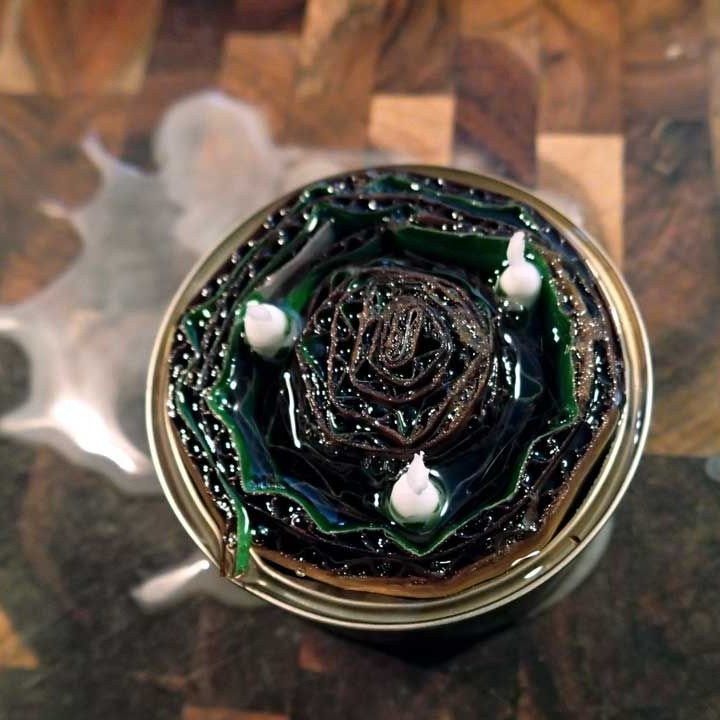
Place the candles for the cake in different places between the layers of cardboard, using them as wicks (see the photo).
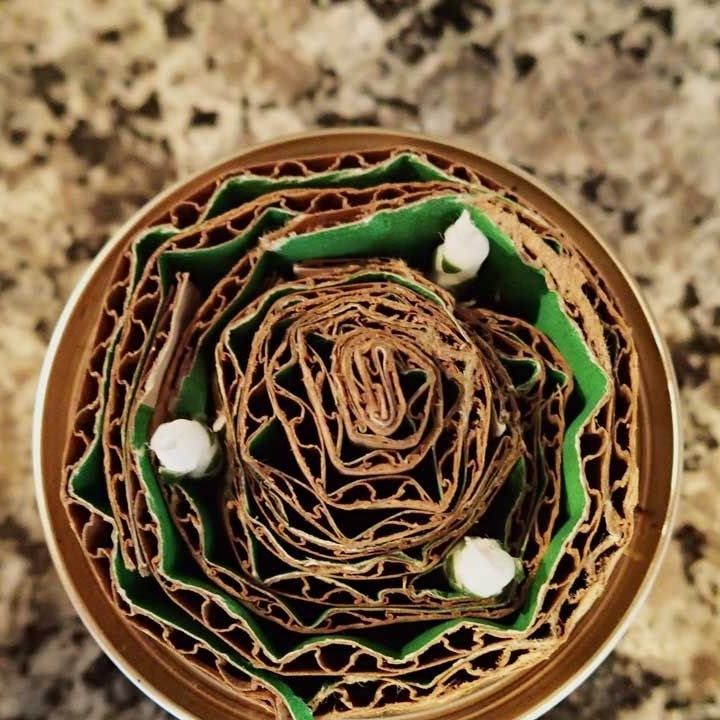
Thus - we get a burner for a mini cooker.
Step 3: Melting and adding wax
Now you need to put a pot of water on the stove. In a saucepan, place a smaller container and fill it with wax, thus, using a water bath, melt the wax.
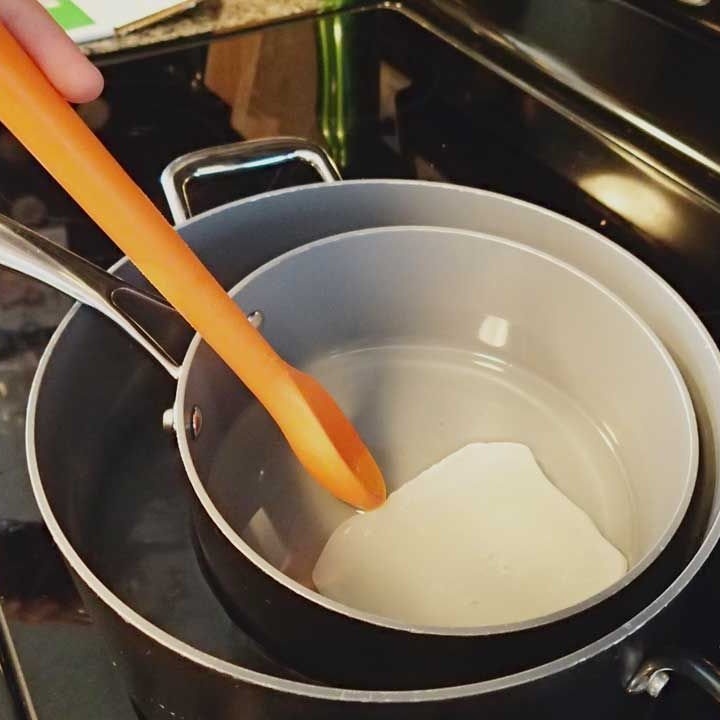
There is no need to bring water to a boil.
After the wax melts, pour it into a small burner, covering the entire surface of the cardboard.
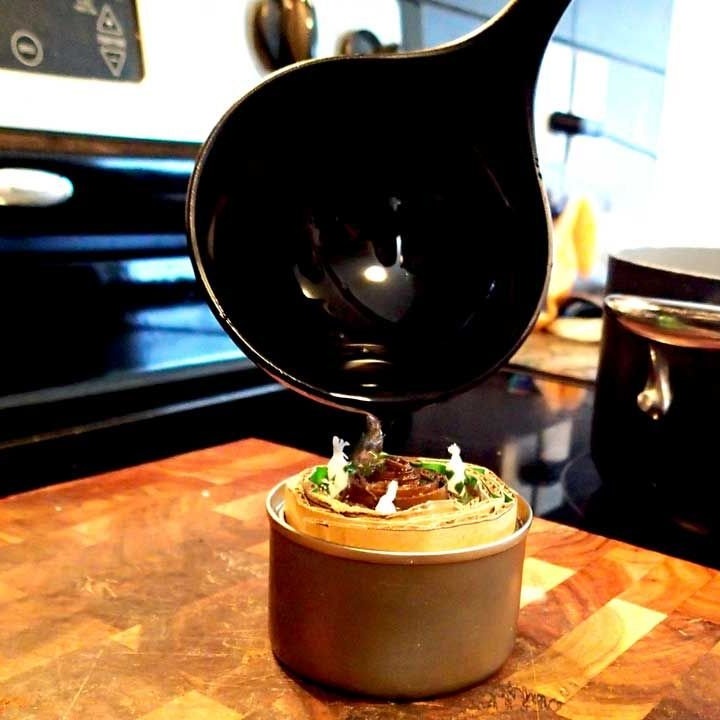
Do not overfill the container! Now you can set the burner aside and let it cool. It's time to move on to the next step.
Step 4: Preparation of the surface of the mini cooker.
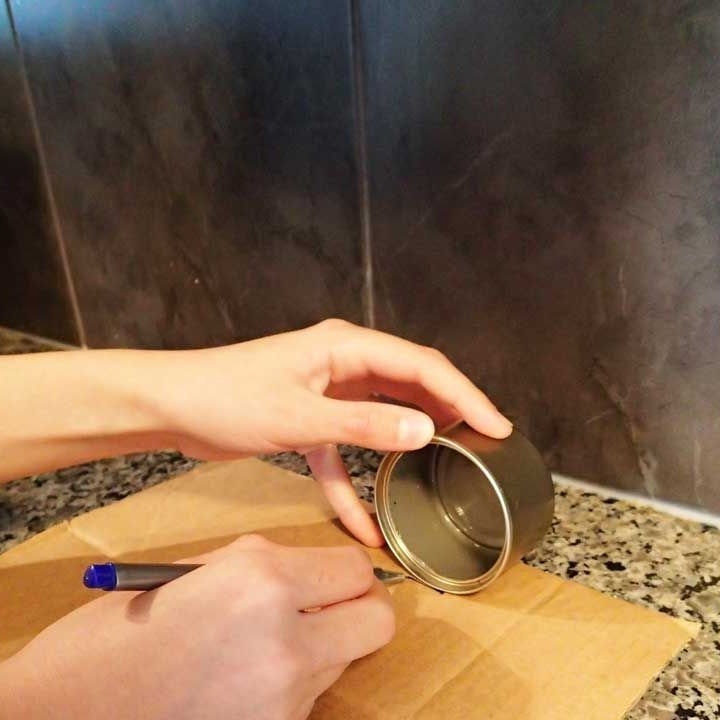
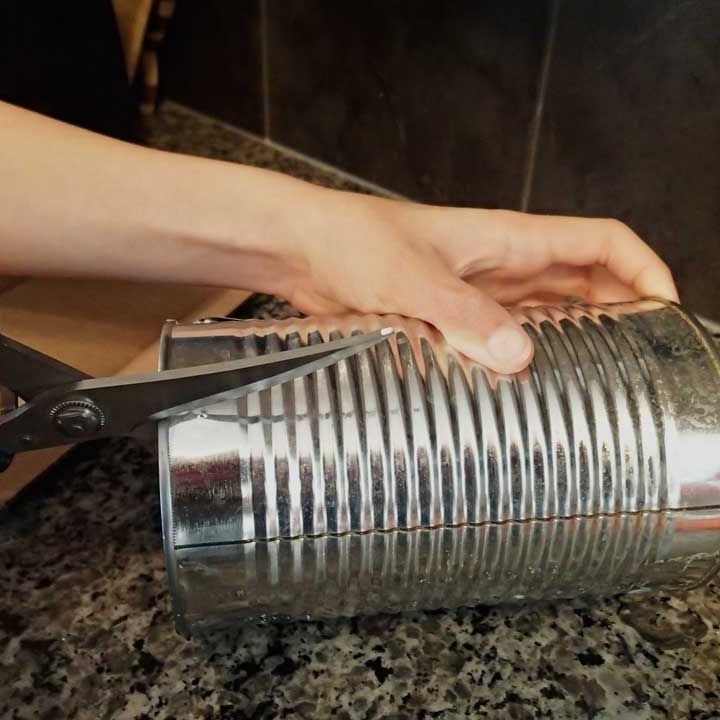
It's time to take on a big can. Using scissors for metal, we make a small door on top, according to the principle shown in the photo.
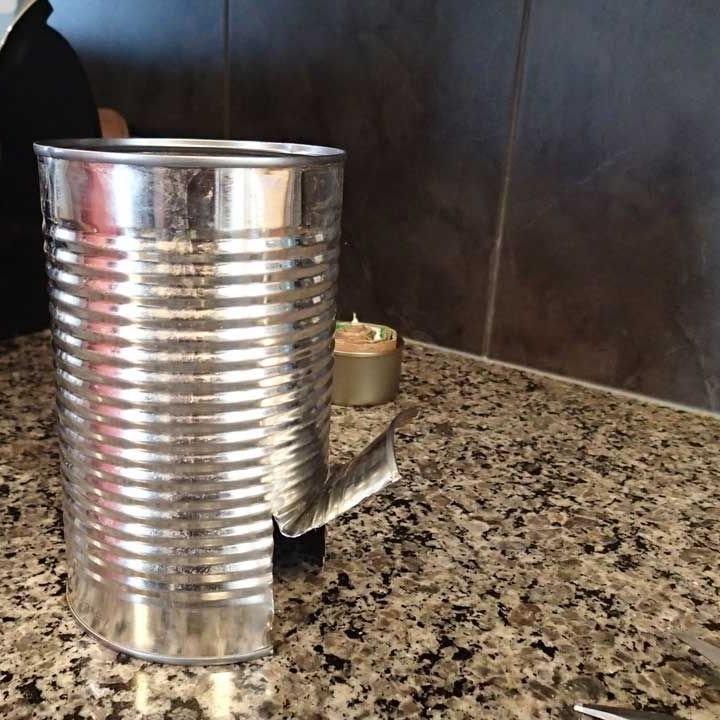
Using a bottle opener, make 6 holes at the base of the bottom of the can.

Now is the time to try out the creation.
Step 5: Cooking.
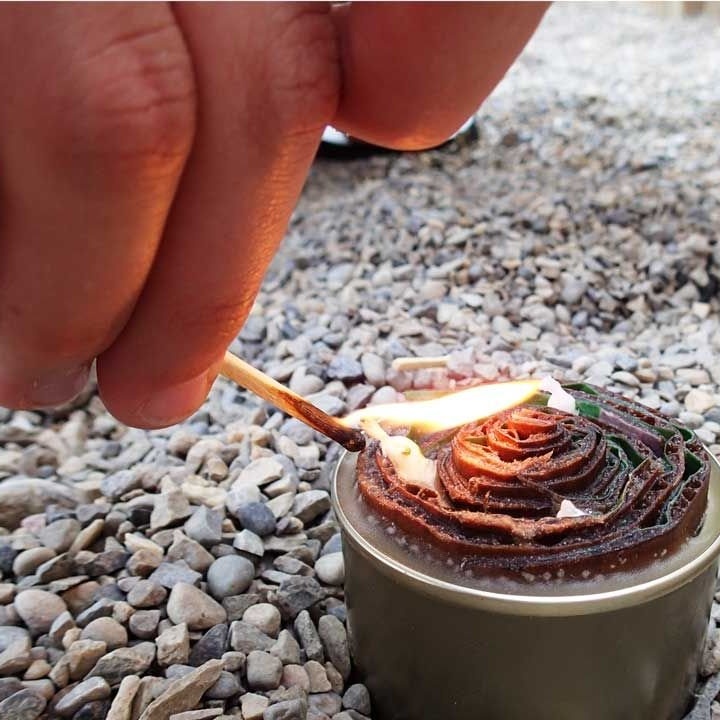
Place the burner on gravel, earth, or any other non-flammable surface.
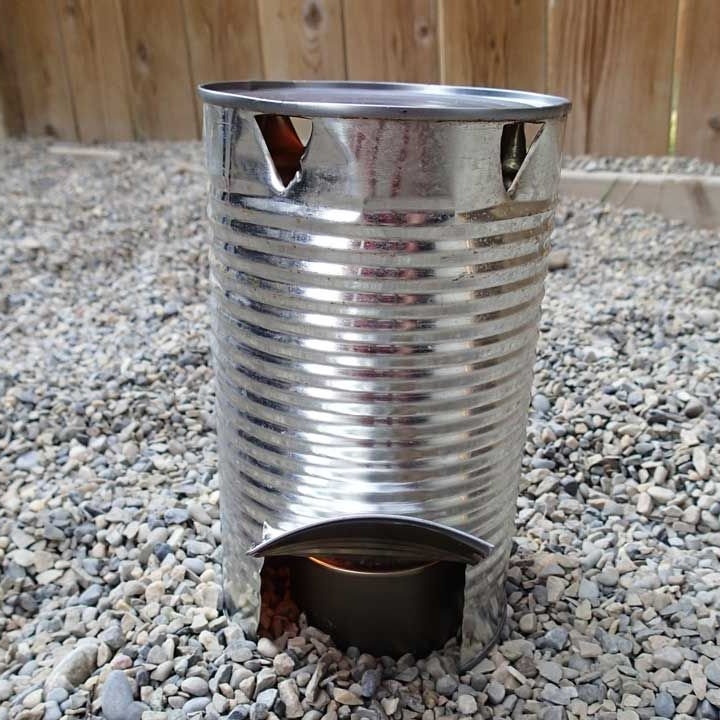
Light the wick in the burner.
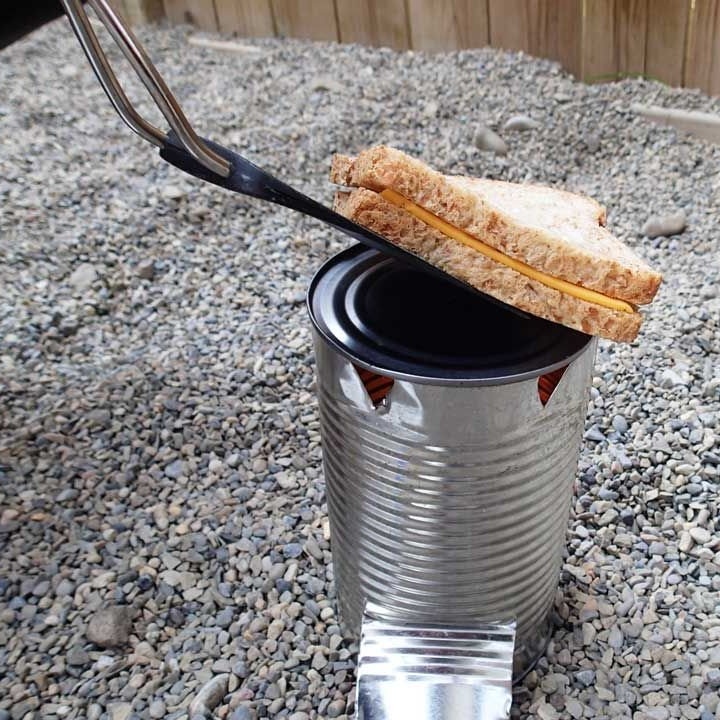
Position the surface of the stove over the burner. Jar bottom
cooker, will heat up very quickly.

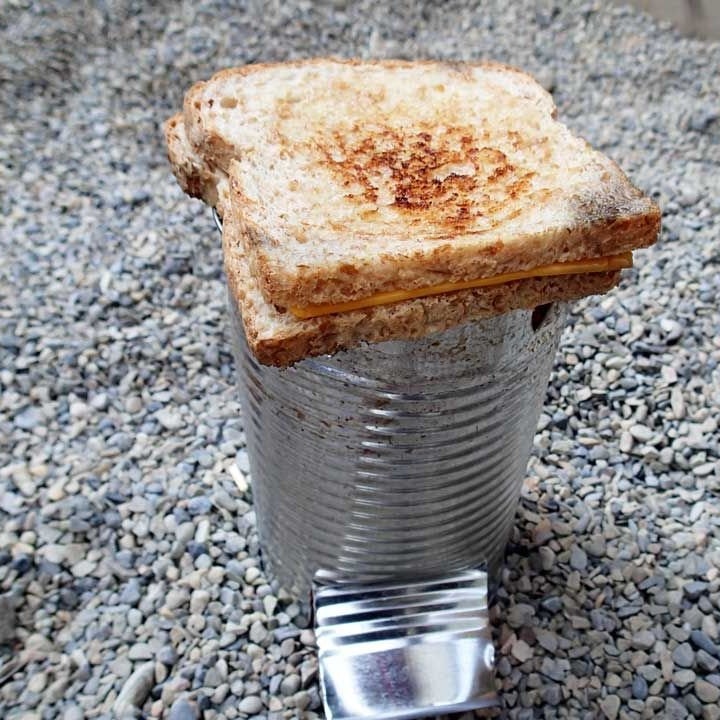
Now we put a sandwich (eggs, sausages, vegetables or other products, do not forget to pre-grease the surface with oil, as it acts as a frying pan) or put a pan / teapot on the stove and wait for the cooking to finish.
Step 6: Burner extinguishing.
Using a spatula or stick, remove the tiled surface.
With their help, we knock down the fire from the burner (or simply turn it upside down). In order to maintain safety, it is convenient to take a kitchen mitten with you, which will protect you from possible burns.
Allow the stove to cool completely before removing it.
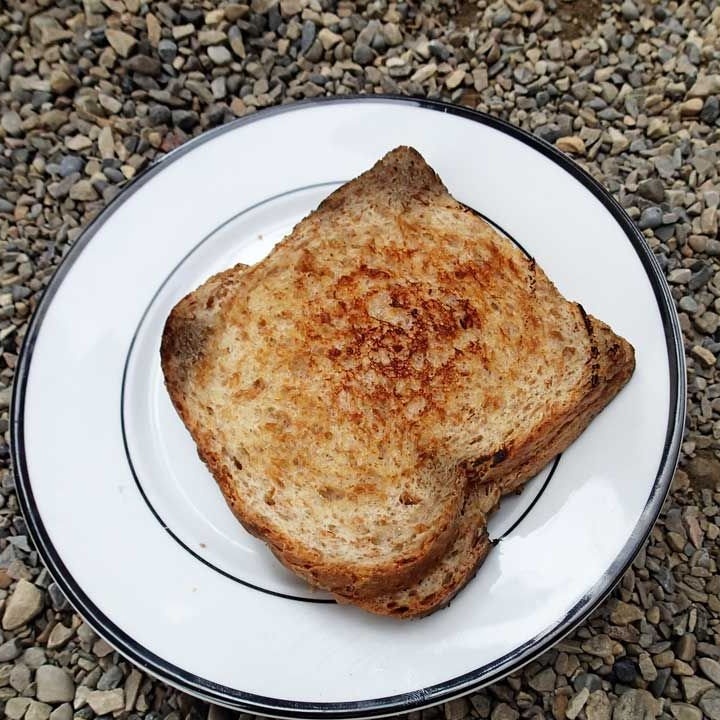
That's all! With a minimum of cash and labor costs, you can get the most universal thing. No wonder it says: "Everything ingenious is simple!"