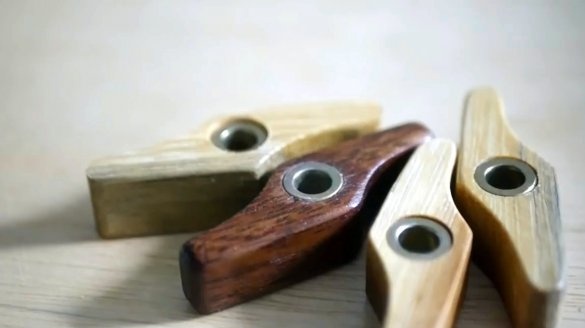
A sufficiently large number of different tools has various clamping systems. Often, wing nuts are used for them.
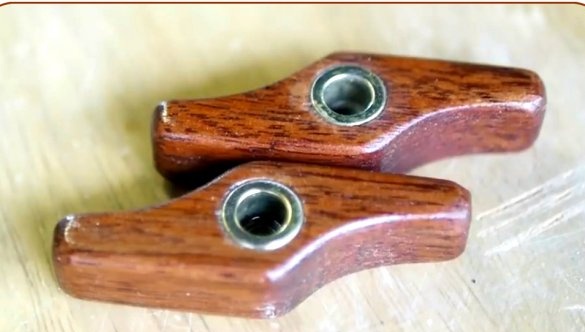
In this article, YouTube author of Ohyo56 tells you how to make nuts with wooden lambs.
This homemade product is very simple to manufacture, and can be repeated using a hand tool. However, the author will use machines to speed up the process.
Materials
- Mahogany board
- Aerosol contact adhesive
- Sandpaper
- Two-component second glue
- Impregnation for wood
- Rags
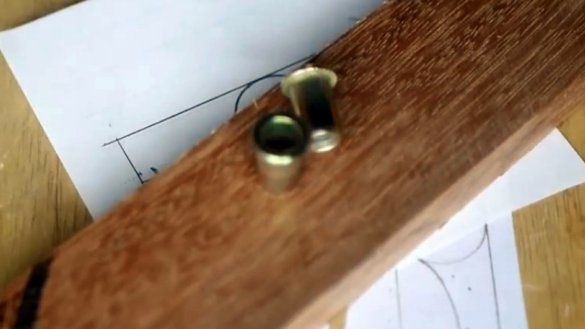
- Corrugated nut rivet M4.
Instruments, used by the author.
— Band-saw
— A circular saw
- Drilling machine
— Forstner Drills
- Drum grinding nozzle
— Clips for T-track
- Shilo, mallet
- Vise
- Ruler, patterns, scissors, pencil.
Manufacturing process.
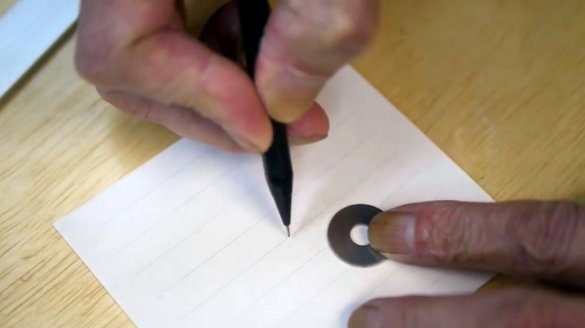
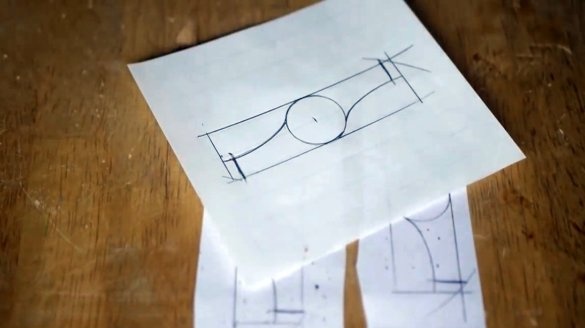
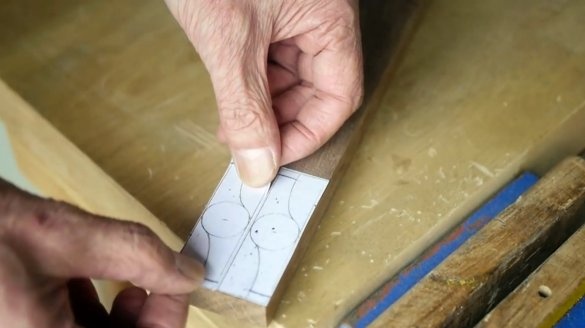
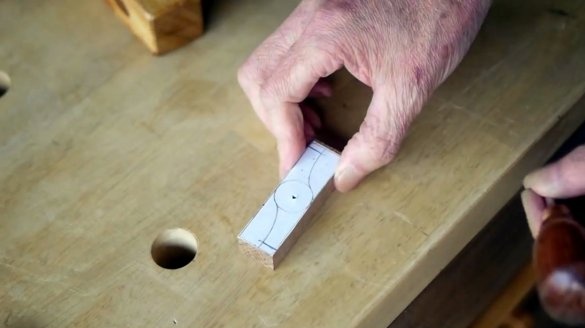
First of all, the master drafts a preliminary drawing of future lamb using patterns and a washer.
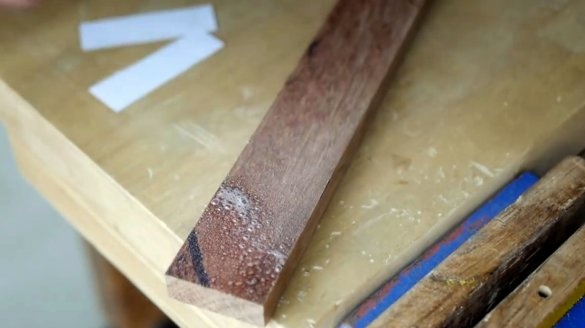
He glues a couple of patterns to the edge of the rosewood plank using contact spray glue.
Cuts the workpiece from the general array of the board, holding it with a pencil eraser.
The author switches to a band saw, cuts one of the blanks along the contour immediately, and leaves the second unprocessed.
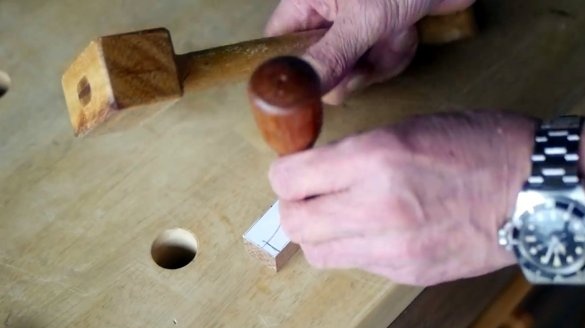
With the help of an awl and a mallet, she marks the center on the workpiece.
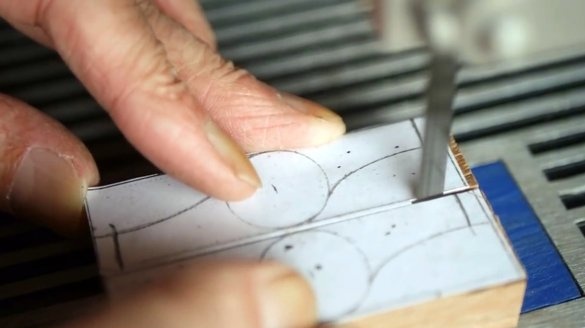
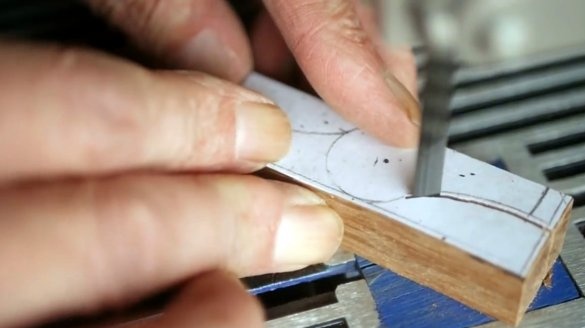
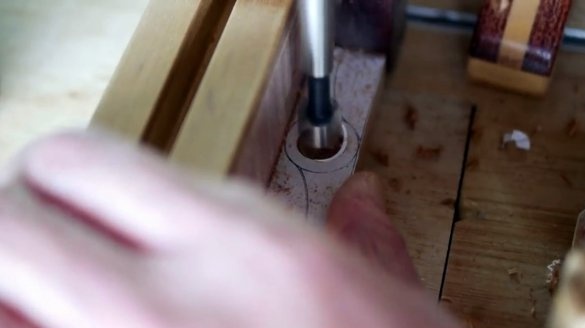
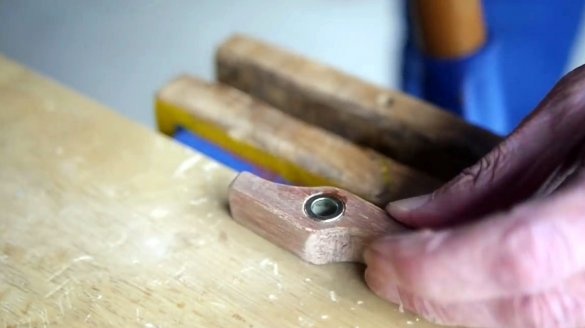
The whole workpiece is drilled first, and then machined. So the author makes a Forstner drill a recess for the nut head.
Having fixed the workpiece with home-made clamps, he drills a through hole for the nut body itself.
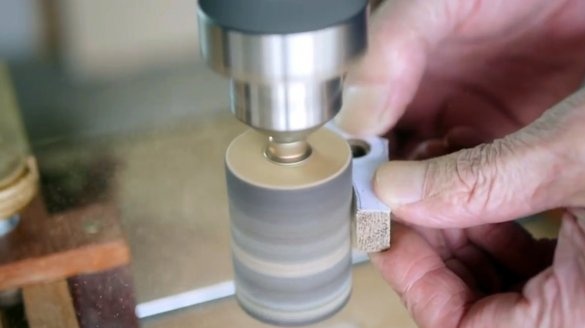
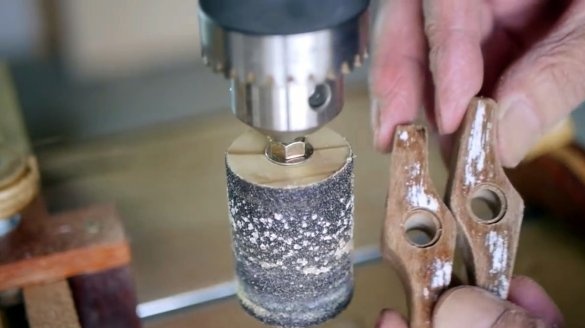
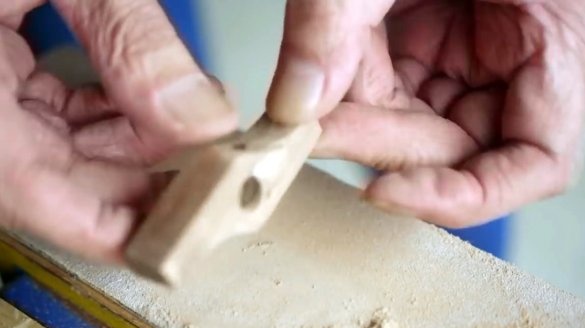
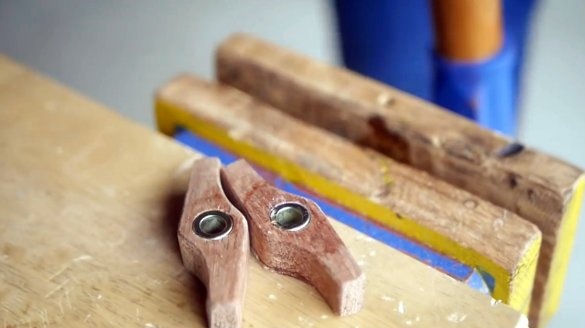
After drilling, the second workpiece is also cut along the contour of the band saw. Now both parts are ground with a drum nozzle installed in the drill chuck.
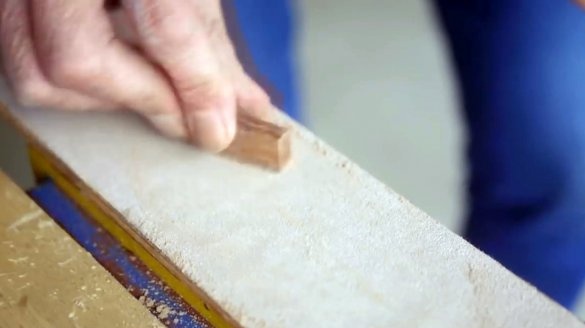
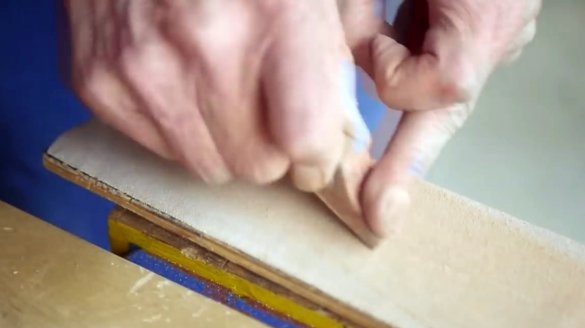
The flat surfaces of the nuts are hand sanded.
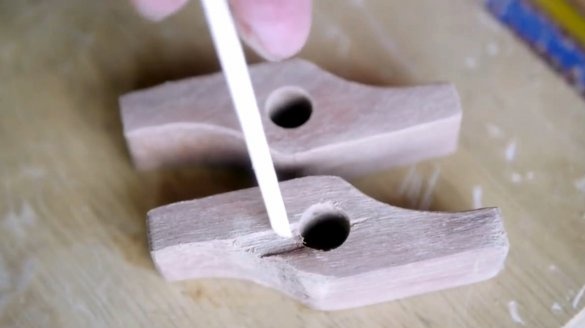
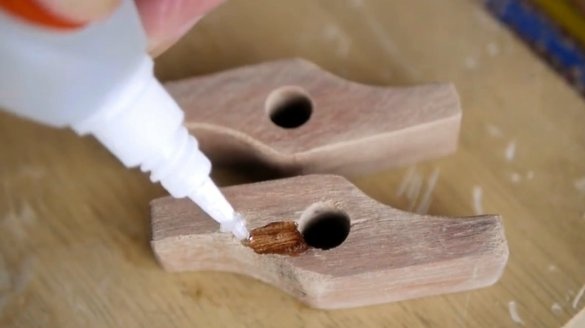
And here is the result of drilling a workpiece, which was immediately cut according to the template on a band saw. When drilling on its lower part, a deep crevice was formed.
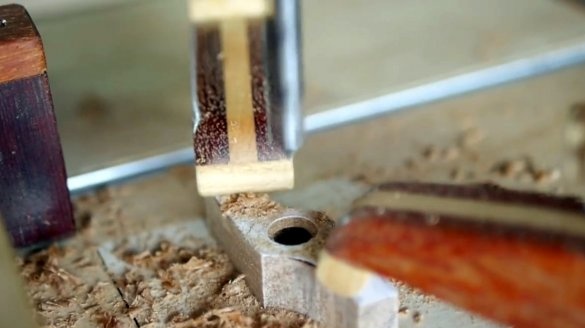
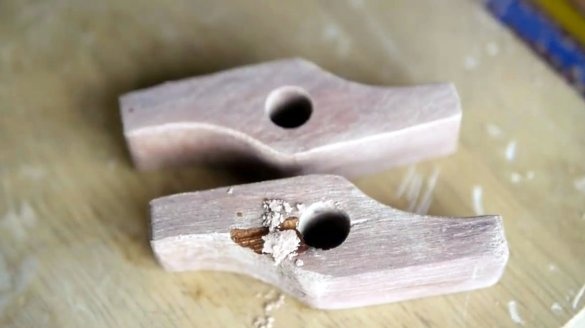
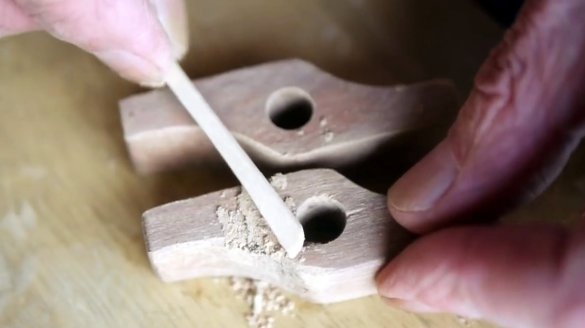
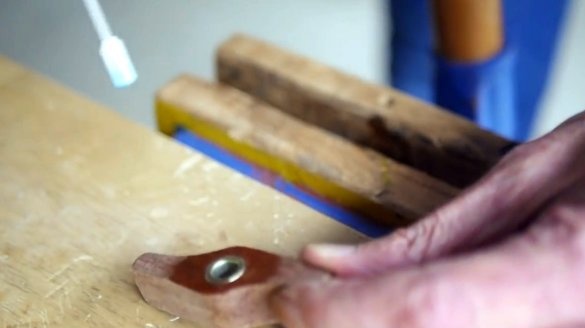
For its restoration, the author uses a two-component second glue. First, a drop of glue is poured into the recess, and then it is puttyed with fine wood dust. As soon as the patch is formed, the fixing component of the adhesive (hardener) is sprayed onto its surface.
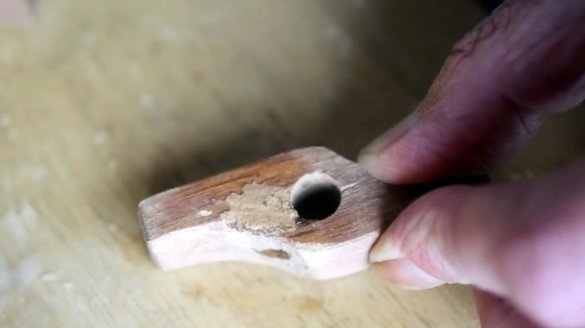
After the glue has completely dried, the surface of the patch is sanded.
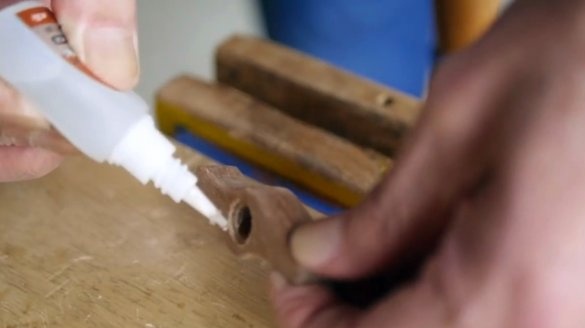
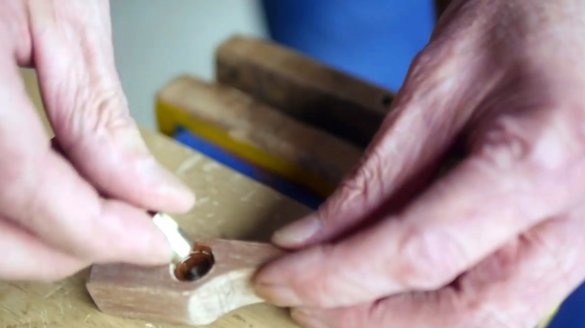
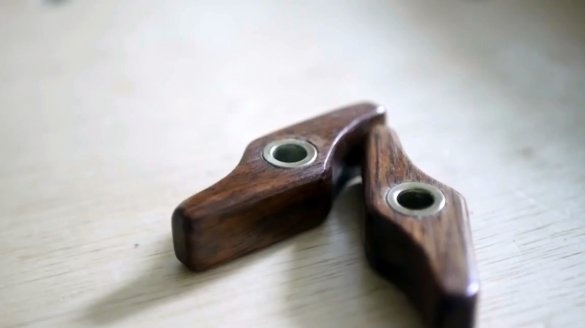
A layer of glue is applied to the hole, a nut is pressed into it with a vice.
Hardener is sprayed at the bonding site.
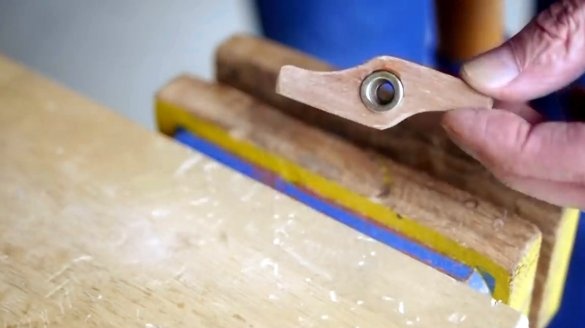
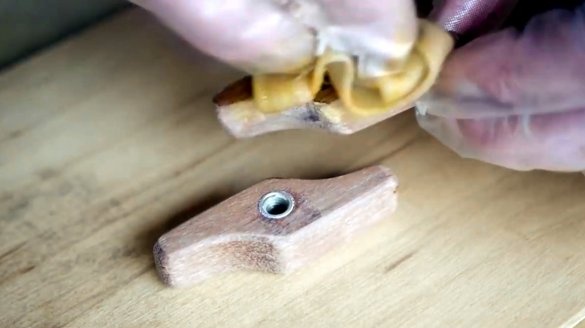
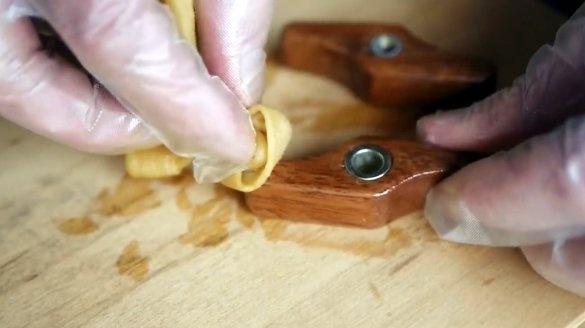
So, the wing nuts dried up, the author makes the final sanding with 500 grit sandpaper.
It remains to apply a layer of oil, and let it soak. As has been said many times, there are many options for topcoats. The simplest is linseed oil.
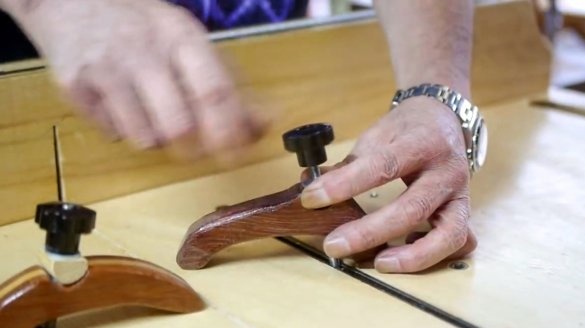
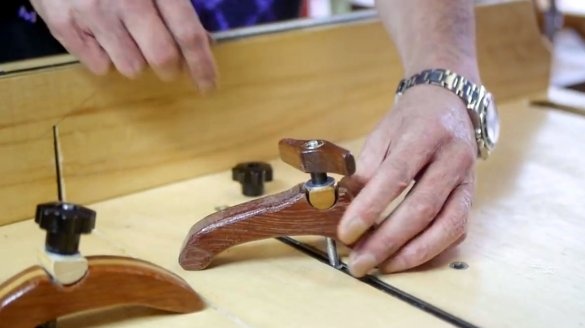
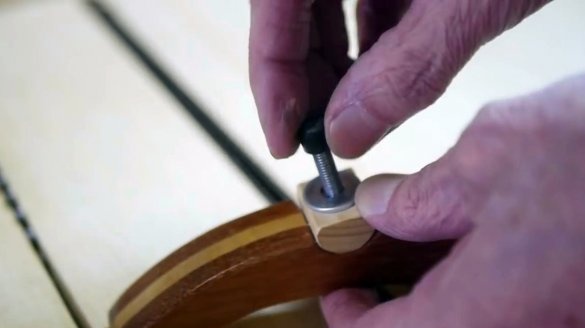
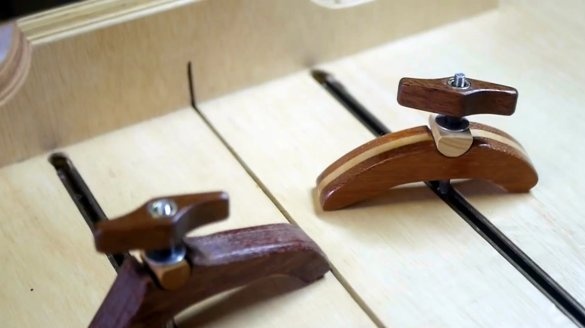
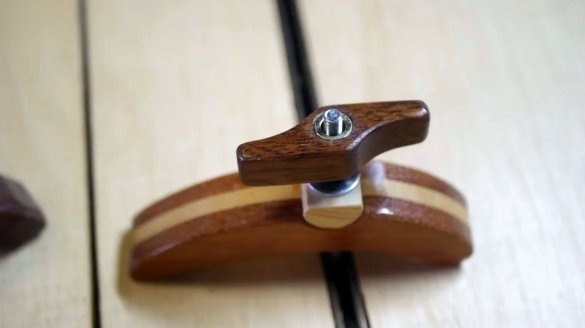
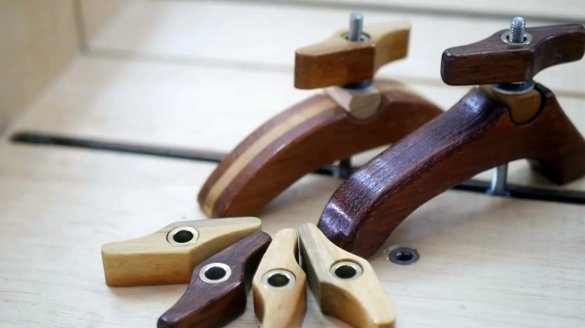
And here are the clamps for T-tracks, on which the master will change the factory plastic nuts to those just made. About the manufacture of these clamps has recently been detailed article.
The only moment when replacing the nuts, the author had to put a sleeve on the screw.
Due to the large scale of the lamb's blades (it turned out to be about 70 mm), it retains the torque very well, it is quite simple to tighten it up sharply, and it will twist almost to the very end.
Of course, you can make lamb for such nuts from virtually any hardwood. So the author could not resist, and made them from a bright hazel.
Indeed, it is much more pleasant to work with such beautiful home-made tools than with "cold" factory plastic.
I thank the author for the idea of a simple design of homemade wing nuts!
If you have interesting homemade products, share them on this site. Here you will get a real reward, not a “bunch of green stuff" at the entertainment forum.
All good mood, good luck, and interesting ideas!
Author video can be found here.

