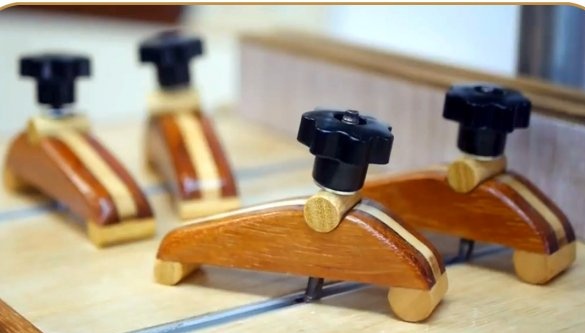
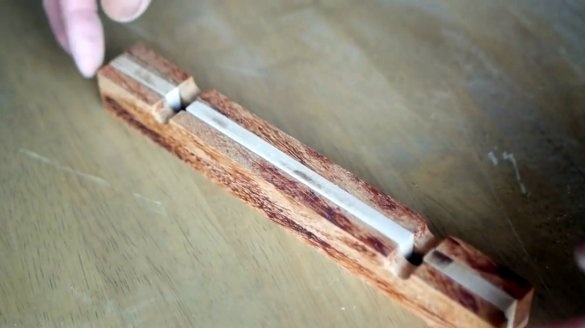
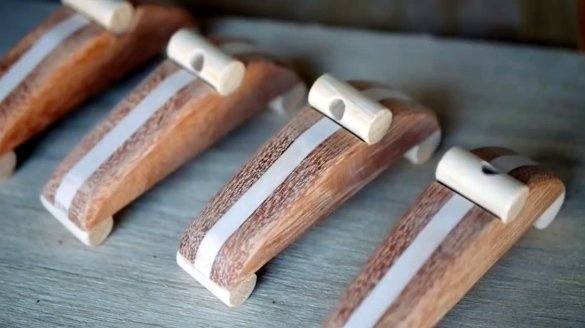
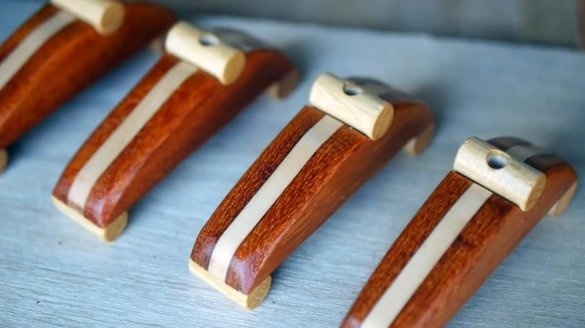
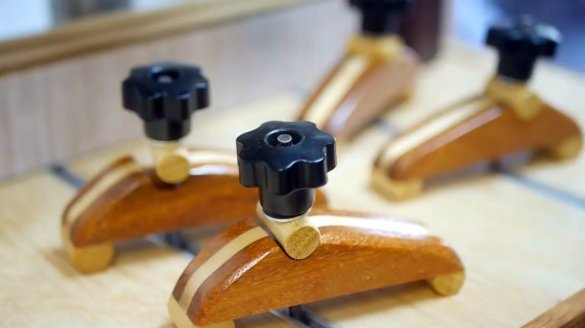
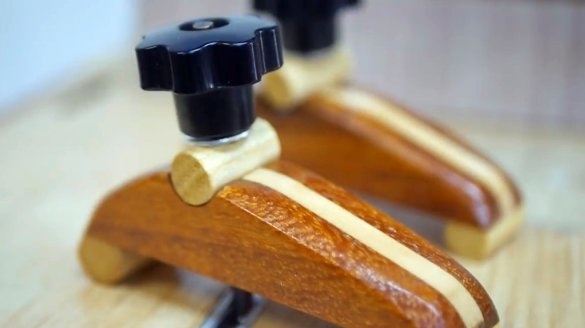
Some of you may have a workbench with T-rails.
In this article, the author of the YouTube channel "Ohyo56", will tell you about the method of making interesting clips for such rails.
Materials
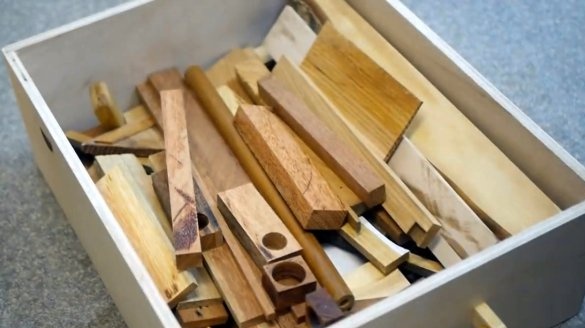
- Cherry boards, hazel
- PVA glue
- M6 bolts
- Washers, wing nuts
- Sandpaper
- Impregnation for wood.
Instruments, used by the author.
- A circular saw
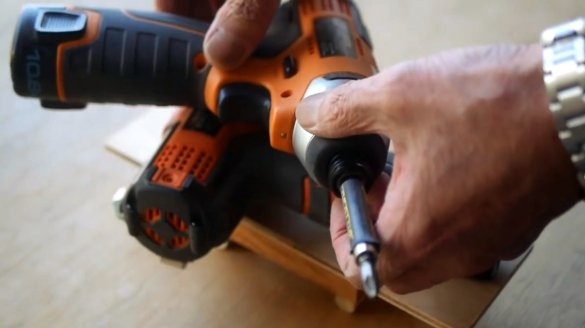
- Drilling machine
—
—
—
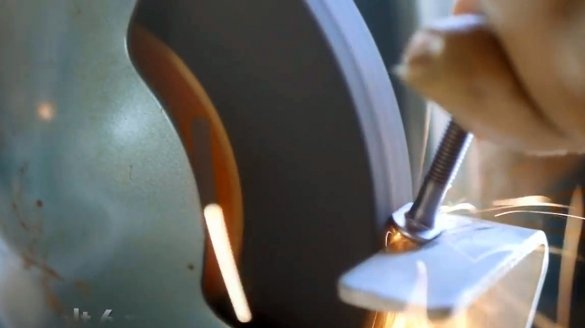
- Disc grinder
- Vise, file, pencil, square.
Manufacturing process.
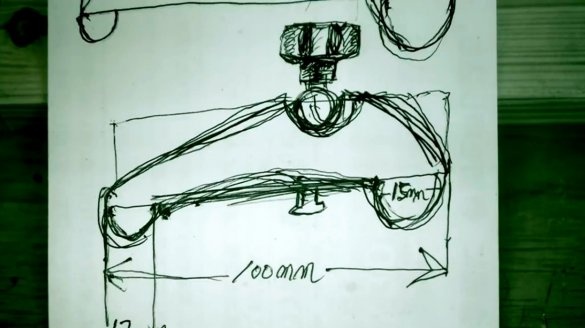
First, the master made a sketch of his project. He will produce four clamps at once.
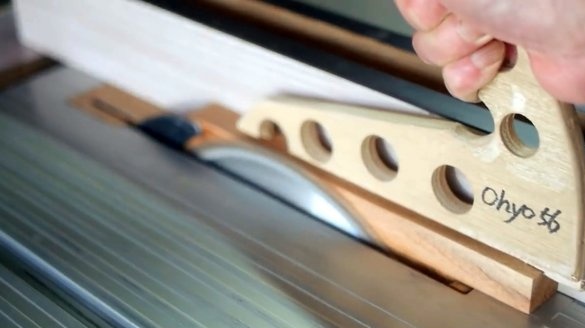
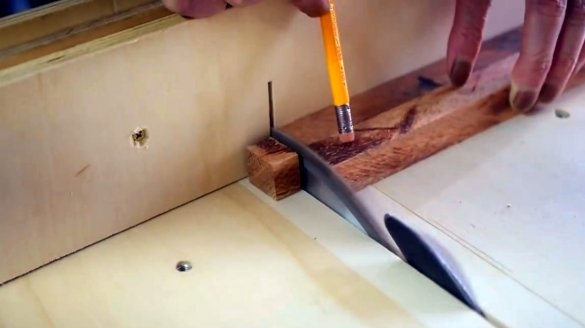
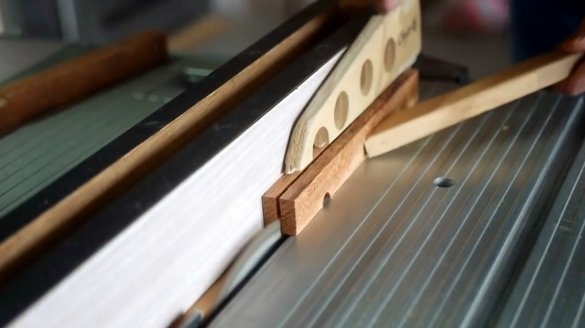
The hazel board dissolves on a circular saw.
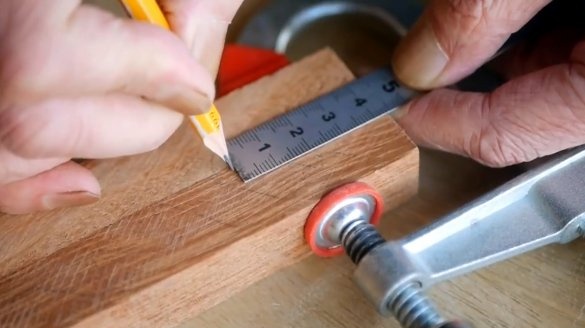
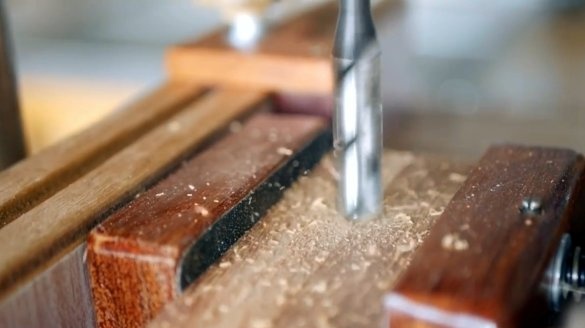
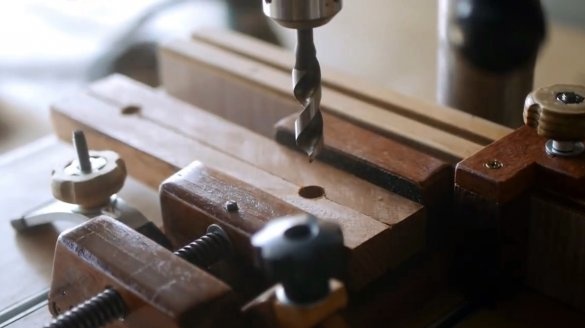
Squeezing two blanks together with clamps, marks the place of drilling, and drills both blanks at once.
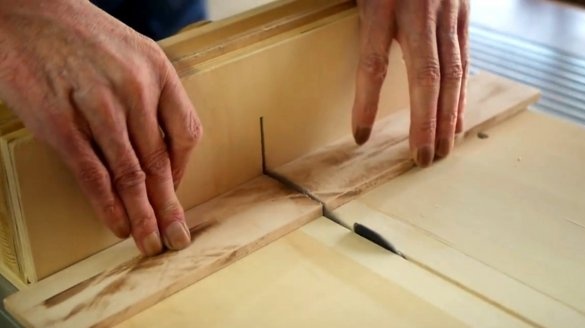
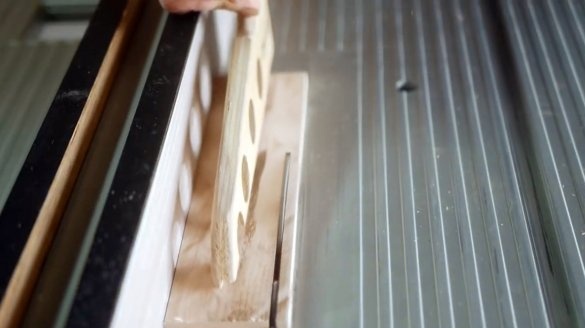
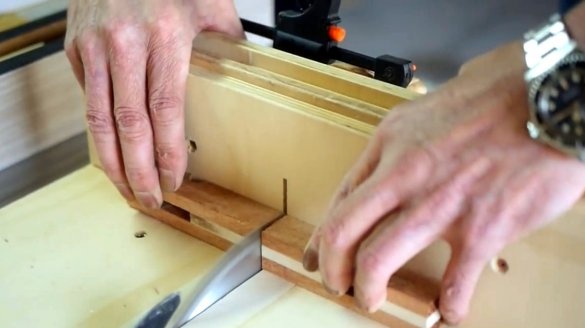
Now each piece is cut into two parts in two passes.
Next, cuts out cherry blossoms.
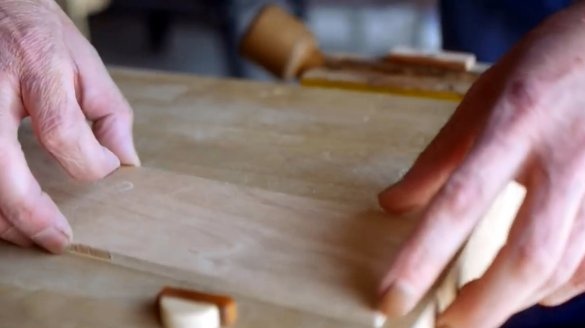
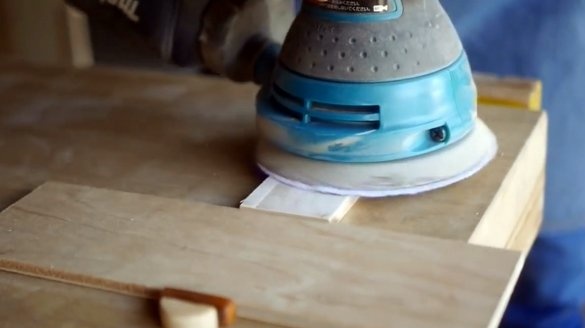
It fixes the workpiece on a workbench, and polishes the surface with an orbital machine.
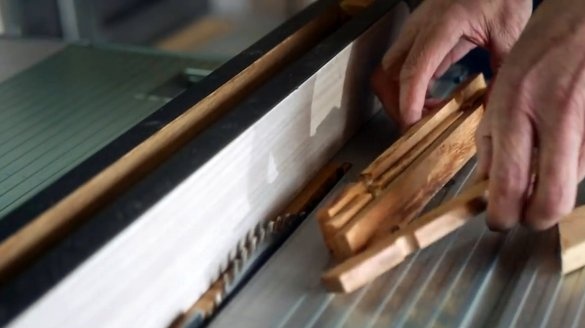
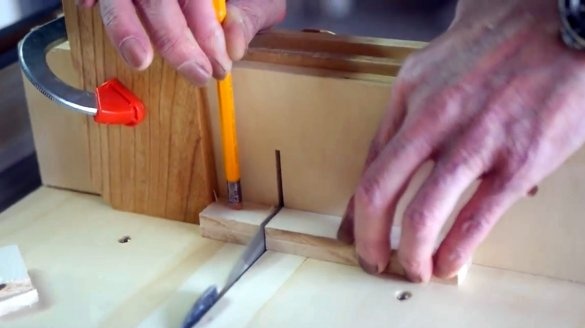
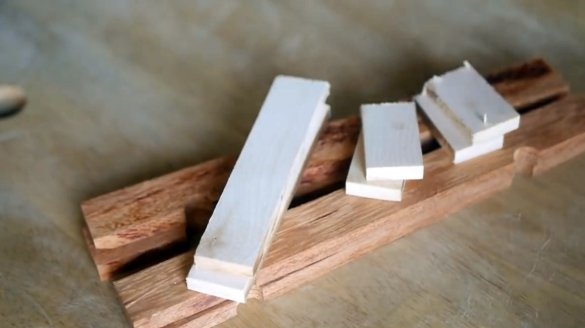
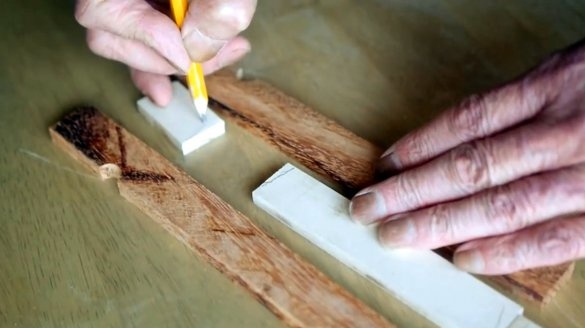
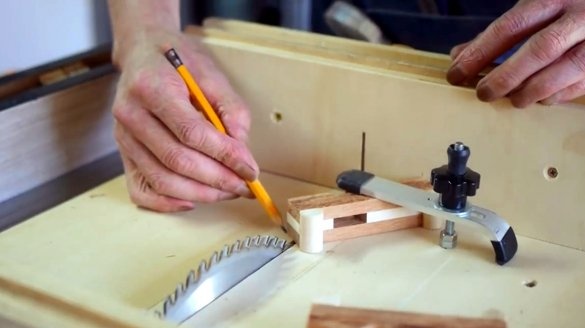
Holding the cut edge of the workpiece with a pencil, cuts it into several rectangles.
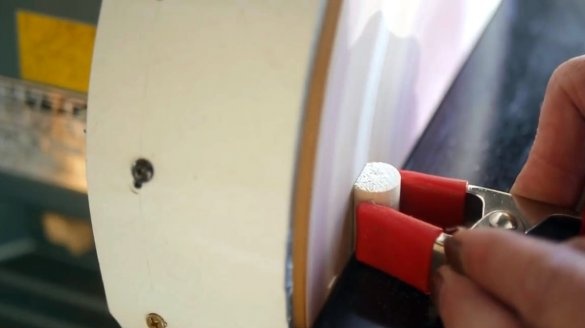
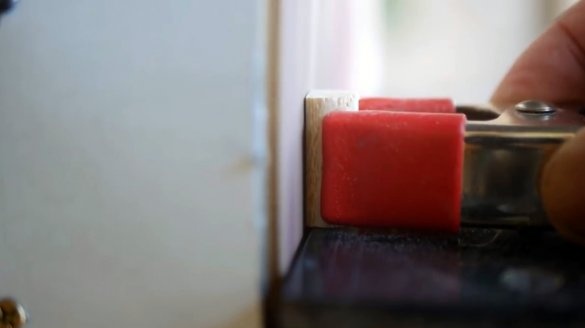
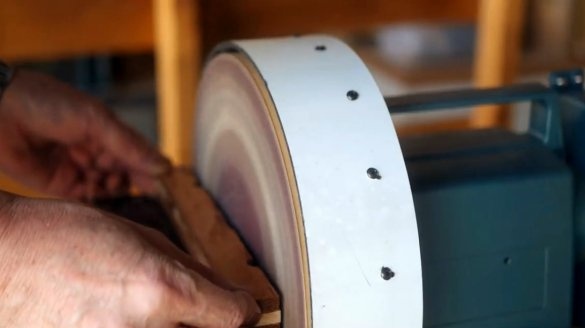
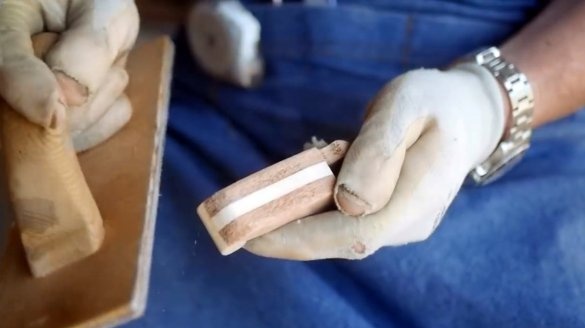
Now you need to grind the edges of the workpieces at an angle of about 30 degrees.
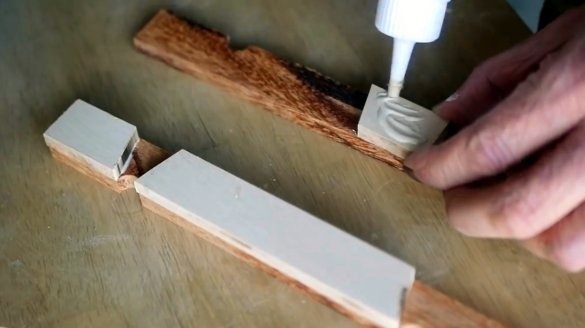
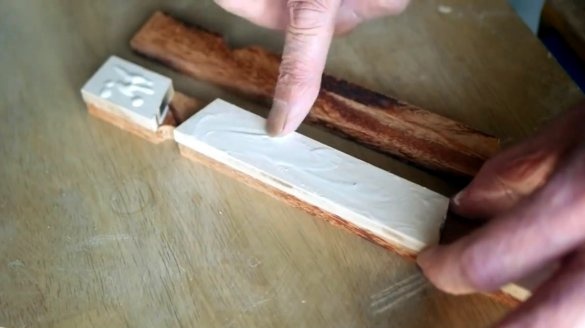
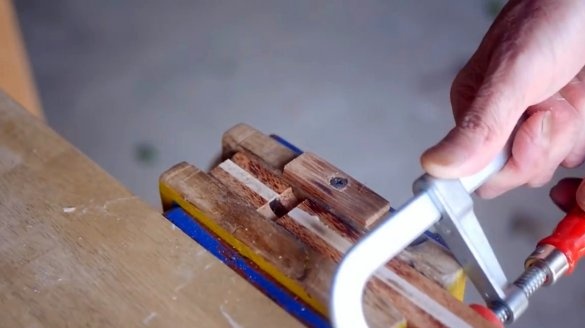
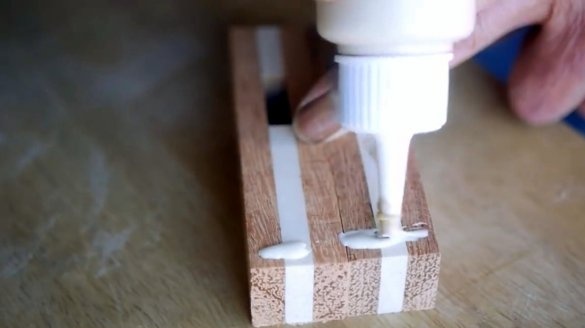
Lubricates parts with glue, and fixes in a vice.
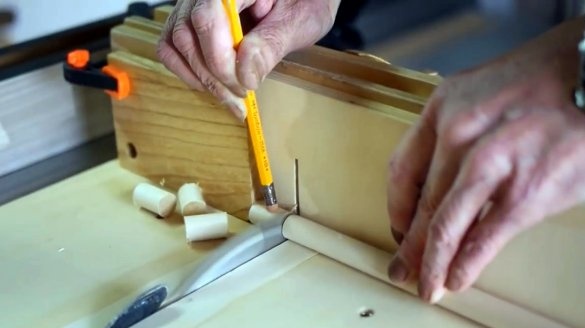
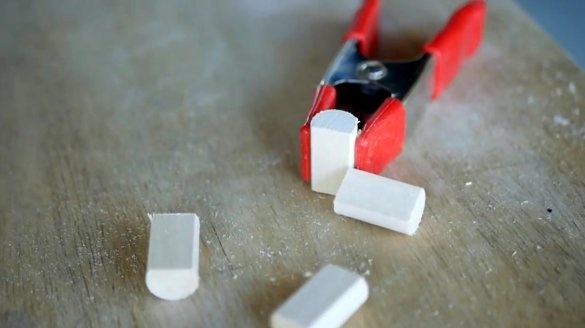
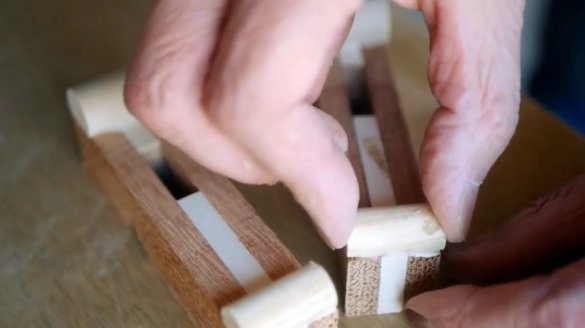
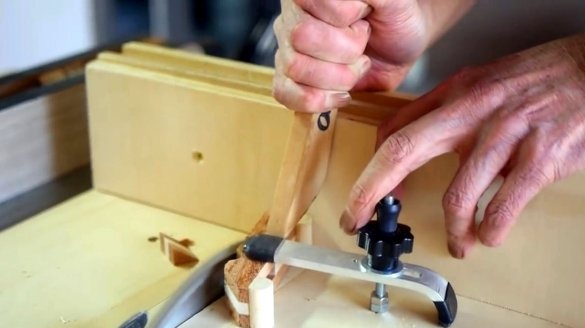
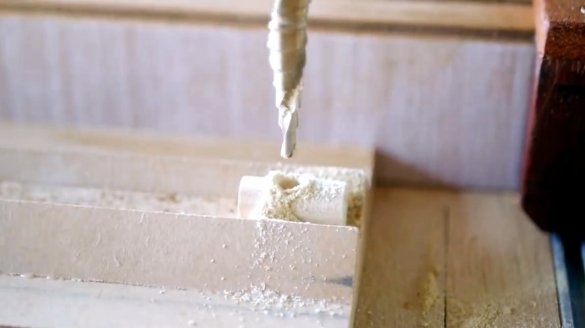
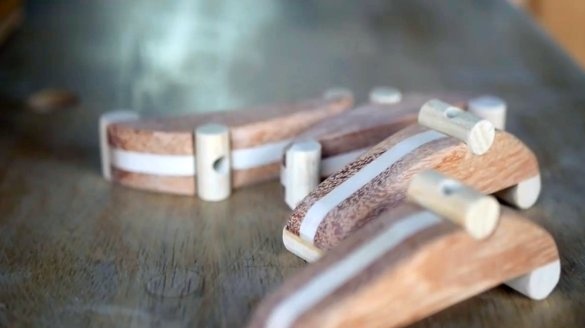
Slices the handle into cylinders along the width of the clip. Stacks one side.
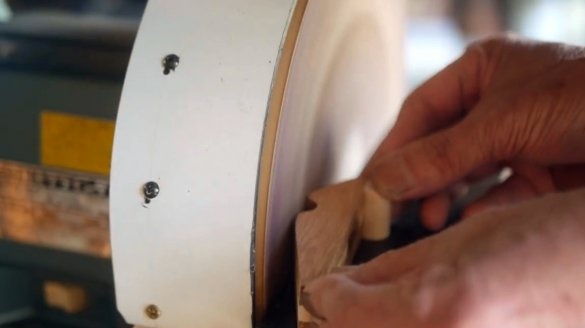
After the glue dries, the edges of the workpieces are ground.
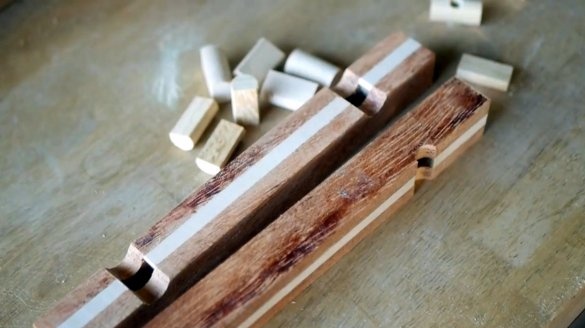
Now you can cut the workpiece into two parts.
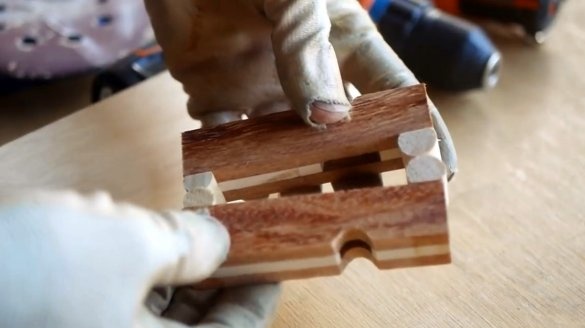
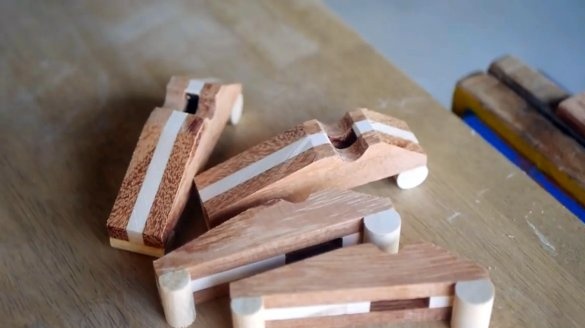
Further, the pads are glued to the base. For better bonding, a piece of plywood is placed on the workpieces and pressed against the load.
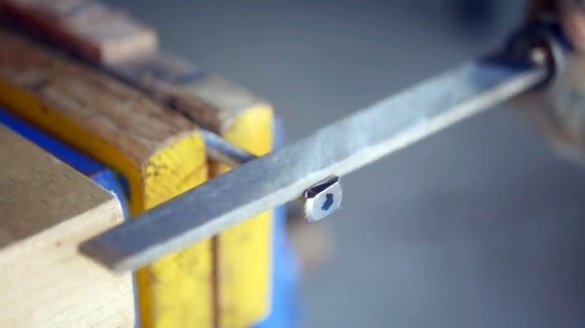
While the glue dries, the author began to prepare the clamping screws.
The shells are dry, now they can be cut at an angle.
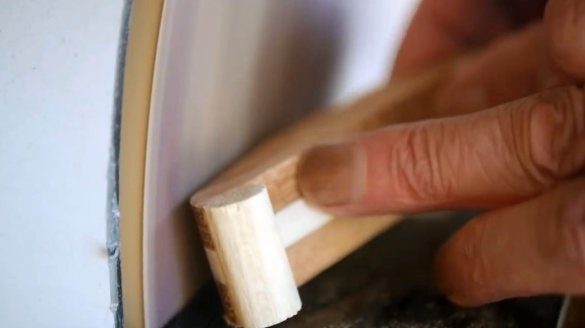
All faces of the cases are rounded off and polished by hand.
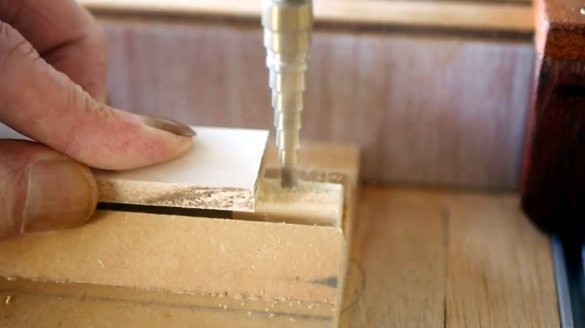
A clamping pad is made from the same handle, a through hole is drilled in it with a step drill.
Almost all the parts are ready, it remains to soak their surfaces with oil. By the way, in this article A method for manufacturing excellent wood impregnation is described. It protects products from moisture. How immediately the tree began to play!
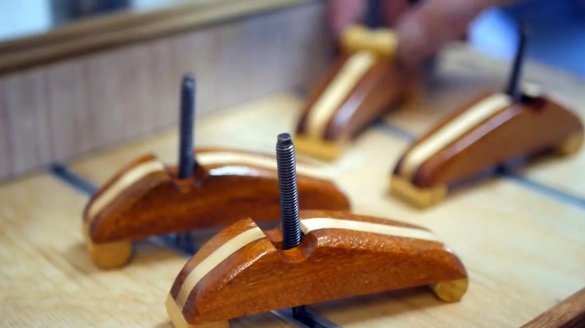
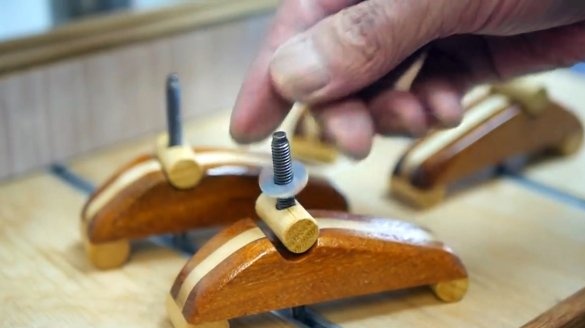
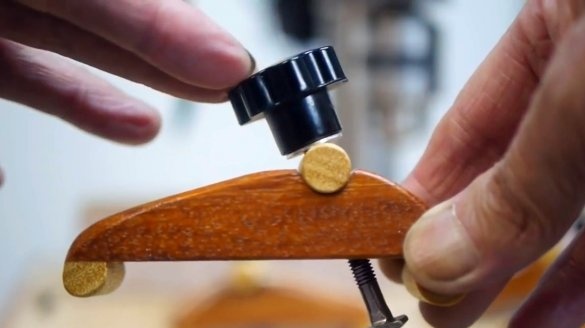
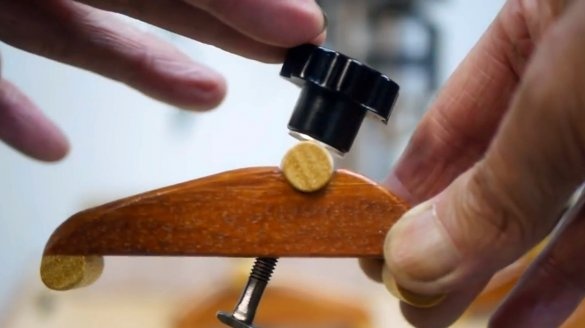
The bolt is inserted into the clamp housing, and the wing nut is screwed.
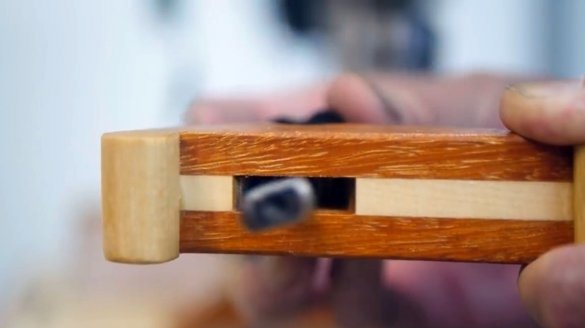
But for what the bevels were made on the cherry inserts, they allow the screw to deviate relative to the body.
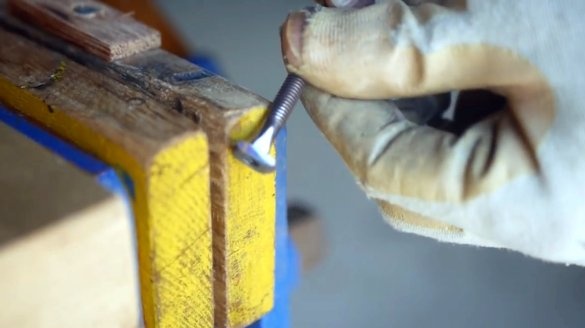
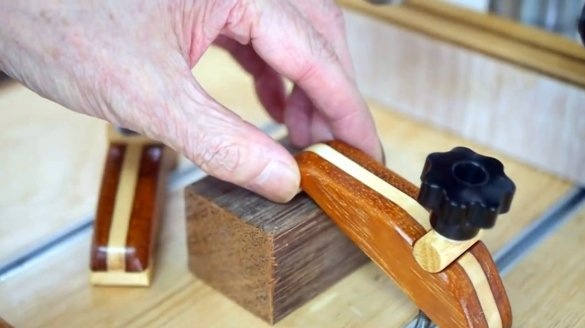
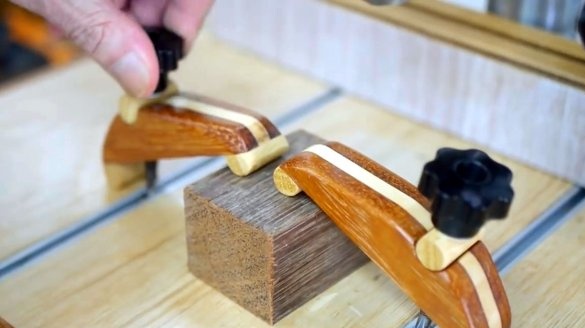
Everything is ready, the screw head slides into the T-shaped rail on the workbench, and the workpieces can be pressed.
I thank the author for the simple but useful device for the workbench in the workshop!
All good mood, good luck, and interesting ideas!
Author video can be found here.

