
One of the most important actions and the key to success in the manufacture of any homemade product is the accuracy of the markup.
In this article, the author of the YouTube channel “Ohyo56” will tell you how he made a centering thicknesser, which allows you to quickly and accurately mark the middle of the end of the board or plywood.
Materials
- Aluminum strip 20X3 mm
- Hazel wood
- Epoxy adhesive
- Bolt M4, M5, M6
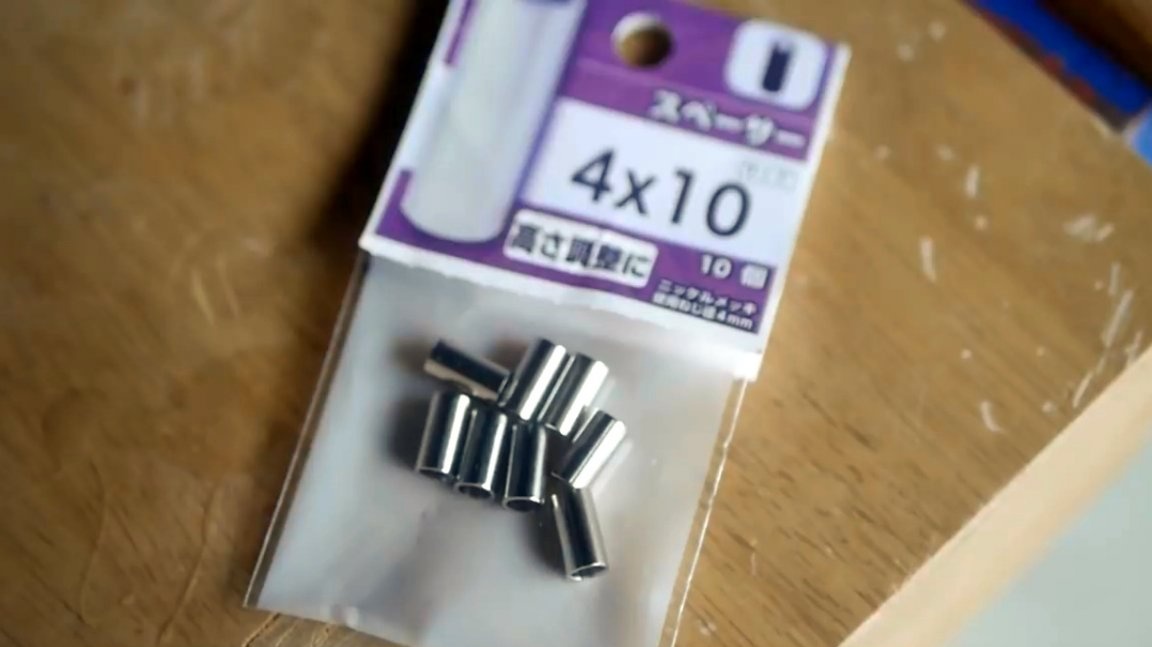
- Bushings
- bearings
- Sandpaper
- Impregnation for wood, rags.
Instruments, used by the author.
- Orbital sander
—
—
—
-, cutting disc
—
- Grinder
—
- Drilling machine
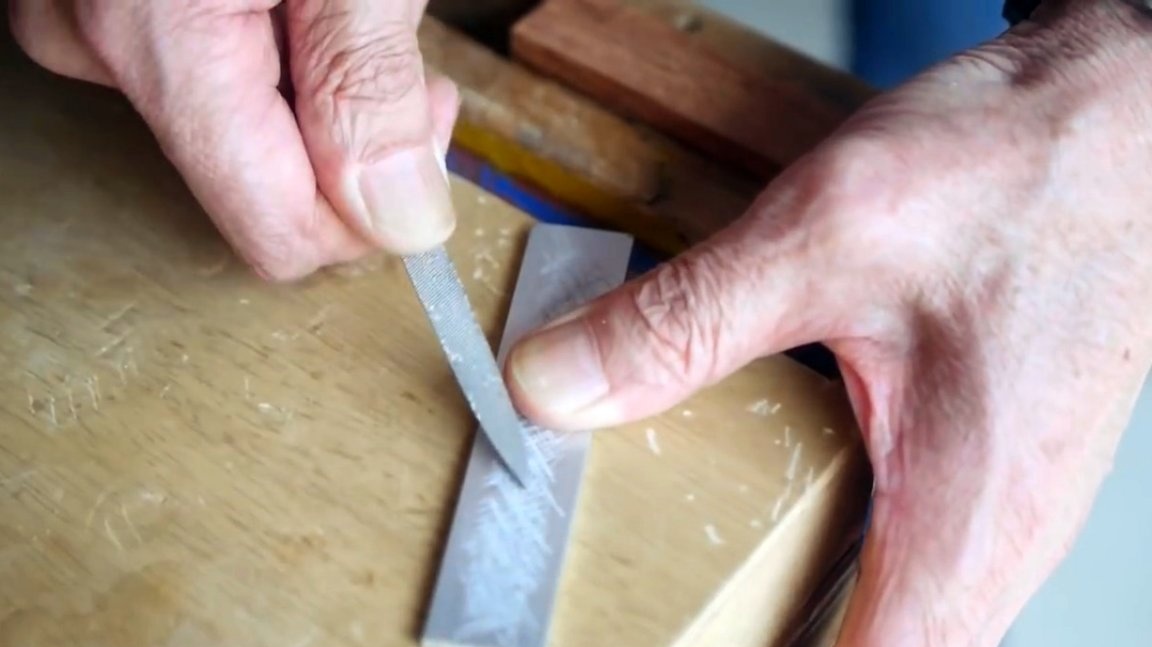
- Hacksaw, file, file, screwdriver, awl, core
- Vise, pencil, square
Manufacturing process.
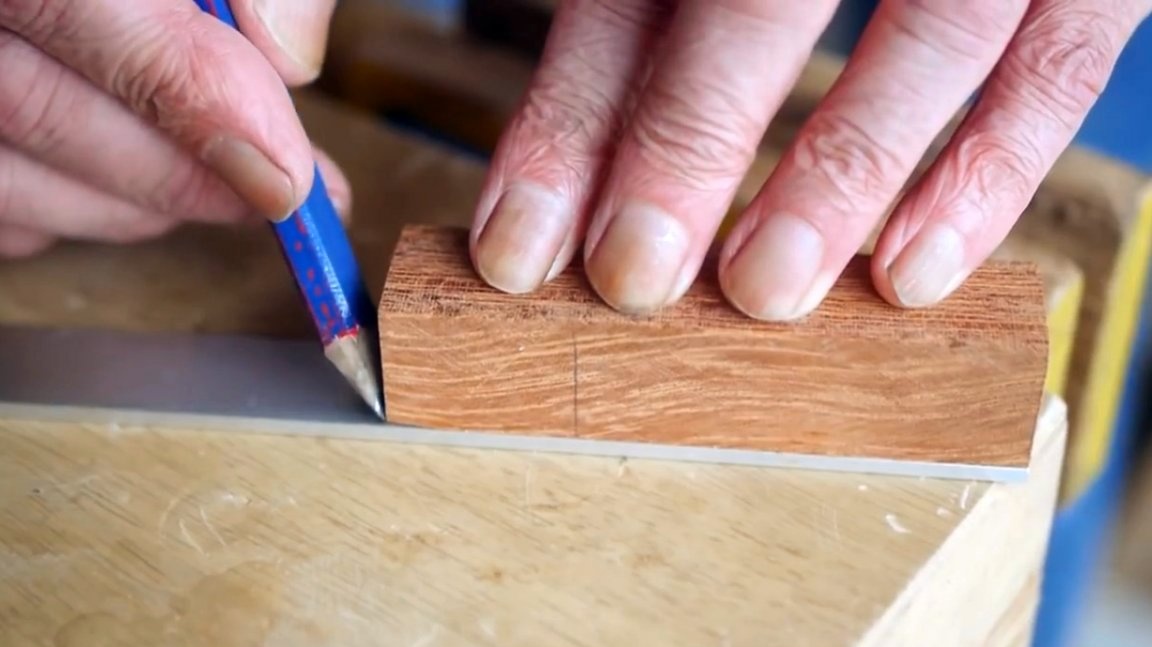
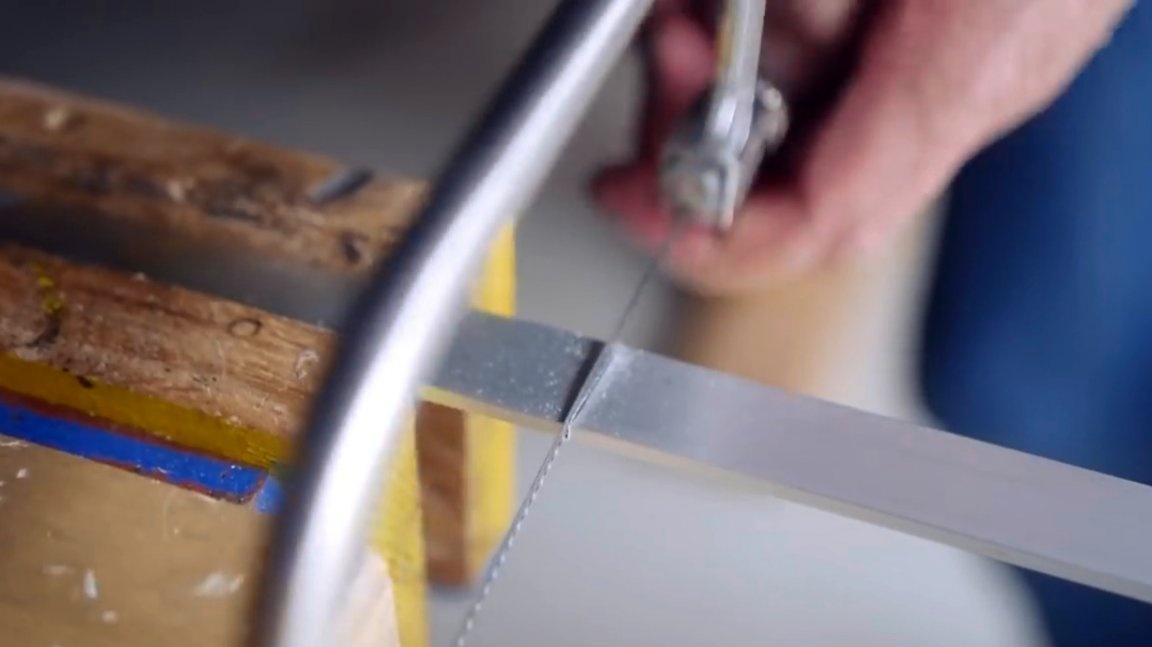
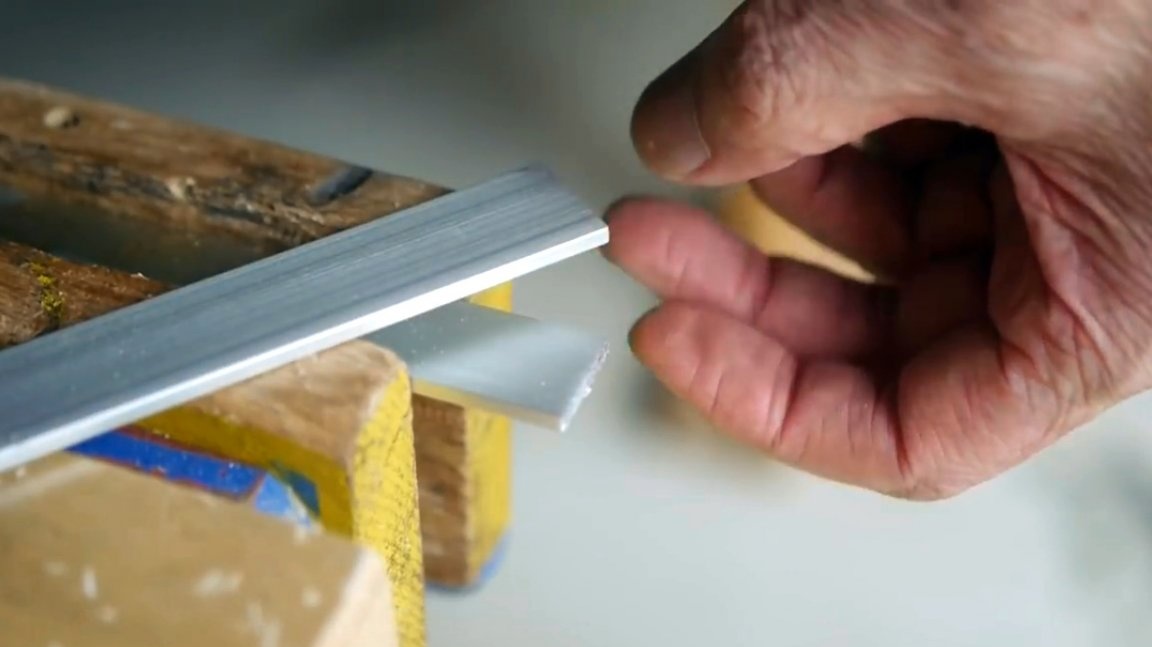
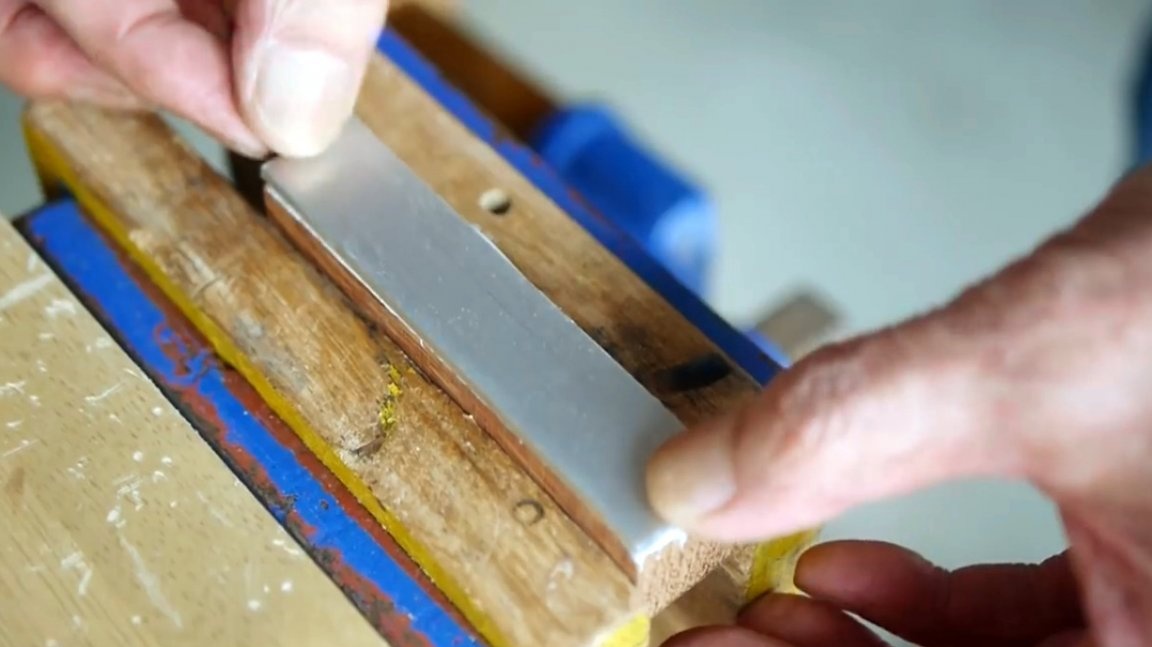
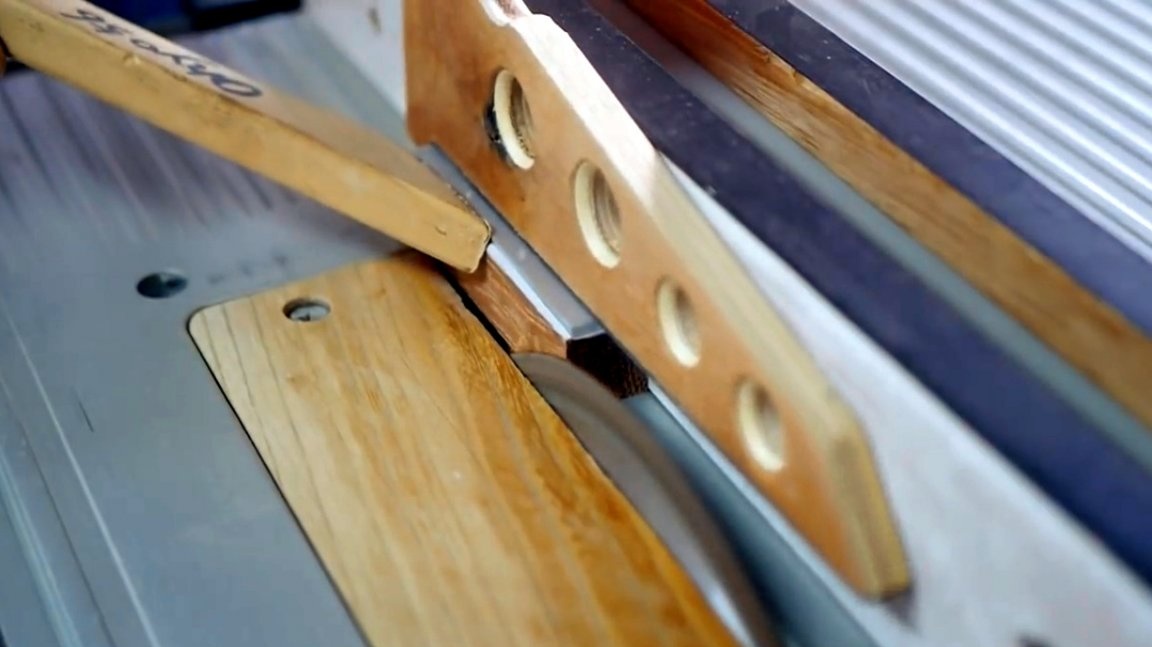
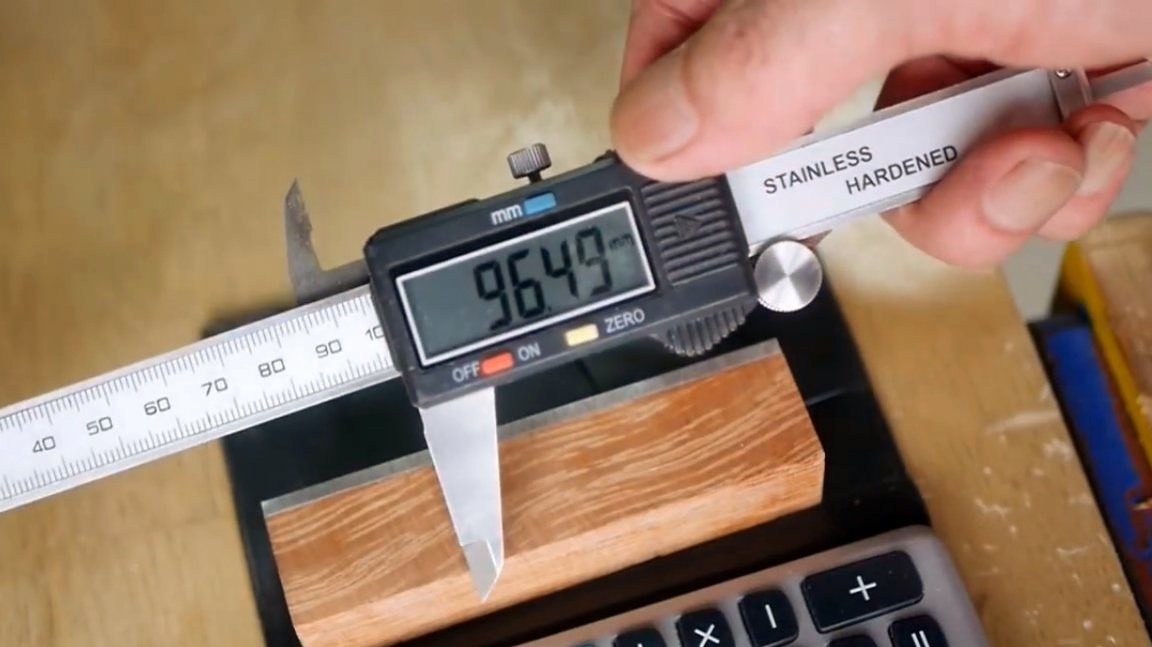
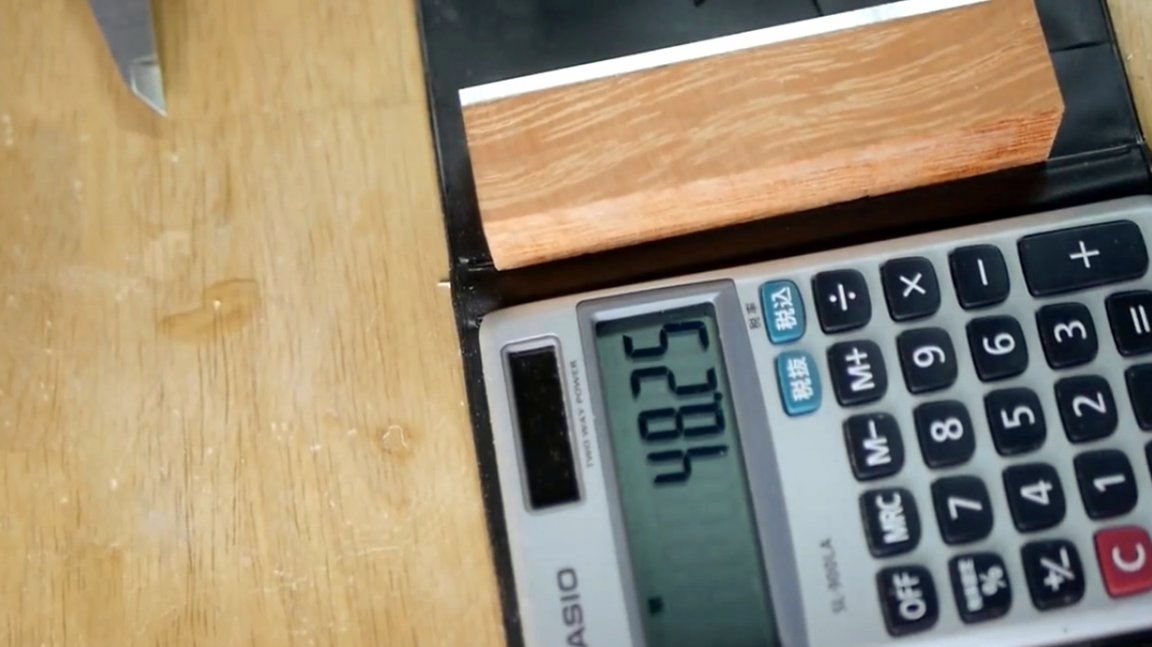
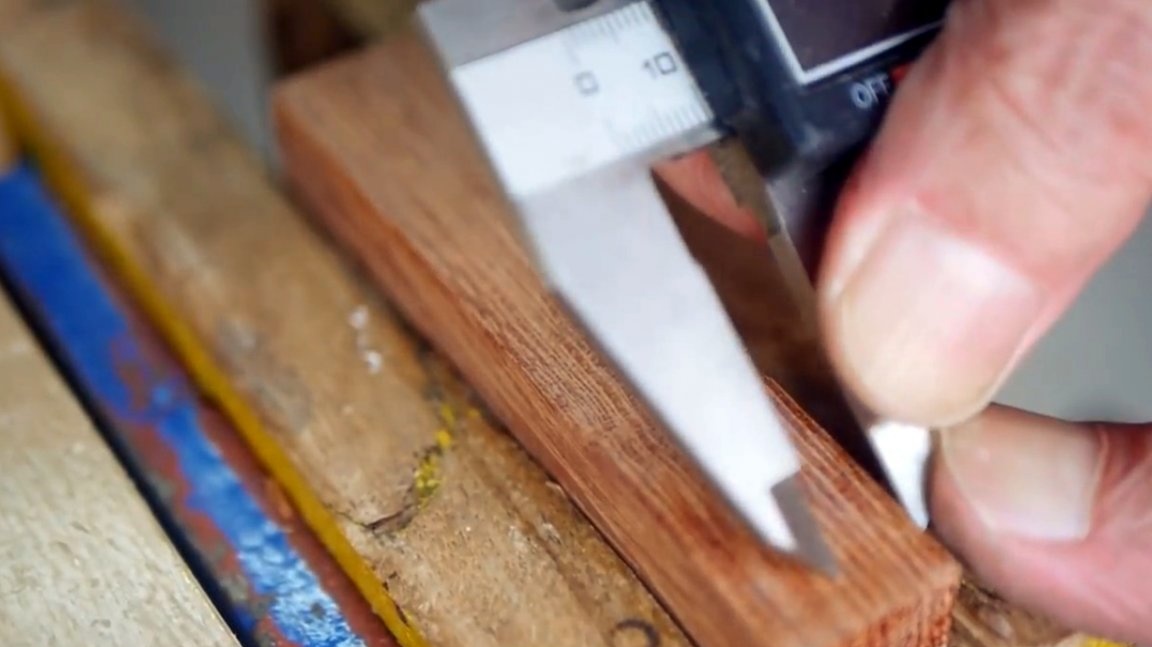
First of all, the master cut out a block 100X20X20 mm in size from hazel. On it noted the length of the aluminum strip 20X3 mm. Then he cut the workpiece with a hacksaw for metal.

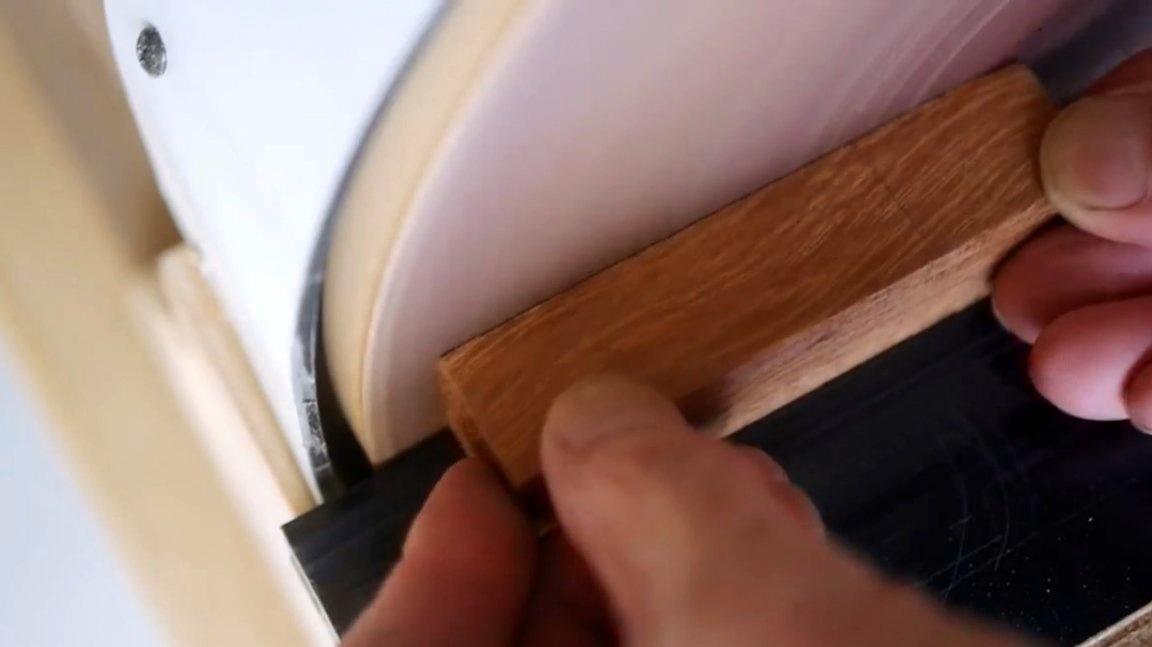
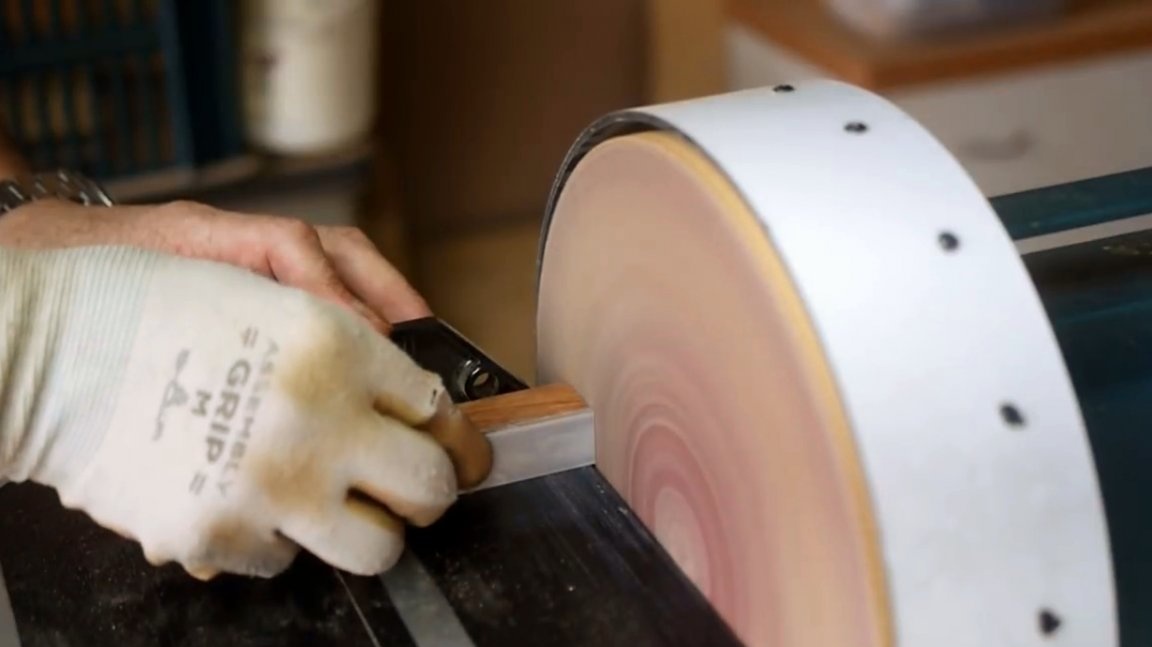
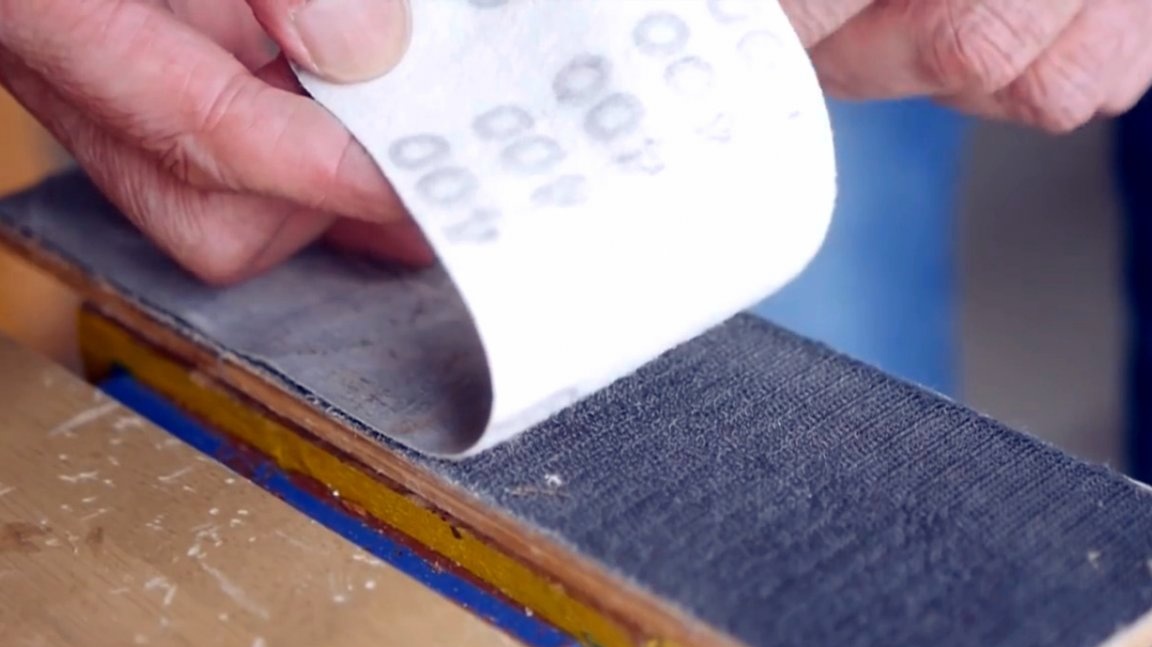
The surface of the block was polished on an orbital machine.
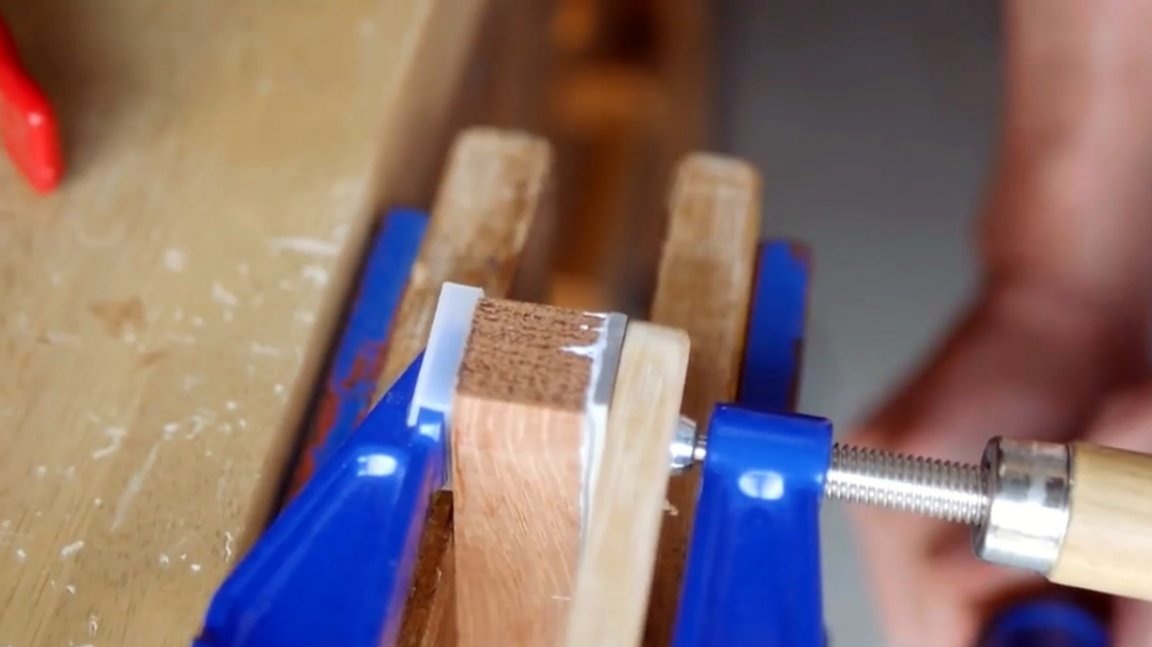
For better adhesion of the glue, applied a notch on the aluminum billet, also made it on one side of the bar.
I mixed the components of epoxy glue, connected the workpieces and clamped them in a vice.
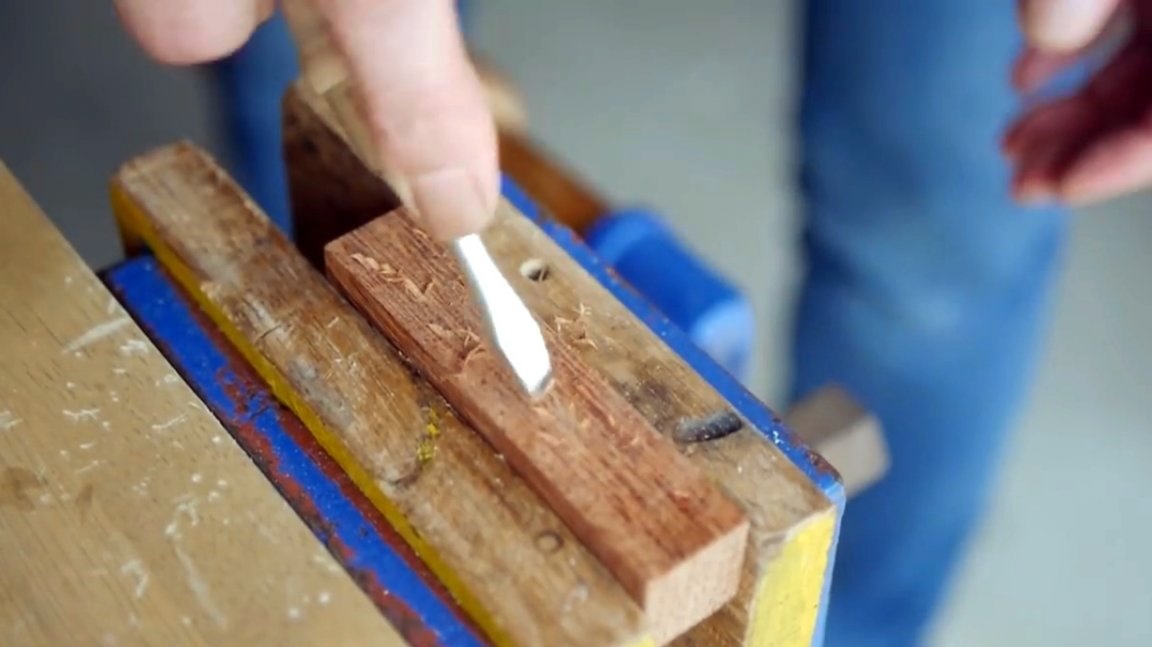
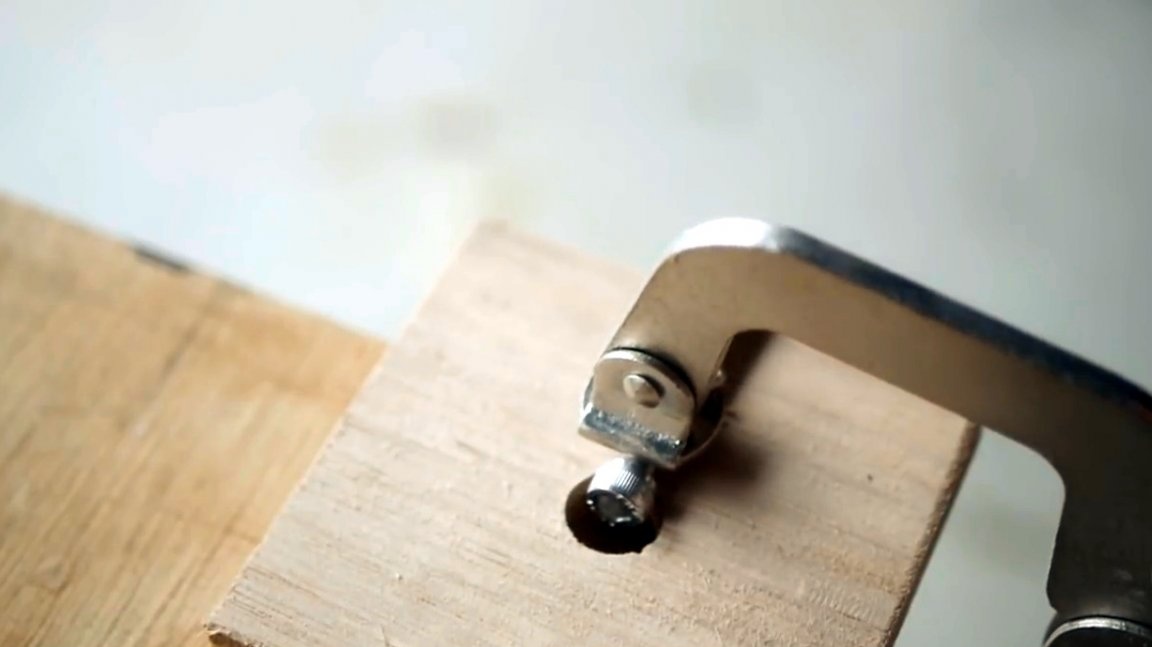
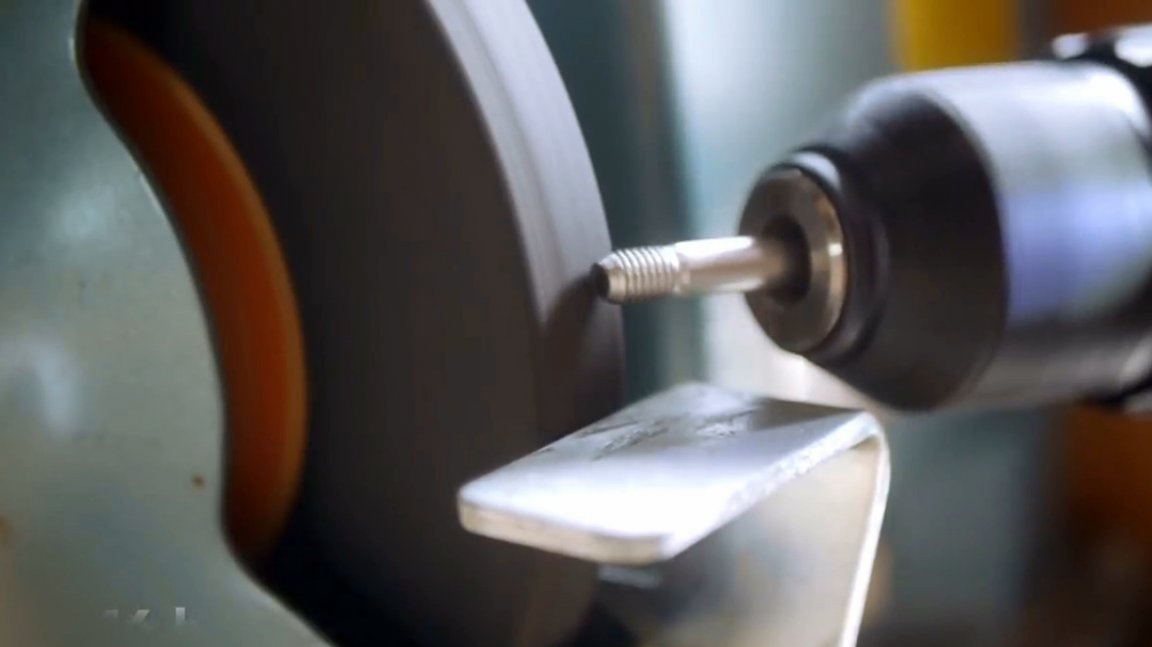
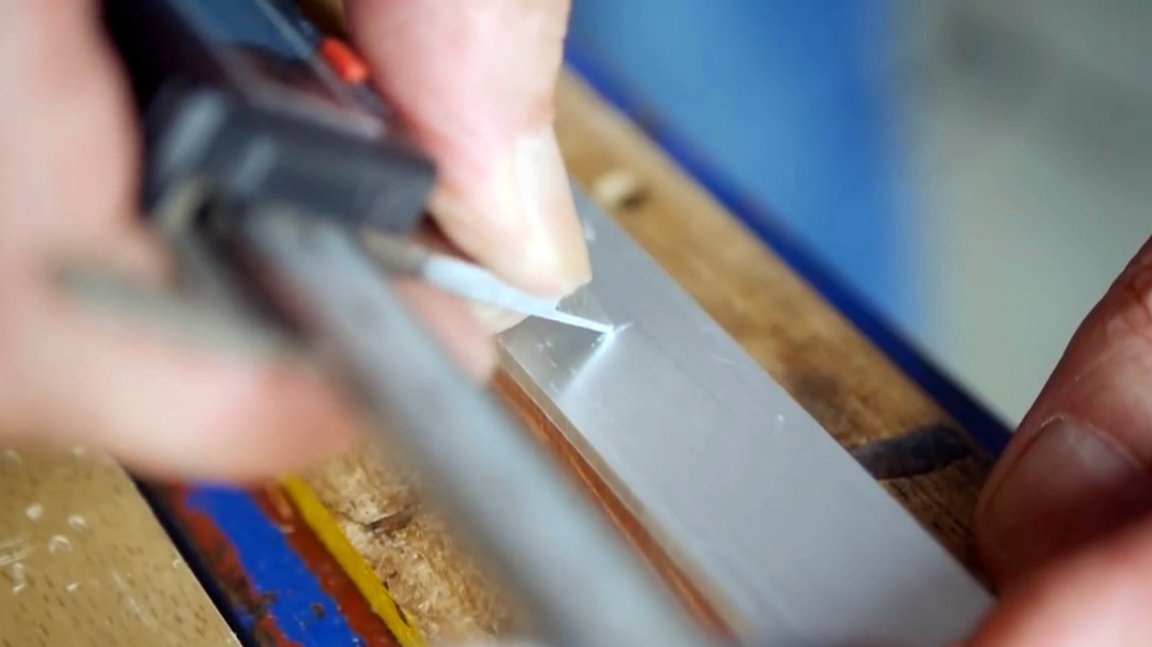
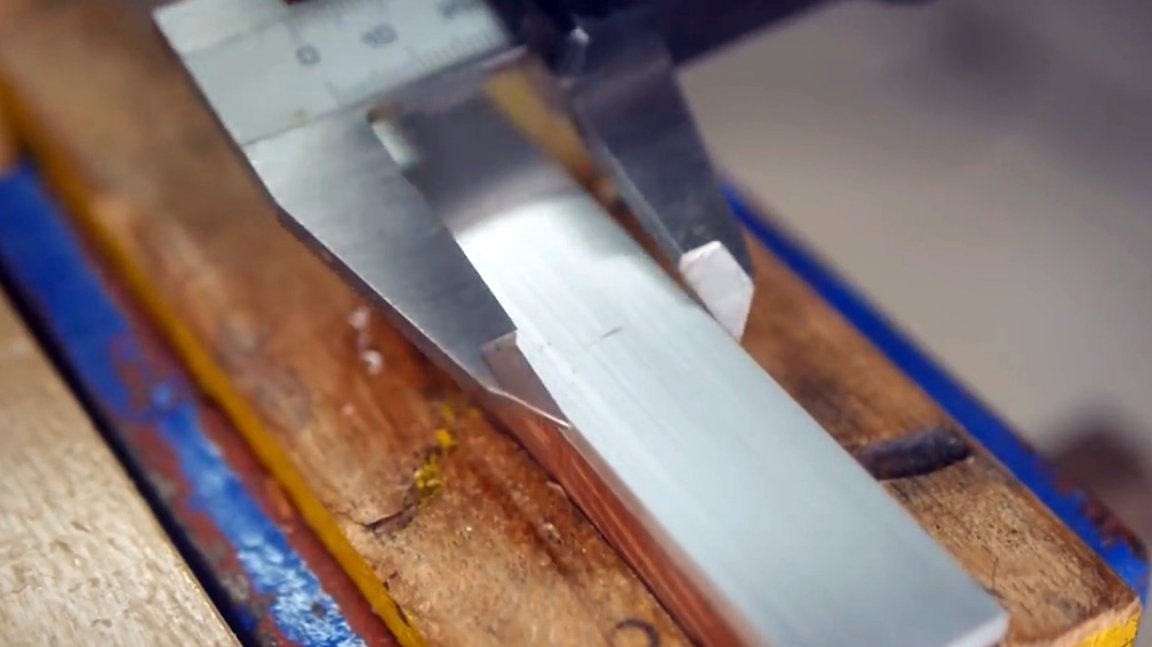
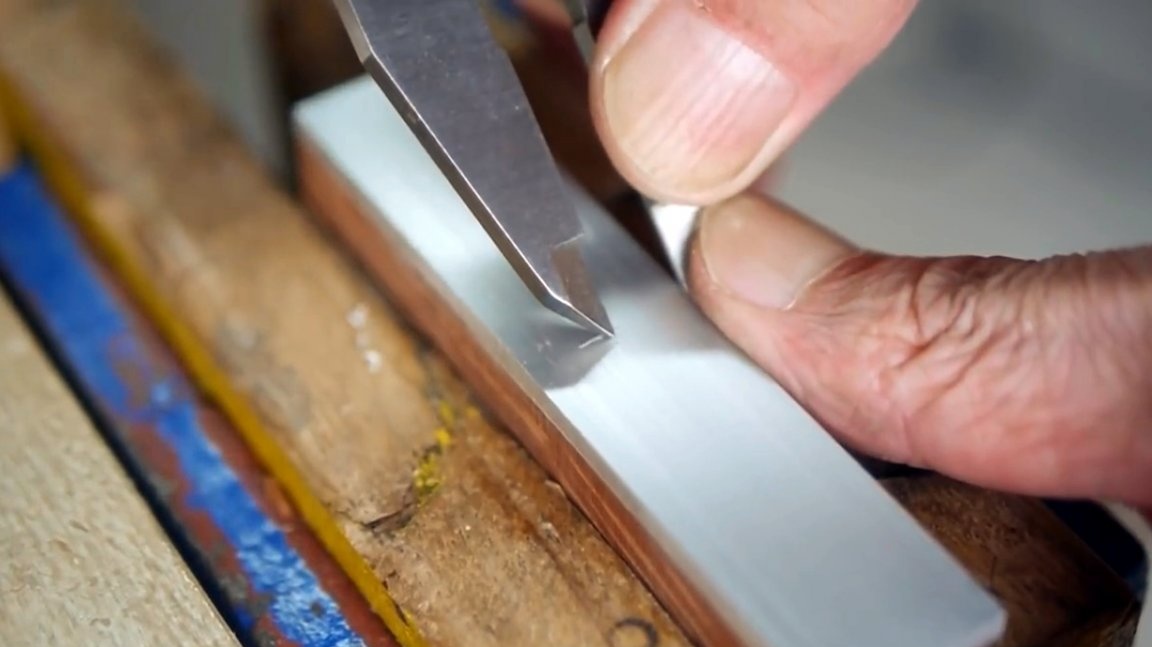
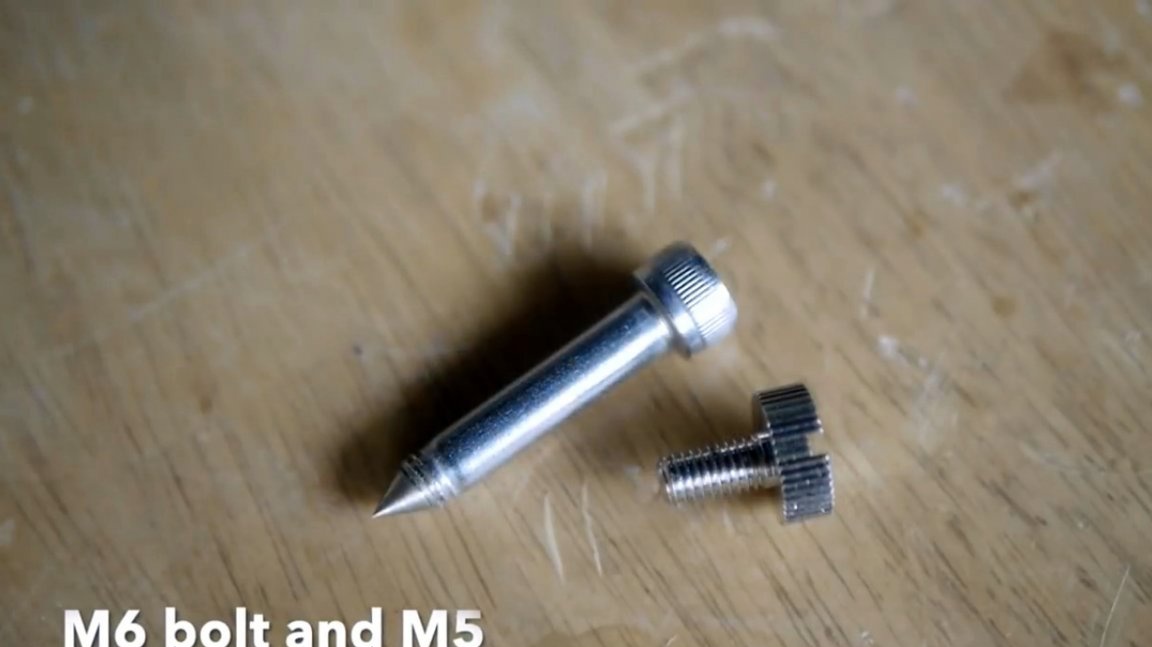
While the glue is polymerizing, the master began to make a marking tip. To do this, he pressed the M6 bolt to the table with a grip grip, and cut off part of it with a grinder.
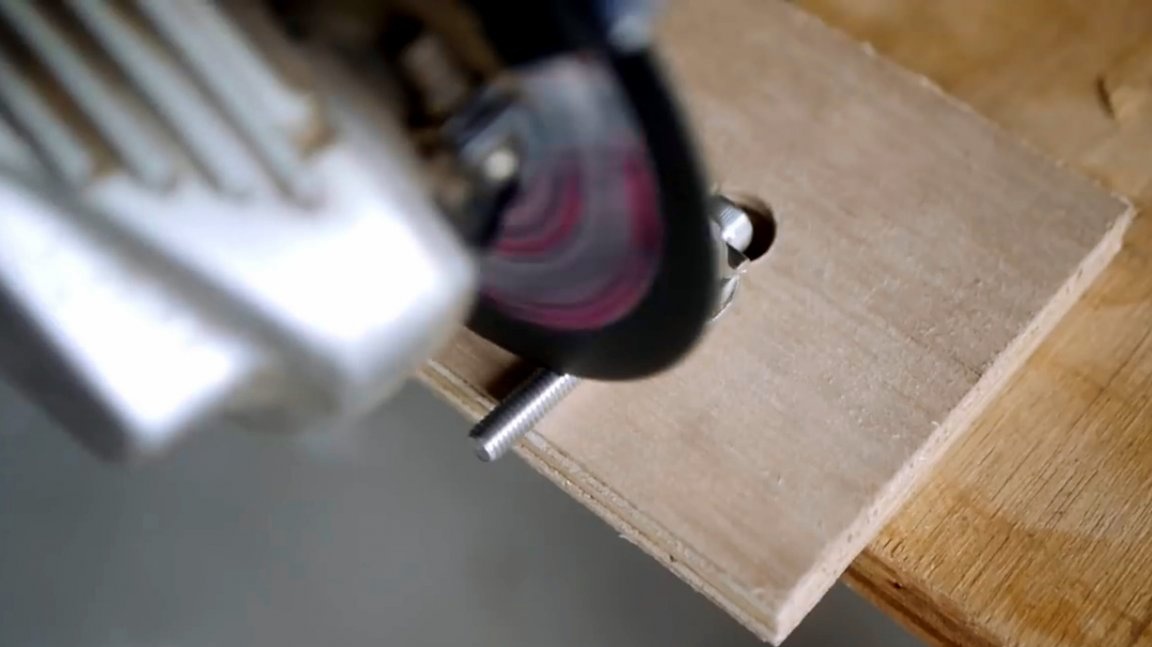
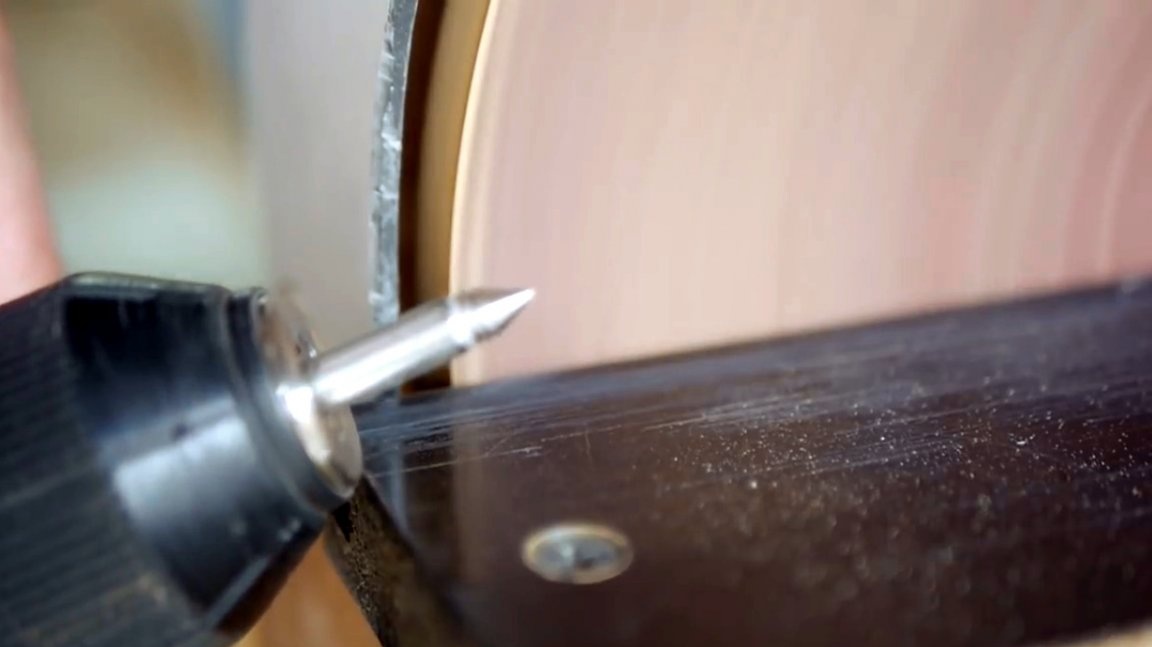
The bolt clamped in the chuck of a screwdriver, sharpened and polished its tip.
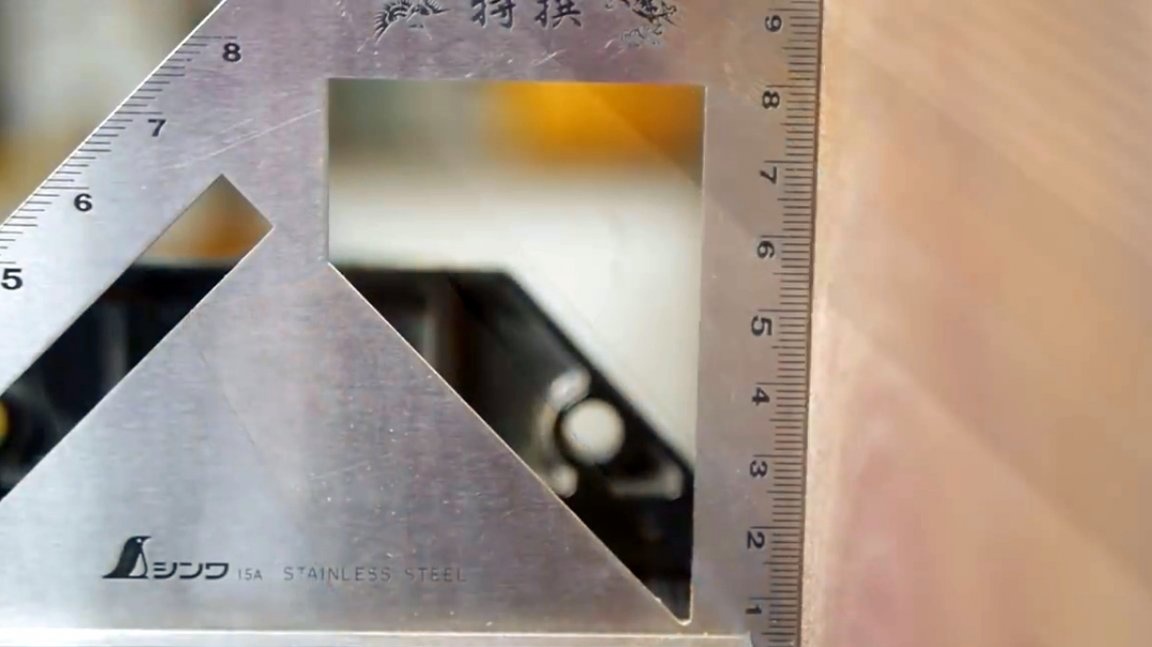
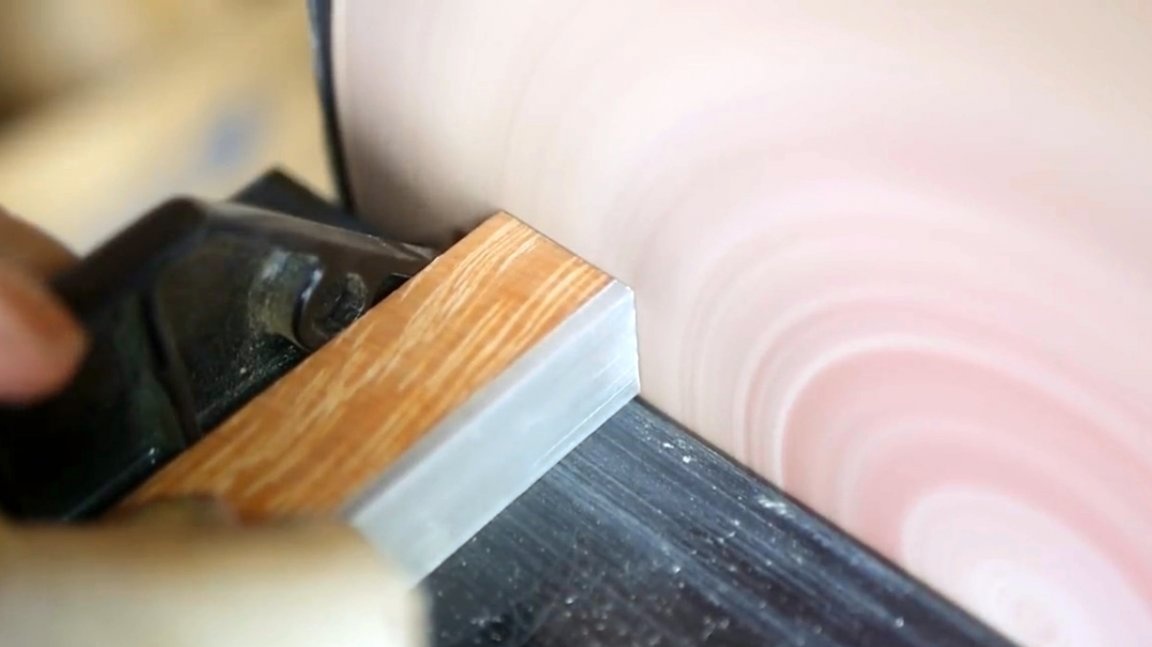
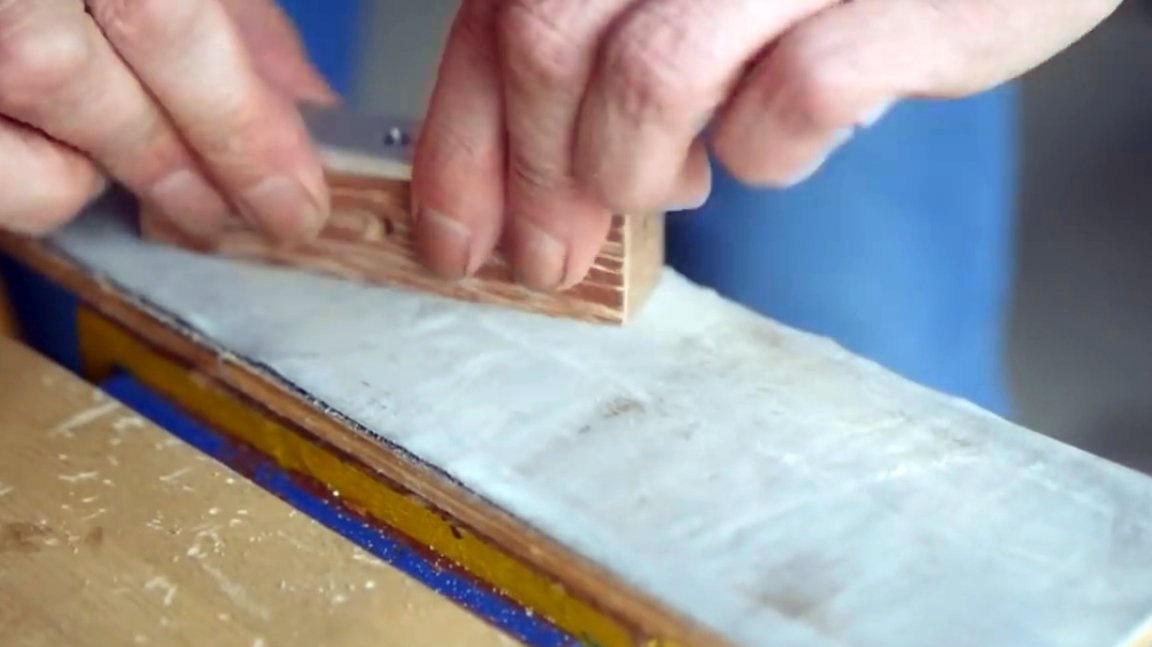
After the glue dries, the master aligns the side faces of the body.
Checks the correct installation of the inclined table and the stop of the orbital sander. All angles must be strictly 90 degrees. After that, it polishes the edges of the case.
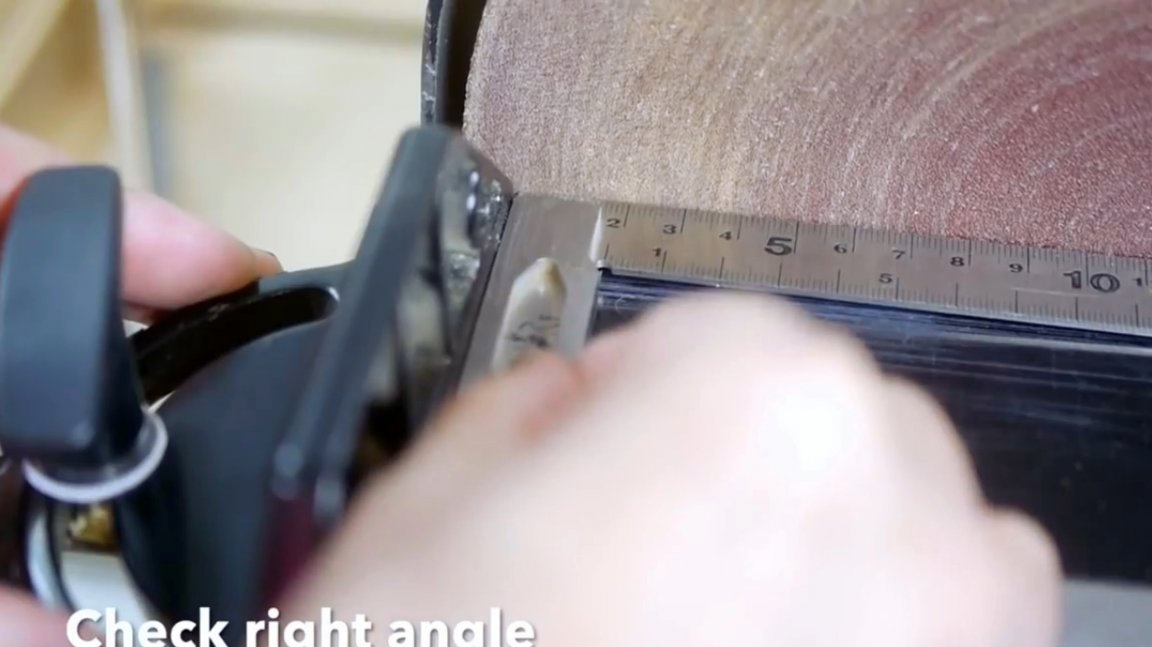
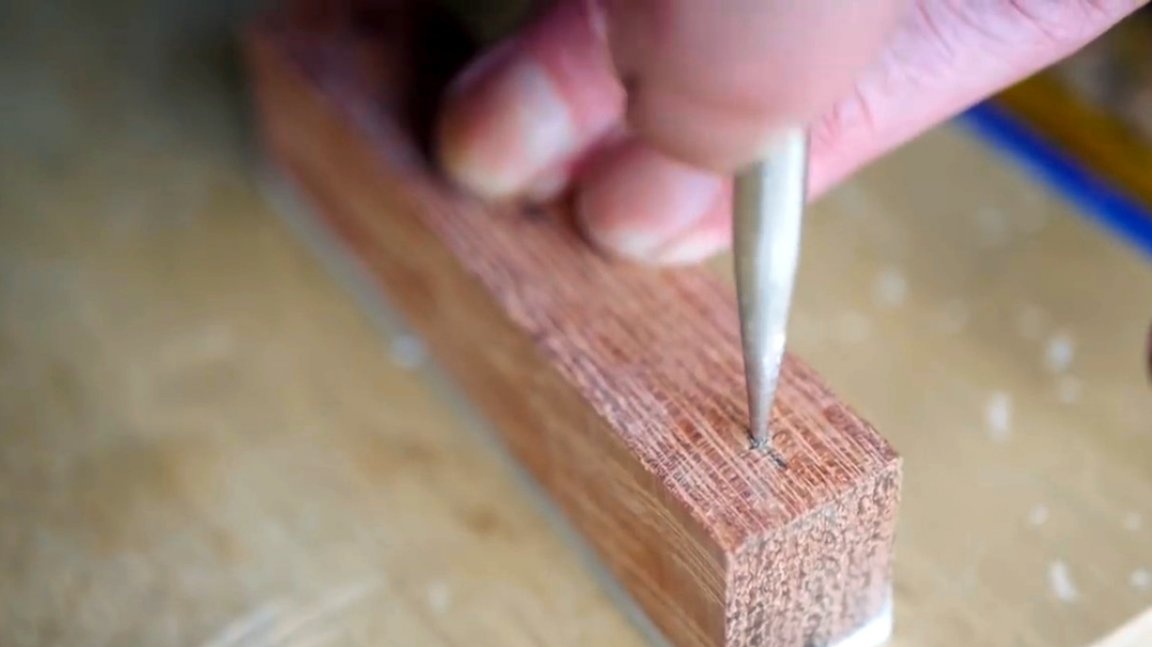
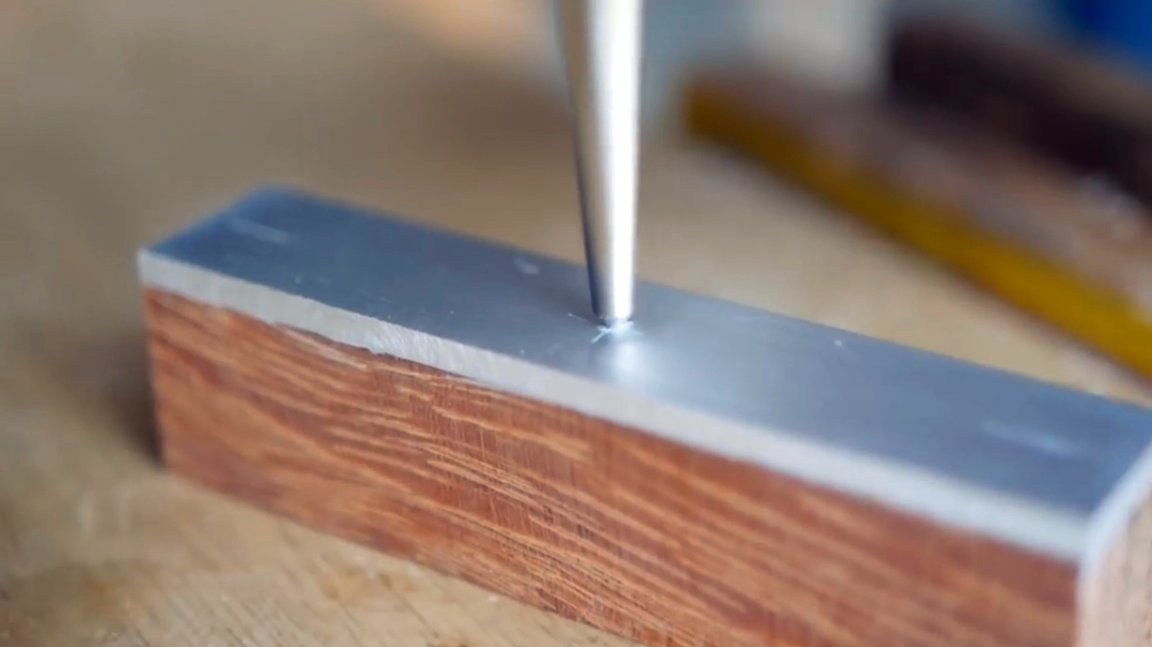
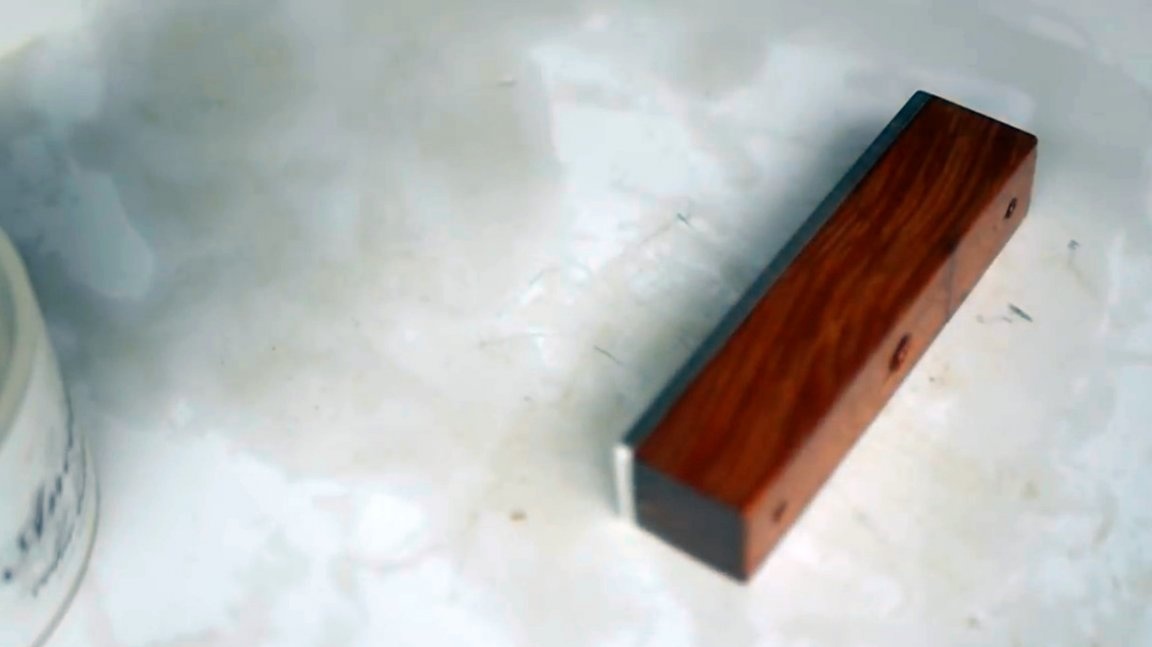
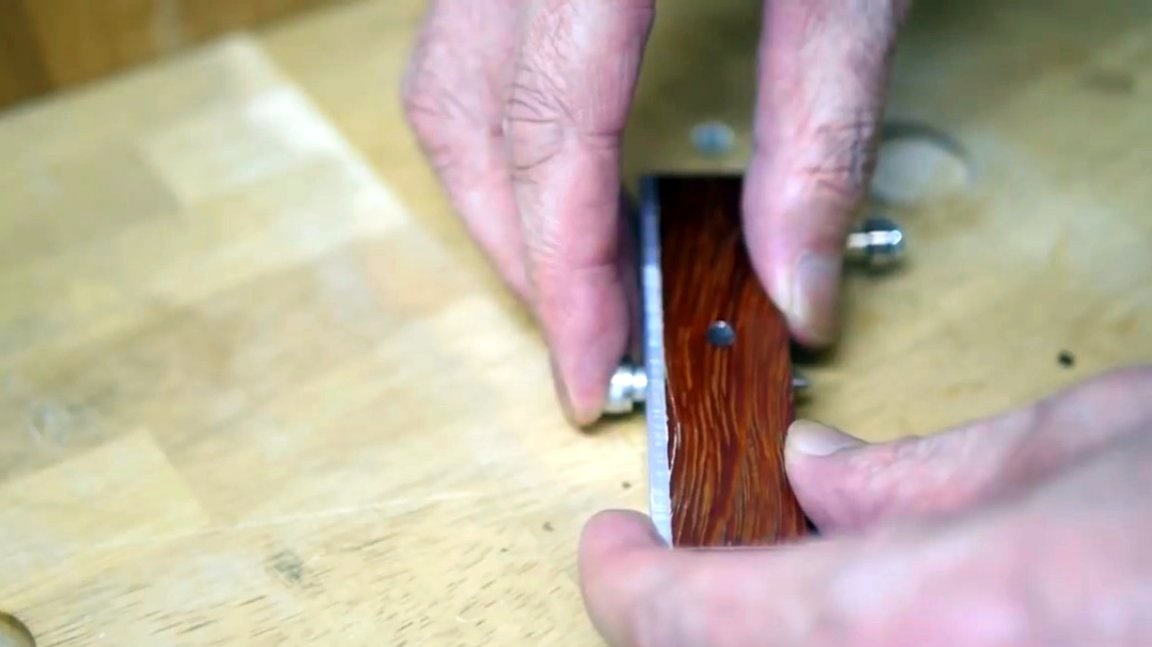
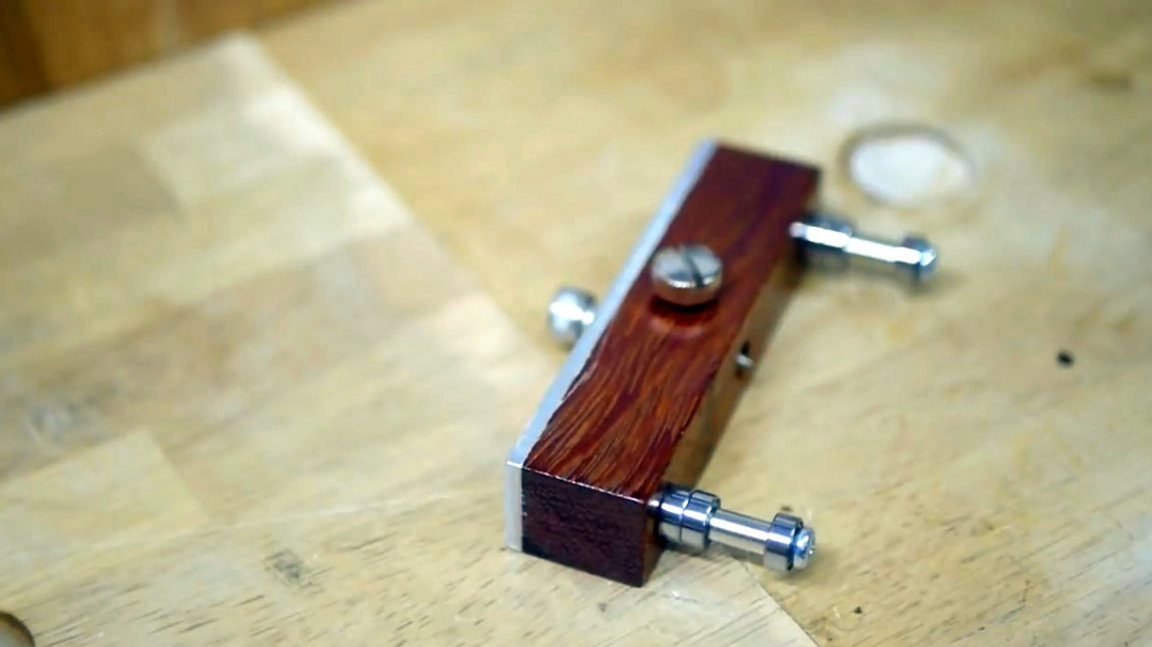
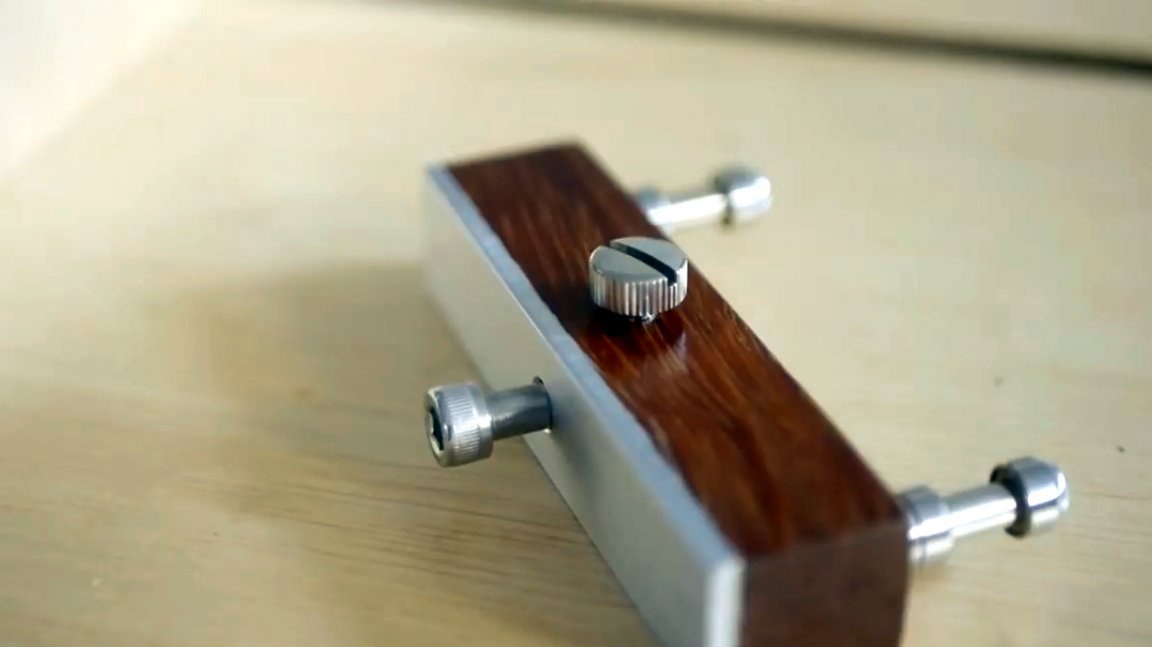
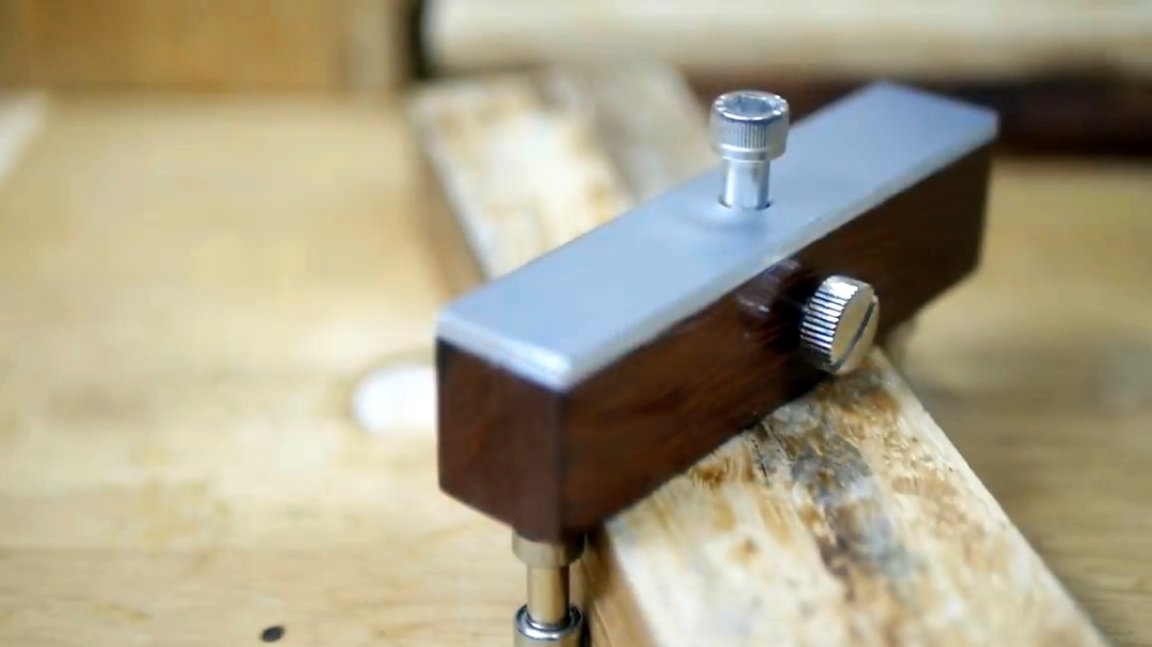
After processing, the case became such sizes. The author marks the center of the plate.
Also marks the other side.
On the wooden part, the marking is done with an awl, and the metal surface is cored.
Drills three through holes through the plate, and one on the side. By the way, he uses special clamps for the workbench to fix the workpiece, I talked about the method of their manufacture in a recent article.
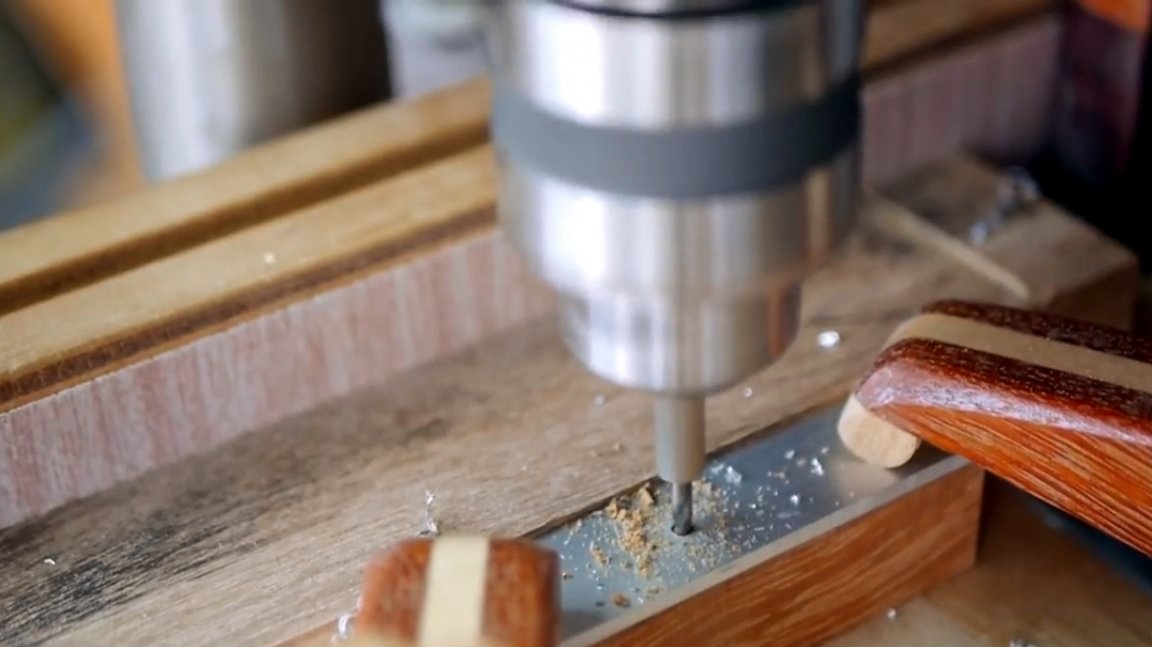
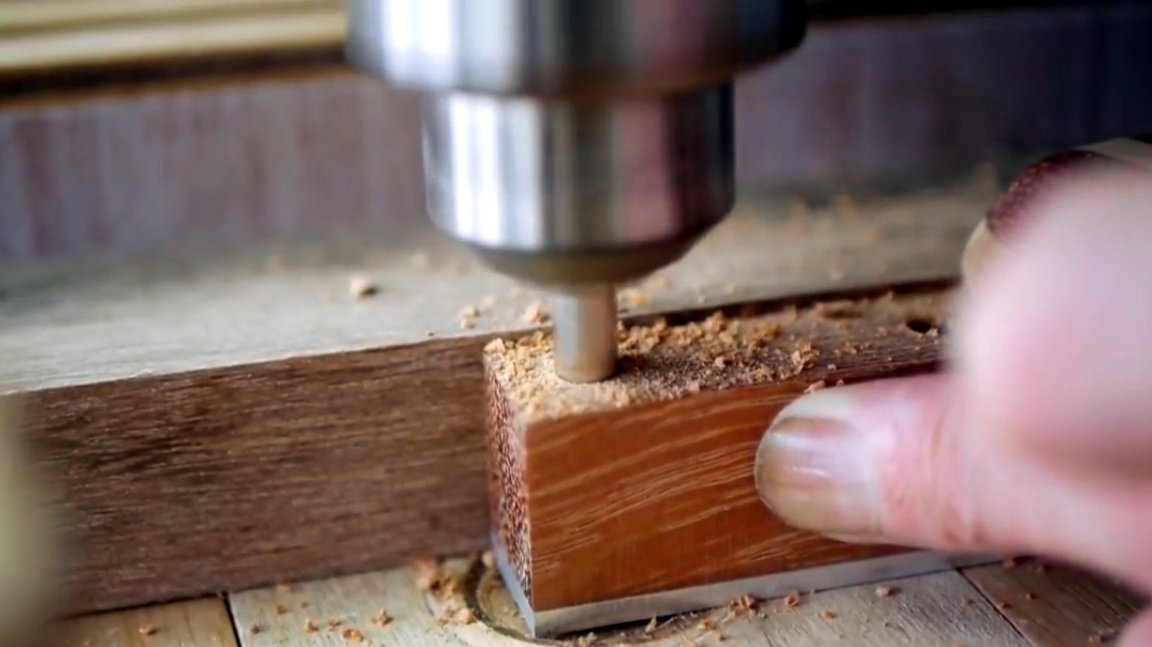
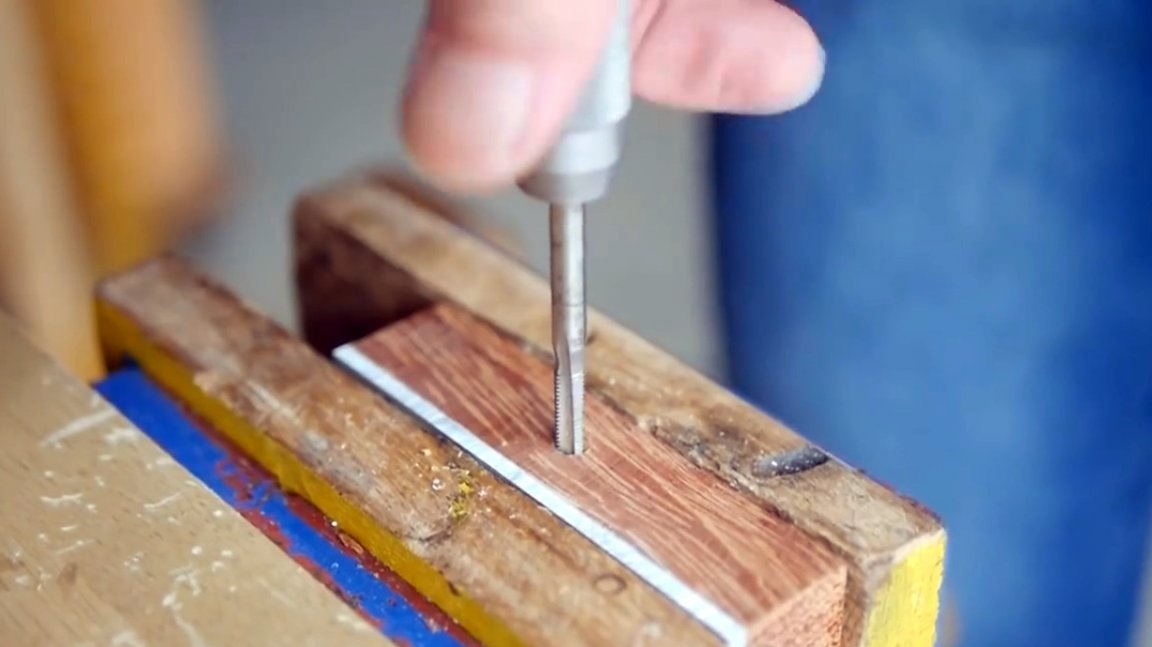
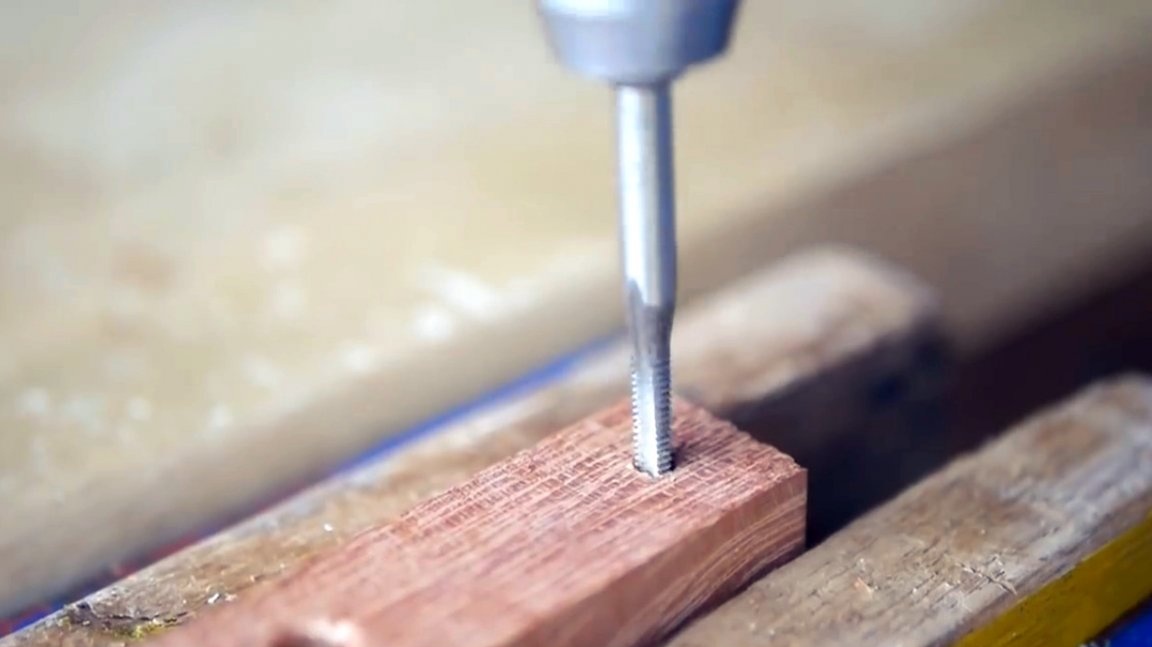
The resulting holes are countersunk, and the M4 thread is cut into the side holes.

The surface of the body is polished with 400 grit sandpaper.
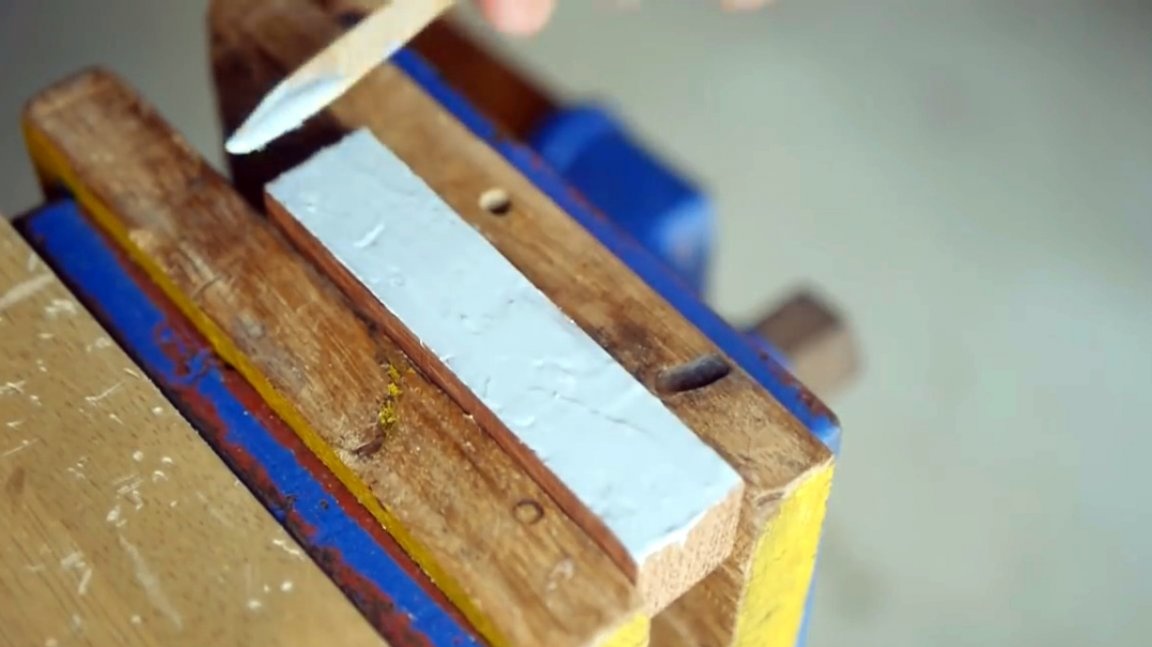
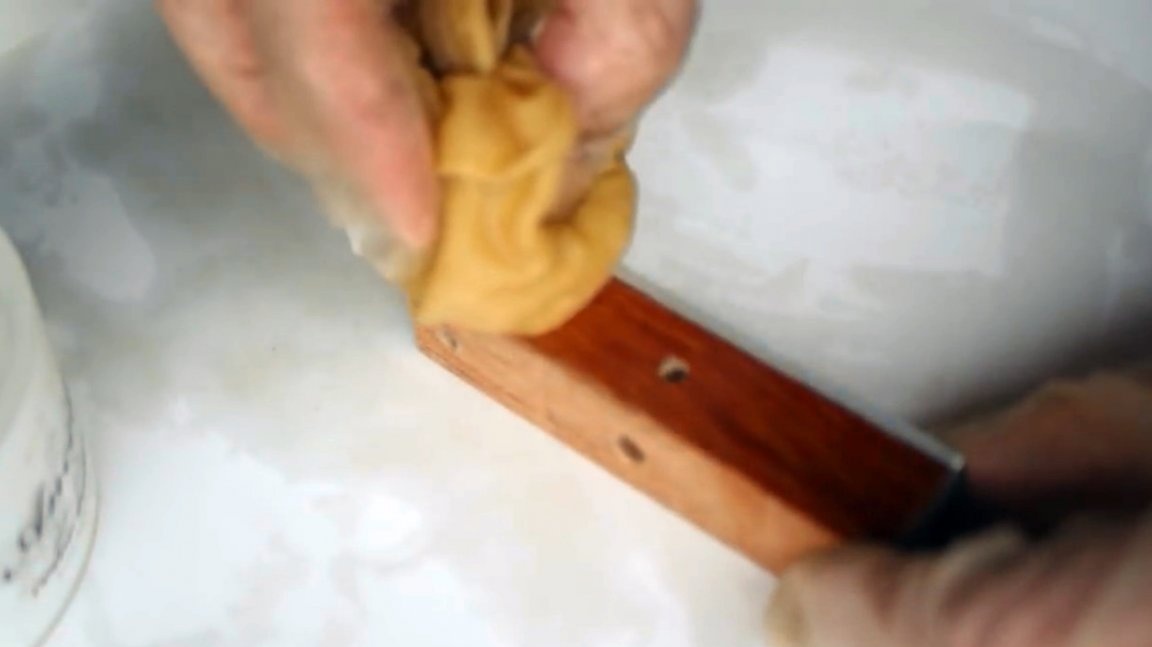
After grinding, the body is covered with oil. About the recipe for excellent home-made impregnation from beeswax and rosehip oil I wrote inthis article. Such impregnation can be applied even on surfaces in contact with food, and does not have the unpleasant odor that flaxseed oil has.
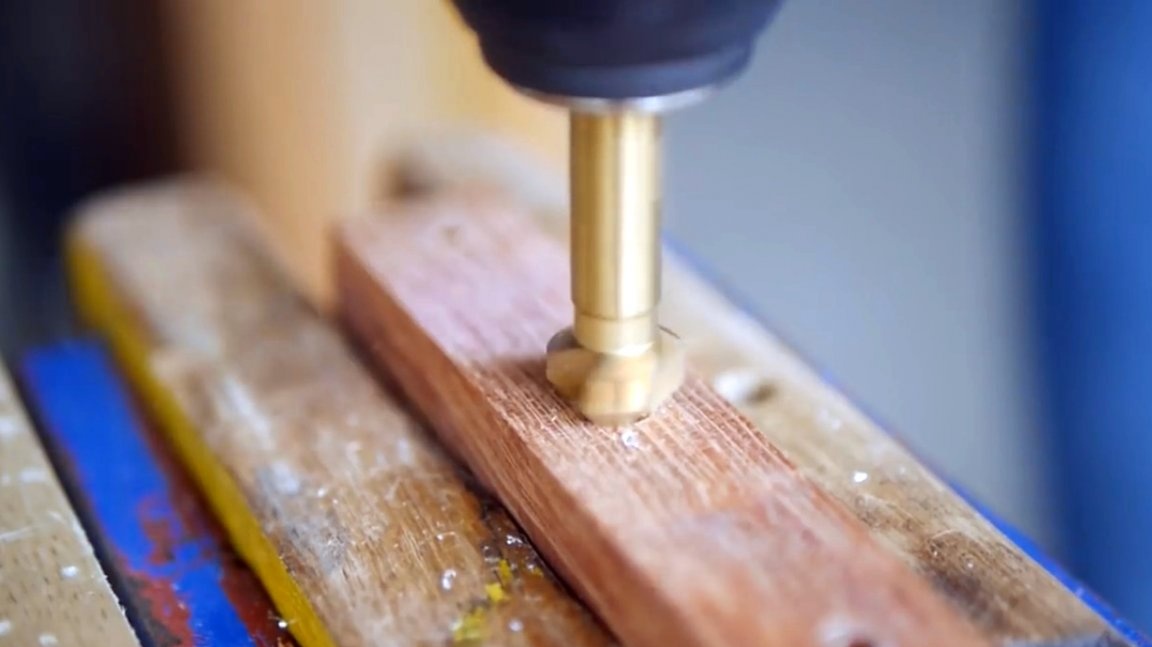
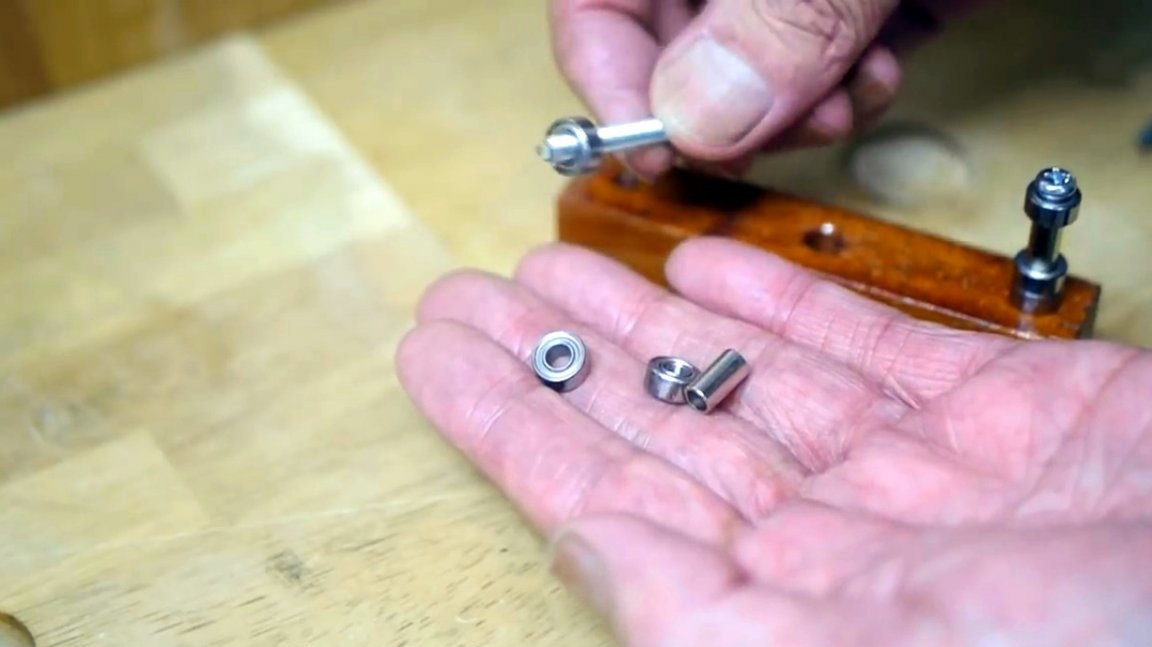
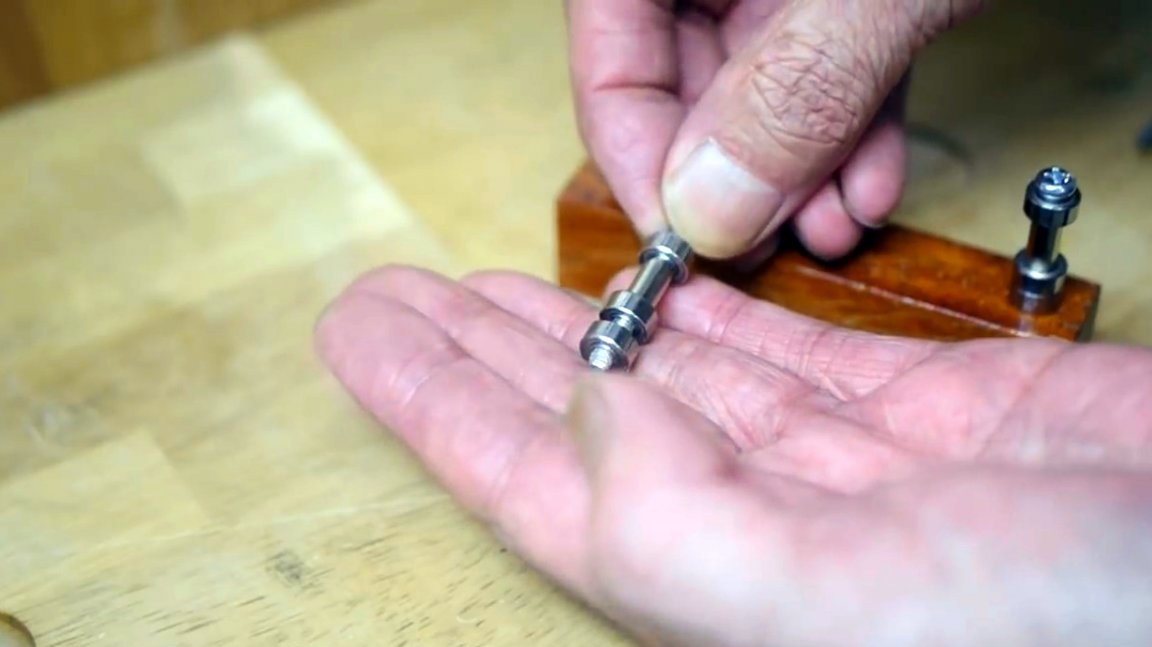
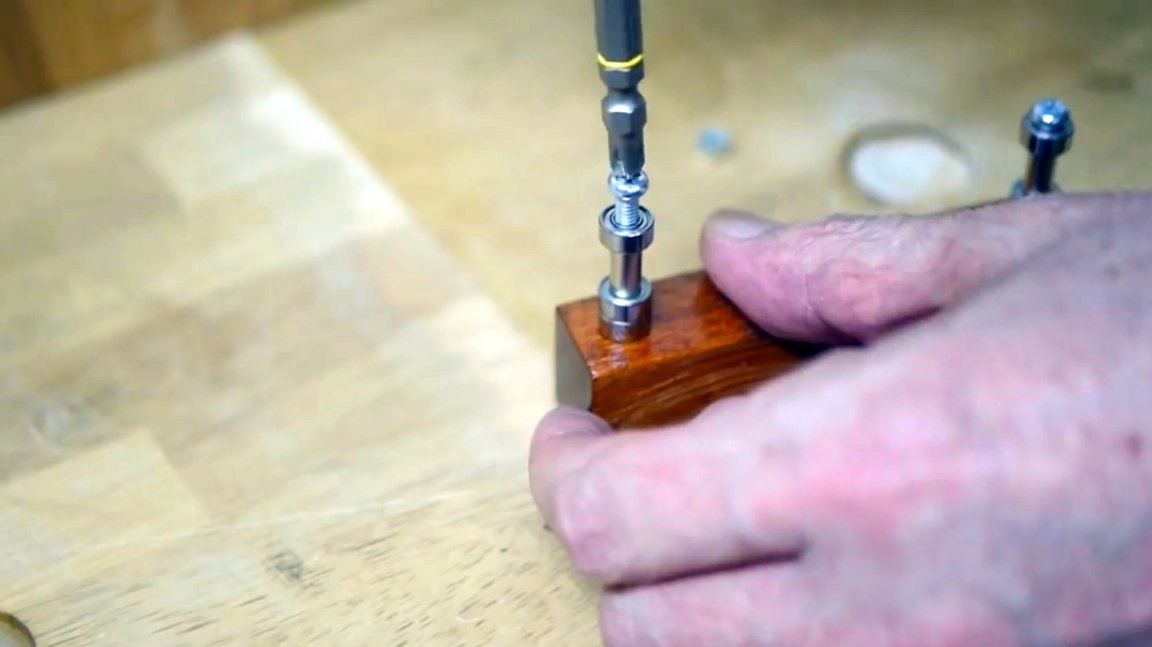
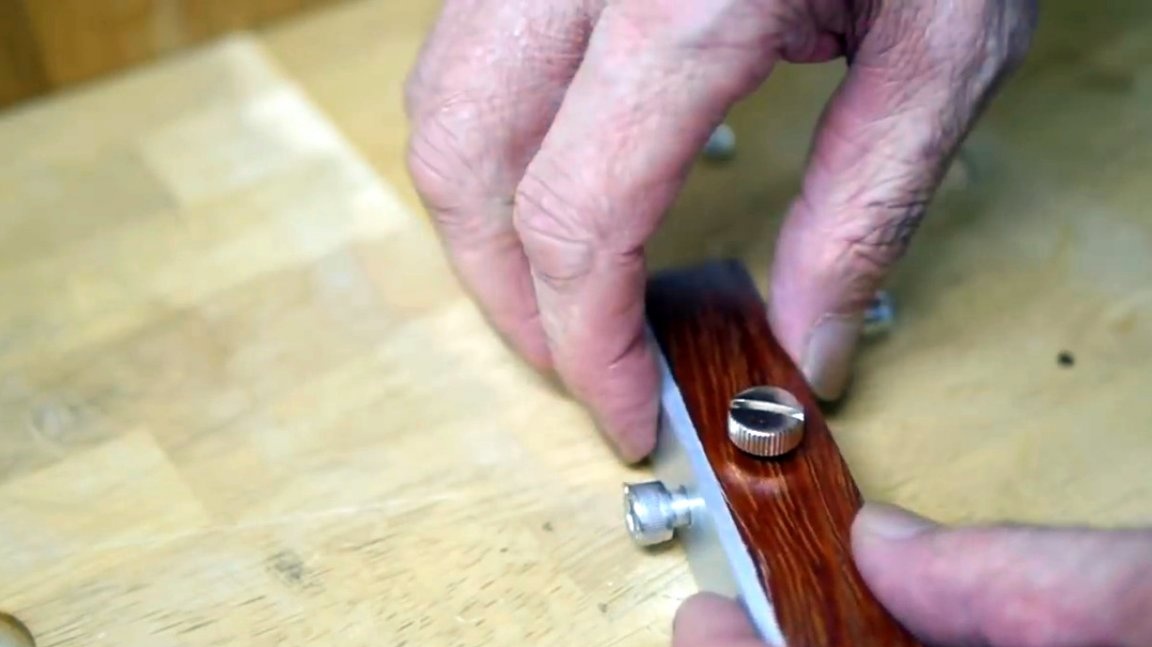
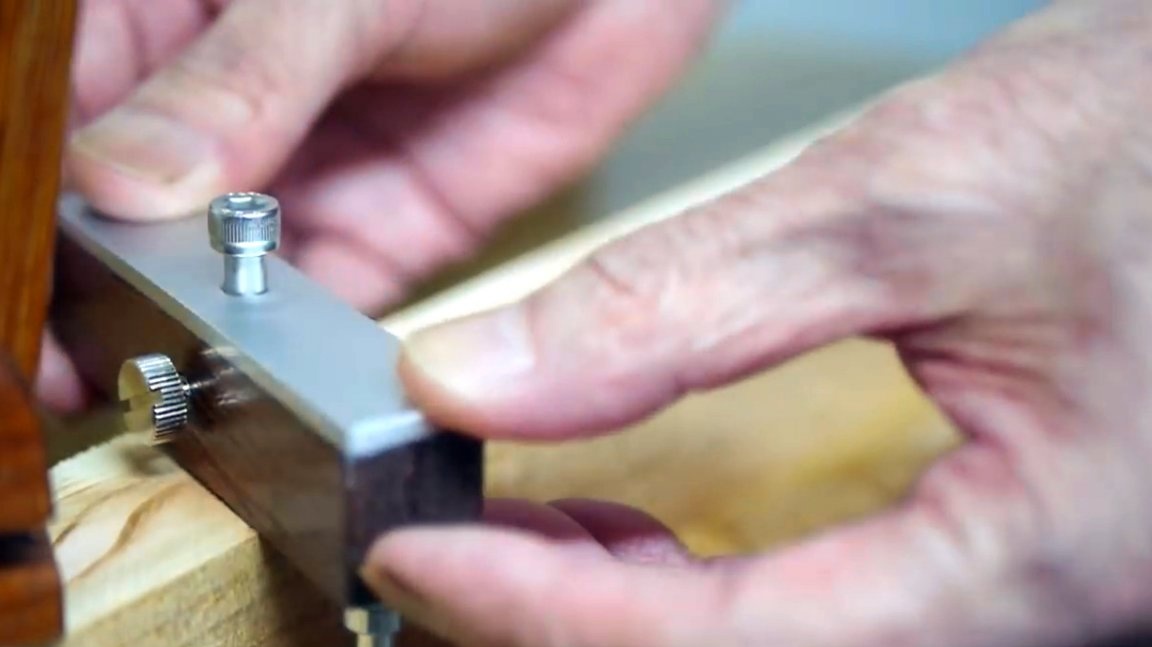
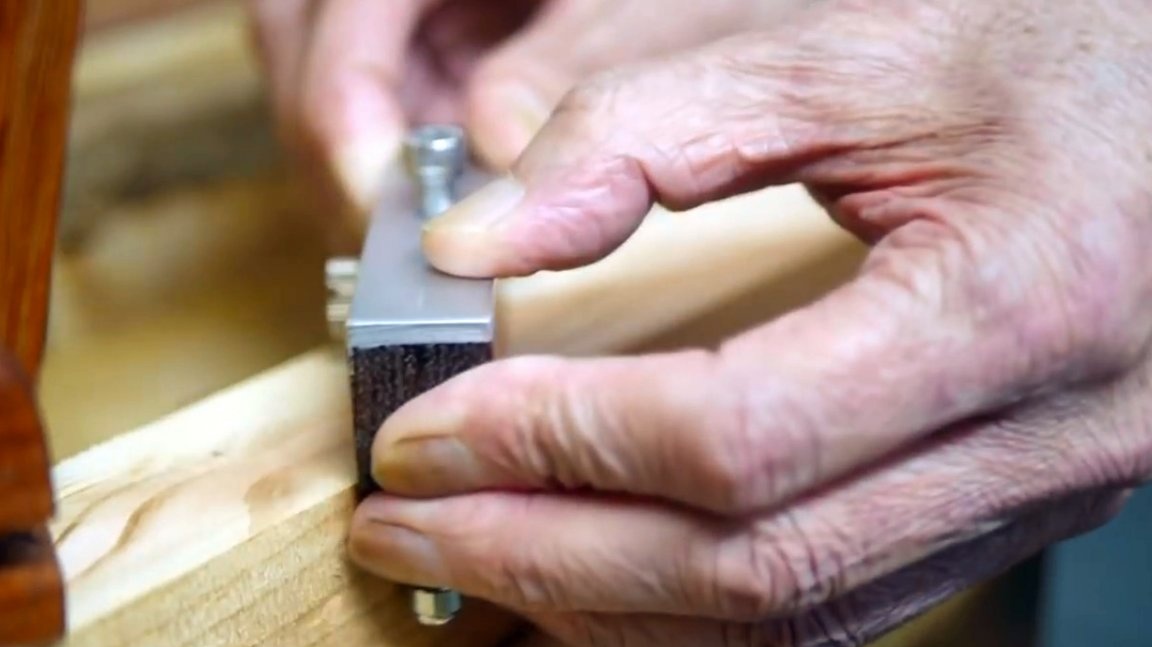
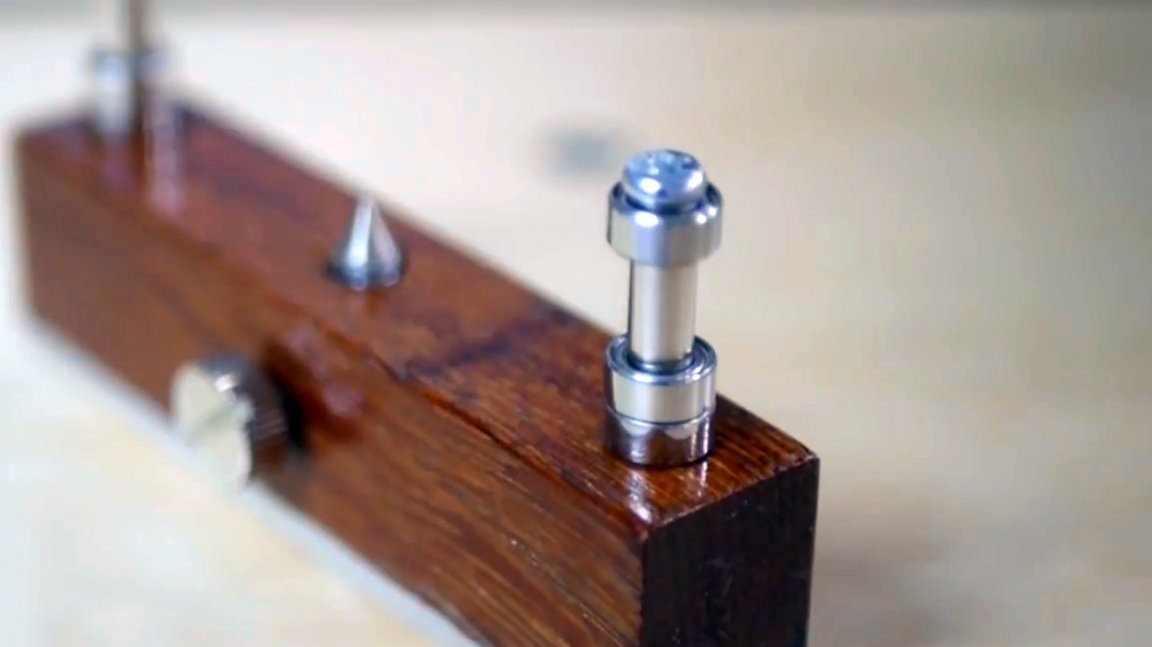
Now you can prepare the screws with bearings.

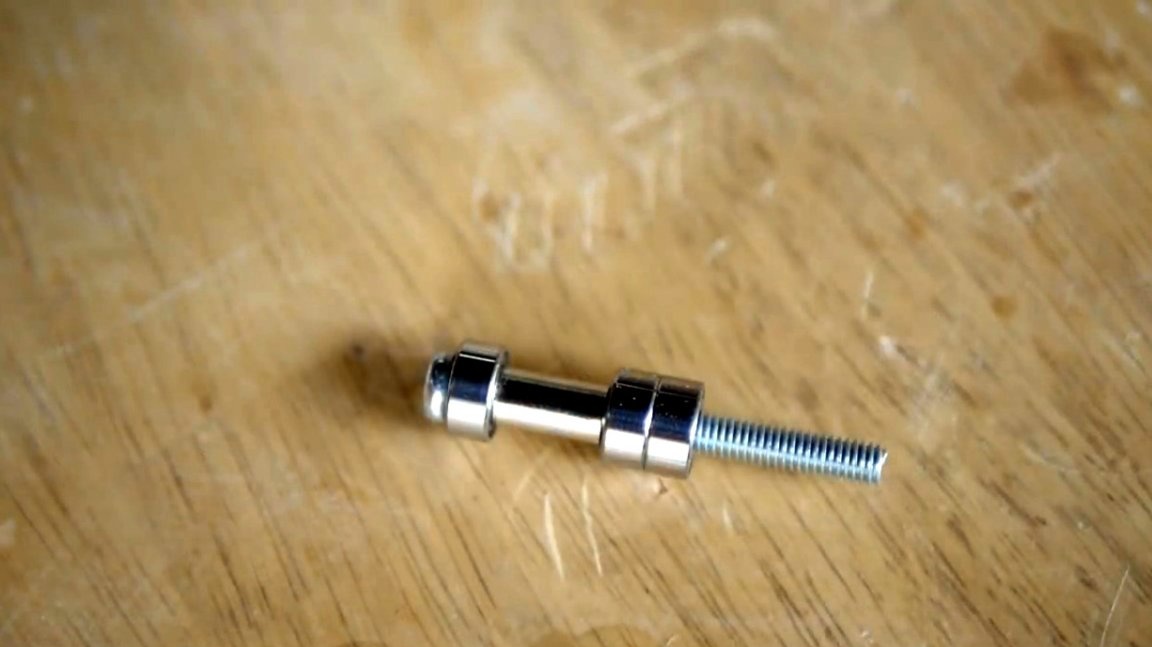
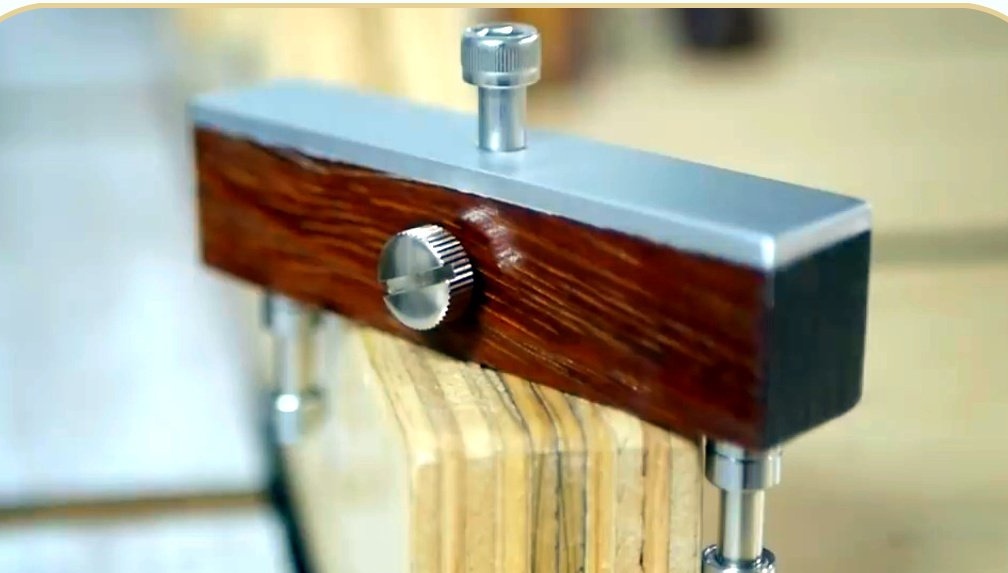
Two such stops with bearings are screwed into the housing.
A marking cutter is inserted into the central hole and fixed with a screw. It can be replaced with a pencil stub.
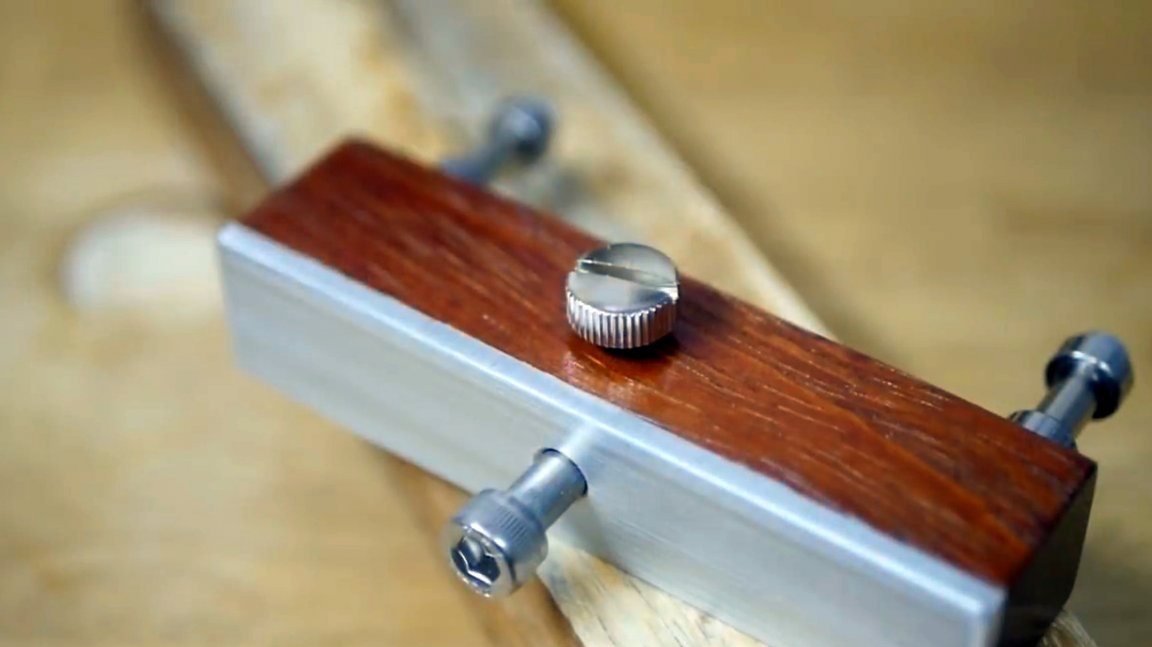
Now device ready, the master presses the bar to the table with a clamp, and makes the marking. About the method of manufacturing this clamp was described in a recent article.
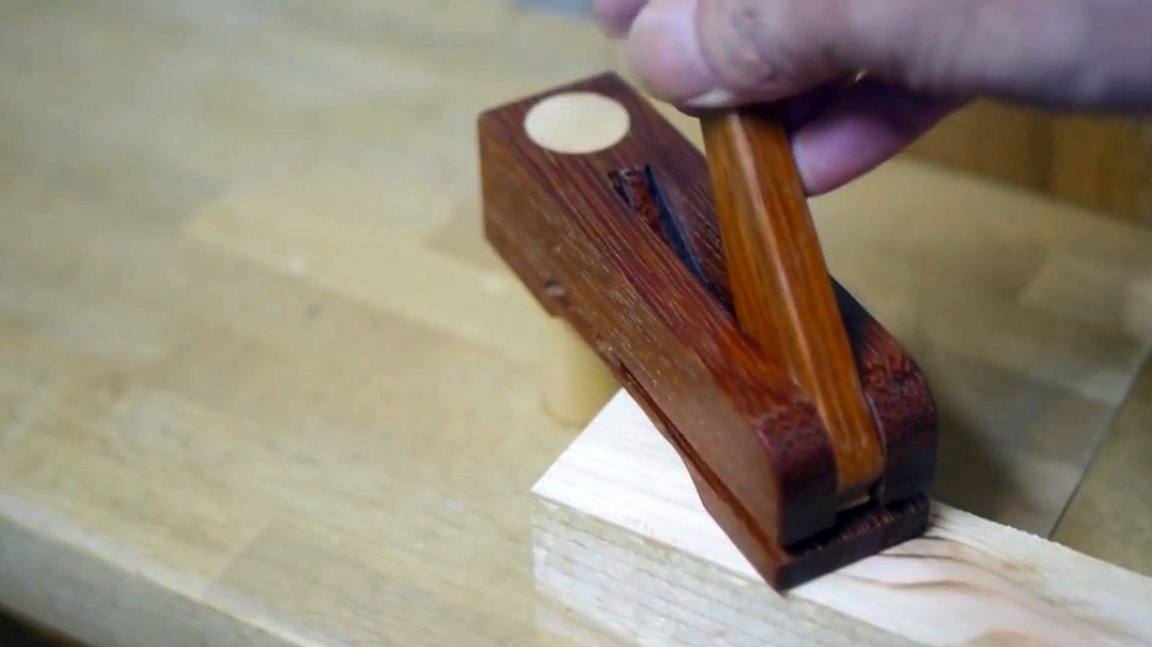
Here is a beautiful and important tool turned out by the master. Such a device can also be made much longer, then even the center of a wide board can be marked with it.
I thank the author for a simple but useful tool for the workshop!
All good mood, good luck, and interesting ideas!
Author video can be found here.