
Happy New Year! Now comes the time when it is customary for friends and relatives to give gifts, and as you know, the best gift is the one that was made do it yourself. Today we will make a small souvenir knife from an old metal mill. The author of this homemade product is the author of the TEXaS TV YouTube channel.
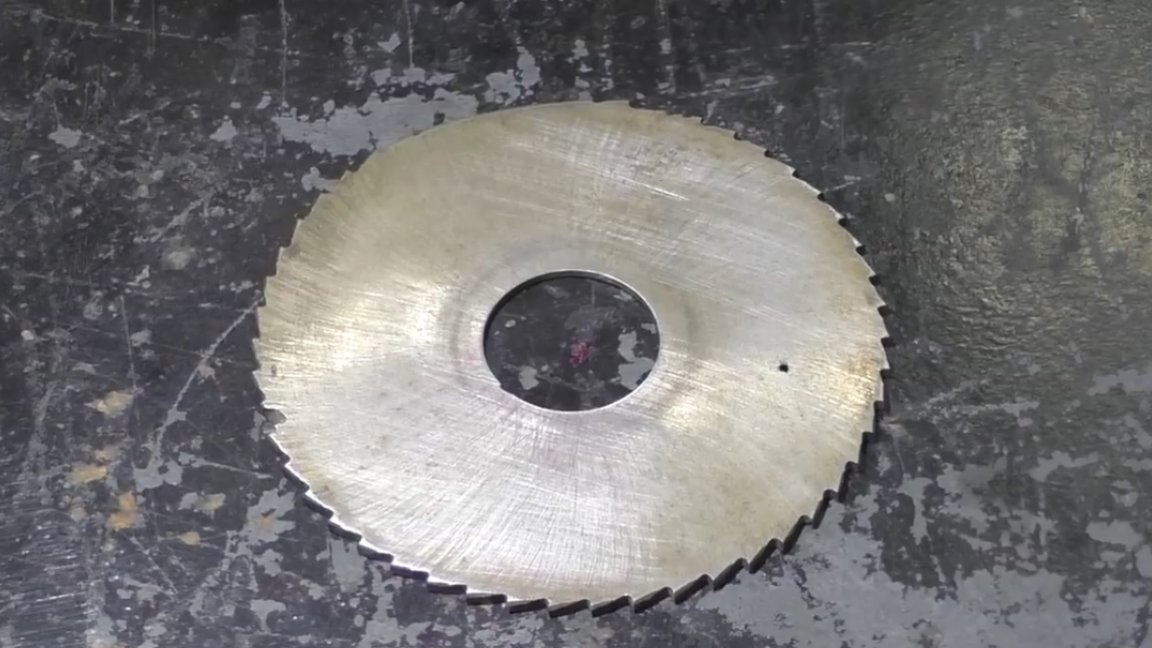
Let’s make a gift. As a basis, the author took an old metal mill, which has long served its term. By the way, who cares, the steel here is r18.
The author previously made a template, according to which he further draws the markup and this whole interesting process begins.
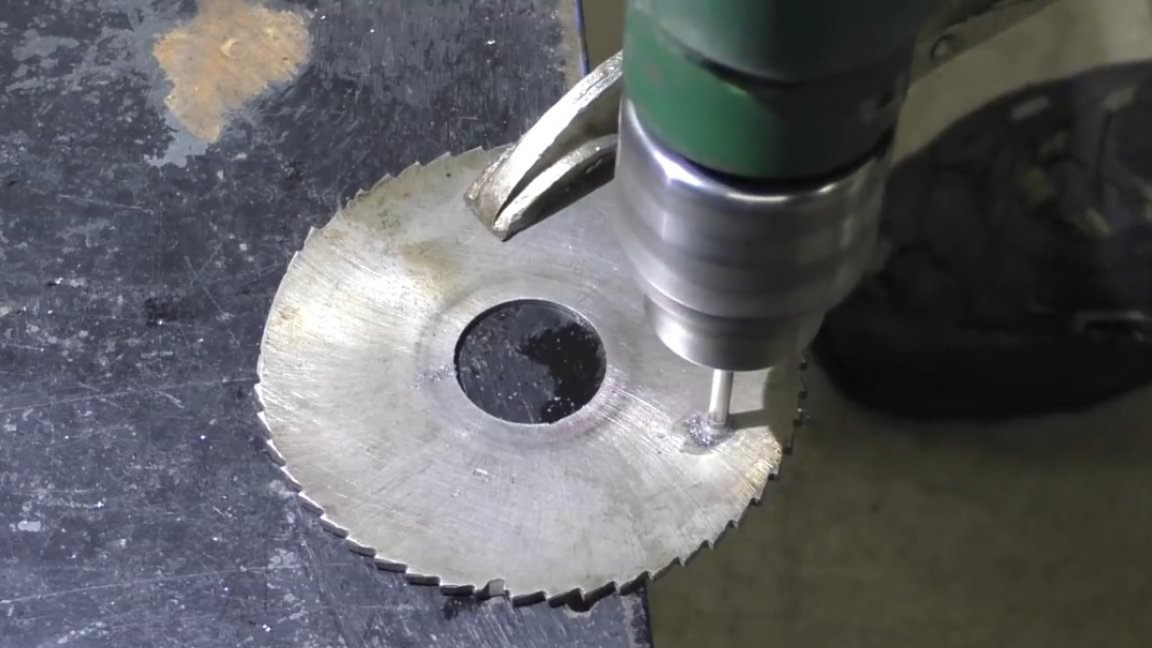
In order not to spoil the workpiece, it is initially necessary to drill the hole we need. We will drill with such a drill here on a tile, because a conventional drill simply will not take such steel.

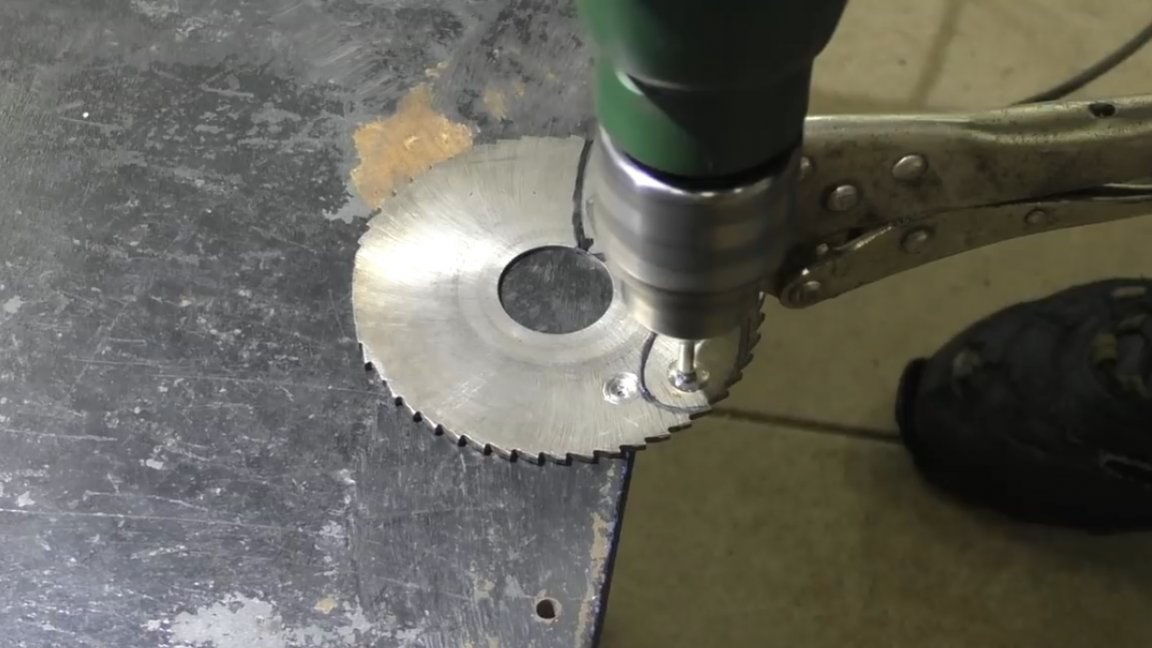
The main thing here is not to overheat and cool the drill in time. And here is the first jamb:
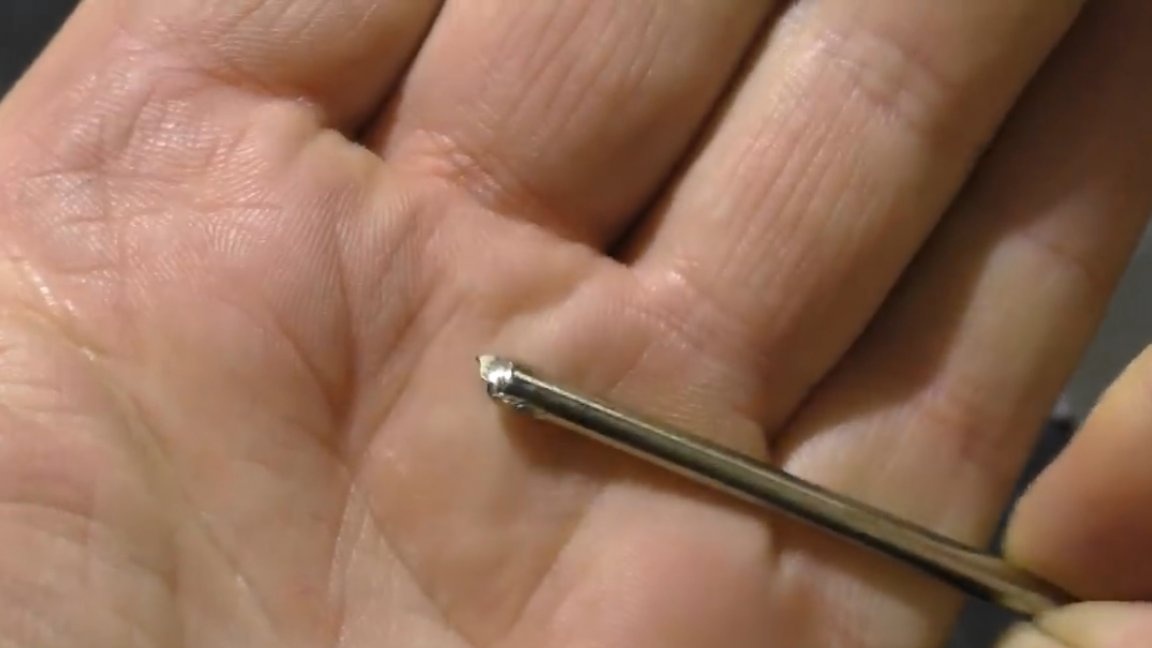
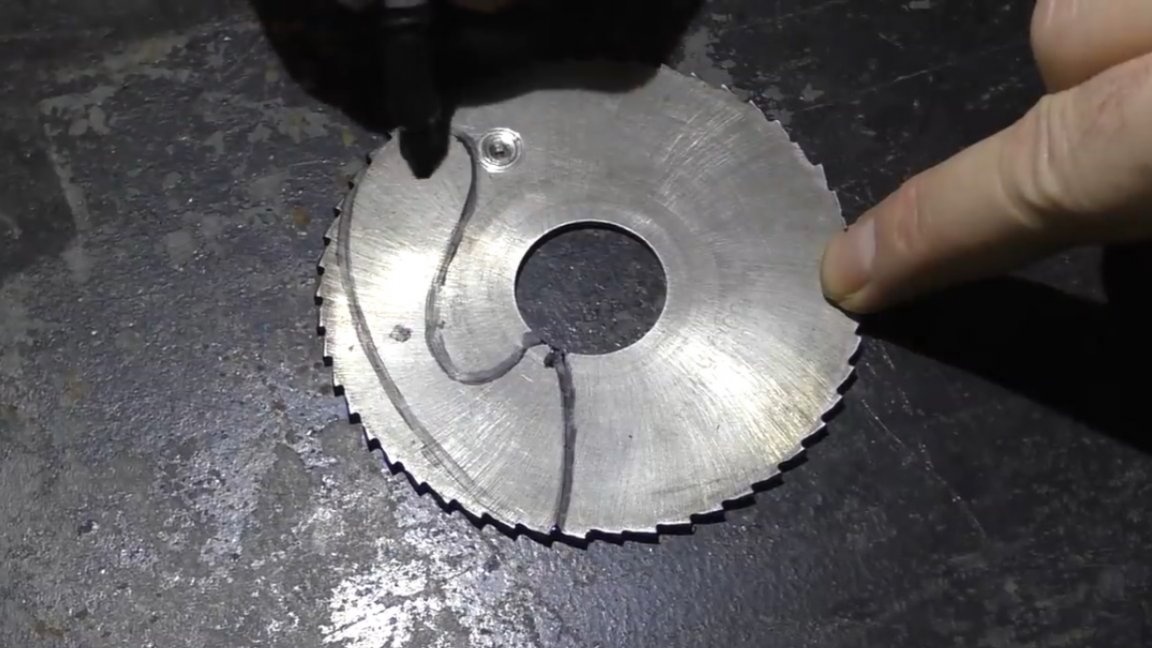
At the exit, the drill bit and the edge of the plate broke. It was possible to drill through the substrate, well, okay, learn from mistakes. Then went a drill of a larger diameter.
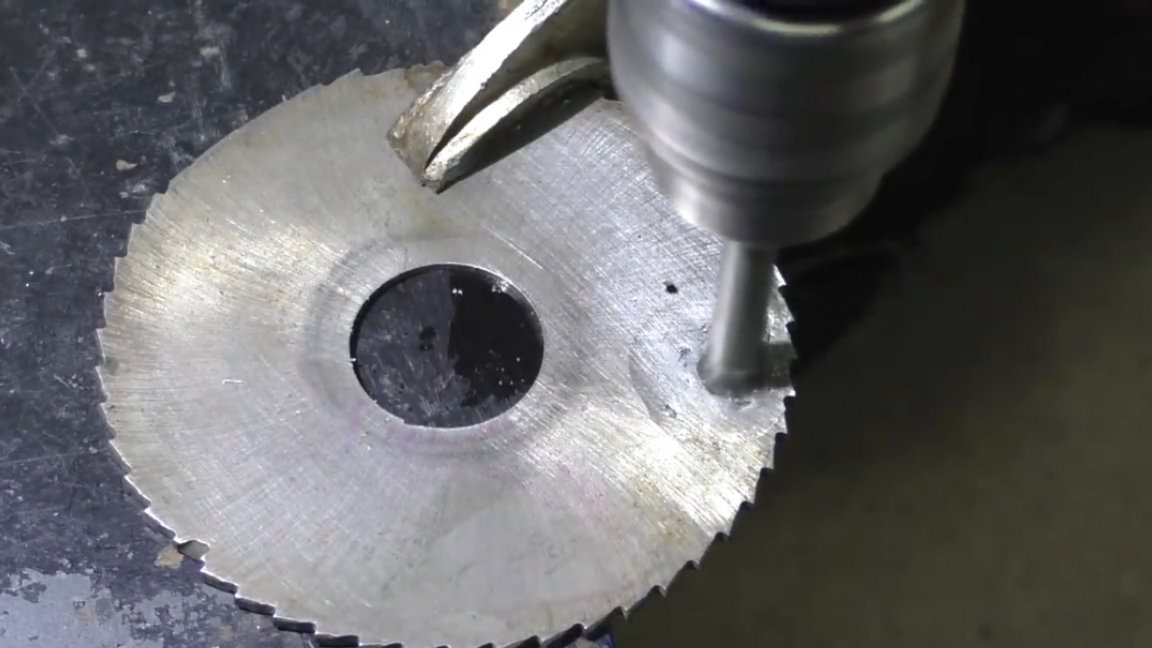
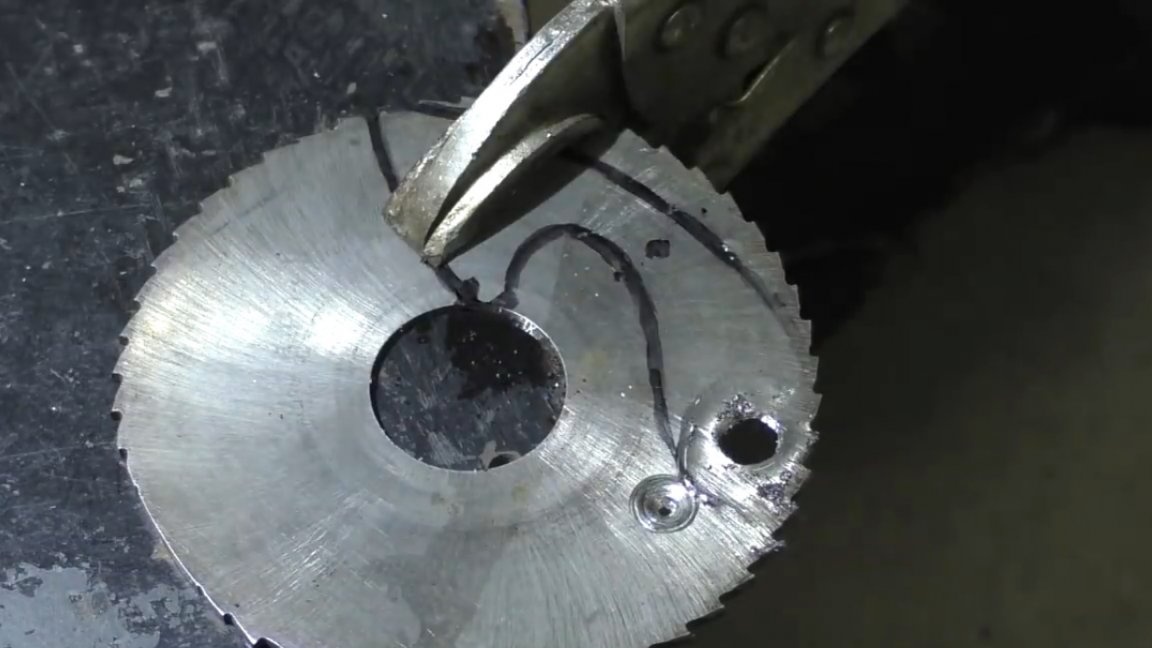
Slowly, periodically turning over the workpiece and lubricating with oil, everything turned out well. The author drilled the second small hole by re-sharpening a broken drill. In general, everything worked out.
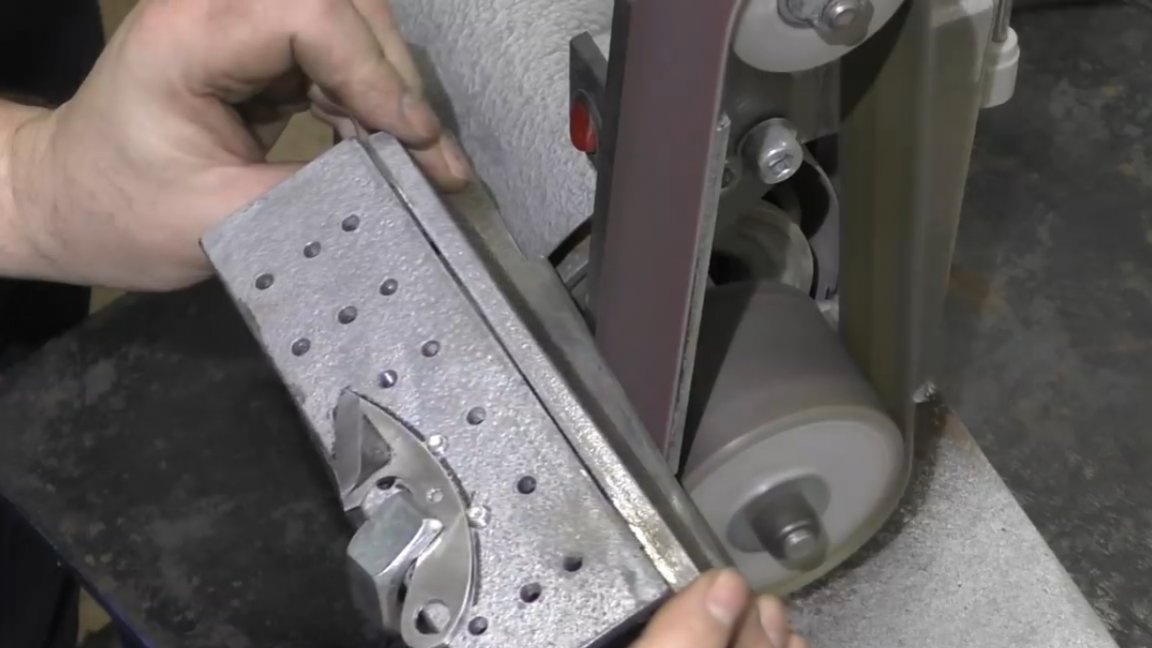
Next is the grinder.

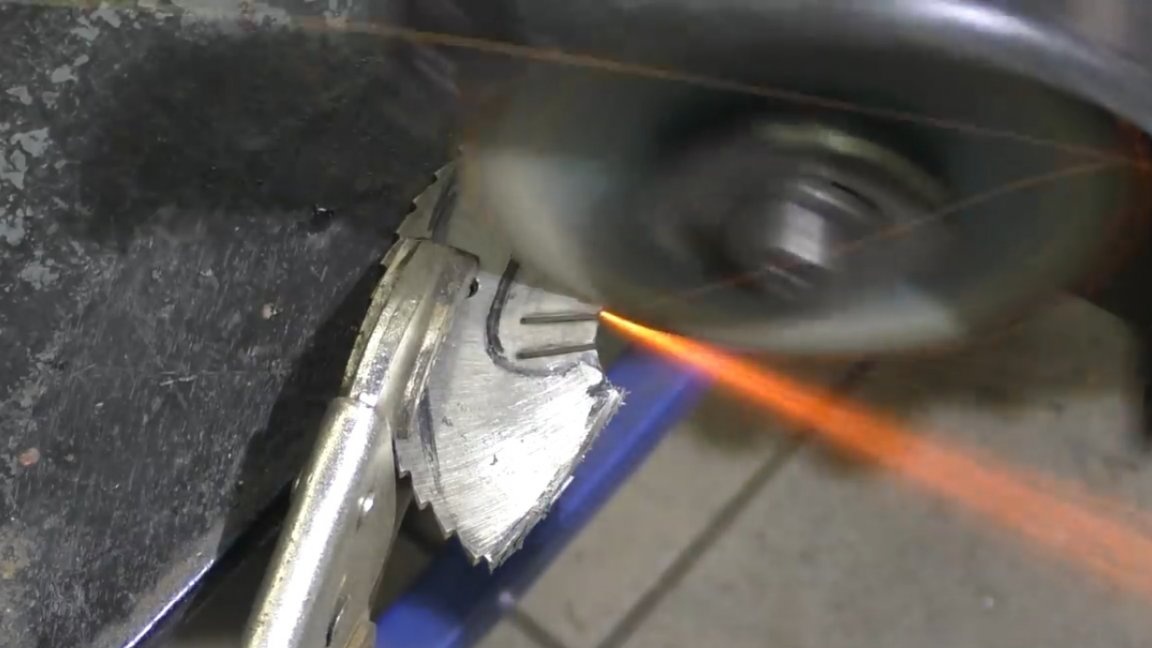
After everything is cut out in draft, then there is a cleanup circle.
Surprisingly, the metal is processed quite well, which is good news. A drill with a cone was also useful.
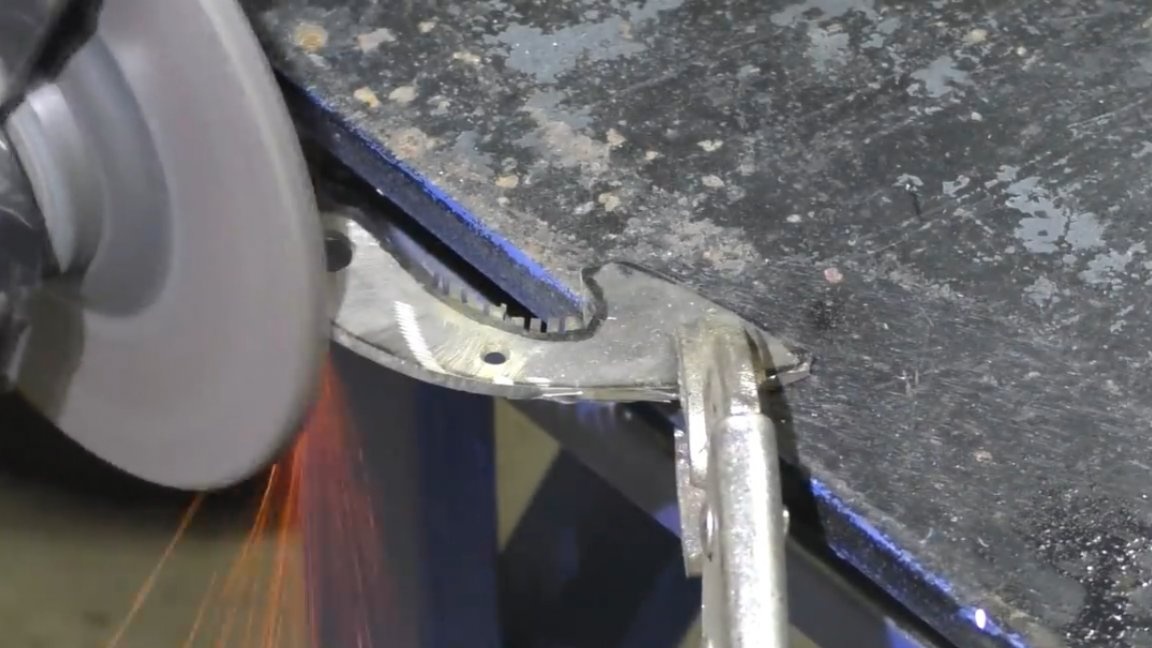
Final processing is done on the grinder. We remove all the flaws of the cleaning stone.

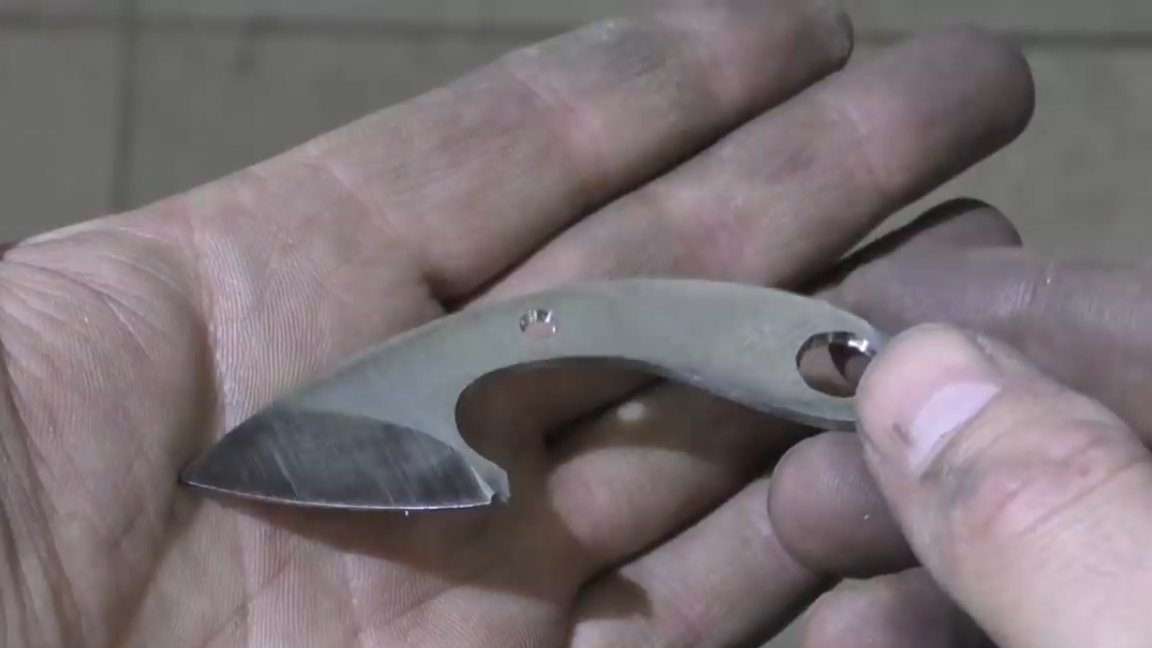
Here we have such a blank.
Then the author roughly drew the location of the slopes (as if he wanted to see it in the finale), but here, as it turned out, it was not so simple.
The author set the workpiece to adapt. This is how it all looks:
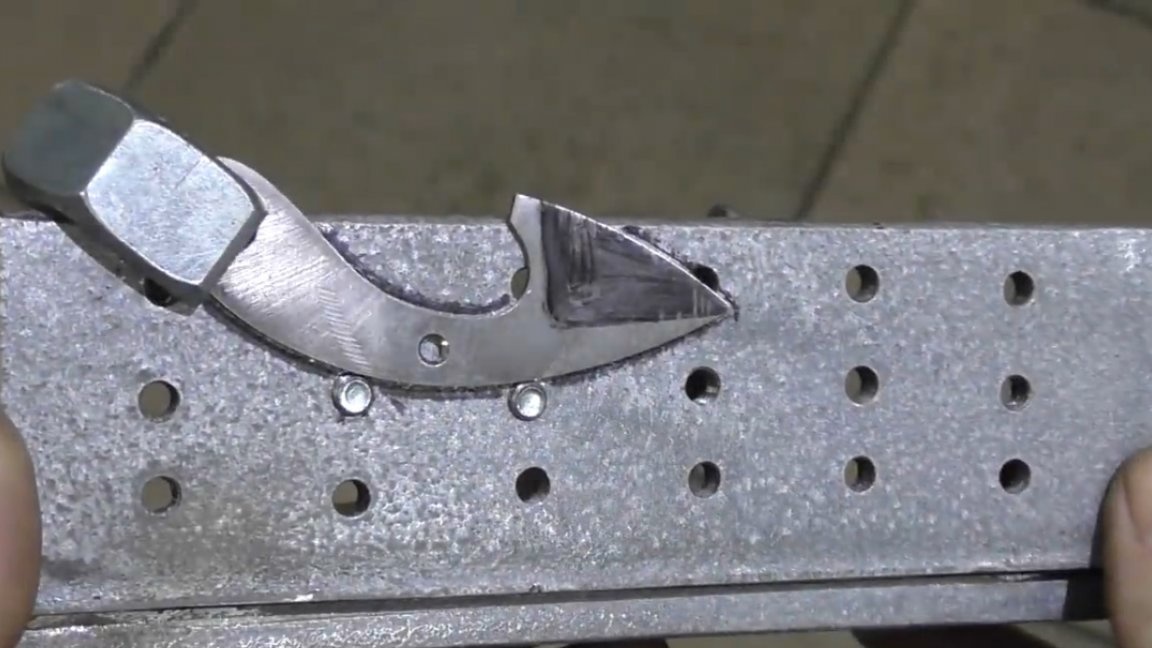
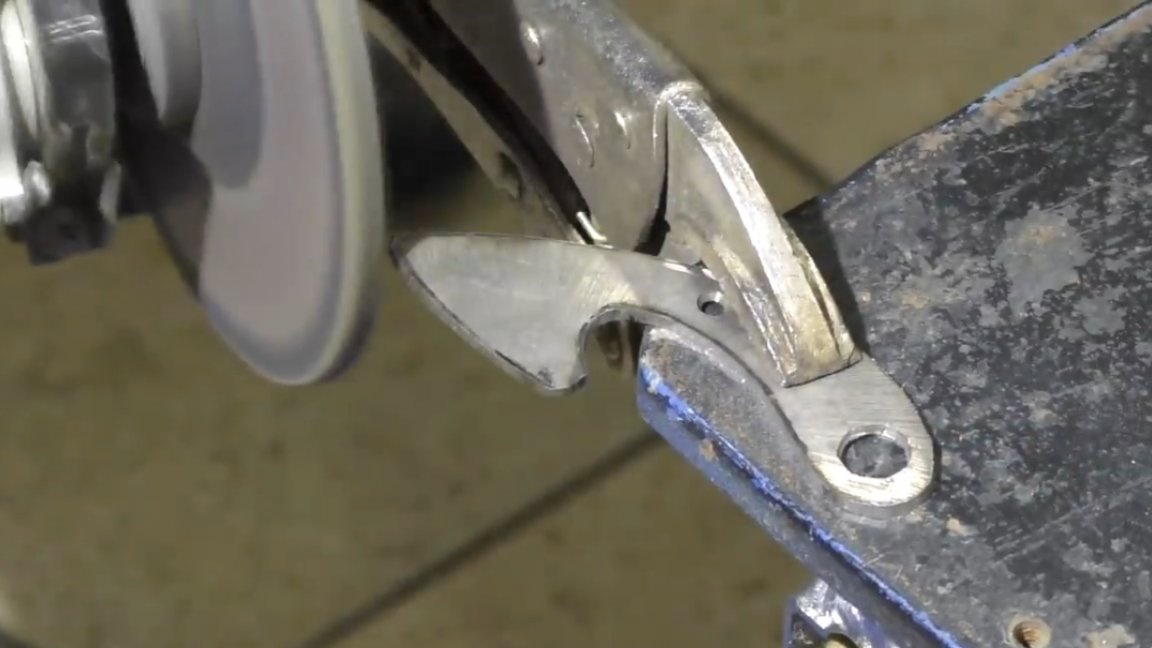
Then he began to make descents.

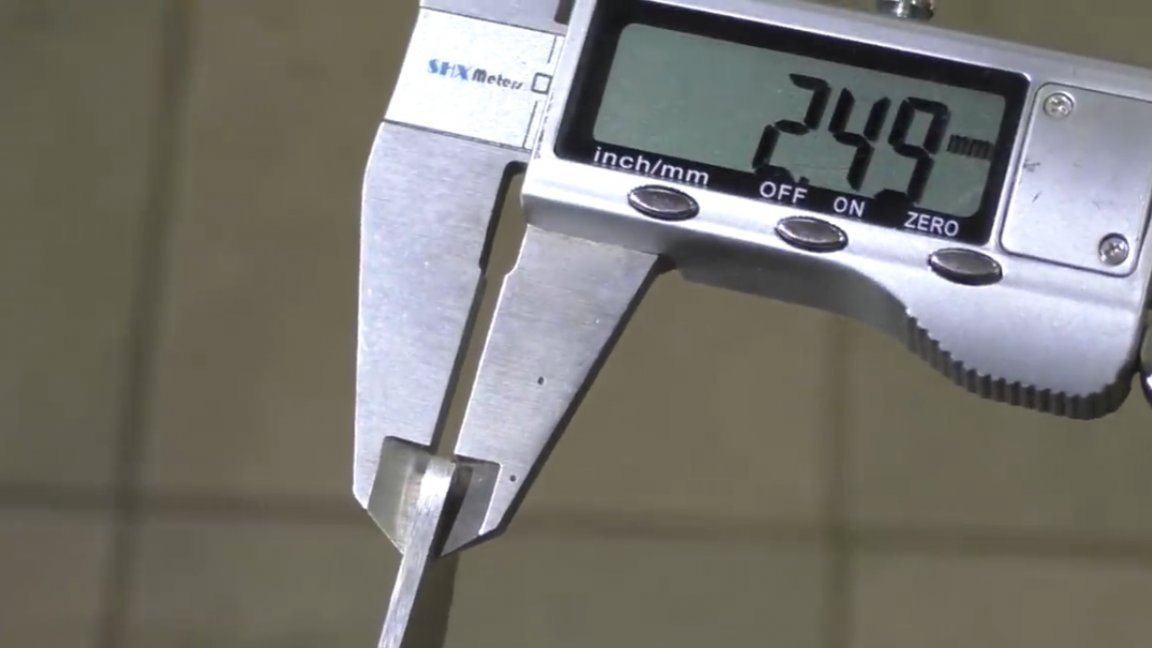
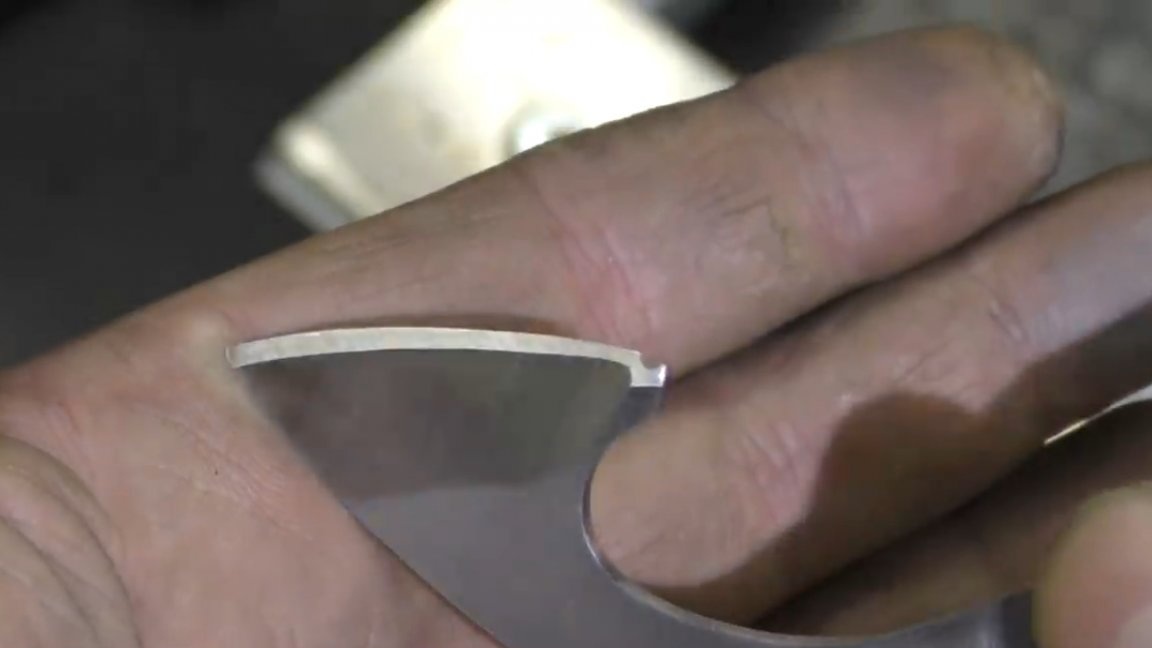
It went a few times and realized that such a descent, as the author originally wanted, could not be done, but because the cutter has a conical profile.This is how it looks: near the cutting edge we have a size of 2.5 mm, and in the center of the cutter 1.6 mm. The difference in 0.9mm is quite a lot.

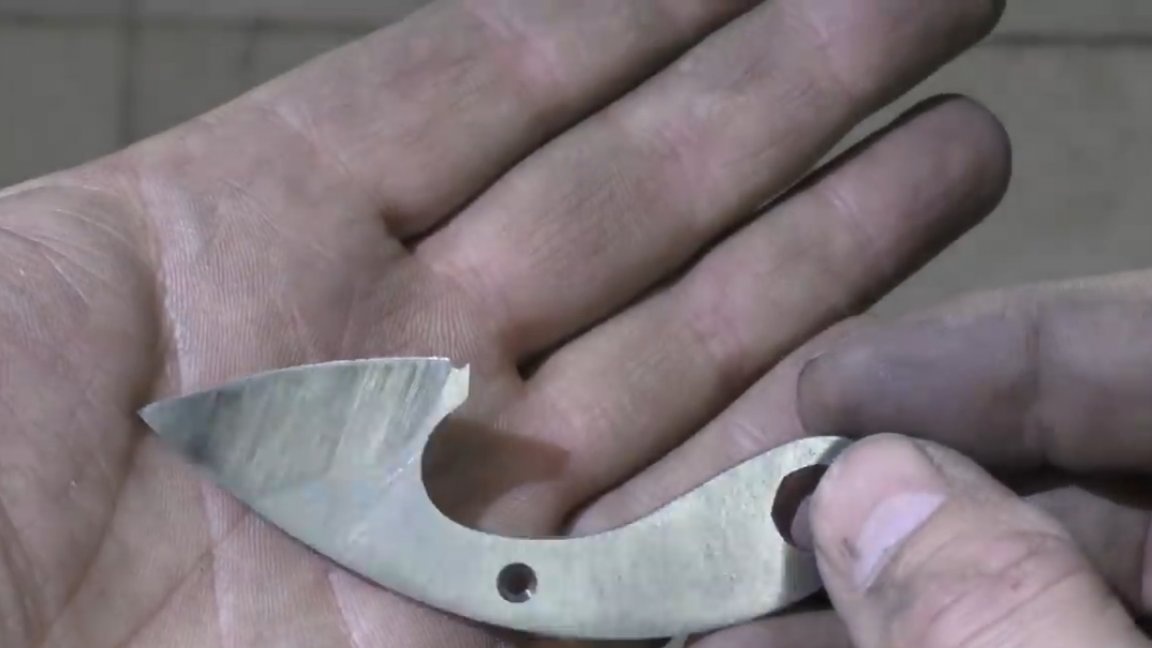
The author was a little upset, but decided to continue and see what kind of descent it would turn out in the end. As a result, we got such a blade here, the author didn’t do a descent to zero, he left it a bit for fine-tuning on the machine so that the cutting edge was not very fragile.
Clamp in the machine and the heat went.
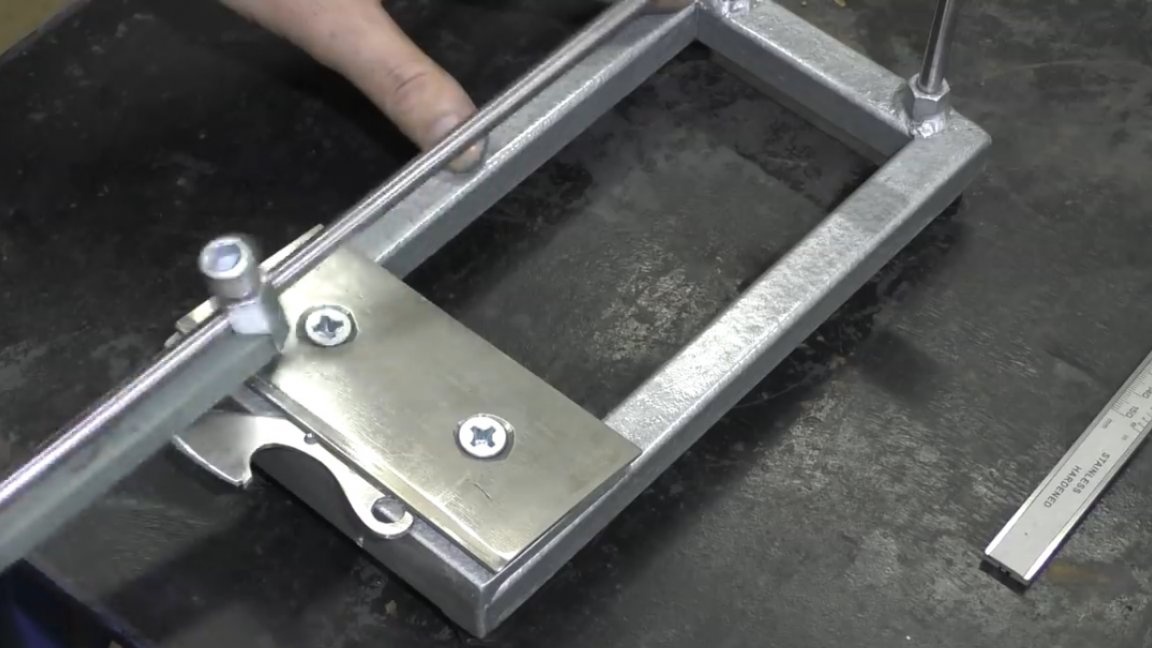
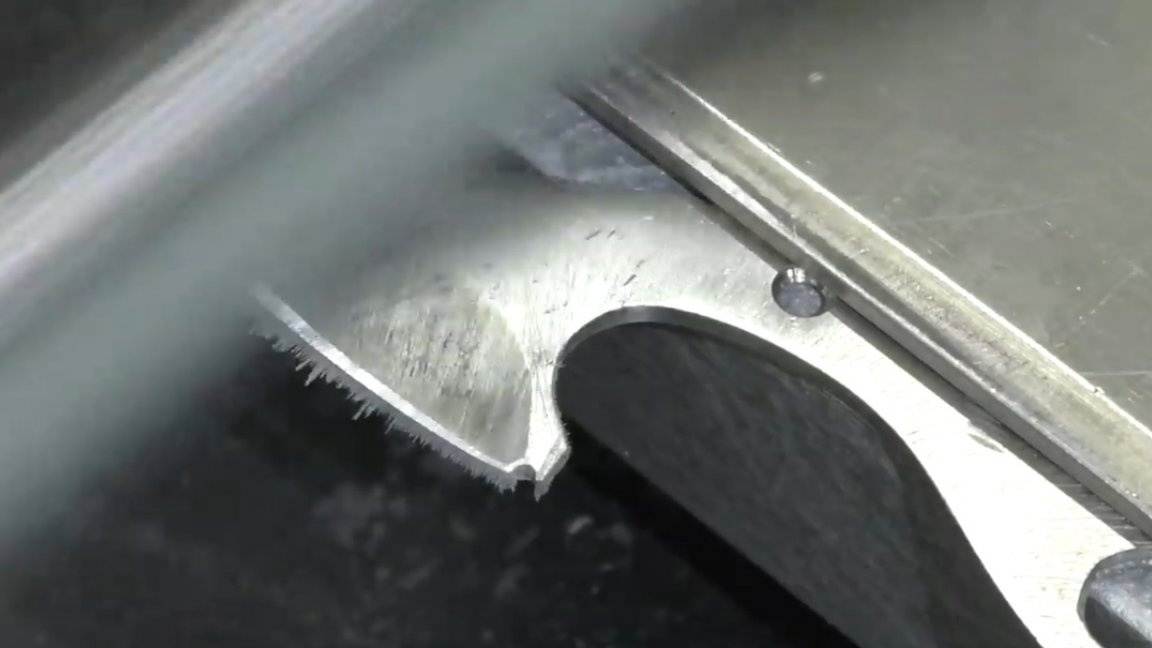

Oddly enough, but everything went like clockwork. Just a few minutes and this is how the blade began to look:
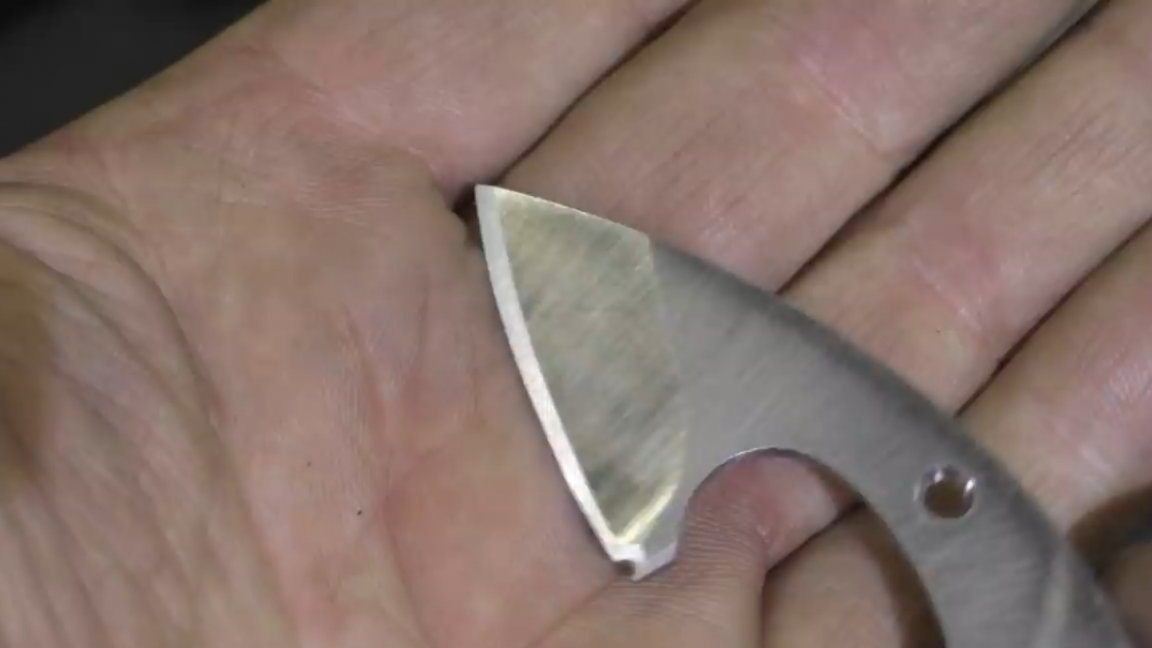
The descents are all symmetrical, the cutting edge too. In general, the master was pleased with this result. Now you can proceed to polishing. A felt circle is mounted on the free shaft from the grinder. The result was a good polishing machine.
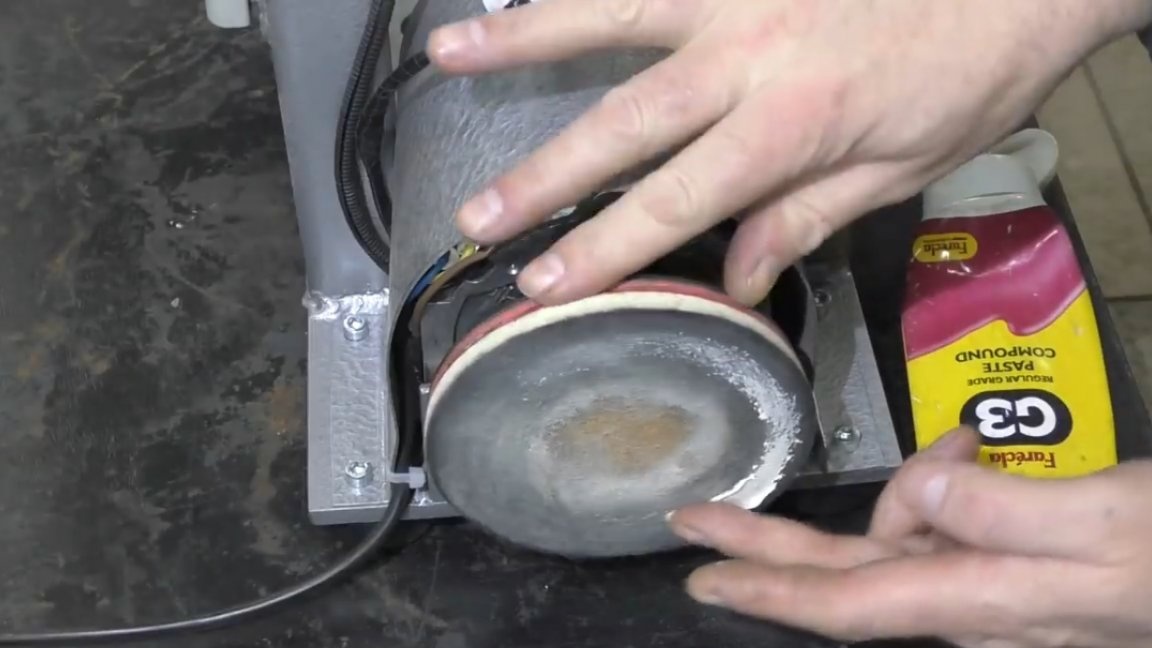

We polish with a car polish. The gloss is better than the paste GOI (but this is inaccurate). After polishing it turned out such a beauty:

The author did not remove the risks from the grinder, in his opinion, it looks more brutal. For the handle we will use ash.
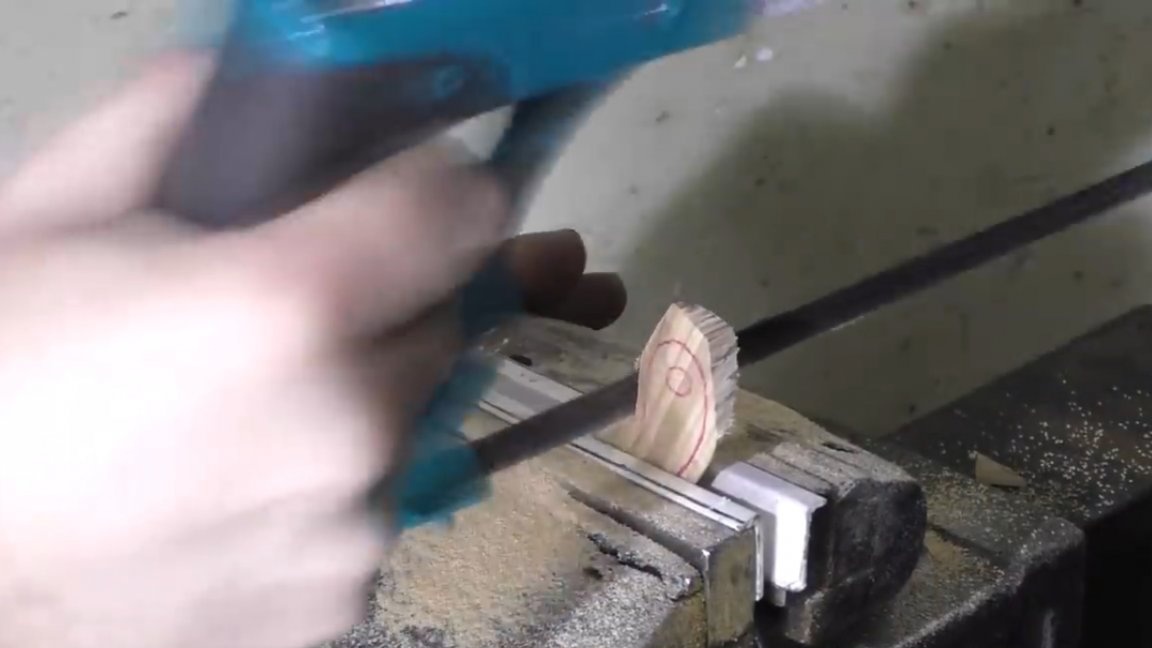
For this purpose, the author specially bought a handle for a hammer from this breed, he liked the structure. Cut the desired workpiece and dissolve it along.
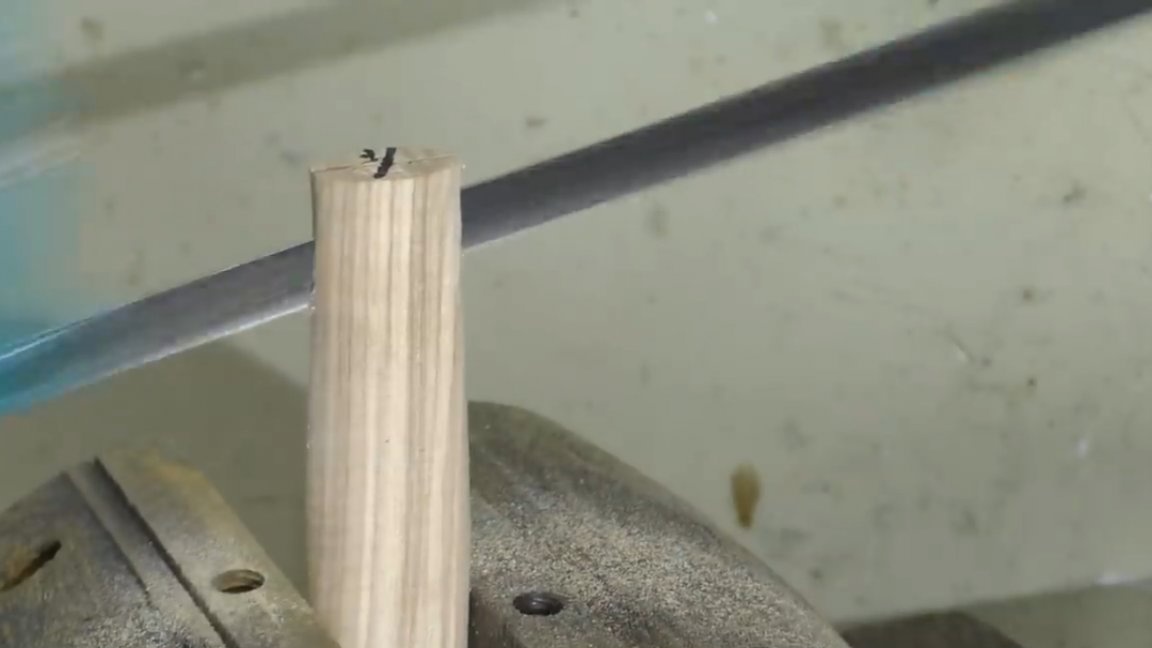
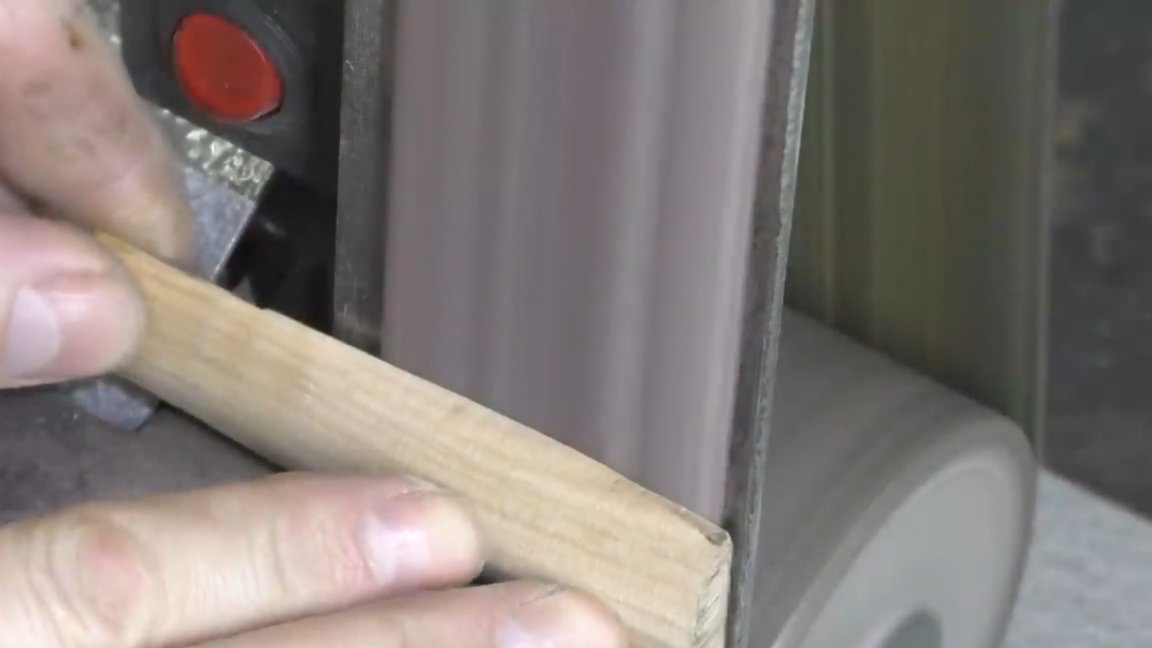
The tree is strong enough and cut like plastic. Now you need to align the plane of contact with the blade. And here again the grinder comes to the rescue. You can, of course, and manually, but so much faster.
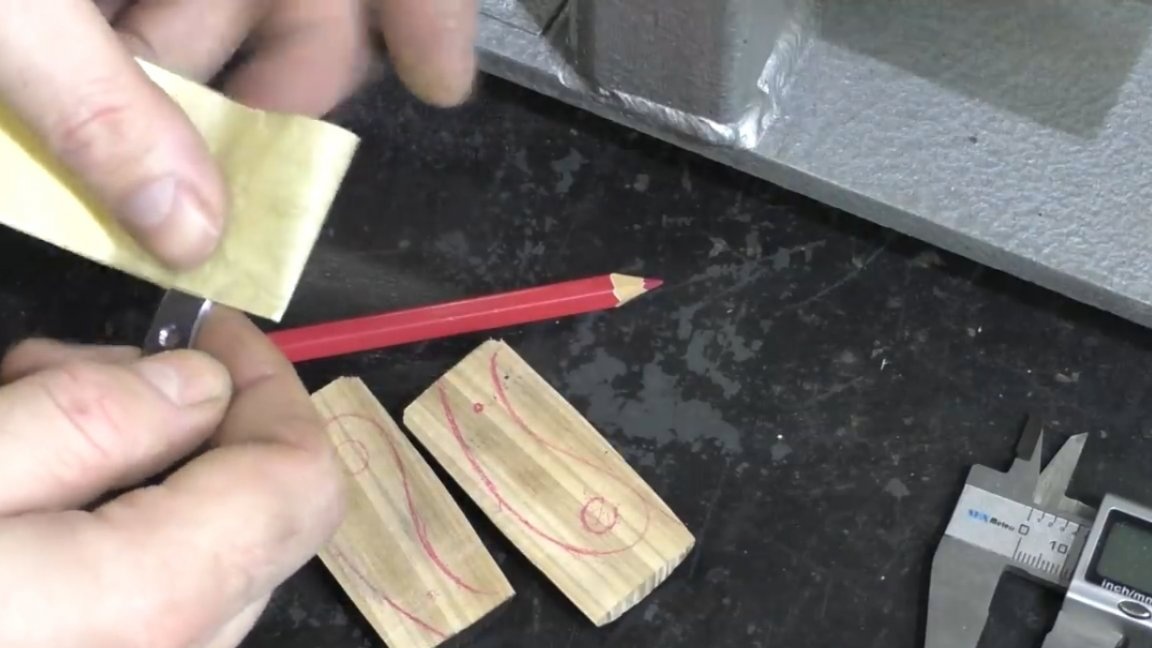
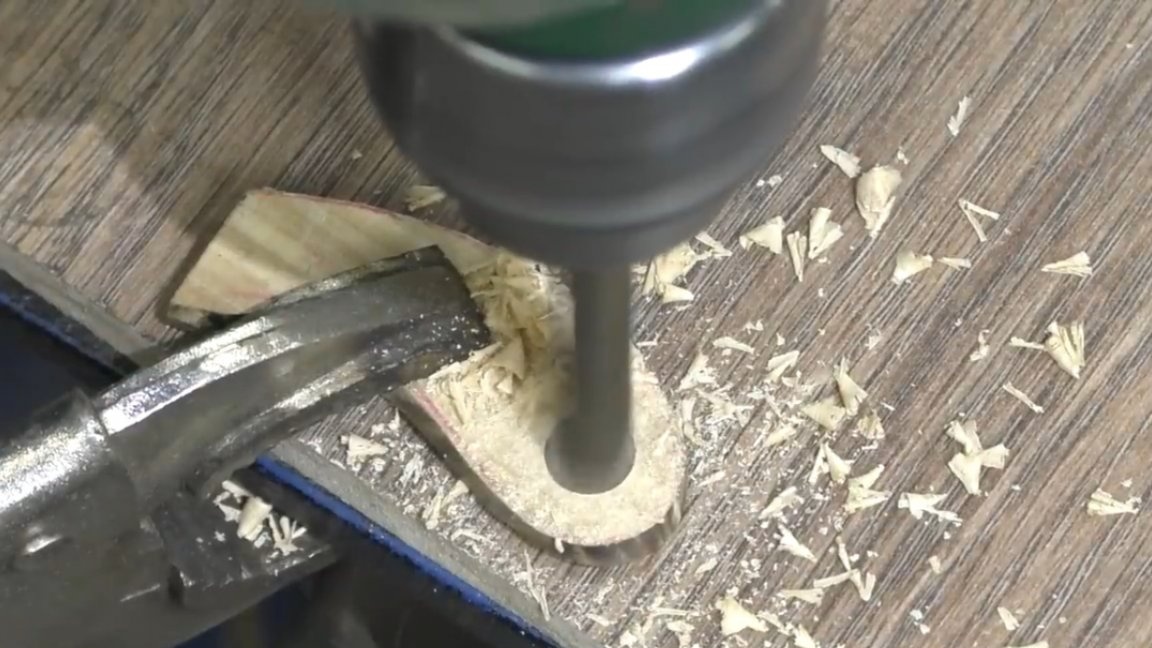
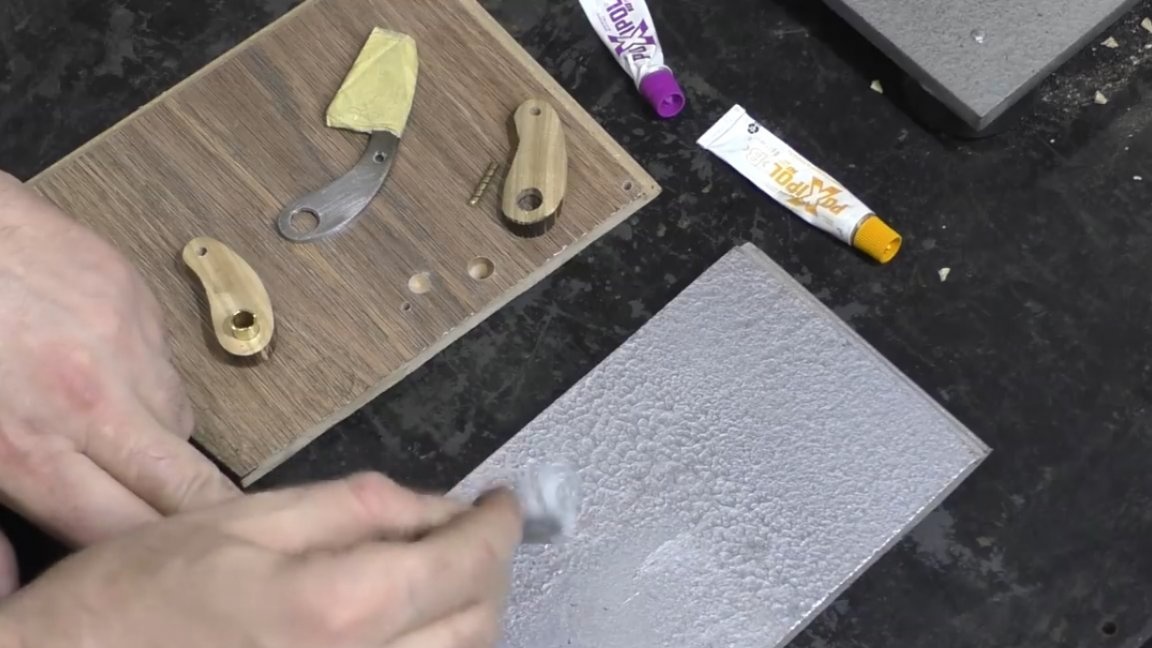
The planes are ready, now we are marking in order to remove all unnecessary and drill holes.
We glue the polished part of the blade with masking tape to avoid unnecessary scratches and scuffs and cut off all the excess with a hacksaw (this will be a little faster). Then we make a hole of the required diameter, in this case 9.3 mm.
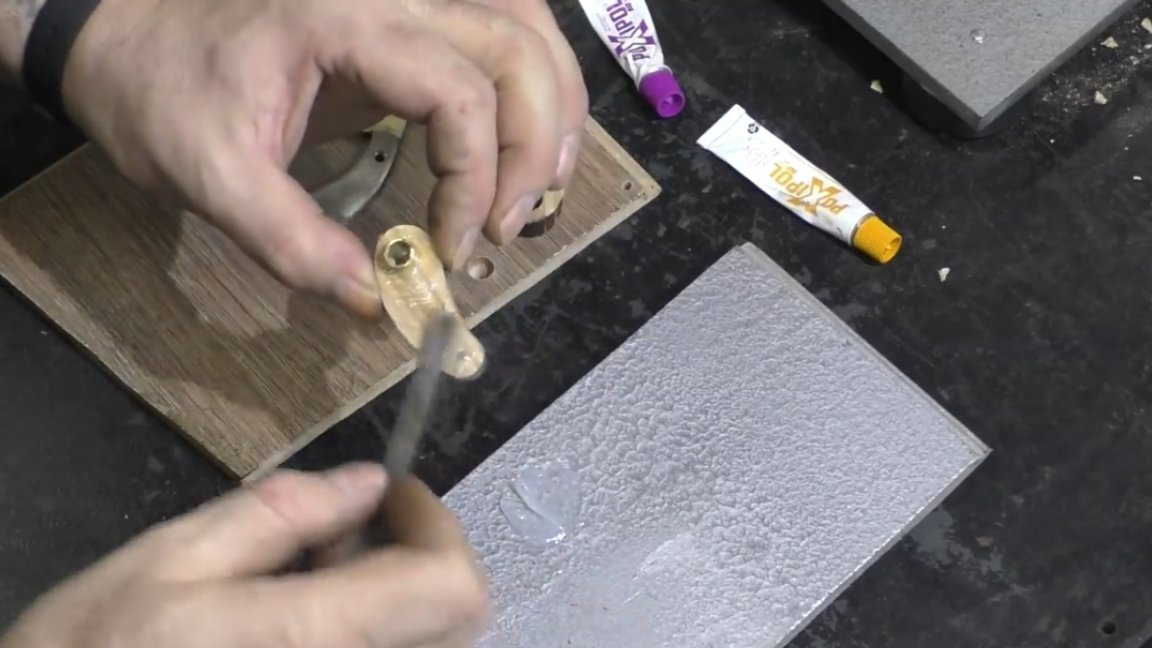
We finish the rest already on the grinder, leaving a small margin for final refinement.
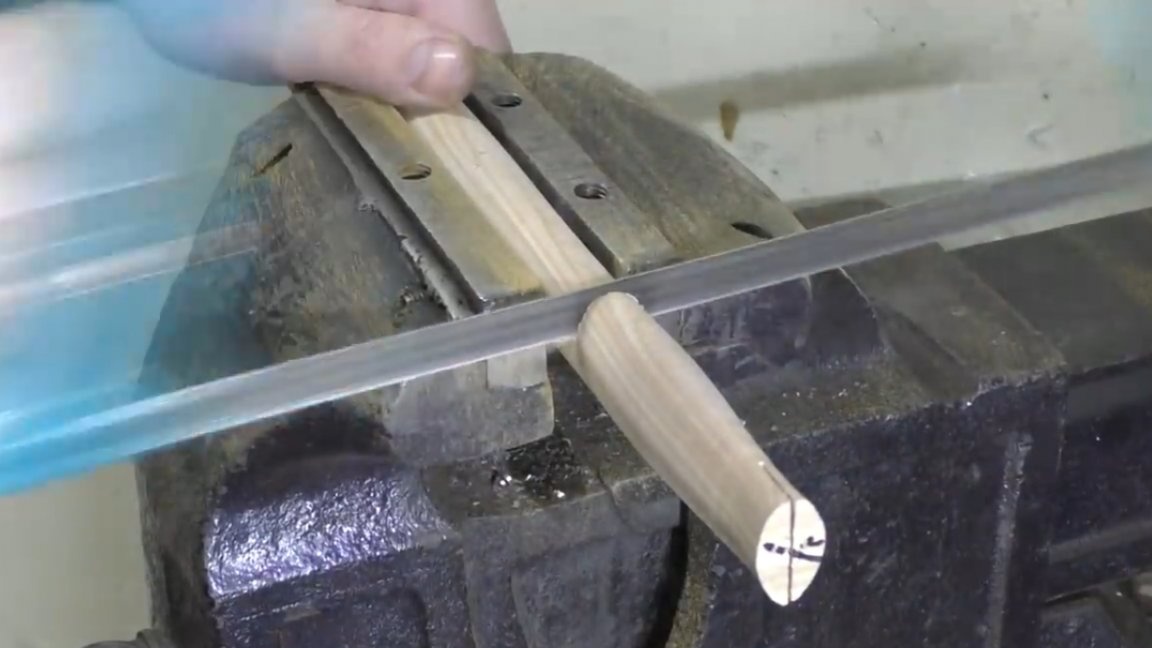
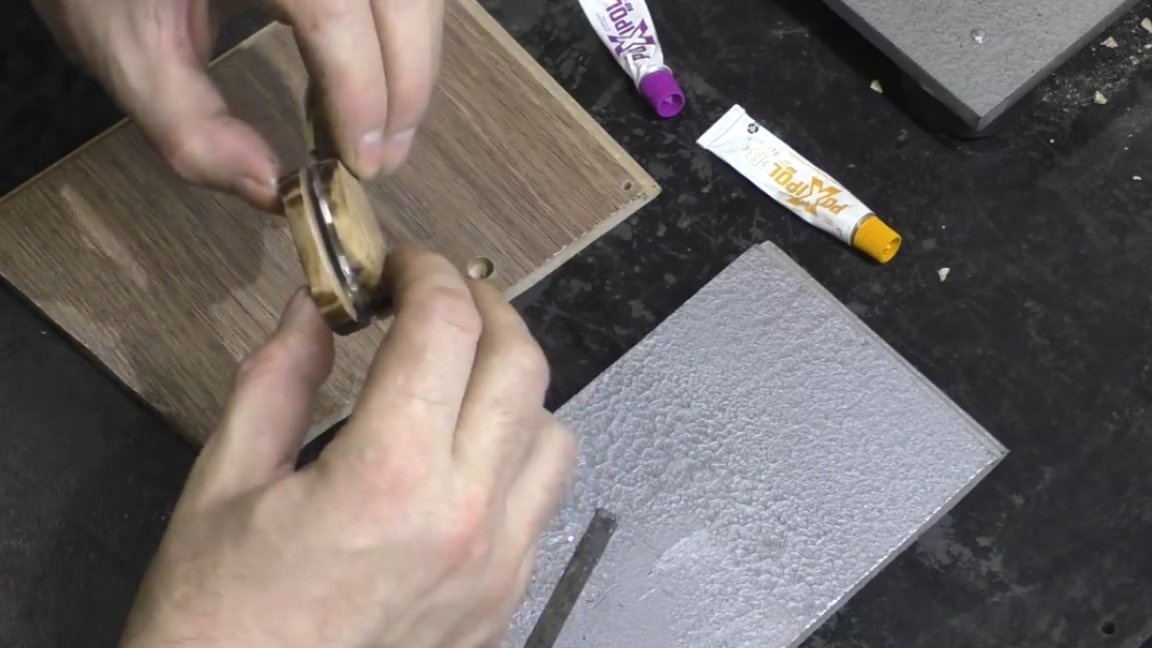
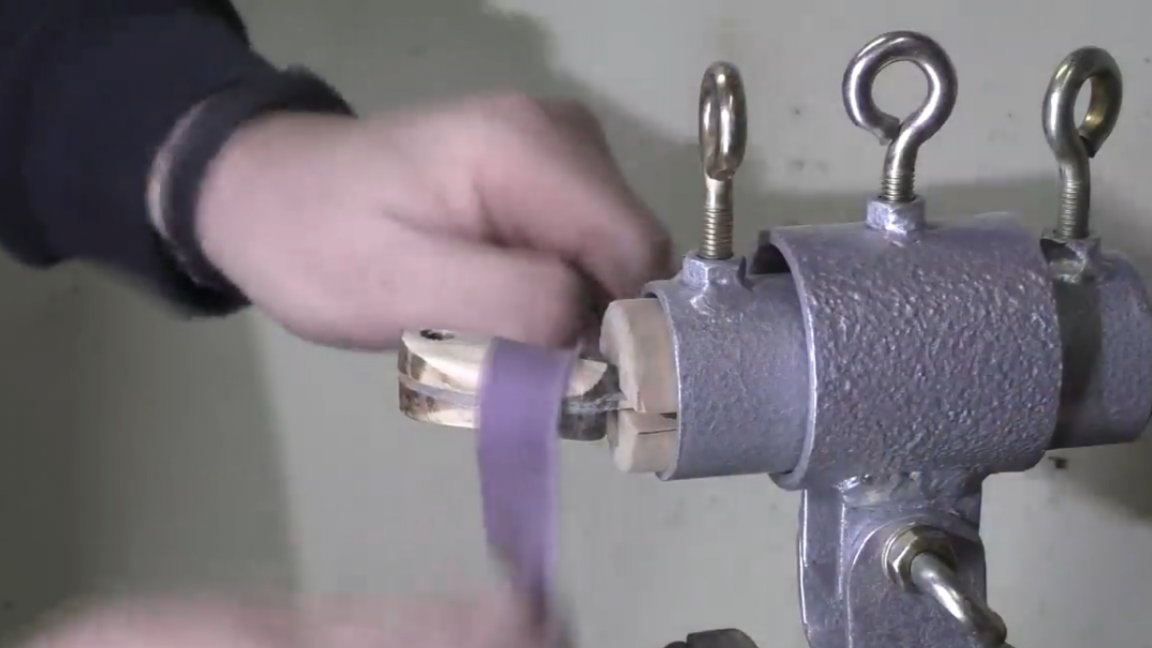
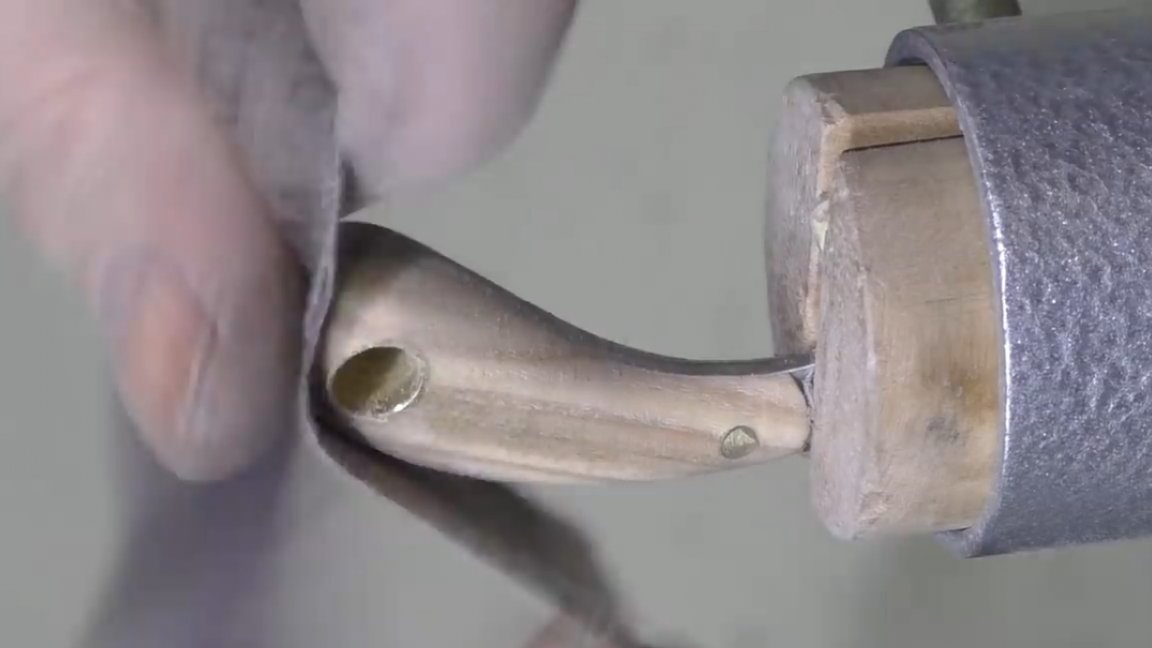
We glue the whole thing on two-component glue. Also, the author prepared a brass sleeve and a bar of the desired diameter in advance. We customize everything as tightly as possible. The glue dries quickly, so you can not hesitate.
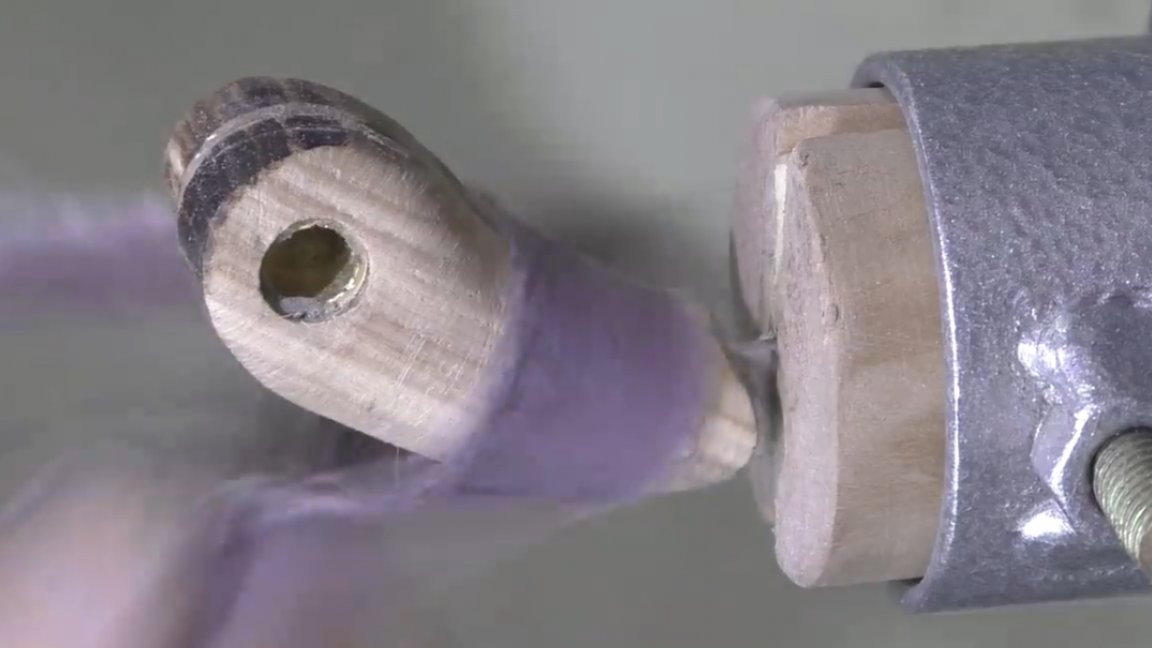
Next, we squeeze everything into a vise and leave it to dry.
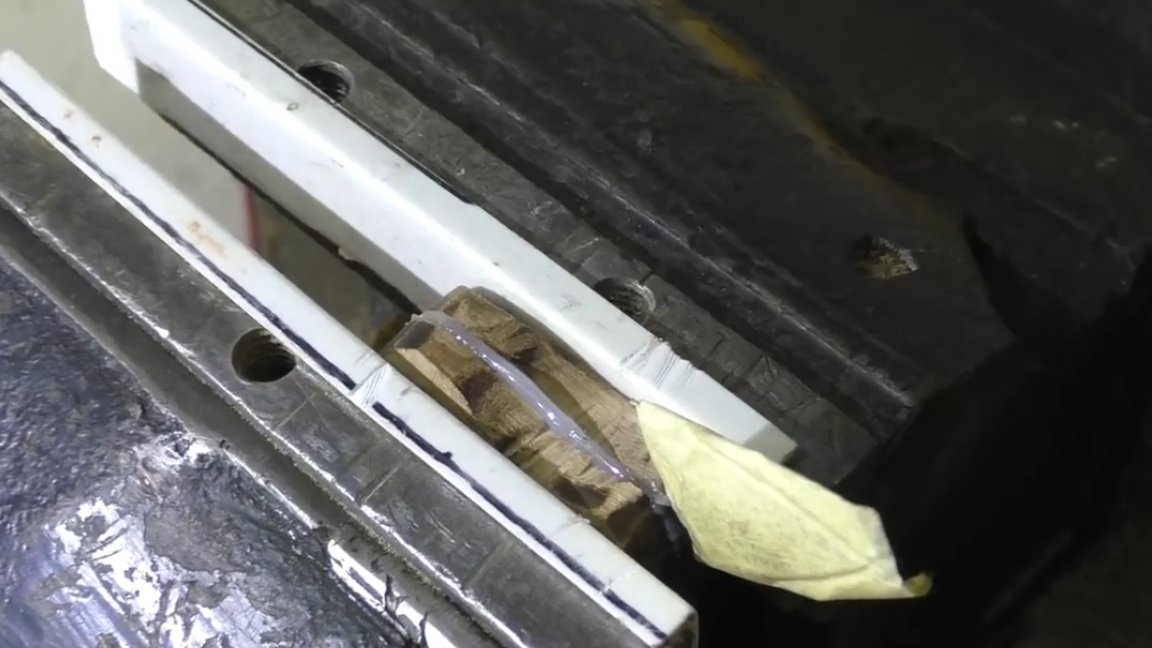
About half an hour passed, the glue dried up, and in the end we have this kind of workpiece:
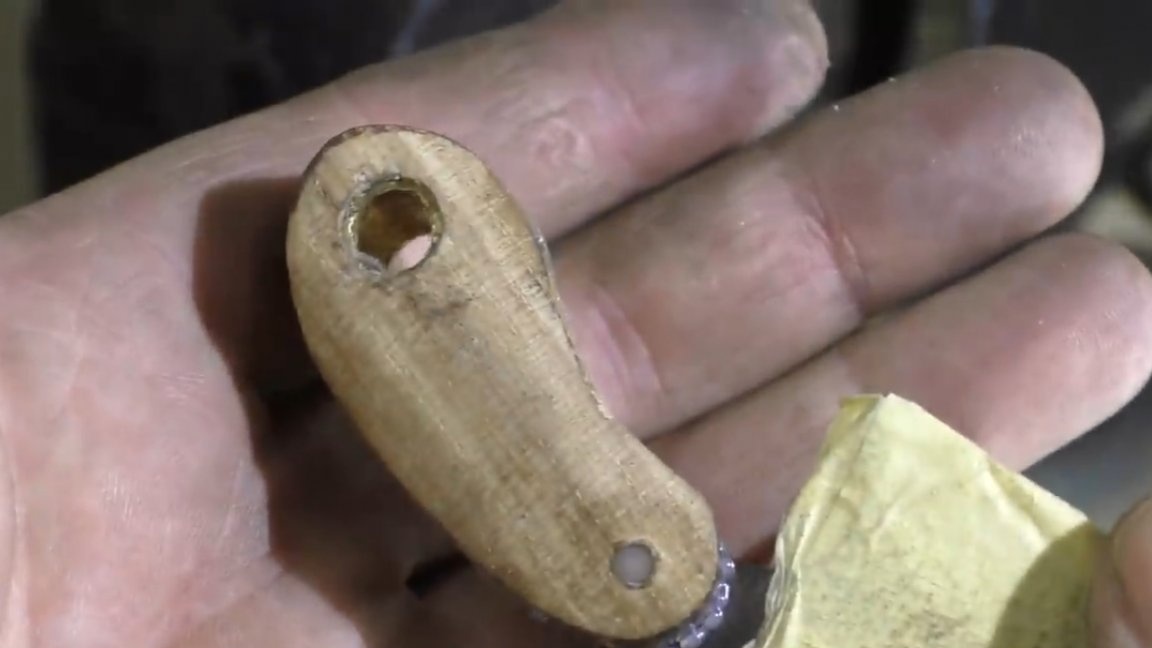

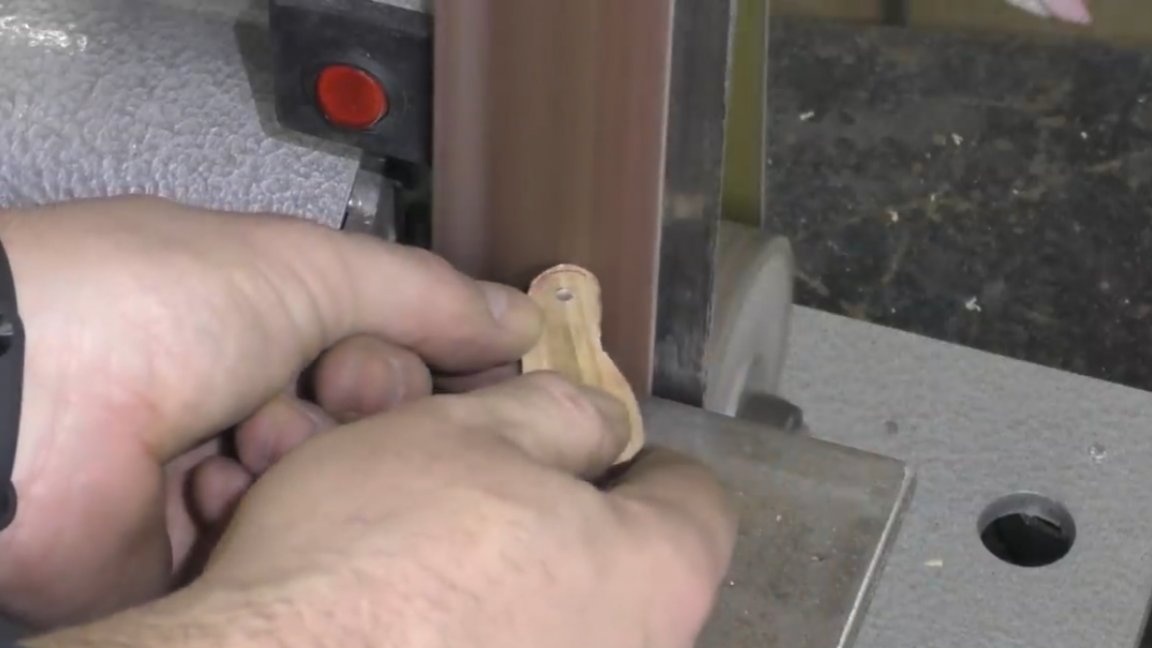
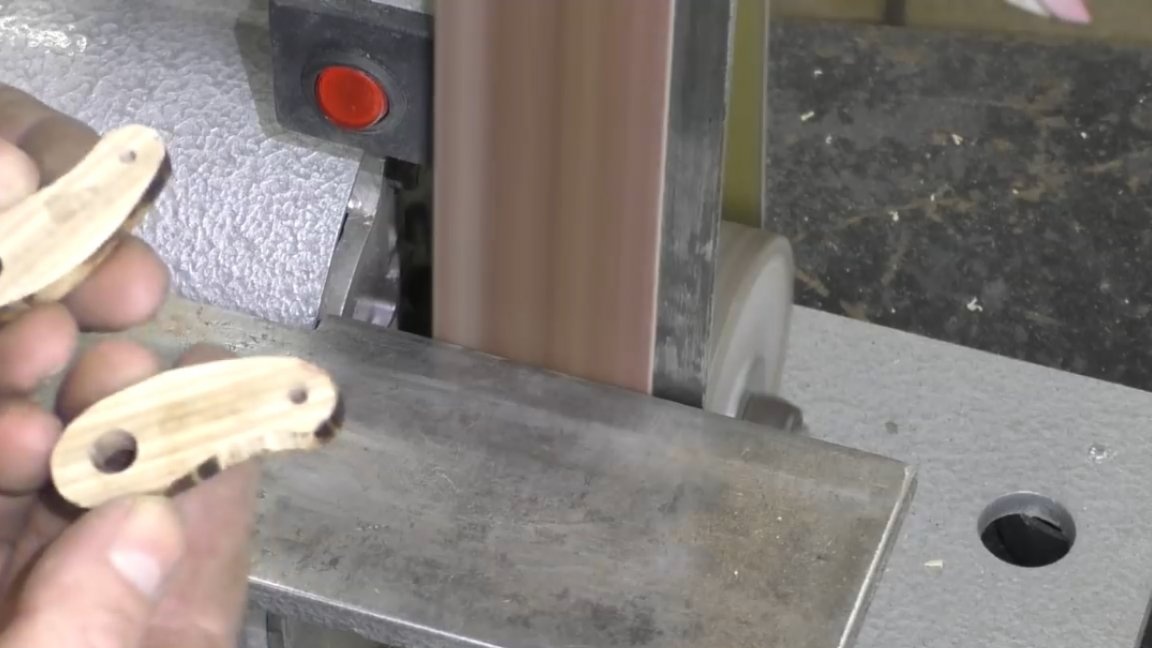
Now the routine work of removing the handle has gone, which does not need comments.
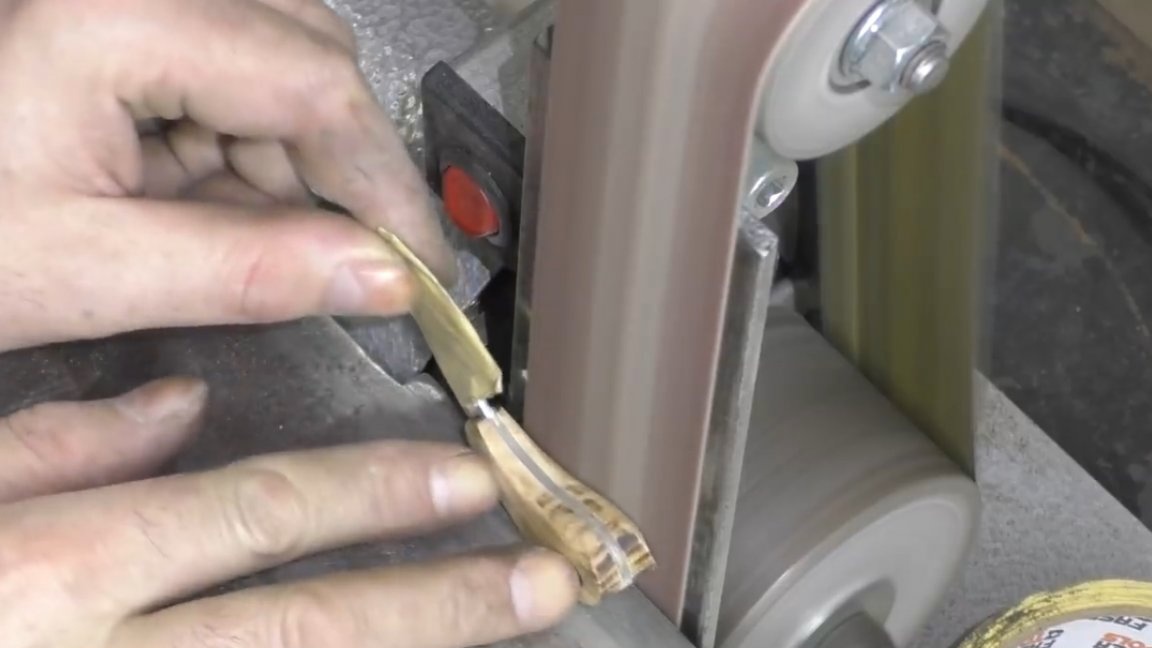
After the work done, this is the result:
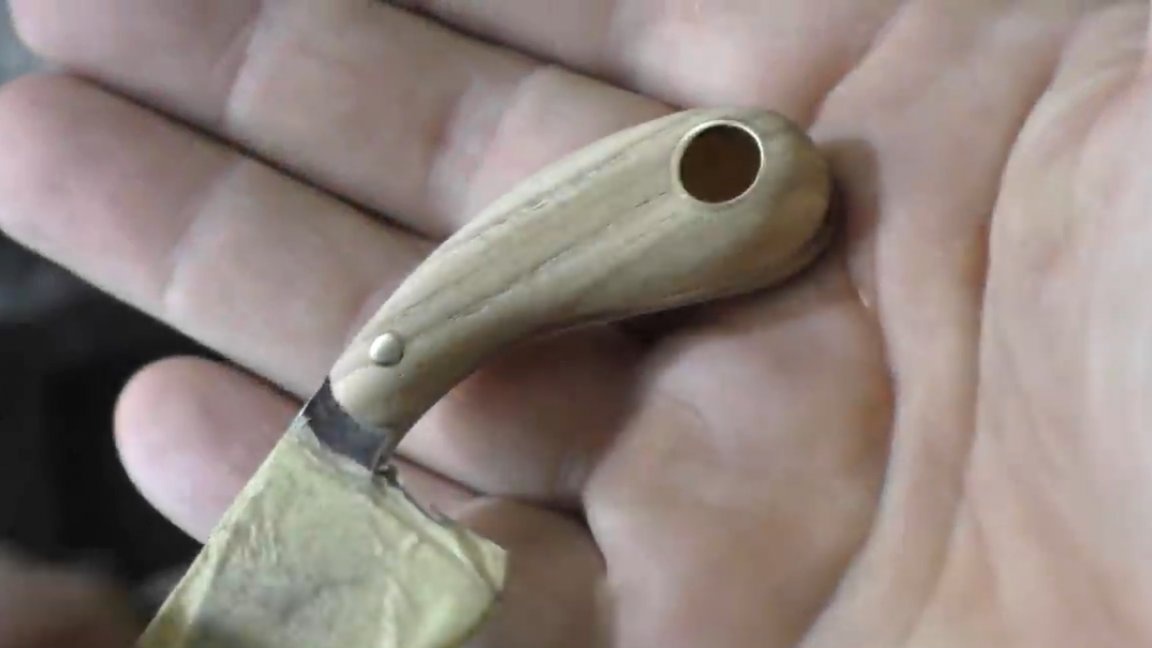

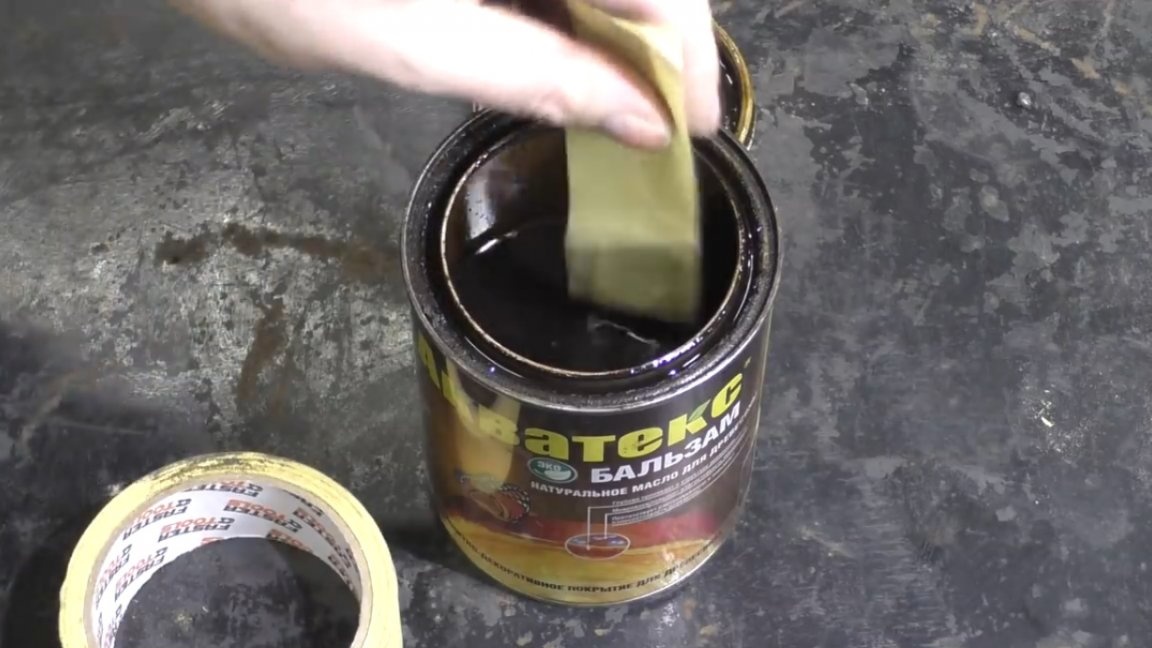
It seems very personal. It remains to soak the handle with oil to emphasize the structure of the wood and make a protective layer. Dip the knife in the impregnation and leave it for about an hour, no more.
An hour has passed, now you can see what happened with you. Wipe off excess oil and peel off masking tape.
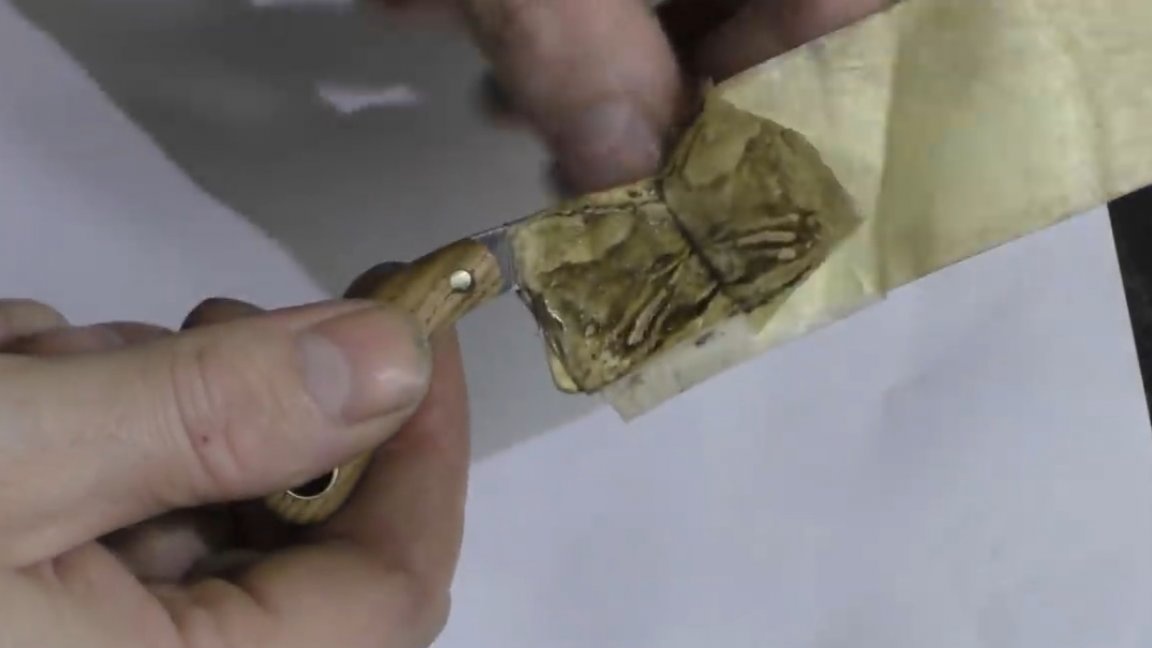
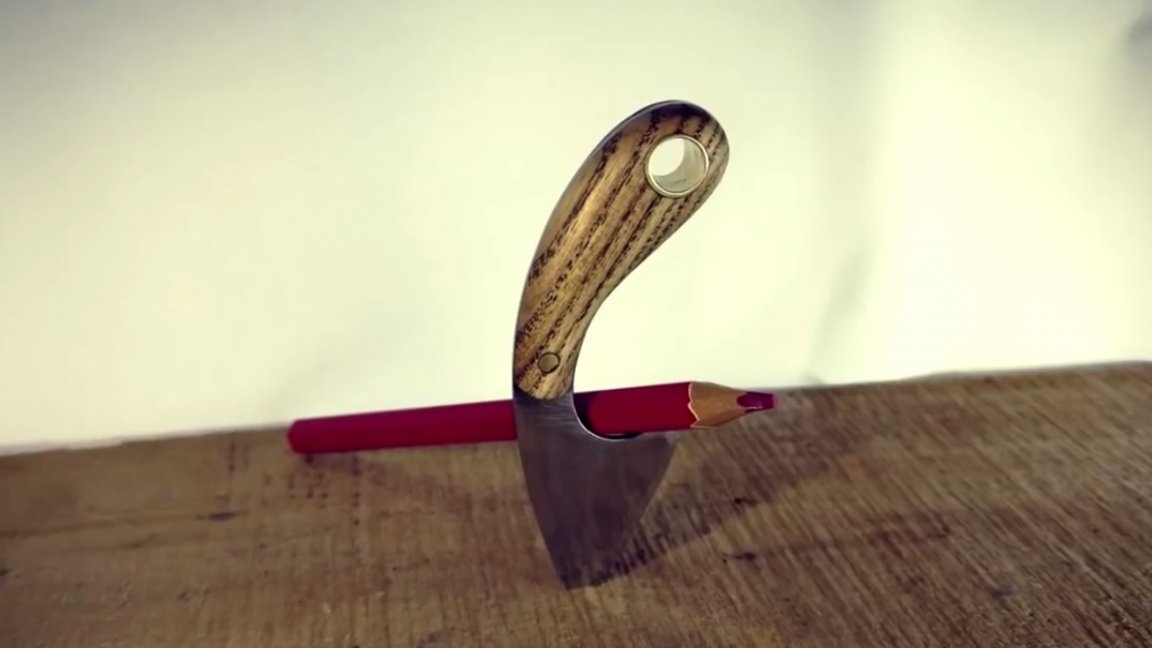
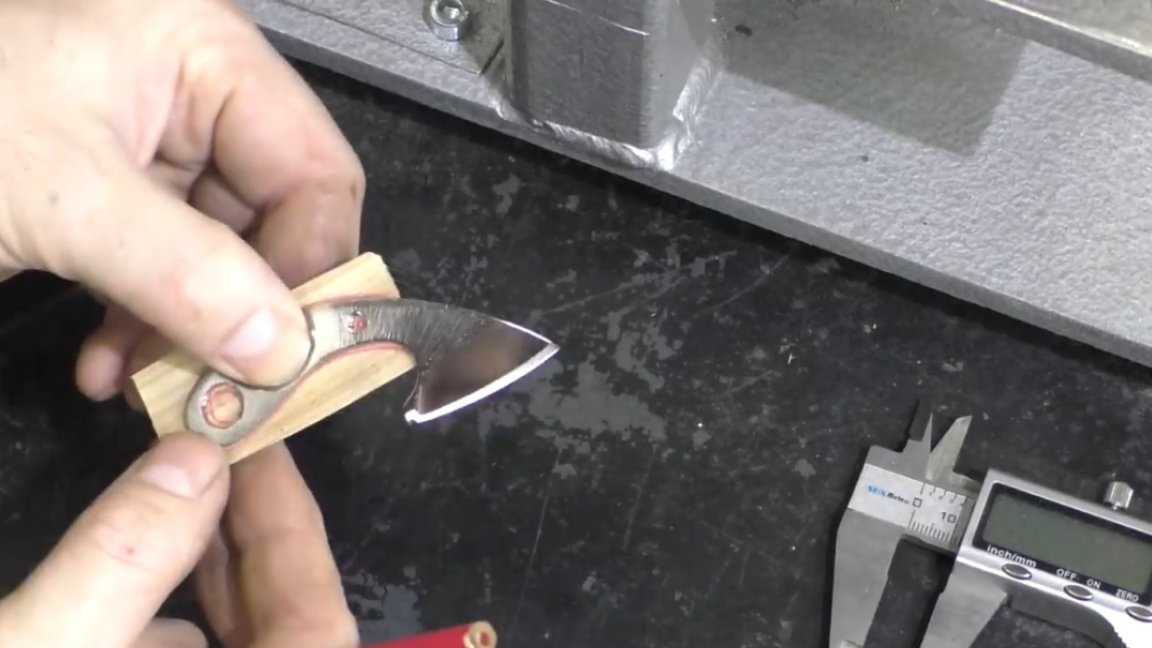
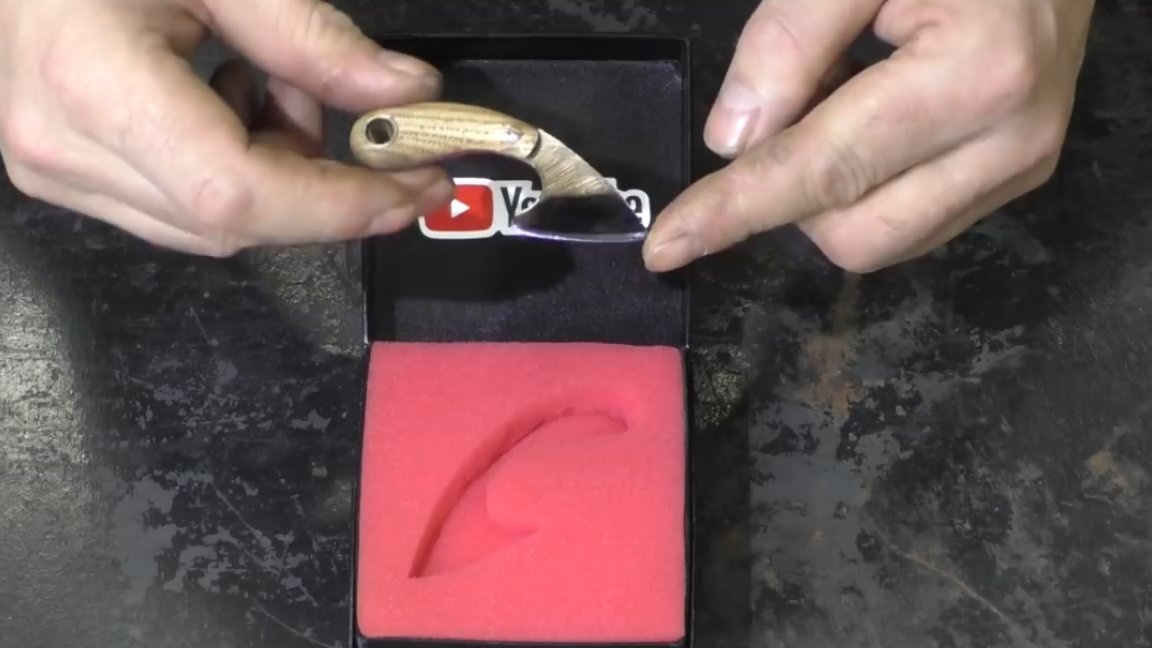
As a result, here we have such a beauty:
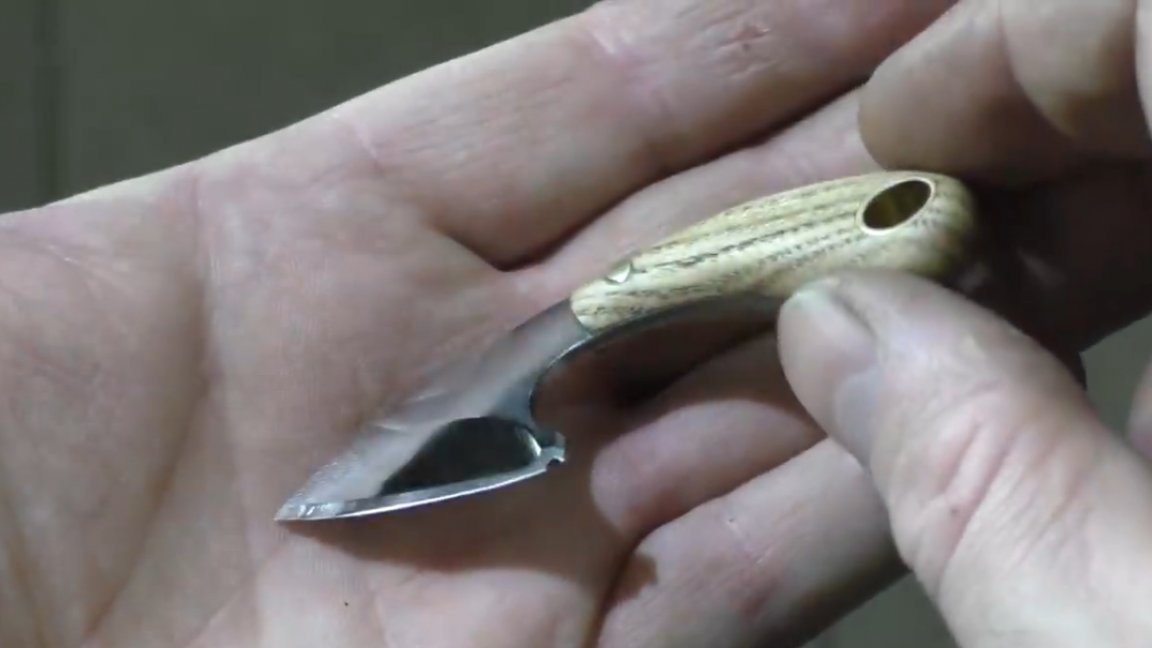
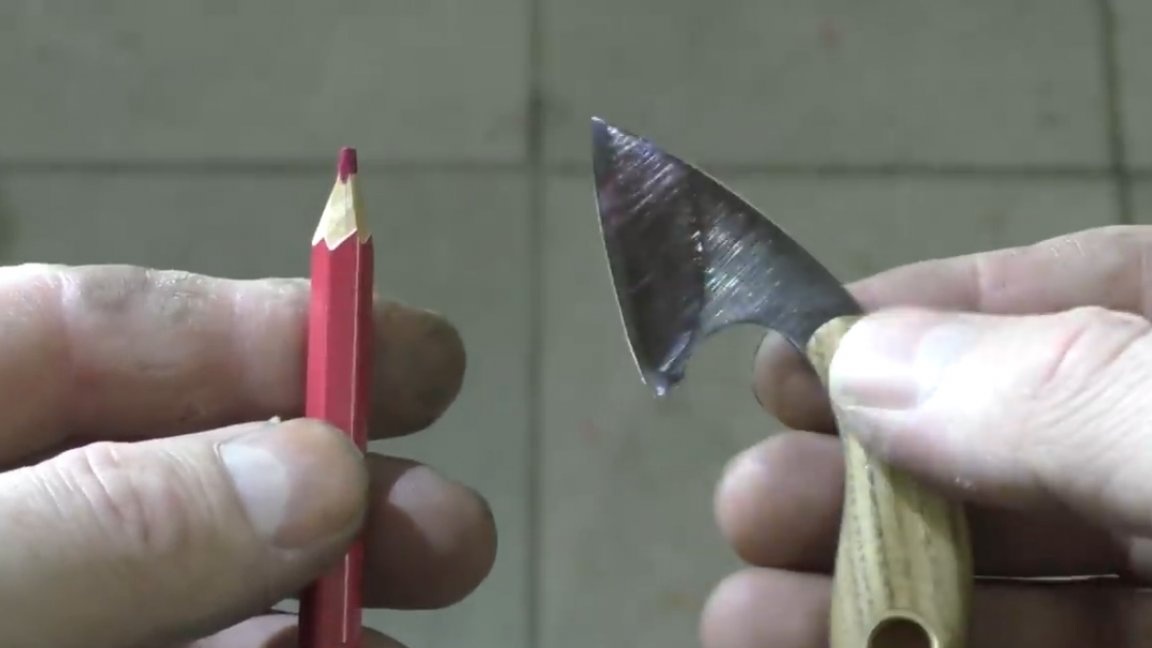
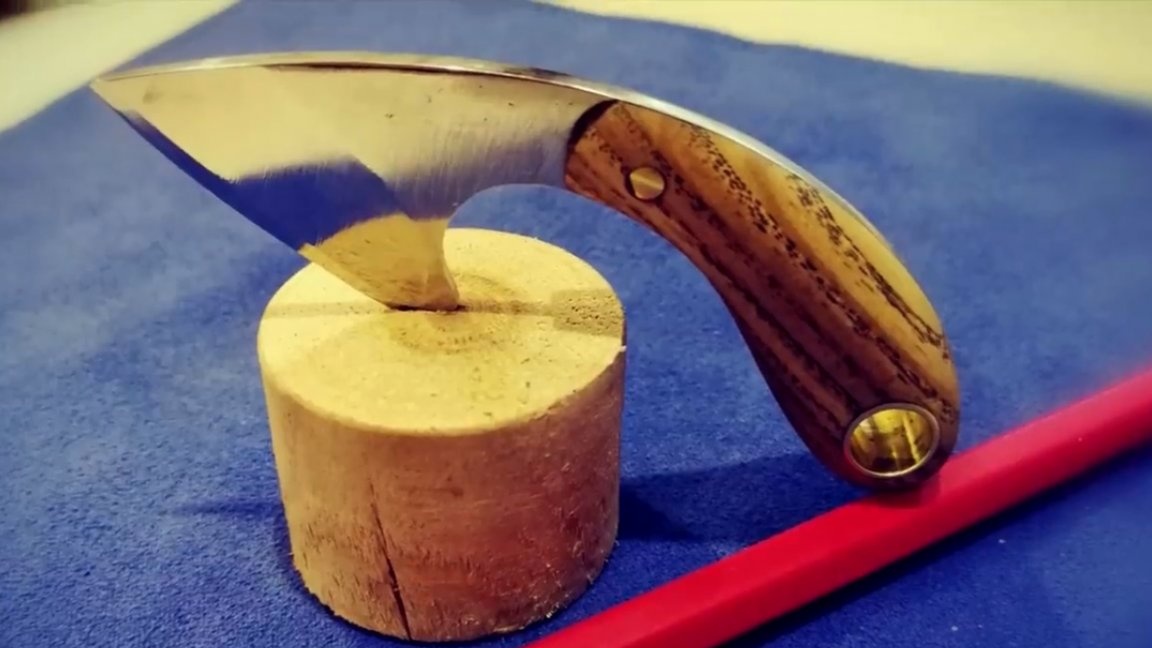
Now let's do a little test for this knife:
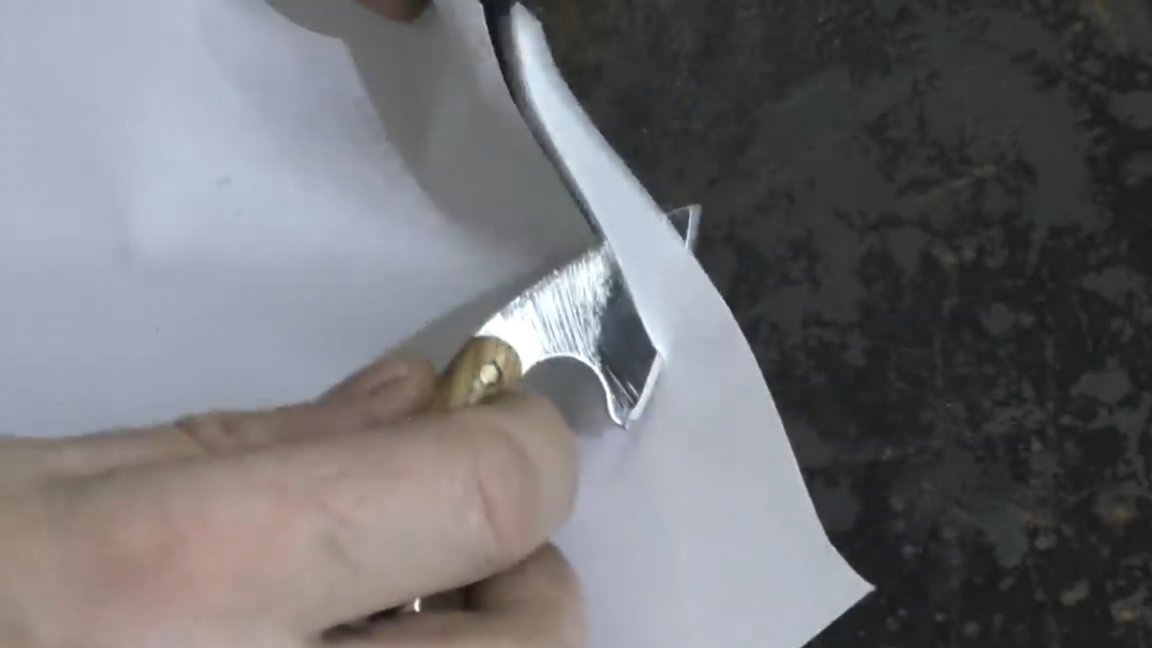
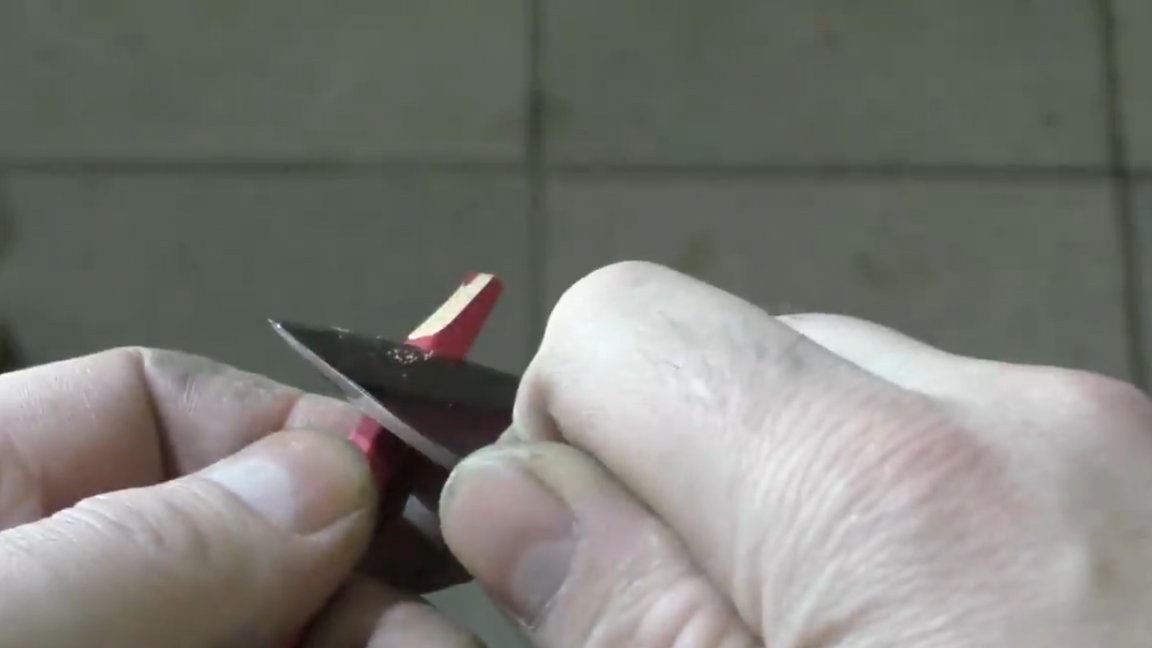
The resulting knife in the hand is quite comfortable, but as a pencil sharpener - just super!
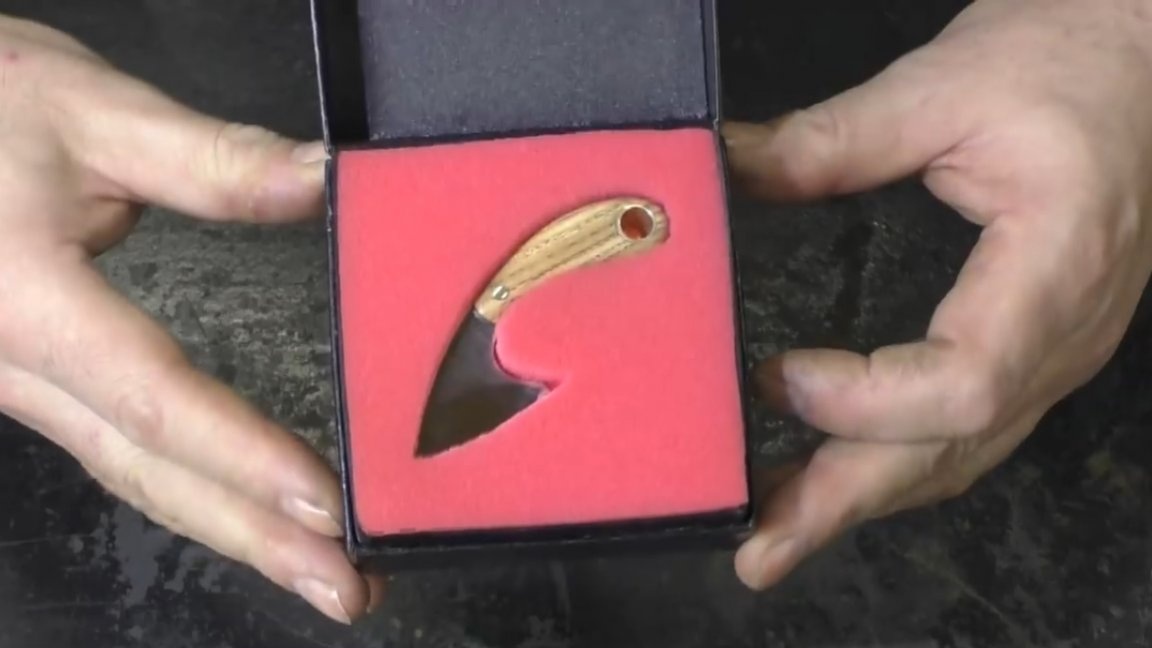
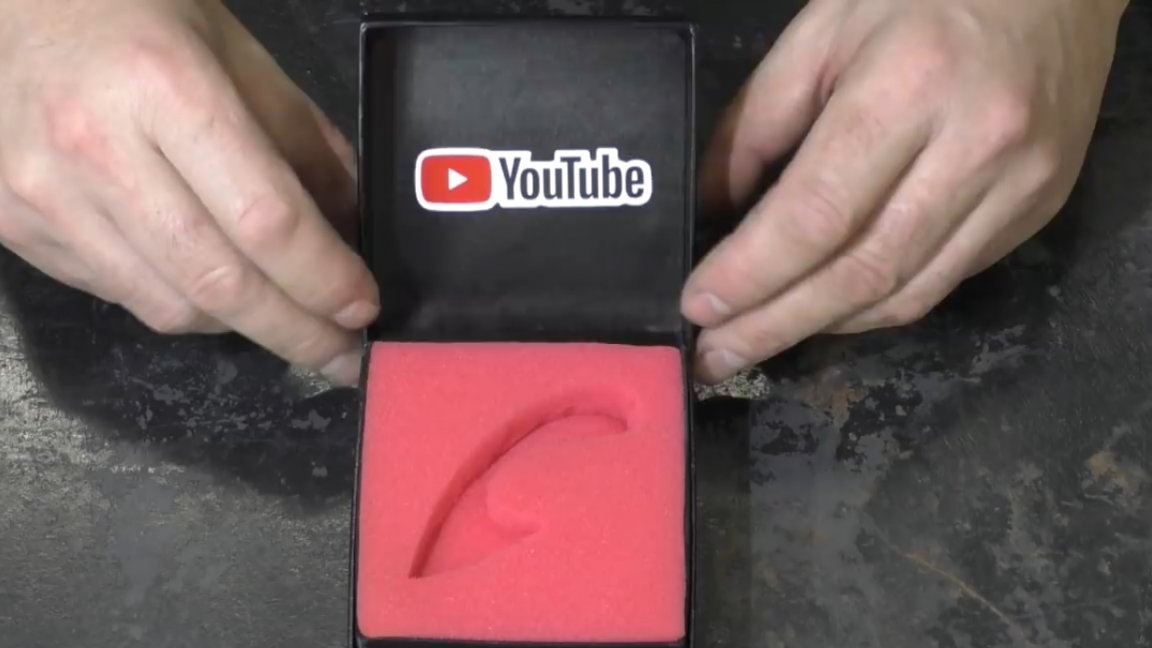
The author was a little confused and made just such a box for a knife so that everything looked like a real gift. I think the one to whom he will be presented will appreciate it.
Well, that's all for today. Thank you for attention. See you soon!
Video: