Good day!
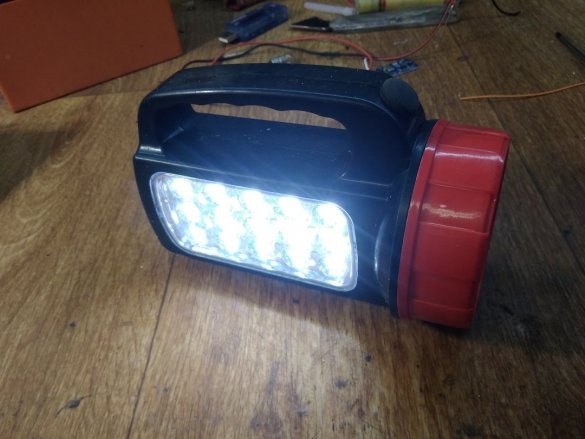
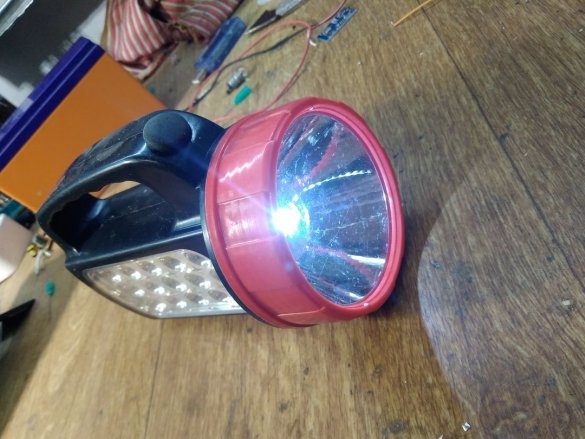
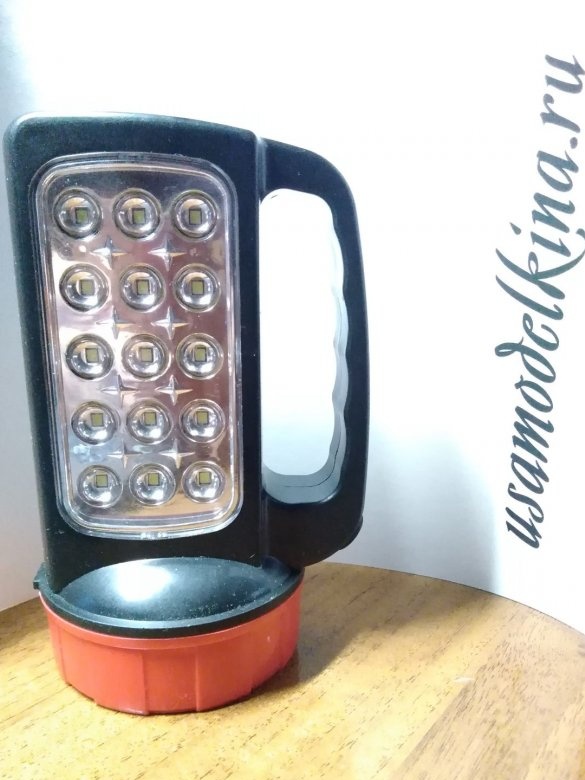
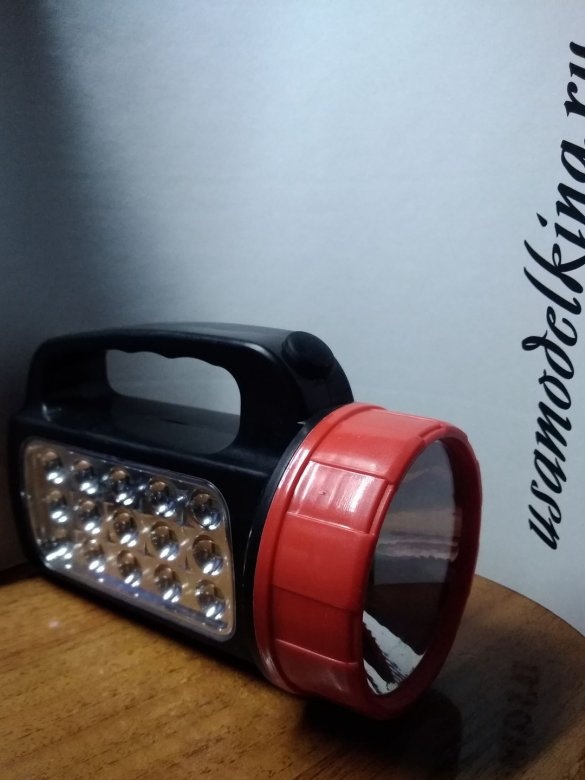
I want to tell you how to remake a Chinese-made flashlight purchased at “Fix Price” for 99 rubles.
To do this, you will need:
1. Flashlight itself (sold without batteries)
2. Phillips screwdriver
3. Soldering iron
4. Pliers
5. Two pieces of flexible wire with a cross section of 0.75 mm² (red and black) of approximately 0.3 m.
6. Clerical knife
7. Double-sided adhesive tape professional (bought in the car shop)
8. Plastic sheet (from the case of the tape recorder, TV, etc.)
9. Super moment glue (ethyl cyanoacrylate)
10. Battery 18650
11. Bought on Ali Express
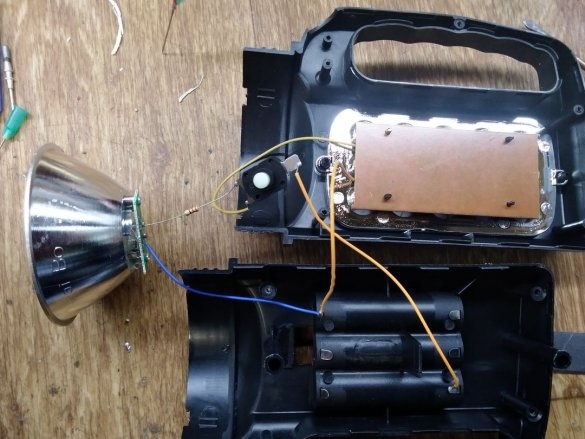
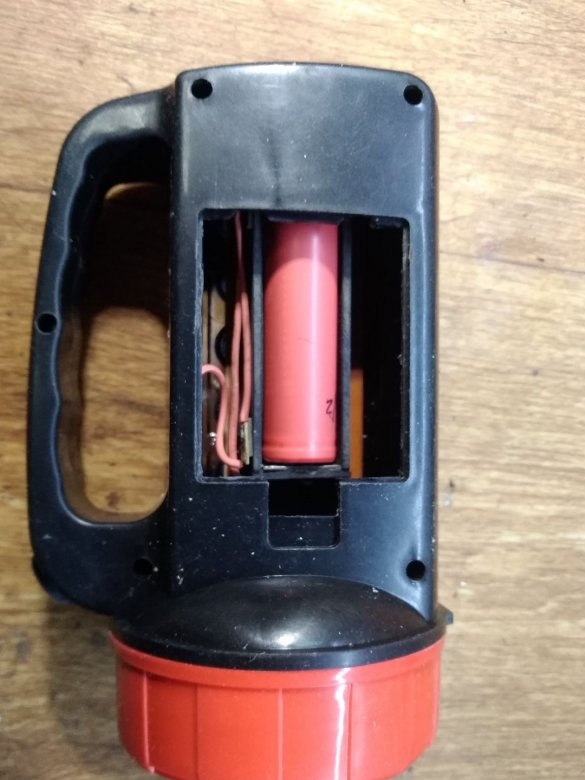
To begin with, I took apart the flashlight, made sure that in the internal cavity you can place, instead of 3 AA batteries, one 18650 battery.
I photographed the installation of wires, so as not to accidentally reverse the polarity.
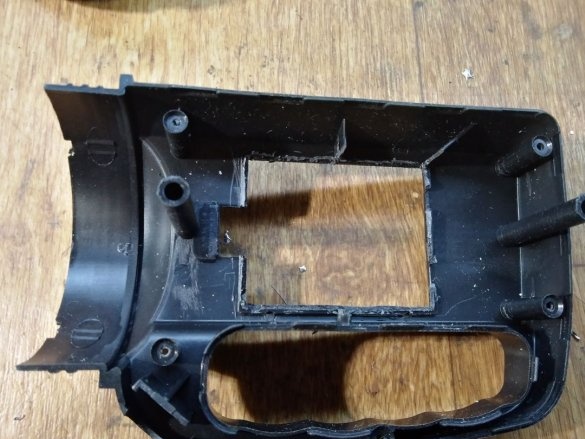
Then a sting of a hot soldering iron cut out (melted) the battery compartment. It must be removed carefully so as not to spoil the landing place of the battery cover. The influx of plastic removed with a clerical knife.
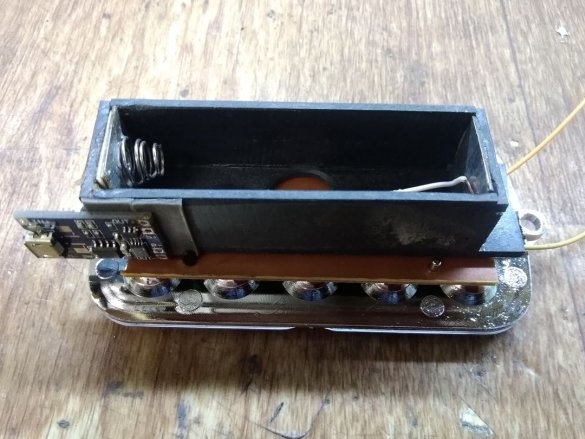
Of the remnants of the cassette recorder case, I glued, using second glue, a box for the 18650 battery. I glued contact pads at the ends of the box (negative with a conical spring from some battery compartment, plus - just a piece of tinplate)
Boxing was glued using double-sided tape to the side LED panel. I glued, again on double-sided tape, a charge-discharge control panel, on which a micro USB connector was mounted, to glued the battery without removing it from the box.
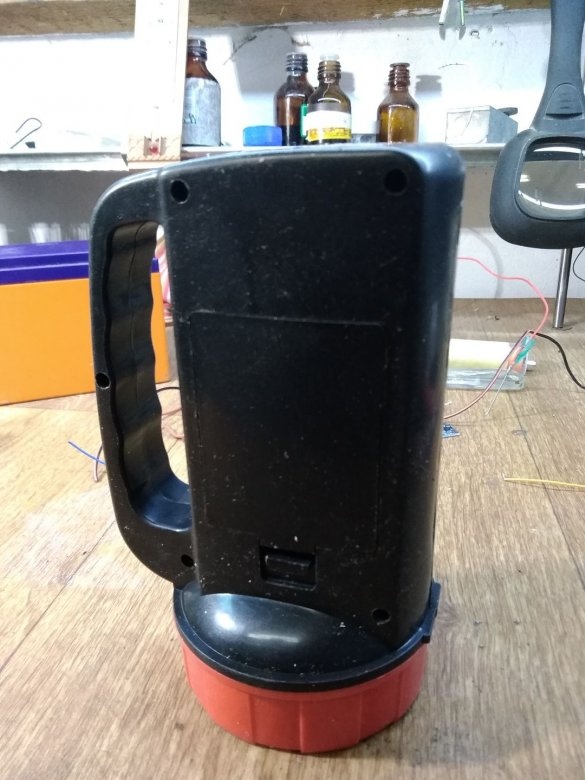
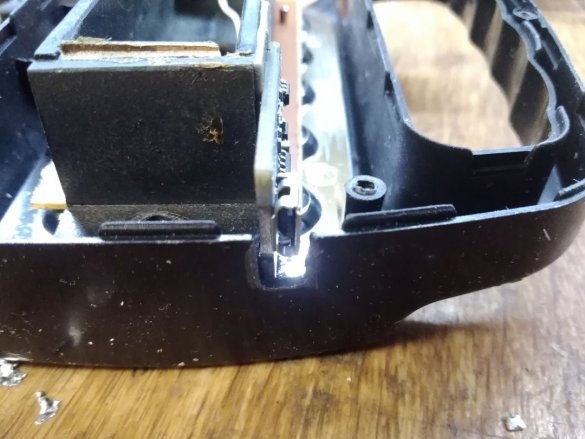
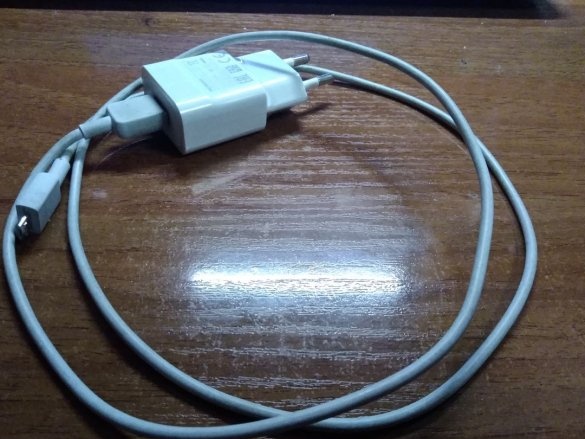
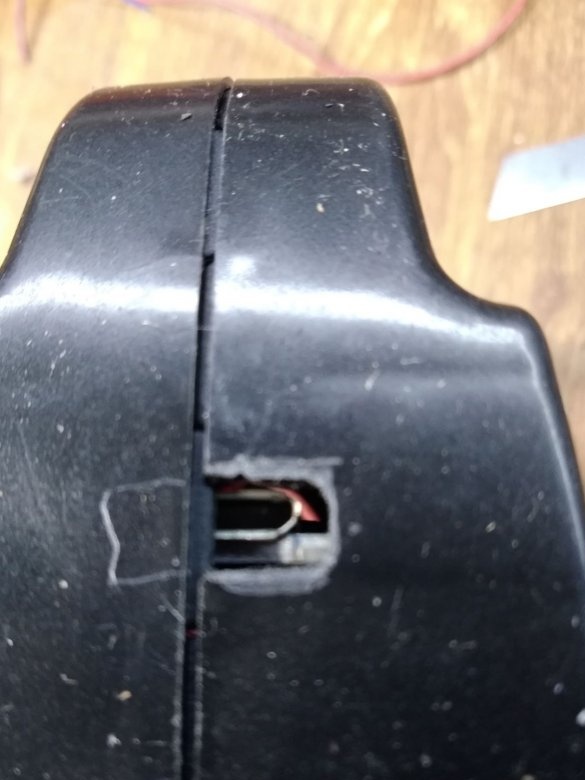
In the rear wall of the lamp housing had to make a hole for the charging connector. The charger is used from any phone with a micro USB connector.
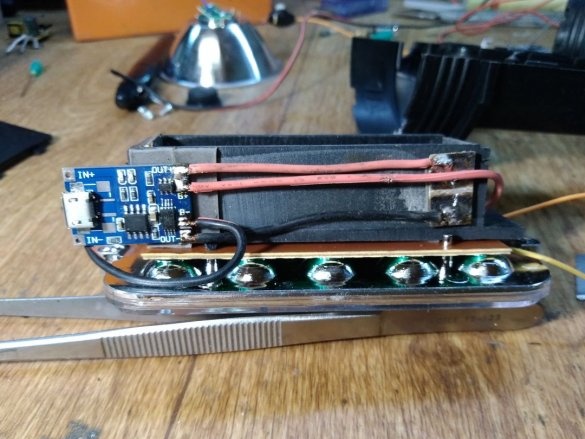
Then with wires designed to connect speakers to auto (colored and with a good cross-section), connected the conclusions from the pads of the box to the control board.
From the board I brought the wires to a larger pad (fiberglass foil with
a path cut by a wood cutter), for convenient connection of standard wires.
After installation I check - everything works! I am collecting!
When assembling, I found that in the second half of the case I need to make a continuation of the hole for the charging connector.
To control the battery charge, I slightly increased the size of the hole for the plug so that through it the LEDs on the charge control panel would be visible.
The result is an inexpensive flashlight, always ready for a "battle", for which you do not need to buy batteries and do not contain anything in short supply.
And he has an additional function - a flashlight can be used as a stash for paper money (unaccounted for in the family budget).


