
Good day to all dear friends! In today's article, I would like to show you a rather interesting idea homemade. In this article we will look at how to make a remote doorbell. This homemade product will consist of improvised materials and therefore it will not be difficult for you to find all the necessary components for its assembly. This homemade product can be used both for an apartment for a private house, since the receiver from the transmitter can be up to 30 m from each other. And if you increase the antenna, you can safely count on 100 and a little more than meters. In general, the homemade product is very interesting, so let's not pull with a long introduction, let's go!
For this homemade product we need:
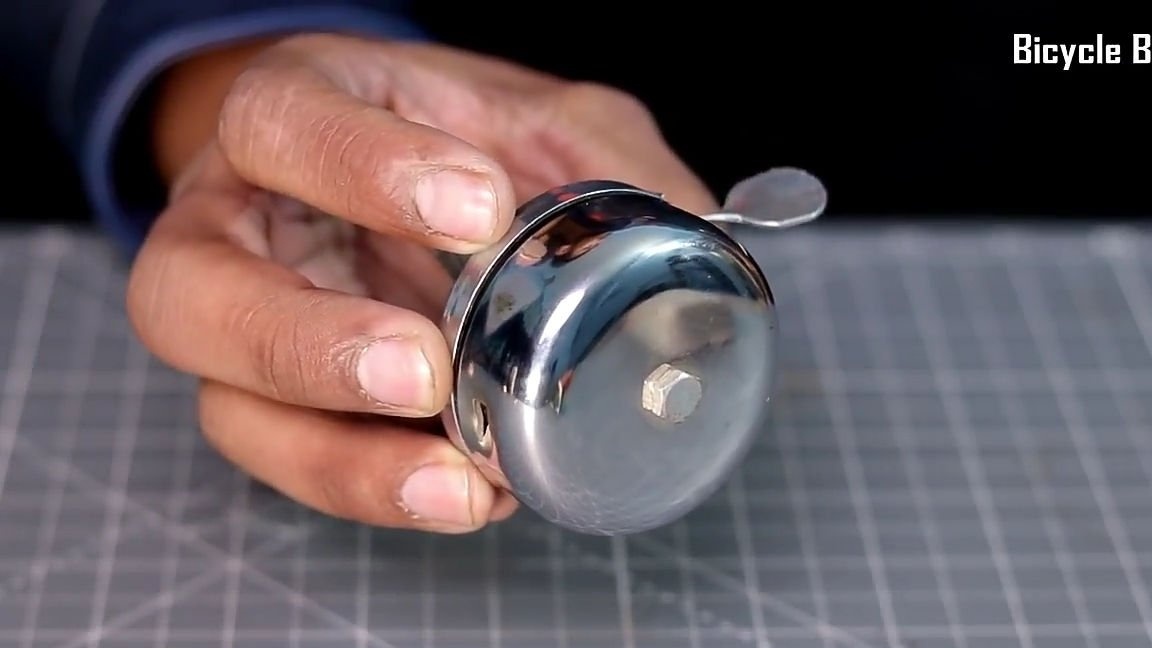
- Simple mechanical bicycle the bell
- A small sheet of MDF panel
- A small electric motor (from a cheap Chinese machine)
- The control board with the receiver (from any penny radio-controlled toys)
- The transmitter (the control panel of the machine. You can add that most Chinese toys operate at the same frequency and it is not uncommon that the control panel from any tank approaches the machine. That is, if you do not have a receiver and a transmitter from one toy, then you can use two different.)
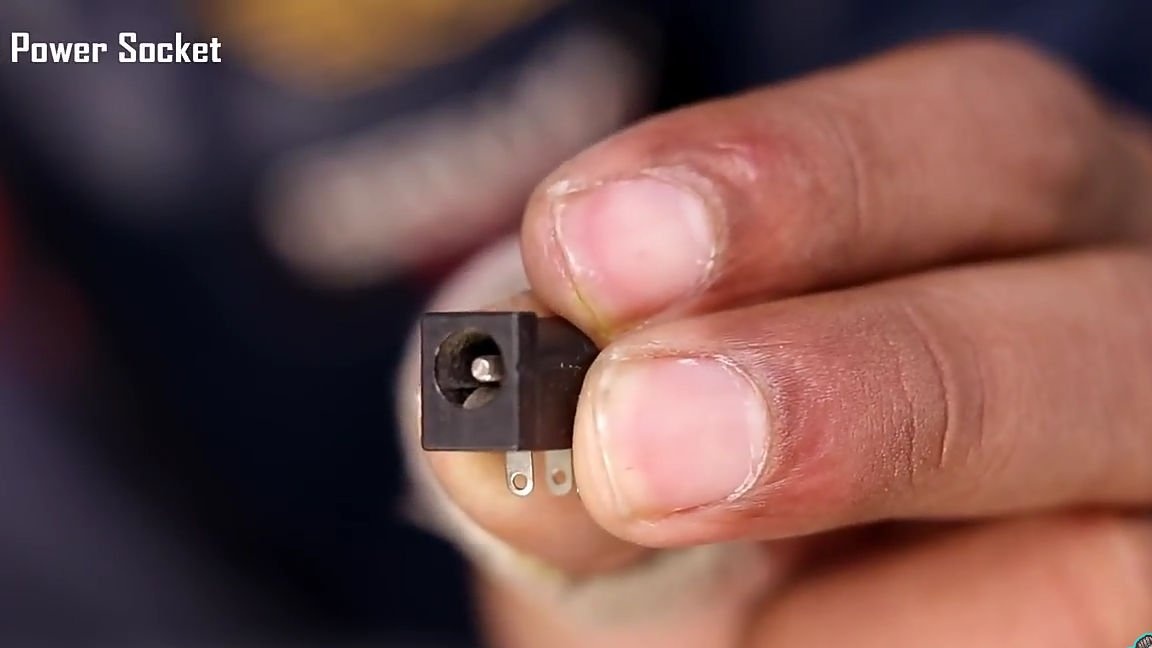
- Power connector
- wires
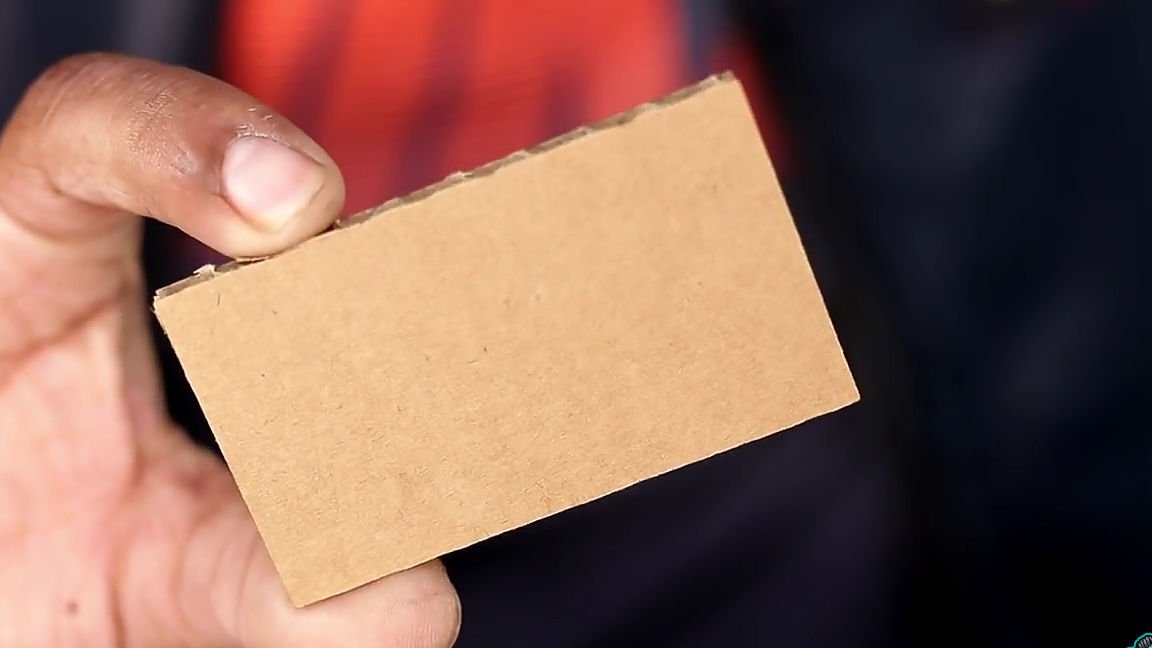
- A small sheet of cardboard
- call button
- A pair of finger batteries.
- 9V power supply (the voltage of the power supply depends on the characteristics of the system you have chosen)
Of the tools we will also need:
- soldering iron
- Hot glue
- Stationery knife
- Drill with a set of drills
- A simple pencil.
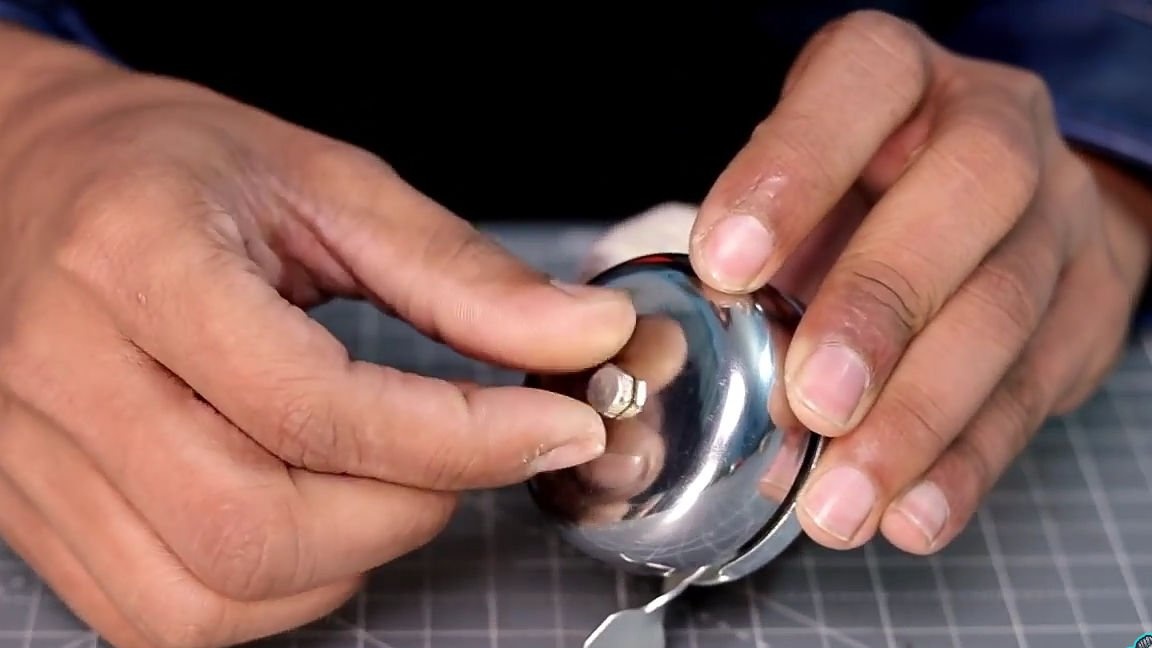
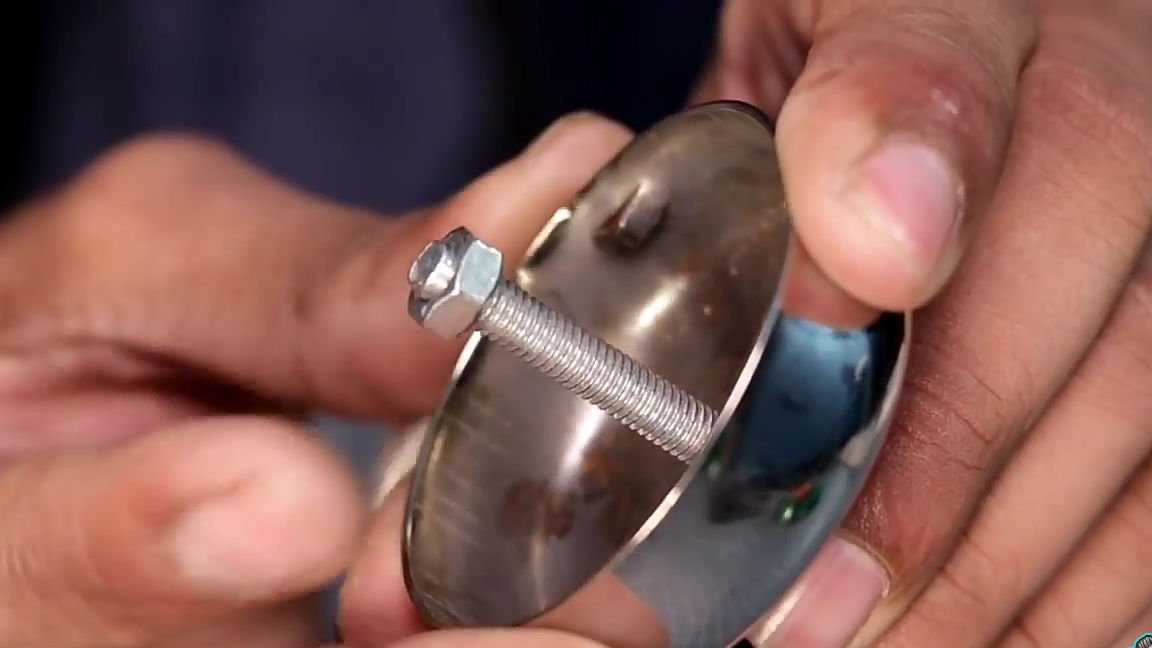
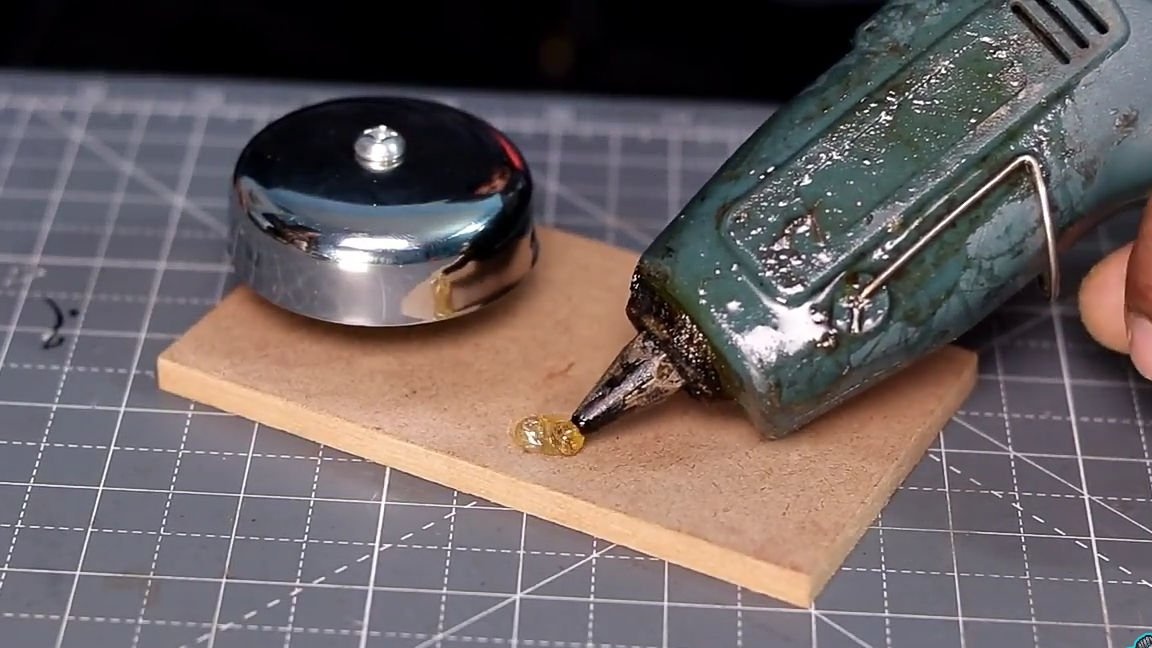
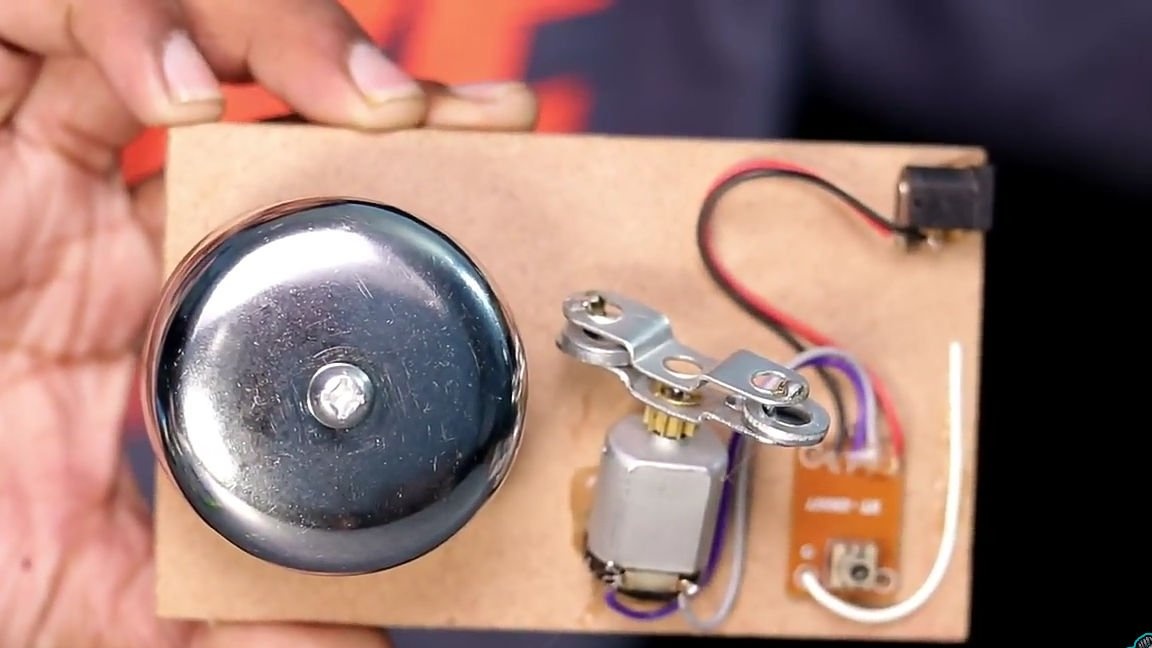
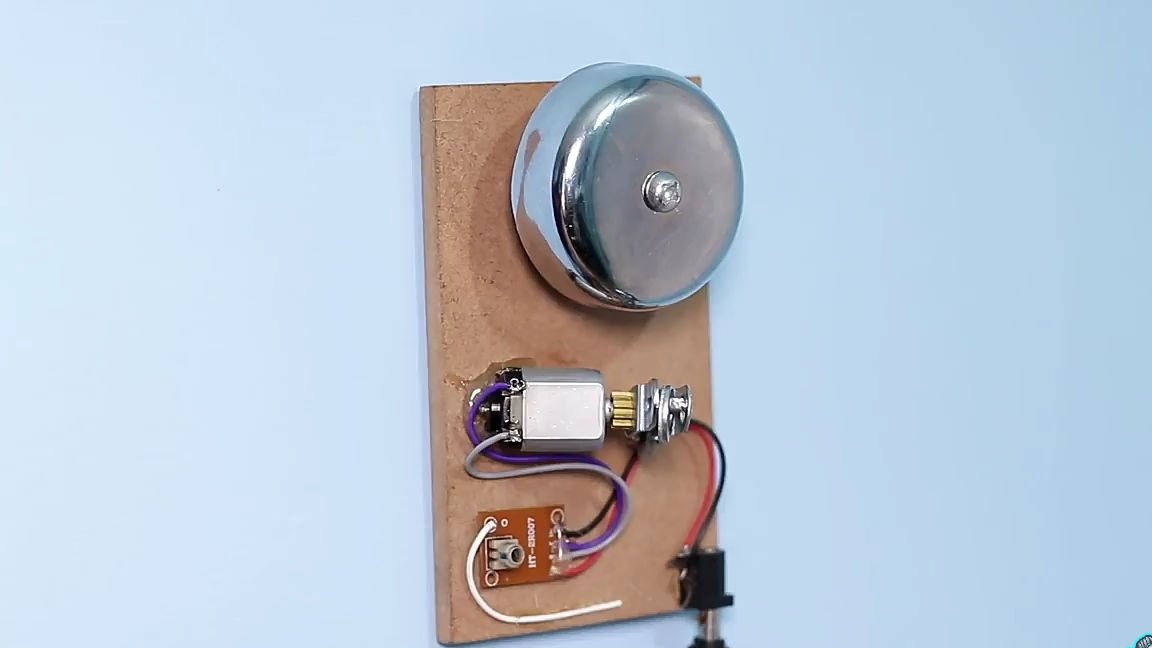
Well, let's move on to the assembly. First you need to find the necessary bicycle bell, it should be with a classic design, where the rotating mechanism is located inside. Surely you have such a call in the garageand if not, it can be purchased at the nearest bicycle store for no more than 200 rubles. Having taken the necessary bicycle bell, it should be disassembled. The ringing part itself, the rotating part and the screw on which it all rested will come in handy. Having disassembled the bell, the screw should be returned back and tightened the nut, we should get a blank resembling a mushroom (see photo).


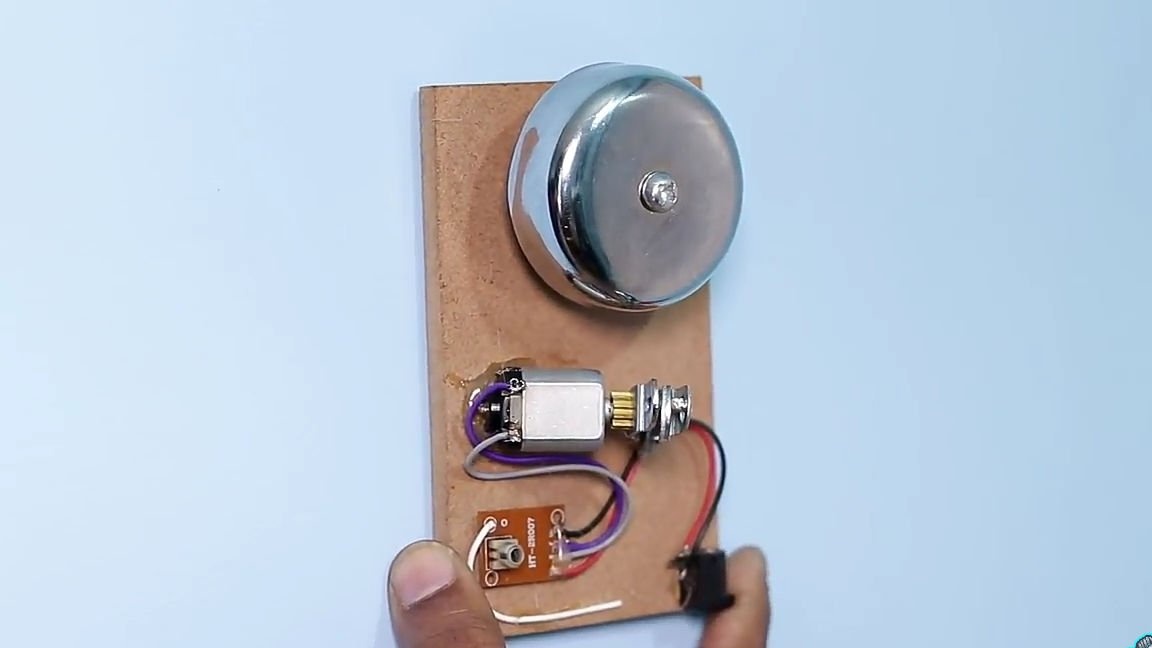
Then we take a small sheet of MDF panel, which in turn will serve as the basis for the audio part of the homemade product.In the upper part of the MDF panel, in the center relative to the sides, a through hole with a diameter slightly smaller than the diameter of the screw on which the ringing part is held should be made. Having made a hole, we screw in the screw together with the ringing part so that it is at a small distance from the panel, but does not touch it.

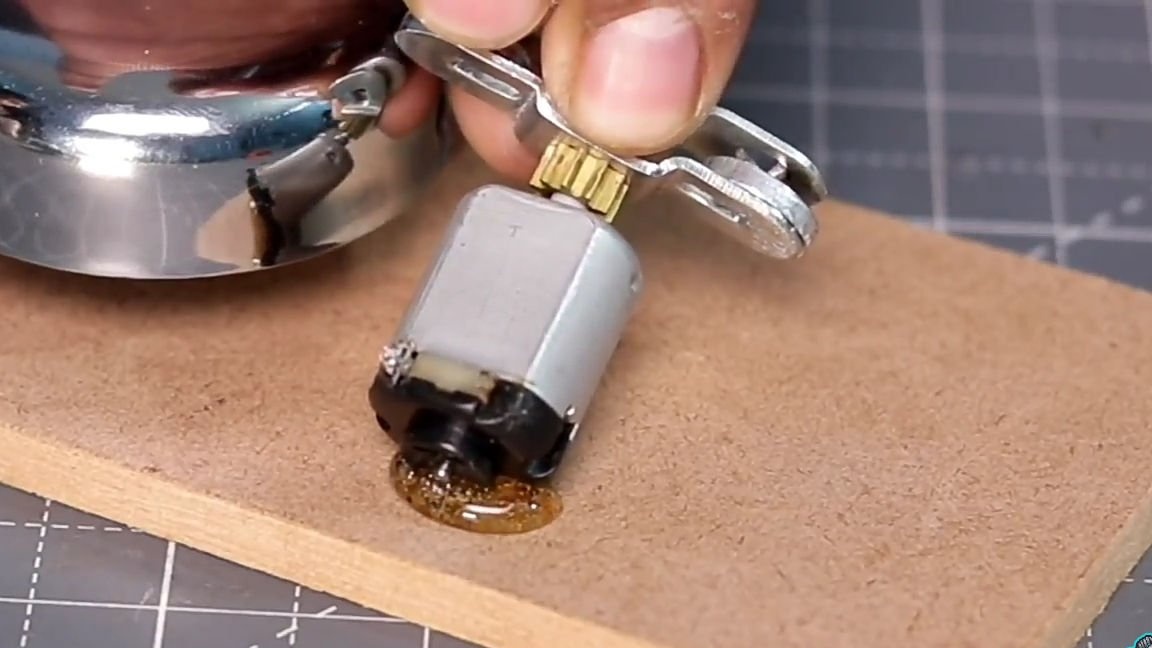
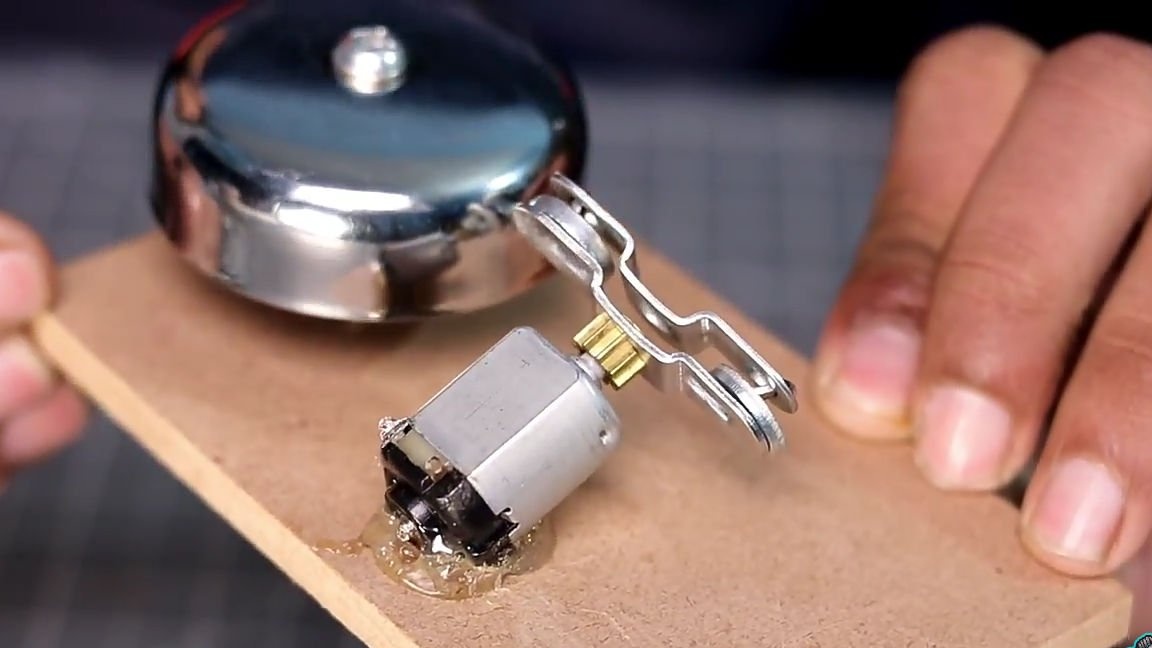
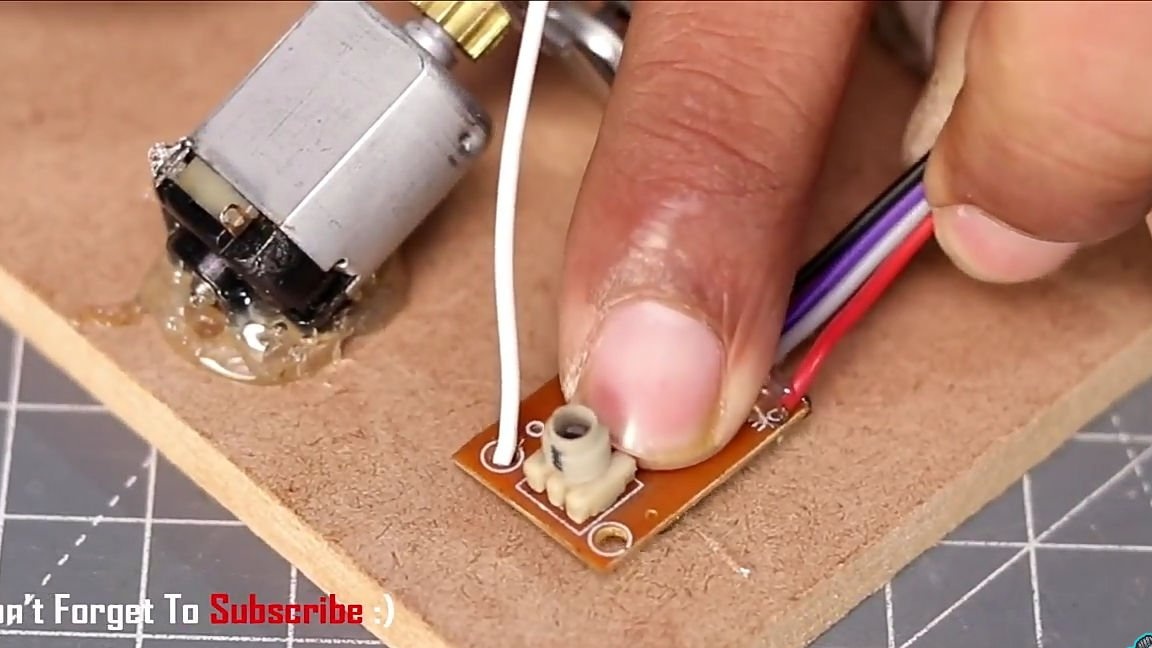
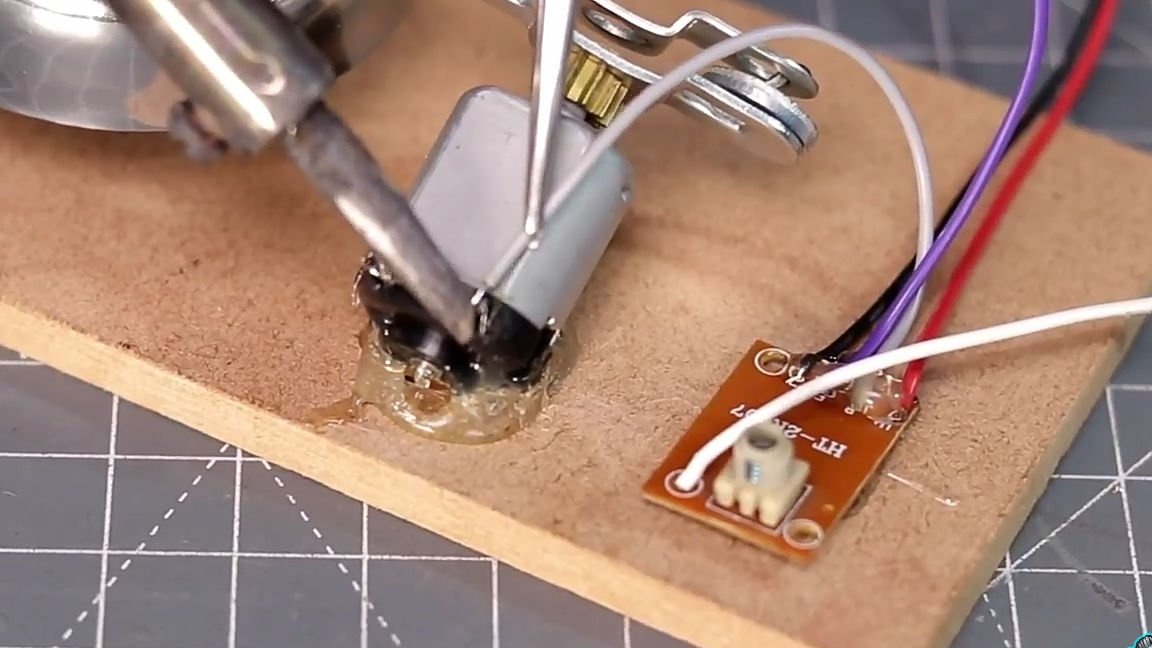
The next step is to take a small electric motor. A rotating element from a bicycle bell should be put on the motor shaft, and secured with a small drop of hot glue. Then the motor itself should be fixed on the base. It should be fixed so that the rotating part at rest does not come into contact with the calling part, and when it rotates, the disks touch the bell and a sound would occur. The motor should be fastened with hot-melt adhesive, with it the motor will be firmly fixed, and the glue will damp out unnecessary vibrations, which will extend the life of the bushings on which the motor shaft sits.


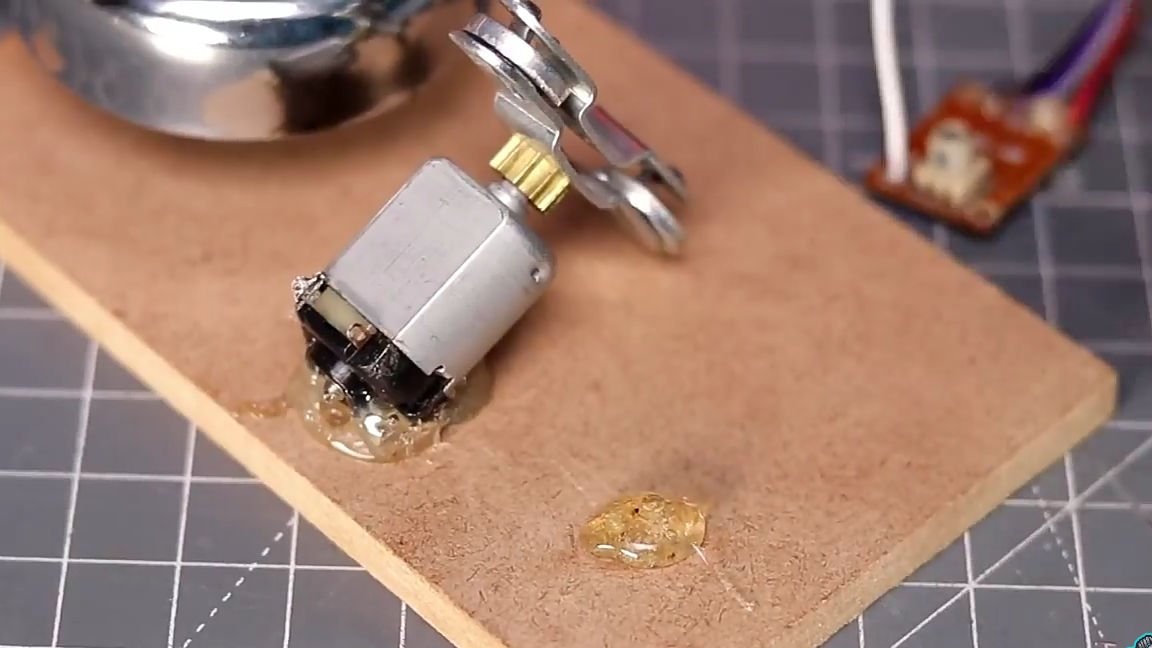
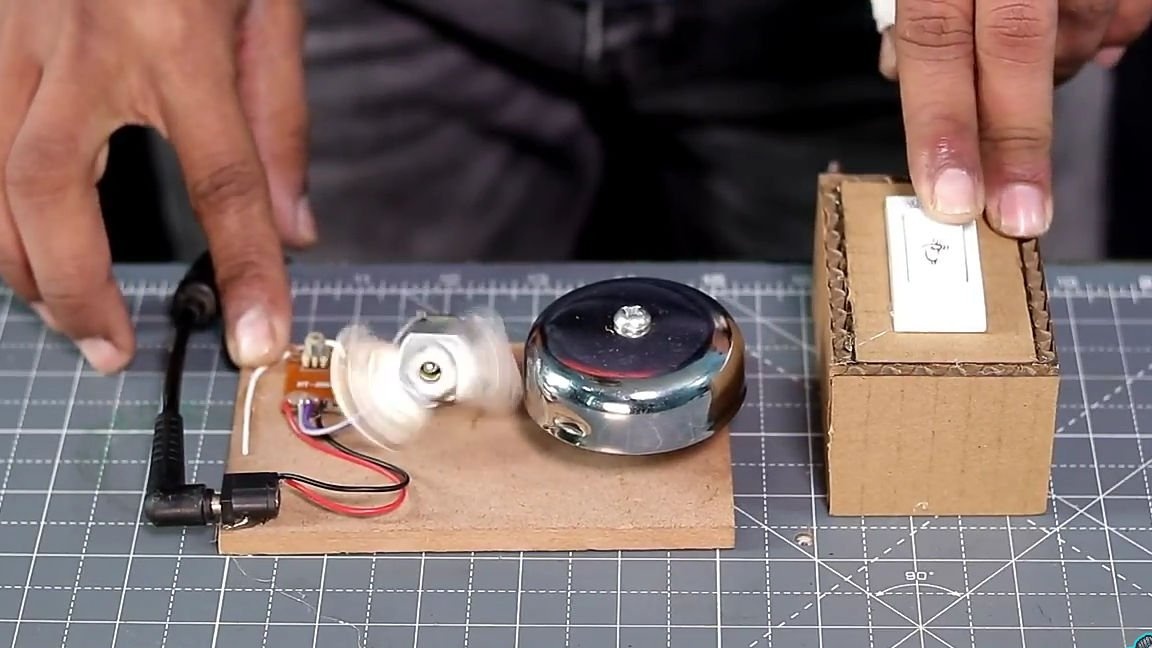
The next step is to take the receiver. The receiver will best be taken from the simplest machine, which can only drive back and forth (its cost is 100 rubles). We install and fix the receiver on the base using hot melt adhesive. The receiver wires that go to the engine should be soldered to our engine that was installed earlier (in our case, the polarity is not important).
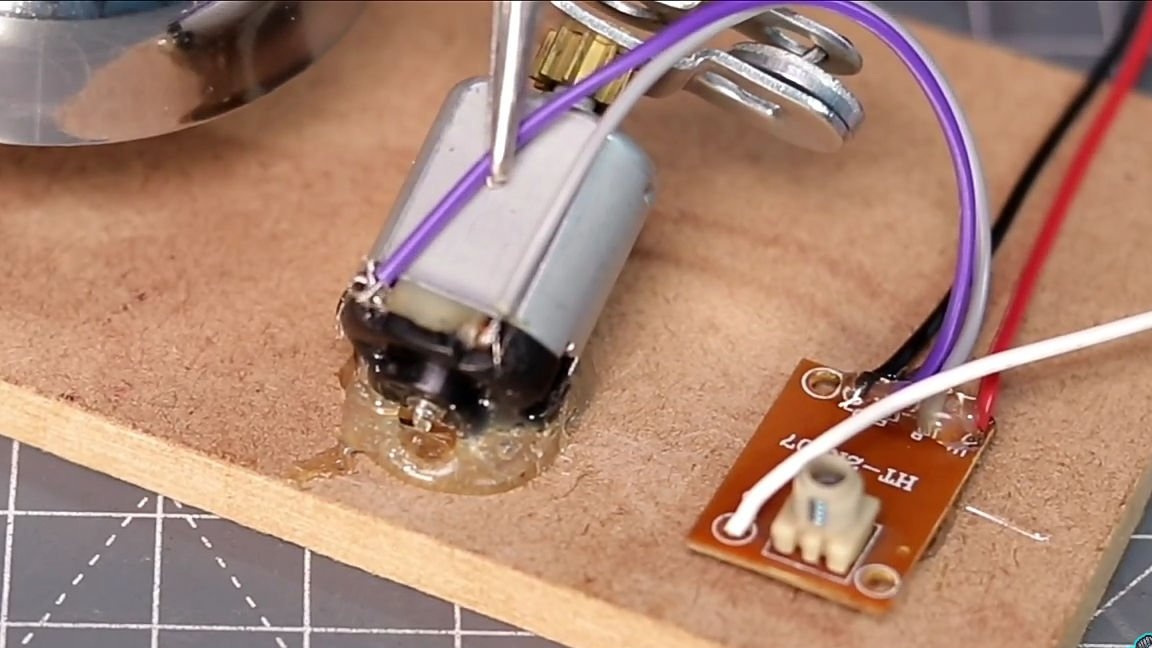
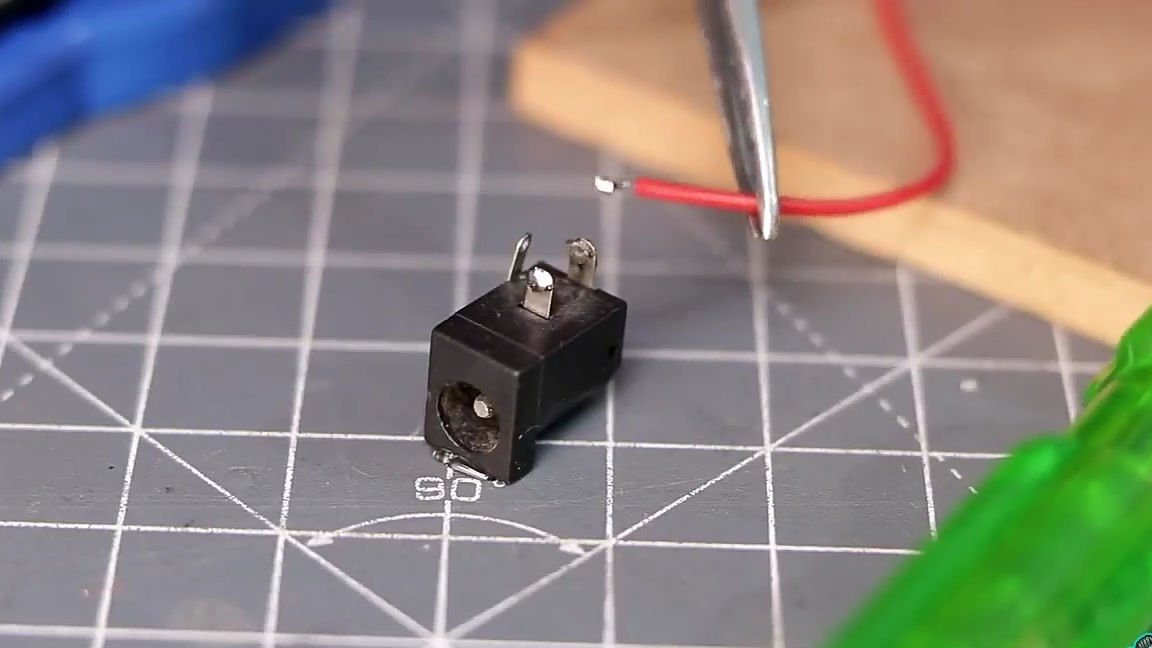
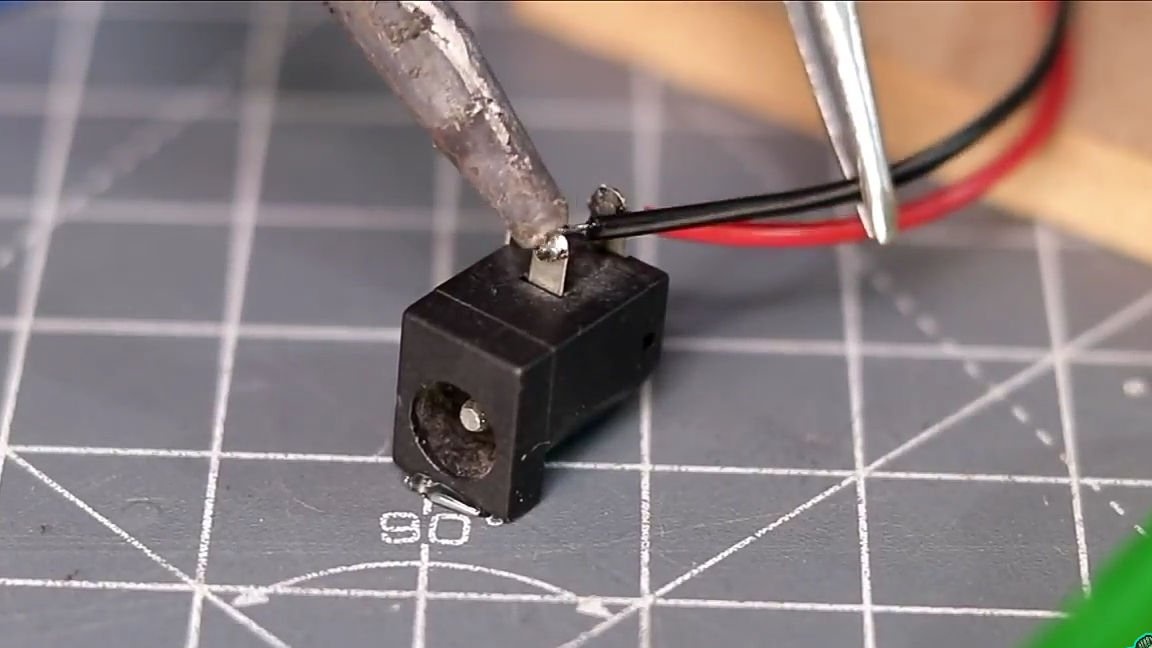
Then take the standard connector for the power supply and solder it to the input wires of our receiver. Note that in this connector, the positive contact is the rear contact, and the contact is closer to the negative connector itself. According to this information, solder the wires from the successor (red-plus, black-minus). Actually, the connector itself is glued to the base using hot melt adhesive. Part of the homemade product that will be ringing is ready.

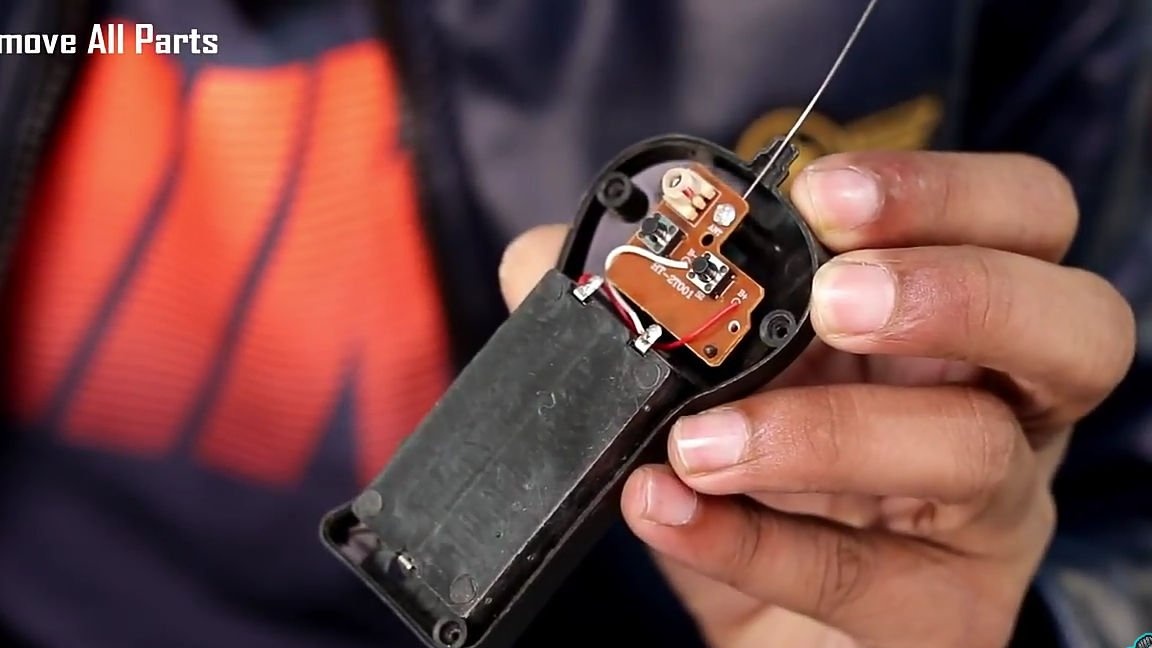
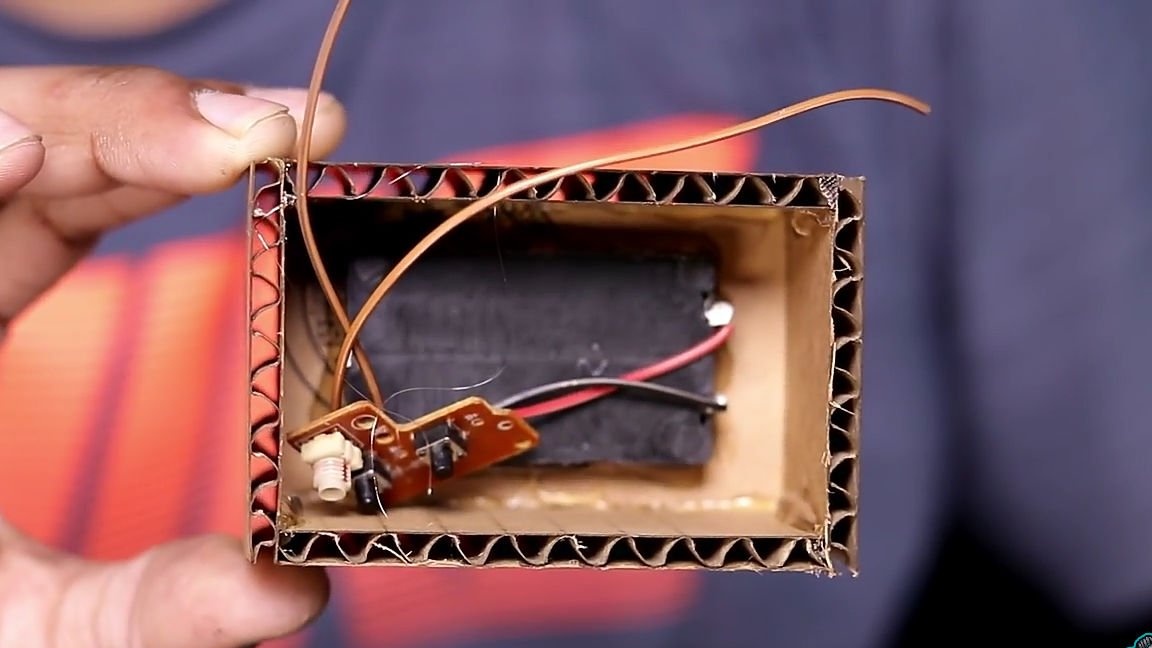
Now we turn to the manufacture of the wireless key itself when pressed, to which a signal will be transmitted to the audio part of the homemade product. To do this, take the control panel from the machine and disassemble it. From the remote we need only its filling. Instead of one of the two buttons, solder two small pieces of wire (these wires will go to the main key).

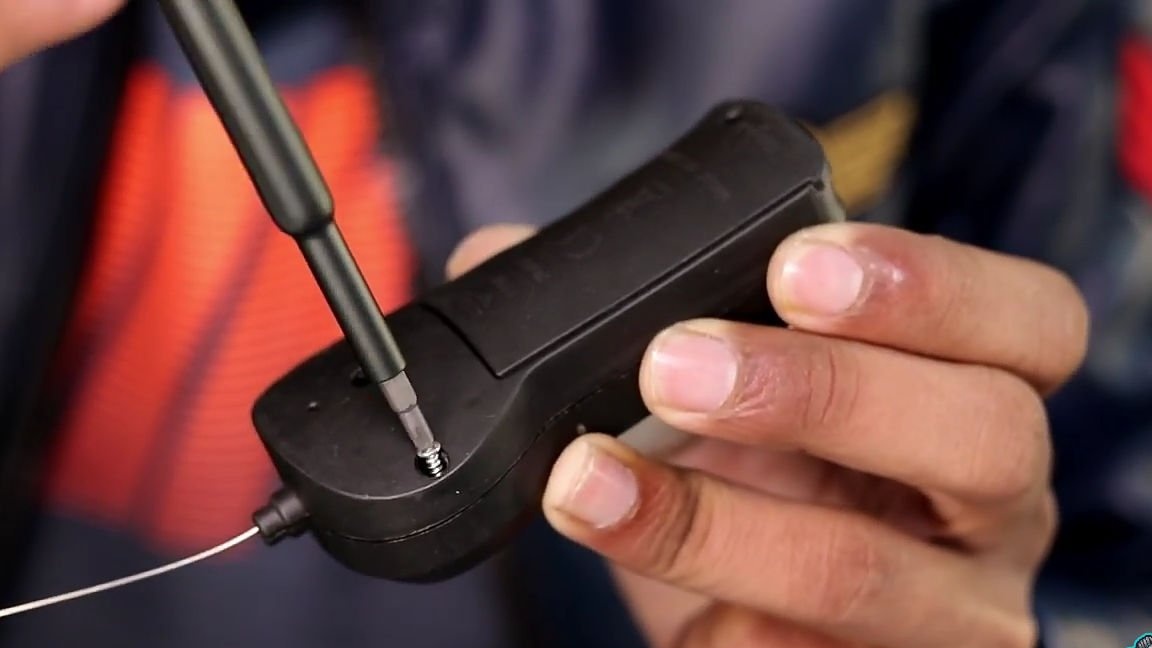

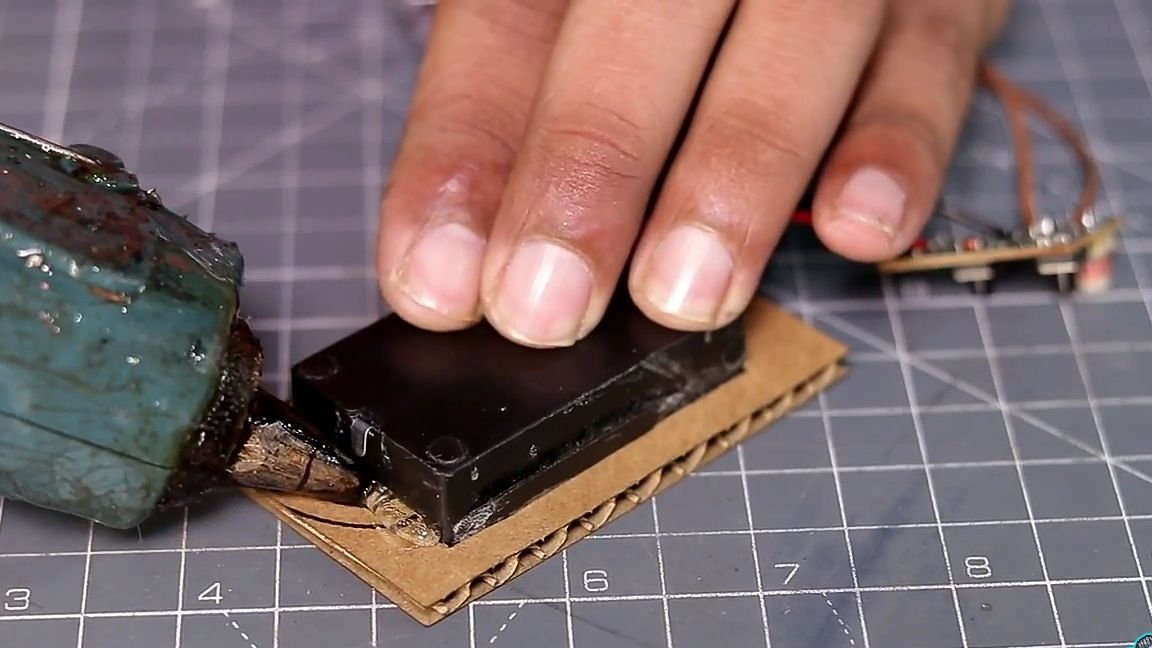
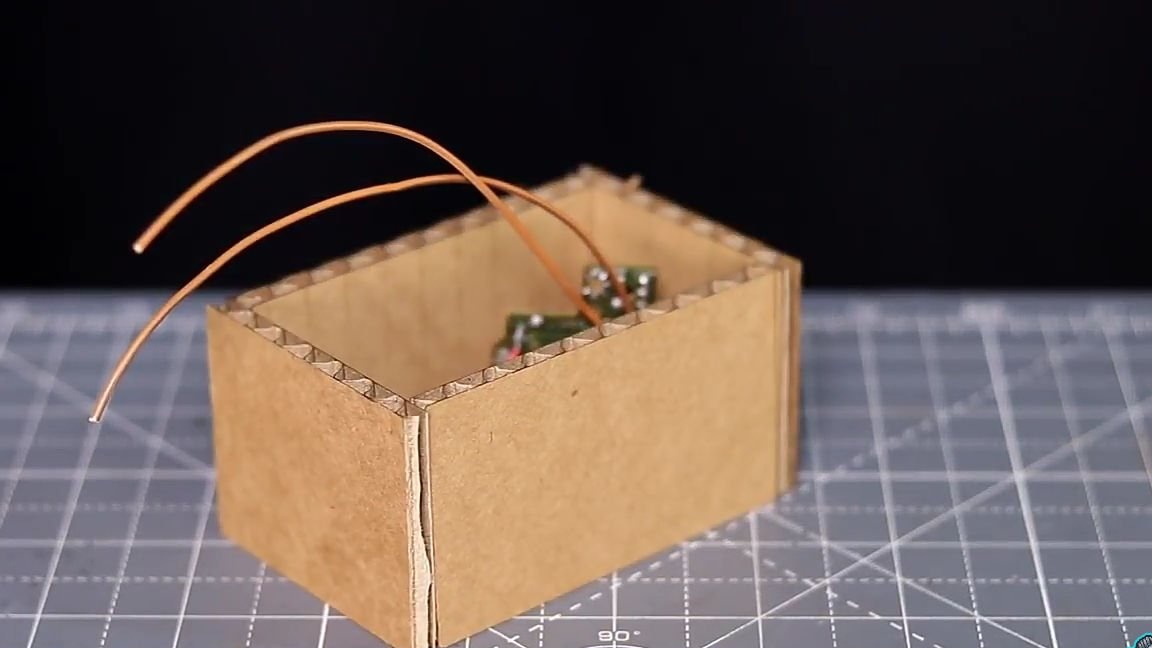
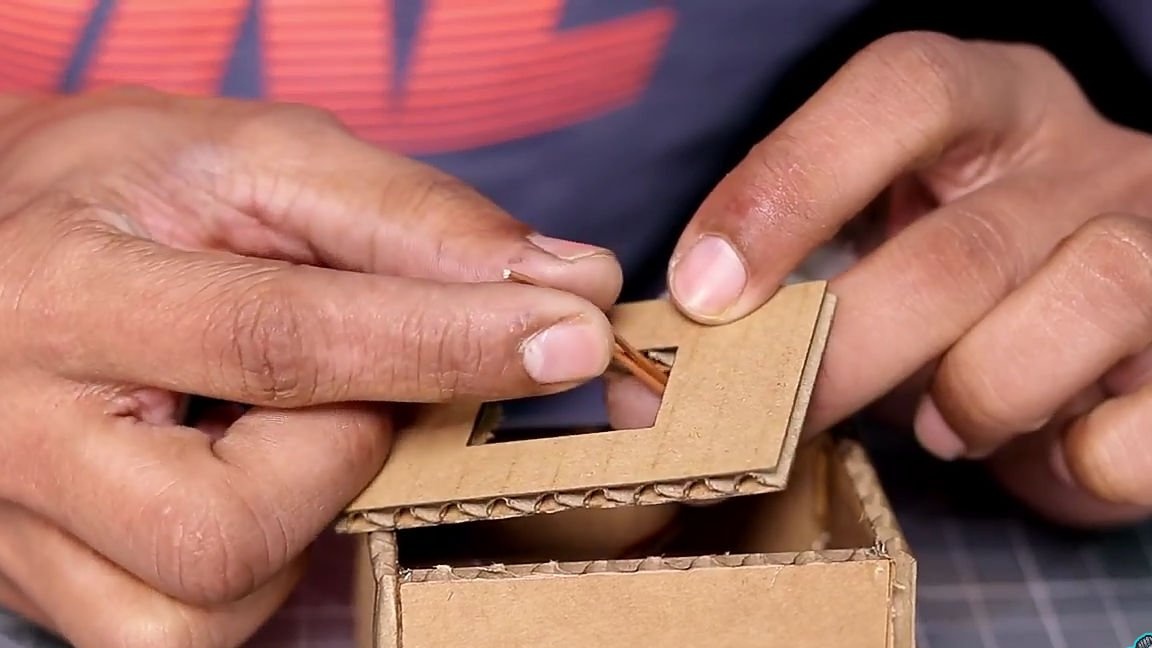
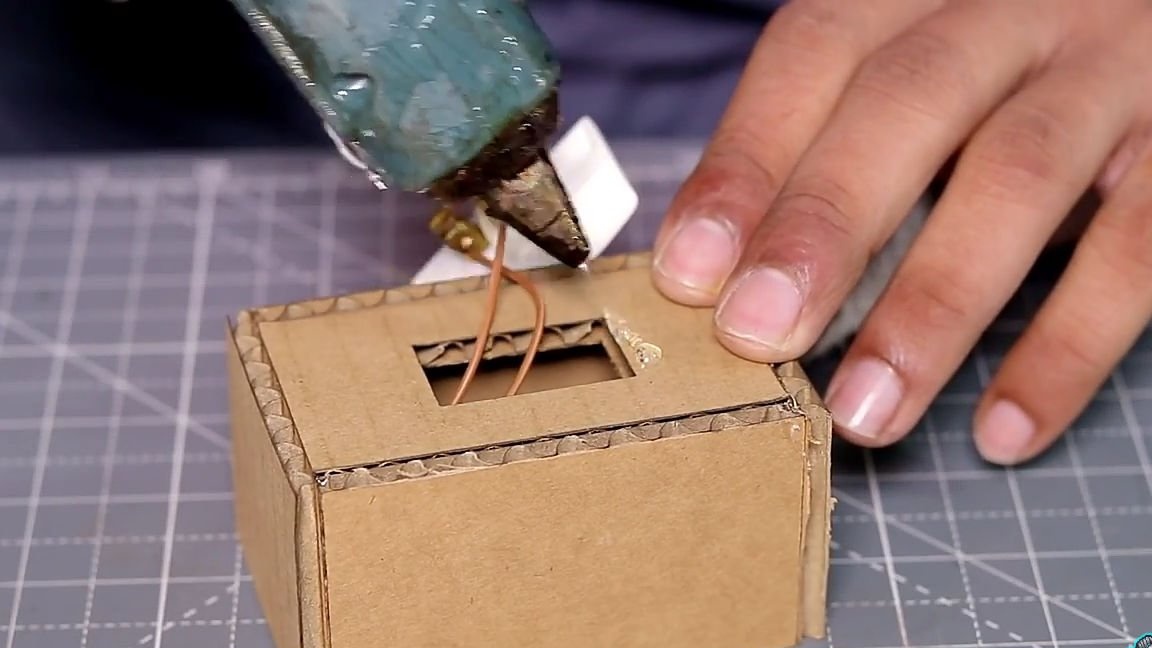
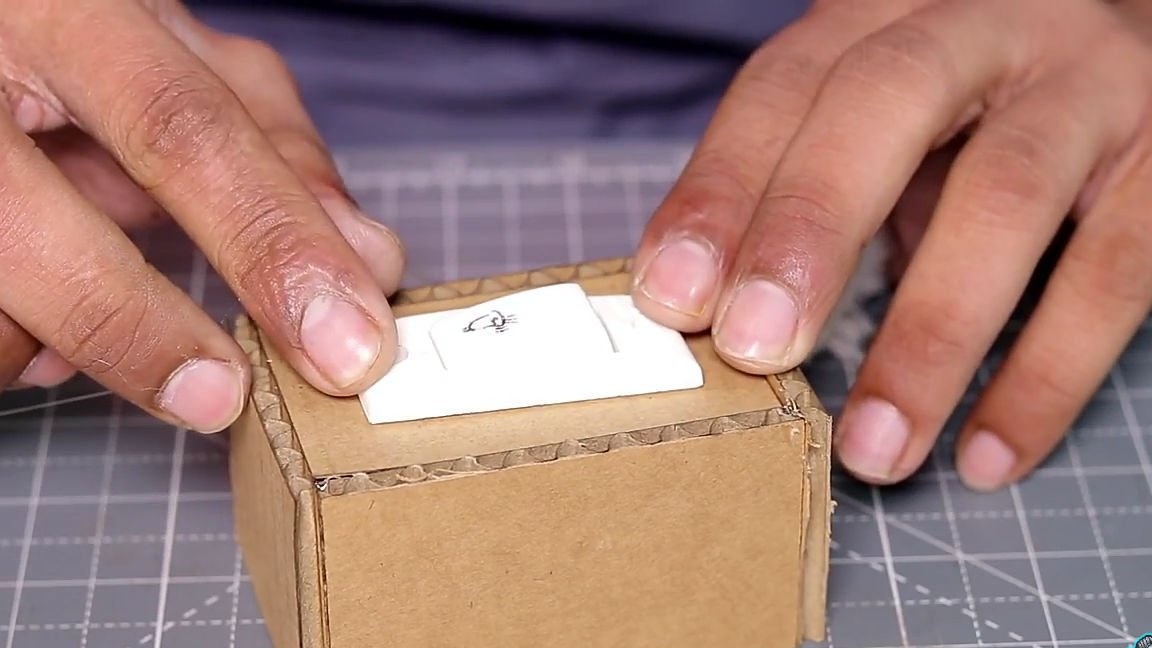
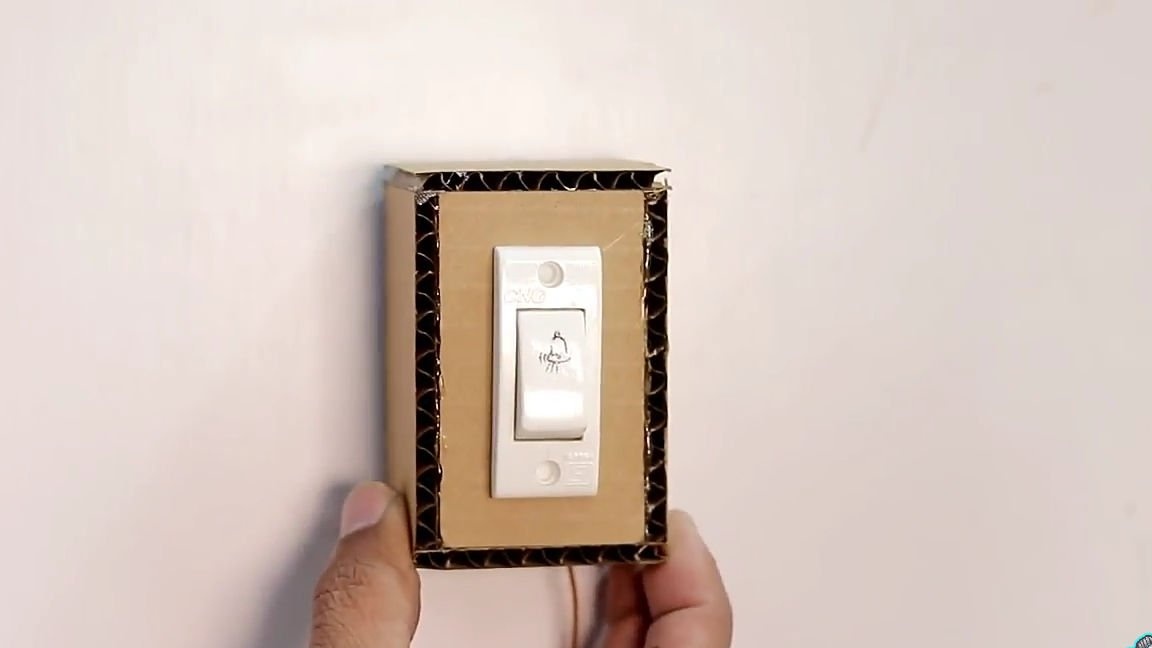
Then we should make a case for our button. To do this, take not a large rectangle, which is slightly larger than the battery compartment. Attach the battery compartment to the rectangle and circle it. Next, cut a rectangular hole in the office left earlier. We insert the battery compartment flush into the resulting hole, and fix it with hot glue. Then from the same cardboard we assemble the case. The front part of the case must have a rectangular through hole in which to set the key for the bell. We connect the key with the output wires from the transmitter (remote control of the machine’s subsidized control) and finally glue it to the cardboard case itself.

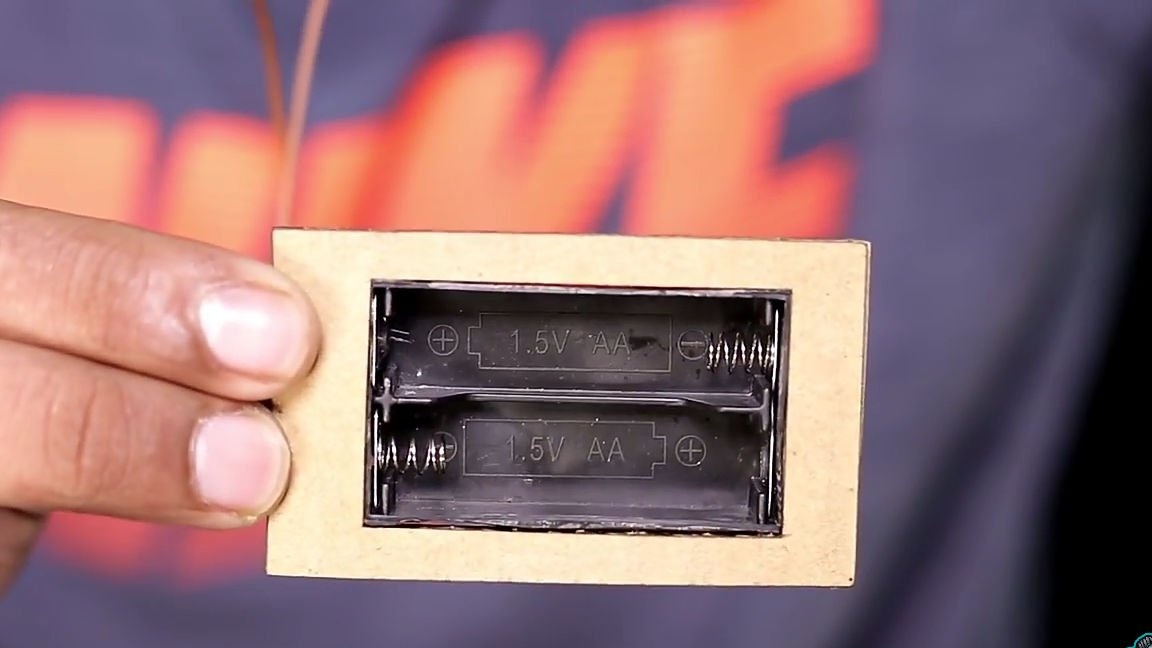

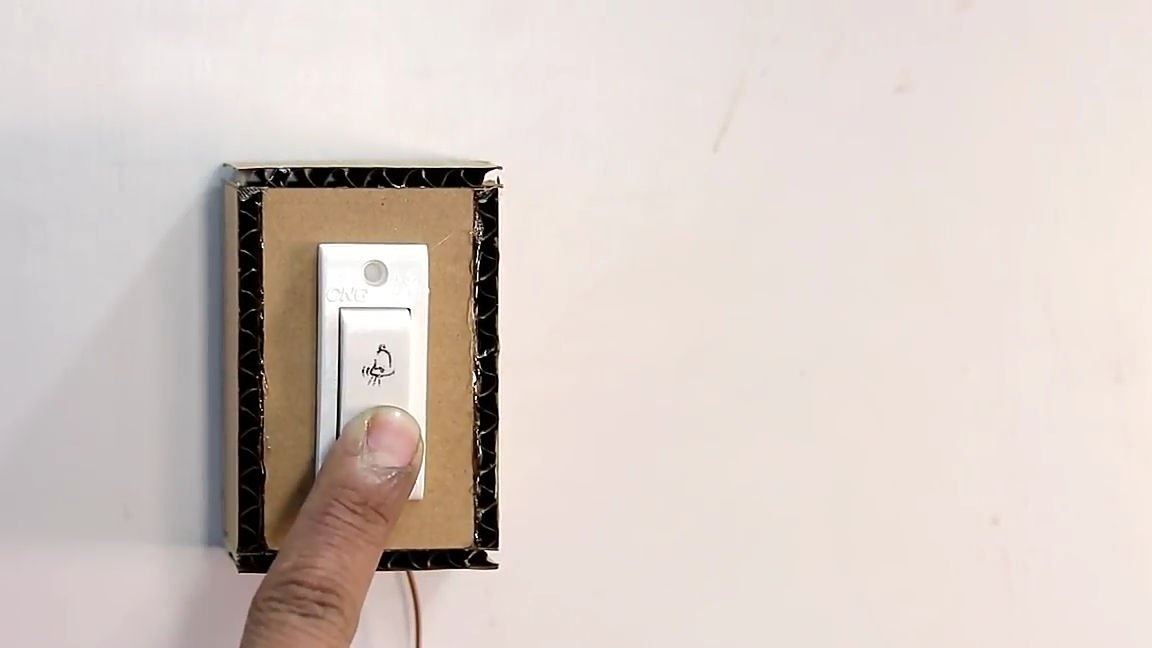
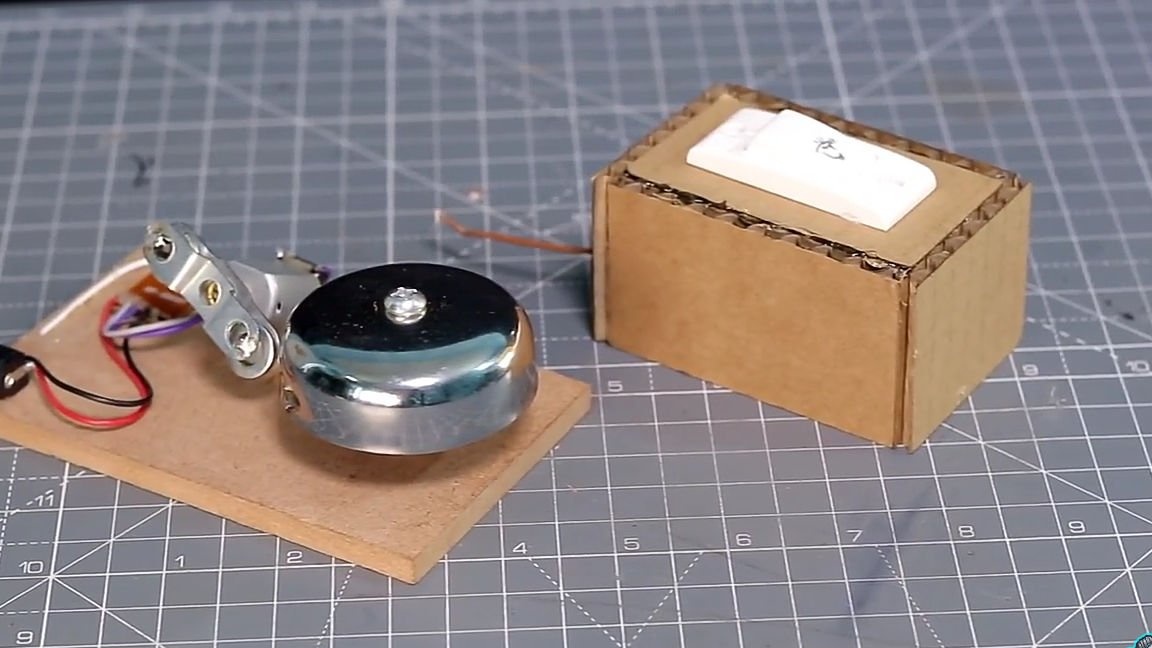
All is ready! It remains to install homemade instead of where it is necessary and test. Before installing the key in it, you must install two finger batteries. As a result, we got a very loud and reliable call, which you will probably hear. It should also be noted that, using such electronics, you can make several sound elements and place them all over the area of your house or in all rooms, and when you press a key they will all receive a signal and will ring. You can also add that instead of the power supply, you can use ordinary batteries, they will also be for a fairly long period of time, since an electric motor of this type is not very energy-intensive.


Here is a video from the author with a detailed assembly and testing of this homemade product:
Well, thank you all for your attention and good luck in future projects, friends!