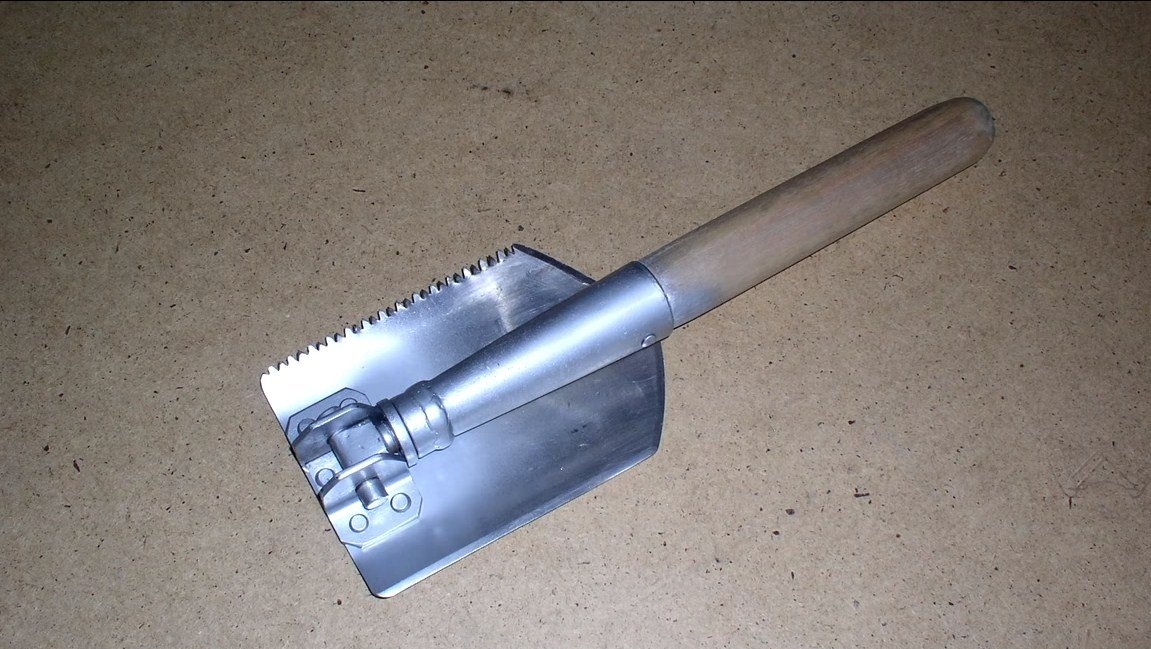

Hello fans to craft, I propose to study the instructions on how do it yourself make a folding shovel. Such a shovel will be especially useful for fans to run with metal detector. However, a shovel will not be useless either for a tourist or for a “survivor,” it will also help you on the road, therefore it is useful to have it car.
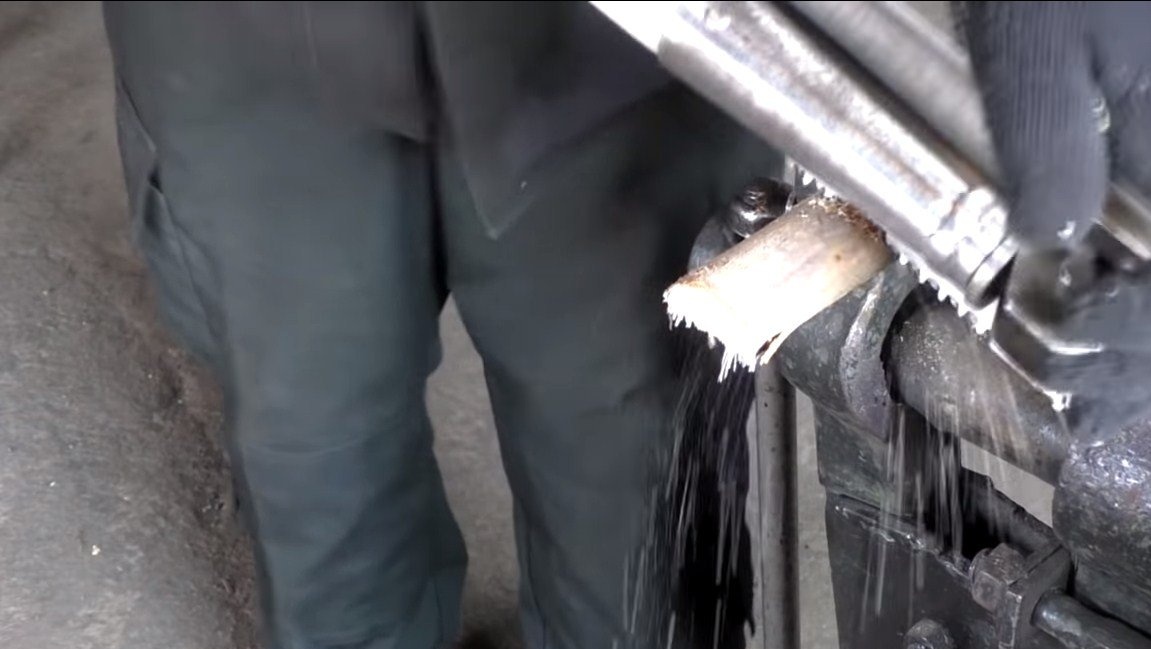
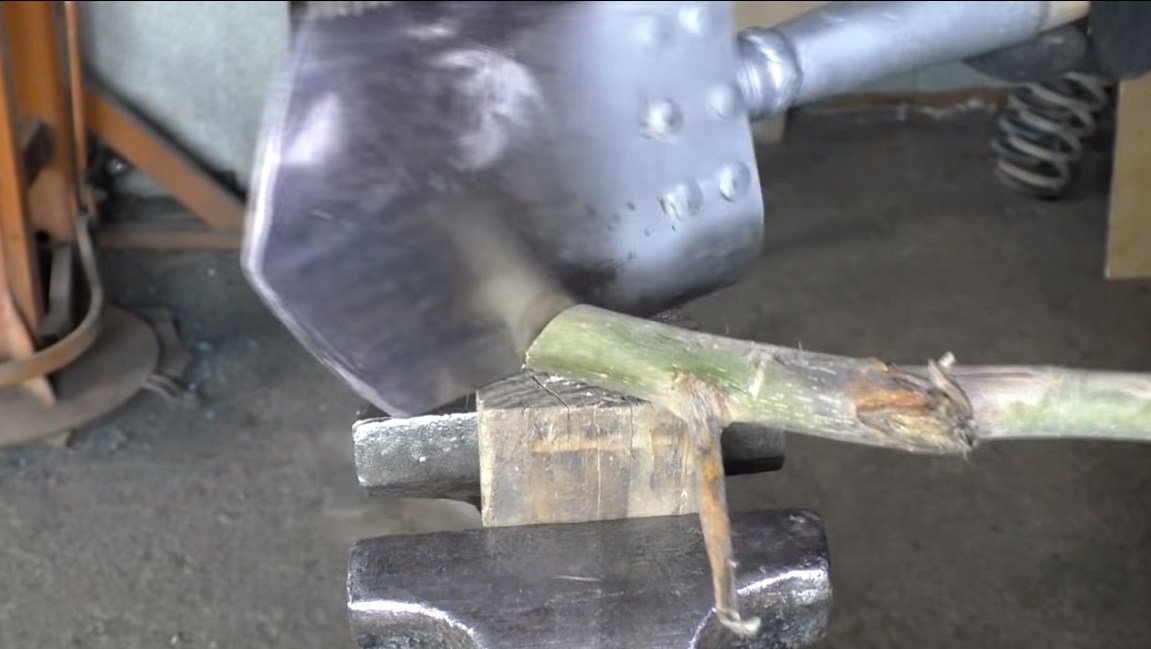
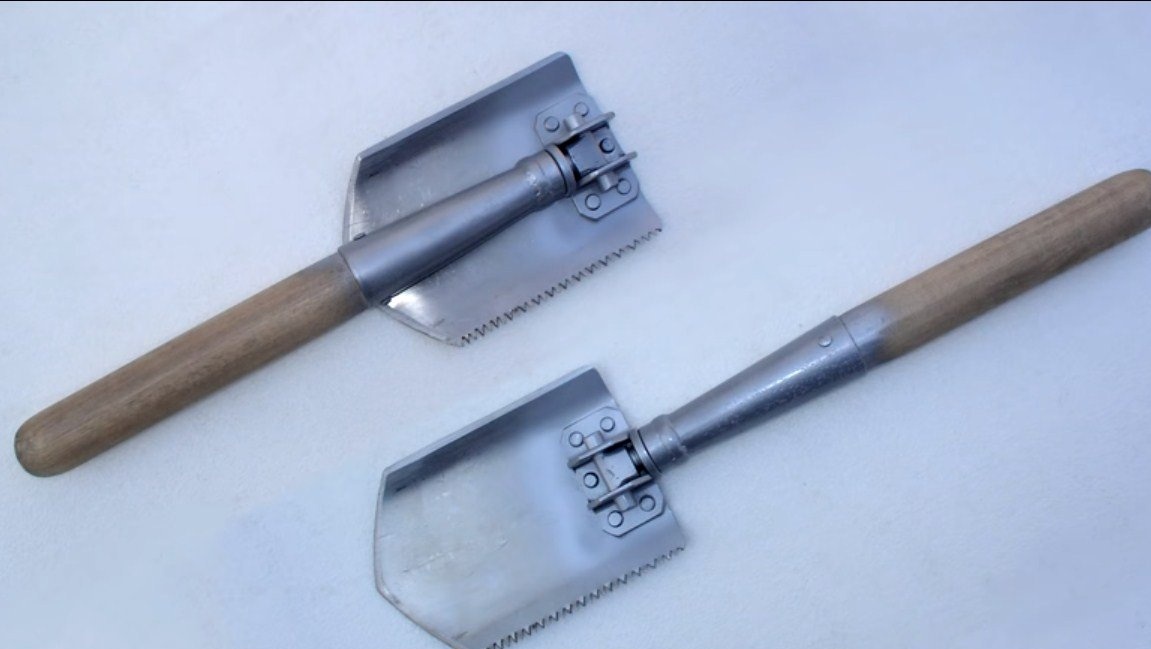
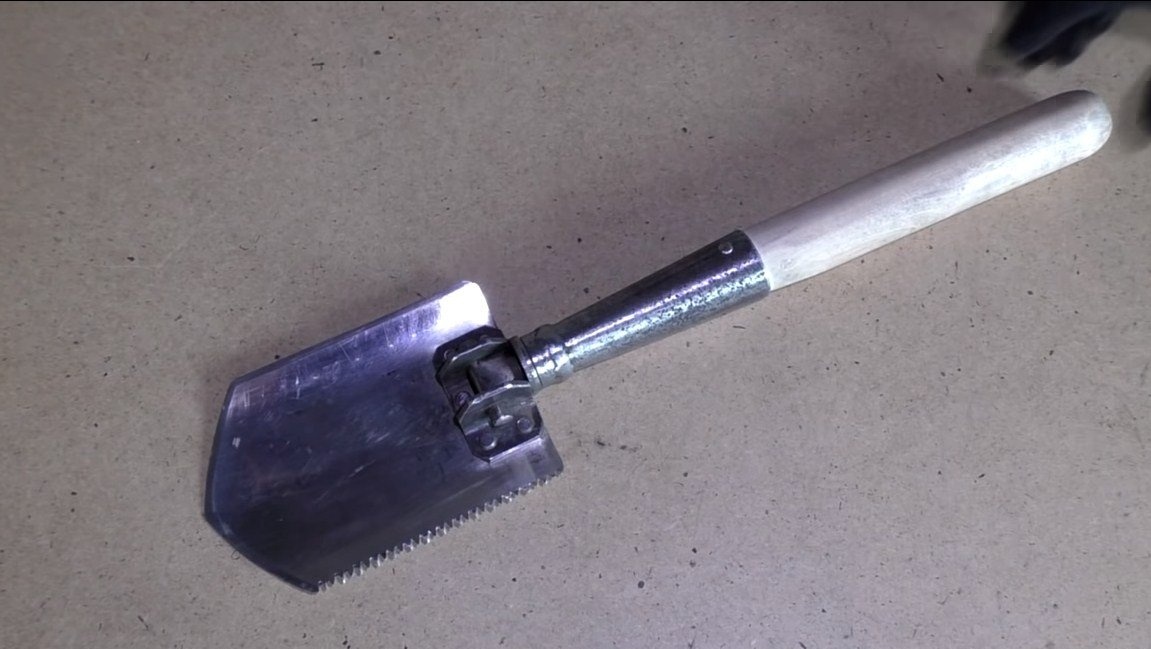
On one side of the shovel there is a hacksaw that perfectly cuts sticks and more. And the other side of the shovel is sharpened like an ax, it can be cut, sharpened by sticks, chopped branches and more. The shovel can be fixed in four positions, which greatly increases its functionality. If you are interested in the project, I propose to study it in more detail.
Materials and tools used by the author:
Material List:
- sheet stainless steel;
- rivets;
- Sheet steel;
- bolts and nuts;
- a piece of steel pipe;
- stalk;
- paint for metal.
Tool List:
- vise;
- hammer;
- a planer;
- grinder;
- drill or drilling machine;
- welding machine;
- ruler, pencil;
- a hacksaw, etc.
The process of manufacturing a shovel:
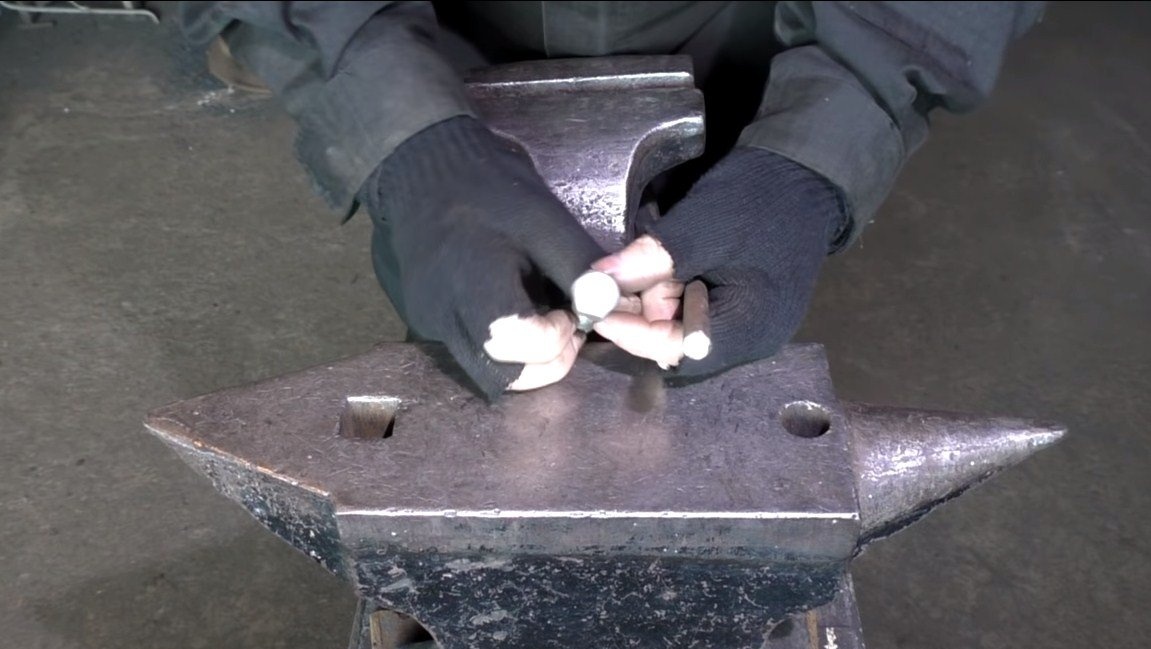
Step one. Swivel joint
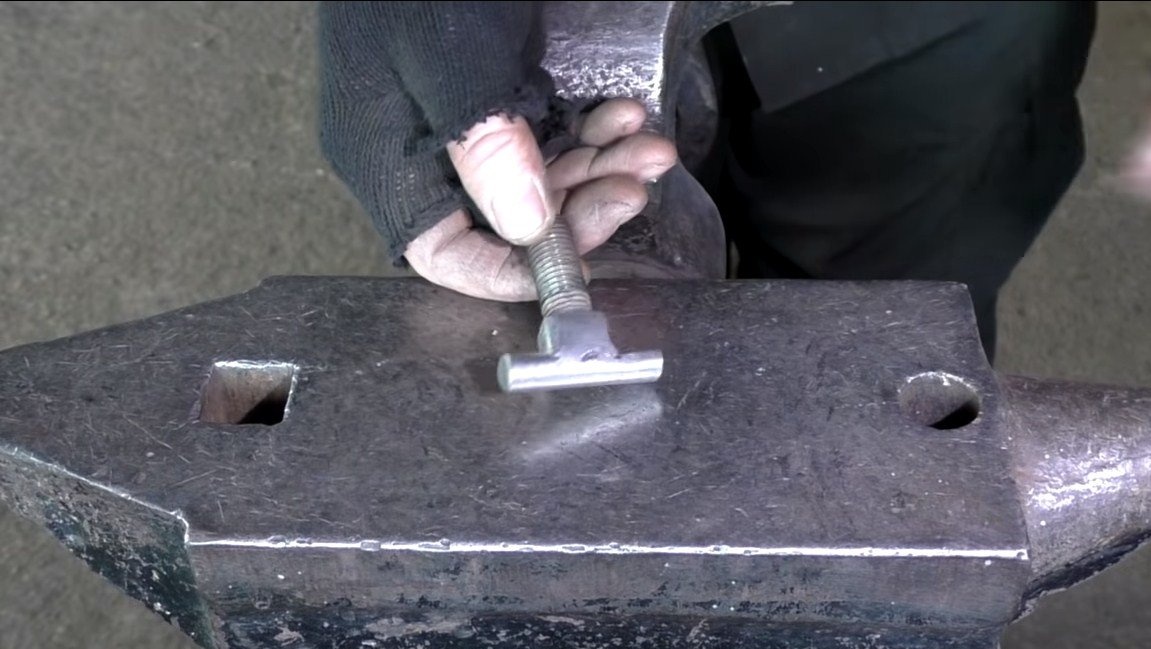
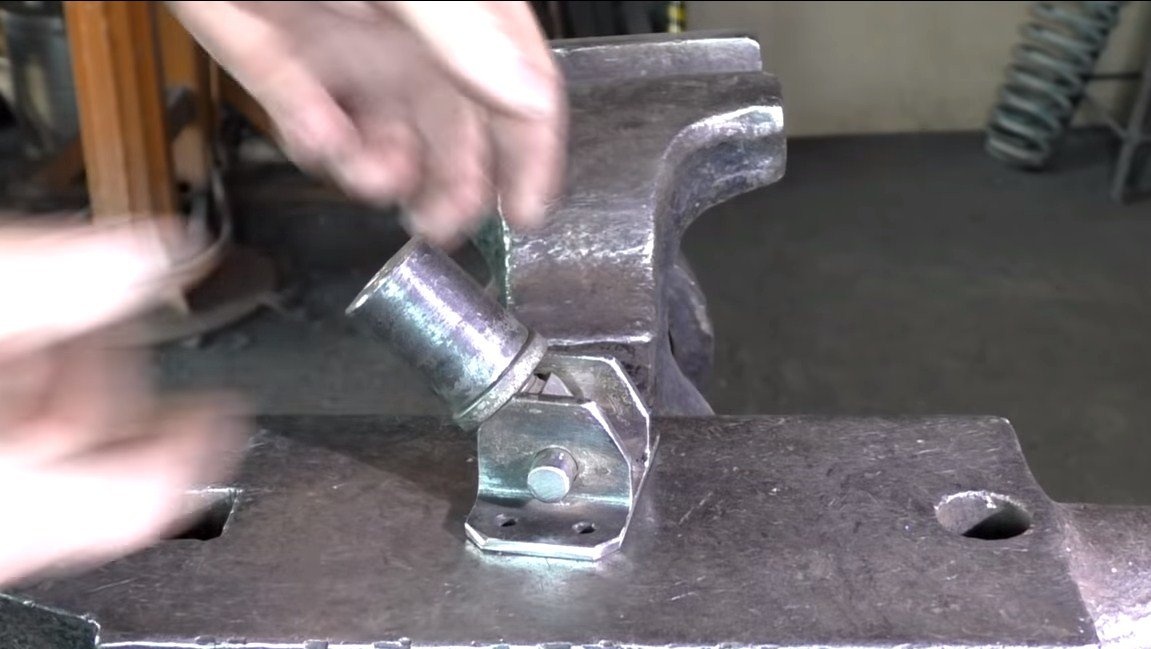
First of all, we will make a swivel joint. First we need to find a bolt and a steel rod. The rod must be welded to the bolt head perpendicularly. The rod will be the axis of the structure, it is better to take a rod of hardened steel. The bolt head can be ground so that it is not clear that it is a bolt.
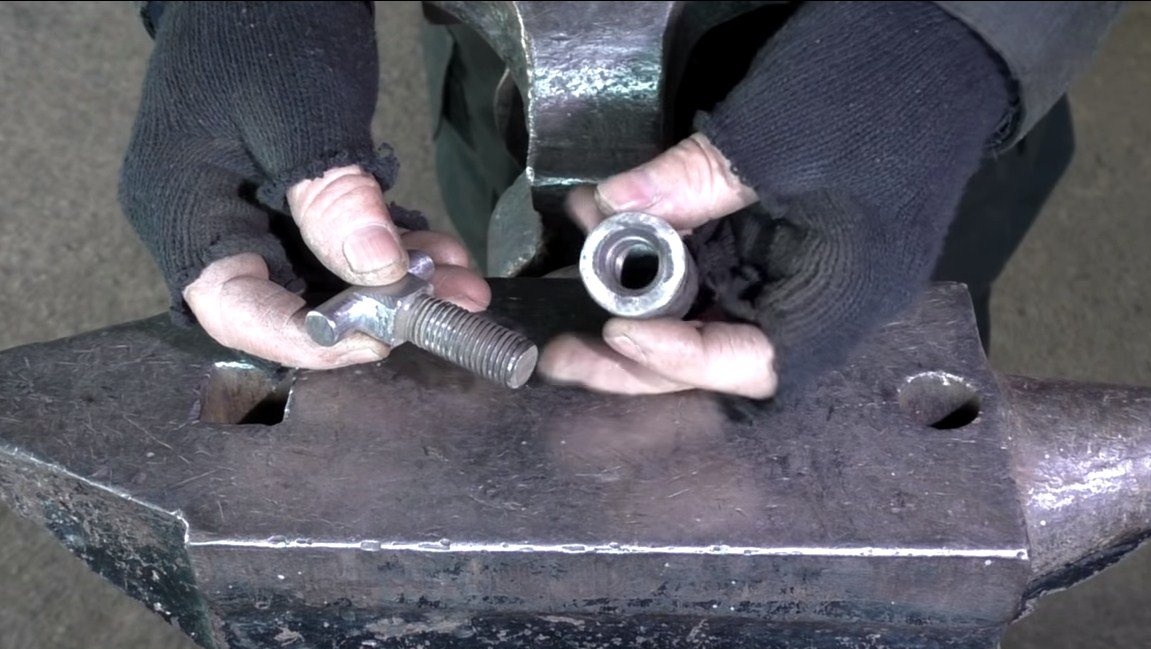
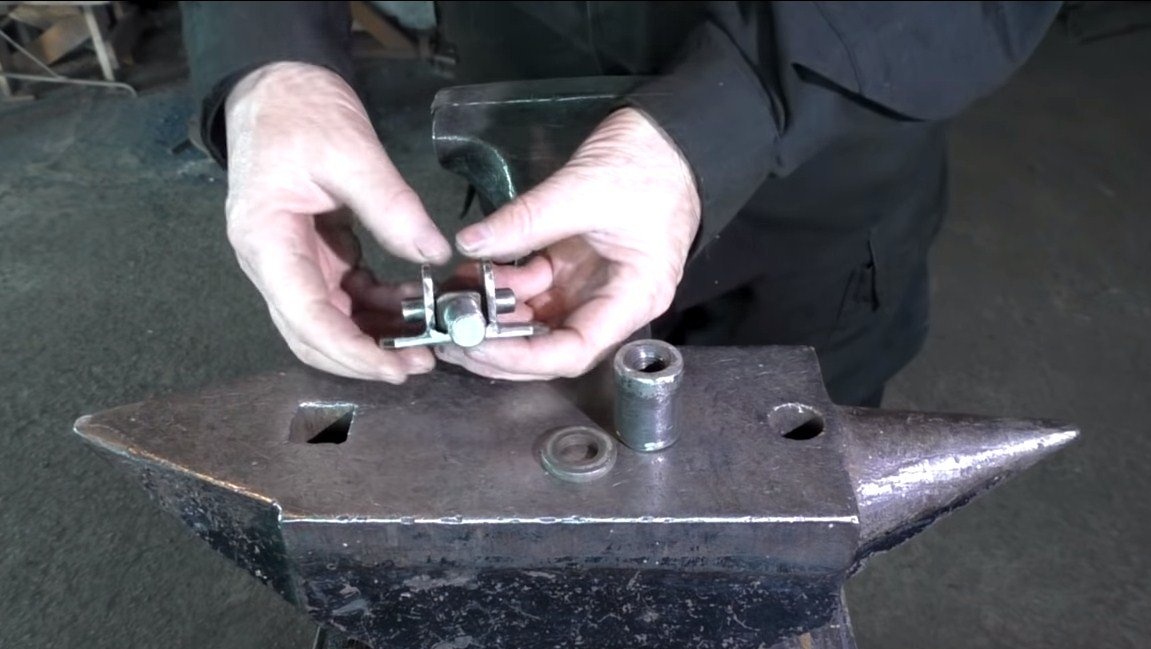
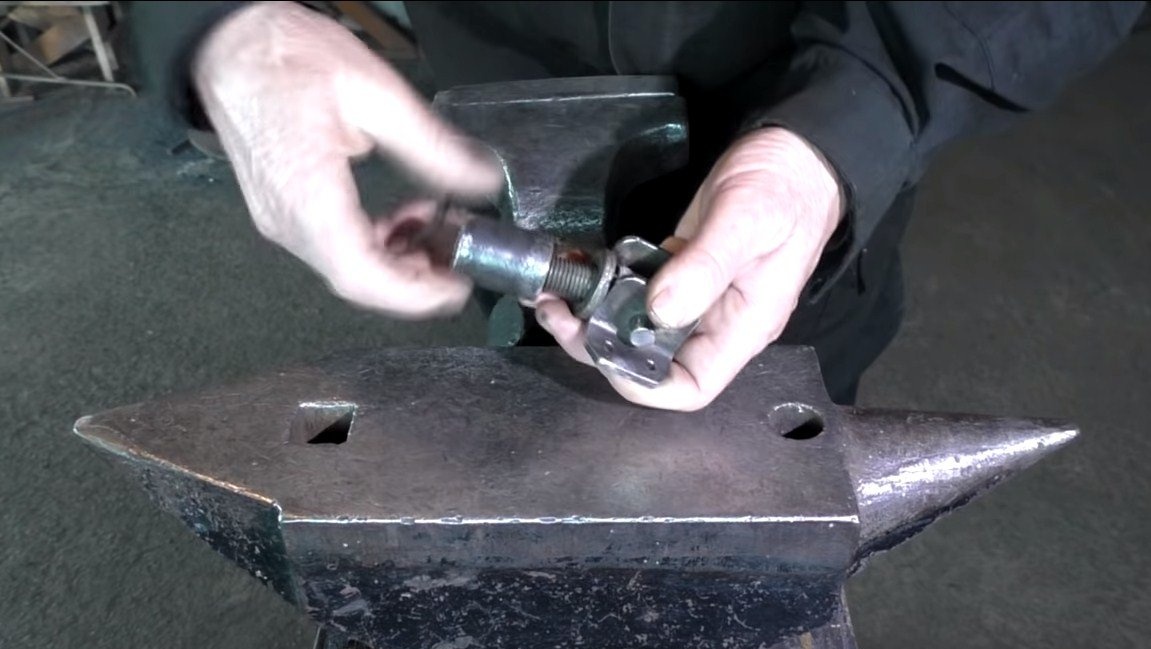
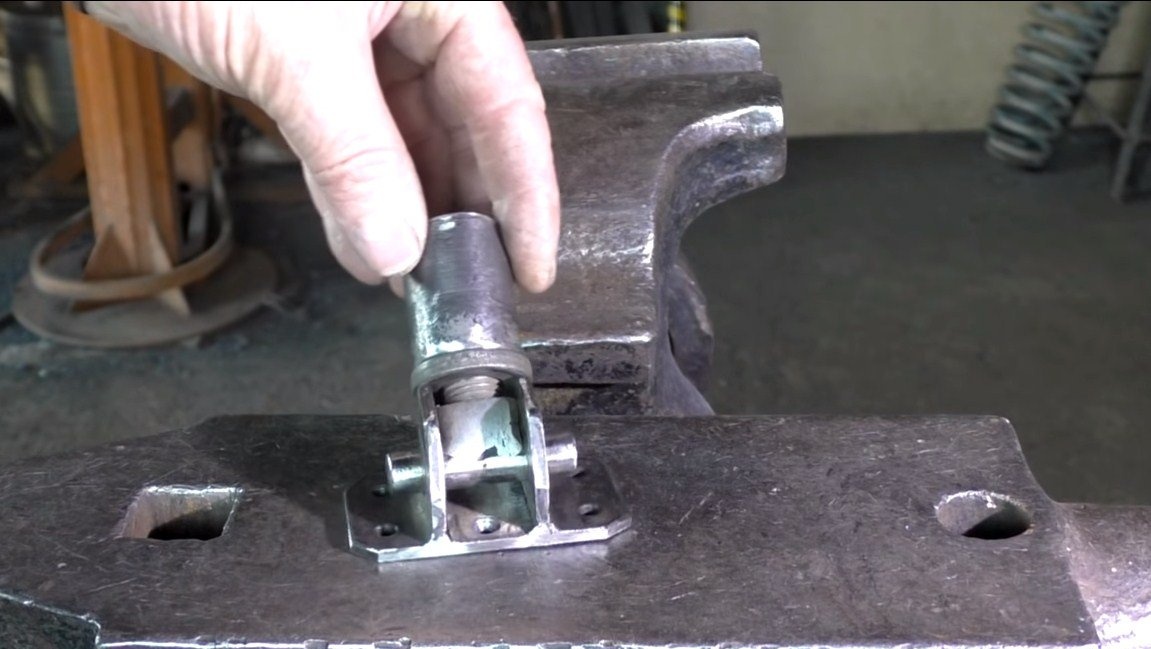
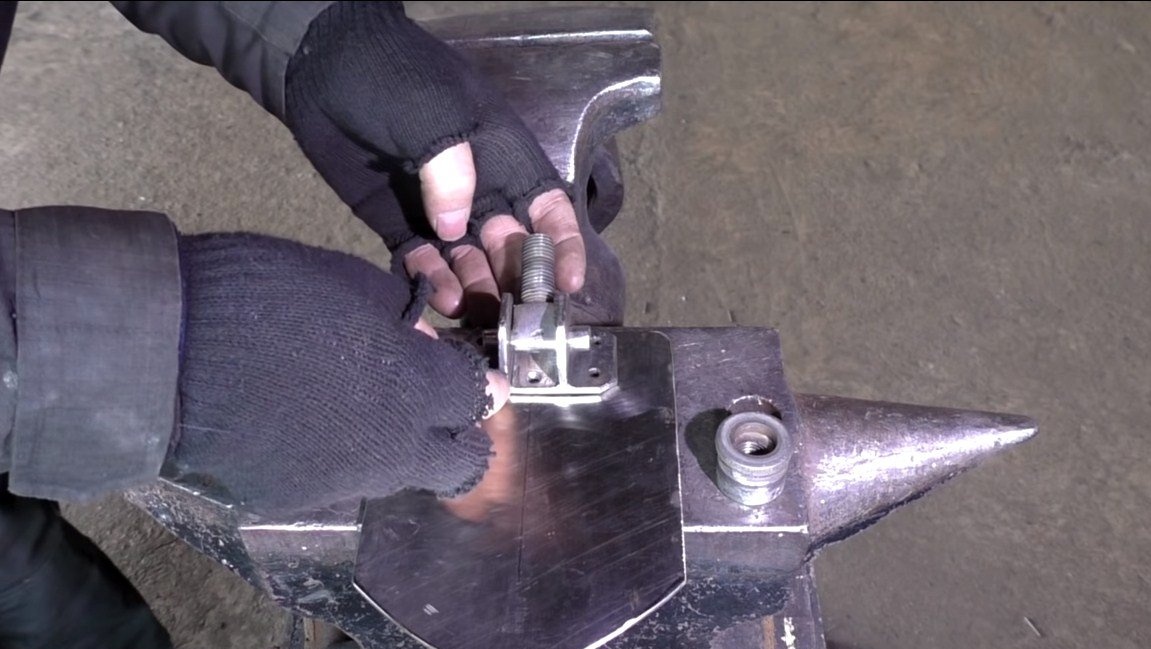
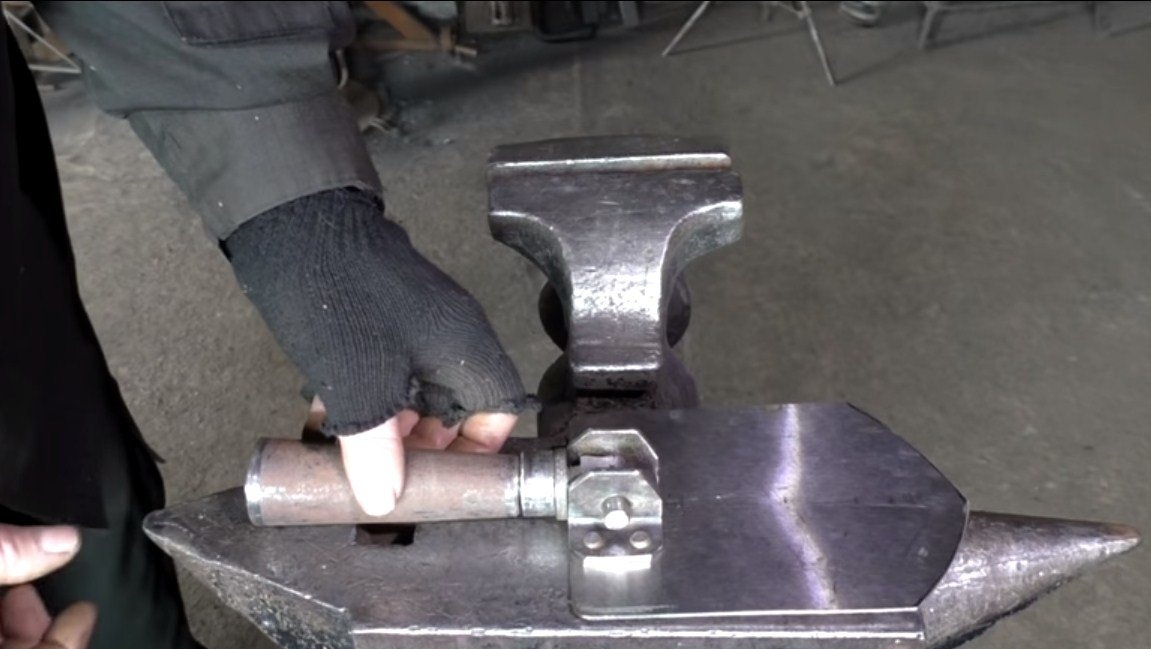
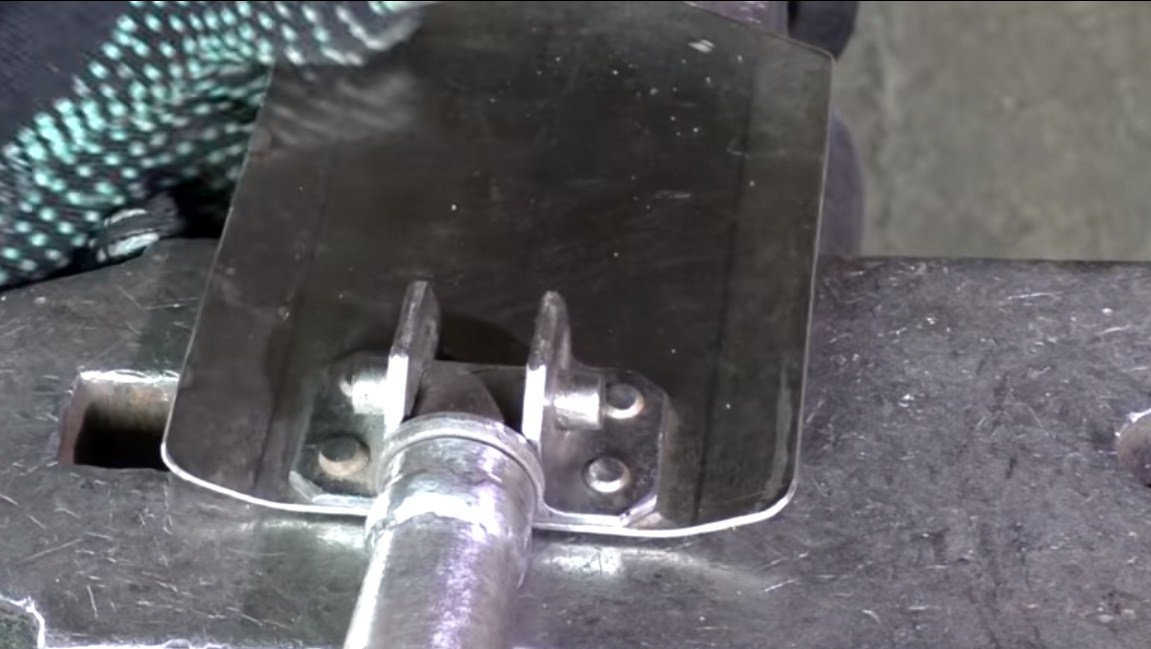
Next, we cut out “ears” from sheet steel and drill holes for them under the axis. We weld these ears to the base, which is also used as a steel plate with holes drilled for rivets. At the end of the step for the bolt, you need to find a nut to make it more massive, you can weld the nut inside a steel pipe. That's all, we have a ready-made hinge unit, cut off the corners of the ears to get additional positions for the shovel.

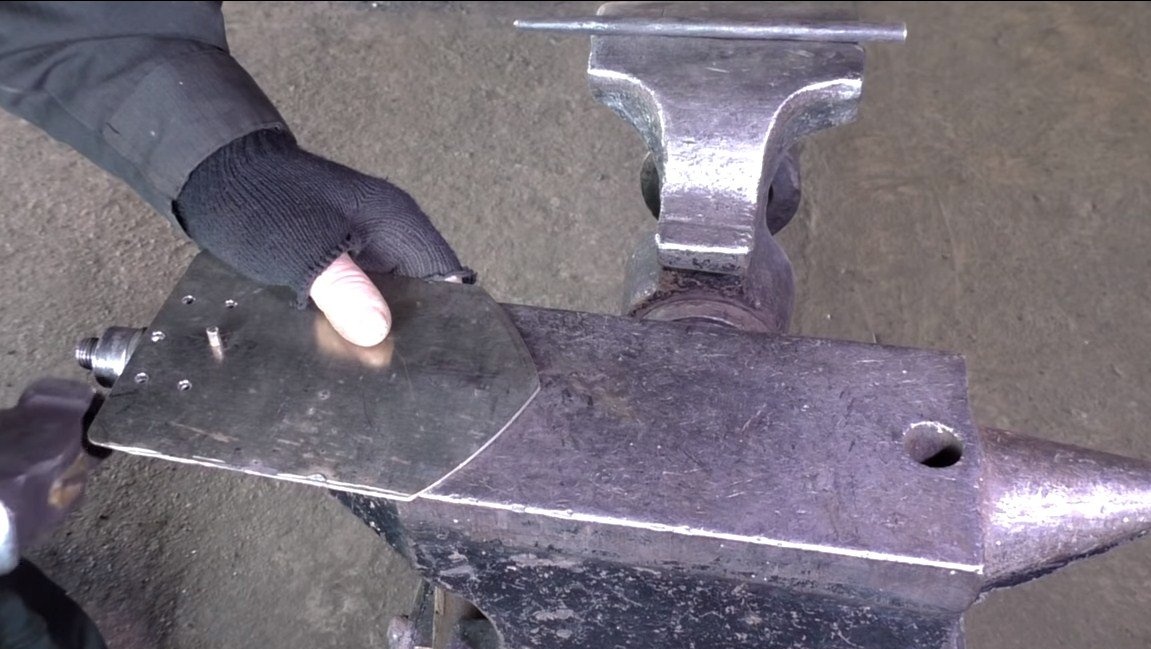
Step Two Shovel Making
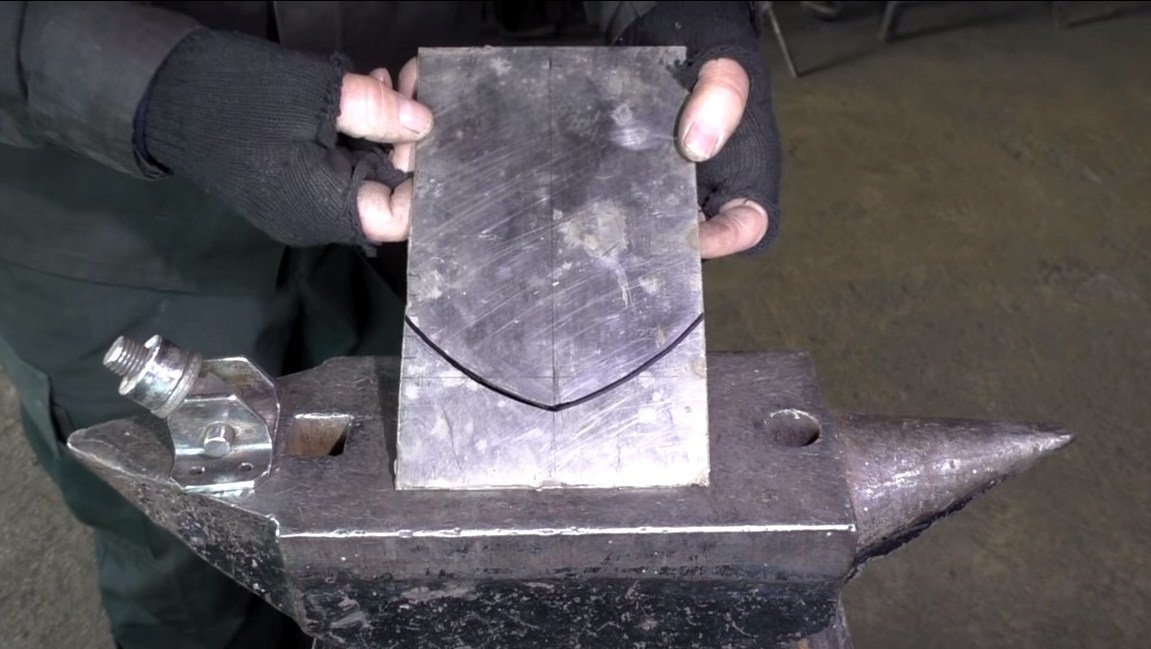
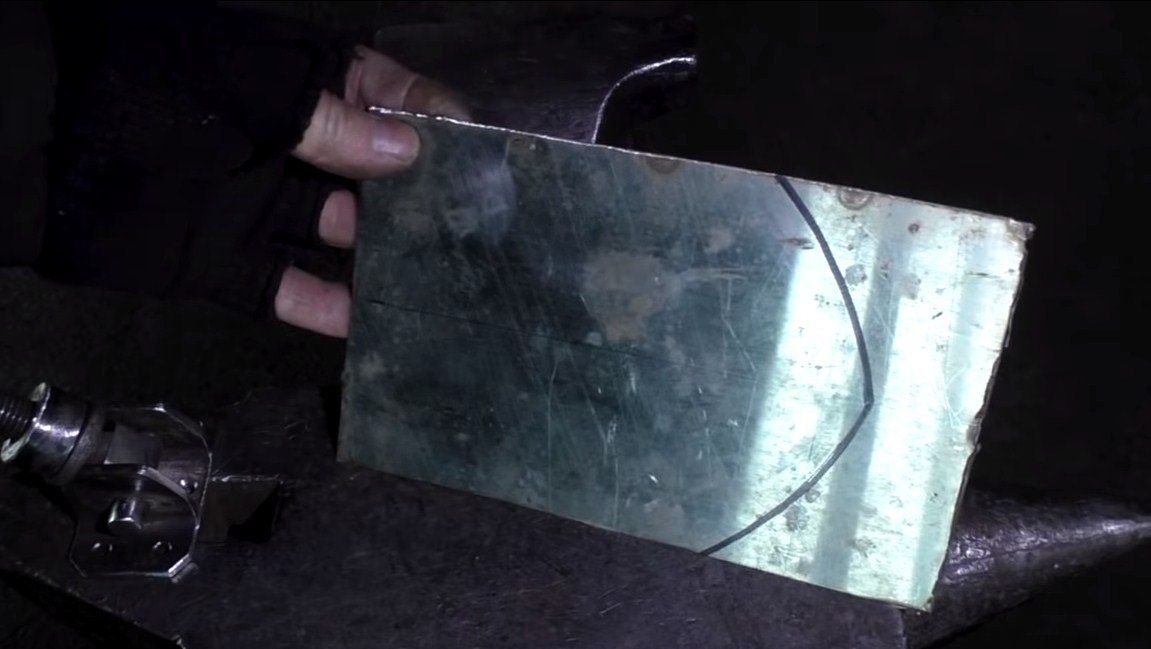
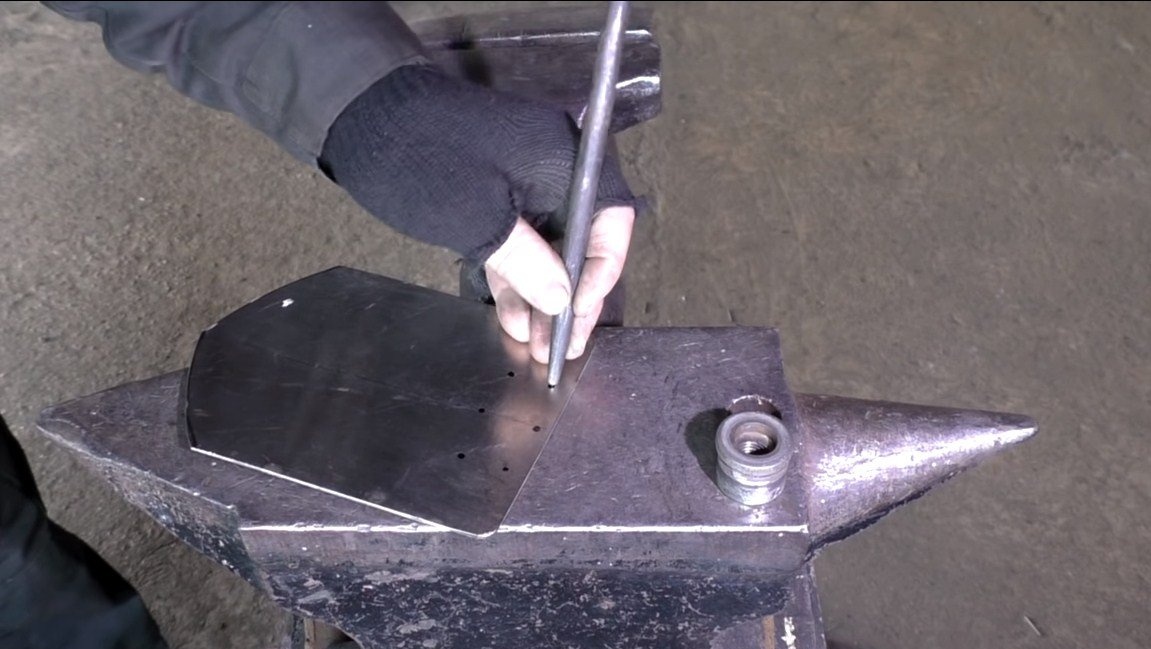
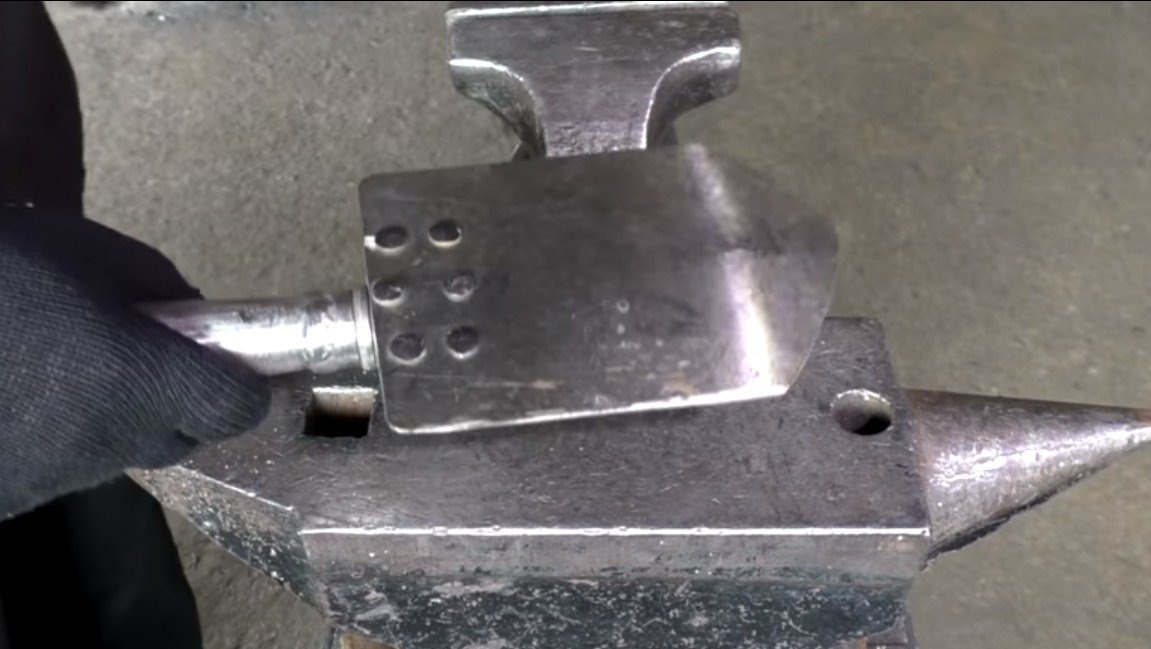
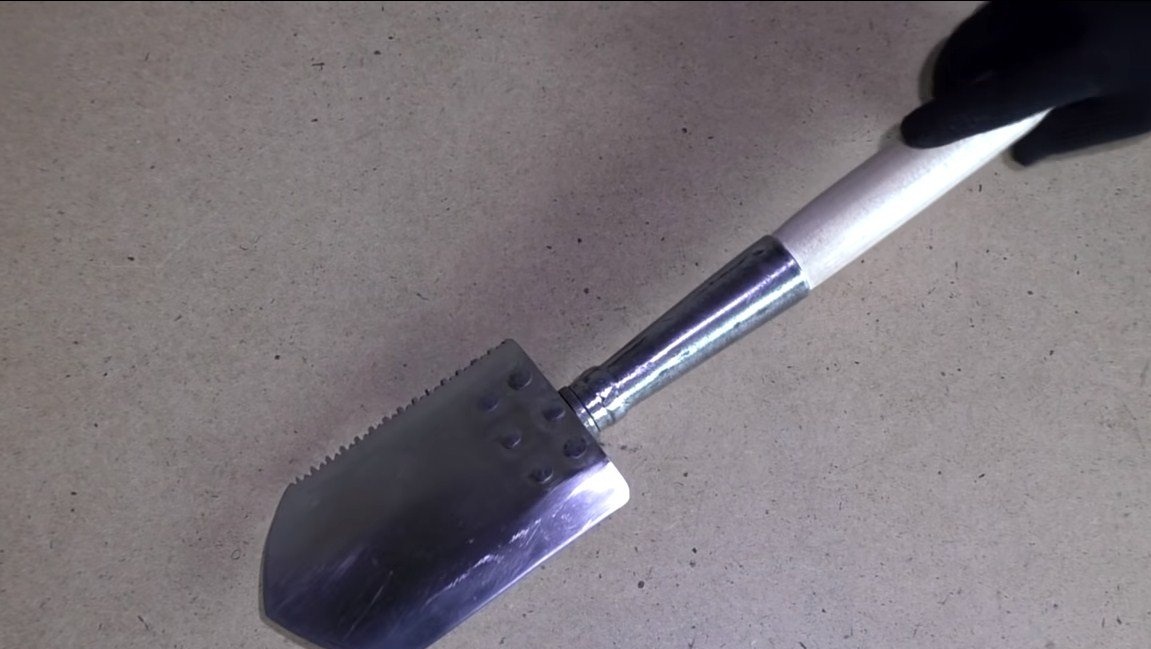
We make a shovel from stainless steel, this metal is durable and does not rust, which is what we need. Cut the desired shape and bend the shovel in half. After that, we attach the hinge assembly to the shovel, the author attaches it with rivets. Such a connection will be quite strong, but if you use ordinary steel for a shovel, these parts can simply be welded.
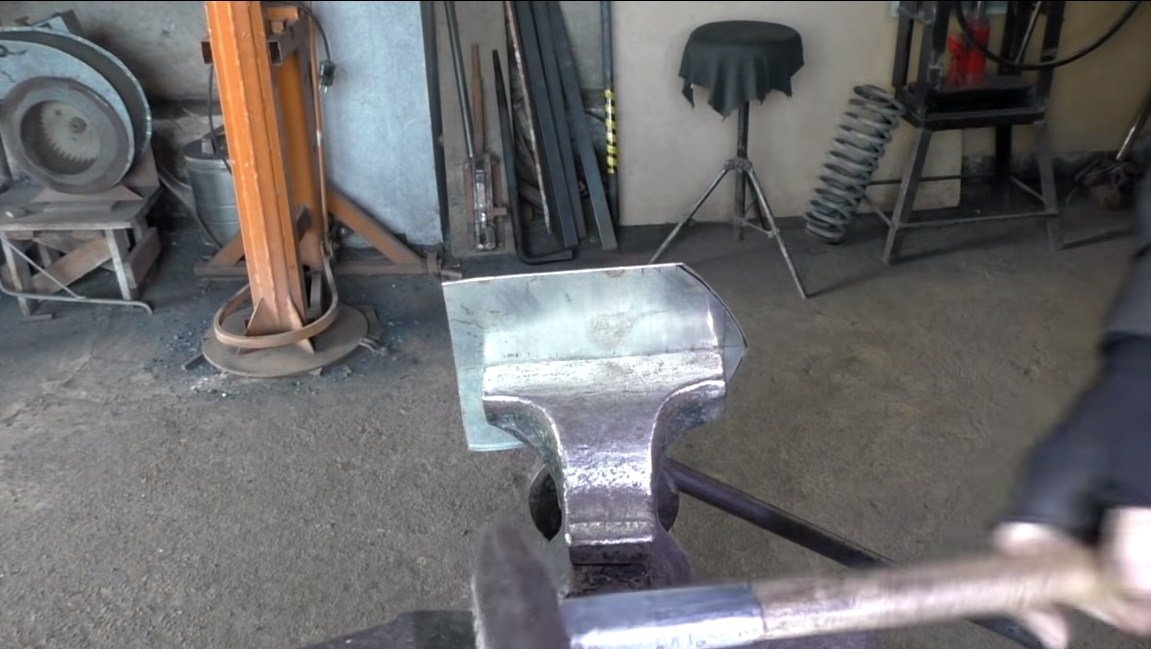
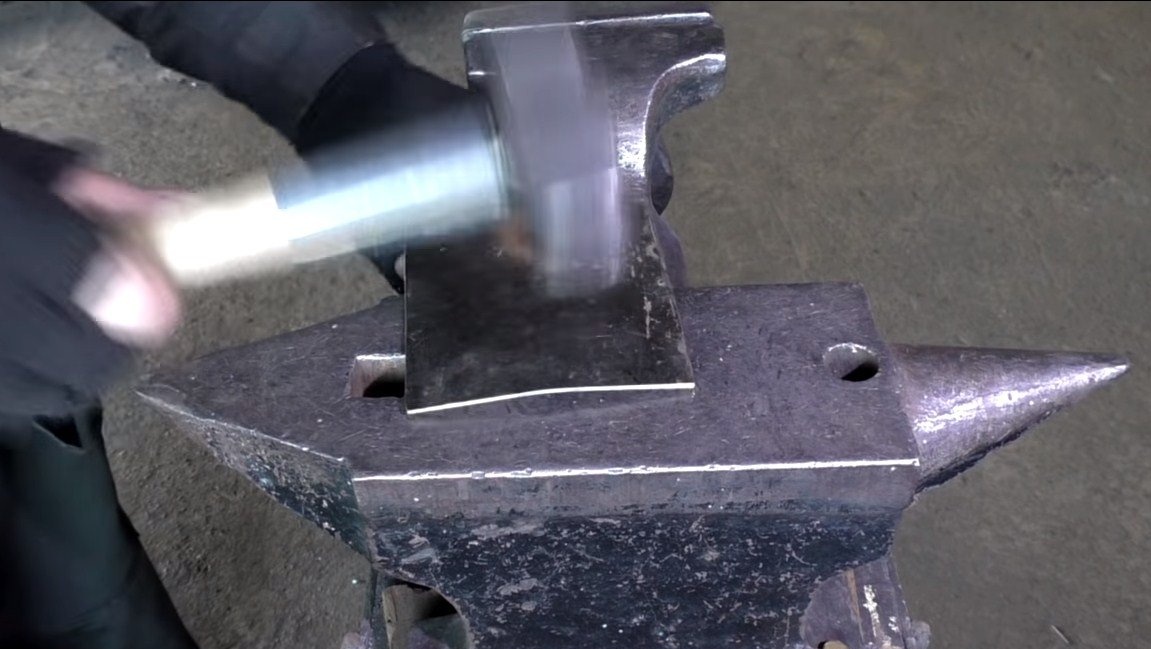

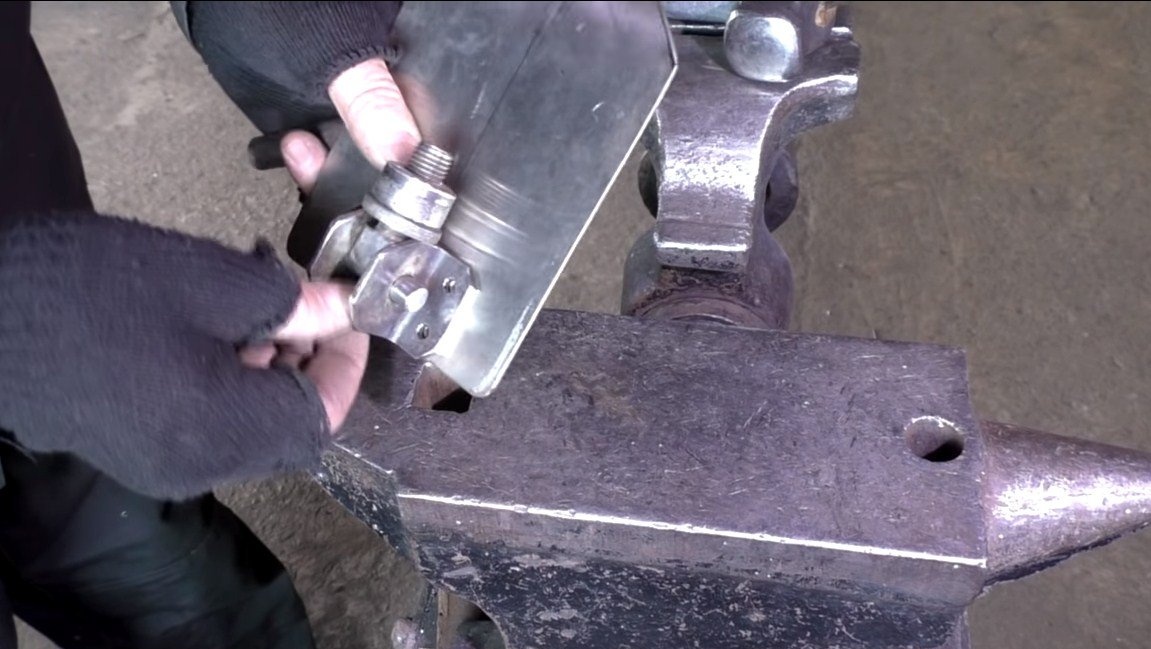
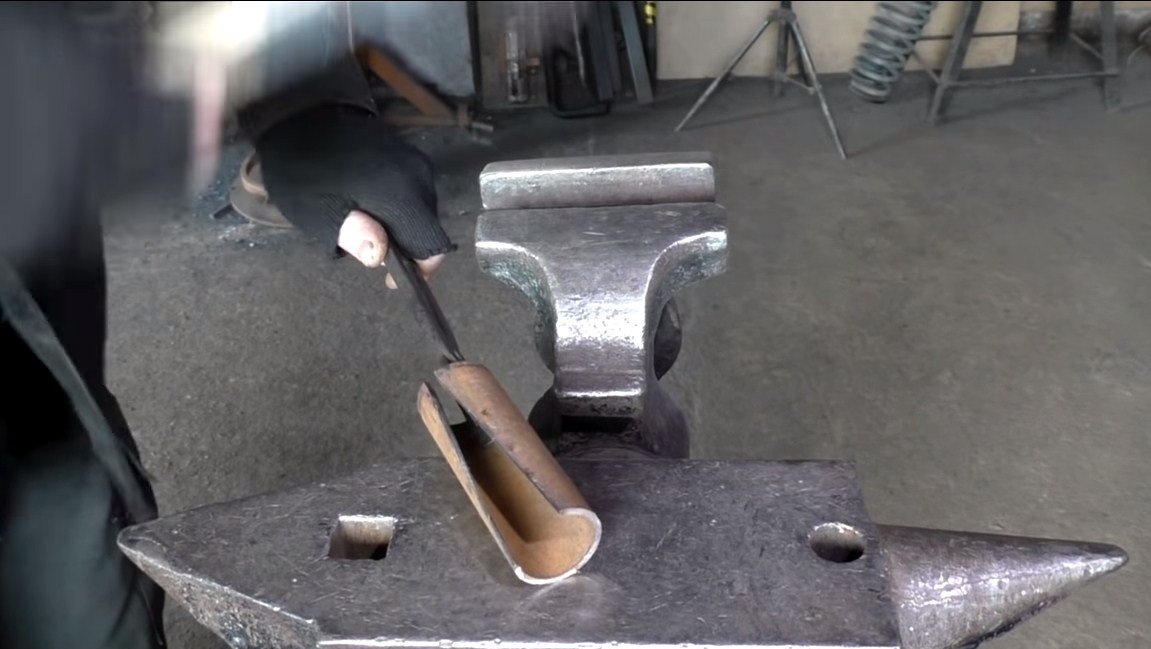


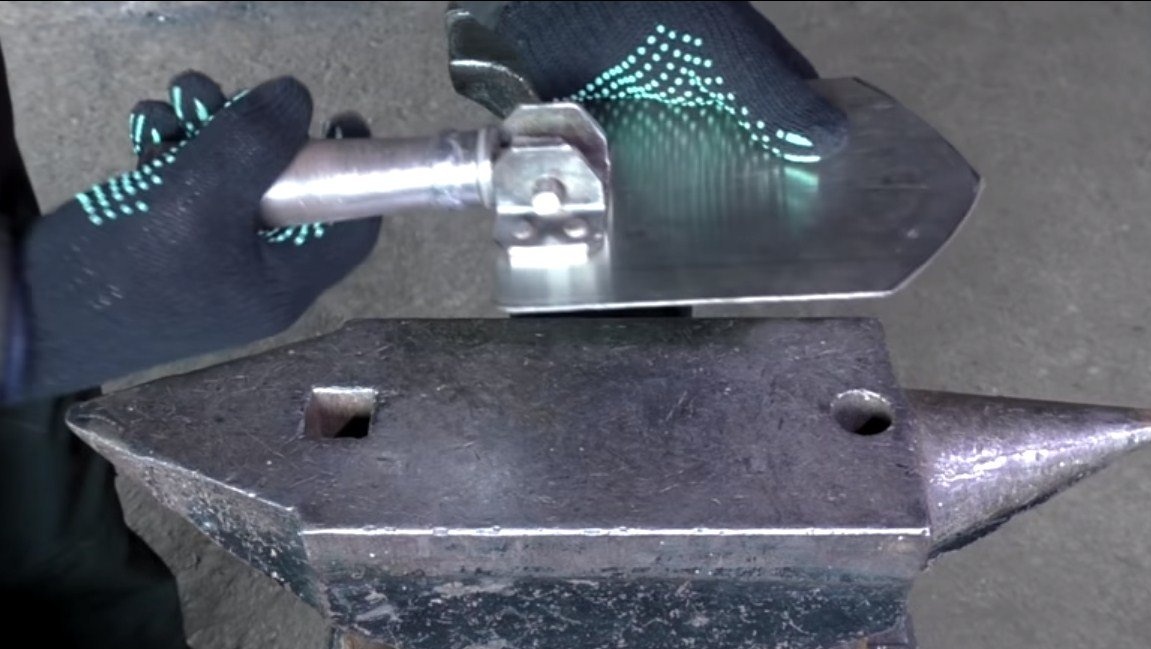


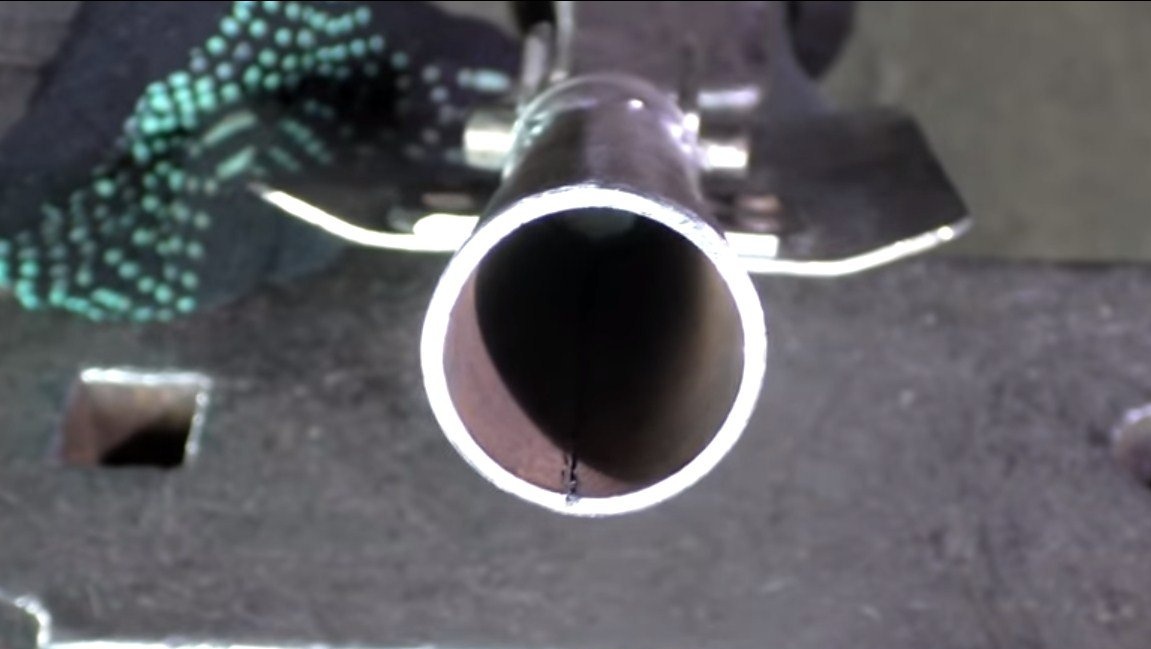
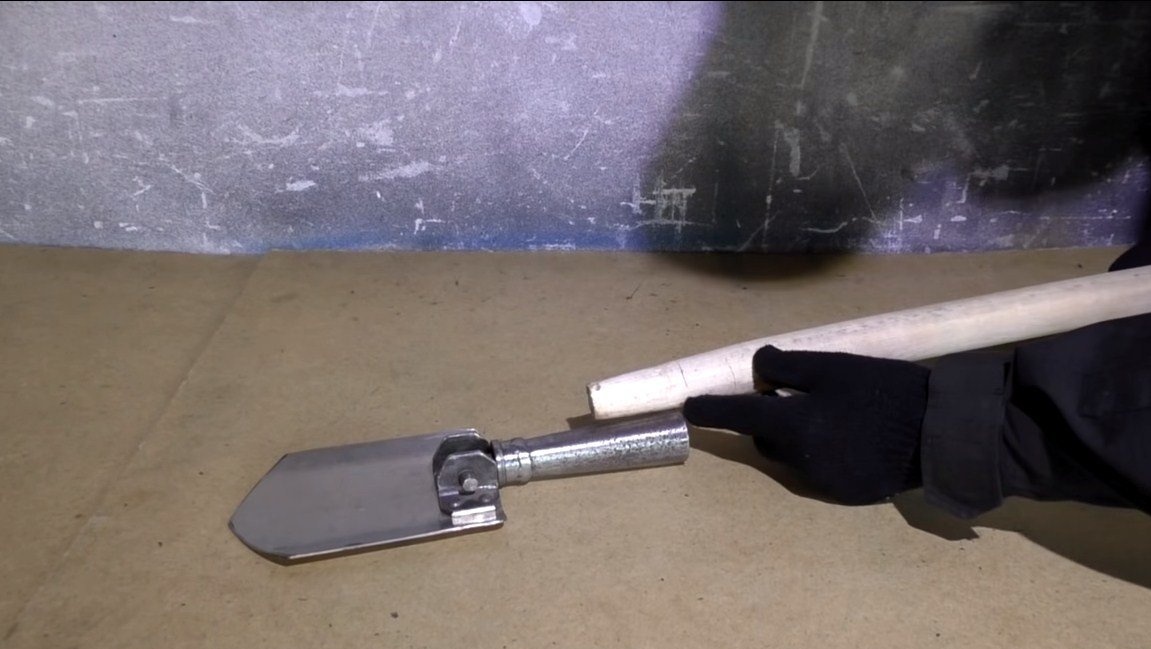
At the end, you need to weld the part to which we will attach the handle to the nut. This needs to be done under a cone, for this we cut a triangle from a piece of pipe, and then with a hammer we set the desired shape of the part. We weld the cone and weld to the nut.
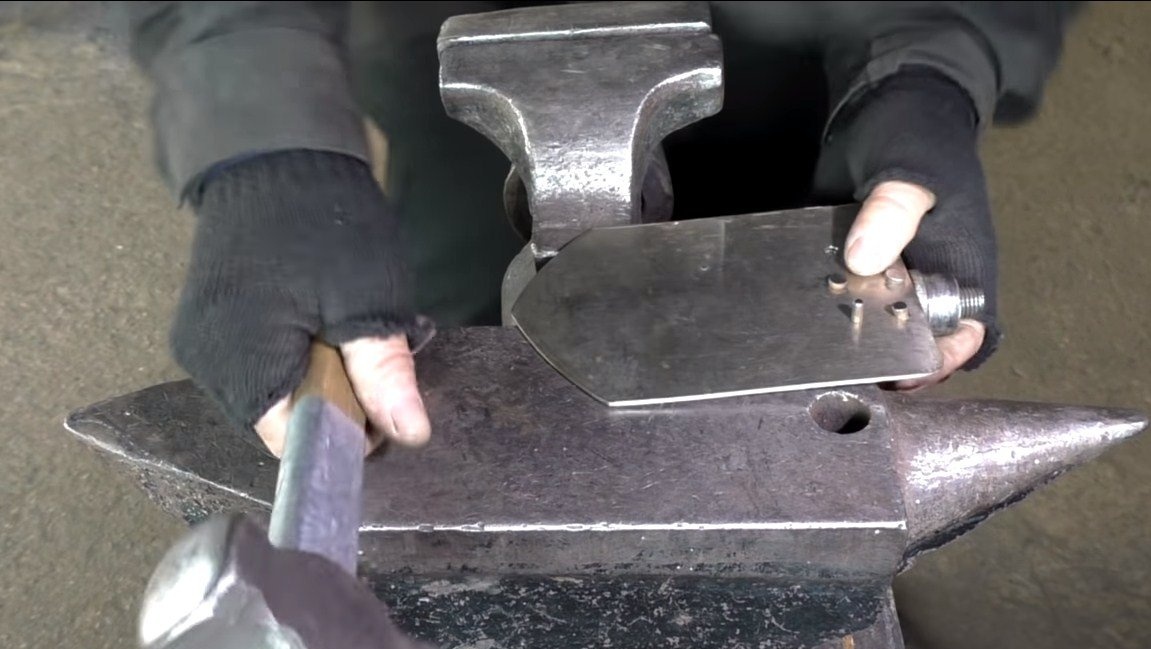
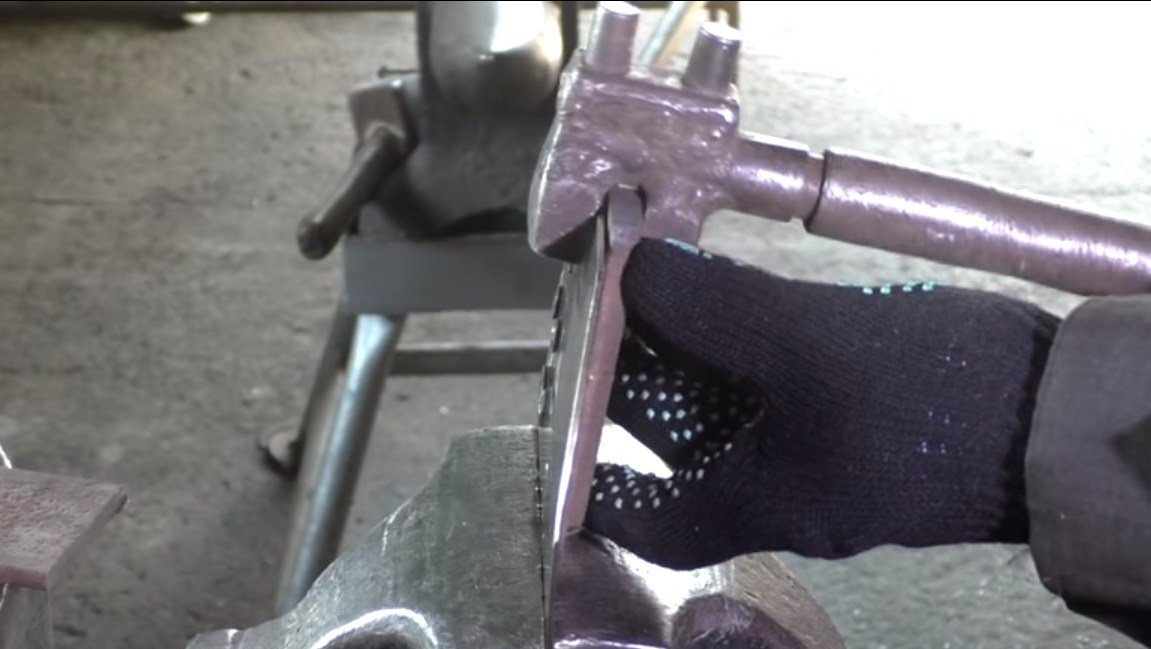
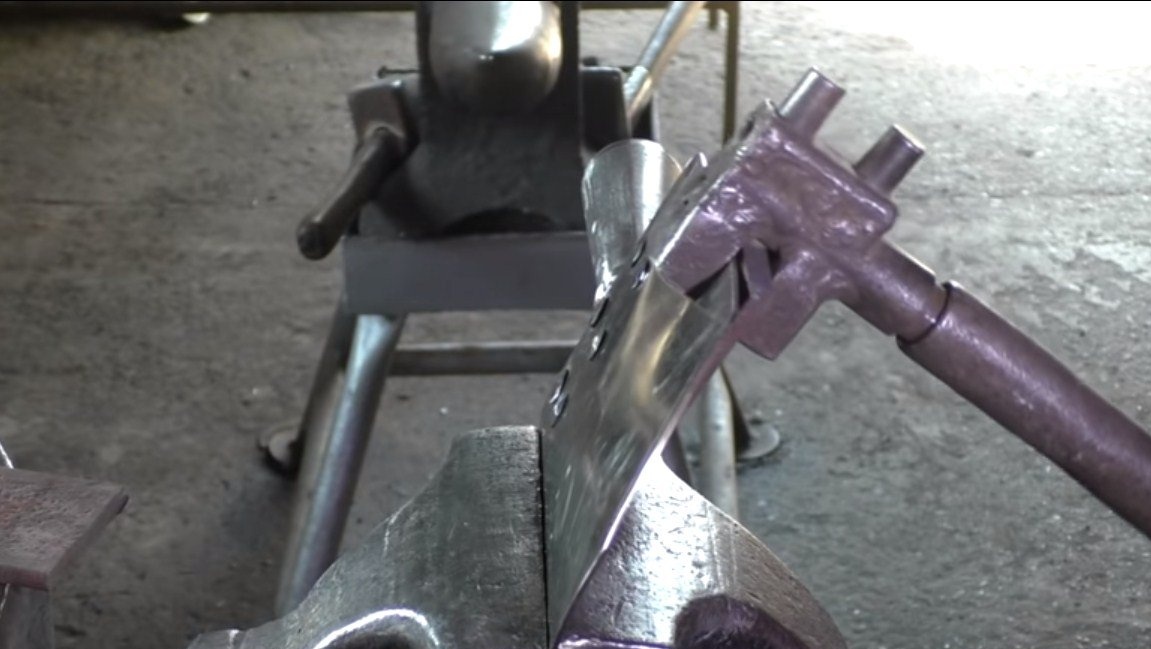
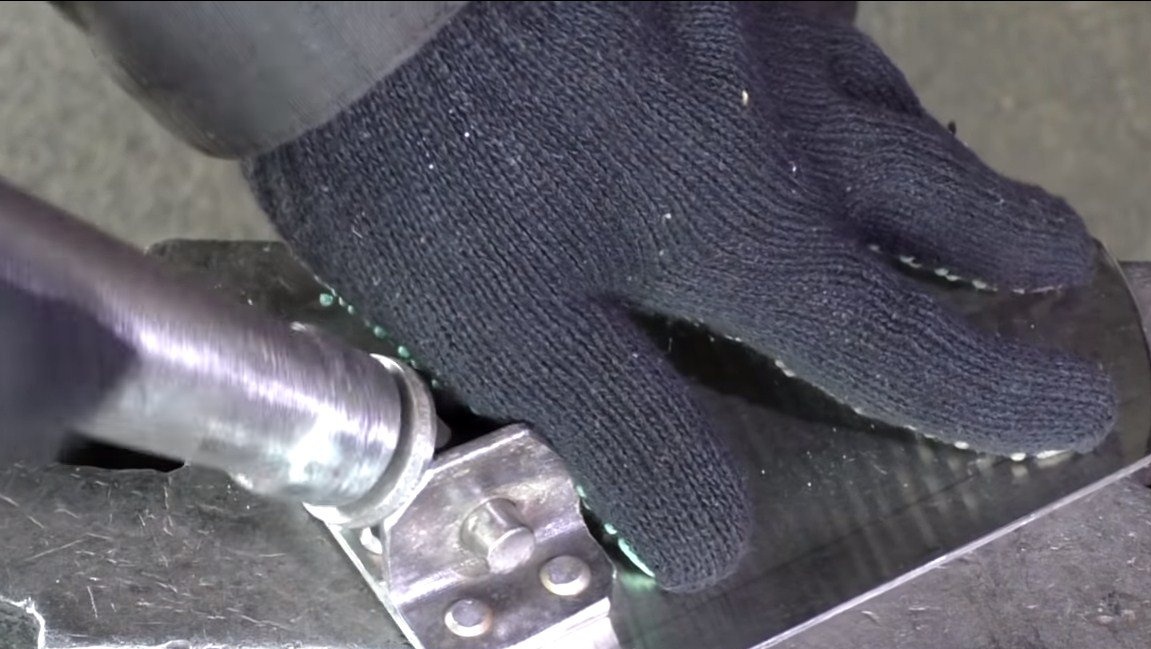
We give the final shape to the shovel - we bend each side inward.
That's all, we get an almost ready shovel.
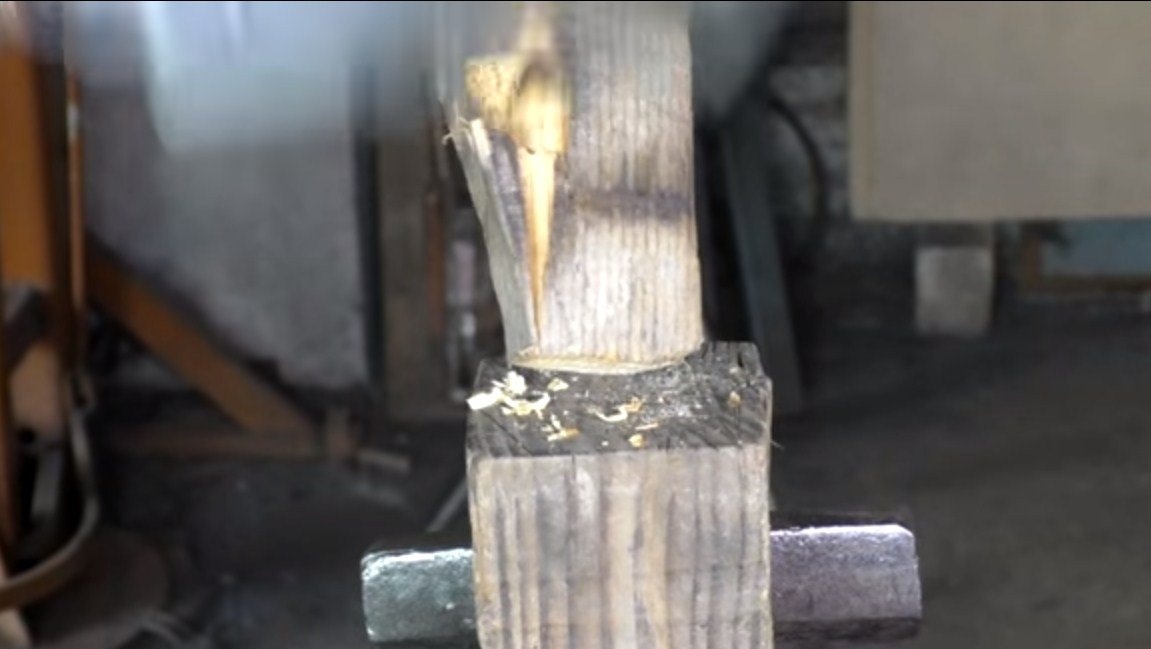
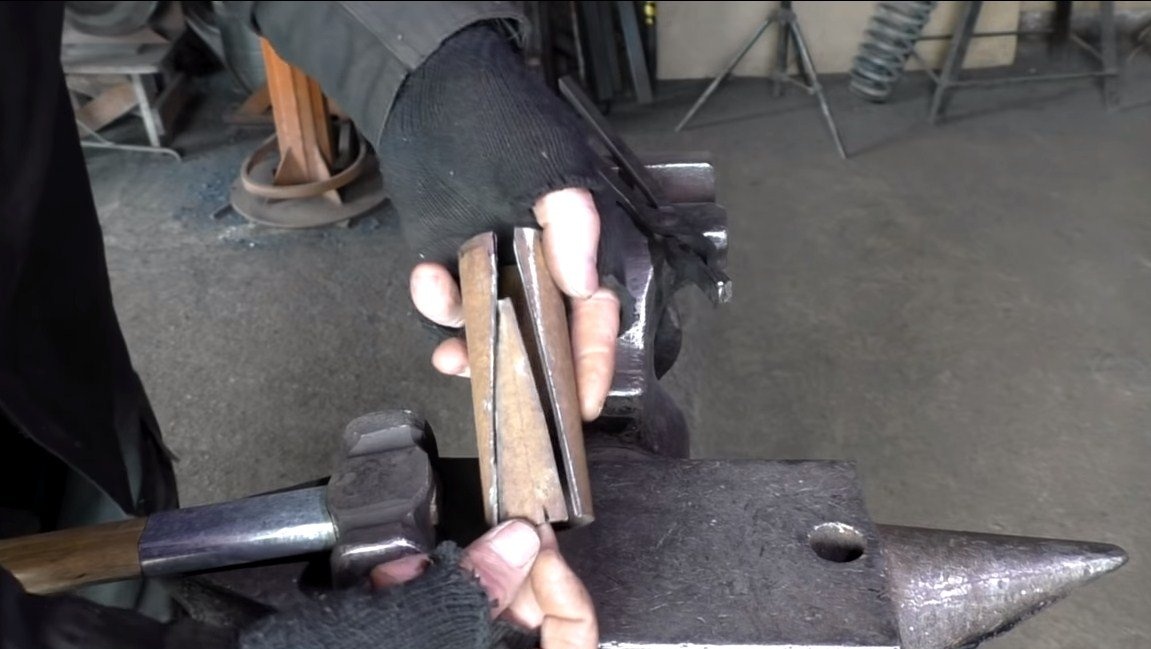
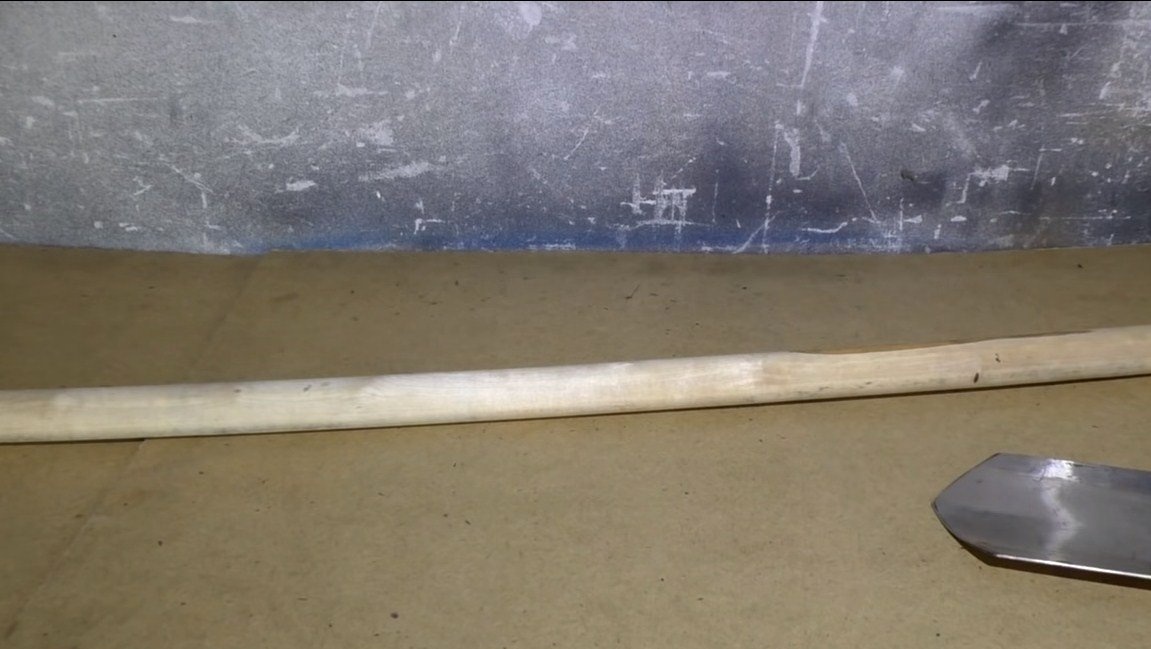
Step Three Cuttings
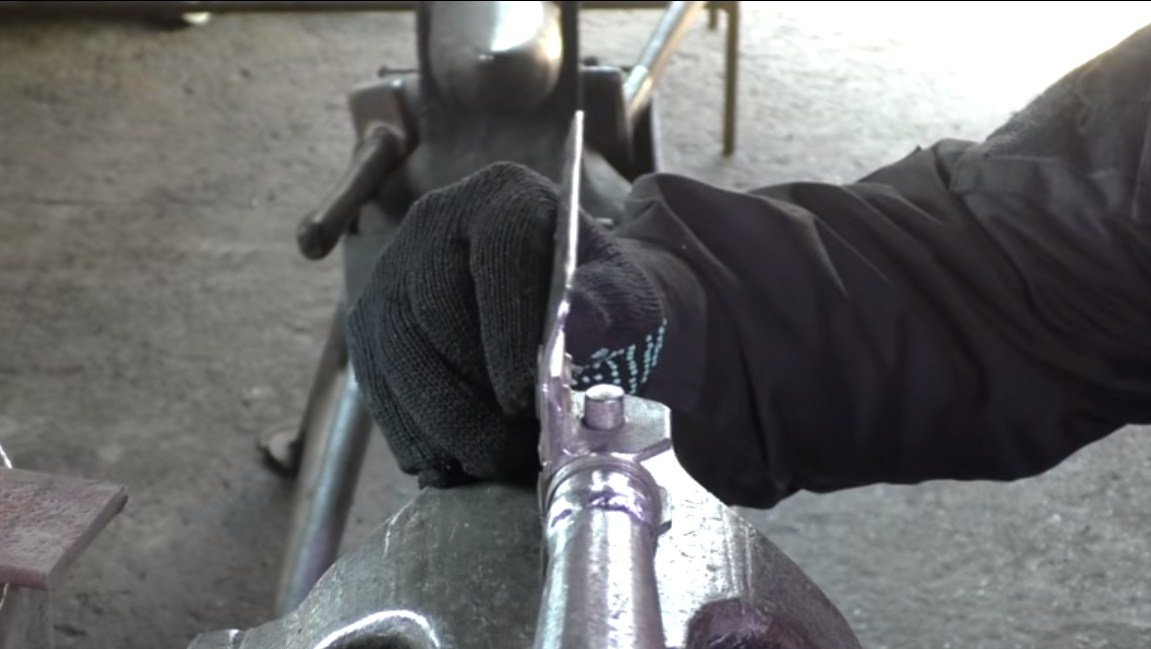
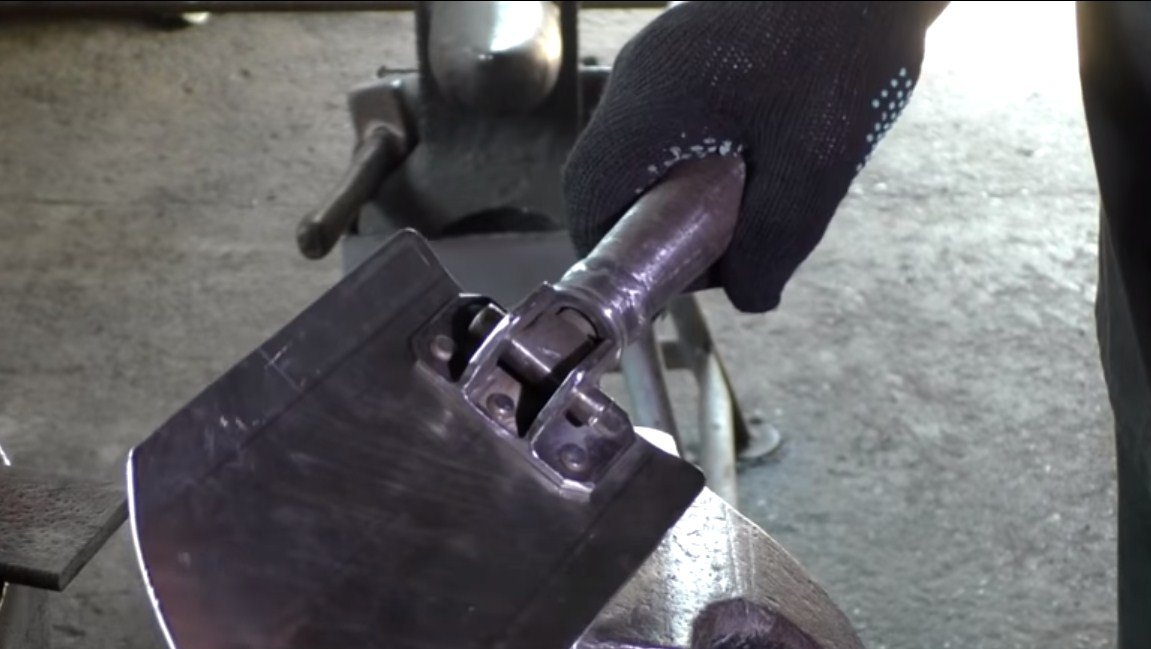
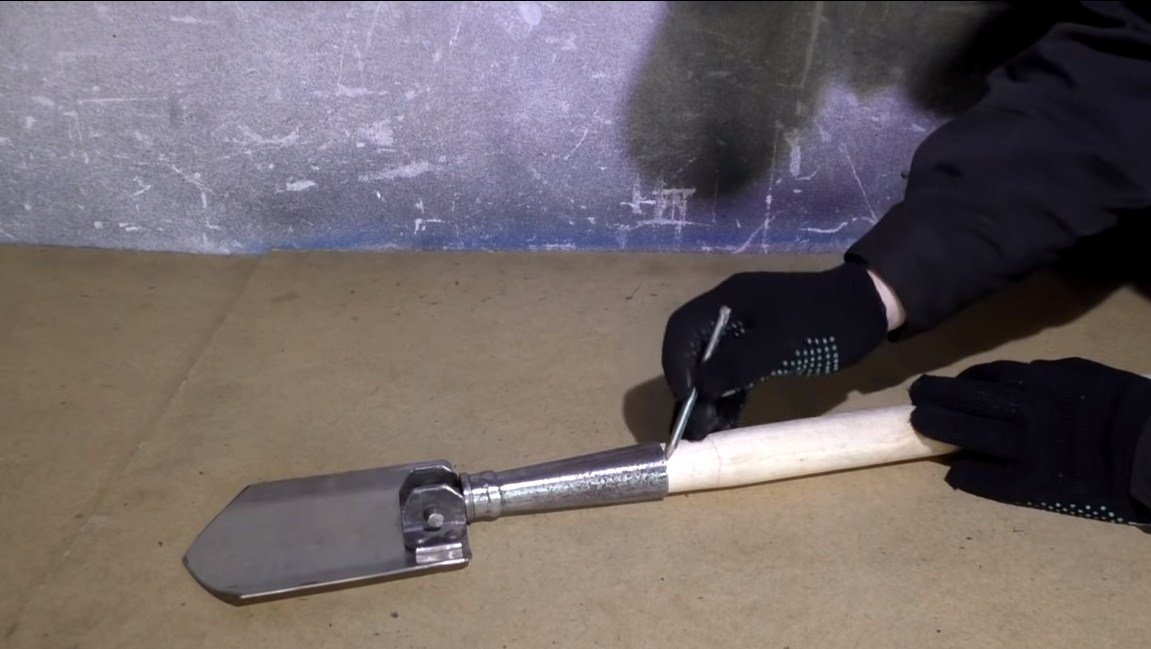
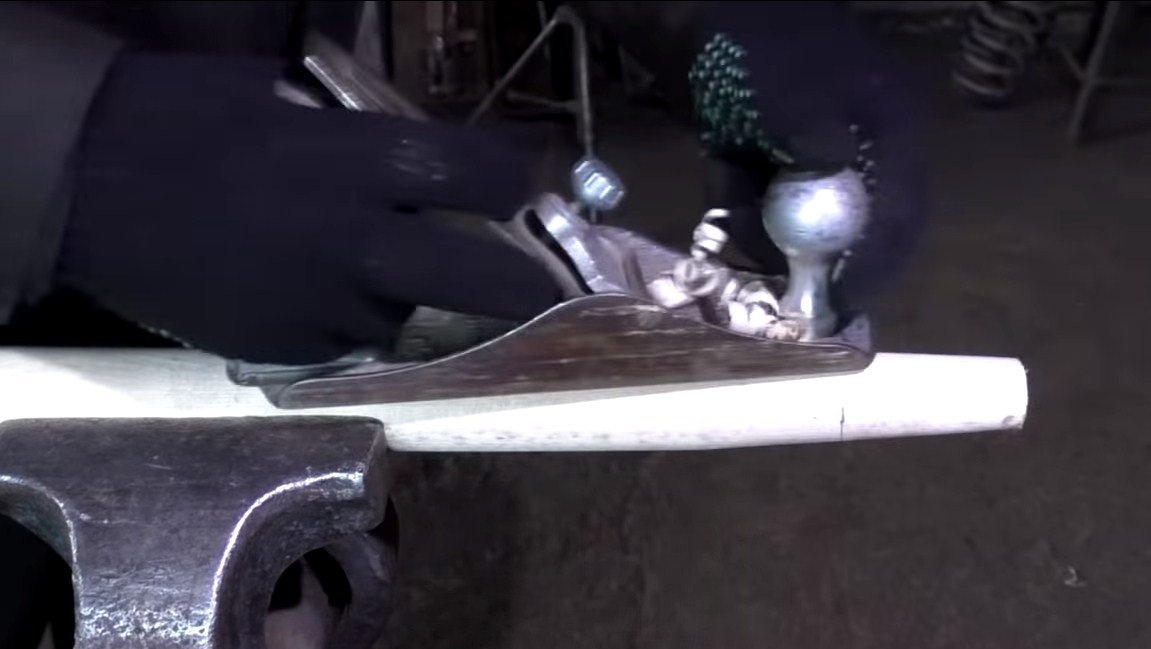
We customize the handle under the shovel, it should go further into the cone-shaped part. The author adjusts the stalk with a planer and cuts to the desired length. For durability, the stalk can be soaked in oil or dyed.
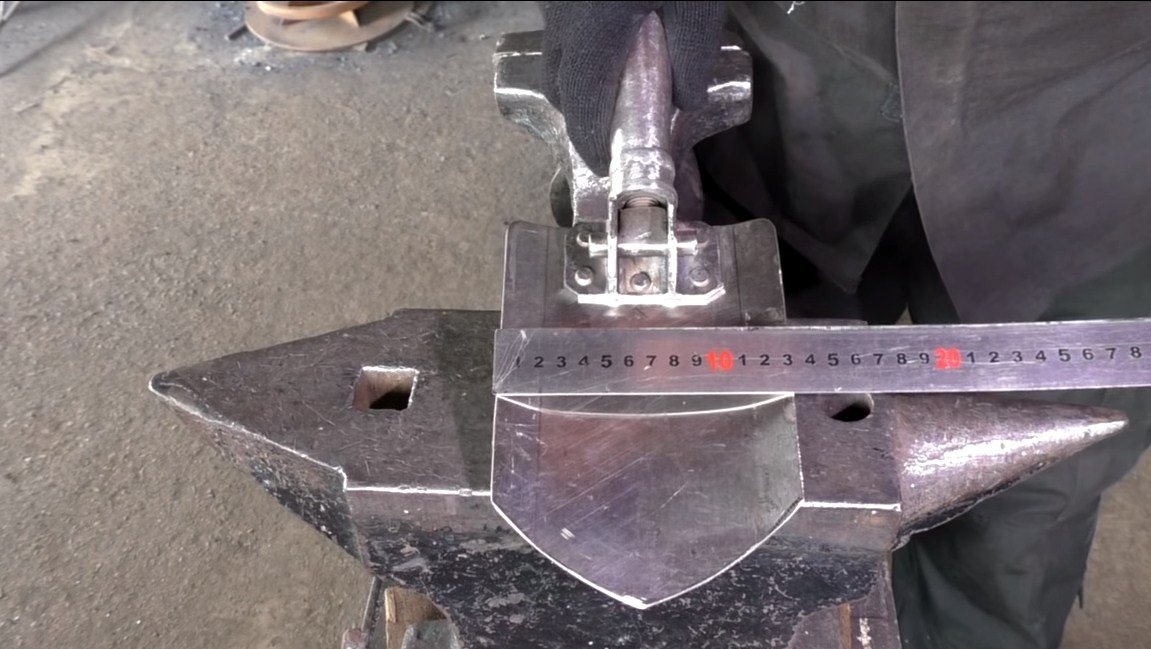
Step Four Test
The shovel is almost ready, at the end one of the sides will be ground, and on the other we will form a hacksaw blade. Paint steel parts so that they do not rust.
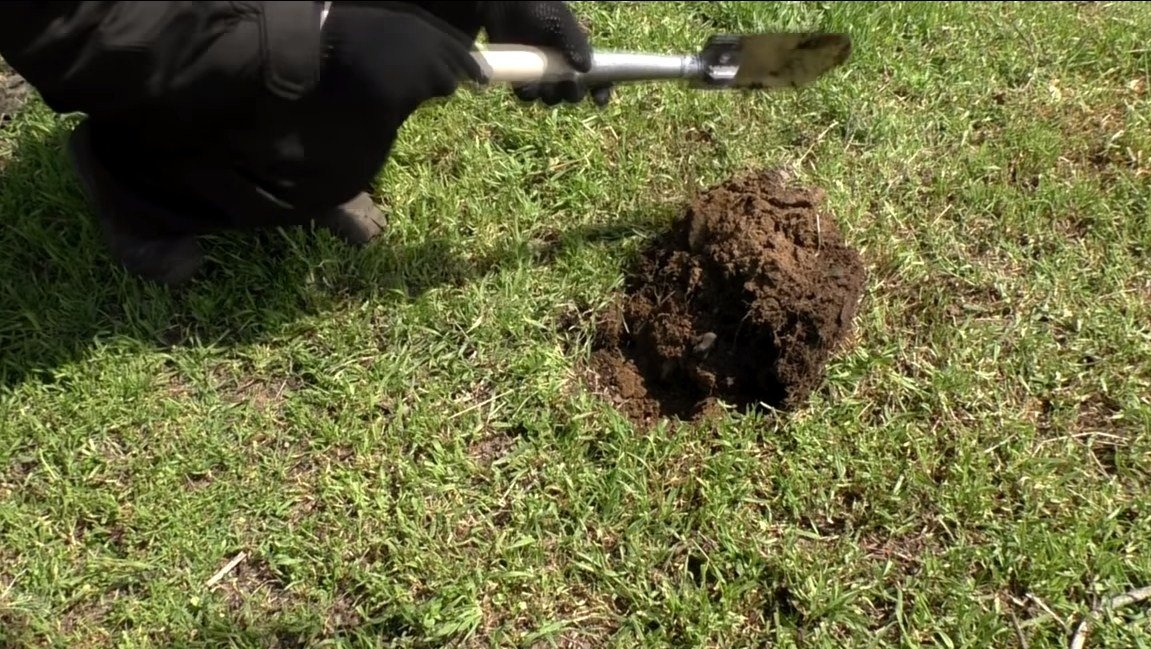
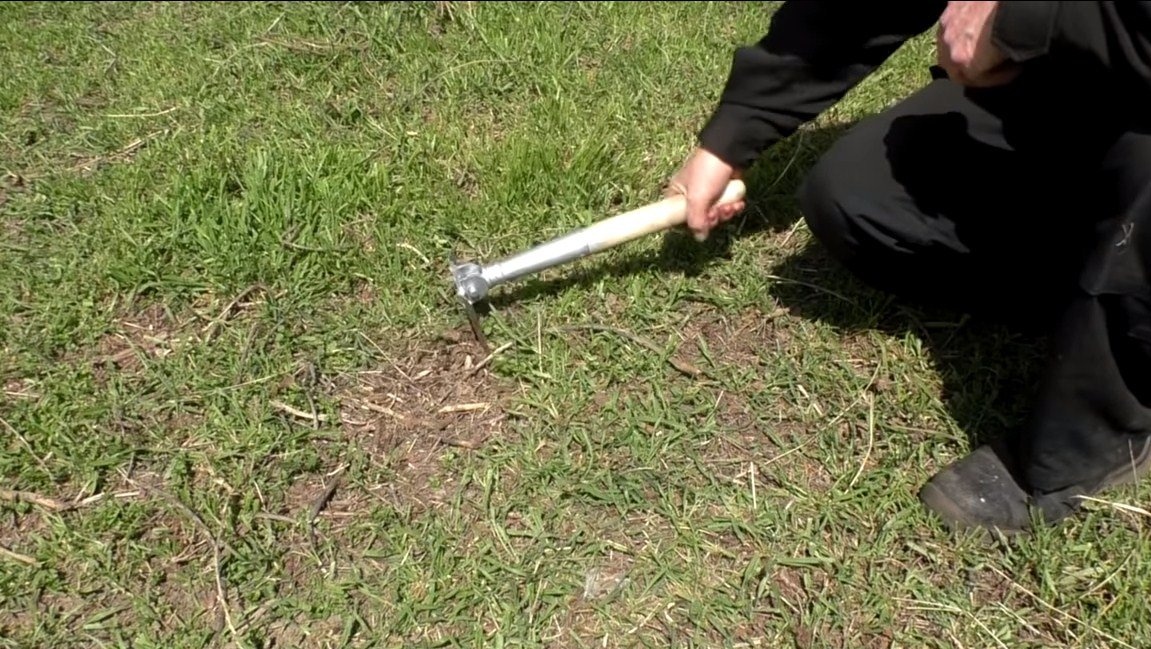
That's all, you can experience a shovel. The author easily digs for her, and also works like a hoe, fixing the shovel at a right angle.
In addition, the shovel perfectly cuts and cuts. I hope you enjoyed the project, good luck and creative inspiration, if you decide to repeat this. Do not forget to share your ideas with us and homemade!