
Here are some useful tips for those who will soon carry out independent repairs or plan to make various useful fixtures.
Tip 1. A simple way to remove the screwdriver chuck
If you need to remove the screwdriver's chuck, but don’t want to disassemble the tool, there is an easy way to do this. The main problem in this case is that the shaft on which the cartridge “sits” cannot be grasped. However, with a couple of simple manipulations, this part can be removed very quickly.
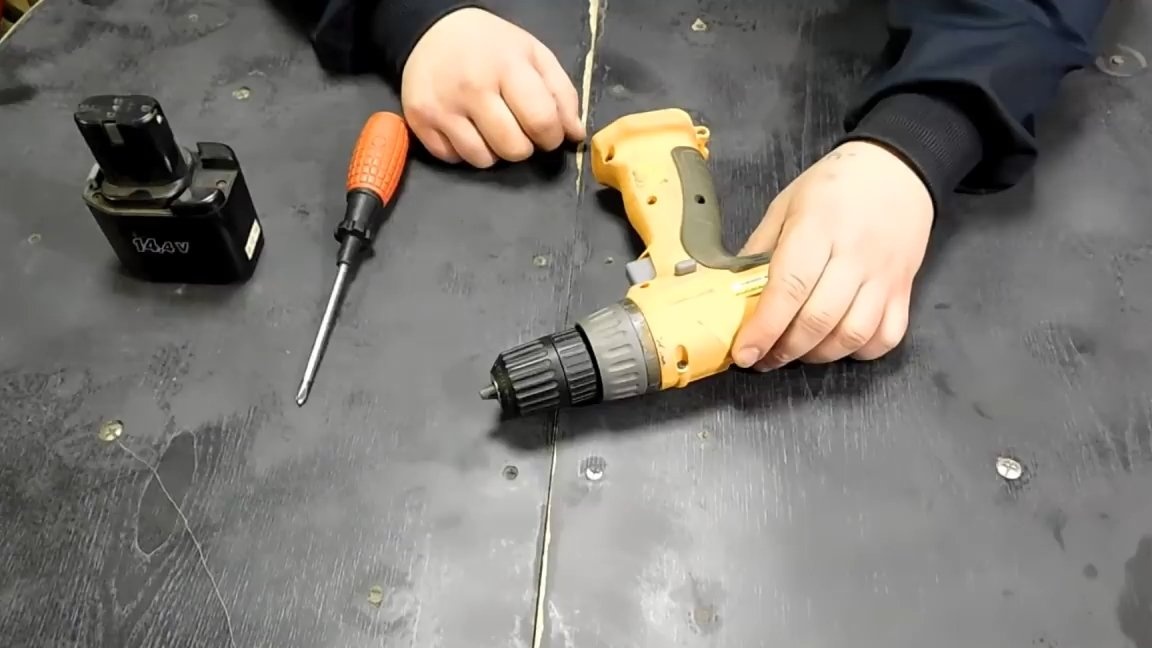
So, first of all, we maximize the clamping mechanism of the screwdriver, unscrewing the movable part of the chuck - the sleeve counterclockwise (depending on the model of the tool, this procedure can be carried out differently).
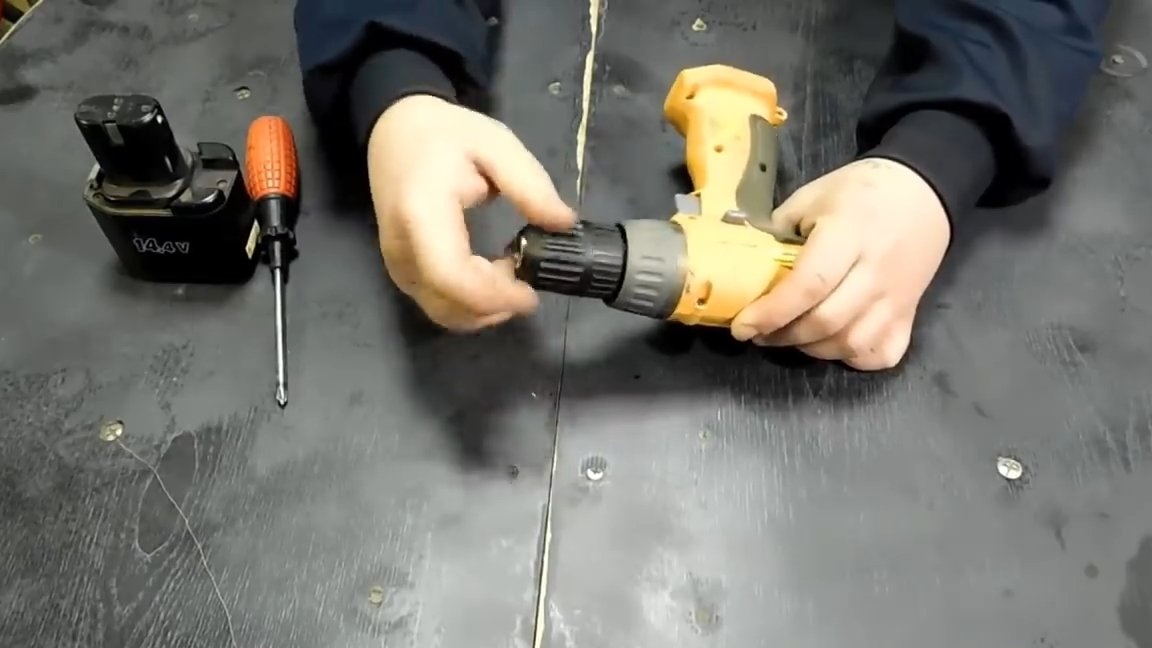
After that, we got access to the internal screw (which connects the cartridge to the shaft). We insert a Phillips screwdriver between the movable jaws, and unscrew it. The thread of such a screw is usually "left", so it is necessary to unscrew it clockwise.

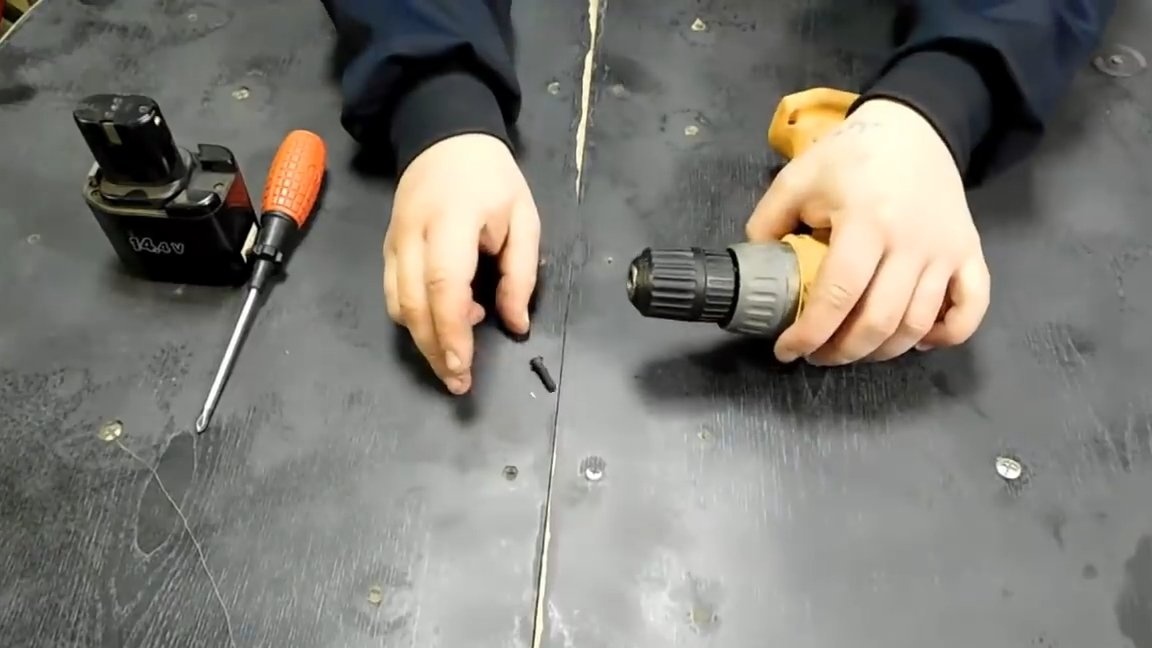
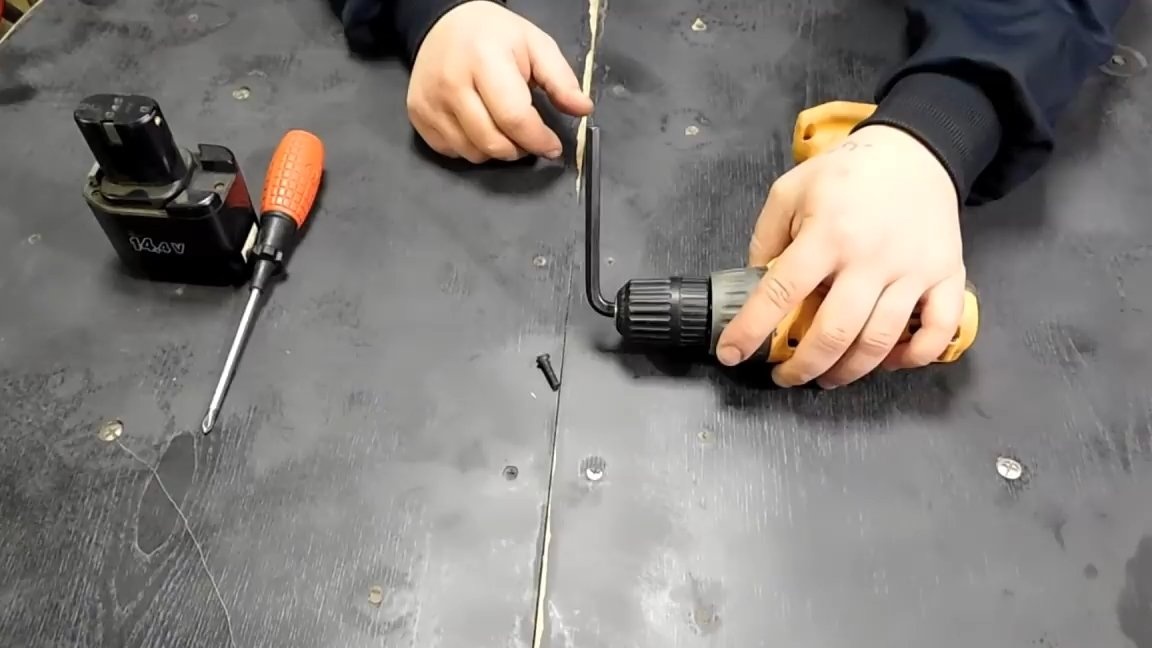
Now you need to fix the hex key in the cartridge.
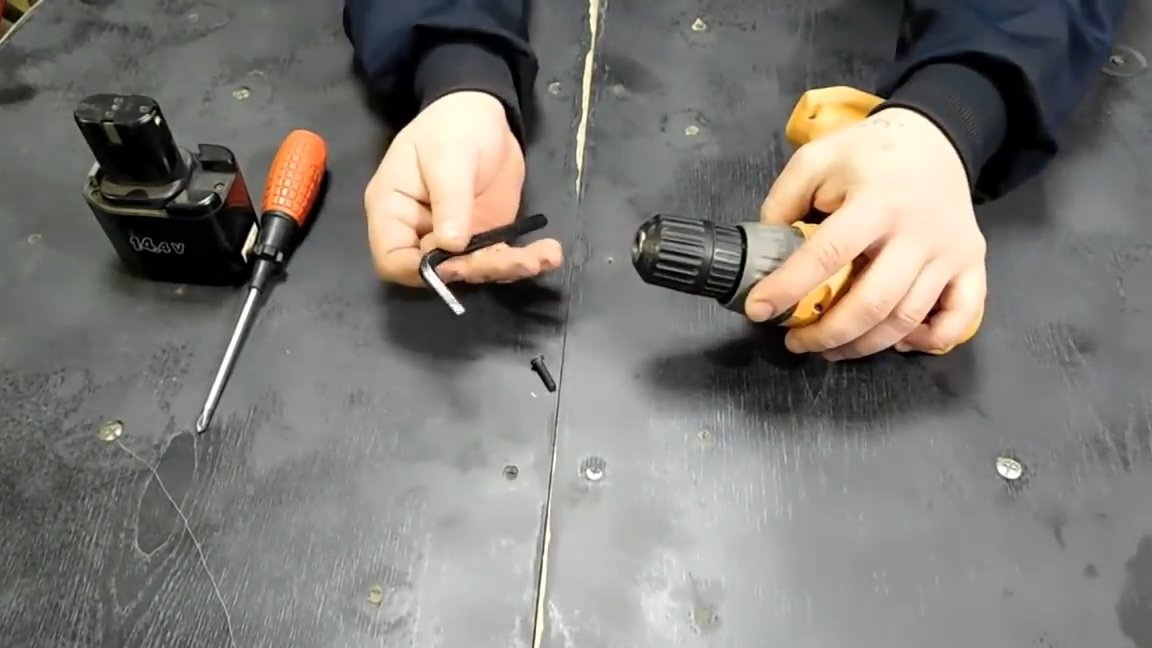
Firmly clamp it and press the screwdriver to the table, and then apply - from above - a sharp blow to the hexagon with your hand, turning it counterclockwise, and moving the chuck from the shaft.
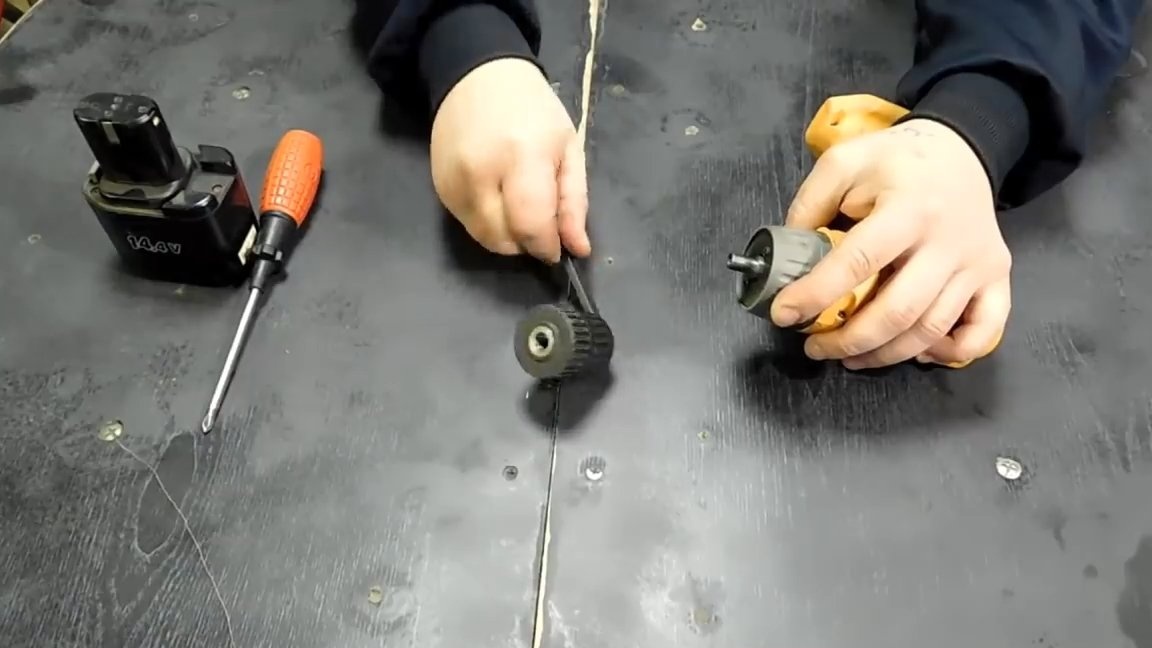
After that, it will be possible to manually unscrew the cartridge, without making much effort.

P.S. This method is suitable for most common brands of screwdrivers. However, for tools that have a chuck attachment such as a Morse cone, as well as models with a threaded connection, this technique is not applicable.
Tip 2.Two small clamps instead of one large
Another very simple and practical advice for beginner settlers of our sites. If, when performing any urgent repair work, a large clamp is required, and only small ones are available, combine them to obtain a connection of the required size.
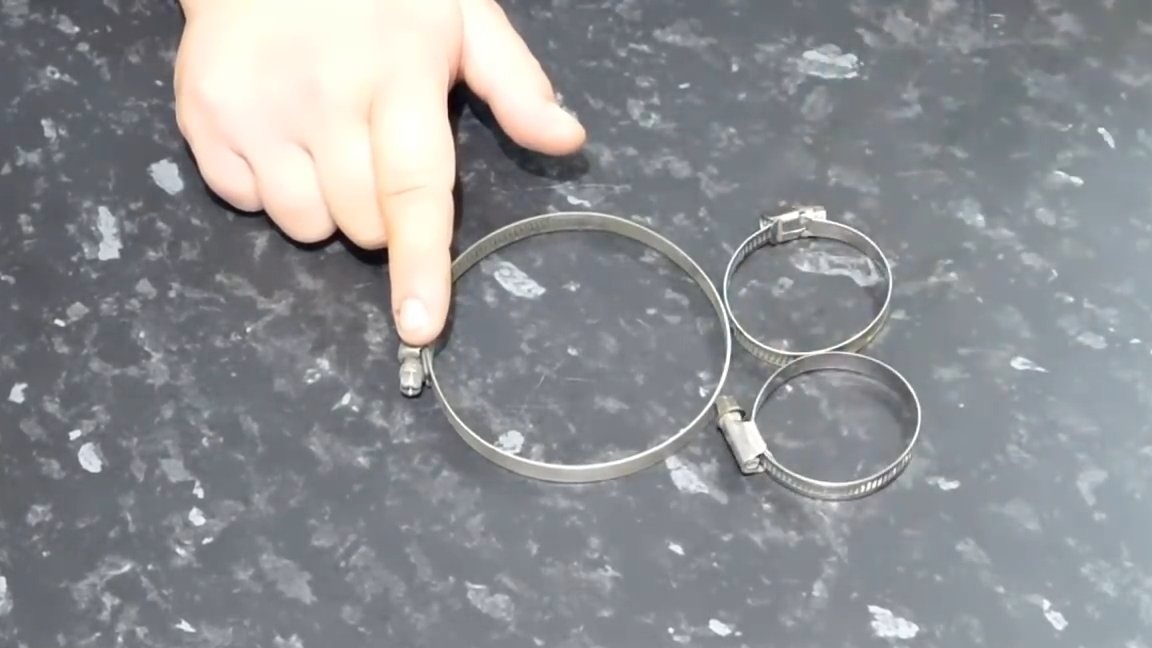
Moreover, the connecting element obtained in this way will be even better than a single one. Indeed, in the case of combining two clamps of smaller diameter, we get a mount on which there will be two tightening screws at once. Accordingly, such a clamp can be pulled from two sides, and if you remove one of the screws, it can be tightened a second.
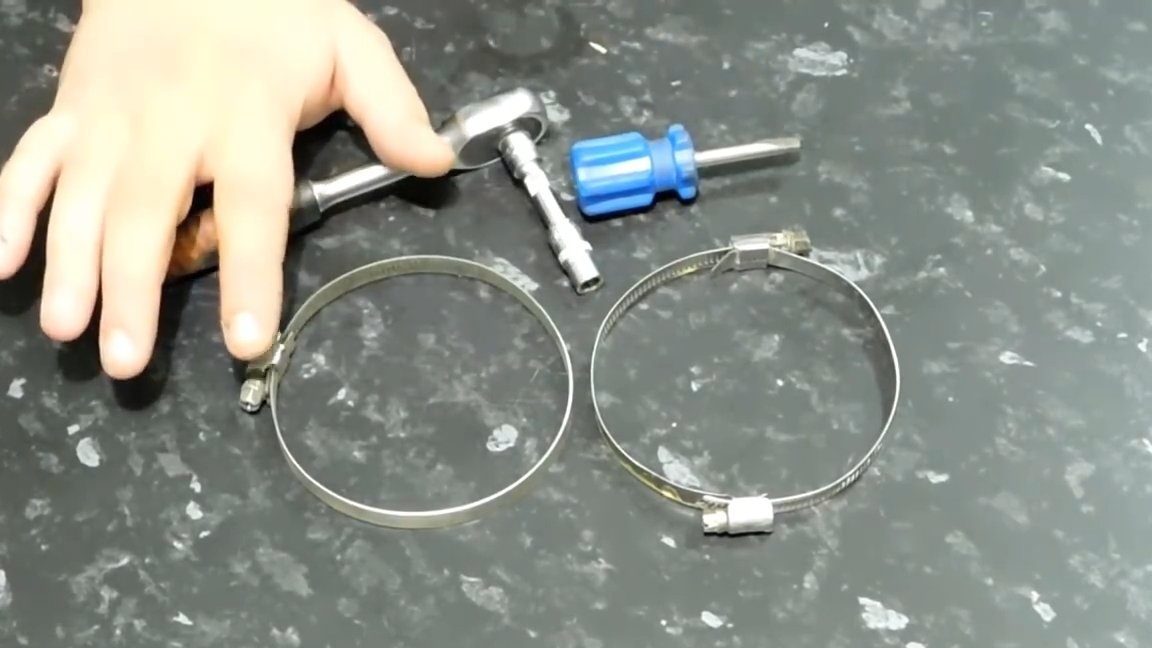
Such a prefabricated structure can help out in the absence of a large diameter joint. In addition, it can be used in cases where an increased tightening torque is required and, accordingly, there is a high risk of loosening the clamping screw.
Tip 3. We quickly make wooden corks of any height
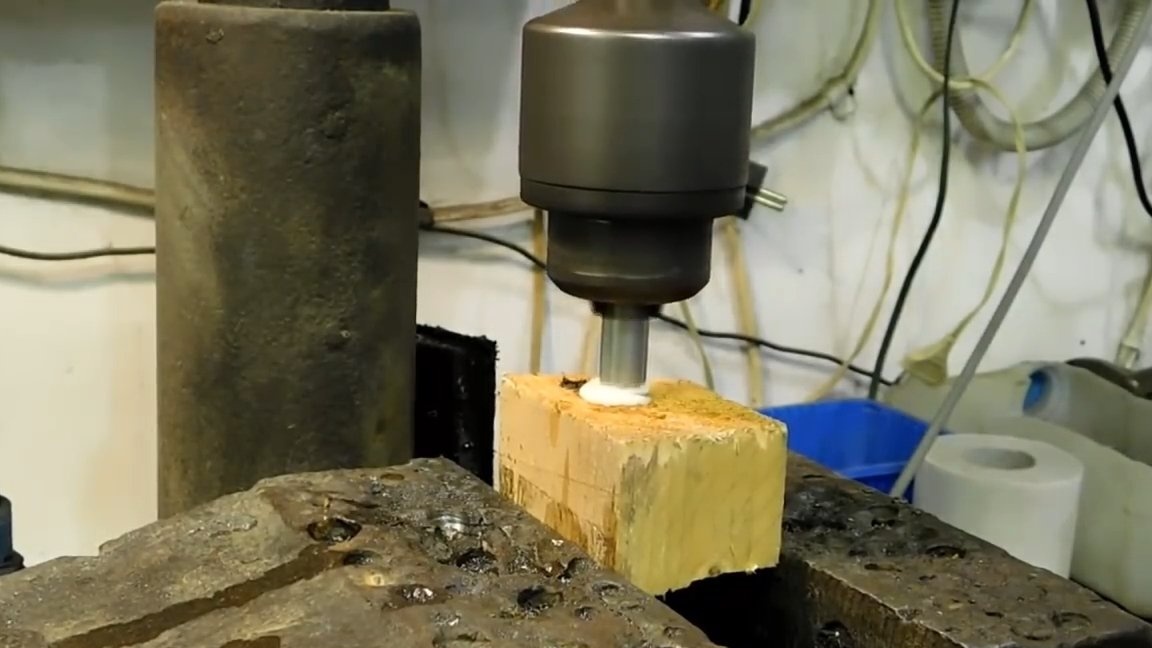
In the course of work, a high wooden cork was suddenly urgently needed, but there is no special drill at hand? You can use a regular hollow tube of suitable diameter. One of its ends will only need to be sharpened thoroughly and inserted into the chuck of a drill or drilling machine instead of a drill.
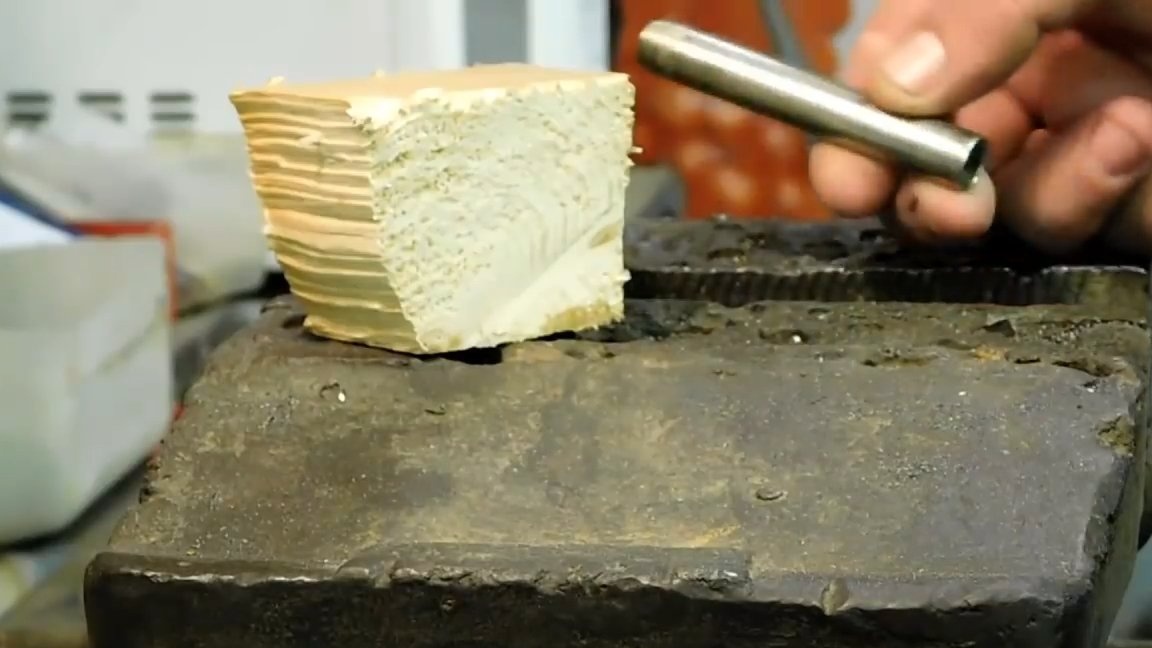
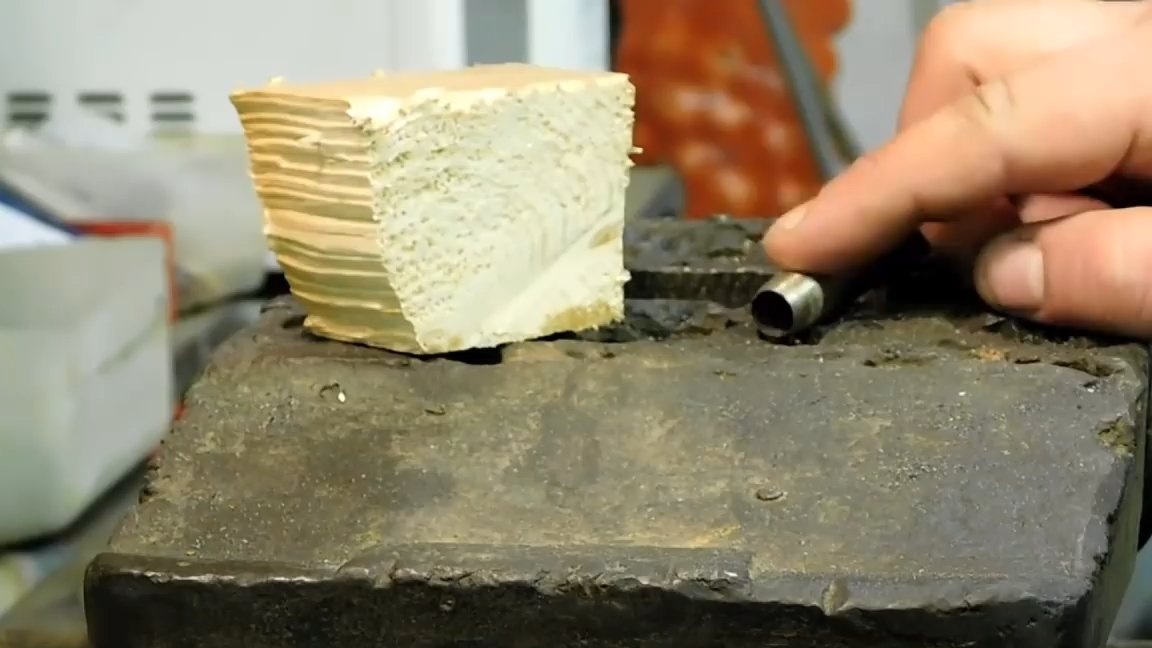
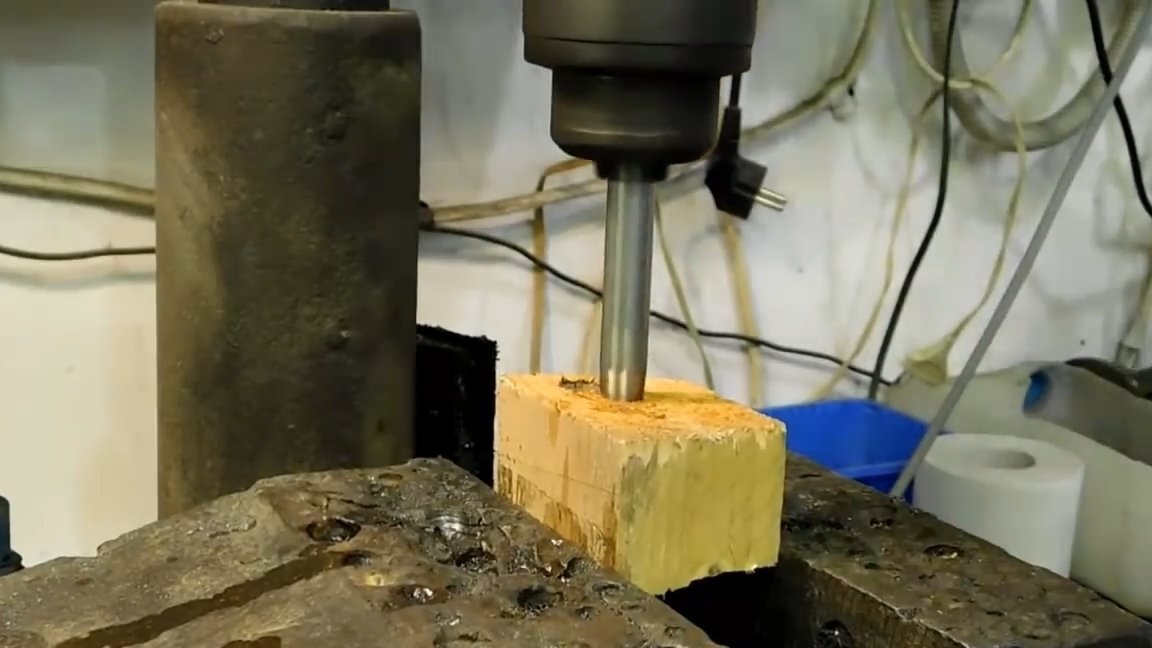
Having found a wooden block suitable for height, carefully cut along the fiber the required number of corks.

If there is no drill or machine, you can perform the work with a hammer. This method will require a little more effort and time, but the plugs will come out no worse than when manufactured using a special tool.
Tip 4. Alternative collapsed brush
If during painting work the brush became unusable, falling apart, and a small unpainted area remains, and the work needs to be completed urgently, you can use the following advice.

To replace the detached part with the bristles, use a regular office clothespin and a piece of foam.

It is necessary to attach a clothespin from the handle of the brush with a pair of screws, and then clamp it with foam.
It will serve as a good replacement for the spoiled bristle of the brush and will allow to finish painting.
P.S. However, you should not rely on such an impromptu brush. It is only suitable for tinting small areas. If the remaining area that needs to be covered with paint is large - it is better to purchase a new brush.
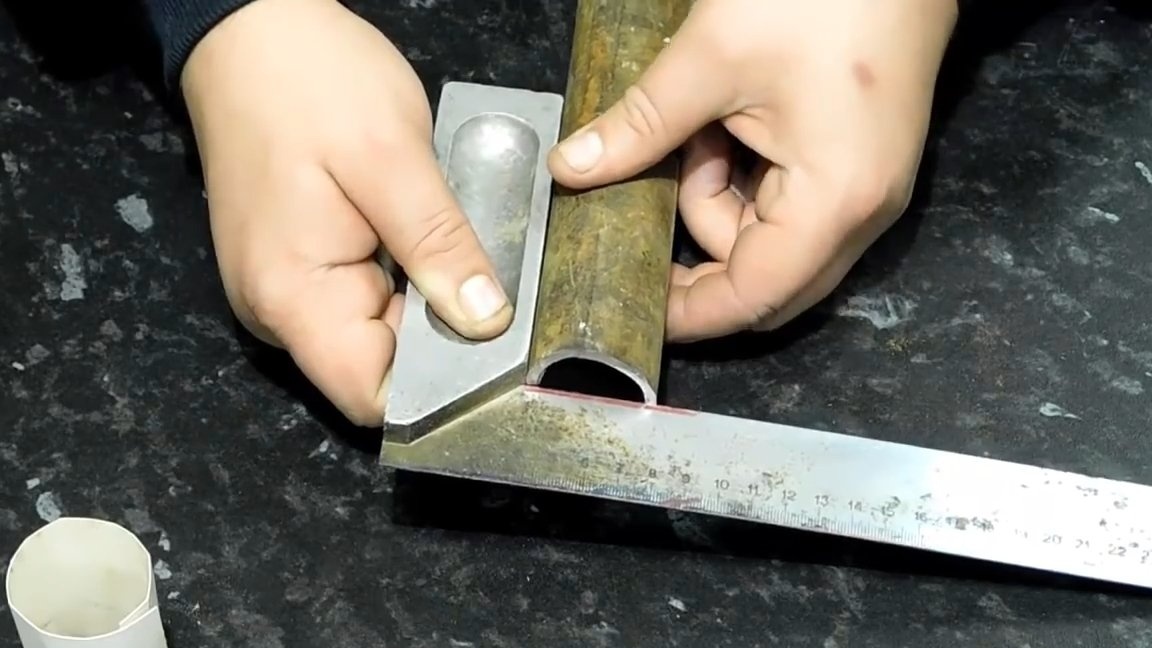
Tip 5. Flatly cut the pipe
When working with a grinder, beginners often make slices uneven, which leads to the need for additional processing. To get an even cut, use a piece of cardboard or, better, masking tape (since the edges of the cardboard will still need to be fixed with the same tape so that it does not move arbitrarily).
Just wrap them - in the place of the future cut - with a pipe. For convenience, you can additionally draw a cut line with some bright marker.

We cut off the necessary section of the pipe with a grinder along this line, focusing on our limiter in the form of an evenly fixed piece of masking tape or cardboard.

Thanks to this trick, the cut will be even, and subsequently the part will not have to be further aligned.
That's all for now.
Thanks for attention!