I welcome all fans to craft, I propose to consider homemade, which will significantly expand the functionality of your faithful friend - the Bulgarian. It will be about the rack, which will allow you to conveniently, efficiently and safely cut pipes, sheets and other materials. Homemade is good in that it is assembled from available materials, mainly plywood is used here. Of course, everything can be made from boards, but the plywood is even, strong and will not lead when moisture gets into it.
The machine is equipped with a broach function, here for this the author adapted furniture sliders. If the home-made you are interested in, I propose to study the project in more detail!
Materials and tools used by the author:
Material List:
- plywood;
- fixing corners;
- bolts and nuts;
- two springs of suitable stiffness;
- threaded rod, nuts, bearings;
- furniture nuts;
- a little galvanization;
- double sided tape;
- furniture sliders.
Tool List:
- carpentry glue;
- screeds;
- a circular saw;
- pencil, ruler;
- drilling machine;
- screwdriver;
- spanners.
Homemade manufacturing process:
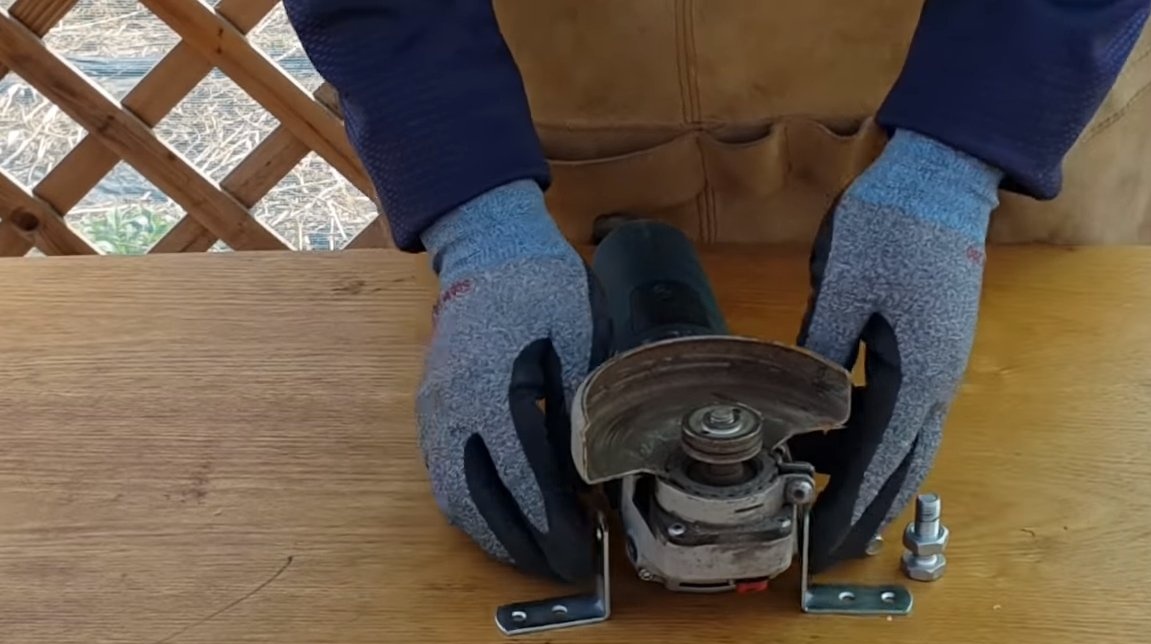
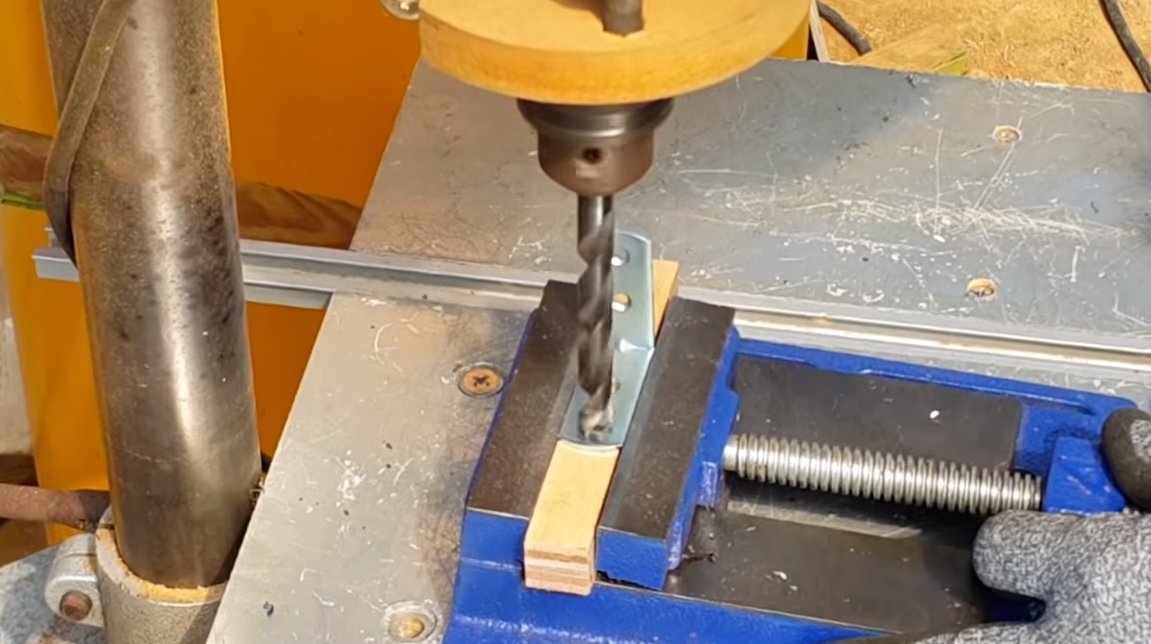
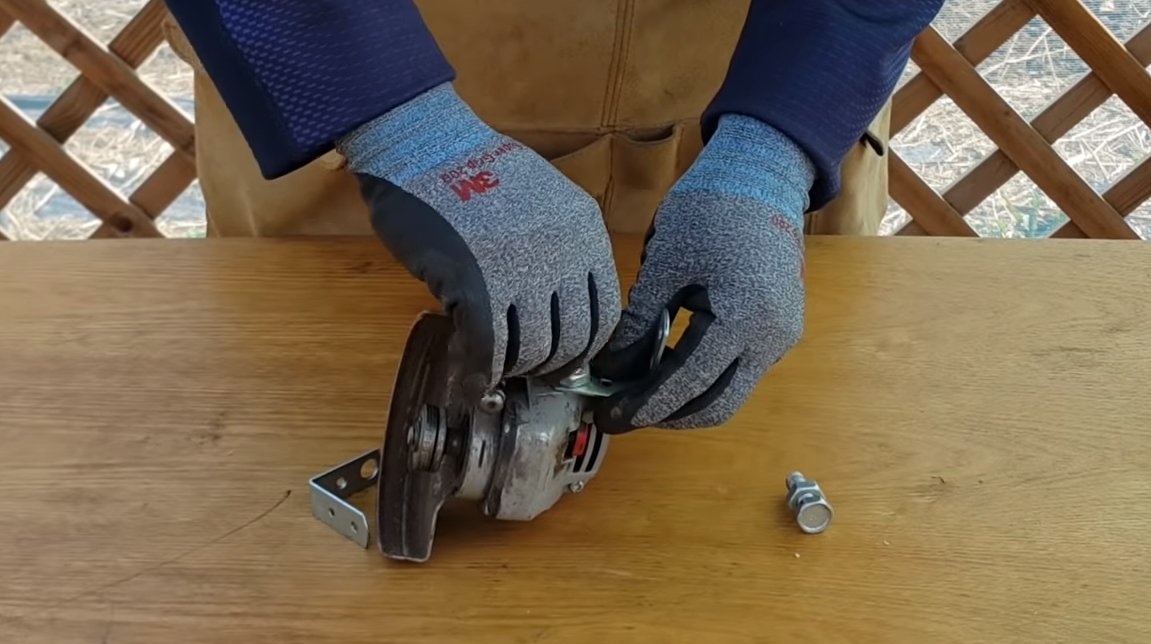
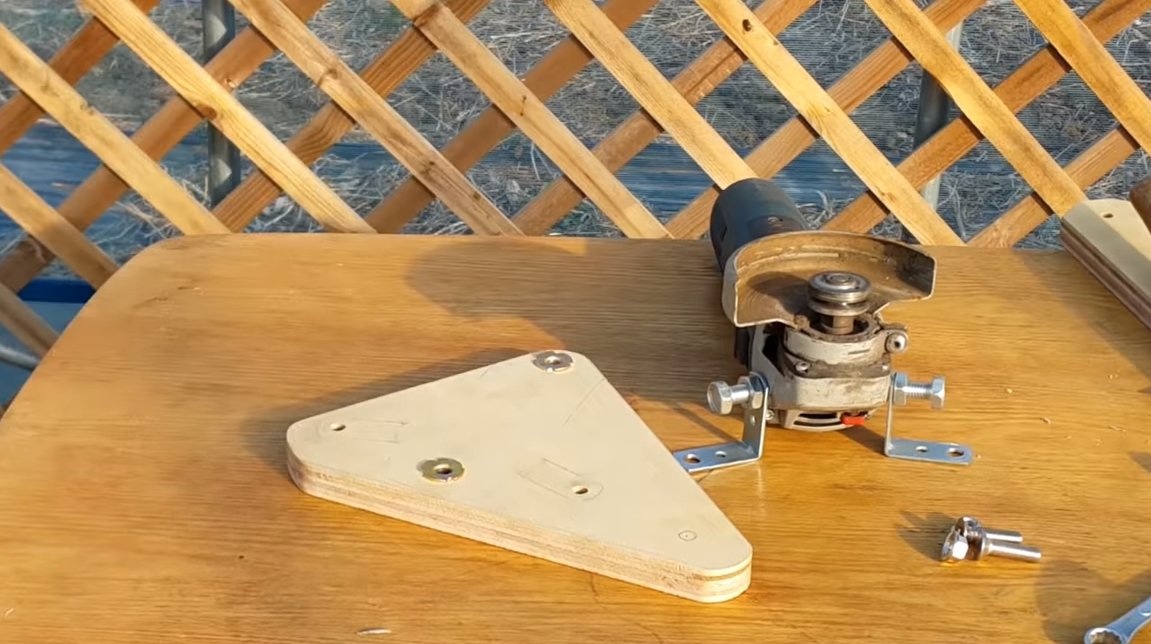
Step one. Mount grinder
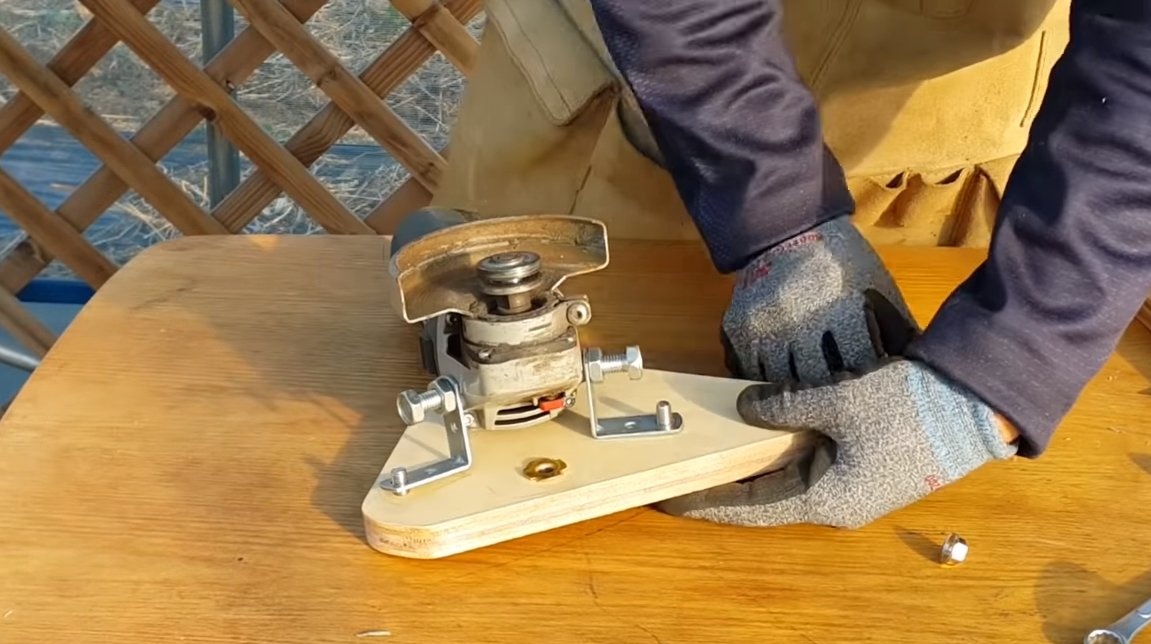
The first thing you need to do is mount for the grinder, in our case there are two. We make fastenings from two iron fixing corners, drill holes for bolts with which the grinder will be screwed. Of course, the metal of the corners is thin, it is better to use that thicker.
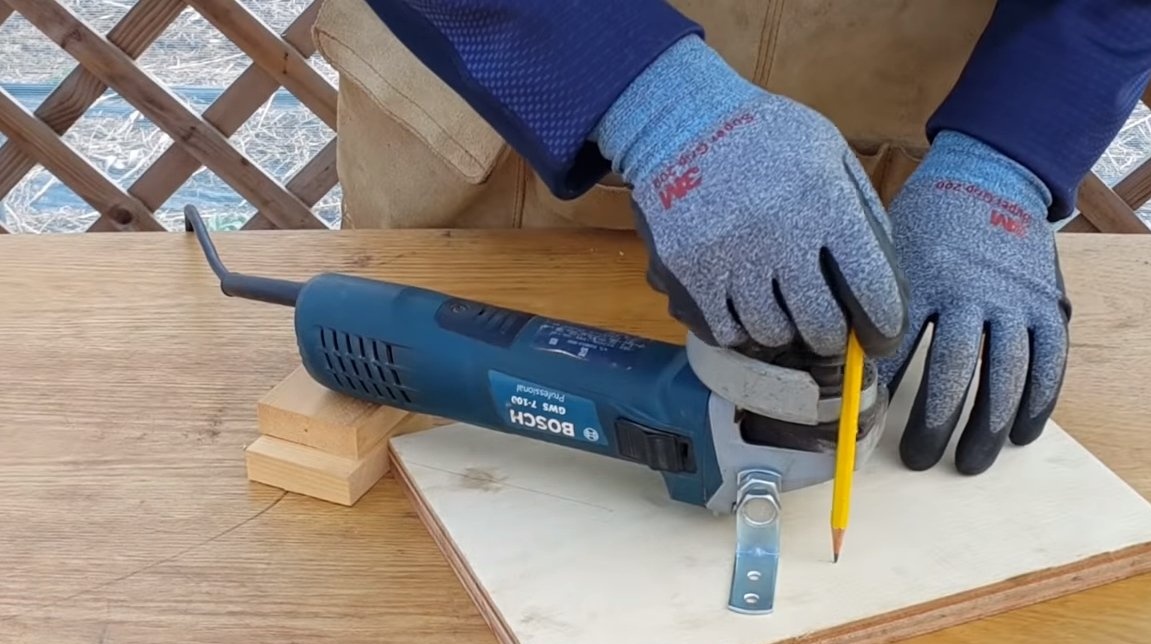
Step Two Lever arm
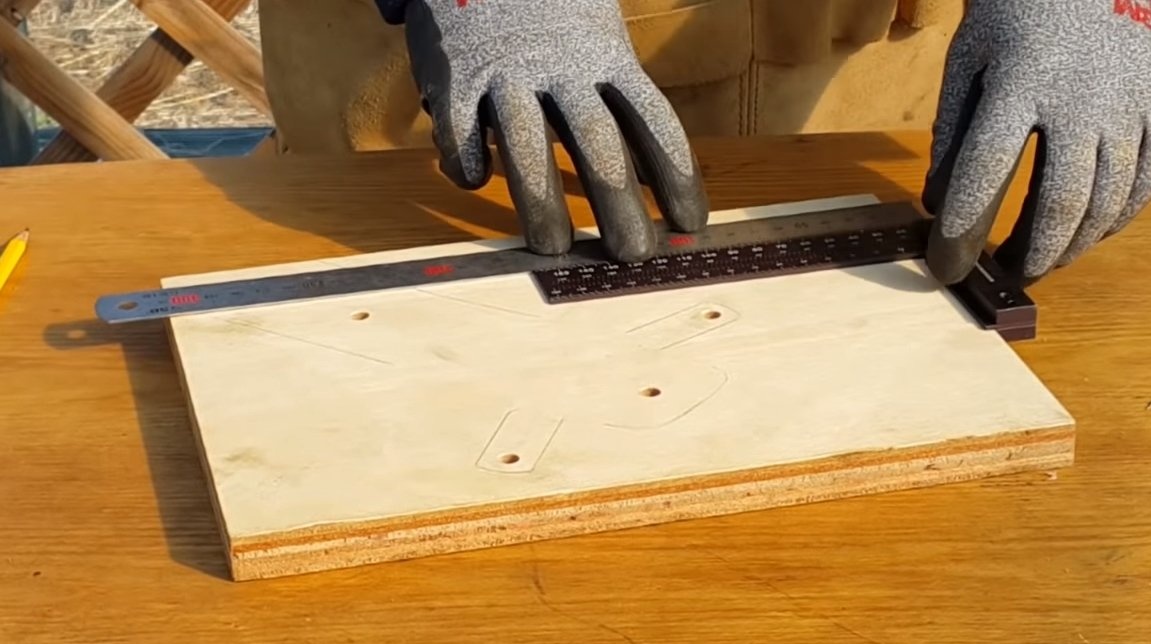
Next, we need to cut a lever out of plywood, which will be pivotally attached to the uprights. The author’s lever is carved in the shape of a triangle. To begin with, we mark everything out and designate places for the holes. We need two holes to fasten the Bulgarian fasteners to the base with bolts and nuts.
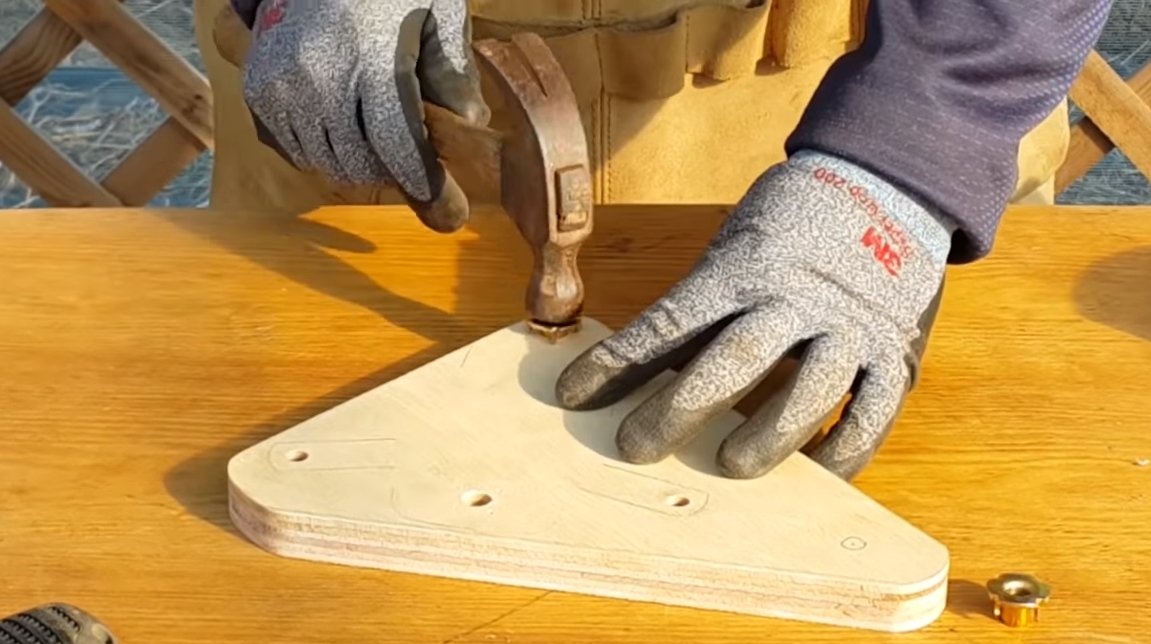
You will also need two more holes in which the furniture nuts will be installed, with the help of these nuts and bolts we will center the grinder.


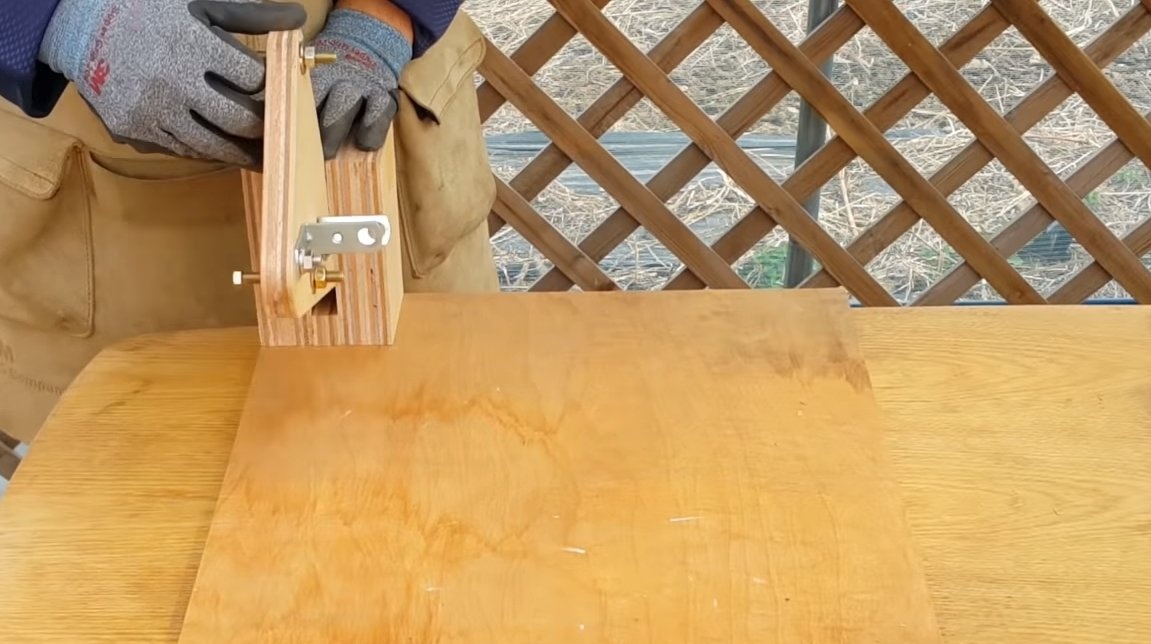
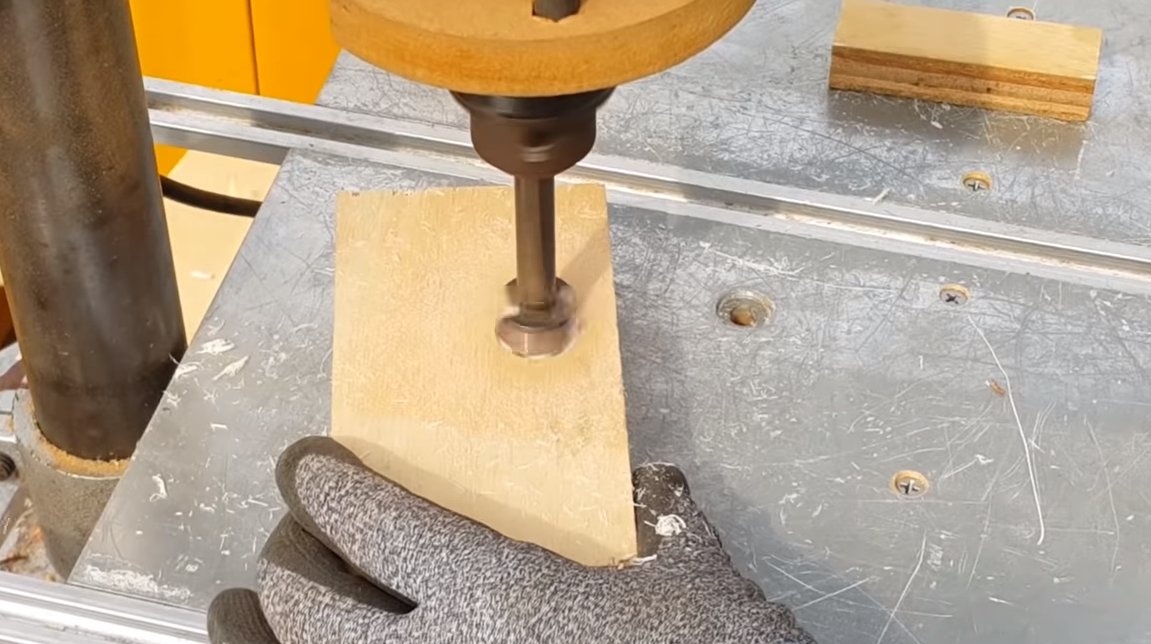
Step Three Hinge drains and assembly
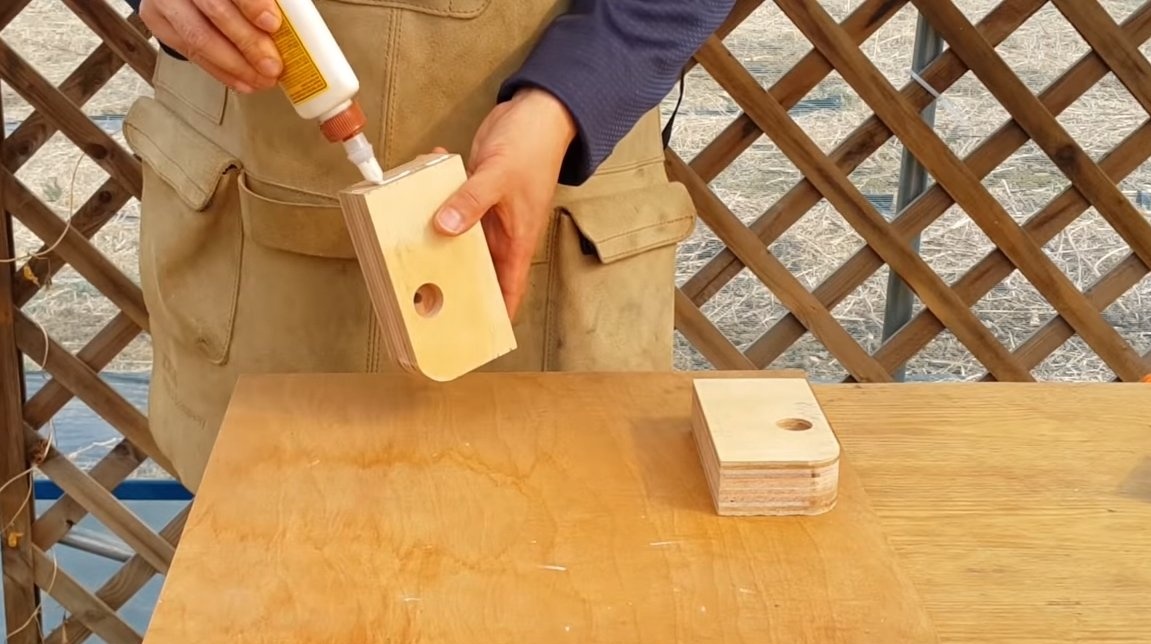
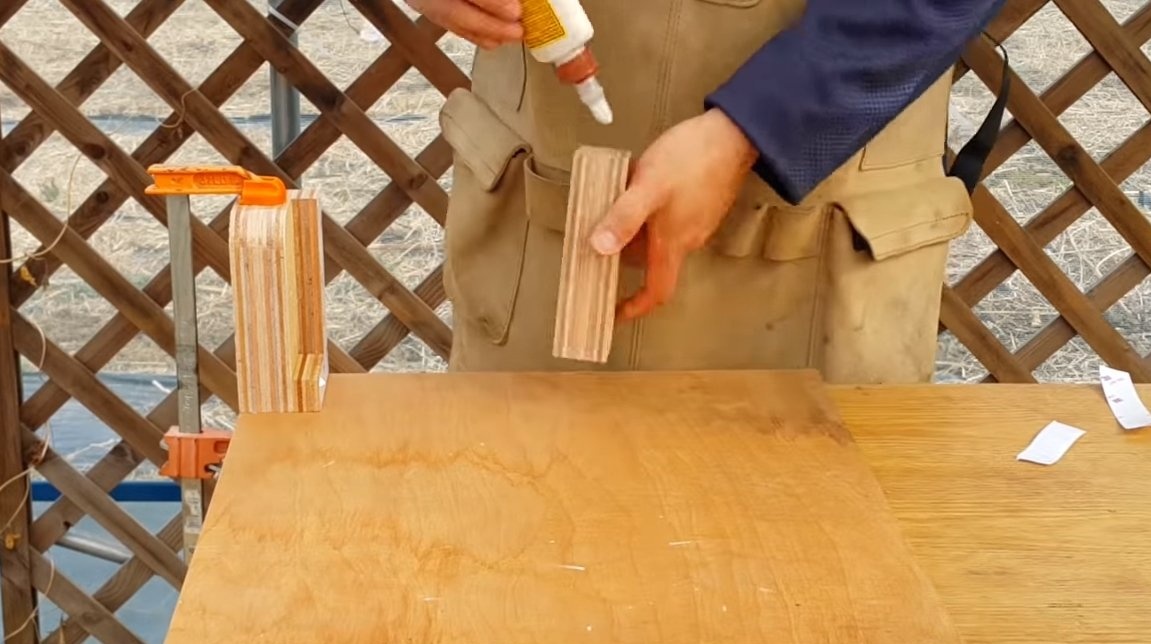
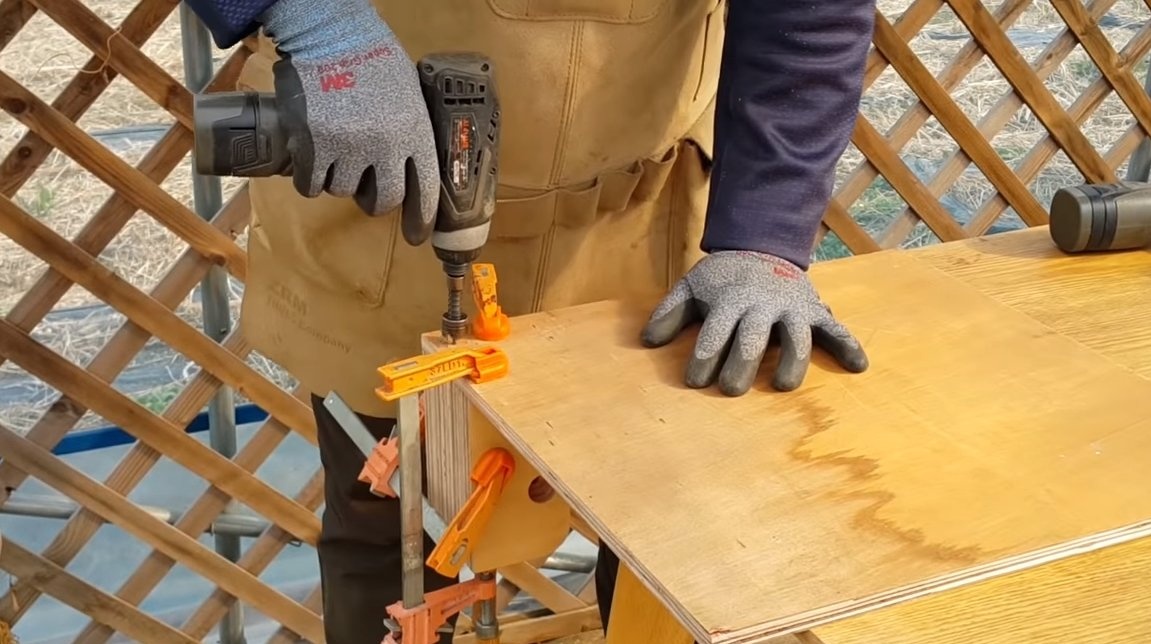
We cut two racks from plywood, we also cut out the spacers so that everything holds tight.In the racks, drill holes for the axis, and also drill the seats for the bearings. We glue the finished parts to the base with the help of wood glue, tighten everything with clamps and wrap the screws. Now everything will be pretty tight.
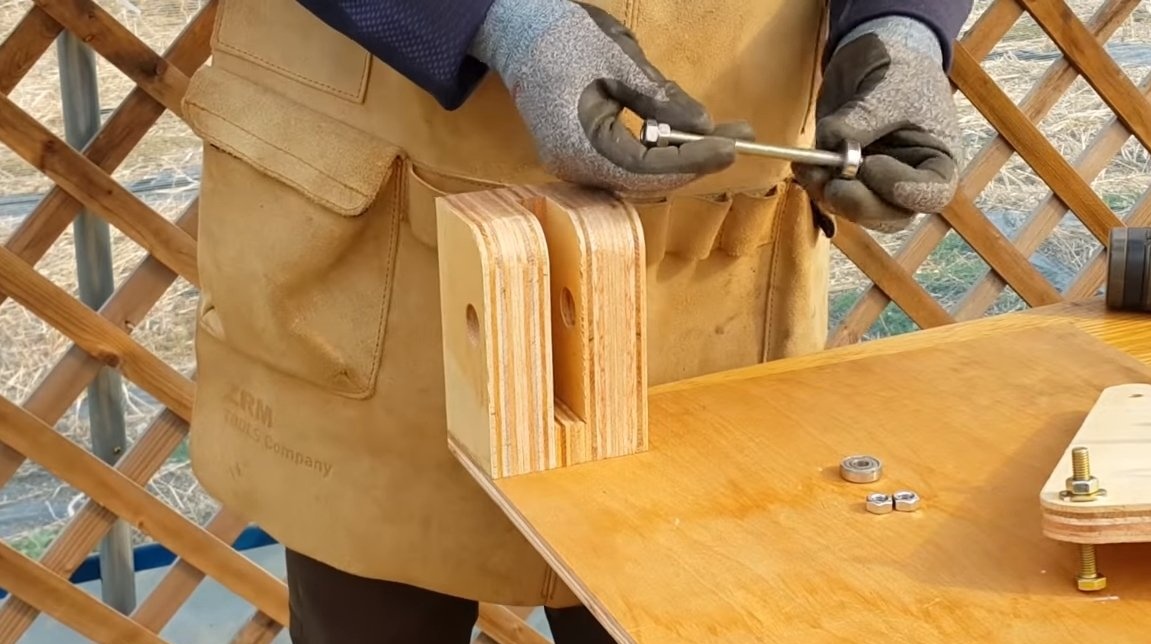
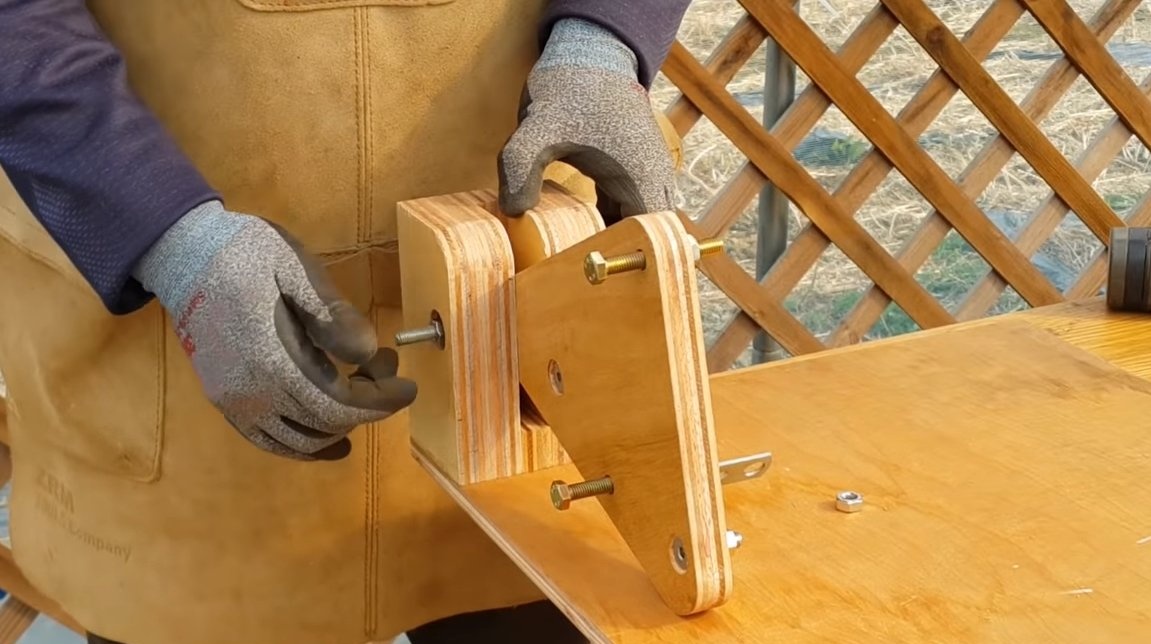

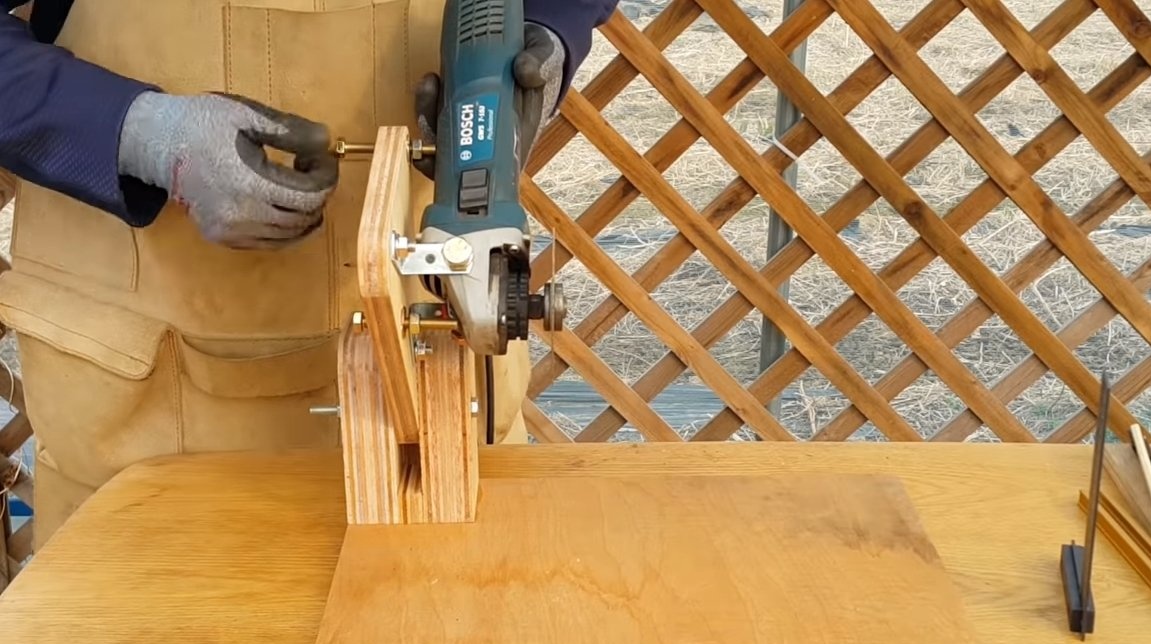
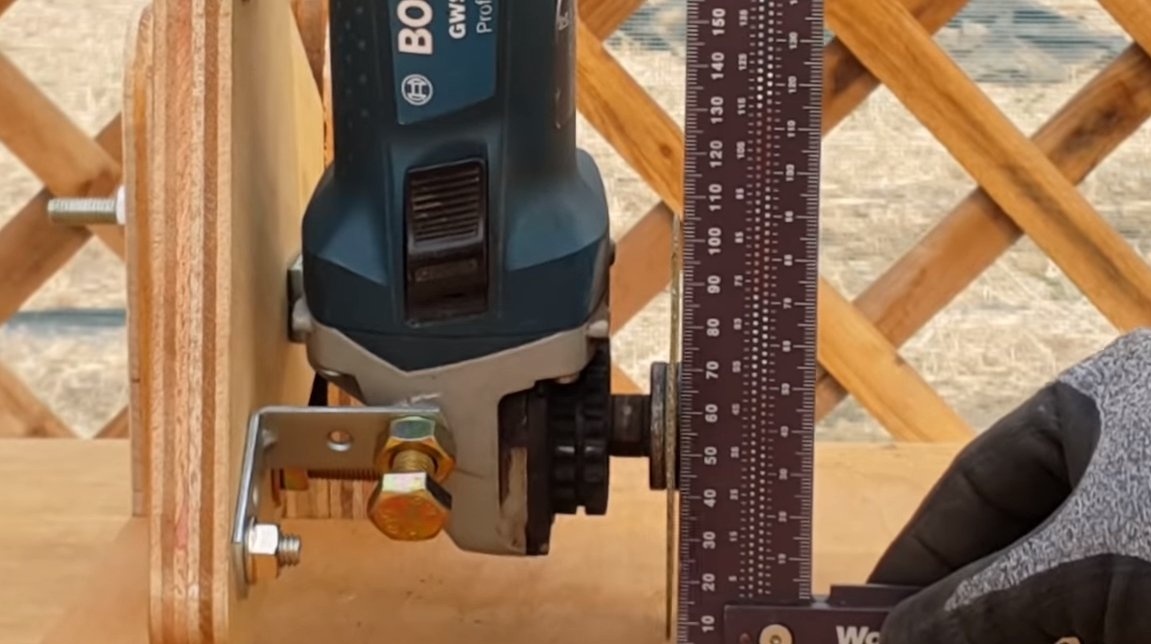
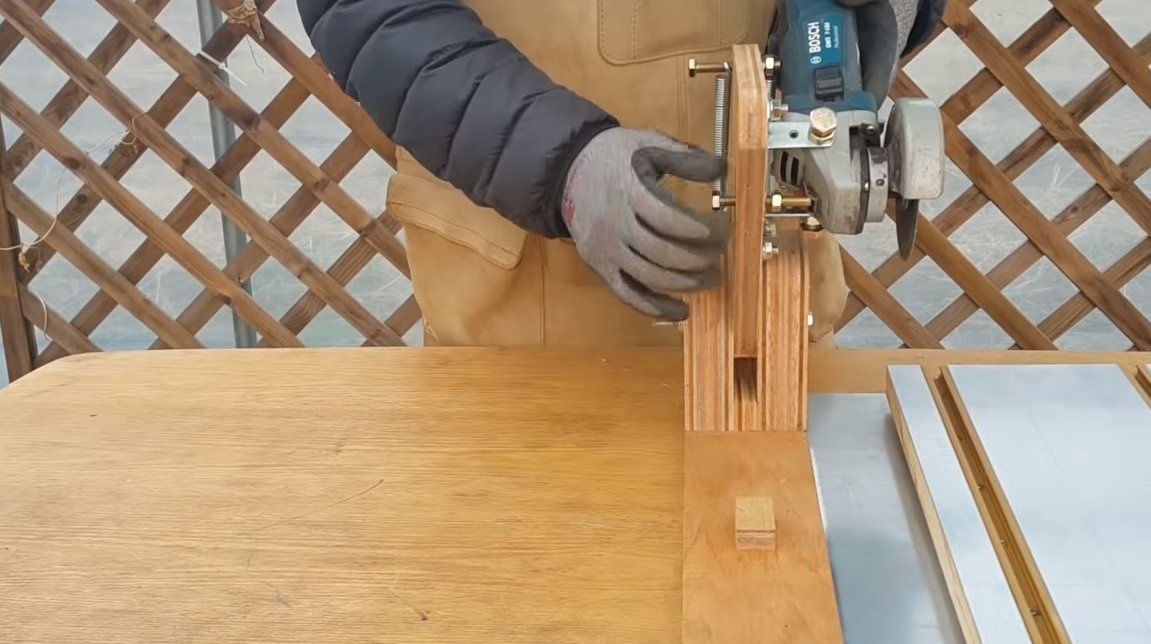
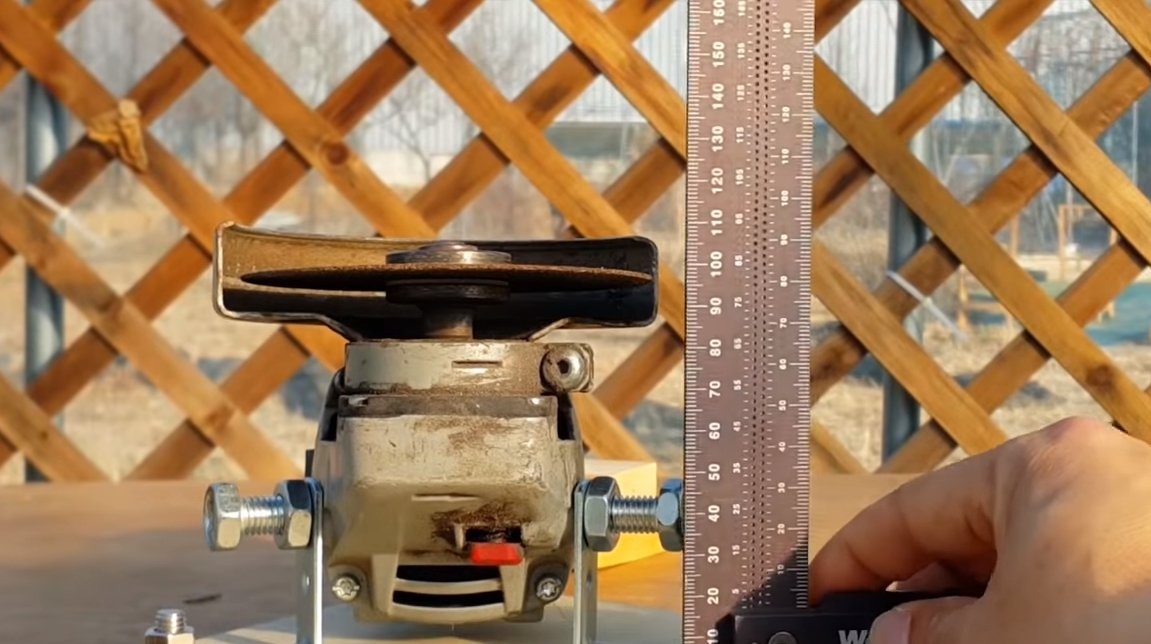
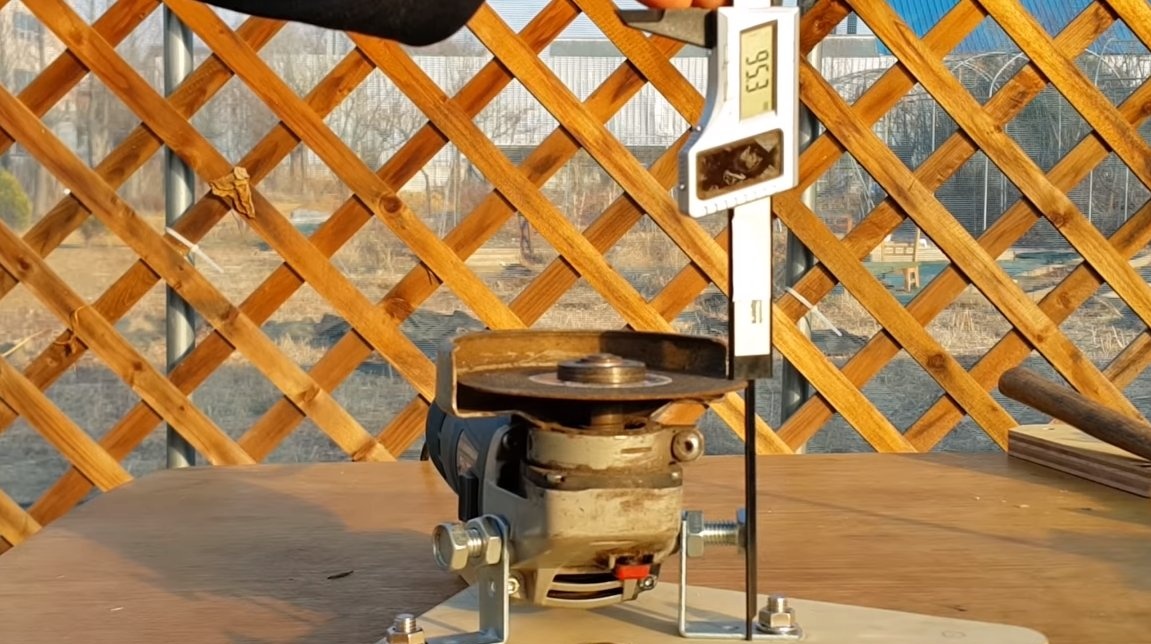
The design can be assembled, install the bearings in their places, install the lever and insert the axis, for which we use a threaded rod or a long bolt. At the end, we tighten the hinge with nuts, now everything will be tight, and the backlash will be minimal. Now you can install the grinder, after installation we need to center it, a square will help us with this. The cutting wheel should be at right angles to the base, adjust the grinder with two adjusting bolts with nuts.
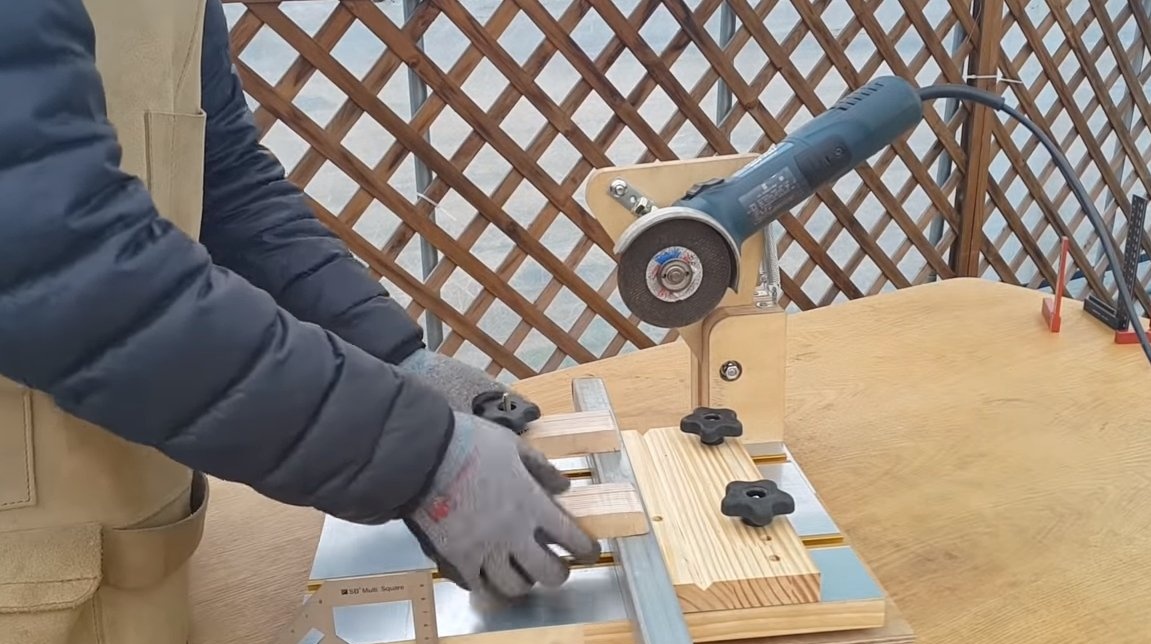
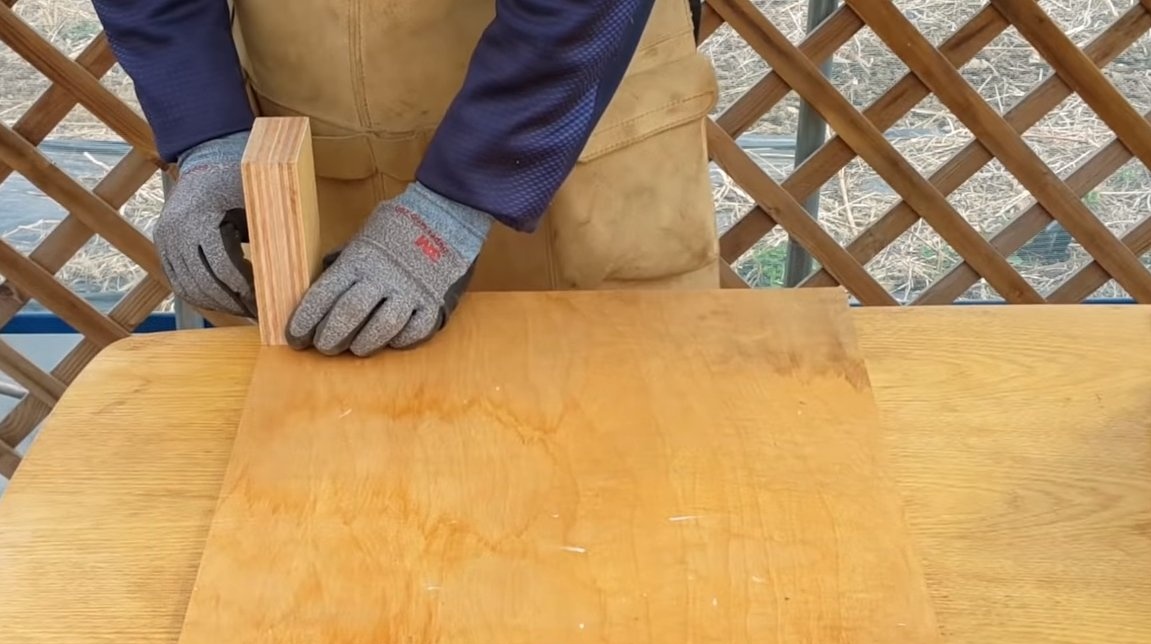
Step Four Work platform
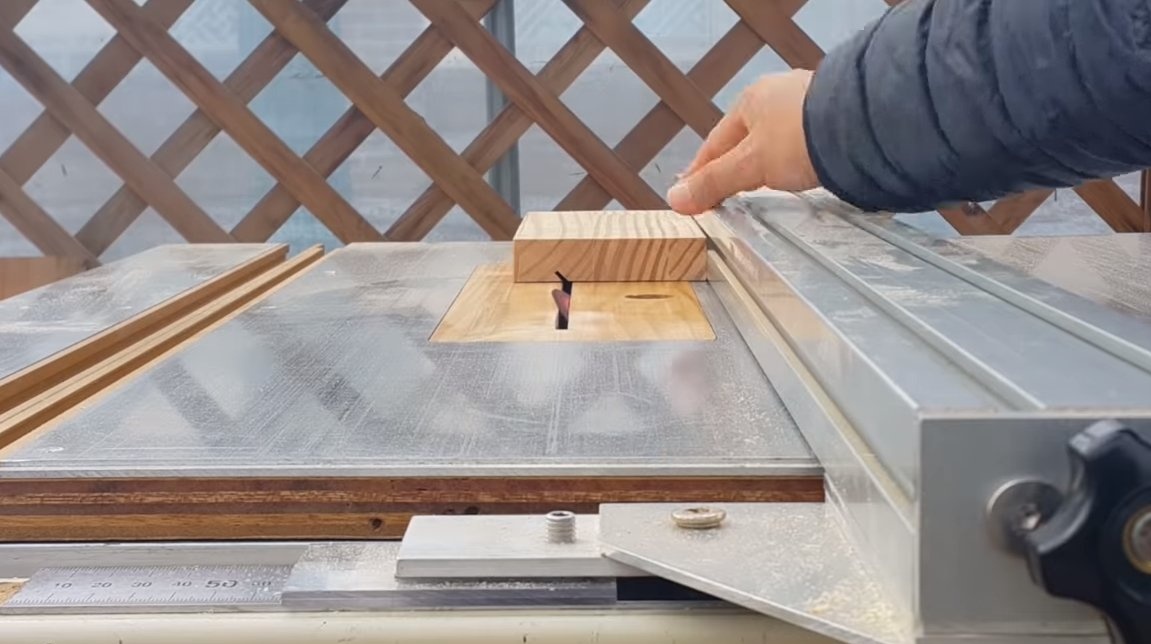
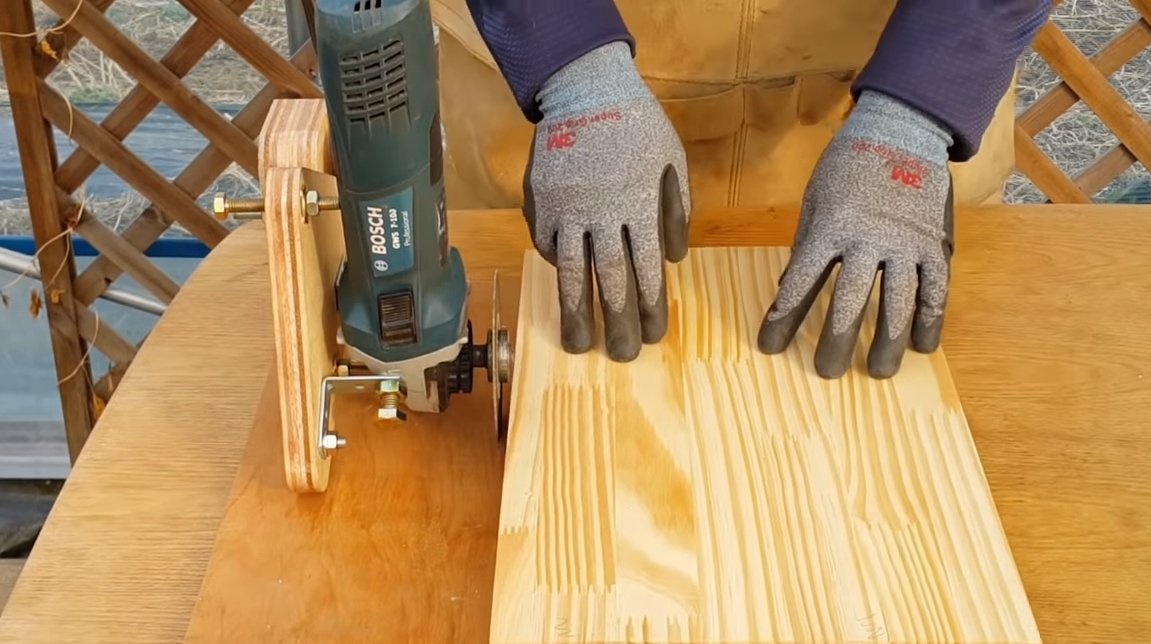
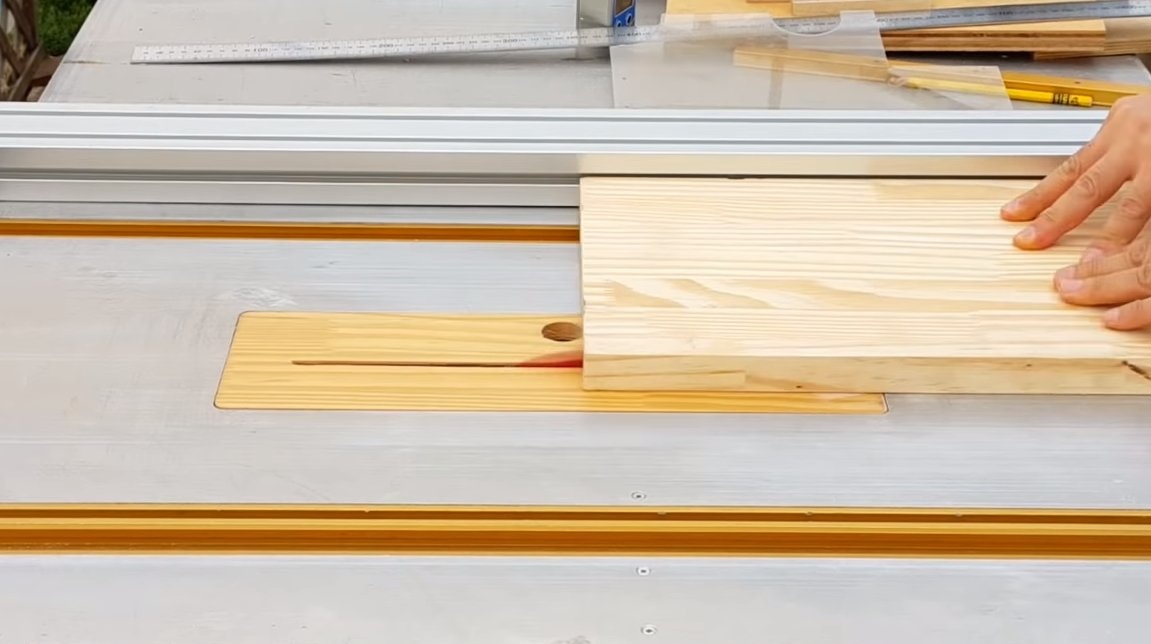
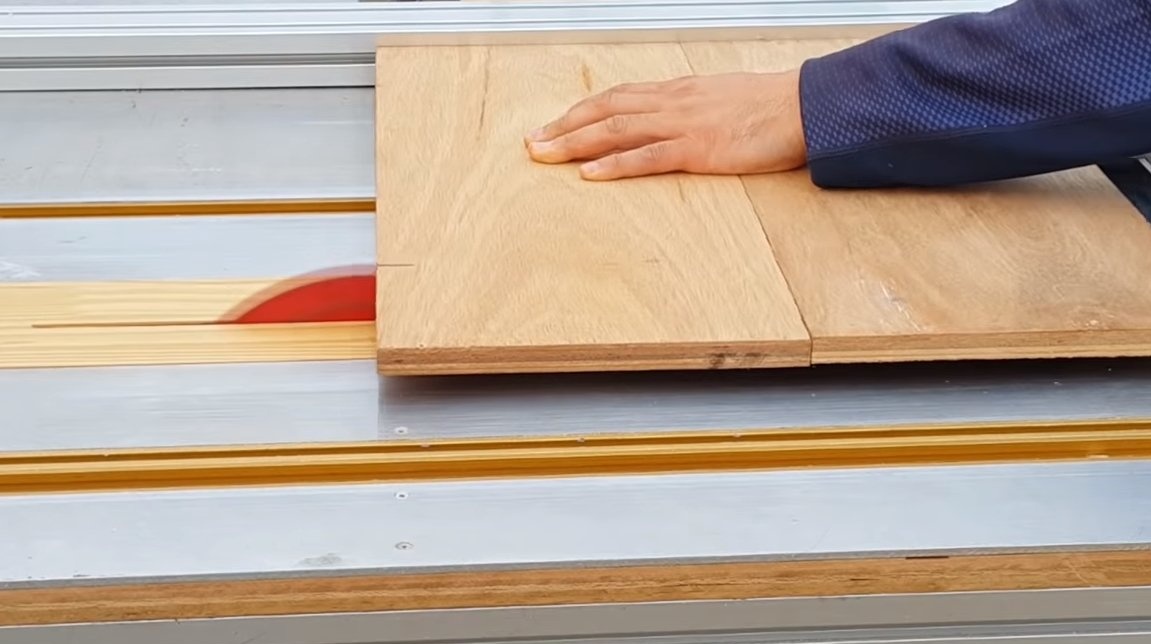
Next, we make a working platform, on it we will clamp materials for cutting, the platform will be moving us. As a material for the platform you will need a thick board or wood board. In the material you need to cut the grooves with a circular saw and screw in the guides that are used in the furniture industry for sliding shelves and so on. These details will be needed so that using them it would be possible to fix the materials on the platform.
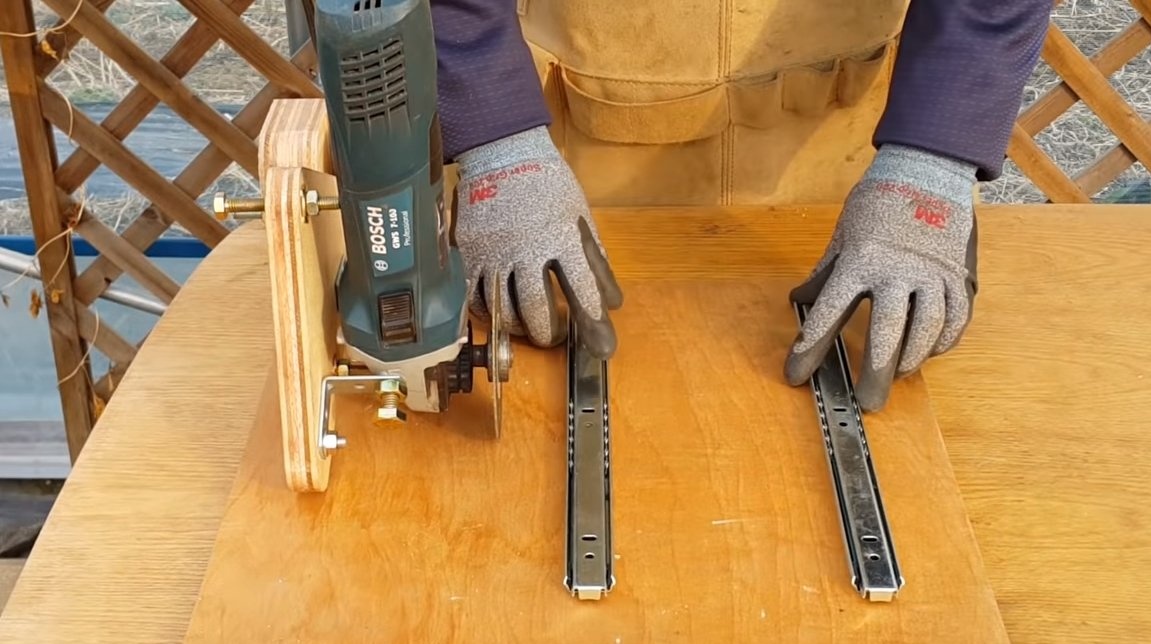

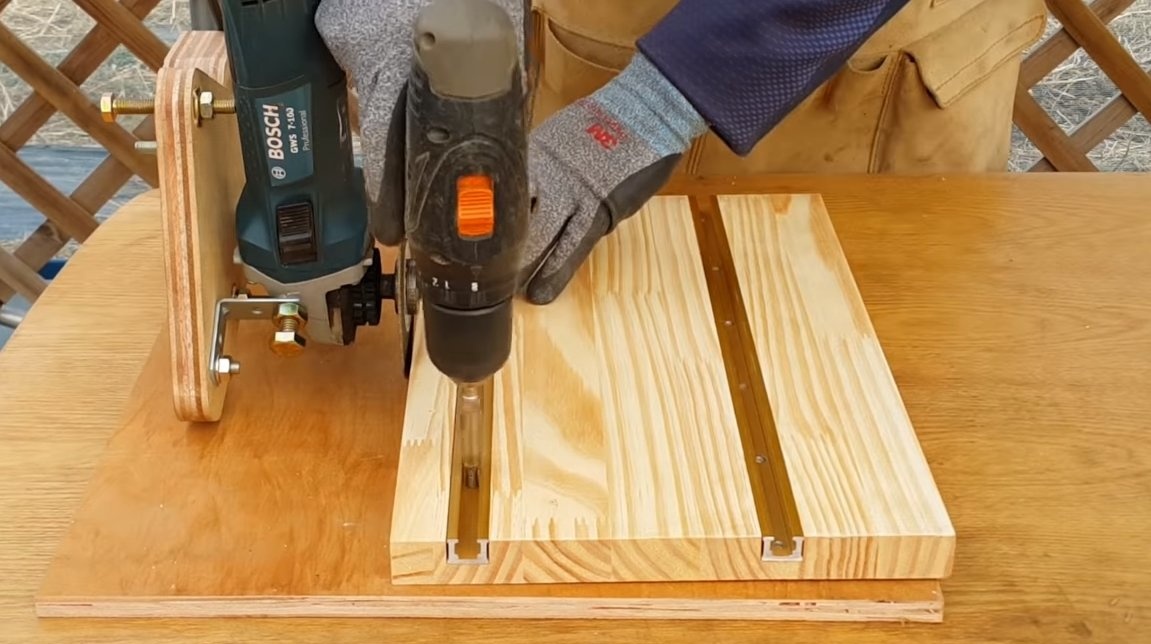
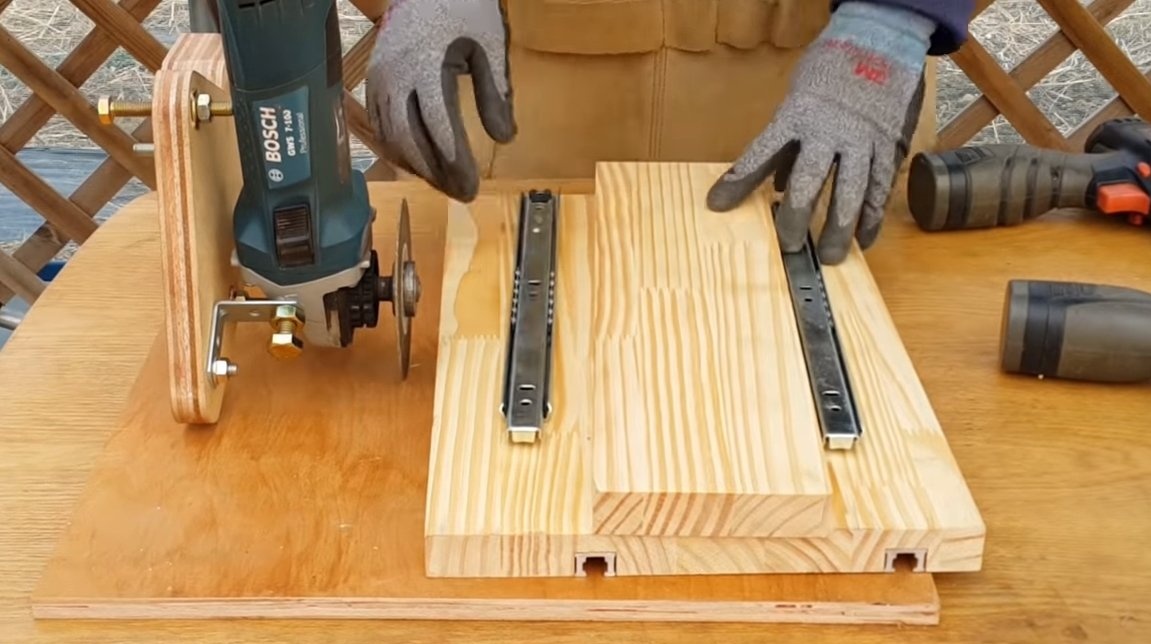

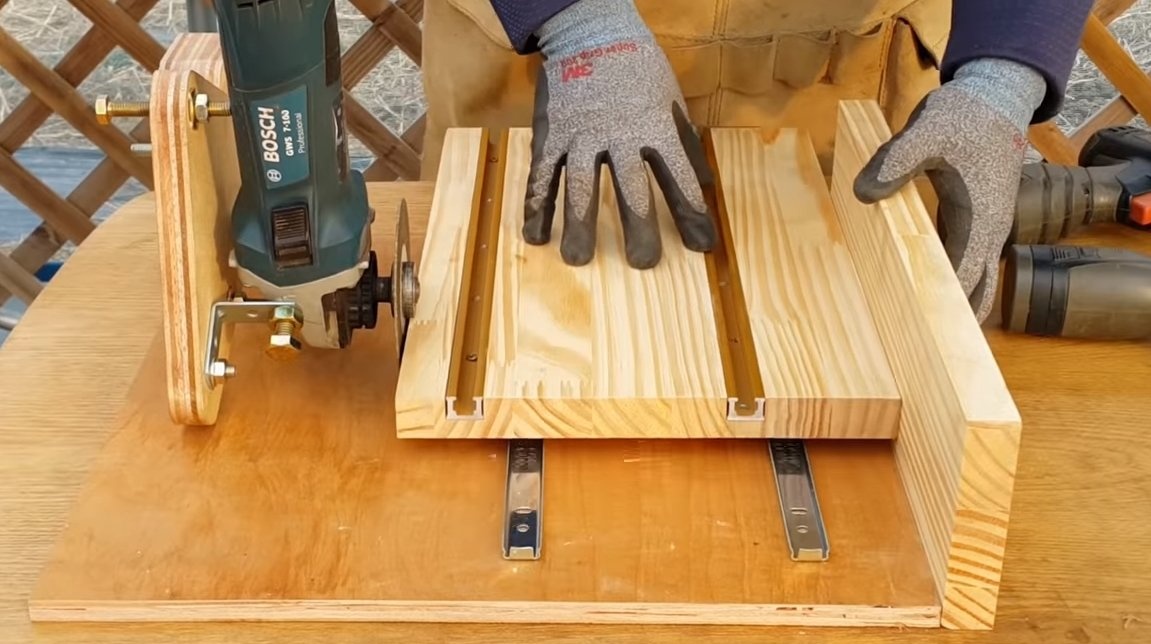
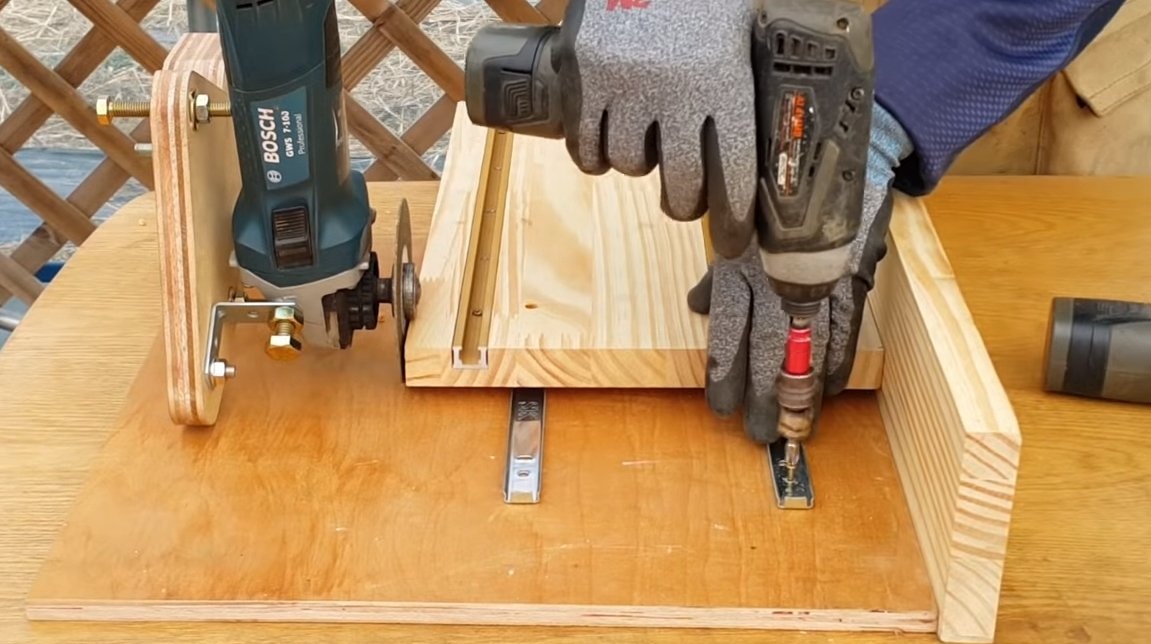

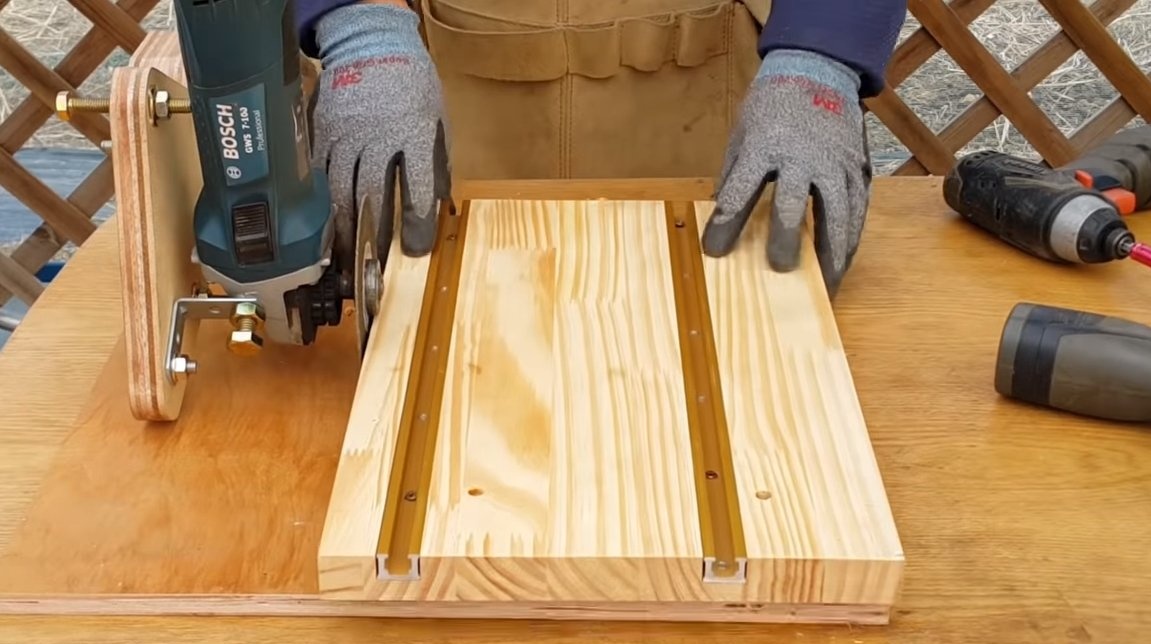
We attach sliders to the back side, which will ensure the mobility of the platform. To screw the sliders, the author drilled through holes in the platform. We fasten the platform clearly parallel to the cutting disc.
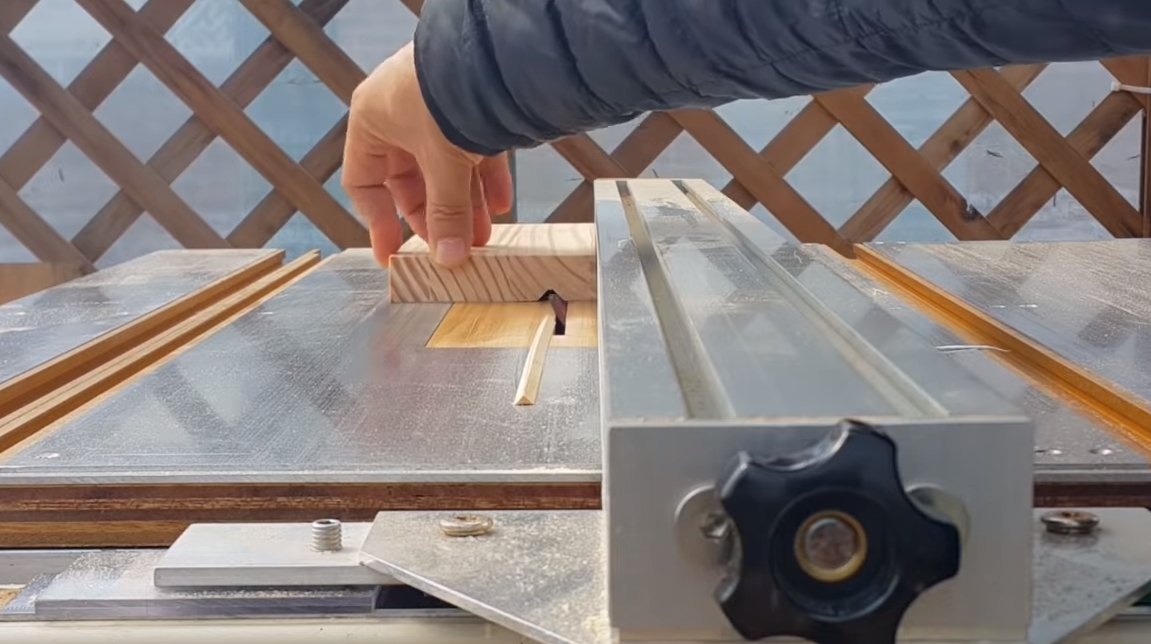
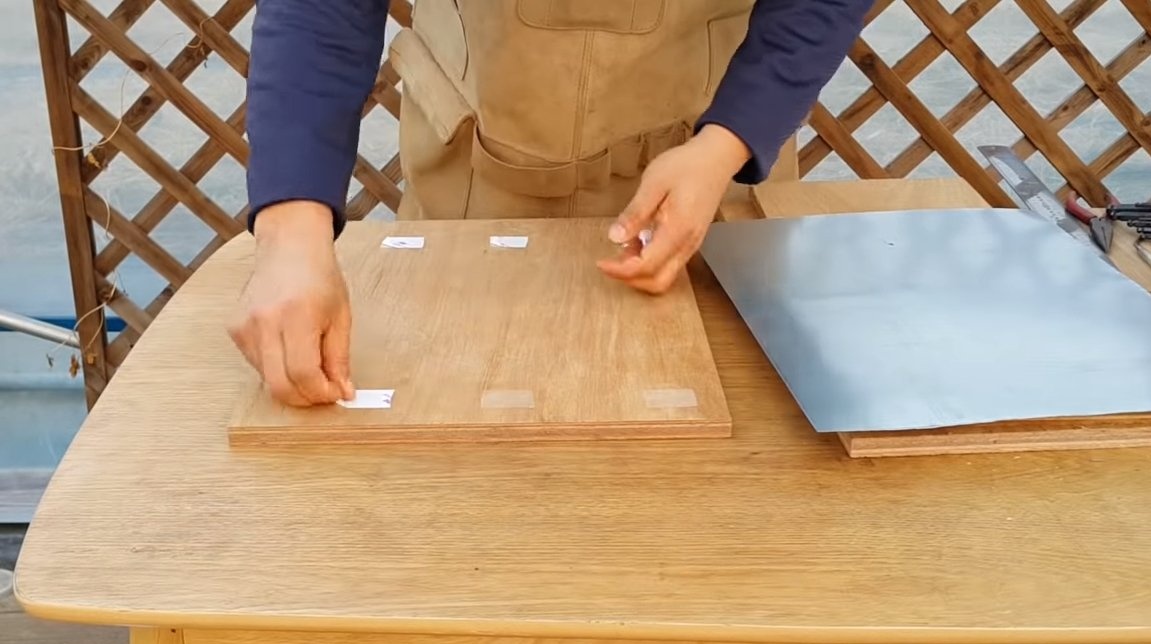
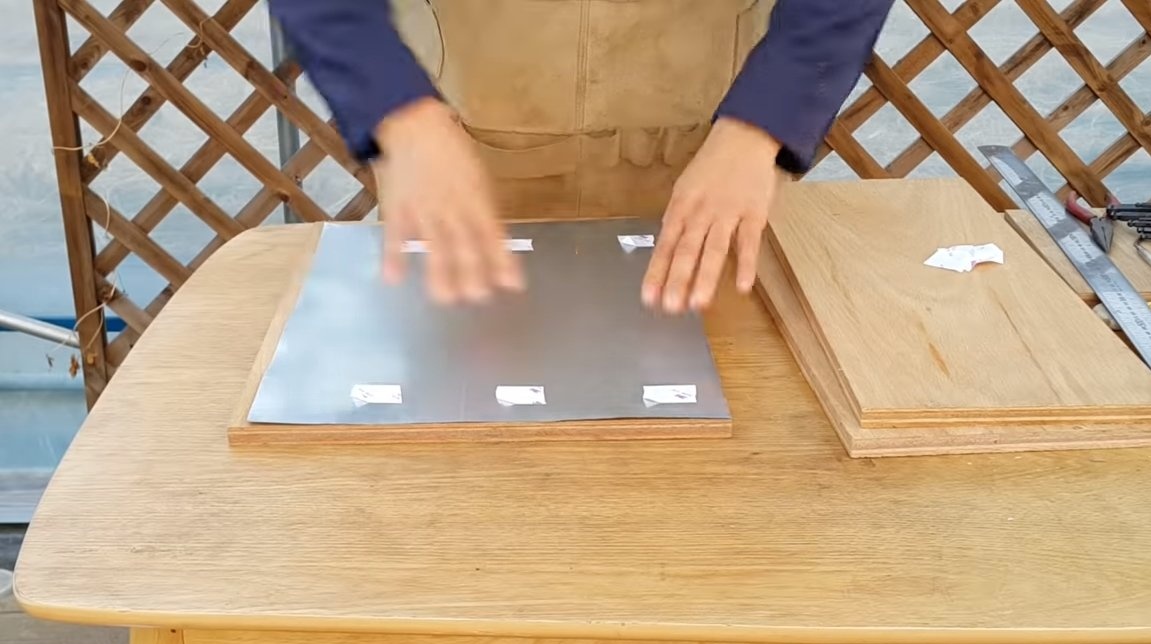
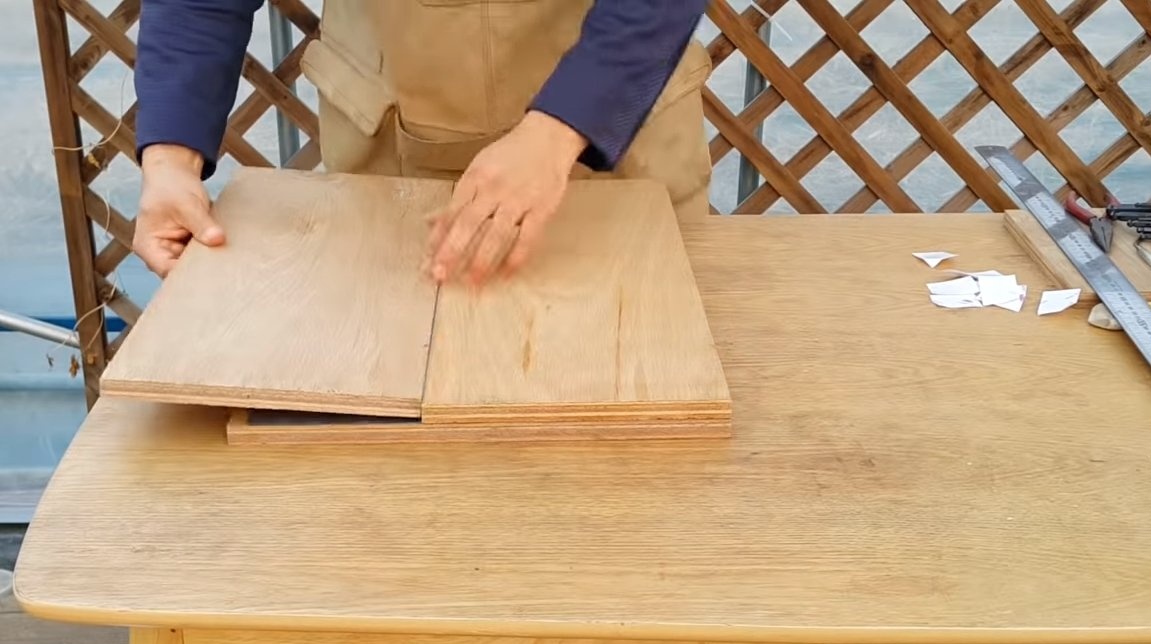
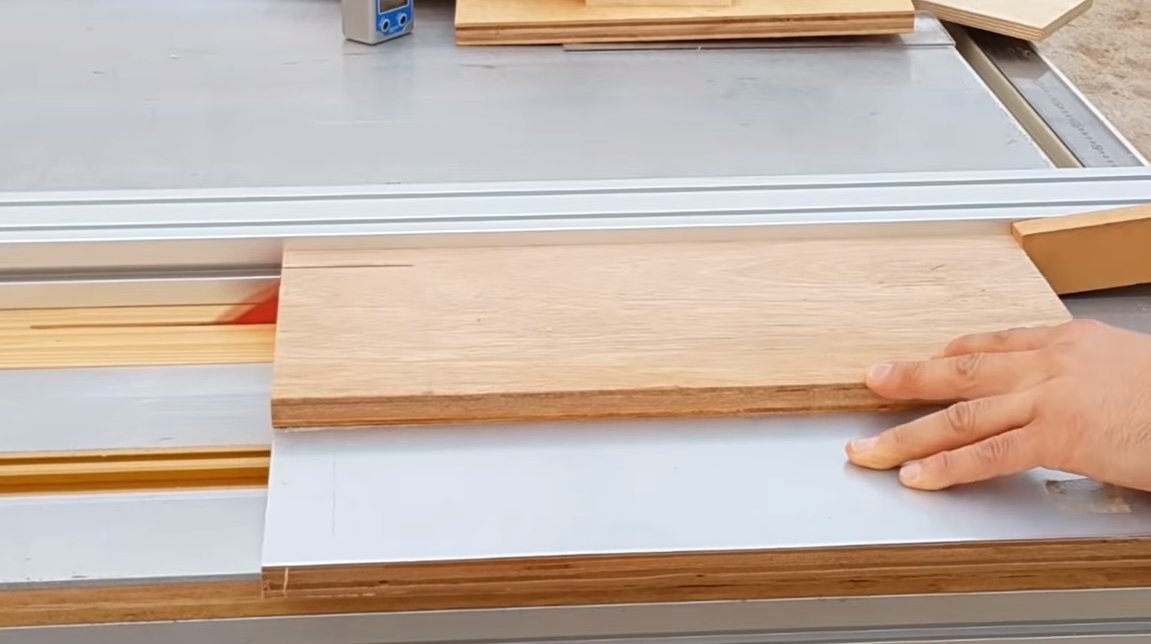
Step Five Sheathing
The author decided to finish the working platform with sheet galvanized iron, cut the metal and glue it with double-sided adhesive tape. As a result, we get an excellent and reliable work surface.


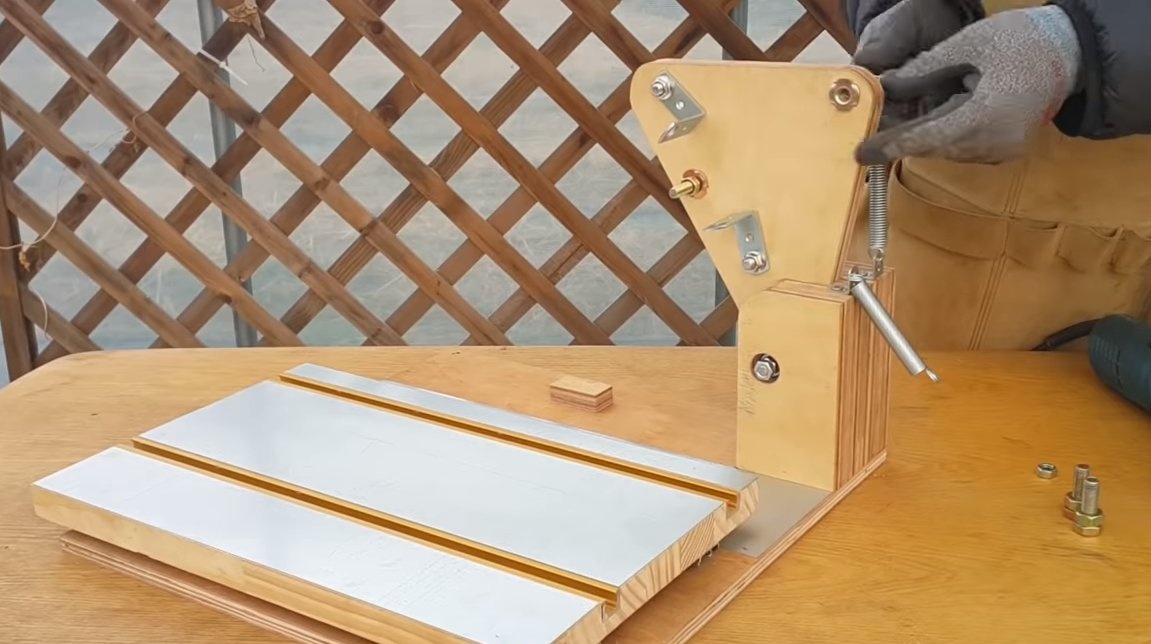
Step Six Springs
We install springs on the machine so that they return the grinder to its original position. Here you may need even more than two springs, it all depends on their stiffness.
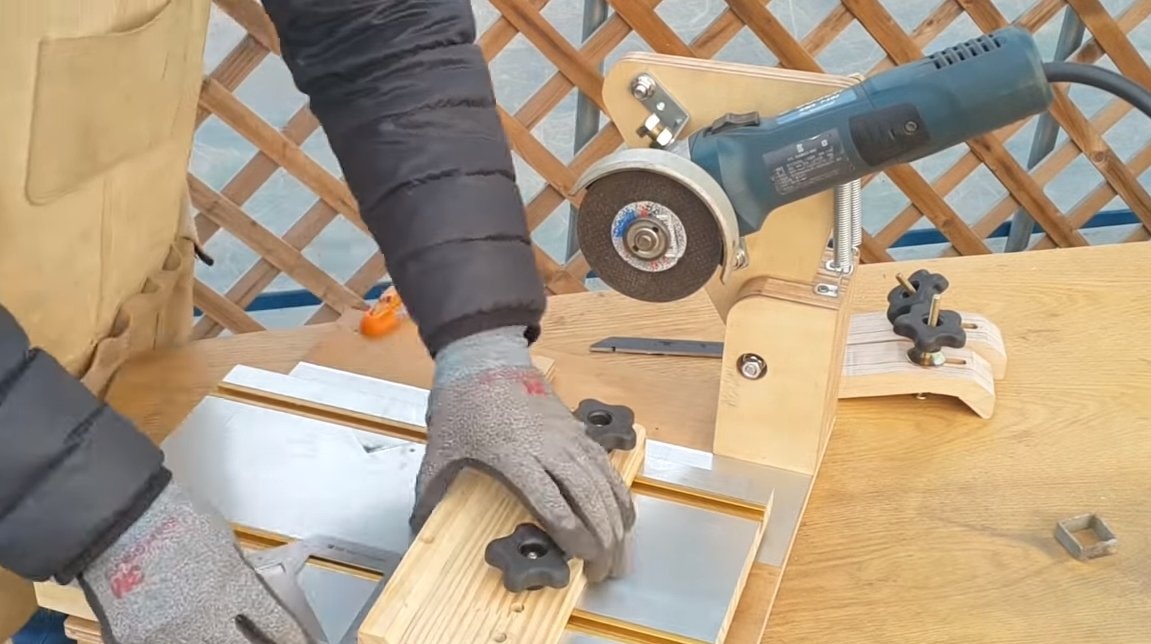
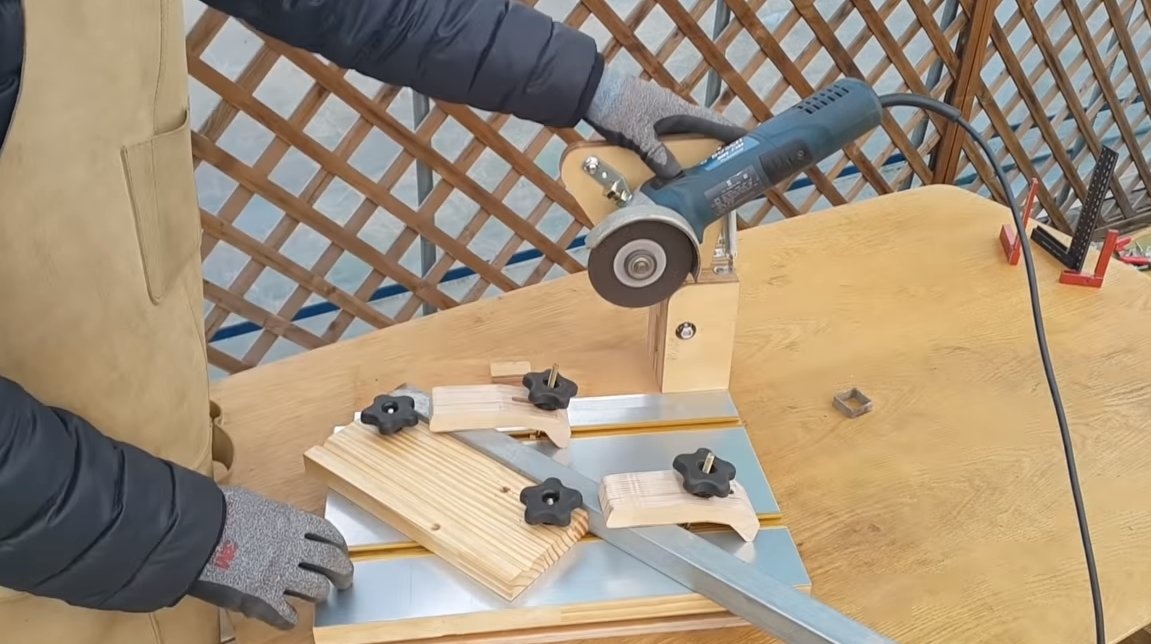
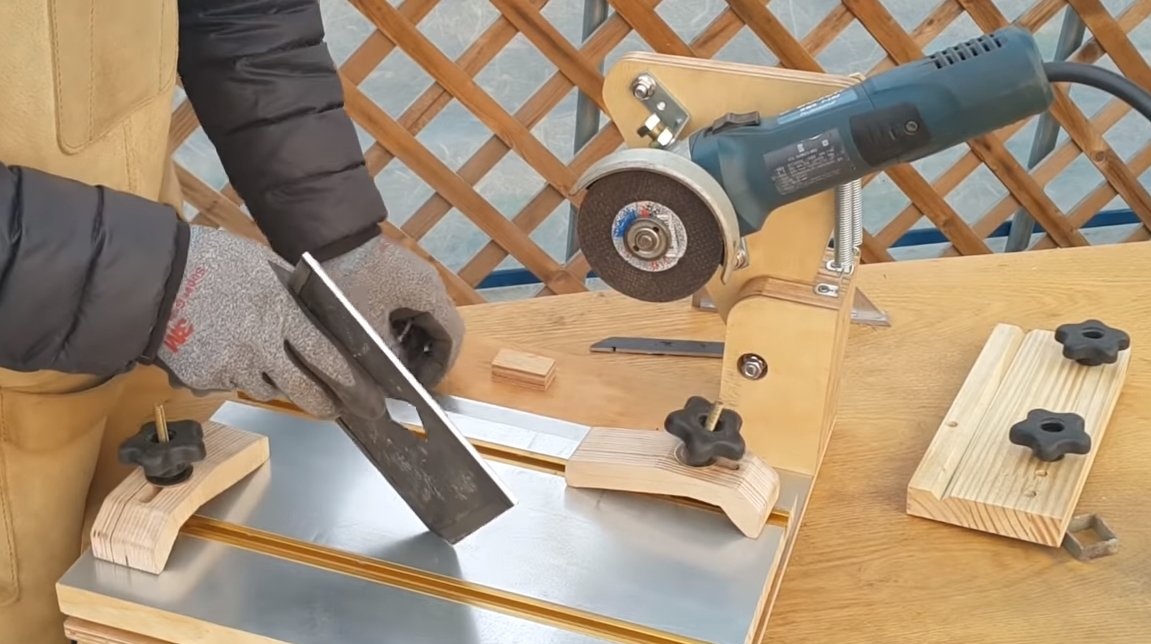
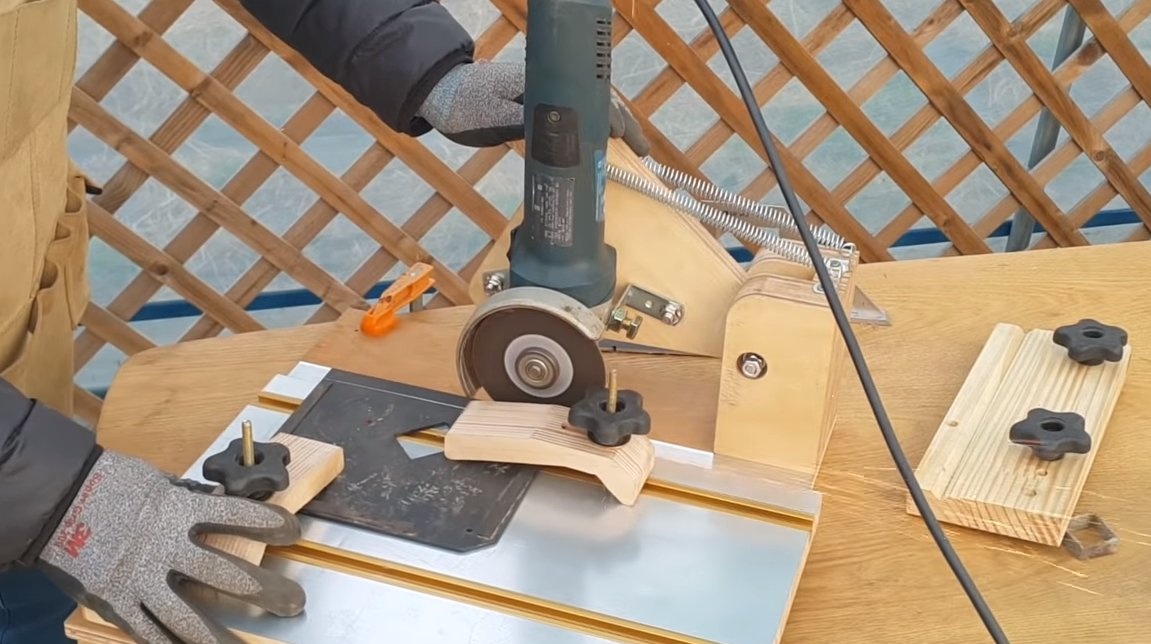
Seventh step. Holders and Tests
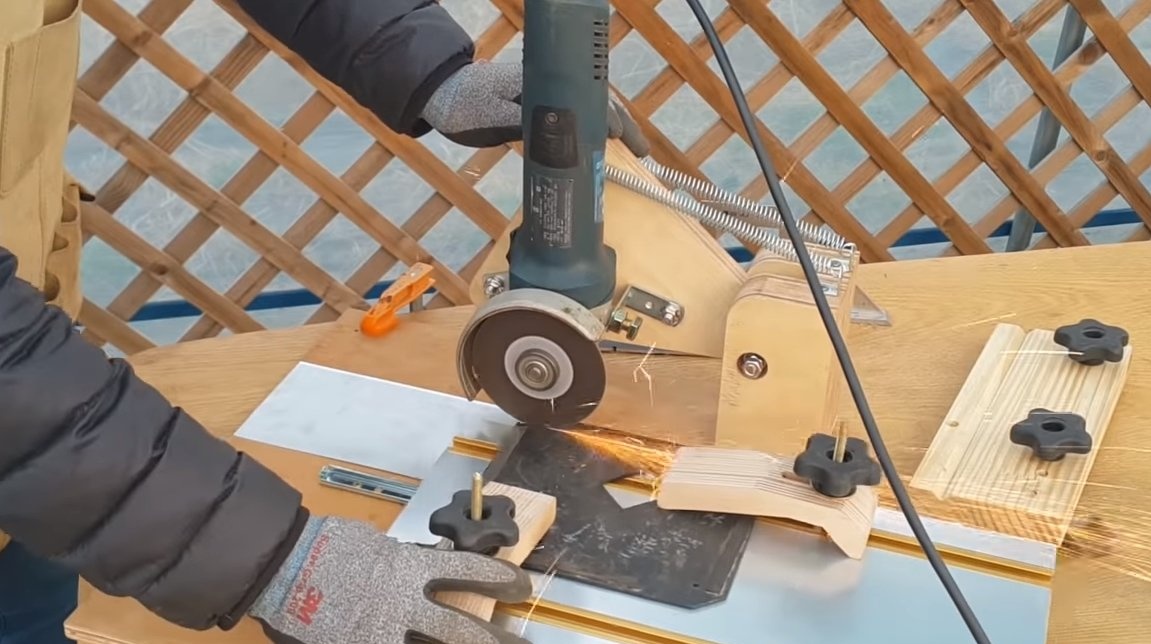
For the machine, the author made of wood special holders with convenient handles for fixing. For cutting round pipes, the holder has a special triangular groove. Profile pipes simply rest against the emphasis, in addition, the author is also quite convenient and successfully cuts sheet metal. If desired, the material can be fixed at the desired angle.
That's all, the machine is ready, everything works, although the accuracy here is not very high, but everything is accurate, convenient and safe, the machine is quite suitable for everyday tasks. I hope you enjoyed the project and found useful thoughts for yourself. Good luck and creative inspiration, if you decide to repeat this. Do not forget to share your ideas and homemade things with us!