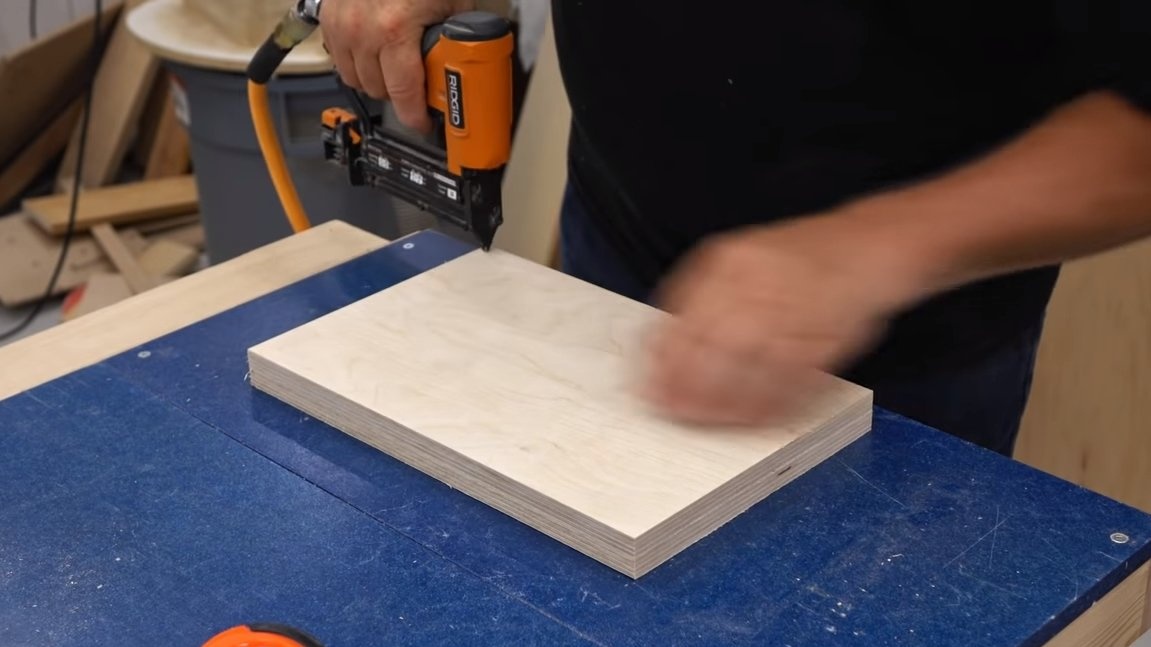
Greetings to all lovers of craftsmanship, this homemade will be useful for those who decide to do. Today we will look at how to make a lifting unit that allows you to raise and lower the circular saw blade. Thanks to this useful function, you can adjust the cutting depth of the saw. The knot is made of high-quality plywood and everything looks pretty reliable. If the project interests you, I propose to study it in more detail!
Materials and tools used by the author:
Material List:
- good plywood;
- axis with bearings (on which the saw blade is mounted;
- round timber (for axes);
- threaded rod, nuts, washers;
- bearings;
- wooden block;
- carpentry glue;
- self-tapping screws.
Tool List:
- tape cutting machine;
- ;
- drilling machine;
- Miter saw;
- screwdriver;
- mallet;
- lathe;
- vernier caliper.
For the manufacture of homemade, you can use simpler tools.
Homemade manufacturing process:
Step one. Primary node
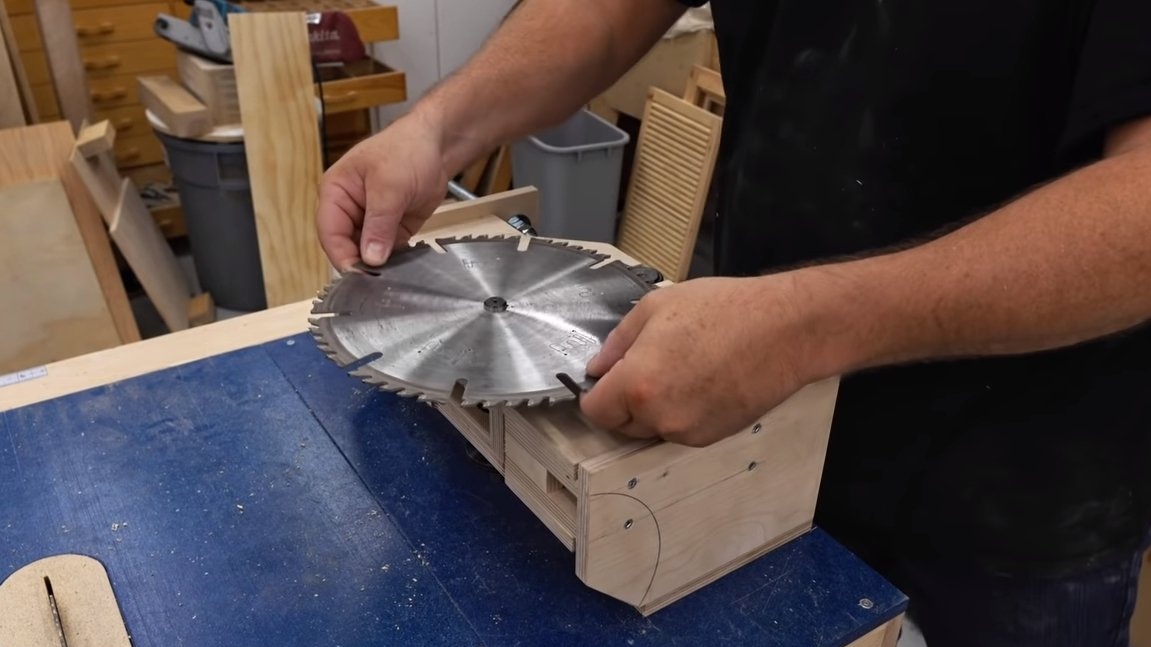
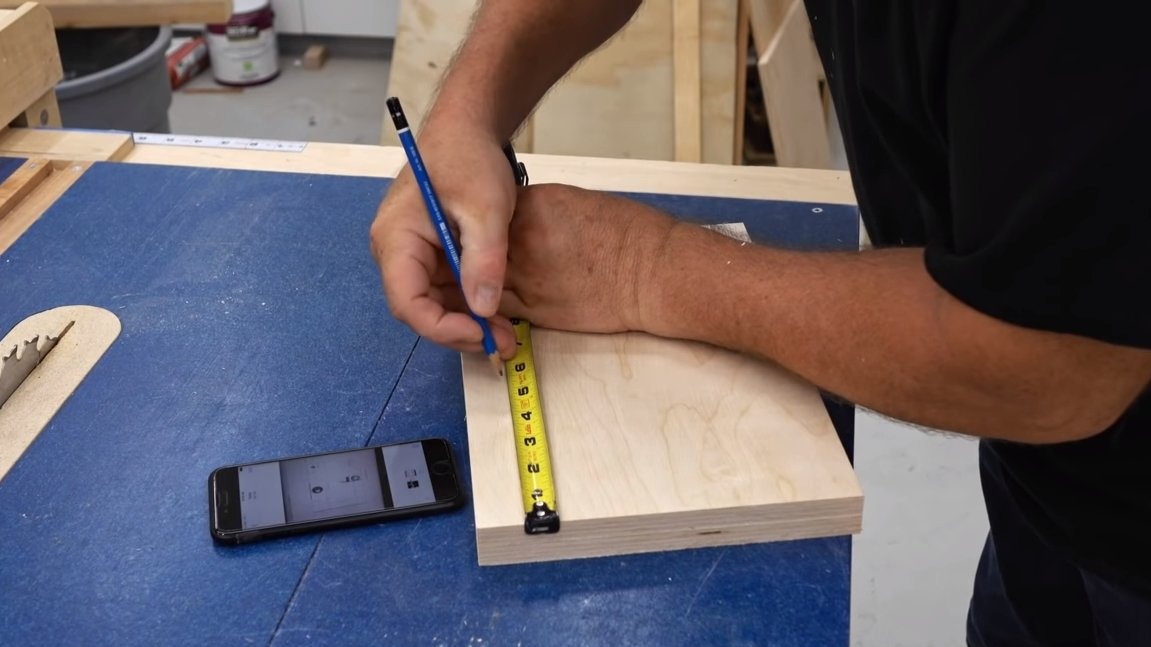
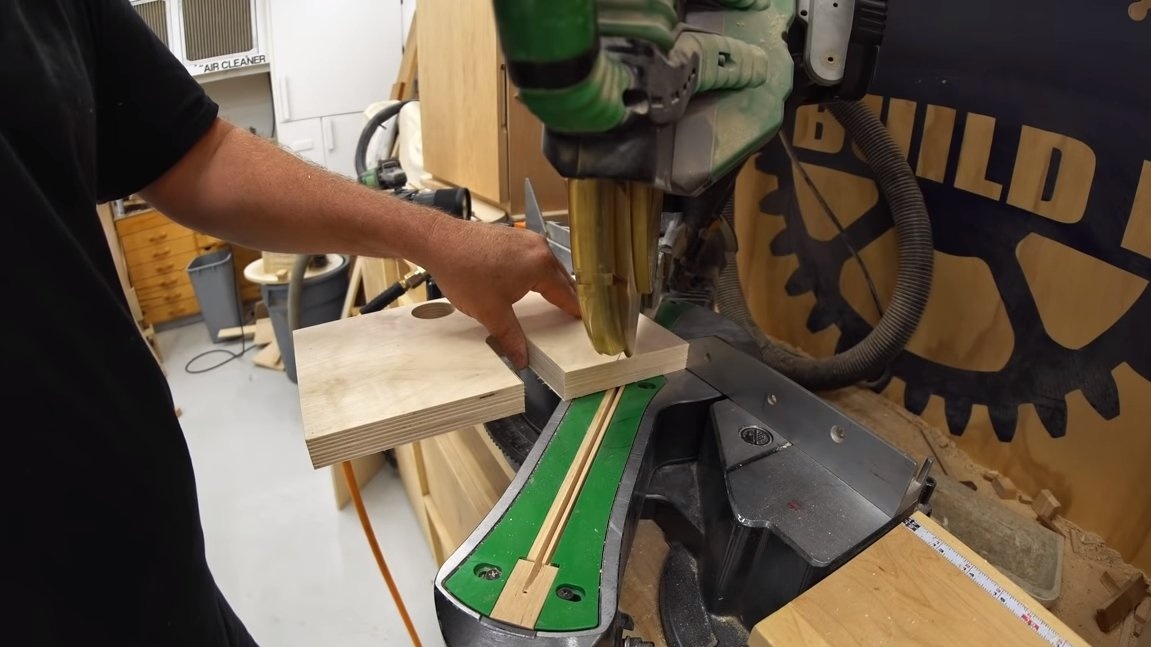
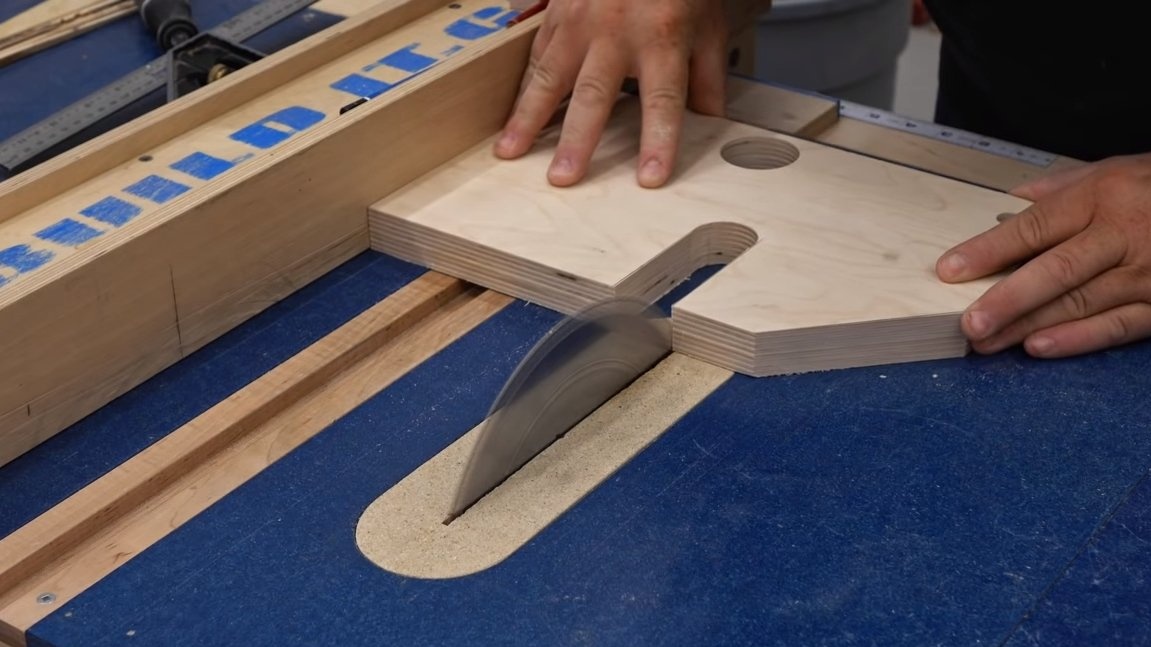
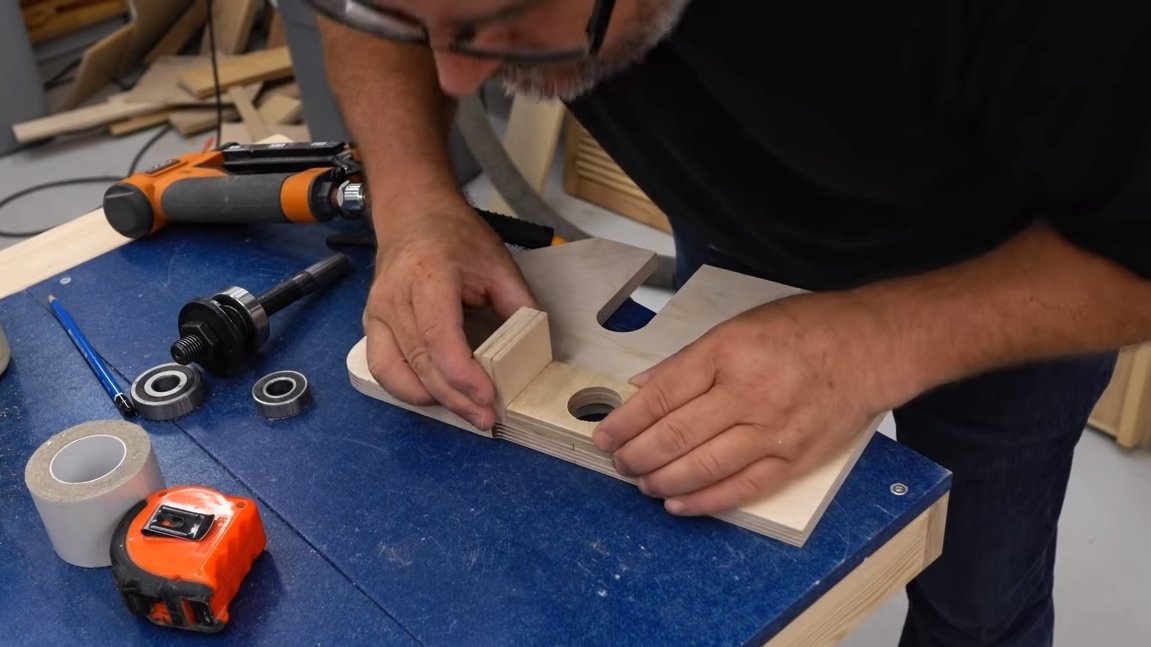
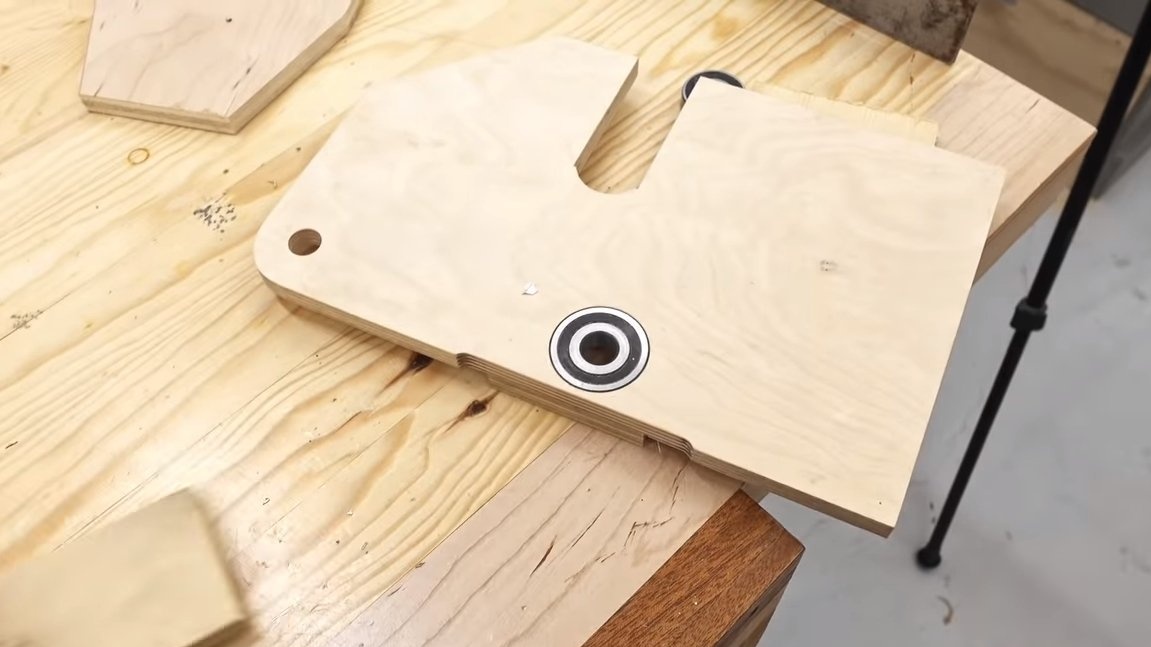
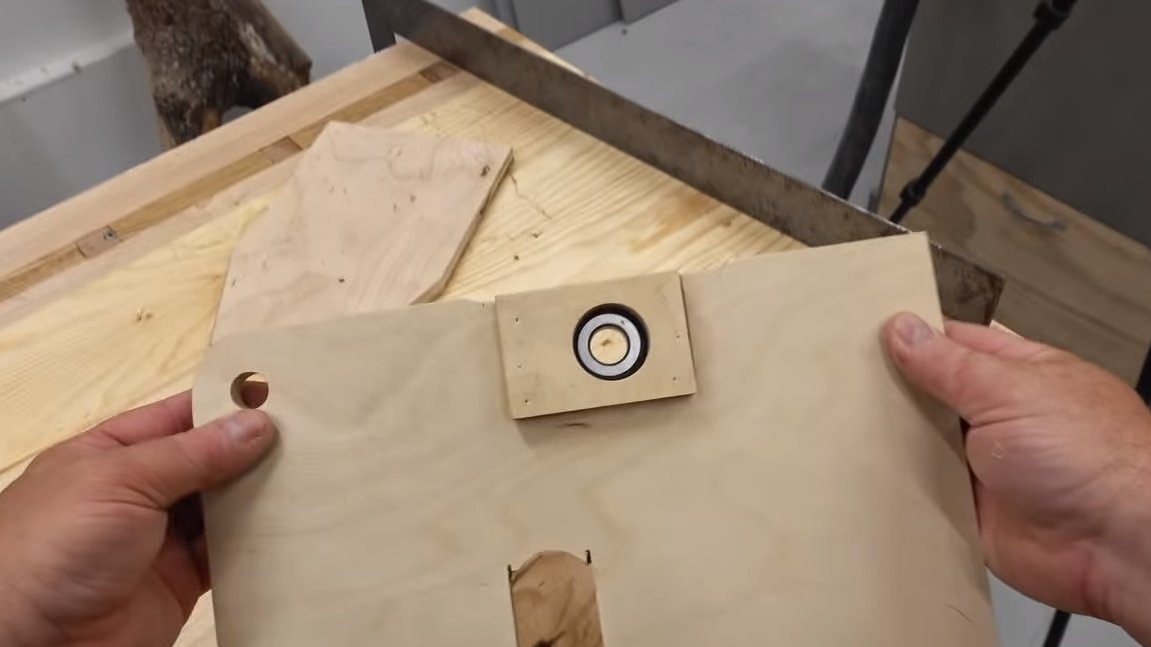
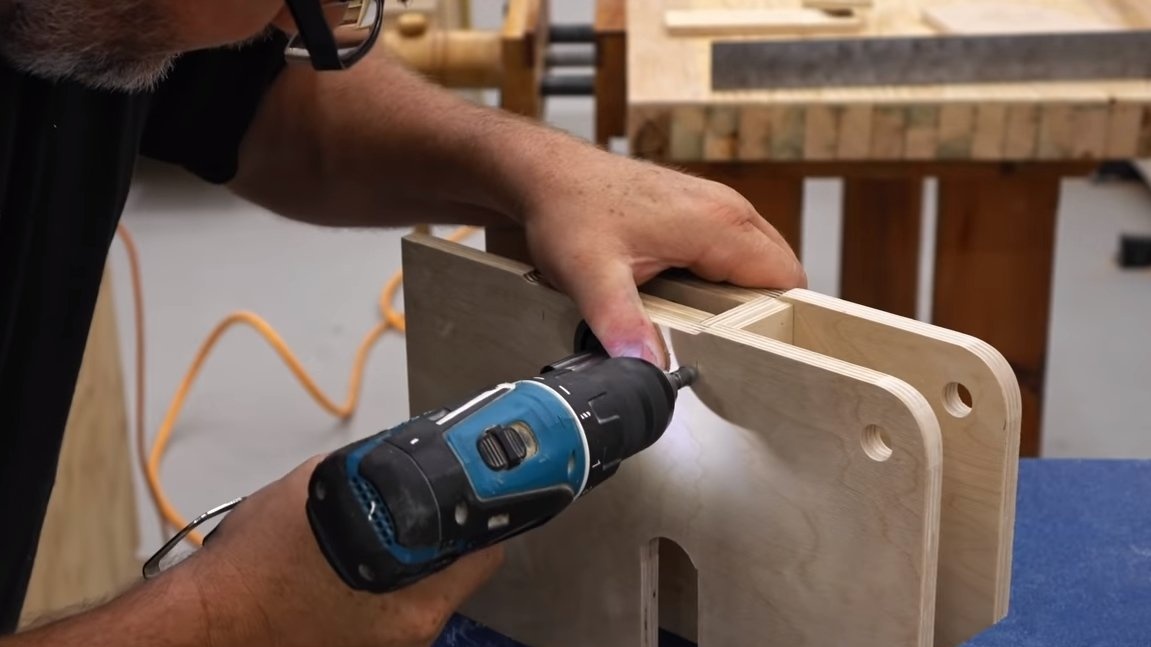
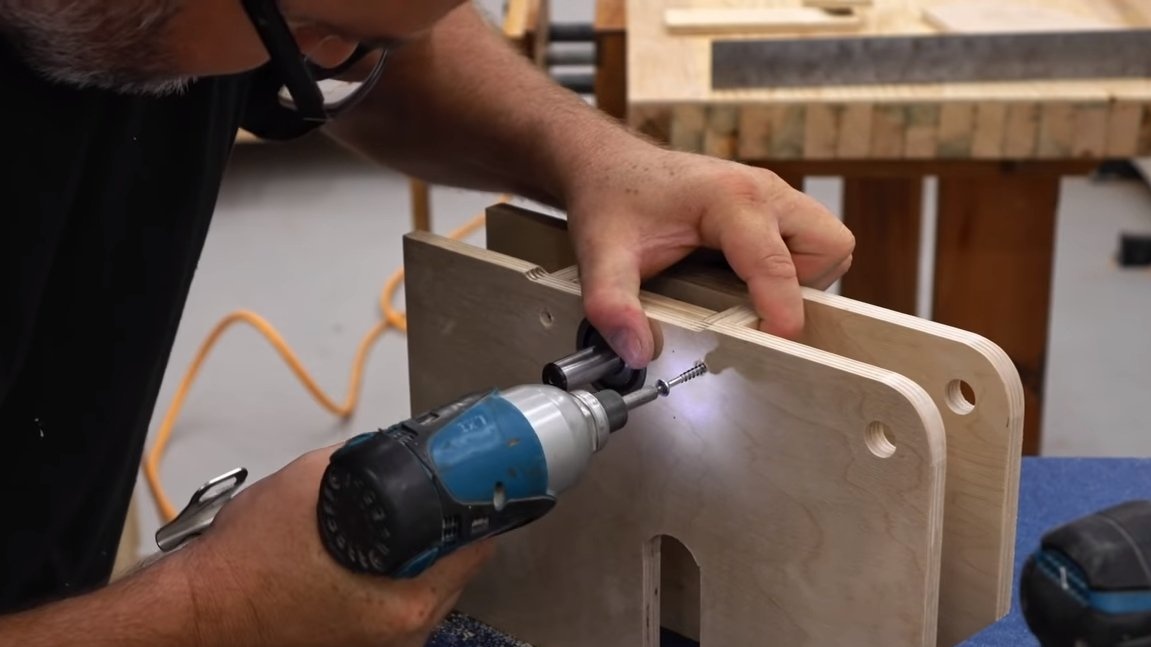
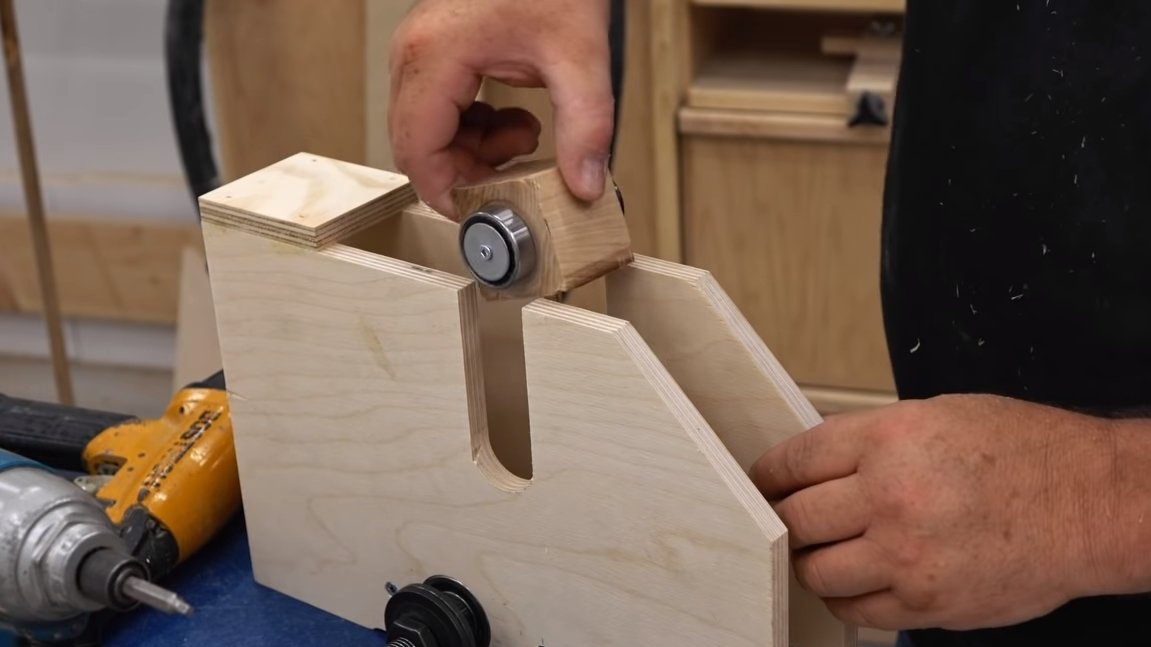
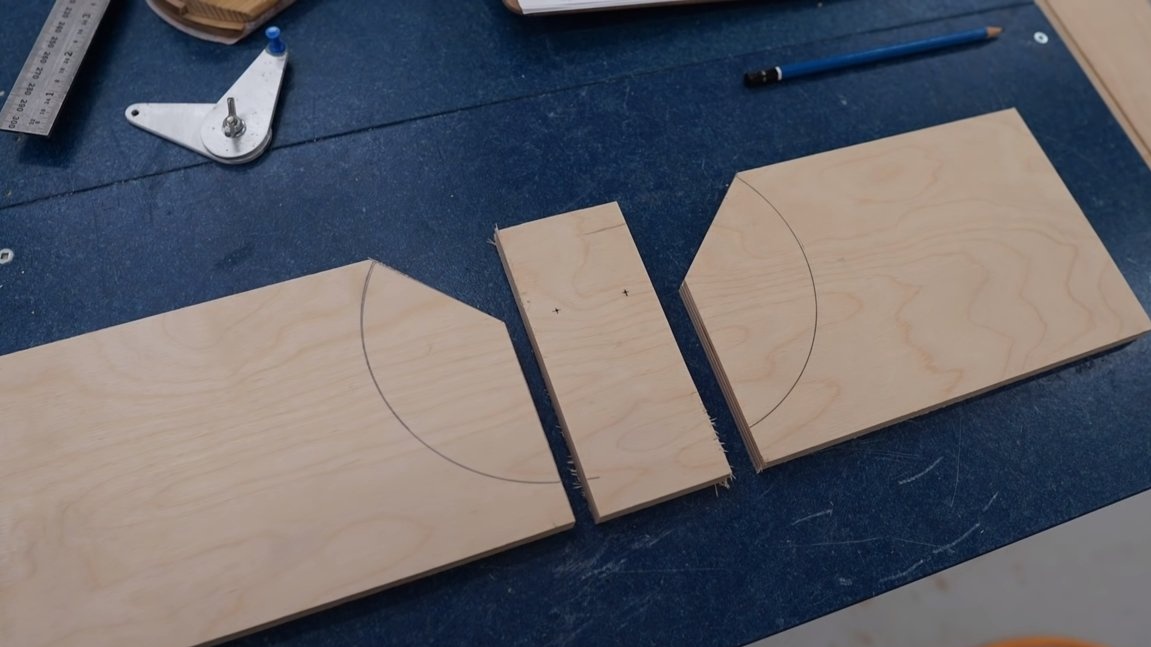
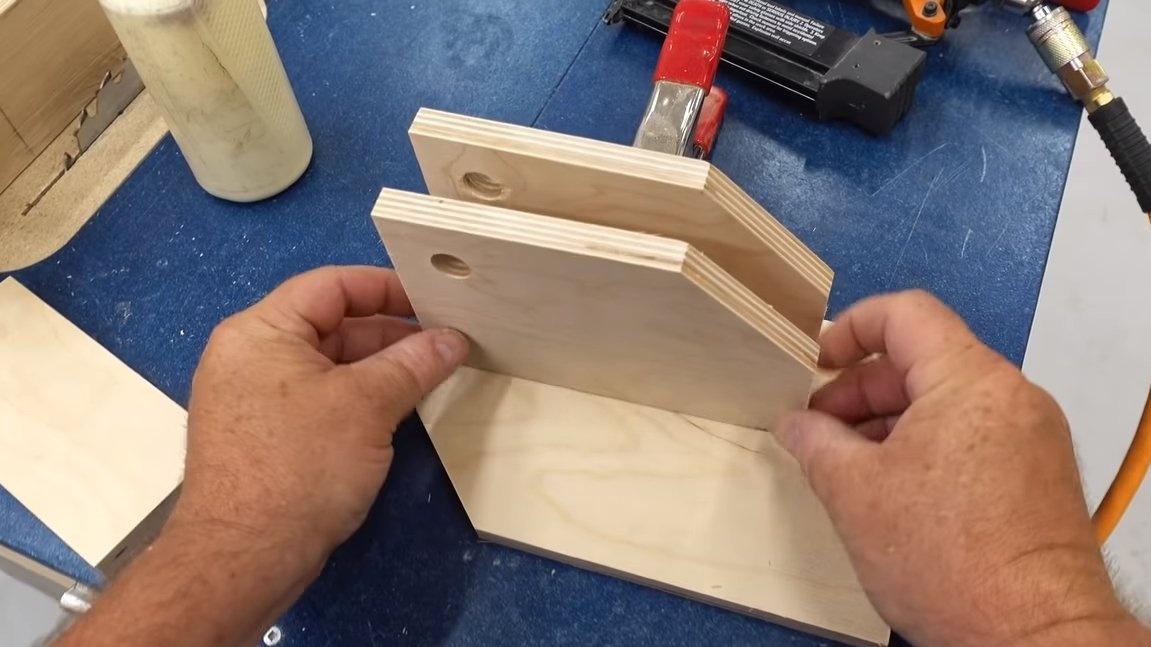
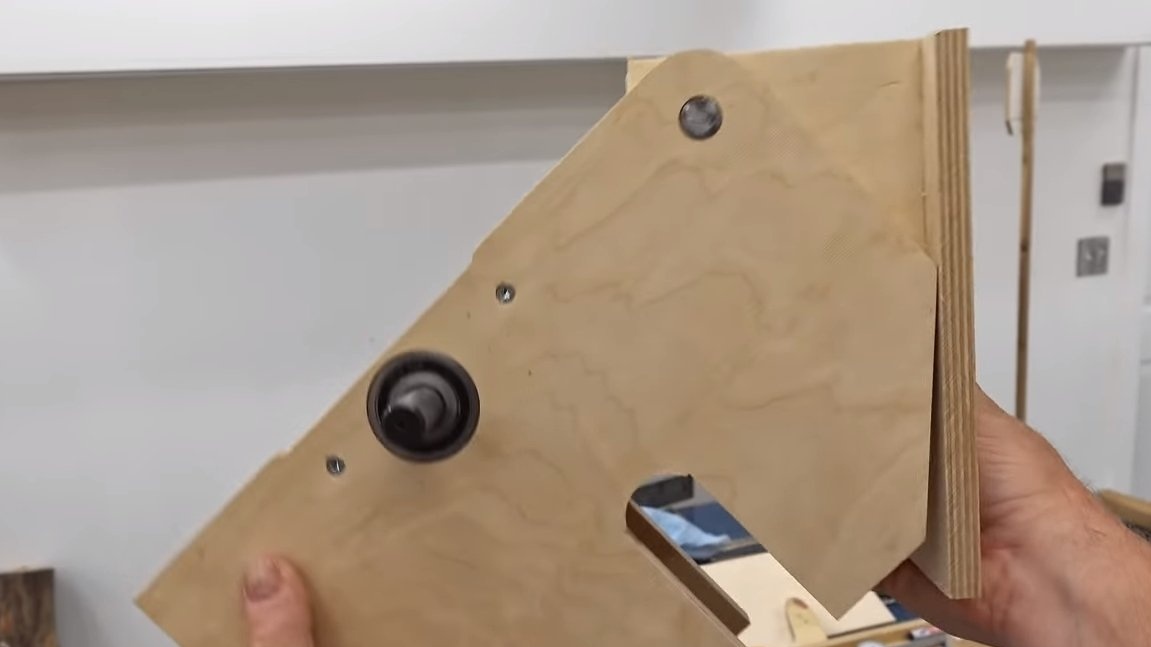
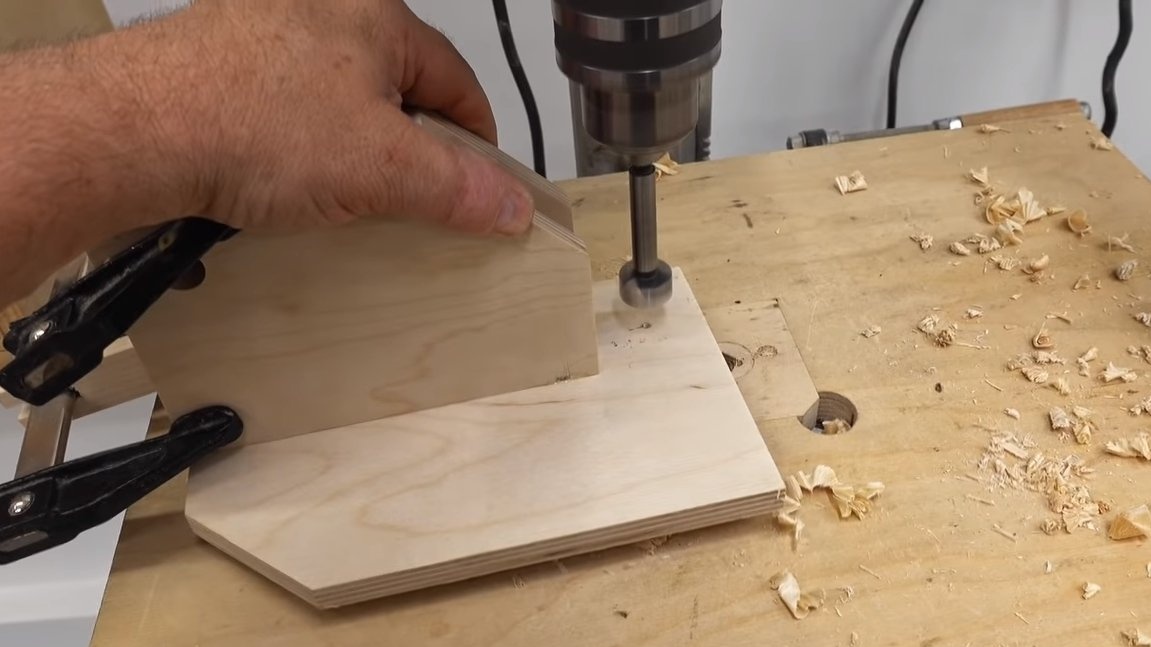
The main unit of the machine can be considered one that is pivotally mounted and on which the working axis of the machine is located. To make this unit, you will need to make two identical parts from plywood, these will be the racks.
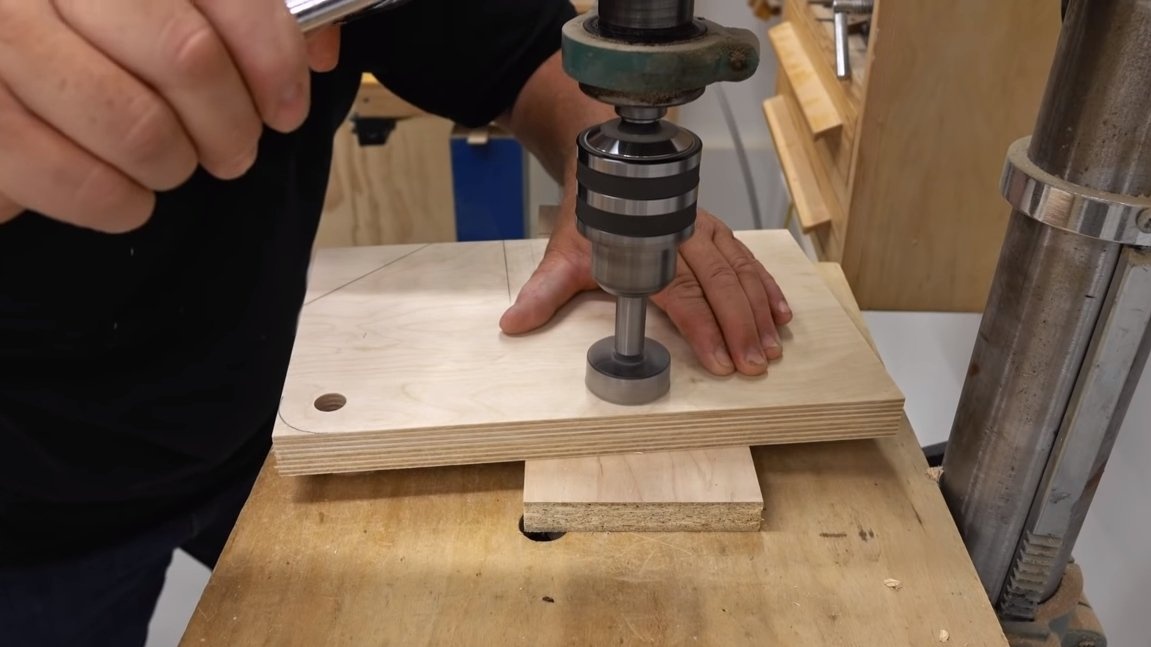
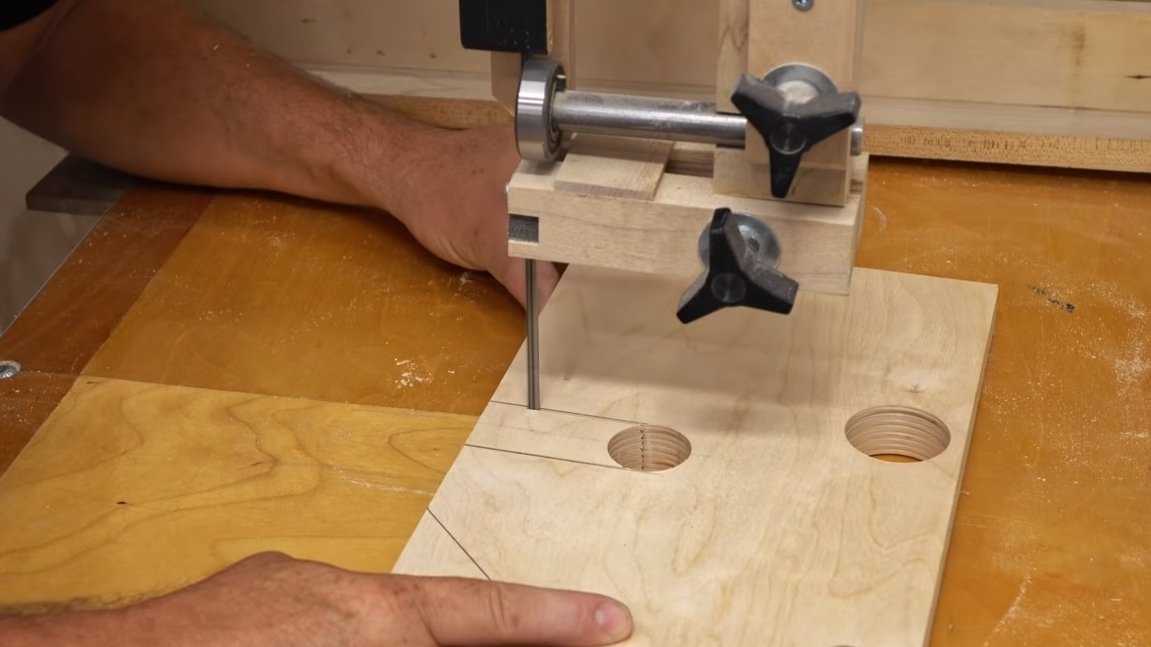
In the drains you can see the oval-shaped cut-out, it serves to install a block that will raise and lower the main assembly.
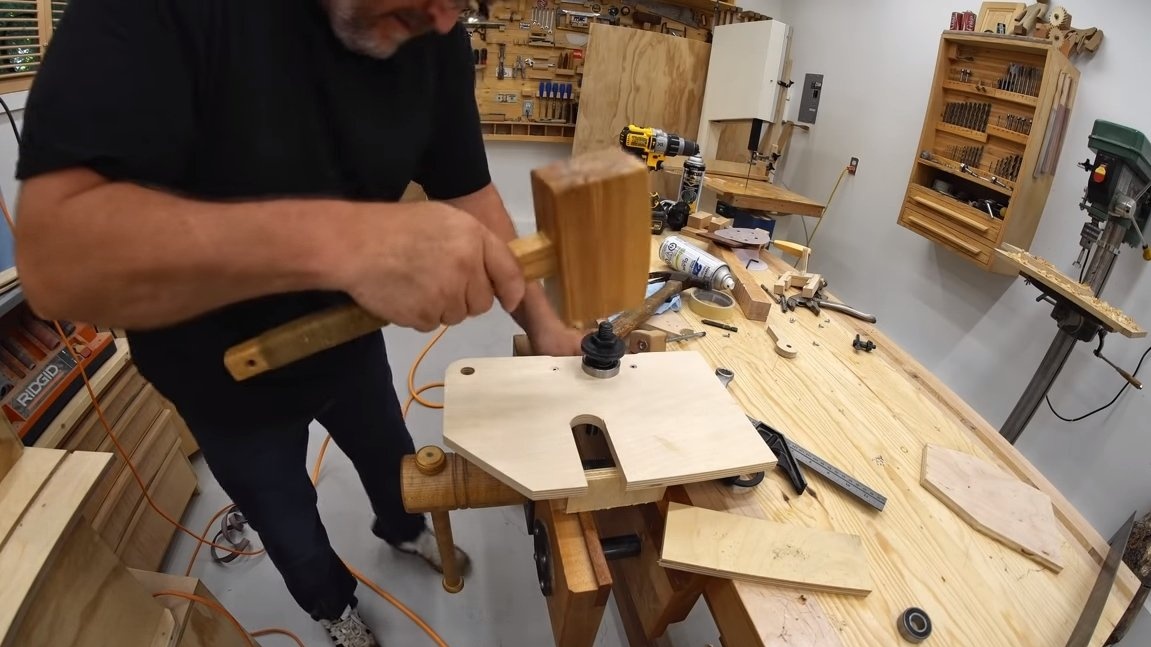
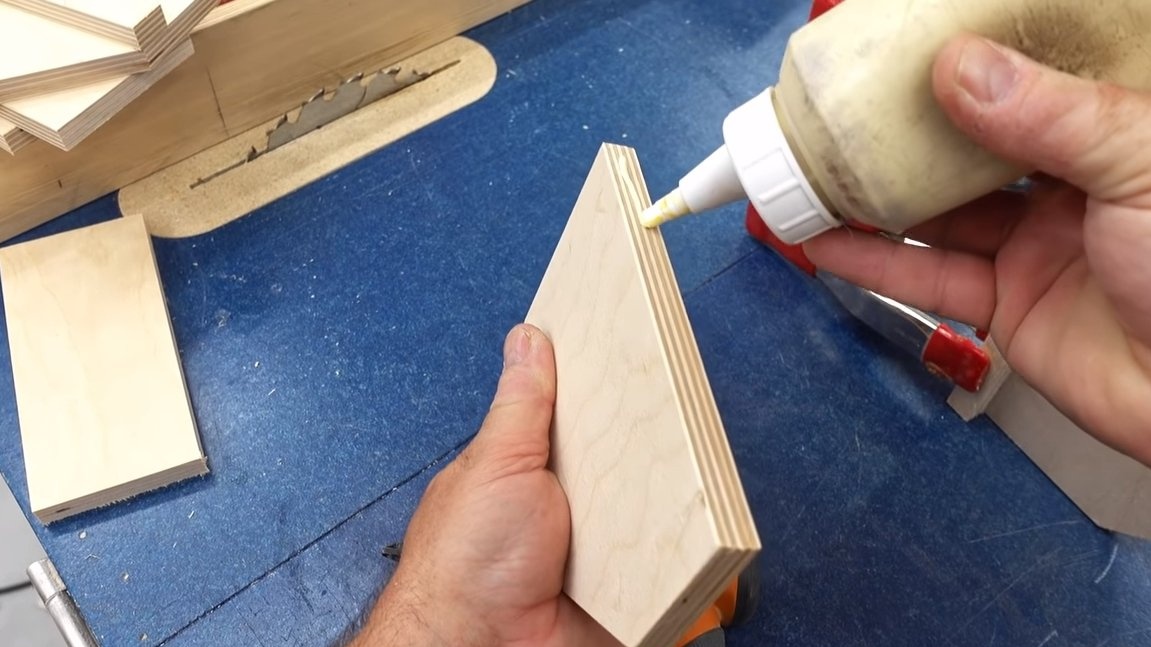
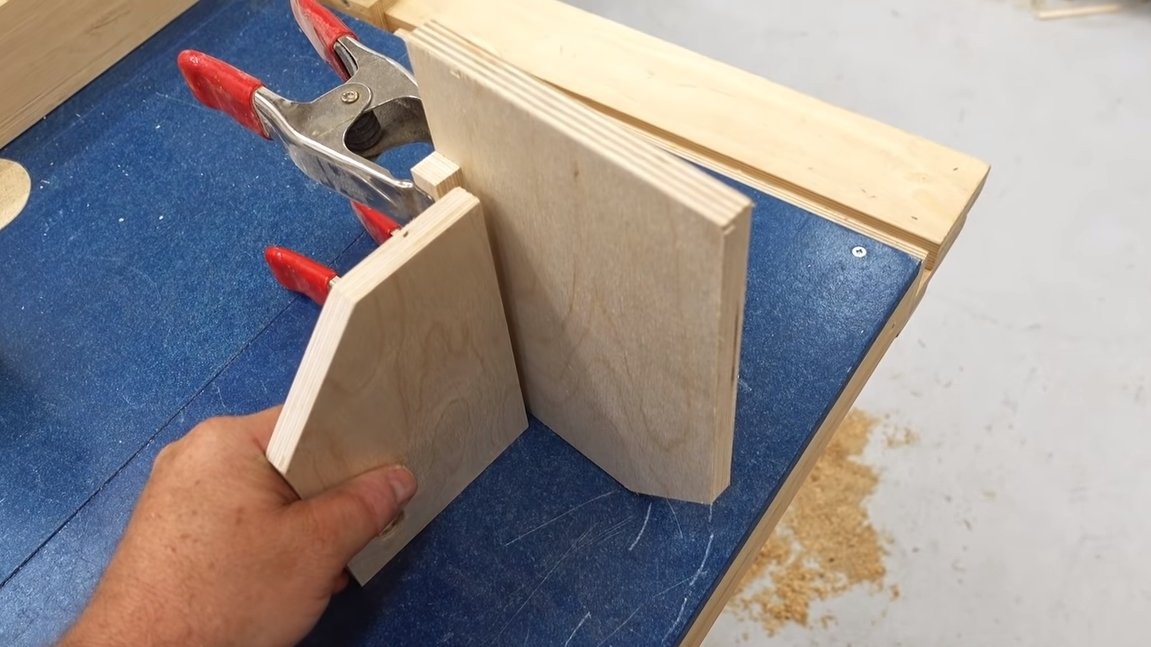
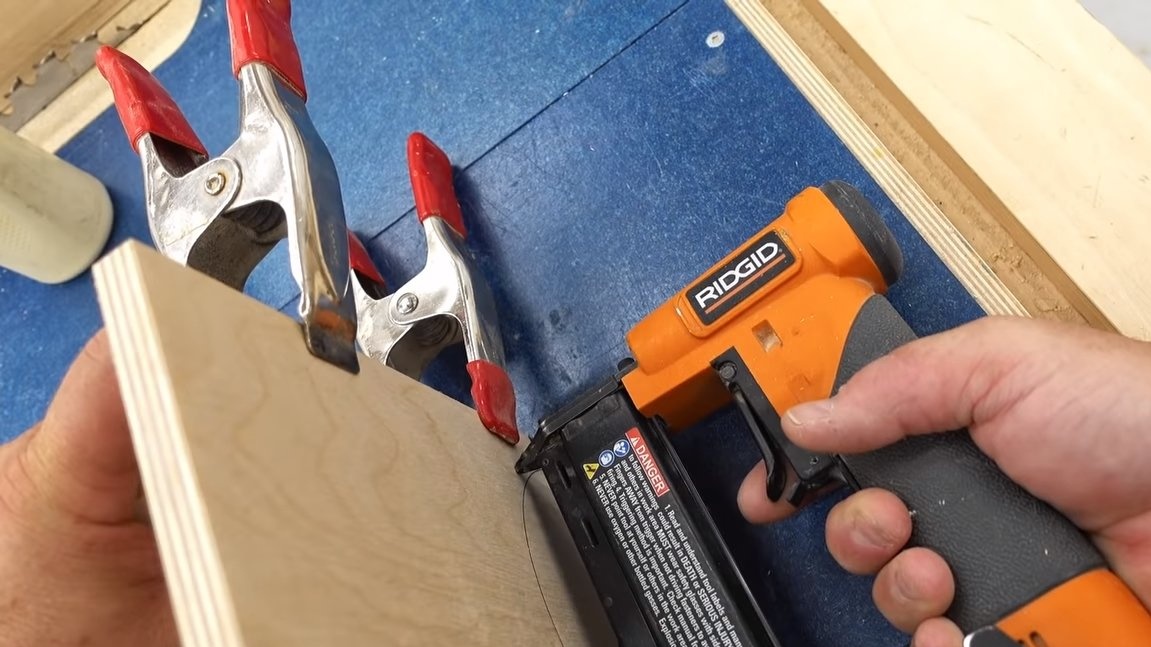
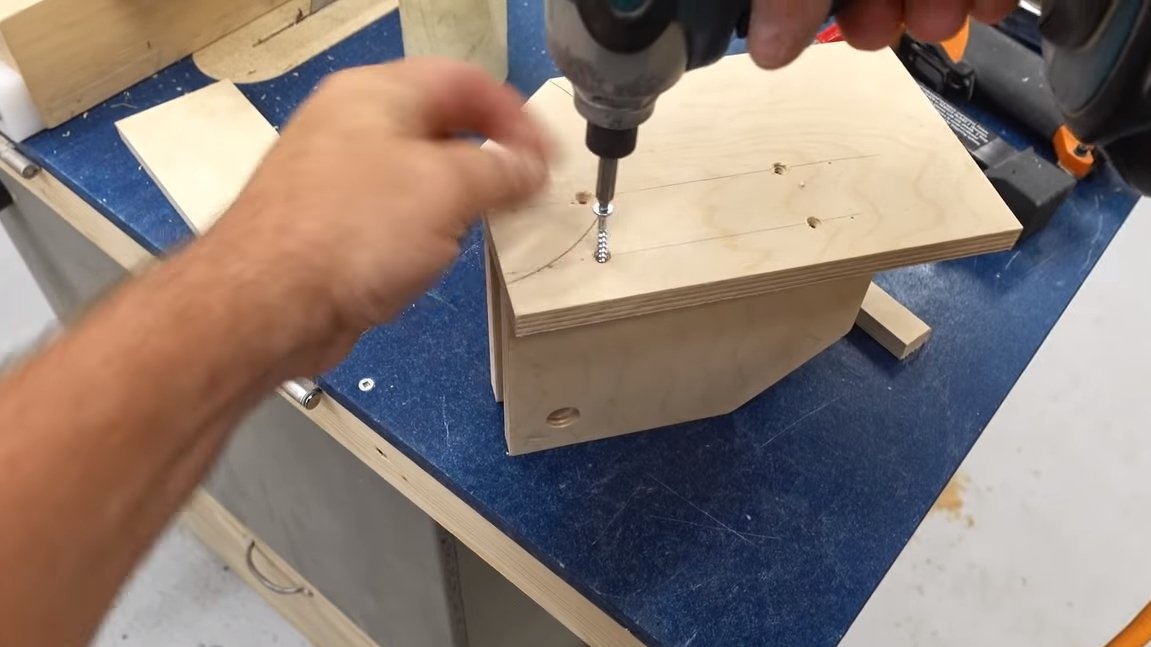
Also in the details you need to drill holes and install two bearings. We reinforce the bearing seats with additional plywood inserts. At the end, we cut the spacers from two glued layers of plywood and twist the whole structure on the glue with self-tapping screws, not forgetting to install the working axis.
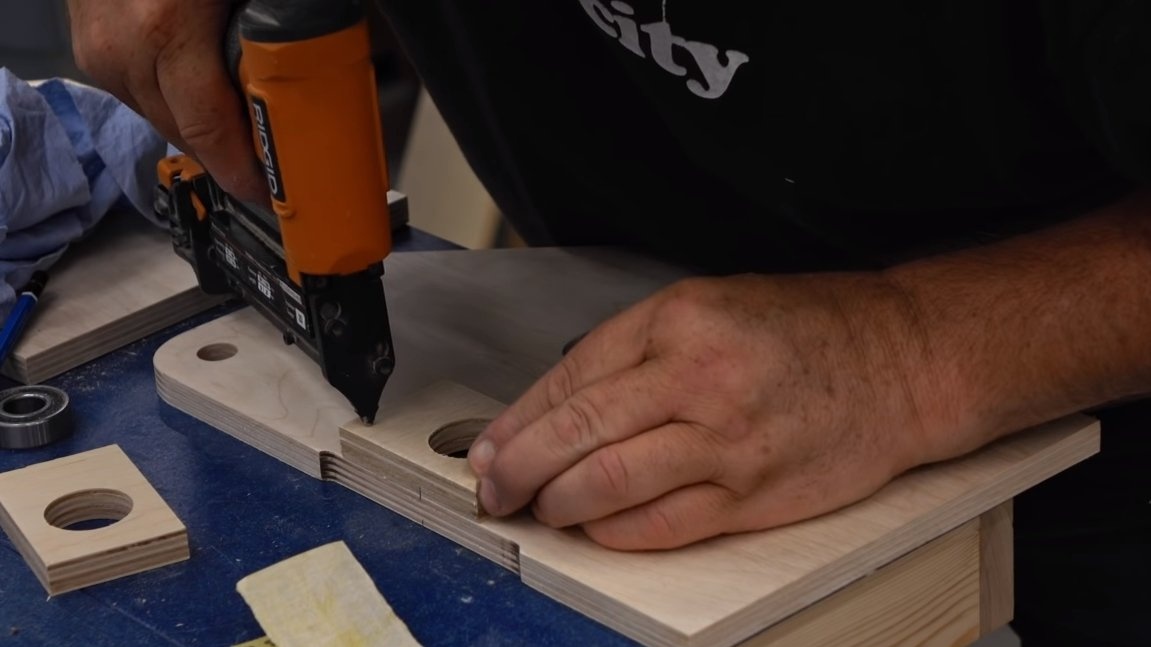
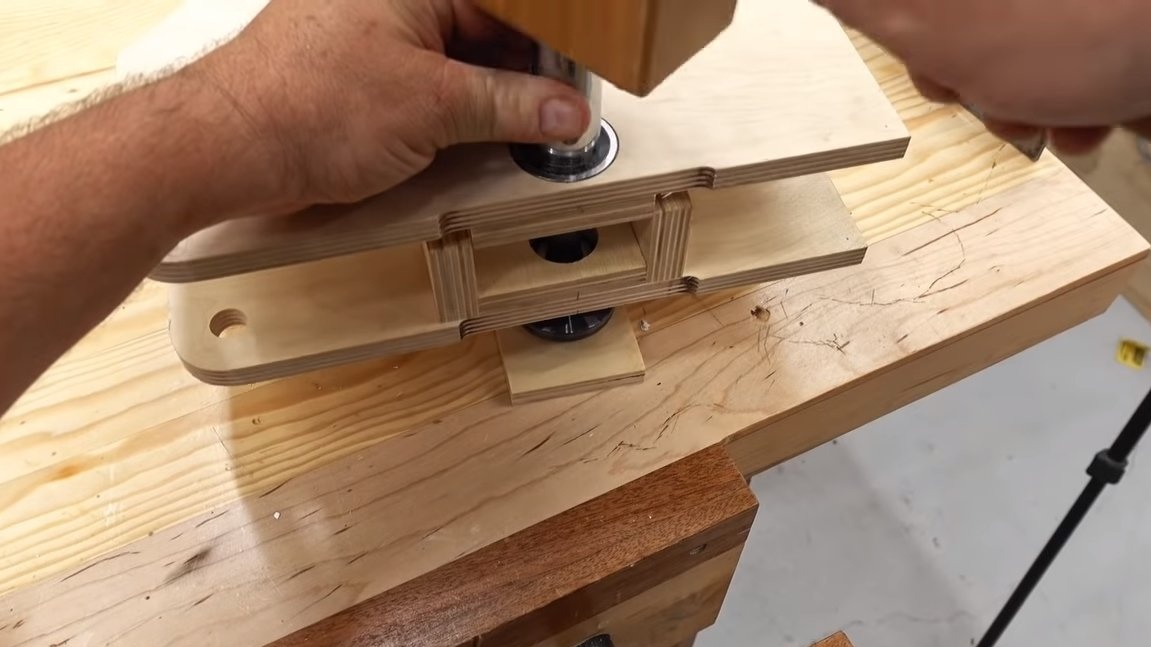
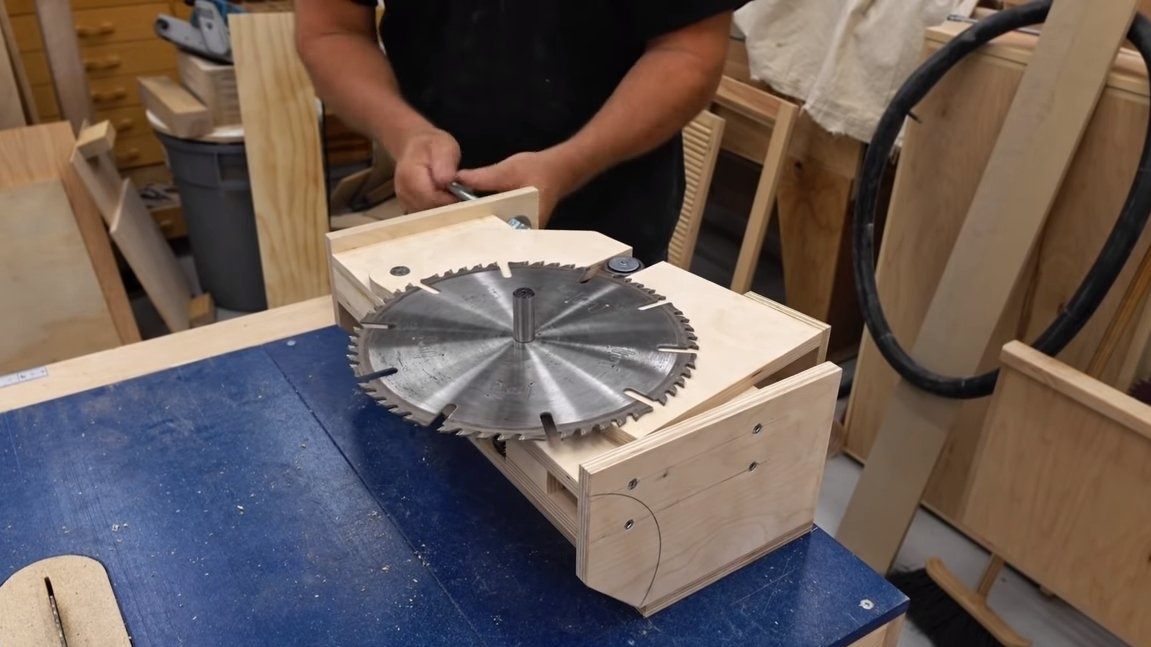
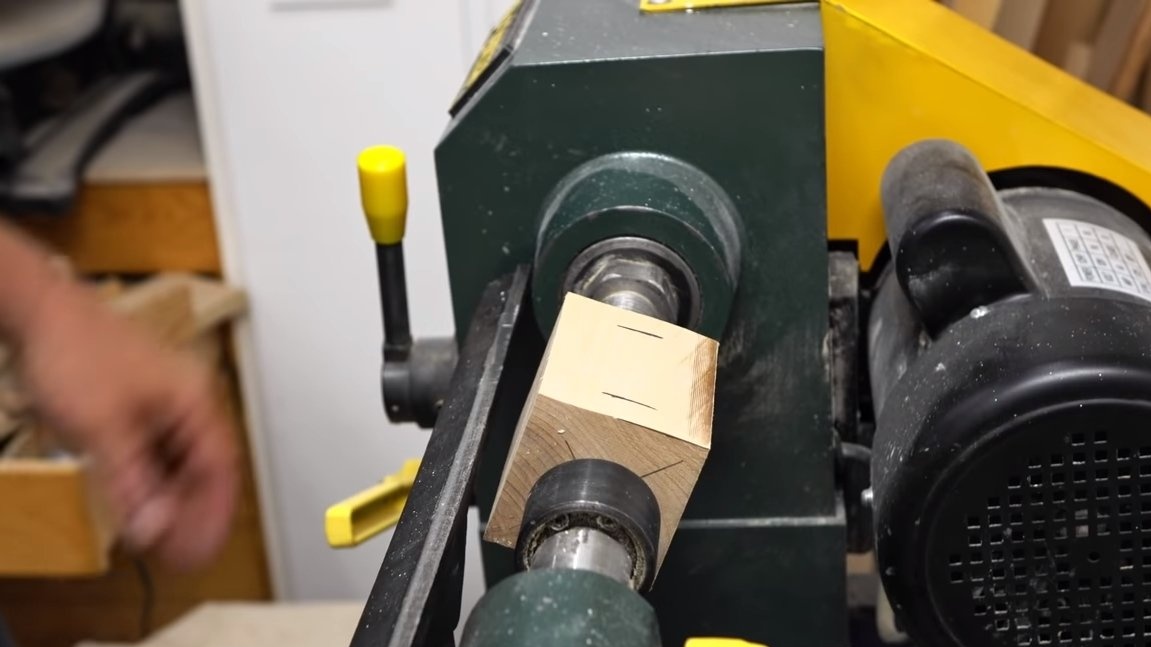
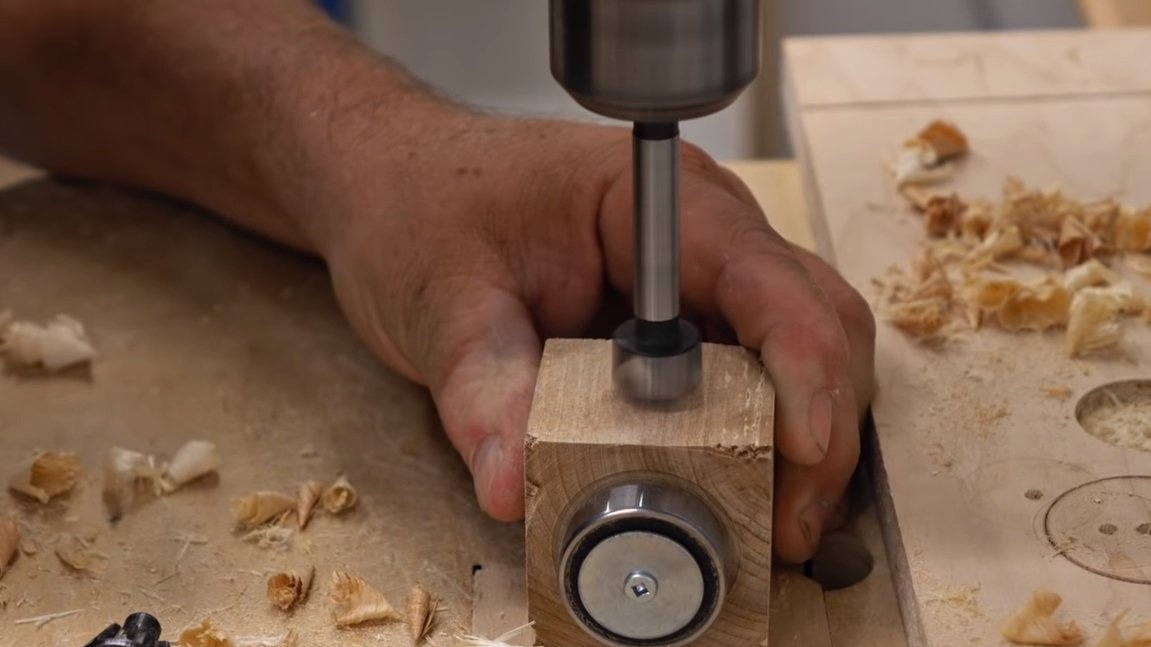
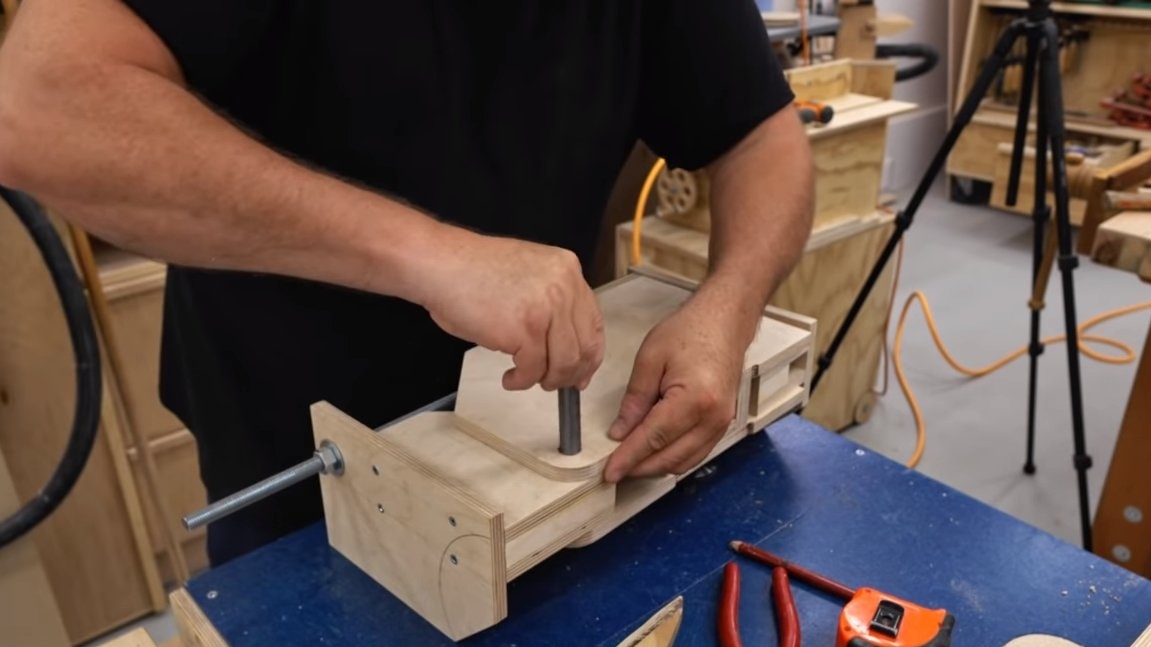
Step Two Lifting block
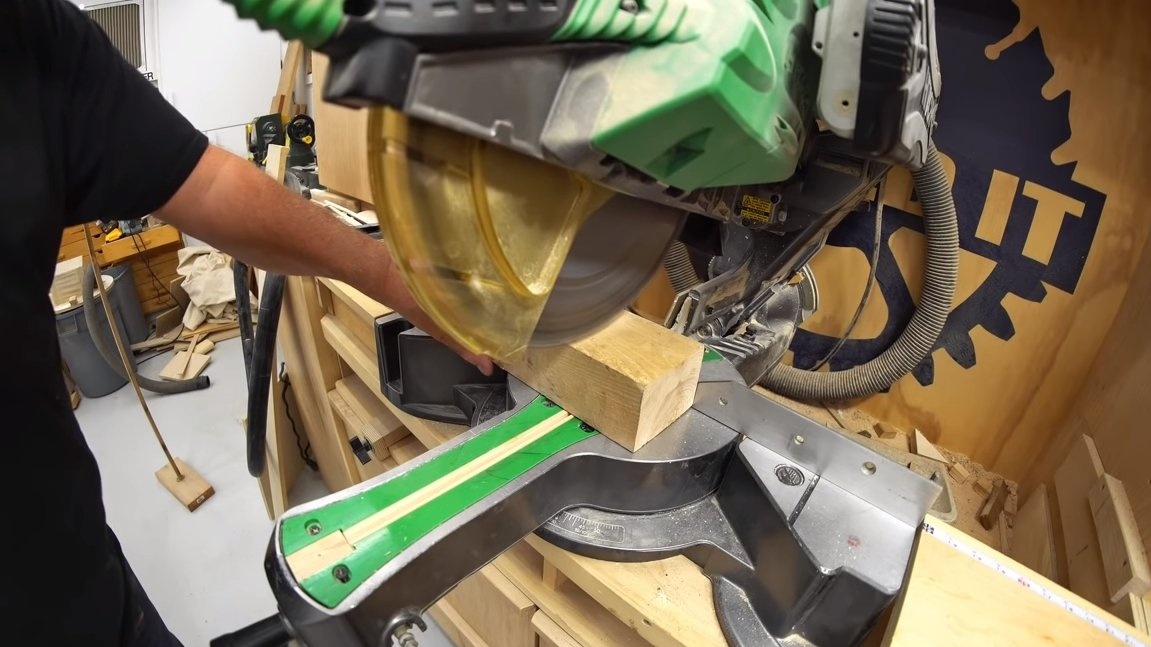
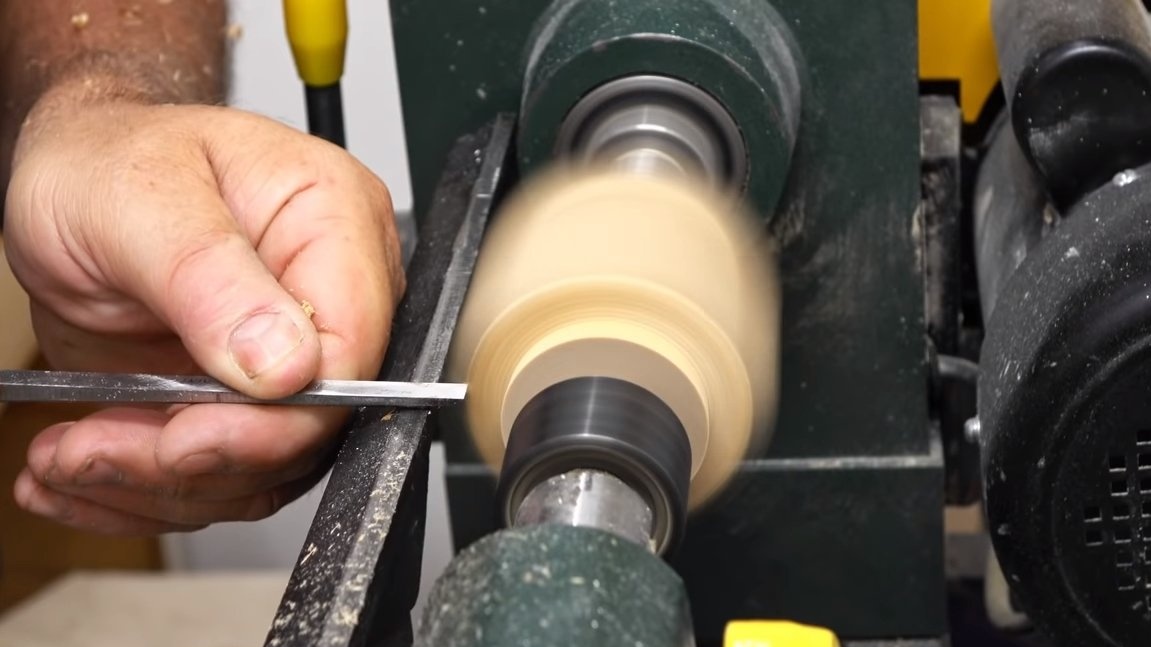
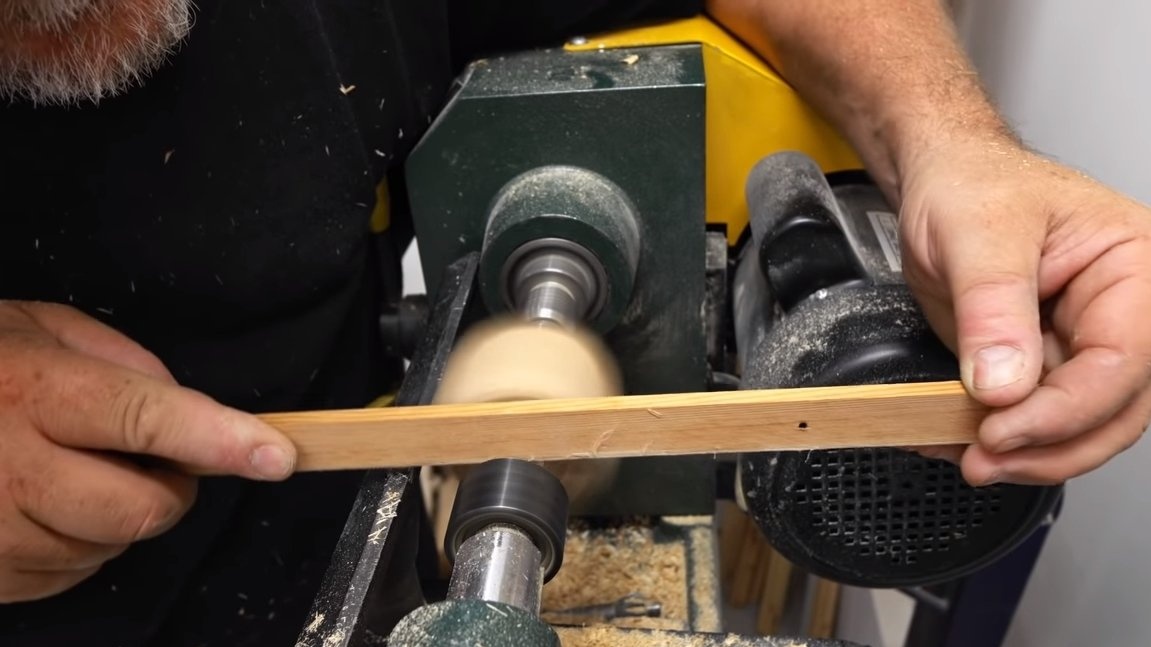
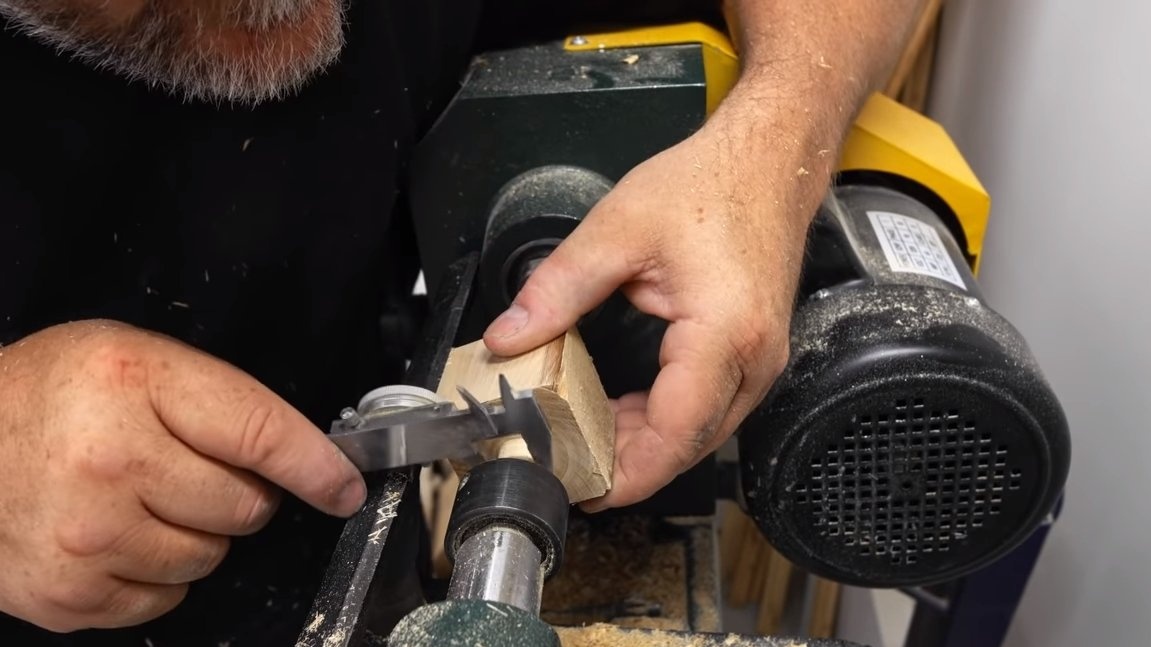
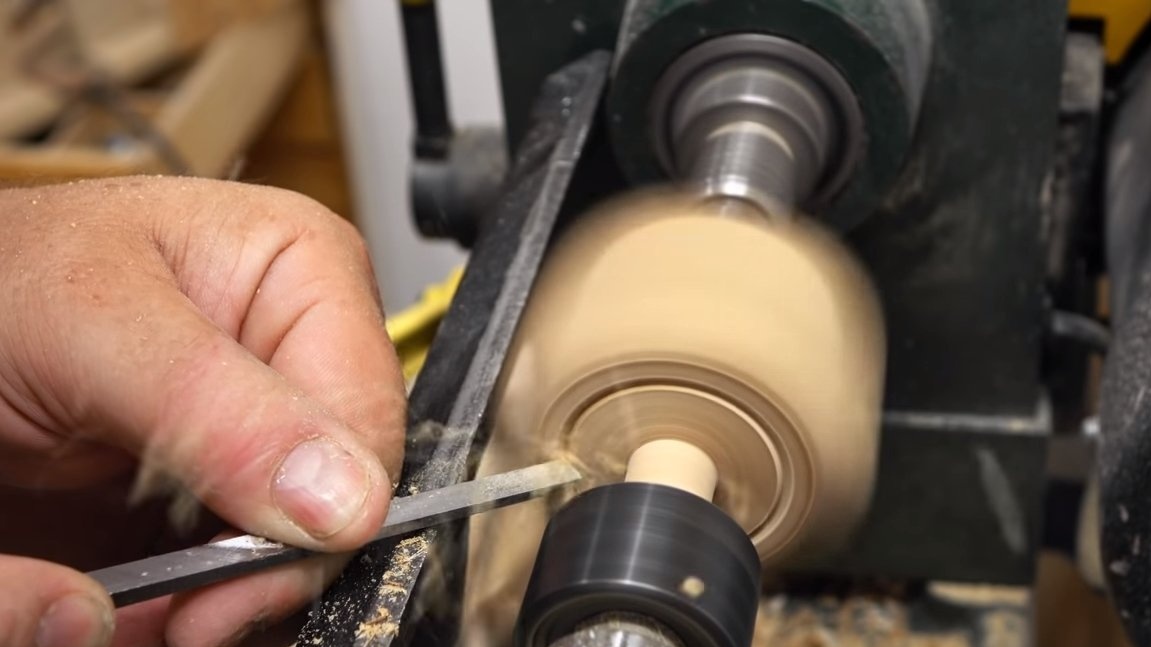
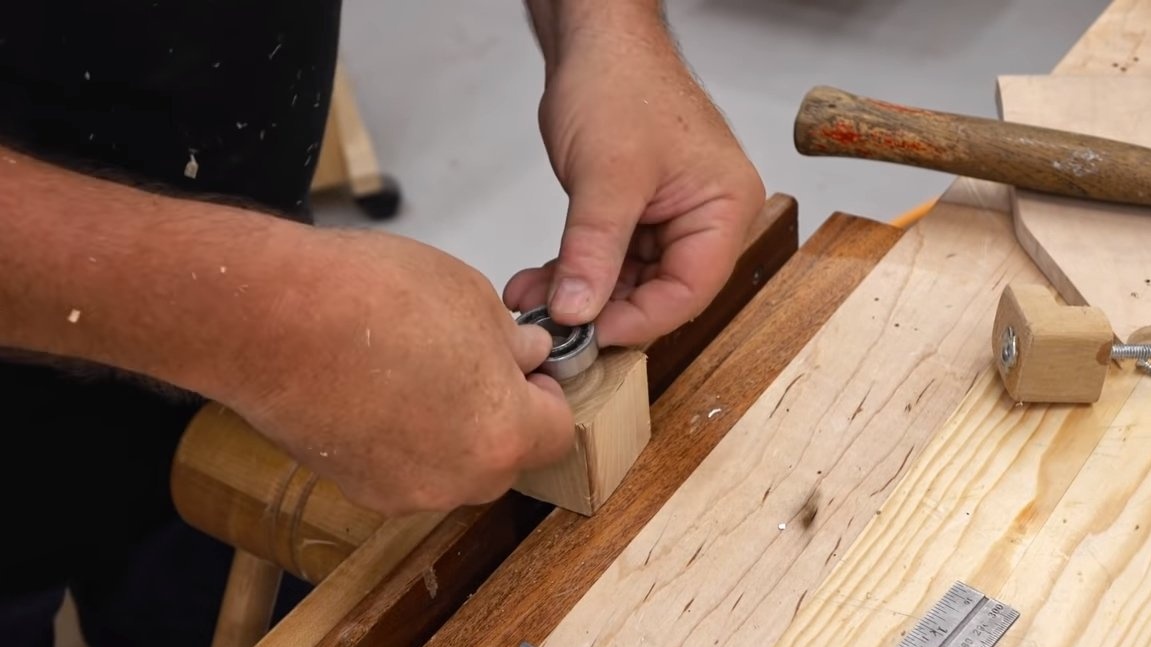
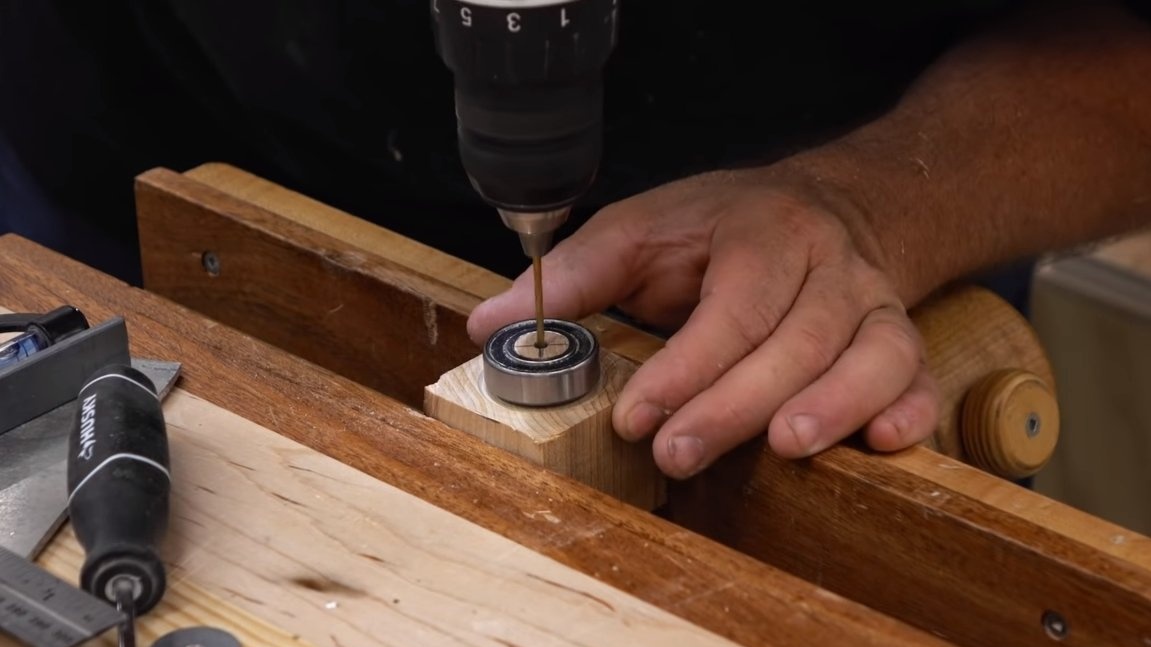
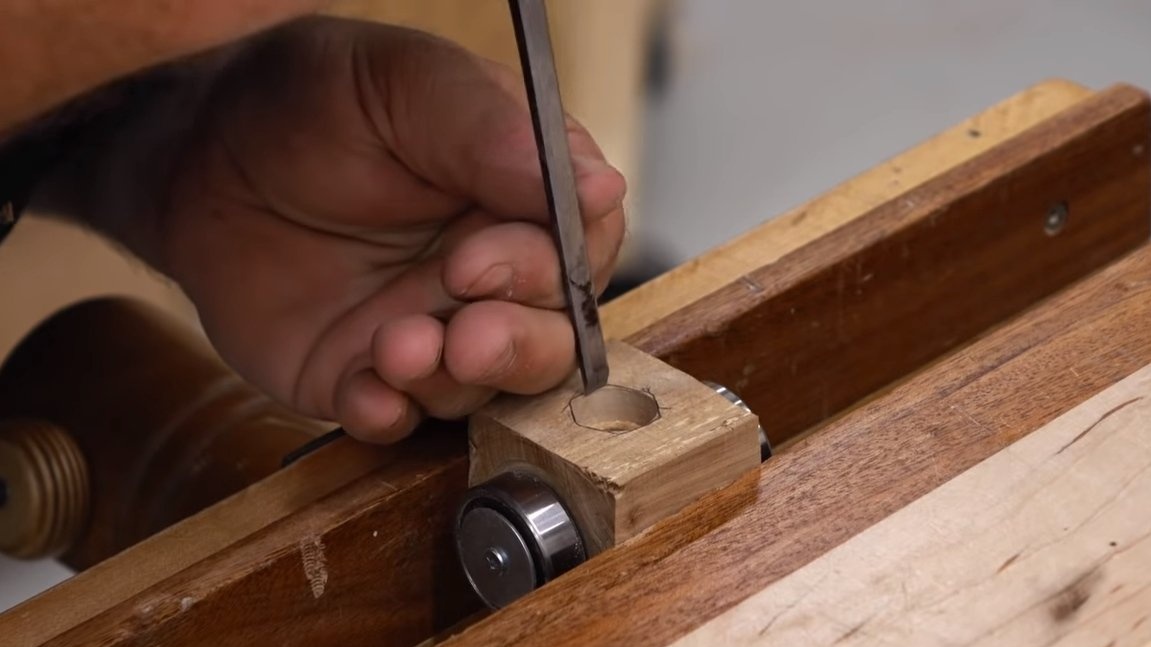
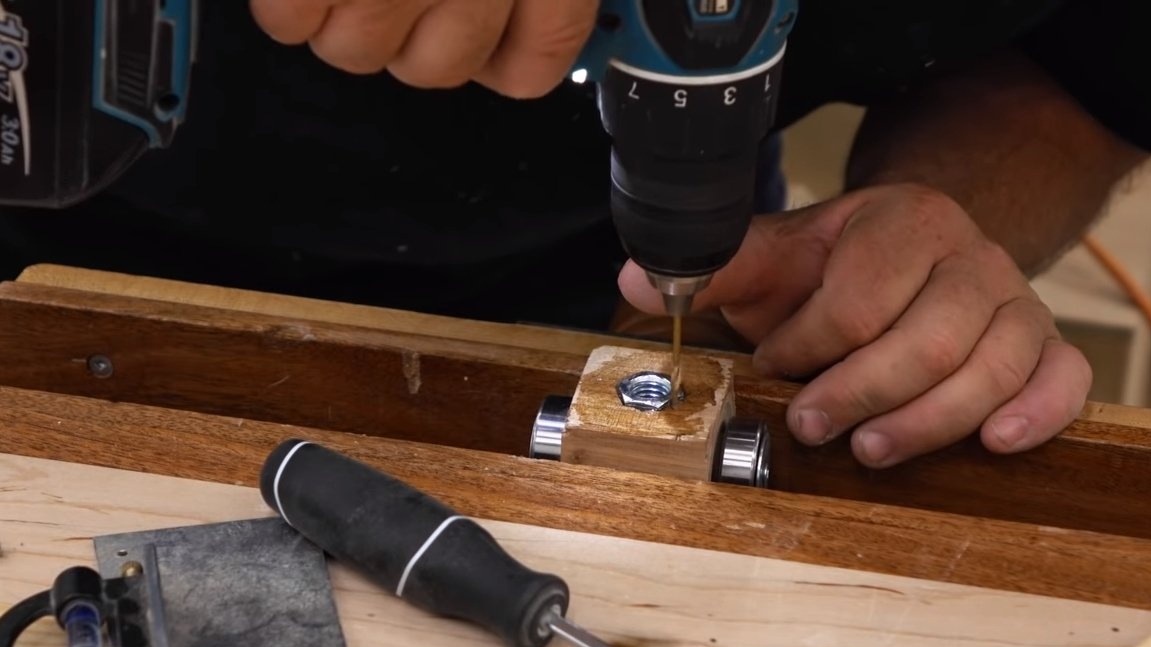
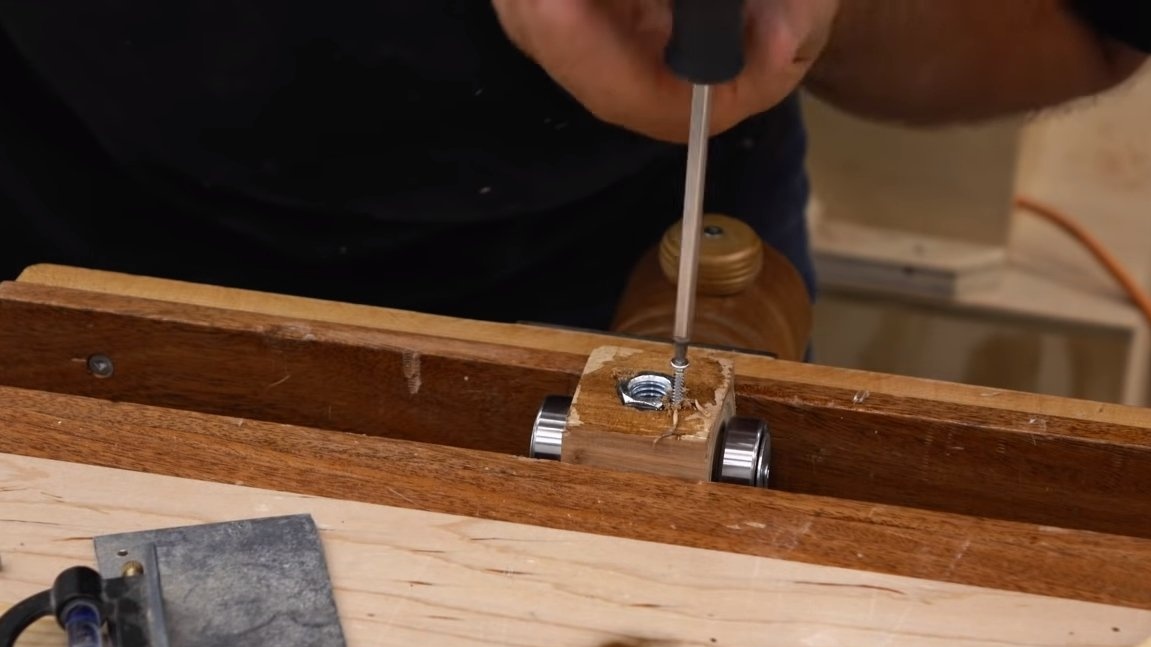
Let's make a block that will raise and lower the entire structure. To do this, we need a wooden block, it needs to be processed on a lathe. The result should be a rectangle or a cube with two axes from a tree. We install bearings on these axes. To mount the bearings, the author uses washers and self-tapping screws.
In addition, we drill a hole through the entire block, and also cut the slots and glue the nut into which the threaded rod will be screwed. Additionally fix the nut with screws.

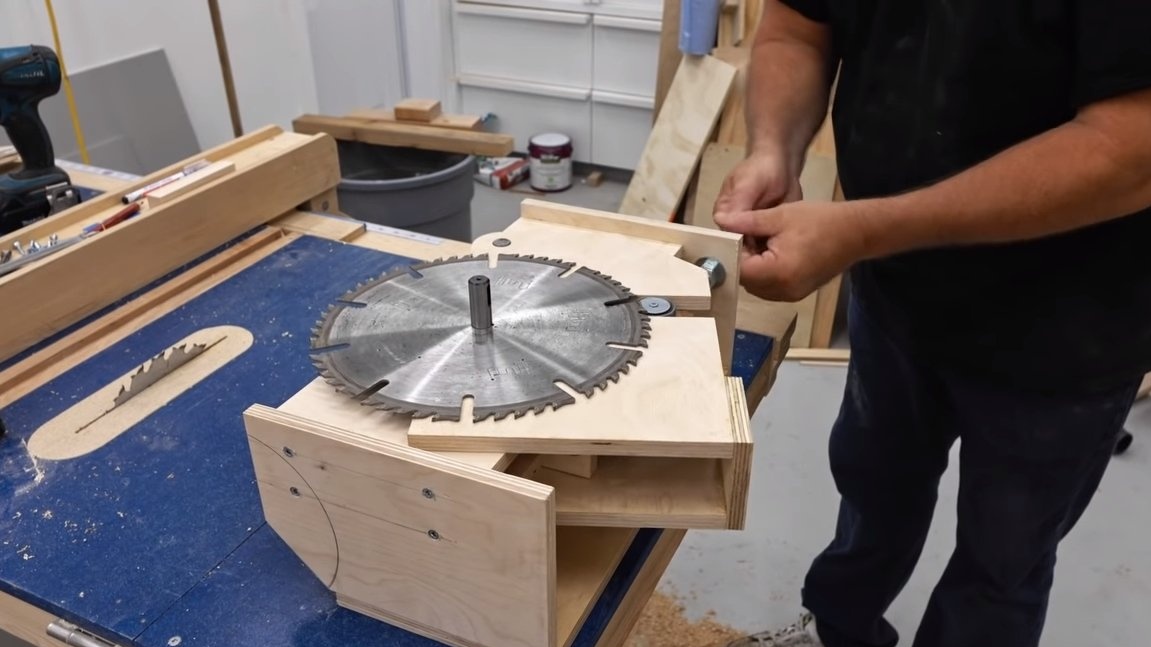
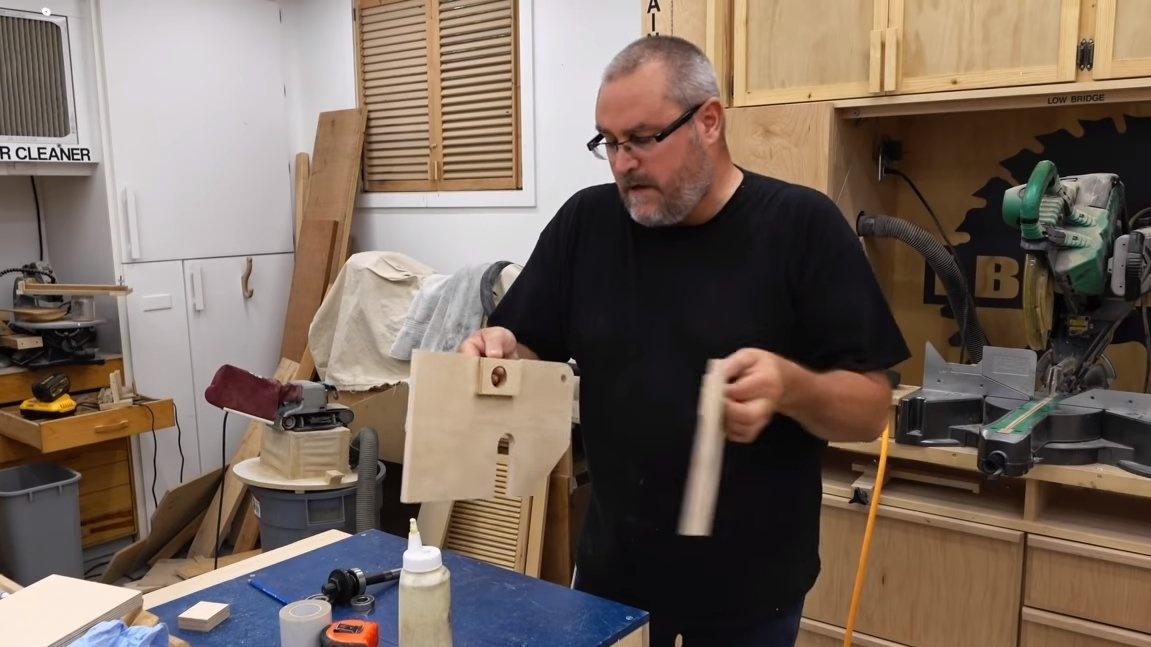
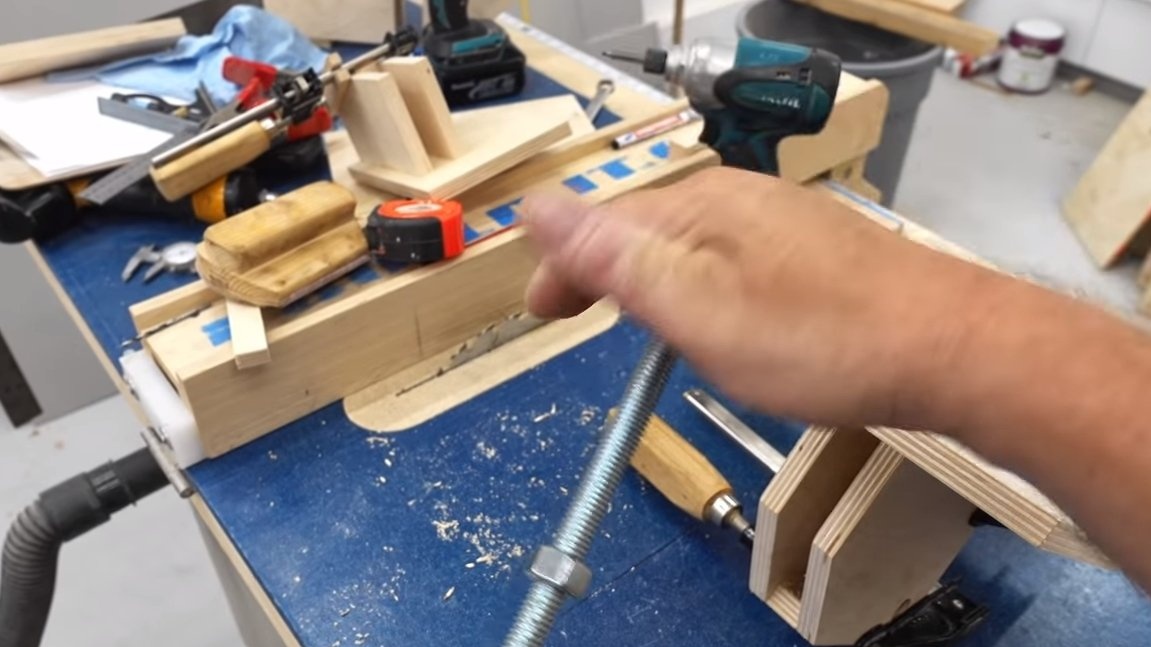
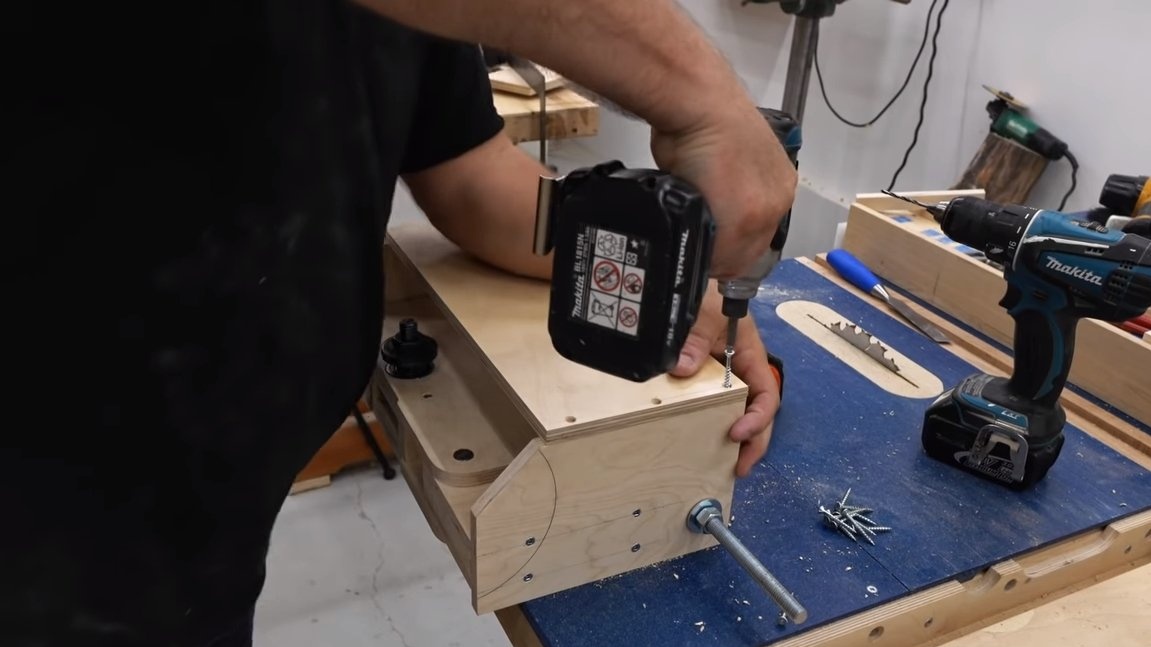
Step Three Frame and assembly
For the hinge assembly, we make two posts from plywood; the author used a round timber as an axis. We also assemble a frame for homemade plywood, tighten everything well with self-tapping screws and do not forget to use carpentry glue.
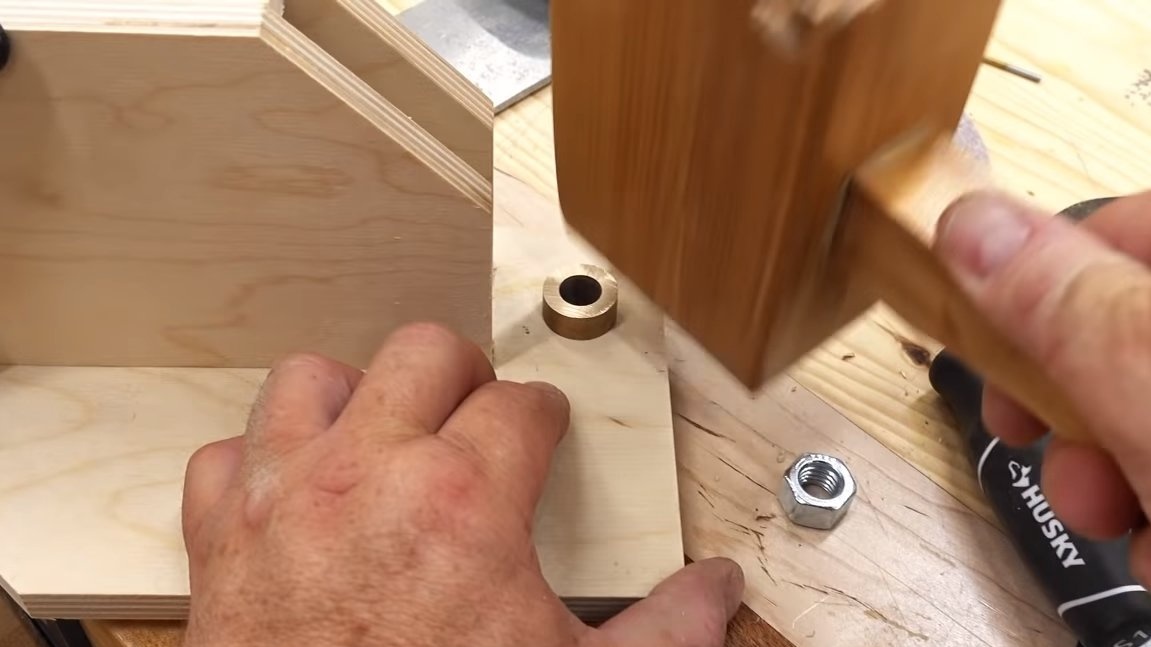

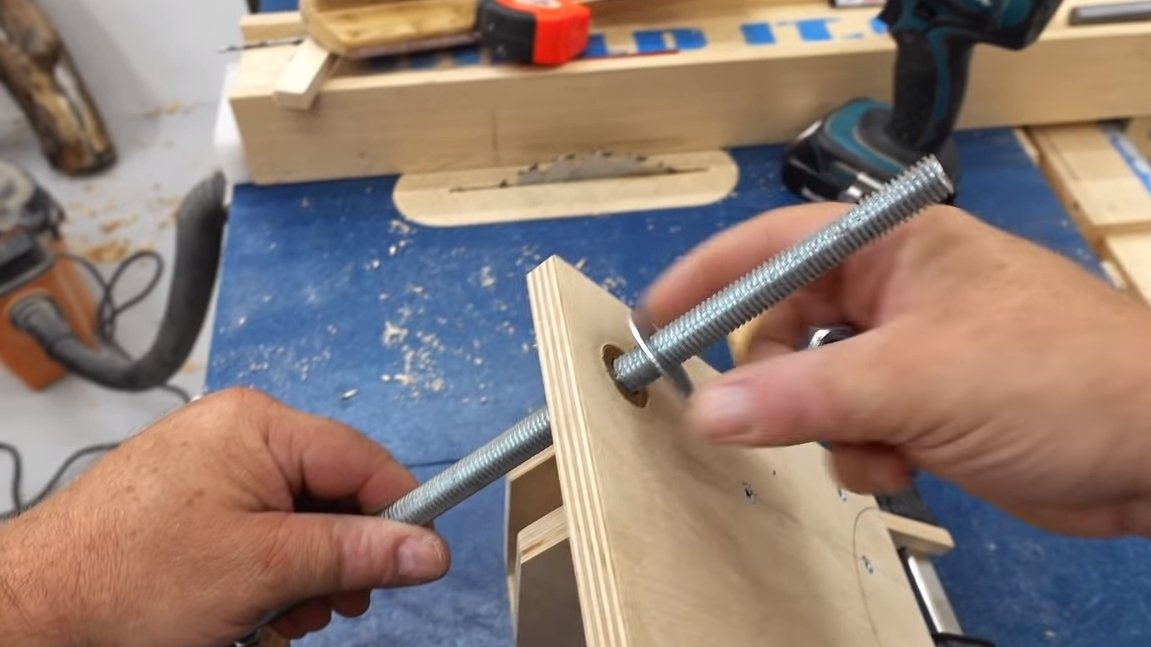

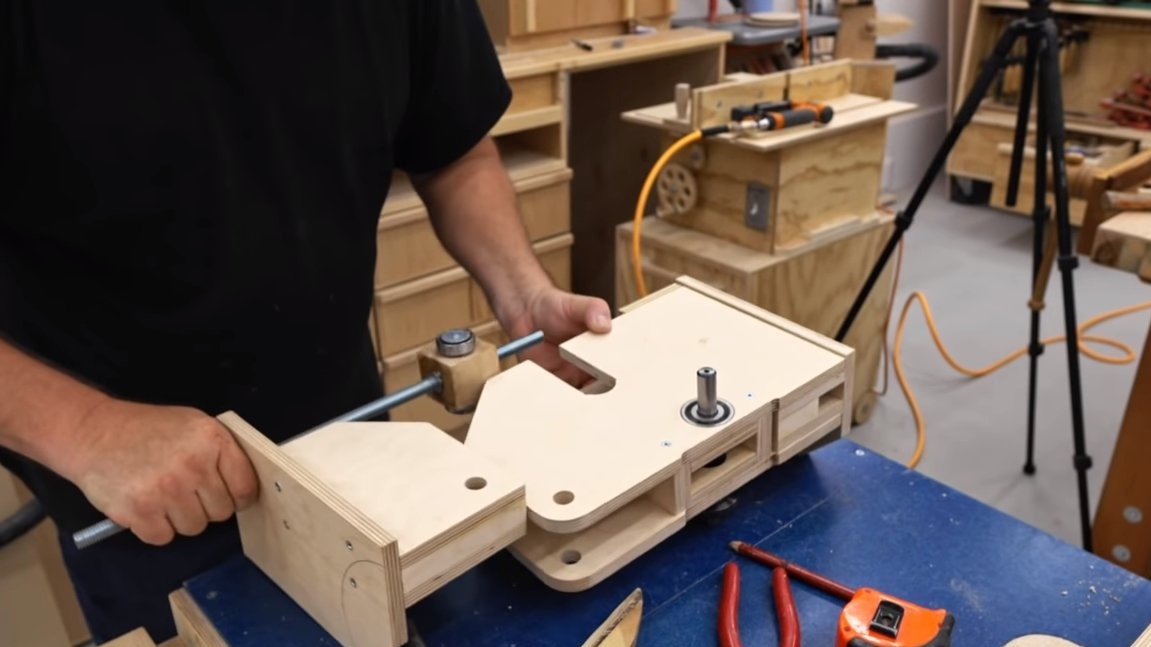
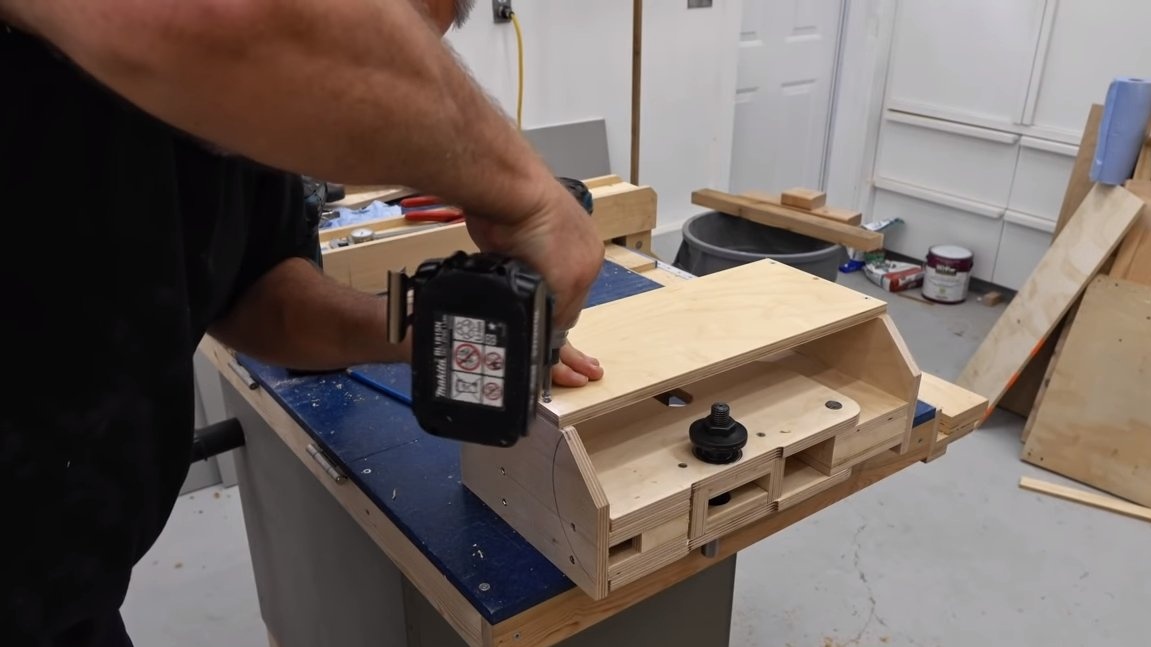
We replace the threaded rod with nuts and washers. To prevent the shaft from rubbing against plywood, the author set a piece of brass tube as a sleeve. That's all, install the circular disk and check the performance of the homemade product. The author rotates the threaded rod with his hands and these efforts are enough to make the homemade work. Of course, in the future a handle will be made here, and it is even better to connect a small gear motor, say, from car wipers to the threaded rod.
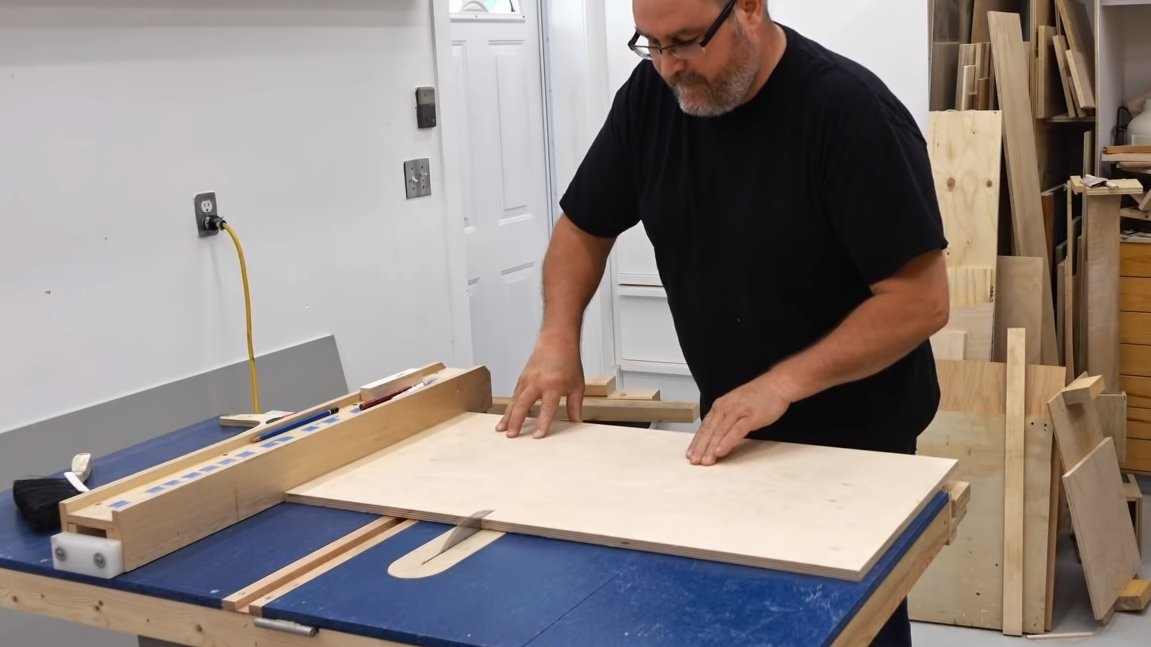
Homemade will remain to install on the table and connect the engine. The project is over, I hope the information was useful for you, and you found interesting thoughts. Good luck and creative inspiration, if you decide to repeat this. Do not forget to share your ideas and homemade things with us!