

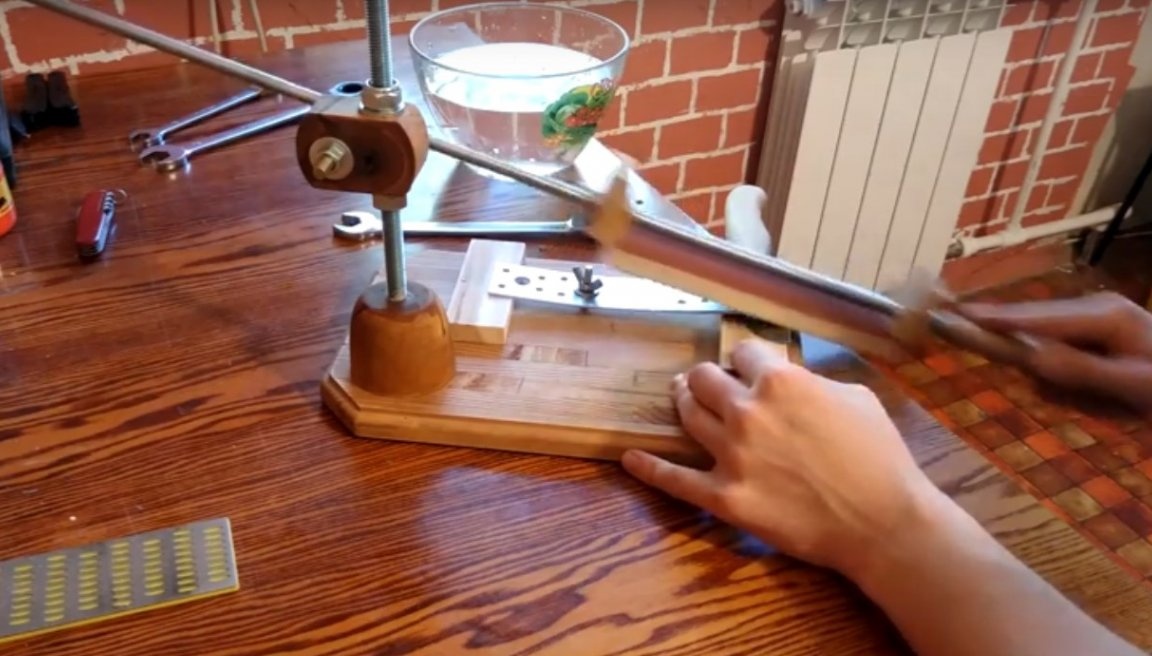
Good day to all. Many of you have sharpened knives at least once in your life, and there is nothing difficult to say, many, of course not, especially if it is a knife for simple household needs such as: cut bread or a piece of sausage. For such purposes, of course, the usual whetstone is enough. But if you need to sharpen the knife really well, or for example: to grind some professional tool where you need the exact angle of sharpening, then one whetstone will definitely not be enough. And for this today I want to tell you how the author of the Techno Cracy channel assembled a grinding machine. With the help of which, you can adjust the angle of sharpening and maintain it during operation. On this machine you can sharpen not only knives, but also an ax, chisels, scissors, a plane knife and much more.
And so let's proceed, the author needed the following materials:
Furniture shield.
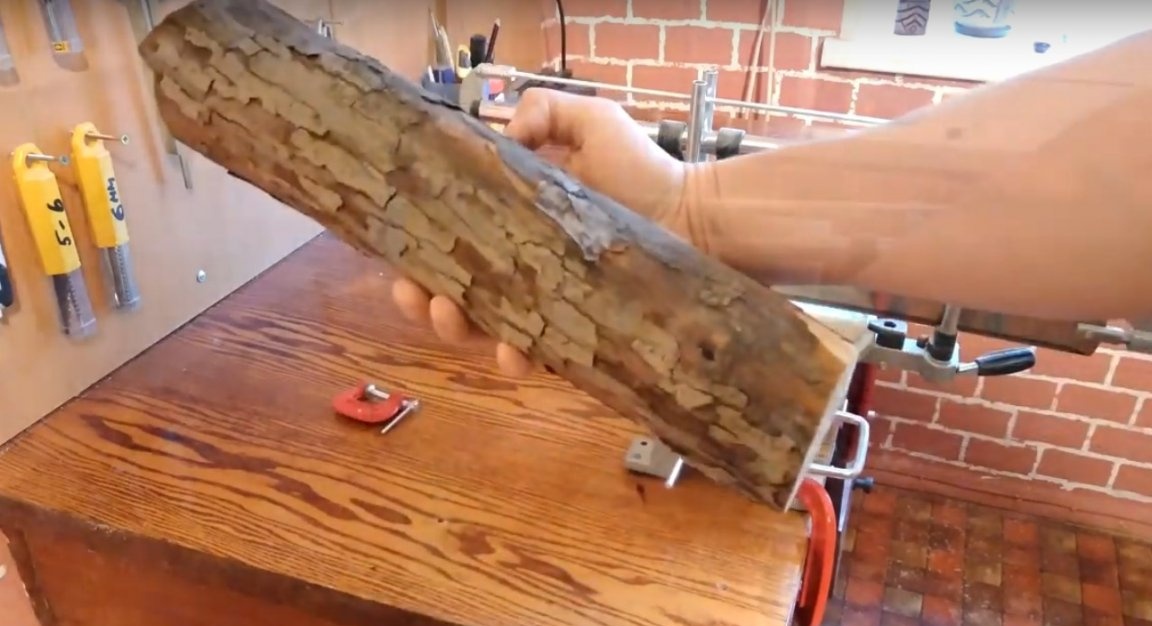
A small log.
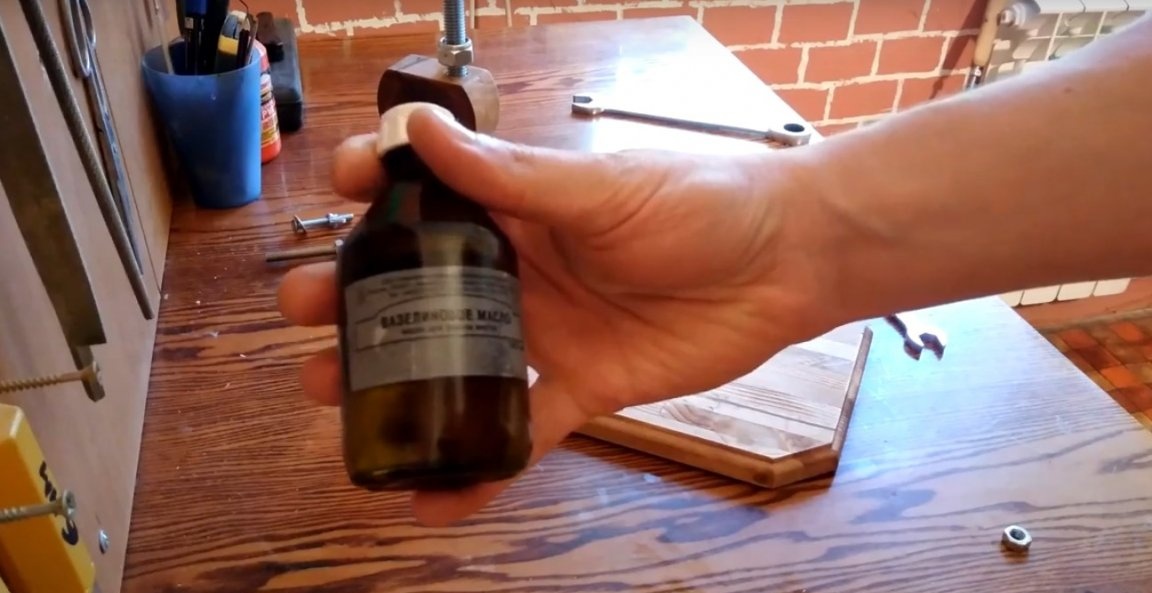
Vaseline oil.
Epoxy two-component adhesive.

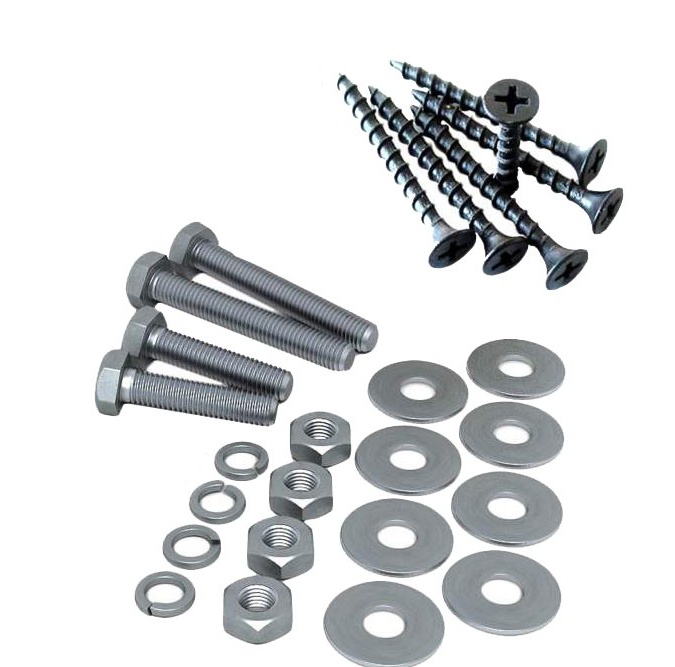
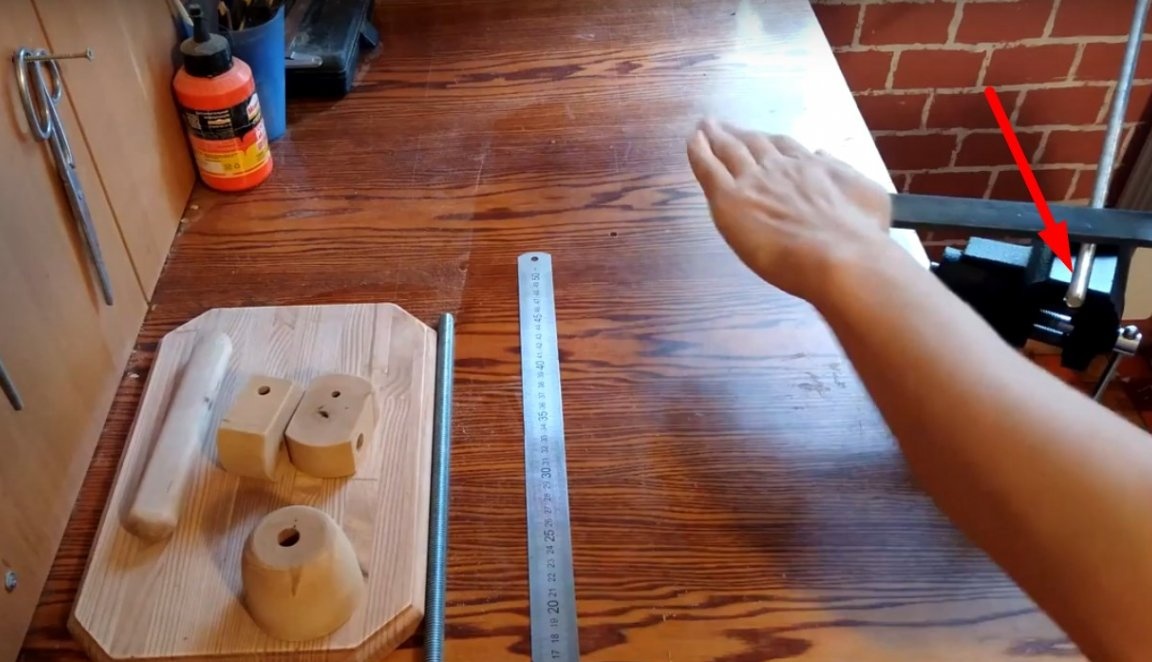
Studs M 10 and M 12.

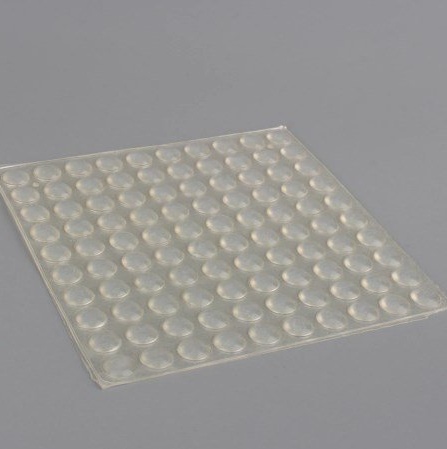
Silicone legs.
Screws, bolts, nuts and washers.
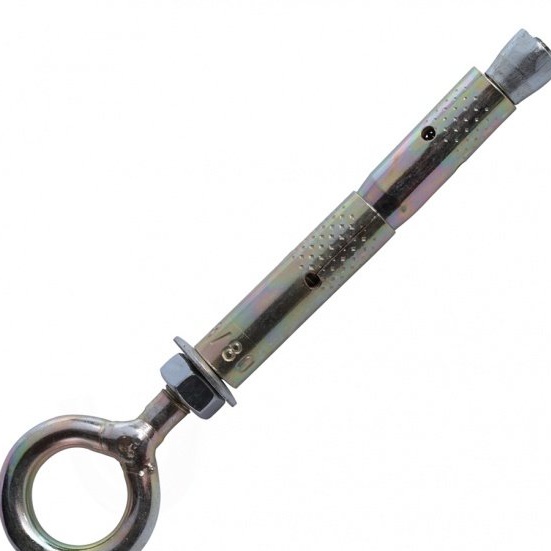
Anchor bolt ring.
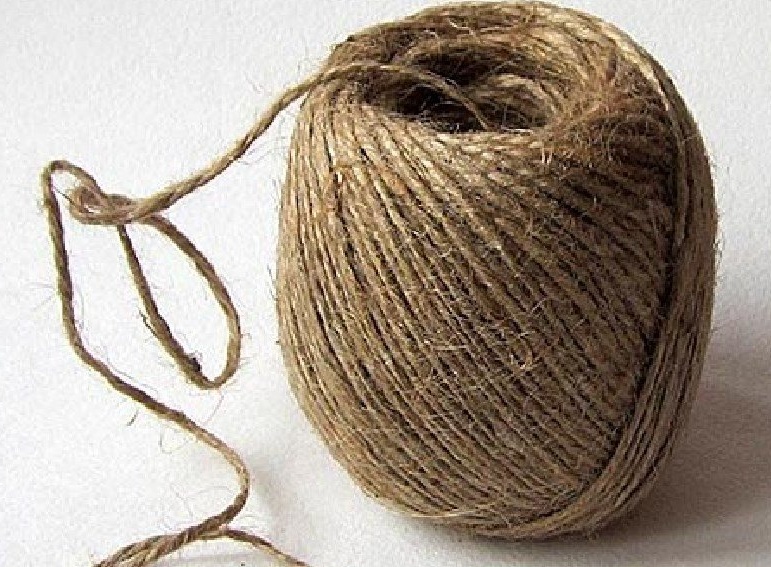
Jute cord.
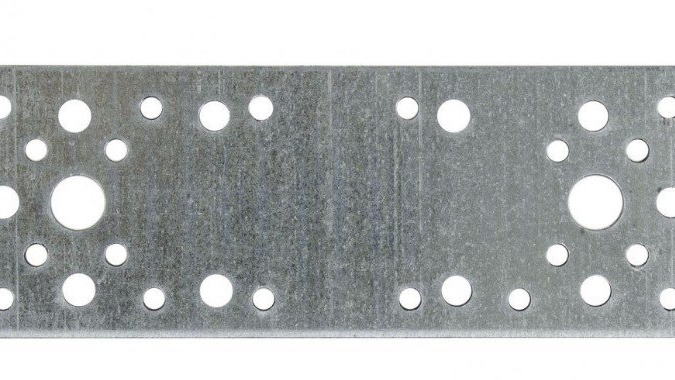
Steel mounting plate. 1
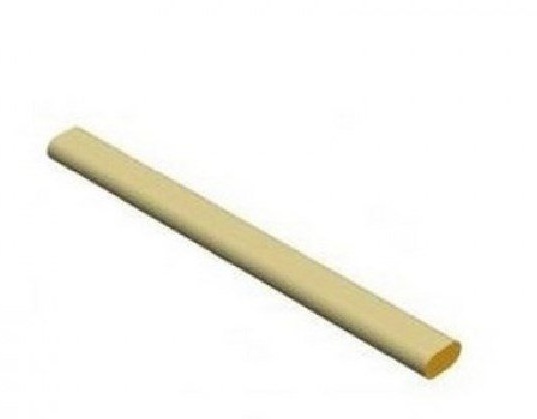
Hammer handle. 1
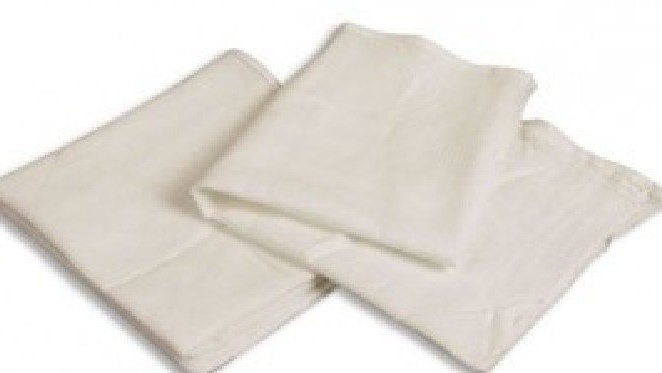
Rags.
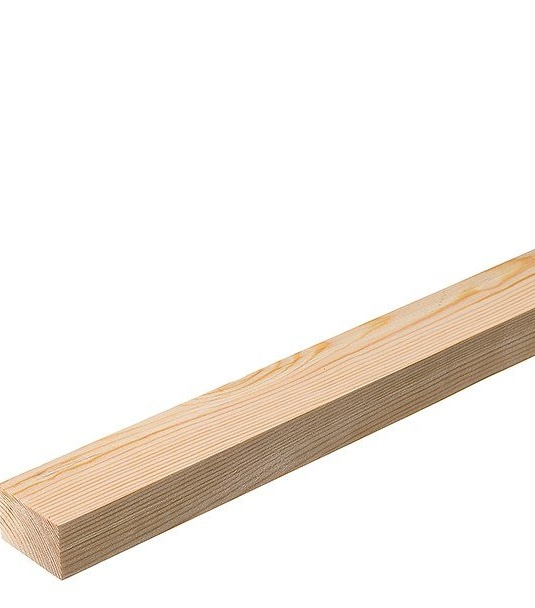
And a small wooden block.
Instruments:
The square.
Drill.
Drill.
Milling cutter.
Nail file for metal.
Sandpaper.
A simple pencil.
Vise.
File.
Belt grinding machine.
Clamps.
Wood lathe.
Ruler.
Knife.
Water-based stain.
Brush
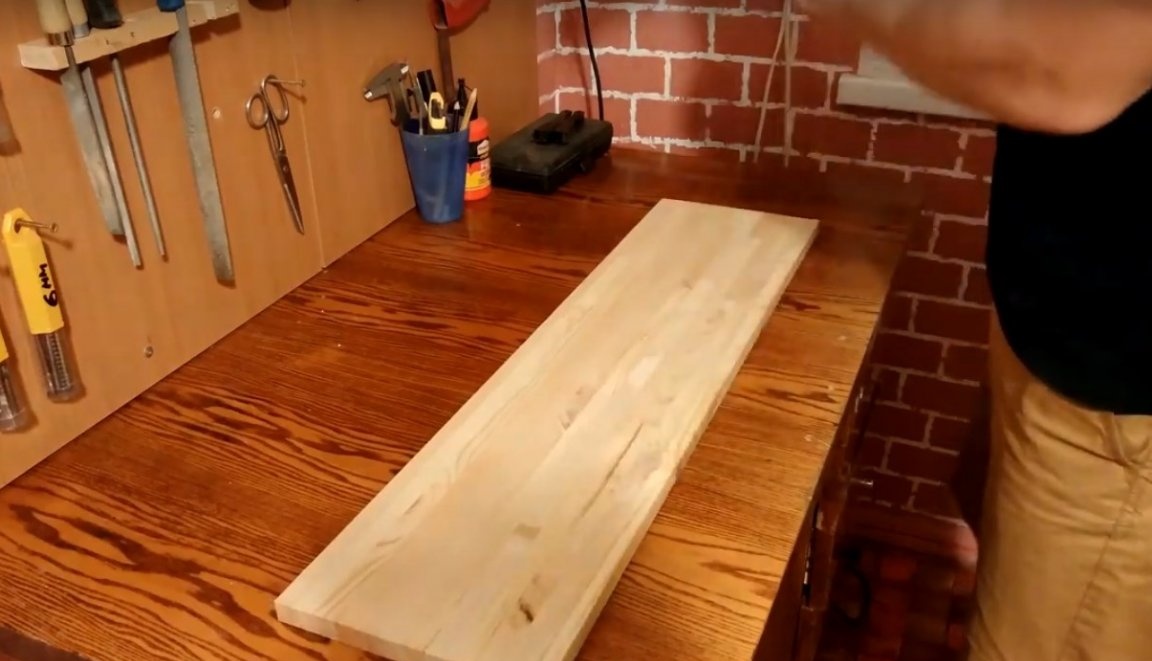
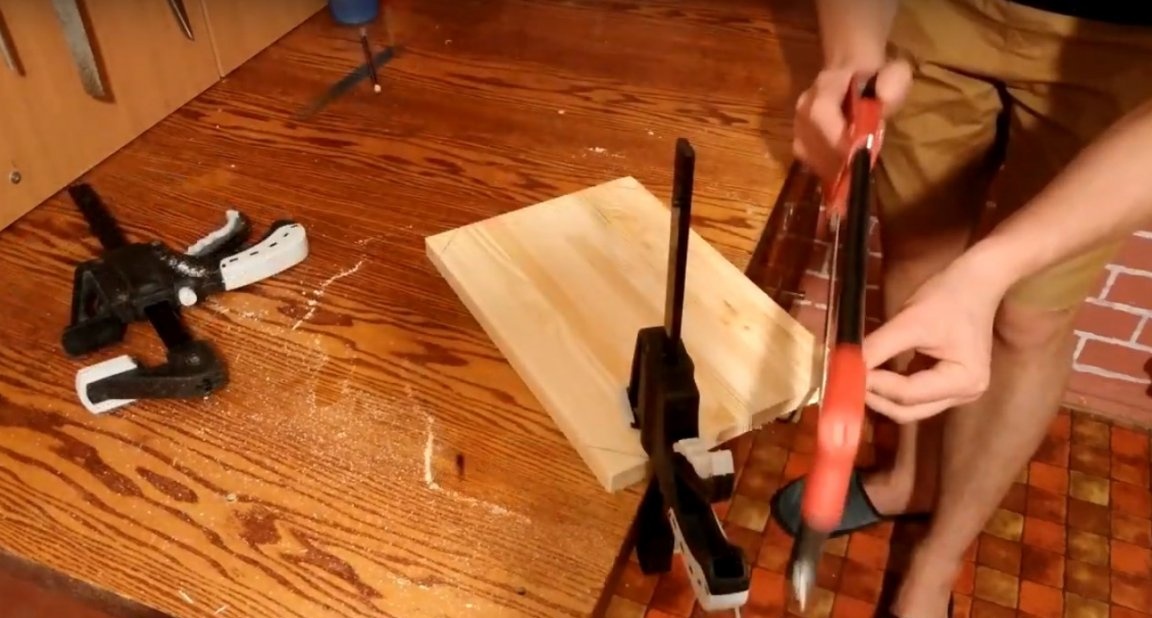
The author cut a piece of 300 mm from a furniture board. Shield width 200 mm.
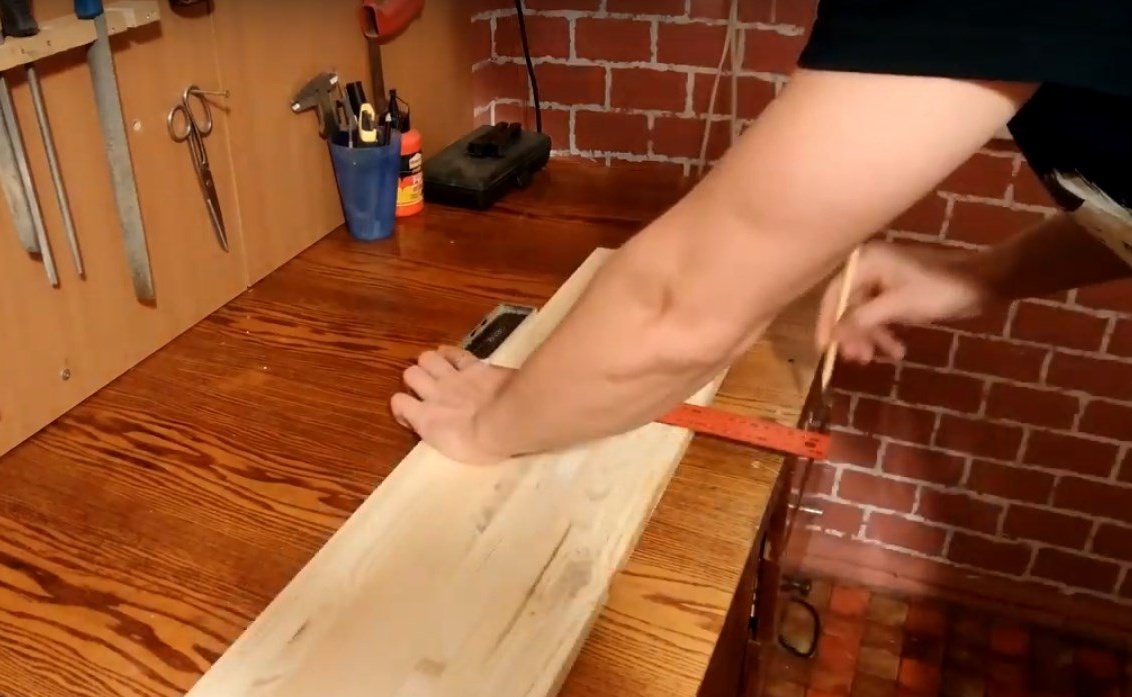

Then this piece was tested for strength. And as it turned out not in vain, the workpiece was glued, let's say not very well.
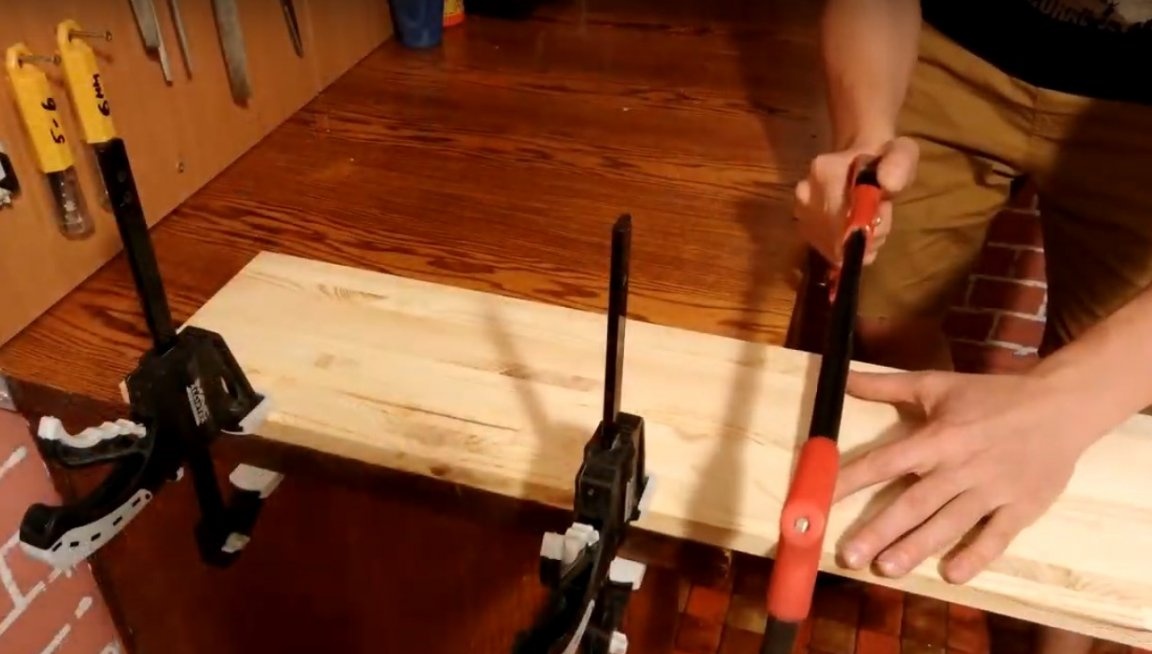
Therefore, the author cut off another piece. And this piece turned out to be glued much better.
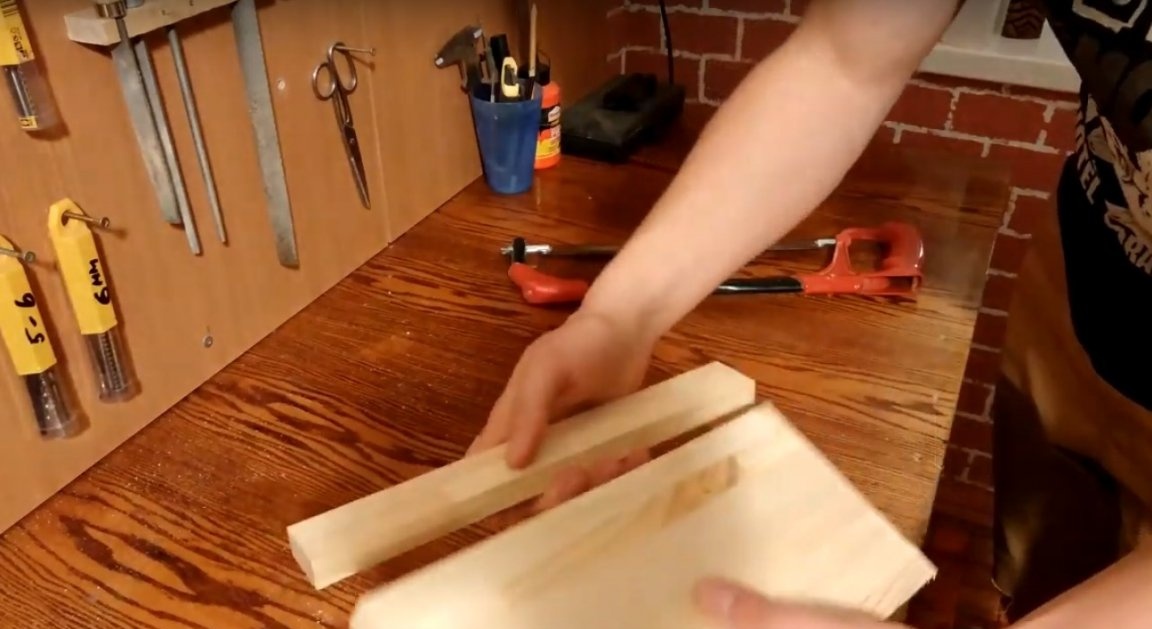
After for aesthetics removed corners.
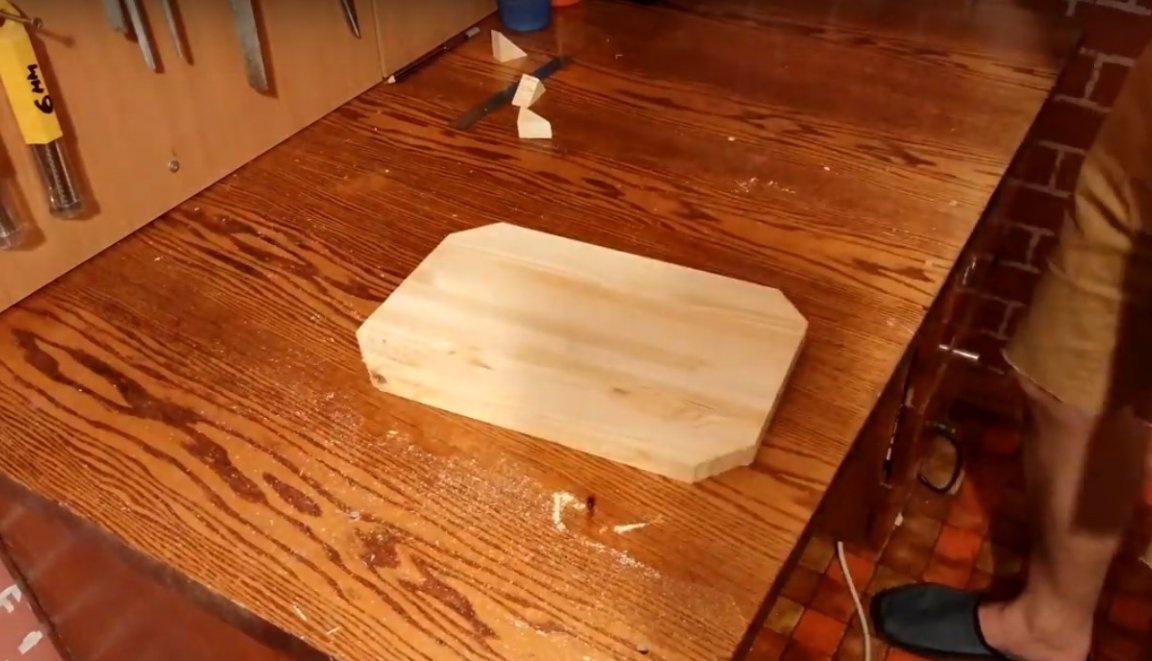
And with a milling cutter he chamfered.

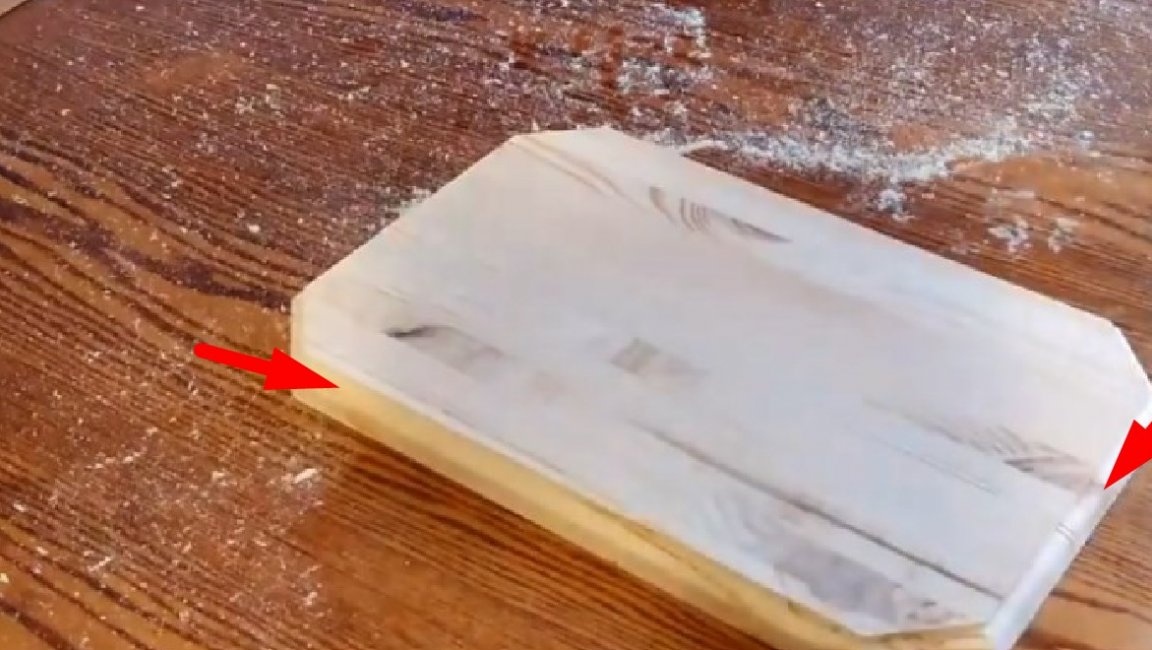
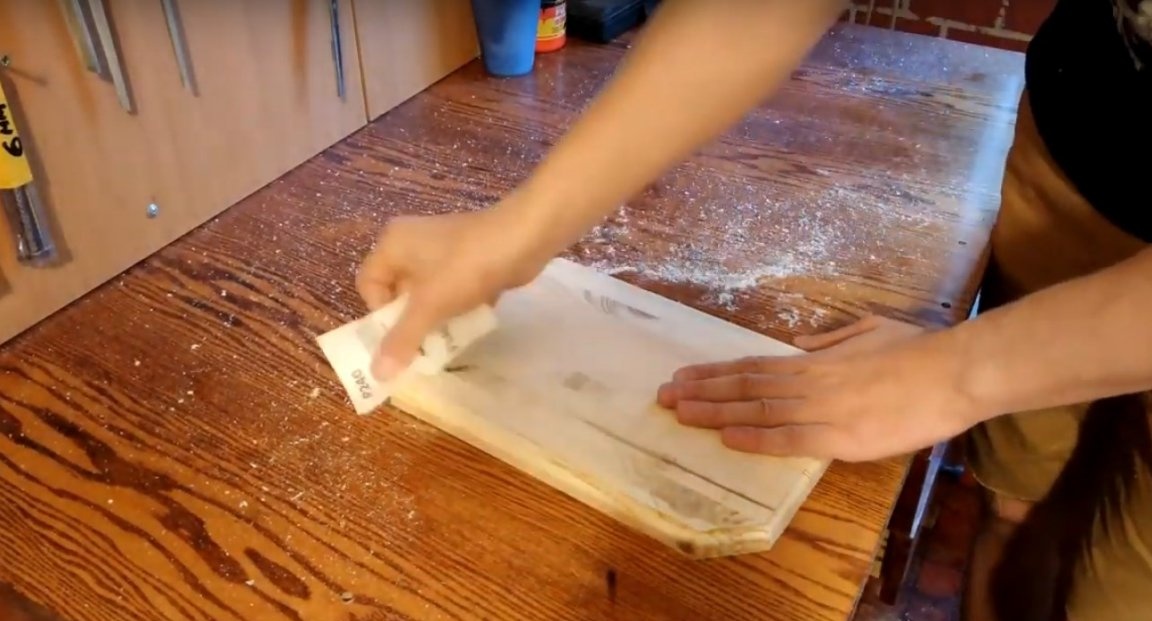
After a little corrected with sandpaper.
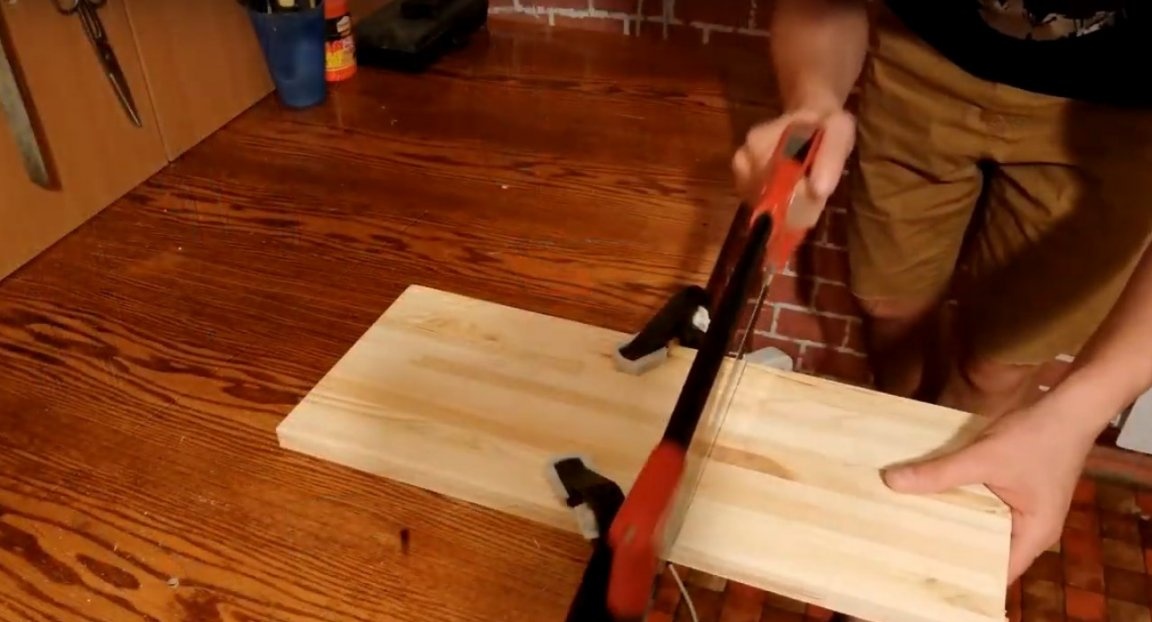
Then I trimmed the edges of this workpiece.
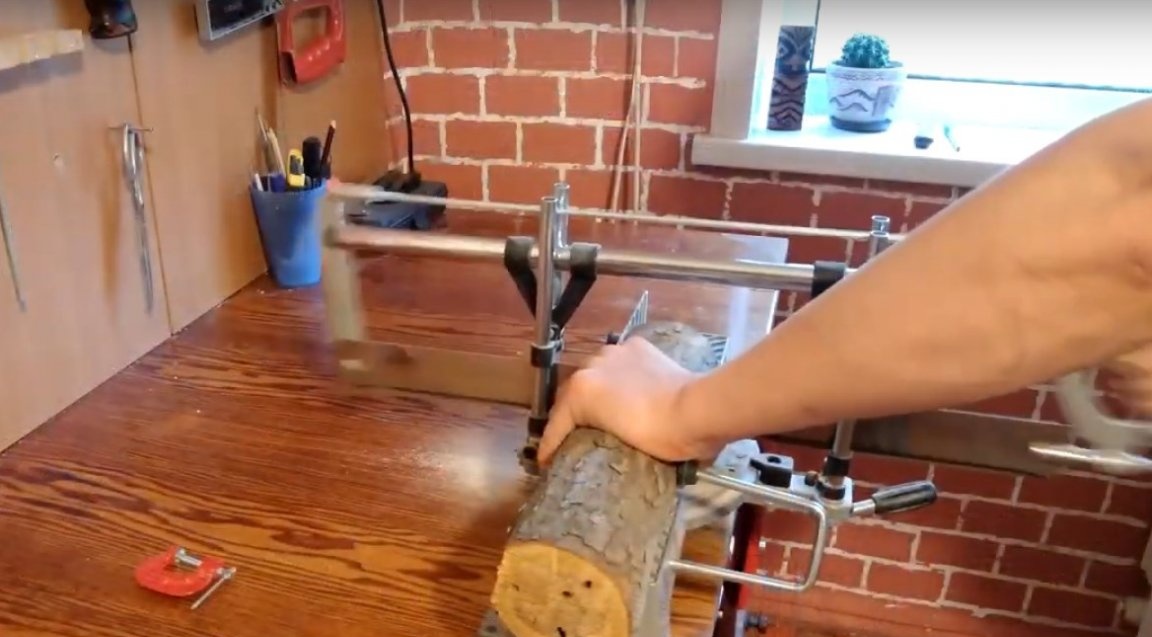
Installed it in a lathe. And he started processing.
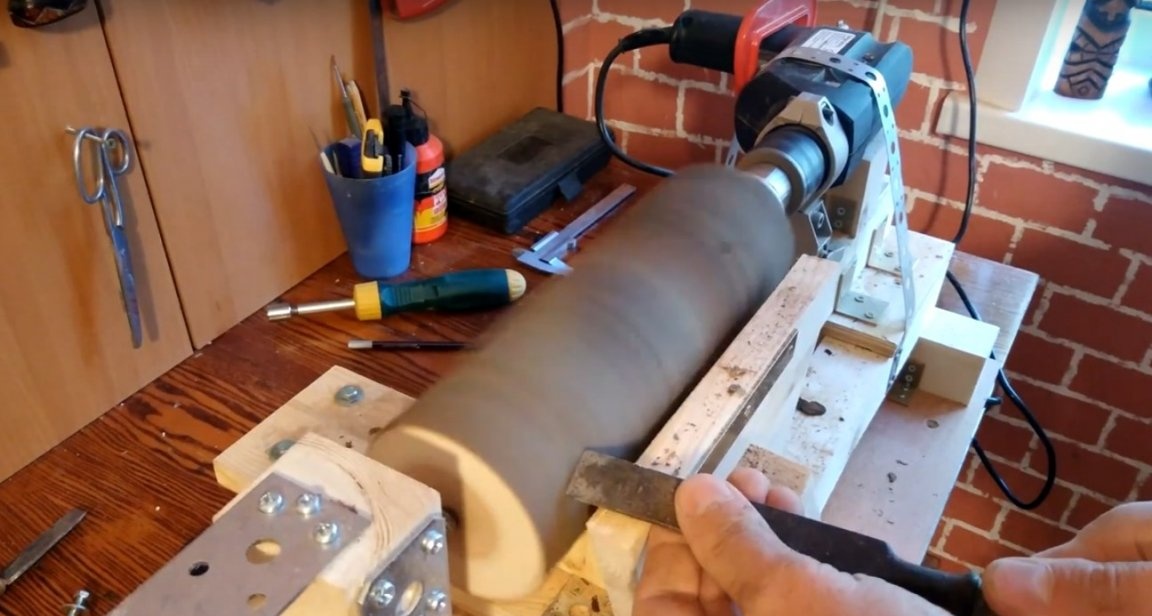
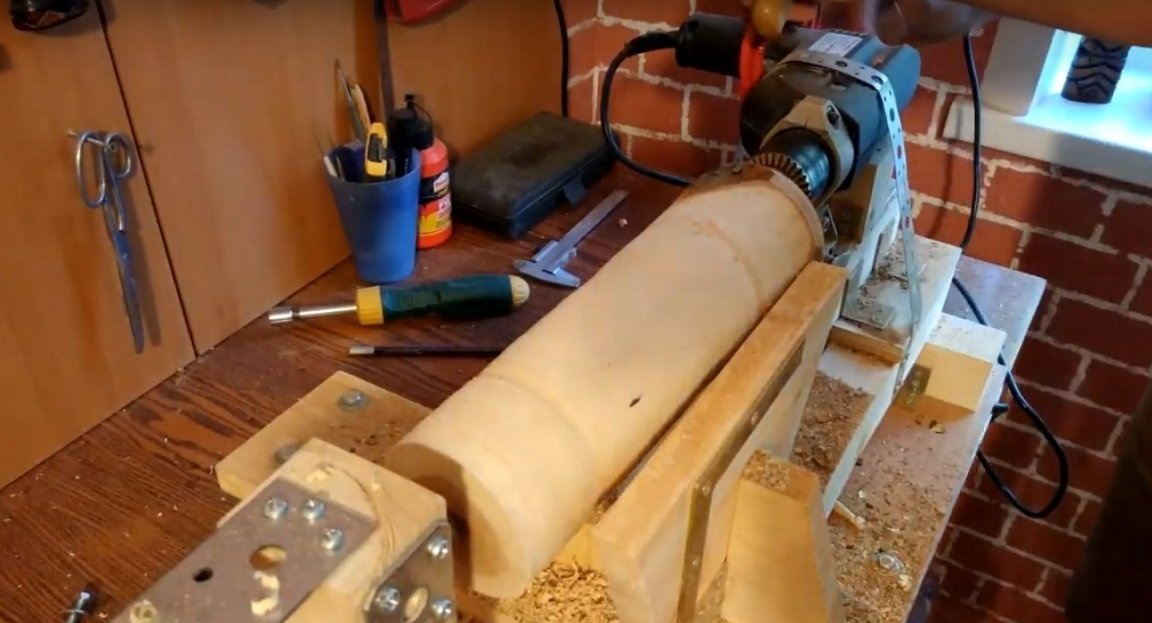
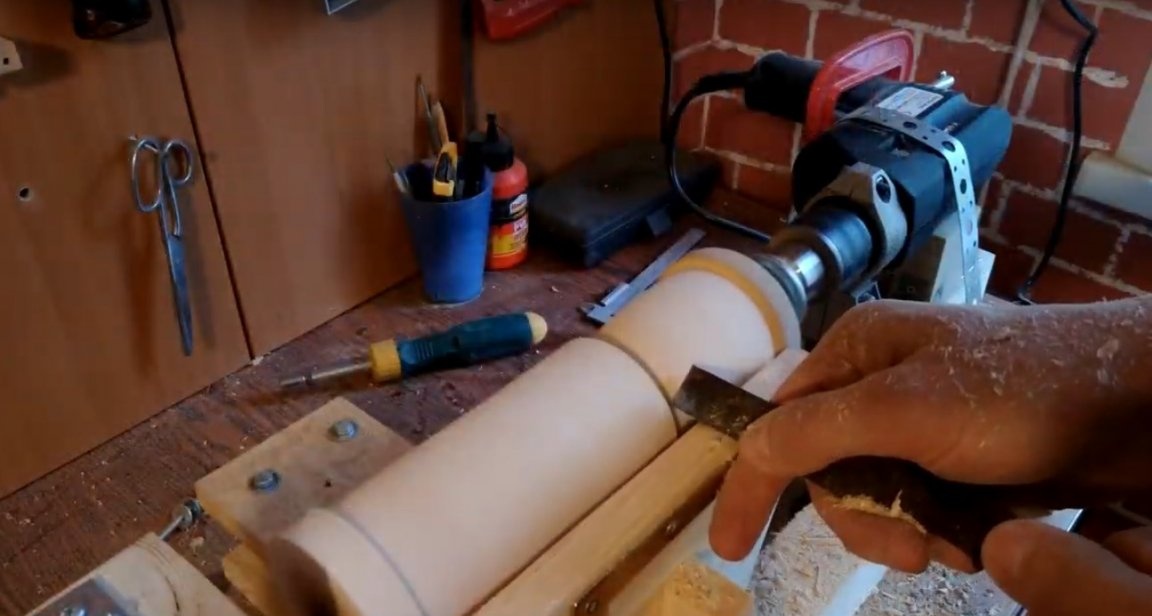
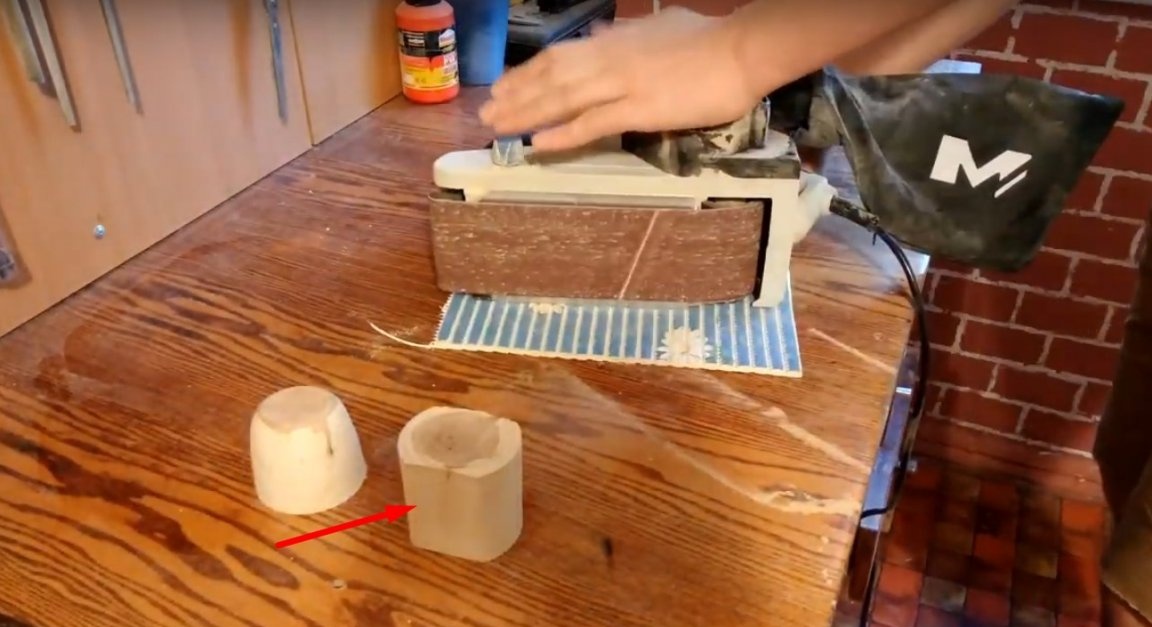
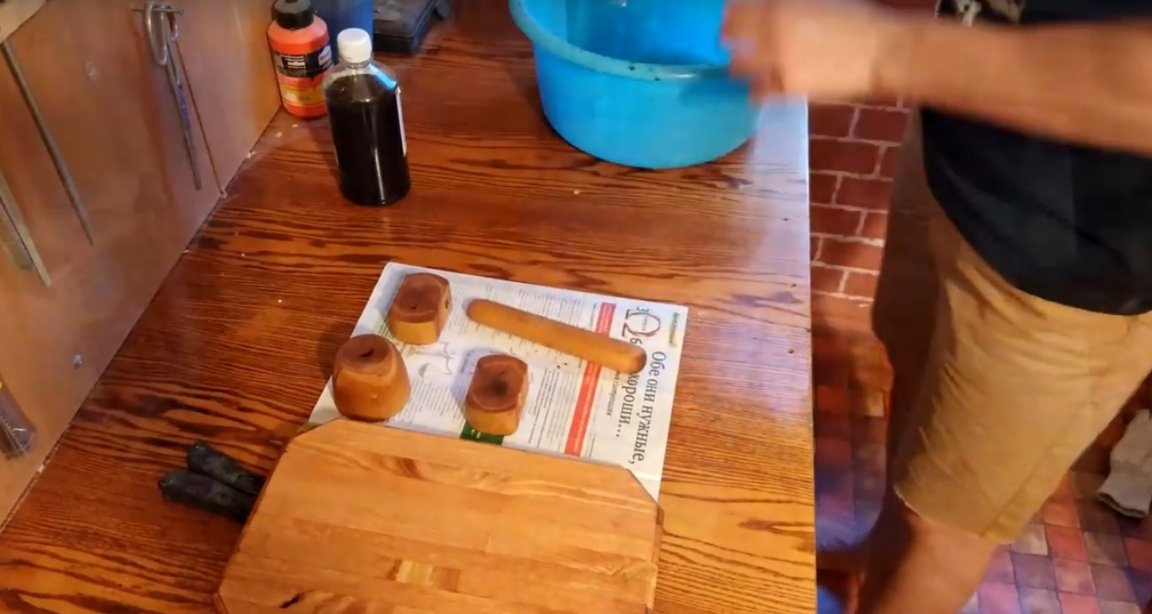
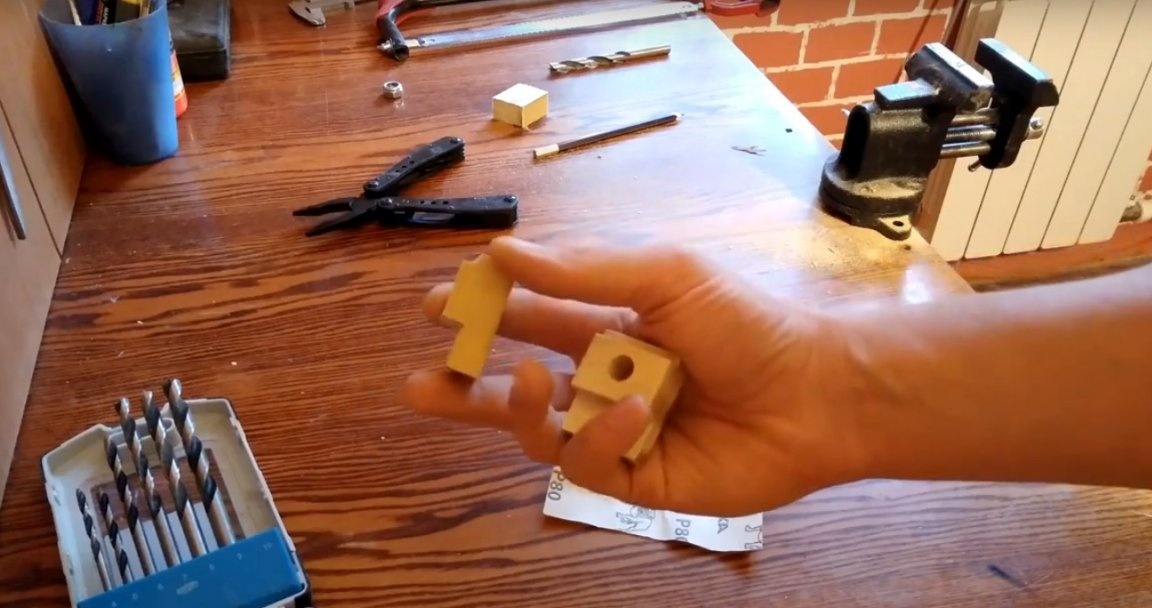
In the end result, the author obtained two parts from one workpiece, a cylinder and a cone.

Then he sawed these details. In the future, the author will attach the cone to the base, he will support the vertical bar.
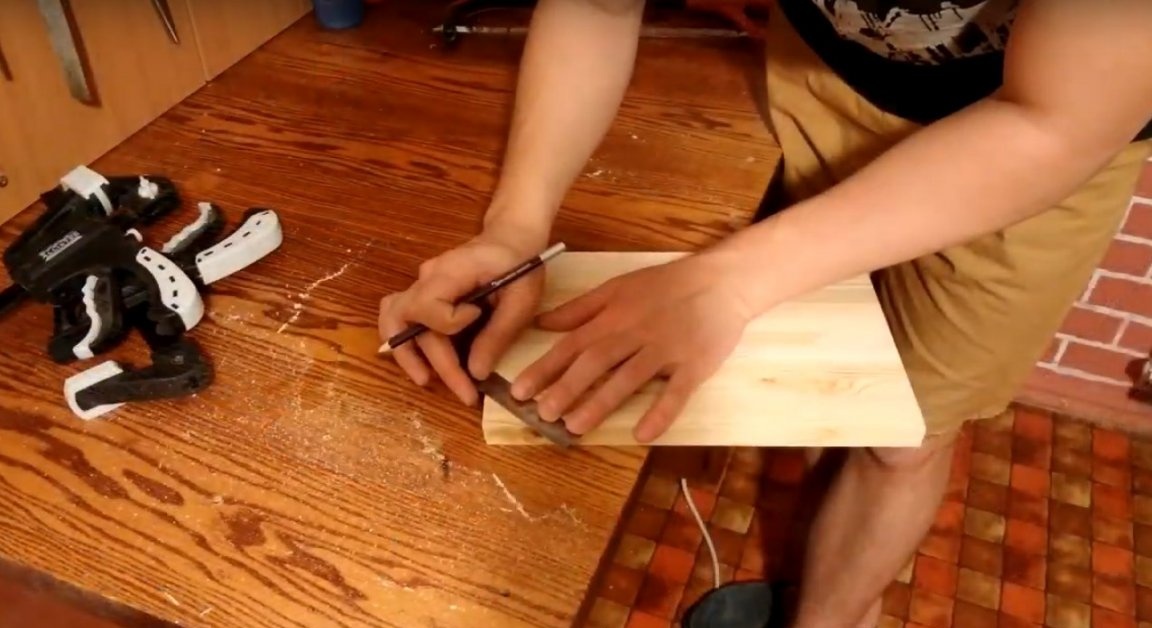
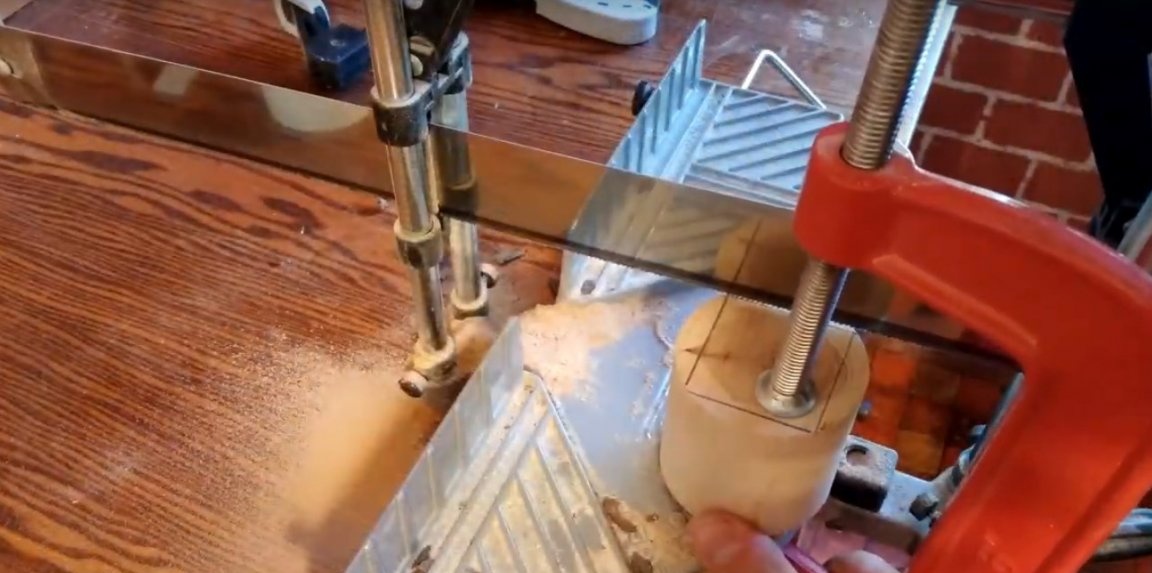
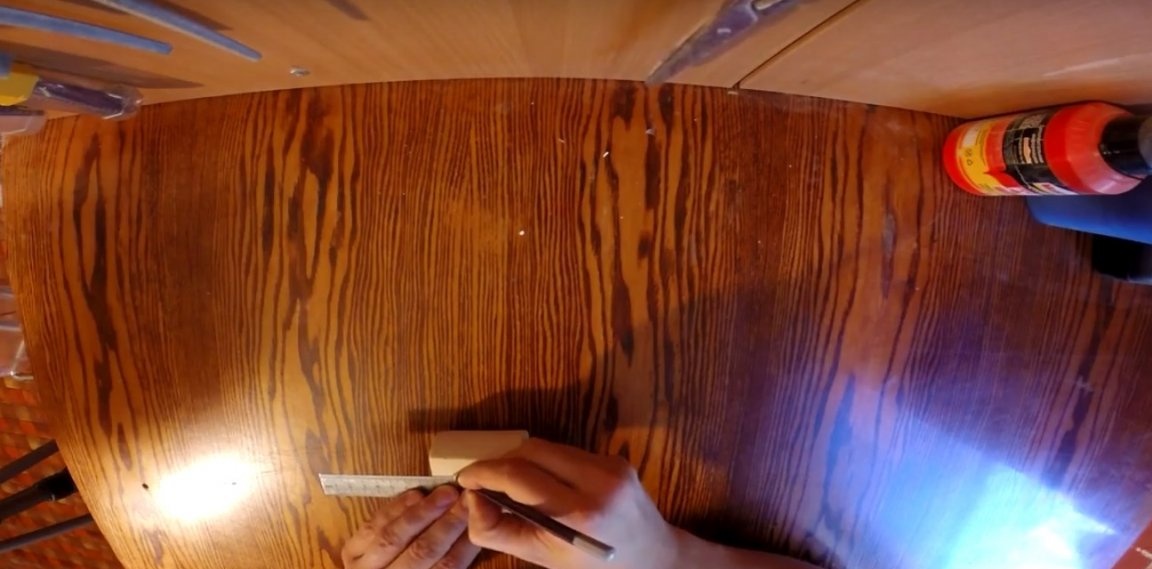
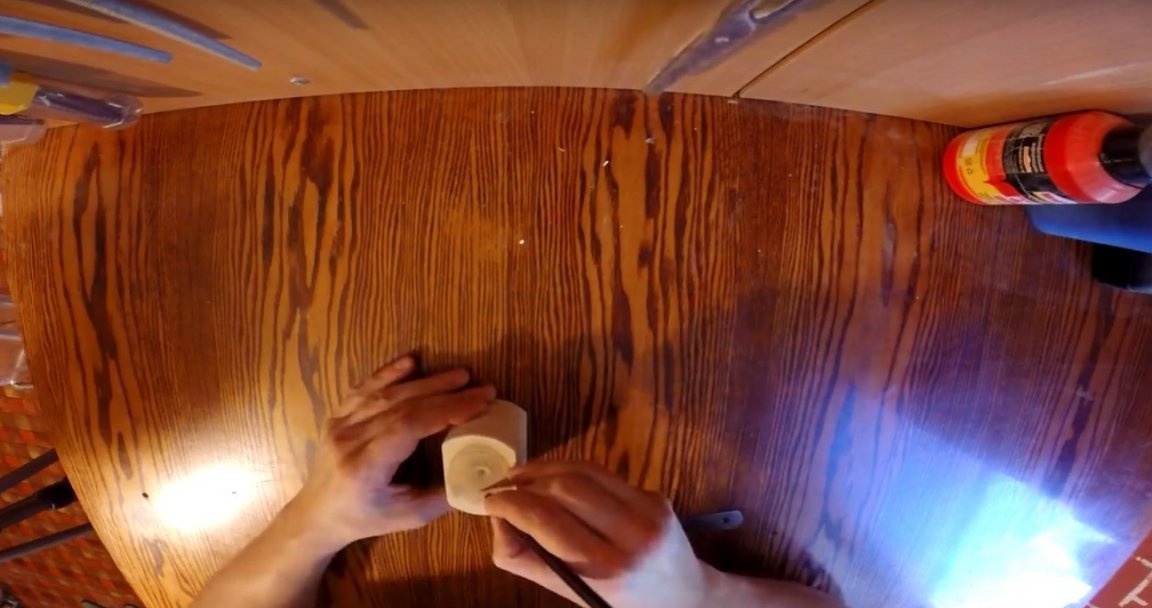
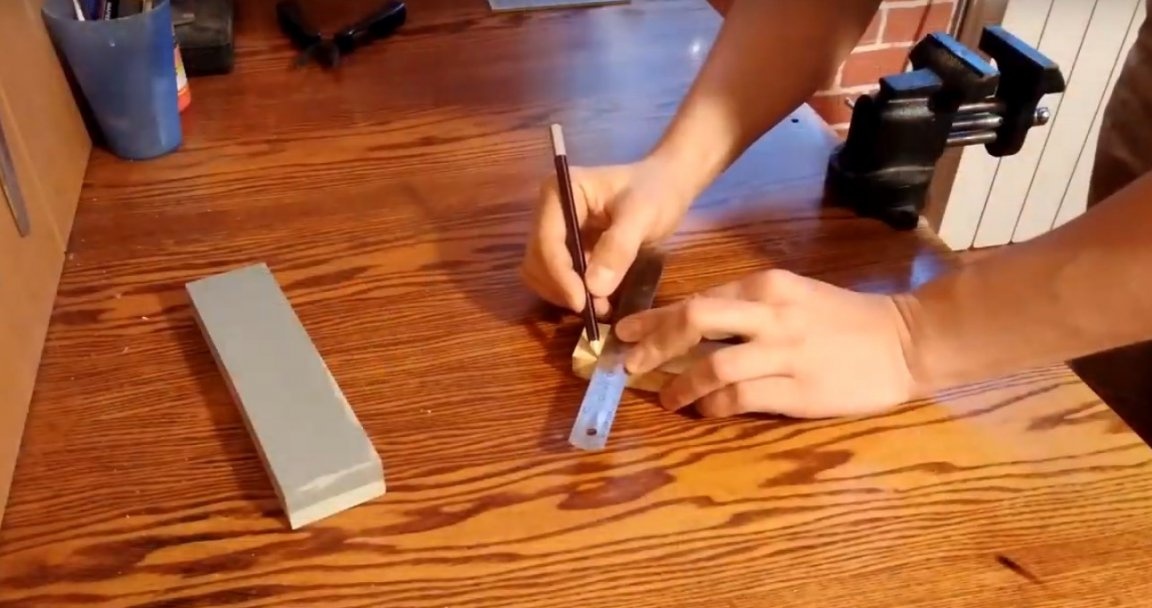
And on the cylinder, he will first make the markup, as in the photo.
After remove excess.
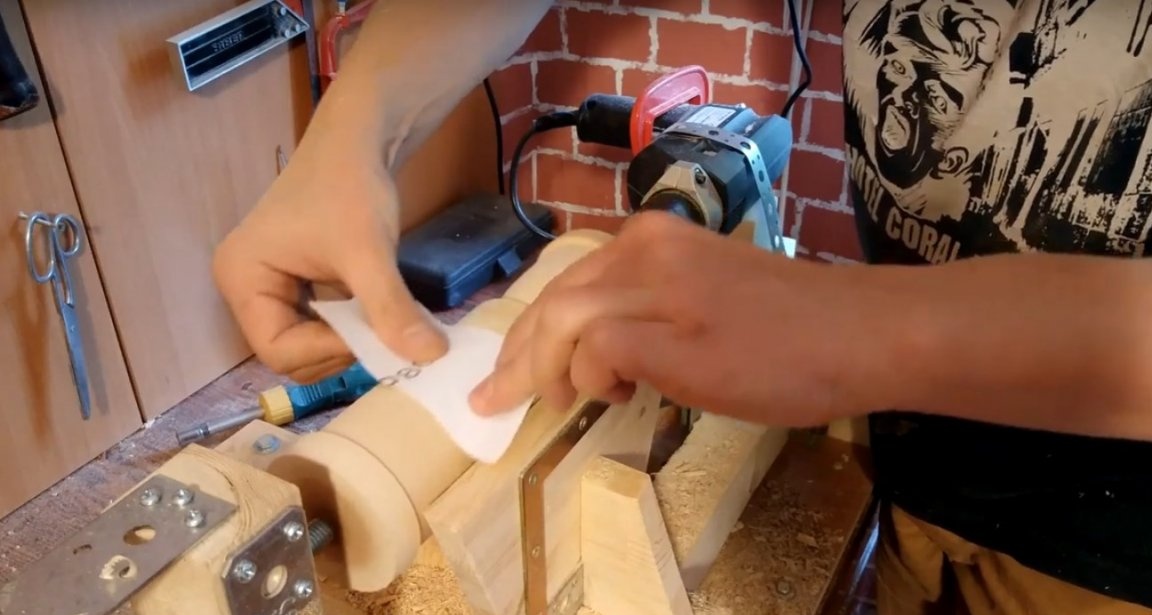
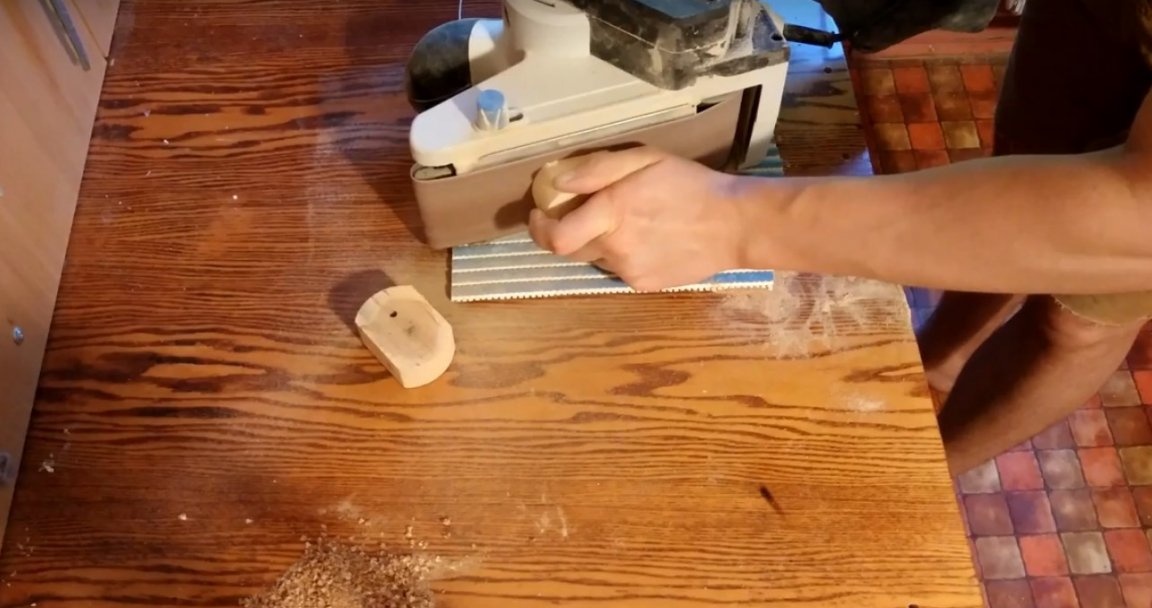
Then it will process the part on a grinding machine.

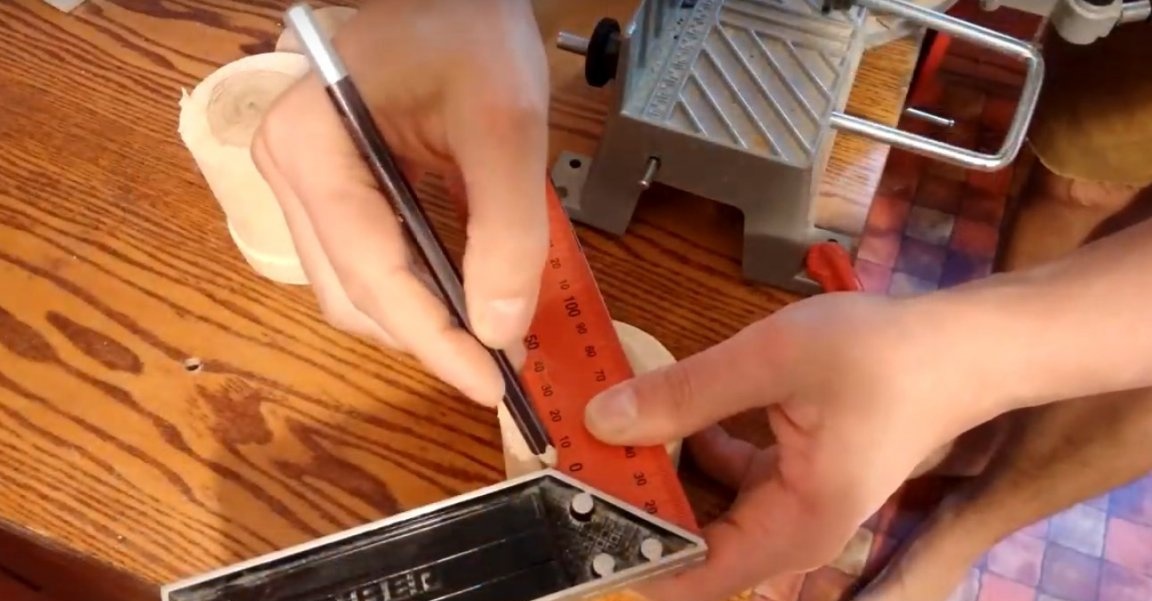
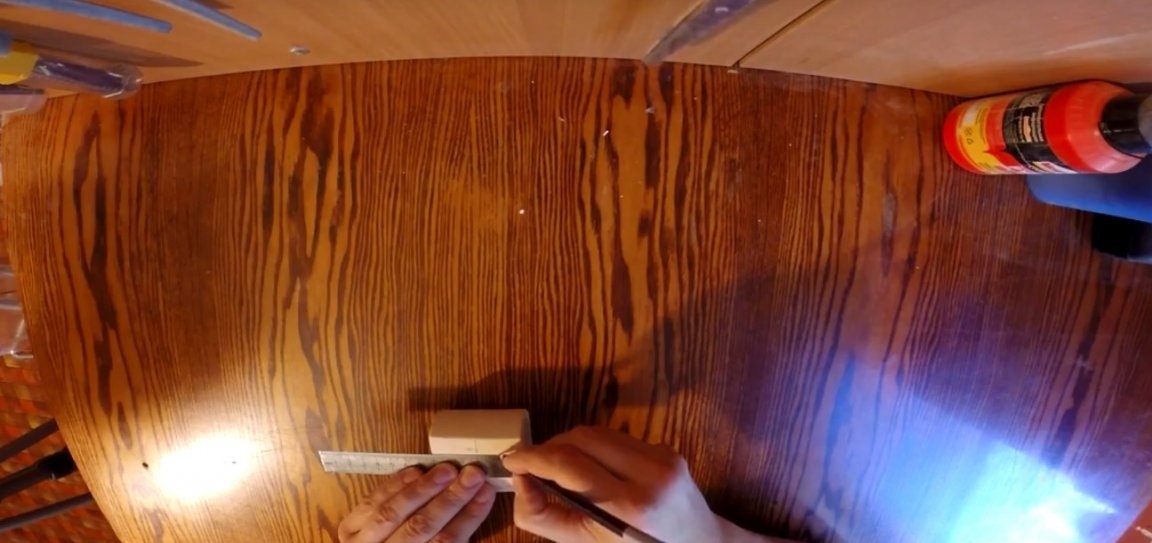
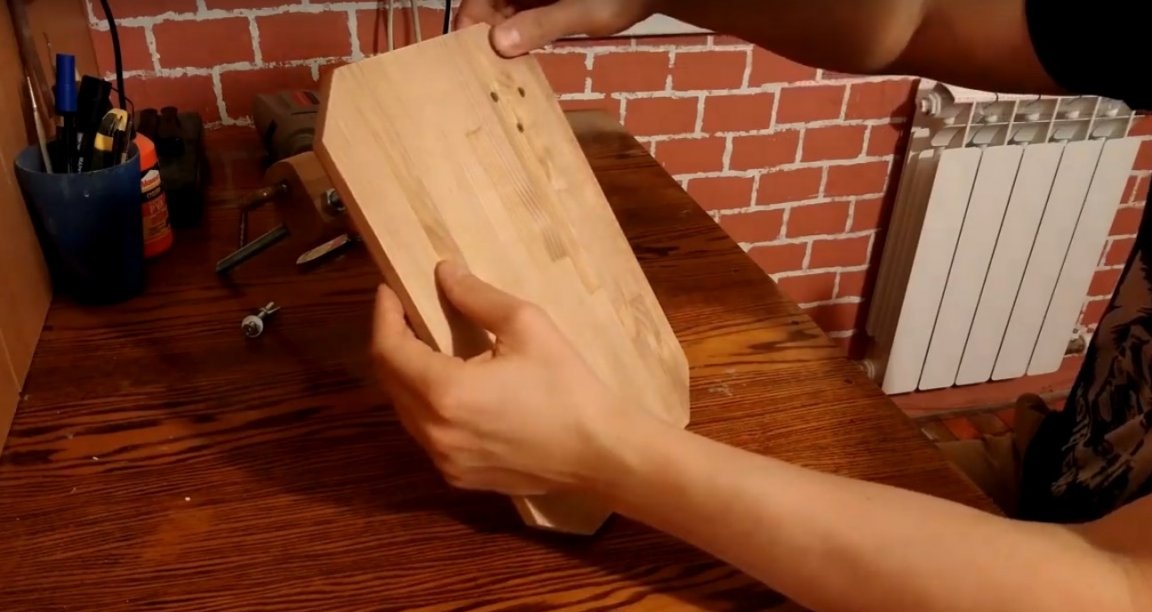
After drawing a line on the details, strictly in the middle.

Next, make markings for future holes.
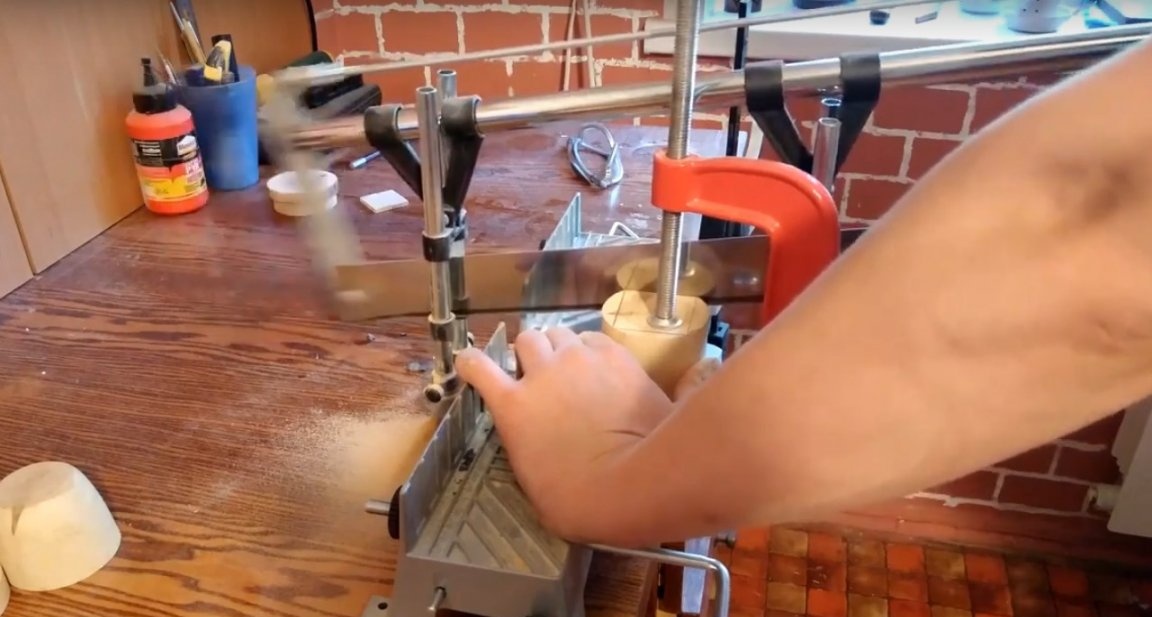
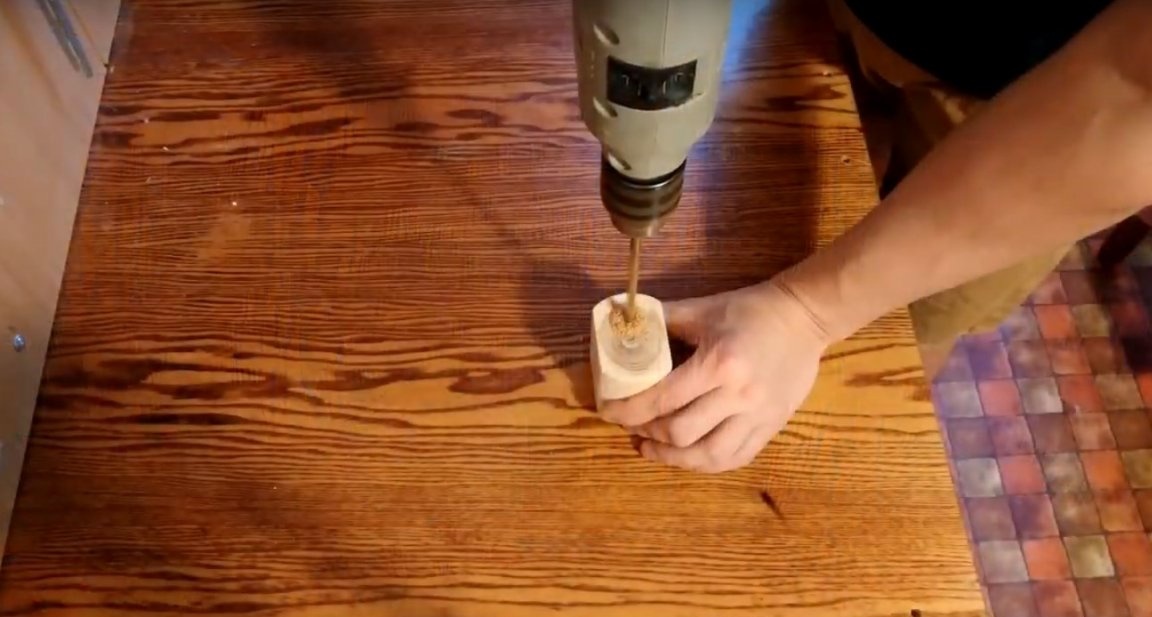
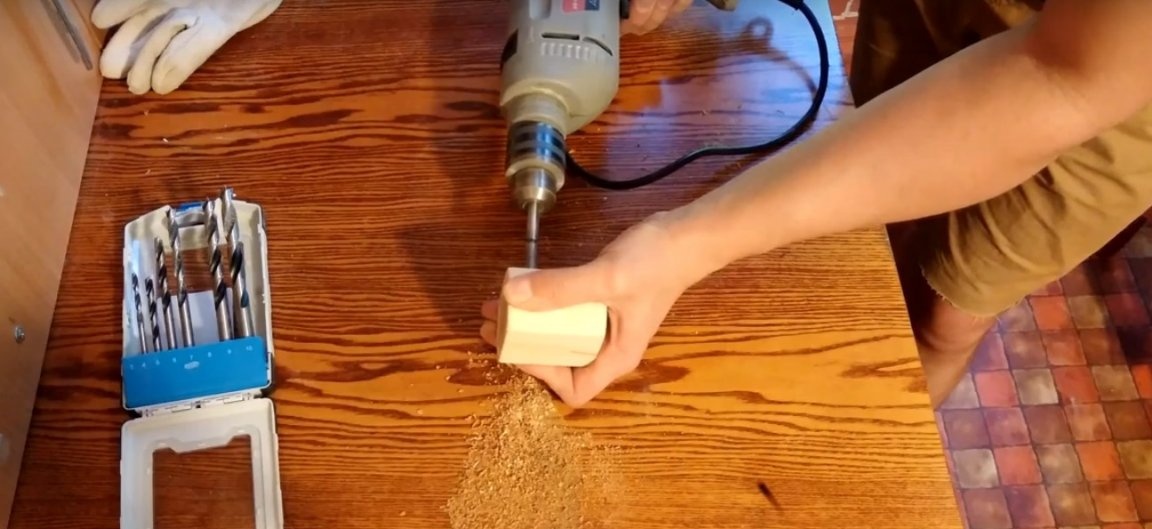
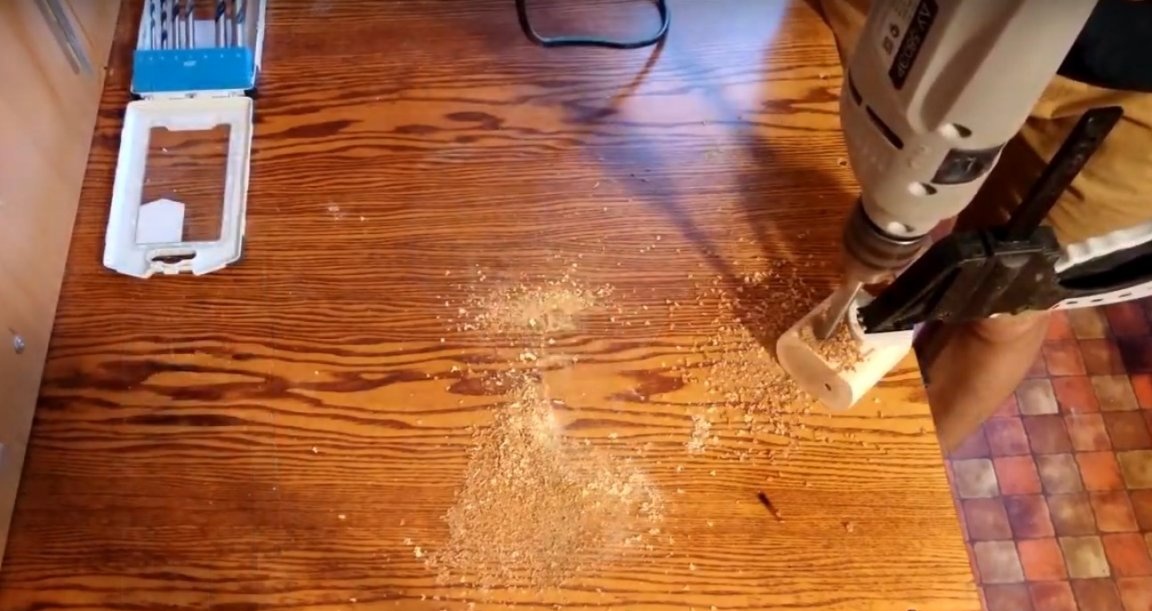
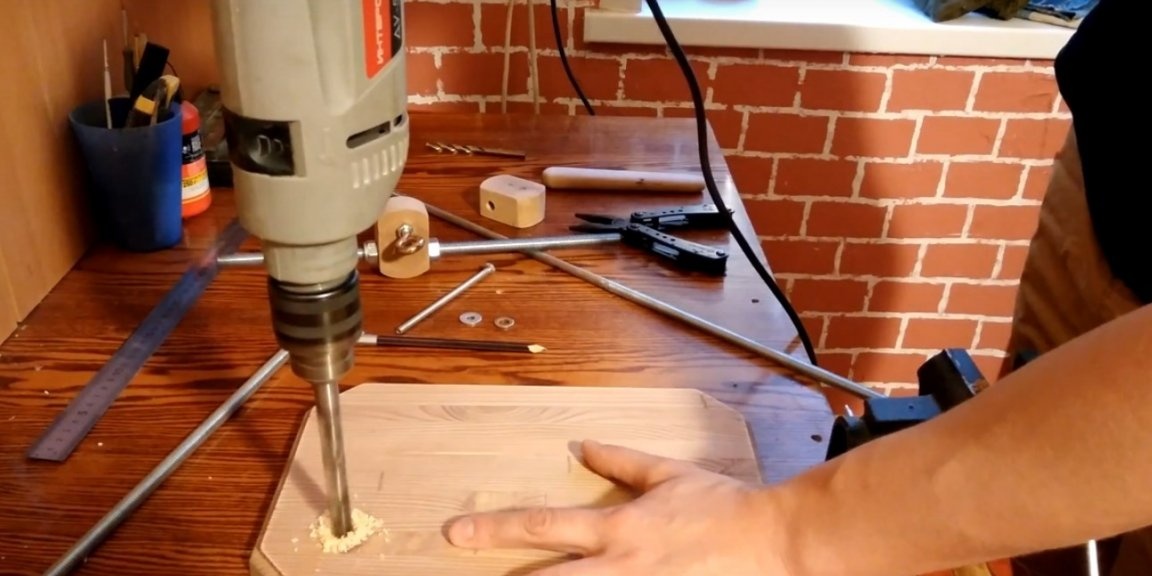
Then he will make holes. With a gross violation of safety precautions.
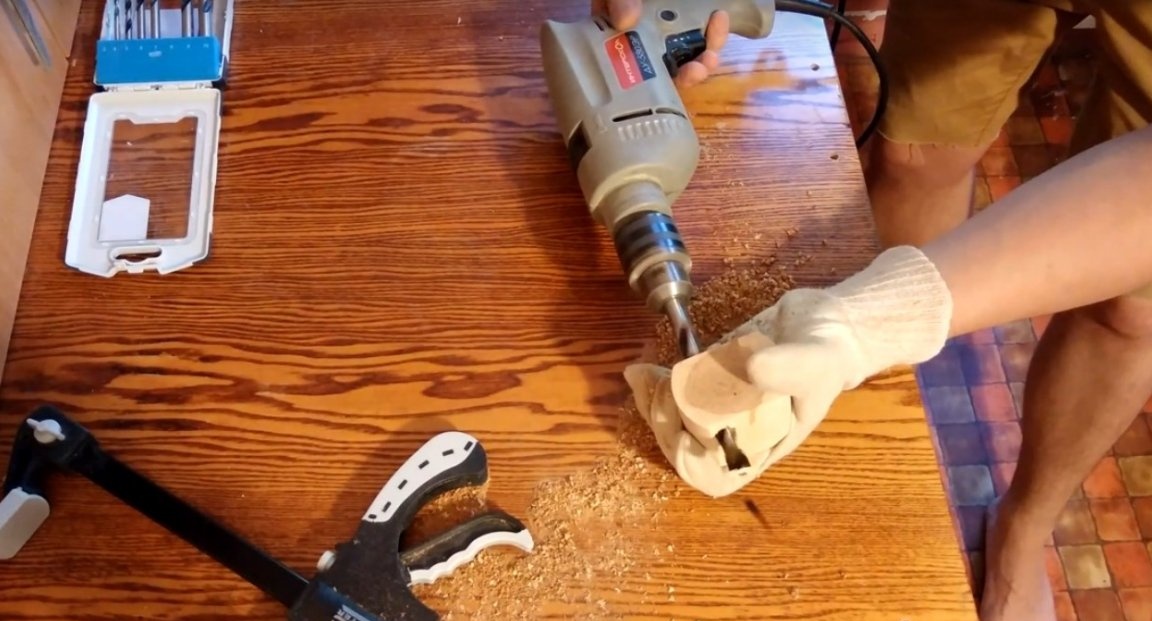
And then, having cut the part in half, he again processed it with a grinding machine.
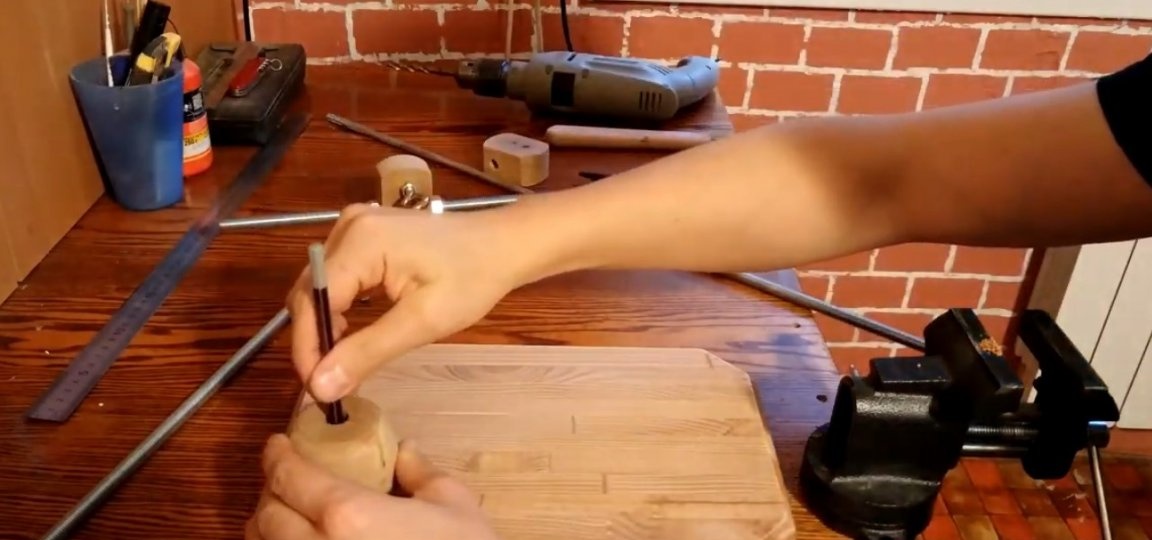
In the center of the conical part, the author made a hole for the support rod.
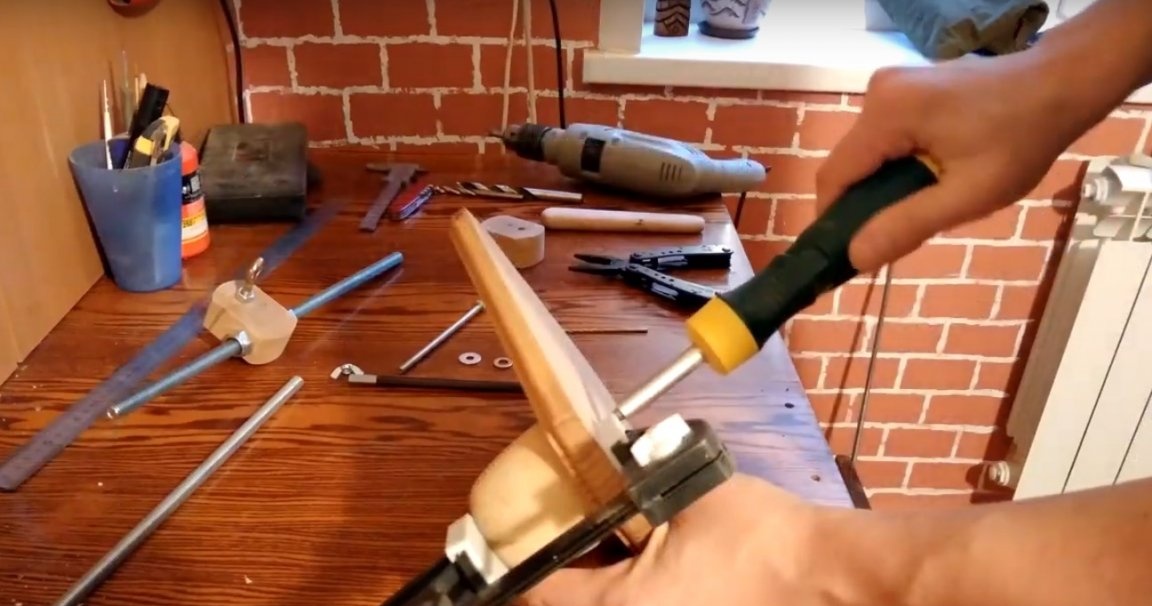
The author also made a hole in the handle of the hammer. TB violation again.
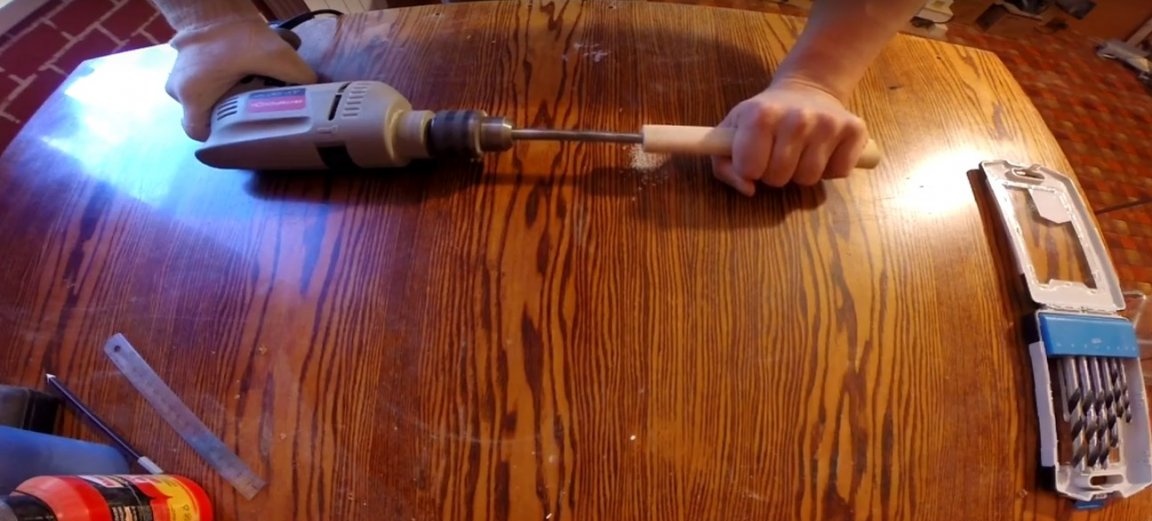
Then he rounded the edge.
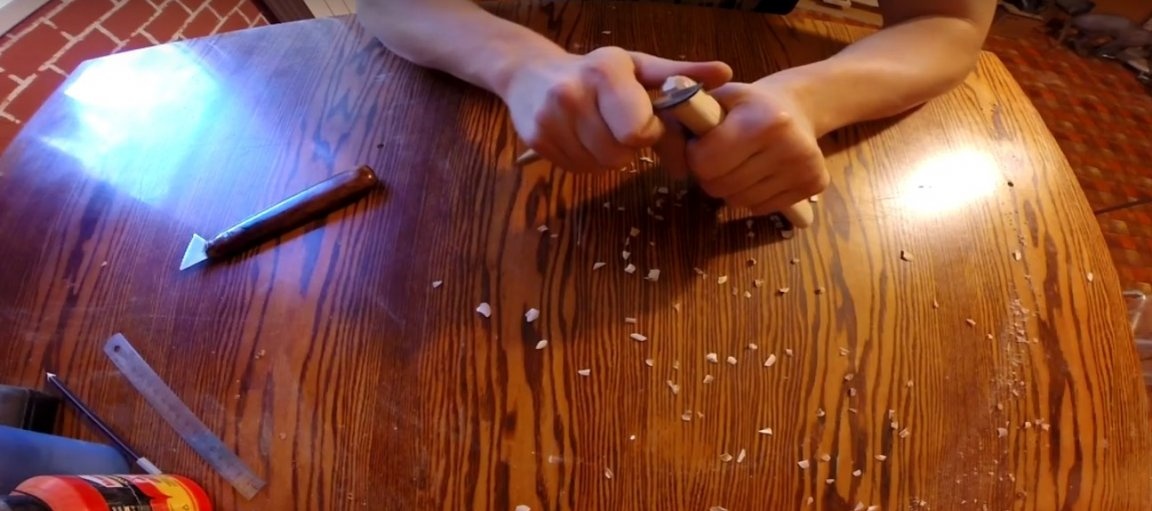
And processed with sandpaper.

Further to all the wooden details, the author made a small tint with a stain.
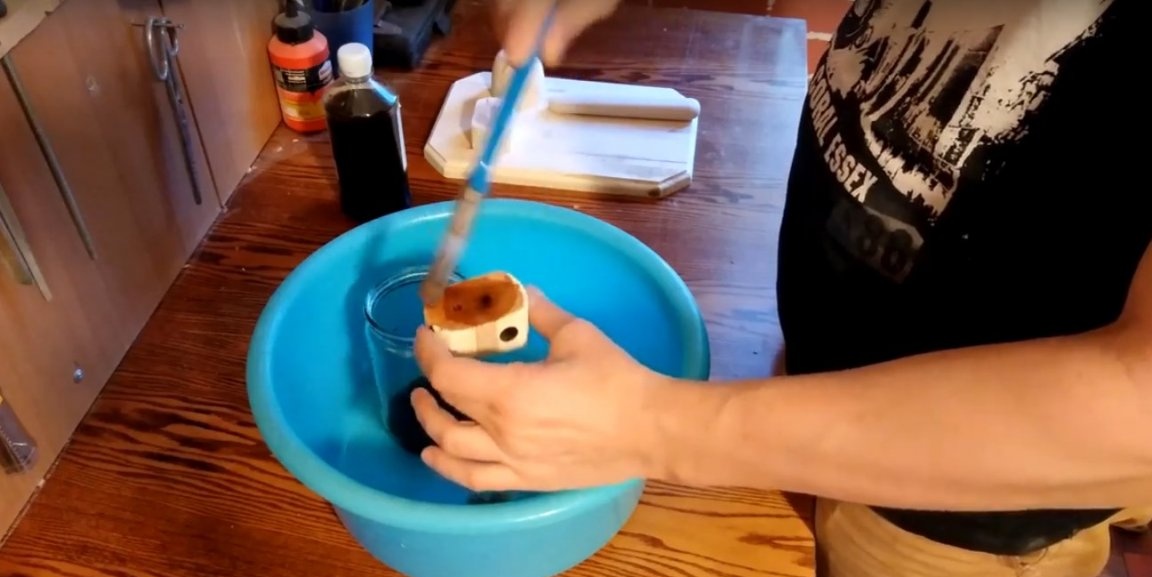
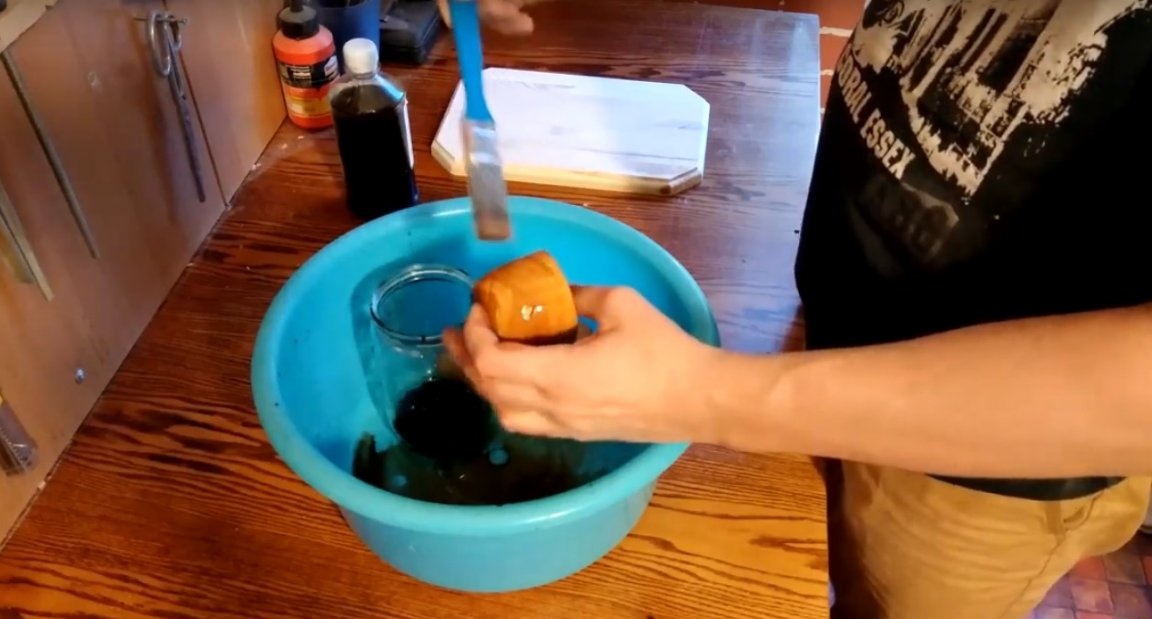
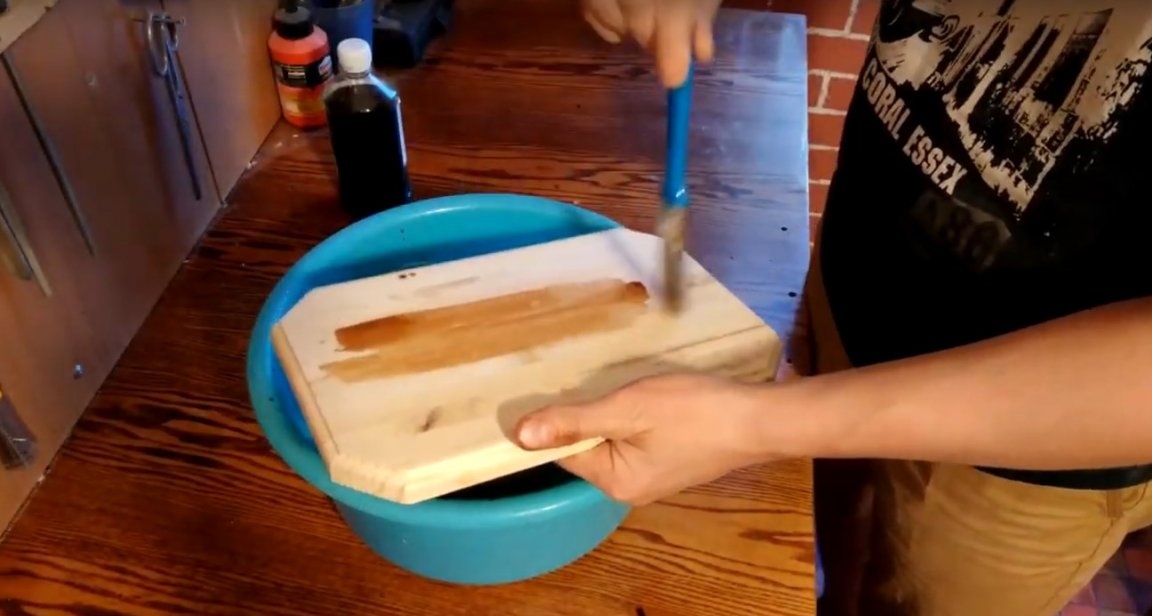
And left to dry, about a day.
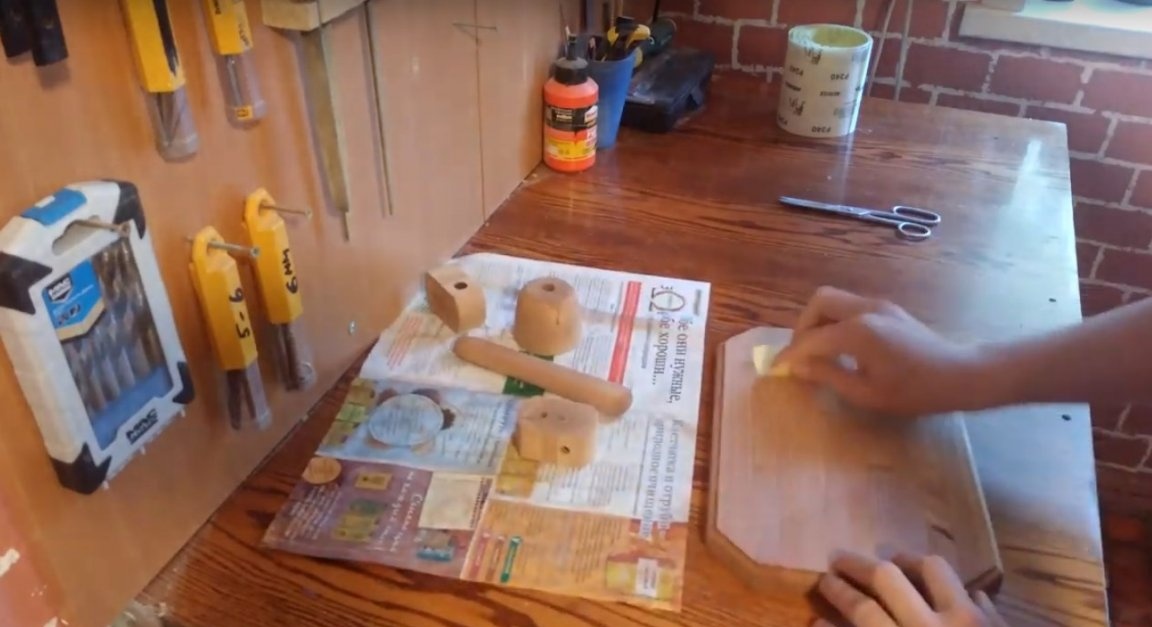
After drying, once again lightly processed all the details with sandpaper. Since treatment with stain, picks up small fibers of wood.
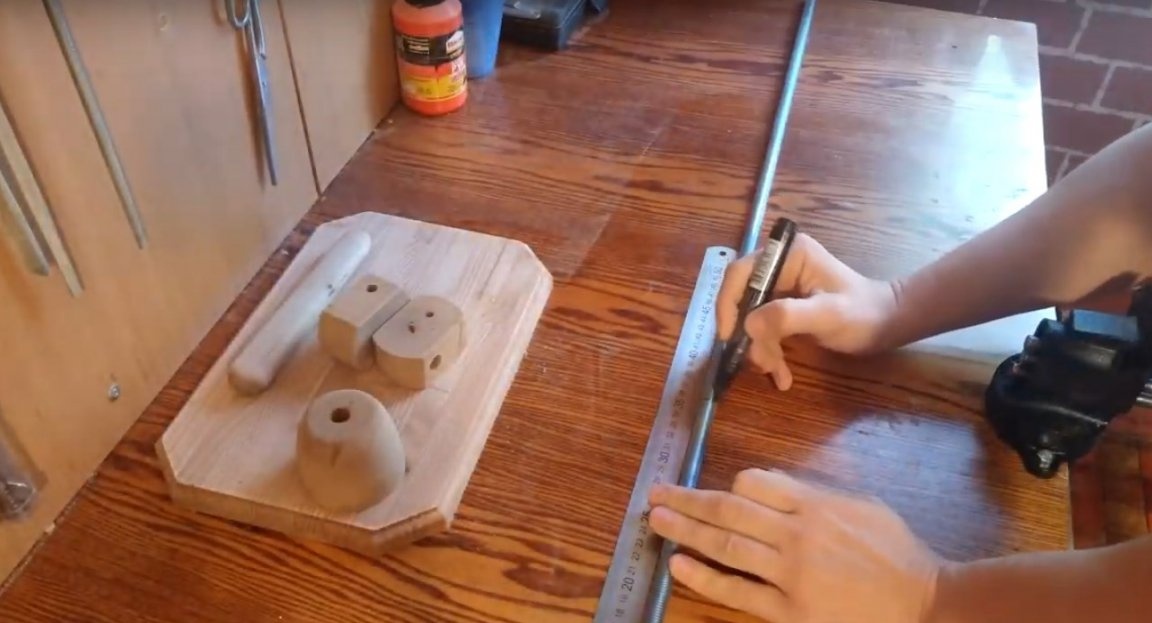
Then he took a M 12 hairpin and cut a piece of 350 mm long from it. This length is quite enough taking into account the fact that the length of the base is 300 mm, and nobody sharpens anything at angles of more than 90 degrees.
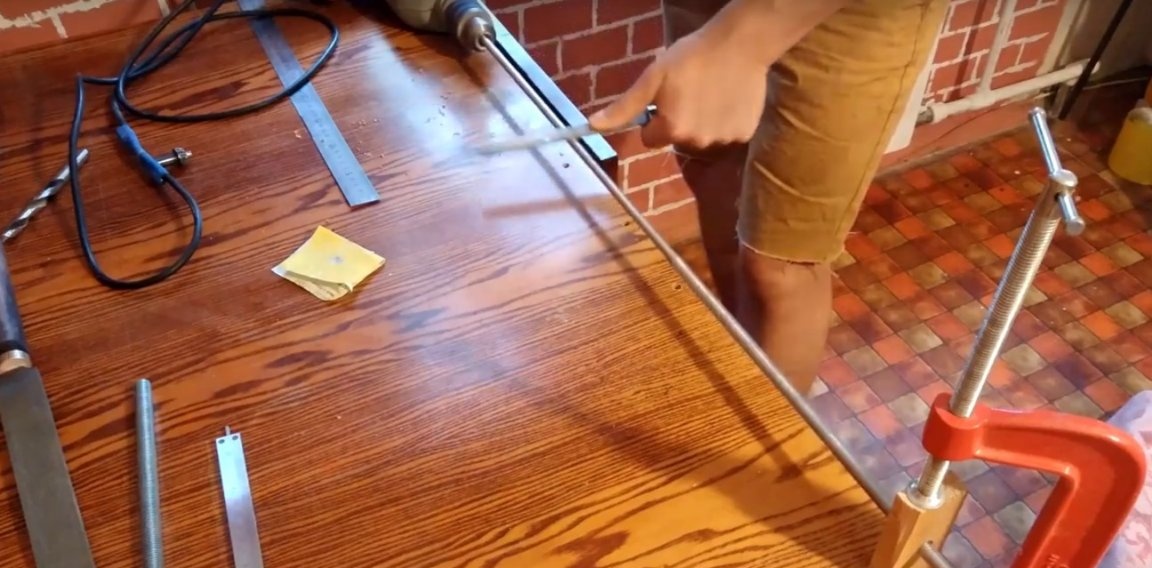
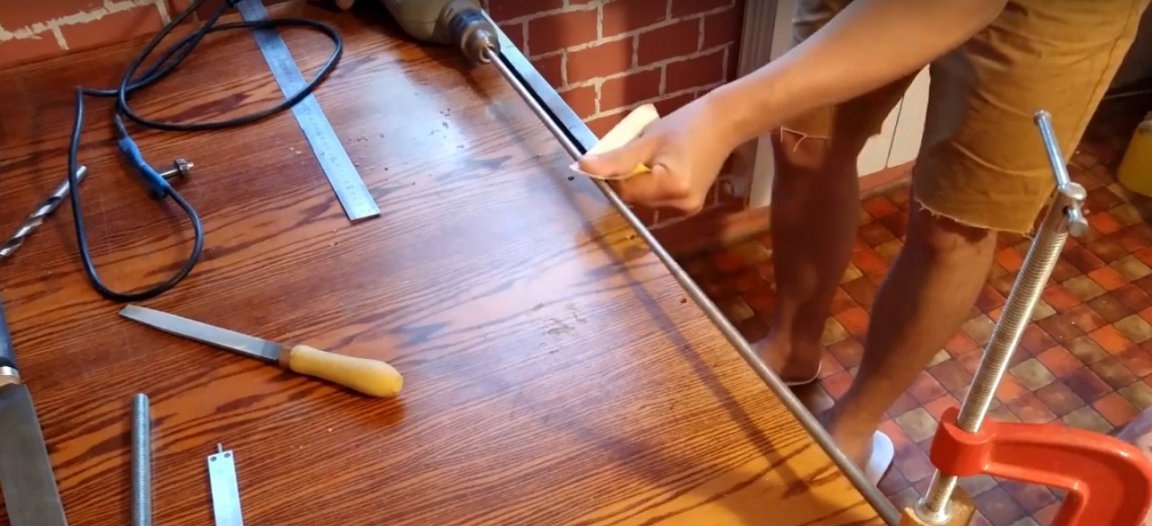
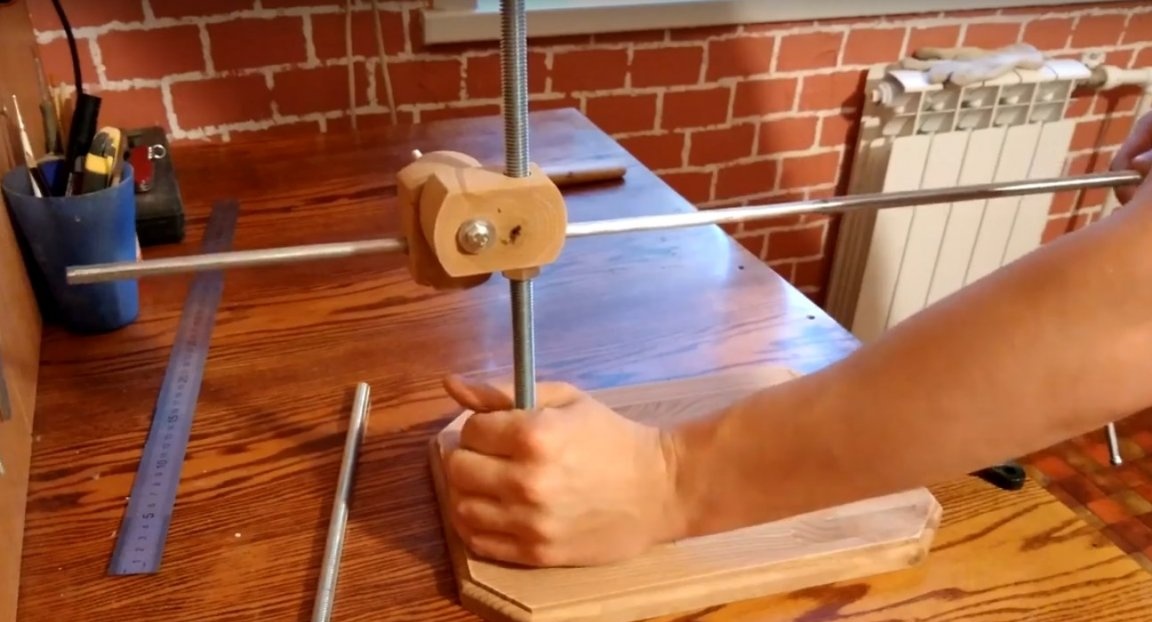
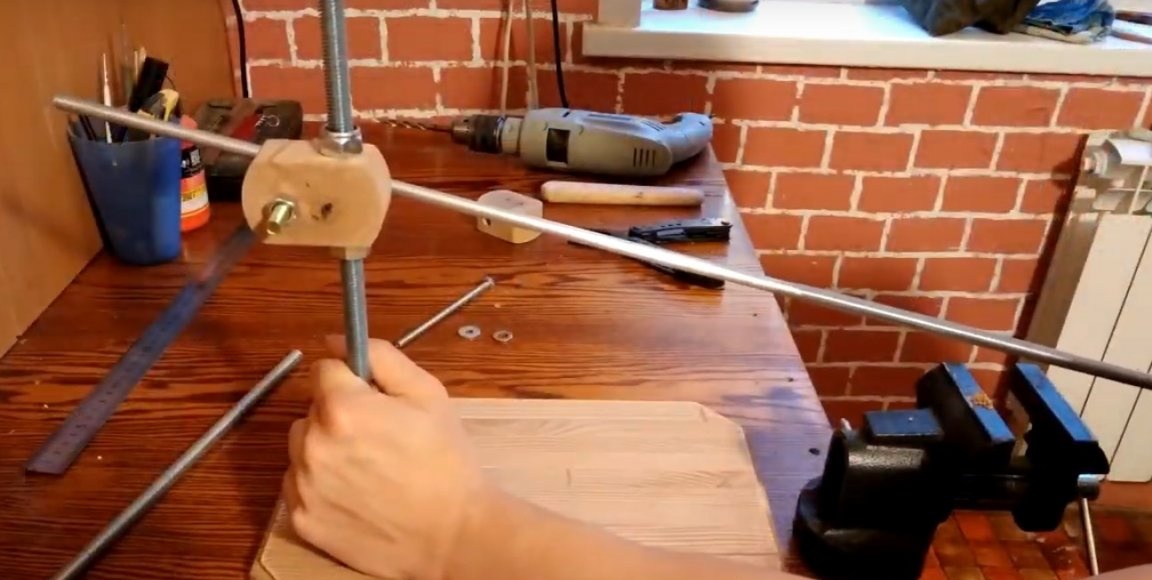
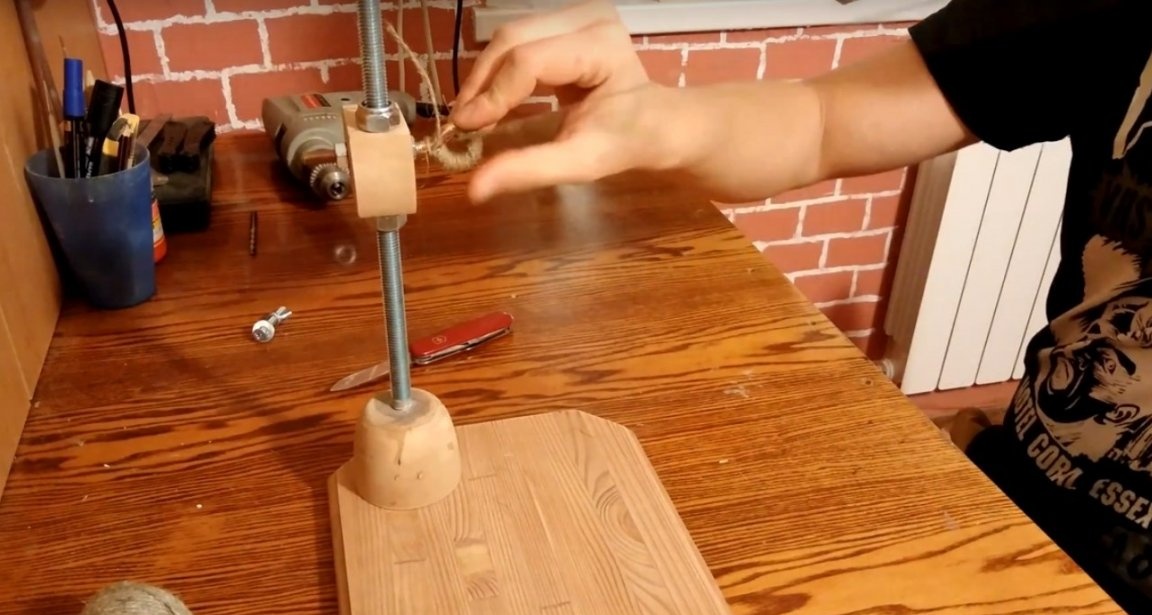
As a moving part, on which grinding stones will be installed in the future and with the help of which the grinding process itself will take place. The author will use a M 10 hairpin. And for free movement of this part in the socket, he grinds on it, a thread section of about 400 mm.
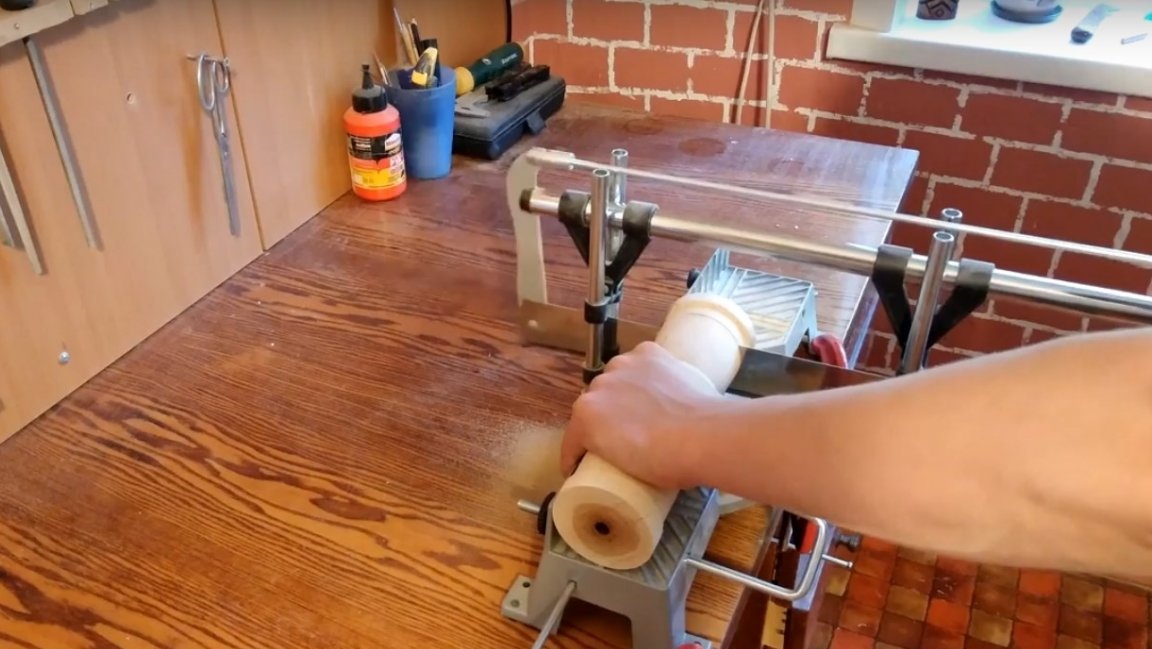
Then the author conducted preliminary tests.

And as tests have shown, the movable unit during work goes to a skew and the pin simply stops in the hole, the increase in the hole did not give results.
Therefore, the master decided to replace one of the wooden parts of the movable assembly with the core of the ring anchor.
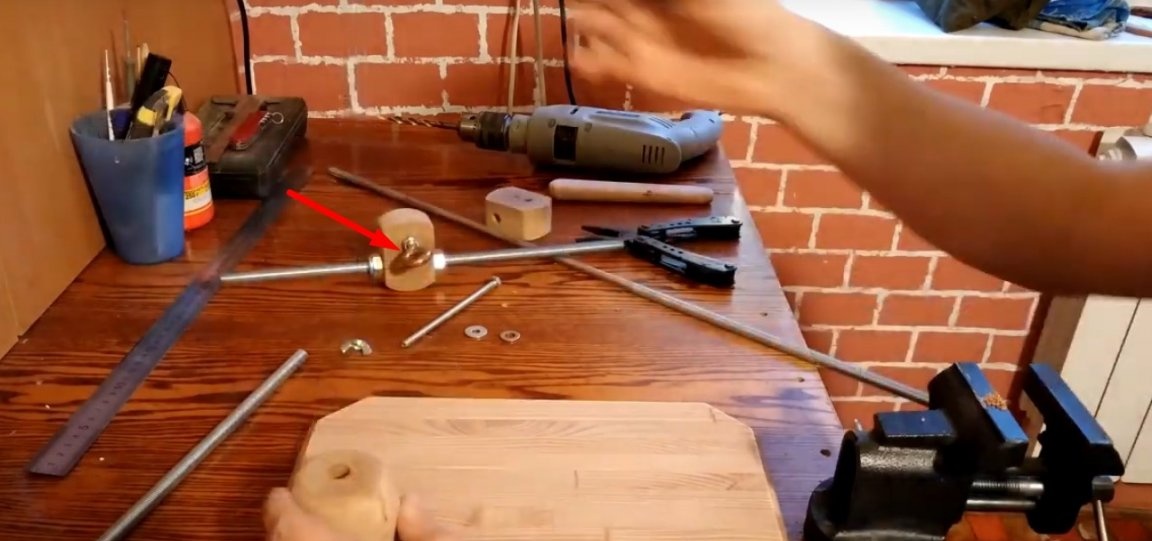
After testing again. It doesn’t look so elegant, but everything works fine.
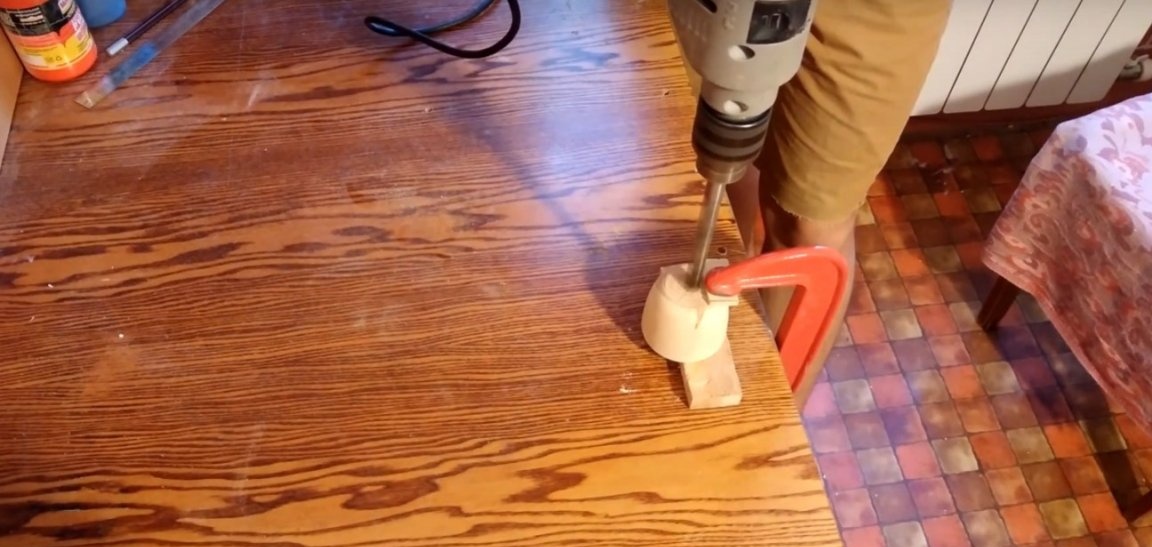
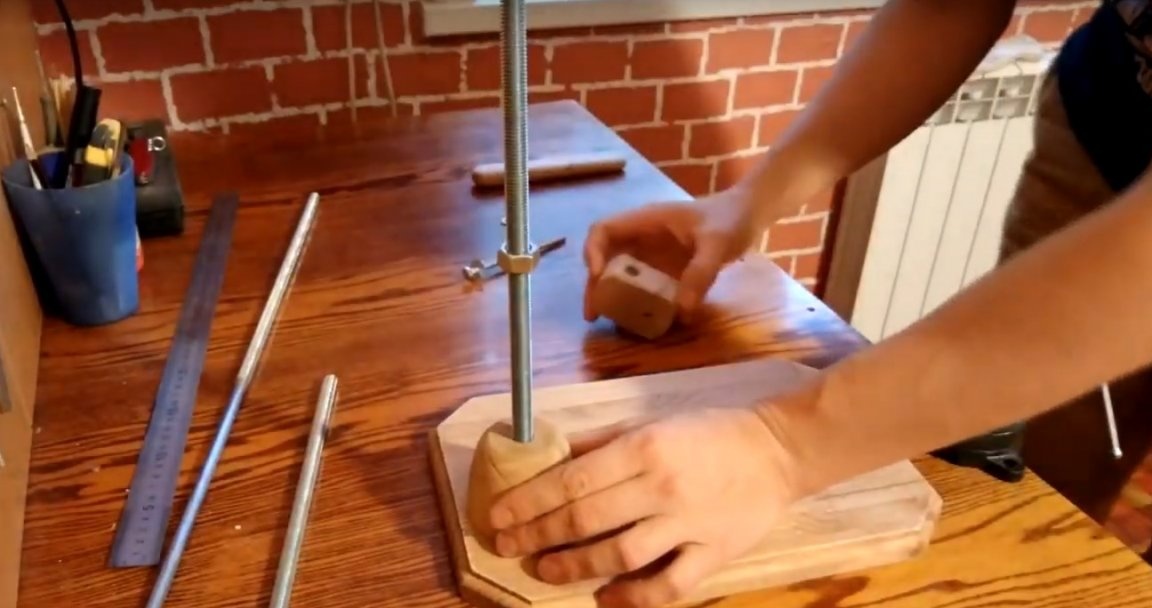
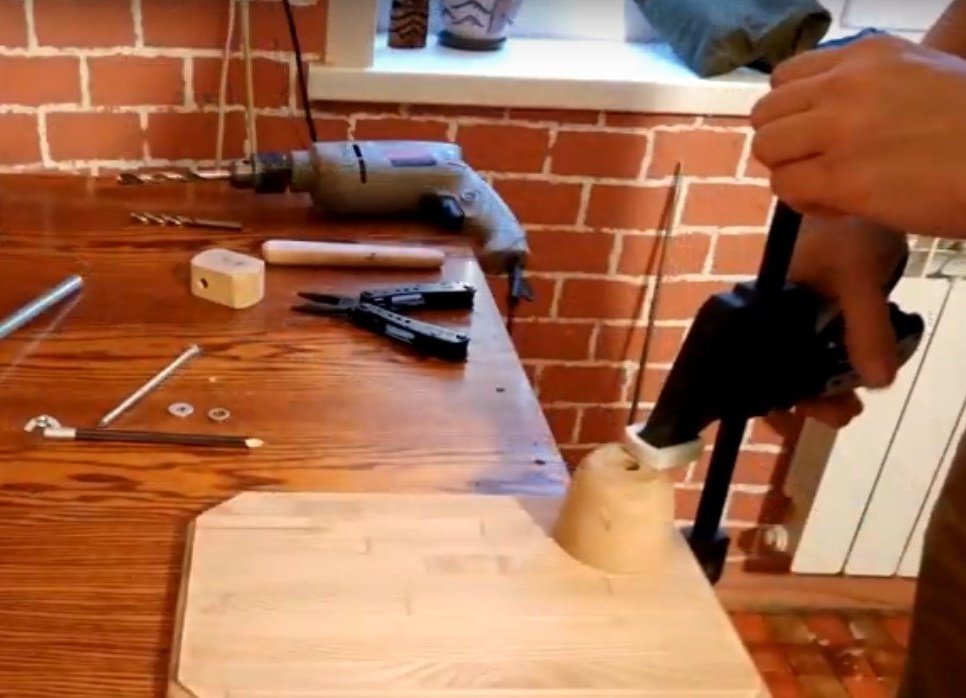
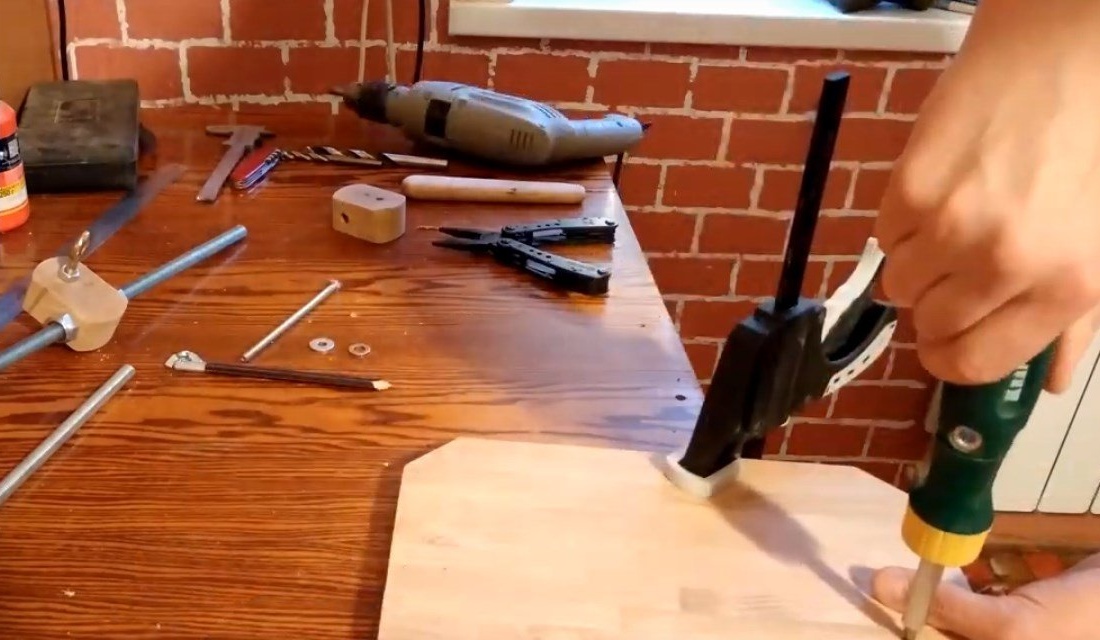
After a successful test, the author proceeded to the final assembly of the machine. Noting the place, he made a small blind hole in the base, only a few millimeters, so that the vertical hairpin was more stable during operation.
After fixes the conical part to the base with a clamp.
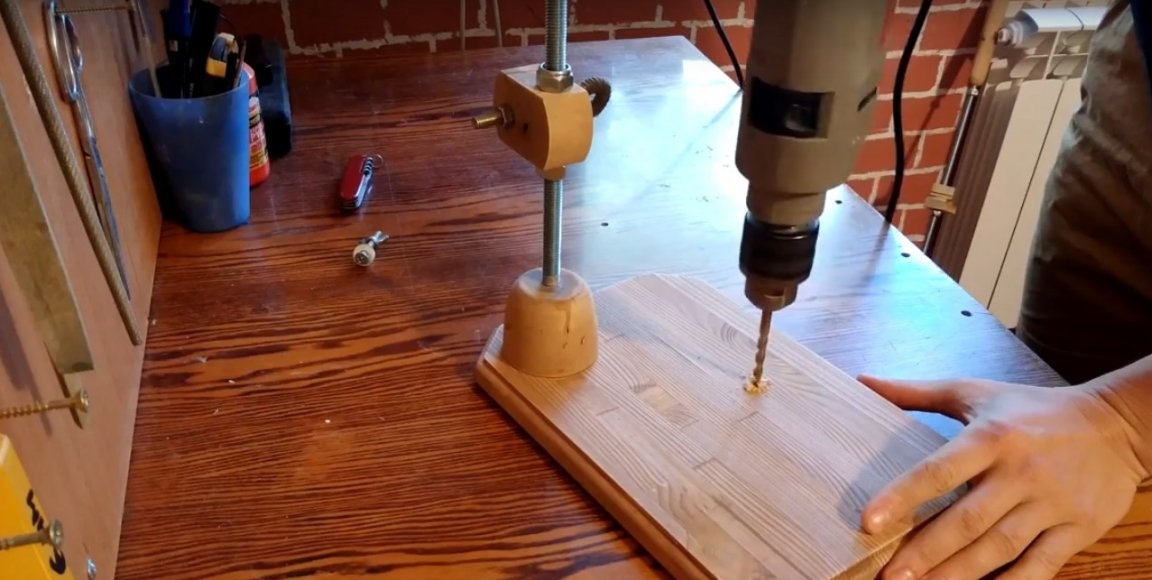
Further makes holes.
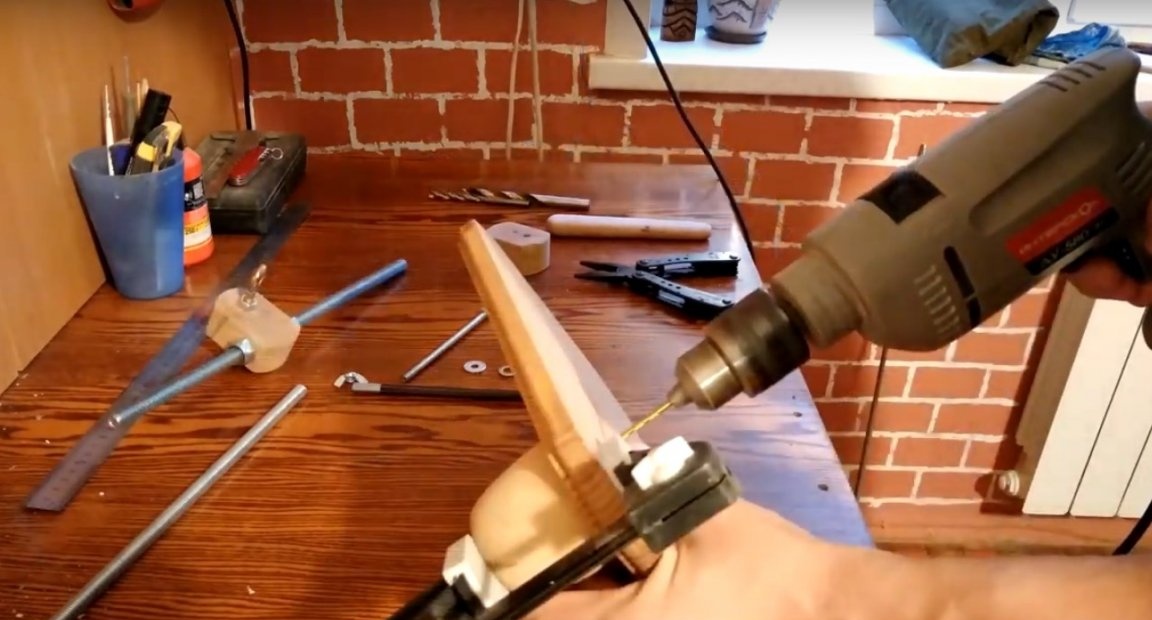
And countersink these holes.
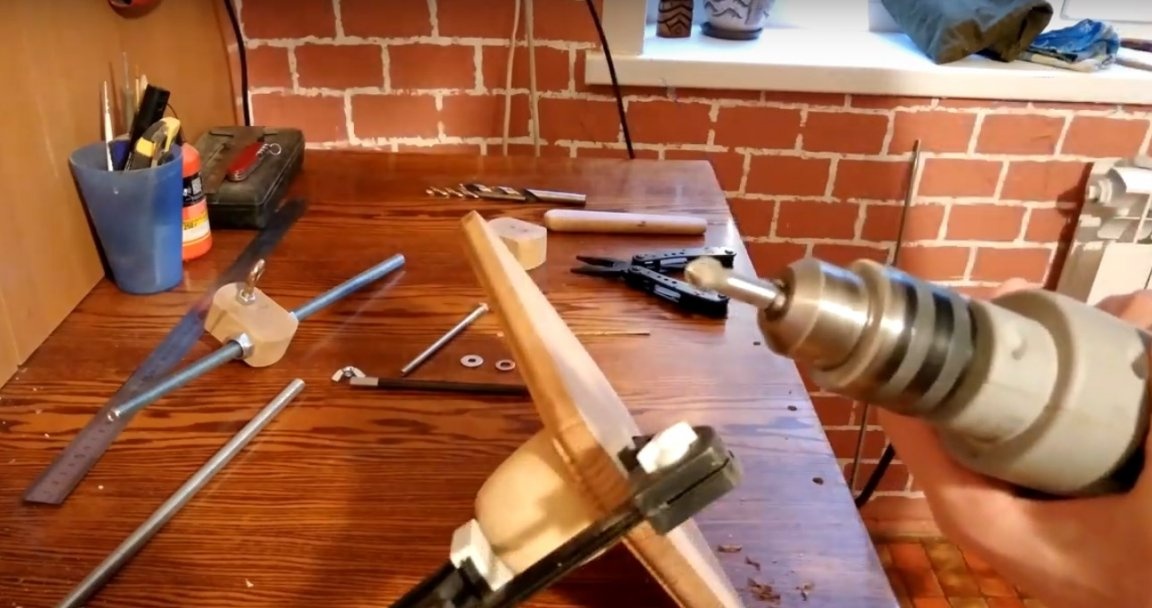
After securing the part with screws.
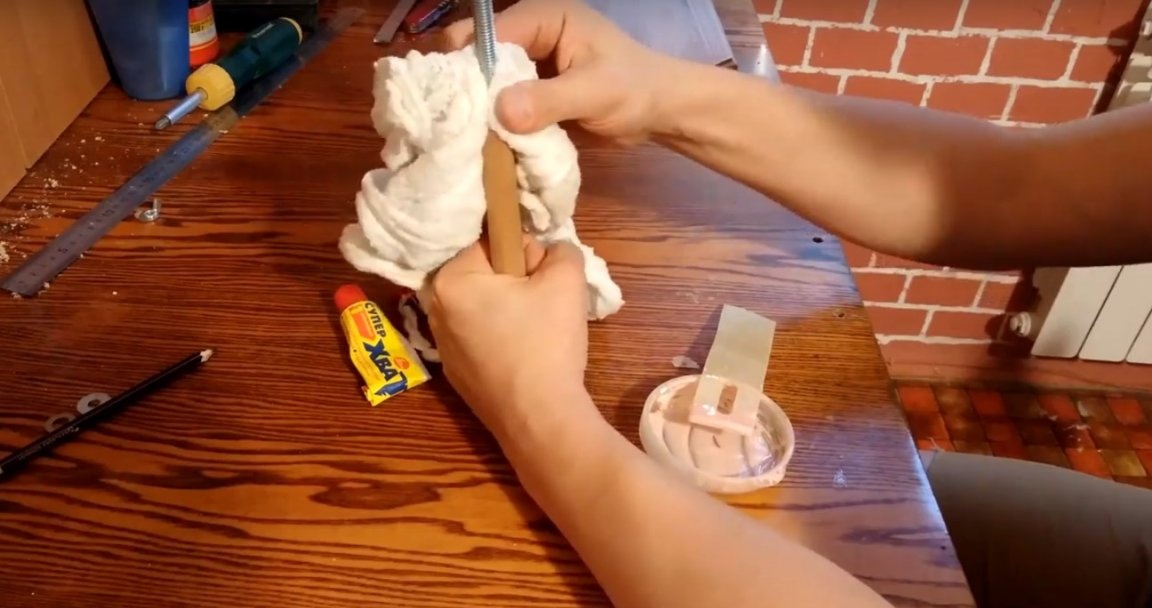
The author will connect metal and wooden parts using two-component epoxy glue.
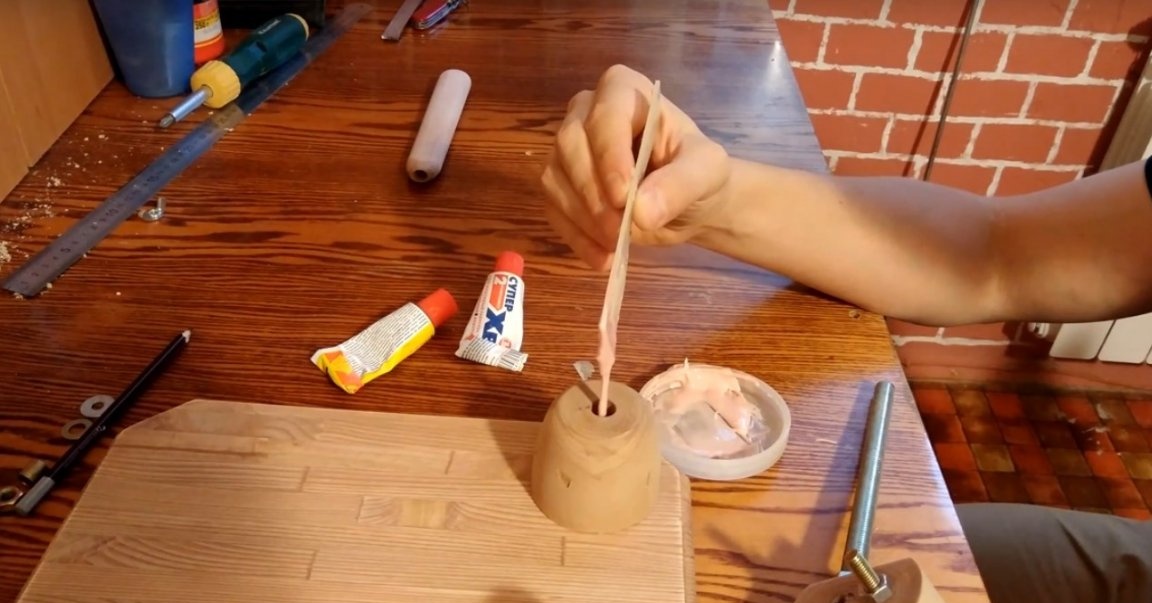
According to the author: the cost of such glue is not high, and the strength of the joints is excellent.

All excess glue is immediately removed with a piece of rag.
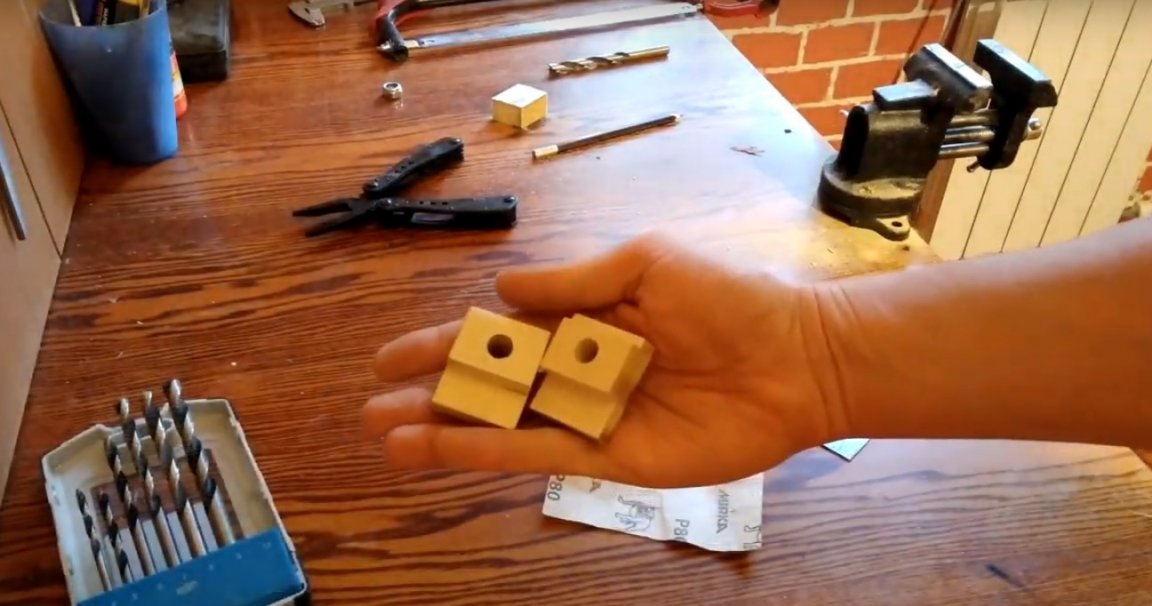
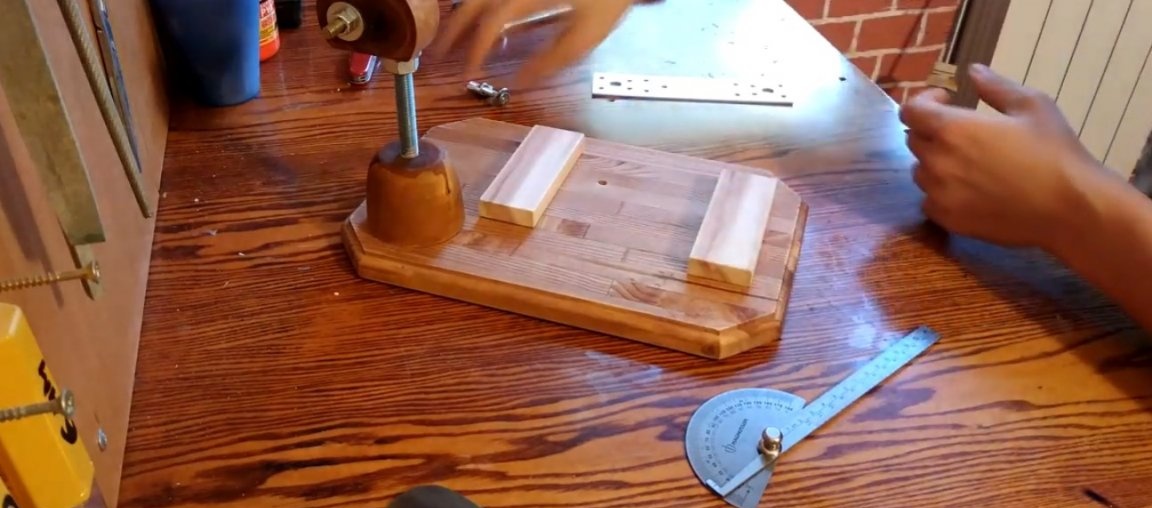
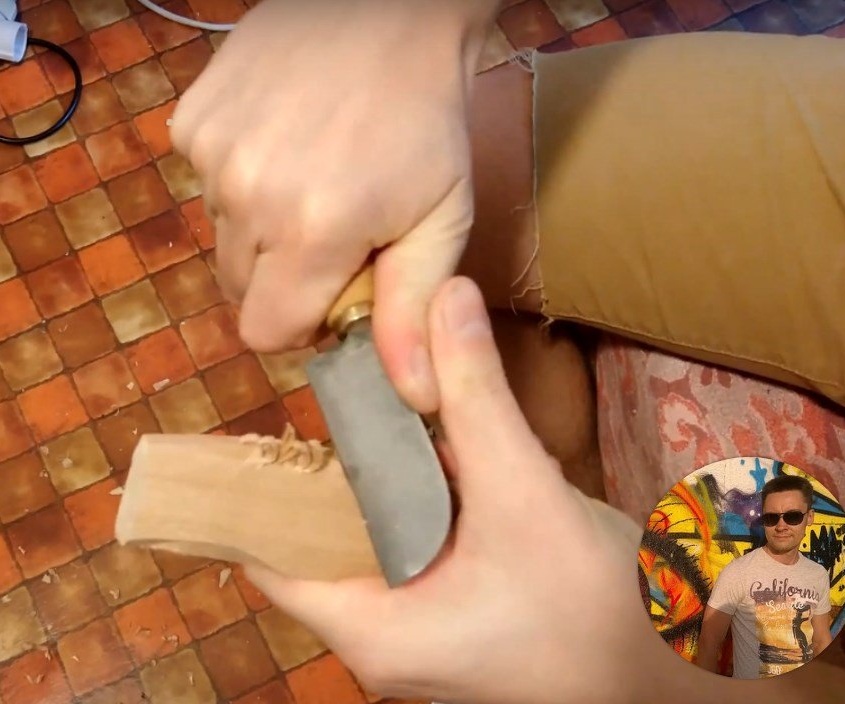
The author will make holders for grindstones from a bar.
It turned out a couple of such details.
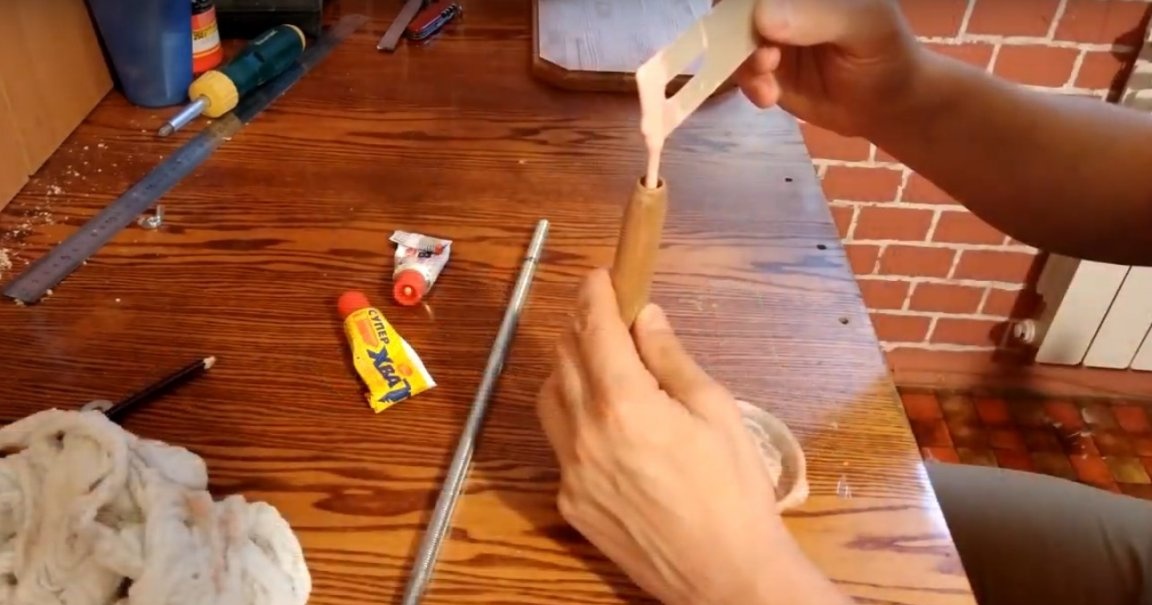
The master wrapped the ring with a jute cord so that during operation, the machine made less noise.
For stability and better grip homemade with the surface of the table, the master installed silicone legs on the base.
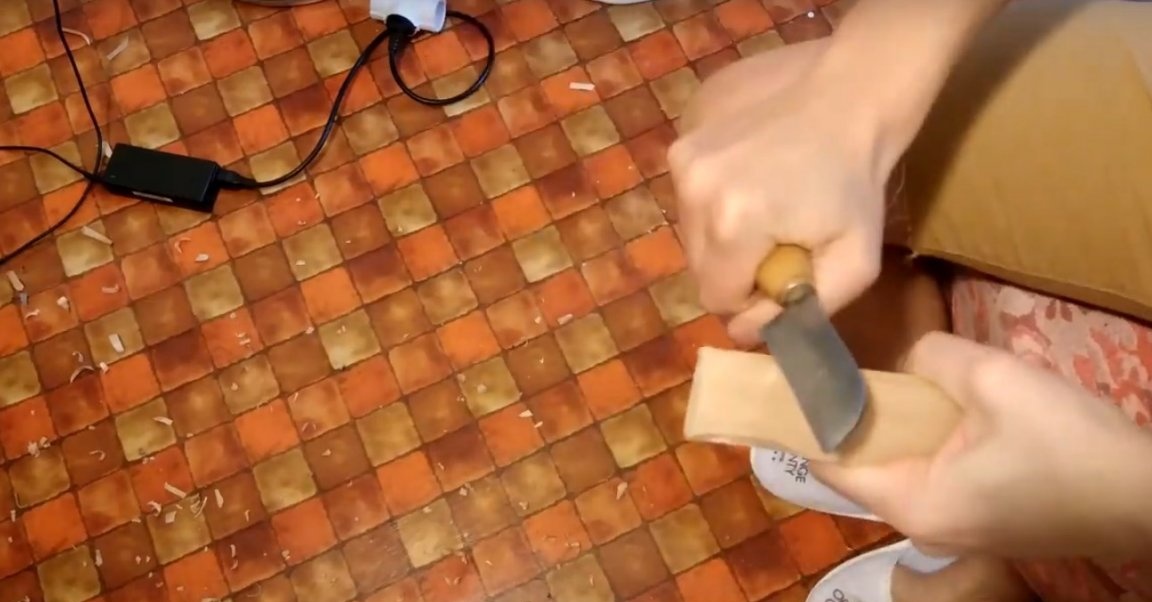
Then he made a hole so that the knife could be fixed.
Then he finished the wood parts with liquid paraffin.
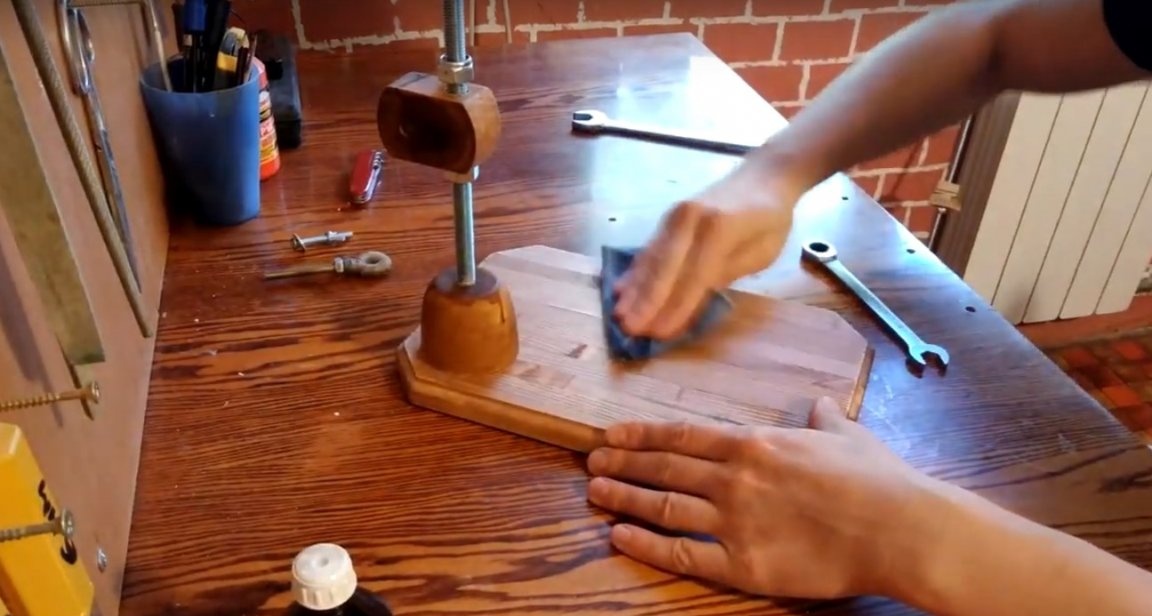
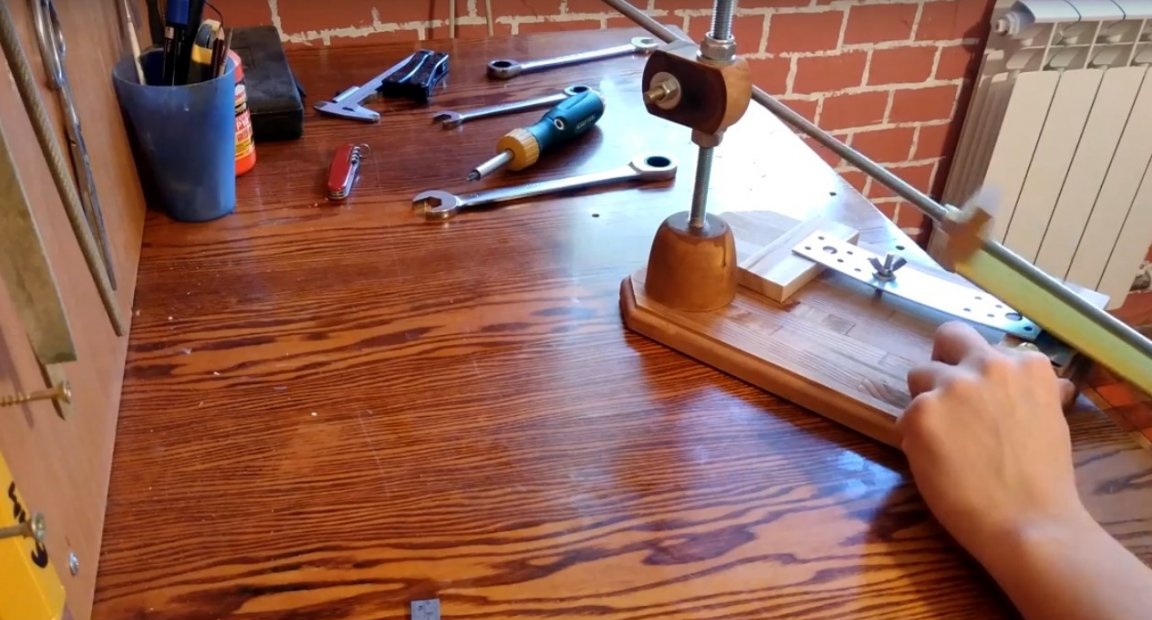
The author will fasten the knife with the help of two wooden bars and a metal mounting plate. Since the author plans to sharpen not only knives on this machine, he specifically did not make any stationary, fixing supports.
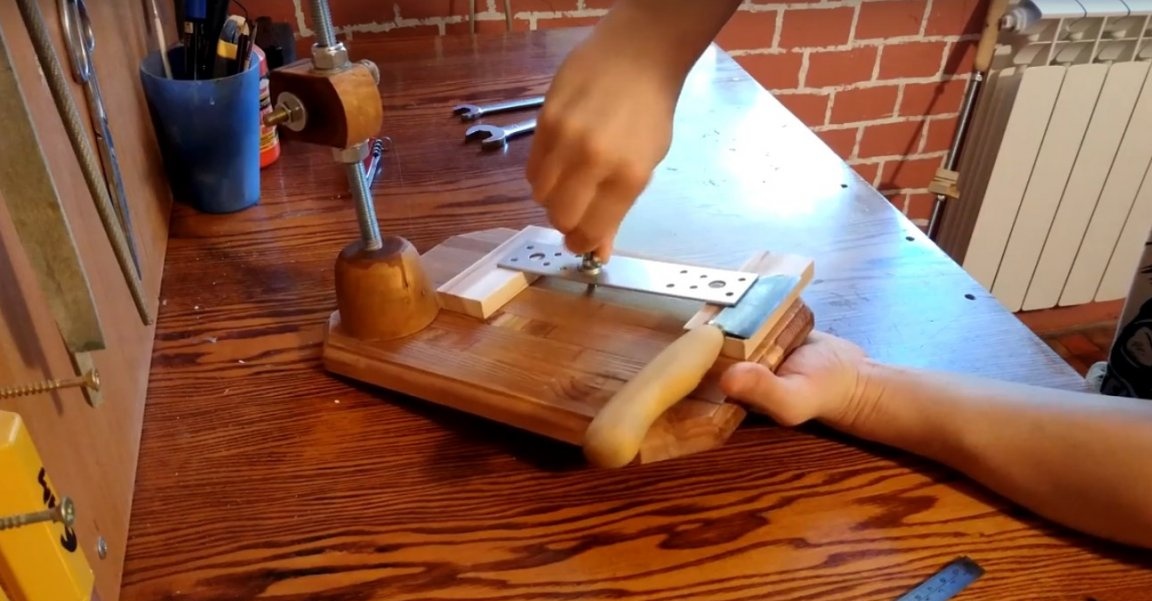
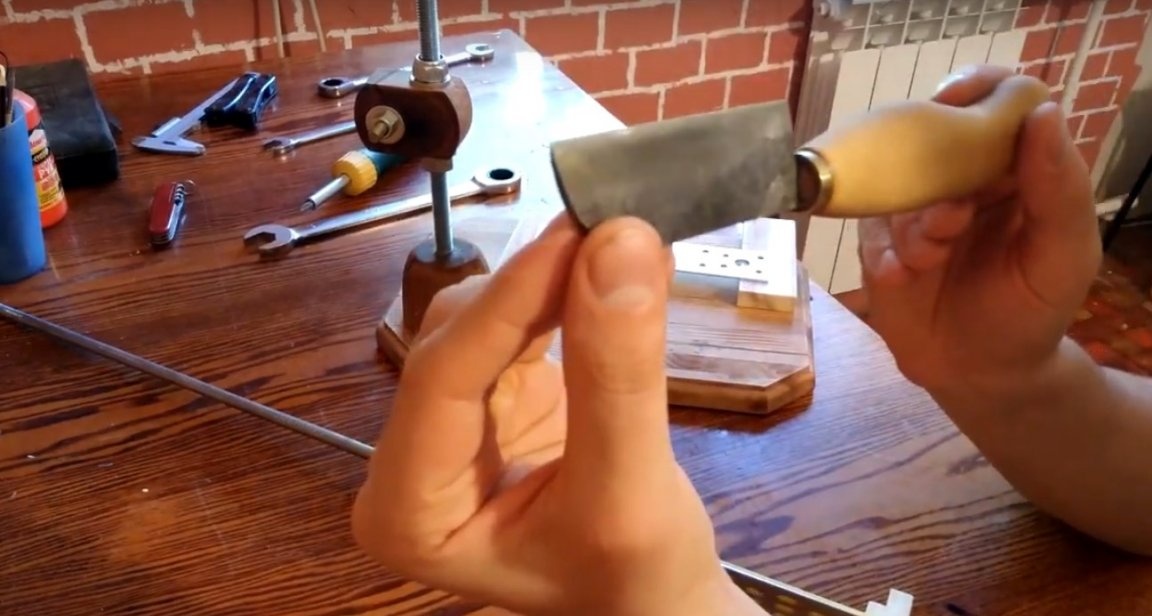
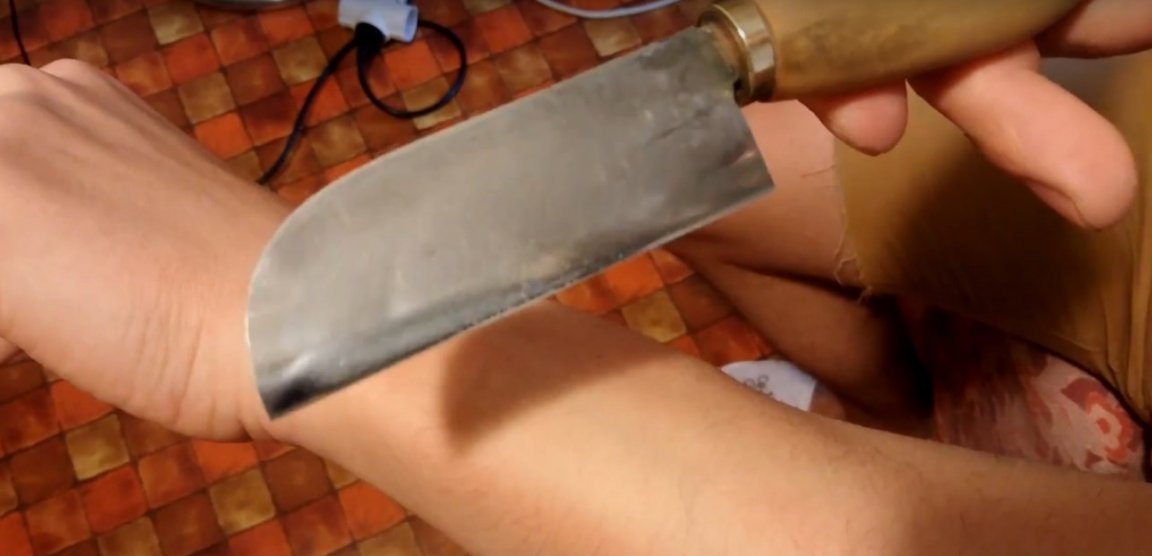
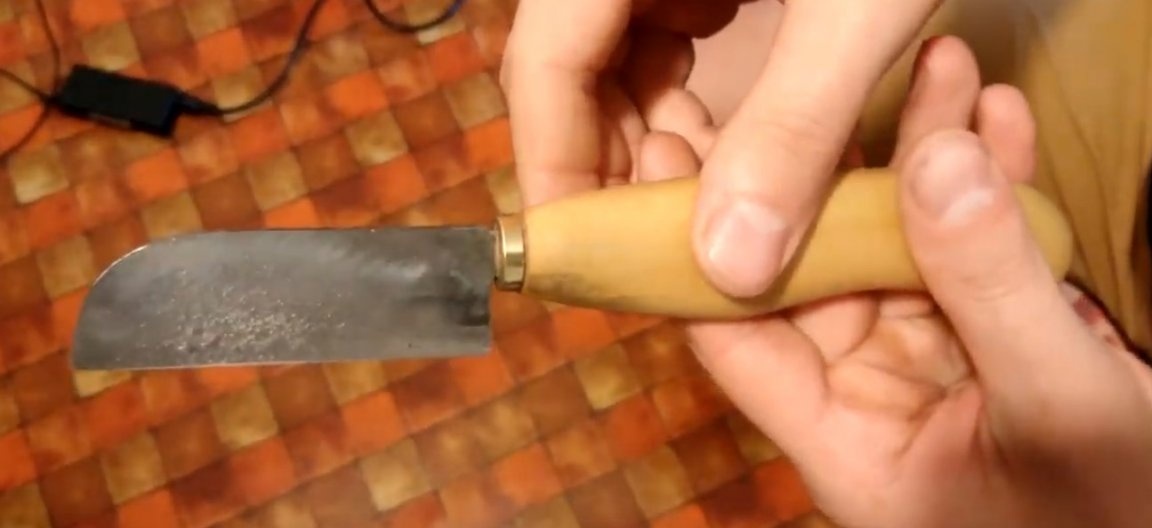
Here on this homemade knife, the master will check the performance of this homemade product.
Test.
After sharpening on the machine, the author processed the cutting edge of the knife, on a felt circle with GOI paste.
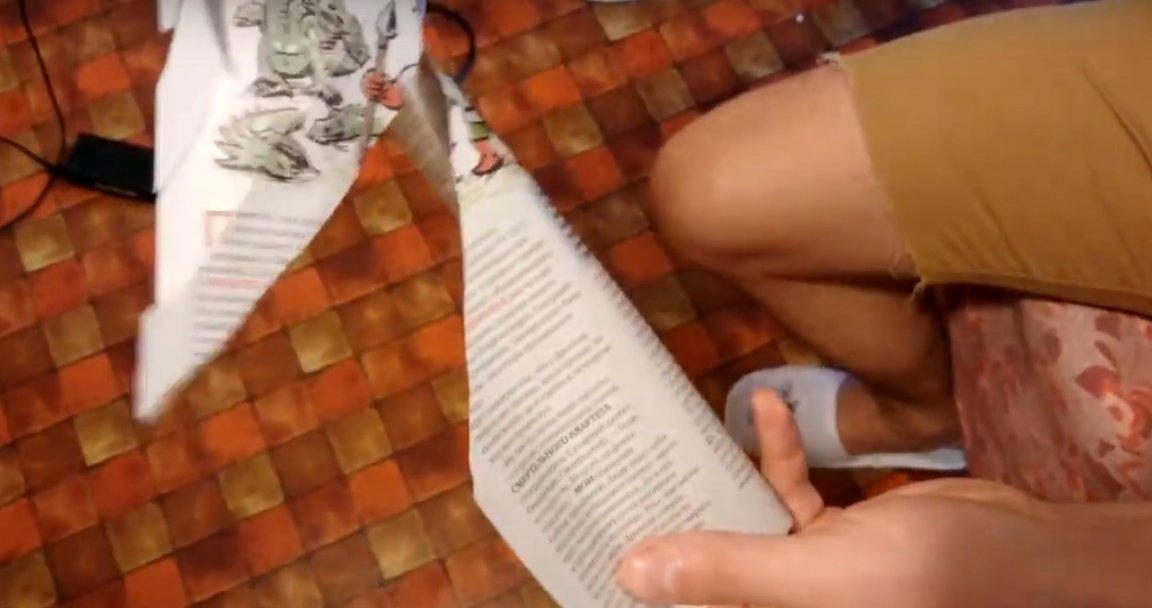
Result on paper.
And on the tree.
A homemade machine with a knife sharpener did an excellent job. A couple of words of the author about this knife: this knife was made by the author, from a knife of an inexpensive Chinese plane. And the steel on it is not of very high quality, moreover, the author could not do a good hardening of the knife. And so the author chose the power angle of sharpening, for this knife at 40 degrees. And having worked a little with a knife with hardwood, the author found out that the edge of the knife turned out to be quite resistant, which means: the sharpening angle for this steel was chosen the right one.
And that’s all for me. Thank you all and see you soon!