
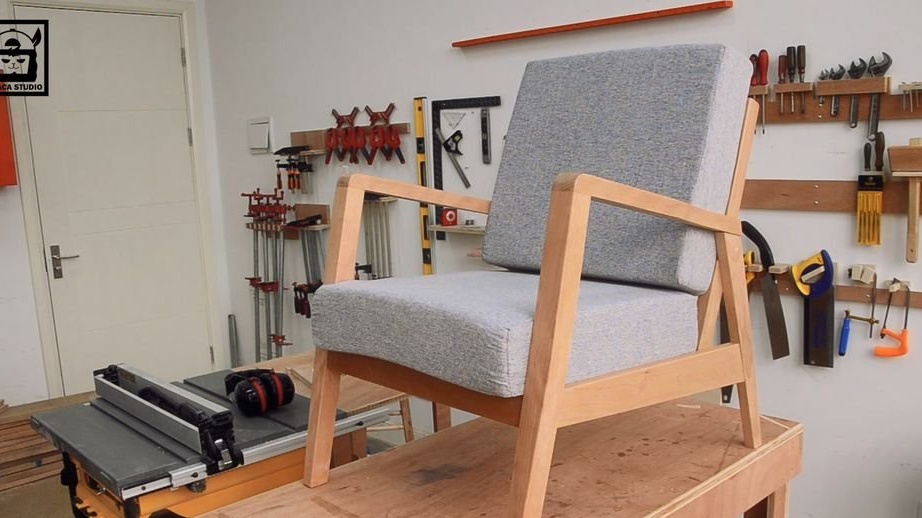
Step 1: Project Plan
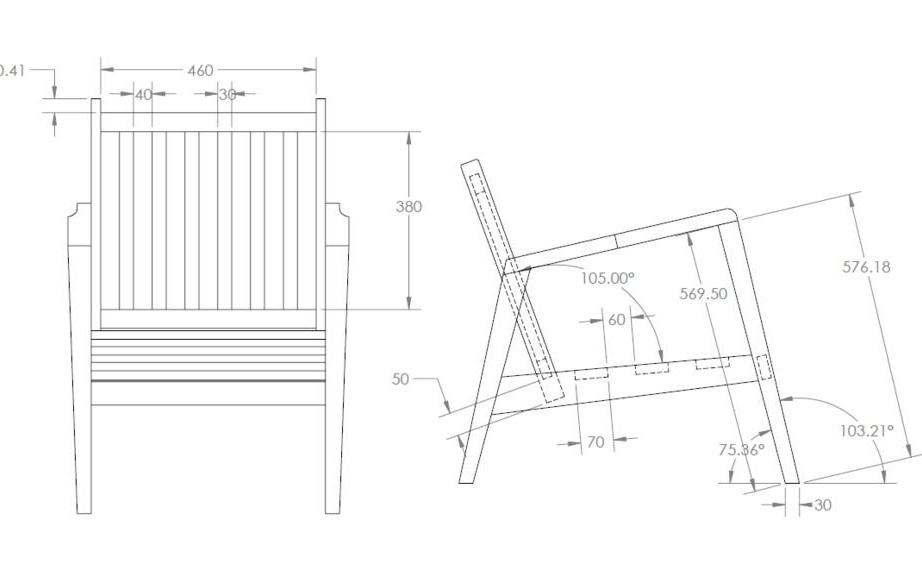

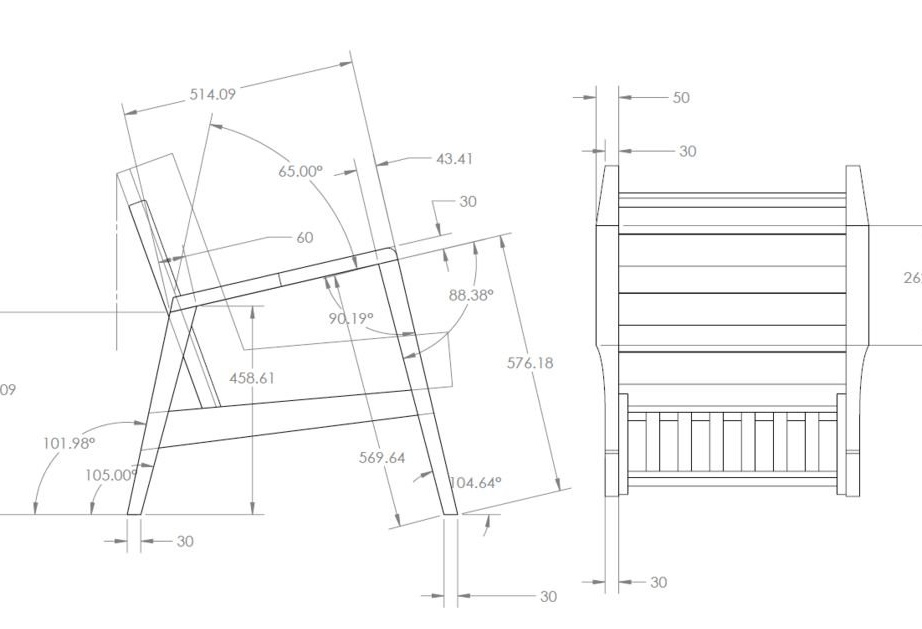
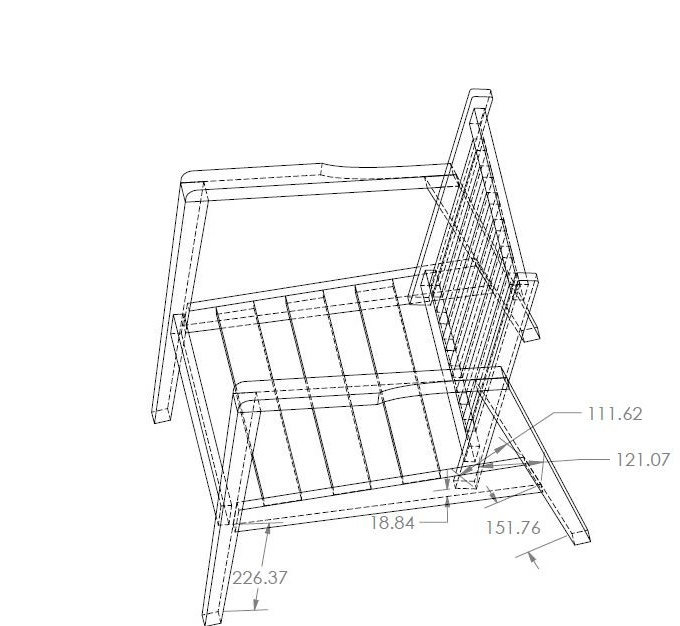
This model Armchairs was created at Solidworks. This is a screenshot of a cutting plan. This plan covers all aspects necessary to create this chair. But the parts are not marked, which makes them difficult to assemble. But from a perspective point of view, this is actually not so difficult. Design in metric units. (e.g. 500 means 500 mm) Just ignore the number after the decimal point. You don't have to be so precise.
Step 2: Material: beech, 50mm and 25mm wide
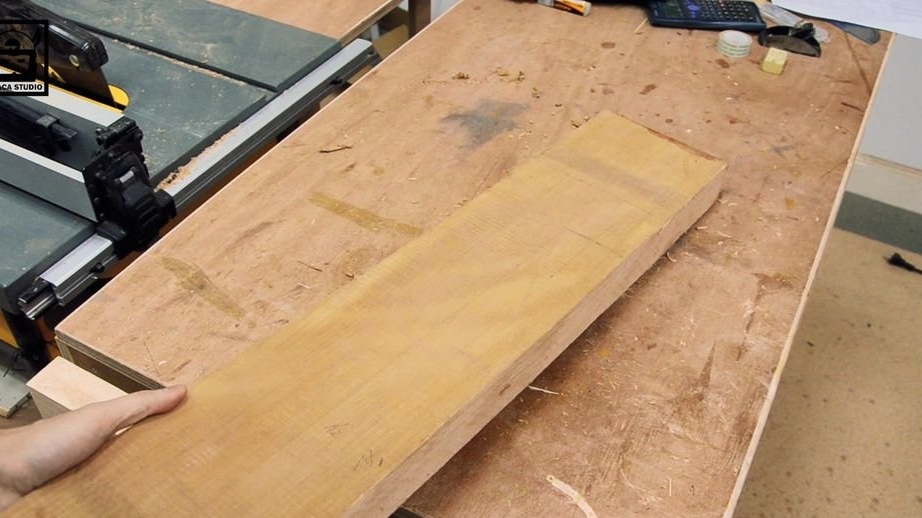
As a material in this homemade Beech was used.
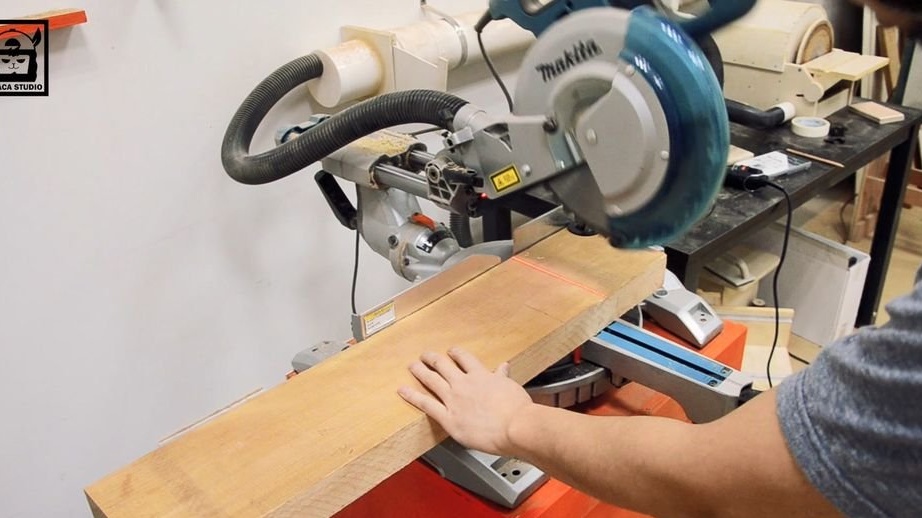
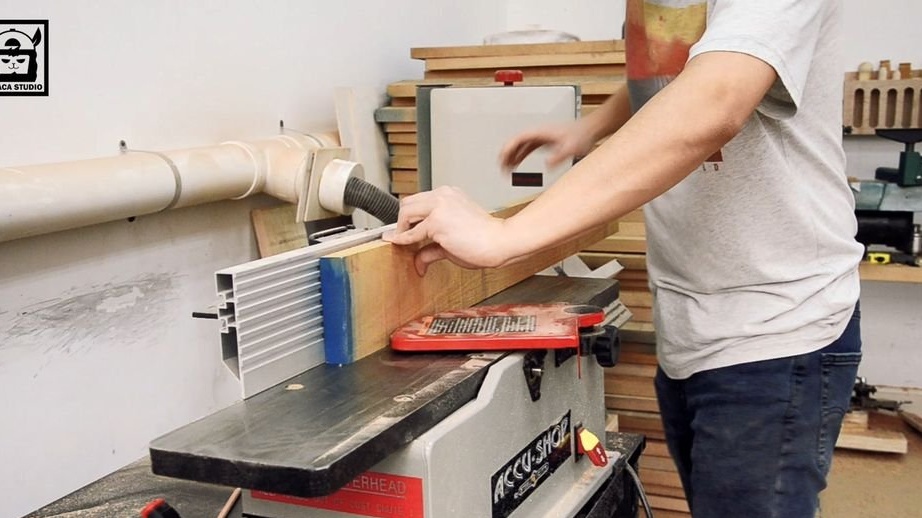
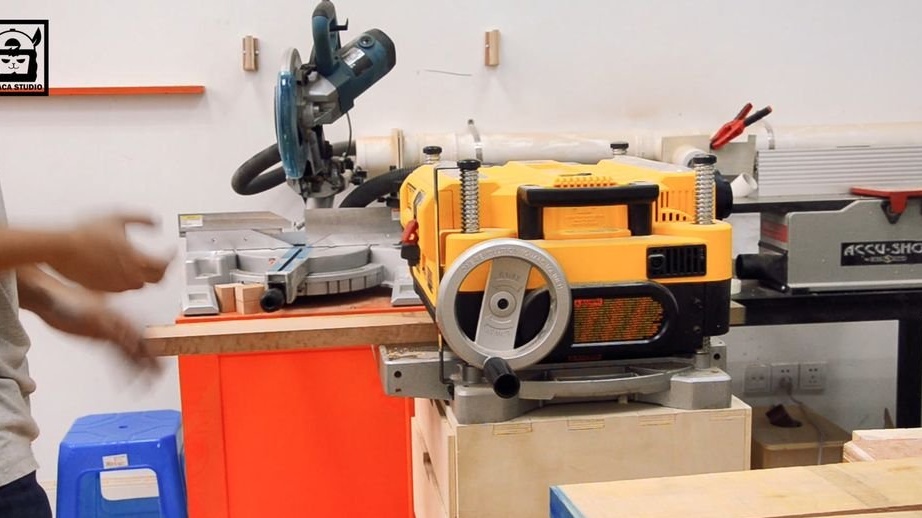
The first step is to measure all the wood. Then, using a miter saw, cut the wood along the length and drive away on the jointer. Then using a planer, ensure that both sides are flat and smooth.
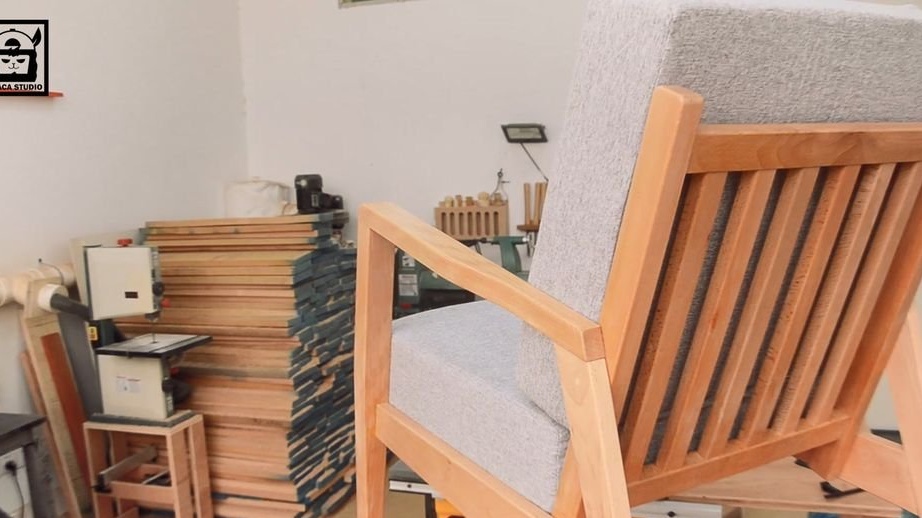
Step 3: We make a beam for the back of the chair
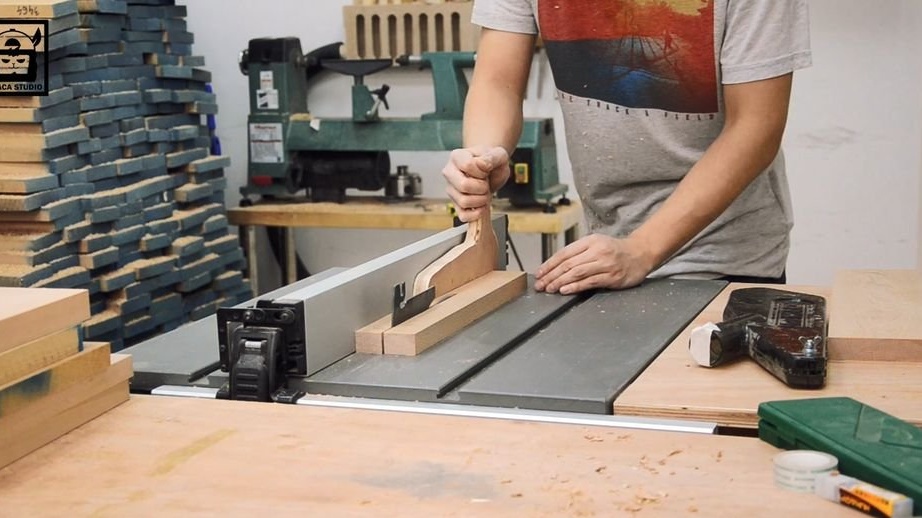
The back of this chair is made of 10 wooden blocks.
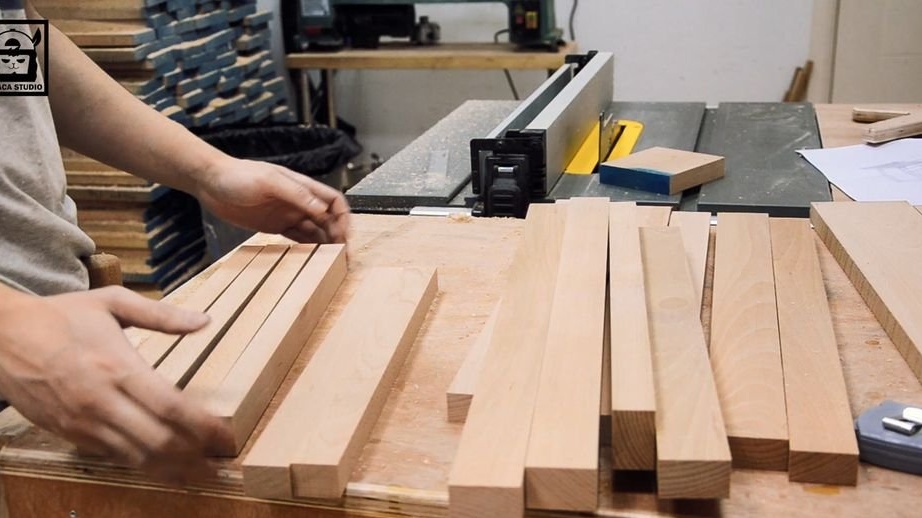
At the beginning, the tree is cut into bars of the required length on a table saw. It must be ensured that each bar has the same width and length.
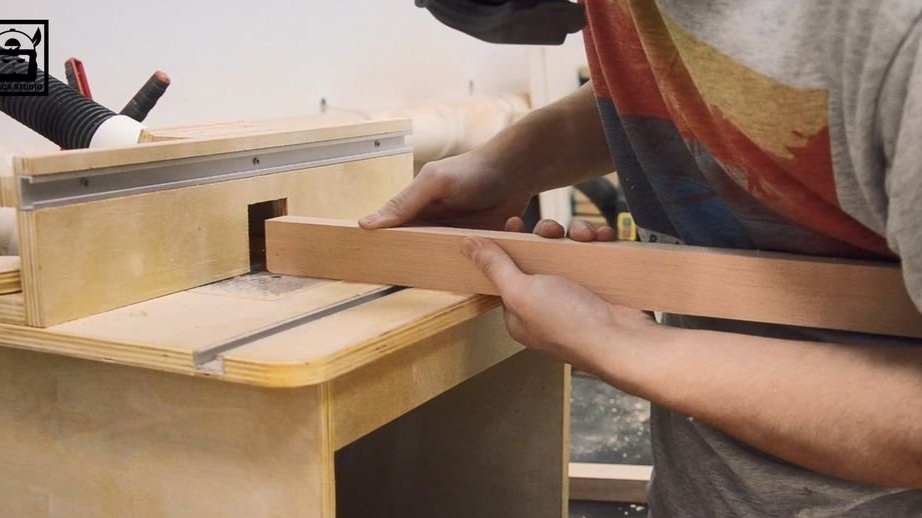
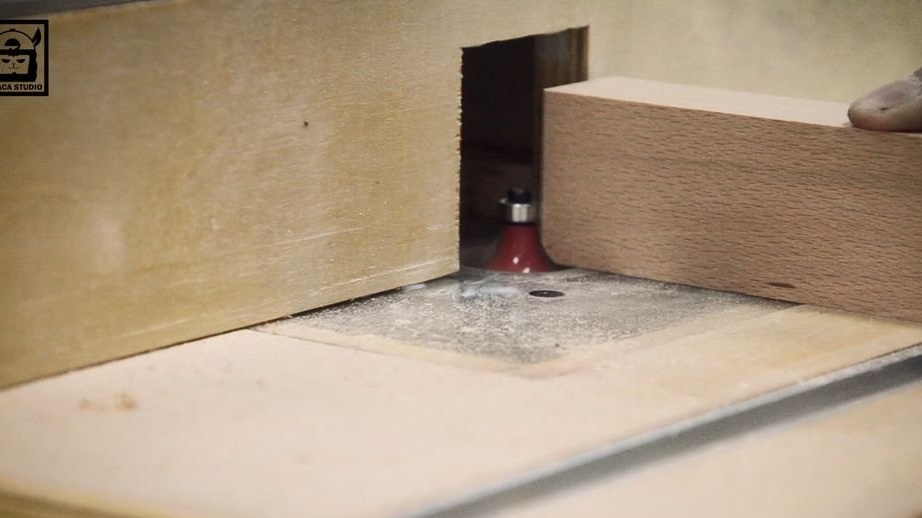
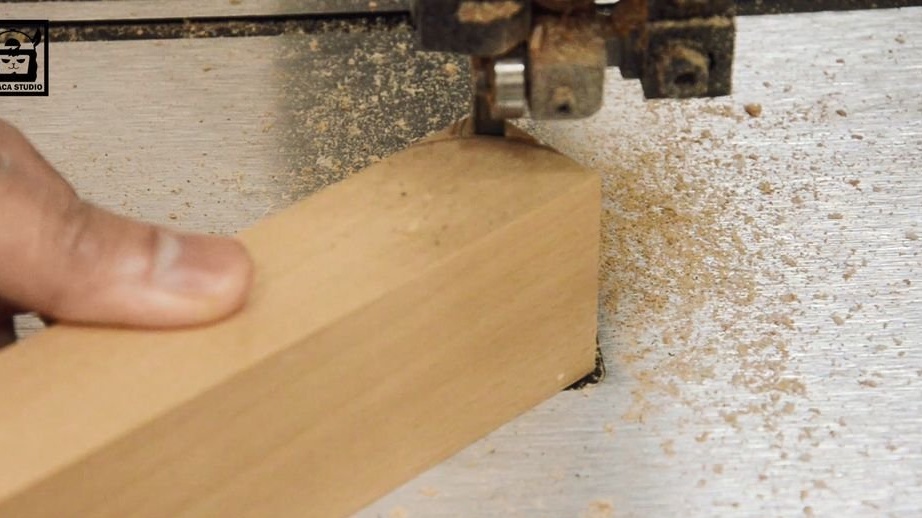
The beam was then machined on a benchtop milling machine to give the tree a flat edge. Milling speed is very important. Otherwise, you can burn a wooden beam and turn the beam into firewood.
Step 4: Connect the details of the back
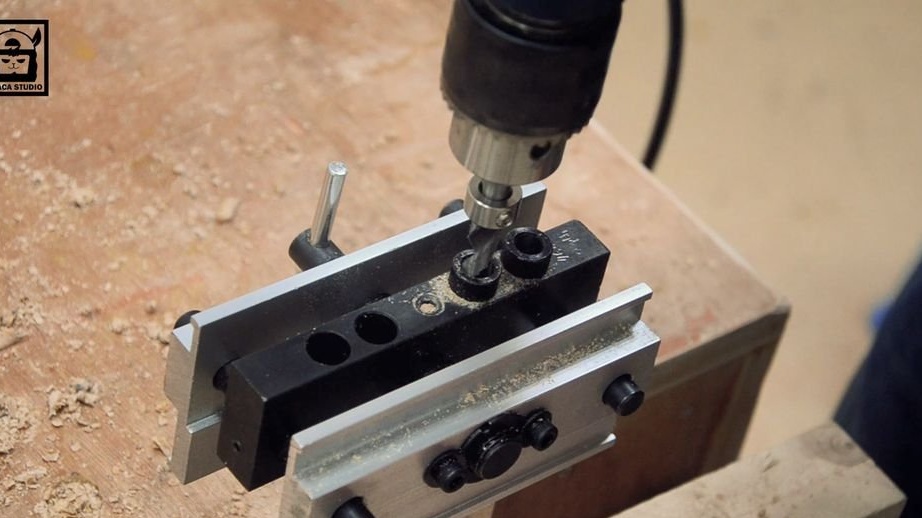

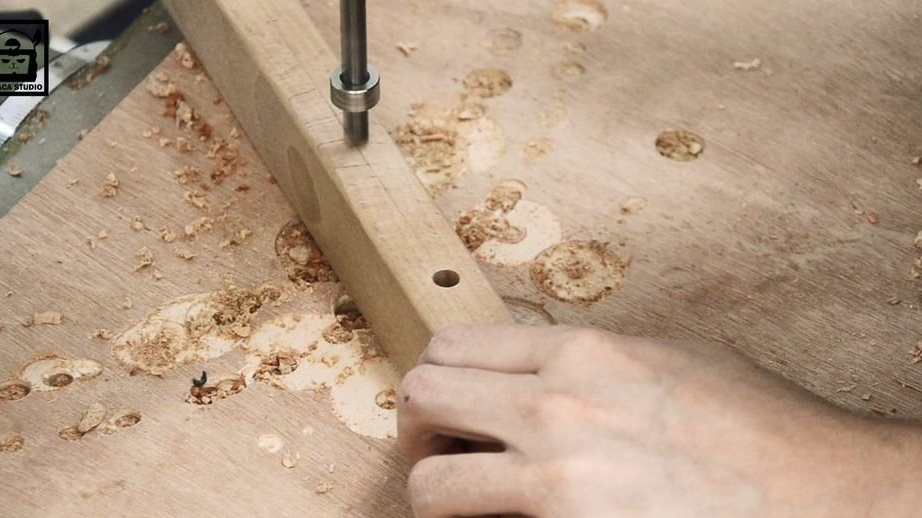
To connect all parts of the back, pins were used. At first, several 8mm holes were drilled in wood. The depth of the hole is slightly greater than half the nagel so that there is room for excess glue. Each hole was checked with a nagel to make sure it is perpendicular.
Step 5: Making Legs
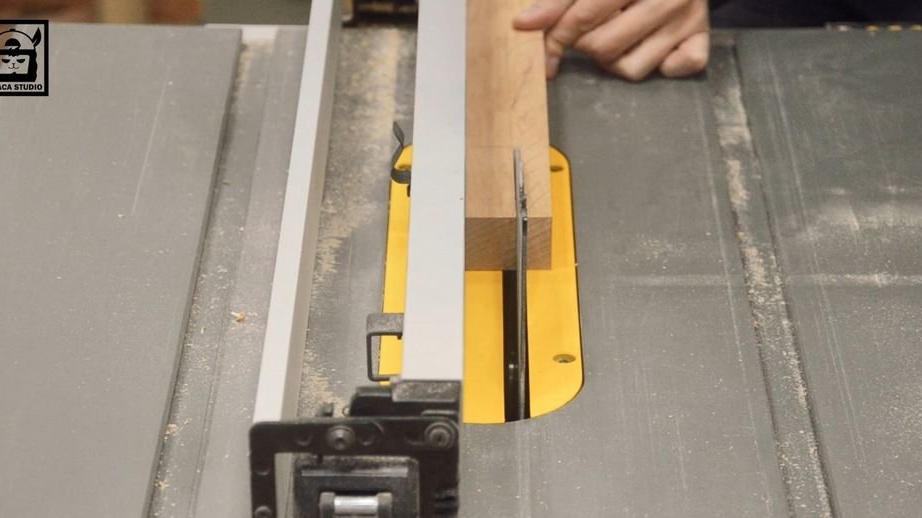

All legs are made of 50 mm timber, as they are thicker than the back. To make the correct angle on the legs, a band saw was used.
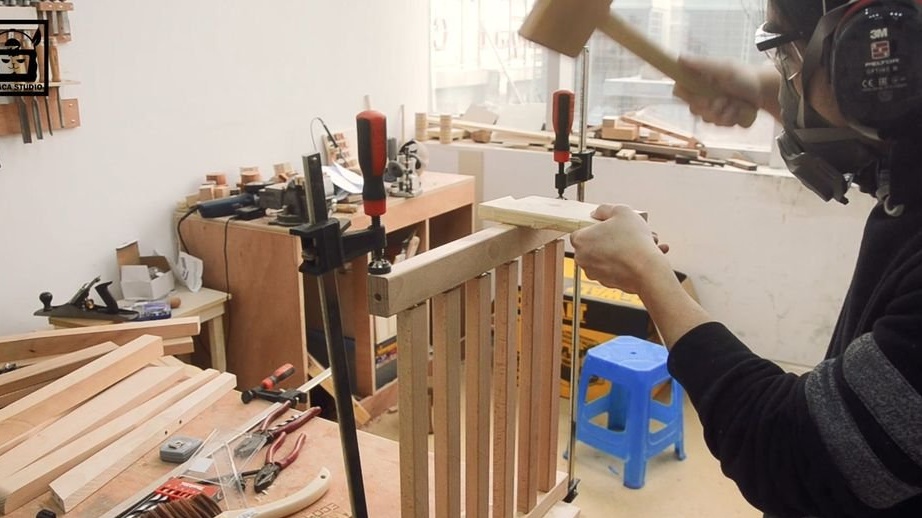
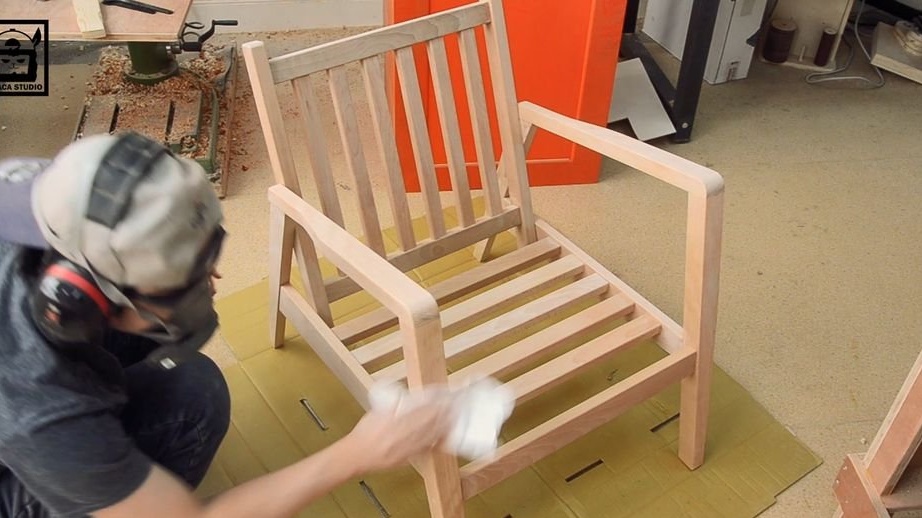
Step 6: Assembly of the structure
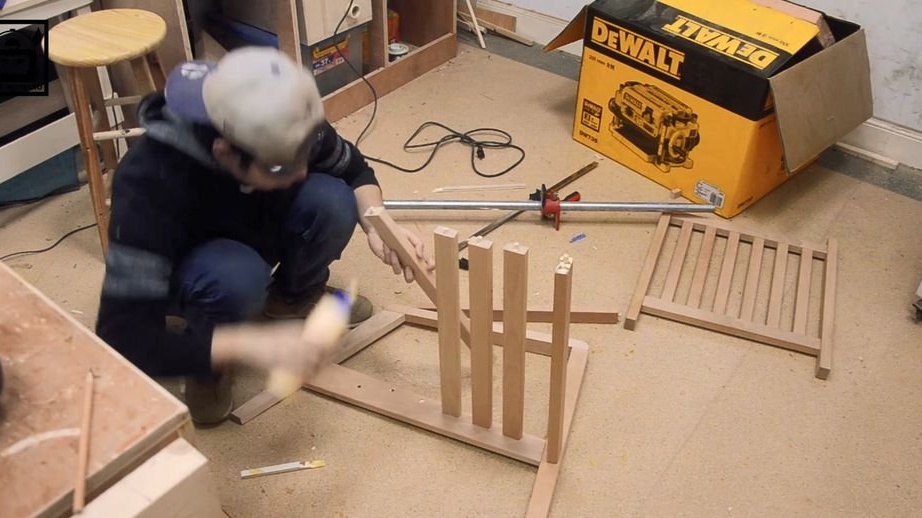
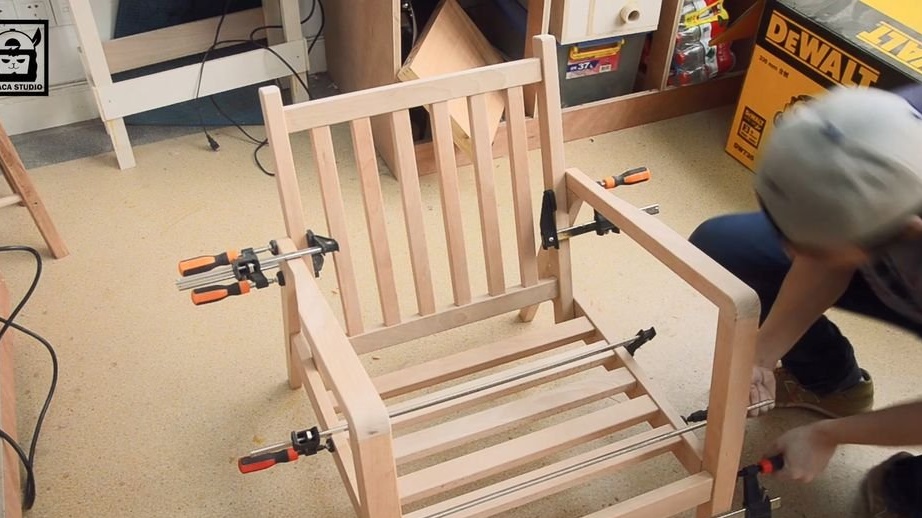
Finally, all parts of the chair are ready for assembly. It is assembled using pins, which are planted on carpentry glue. The glued parts of the chair are tightened with clamps until the glue completely dries.
Step 7: Grinding
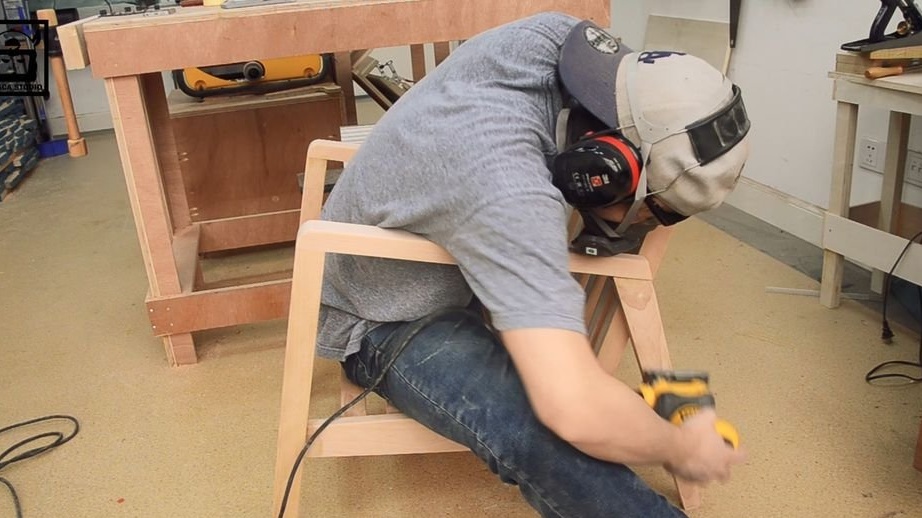
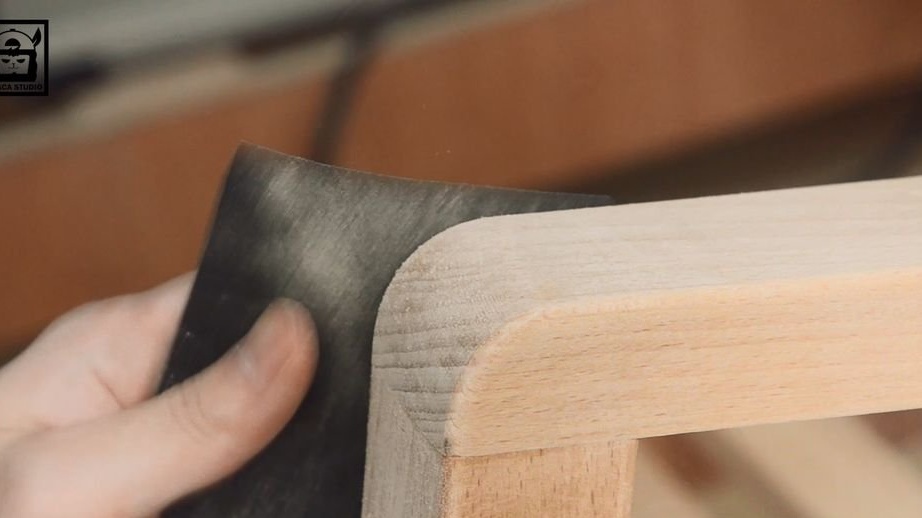
The next step is grinding the damaged areas that were damaged during sawing.Due to the fact that the saw was obviously dull, some areas of wood were burnt. To remove traces of a burn on a tree, the author used sandpaper with a grain size of 200 units. Apparently, he did it.
Step 8: Clean, Paint and Sand Again

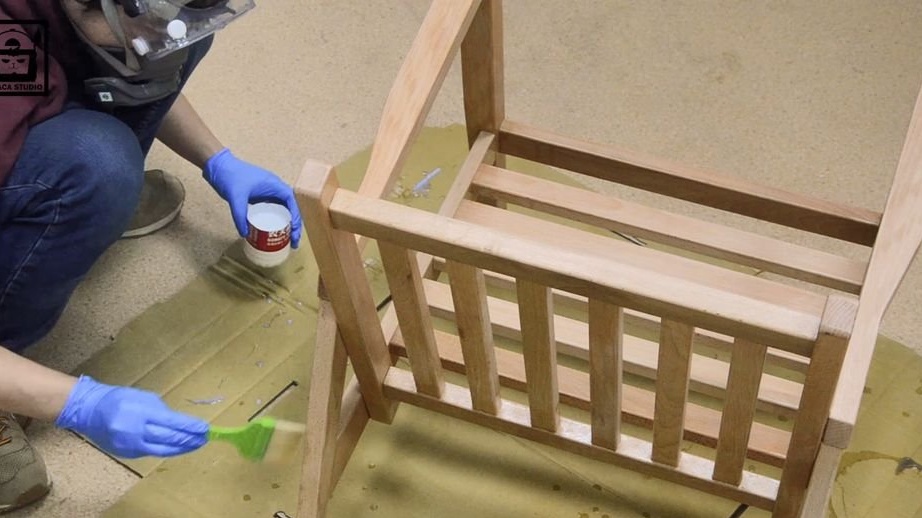
At this stage, water-based polyurethane was used. It is quick and odorless.
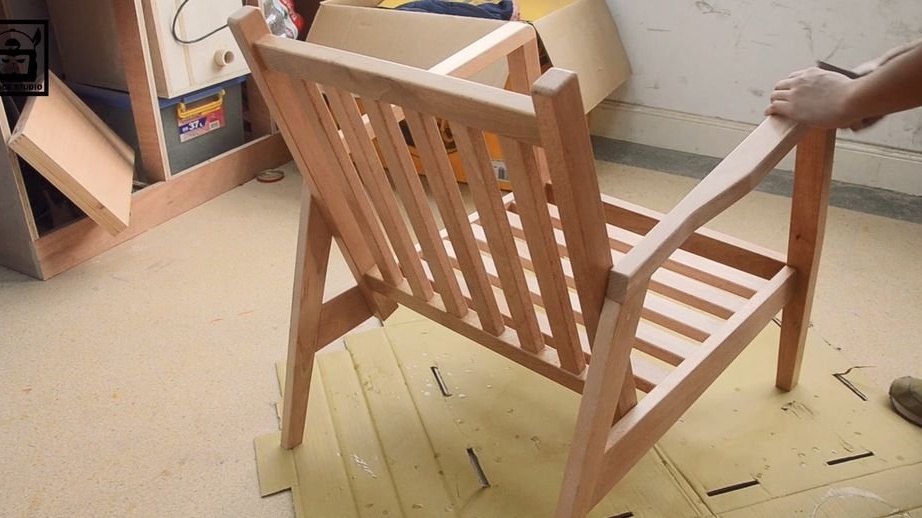
Step 9: end of work
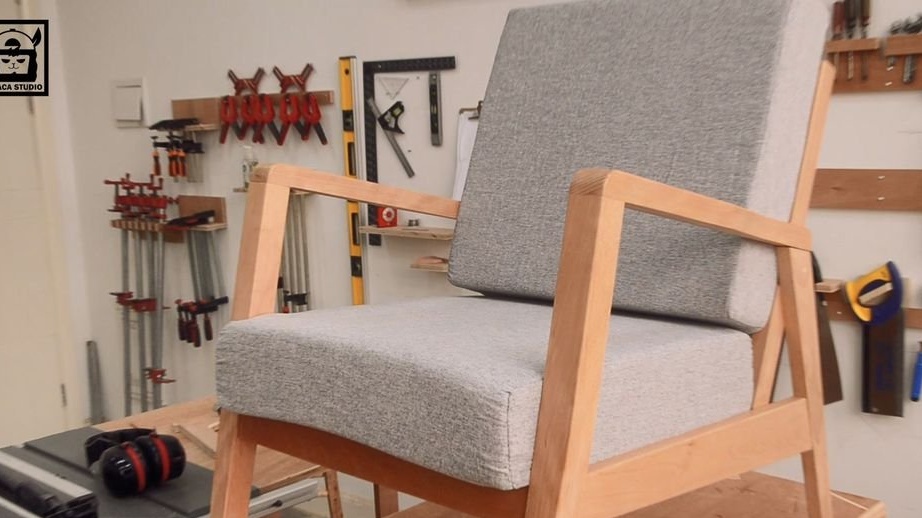
Chair cushions were purchased from an online store selling the furniture.
Enjoy your assembly!