
Recently, the number of accidents associated with a gas leak has increased. Proper detection and security measures in your own home can easily prevent such incidents.
A large number of detectors are on sale, but they are not accessible to ordinary people, due to the unreasonably high price.
The author of this homemade made a simple and cheap gas detection system. It is made of simple and affordable parts so that everyone can repeat this homemade product for personal use.
For simplicity of design, the microcontroller was not used. So homemade does not require any programming.
Repeat homemade and secure yourself and your home!
Watch a demo video of this homemade product:
Step 1: Prerequisites and Tools

Components:
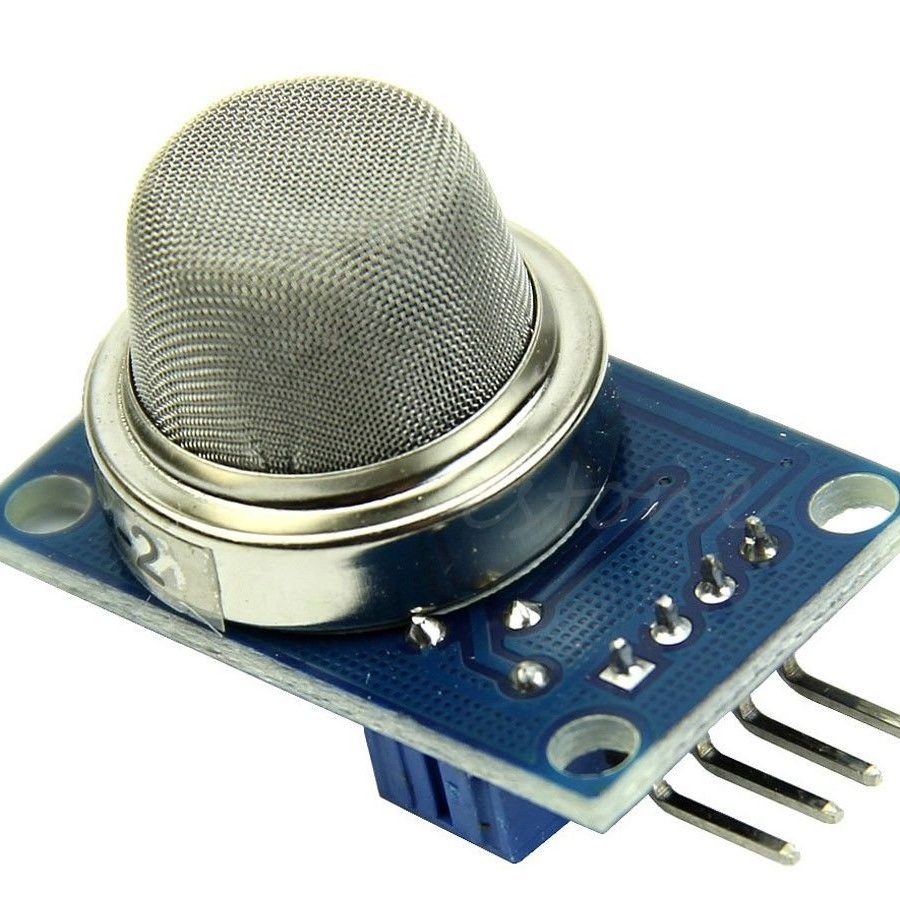
1. MQ2 gas sensor: The gas sensor module (MQ2) is useful for detecting gas leakage (in the home and in industry). Suitable for detecting H2, liquefied gas (propane-butane), CH4, CO, alcohol, smoke or propane. Due to its high sensitivity and fast response time, measurements can be performed in a short time. The sensitivity of the sensor can be adjusted with a potentiometer.
2. Wall-mounted AC adapter 5 V, 500 mA. For this purpose, you can use the charger circuit for your Android smartphone.
3. Two 5 mm LEDs (one red, one green)
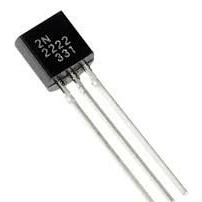
4. One general purpose PNP transistor (P2N2222A or 2N3906 or BC557)
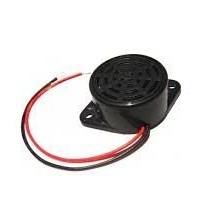
5. One piezo buzzer
6. Resistor 1X100R, 2X1K and 1X4.7K
Tools required:
1. Soldering iron, solder, rosin
2. 3D printer
Step 2: Gas Detector Diagram
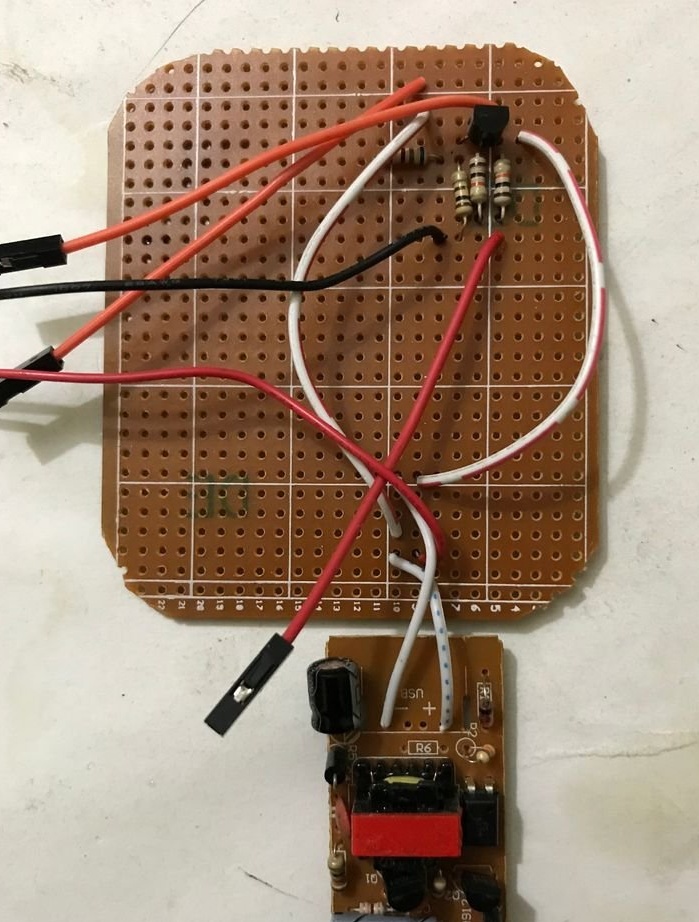
Very few components are used in this circuit diagram. In addition, all components are very common and cost quite a bit, so this homemade product can be repeated by anyone, even far from electronics. The only thing required is a basic soldering skill. No programming skills are required, as the microcontroller is not used.
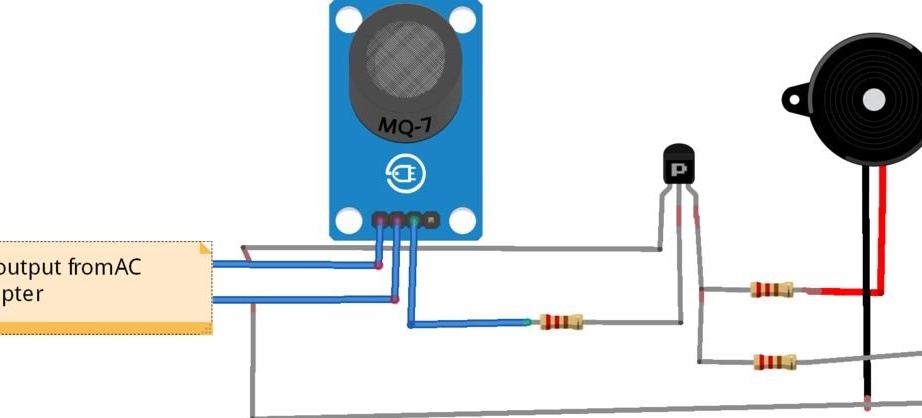
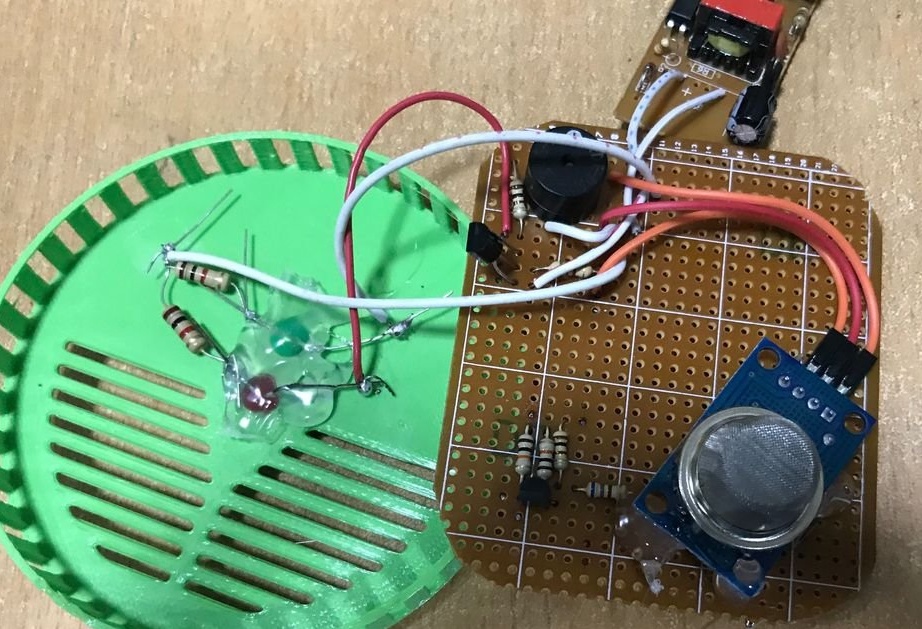
In the homemade product, the Grove MQ2 sensor module is used, which can measure or detect liquefied gas, alcohol, propane, hydrogen, CO and methane. The module has four pins.Two contacts are used to supply power to the module, the rated voltage of which is 5 V. It has two output contacts. One gives an analog output, and the other gives a digital output. They open when the gas content in the air exceeds a certain threshold. The threshold level can be adjusted by rotating the sensitivity head at the potentiometer. The concentration range that the sensor can detect ranges from 100 to 10,000 ppm.
Typically, in a medium-sized enclosed space, a dangerous gas concentration is considered to be in the range of about 700-800 ppm (ppm) of gas. The sensor works within these limits.
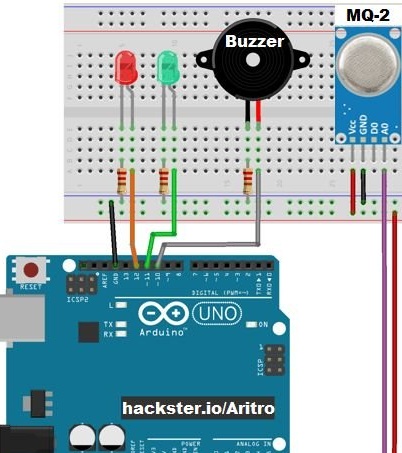
The digital output contact of the sensor becomes low when it detects any gas mentioned. Under normal conditions, the pin output is high. To control the buzzer when a gas is detected, a PNP transistor is required for switching, since the output signal in such conditions is low. The emitter output of the transistor is directly connected to a 5 V source. The base is connected to the output contact through a 4.7 kΩ resistor. The buzzer is connected to the collector terminal of the transistor through a 100R resistor. This resistor is designed to protect the buzzer from overcurrent. A red LED is also connected, parallel to the buzzer, for light indication. The green LED is connected to the power source as a power indicator.
To power the circuit, the circuit from the Android charger was used. A capacity of 500 mA is sufficient for this purpose.
Step 3: Soldering
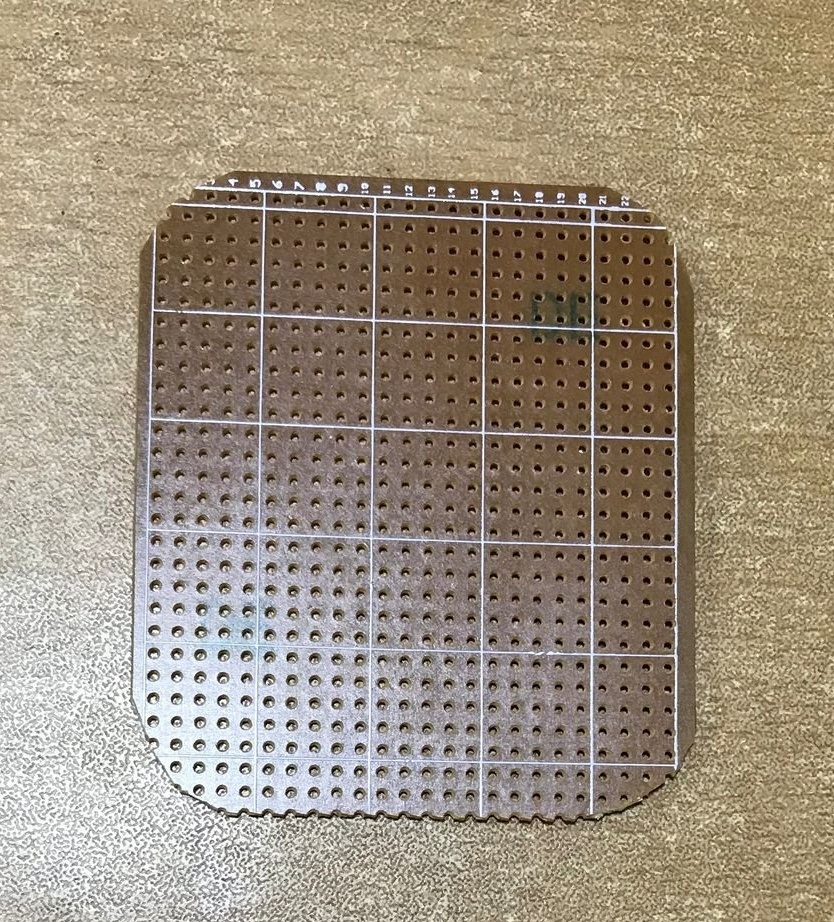
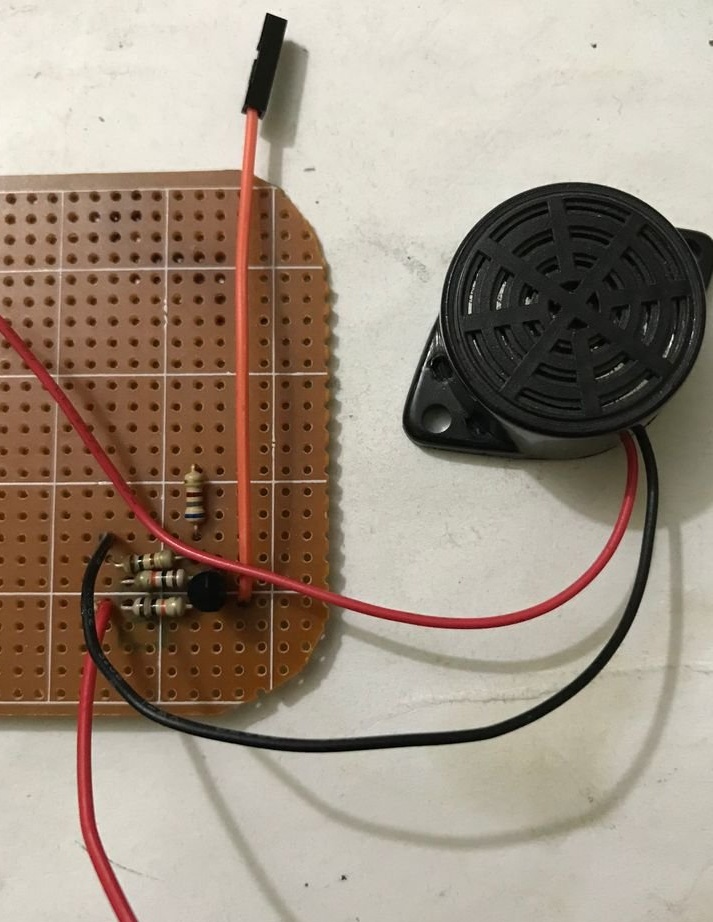
The components of the device are soldered on a perforated board for wall mounting. The sensor is connected to jumpers. A medium sized buzzer was used, which can generate about 80 dB. This sound is sufficient even with a high level of ambient noise. It will continuously make a sound until the gas concentration reaches the acceptable limit.
The charger circuit cover was removed, and soldered directly to the circuit board. Two long wires are connected to the input side of the charger circuit for connecting to an AC outlet.
All resistors have a power of one quarter watt, and the value of the resistor connected to the LEDs is 1K.
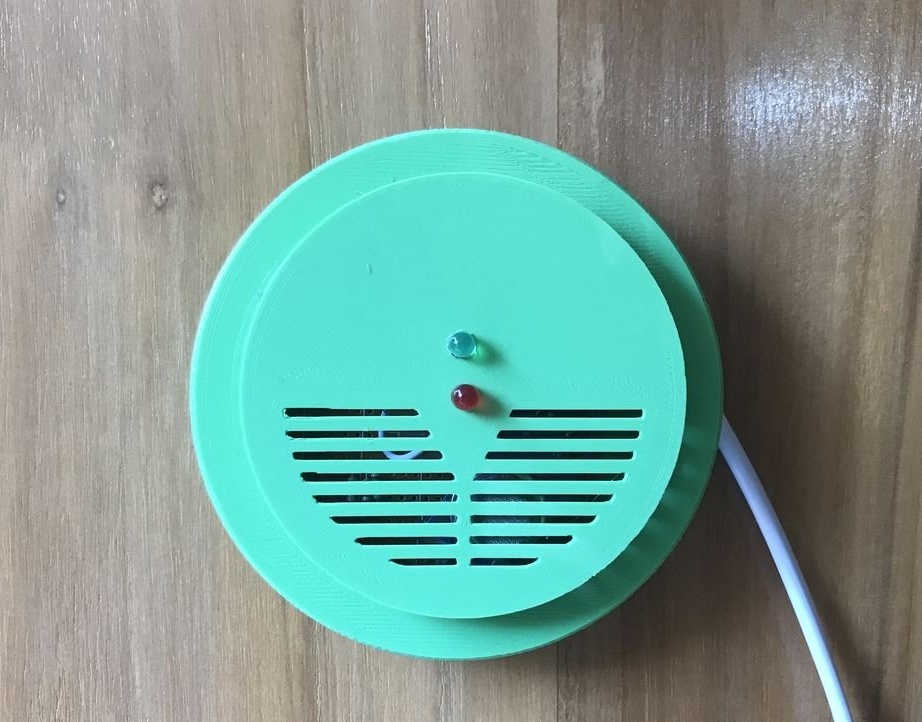
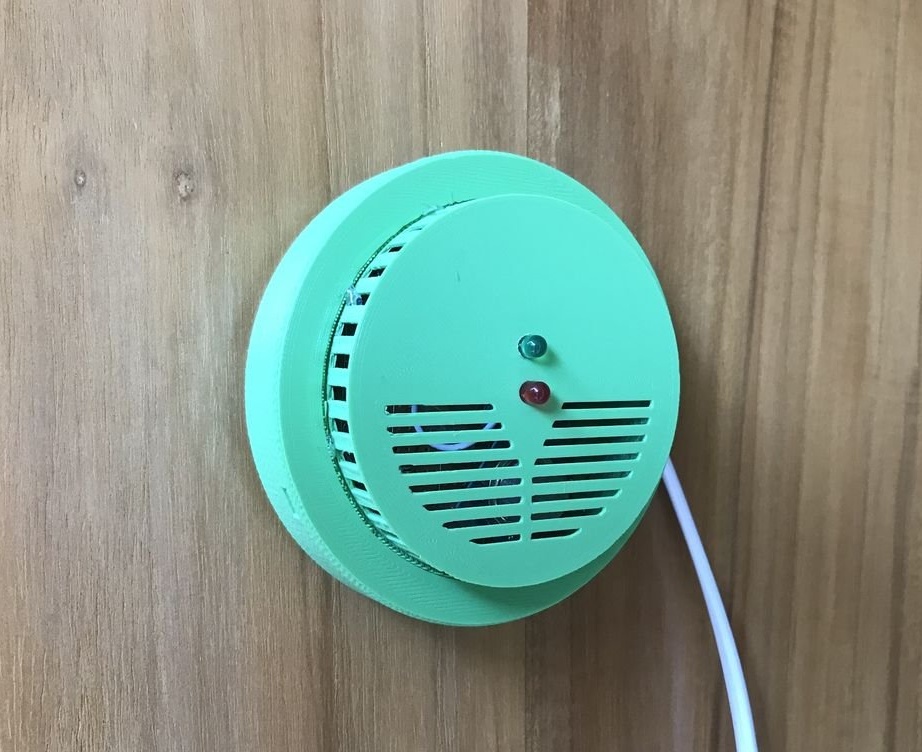
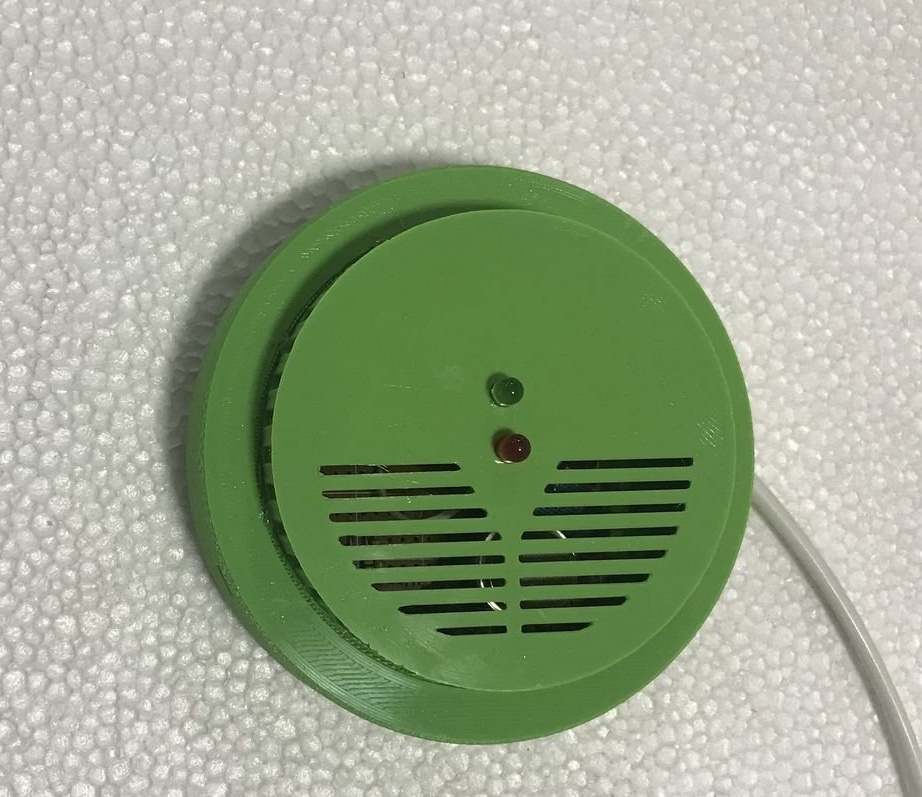
Step 4: 3D Printing
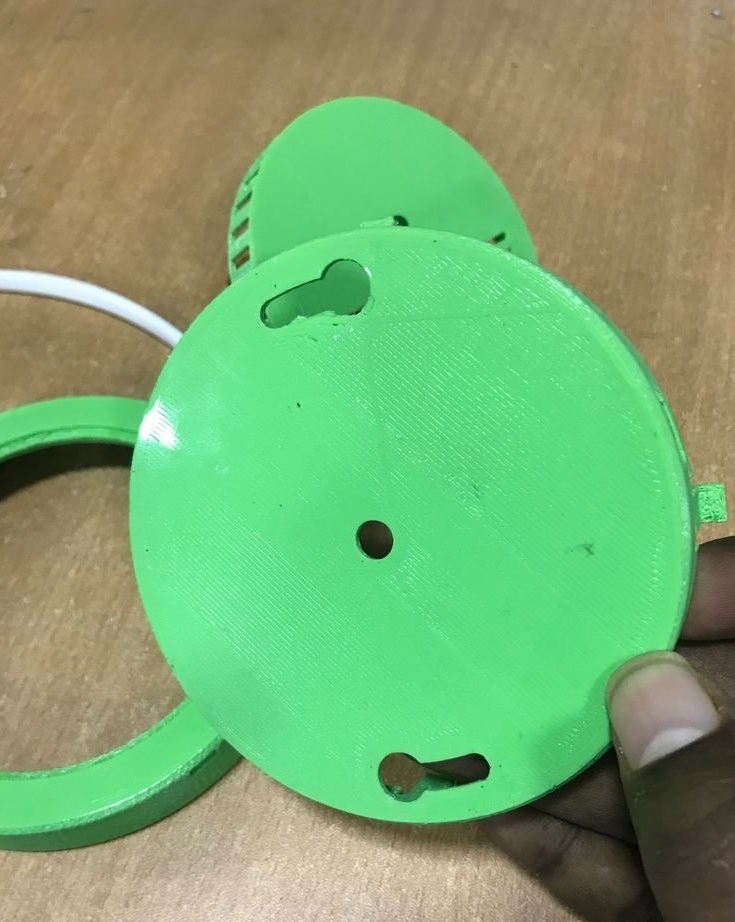
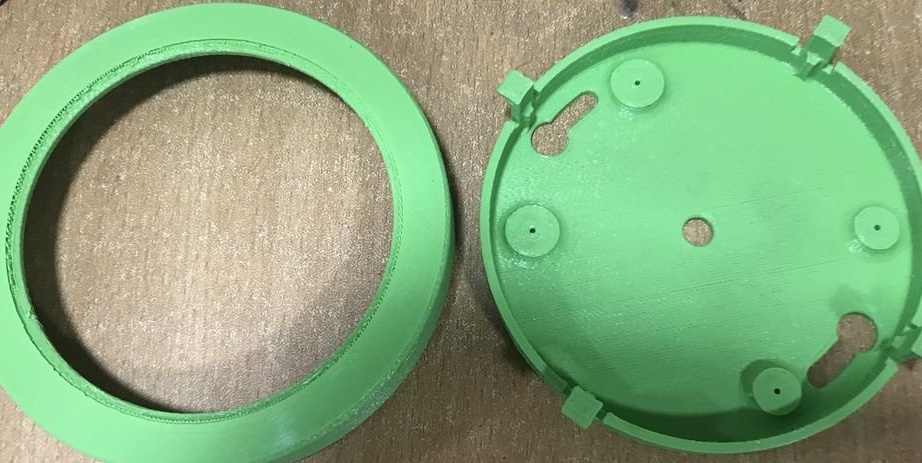
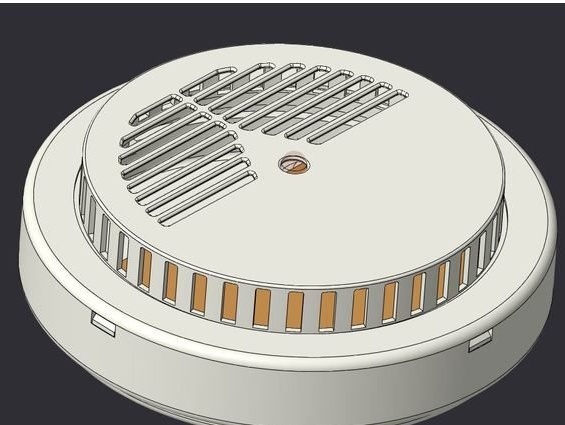
The body for the gas trap was made using 3D printing.
The necessary STL files for 3D printing can be downloaded from the links below.
body
Pavilion 2
Gas detector
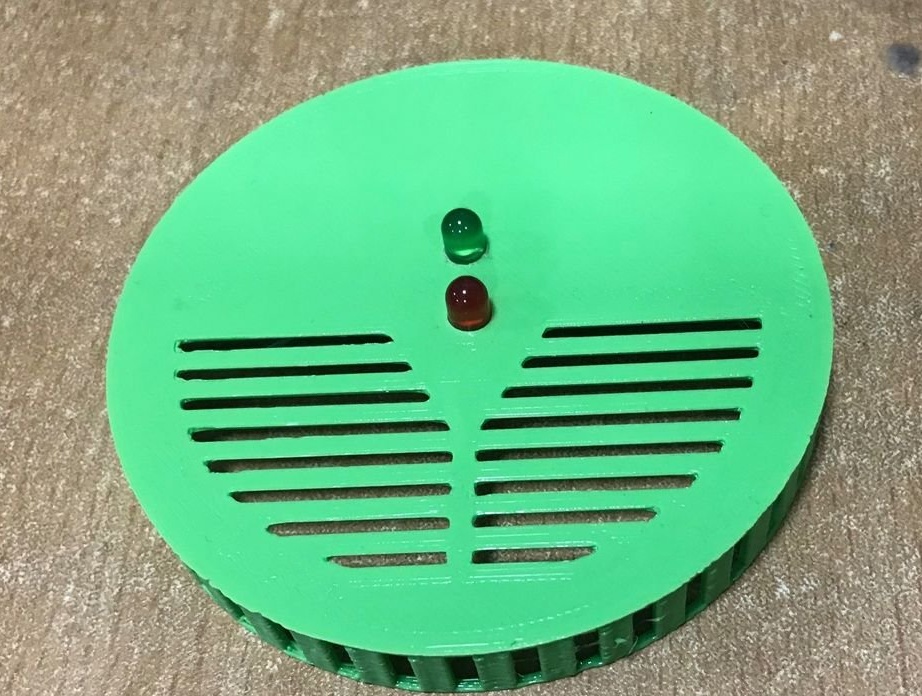
Step 5: Build
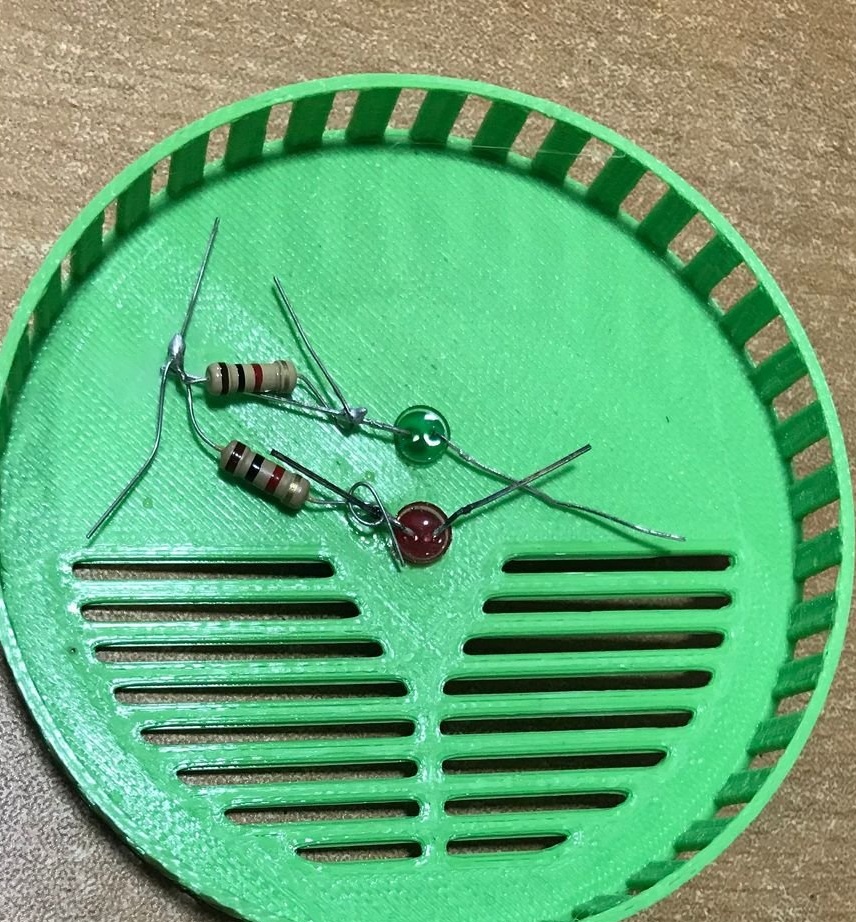
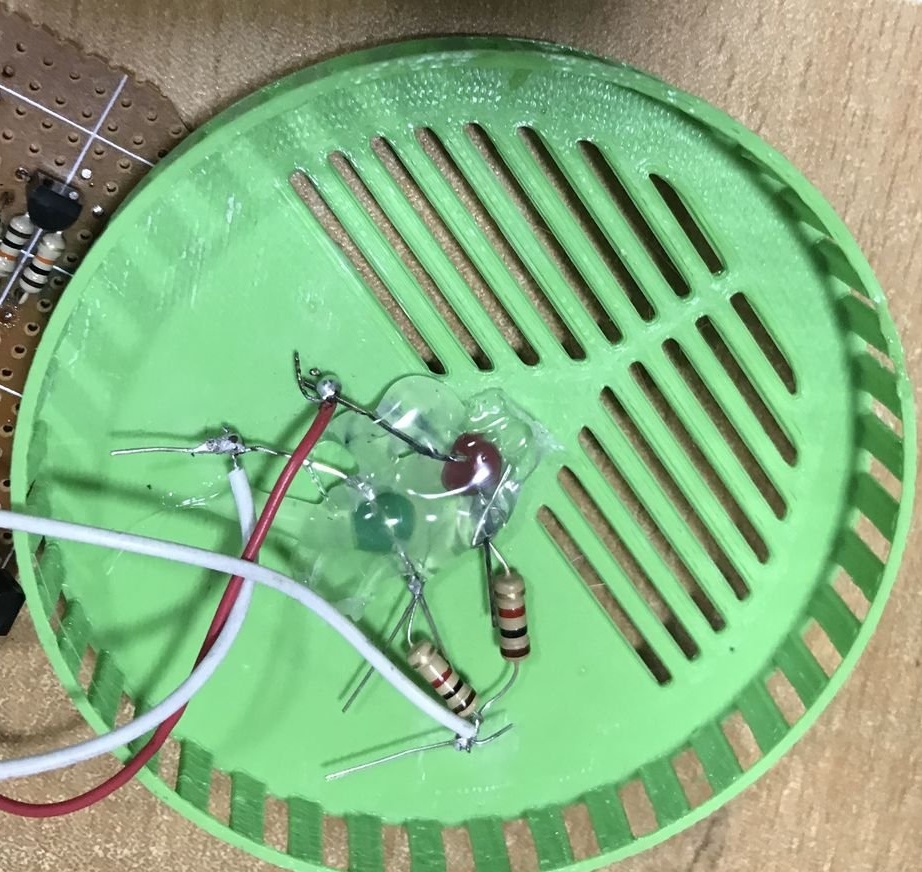
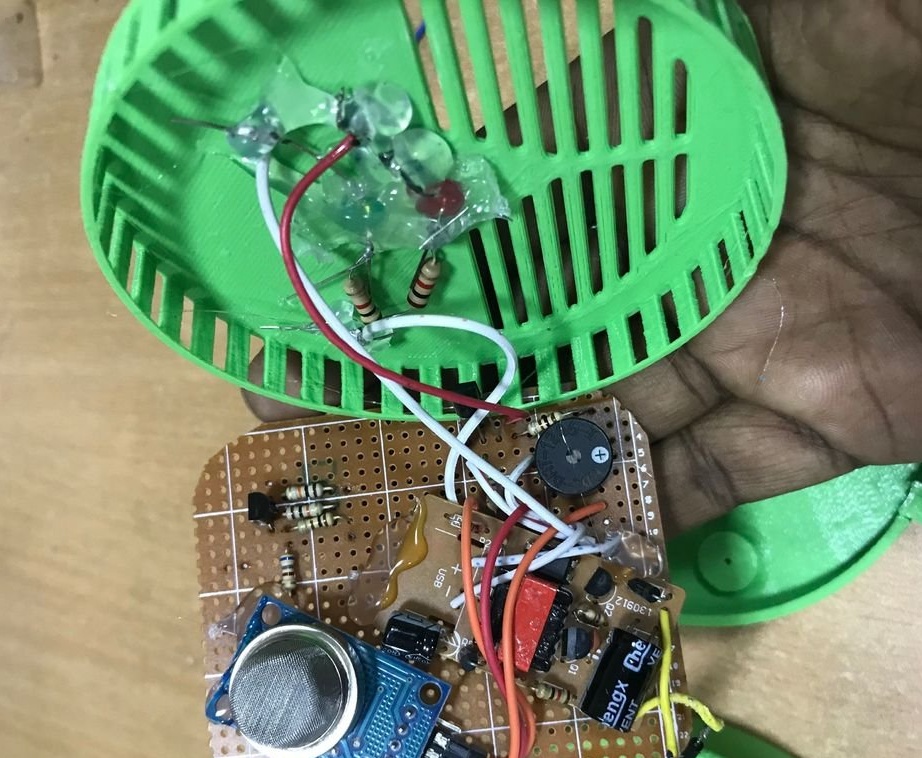
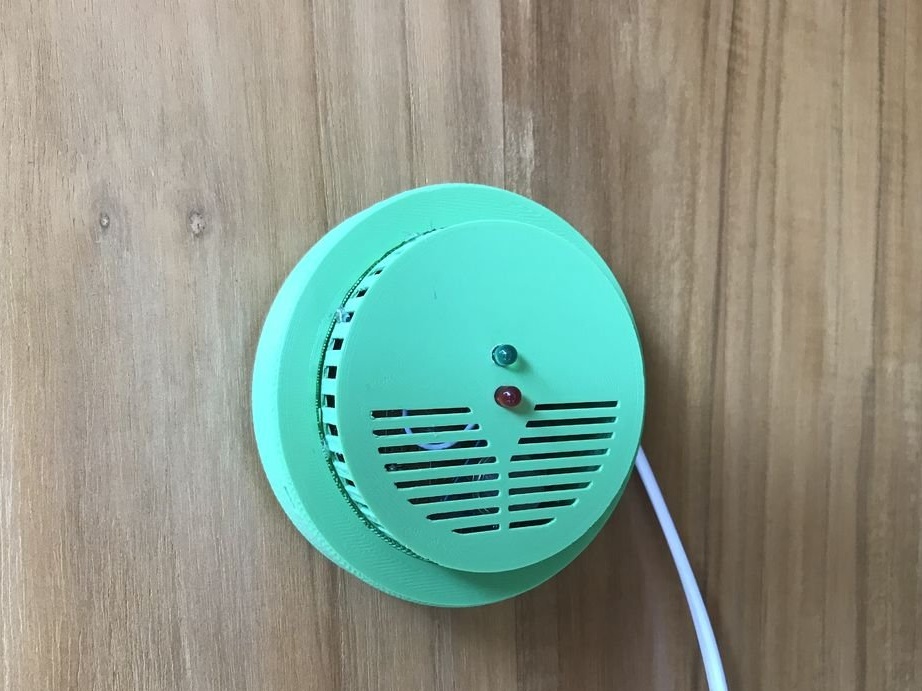
The top cover of the detector has two holes for the location of two LEDs. A red LED indicates alarm, and a green LED indicates power. Each LED is connected to a current limiting resistor, 1K resistance. To fix the LEDs on the case, hot glue was used. Then the LEDs were connected to the board using wires 10 cm long. Hot glue was also used to attach the charger circuit and the MQ2 sensor to the board. Then, two wires were pulled outside the case from the input side of the charger, so that it could be connected to an external power source.