
In the last decade, smartphones have become one of the most popular and useful gadgets. This gadget is truly a great invention. Now a smartphone is a necessity. However, the battery manufacturing technology has not progressed significantly compared to the technology of the smartphones themselves. We also very often need to charge it.
Previously, a wired charger was the only option for charging the phone. Now, wireless chargers and smartphones are gaining momentum.
So, in this guide, the author of this homemade, decided to make a powerful wireless charger for his smartphones. This is a wireless charger "do it yourself”- A fast 10-watt charger that can easily charge a 3000 mAh battery in about 2 hours.
Let's start...
Step 1: Watch the video to understand the device manufacturing process
It is also recommended that you study the following steps for more information and to view explanatory images.
You will also see how easy it is to convert any phone to wireless charging simply by using the Receiver wireless panel. See what’s inside the panel of the charging receiver, which makes it workable.
Step 2: Necessary components and tools:
Wireless Charger ()
Heat shrink tubing
Soldering stand
Soldering iron
Stationary knife
IPhone Charging Panel
Charging Panel for Android
What can be found in every home:
cardboard
compass (with pencil)
Super glue
lighter (or matches)
connecting wires
Smartphone with wireless charging capability.
Step 3: Principle of Operation
The wireless charger operates on the principle of "electromagnetic induction". When current passes through the turns of wire at the base of the charger, it generates a “magnetic field”.
Such charging receiver coils are located under the back cover of the smartphone. When the mobile phone is located above the wireless charger, the induced magnetic field creates an electric current in the receiving coils, which is then transmitted and controlled by the charging circuit in the phone. This charging circuit in the phone provides controlled optimal power for proper battery charging.
Note:
• Wireless charging is only 70% effective compared to direct charging via cable connection.But it provides comfort and ease of use.
Step 4: Preparing the Wireless Charger
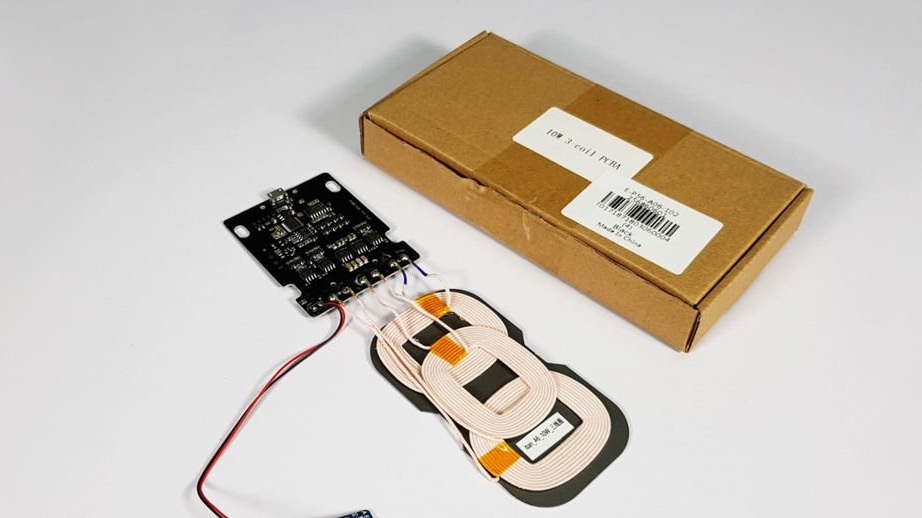
• After you have purchased the wireless charger circuit pack assembly, carefully open the box.
• Be careful not to damage the wires when opening the package.
• Carefully inspect the circuit, and if everything looks good, place the cardboard on the reels of the charger and turn on the circuit.
• Place the mobile phone on a cardboard and check the charger circuit.
• Continue only if the charger works well.
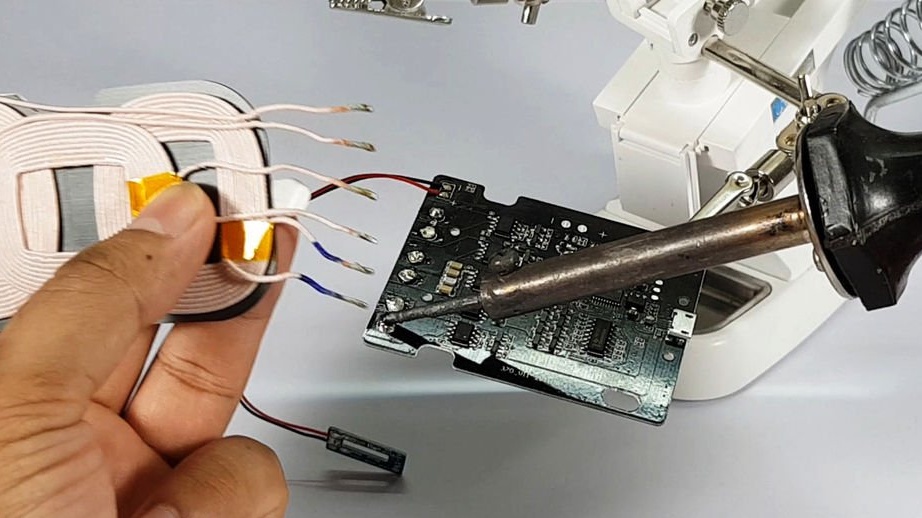
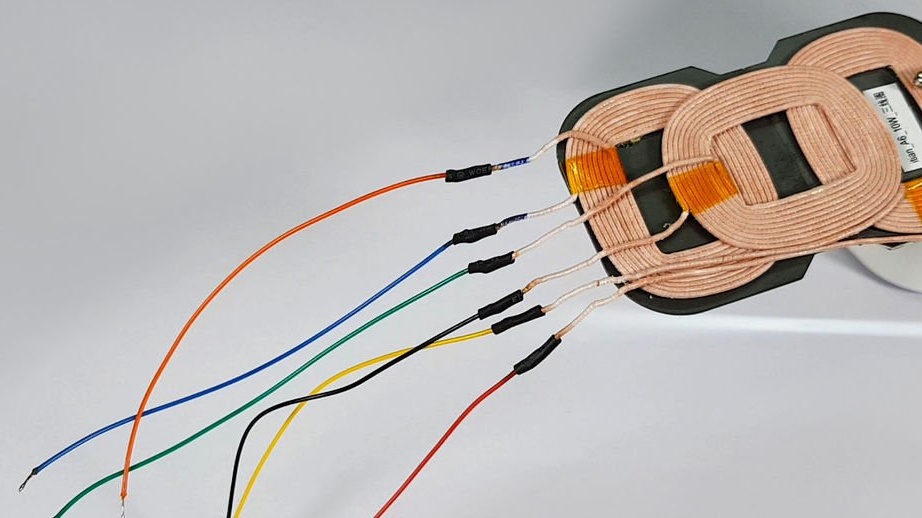
• After testing the product, disconnect all coil connections from the circuit board.
• There is no need to disconnect the status LED board from the main board.
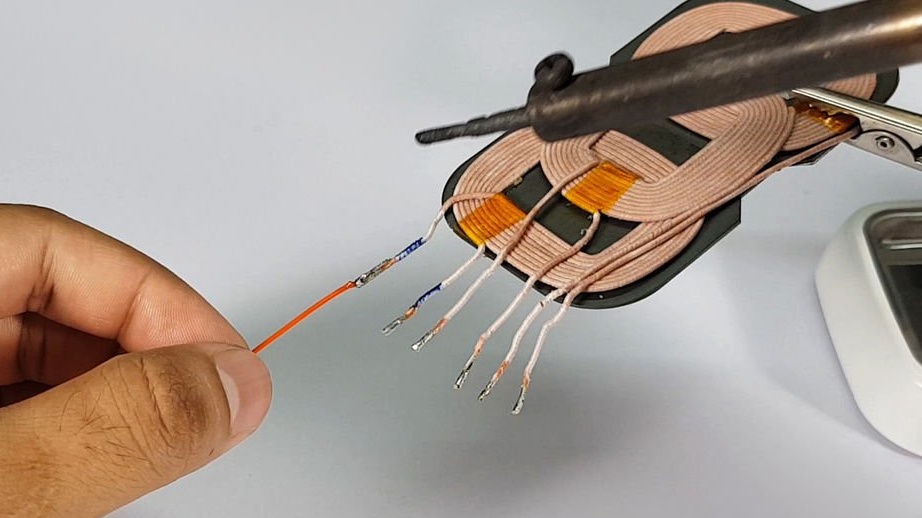
• Use the connecting wires to extend the original charging coil connections. (Be sure to use thick copper wires of good quality).
• Insulate the joints correctly with heat shrink tubing.
Note:
Be sure to write down all the connections, because later you need to re-solder the coil connections.
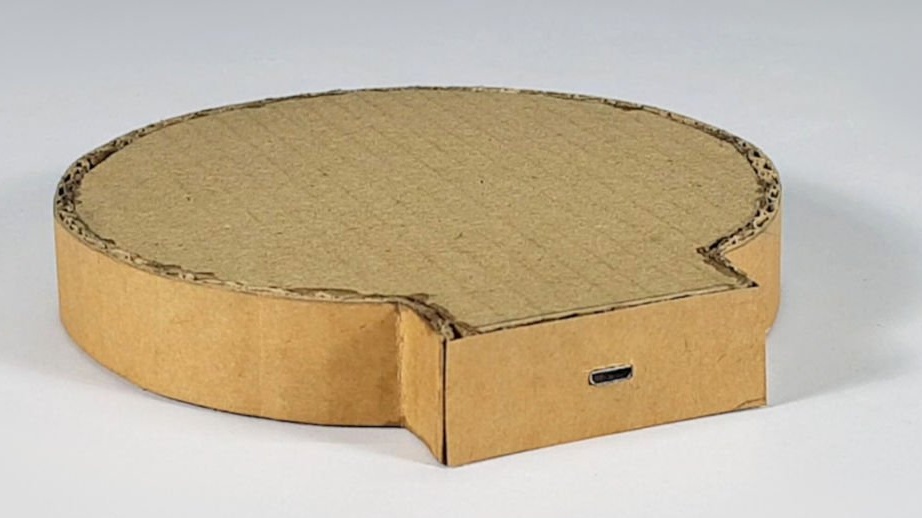
Step 5: Making the chassis for the circuit board
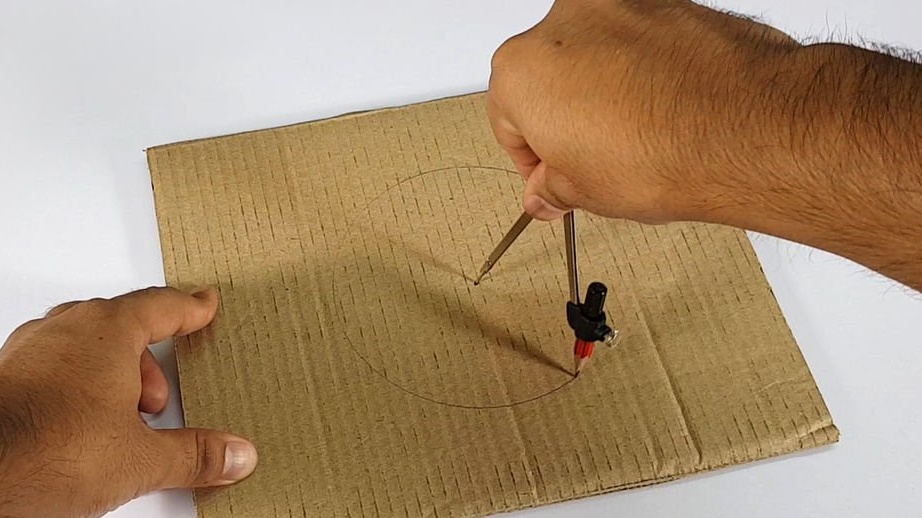
• On a piece of cardboard draw a circle with a diameter of about 13 cm.
• Place the outline on one side and mark the border as shown in the figure above.
• Using a stationary knife, cut cardboard along the marked lines.
• Be sure to make two such details.
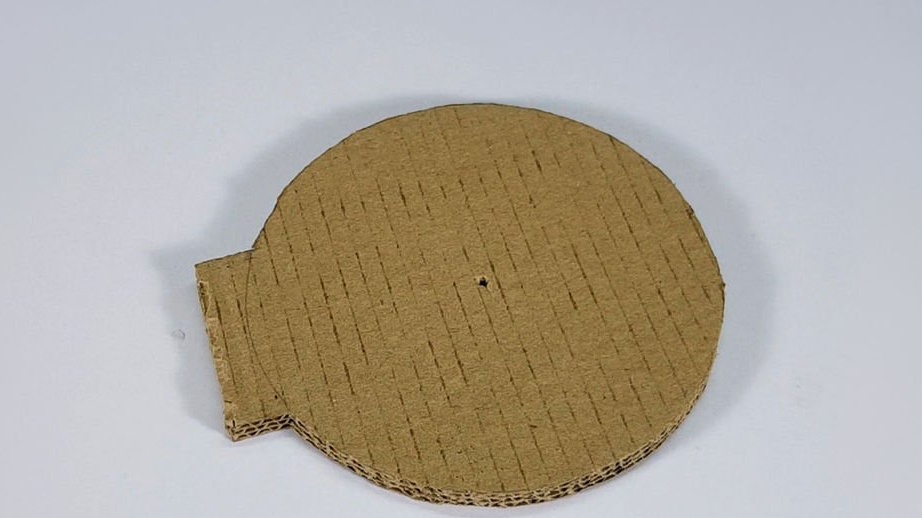
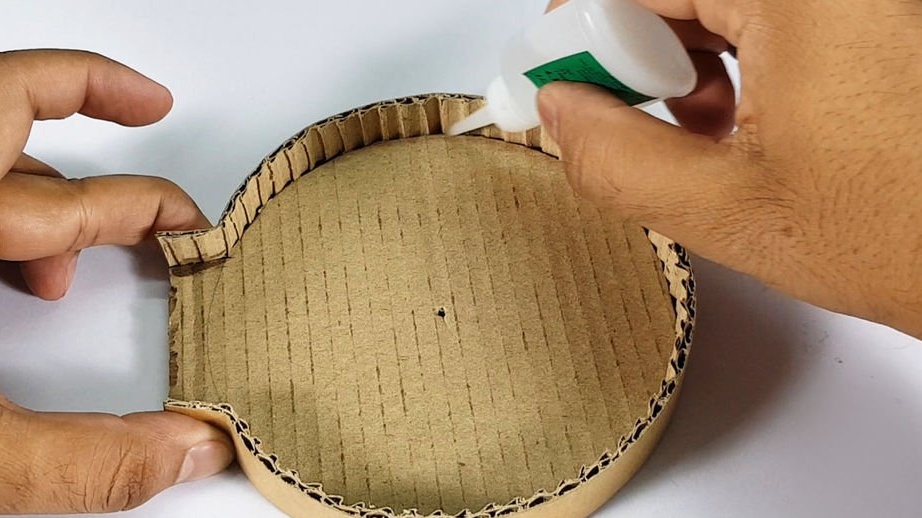
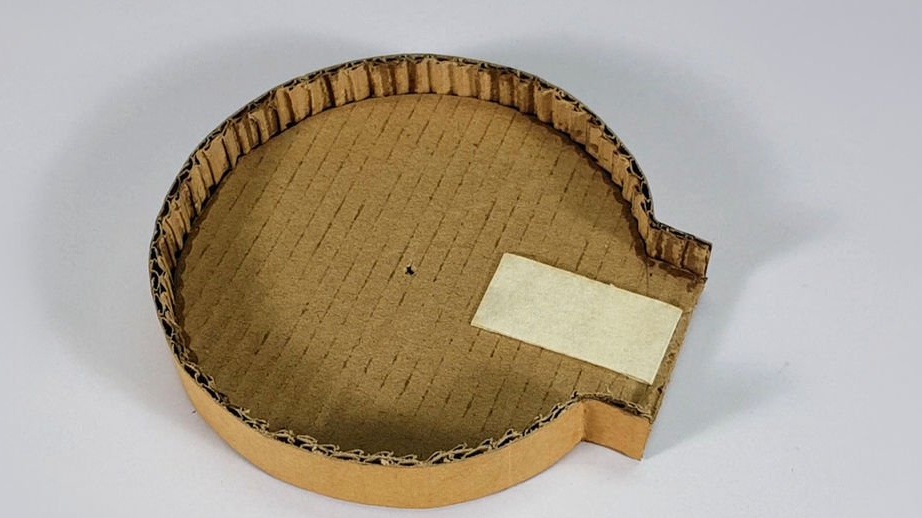
• Cut a long strip of flexible cardboard about 2 cm wide.
• Using superglue, stick a strip along the border of one of the pieces to make the bottom base.
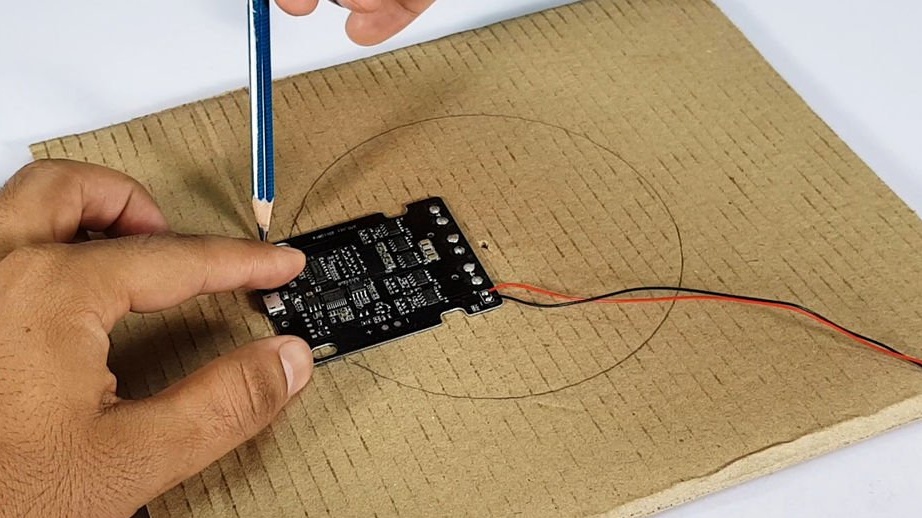
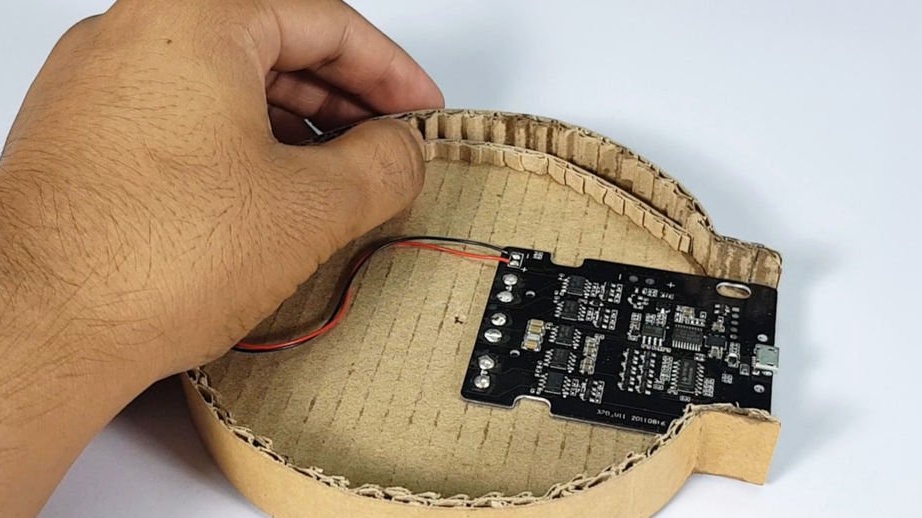
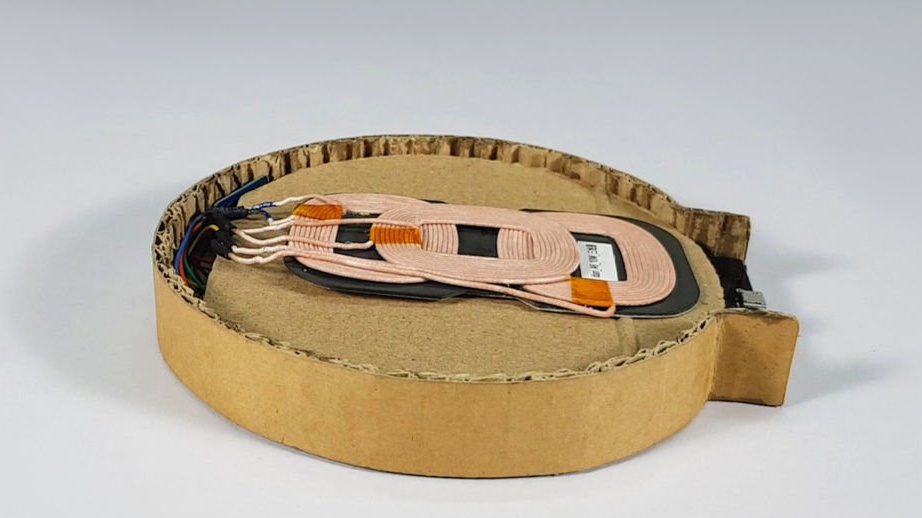
Step 6: Locating the electrical circuit in the chassis
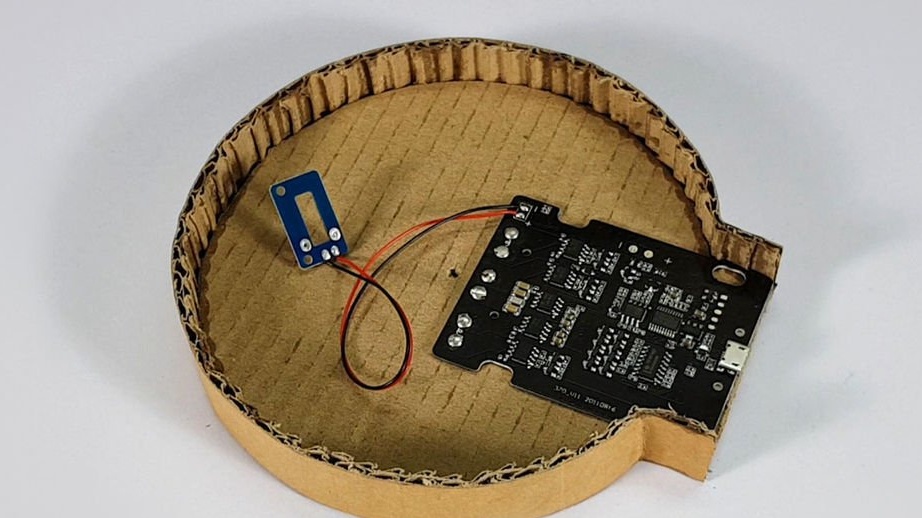

• Apply some hot glue or double-sided tape to the cardboard backing.
• Refer to the images above and stick the circuit board over the double-sided tape.
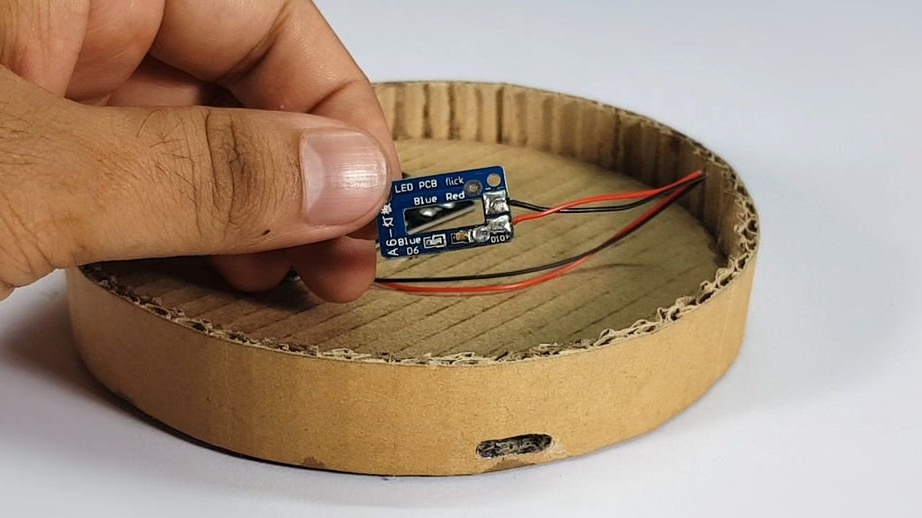
• Observe the position of the status LEDs on the board.
• Mark and cut the corresponding slots on the border of the lower base.
• Place the status LEDs in place and fix the small board with hot glue.
• The circuit board should be well attached to the bottom base.
Step 7: Reconnect Coils
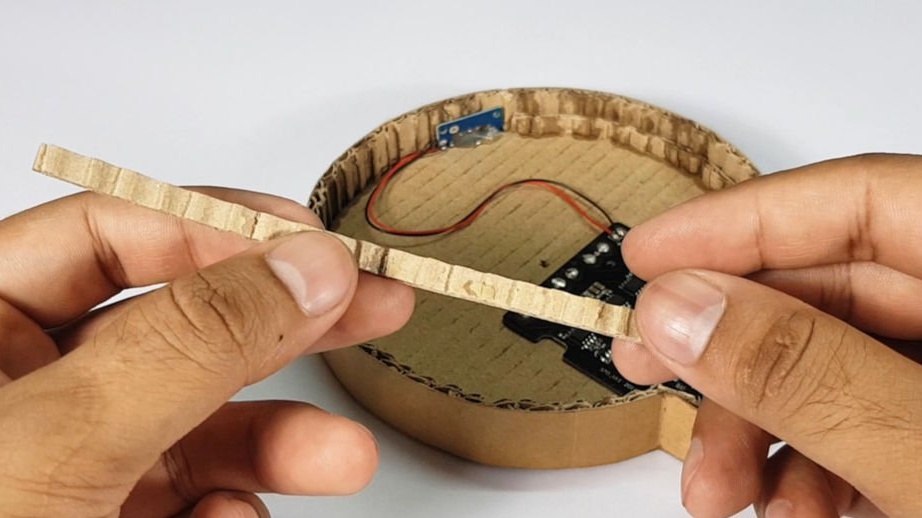
• Cut two small strips about 1 cm wide from the flexible cardboard.
• Insert both strips opposite each other on the inner border of the base.
• These strips will support the upper platform above them.
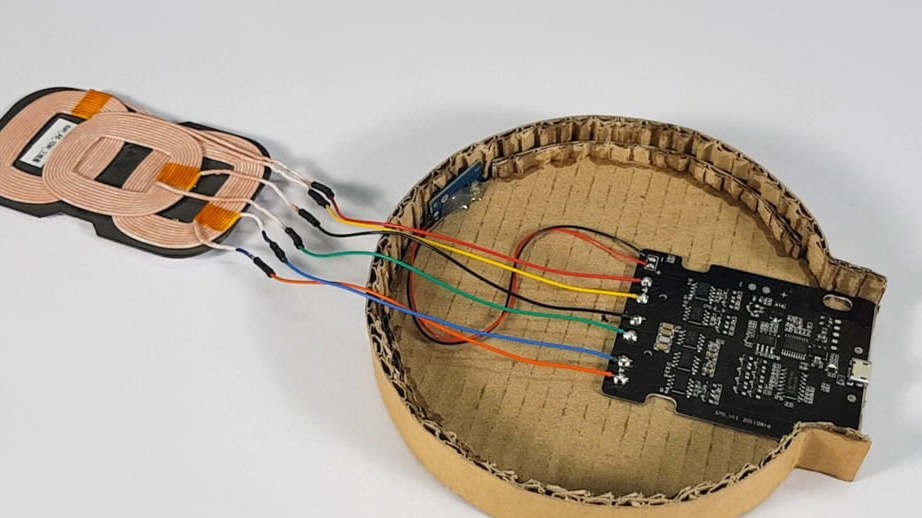
• Place the coils near the circuit board.
• Solder all the wires to the board one by one in the exact order as they were removed.
• Double check the connections and make sure the coils are connected correctly.
Step 8: Positioning Coils in the Case

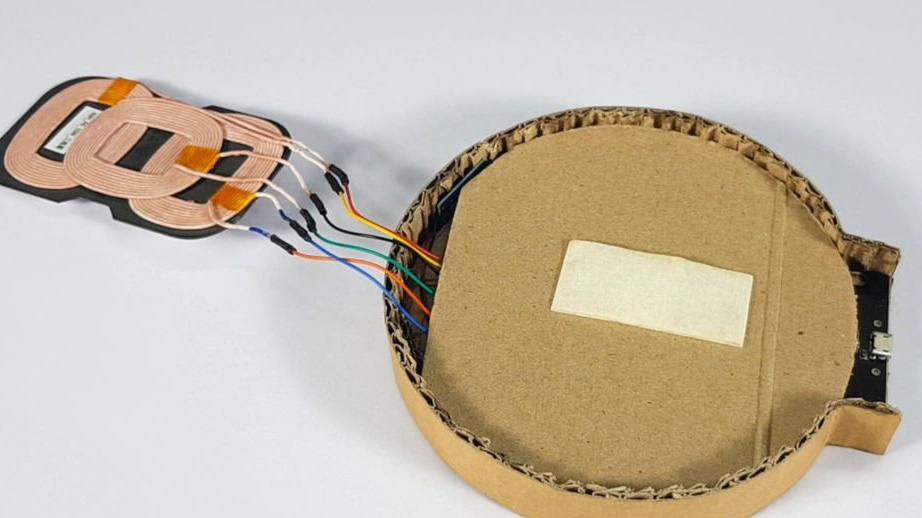

• Cut a circle with a diameter of about 13 cm.
• Cover the circuit board with a cardboard circle as shown.
• Apply some hot glue or double-sided tape to the cardboard.
• Glue the charging coils over the double-sided tape.
• Position the coils so that they are almost in the center of the cardboard.
• Look carefully at the images and cut a piece of cardboard so that it can be used to cover the micro USB port.
• Glue the seams with brown colored paper.
• Now close the case with the upper platform and fix it with super-glue.
Note:
Make sure that you do not use very thick cardboard as the top platform, as the wireless charger may not work if the distance between the coils of the charger and
the phone is too large.
Step 9: Label Design
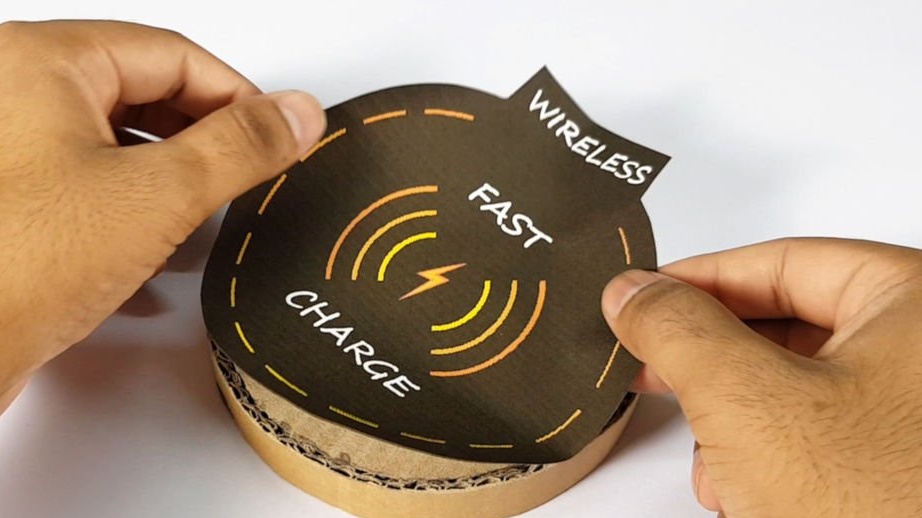

• Using any imaging software, create a design for your wireless charger.
• The author used Gimp software and looked for images on Google to make his design.
• You can easily make a new design or you can download the author’s design.
• Print a design on A4 paper.
• Cut out the desired graphics and, using glue, stick the picture on top of the upper platform.
• The wireless charger now looks very good.
Attachments
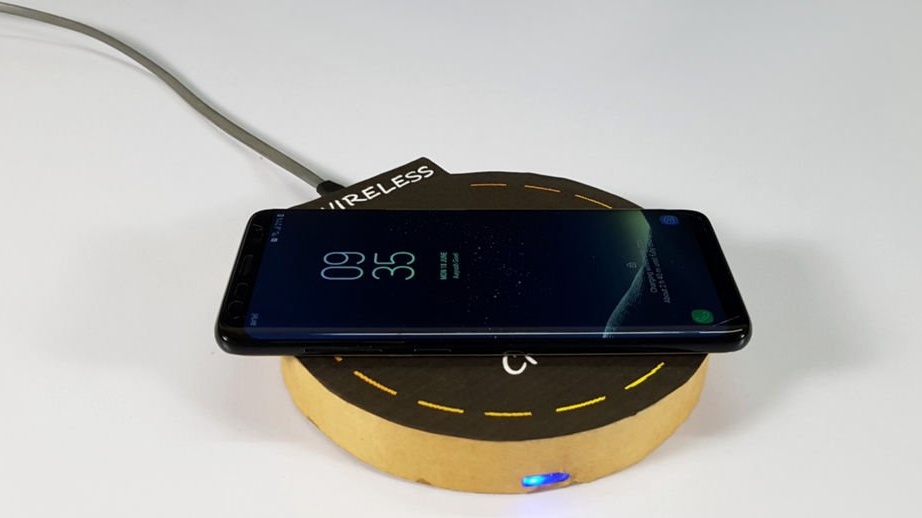
Step 10: Testing
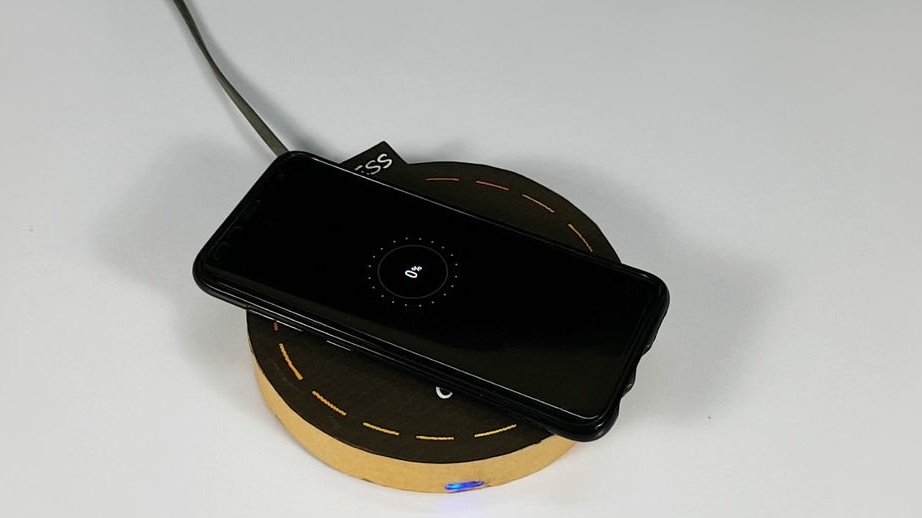
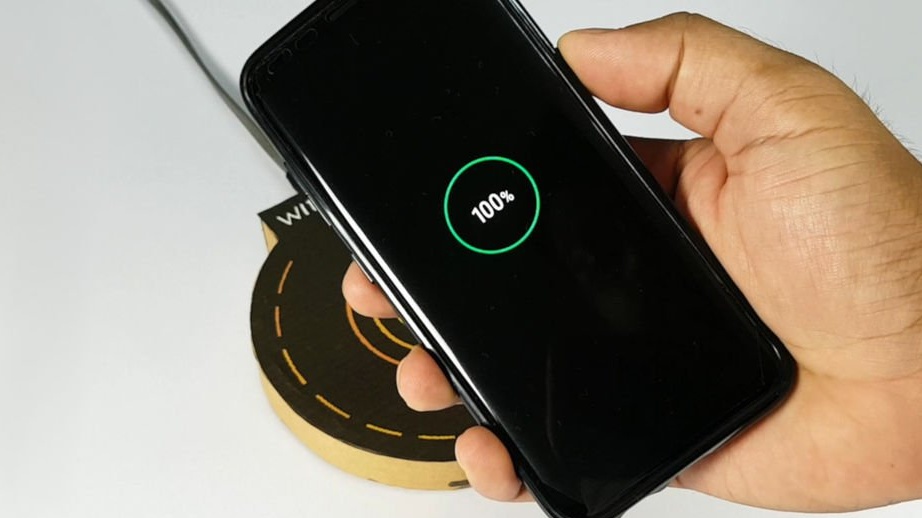
• The glue under the pattern should dry properly. Now that the charger is ready, connect the AC adapter to the wireless charger.
• Turn on the switch, and you will notice that the status indicator changes color from red to blue, and then eventually turns stably red.
• When the mobile phone is above the charger, the status LED will turn blue and the phone will start charging wirelessly.
Note:
Many may argue that the author did not make a wireless charger, but simply made a cardboard case. Yes, you are right, but this is the best way to get a high-quality wireless charger for a smartphone on an individual order at no special cost.